
In this DIY tutorial, I show you how to make a DIY epoxy resin river table using live edge wood. Also, learn various tips and techniques.
In fact, I use these epoxy river table pro tips and woodworking techniques on custom furniture for my clients.
Even if you don’t need an epoxy resin river table, the tips I cover in this DIY tutorial can be used for other epoxy or woodworking projects.
Here are some jump links to help you find the information you need quickly:
Video Tutorial
Tools and Material
Unique Epoxy River Table Features
Step-by-Step Guide
Video Tutorial: DIY Epoxy Resin River Table
There are several things which are difficult to fully explain with words and images, so be sure to check out the video tutorial below!
Tools and Material
So, let’s dive right in with a full DIY video tutorial and the tools I used.
Table Top Epoxy Resin
Resin Glow Powder
Chisels
Fire Glass
HairPin Table Legs
UV Light Strip
Micro Butane Torch
Tack Cloth
Mixing Stir Sticks
CA Glue
Hot Glue Gun
Shellac
Heat Gun
Silicone Caulk
Wax
Gloves XL
Often times, I experiment with many different products and tools while working with epoxy resin and wood.
For your convenience, I’ve compiled a complete list of the best epoxy resin for river table projects.
Epoxy Wood Glow in the Dark Table Features
So, three characteristics make this DIY epoxy resin river table unique:
- It glows in the dark.
- Features embedded objects in epoxy resin.
- Made with live edge sinker cypress wood.
For starters, it contains blue resin glow powder to make the resin river glow in the dark with no lights.
Secondly, I embedded blue fire glass in the epoxy resin to add some cool effects.


Lastly, the sinker cypress live edge wood makes this river table unique.
Sinker Cypress is a rare, high quality and beautiful wood.
The unique grain patterns, color variations, durability, and history make sinker cypress wood tables popular among woodworkers and consumers.


I love working with live edge sinker cypress wood to build dining room tables, desks, entryway tables.
In fact, this DIY epoxy table works perfectly as a coffee table, desk, or living room accent table.
Unfortunately, the price of sinker cypress prevents me from using this wood more often.
Step-by-Step Instructions
I created a set of free downloadable DIY plans for this project and it includes:
- 82 page PDF
- Tool List
- Material List
- Resin Calculator
- Woodworking Tips & Techniques
- Full Companion Video of Build
1 – Clean Live Edge Wood
The piece of live edge sinker cypress I used in this resin river table project was 48″ long and roughly 20″ wide.
The live edge made exact size difficult to determine.
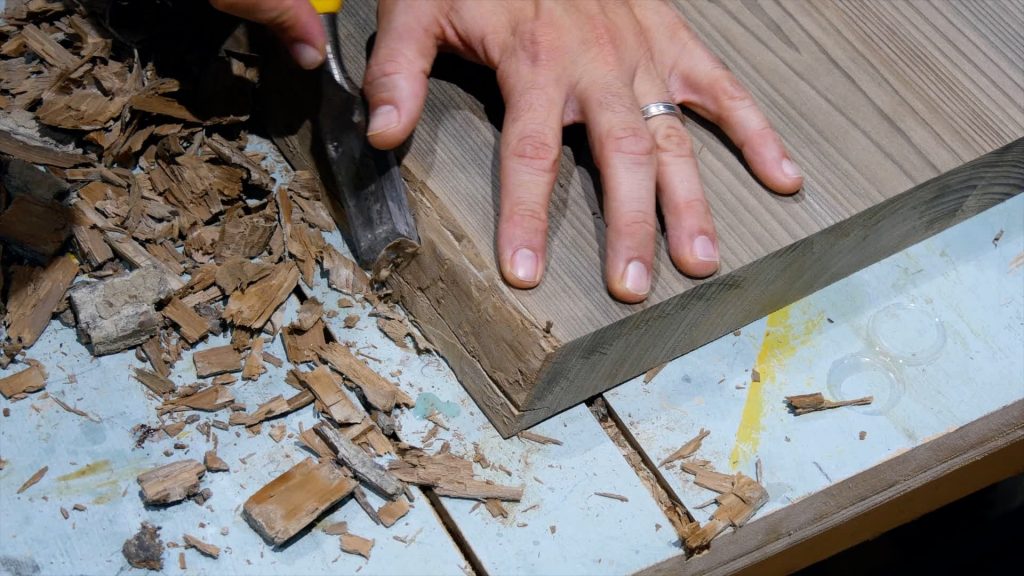
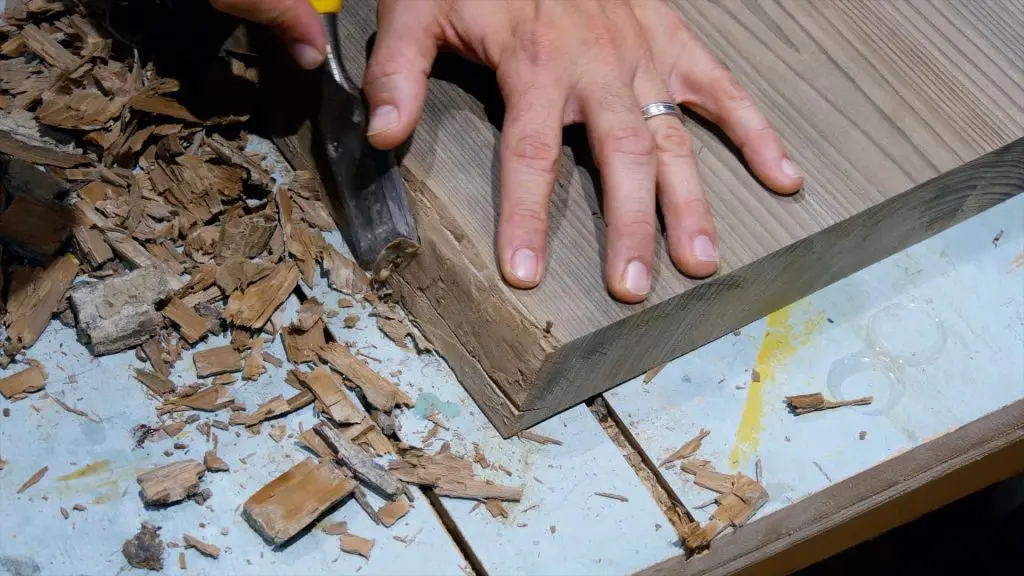
As a first step, I removed the bark on the live edge of the sinker cypress slab.
The epoxy resin will not adhere properly to loose bark on a live edge.
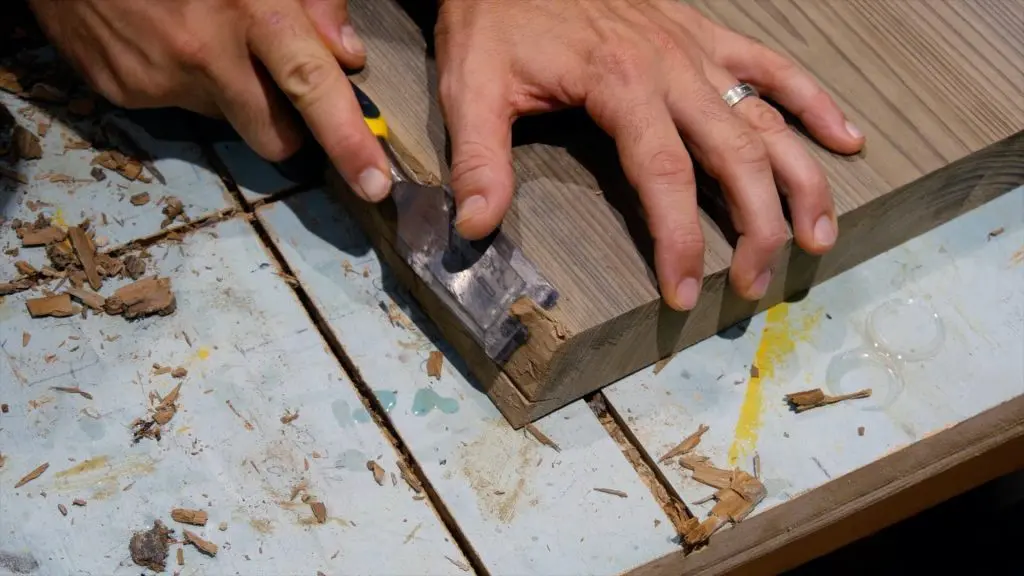
I peeled away the loose pieces with my old chisel that I recently resharpened.
Next, I used a rubber mallet and chisel to remove the bark I couldn’t peel off.
Then, I smoothed the surface as much as I could without damaging the live edge.
Removing the bark with a chisel or other hand tools produces the best results.

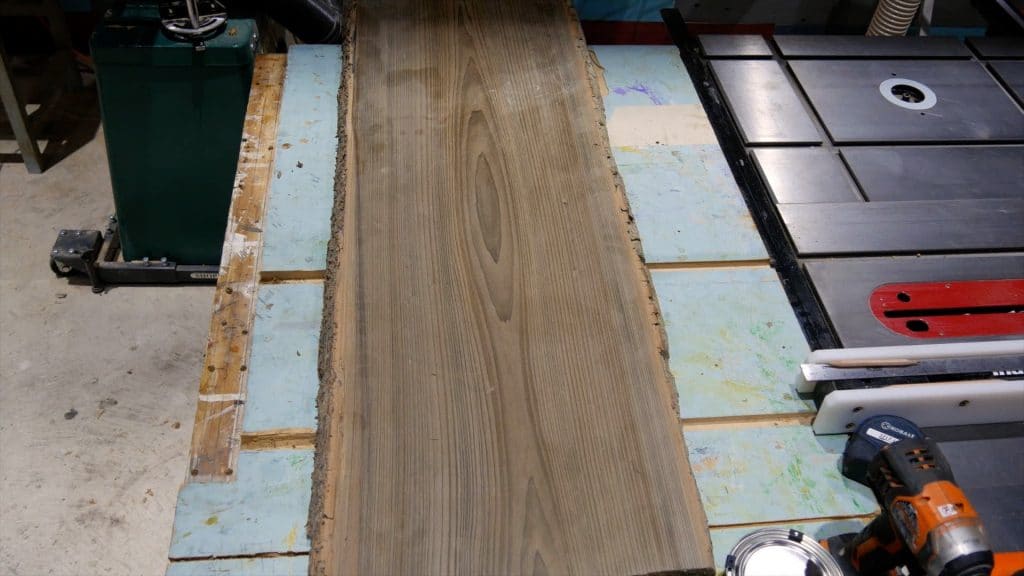
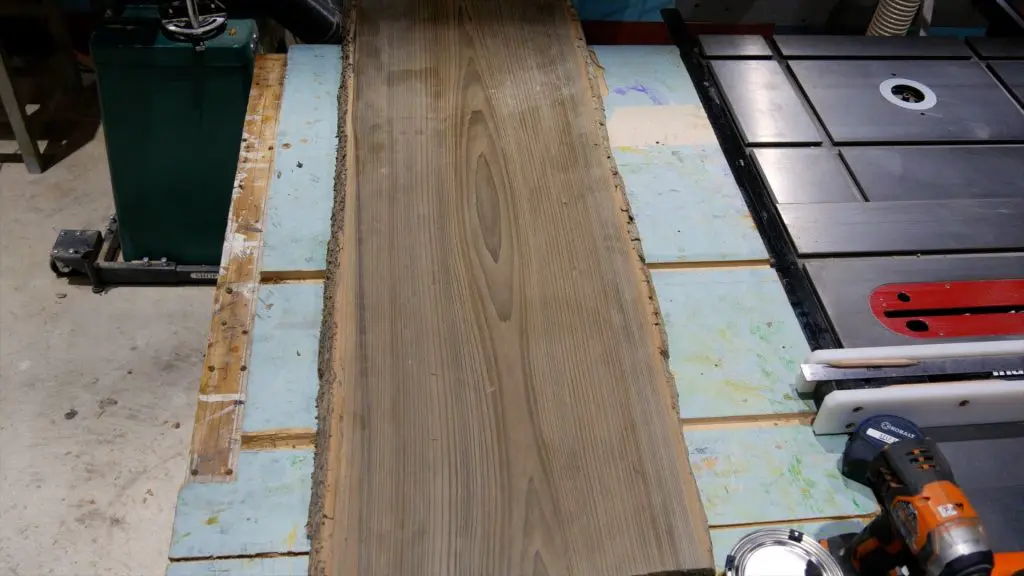
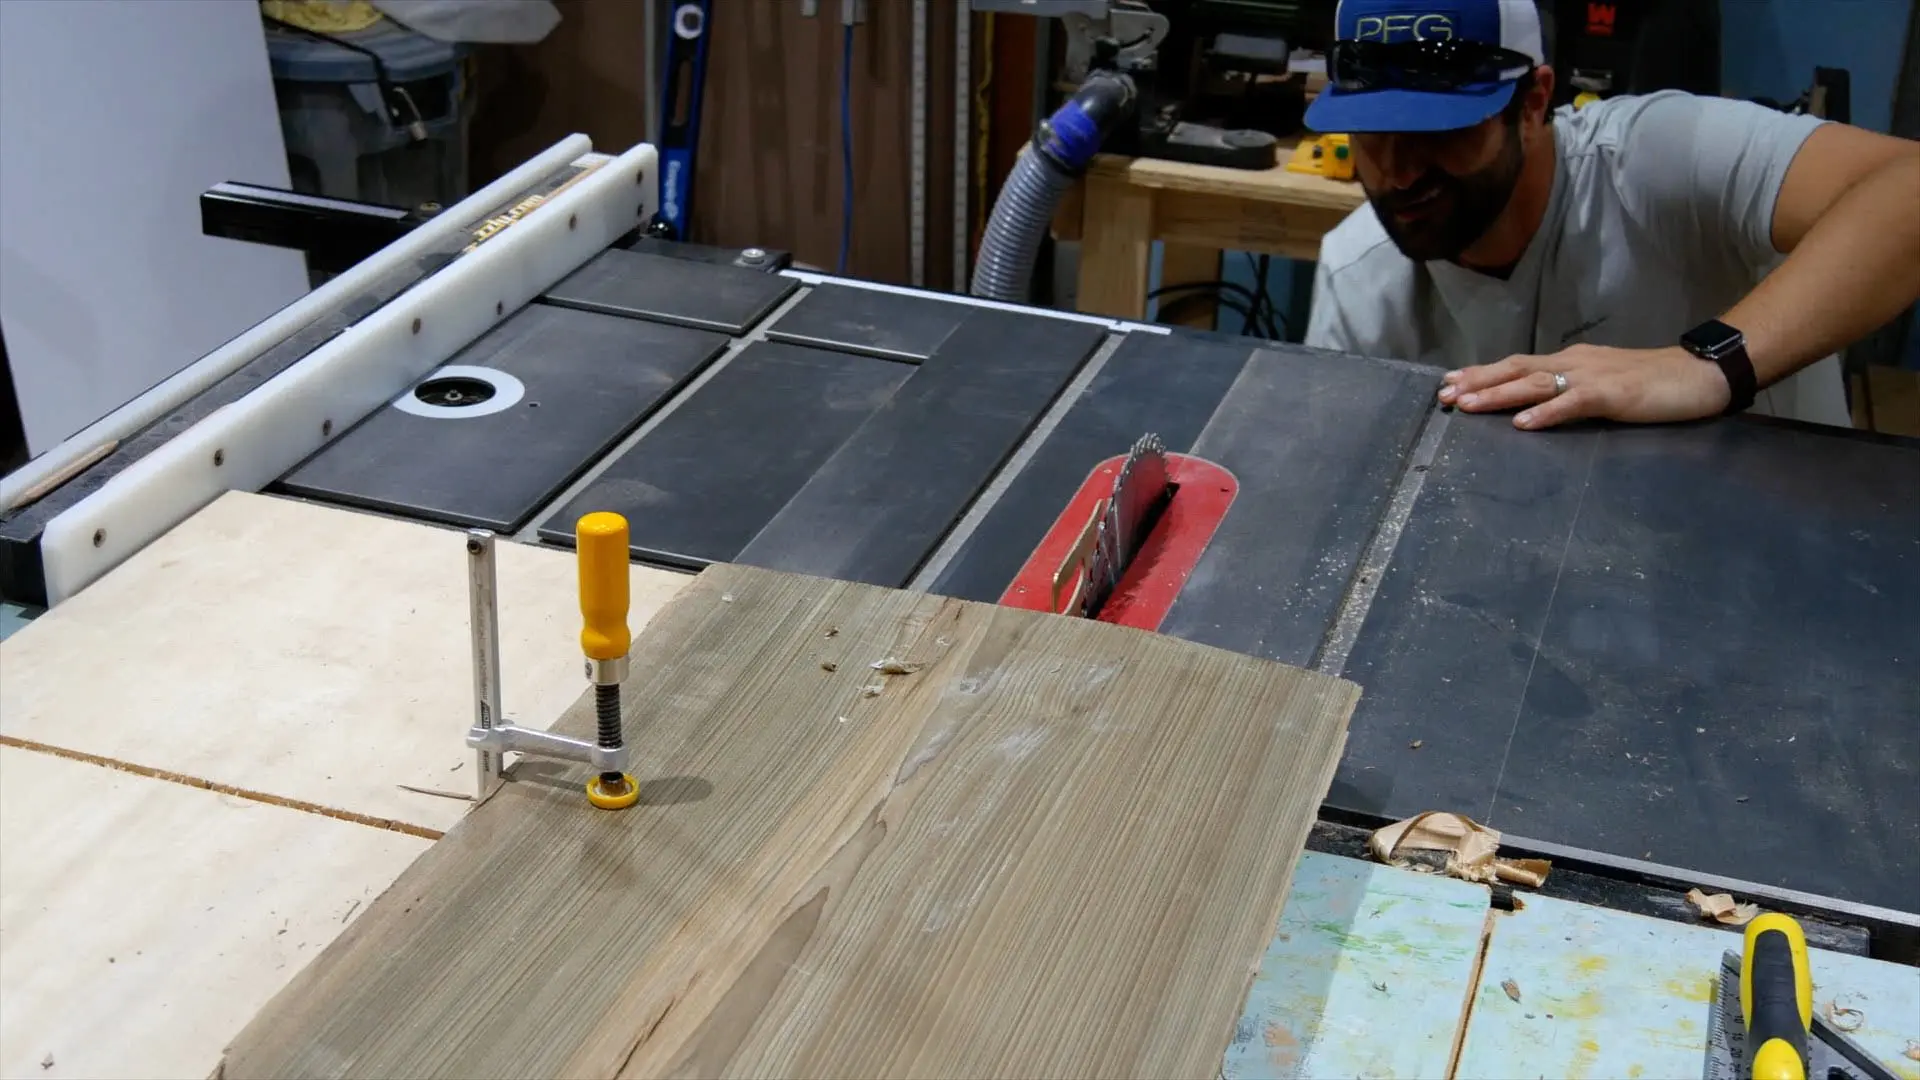
2 – Milling Live Edge Wood Slab
I milled the sinker cypress live edge wood slab to get straight sides, a flat surface, and square ends.
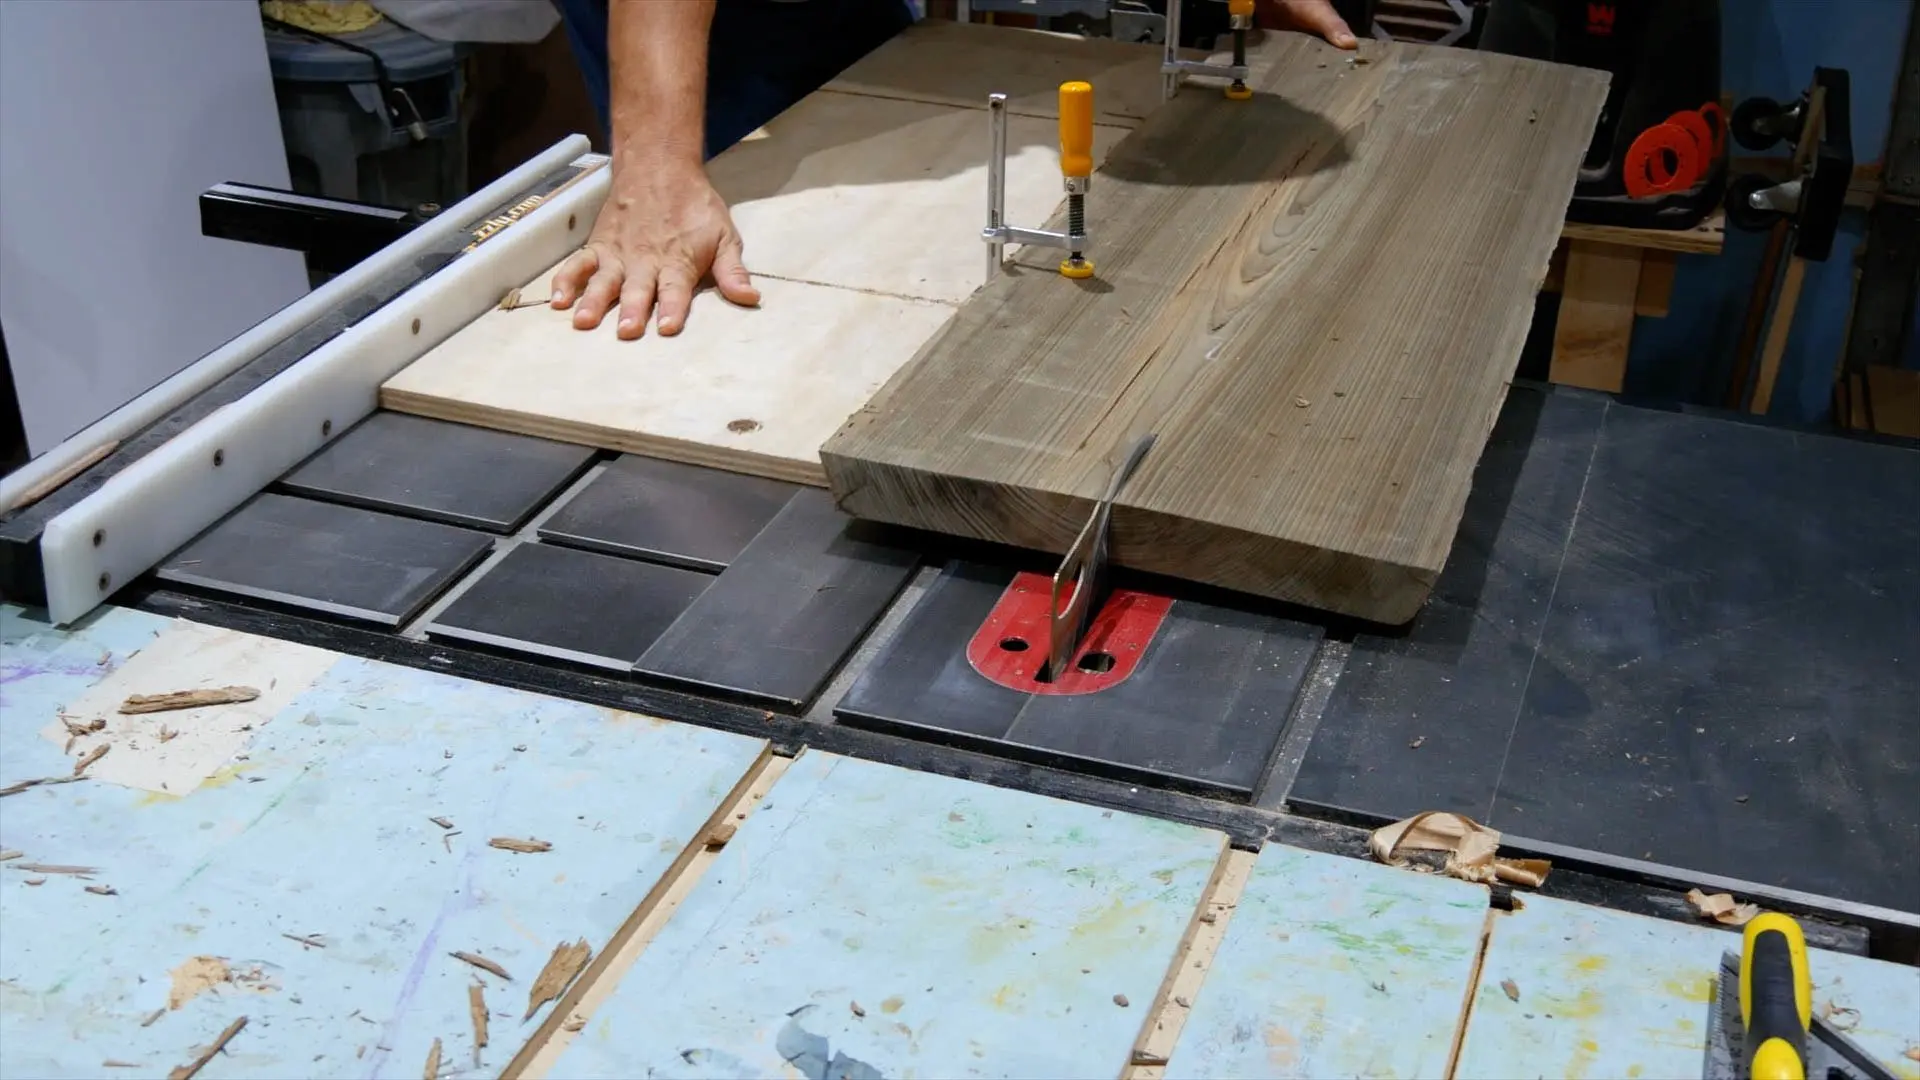
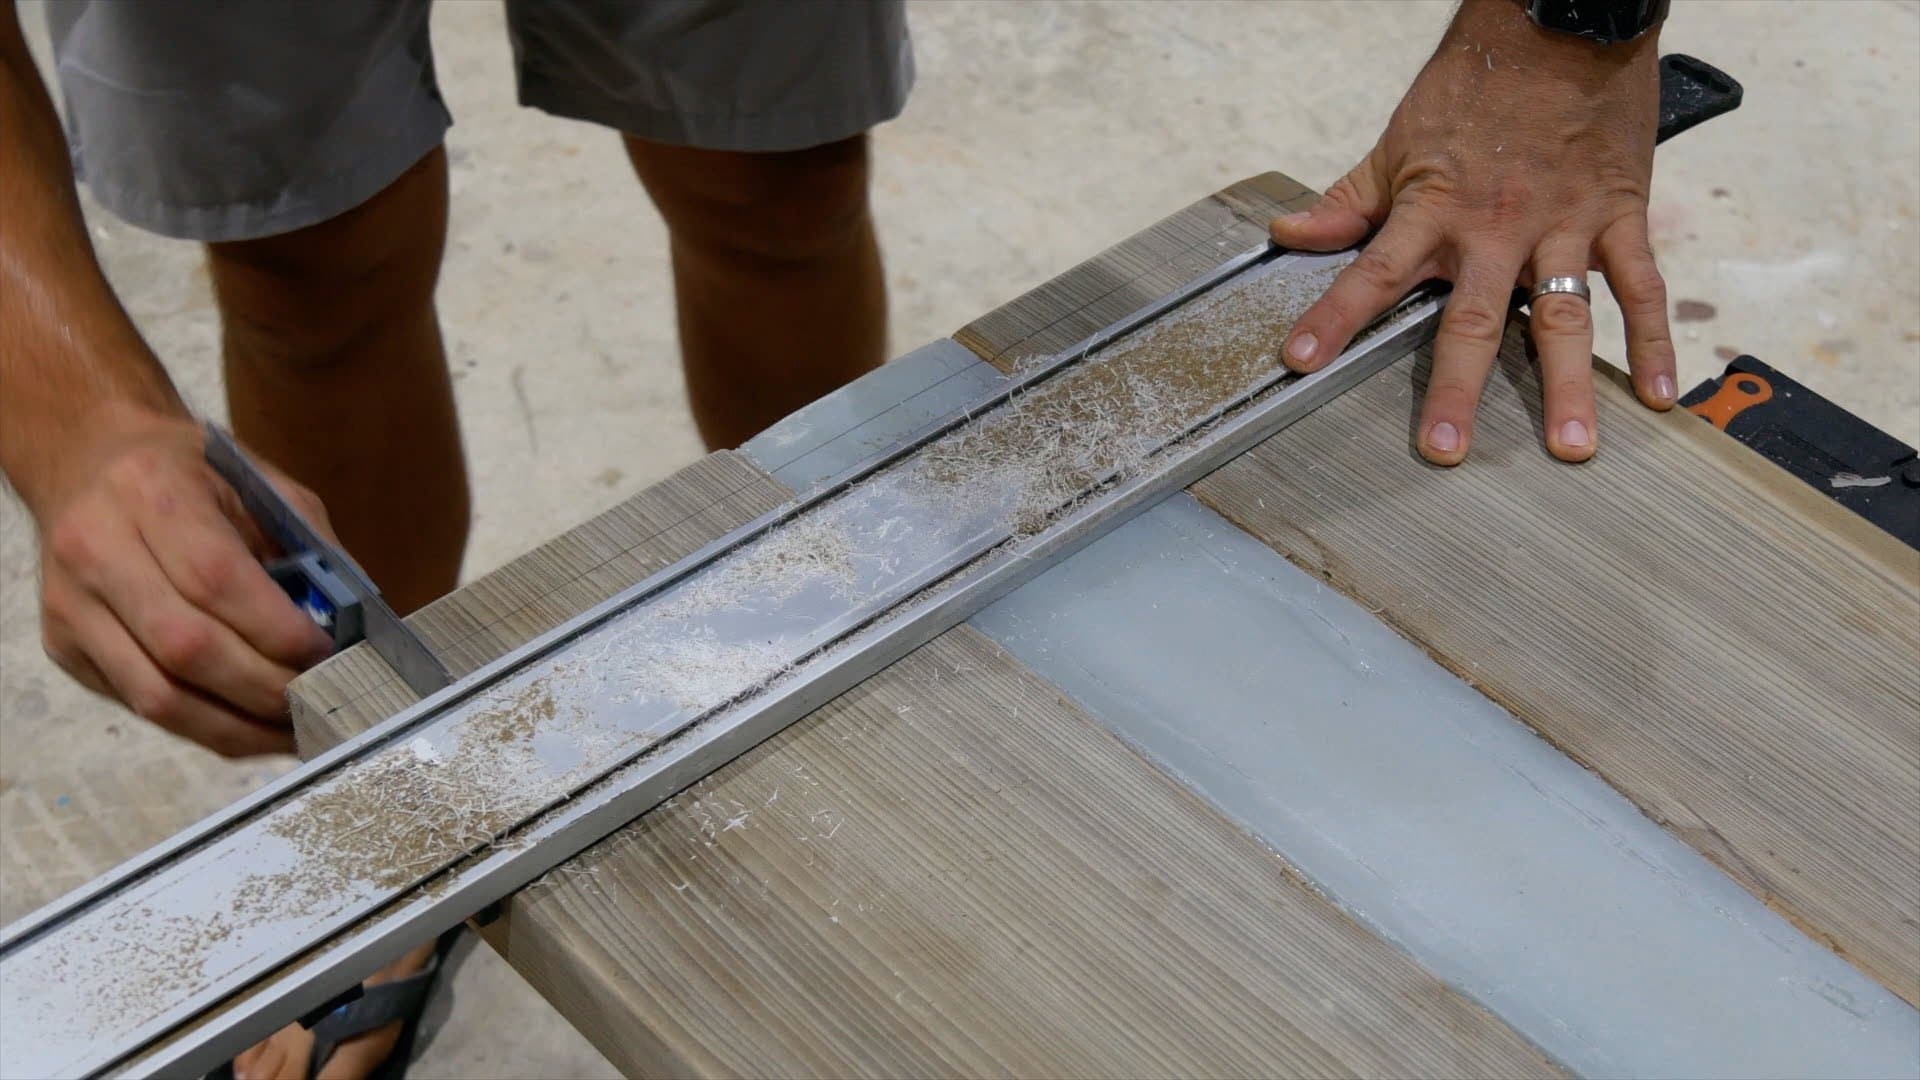
Table Saw Jointing Jig
To start, I ripped the wooden board in half with my table saw jointing jig to get straight edges.
Obviously, the live edge on both sides of the wood slab prevented me from using the table saw fence.
First, I located the middle of the board by reading the grain pattern and measuring the front, middle, and back.
Next, I secured the sinker cypress to the jig using the dovetail clamps, raised my table saw blade, and slowly pushed it through.
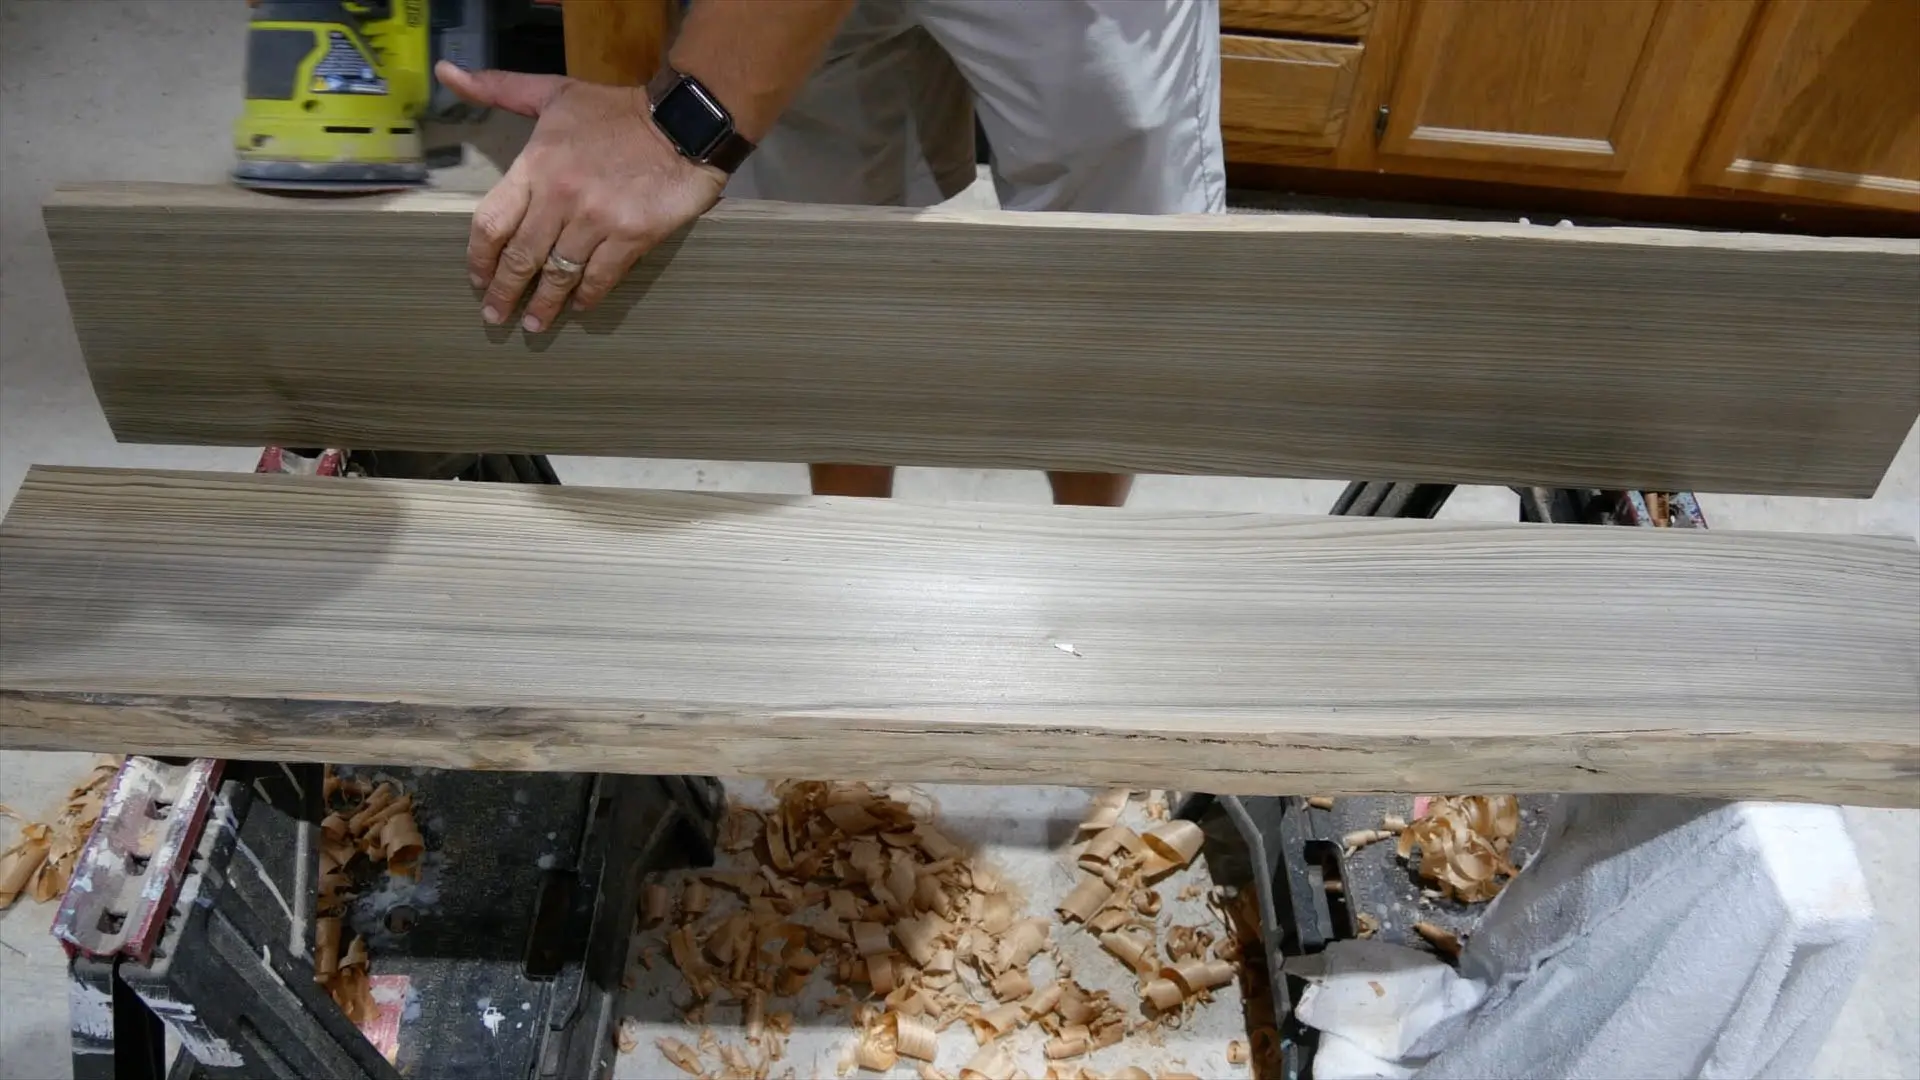
Then, I verified the sides were straight by putting them against each other.
Essentially, this produces two pieces of live edge slab to make this DIY epoxy river table.


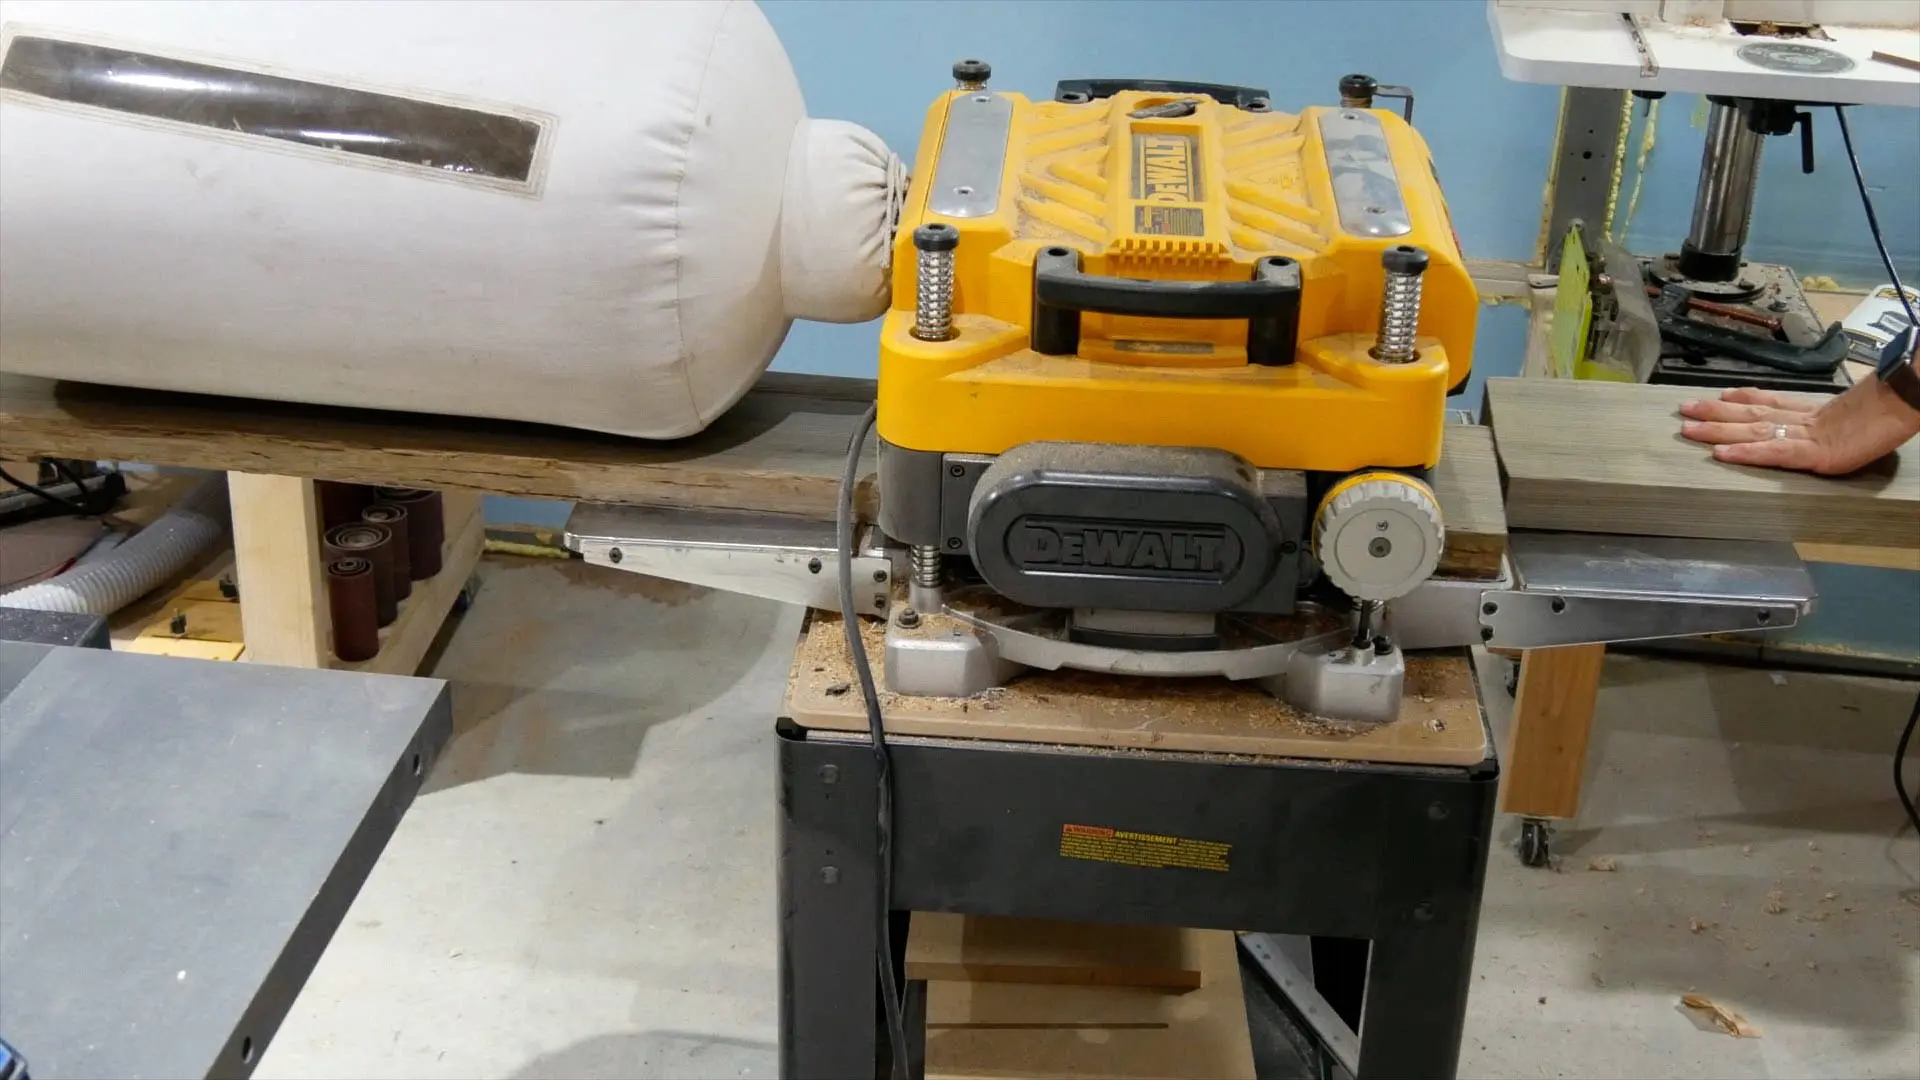
Flat Wood Surface
I ran the sinker cypress through my planer and removed 1/64″ with each pass.
Also, my hardwood dealer ran this wood through his planer.
As a result, I did not need to remove too much material to get a flat surface.
Next, I used my orbital sander with 120 grit sandpaper to sand the entire table and remove the loose debris from each live edge.


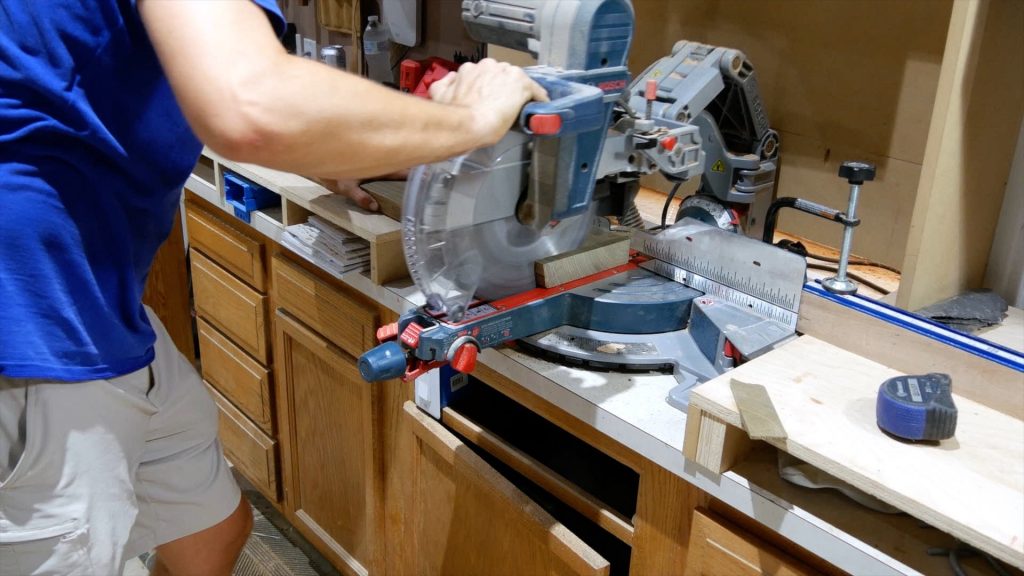
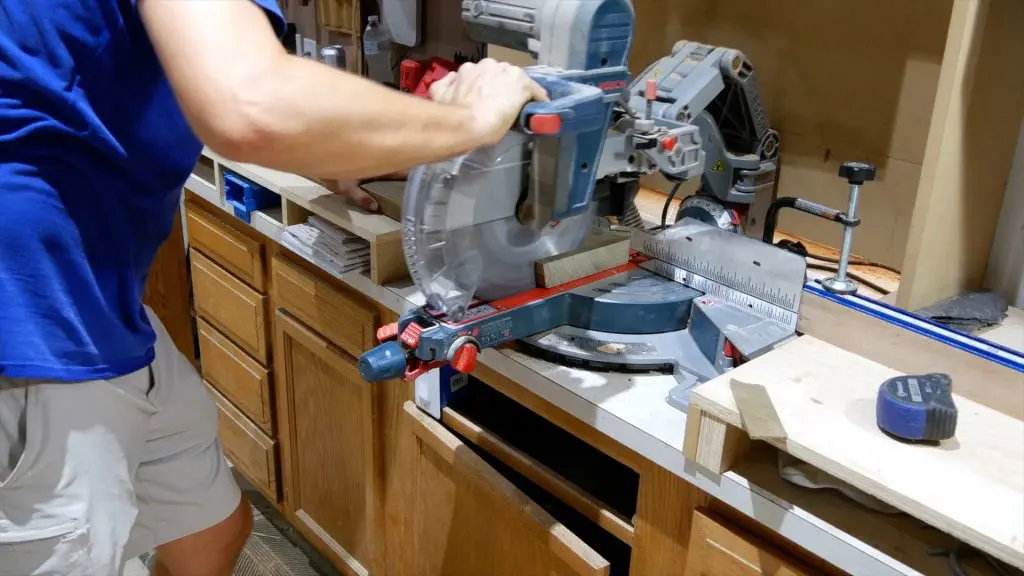
Square Ends
I secured the straight side of each piece of sinker cypress to my miter saw fence and cut each end to the exact size (40 inches).
3 – Melamine Epoxy Resin Mold
I had a few scraps of melamine left from previous projects.
So, I used this to create the melamine resin mold.
The melamine surface serves as a mold release agent.
First, I used a piece of melamine that was long enough for the sinker cypress.
Next, I layed the live edge wood and traced it with a pencil.
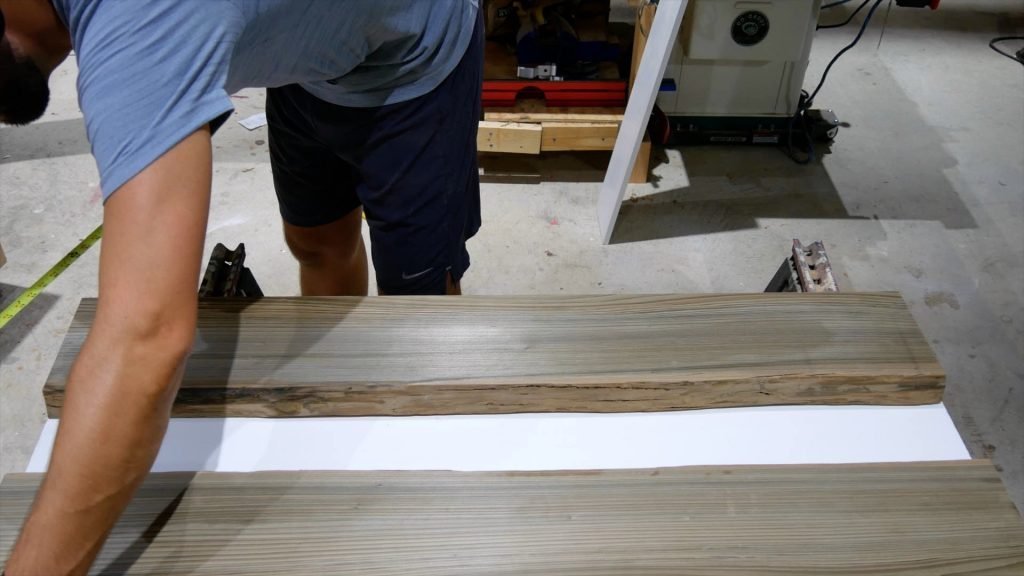

Then, I removed the live edge sinker cypress from the melamine.
Apply vaseline or furniture wax on resin mold to serve as a mold release agent for epoxy.


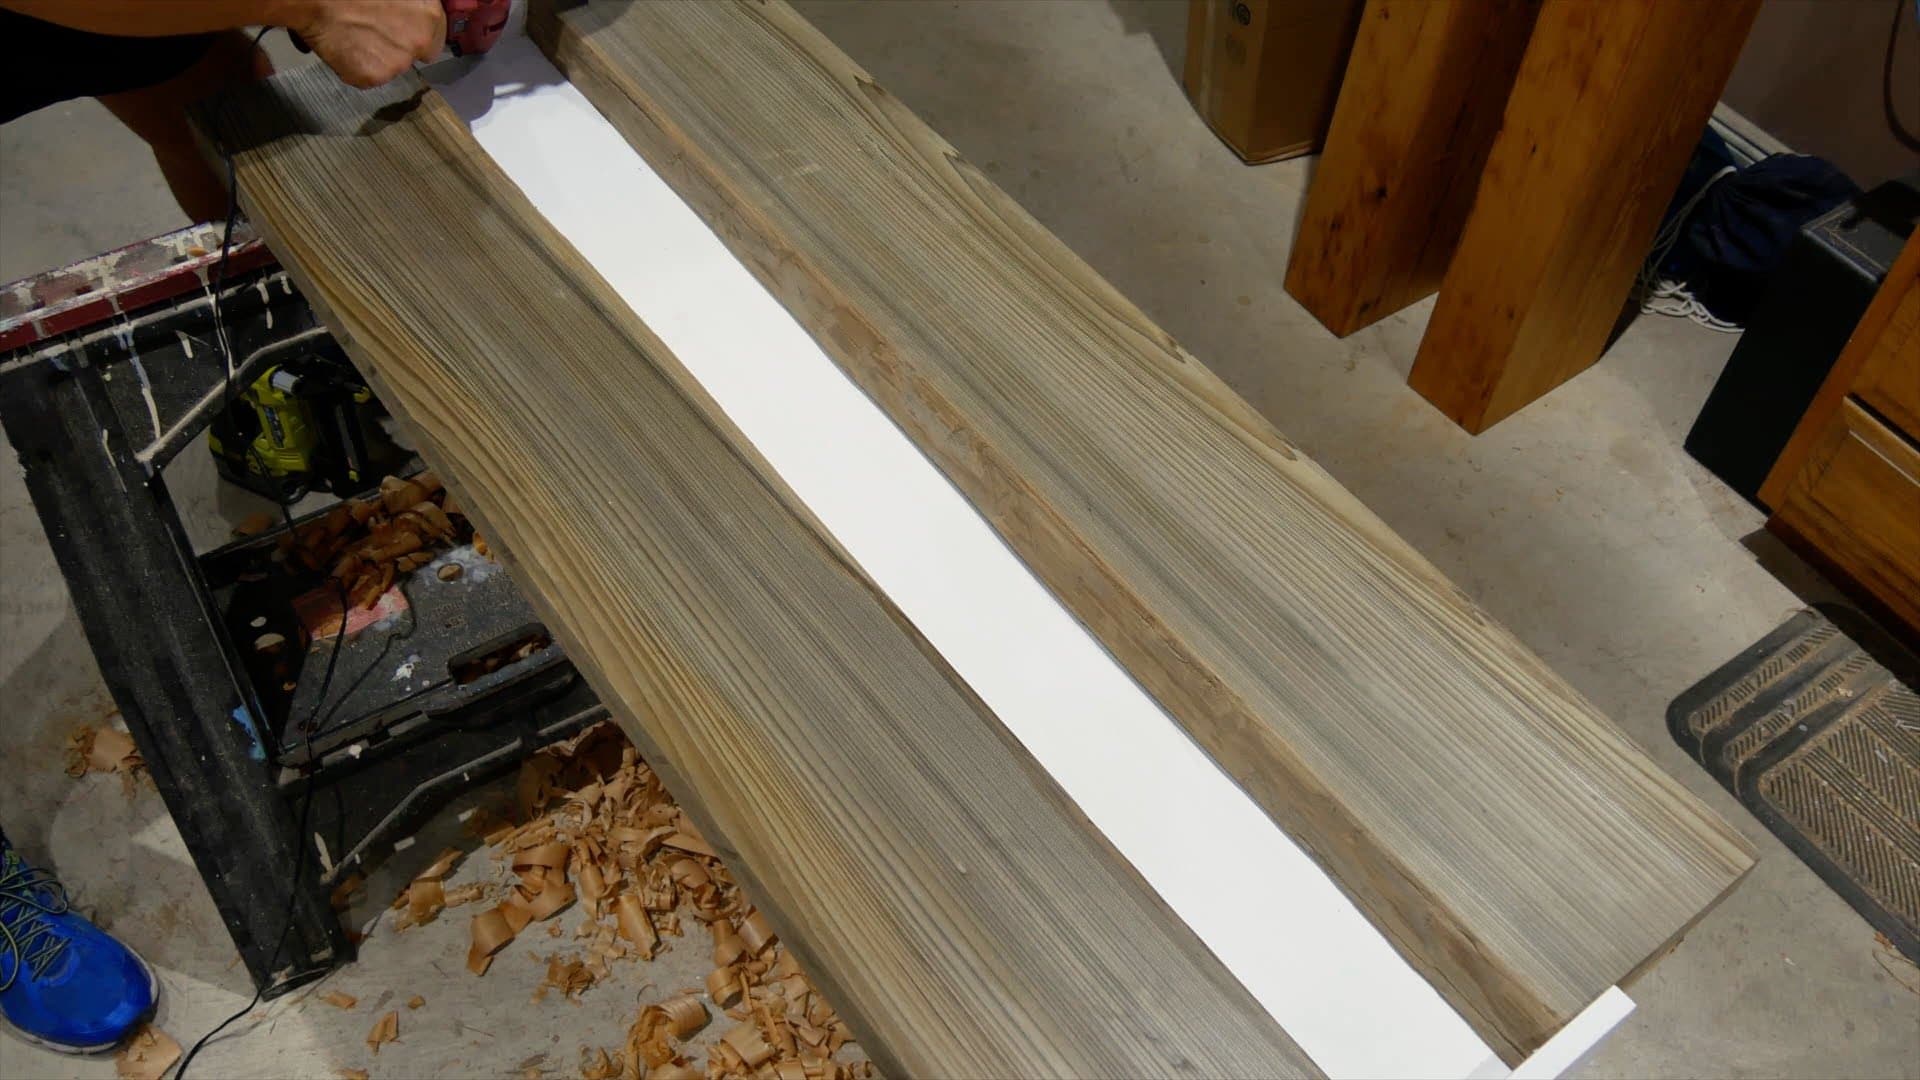
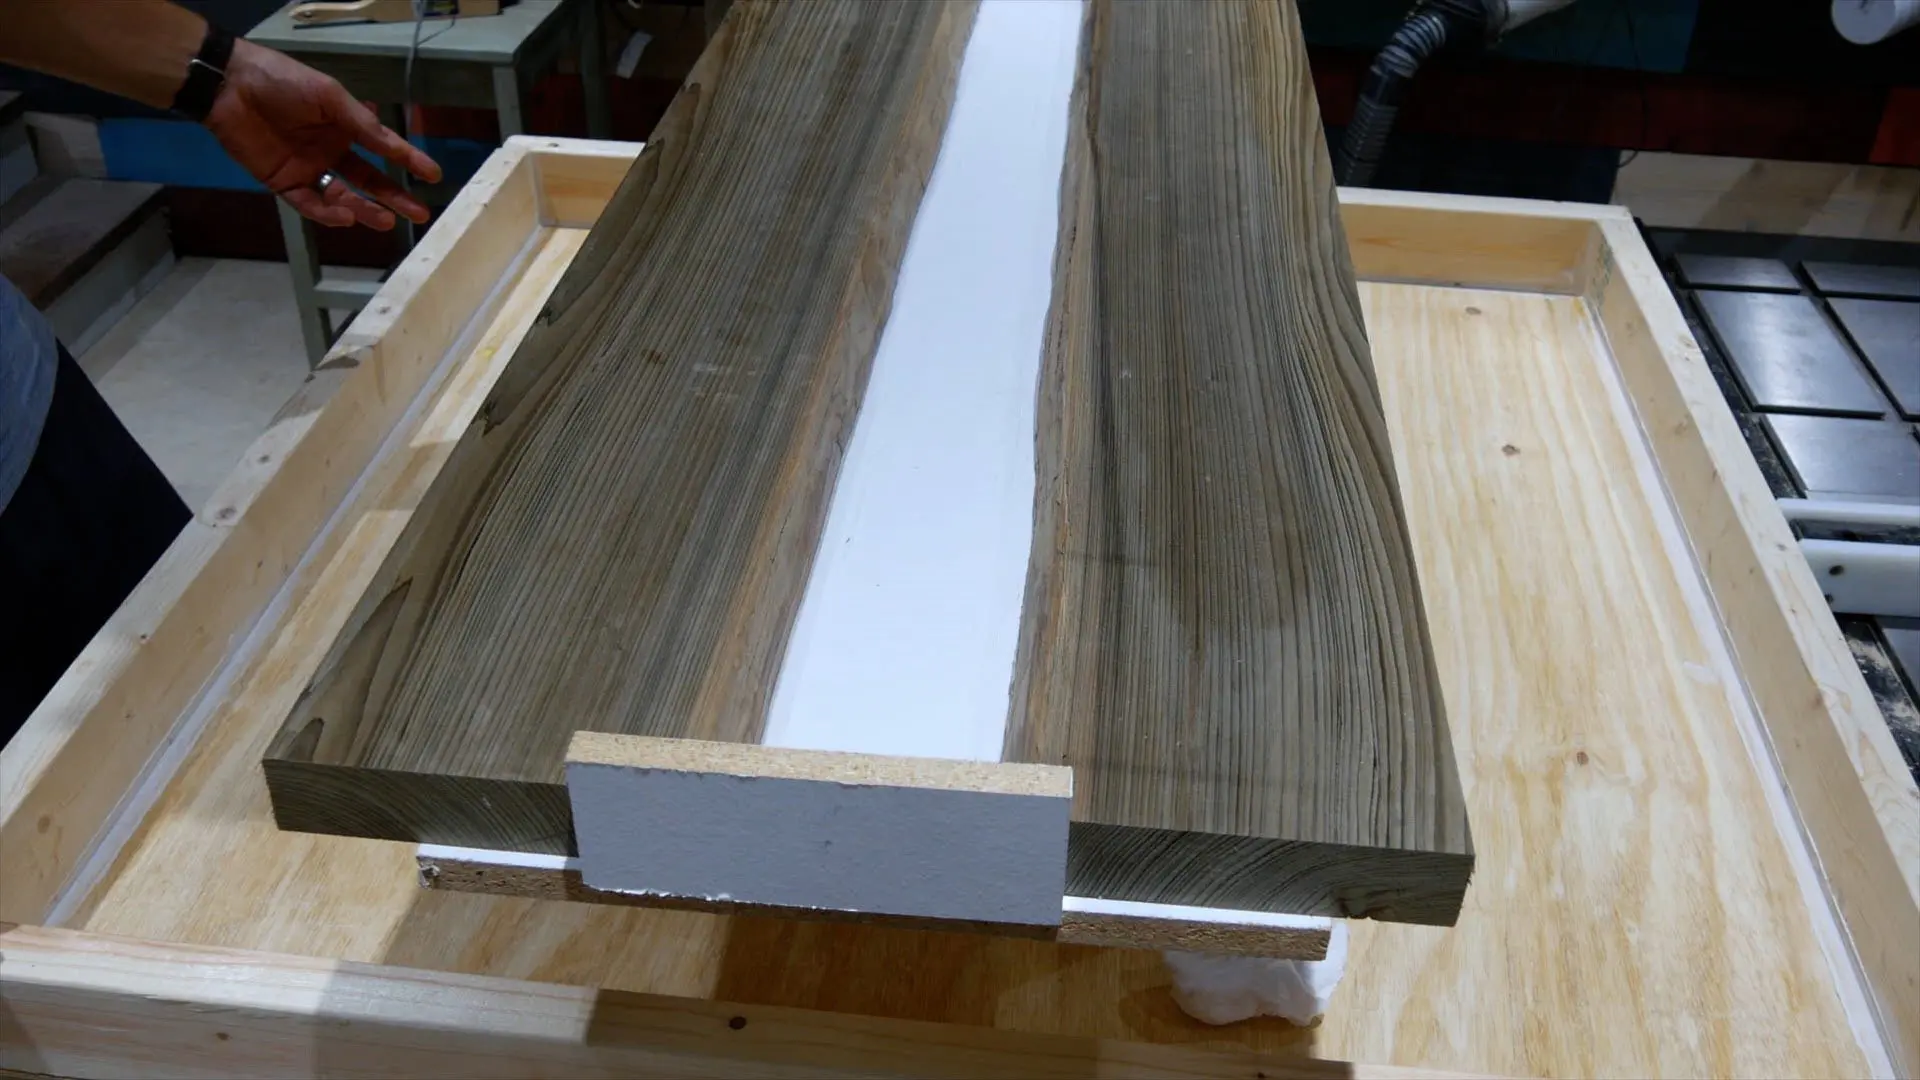
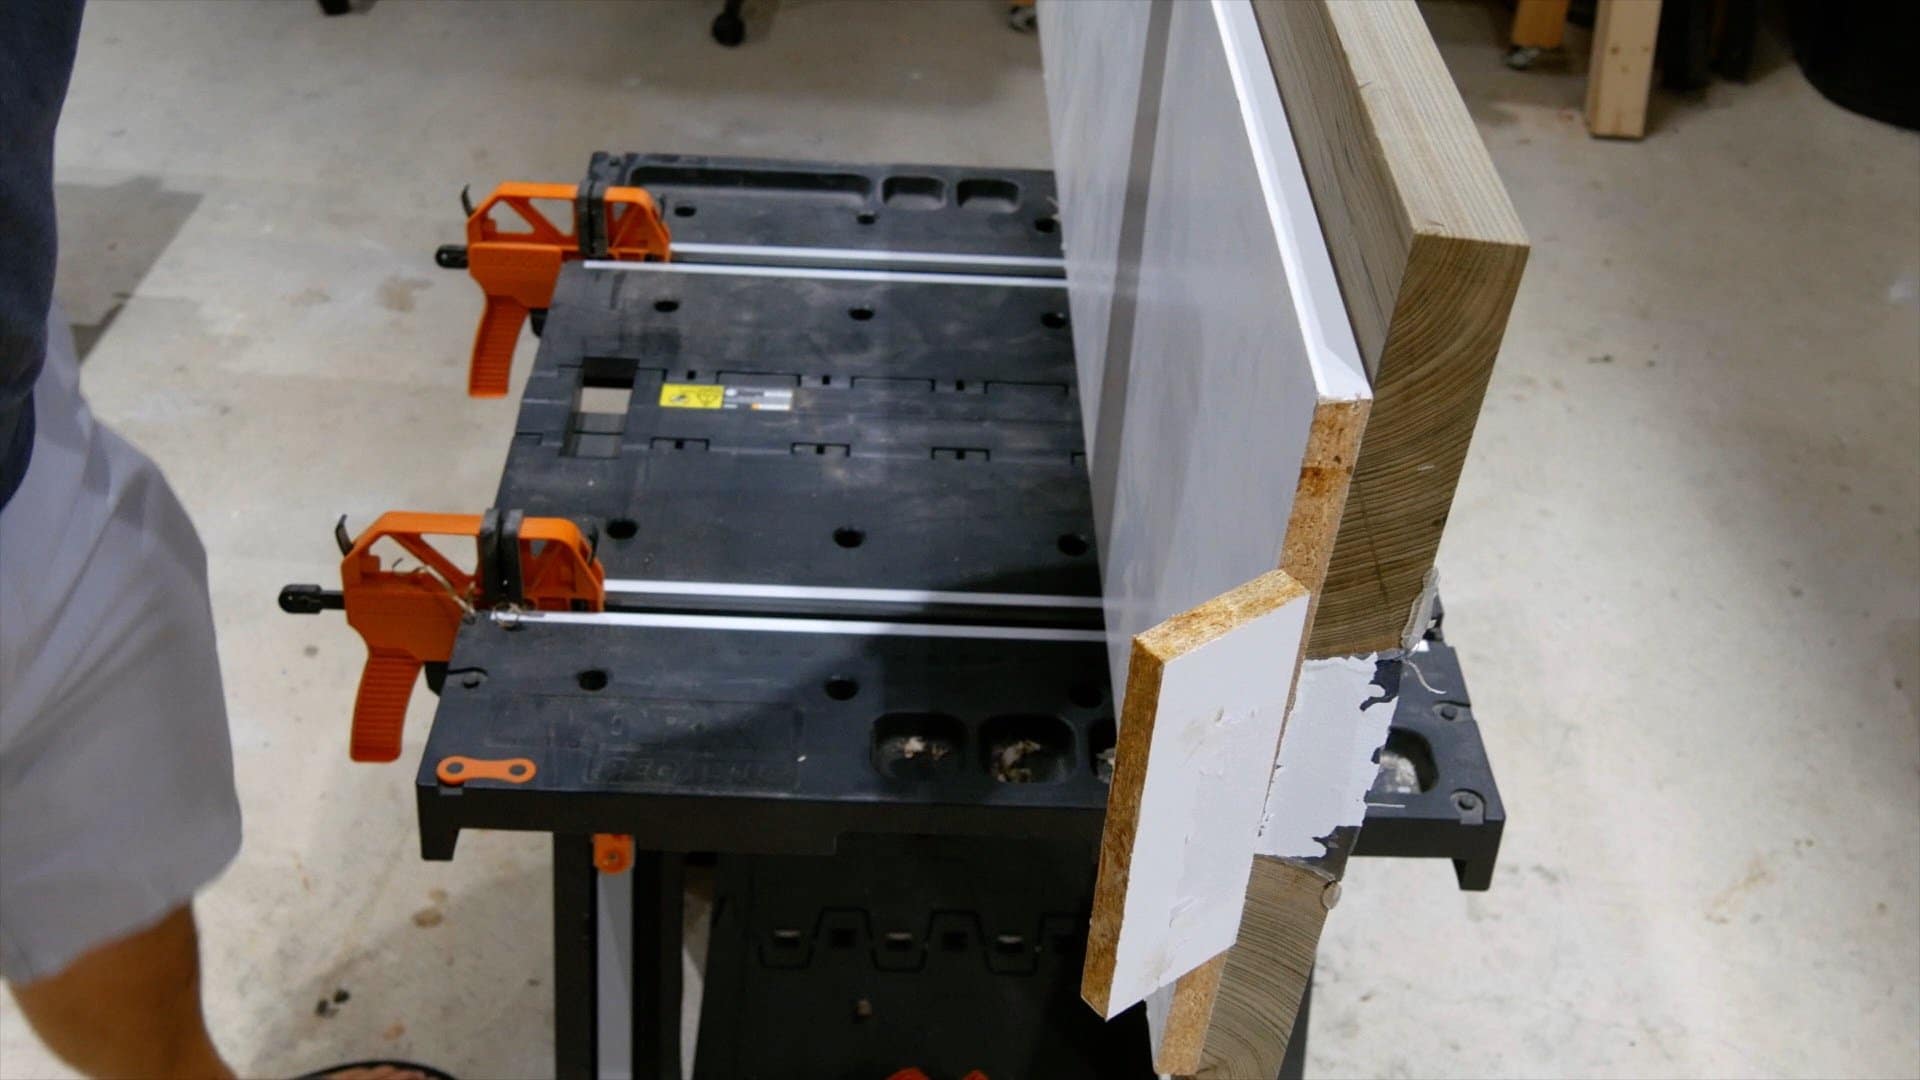
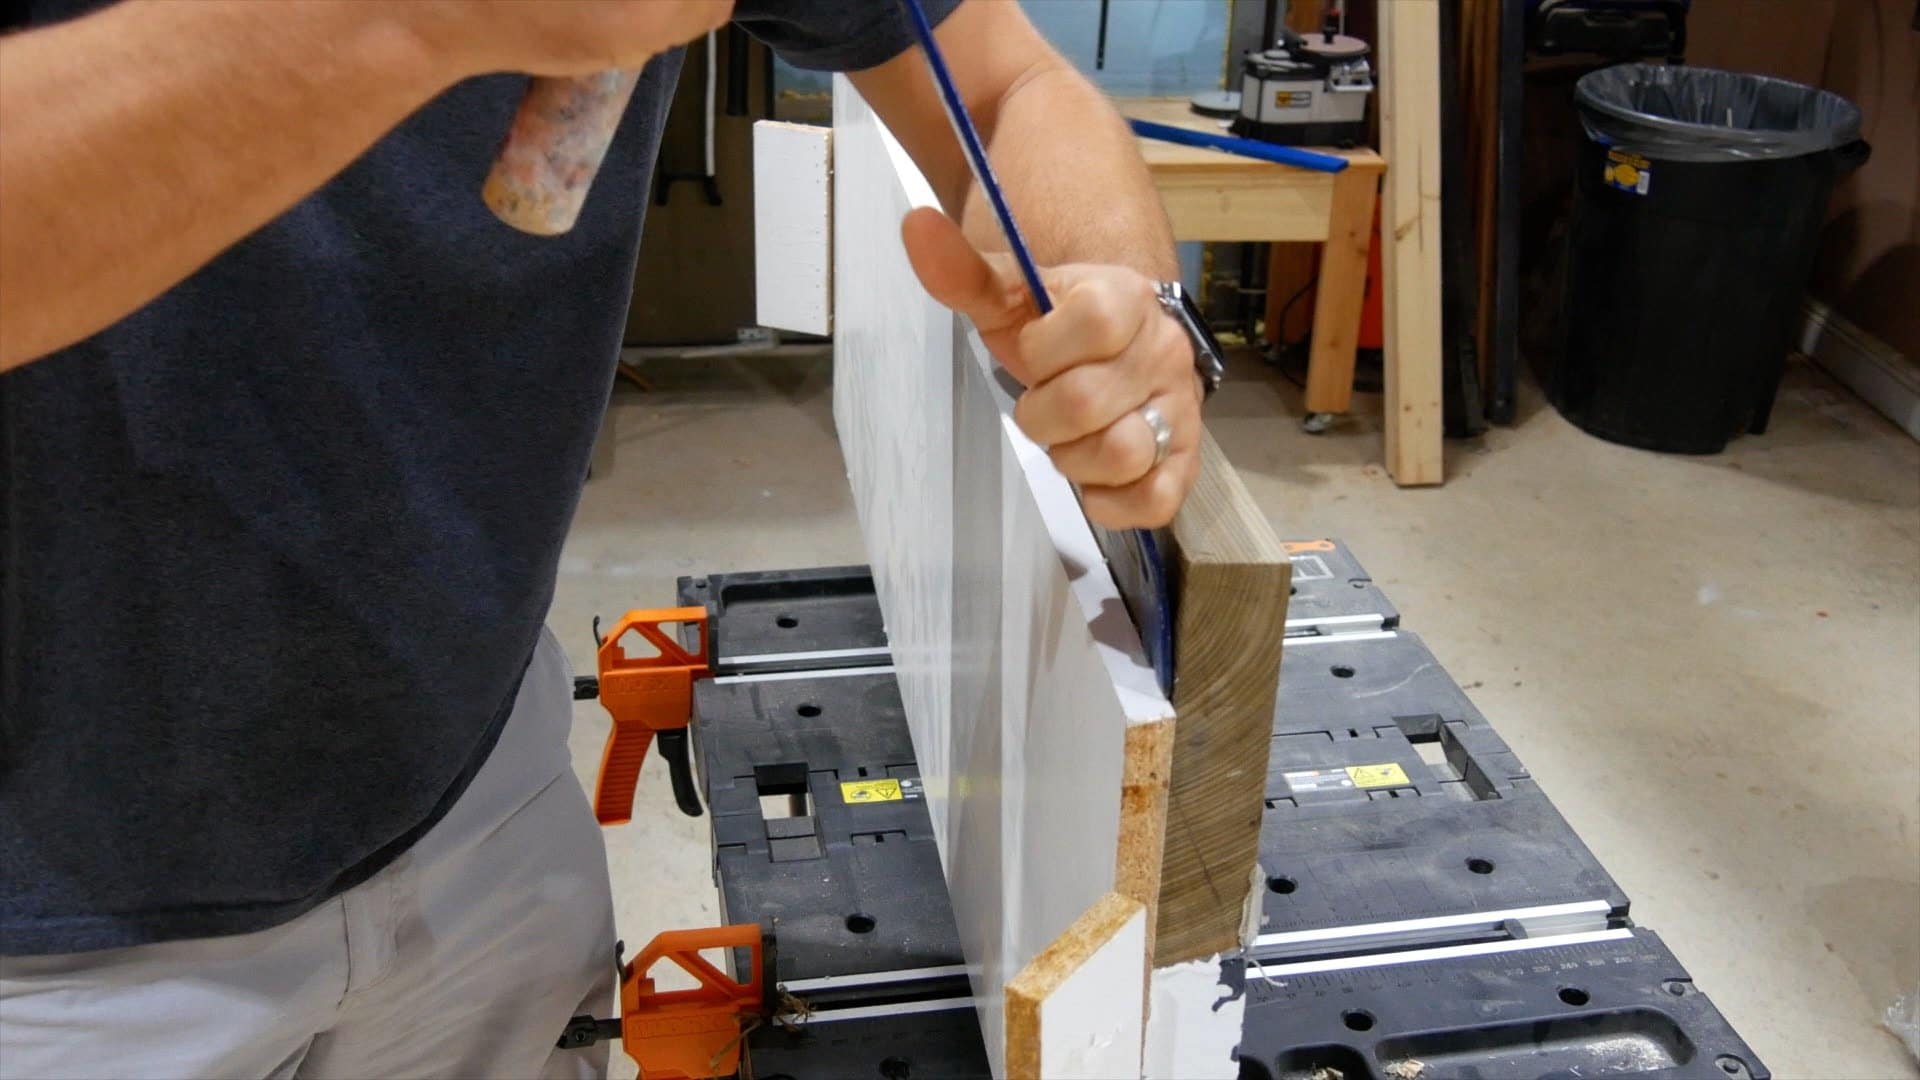
To seal the resin mold, I placed the 2 pieces of sinker cypress back on the melamine.
Then, I lined them up with the pencil marks to ensure each end was the same length.
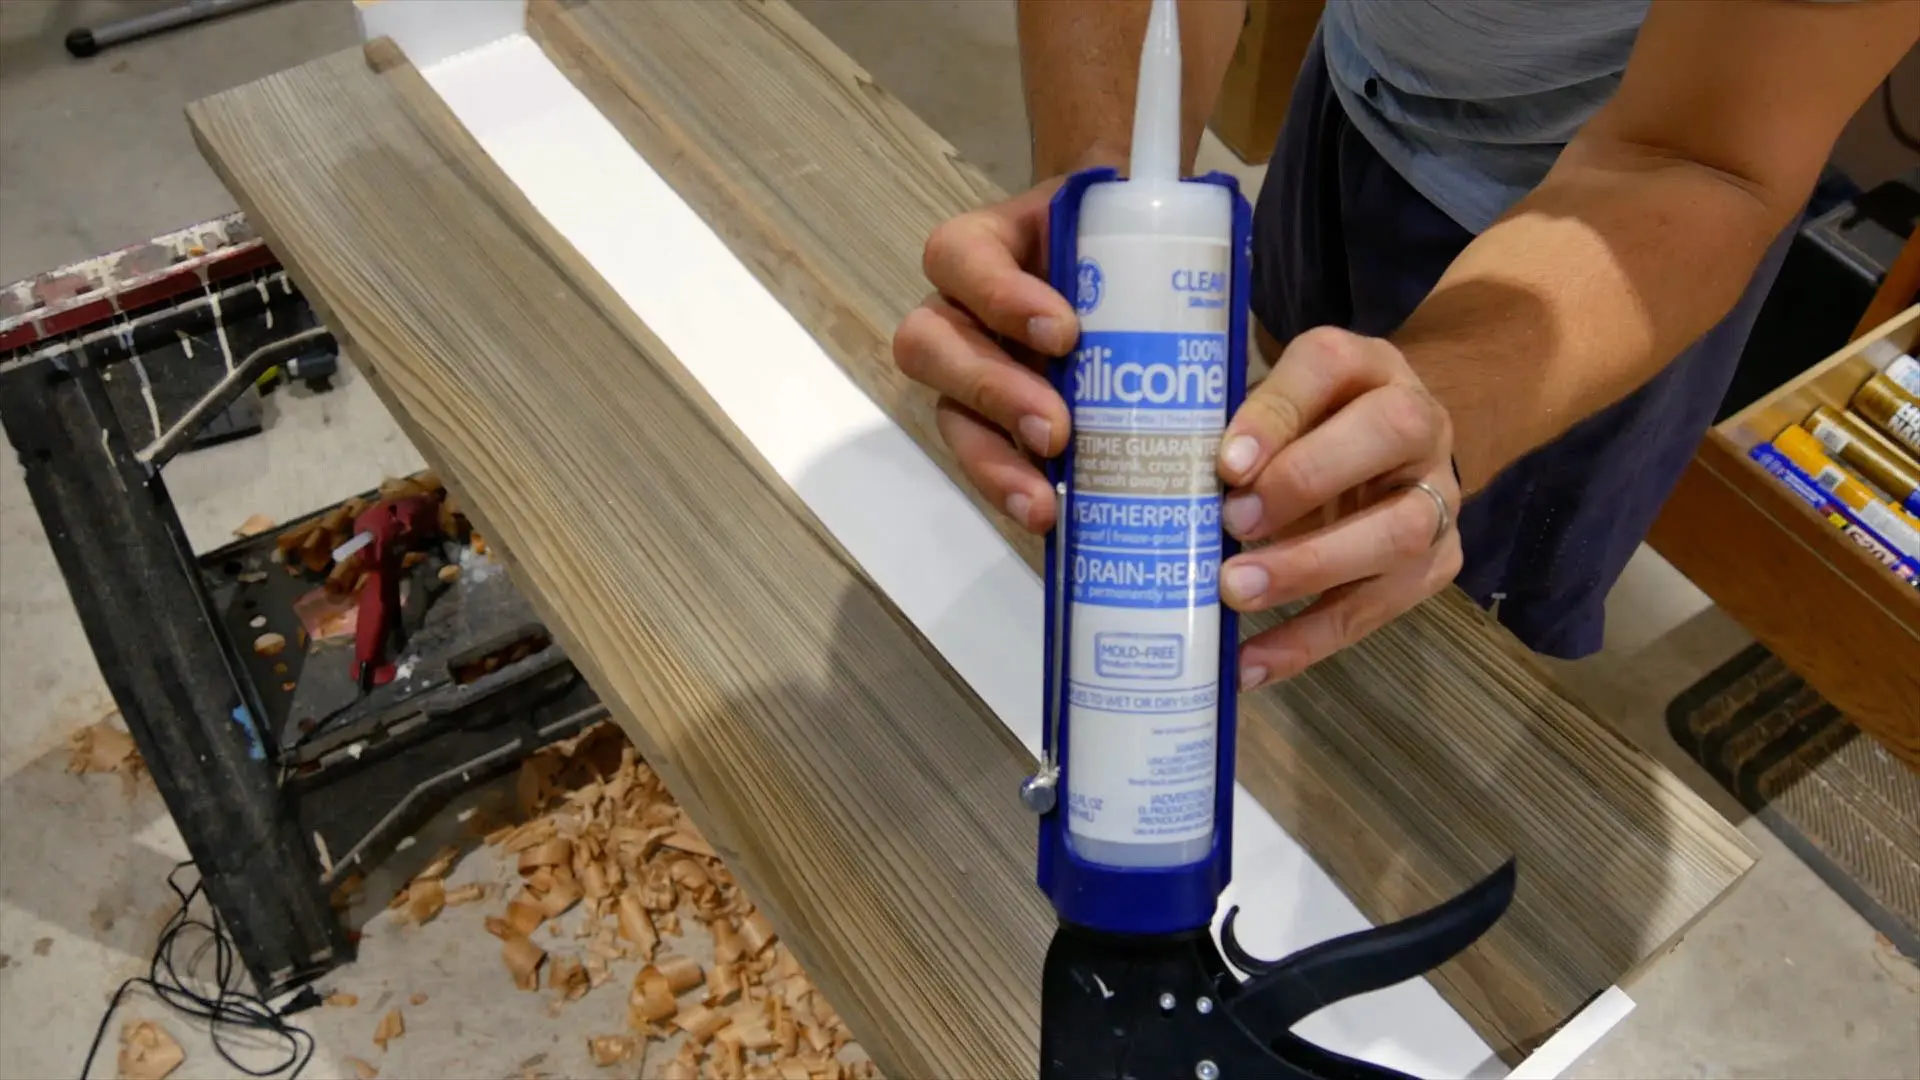
Next, I used hot glue to seal each end of the resin table.
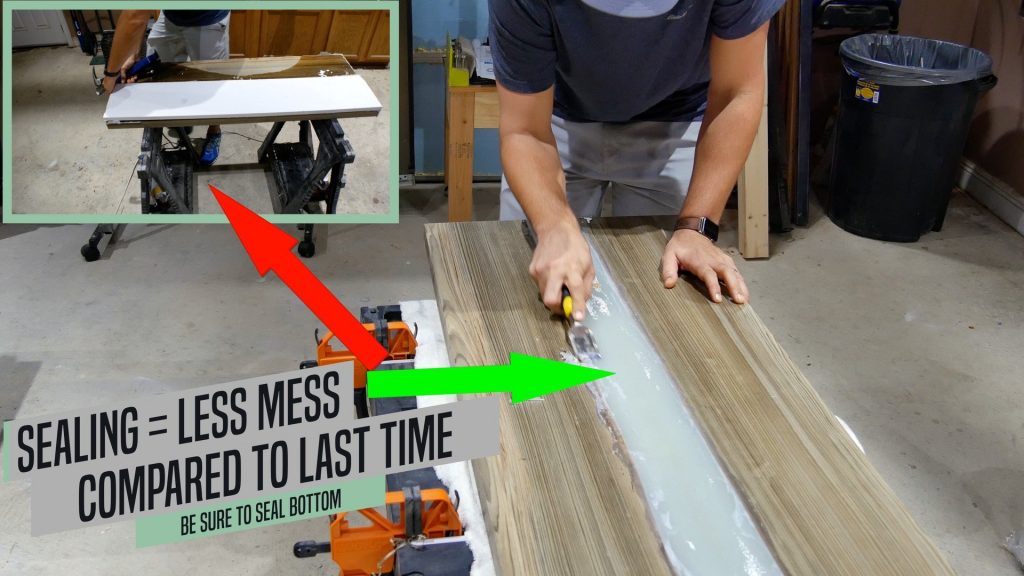
I used silicone to seal the bottom of each live edge (length wise) to prevent the epoxy resin from seeping through.


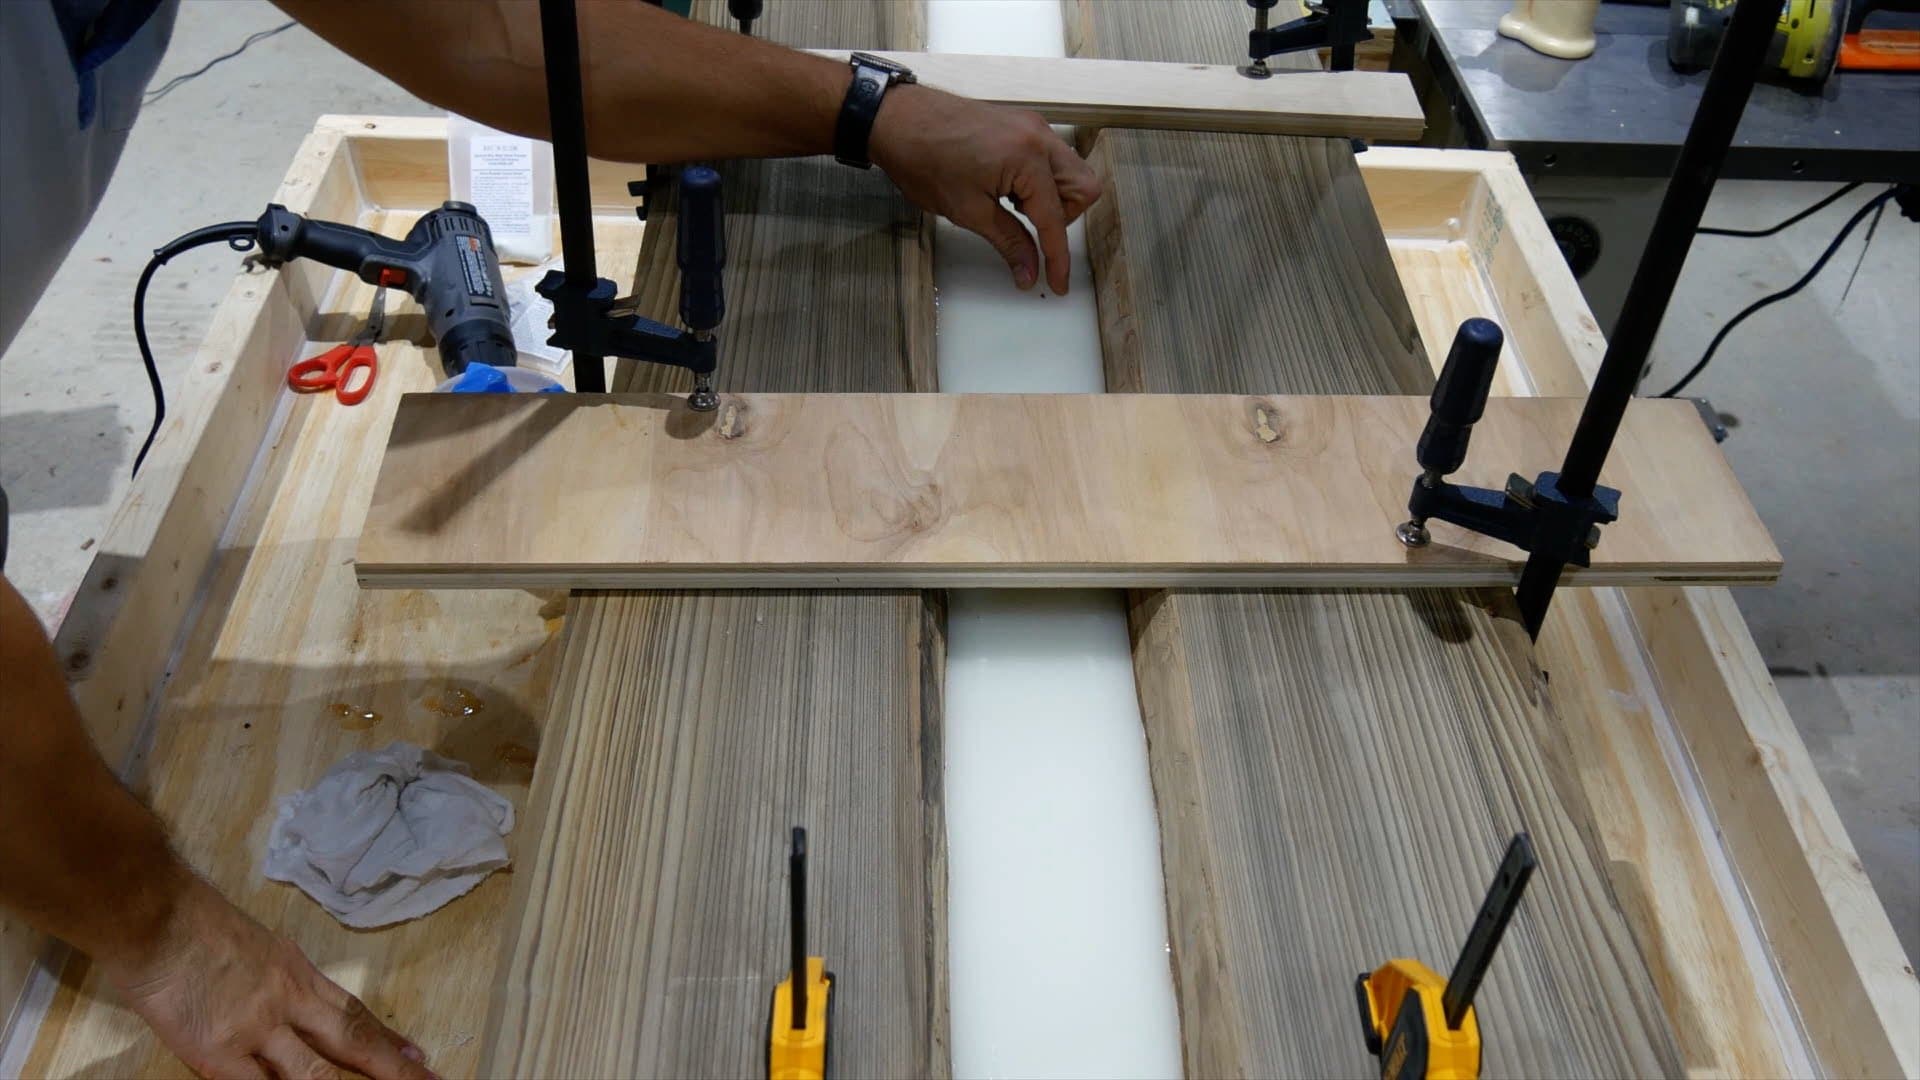
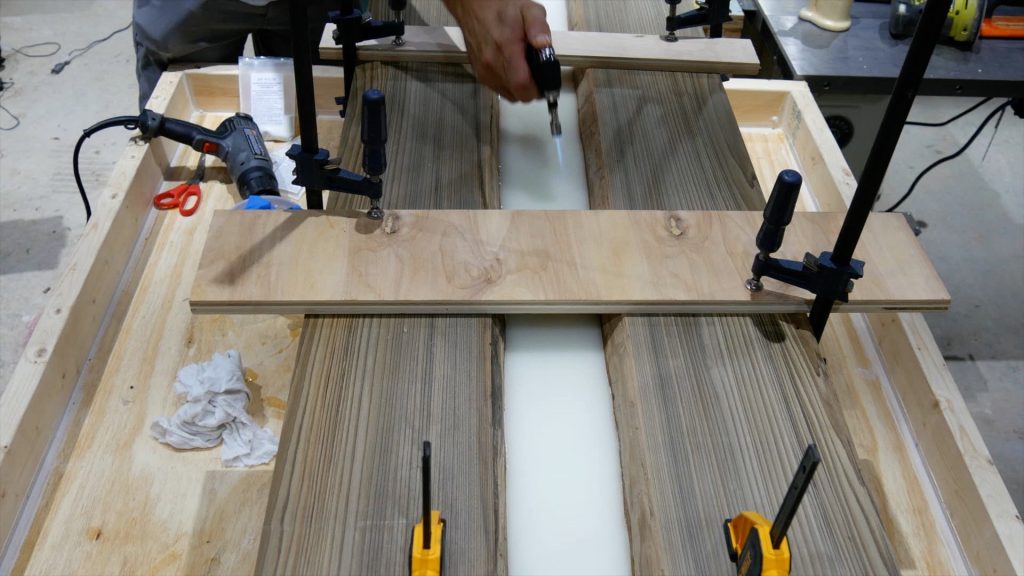
4 – Prepare for Epoxy Leaks
Sometimes, epoxy leaks despite my best effort to prevent it from doing so.
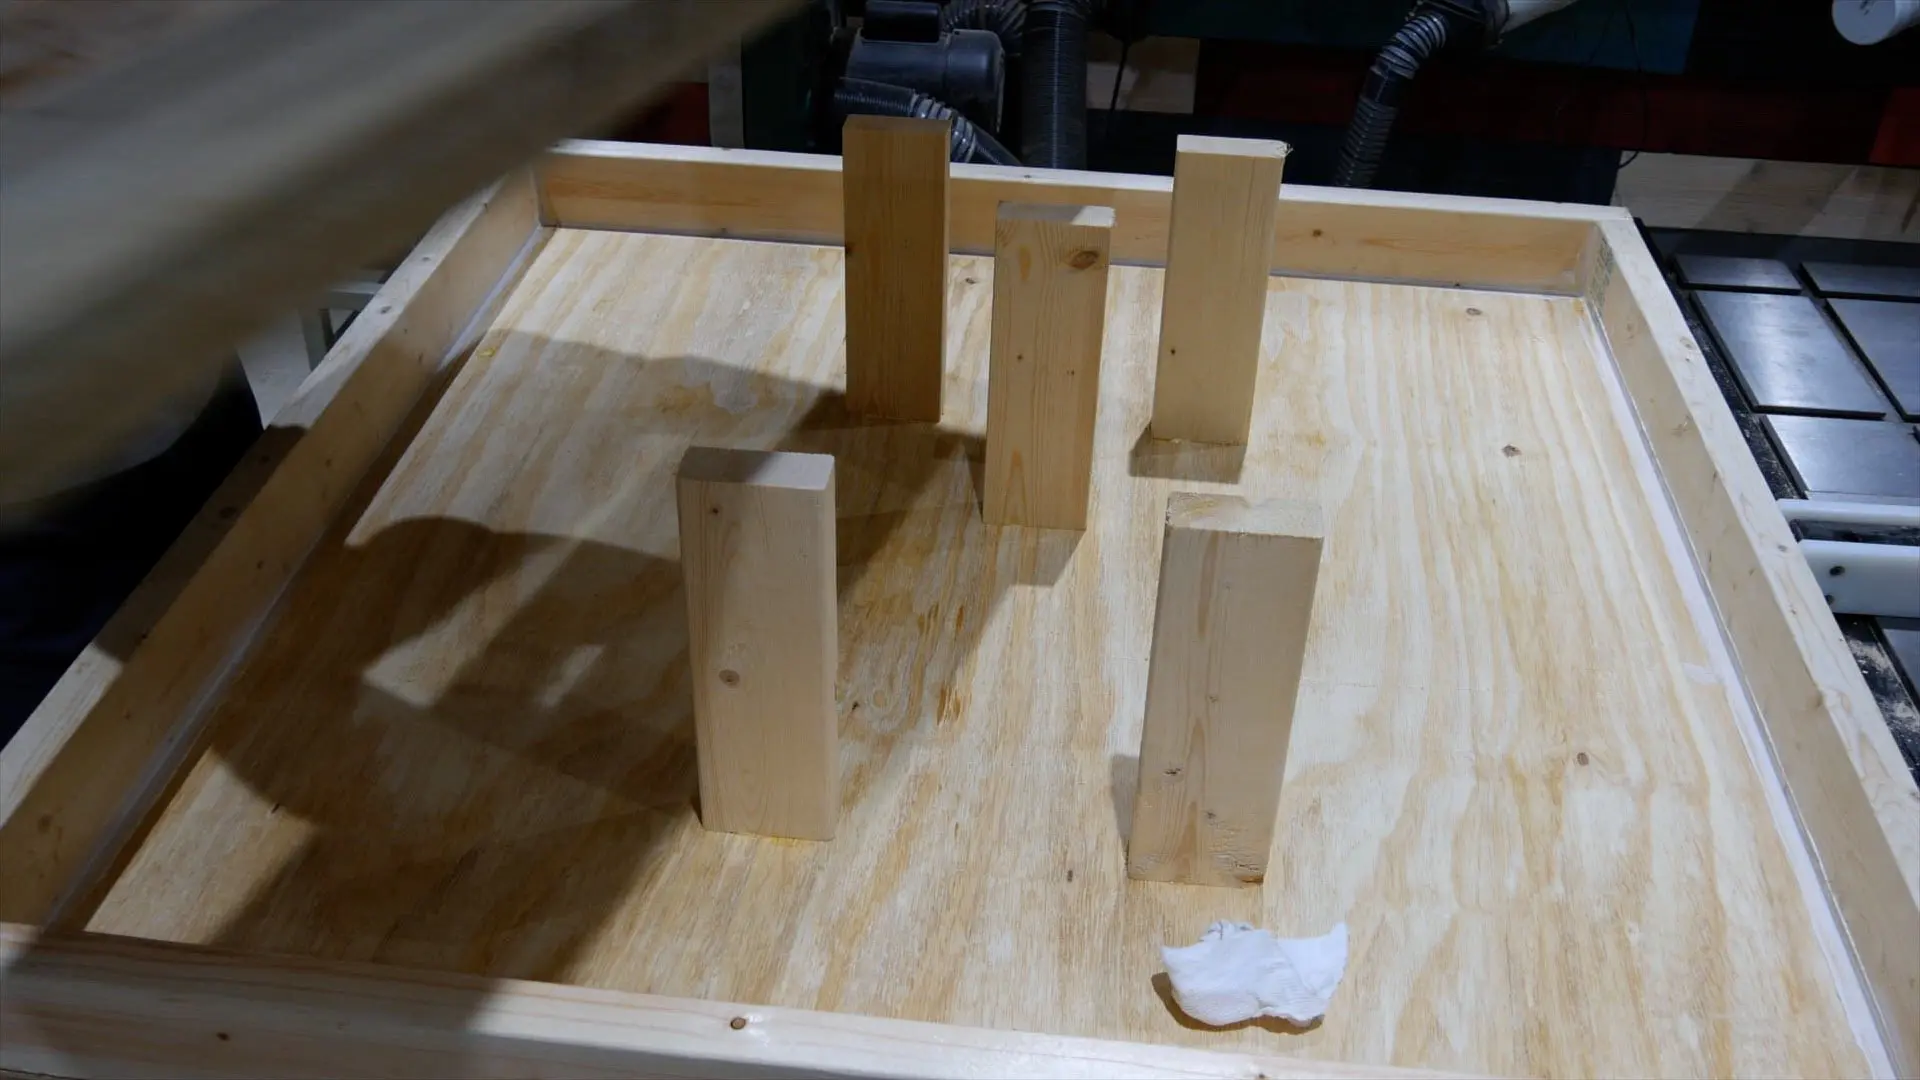
For this project, I decided to make the underside of my table saw outfeed table as a tub to catch leaking epoxy resin.
Obviously, it’s not pretty but it works.
The underside of the table simply has 5 12″ 2×4 pieces which protrude vertically to hold pieces of various size
Ultimately, this prevents epoxy from leaking on my floor and work area.


5 – Glow in the Dark Powder
I wanted this epoxy resin river table look like the other table for matching/decorative purposes, but I also wanted it to be unique.
So, I decided to add glow powder, or photoluminescence powder, to the base epoxy resin layers.
As a result, the river bottom will glow from the river bottom through the fire glass.
The combination of wood, epoxy glow powder, and fire glass makes for a beautiful epoxy table.
I chose a blue glow powder to make this a blue epoxy river table.
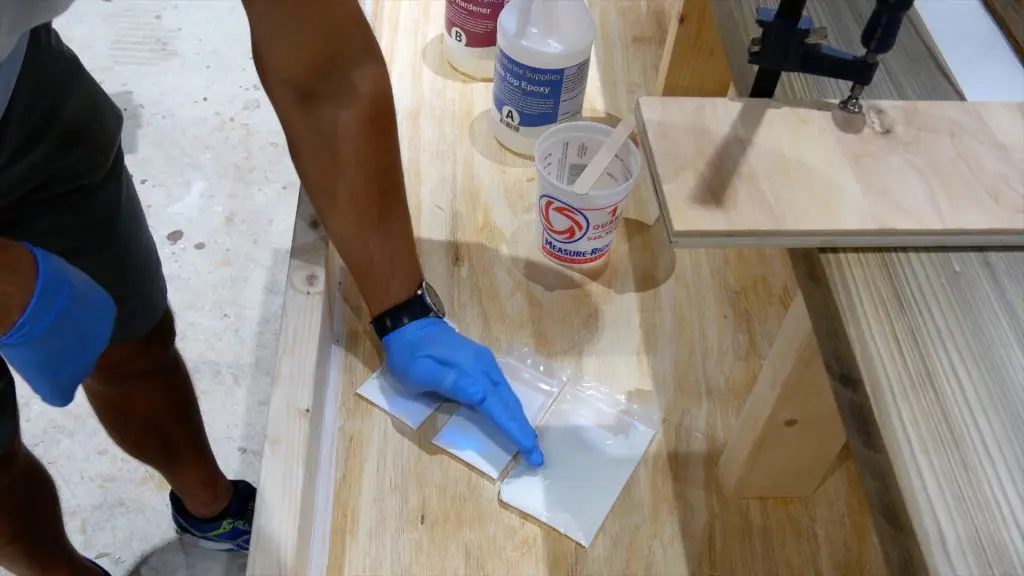
To avoid a potential disaster, I tested the glow powder to verify the color before mixing it with epoxy resin.
The special thing about glow powder is natural light charges it.
I purchased the glow powder from Art N Glow.
Art n Glow included a black light with my purchase.
So, I used this to verify the color of the powder.
The glow powder is charged by UV light, sunlight, or black light.

6 – Choose Epoxy Resin for River Tables
The best epoxy resin for river tables is deep pour epoxy such as Liquid Glass 2.0.
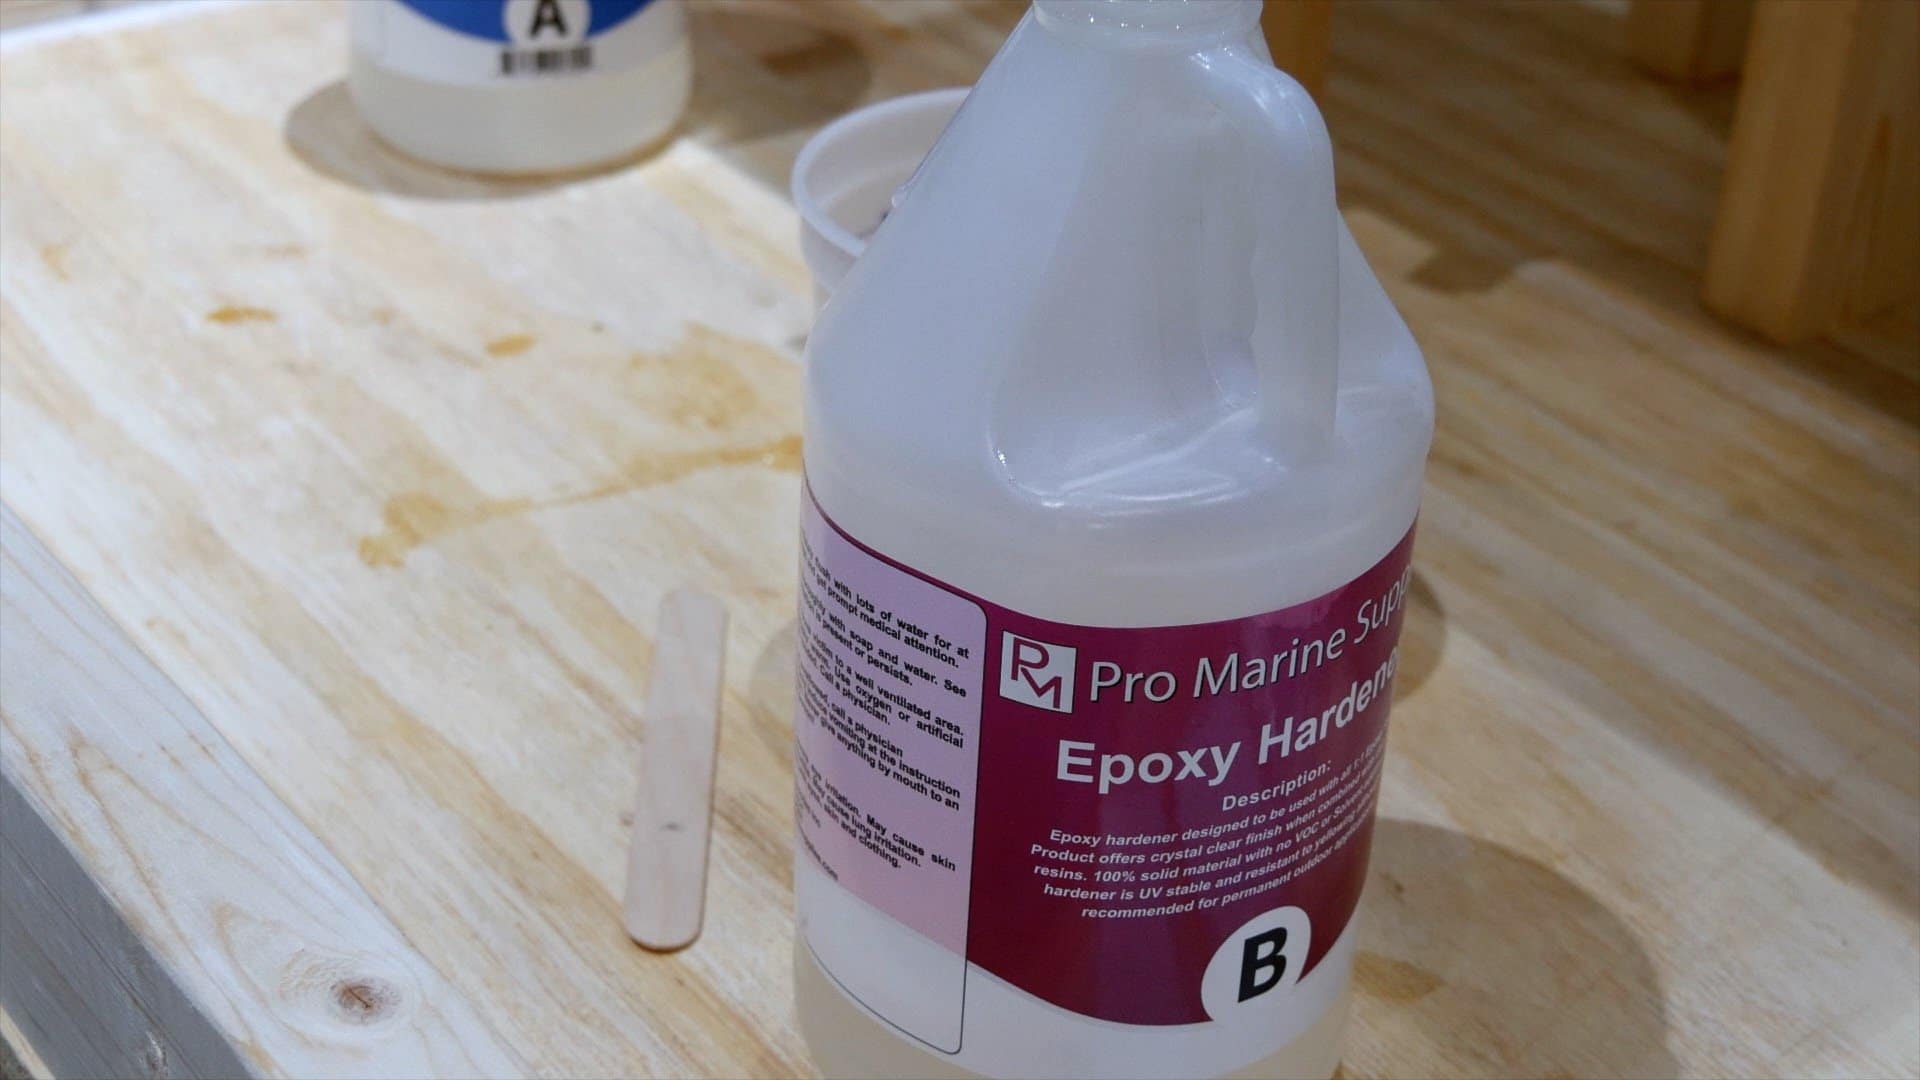
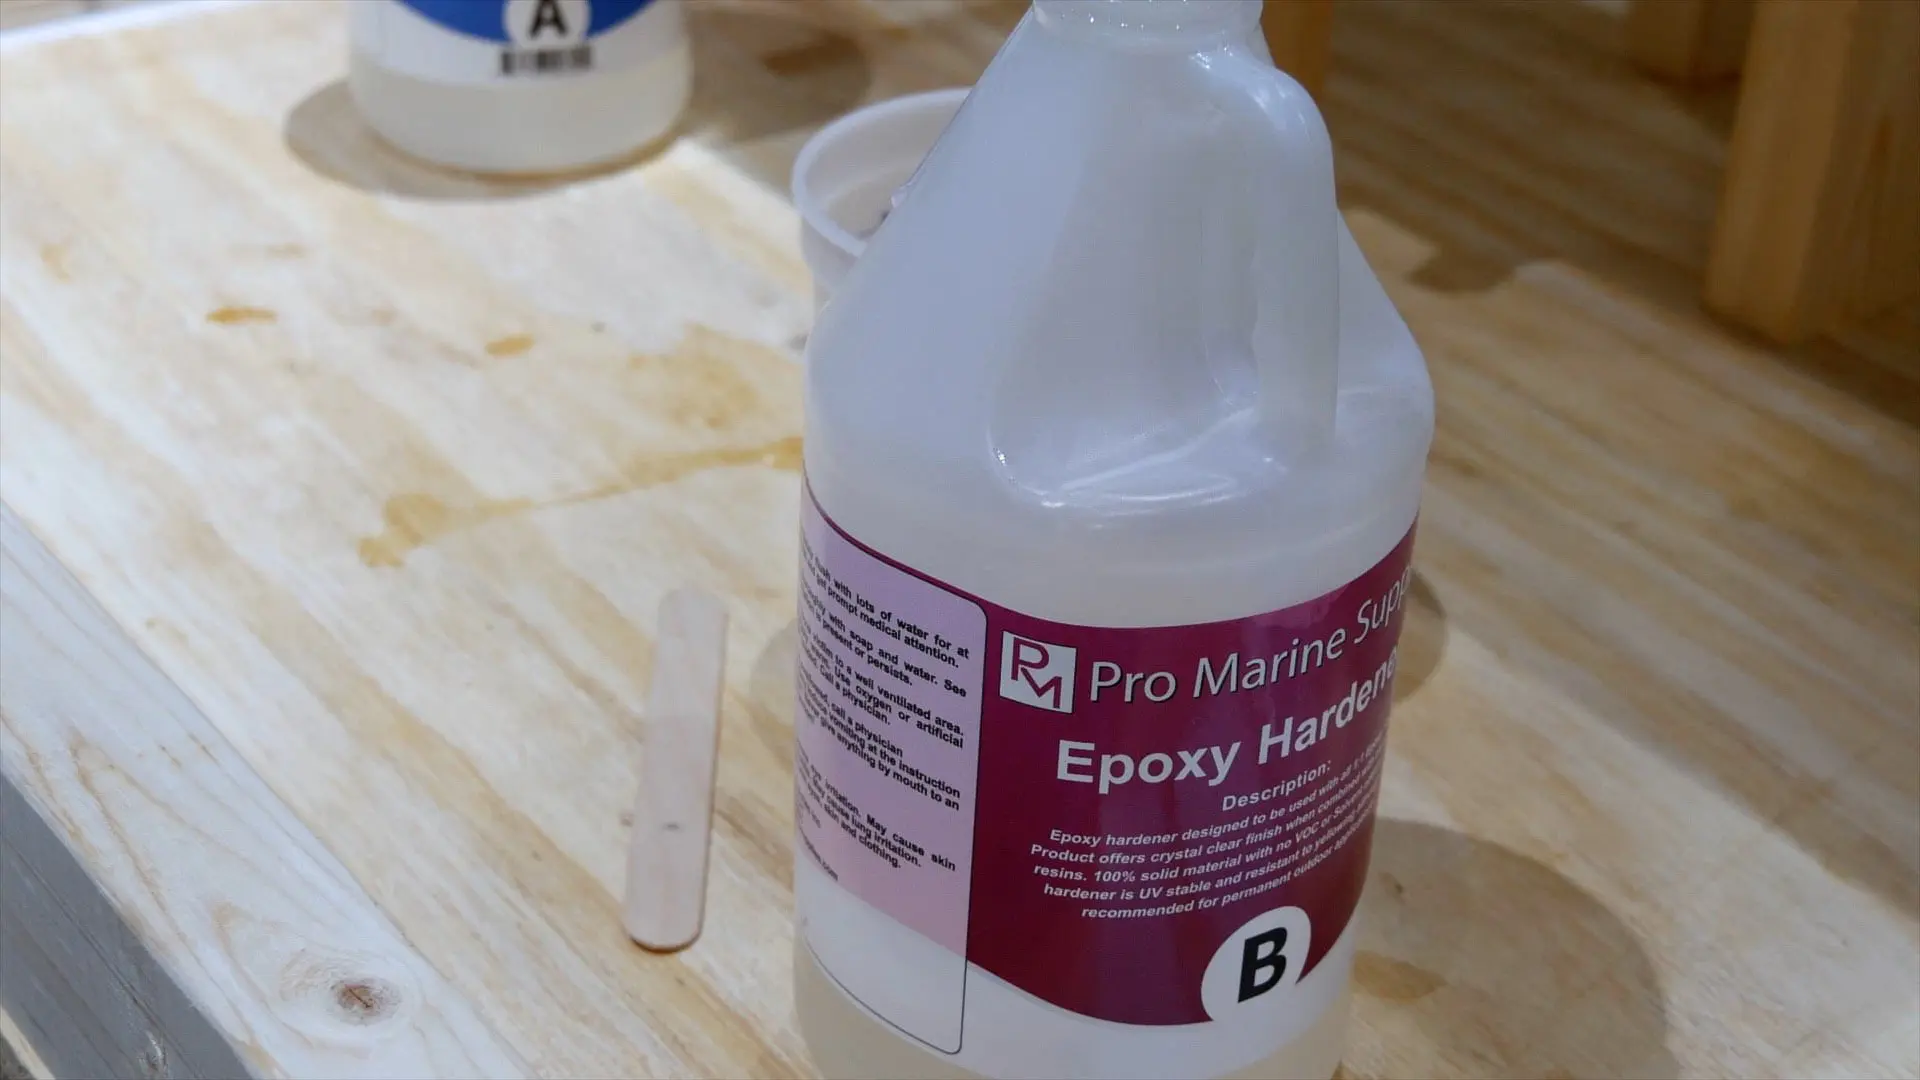
Table Top Epoxy
For this DIY epoxy resin river table, I used ProMarine Table Top Epoxy because I had plenty left over.
However, Pro Marine only allows pours of roughly 1/4″ thick.
As a result, multiple pours are required which causes 2 issues:
- Prolongs the project b/c multiple pours are required.
- Increases the chances of making a mistake.
Table top epoxy works well for smaller projects such as resin art.
Best Deep Pour Epoxy
For thick epoxy pours, I recommend using SuperClear Liquid Glass Epoxy Resin.
This deep pour epoxy allows up to 4″ pours.
Deep epoxy pours save time and reduce the amount of epoxy mixing needed for projects.
This epoxy provides plenty of time before it cures, which is another great advantage..
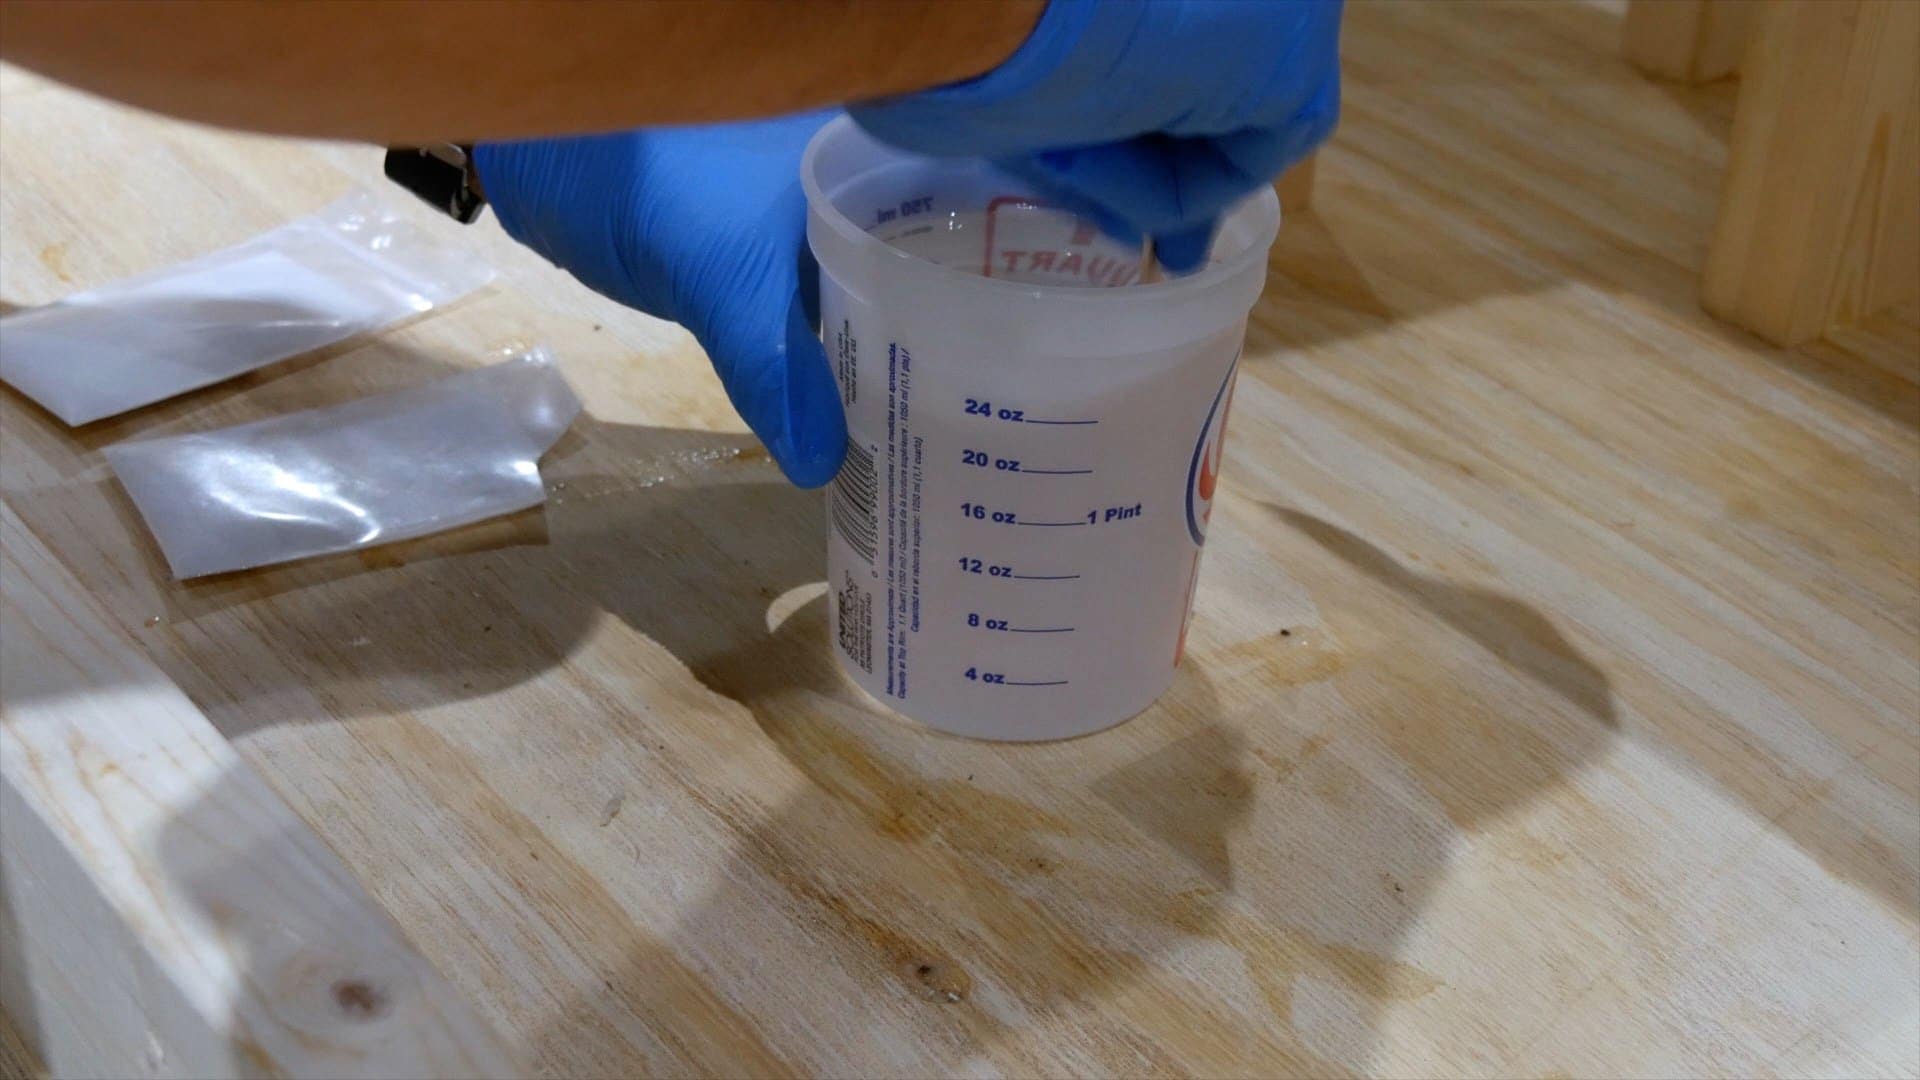
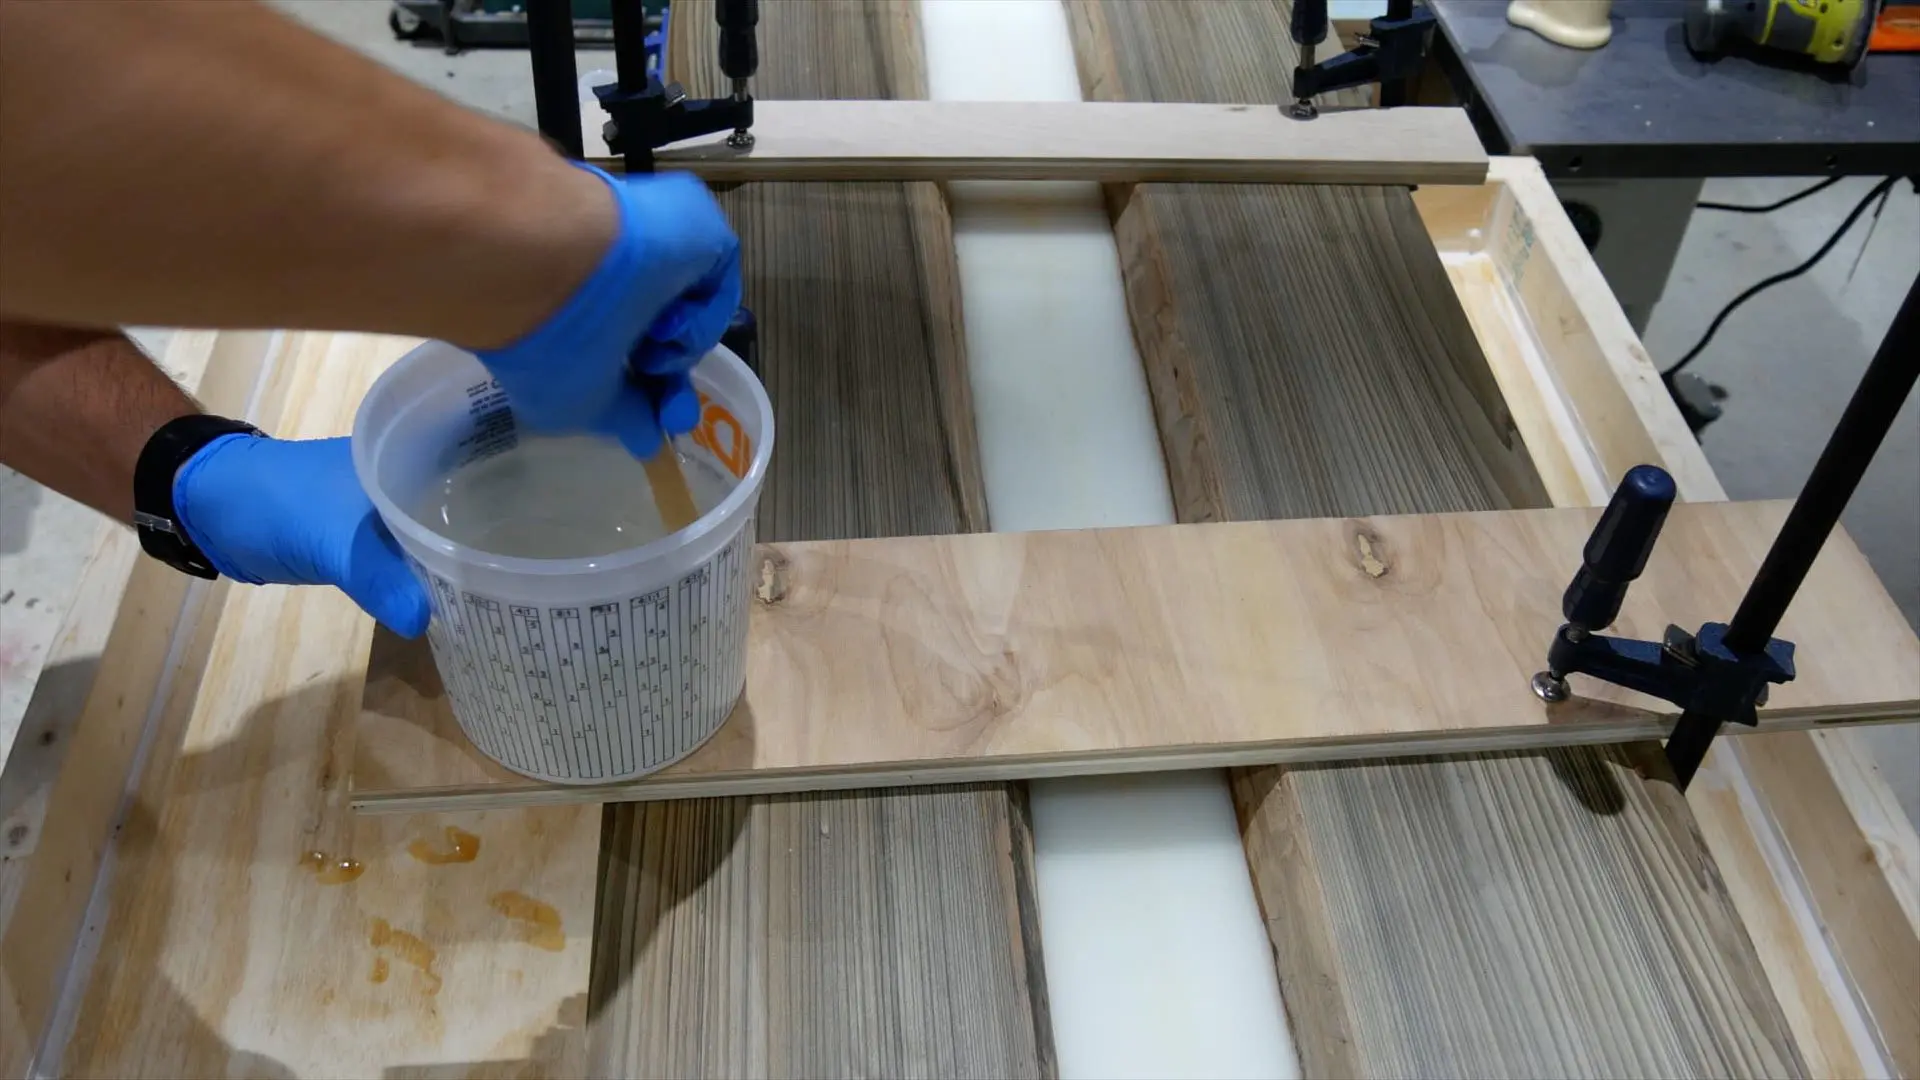
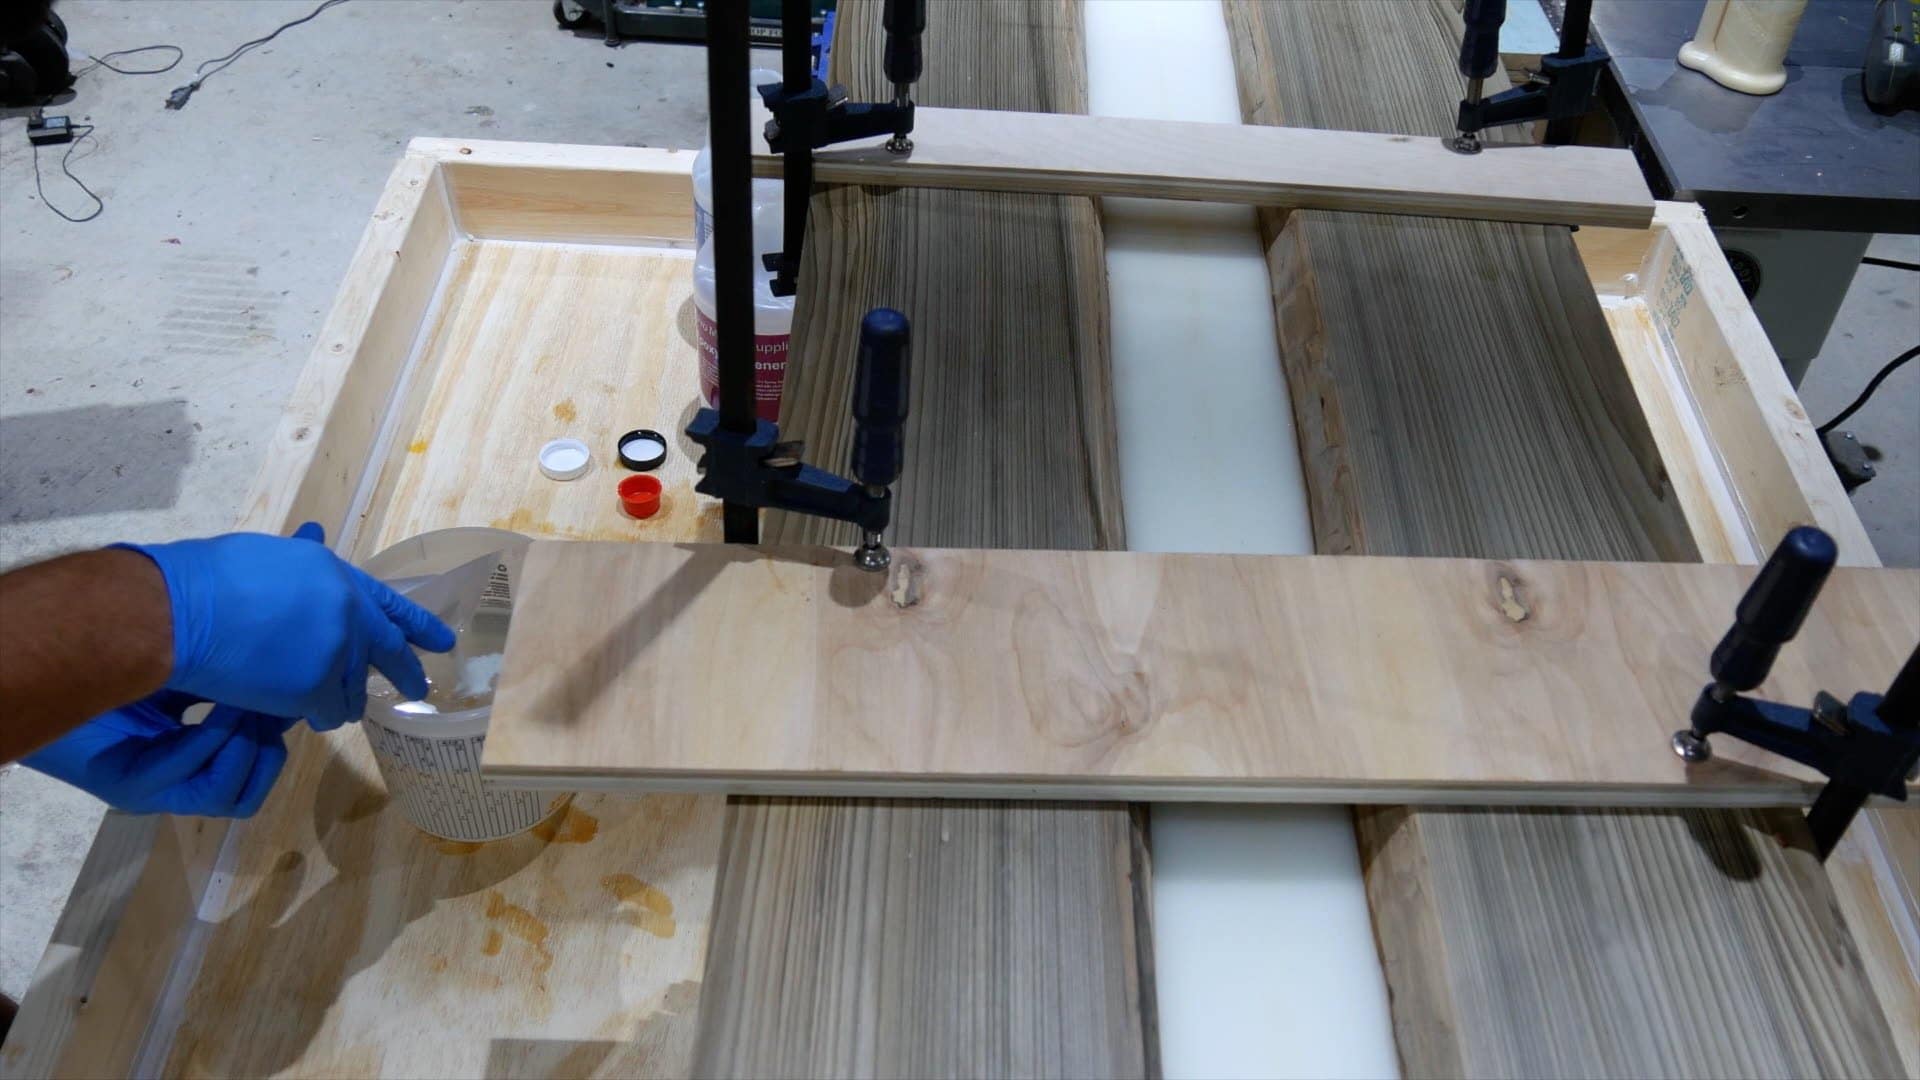
7 – Mix Epoxy Resin
For the next step, I mixed 24 ounces of epoxy resin (12 ounces of hardener and 12 ounces of resin) per the manufacturer’s instructions which can be located on their website.
Ultimately, this epoxy calls for 1 part epoxy to 1 part hardener.
As a quick tip, make sure the epoxy is at room temperature before mixing.
I used a stir stick or paint stick until the epoxy resin turned cloudy white.
It is important to stir the mixture and scrape the sides of the mixing cup.
Do NOT whip while stirring because it causes lots of air bubbles.
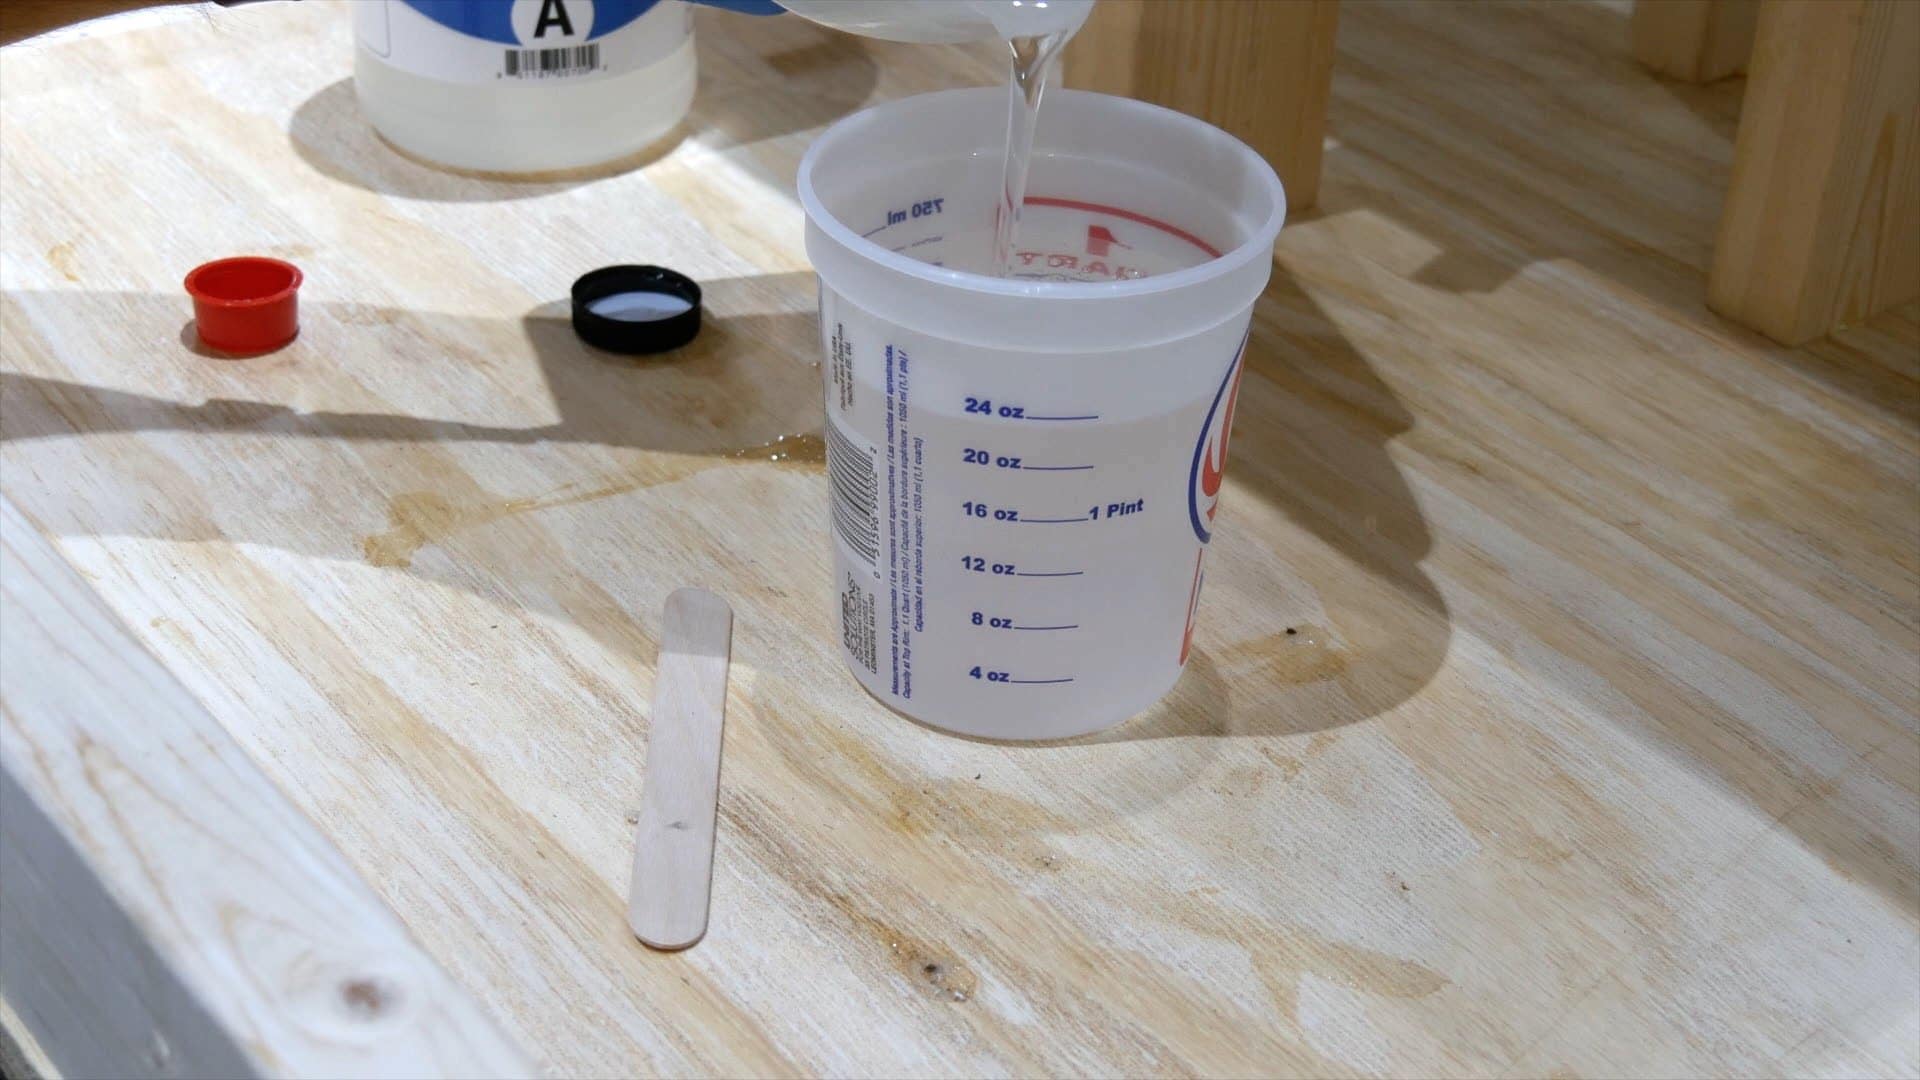


Then, I added 2 ounces of blue glow powder.

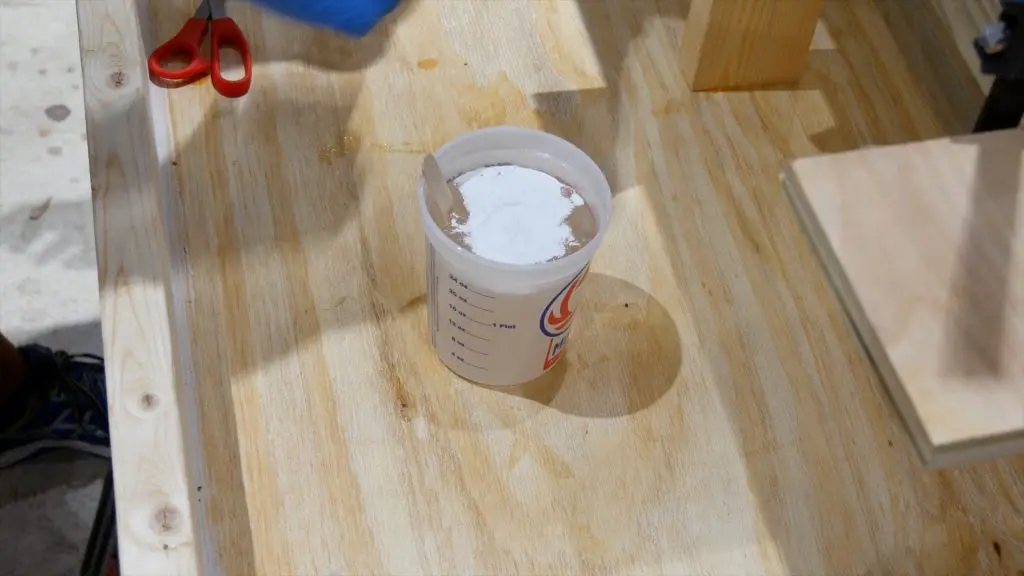
8 – Measure Epoxy and Glow Powder
First, art n glow recommends 1 part glow powder to 4 parts epoxy resin.
Obviously, they are aggressive with this recommendation.
After all, they want their product to perform well.
And, they like selling more glow powder.
I feel a 1 to 4 ratio is too much for a few reasons:
- Too much glow powder may jeopardize the epoxy resin mixture. I don’t have any proof of this, but it just seems logical to me from my experience with epoxy resin.
- Glow powder is not terribly expensive, but it isn’t cheap.
- I don’t want a bright glow; rather, I prefer a subtle glow.
A 1 to 12 ratio produces a medium glow and a 1 to 6 ratio works for a bright glow.
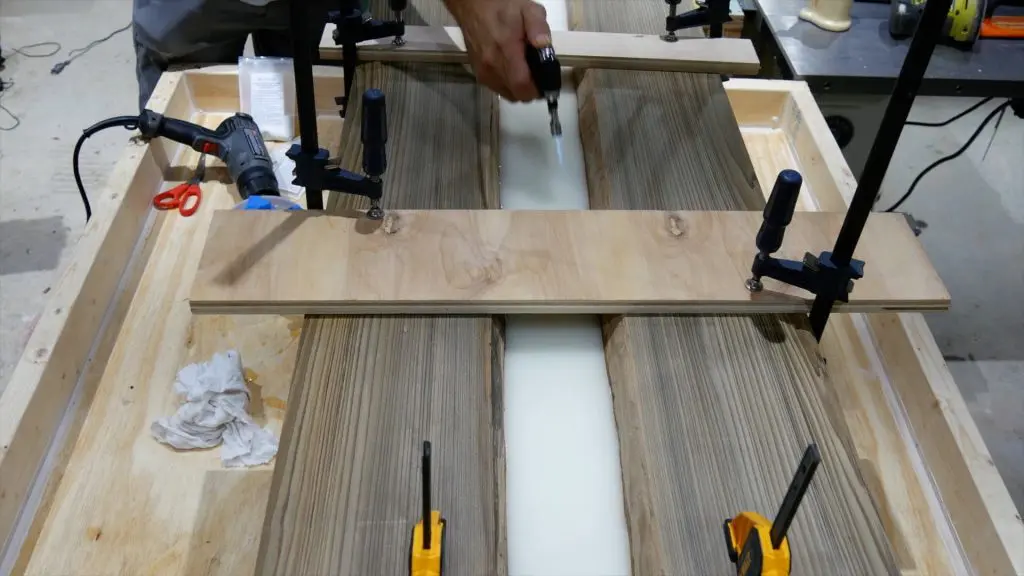
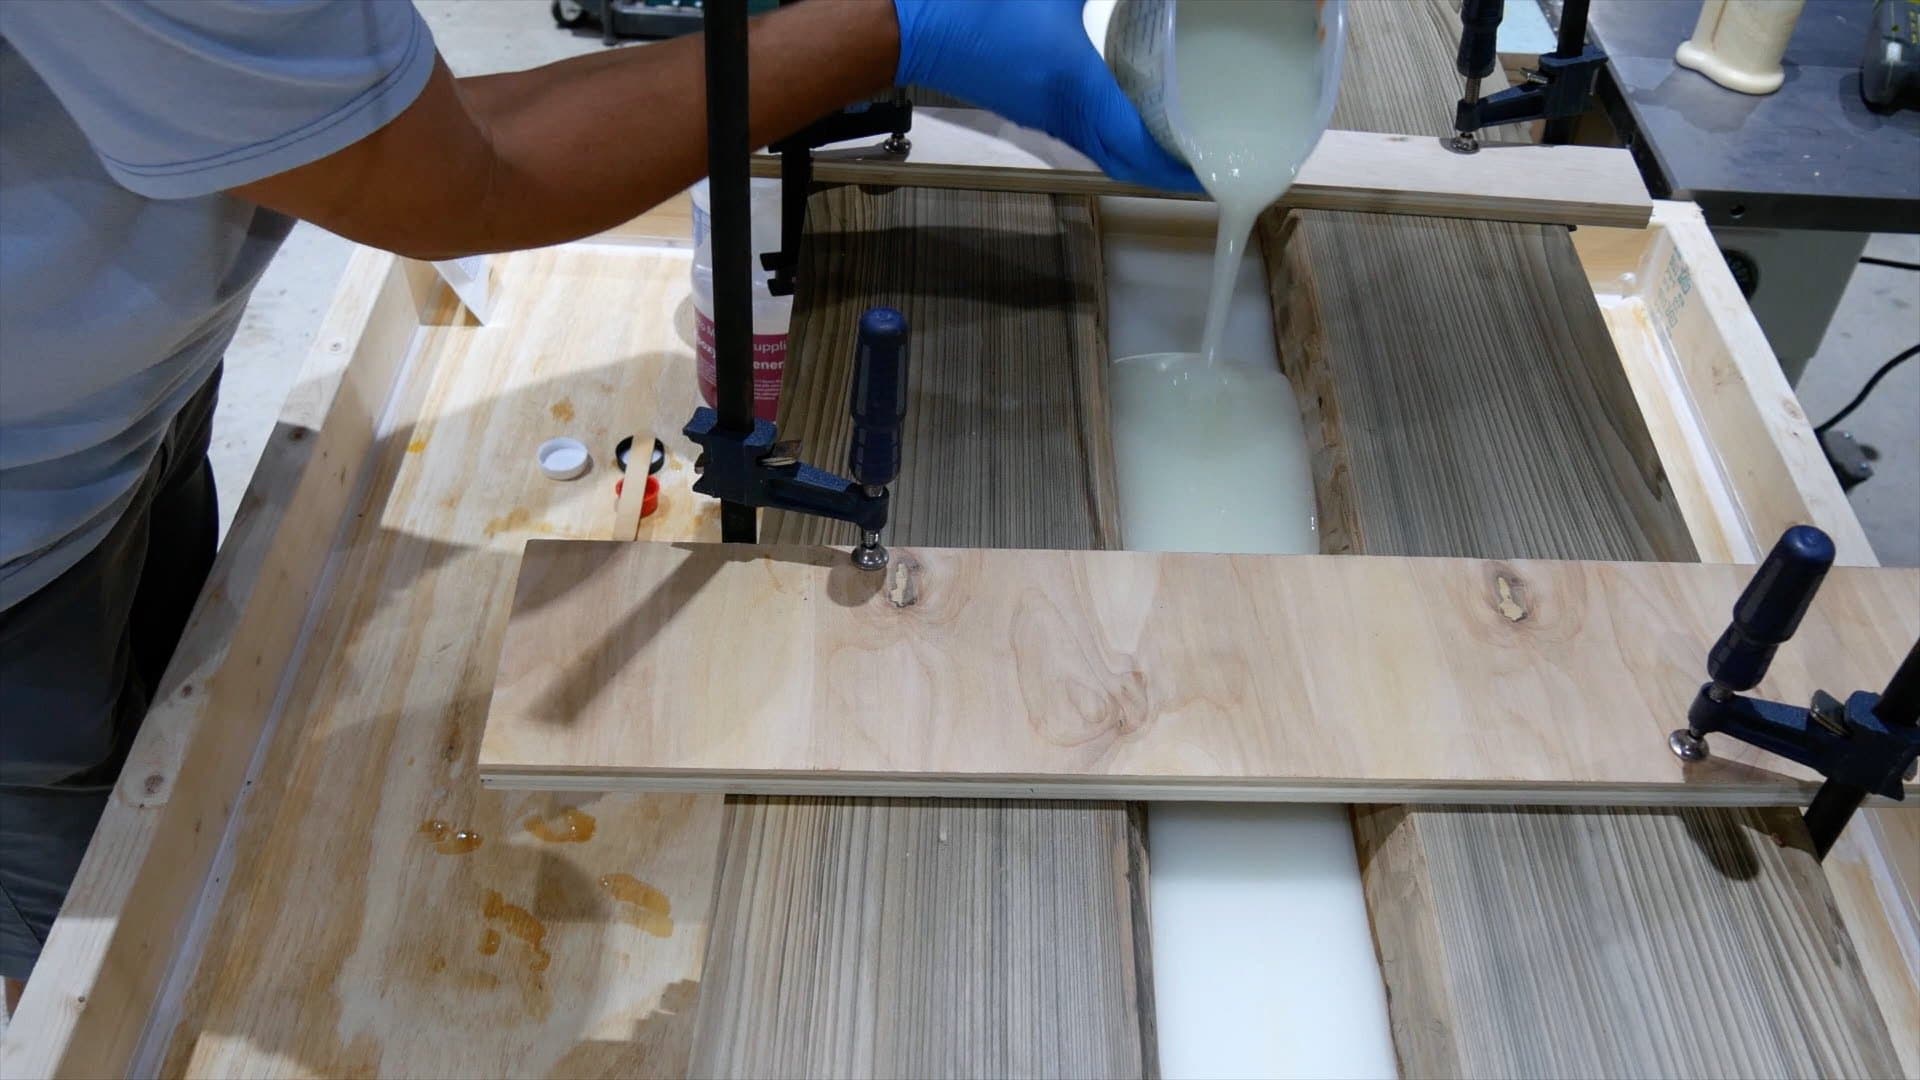
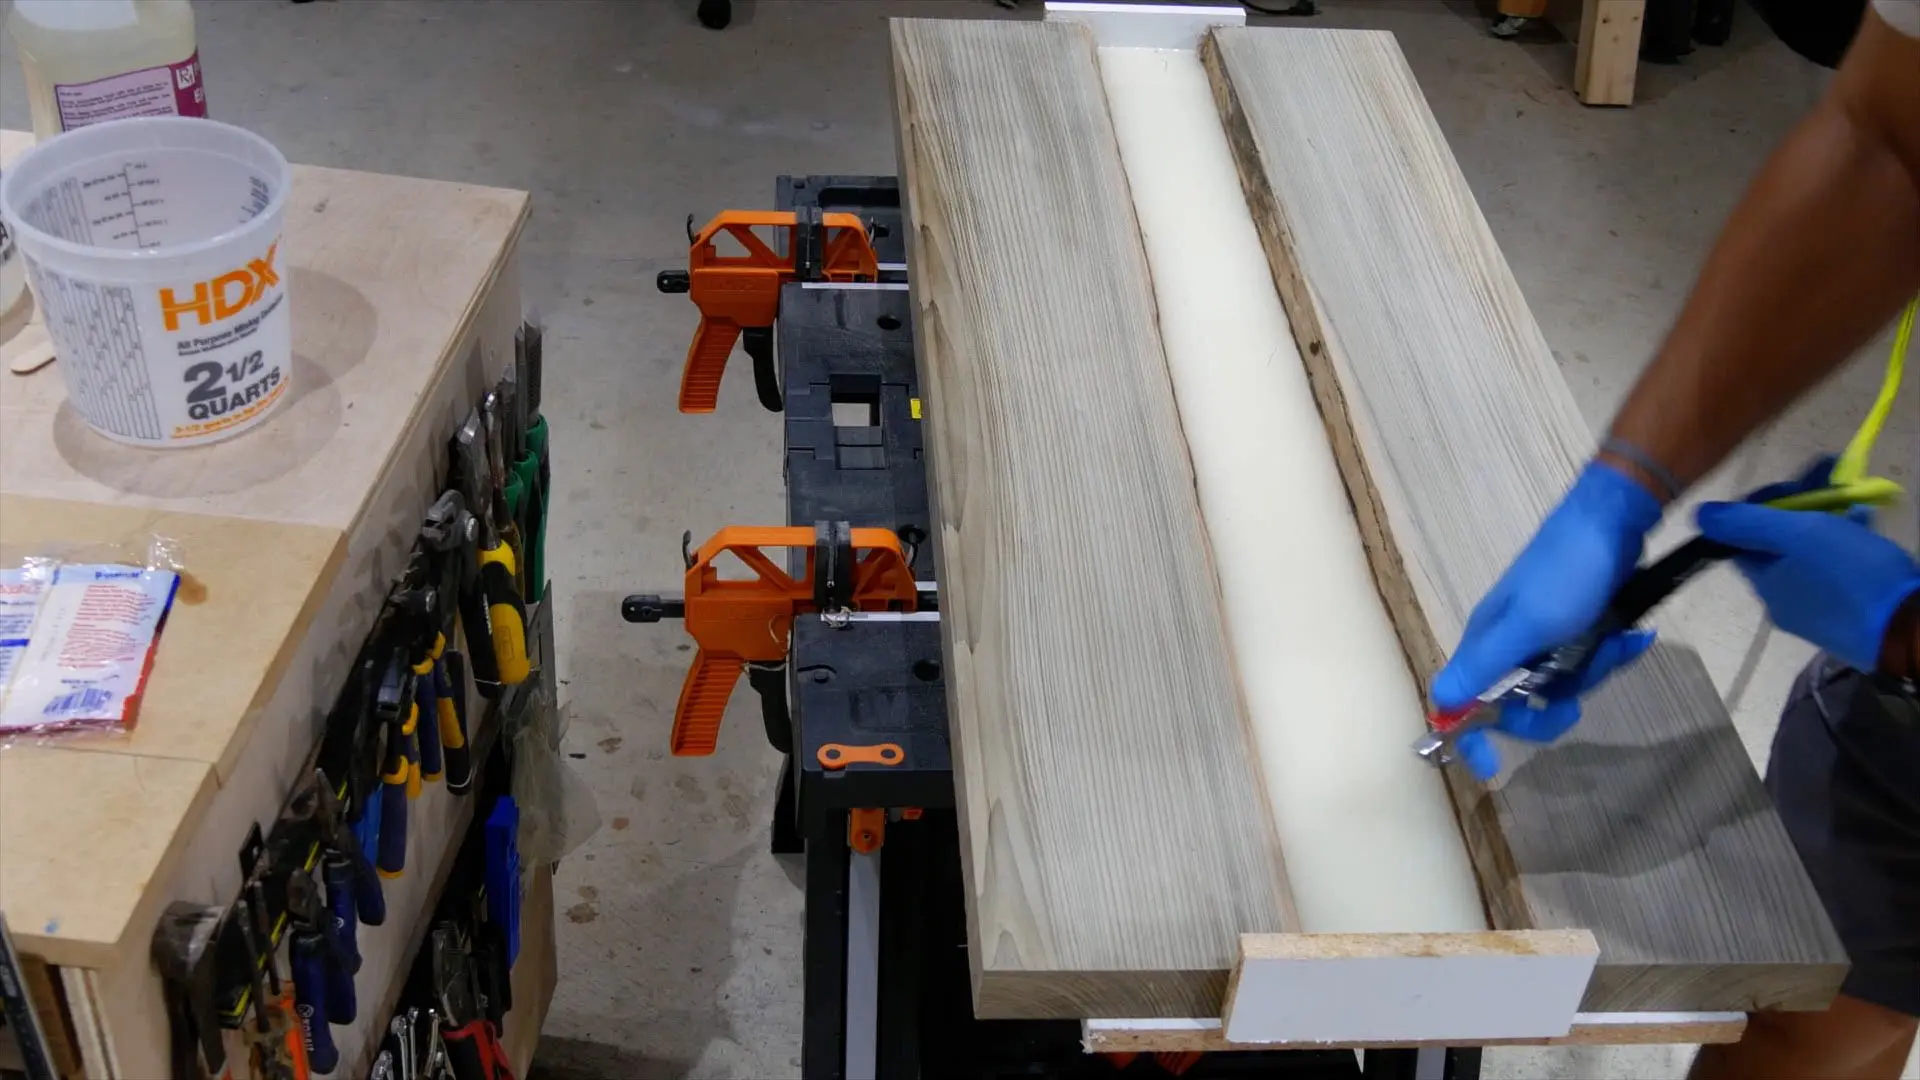
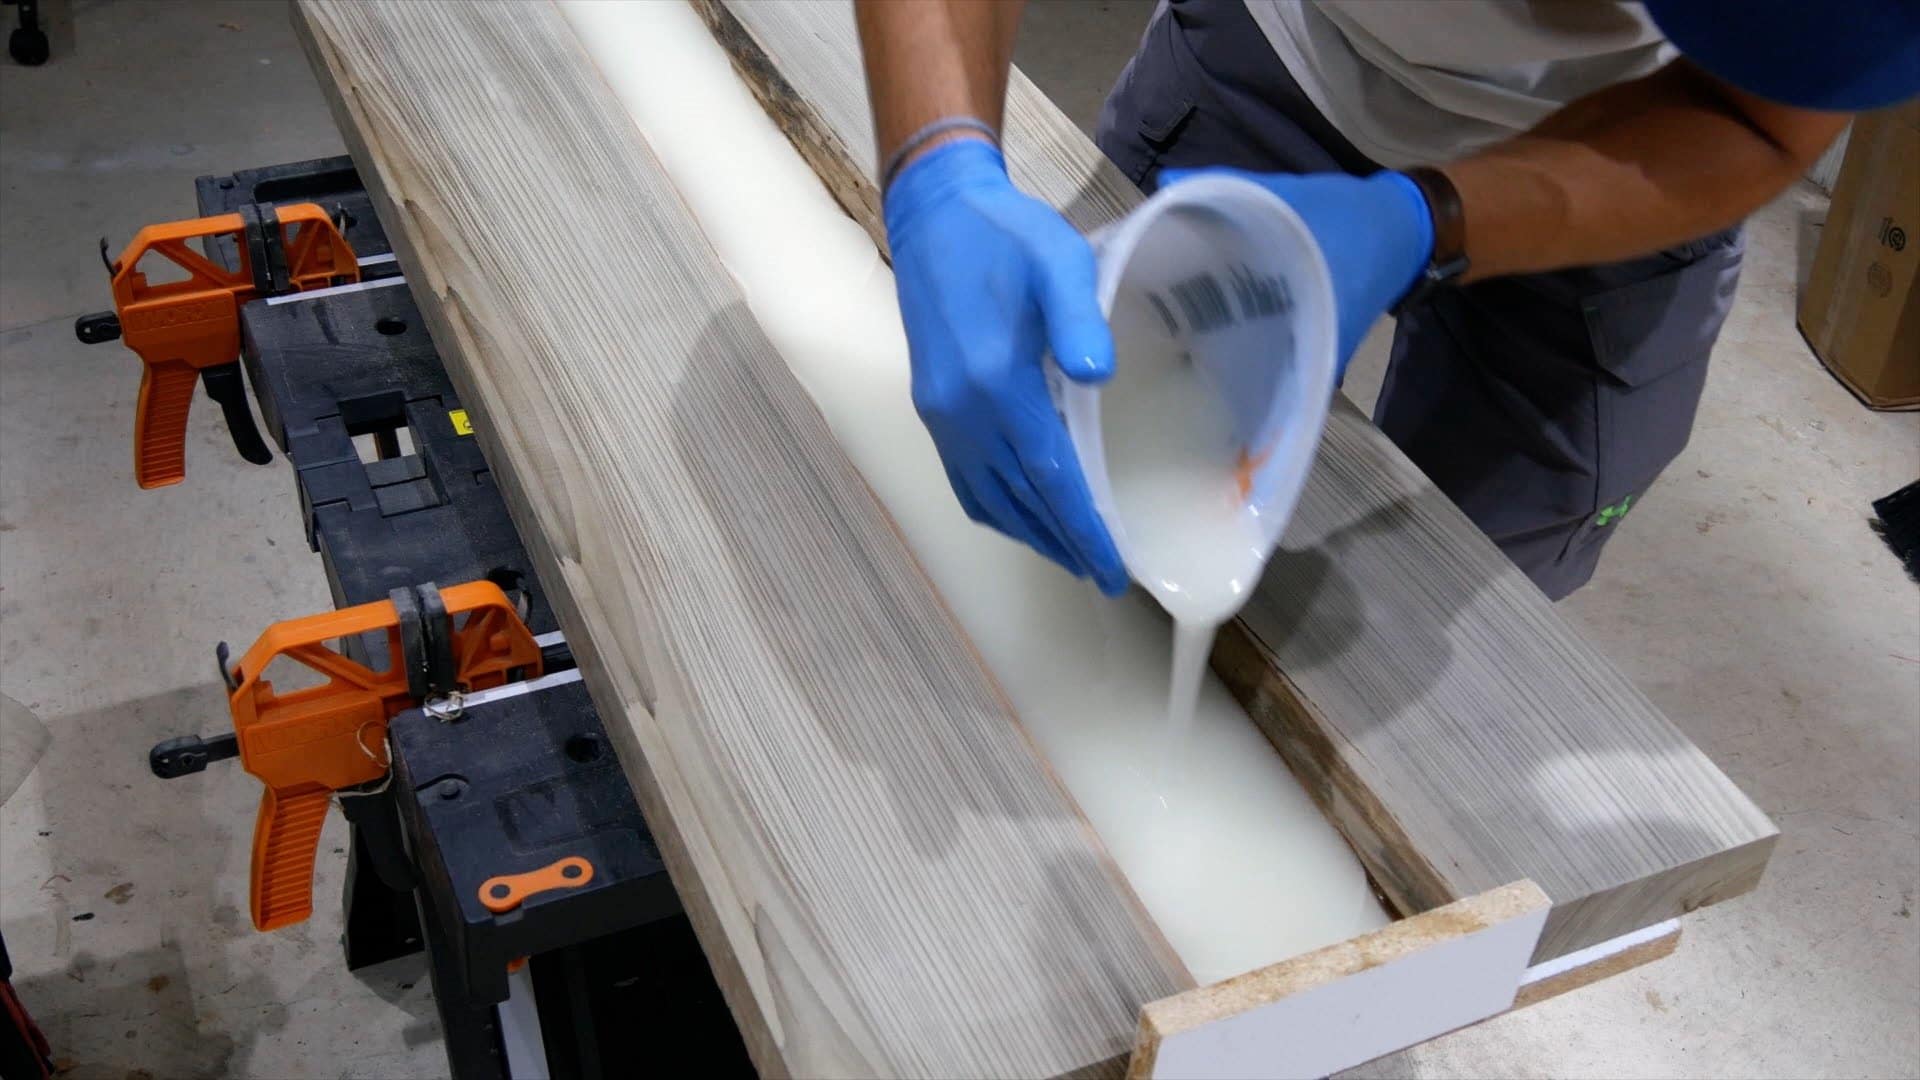
9 – First Epoxy Resin River Table Pour
First thing, I slowly poured the epoxy resin in the epoxy resin river table.

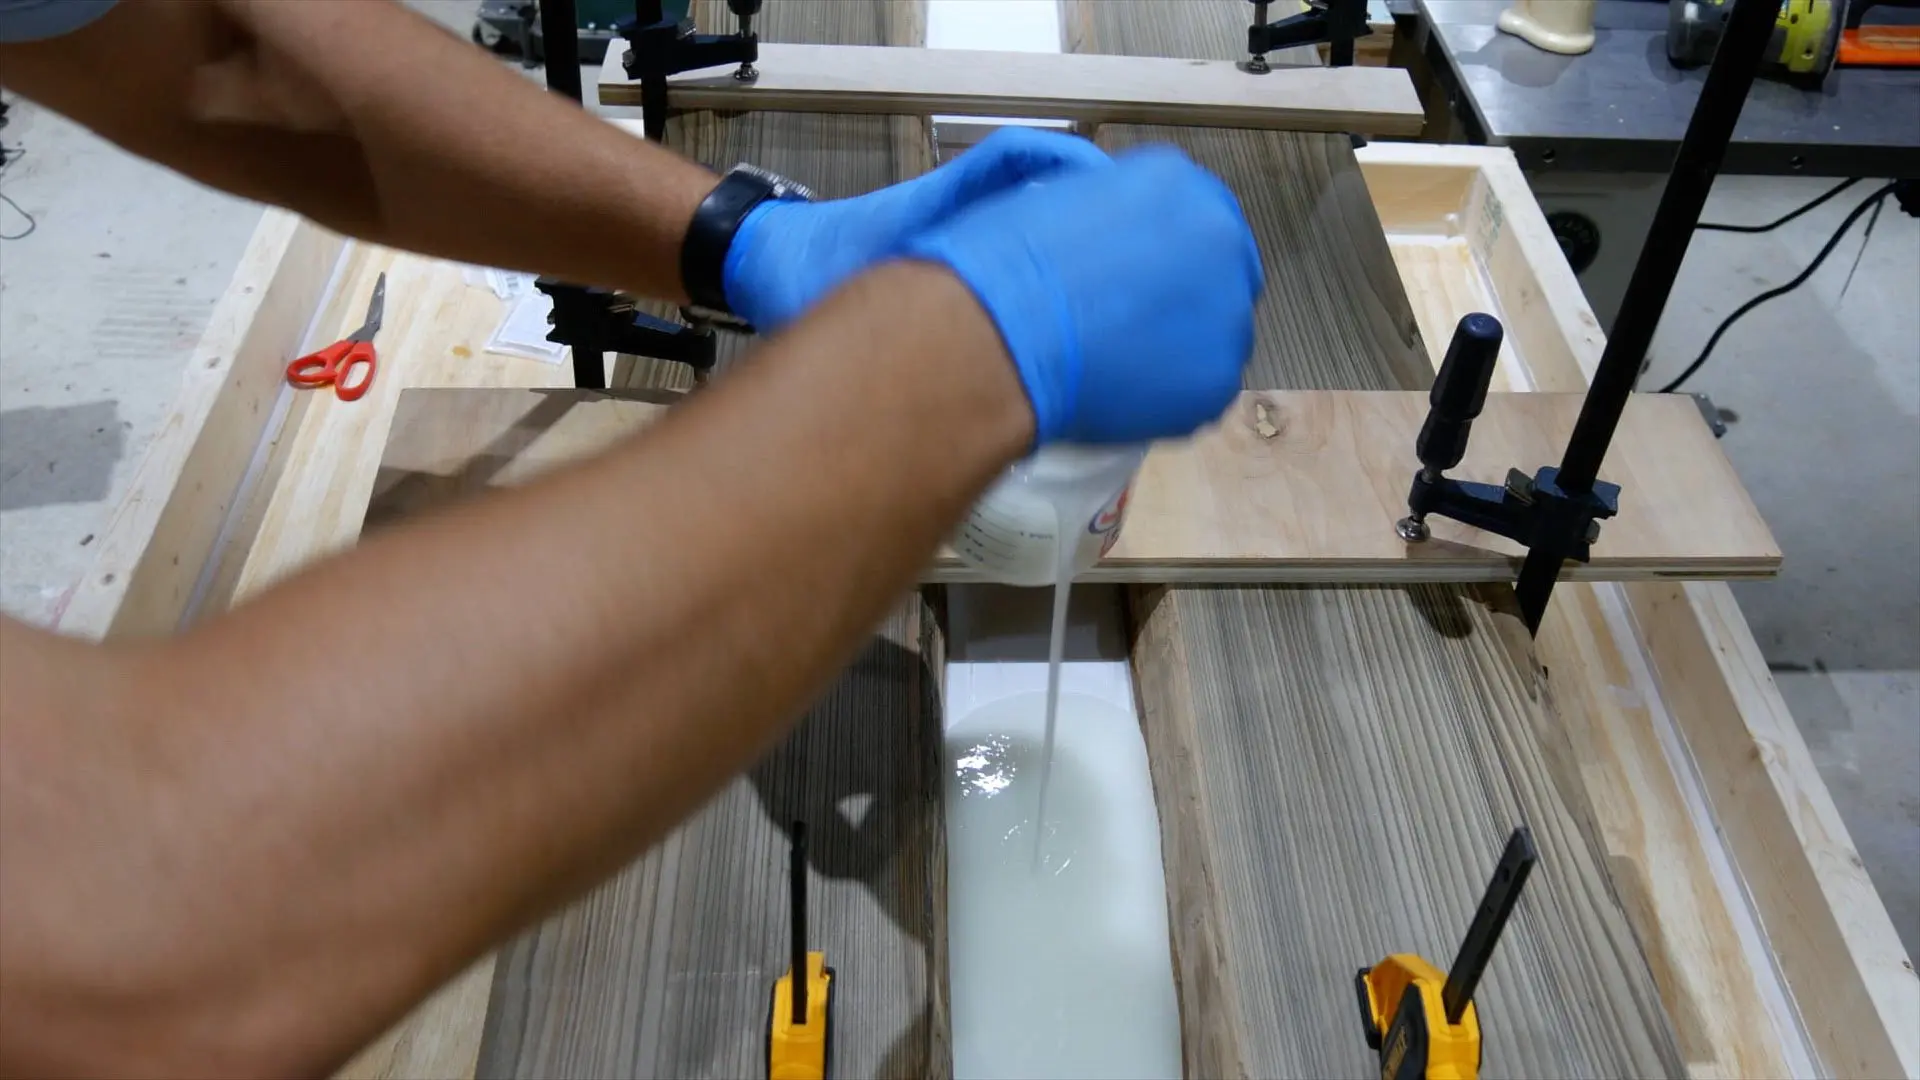

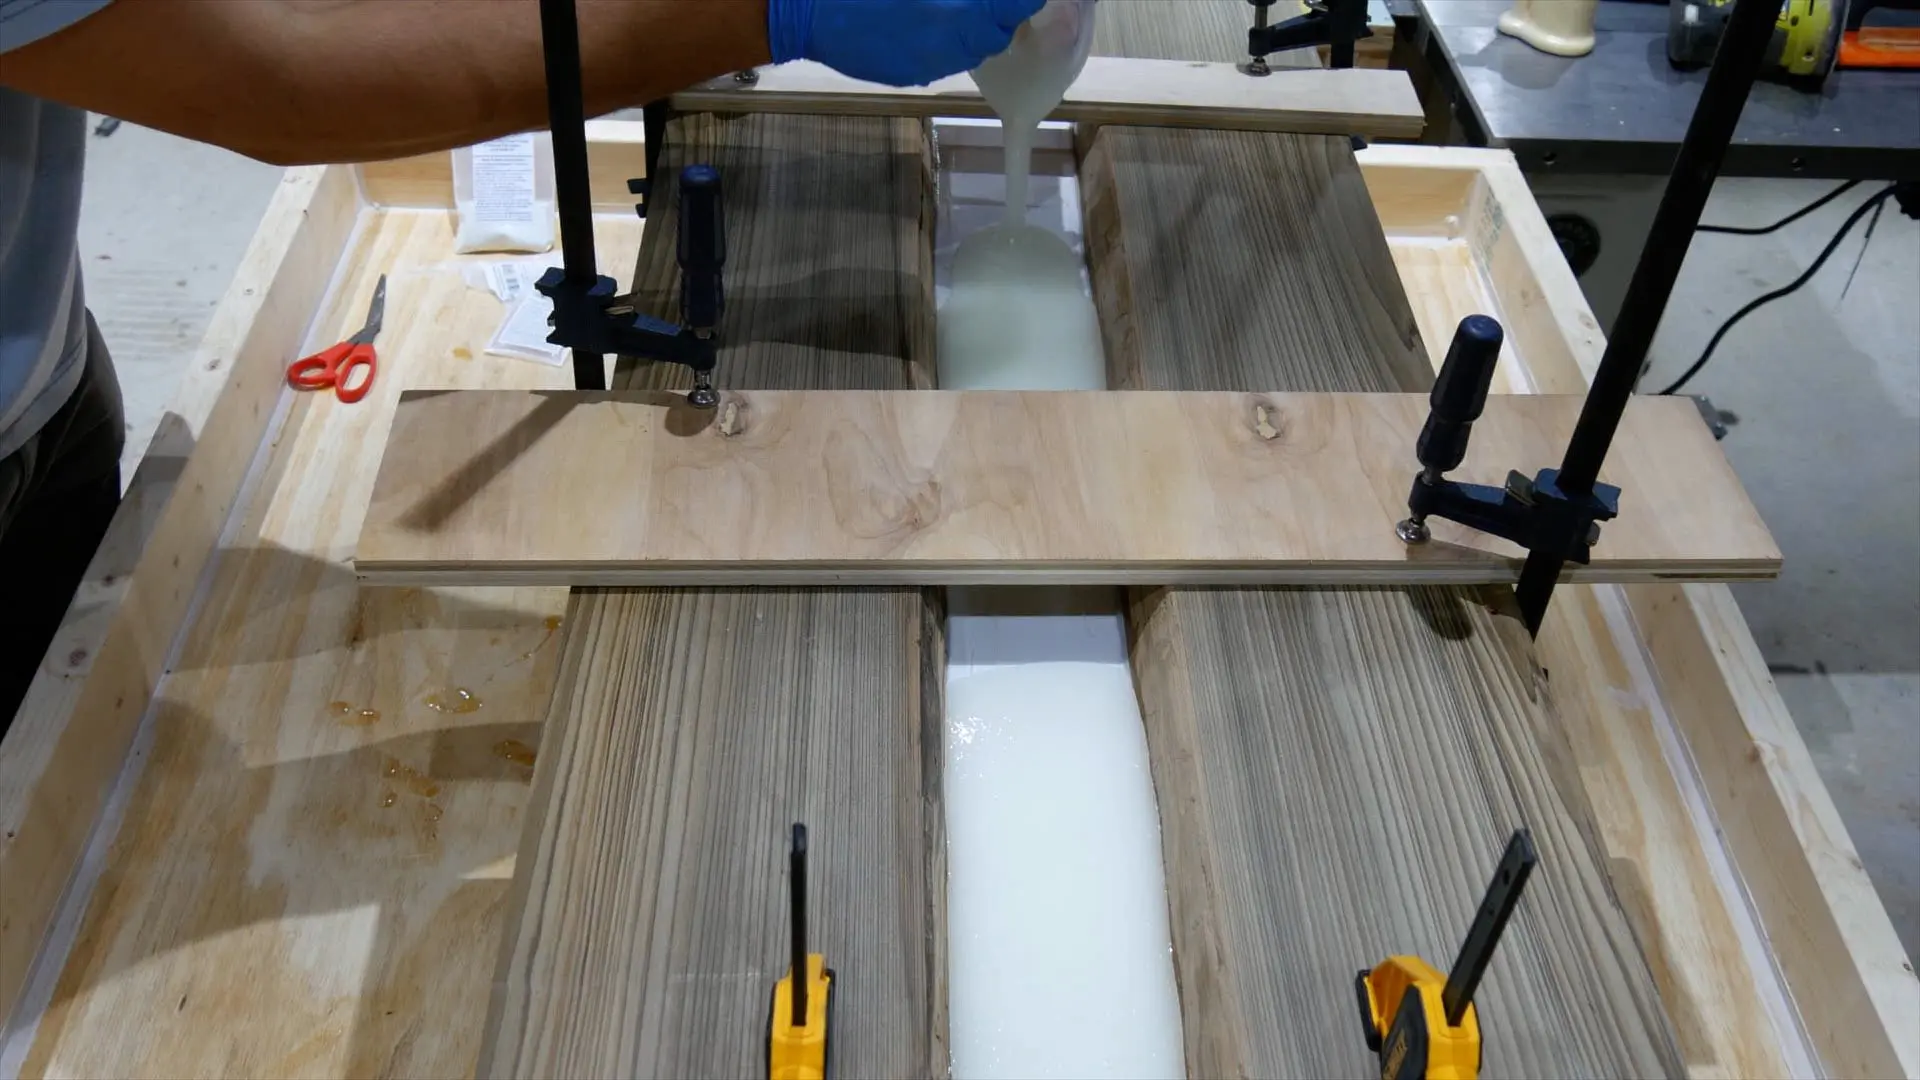
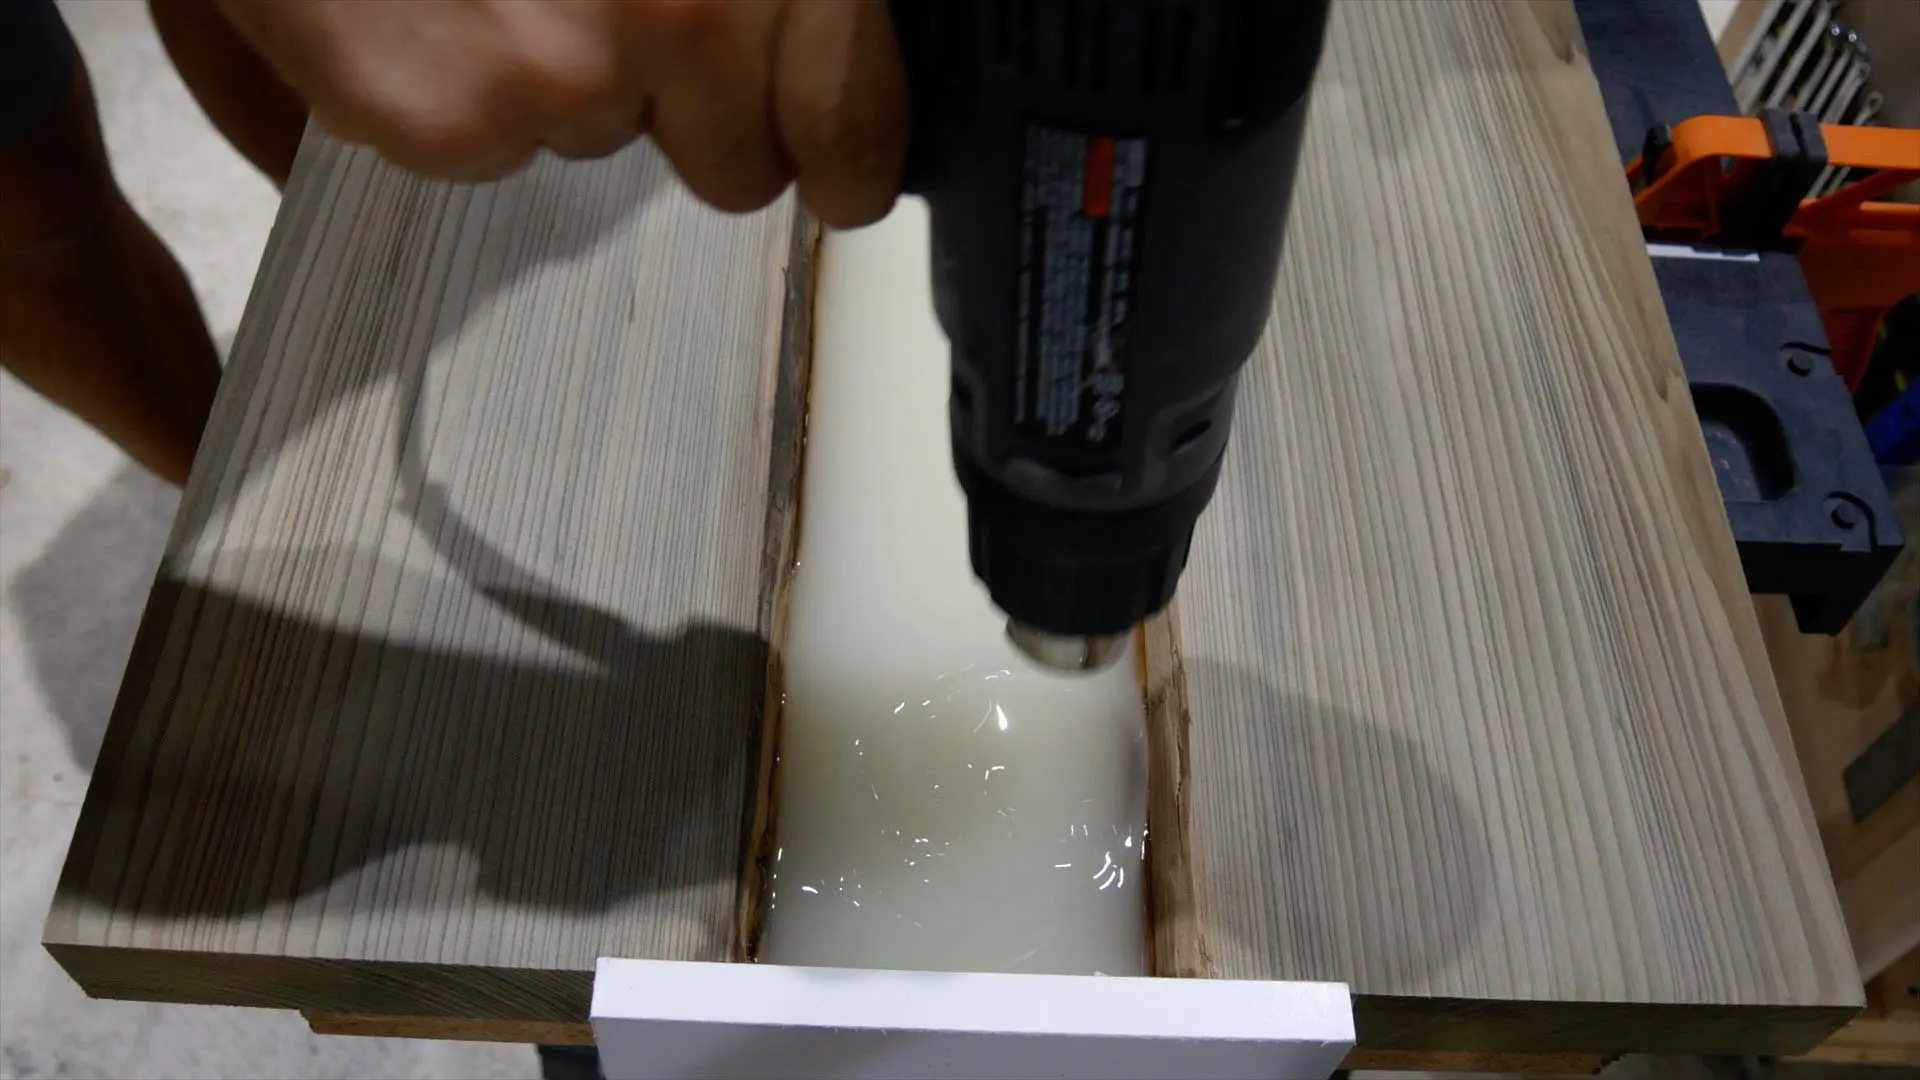
Next, I removed the bubbles and worked the material with a heat gun.
One important thing, make sure your work area is free of dust/debris.
The heat gun blew material in the epoxy resin.
Obviously, I forgot to wipe the table with a tack cloth before pouring the material.


So, I decided to use my micro butane torch to remove the remaining bubbles.
10 – Second Epoxy Pour
The next day (24 hours later), I mixed another 24 ounces of epoxy resin and 2 ounces of glow powder for the second pour.
This is the same mixture as the first pour and the same process.
However, I didn’t use the heat gun this time.


I am comfortable mixing 24 ounces of material in a single mixture due to the size of my container and mixing stick.
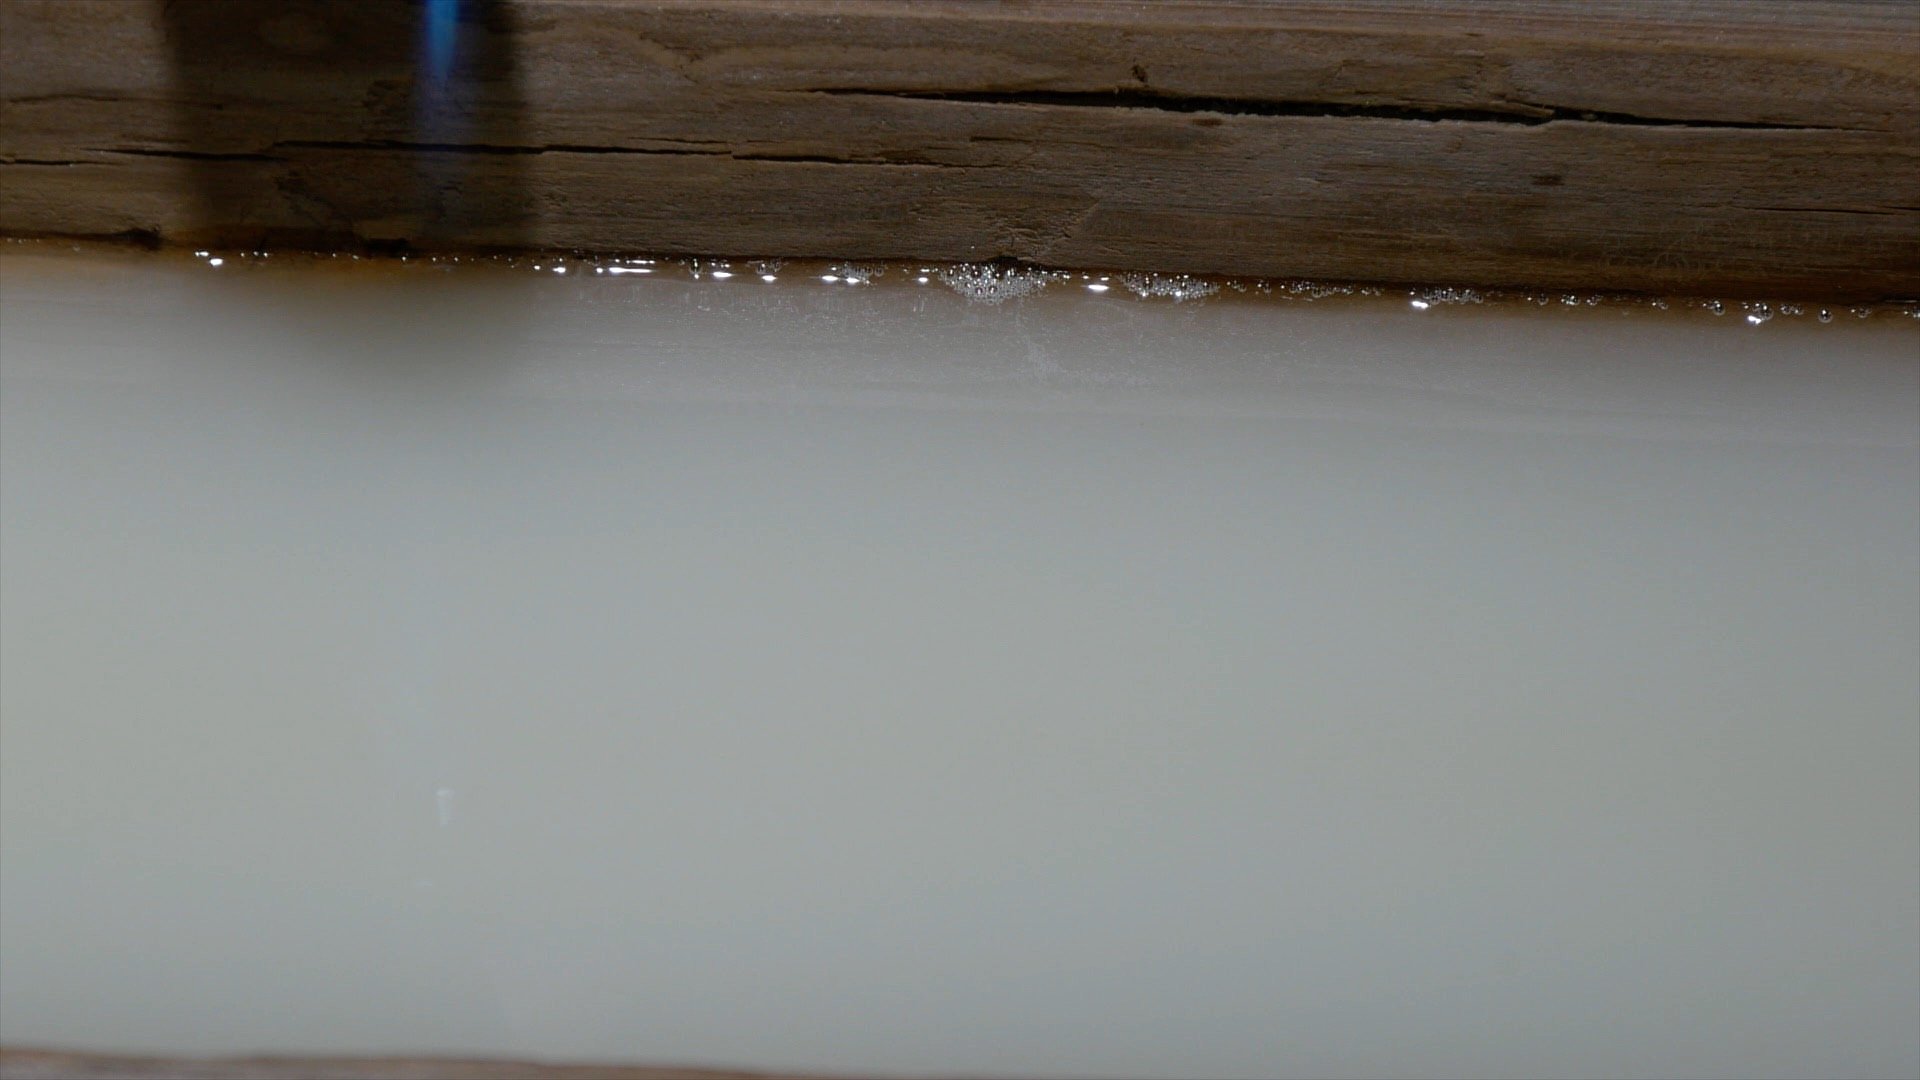
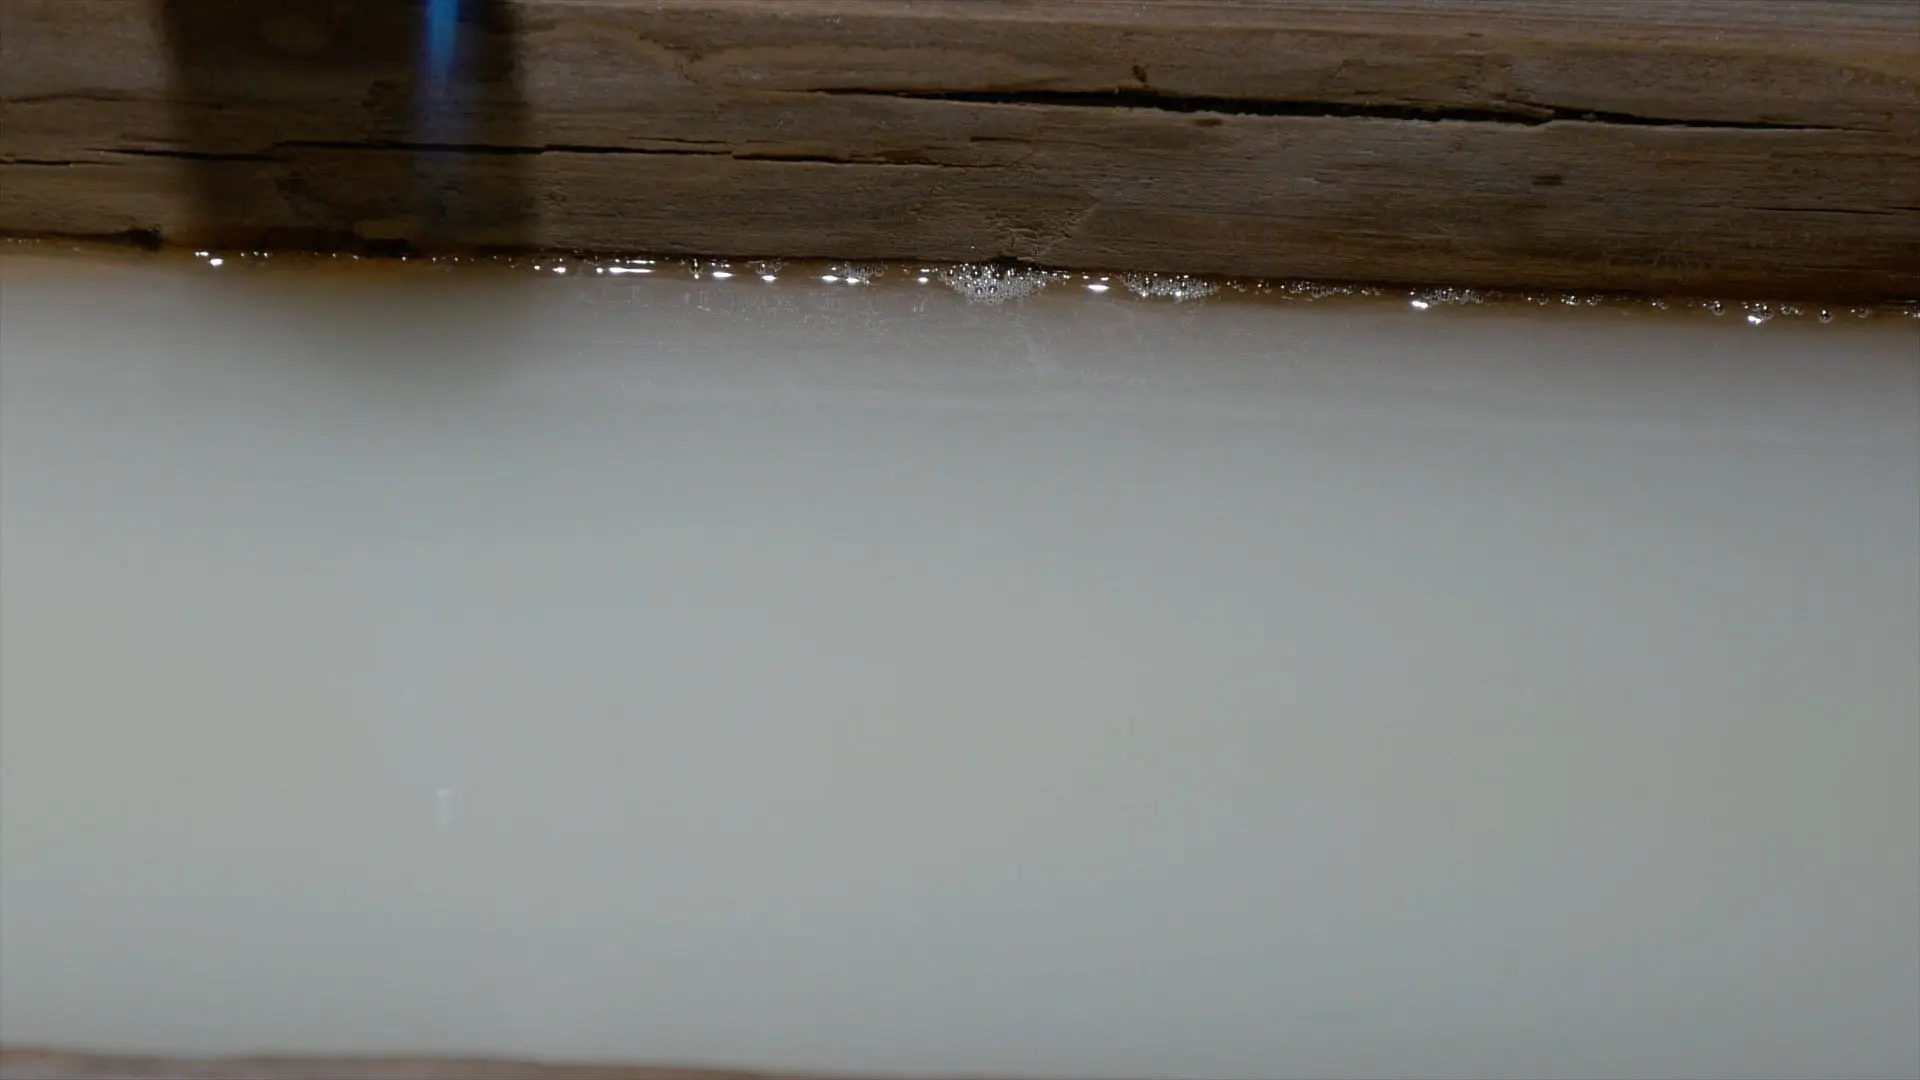
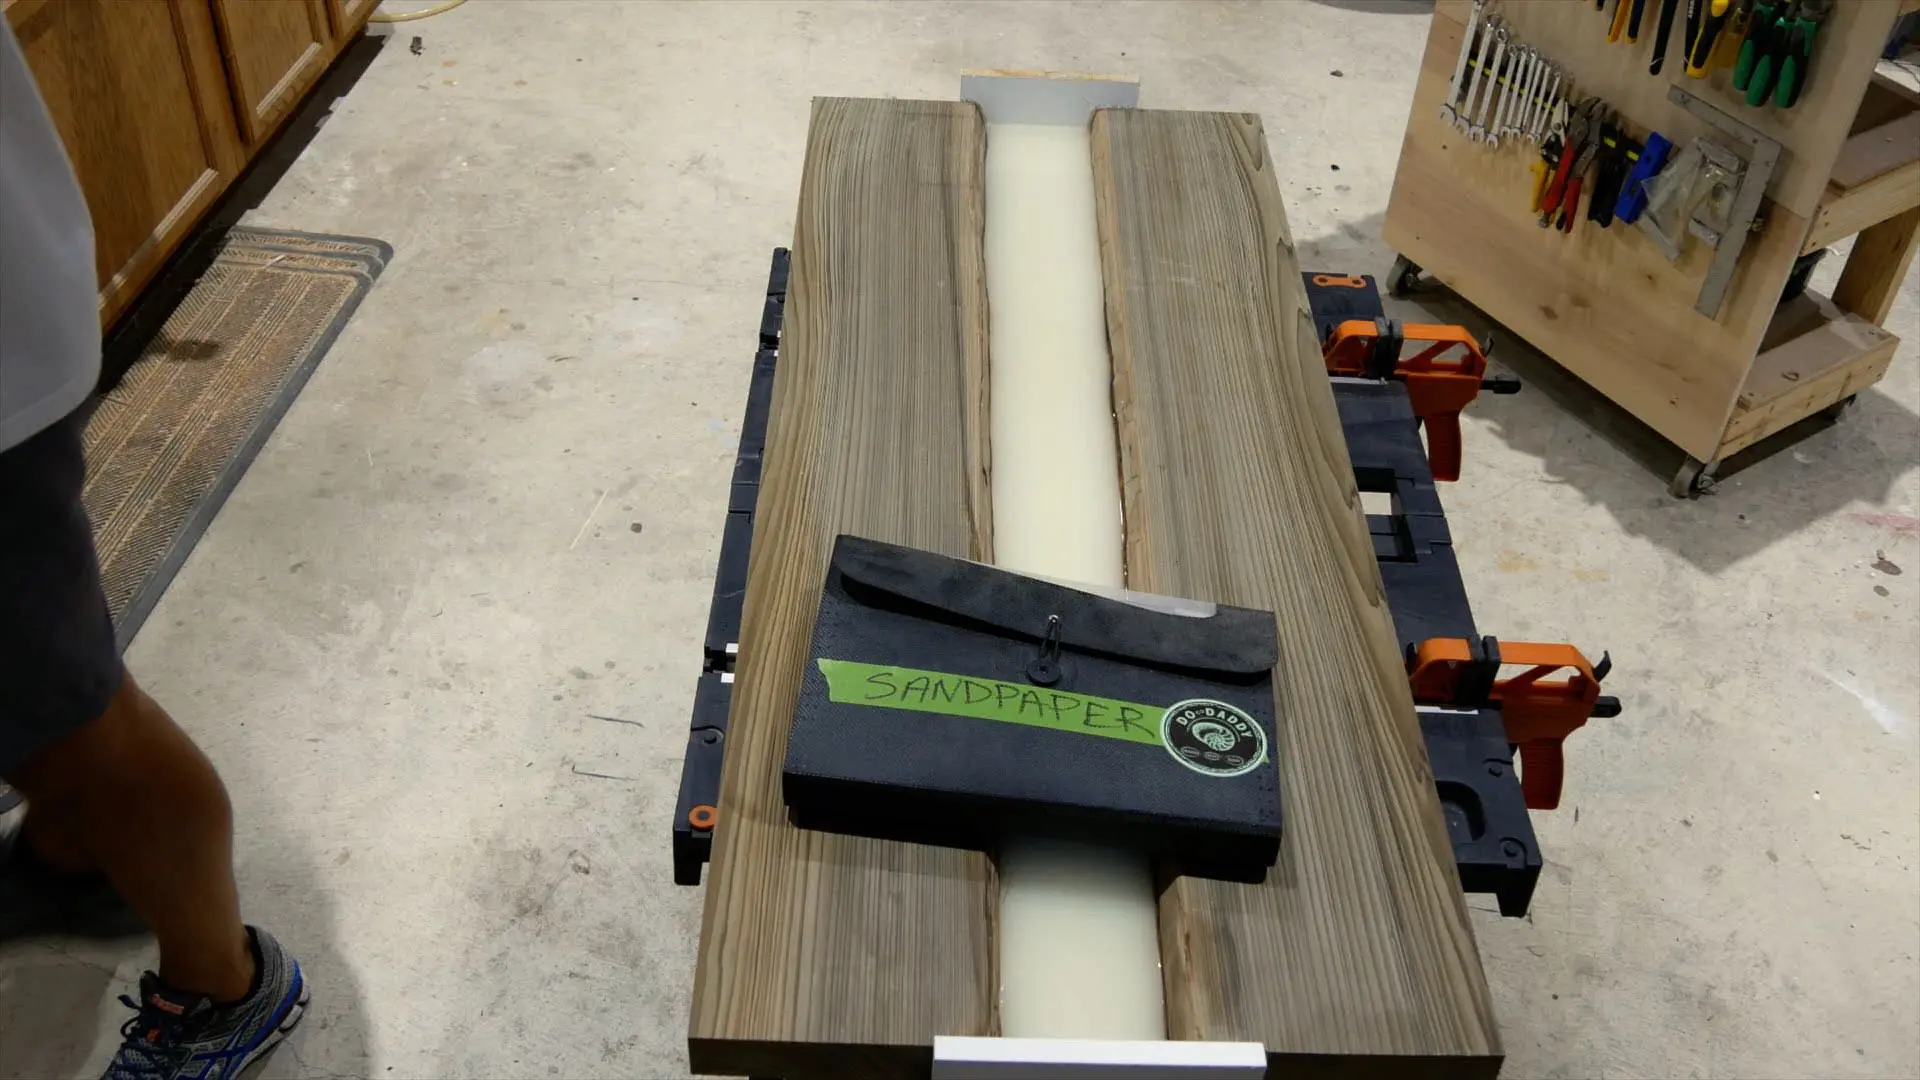
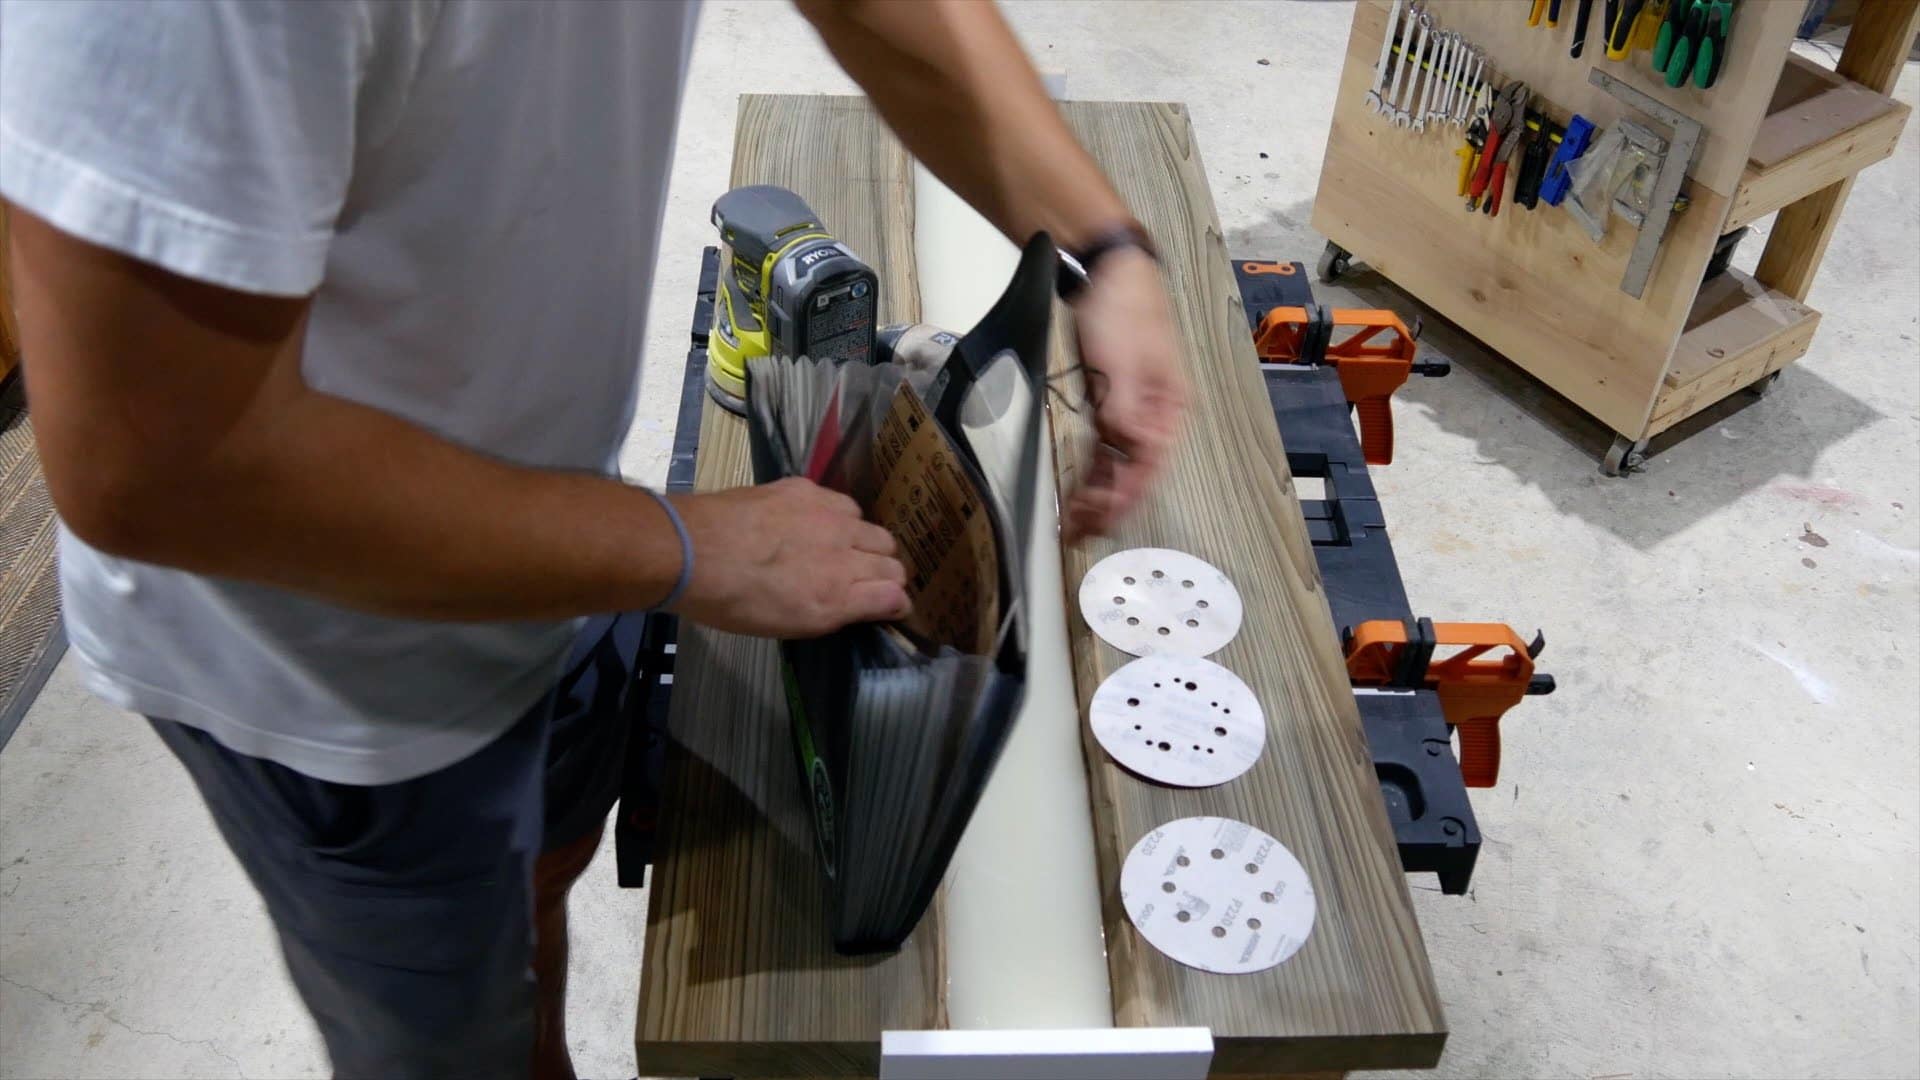
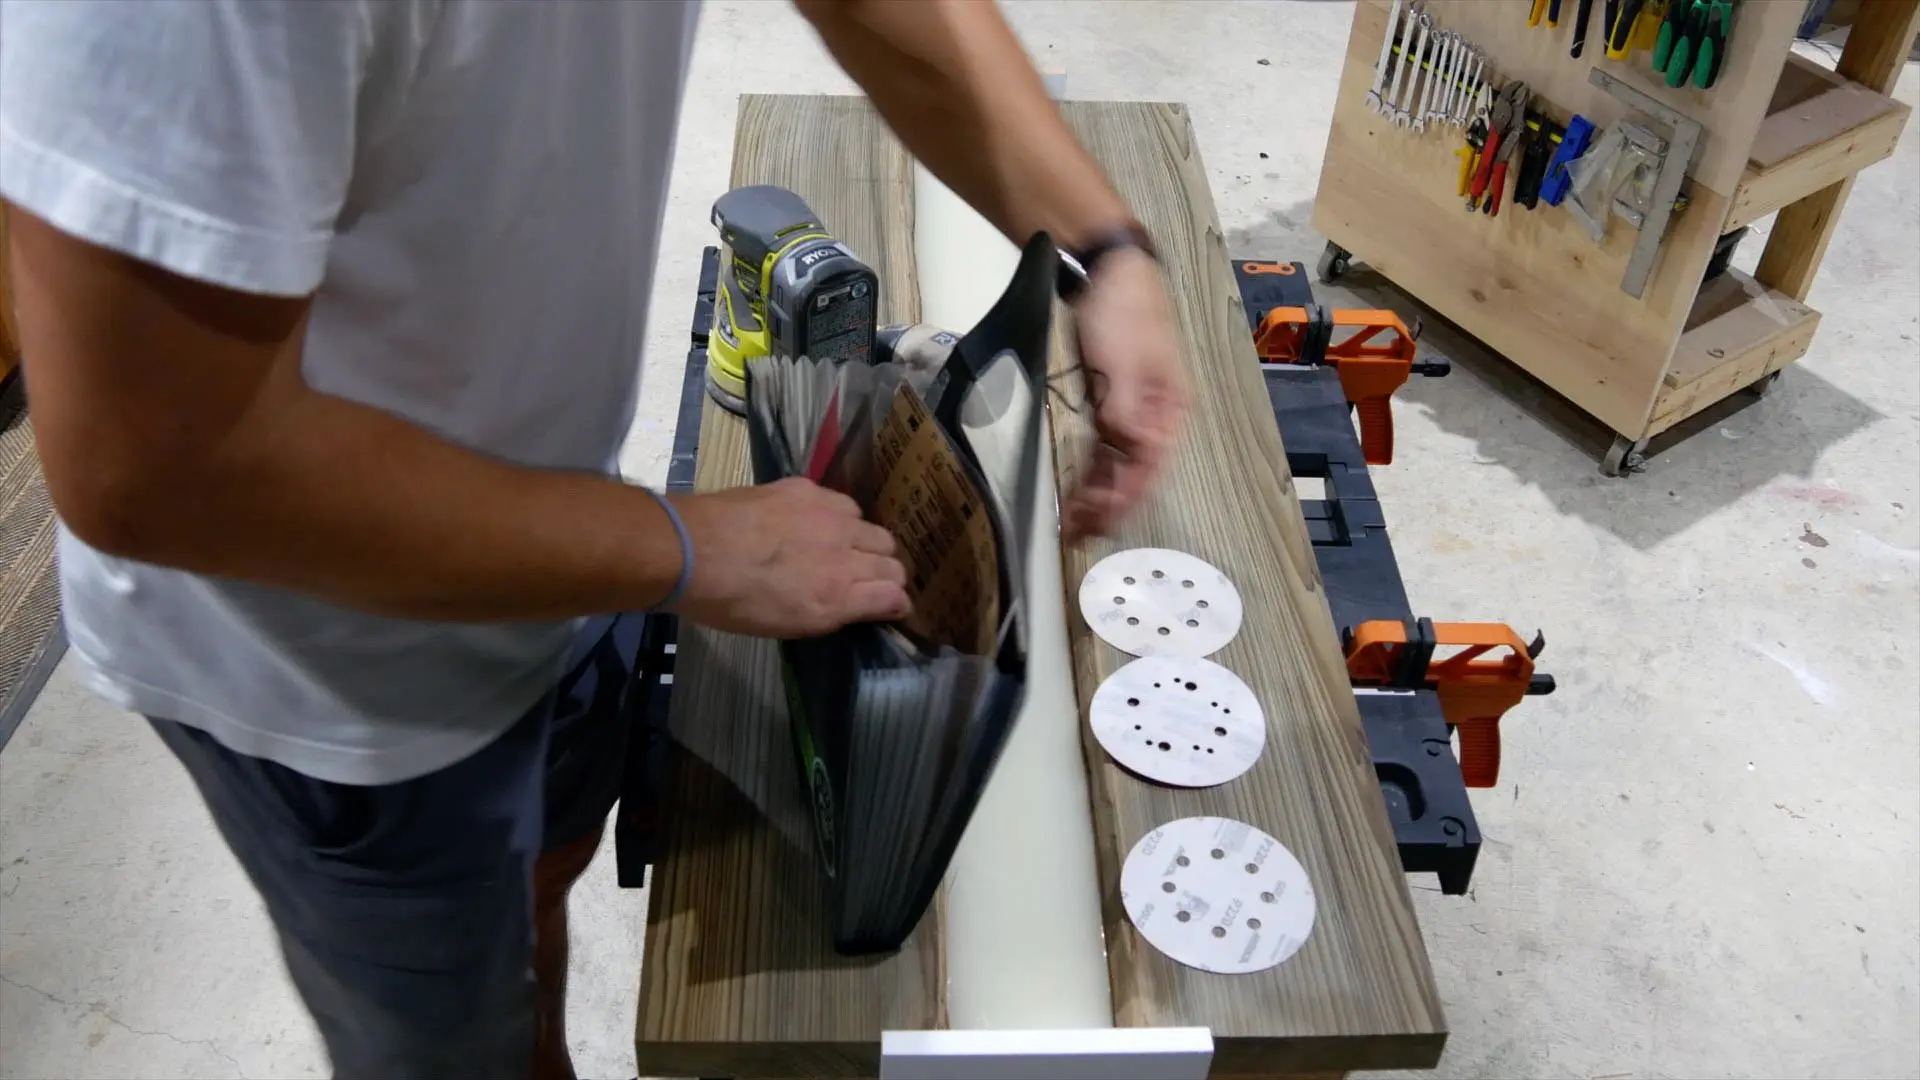
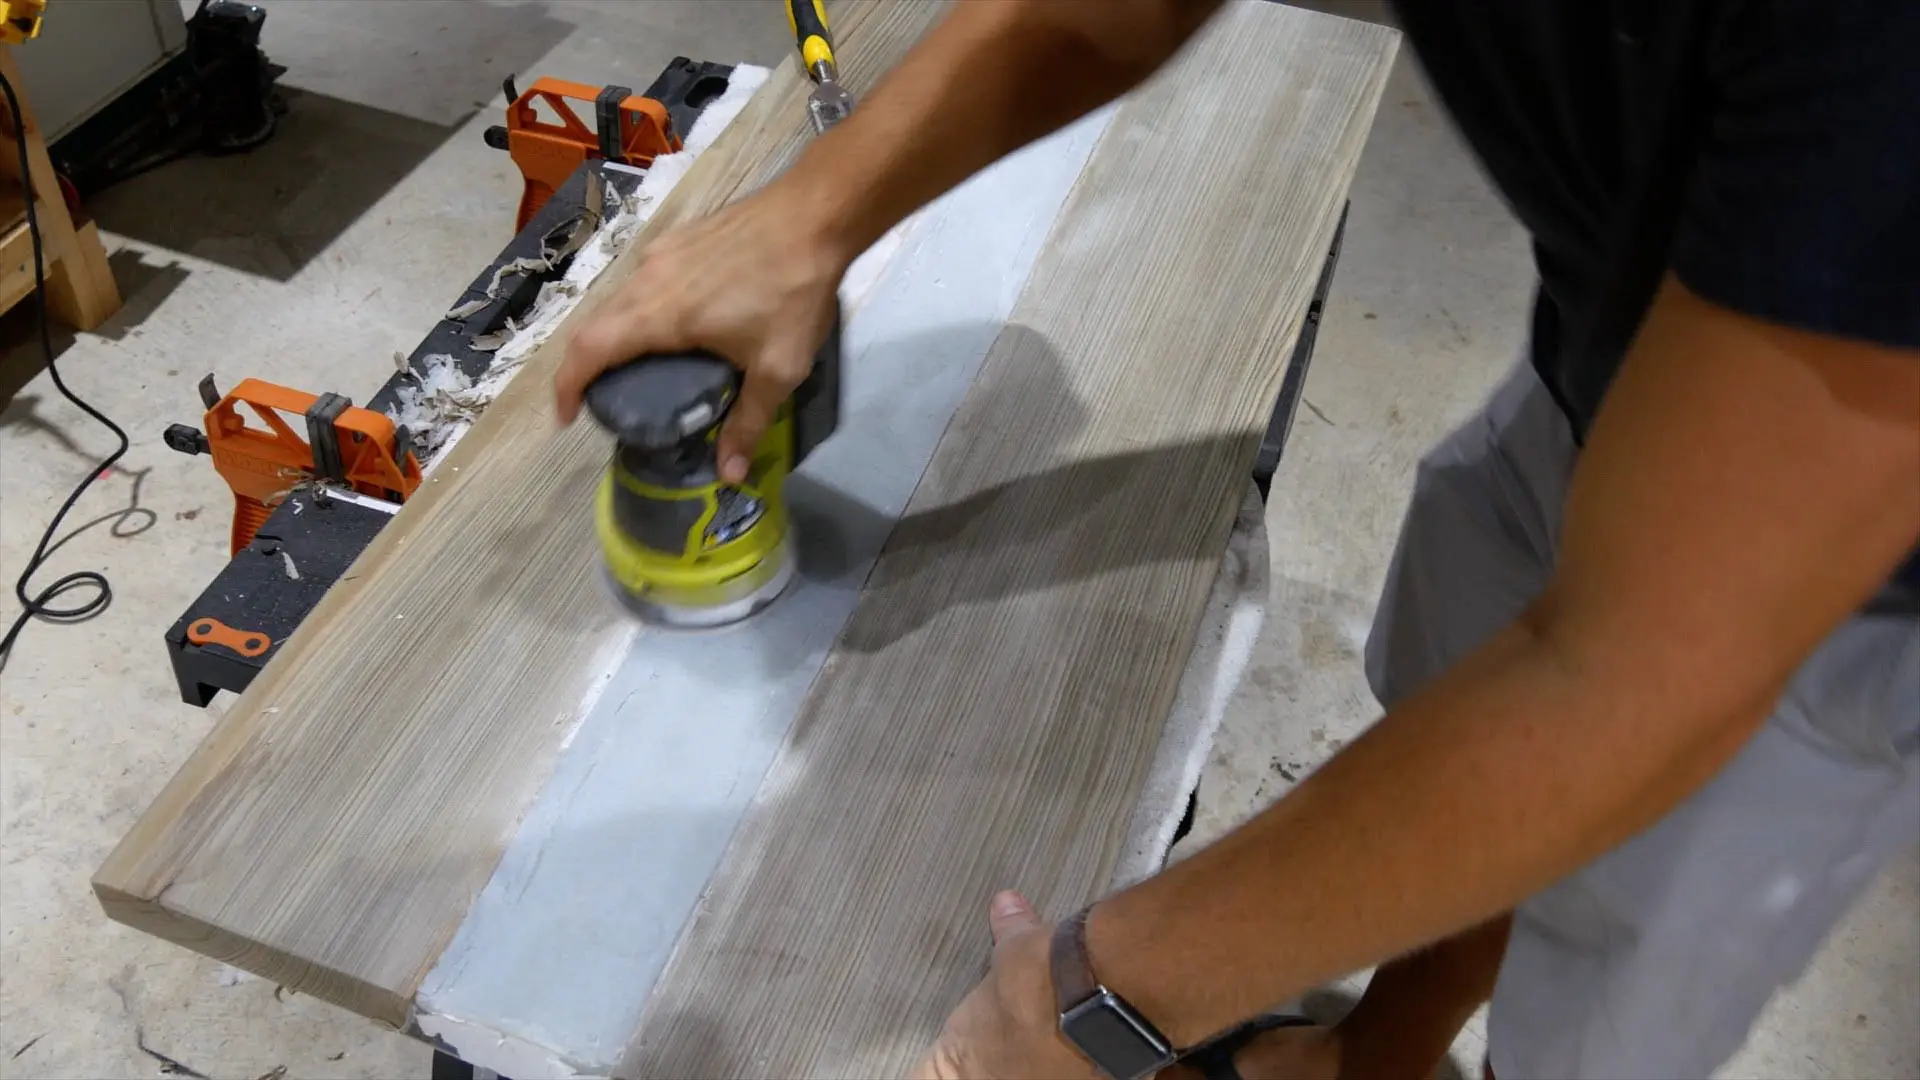
11 – Sand Epoxy River Table
Normally, I sand epoxy resin at the end of my project.
However, I sanded at this point in the project.
The sandpaper grits I used was 80 grit, 100 grit, 120 grit, 150 grit, 180 grit and 220 grit.

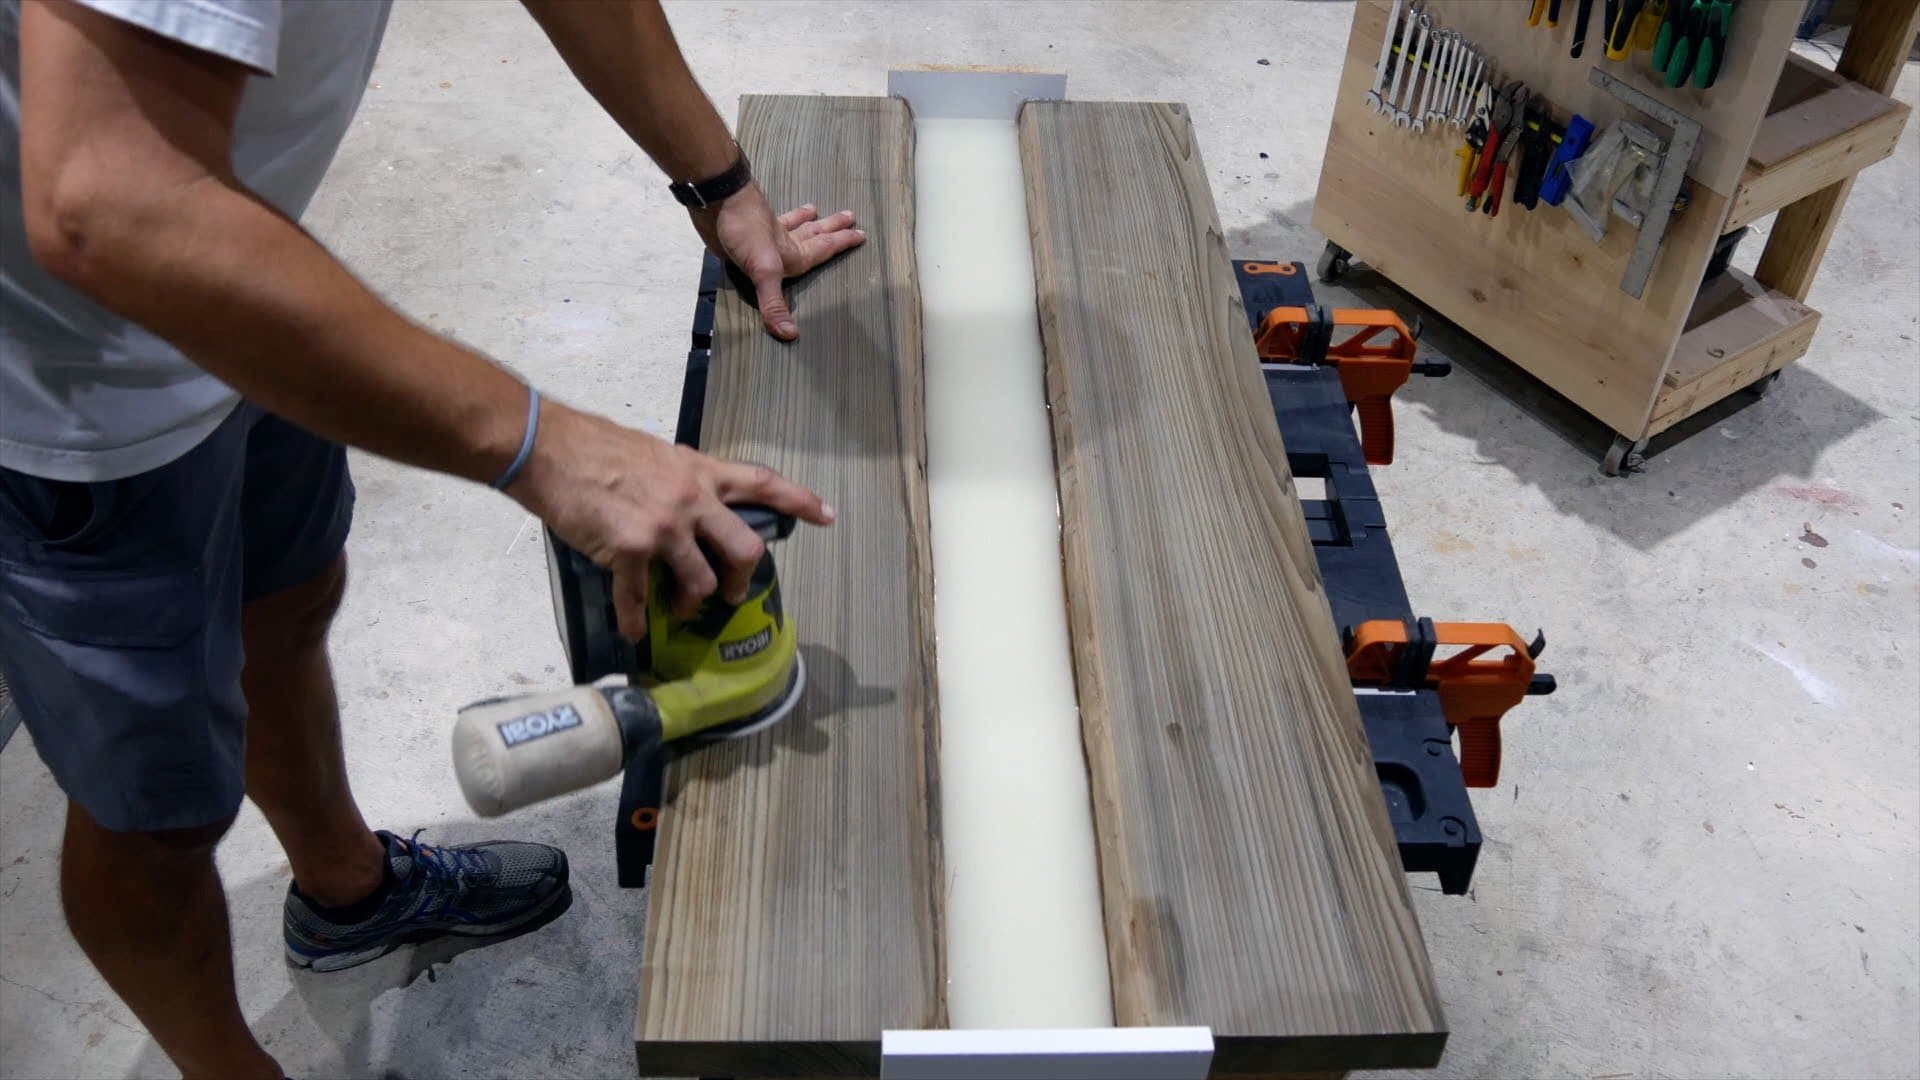

I knew I needed to sand more at the end, but only finish sanding (220 grit).
Keep in mind, Sinker Cypress is rather soft.
So, it doesn’t require sanding with low grits.
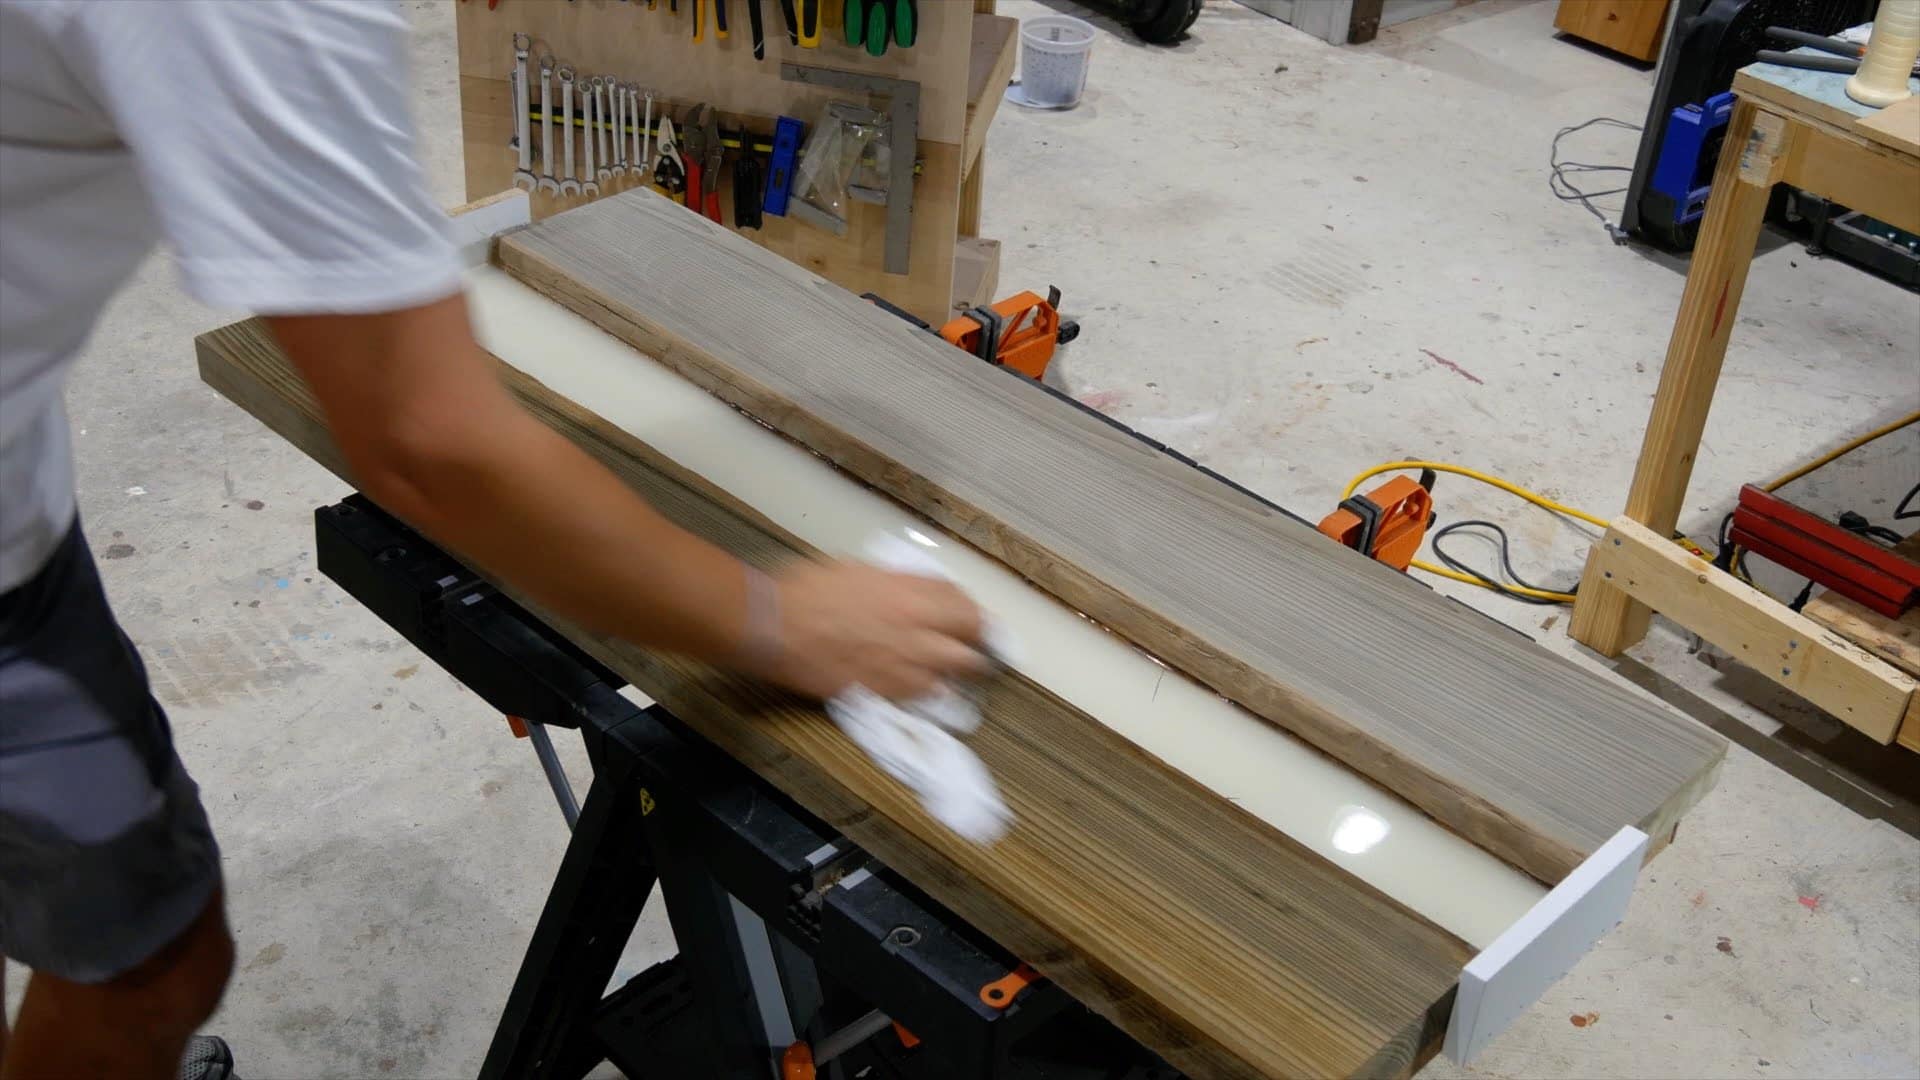
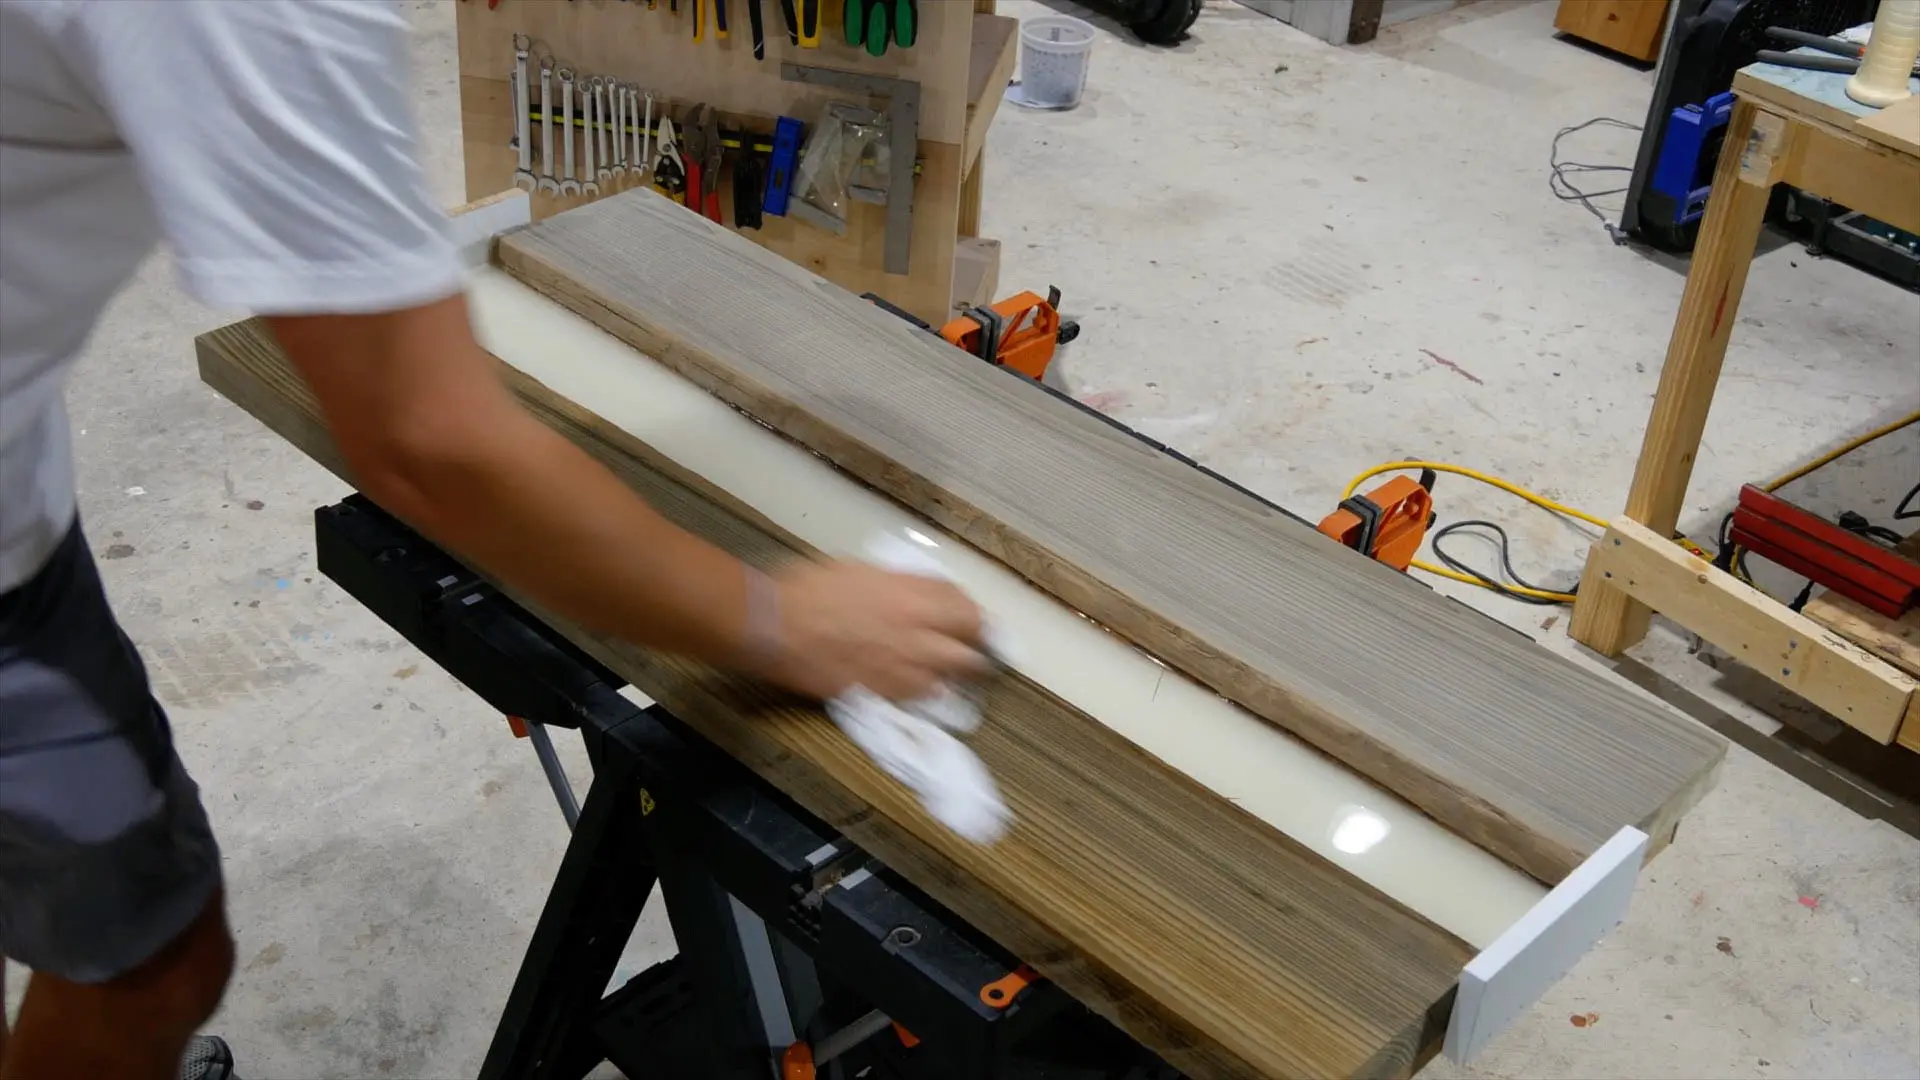
Once I sanded through all the grits, I wiped the wood with a damp cloth to raise the grain.
Then, I sanded with 220 grit one more time.
This is the easiest way to get an extra smooth surface.
I used my air compressor to remove the loose debris from the top of the table..

12 – Third Epoxy Resin Pour
The mixture of the third pour was exactly the same as the previous 2 pours.
I waited 24 hours after the second pour, used 24 ounces of epoxy resin, and mixed 2 ounces of glow powder.
Next, I decided to use the heat gun to move the epoxy resin around a bit since this pour was rather thick.
I removed the debris in the previous step so it was safe to use the heat gun. ;)


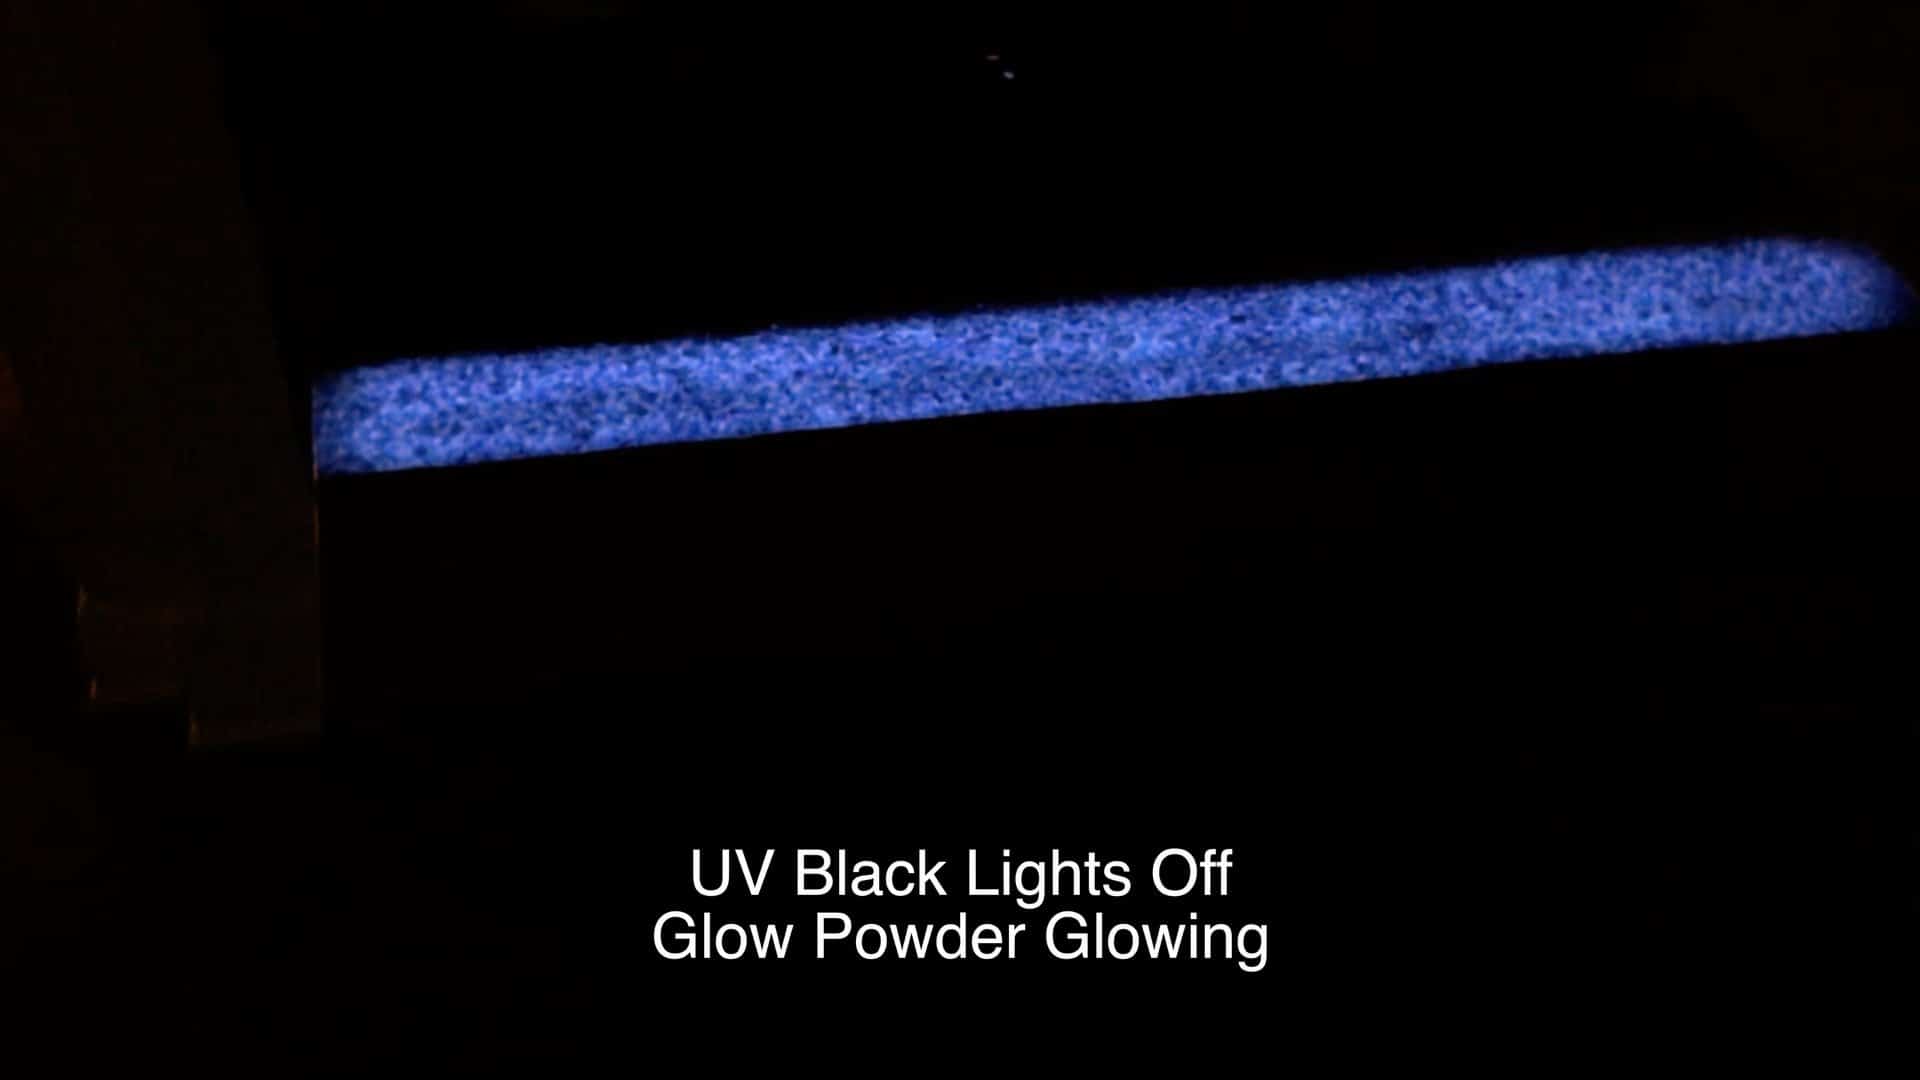
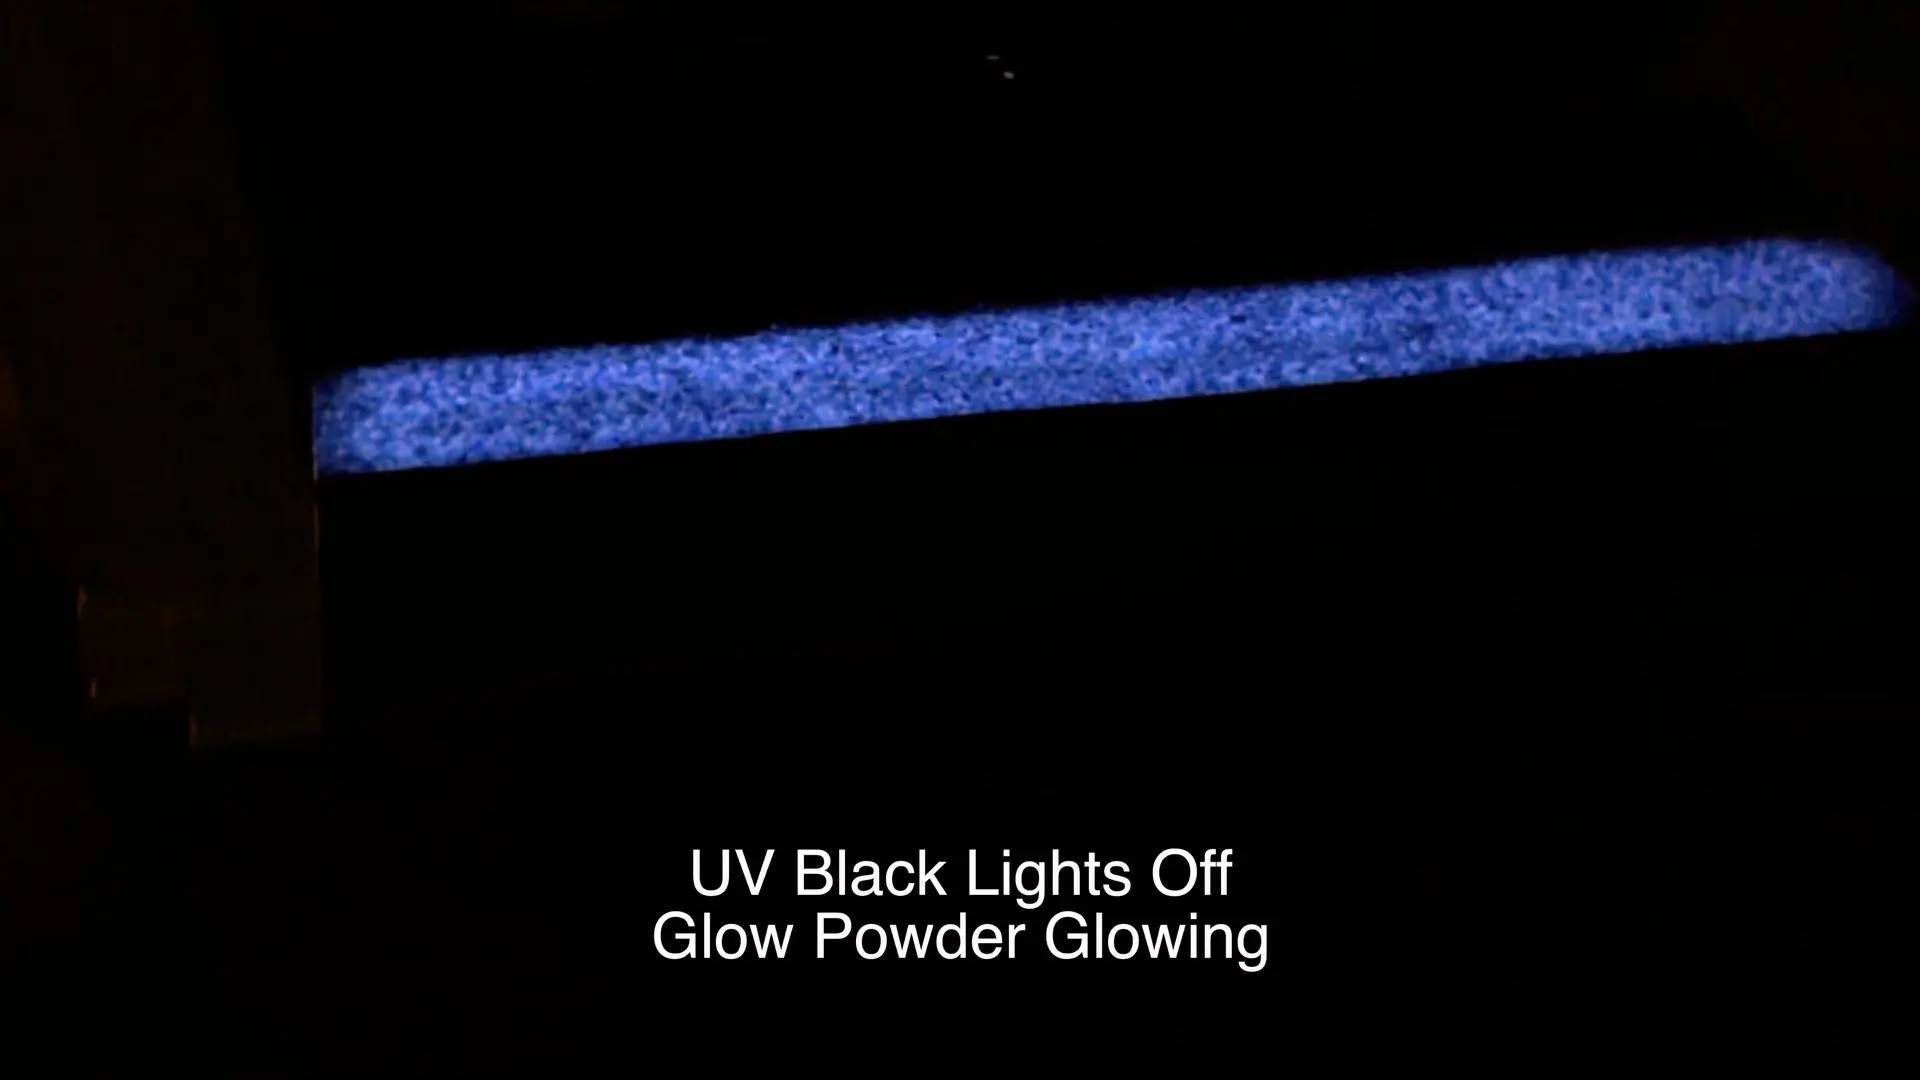
13 – Test Epoxy Glow Powder
I decided to test the glow powder with a black light while it was curing in the epoxy resin river table.
Additionally, I recommend using this black UV light to test glow powder.
To do this, I simply shined the UV black light directly on the glow powder for roughly 10 seconds.
As I mentioned previously, the light charges the resin table glow powder.
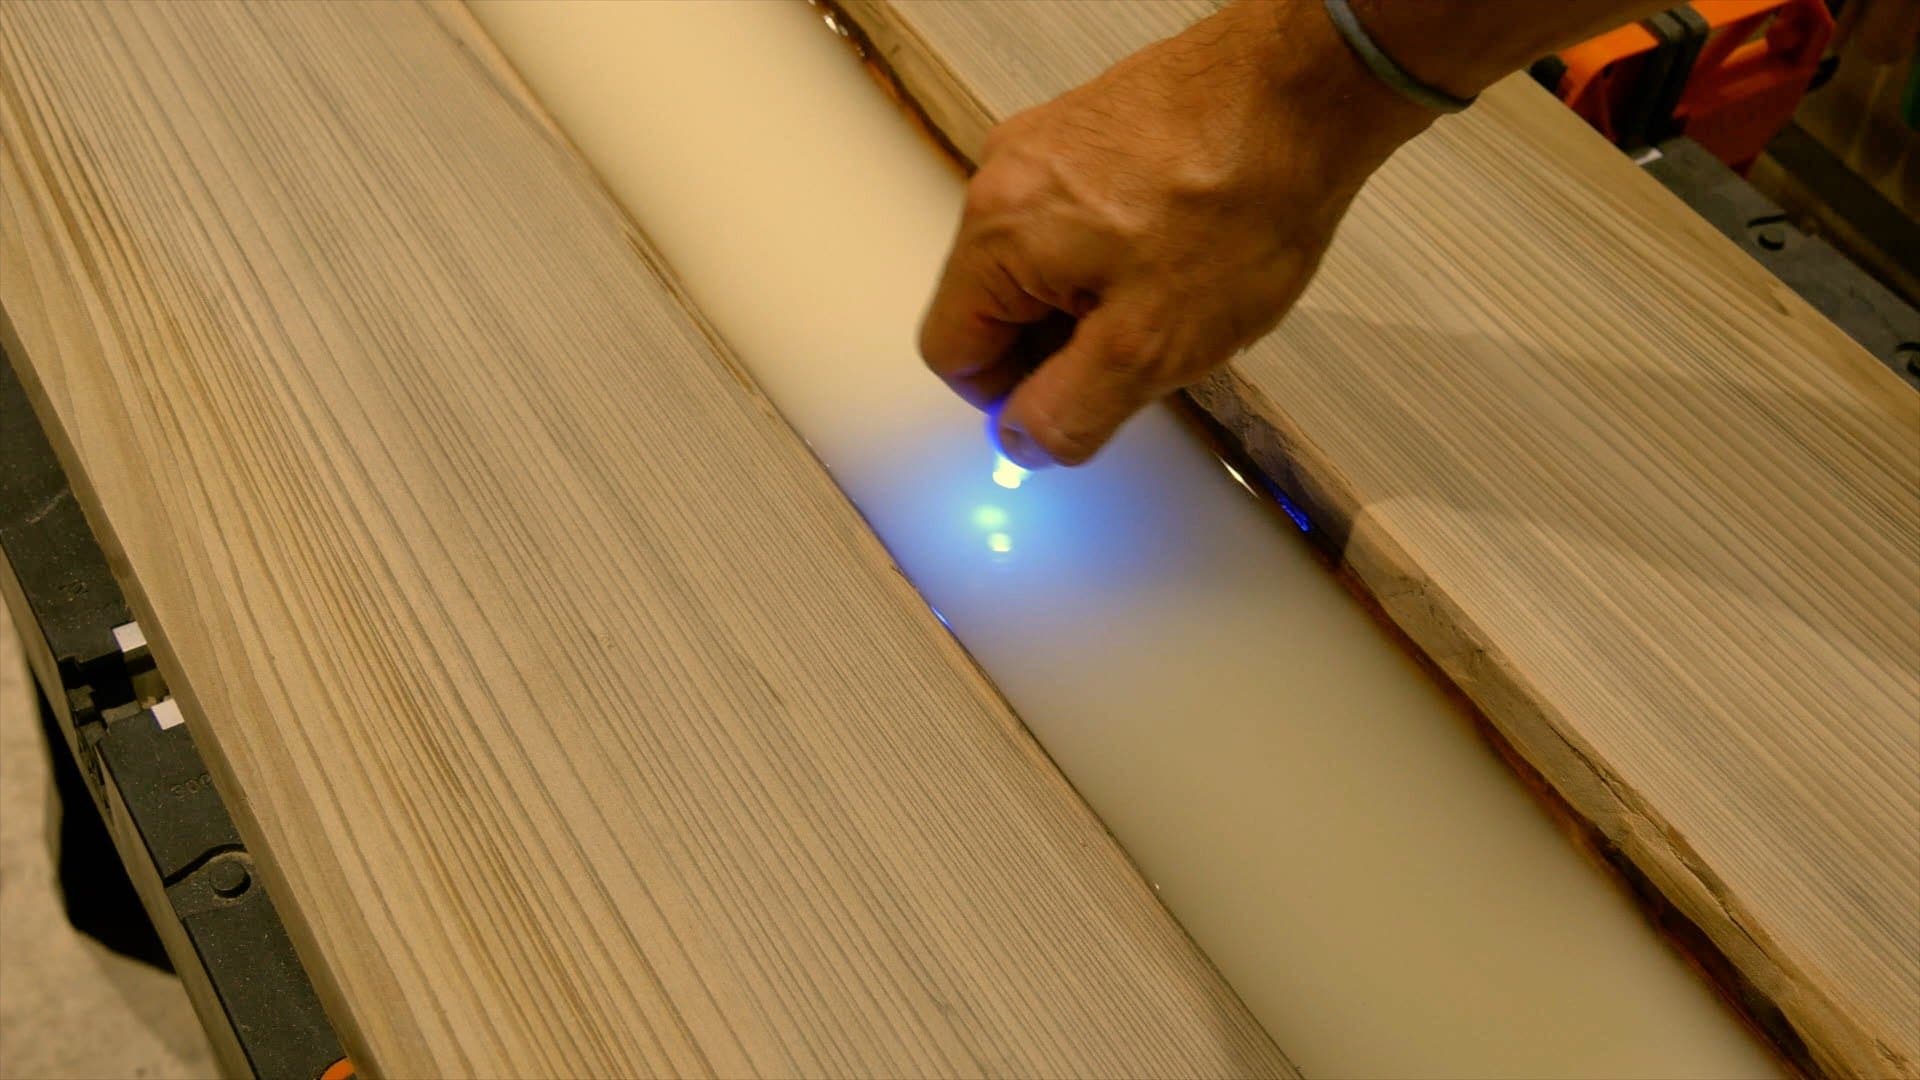
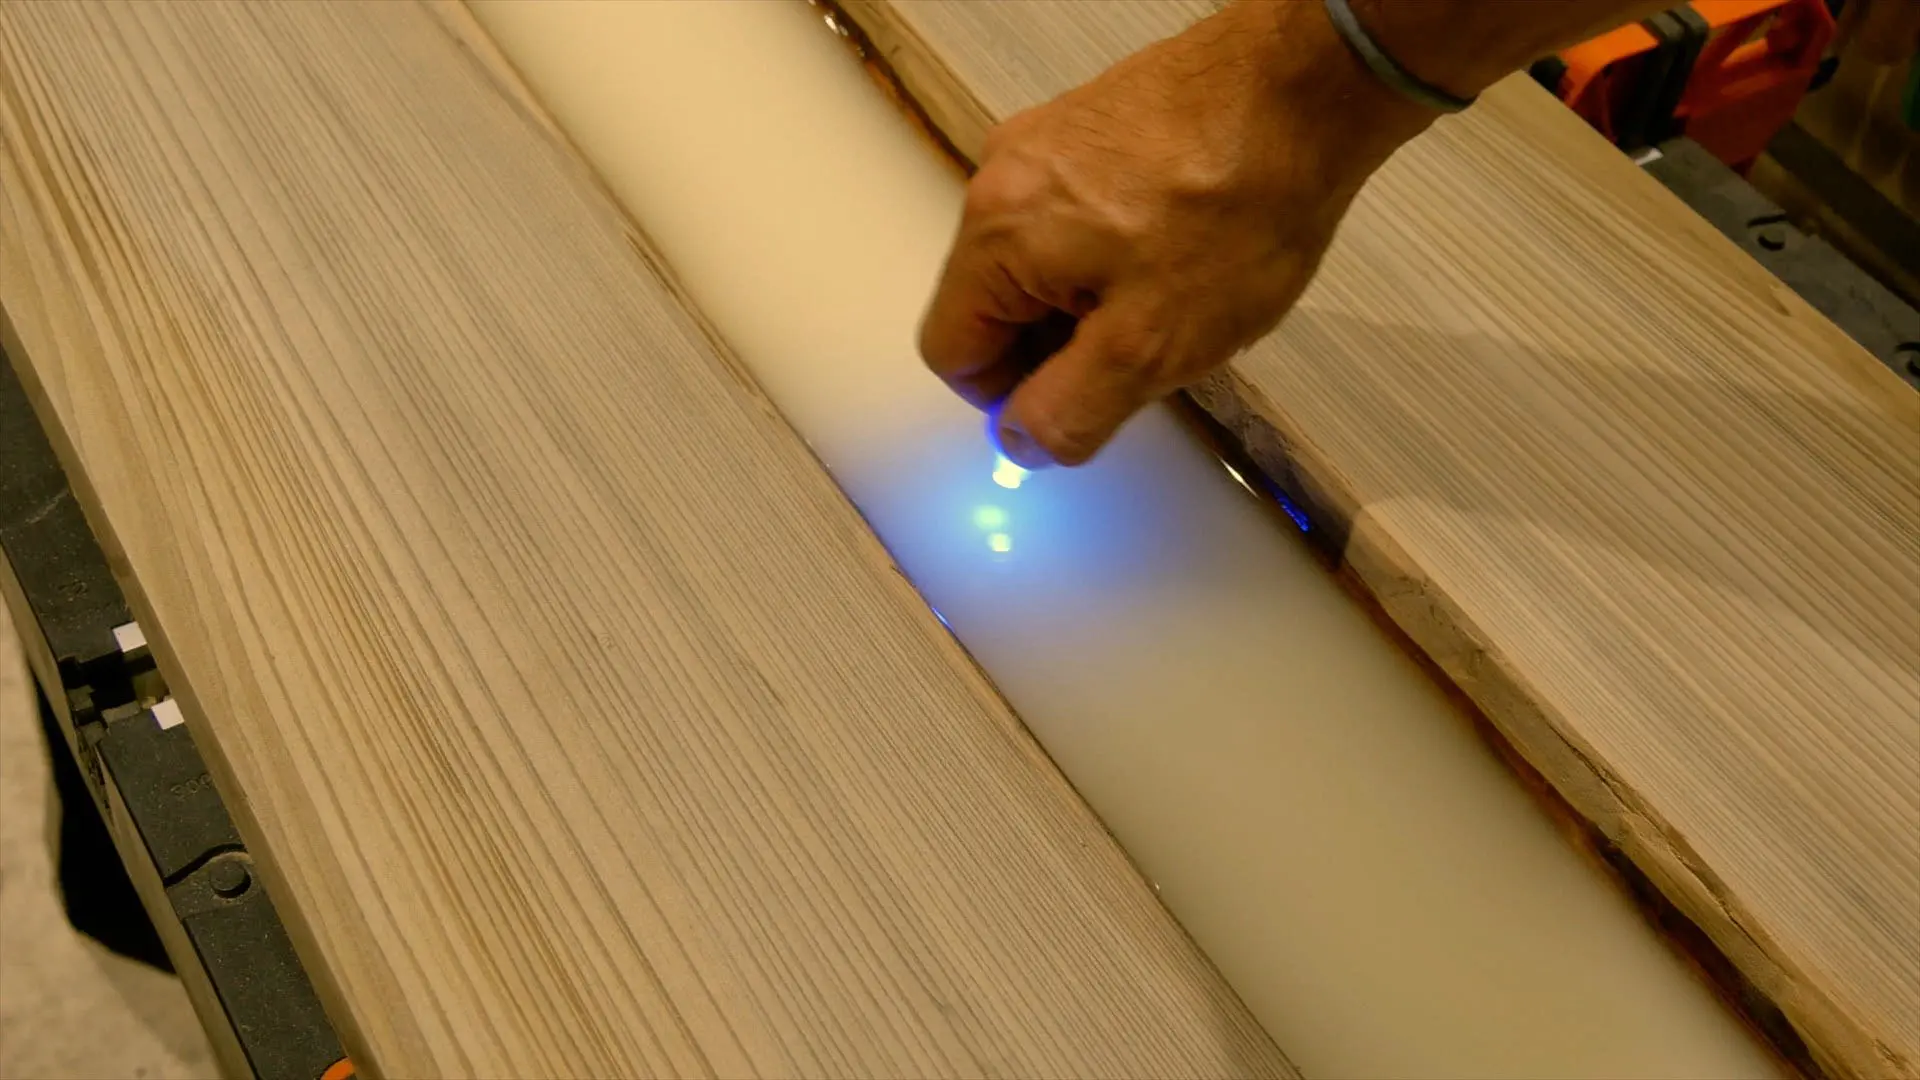


I knew I was done with the glow powder after this simple test.
Moreover, It was not my goal for the glow powder to shine bright.
Ultimately, I wanted more of a gentle glow, which is why I didn’t use the 4:1 ratio as recommended by Art n Glow.
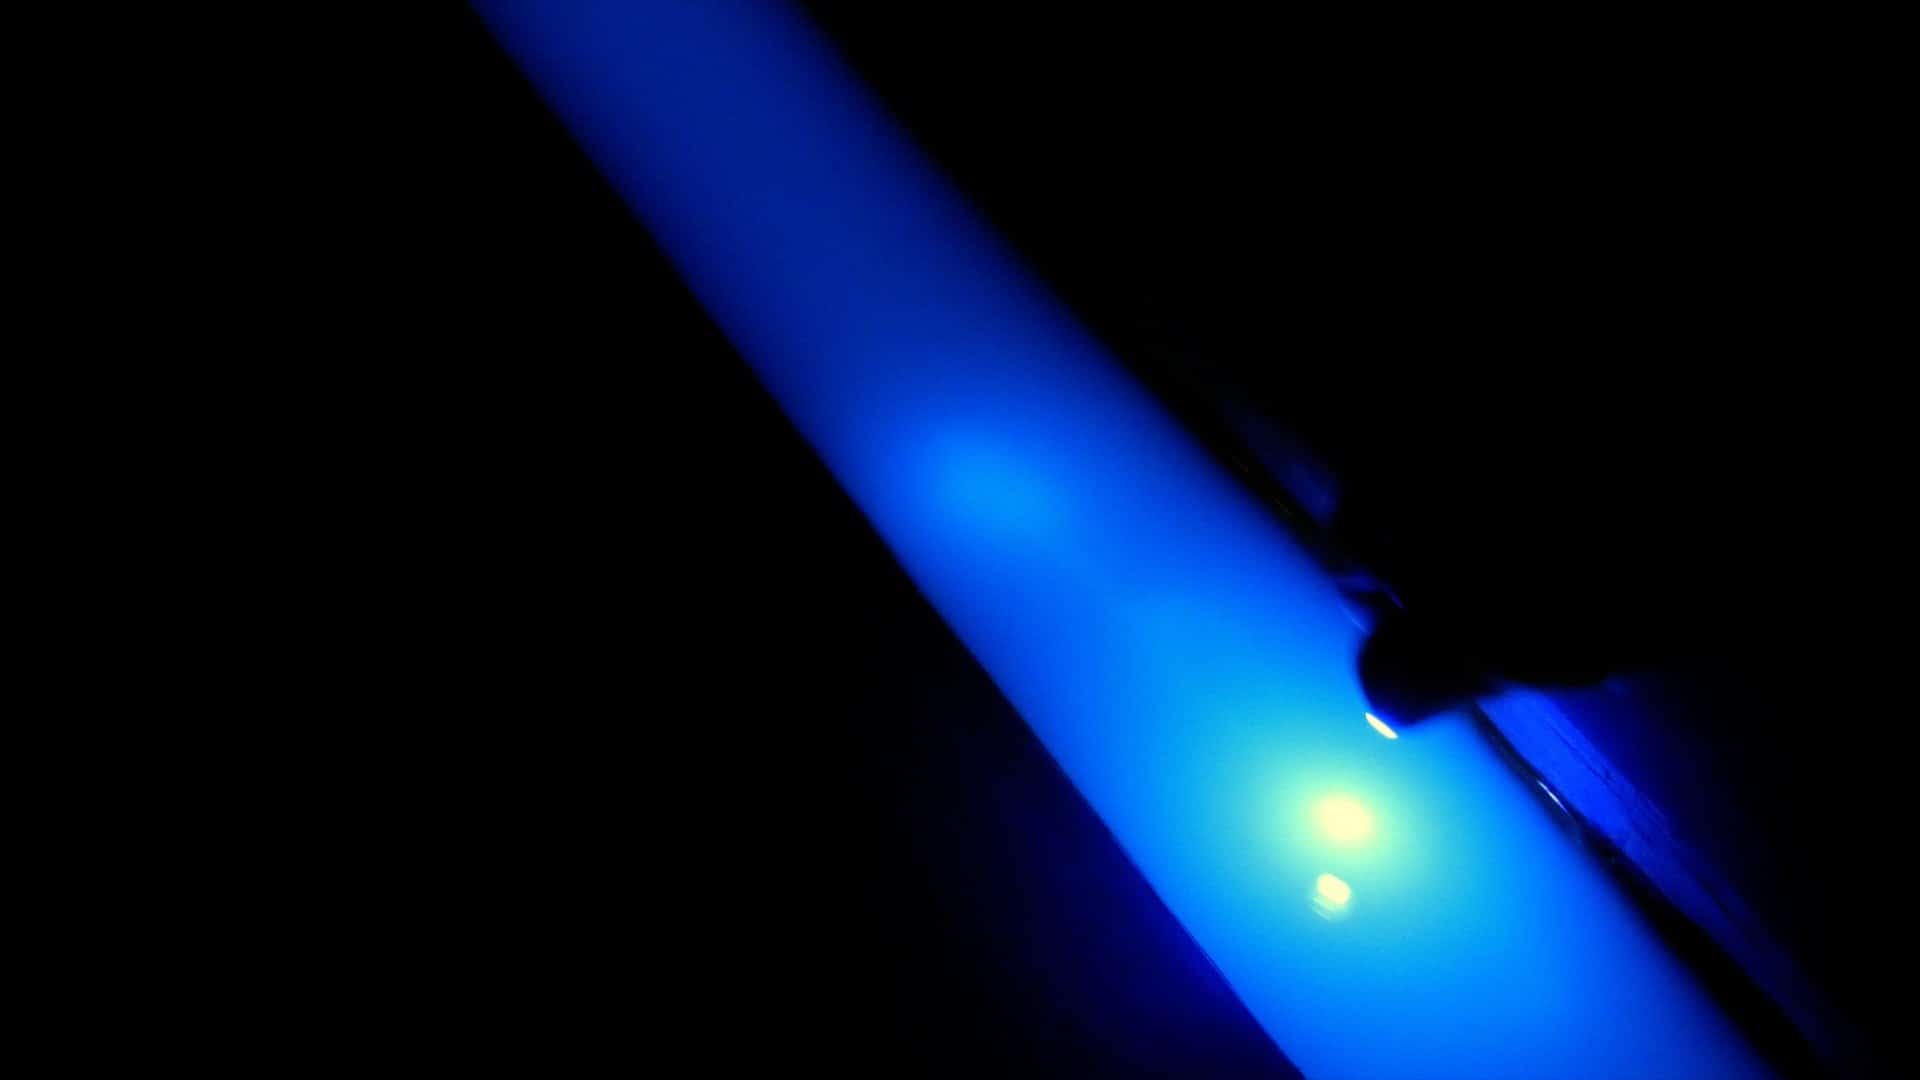
14 – Install LED Lights
I decided to purchase a UV black light in order to manually charge the glow powder during the day.
Since the table would be indoors and in a part of the house with very little sunlight, I knew the glow powder wouldn’t get an adequate charge.
Next, I tested the black lights when they arrived and they worked perfectly.

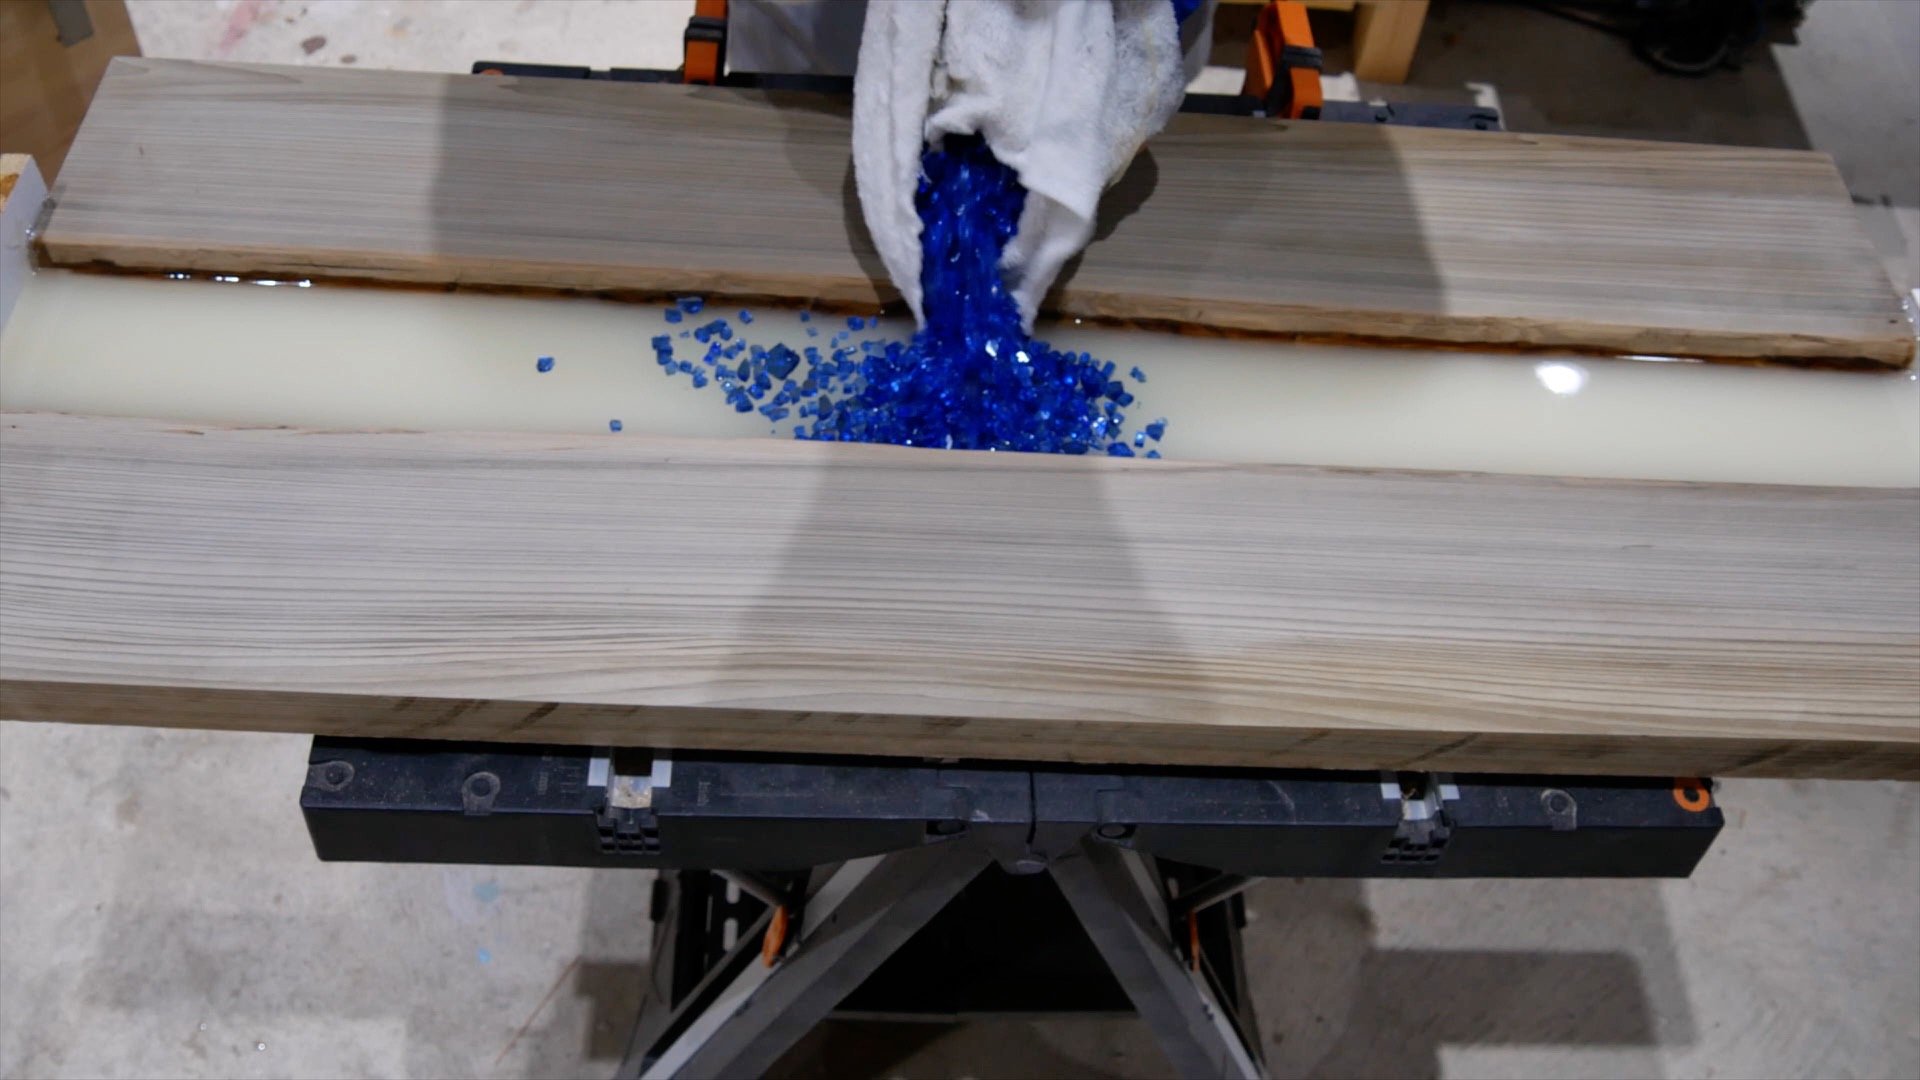
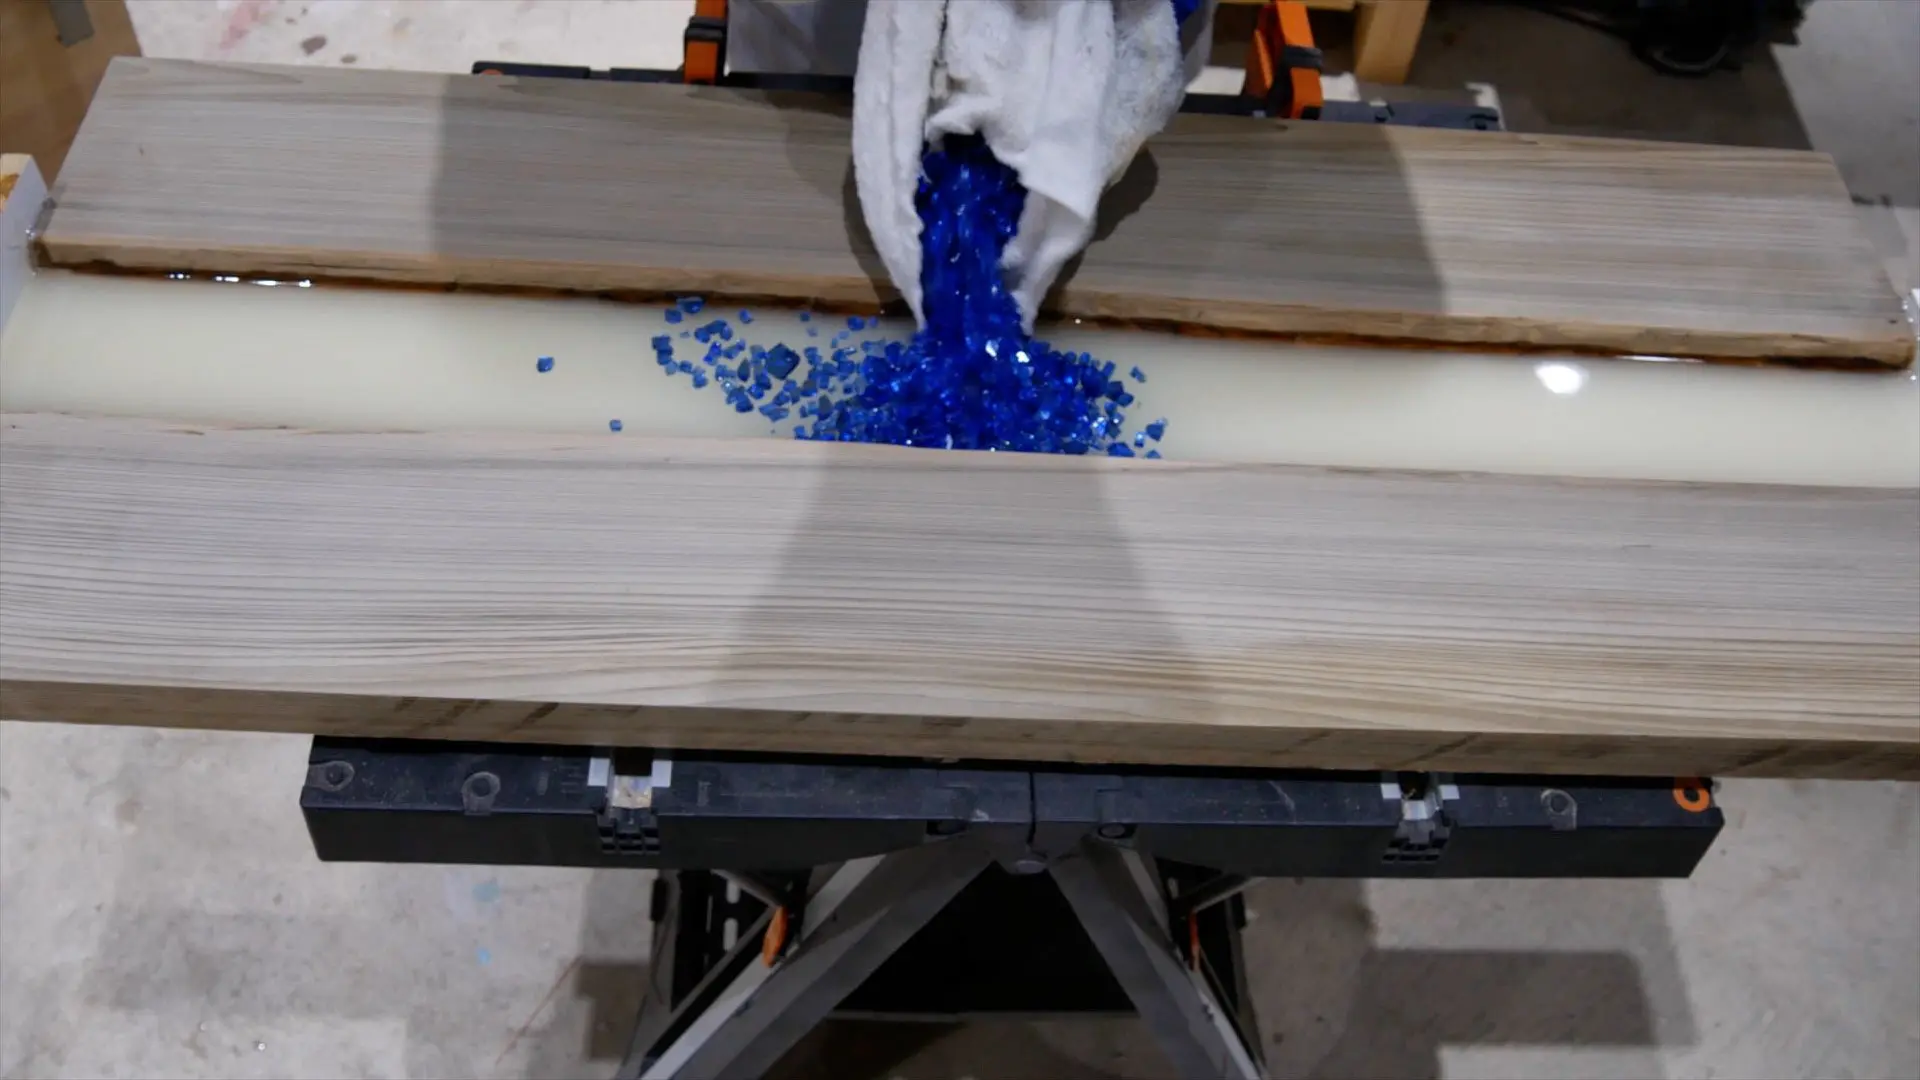
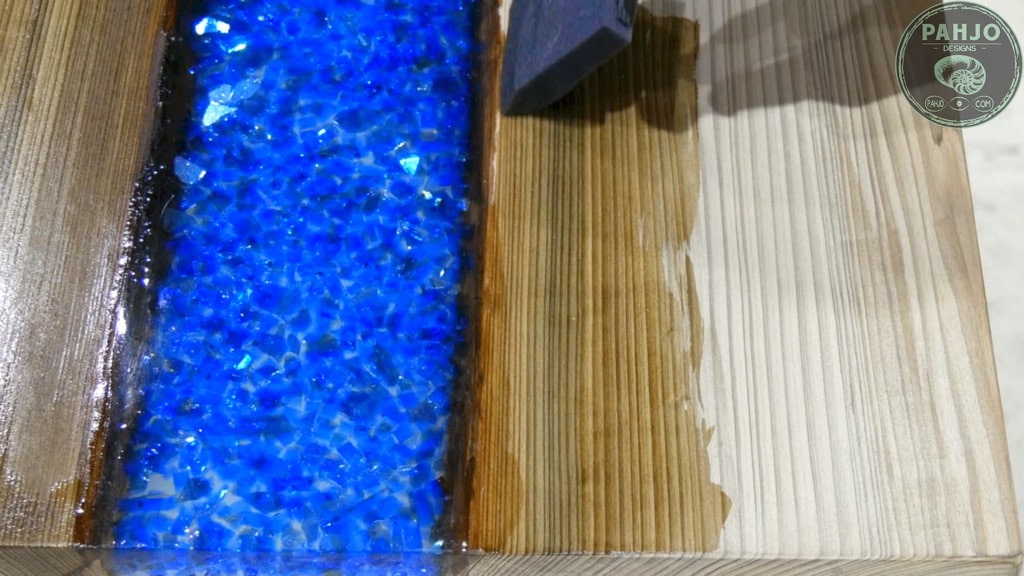
15 – Embedding Objects in Epoxy Resin River Table
I used fire glass on this table because it will be placed in the same room as the previous LED Epoxy Resin River Table I built a few months back.
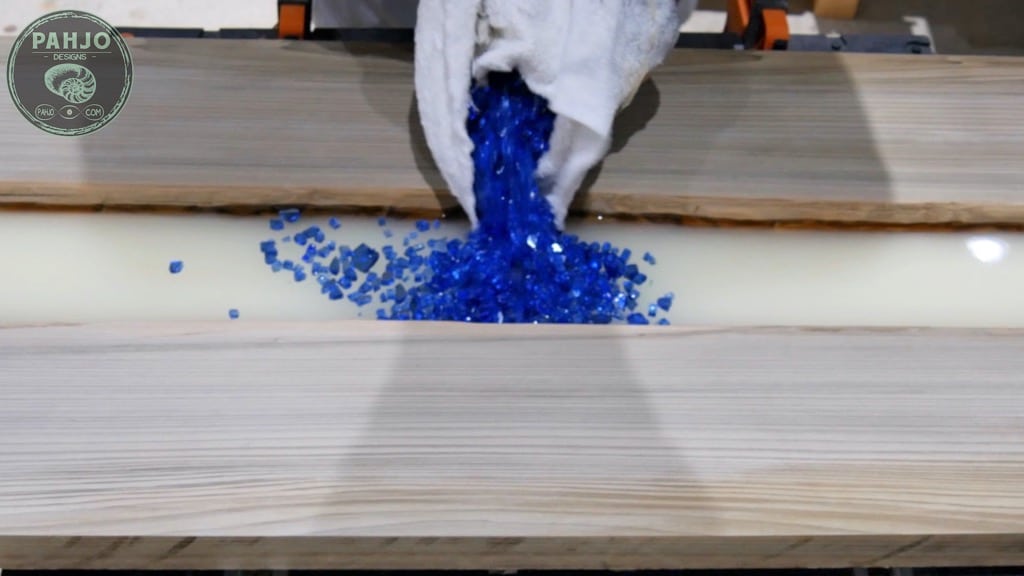
The fire glass is rather dusty out of the bag, so I cleaned the glass with water in a bucket.
Next, I put the fire glass in a towel overnight to dry.
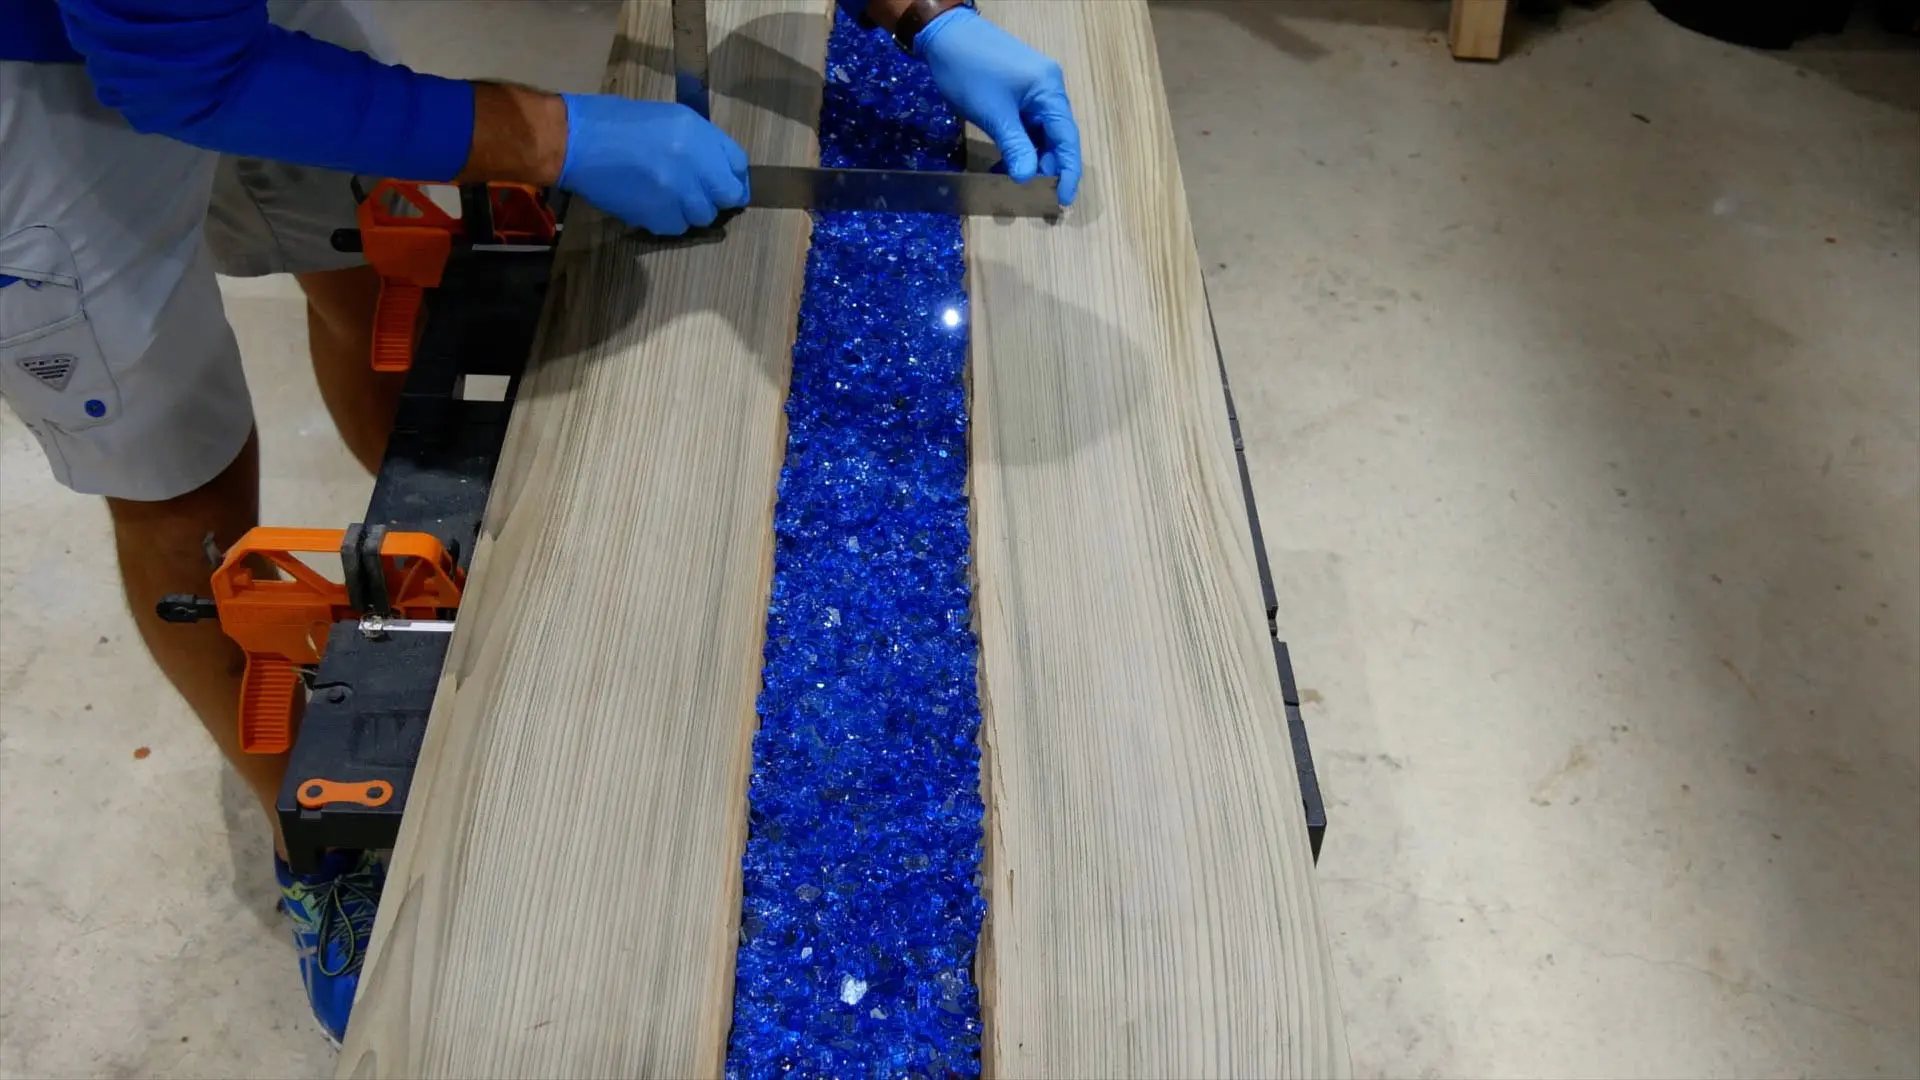
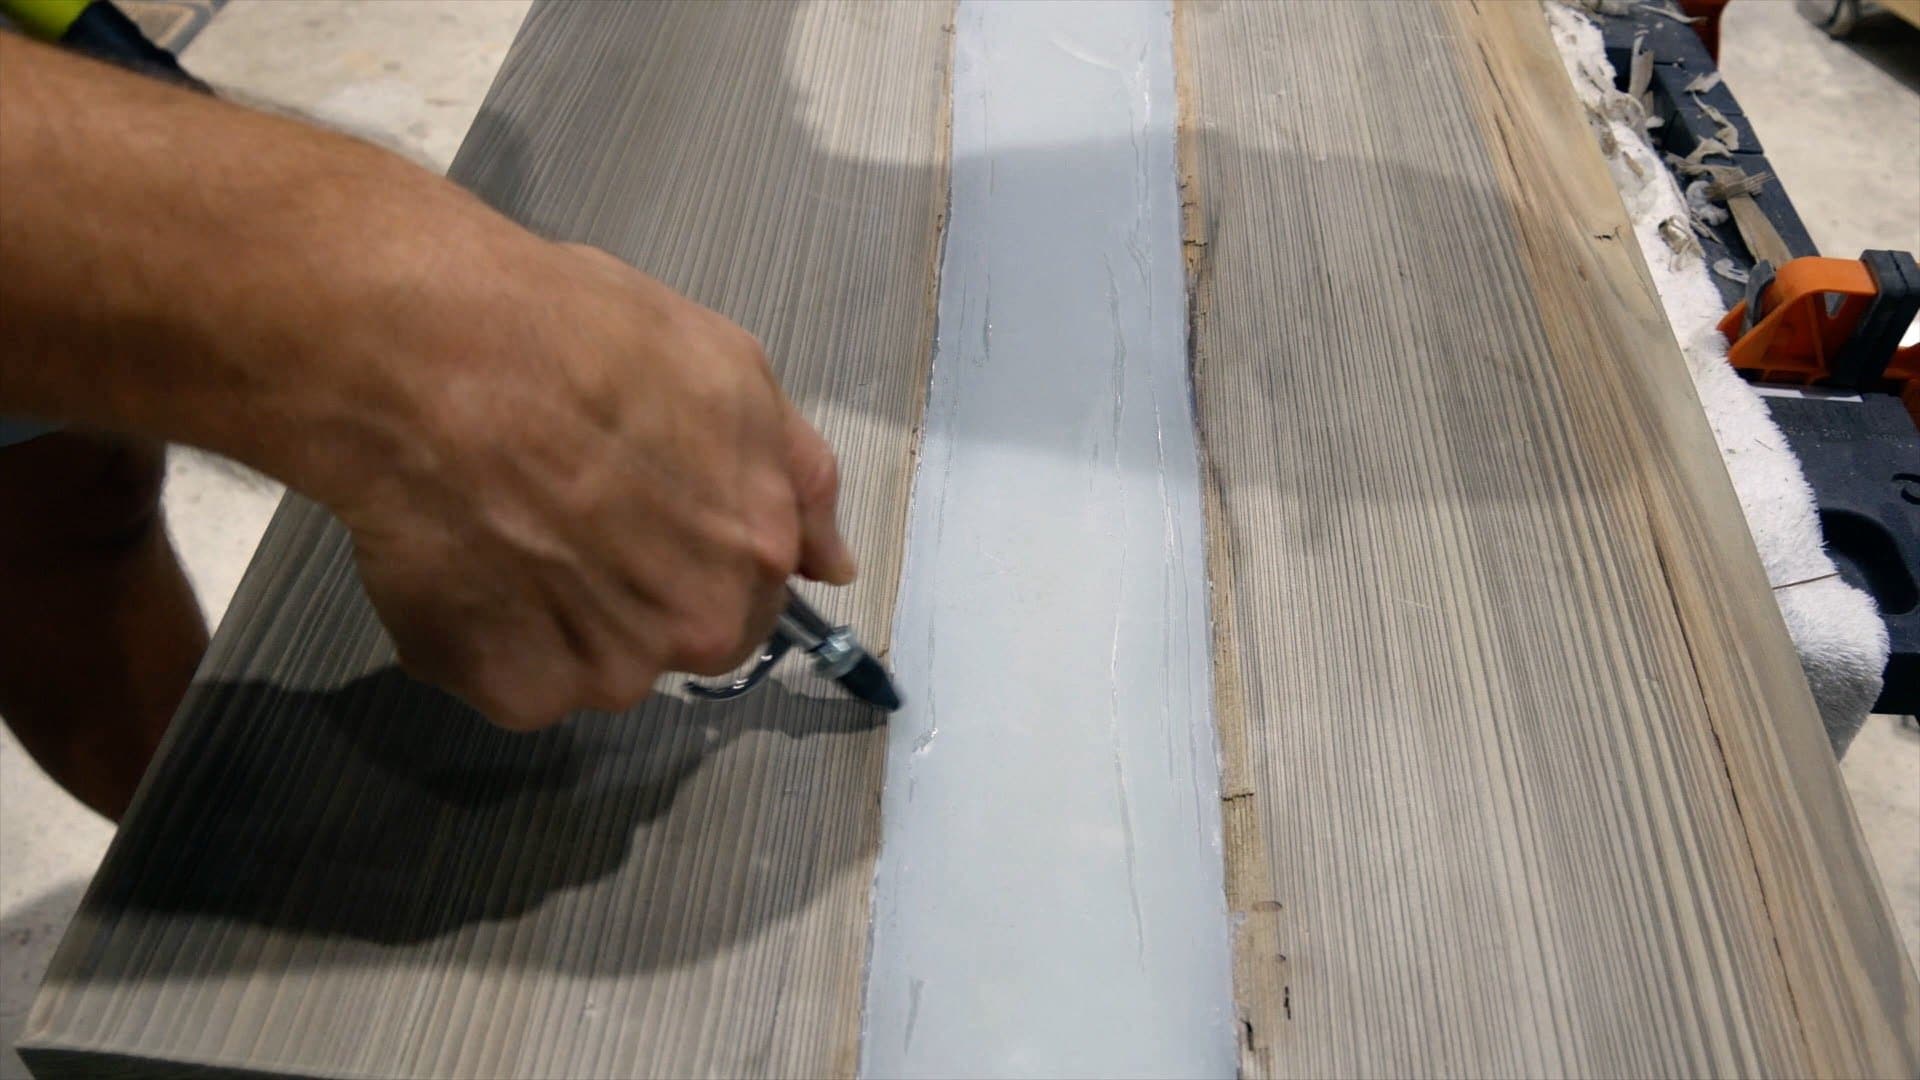
I poured the fire glass in the epoxy resin river table and spread it evenly across.
Then, I used a carpenter square to make sure the fire glass sat below the surface.

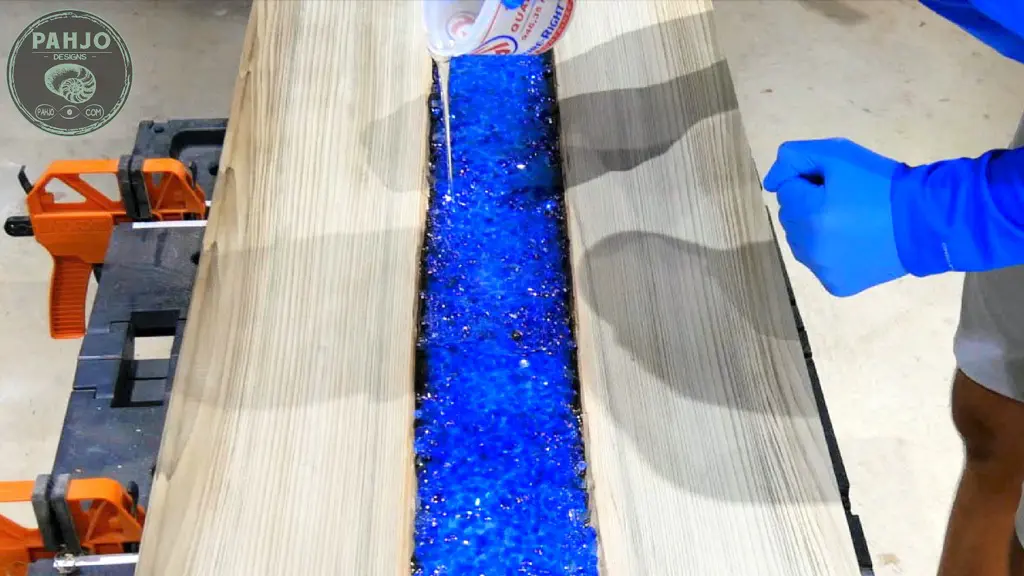
16 – Fourth Epoxy Resin Pour
The fourth epoxy resin pour was the same as the first 3 pours with two minor differences:
- No Glow Powder
- Mixed 2 24 ounce batches instead of one.
First, I mixed both 24 ounce batches in separate containers.
Next, I poured the first 24 ounces and removed the bubbles with my mini butane torch.
Then, I immediately poured the last 24 ounces and made sure I got the epoxy resin level with the top of each piece of wood.
I removed the bubbles in the same manner as the first 24 ounces.

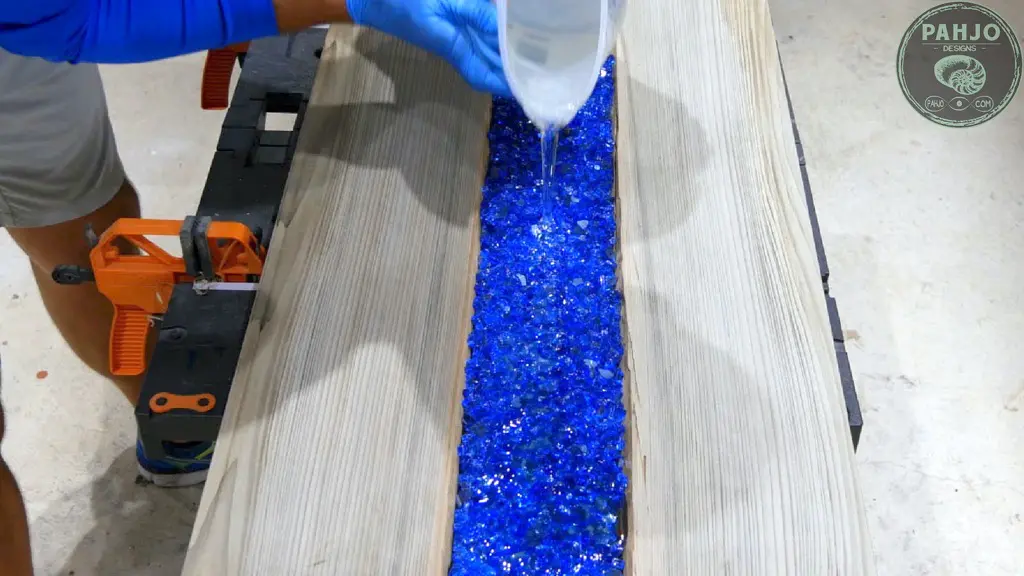
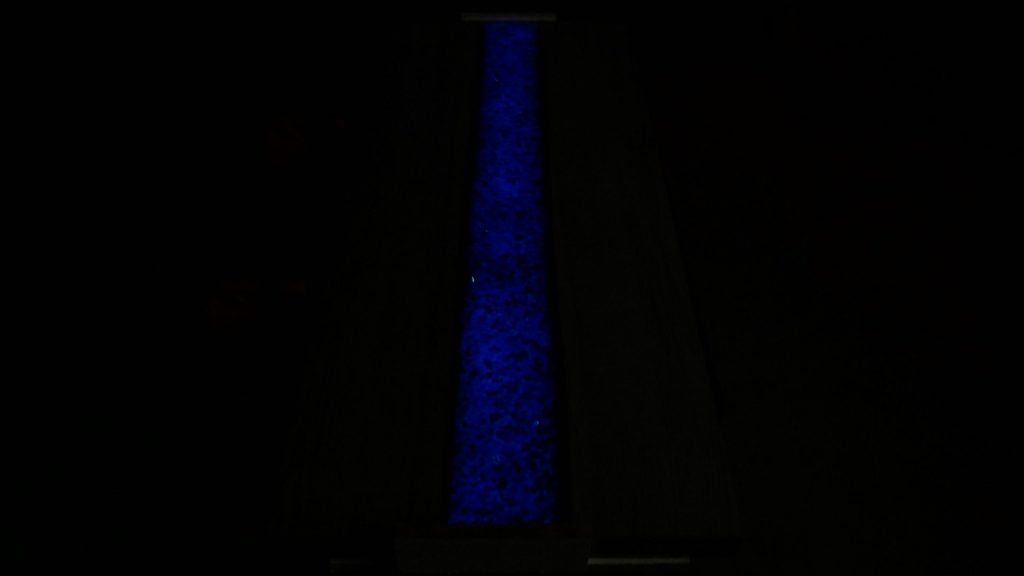
Finally, I let the epoxy resin cure for 48 hours.
Afterwards, I turned off the lights and I was surprised at how bright the river table glowed in the dark.

17 – Remove Epoxy River Table Mold
I really created more work for myself on my previous sinker cypress LED table.
Ultimately, a ton of epoxy resin leaked between the wood and melamine.
Not only did it waste epoxy resin, but I also made it more difficult to remove the melamine.
So, I implemented a few improved techniques on this table.
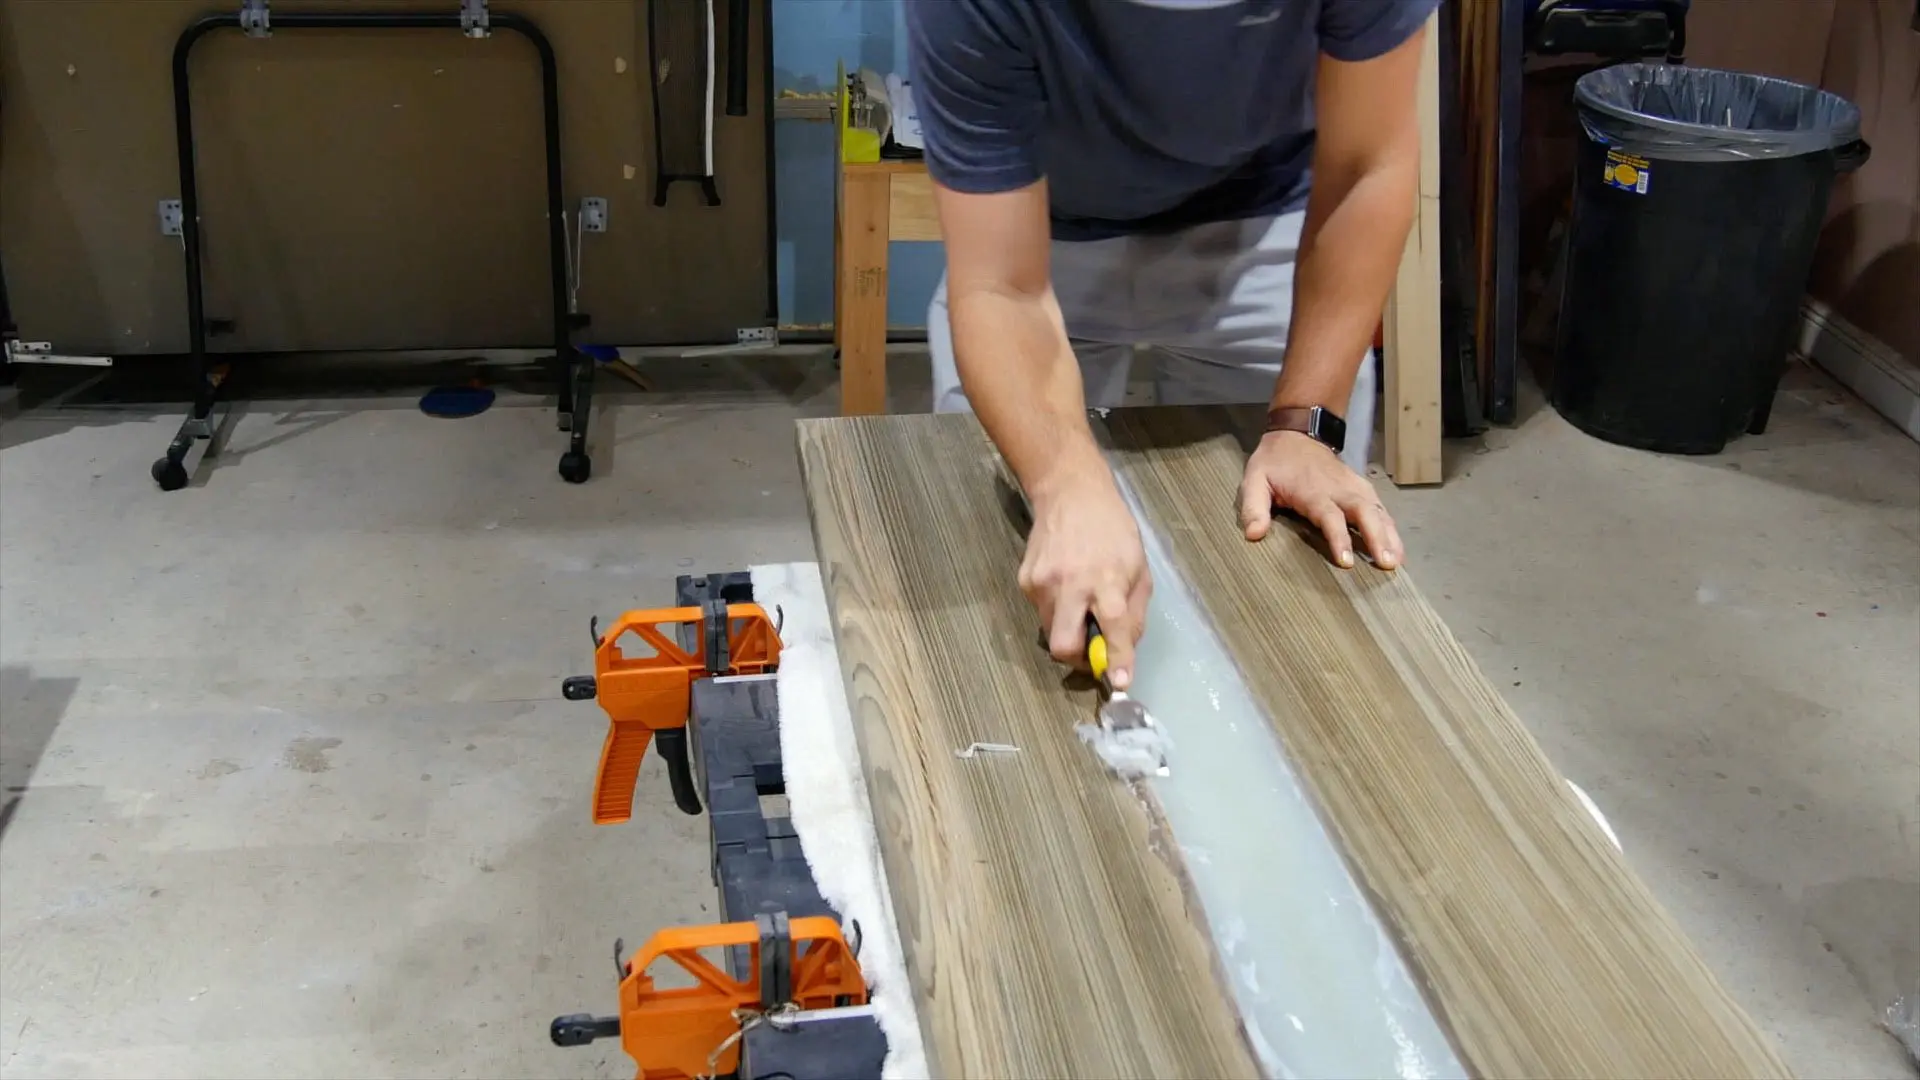
- First, I sealed the bottom of the wood with silicon caulk.
- Second, I sealed the both ends of the table with hot glue.
In short, I sealed this epoxy resin river table as best as I could and It was SO WORTH IT.

The melamine removed VERY easily.
Also, I used a rubber mallet and my utility pry bar.
There was virtually no epoxy resin to scrape from the underside of the table.
I used my chisel to remove the excess silicon and hot glue from the underside of the epoxy river table.


18 – Sand Resin Table Underside
First, I sanded the underside of the table with 80 grit, 120 grit, and 220 grit.
Next, I used my air compressor to remove the remaining debris.


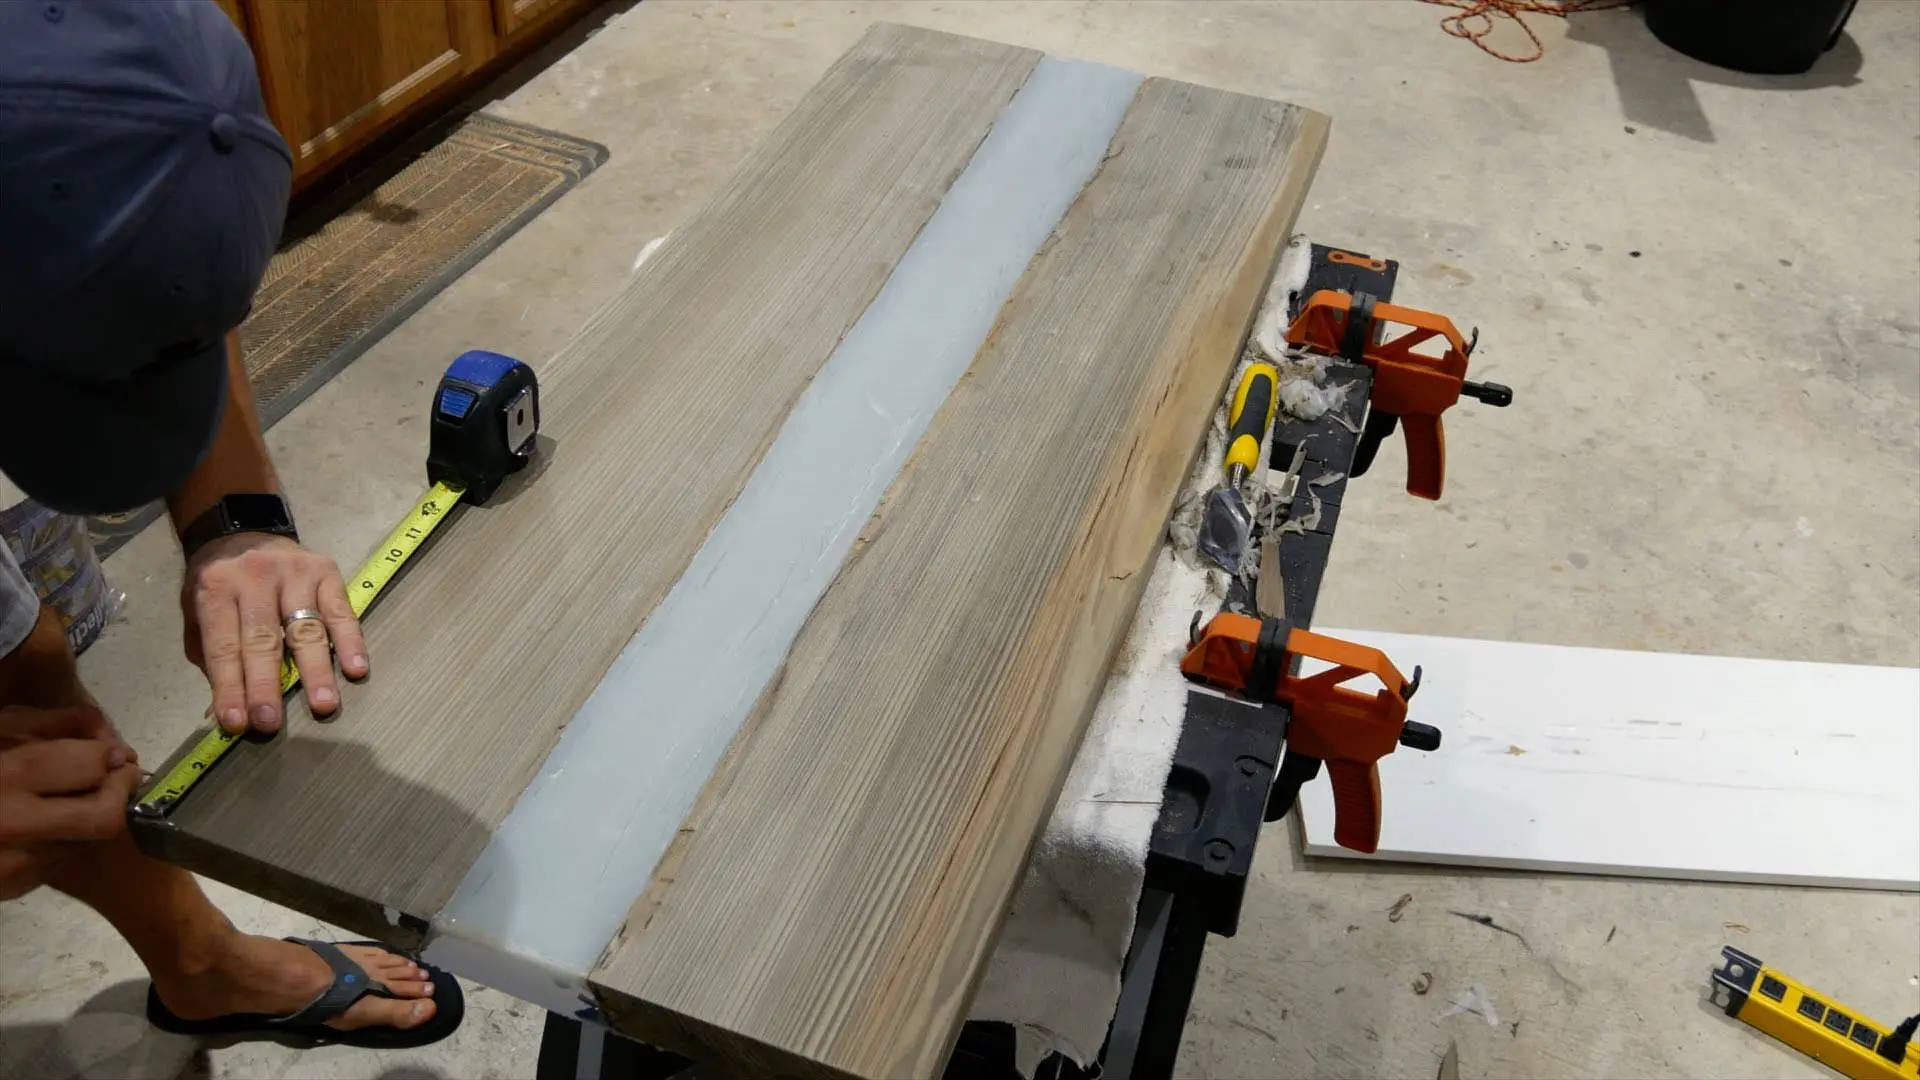
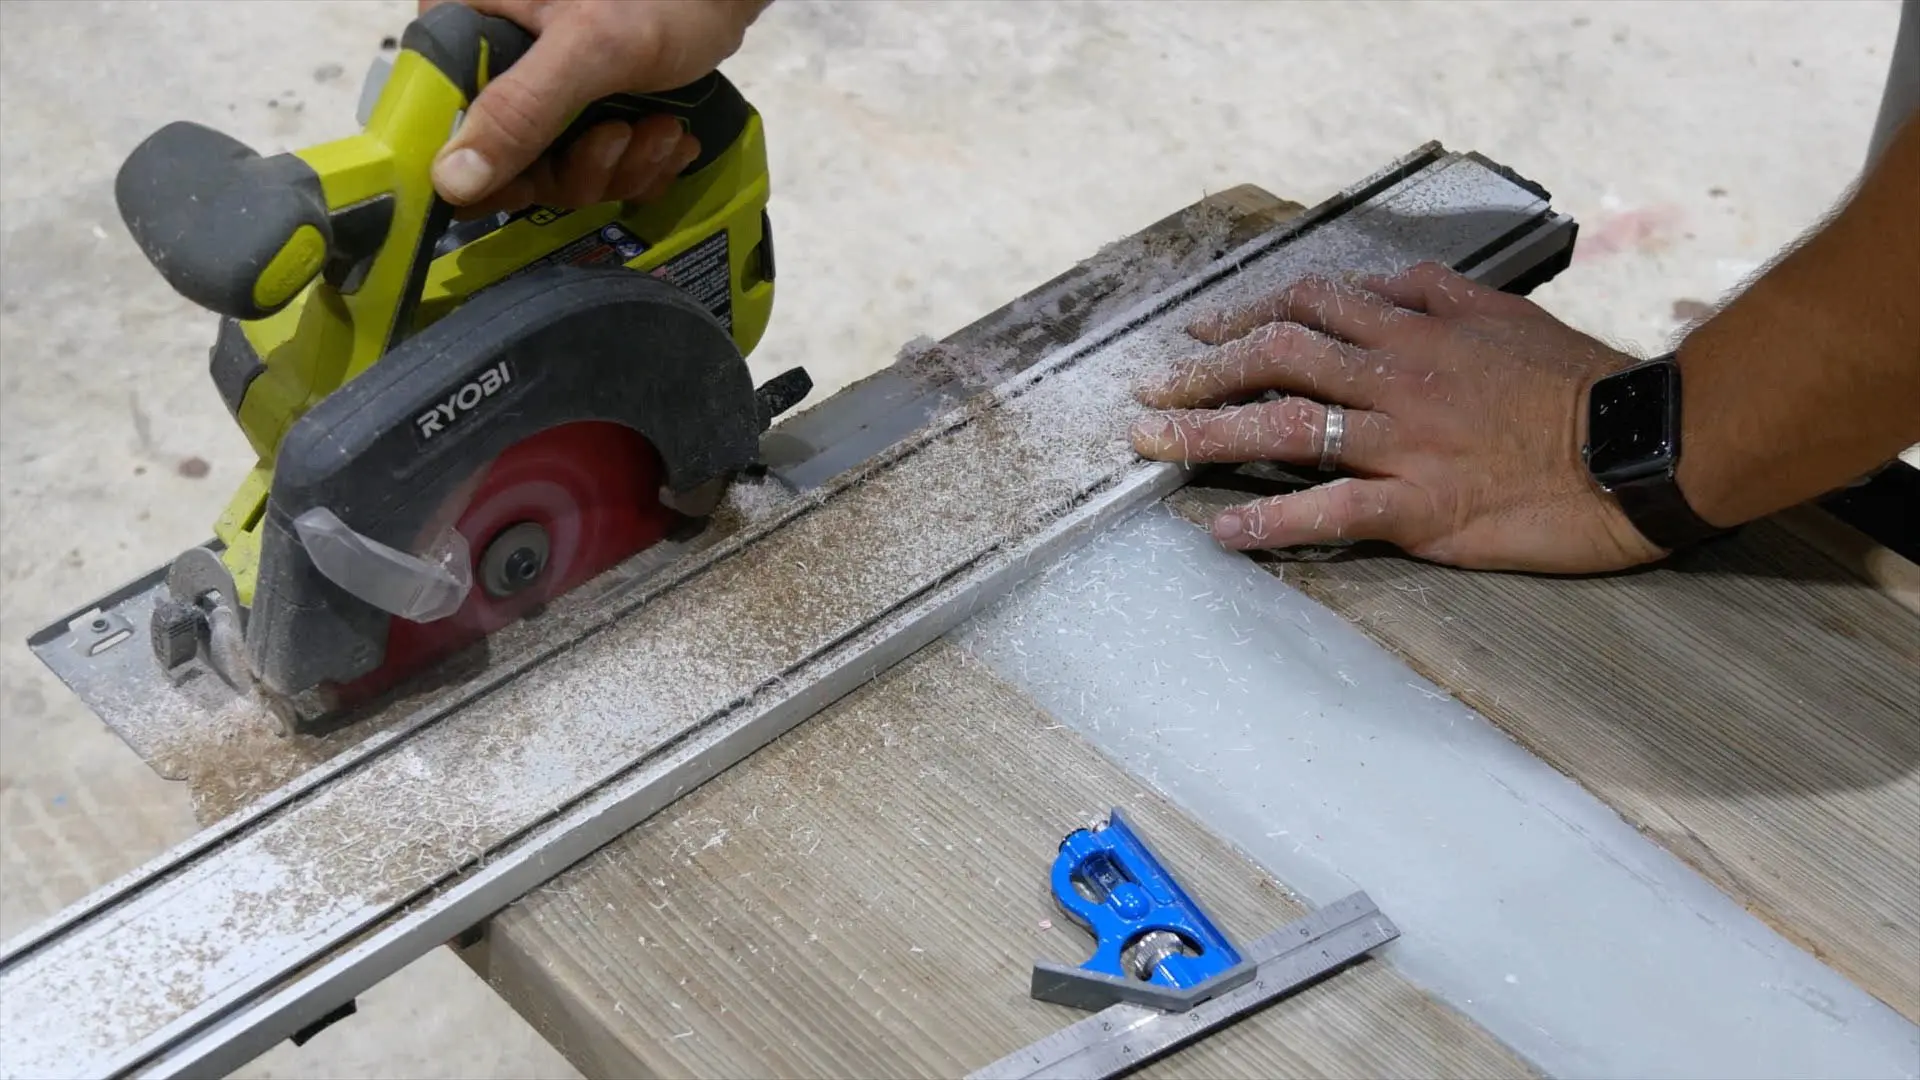
19 – Square River Table
Although I squared the ends of the table in a previous step, I did it again.
Why?
Because I needed the live edge river table to be 2 inches shorter in length. ;)
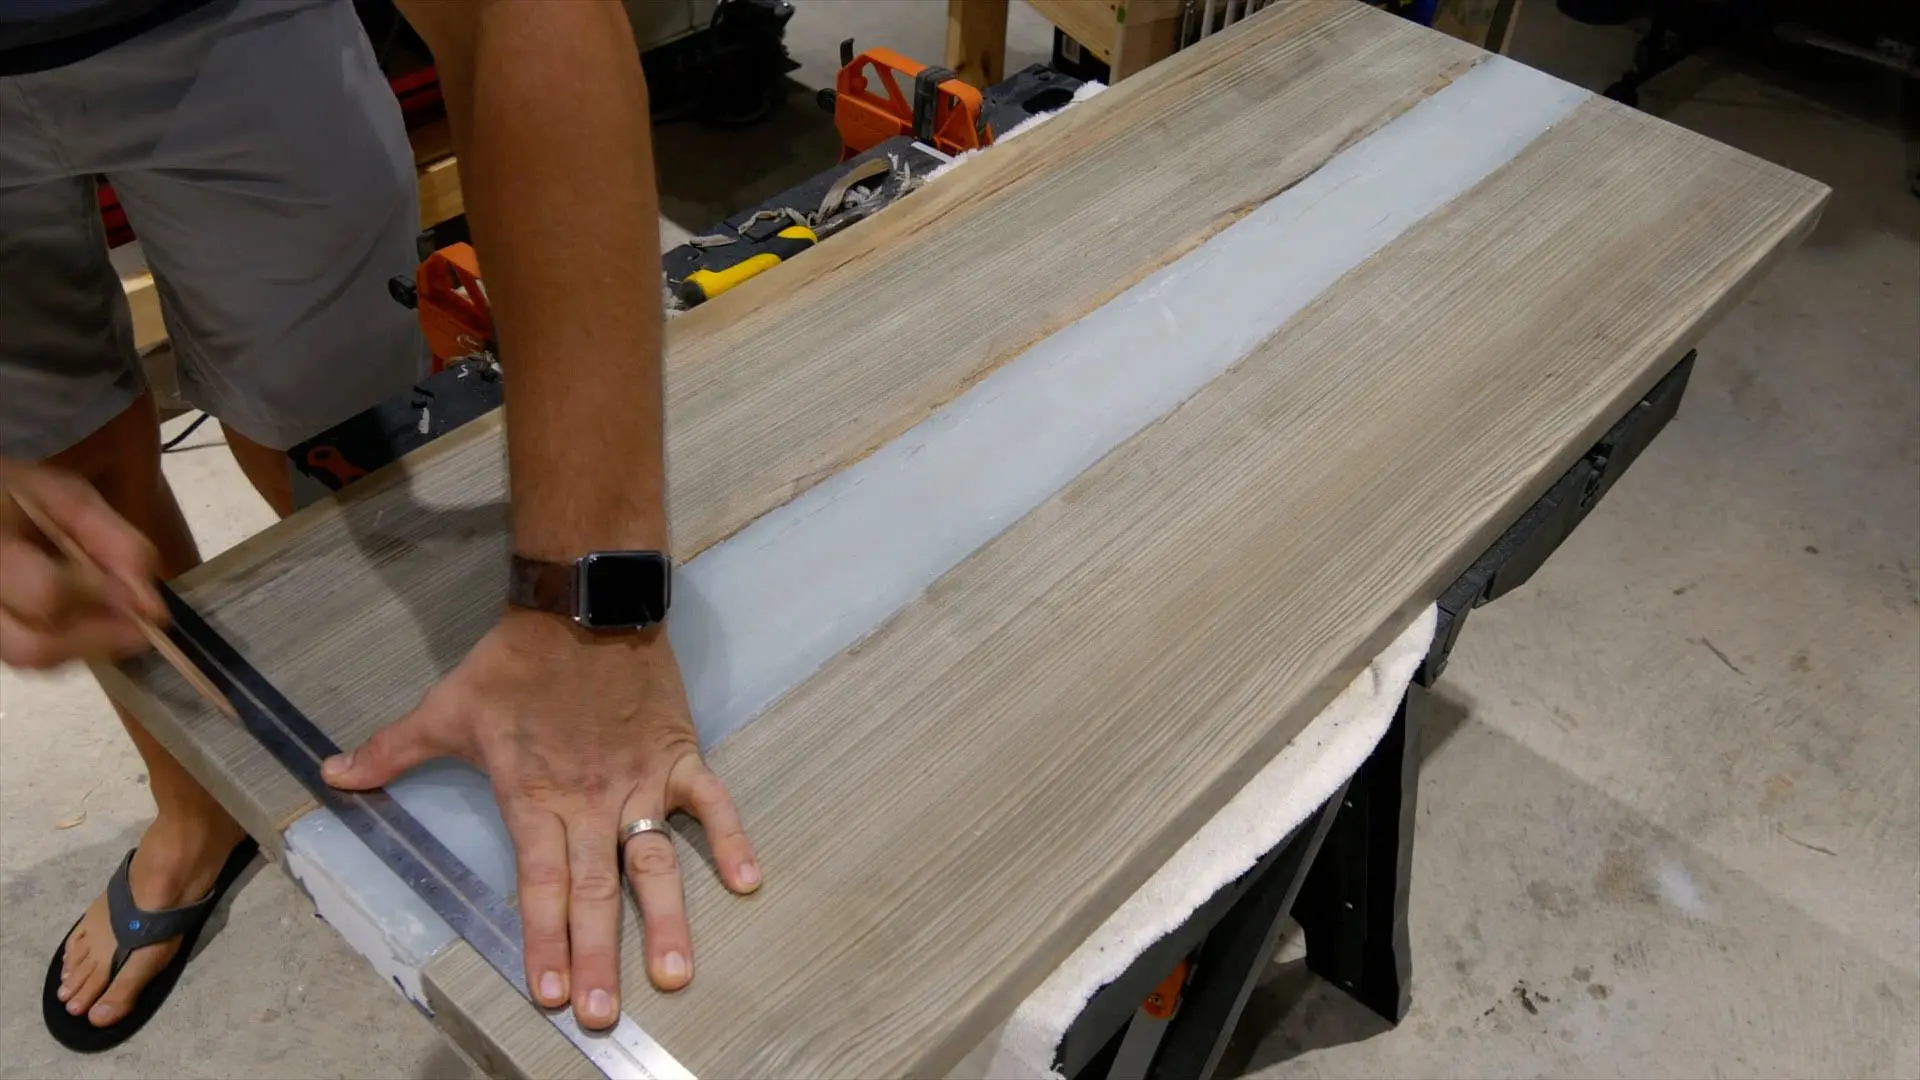
I measured 1” from each with my combination square and marked a straight line with a ruler.
Next, I used my straight edge and circular saw to square each end.


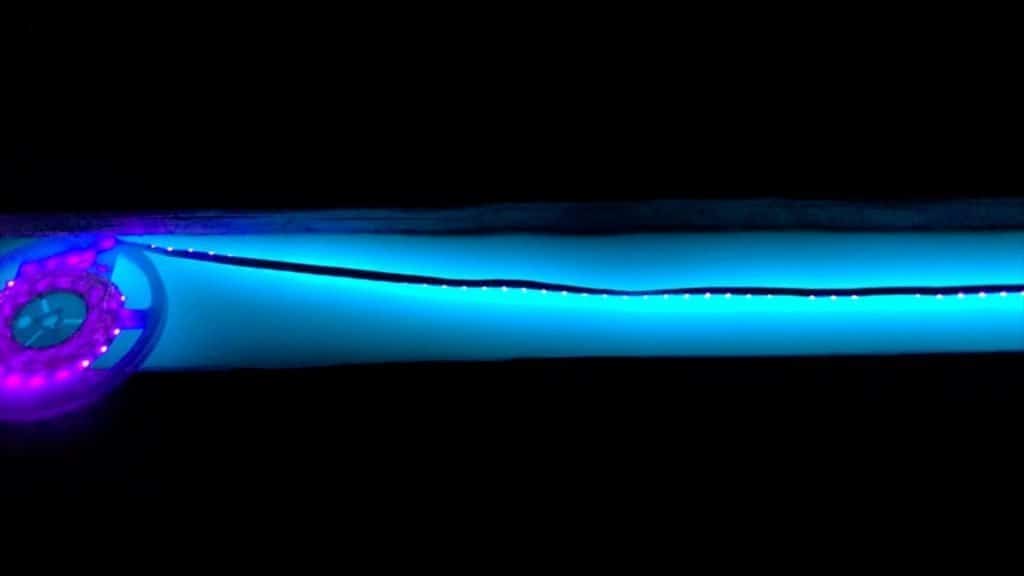
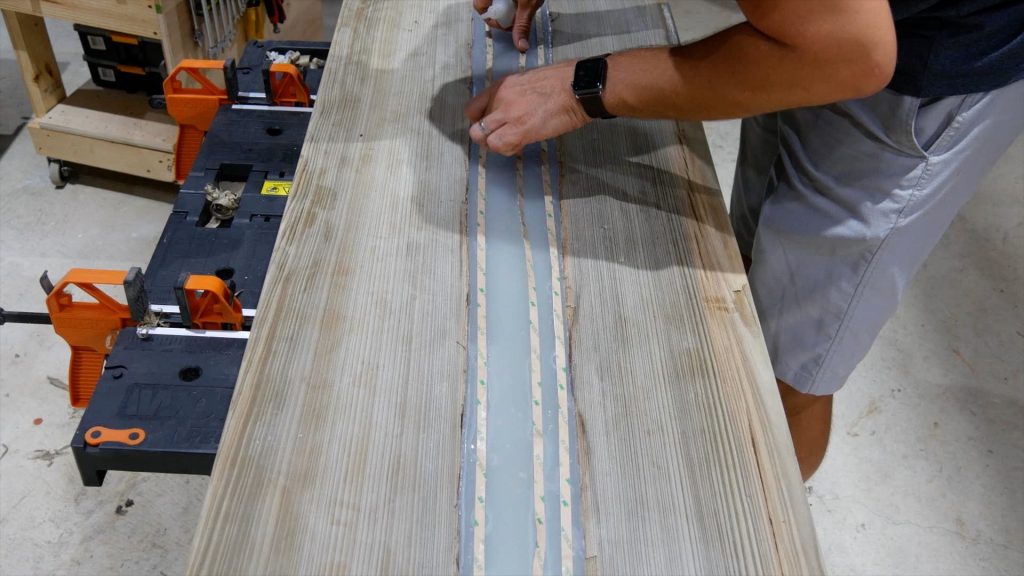
20 – Epoxy UV LED Light to
The UV black lights are meant to be attached with the lights facing down.
However, I need the lights to face up (towards the table) in order to charge the glow powder for the epoxy resin river table.
First, I used CA glue to attach the UV black lights to the underside of the river.
The epoxy resin is cloudy, so the marks the CA glue made were not visible.
I had enough length in the string to make 3 wraps.
One wrap on the outside, back on the other side, and last one in the middle.

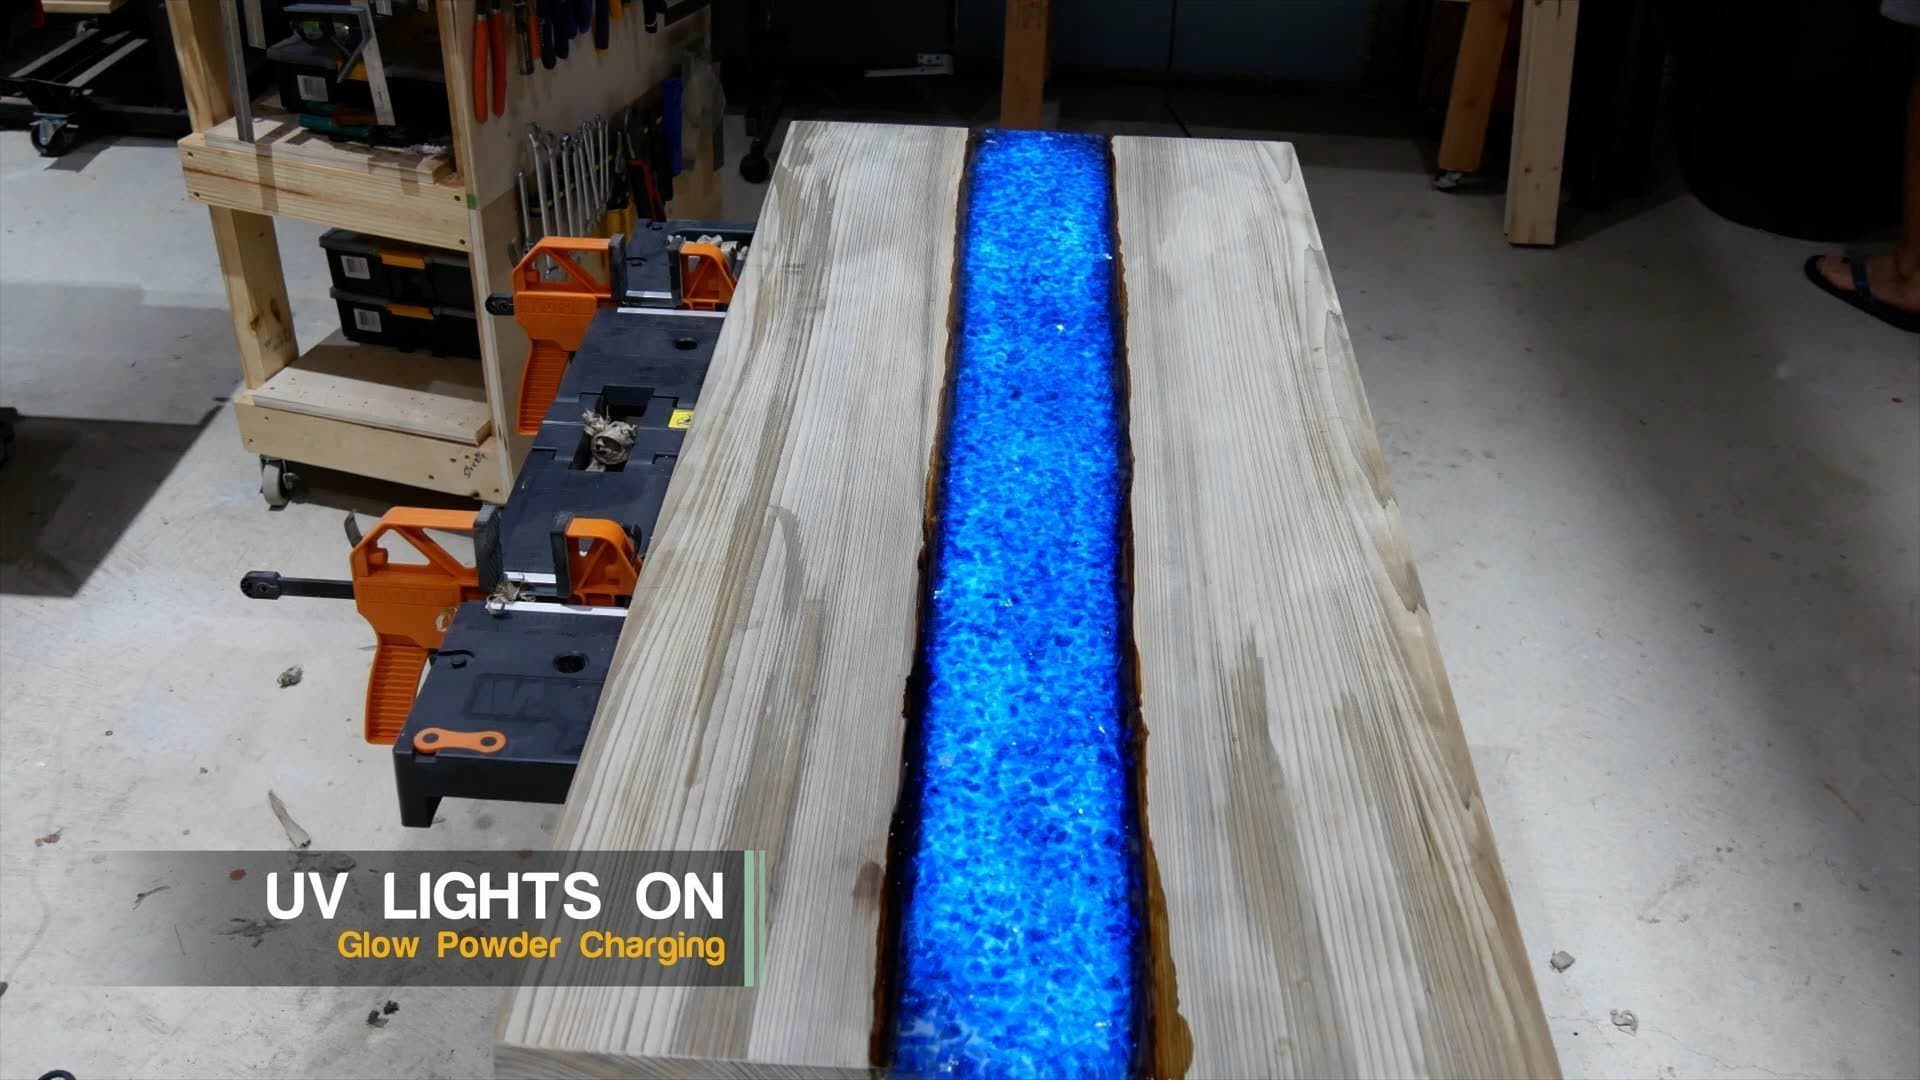
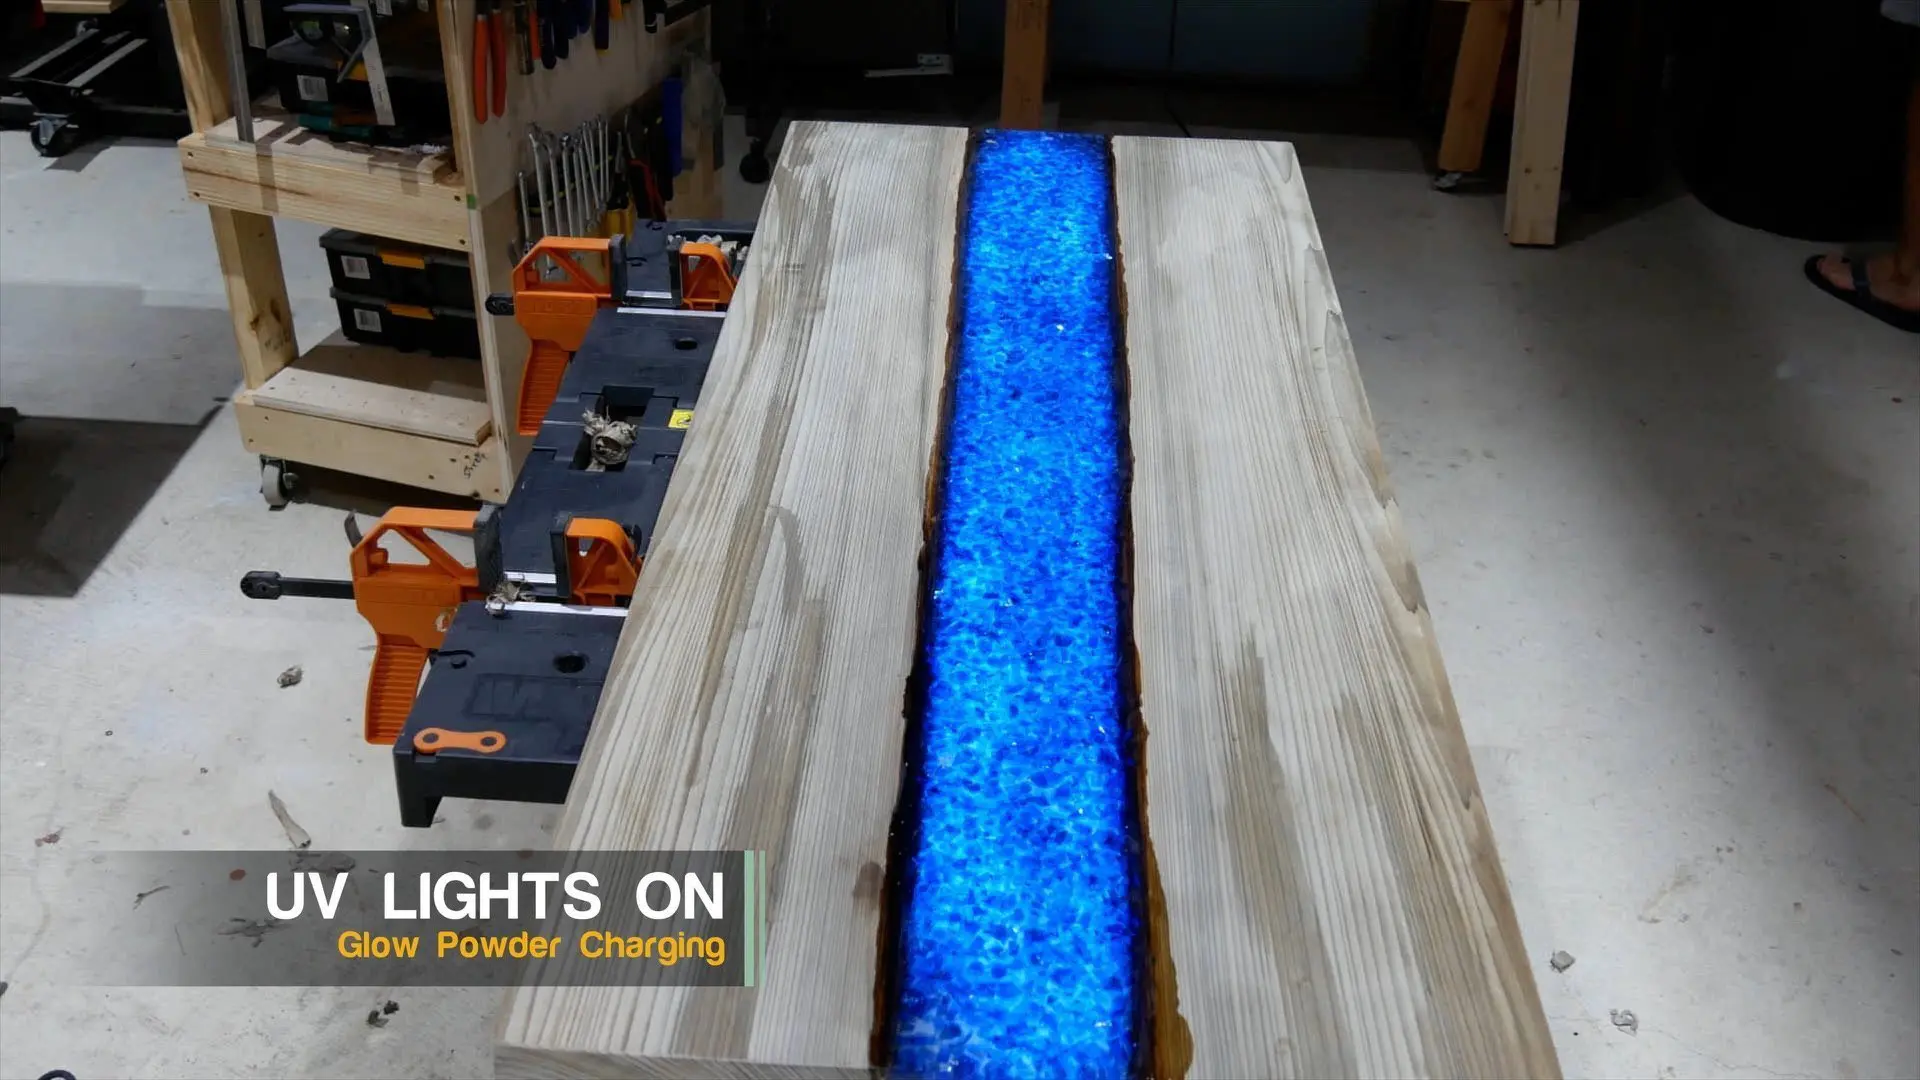
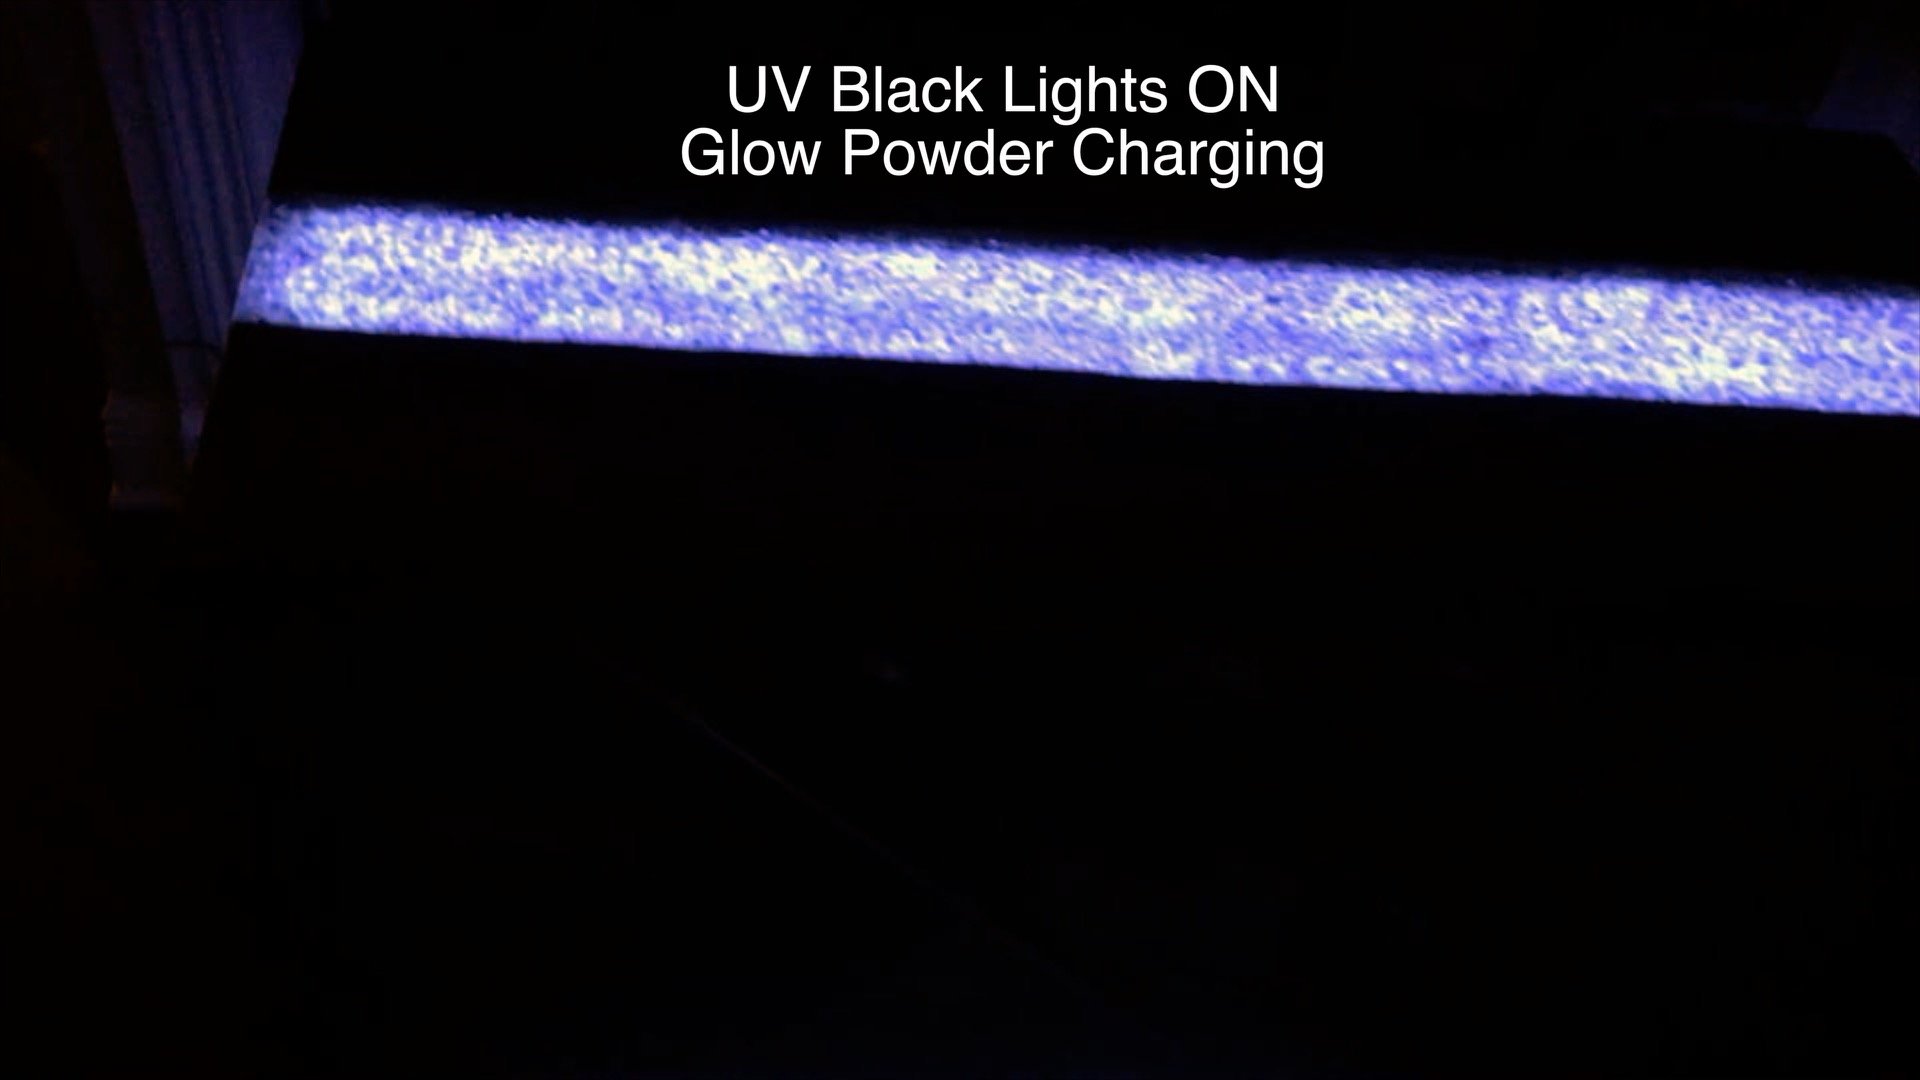
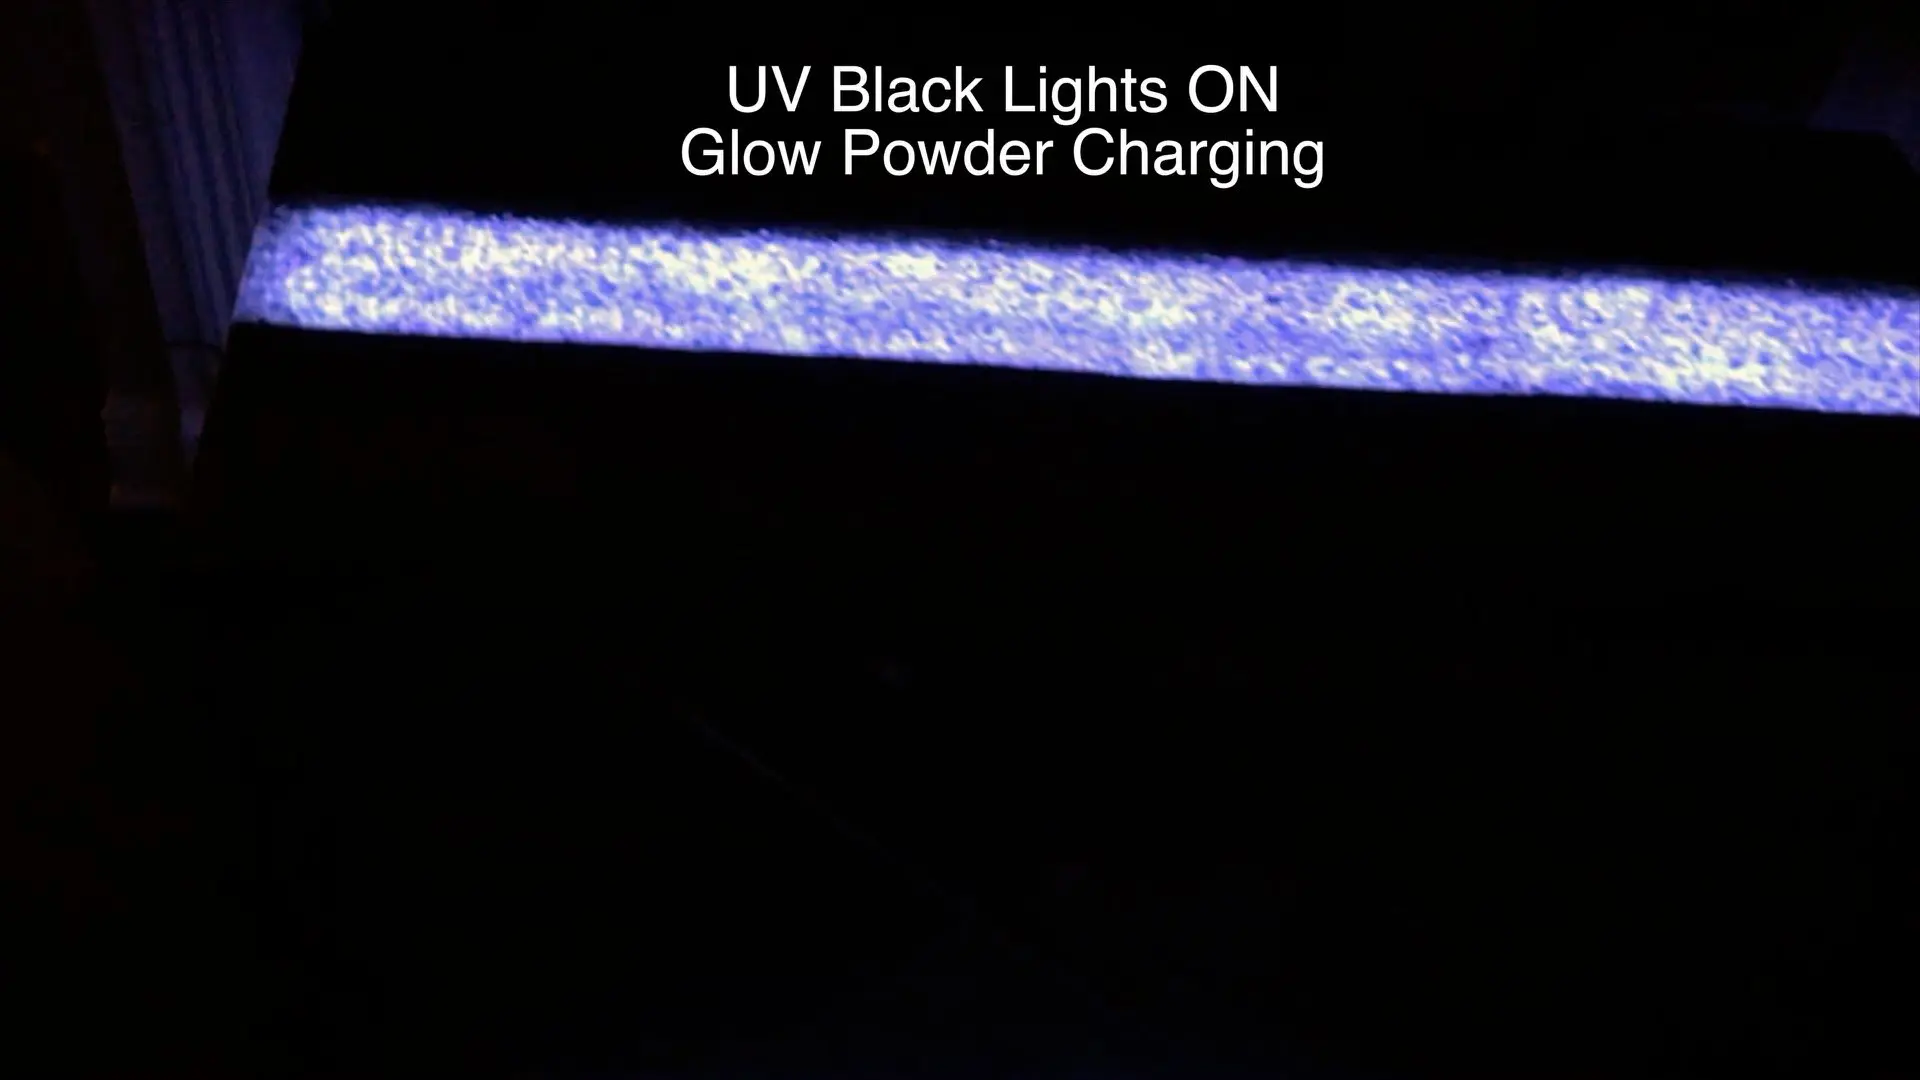
Next, I turned off the lights in my workshop to show the look of the epoxy river table with the UV Black Lights On.
Then, I turned the UV Black Lights off and the glow powder shined perfectly through the fire glass.
At least in my opinion it was perfect. :)

21 – Best Epoxy River Table Finish
Obviously, there are many ways to finish an epoxy resin river table top.
In fact, it’s downright confusing especially for DIY weekend warriors.
So, I decided to write an article on my favorite epoxy wood table top finishes.

21 – Install Epoxy River Table Bottom (Table Legs)
Finally, it was time to attach the table legs to the epoxy resin river table.
Also, I used the same hairpin legs as I did on my previous table in order for them to match.
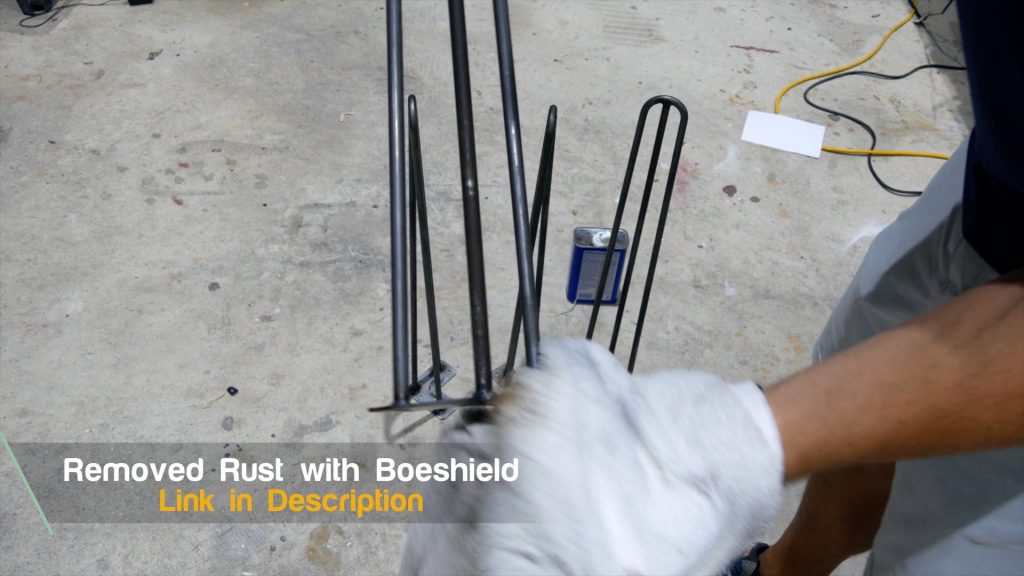
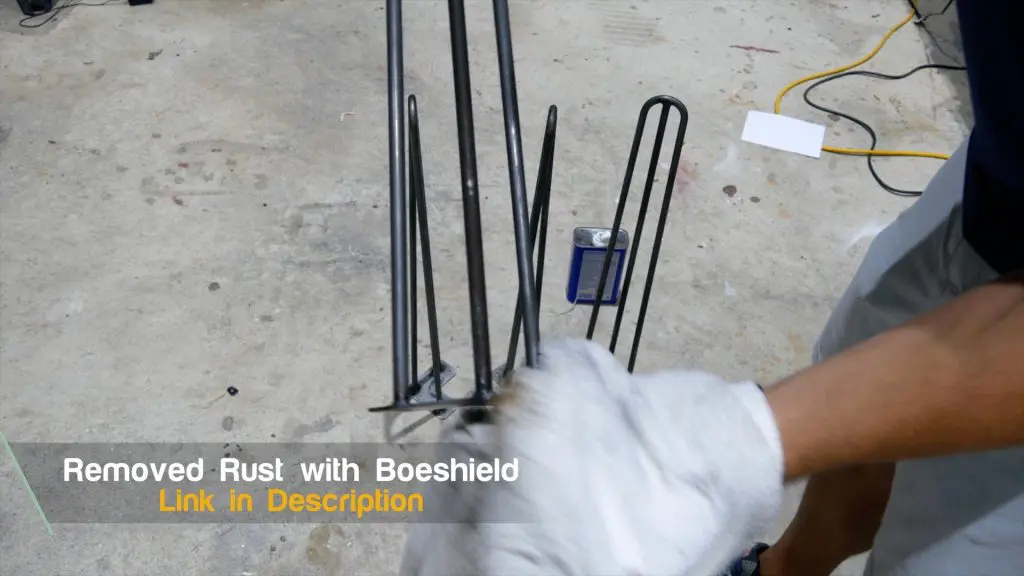
Before I was able to attach the legs, I had to remove a lot of rust from them.
I used Boeshield Rust Remover.
Additionally, I use this rust remover for many of my tools.
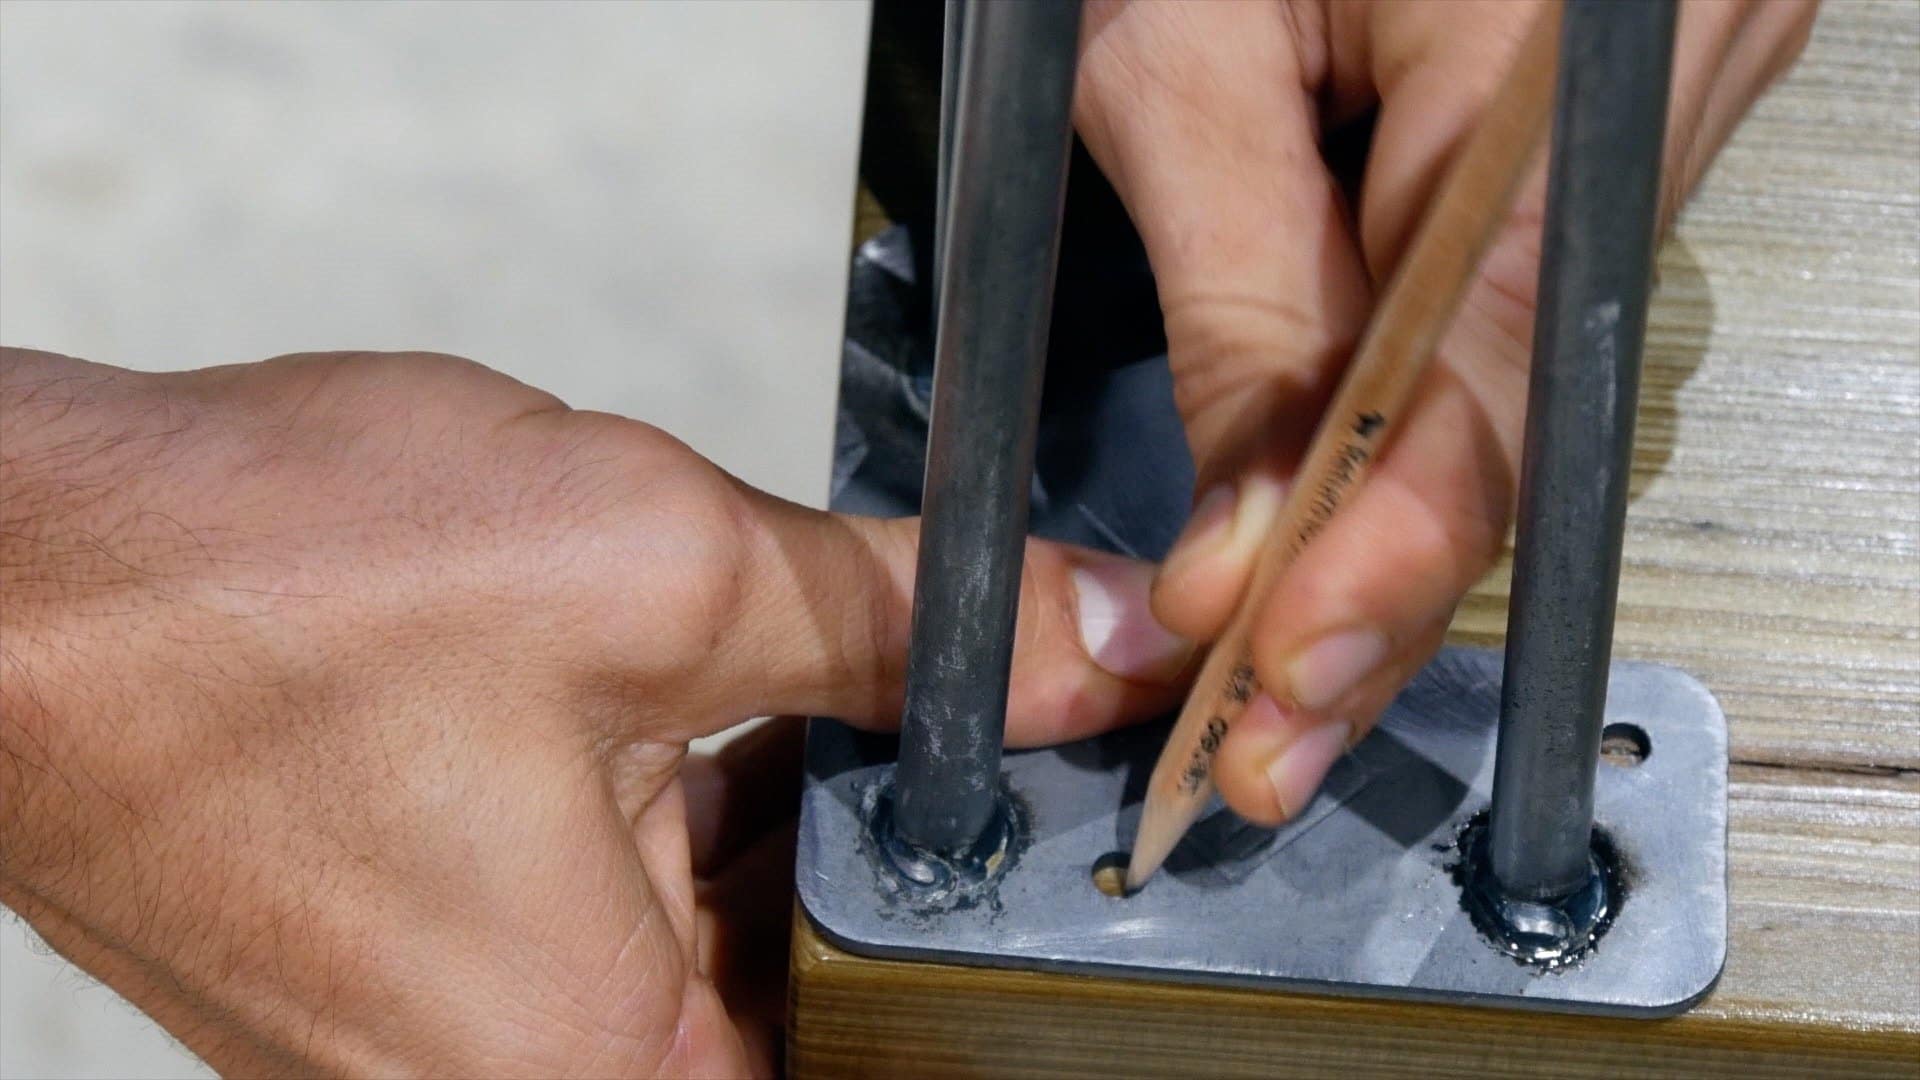
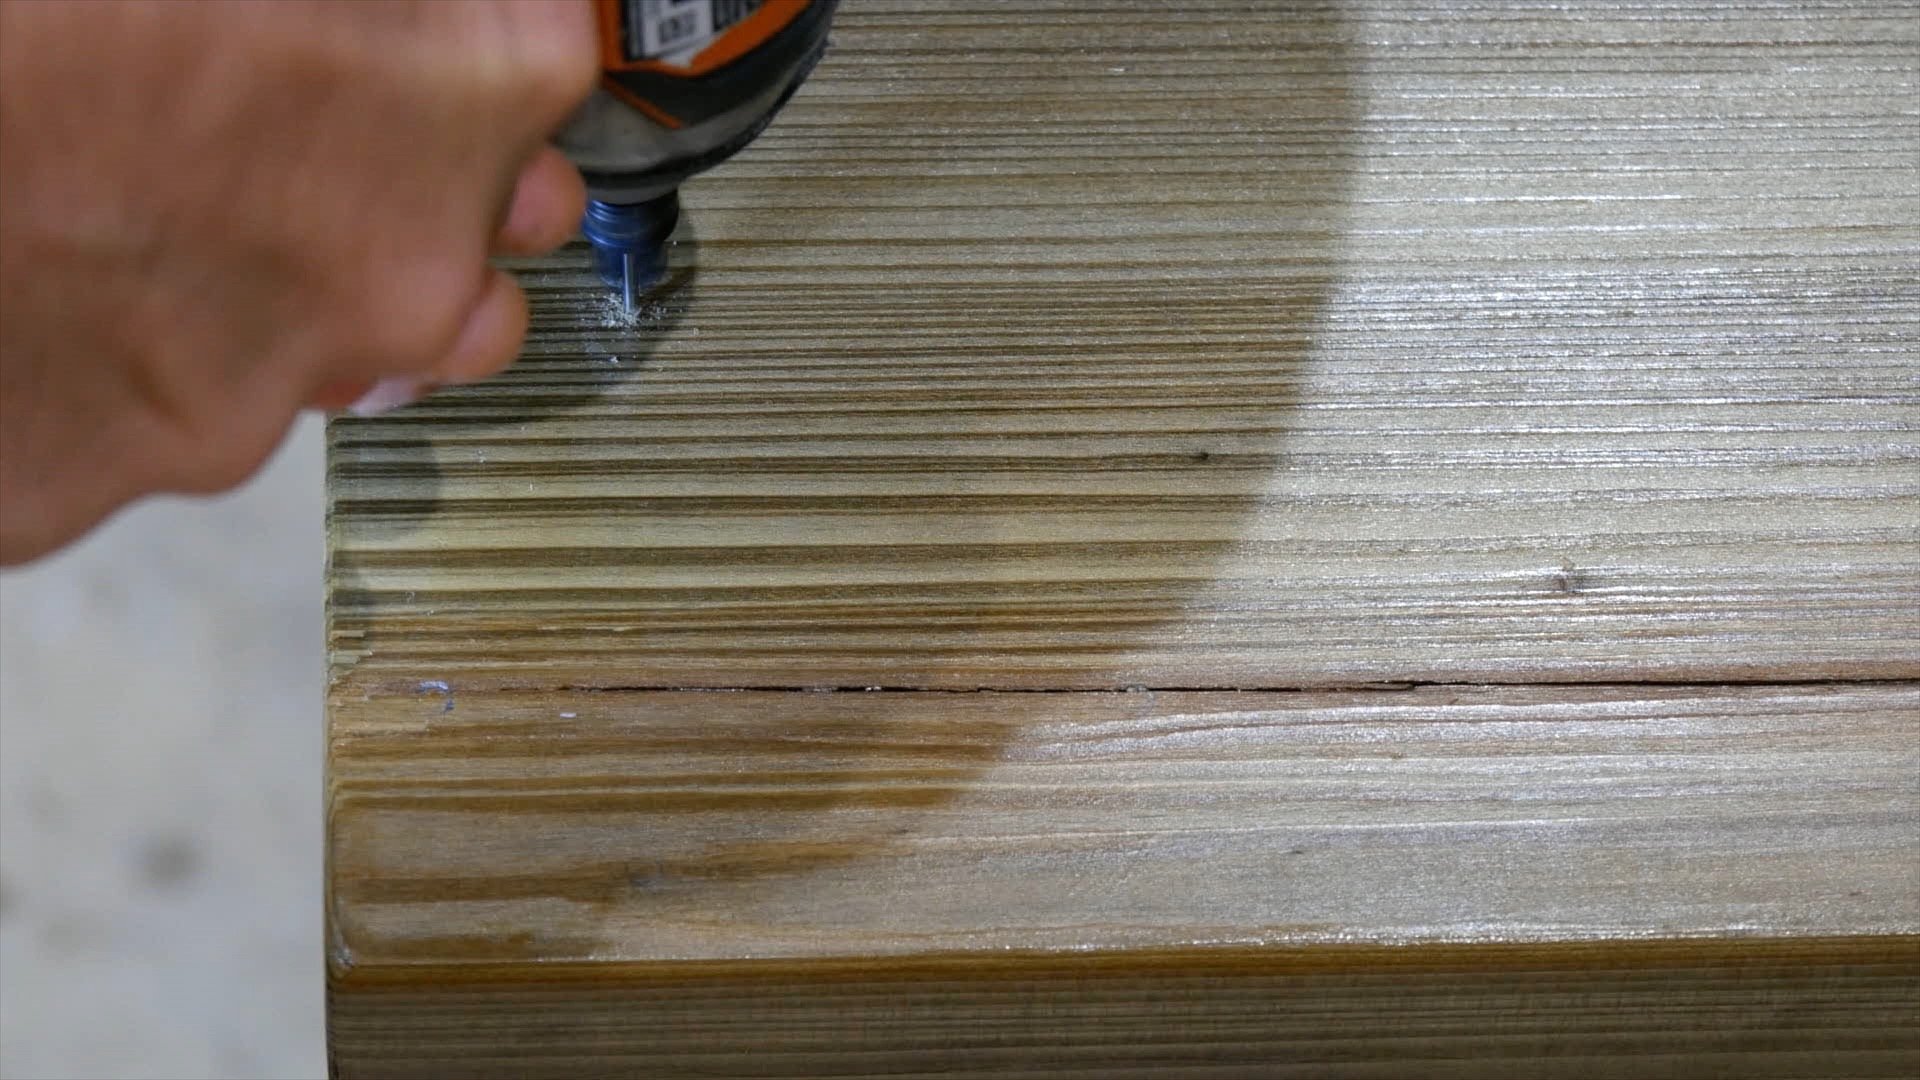
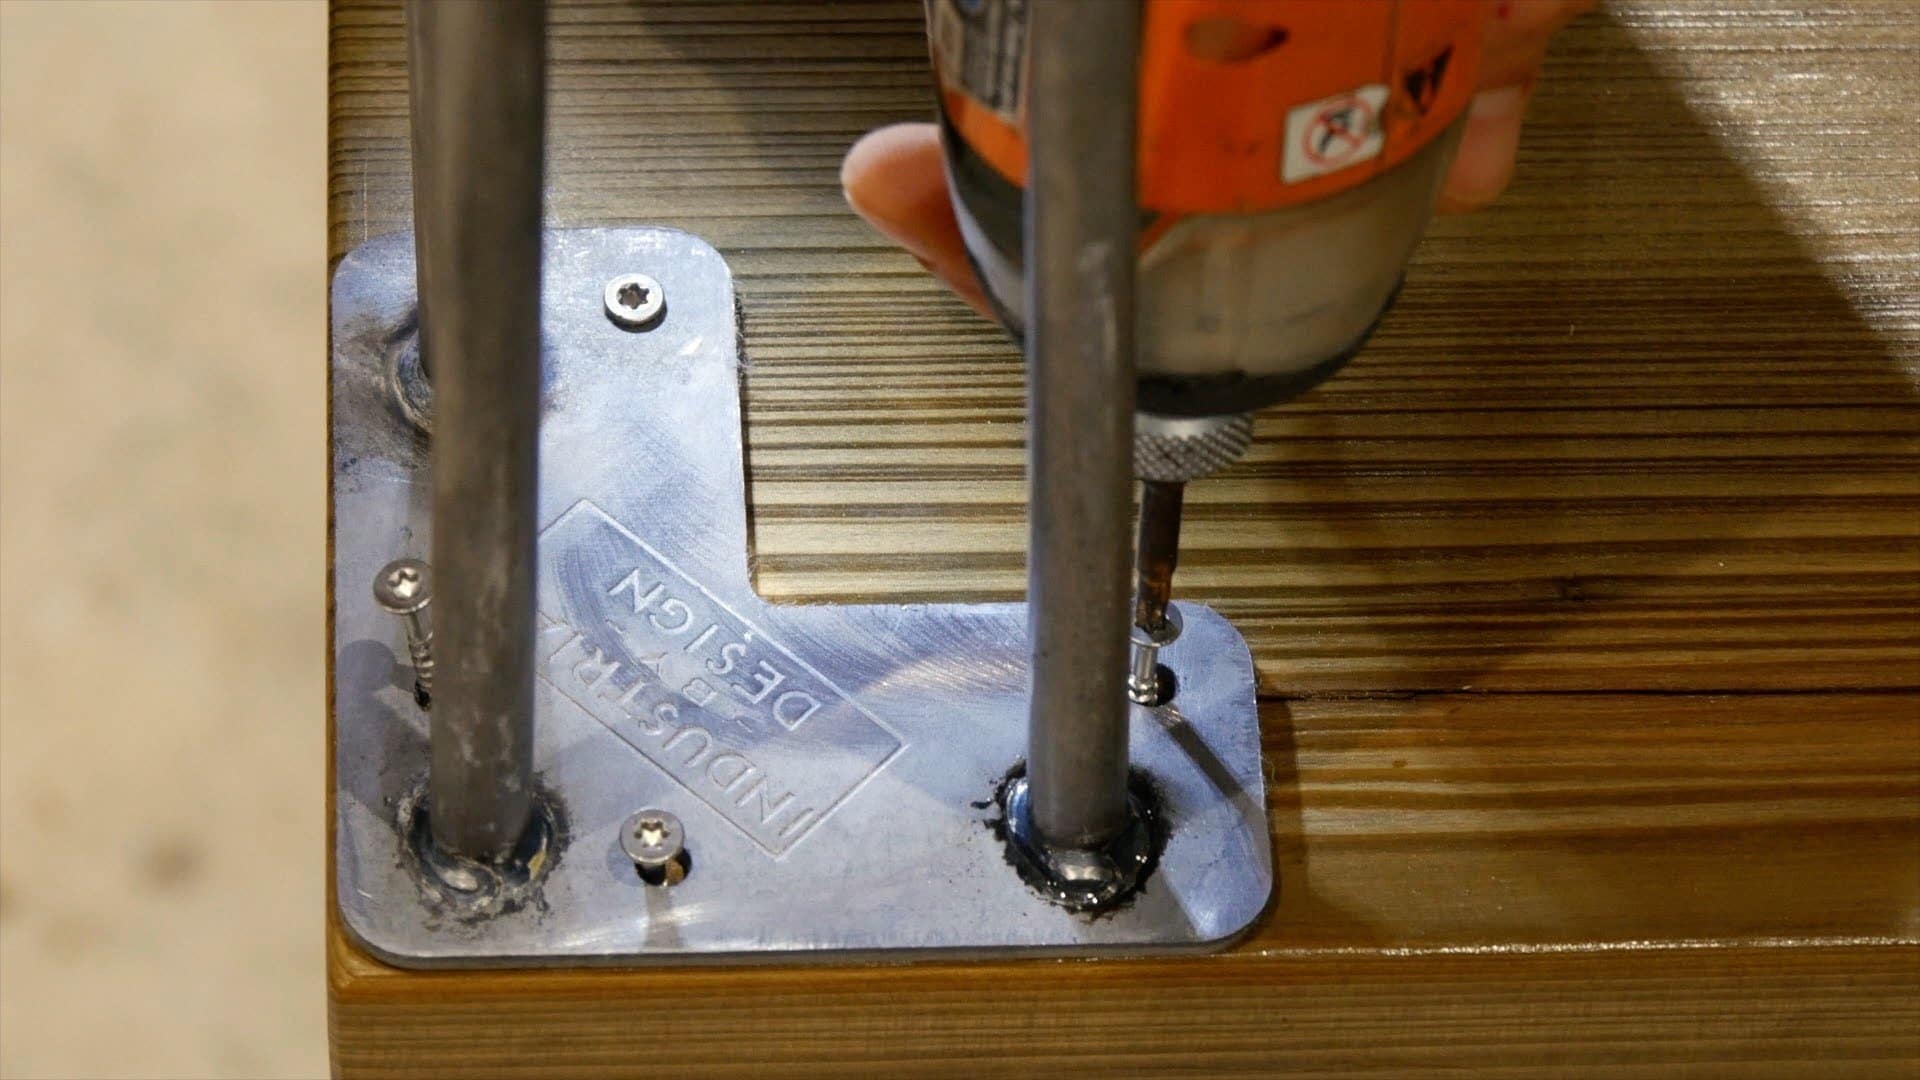
Next, I attached them to the bottom of the live edge river table by marking pilot holes, drilling pilot holes, and attaching screws.


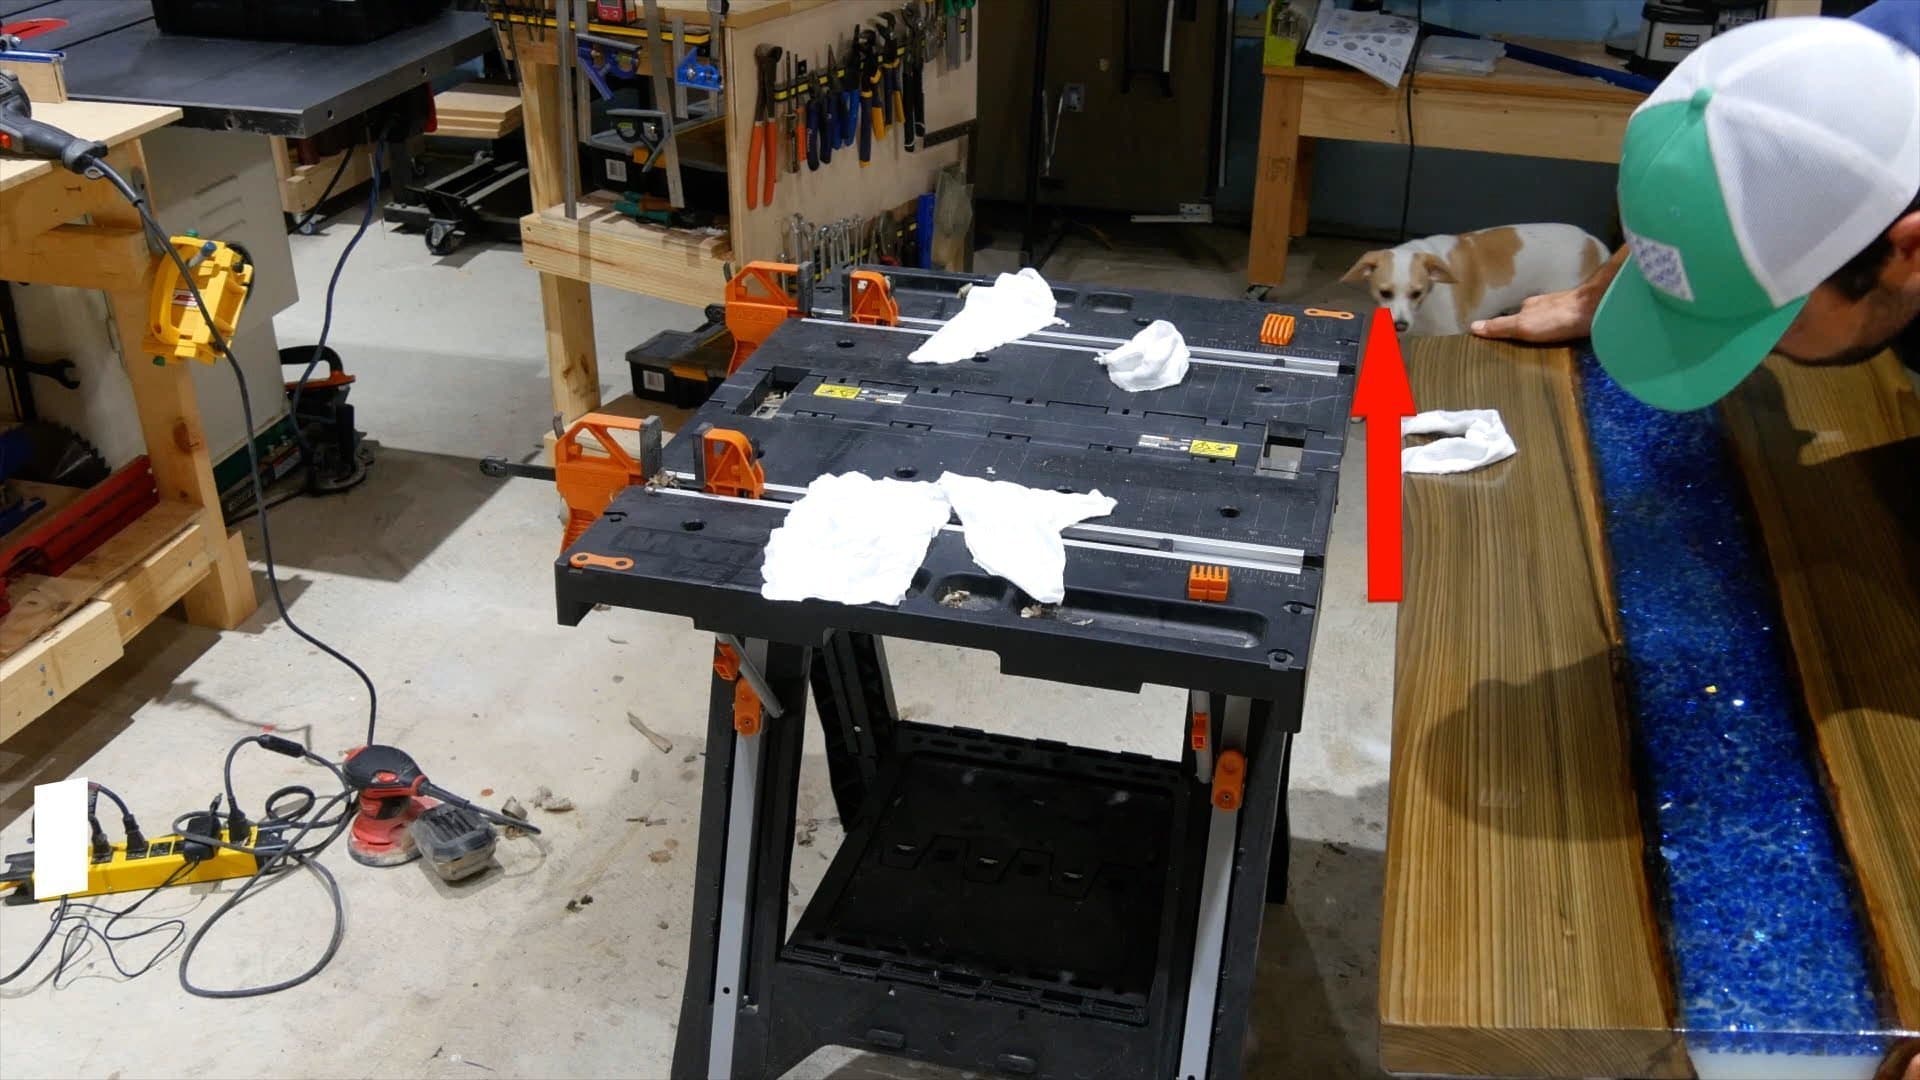
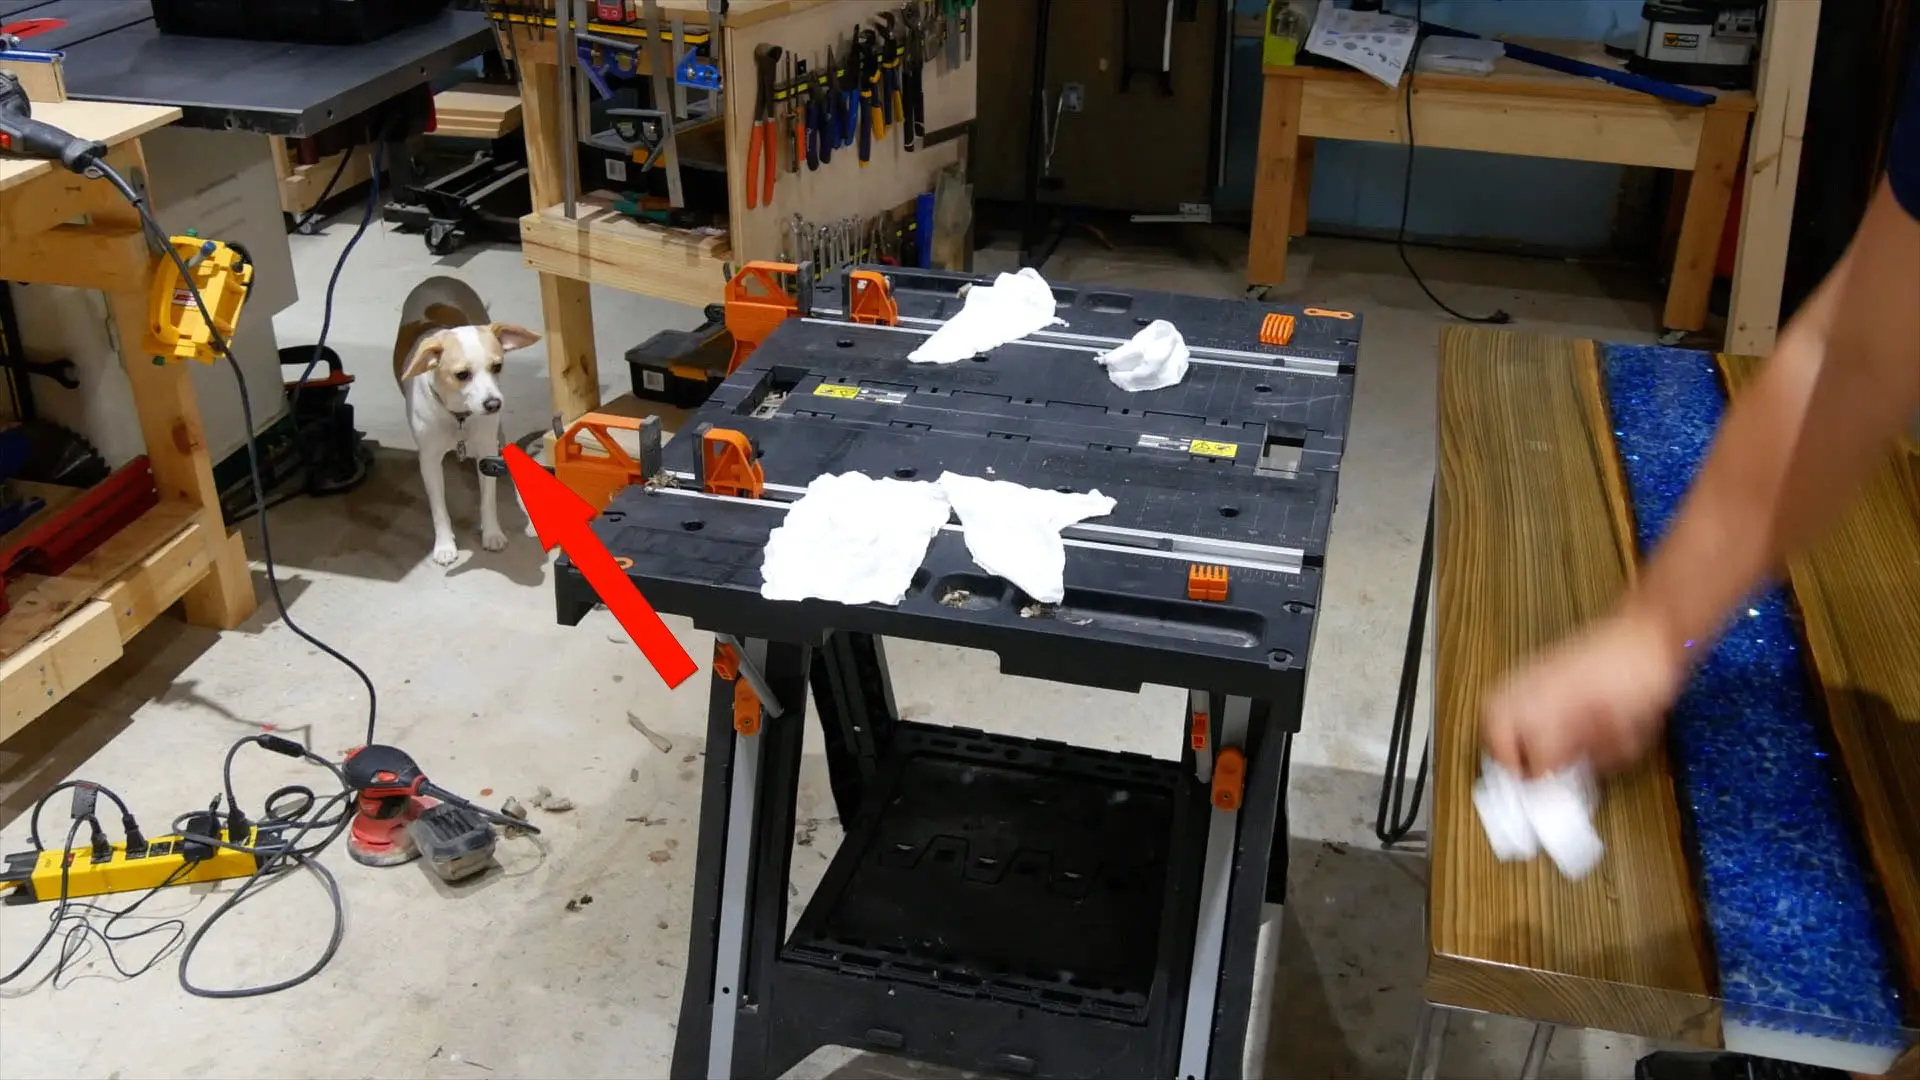
My dog (Belle) was hanging out in my shop with me and she doesn’t like the table.
Additionally, she kept growling and scooting (quick run with her butt down) away from the table.


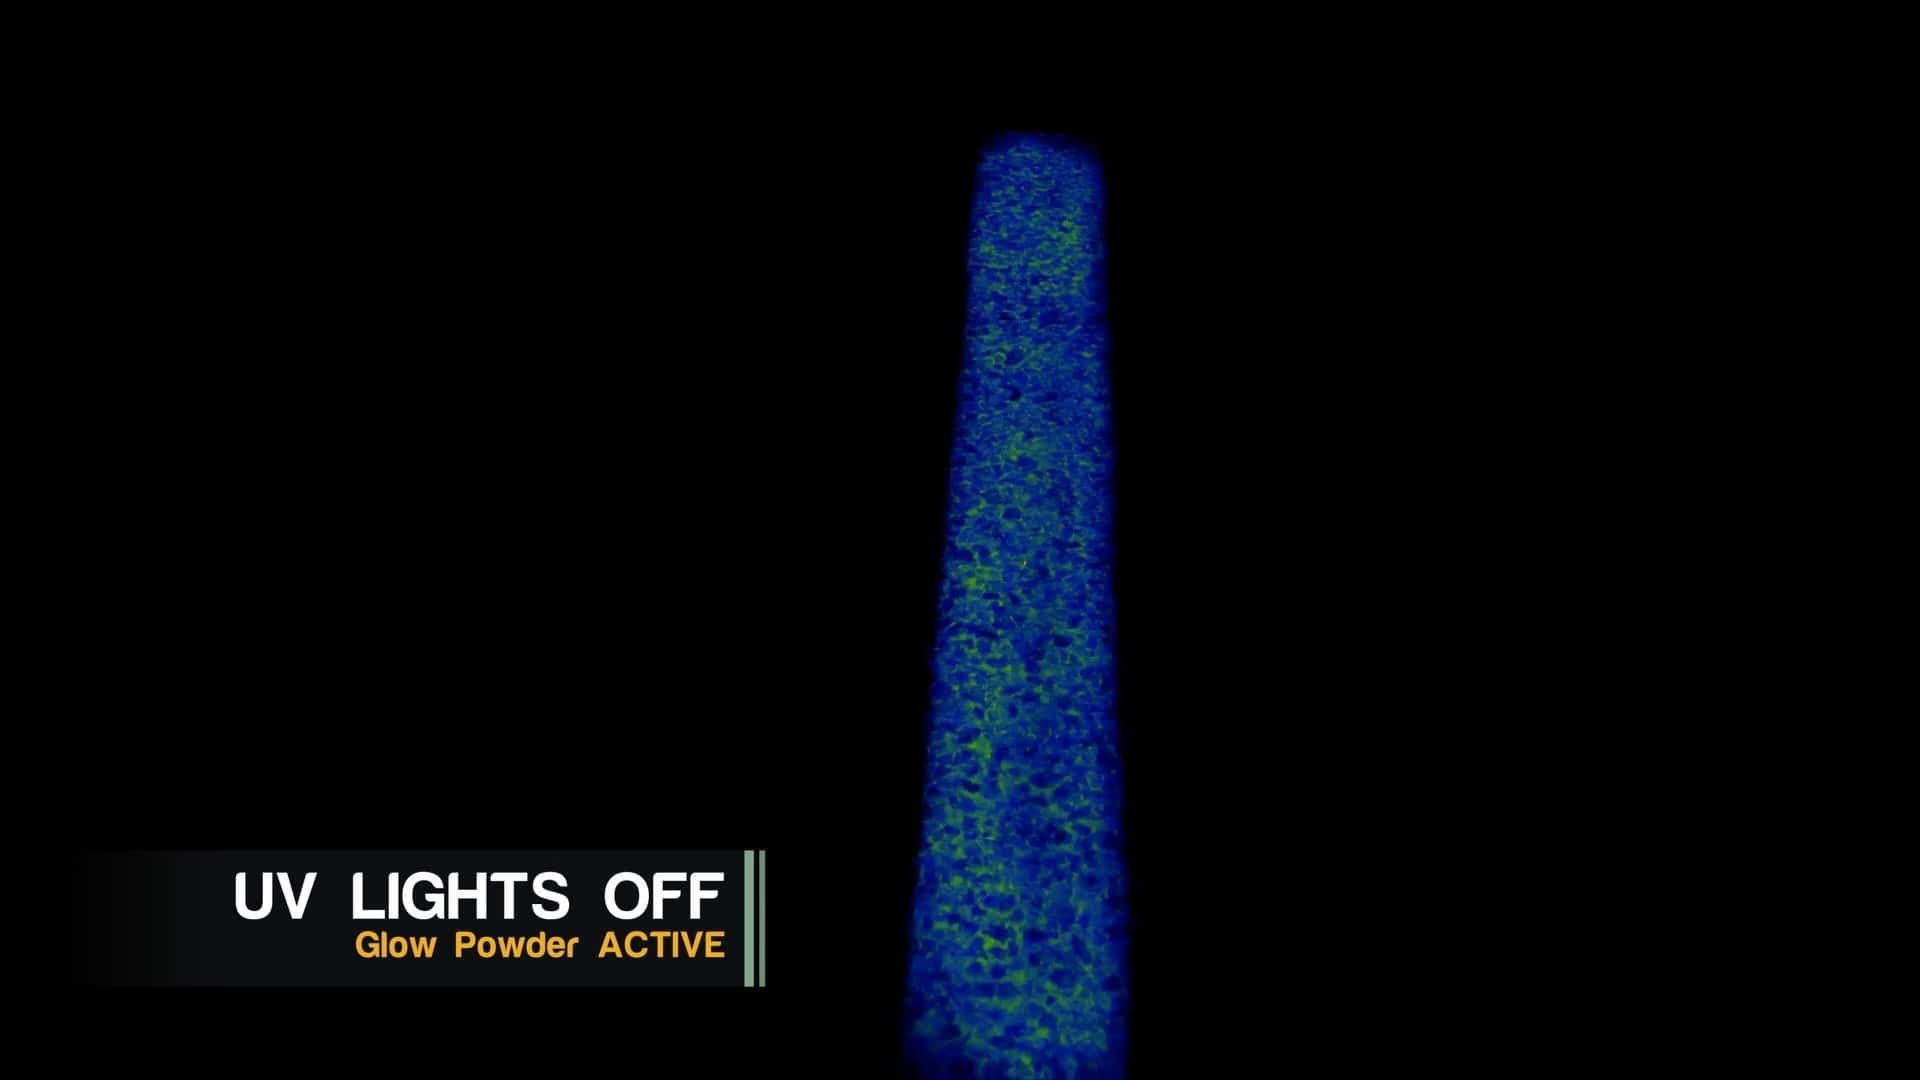
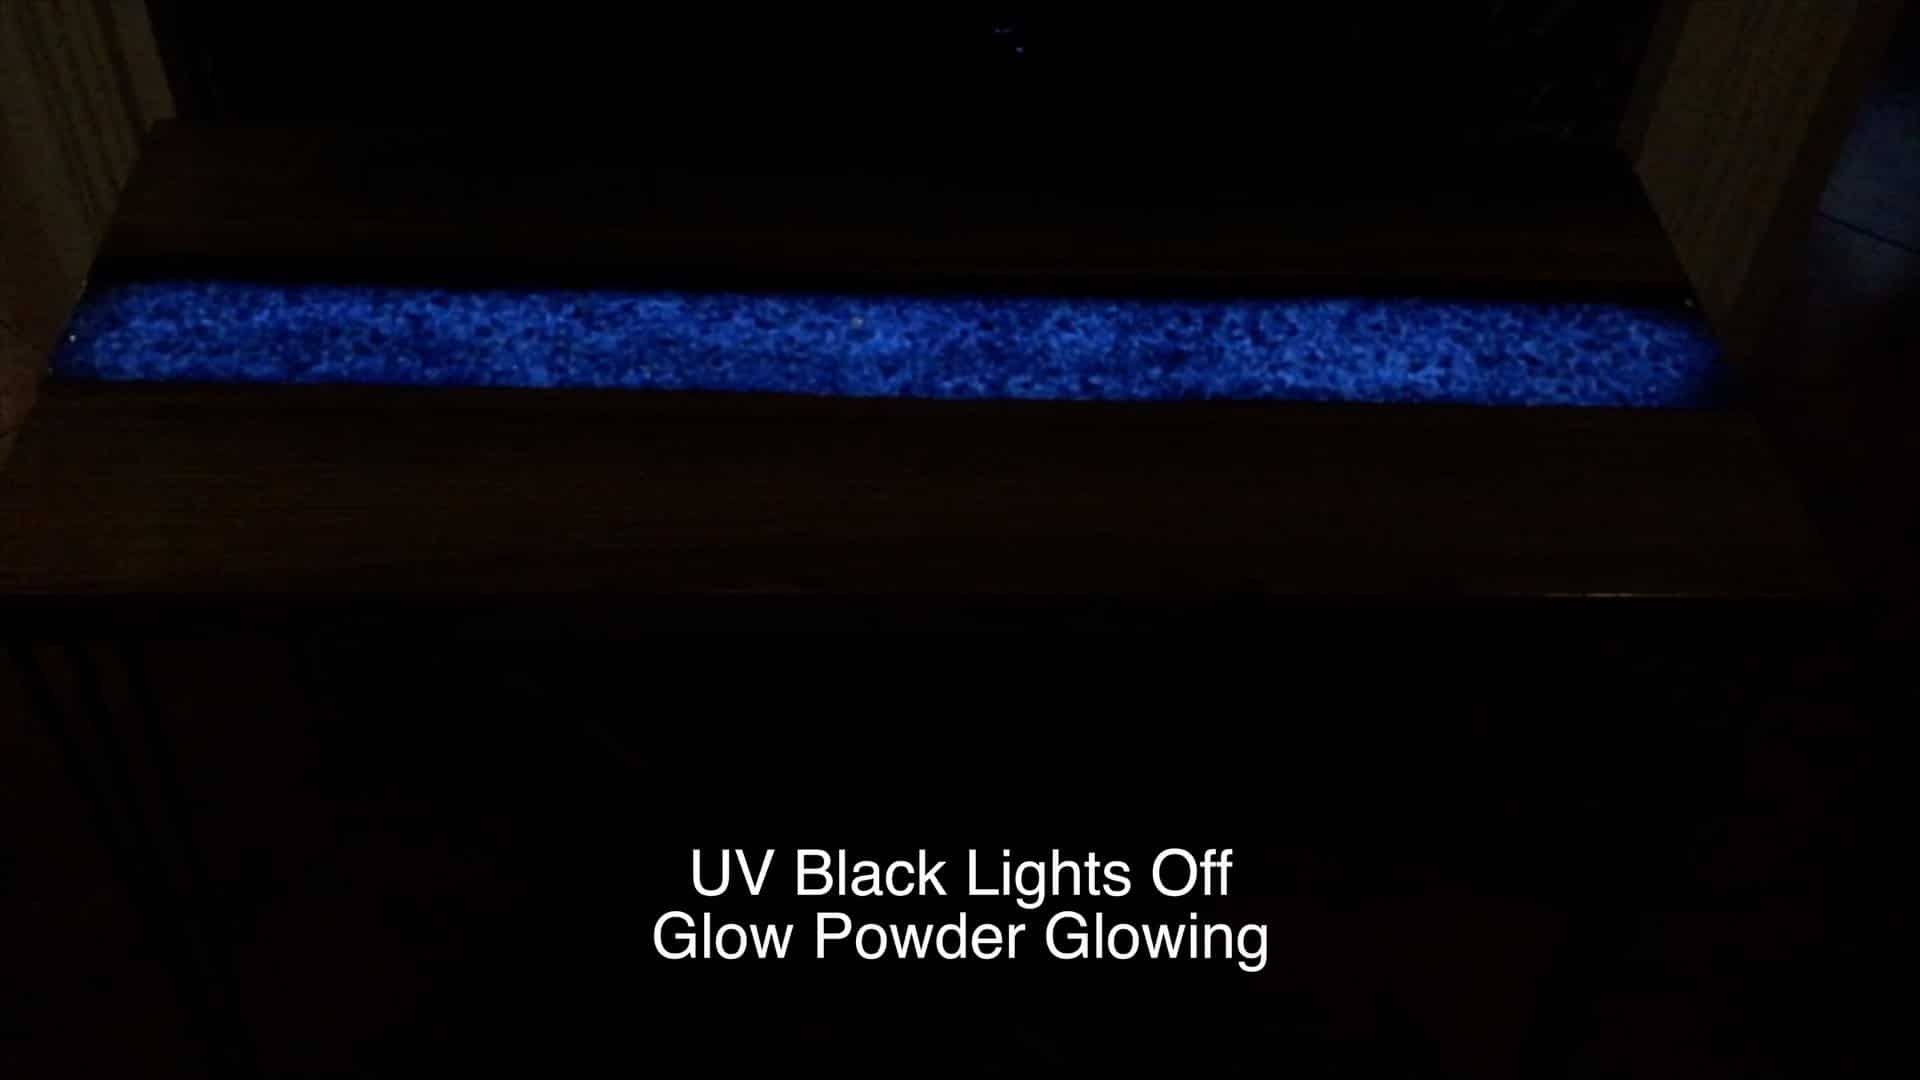
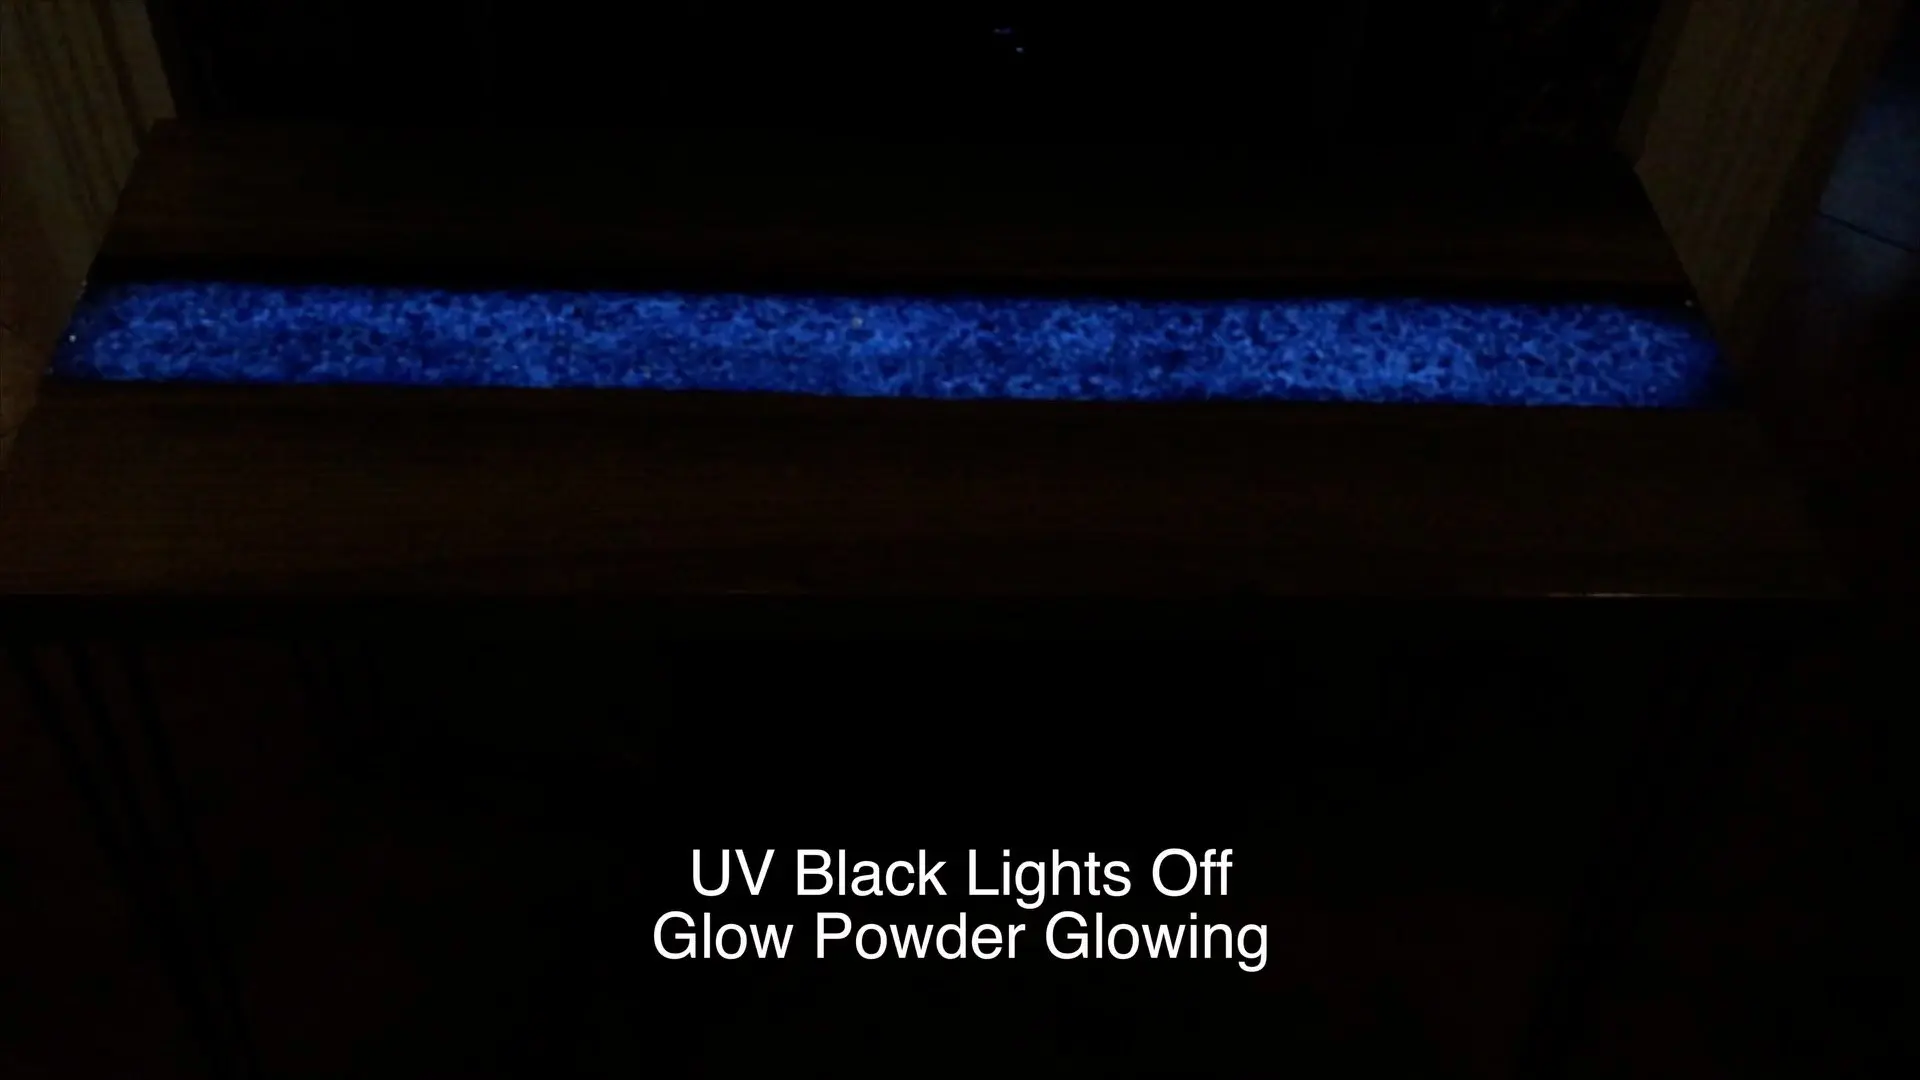
22 – Glow in the Dark Epoxy Table
Here are 3 pictures of the resin table in different modes.
In the first picture, the UV black LED lights are on.
As I mentioned, the UV black LED lights charge the glow in the dark table.
Furthermore, the picture below shows the glow in the dark epoxy table glowing with the UV lights off.
Also, the glow in the dark table fades over a period of time depending on the amount of charge and the light source.
For example, natural sunlight charges the photoluminescent powder better than artificial UV black lights.
Conclusion
I’m really happy with the way this epoxy resin river table turned out.
Even though it looks very similar to my other sinker cypress table, it stands out in a unique ways.
‘I hope you learned how to make an epoxy resin river table.
- Live Edge Outdoor Epoxy Table
- Epoxy River Rock Table
- Seashell Epoxy Table
- DIY Walnut Epoxy Dining Table
How much epoxy resin do I need for a river table?
The amount of resin needed for a river table can be determined by using the following formula: Quarts Needed = Volume(Cubic Inches)*0.017316.
What type of epoxy resin is used for river tables?
Deep pour epoxy resin performs best for river tables. It can be poured up to 4″ thick which reduces the number of epoxy pours to make a river table.
How much does it cost to make an epoxy river table?
The cost to make an epoxy river table can range from $250 to $5,000 depending on factors such as size, the amount of epoxy needed, and species of wood.
How thick should an epoxy river table be?
A river table should be at least 1.5 inches thick.
Isabella
Wednesday 16th of June 2021
My first time trying this!! Thankyou. Helped.
Pahjo Designs
Saturday 10th of July 2021
Good Luck, Isabella!
Shin Thopher
Monday 14th of June 2021
Wow, really helpful! Thanks for sharing quick creation tips here.
Pahjo Designs
Saturday 10th of July 2021
You are very welcome, Shin!
Crystal
Friday 4th of June 2021
This helps alot! im going for a plus sign instead of 1 horizontal strip
Adelina Addy
Friday 4th of June 2021
Thankyou!!! i was looking for directions on the glowing epoxy for ages
Emma austin
Friday 28th of May 2021
great idea! your information is very helpful.Thanks for sharing this article