
In this tutorial, I show you how to make a DIY LED Epoxy Table using sinker cypress wood.
Even if you don’t need an LED table, the techniques I cover in this build can be directly translated toward other woodworking and epoxy projects.
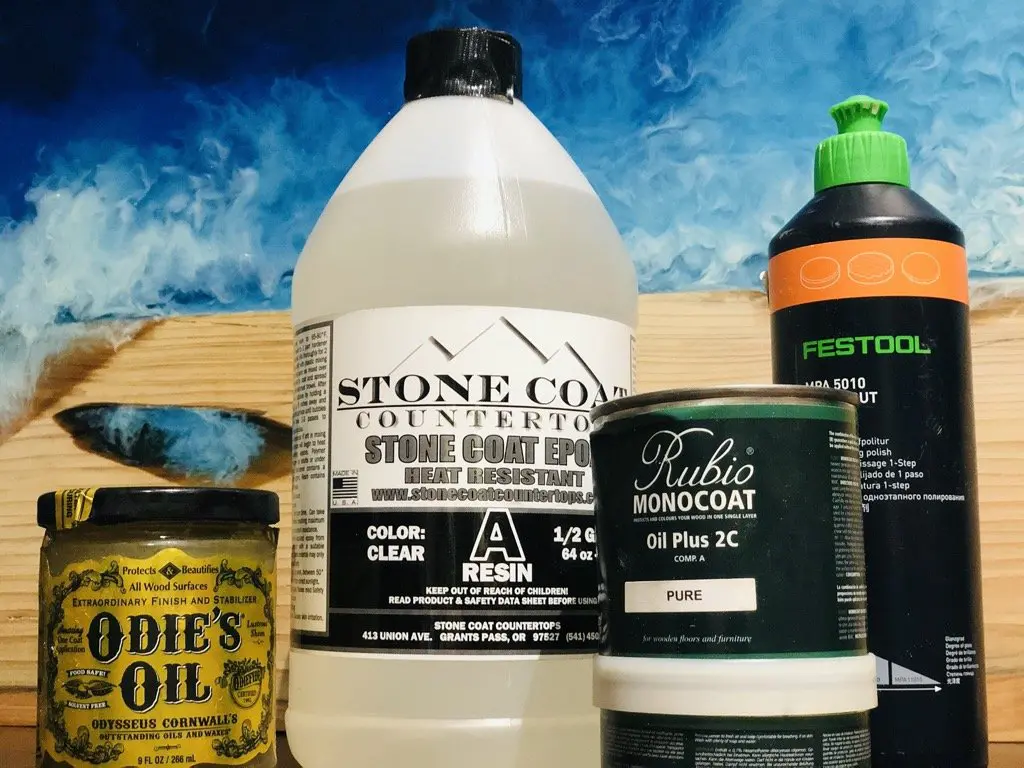
Tools and Supplies
Epoxy Resin Used in Project
Better Epoxy Resin
Fire Glass
HairPin Table Legs
Stanley Block Plane
Trim Router
1/4″ Roundover Bit
Ryobi Circular Saw
Straight Edge for Saw
Dewalt Planer
Spray Adhesive with Activator
Hot Glue Gun
WEN Electric Hand Plane
Shellac
Acetone
Buffer
LED Lights
Porter Cable Heat Gun
Silicon Caulk
Dovetail Clamps
Johnson Paste Wax
Milwaukee Orbital Sander
Sandpaper
Drill
Bandsaw
Table Saw
Miter Saw
Saw Horses
Melamine Board: Big Box Store
Lie Nielsen Low Angle Jack Plane
Often times, I experiment with many different epoxy products and wood finishes in my shop.
For your convenience, I’ve compiled a complete list of my favorite epoxy resin material and tools.
Video Tutorial: DIY LED Epoxy Table
Also, there are several things which are difficult to fully explain with words and images, so be sure to check out the video tutorial below.
LED Table Introduction
So, I received a text from my friends at Riverside Lumber in New Orleans about some unique Sinker Cypress they received.
I love working with Sinker Cypress because it is such a beautiful wood with lots of history.
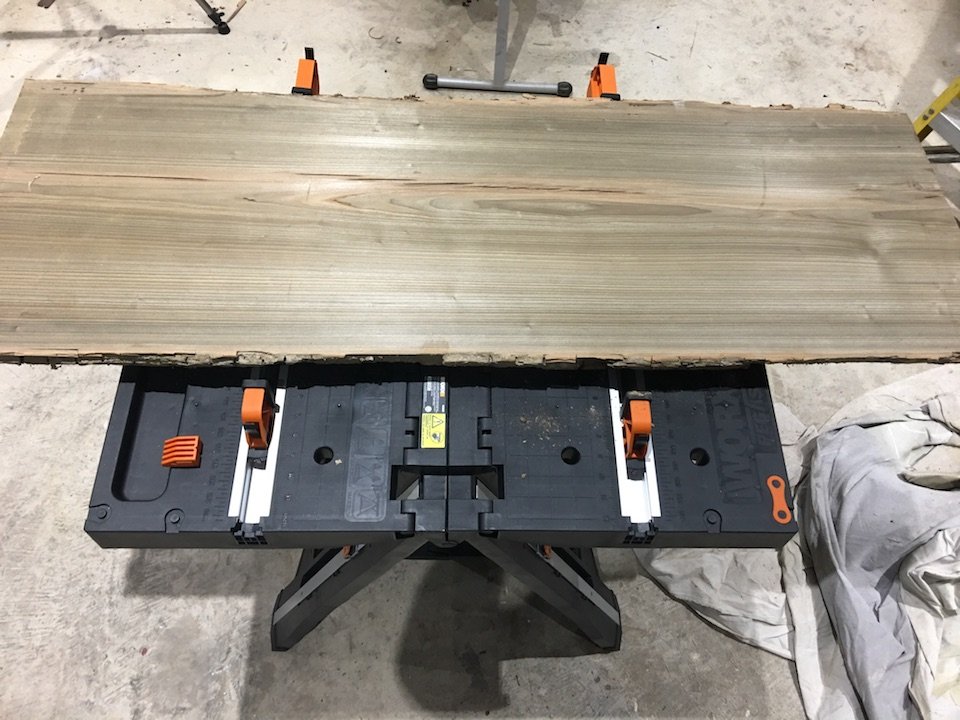
After spending an hour or so perusing the inventory, I purchased a Sinker Cypress slab (8′ x 1.5′ x 2″).
Also, the picture below is a picture of the wood after I cut it in half.
The Sinker Cypress sat in my shop for 3 months and I finally decided to use it to make an LED Epoxy Resin River Table.

Milling Sinker Cypress Wood
I normally start my woodworking projects with preparing the wood.
This LED table project was no different.
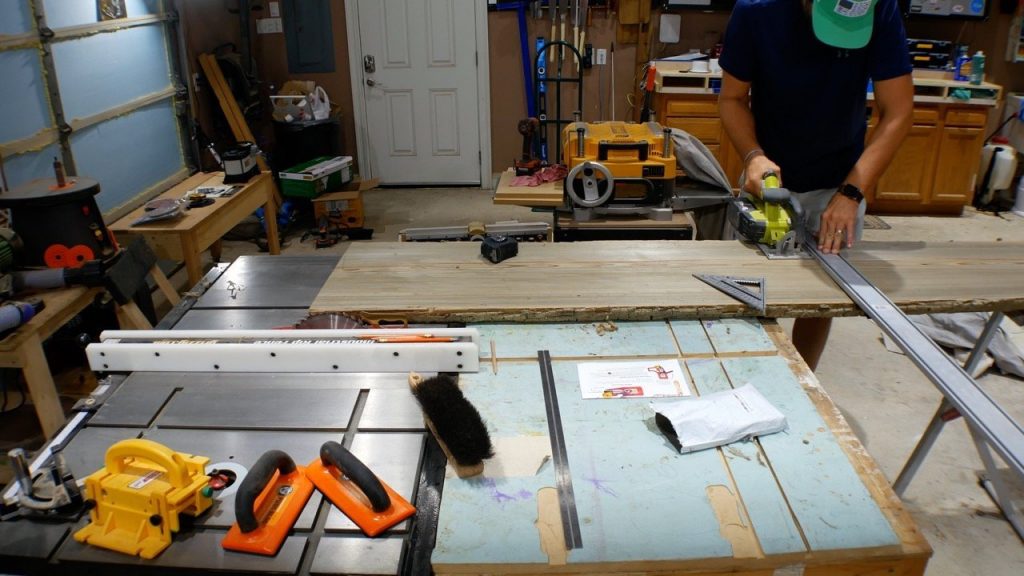
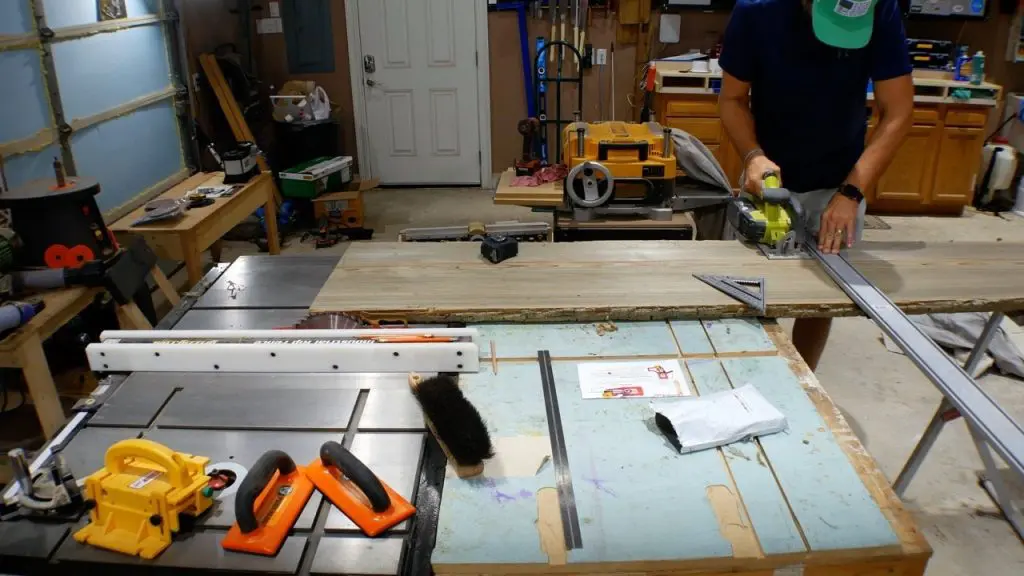
First, I cut the 8 foot piece at 50″ long to form the length of the sinker cypress table.
I used my straight edge and circular saw to make the cut for the resin table.
The LED river table will be 48″ long, but I left an extra inch on both ends to square the edges in a later step.
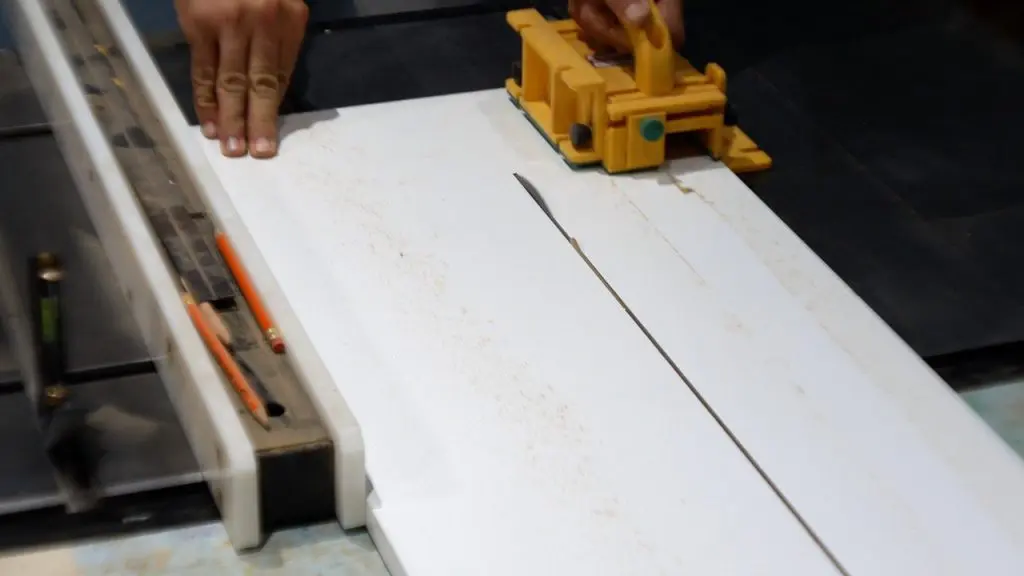
Straight Sides
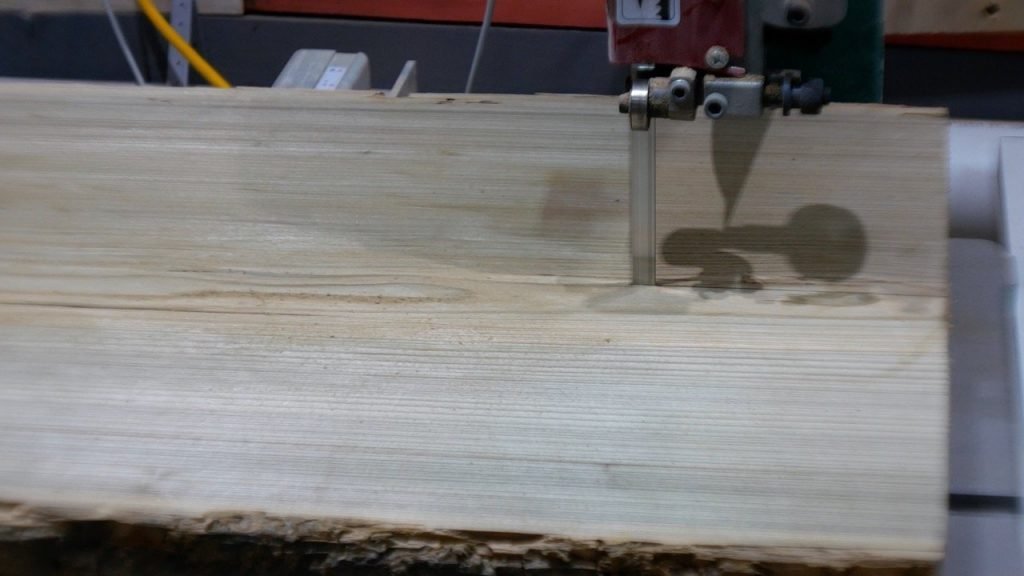
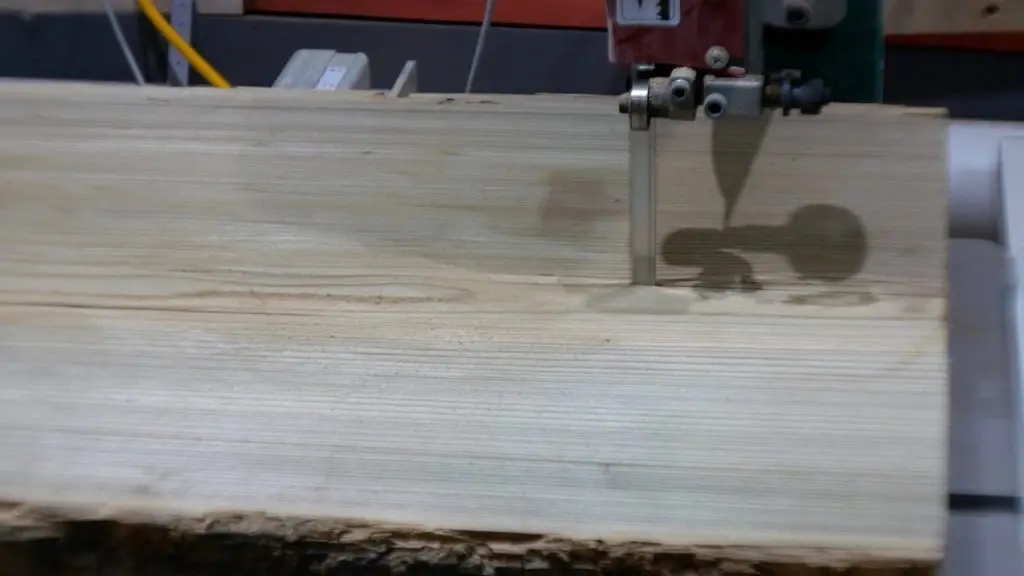
The Sinker Cypress did not have a straight side to ride along the fence of the table saw.
As a result, I ripped it in half with my bandsaw.
A live edge slab, or any piece of wood without a straight side, cannot be cut with a table saw.
In order to cut any piece of wood on a table saw, it must have one straight side. Otherwise, it is not safe.
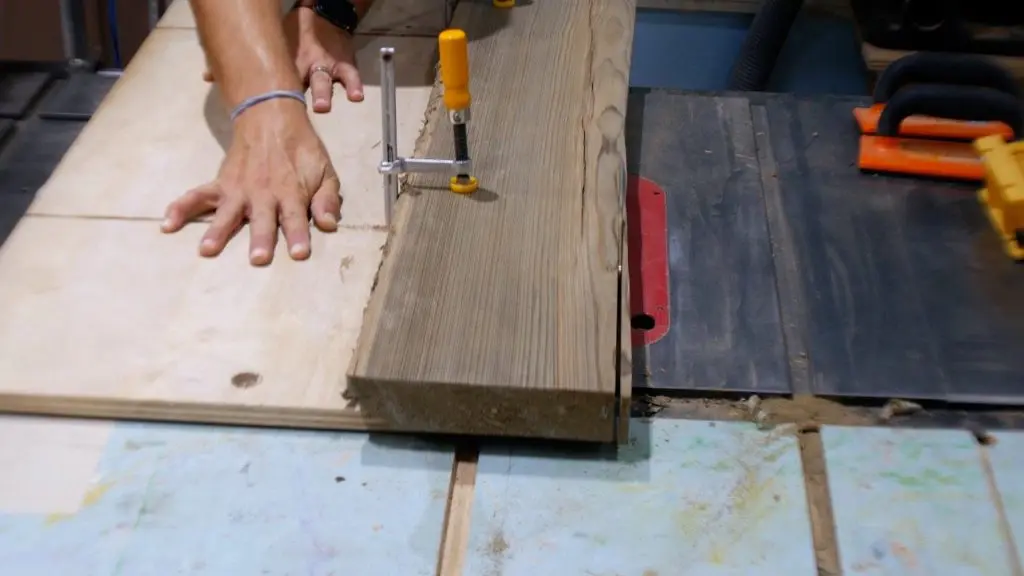
Then, I took the two pieces of sinker cypress and straightened out one side using my jointer jig with dovetail clamps.
I really love this jointer jig because it really gets the sides very straight safely.


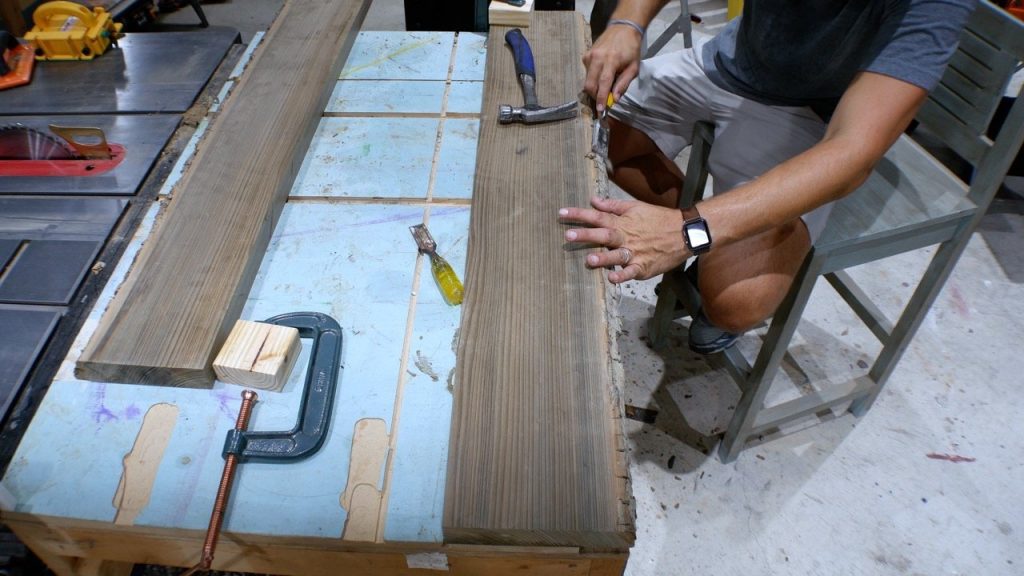
Removing Bark from Live Edge
First, I used a few of my general use chisels
This cleans up the live edge sinker cypress.
Ultimately, I wanted to maintain the shape of the live edge, so I was careful during this process.

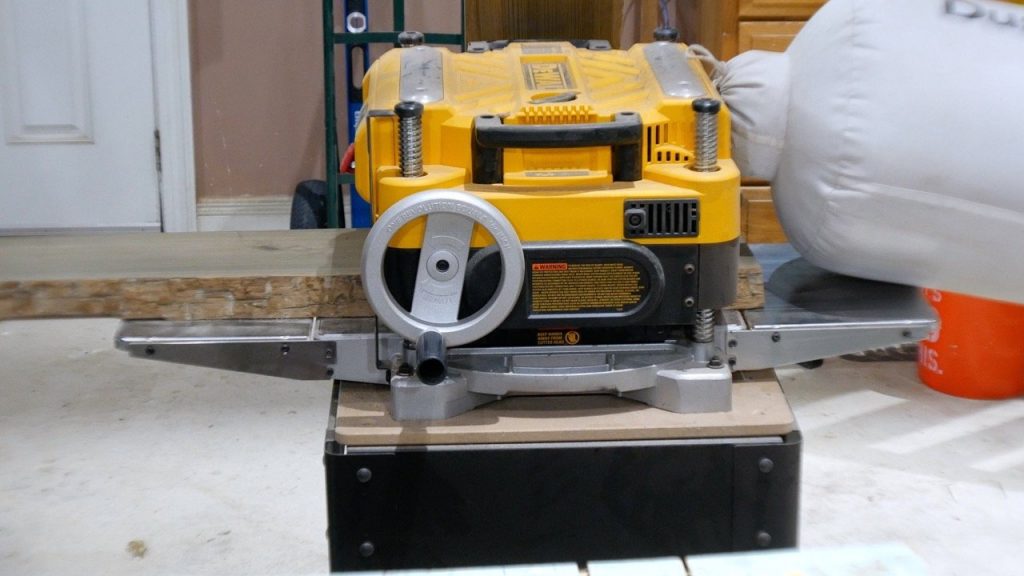
Flat Wood Surface
The sinker cypress was relatively flat as it was planed by my hardwood dealer.
However, I sent each piece through my planer a few times and removed 1/64″ on each pass.

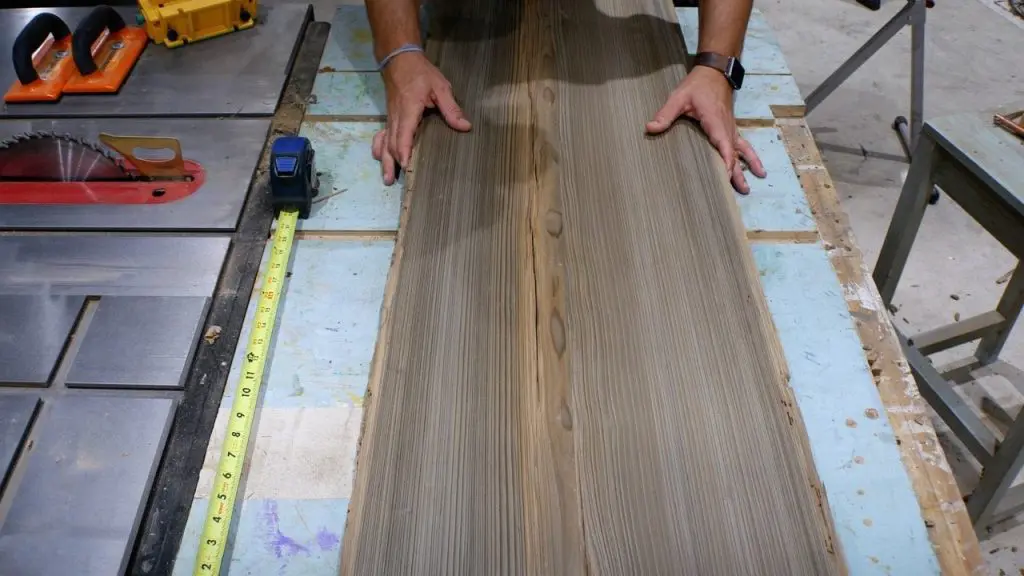
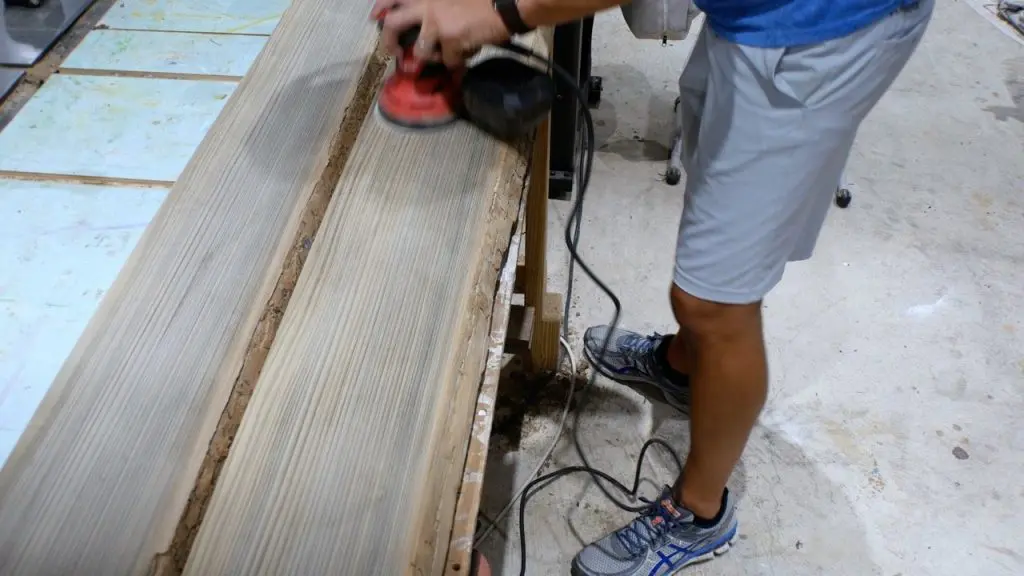
Sanding Wood
Next, I sanded each piece of sinker cypress with my orbital sander.
I sanded the faces, sides, and smoothed out the live edge where I removed the bark.
Essentially, I started with 120 grit, 150 grit, and finally 220 grit.
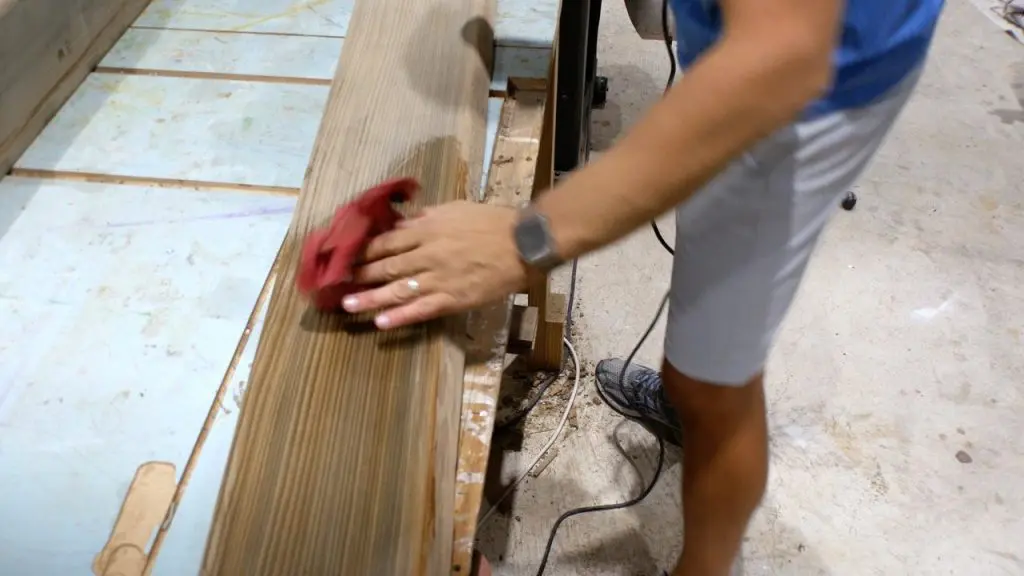
Wood Sanding Tip: For a very smooth finish, wipe down the wood with a damp cloth and sand again with your highest grit. The water lifts the grain a bit and helps remove the excess wood fibers.


Square Ends
First, I used my miter saw
Ultimately, it was only necessary to remove about 1/2″ from each side to get it square.
This worked out because I may need to square it again at a later step and I would have 1″ remaining.
Remember, I cut the piece at 50″.


Melamine Box
The melamine box helps prevent leaking during the epoxy resin pour.
Obviously, it is a very important step for the LED resin table.
Epoxy resin doesn’t adhere to melamine, which makes melamine a perfect material to contain the epoxy resin.
As a cheaper alternative to melamine, I use plywood covered with tuck tape.
Epoxy Resin Mold
I constructed the melamine box to the exact dimensions of the LED table.
This measurement includes the width of the epoxy river.


The bottom of the melamine box needed 2 pieces of melamine because I didn’t have a piece wide enough.
So, I glued the 2 pieces together using spray adhesive with activator.

Essentially, this will create a strong enough adhesion to hold together.
The melamine box bottom was 20″ wide, 49″ long.
I cut the sides at the same length as the bottom and they were 2 7/8″ high (wood is 2″ thick, melamine 3/4″ thick).
Next, I attached the sides with screws after drilling a pilot hole.

I placed the sinker cypress pieces on the bottom and measured the ends to get an exact measurement.
The ends were 21.5″ wide.
Quick Tip: Tape measures are great, but use the board itself for a more accurate measurement.
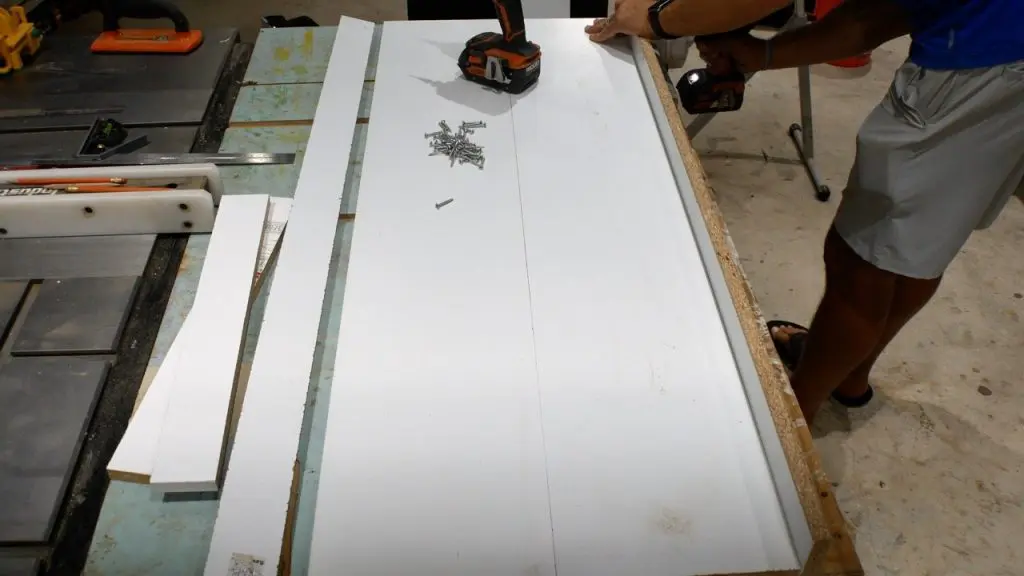
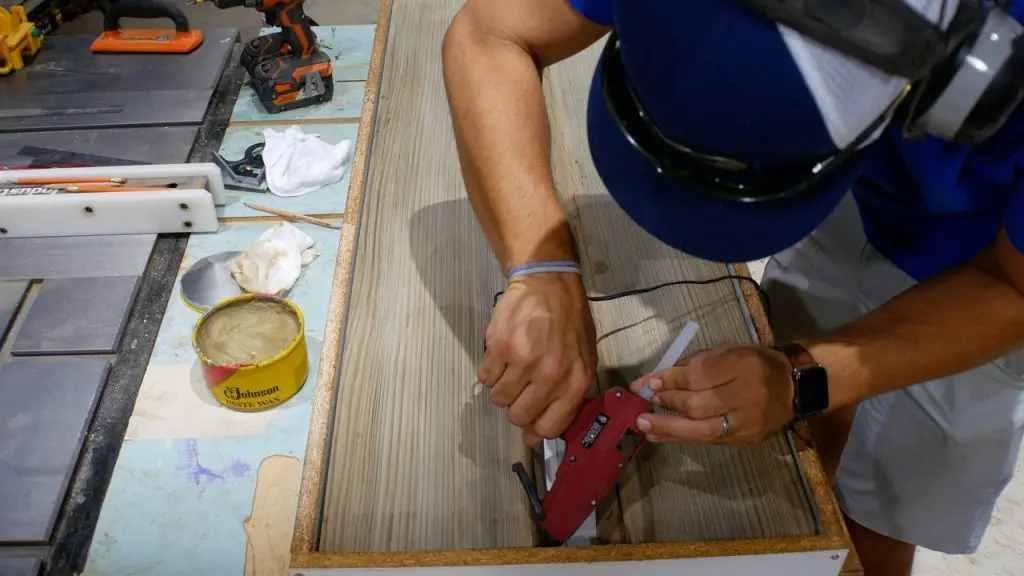
Seal Melamine Box
First, I used my hot glue gun to seal the melamine box on the sides and corners for the LED Epoxy Resin River Table.


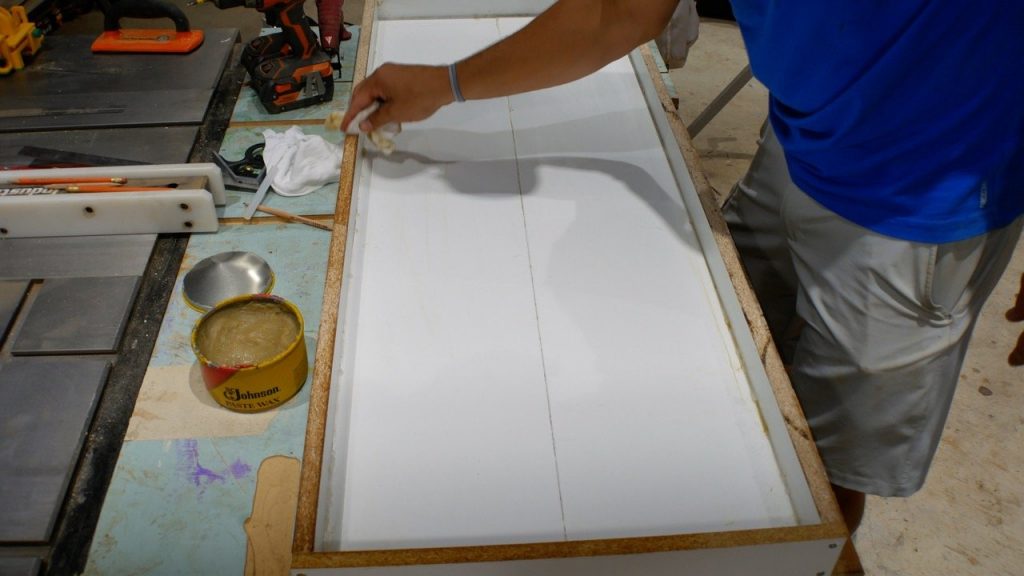
Next, I put a generous coat of Johnson Paste Wax
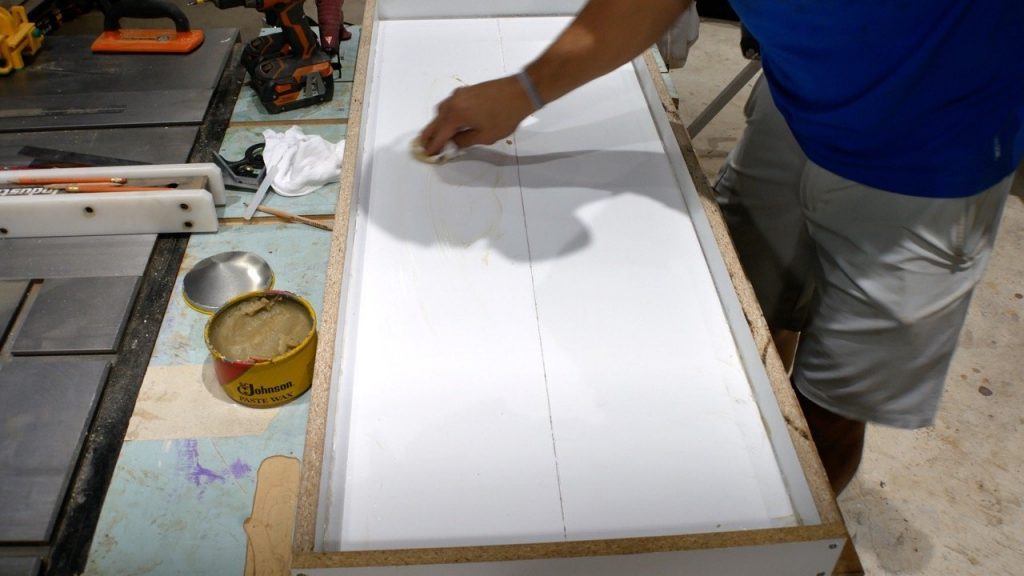
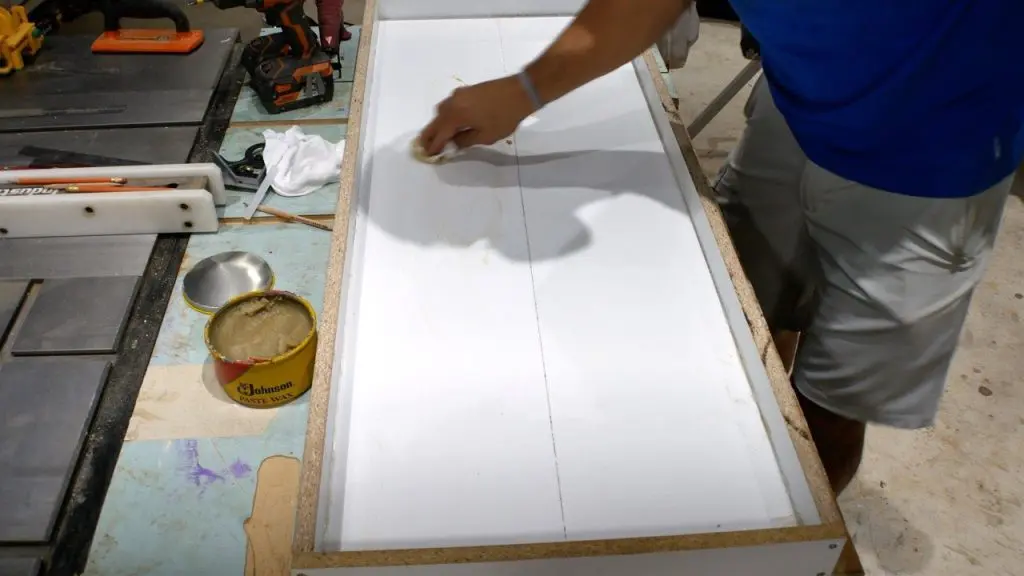
Johnson Paste Wax serves as an epoxy release agent.
This makes it easy to remove the LED epoxy table.

Then, I placed the pieces of sinker cypress into the box and sealed around the edges and corners to prevent the epoxy resin from seeping out.

I put down a thin piece of silicon caulk down the seam of the melamine box bottom.

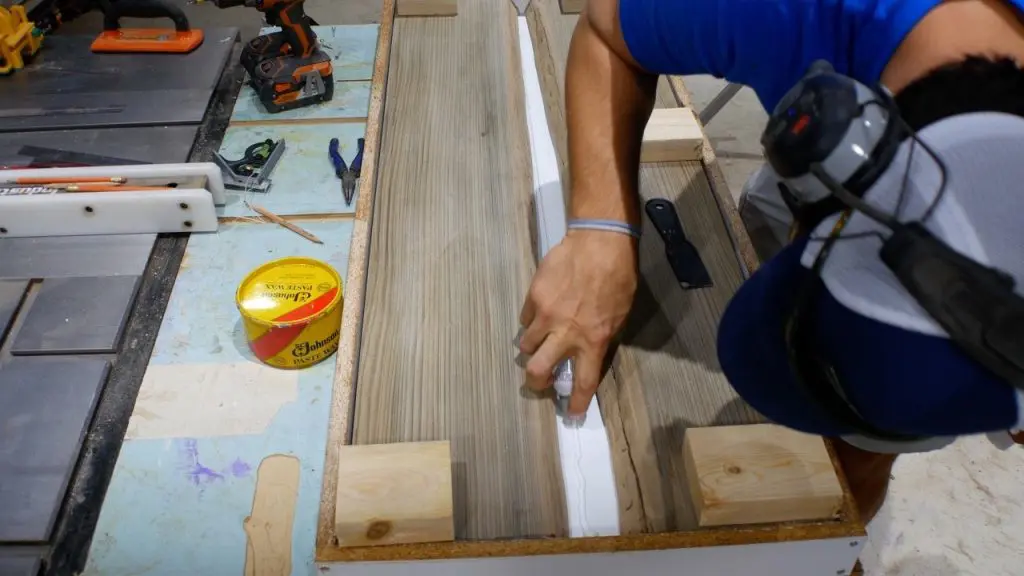
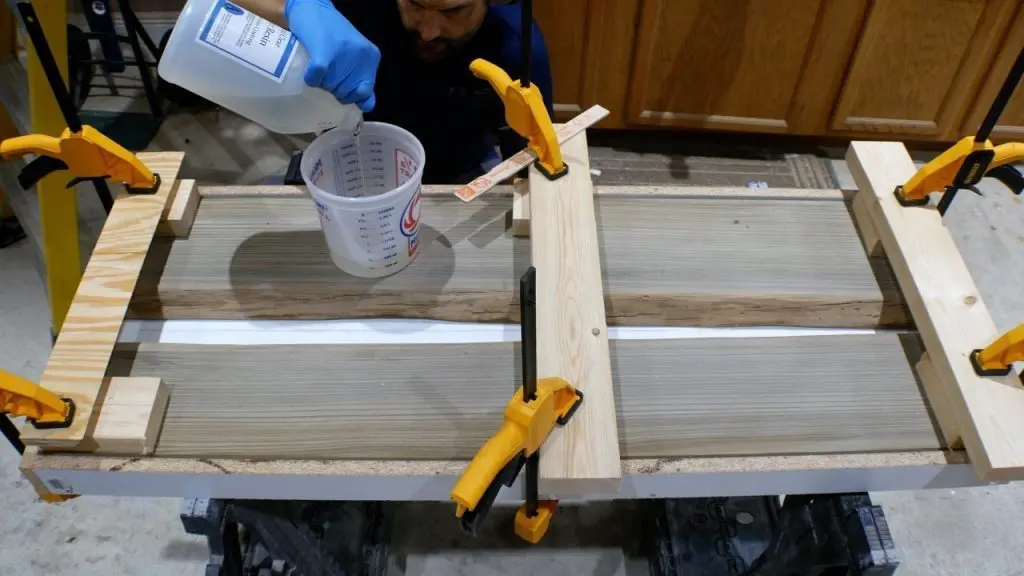
Secure Wood to Mold
First, I used 6 blocks, 3 2x4s, and 6 f-clamps to hold the sinker cypress in place.
This helps with minimizing the epoxy resin from seeping under the table as you can see in my video.
LED Table Epoxy Pour
Keep in mind, it is so important to follow the instructions when using epoxy resin.
This stuff is not cheap and if you think you can skip an unimportant step – think again!
First, I mixed the epoxy resin at a 1:1 ratio (1 part hardener, 1 part resin) at a total of 16 ounces.

This amount is easy to handle.
When the material is first mixed (not whip b/c that causes bubbles) it will turn cloudy.

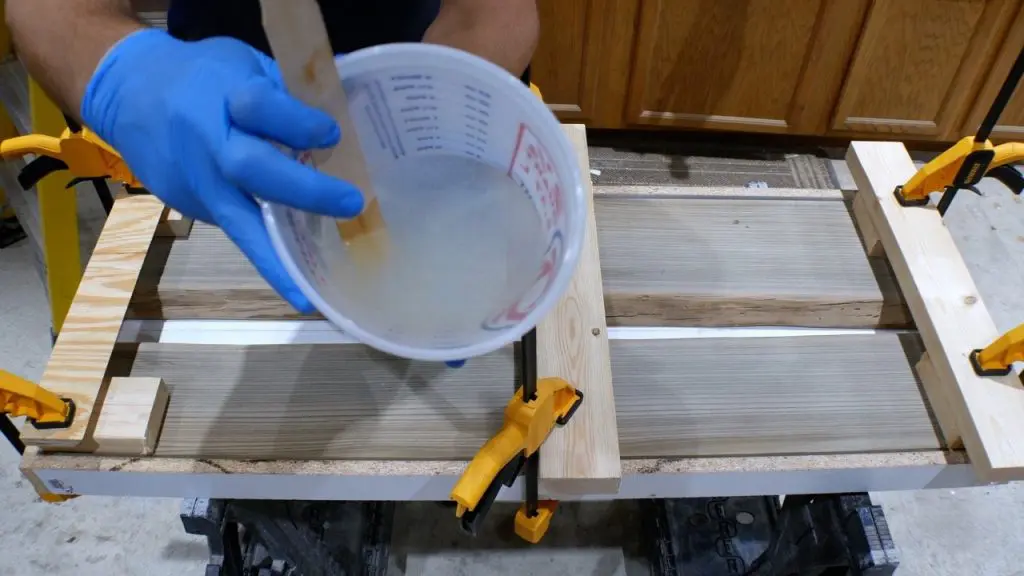
After a few minutes of mixing the material it will begin to ‘break’ and become easier to stir.
Also, the epoxy turns from cloudy to clear when fully mixed.

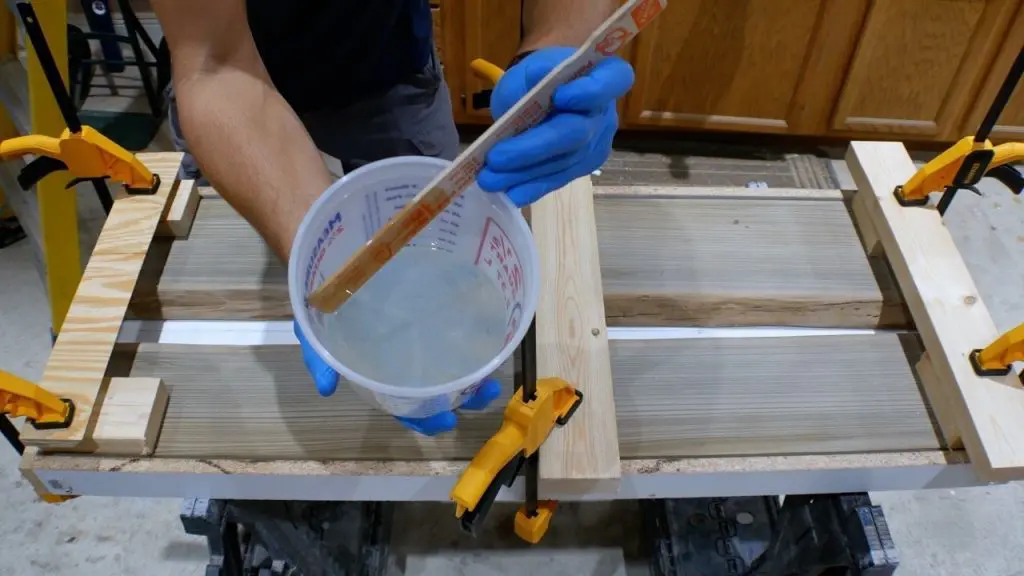
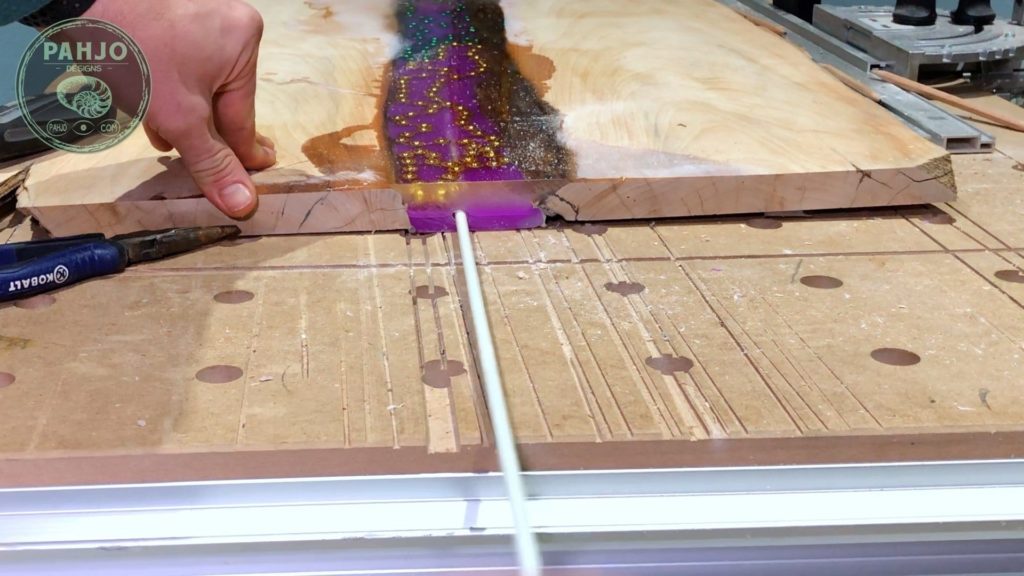
Then, I slowly poured the epoxy resin

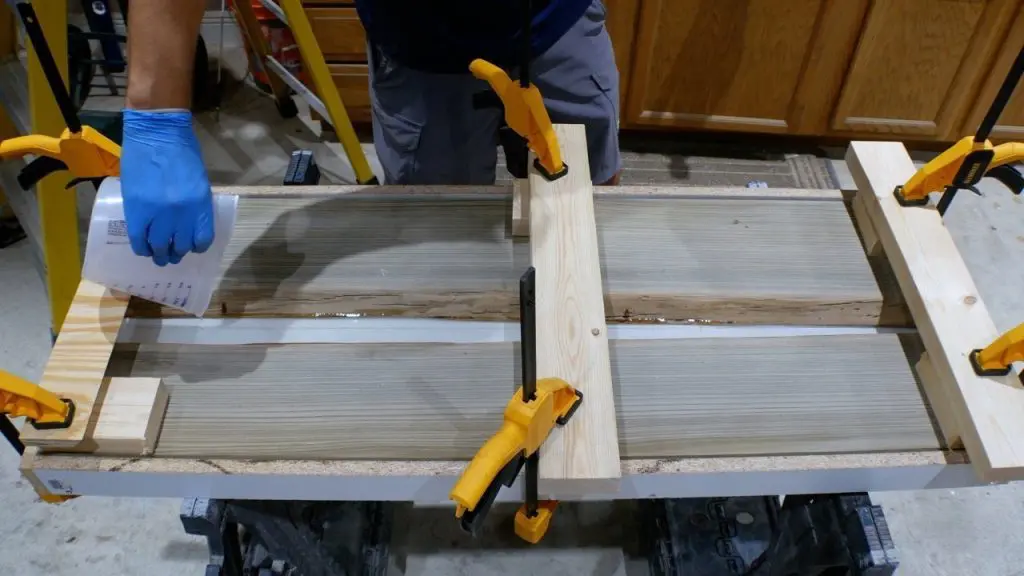
Finally, I used my heat gun
Quick Tip: Use a heat gun every 2 to 3 minutes for about 15 minutes to remove epoxy resin bubbles.
LED Epoxy Resin Pour
First, I removed the f-clamps
The epoxy holds the table in place, so there is no need to hold it in place.
Ultimately, the second pour repeated the same process as the first pour with the same amount of material (16 ounces total).


Embed LED Lights in Resin
Before proceeding to the next step in this LED epoxy table tutorial, I strongly recommend visiting my latest article on how to embed LED light strips in resin.

Ultimately, this procedure works much better than the procedure in this LED table tutorial.
It makes it easy to replace the LED strip in the future
If you decide to not use this procedure to embed led lights in epoxy, simply proceed to the next step.
I cover installing the LED lights using super glue in a later step.
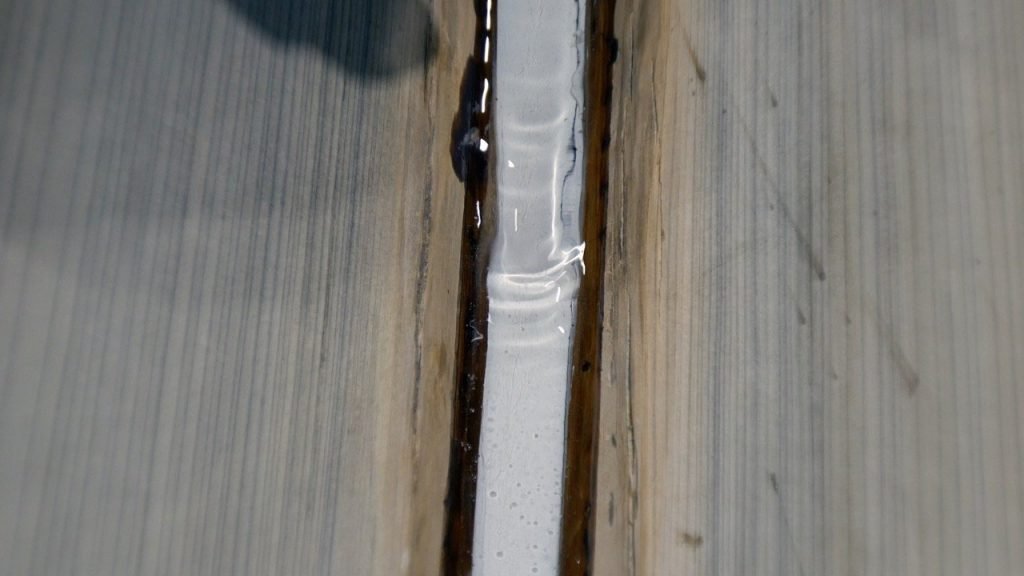
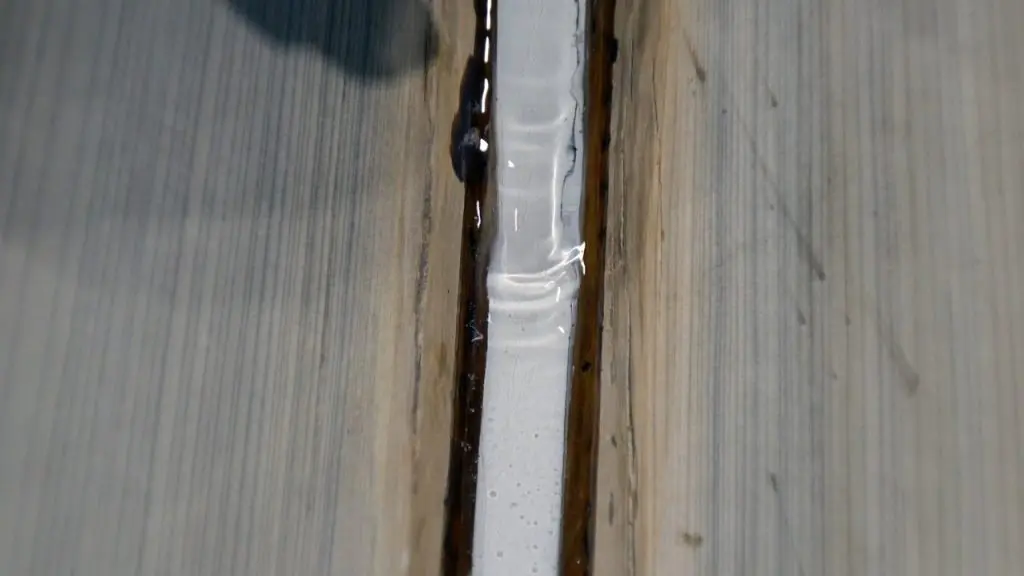
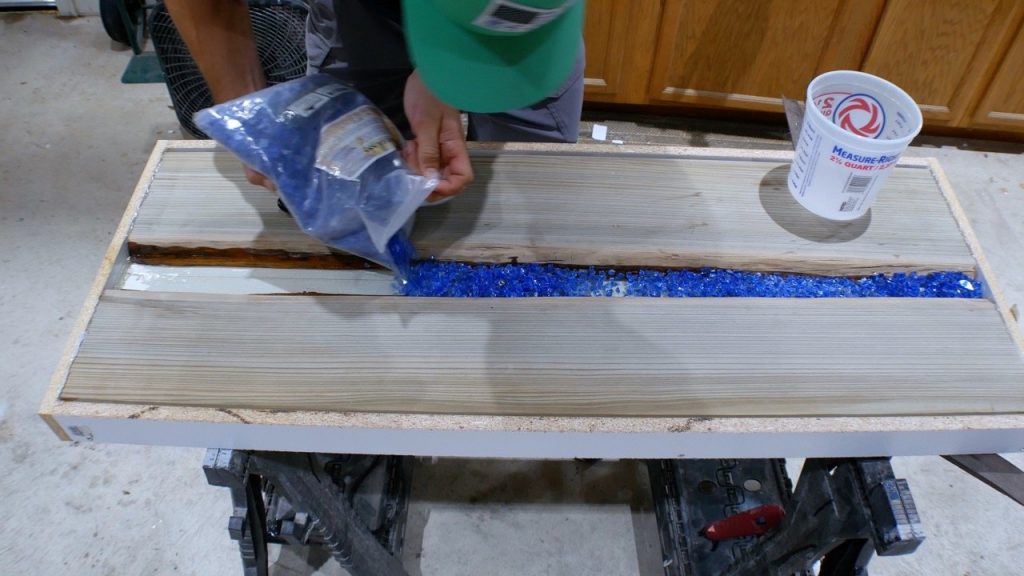
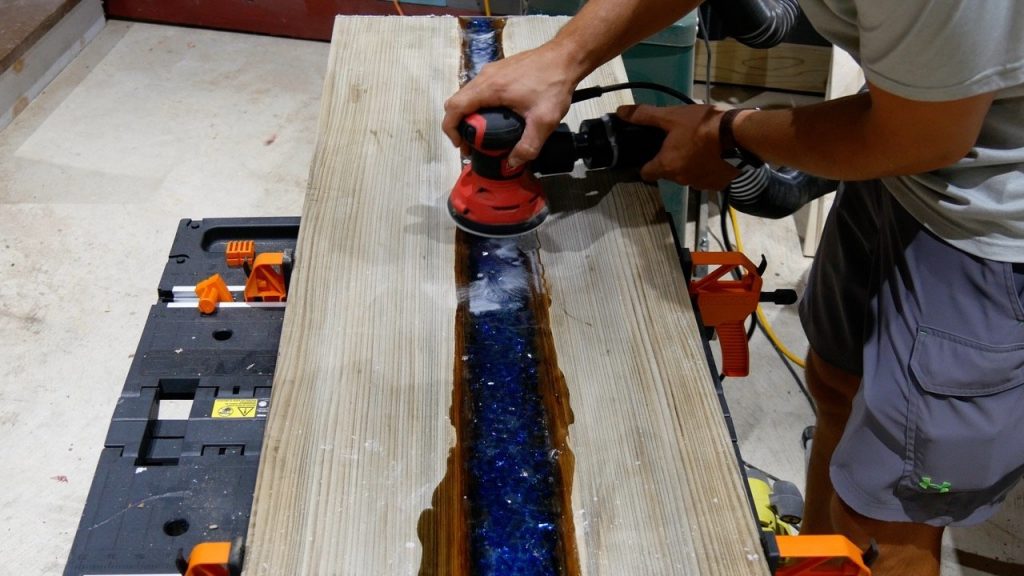
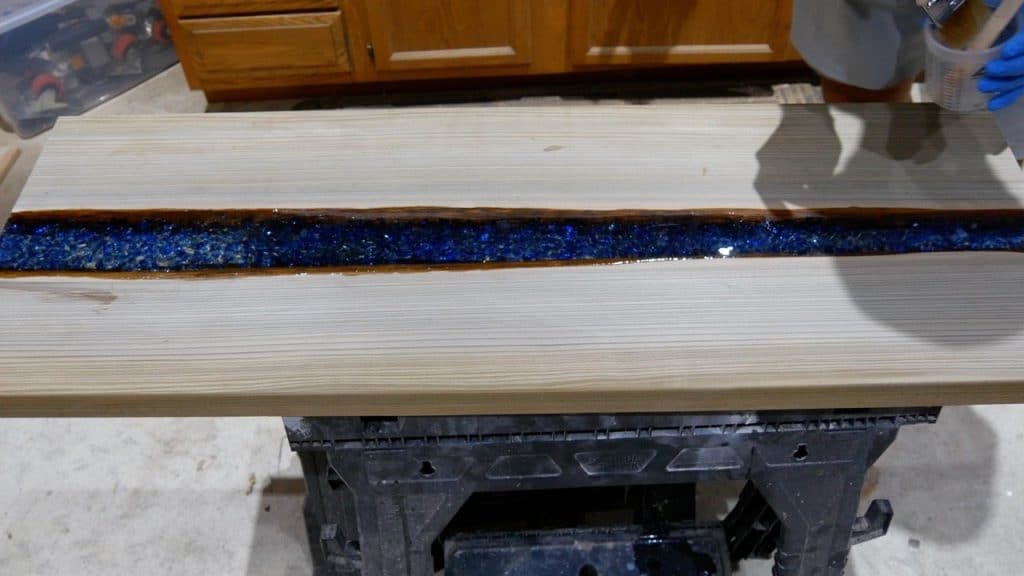
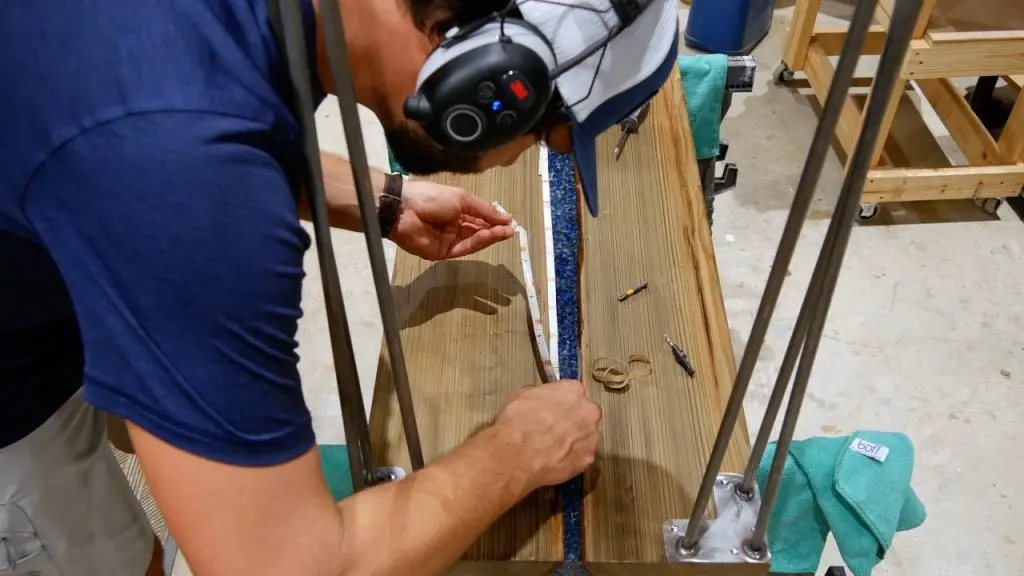
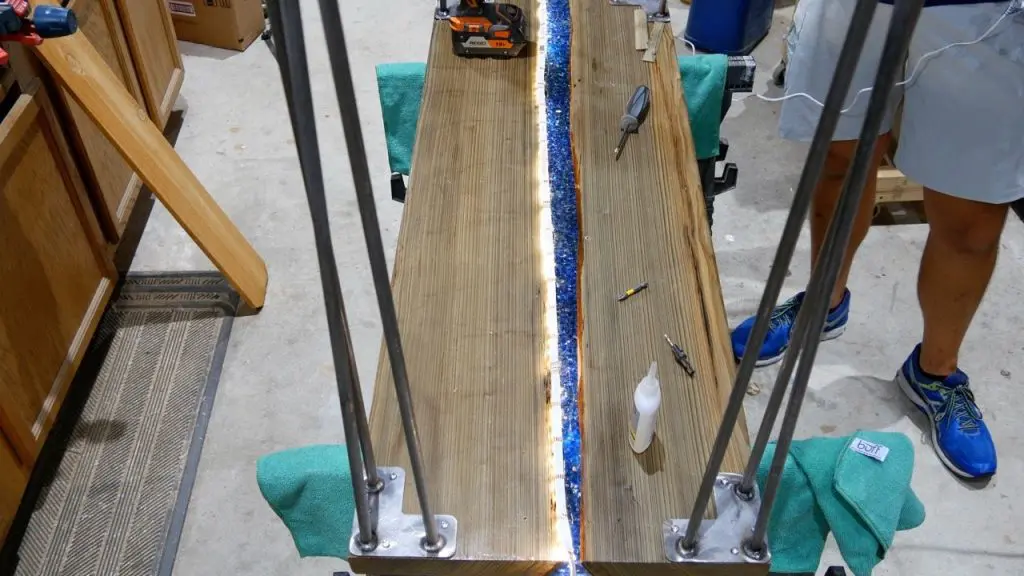
Fire Glass in Epoxy Resin
For the third pour, I embedded blue rocks in the LED resin table.
I recommend to use acrylic rocks as I did on a recent epoxy river rock table project.
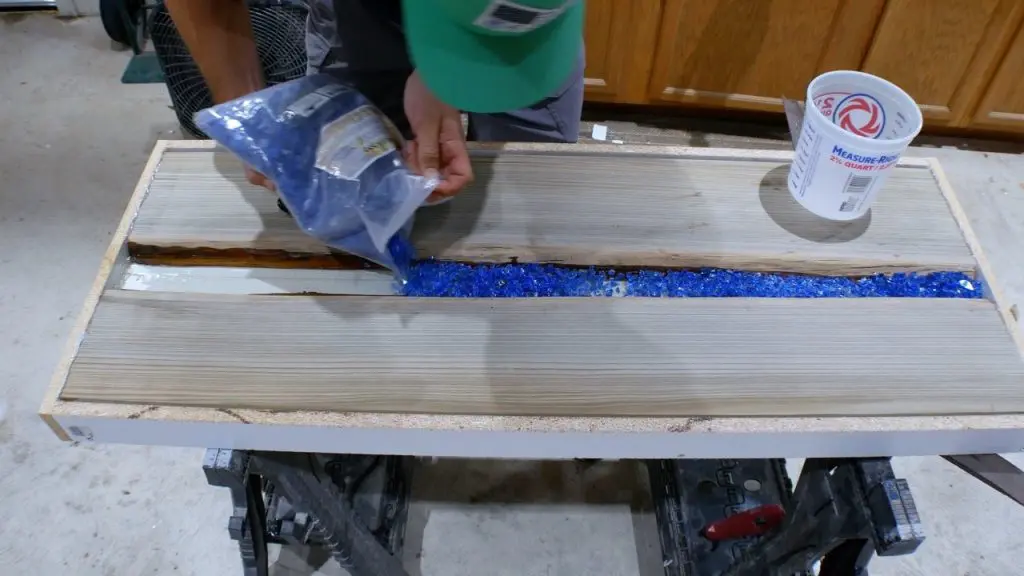
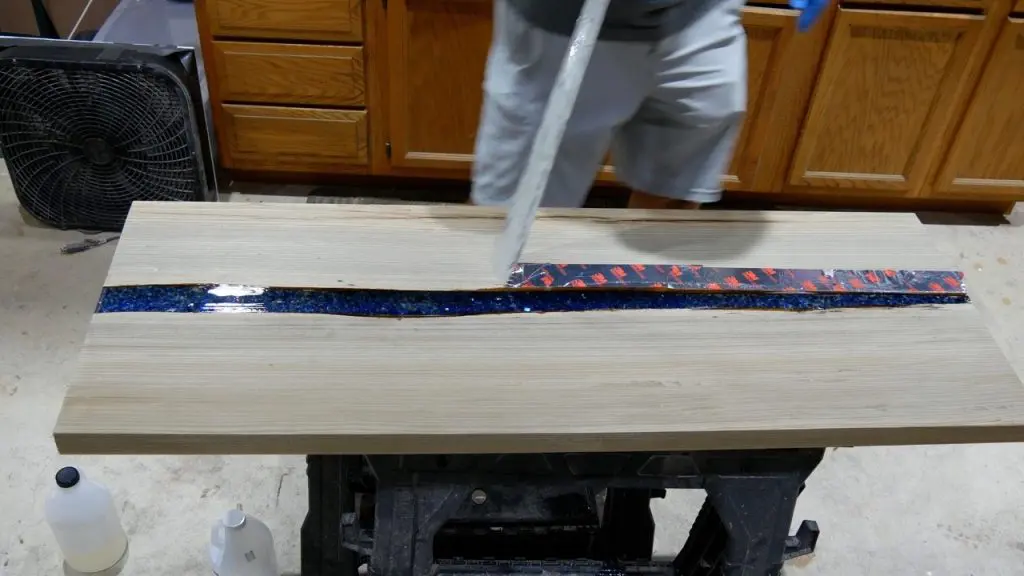
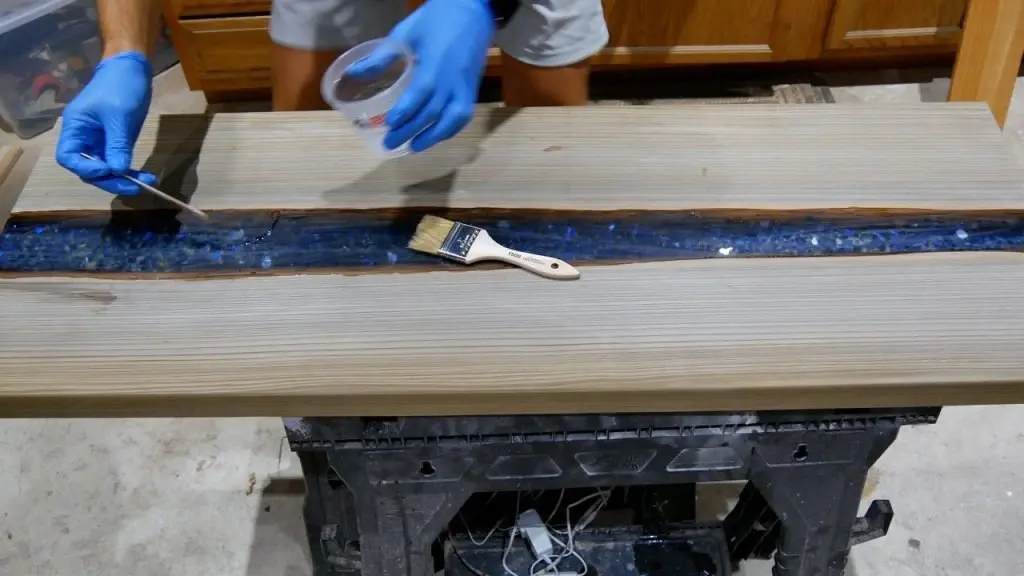
First, I poured the fire glass on top of the second layer of epoxy resin.
Also, I made sure the height of the fire glass was below the height of the resin table.
Next, I poured a layer of epoxy resin to cover the fire glass.

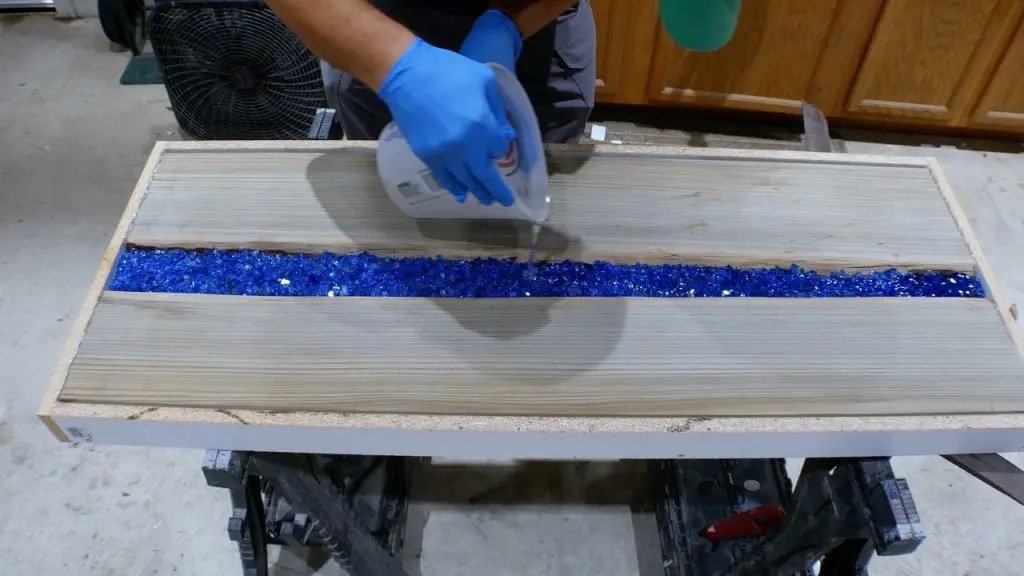
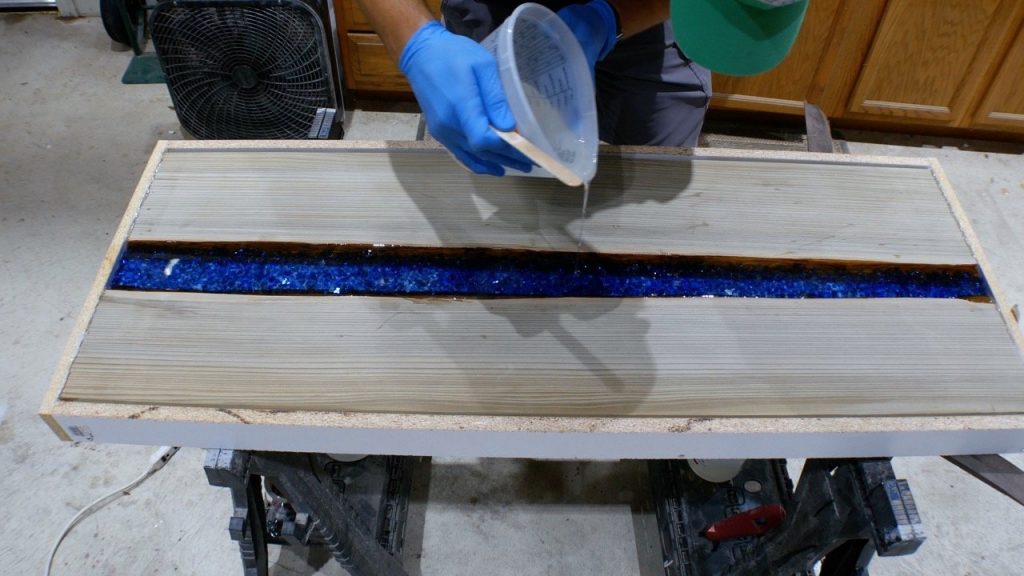
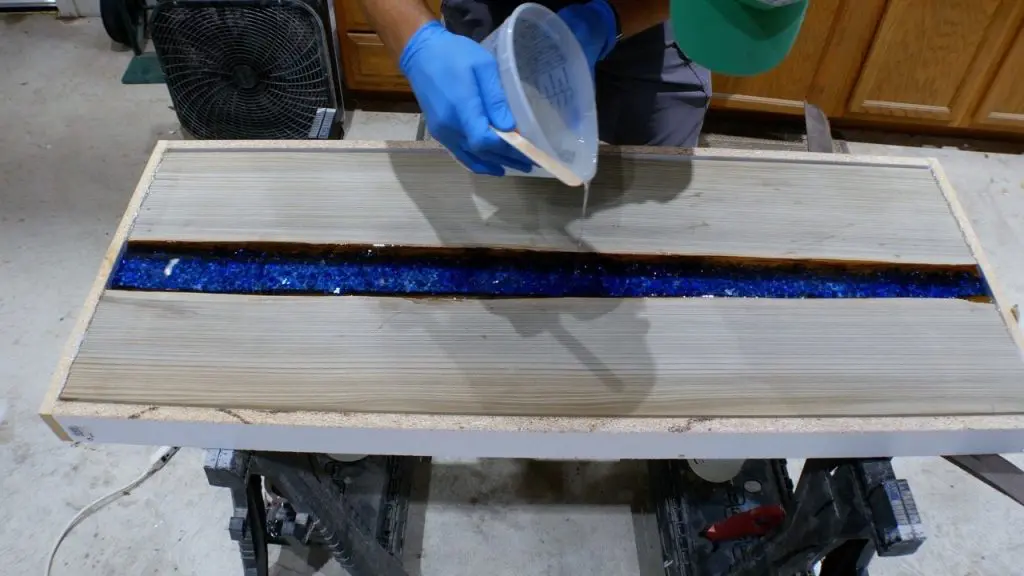
Finally, I used my heat gun
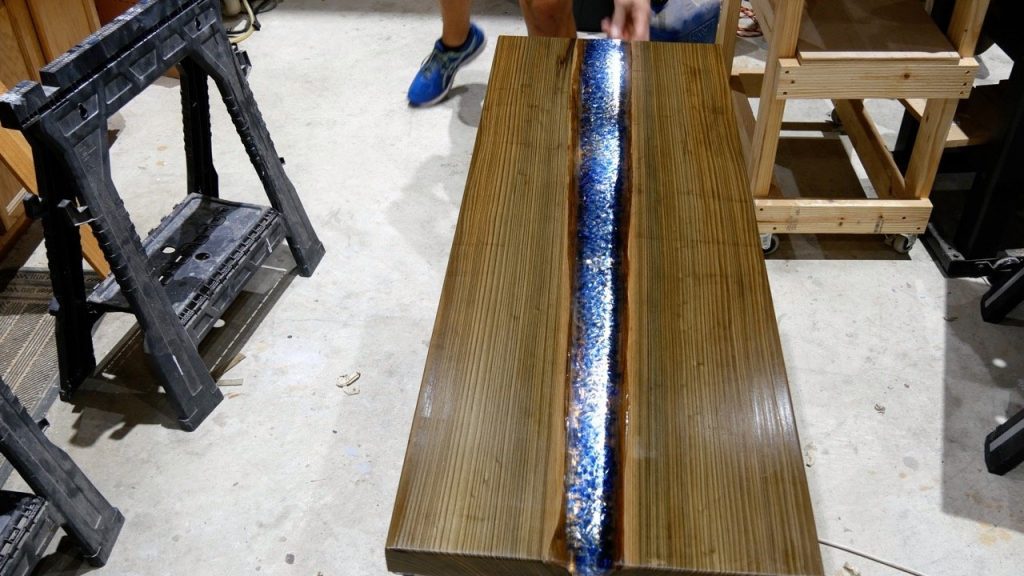
Remove Epoxy Mould
The melamine box I used for the LED epoxy table mould released easily.


Obviously, it is a pain in the rear to prep the melamine box with wax, hot glue, etc., but it is very much worth the time.
I removed the sides, back/front, and then the bottom from the epoxy resin table.
Unfortunately, I discovered epoxy resin leaked under the table.


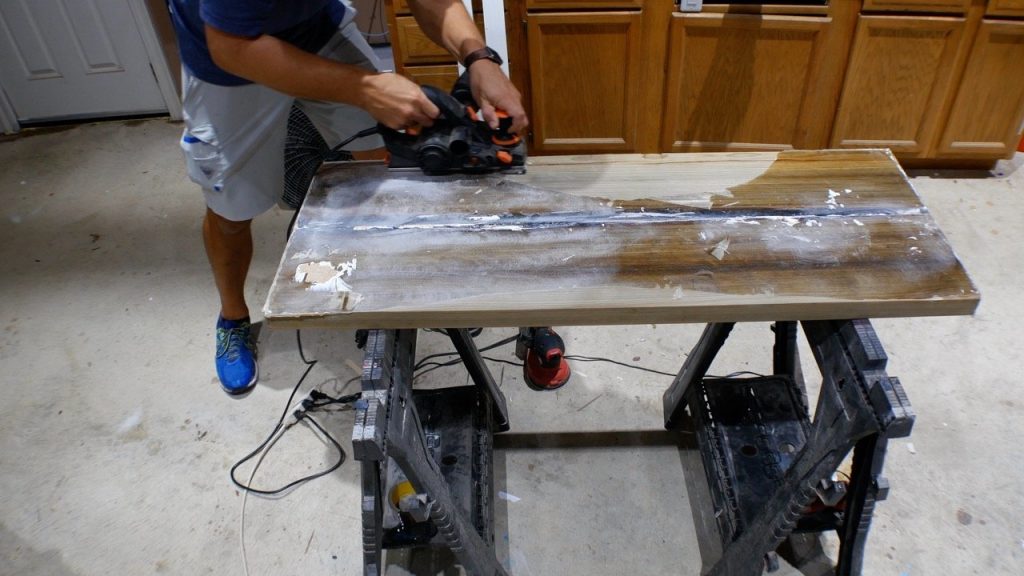
Remove Excess Epoxy
First, I used my electric hand planer
It took quite a few passes to remove the excess.
Also, I rarely use my electric hand planer because it makes a mess.
However, I’m glad I have one.

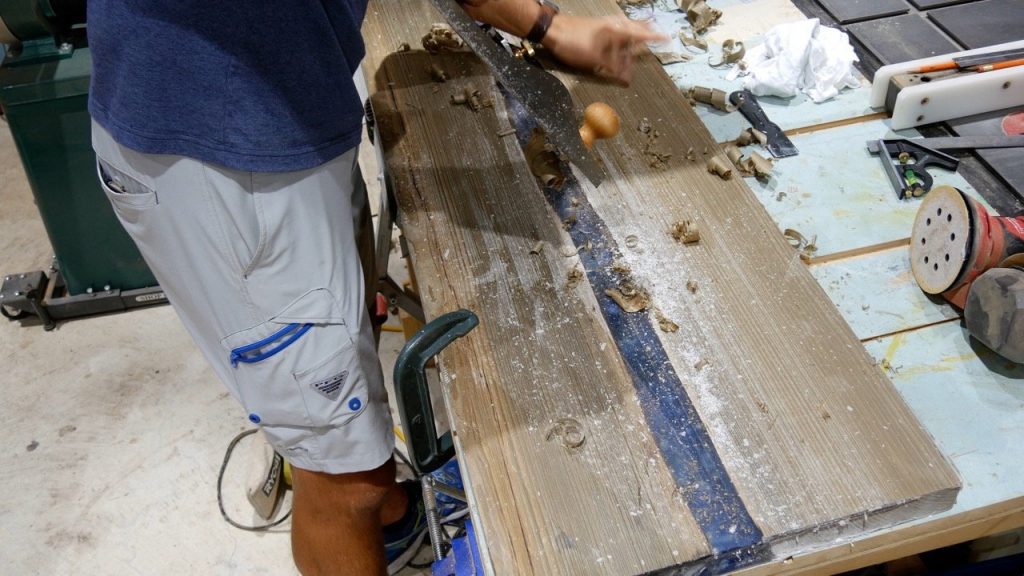
Next, I used my low angle jack plane to flatten out the bottom of the LED epoxy table.
Keep in mind, I only used it on the wood – not the epoxy.

Finish Sanding
First, I sanded the LED table and epoxy resin very lightly with 220 grit sandpaper on the top and underside of the table.


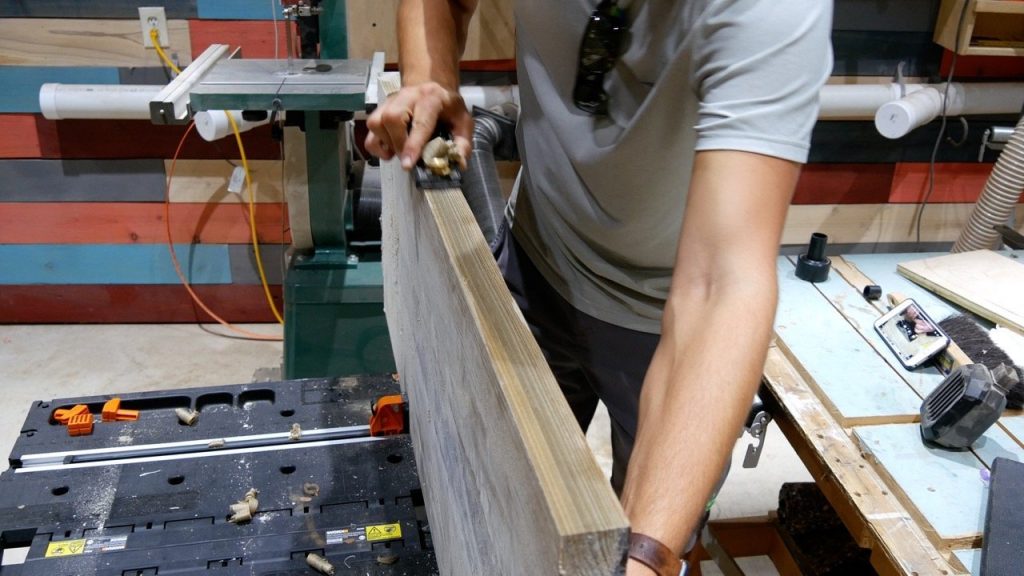
Next, I used my stanley block plane

Then, I ran the LED table through my table saw 
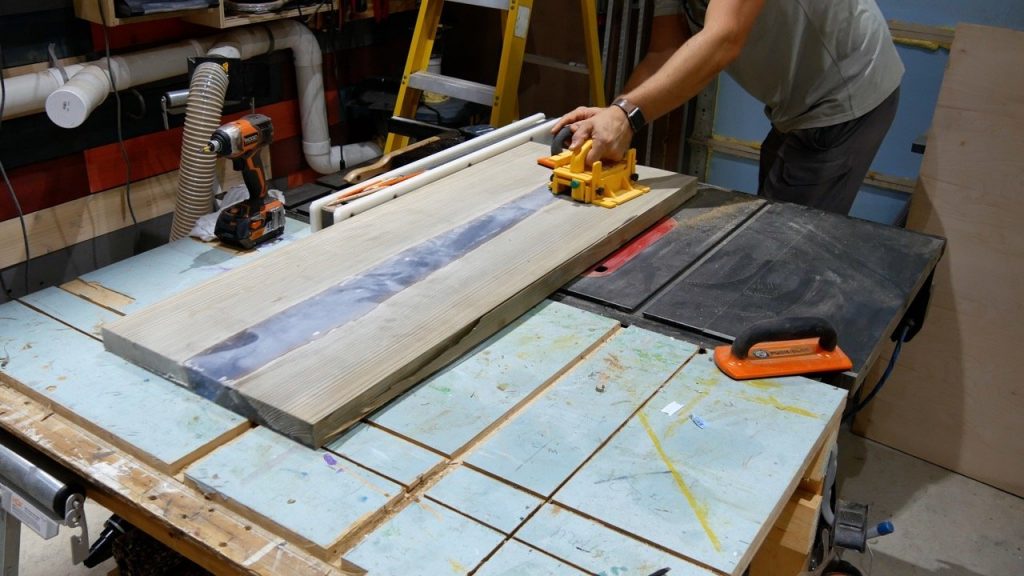

Finally, I used my worx bench

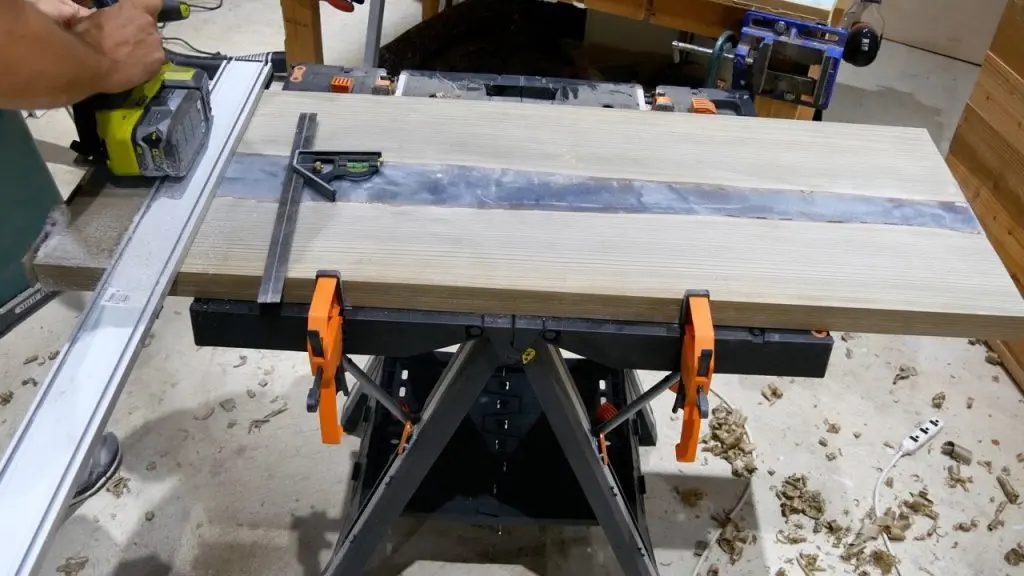
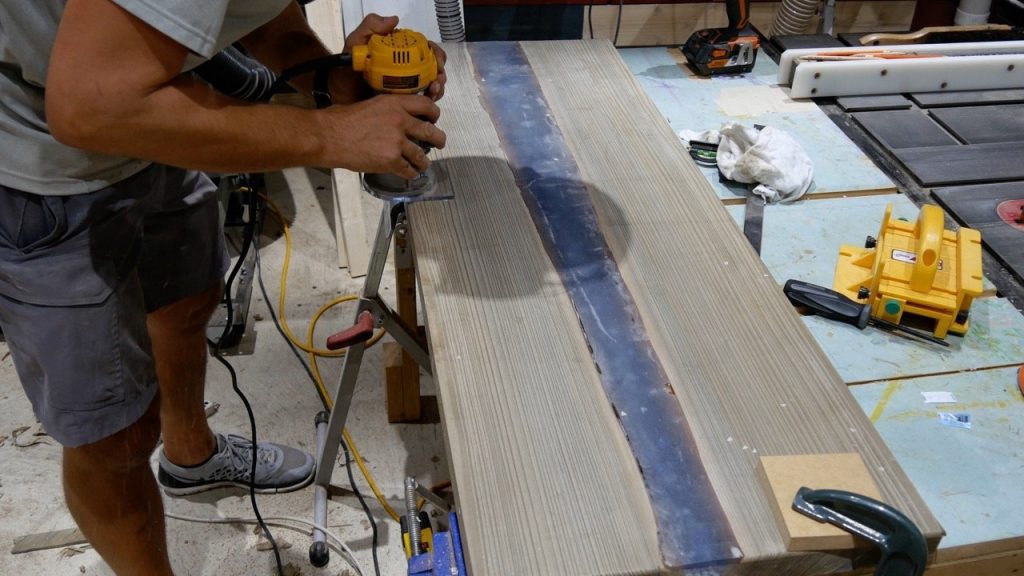
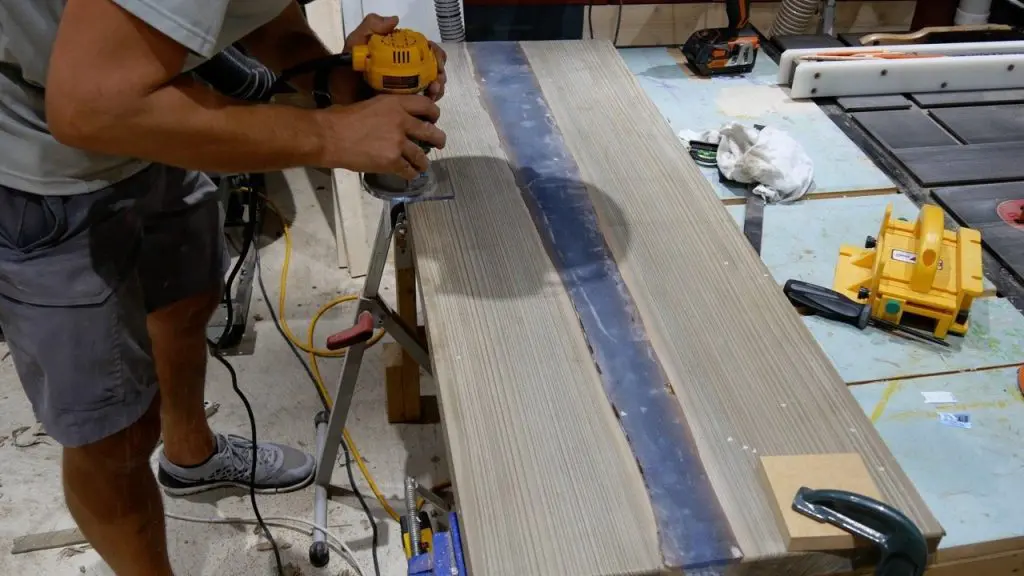
Roundover Edges
I decided to use a 1/4″ roundover bit

It was perfect – I’m glad I didn’t use a 1/2″ roundover bit.
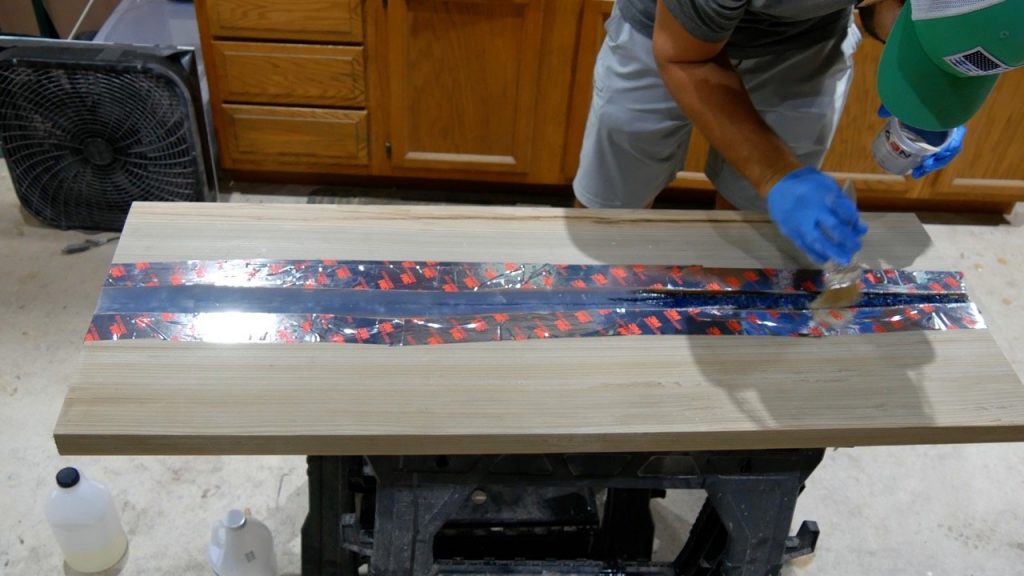
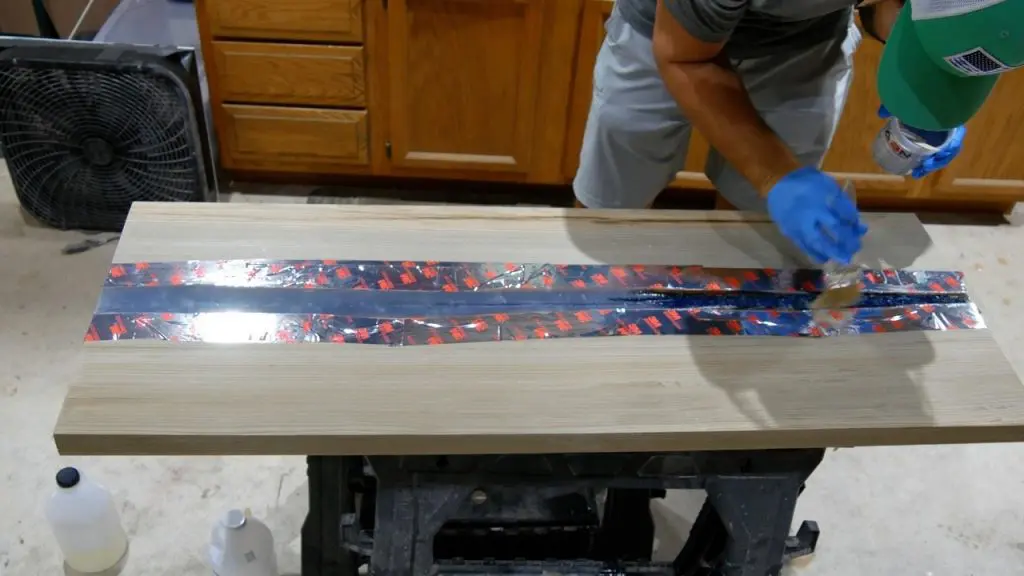
LED Table Underside
Since I planned to place LED lights under the epoxy table, I wanted the epoxy to be transparent.
In turn, I had to finish the underside of the epoxy river.
First, I decided to use HVAC tape


Next, I mixed 6 ounces of epoxy resin and applied the final coat with a chip brush.
I didn’t have a foam brush at the time, so I used what I had in my shop.
Afterwards, I immediately removed the tape.

How To Fix Pinholes in Cured Epoxy
Somehow, I managed to miss these bubbles in epoxy resin after the initial pour.
No worries, I know how to remove bubbles in cured epoxy using a simple procedure.
First, I flipped the table over so the top side faced up.

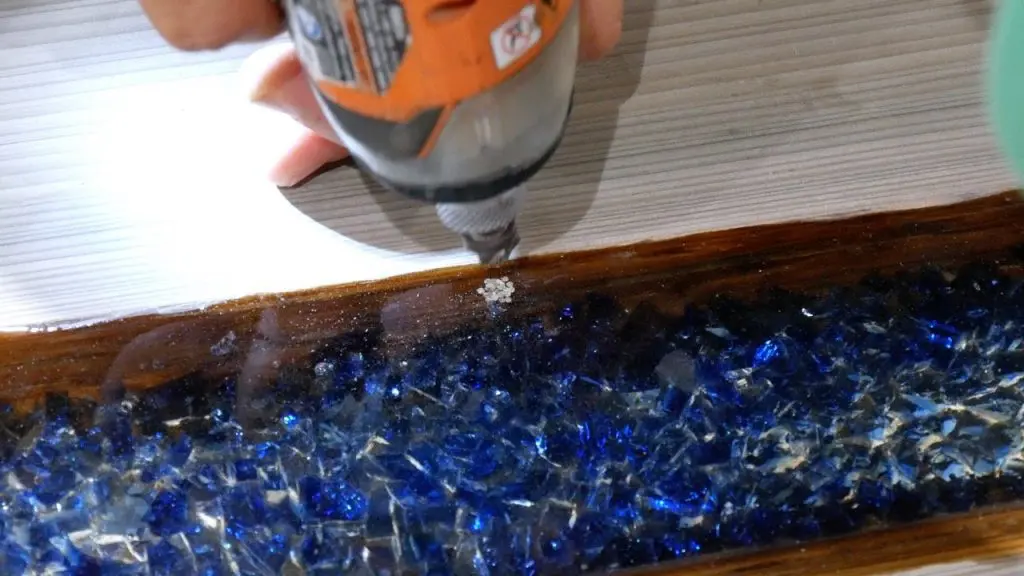
I used my drill with a round countersink bit to gently bore out the bubbles.
It worked like a charm.
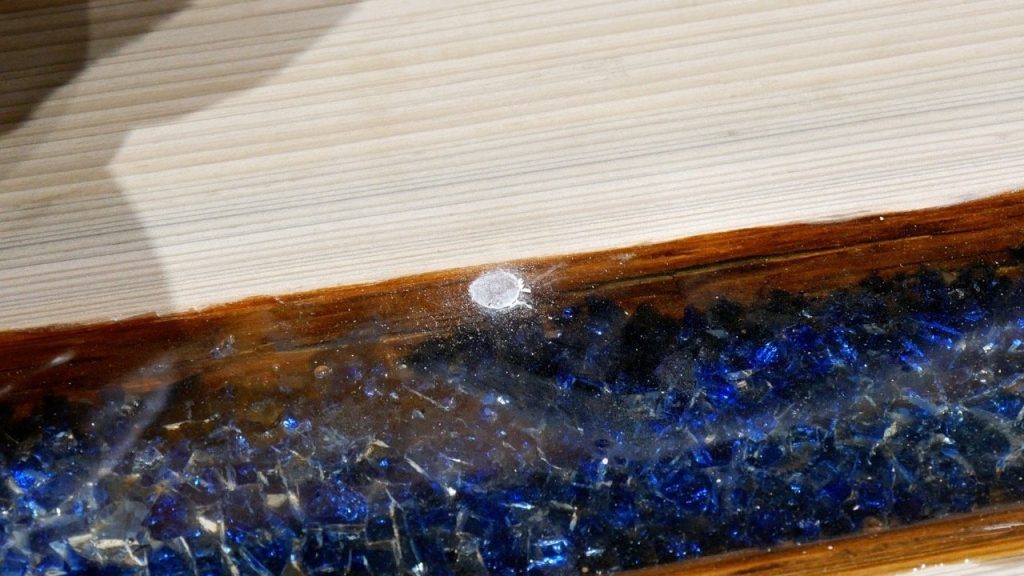

Next, I mixed a very small amount of epoxy resin to fill the hole. I allowed this to cure.
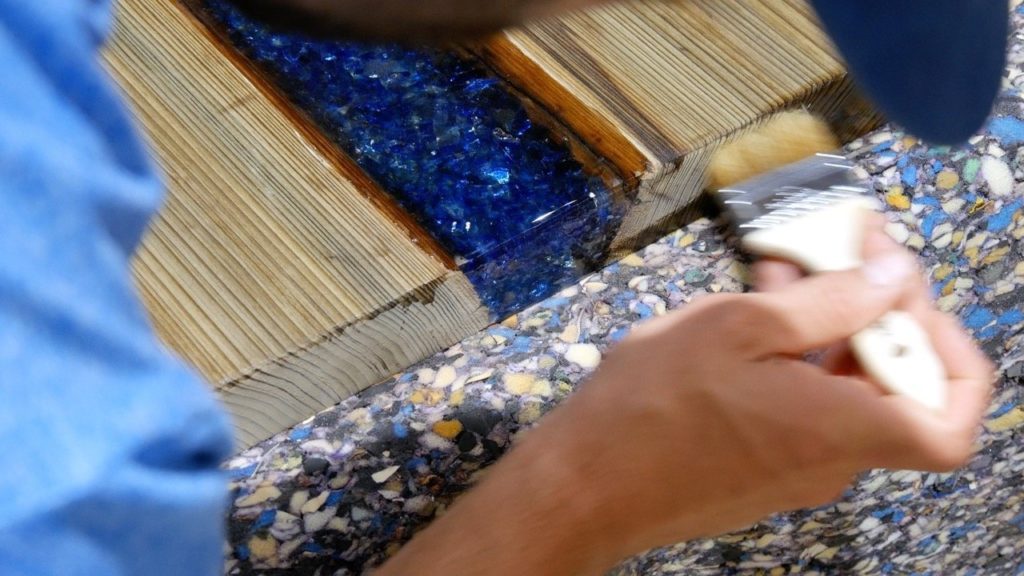
Top Coat for Epoxy River Only
First of all, I hand sanded the surface of the LED river table with 1000 grit paper before I applied the final coat (hopefully, the true final coat this time).
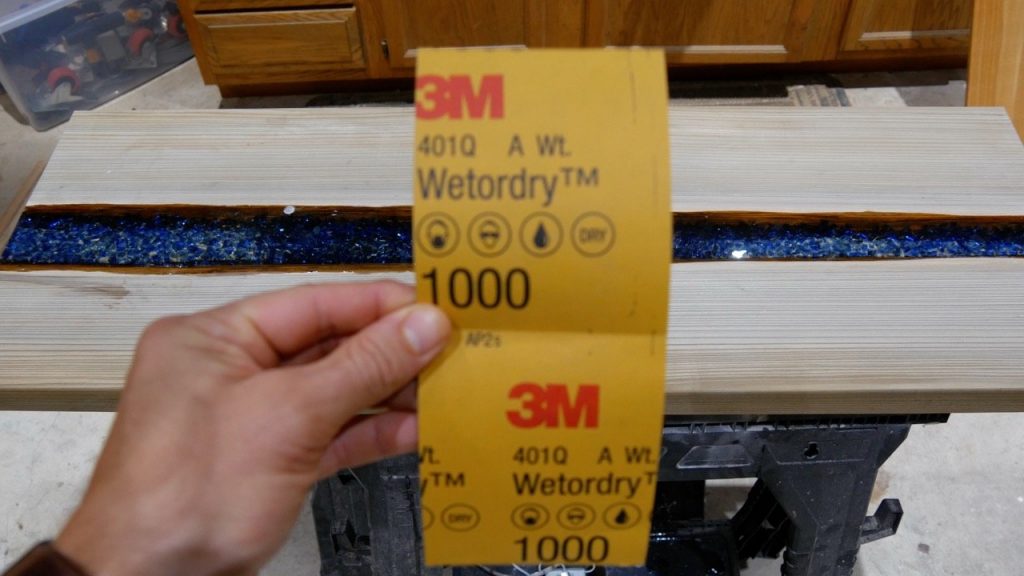

Additionally, I also spent some time removing the debris from the hole I drilled.
Next, I repeated the process for the previous final cut.

However, I decided to test my painting ‘cut in’ skills by not using tape this time.

Actually, I ran out of HVAC tape so I didn’t have a choice.
Best Finish for Epoxy Wood Tables (UPDATED)
While the finish I used on this table worked fine, it is not the best.
In fact, I deleted the finish section in this LED resin table tutorial to give you better advice.
I wrote a detailed article summarizing the 4 best finishes for epoxy wood table tops.
Please read this article to learn how to finish epoxy wood tables and come back to this post.


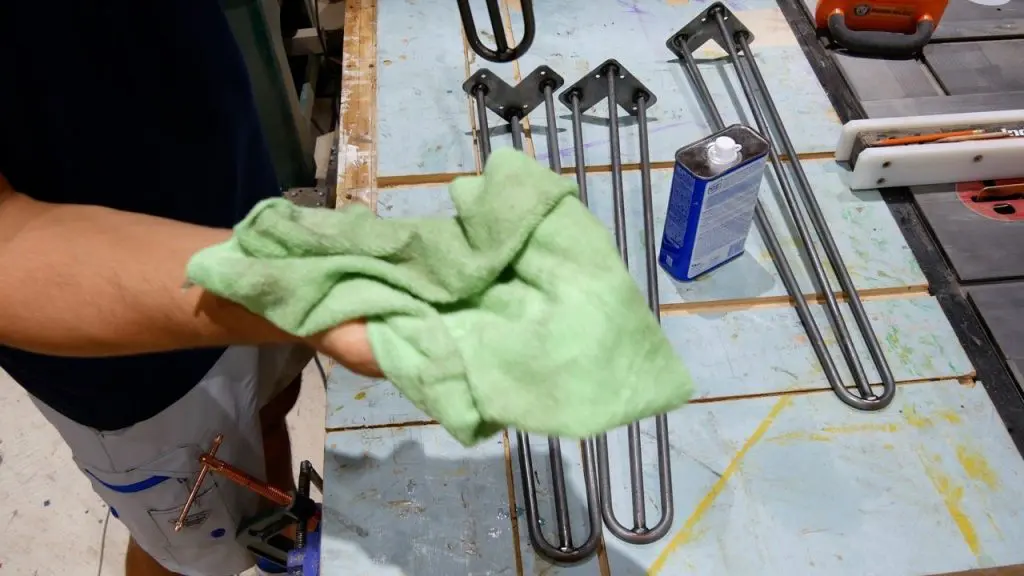
Hairpin Legs
The hairpin legs are 28″ and they are sold in 2 colors – raw steel or black.
Furthermore, I chose raw steel because it matches the style of table and the hardware in our house more than the black.
The quality of these hairpin legs shocked me because I did not expect them to be such solid legs.
First, I had to clean them using mineral spirits as they were full of residue.
Presumably, the residue was put on them intentionally to prevent rust during shipment.

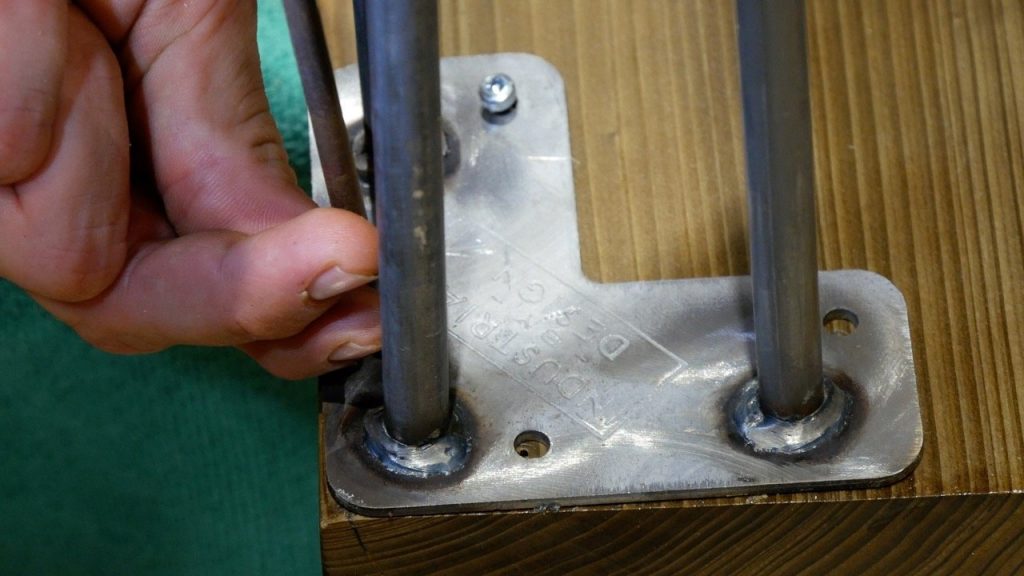
Then, I placed them on the ends of the table and marked the holes with a double sided pencil.

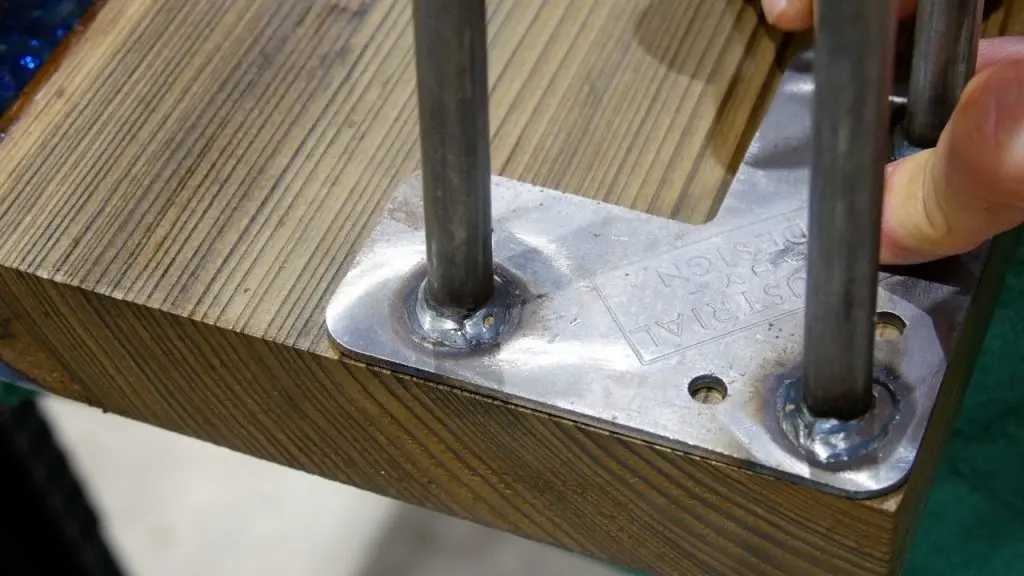
Finally, I pre-drilled the holes and screwed them in place on the underside of the LED Table.

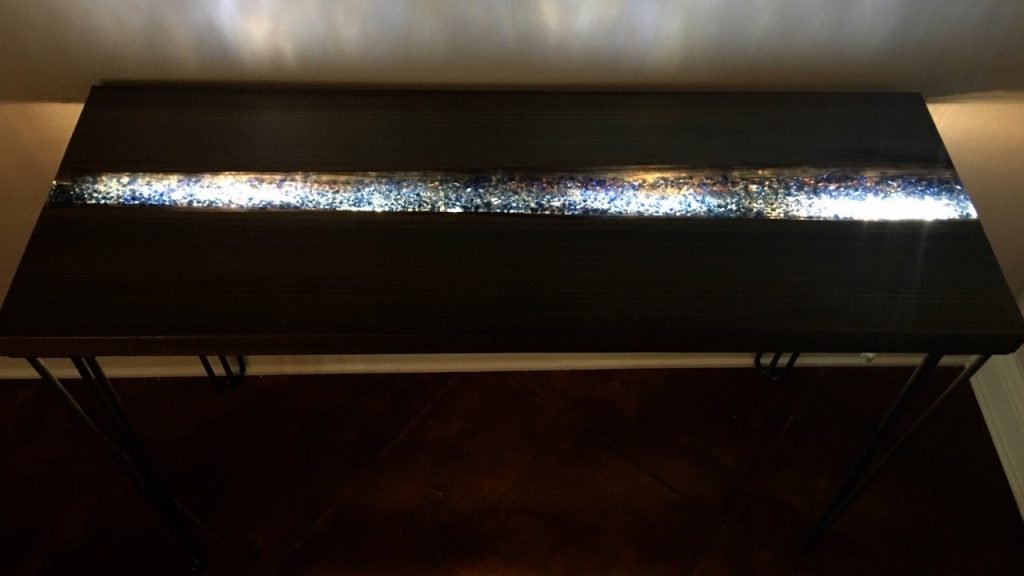
LED Table Lights
Honestly, this LED Epoxy Resin River Table was fine without the LED lights.
I purchased them for this table, so I put them on using CA glue.
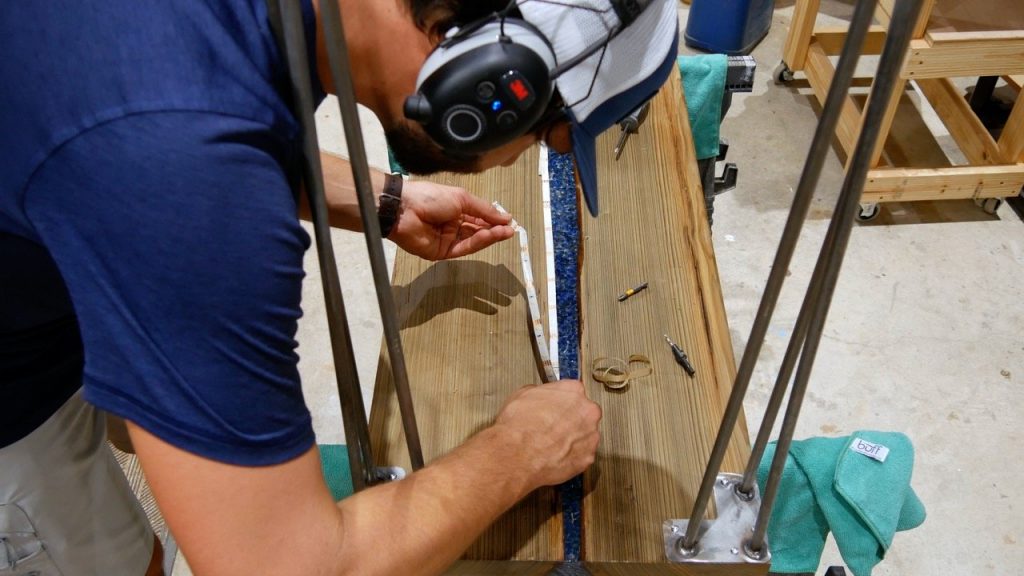
First, I made sure to install the strip of lights on the edge of where the wood meets the epoxy to hide it.

Ultimately, it worked because they are not visible at all when they are not turned on.
Next, I flipped the LED river table over and it looks ‘ok’ with the lights.
Also, I should have bought the less bright LED lights.

Ultimately, some people love the lights while others don’t.
I only turn them on during Christmas time as I use this table for my Christmas village.
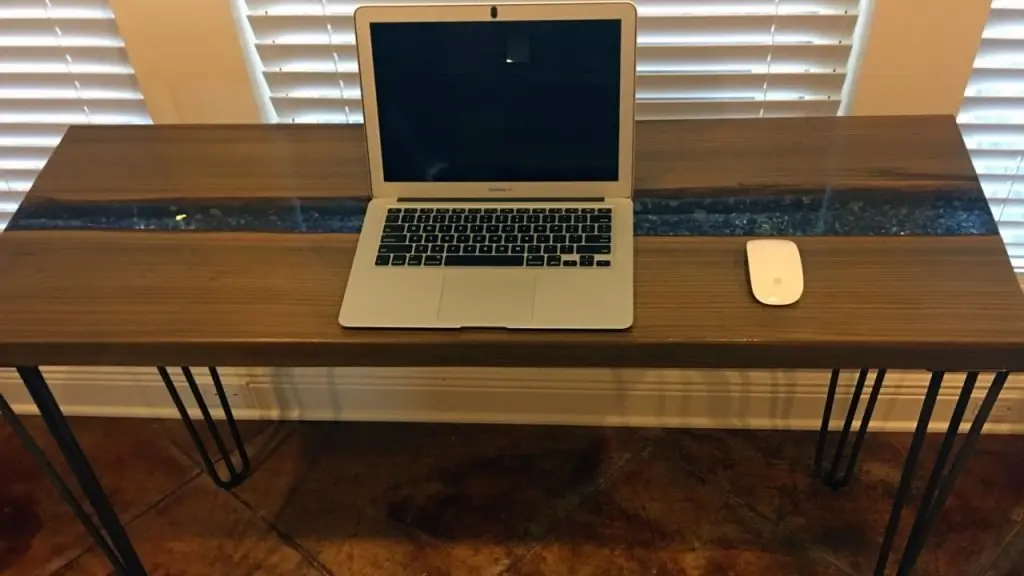
Final Thoughts
In conclusion, this was a fun project and I’m really happy with the final result of this sinker cypress LED epoxy table.


Winston Byrd
Tuesday 24th of December 2019
The tape used is not on the list, is it?
Margherita
Tuesday 26th of February 2019
This article presents clear idea for the new people of blogging, that really how to do blogging.
Jacob
Saturday 11th of August 2018
Hi Jeremy, Your tables look absolutely phenomenal! I'm hoping to soon start creating a epoxy resin river table and was wondering how thin you think I could make the table top before I run into issues. The reason I ask is because I'm planning on making this a lift top coffee table so I think I want to keep the thickness of the table top to an inch so it doesn't become too heavy. Also, wondering if you can recommend an epoxy resin that's translucent but not transparent. Thanks in advance! Best, Jake
Maciej
Tuesday 15th of May 2018
Hello from Poland. I found Your tutorial and I will try to do it by myself. Already got Your tutorial downloaded. Thanks!
Livingstone.
Sunday 13th of May 2018
Beautiful, beautiful work.