
In this DIY tutorial, I show you how to make a refrigerator wood door handle.
Even if you don’t need a new refrigerator door handle, the DIY tips and techniques covered in this build can be directly translated toward other woodworking projects.
Here are some jump links to the main sections of this post to help you find the information you need quickly.
Video Tutorial
Tools and Material Needed
Step-by-Step Instructions
Video Tutorial
There are several things which are difficult to fully explain with words and images, so be sure to check out the video tutorial.
Tools I Used
- Bandsaw or Jig Saw
- Disc Sander
- Spindle Sander
- Combination Square
- Drill Press or Drill Guide Attachment
- 1.25″ Forstner Bit
- Orbital Sander
- Shellac
- Acetone
Refrigerator Door Handle Replacement
When my garage refrigerator broke a few months ago, I quickly learned a refrigerator door handle replacement costs a lot of money.
So, I decided to make my own from a scrap piece of hard maple wood that was leftover from a previous project.
Remove and Trace Refrigerator Door Handle
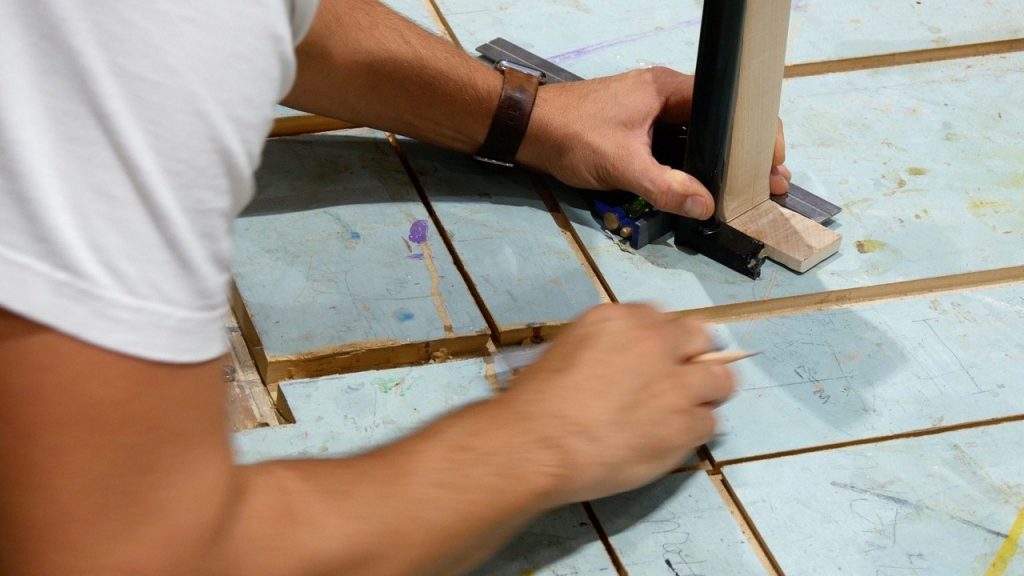
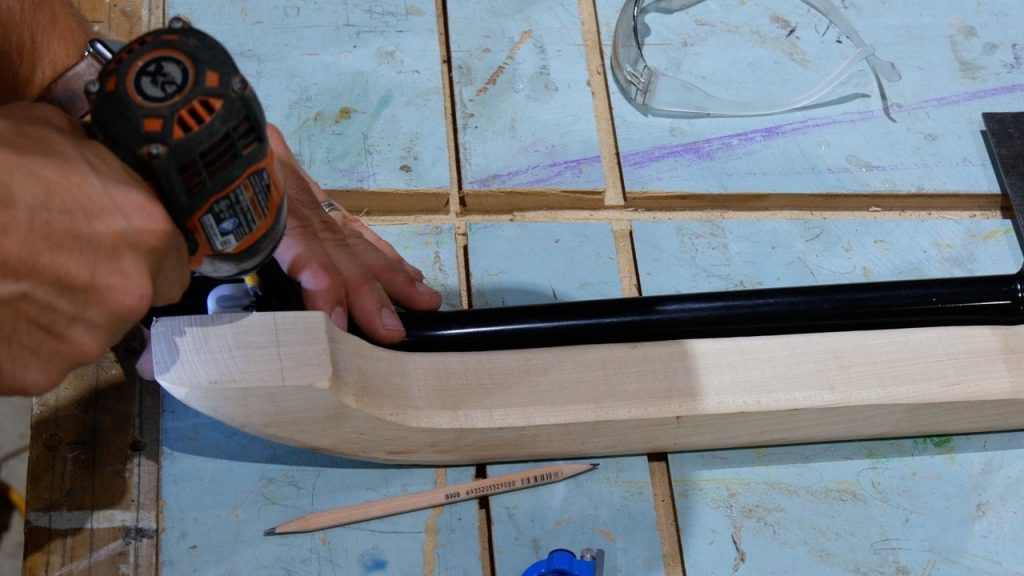
First, I removed the refrigerator door handle.
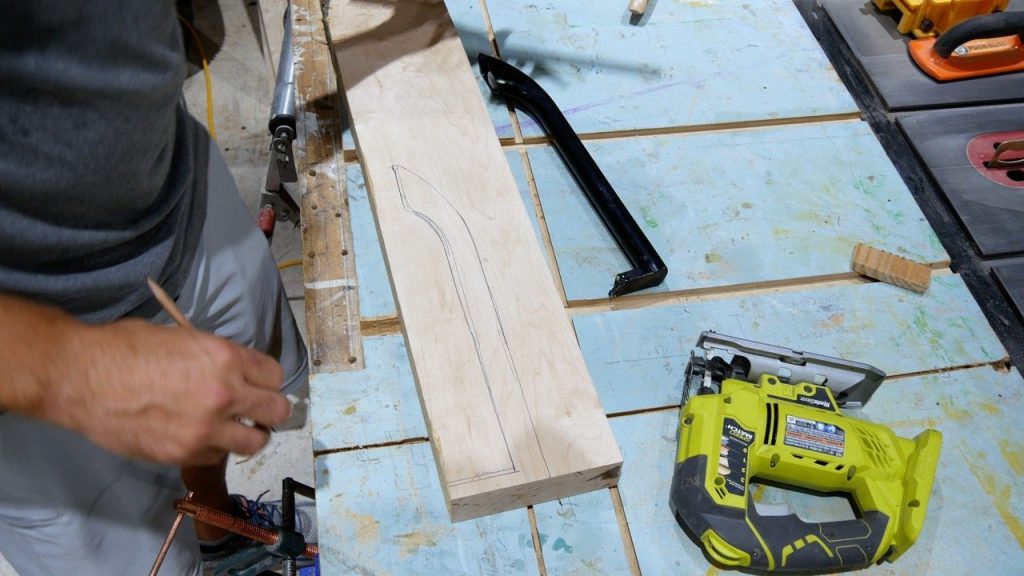
Next, I traced the door handle on top of a scrap piece hard maple wood.
Also, the hard maple was 2″ thick.
This made it slightly larger than the original refrigerator door handle (1.75″).
Next, I traced the refrigerator door handle on top of the maple. The handle was not exactly square on the front because had a rounded face. So, I had to make certain the pencil didn’t slide under the plastic handle.

Cut Out Template
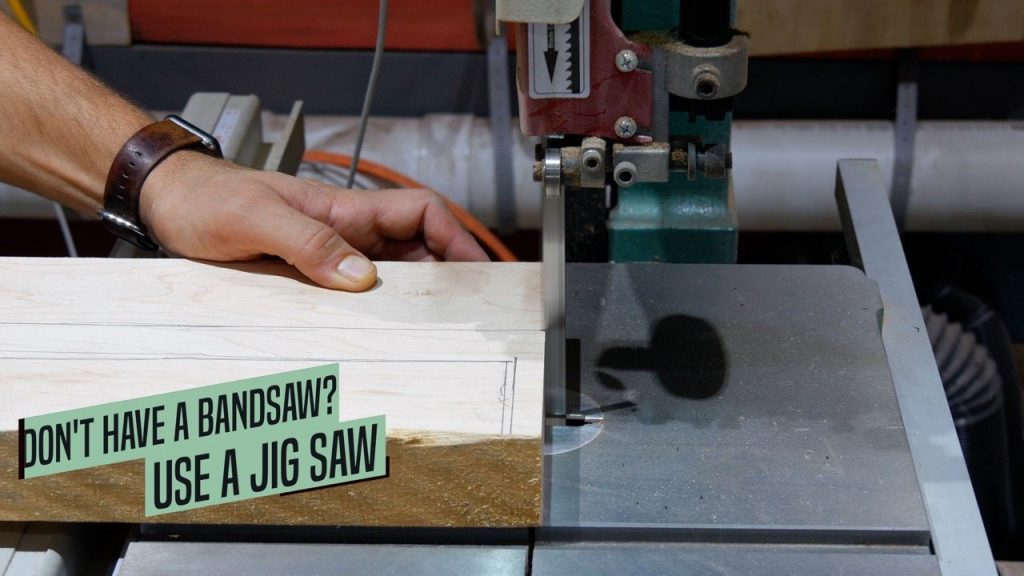
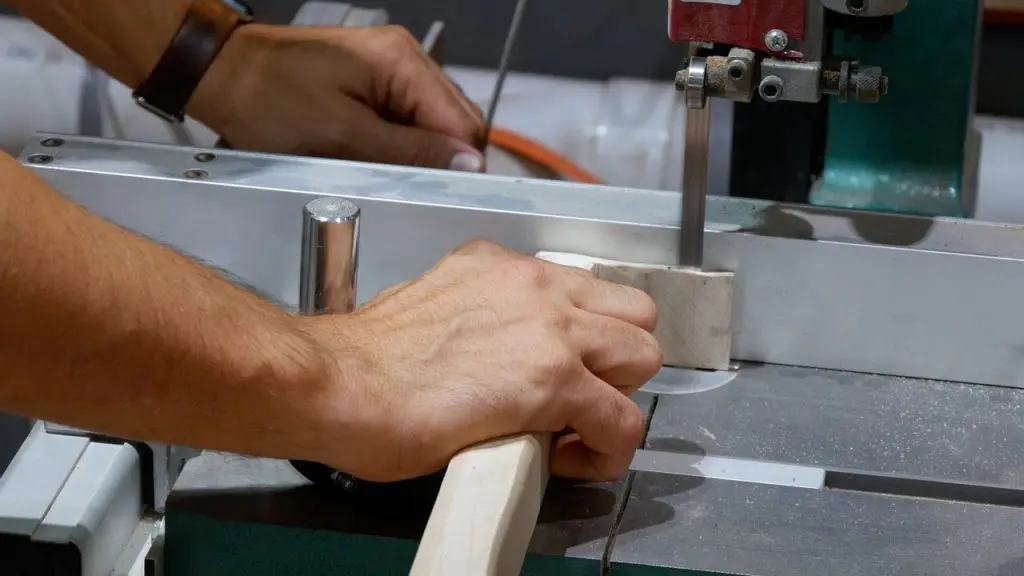
First, I cut out the template on my bandsaw.
A jig saw gets the job done as well.
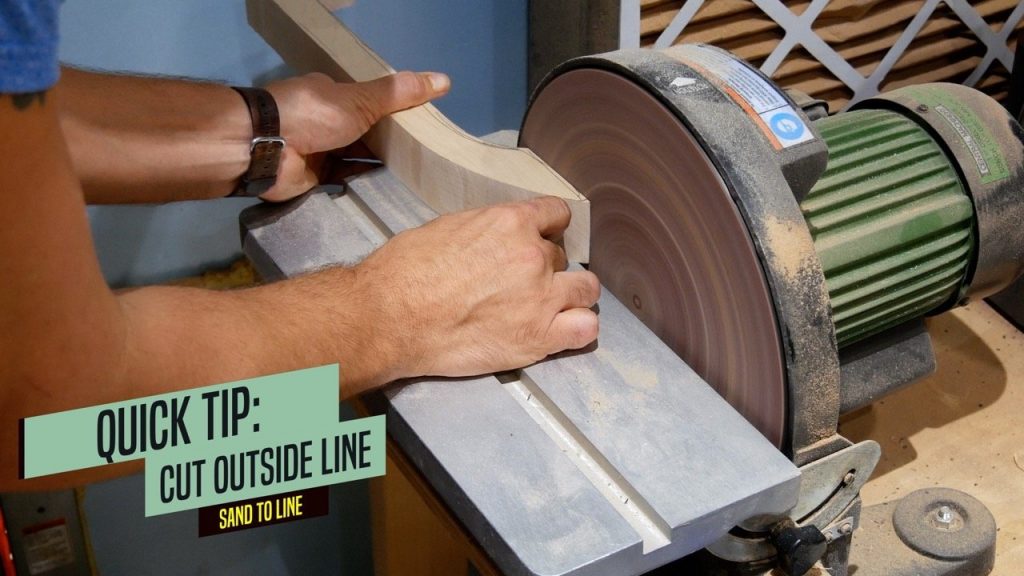
As a quick tip, cut slightly outside the line.
This allows you to sand up to the line in a later step.

Sanding
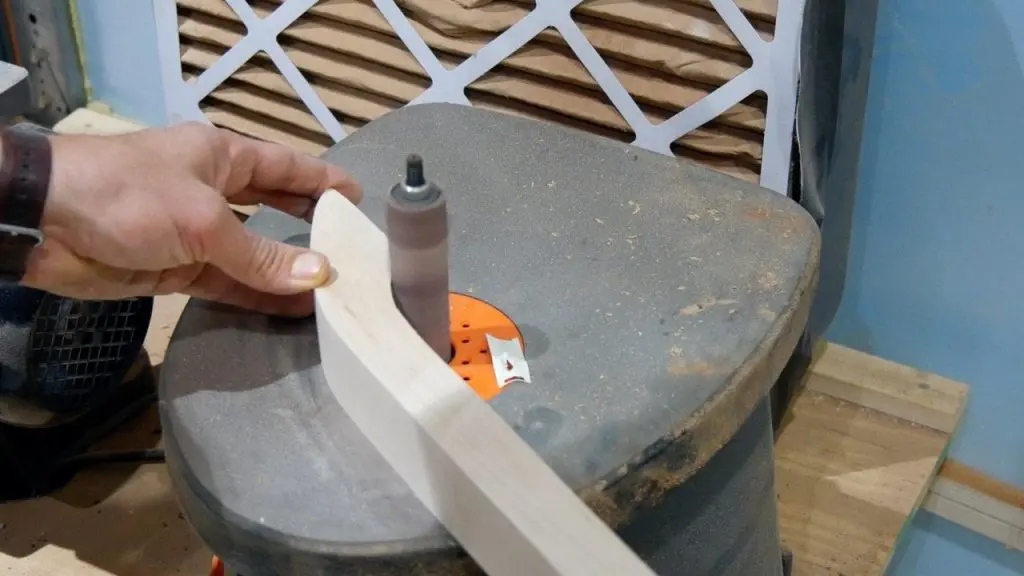
I used my disc sander and my spindle sander to sand the handle to the pencil line from earlier.
Obviously, this is why it is important to cut outside the lines in the previous step.


Refrigerator Door Handle Top
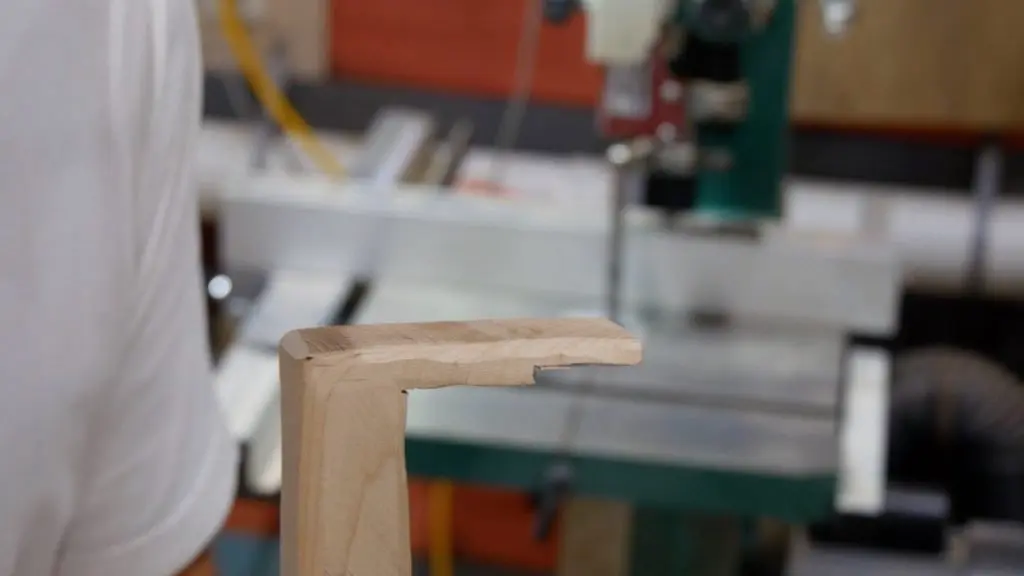
The refrigerator door handle has a thin top overhang.
This piece rests on top of the refrigerator door.
Additionally, it is thin enough to fit under the top freezer door when both top/bottom doors are closed.


So, I transferred the length and thickness of this lip to the wood handle with my combination square.
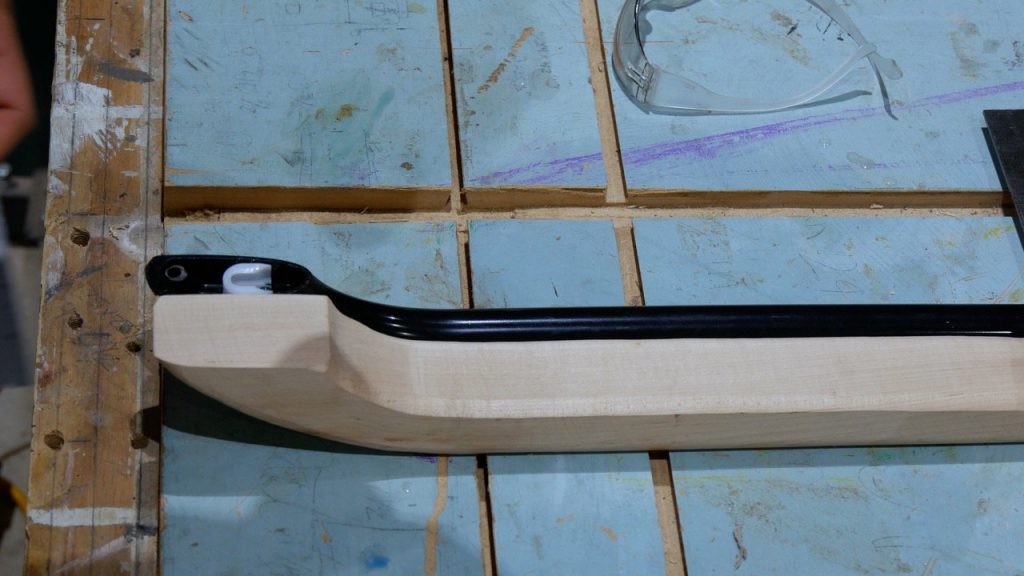
Ultimately, the refrigerator door handle looks like this. In fact, I believe it is the same one.


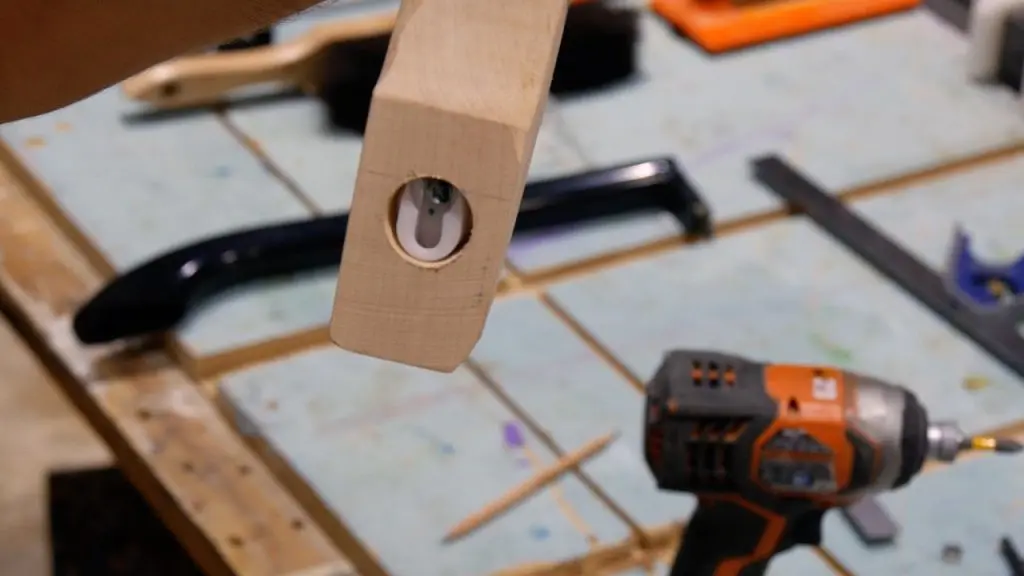
Drill Hole for Bottom Latch
First, I measured the dimensions of the handle and transferred the measurement to the wood door handle.
The hole was large enough to fit the plastic ‘U shaped’ piece.


Next, I removed the plastic piece by unscrewing one screw.

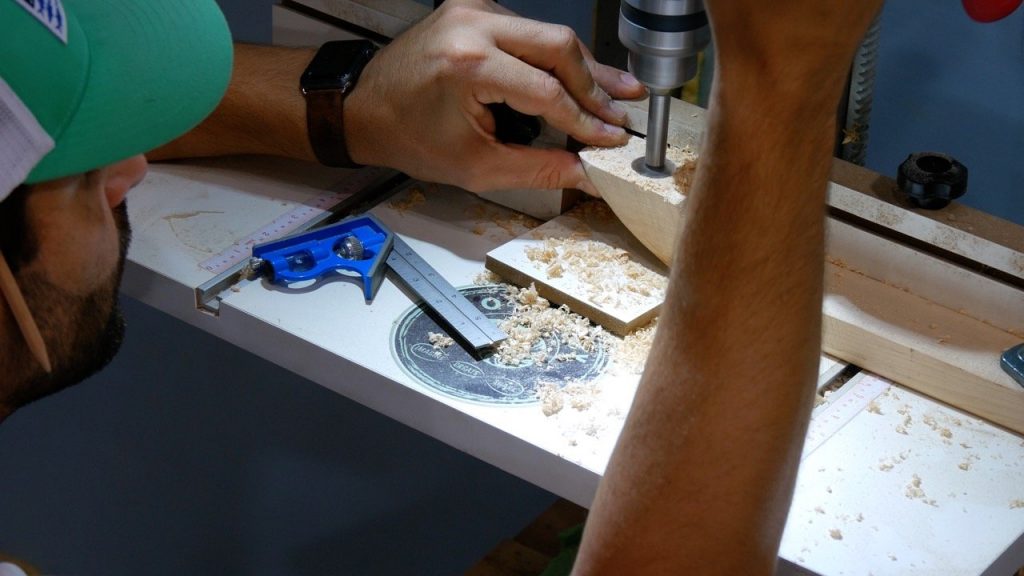
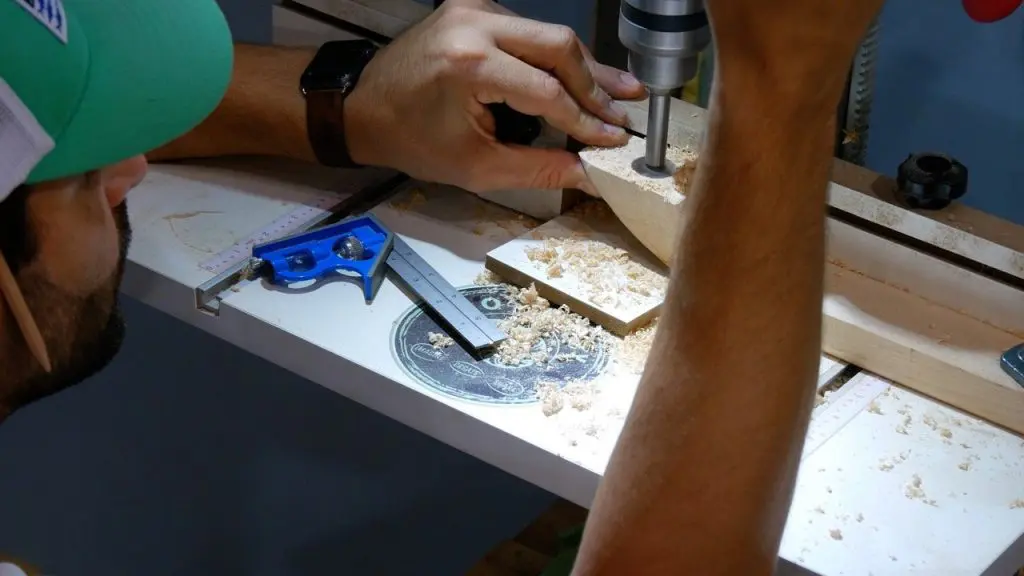
Then, I measured the plastic piece and got a forstner bit slightly larger.
The forstner bit was 1.25″.
So, I used my drill press to drill a hole to the same depth, which was 3/4″.

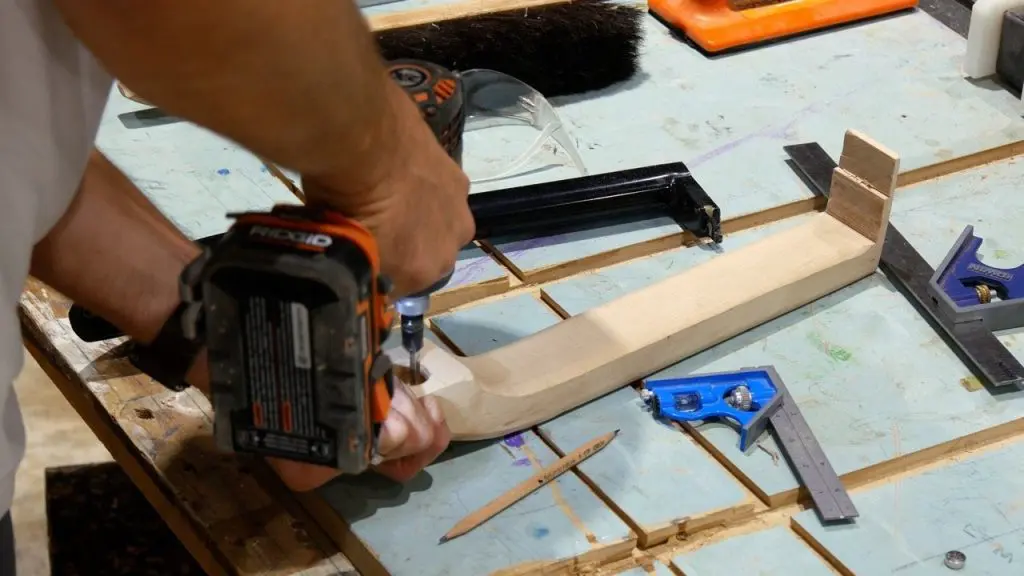
Lastly, I pre-drilled a hole for the screw and secured the plastic piece.

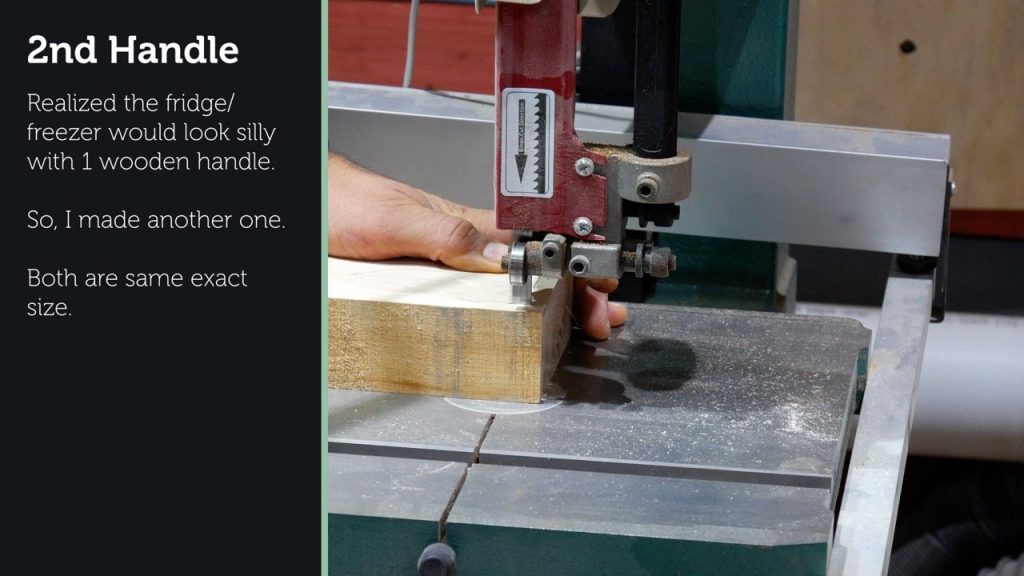
Replace Top Refrigerator Wood Handle
So, I realized the refrigerator would look silly with one wood door handle and one plastic door handle.
Rather than ignoring this, I stopped the project and made another wood door handle from the same piece of scrap wood following the exact process.
Obviously, both handles are exactly the same but the handle for the freezer is upside down.

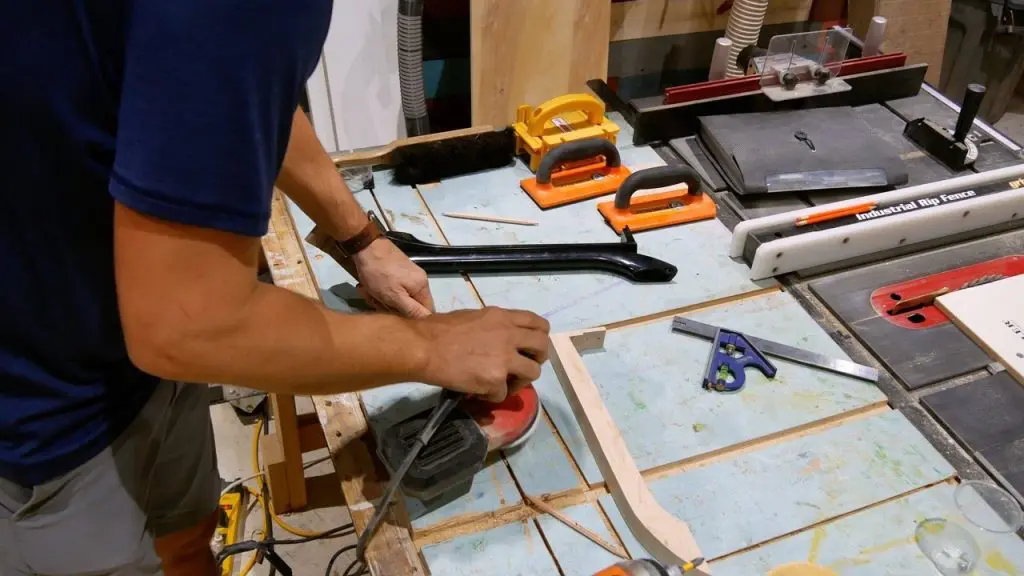
Final Sanding
I sanded each refrigerator door handle with 220 grit sandpaper using an orbital sander.
Also, I made sure to sand down each edge to make the wood handle comfortable.

Apply Finish
First, I applied a generous coat of Shellac.
Shellac dries quickly and provides sufficient protection.
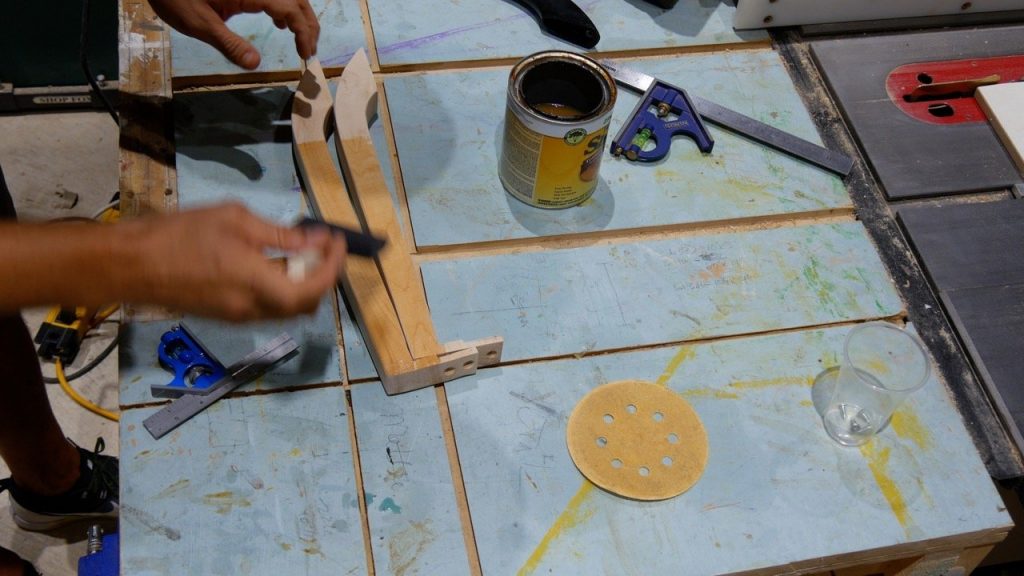

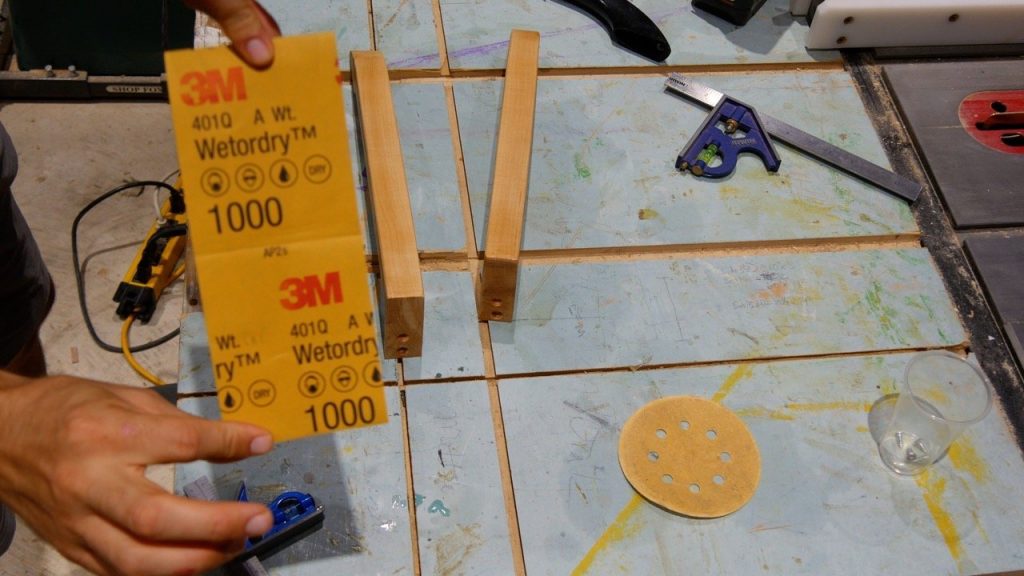
Next, I gently sanded each door handle with 1000 grit sandpaper after the shellac dried.

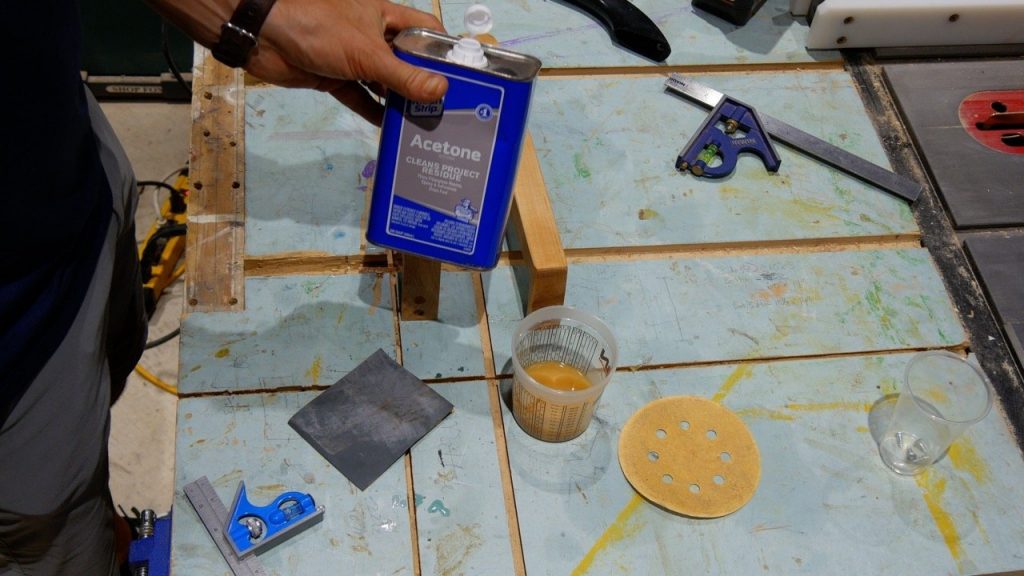
Then, I used Acetone to thin the Shellac and applied the final coat.

Conclusion
In conclusion, I hope you learned how to make a wood refrigerator door handle.
Related Posts:
FREE Plans for this Project!

Get these plans in PDF format delivered to your inbox!