
In this tutorial, I show you how to make a DIY epoxy river table with rocks that glows in the dark.
Even if you don’t need to make an epoxy river table, the DIY tips and woodworking techniques covered in this tutorial can be used in other DIY projects.
Here are some jump links to the main sections of this post to help you find the information you need quickly.
Tools and Material
Video Tutorial
Epoxy River Rock Table Design
Step-By Step Instructions
Tools and Material
So, let’s get started with a list of tools I used in this project!
Epoxy Resin (Deep Pours)Fluroscent Blue Glow Powder
Blue Acrylic Rocks
Rubio Monocoat Oil Plus 2c
Mini Torch
Large Mixing Containers
Resin Mixing Stick
Silicone Caulk
F Clamps
Nitrile Gloves
26″ Hairpin Legs
Black LED Lights
Soldering Kit
Hot Glue Gun
Pinless Wood Moisture Meter
Festool TS75 EQ Plunge Cut Circular Saw with 75-Inch Track
Festool RO 125 FEQ Rotex Sander
RO125 FEQ StickFix Sanding Pad, Supersoft
RO125 FEQ StickFix Polishing Pad, Hard
Sandpaper
5 in. RO125 Polishing Sheepskin
Buffing Pad Cleaning Spur
Dewalt Grinder
50 Grit Metal Sanding Disc
Level
Festool Router OF 1400
Whiteside Surfacing router Bit
Festool Roundover Bit
Festool CXS Compact Drill Set
Horusdy Super Strong Centre Punch
Torpedo Level
Often times, I experiment with many different products and tools while working with epoxy resin.
For your convenience, I’ve compiled a complete list of my favorite epoxy resin material and tools as well as my 4 favorite table finishes.
Video Tutorial: DIY Epoxy River Rock Table
There are several things which are difficult to fully explain with words and images, so be sure to check out the video tutorial below!
Epoxy River Table with Rocks Design
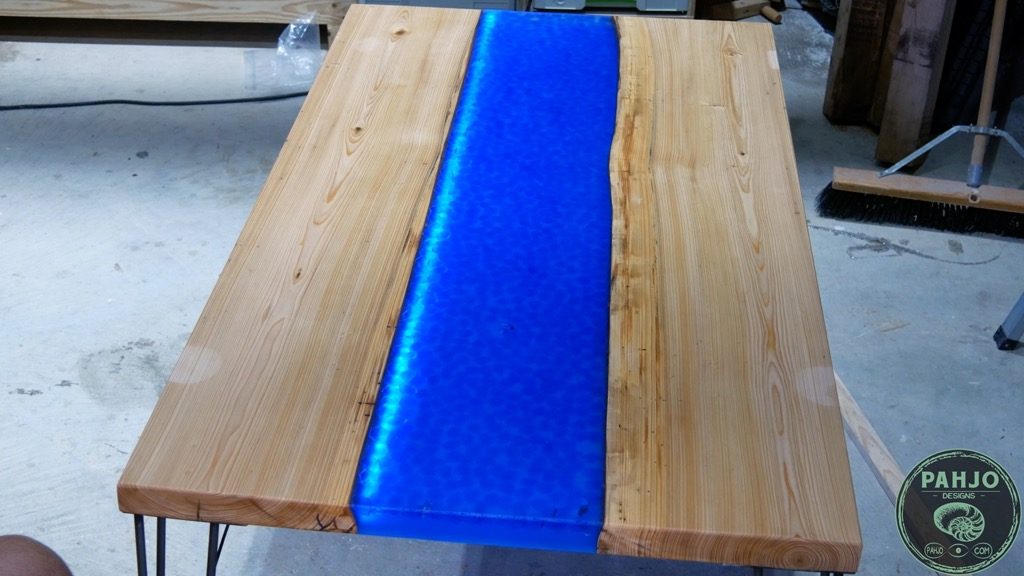
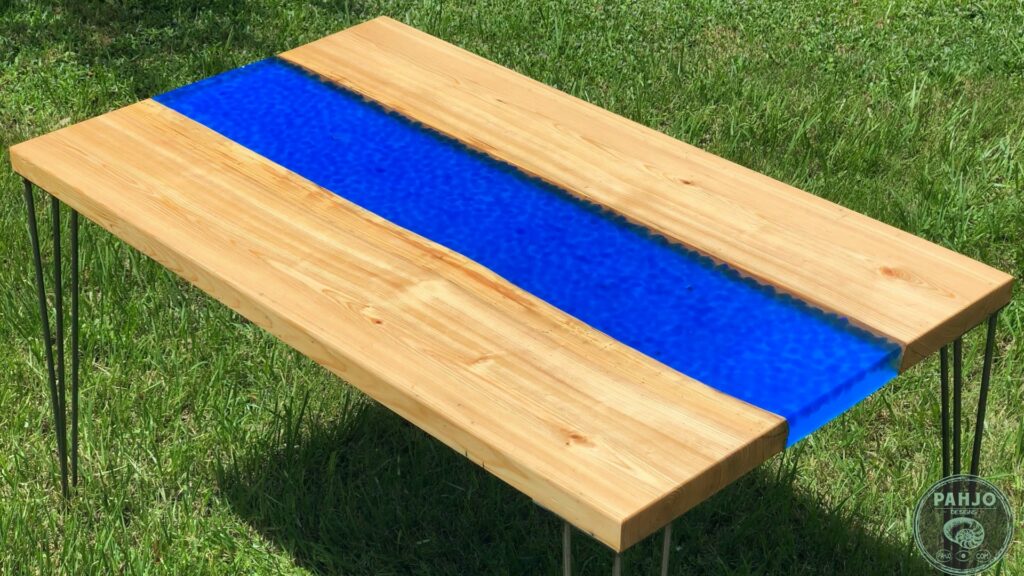
In order to provide a bit of background, this transparent epoxy river table with rocks was a custom order from one of my customers in California.
As I do with all my custom table orders, I create a 3D model of the item and send it to my customer for approval.
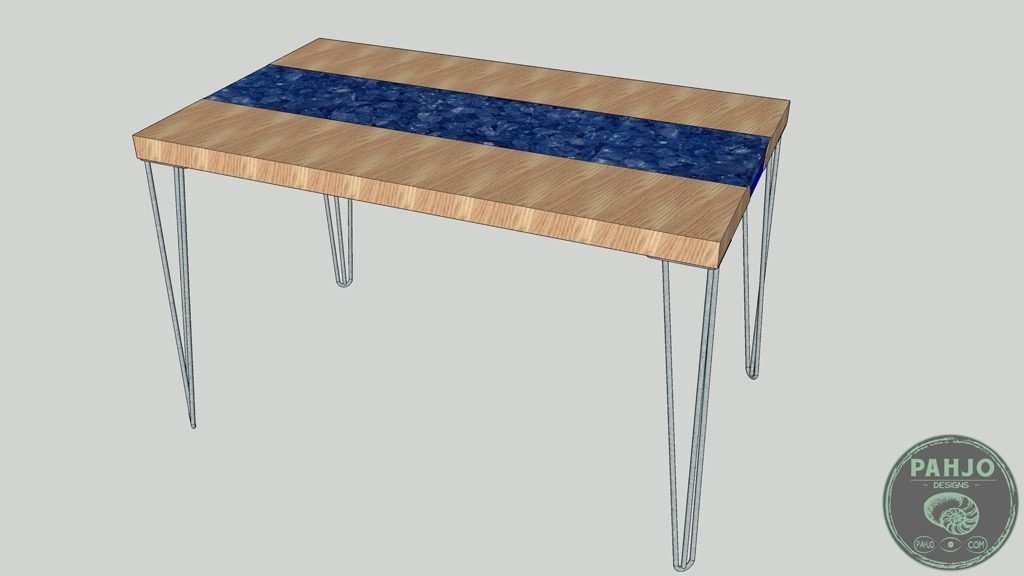


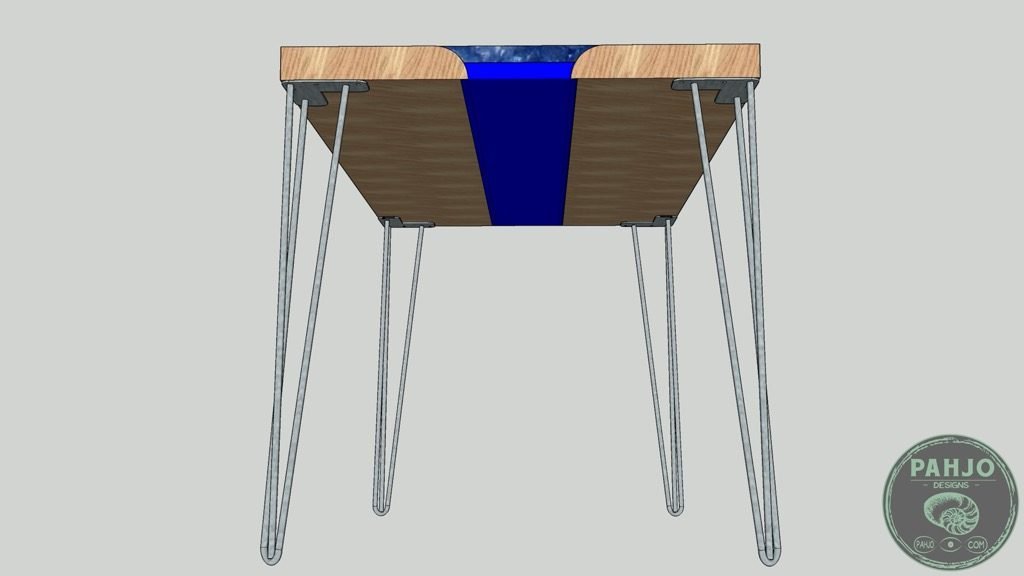
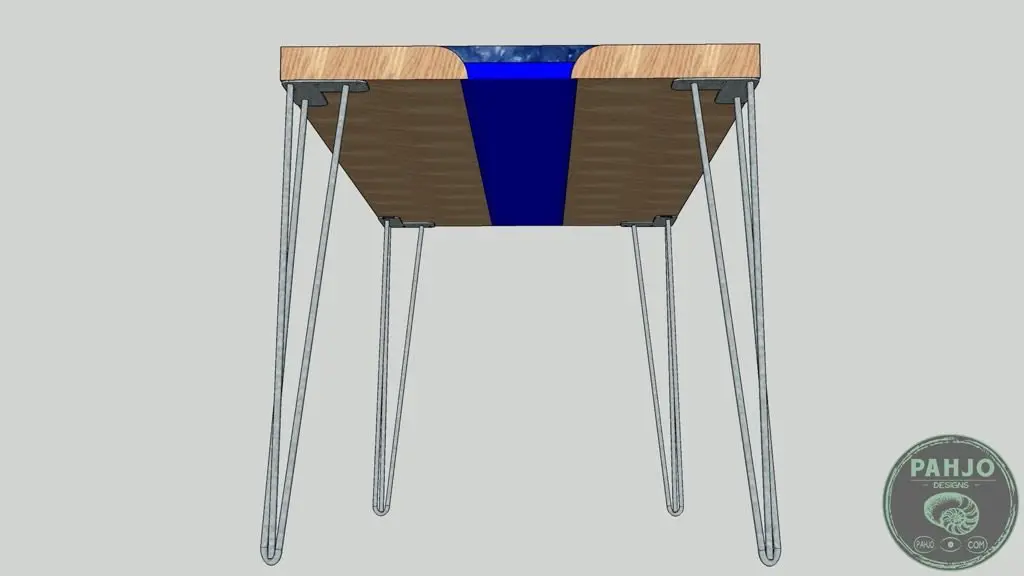
This customer requested a reclaimed cypress wood desk with a glowing epoxy river and embedded blue rocks.
Acrylic Rocks vs Fire Glass
I chose to use blue acrylic rocks instead of fire glass for this desk for 3 reasons.
- Blue fire glass reflects the natural light the glow powder needs to charge.
- The fire glass I use is sharp and needs to be handled with care.
- My circular saw blade dulls quickly when cutting glass.
The fire glass has a unique, reflective look and it may appeal to many folks.
The picture below is a DIY wood slab epoxy bar top I built for a customer last year.
Ultimately, the acrylic rocks worked much better than the fire glass.
It also produces a very unique natural look.
Choose fire glass if you like bling and plan to install an artificial light to charge the glow powder.
Otherwise, choose acrylic rocks if you like a more natural, organic look.
Mill Wood
The only stationary tool I have in my workshop is my bandsaw.
Due to various reasons, I sold all my stationary power tools and elected to use mobile power and hand tools for all my projects.
As a result, my local hardwood dealer mills the wood for me when I purchase it for a small fee.
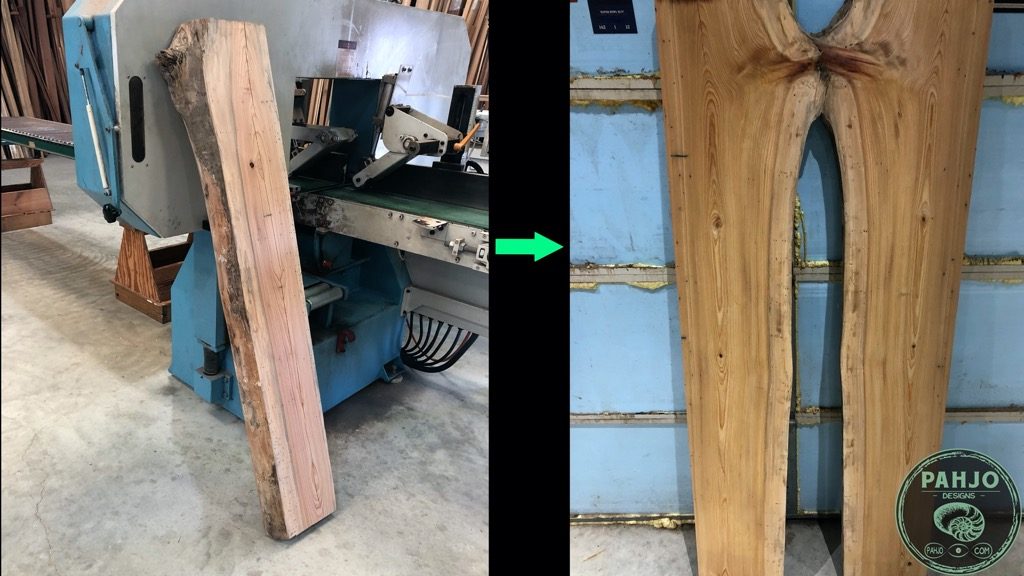
First, they resawed piece of reclaimed cypress into two 2″ slabs.

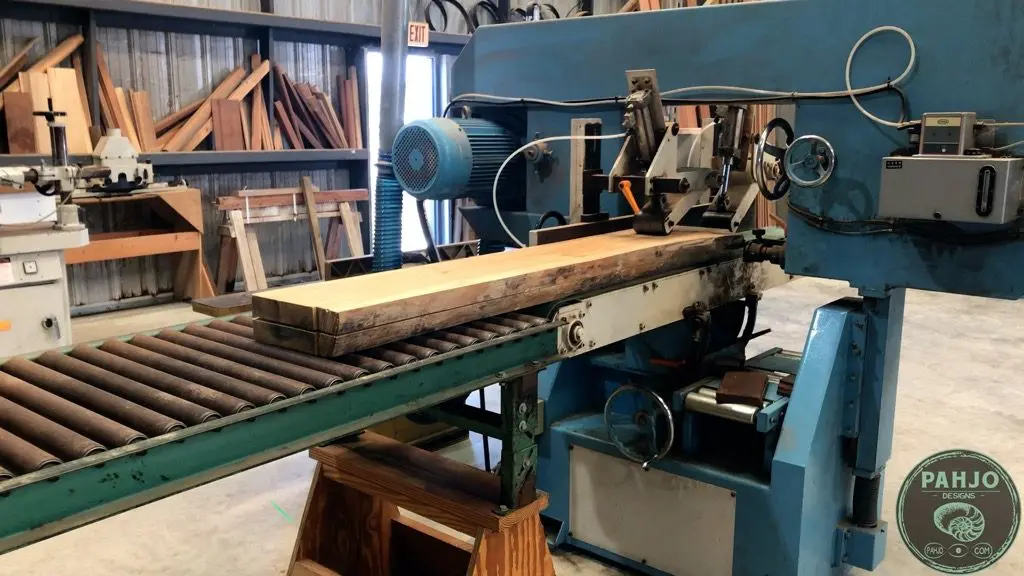
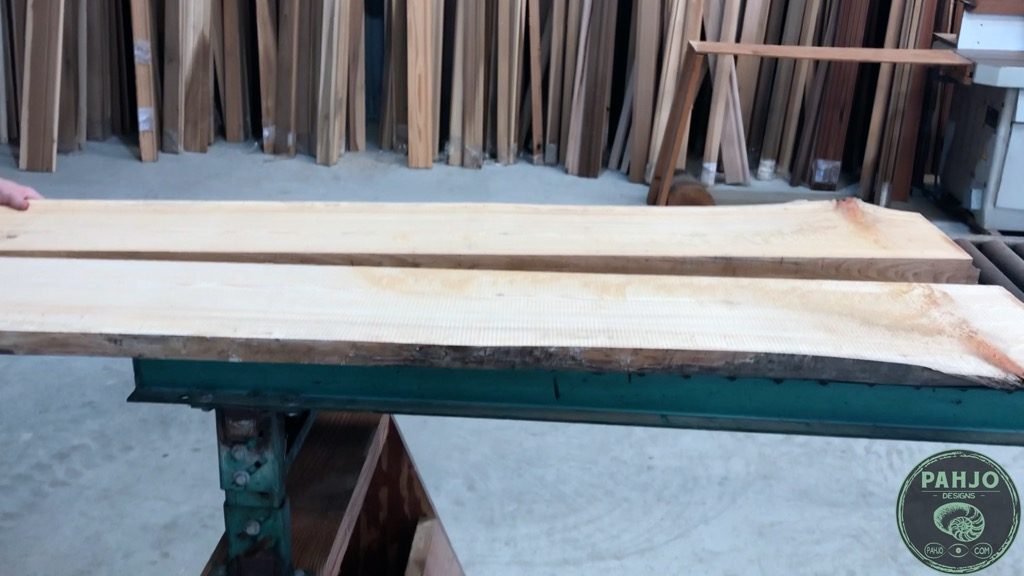
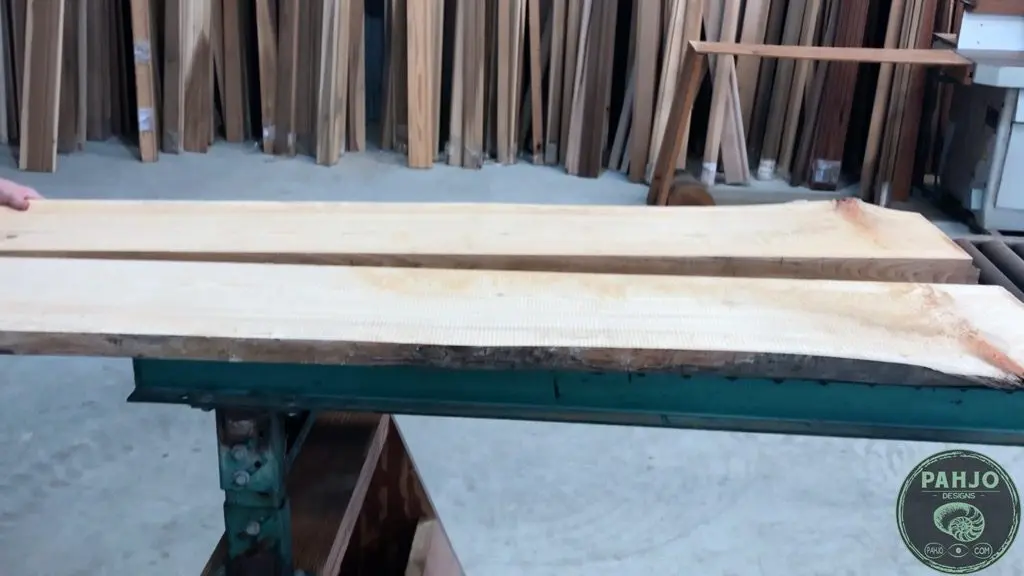
Then, they ran it through their jointer to get a straight side.

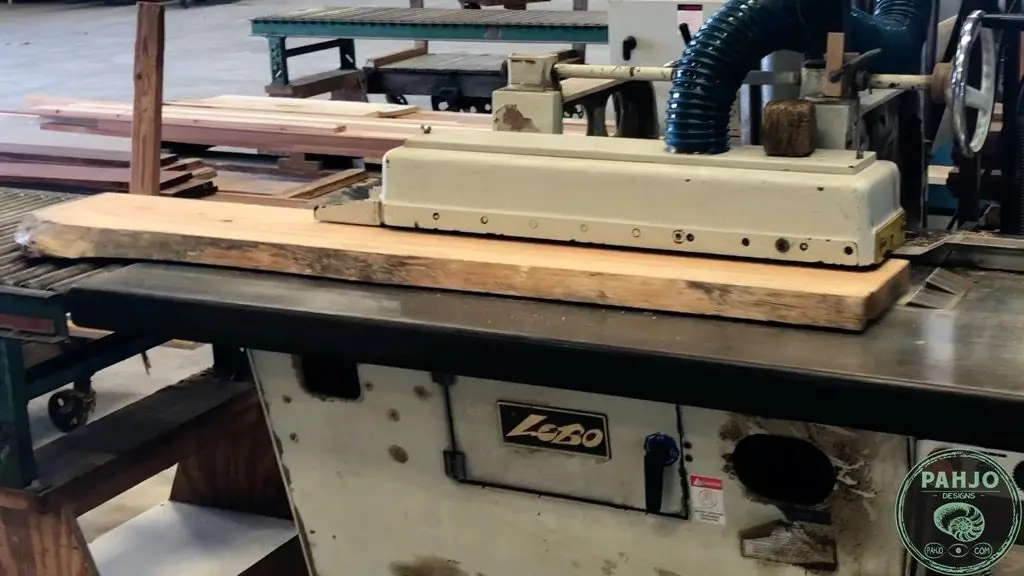
Next, the 2 wood slabs were ran through our planer to get a flat surface.
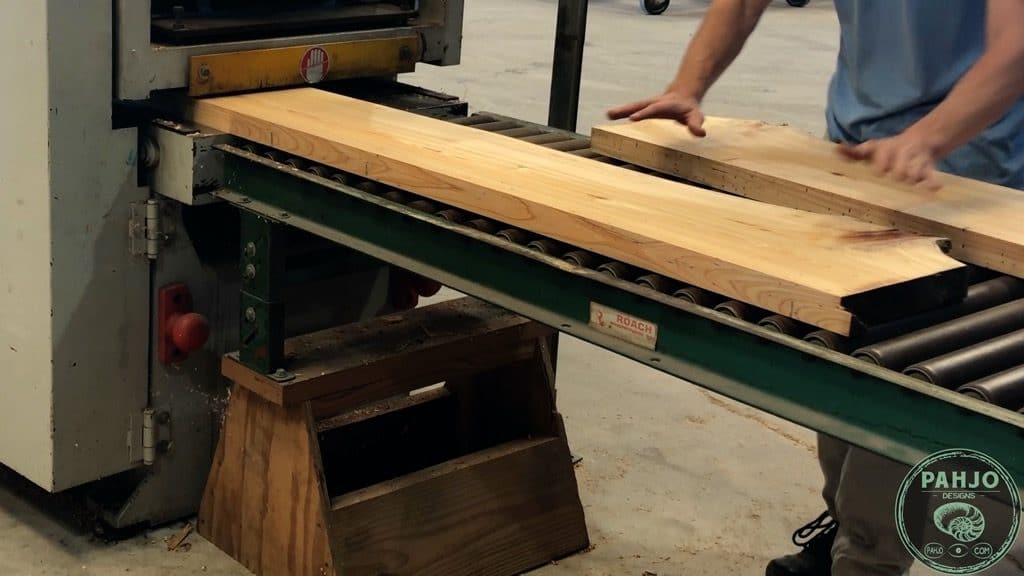

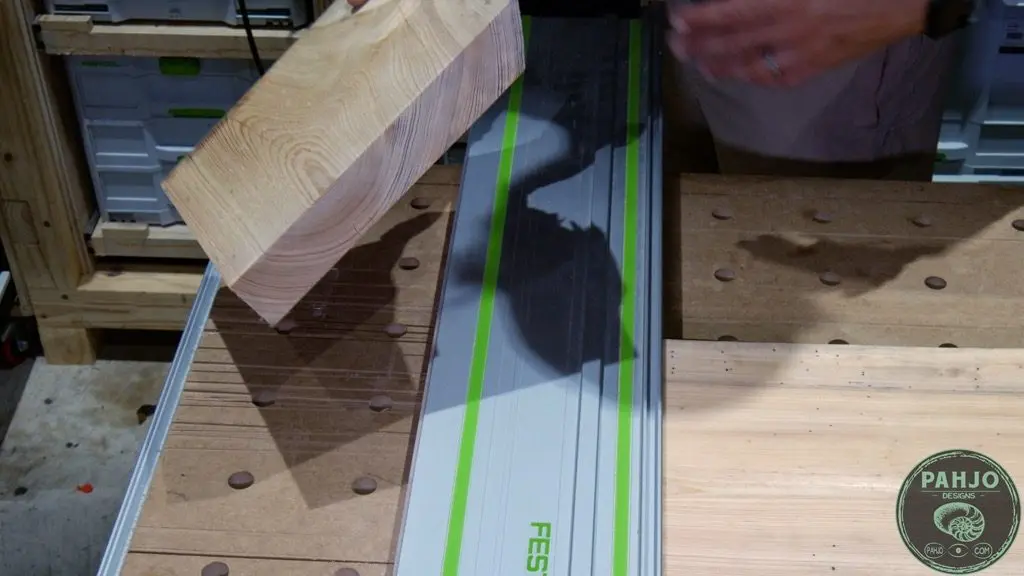
Once I arrived home, I cross cut each 2″ cypress slab.
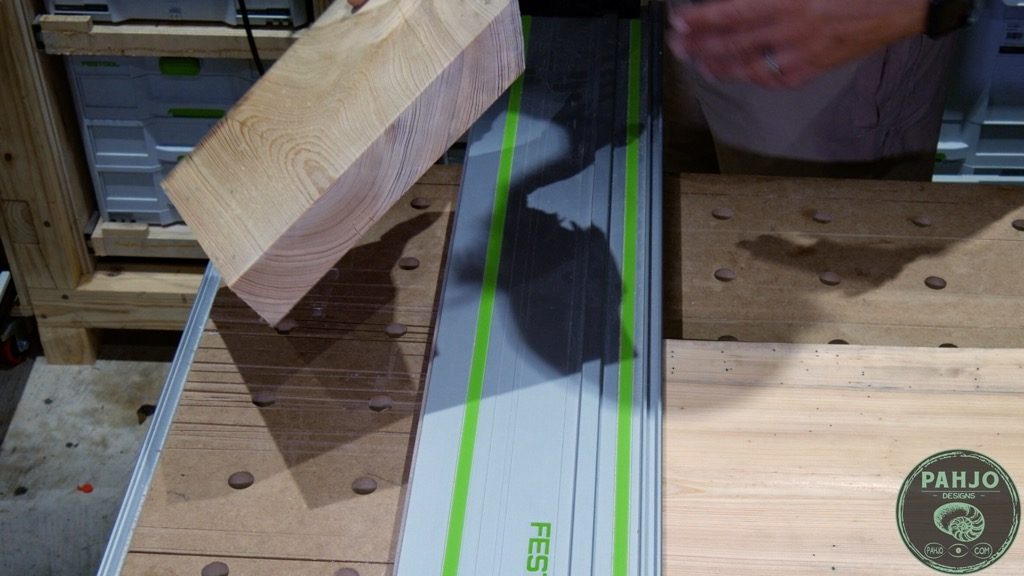
To ensure a straight cut, I referenced the flat side agains the rail on my MFT3 table and cut one side.
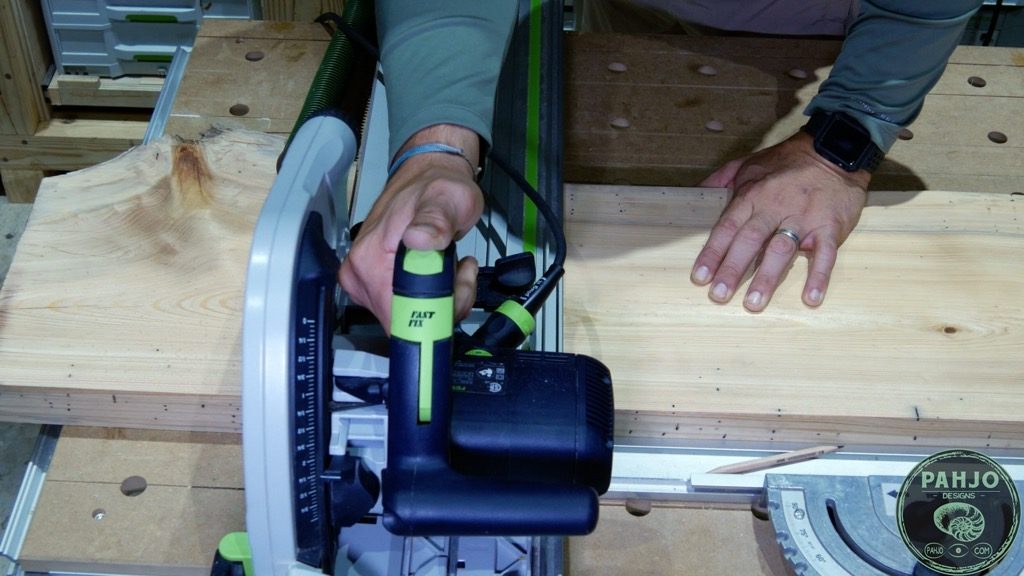

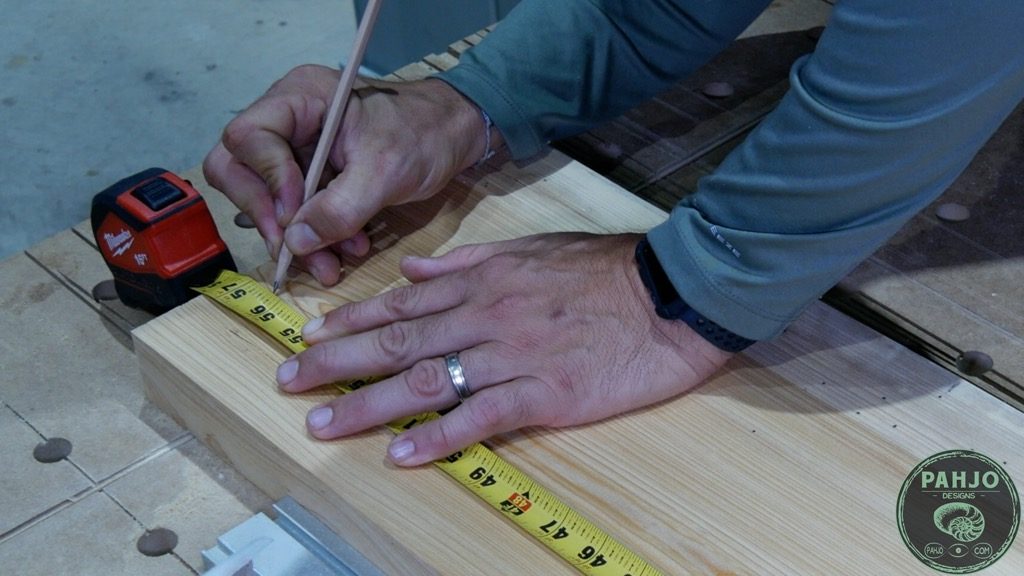
Then, I flipped the wood over and measured from the side I cut first 3 inches longer than the final dimensions.

Best Wood for Epoxy Table
Any hardwood works best for an epoxy river table.
Hardwood species such as walnut, oak, maple, and many more are very dense with tight grain patterns.
This reduces air pockets (bubbles) by limiting the amount of epoxy resin which absorbs in the wood.

I use cypress wood on many of my projects because it is plentiful and comes in many variations.
My favorite cypress to use for river tables and epoxy bar tops is sinker cypress.
Although cypress wood is considered to be a hardwood species, it is not particularly dense like most hardwoods.
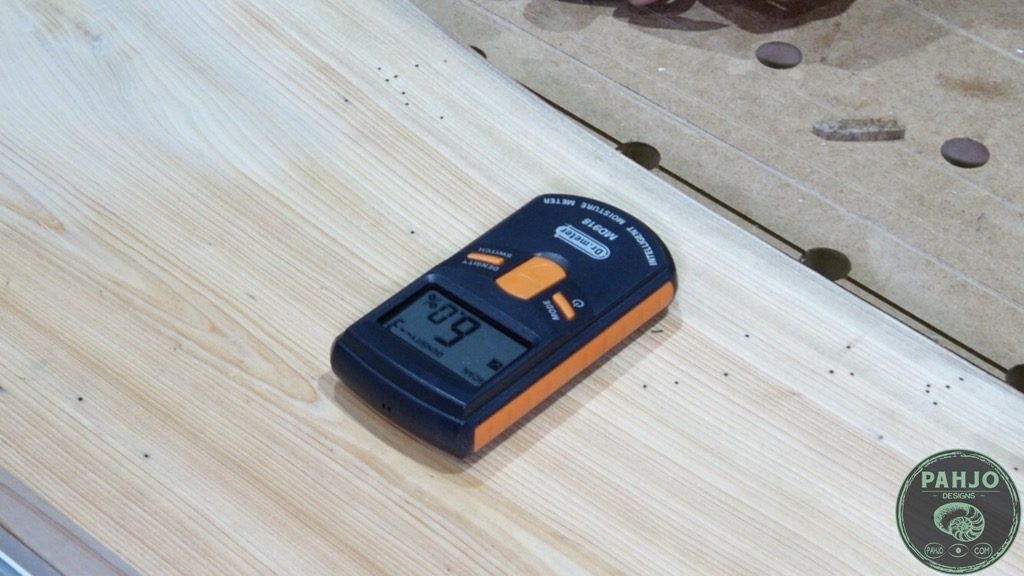
Check Wood Moisture Level
Before I begin any woodworking project, I check the wood moisture level with a wood moisture meter.
Wood is hygroscopic.
In other words, wood gains or loses moisture depending on the relative humidity (RH) of the surrounding air.
Essentially, the correct moisture level prevents the wood from moving (shrinking or expanding) after the completion of the project.

This blog post explains wood moisture very well.
Epoxy River Table Mold
There are many ways to make an epoxy resin mold.
I build my resin moulds based on what I have available in my shop.
Often times, I have scrap wood, packing tape, and furniture wax available.
So, I used these materials to build the resin mould.
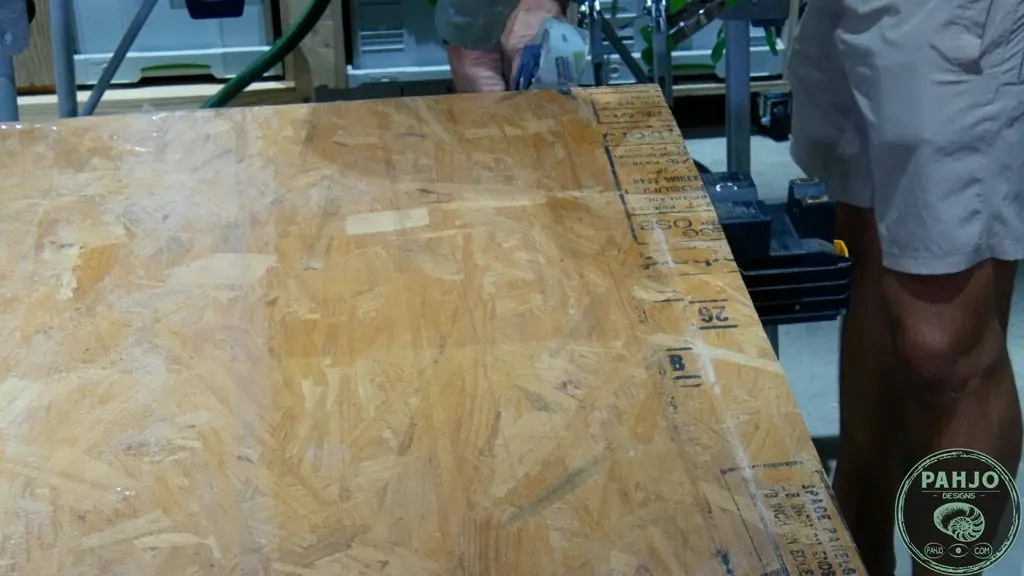
First, I place the wood on a flat and level surface.
Next, I completely covered the scrap particle board with packing tape and covered it with furniture wax.

Sand Live Edge Wood
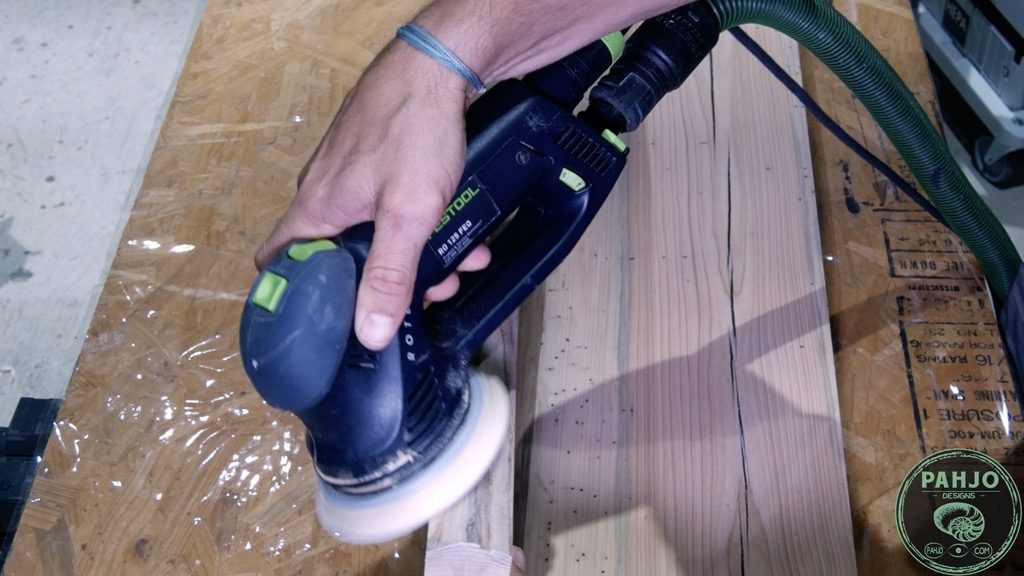
Since the cypress wood slab was milled by my hardwood dealer, I only sanded the live edge at this stage of the project.
Most live edge wood slabs contain bark or debris which need to be removed.
A soft sanding pad with 220 grit sandpaper works well to clean up the live edge without changing the shape or natural contours.
This versatile sander works great to sand rough wood.

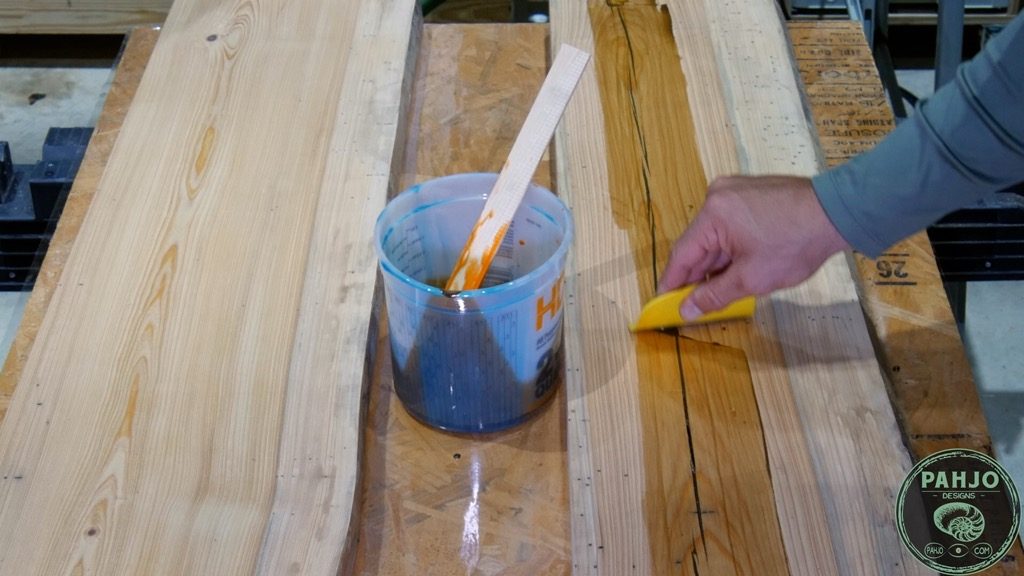
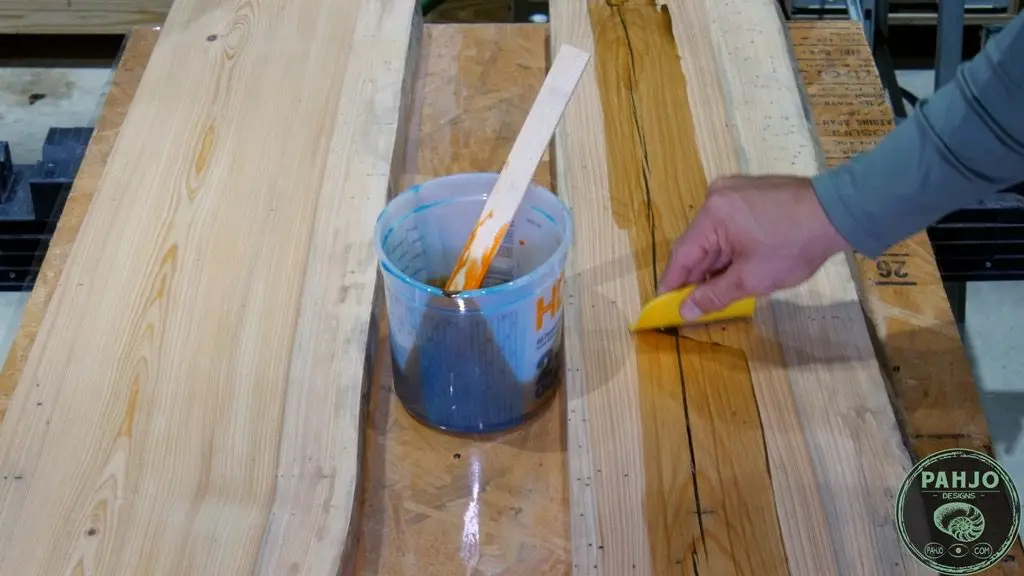
Filling Wood Cracks with Colored Epoxy
While inspecting the wood slabs, I noticed a wood crack on the underside of the cypress slab.
To fill the wood cracks and knots with epoxy, I mixed 12 ounces of epoxy resin along with a 1 drop of brown dye and 1 drop of black dye.
These colors matches the small streaks of dark grain and the live edge.
First, I filled the wood crack with epoxy resin.

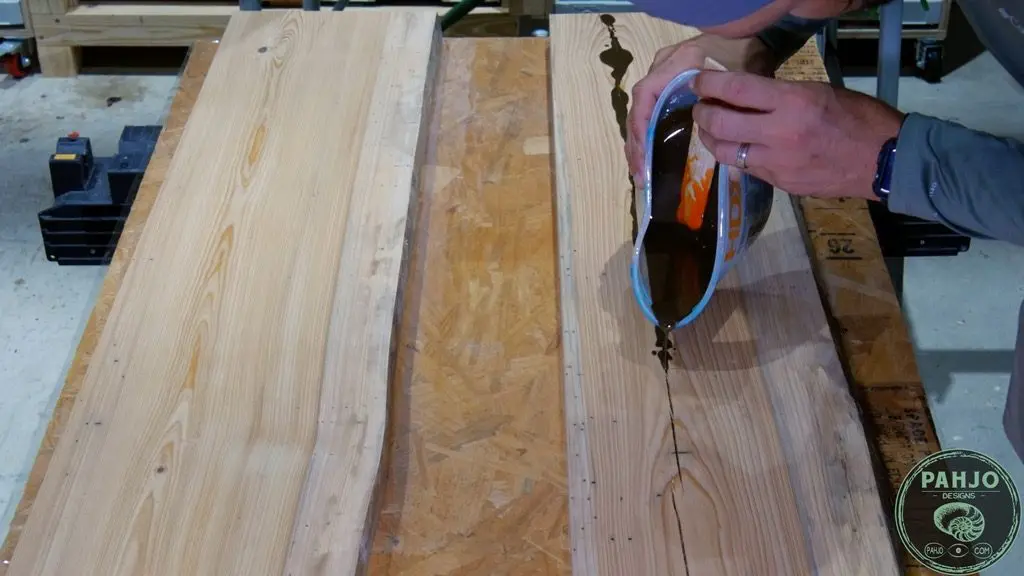
Additionally, I filled the wood knots with resin as well.
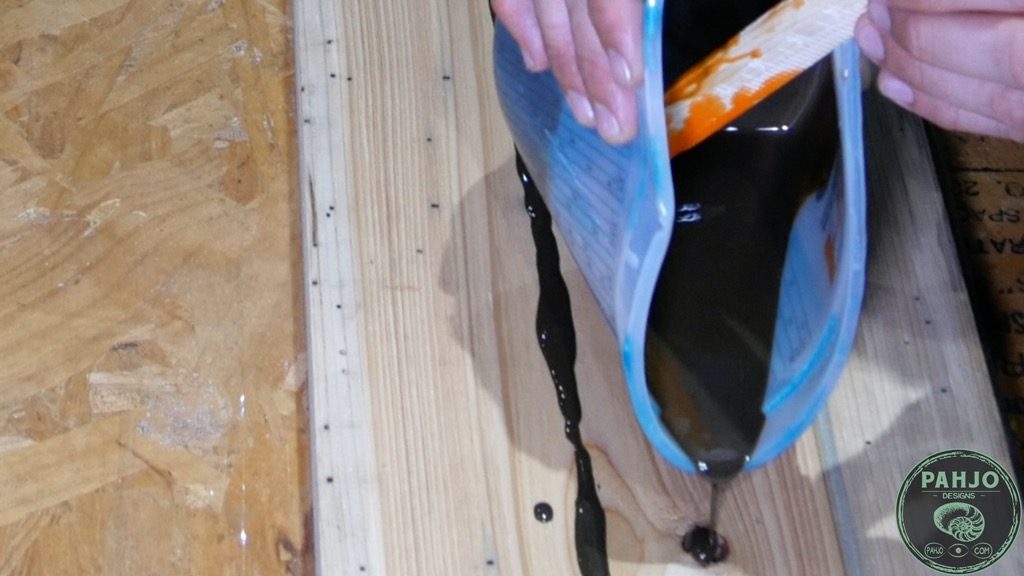
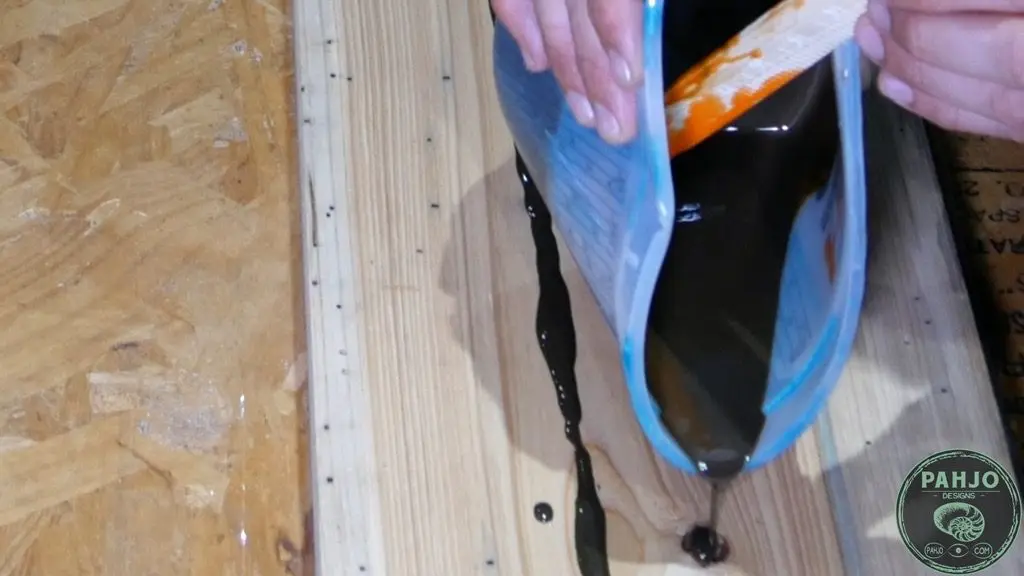
After heating the resin with a torch, I moved the excess resin with a plastic spreader.
Essentially, resin gets thin when heated which enables it sink deeper in the wood crack.
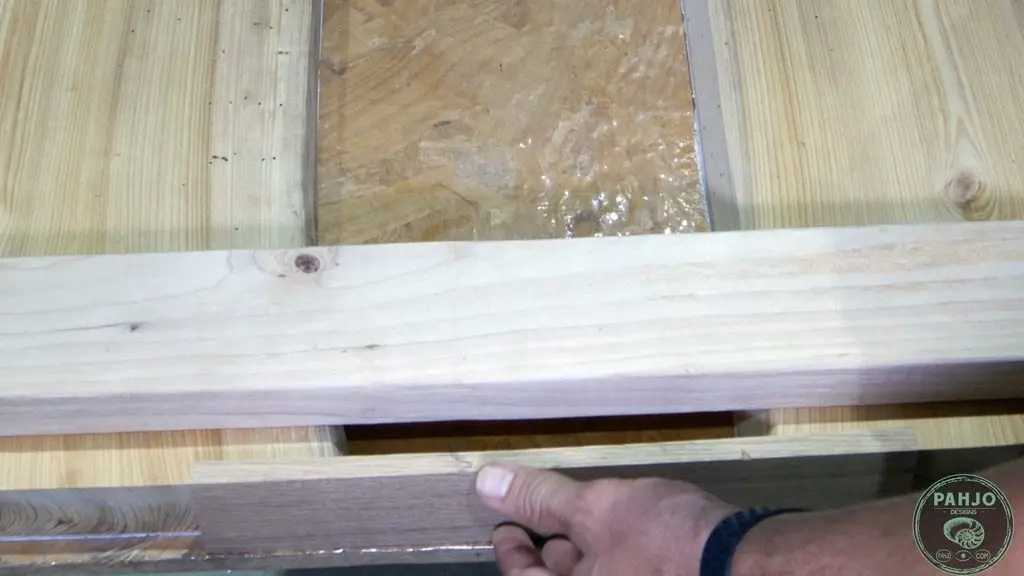
Secure Wood Slabs to Resin Mould
As a final step before the resin pour, I positioned the cypress wood slabs on the resin mould.
I like to position the slabs 2″ wider than the final dimensions.
This allows me 1″ on each side to trim later in the project.
As a result, I don’t have to worry about damaging the ends or sides during the build process.
Next, I cover 2 pieces end pieces of scrap wood with tape wider than the width of the river.
I secured them to each end of the epoxy river.

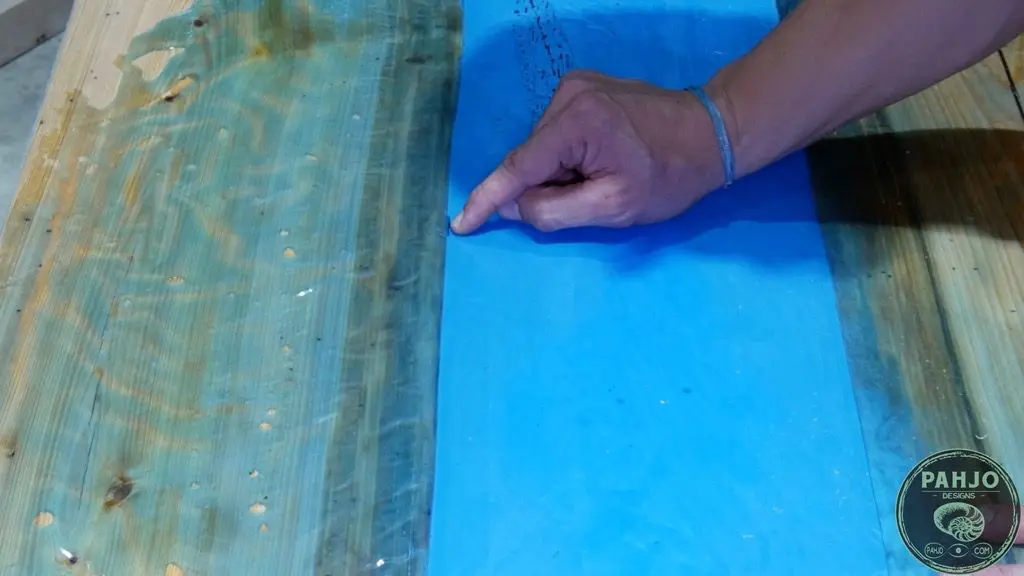
Then, I seal around the perimeter of each wood slab to prevent leaking.
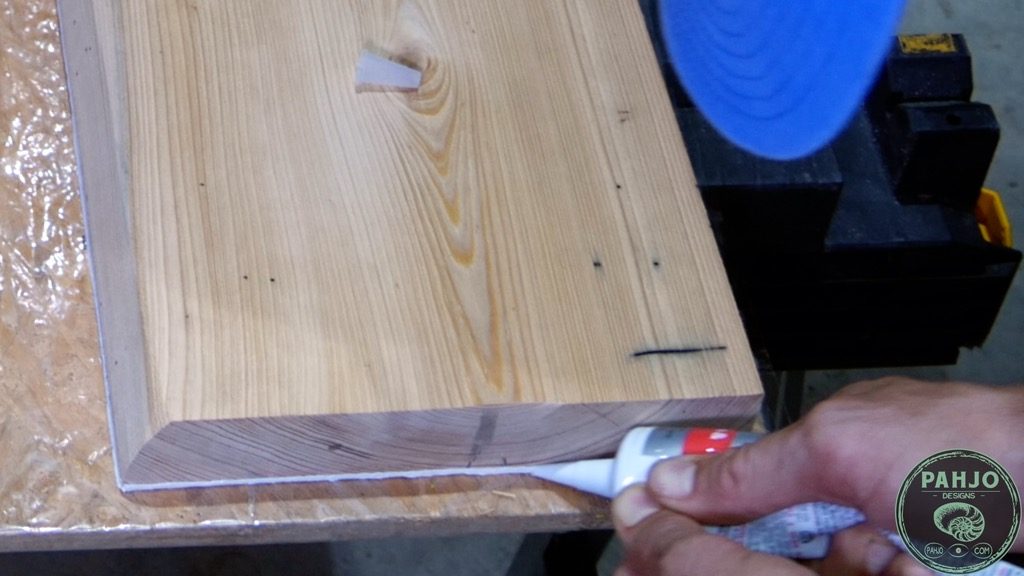
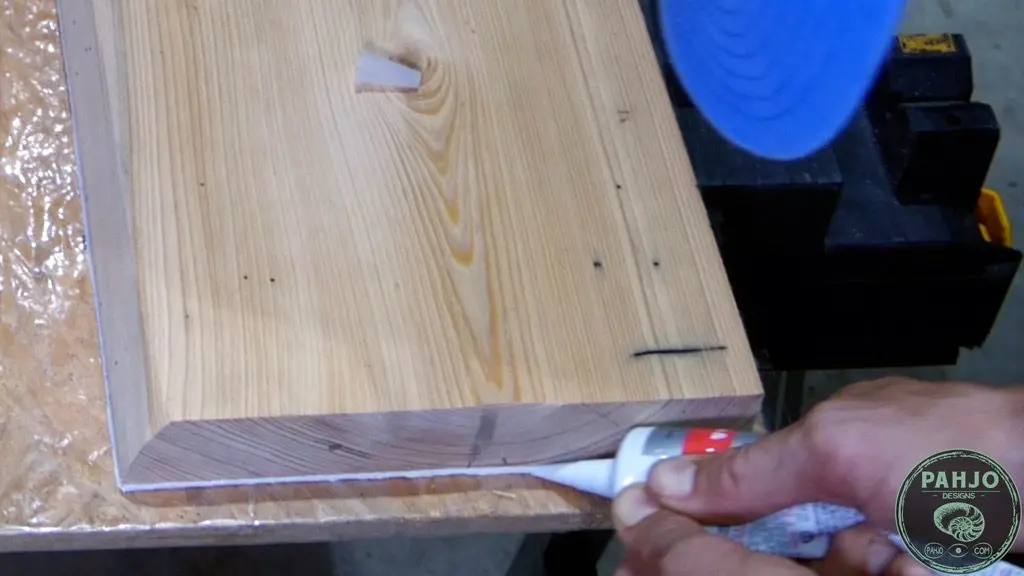

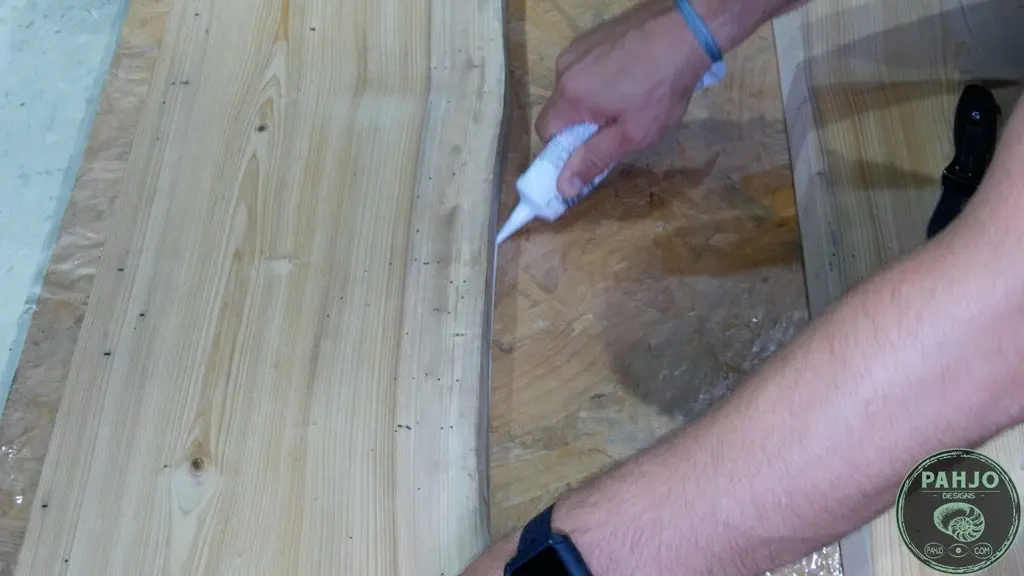
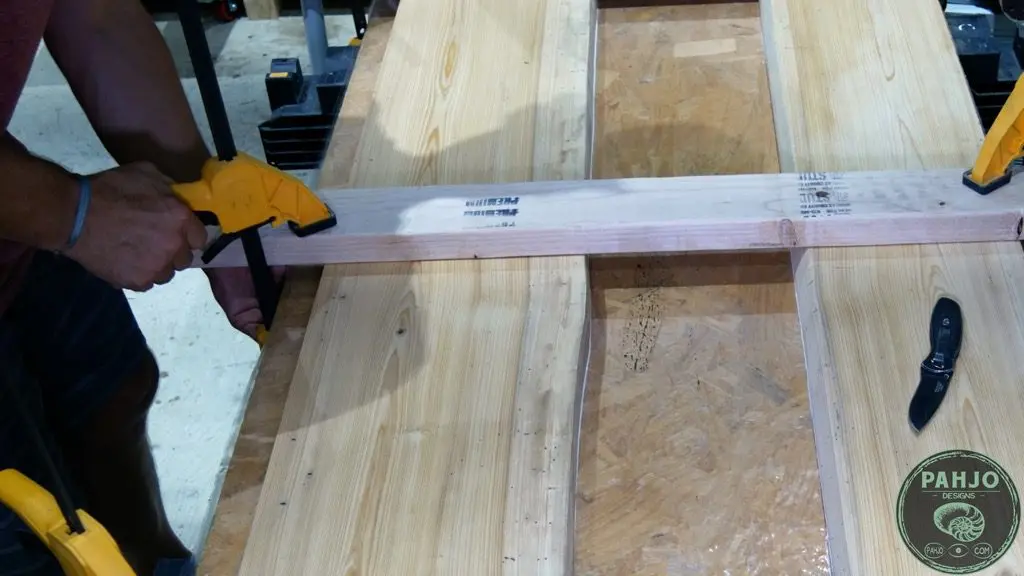
Lastly, I use scrap 2x4s with clamps to secure the wood slabs in place.
I make sure to perform this step immediately after sealing in order to compress the silicone caulk for a better seal.

Epoxy Resin for Deep Pours
Basically, the 2 main types of epoxy for table projects are classified by the depth, or thickness, that can be poured at one time.
This classification method suffices for epoxy river desk or table projects, but it is grossly oversimplified.
Deep pour epoxy cures slower and normally mixes at a 2:1 mixing ratio.
Thin pour epoxy cures quickly and normally mixes at a 1:1 mixing ratio.
Furthermore, deep pour epoxy speeds up the build process by reducing the number of pours.
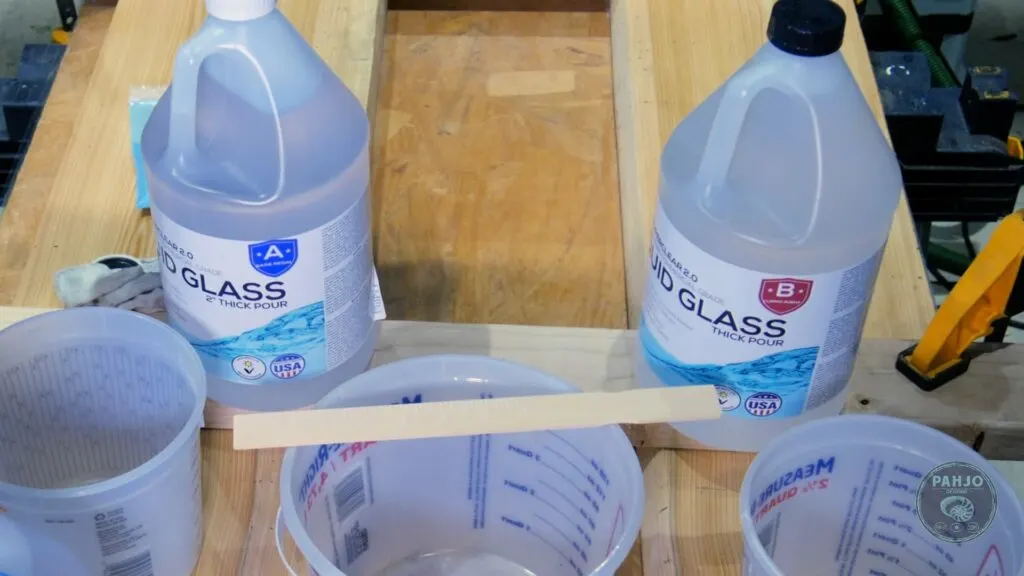
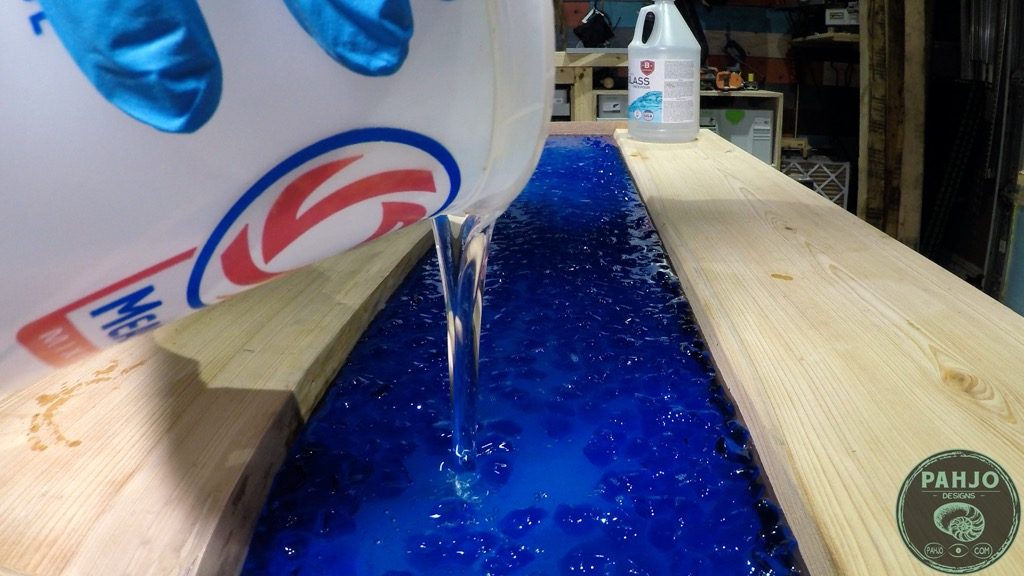
For this project, I used Liquid Glass 2.0 Superclear Epoxy as it allows for 2″ to 4″ pours.
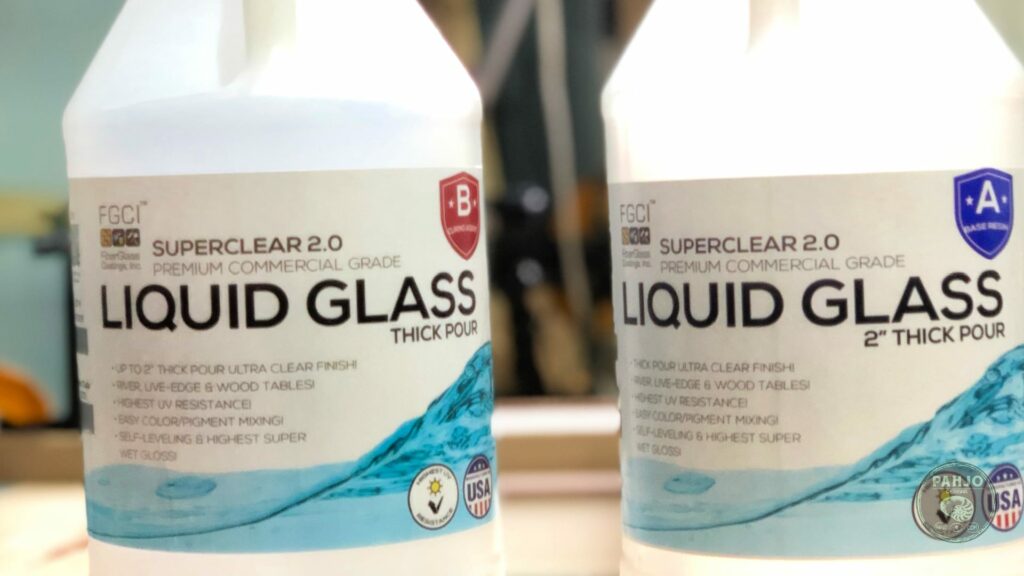

The thickness variation of 2″ to 4″ accommodates various environmental factors such as temperature and humidity.
Warm, humid environments speed up the curing process while cool, less humid environments slow down the curing process.
Remember, slower cures allow for deeper pours while fast cures do not.
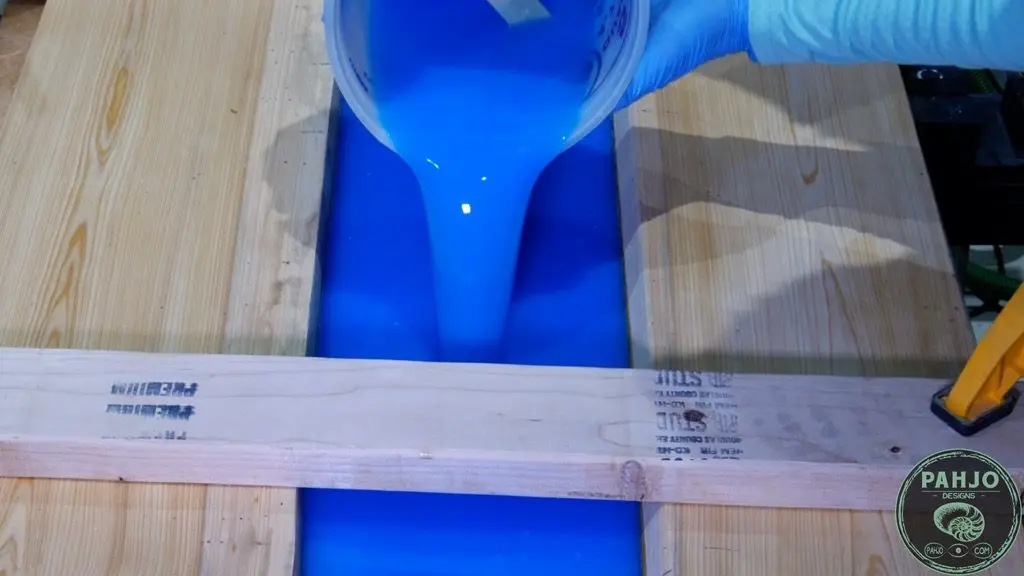
Mix Epoxy Resin
For the first epoxy resin pour, I used multiple mixing containers and a total of 192 ounces of epoxy.
The multiple mixing containers make it easy to properly mix large batches with 2:1 mixing ratios such as this epoxy.

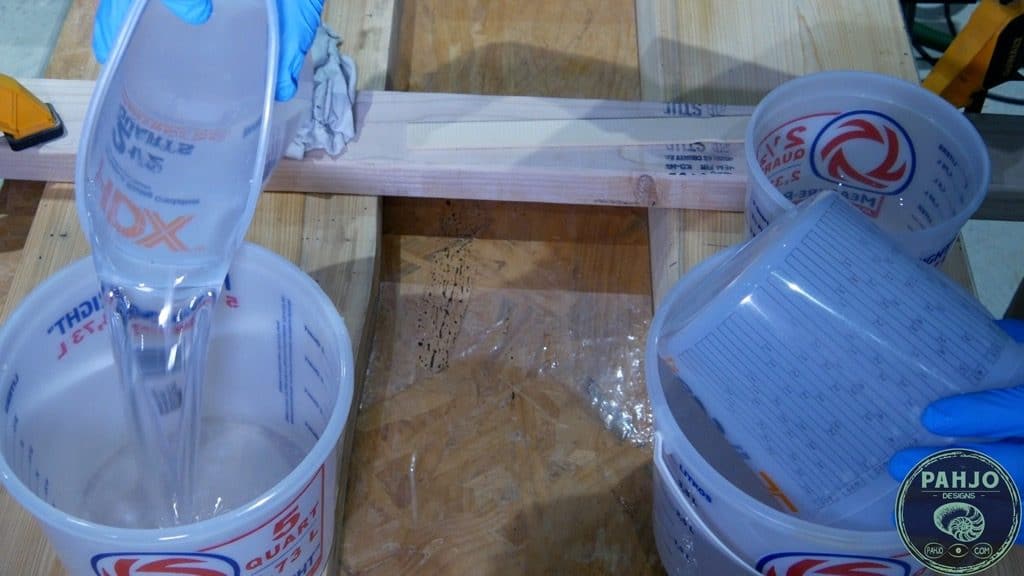
First, I poured 64 ounces of part A in 2 containers for a total of 128 ounces of part A.
Next, I poured 32 ounces of part B in 2 containers for a total of 64 ounces of part B.

Then, I poured 1 64 ounce container of part A and one 32 ounce container of part B into 1 large mixing container.

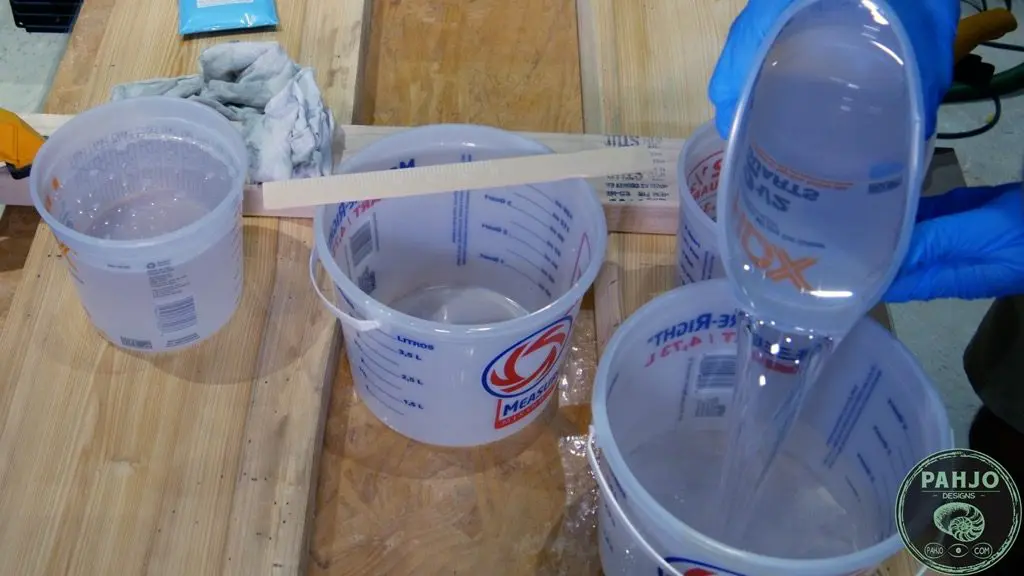
I repeated the process for the other containers. So, I ended up with 2 96 ounce containers for a total of 192 ounces.
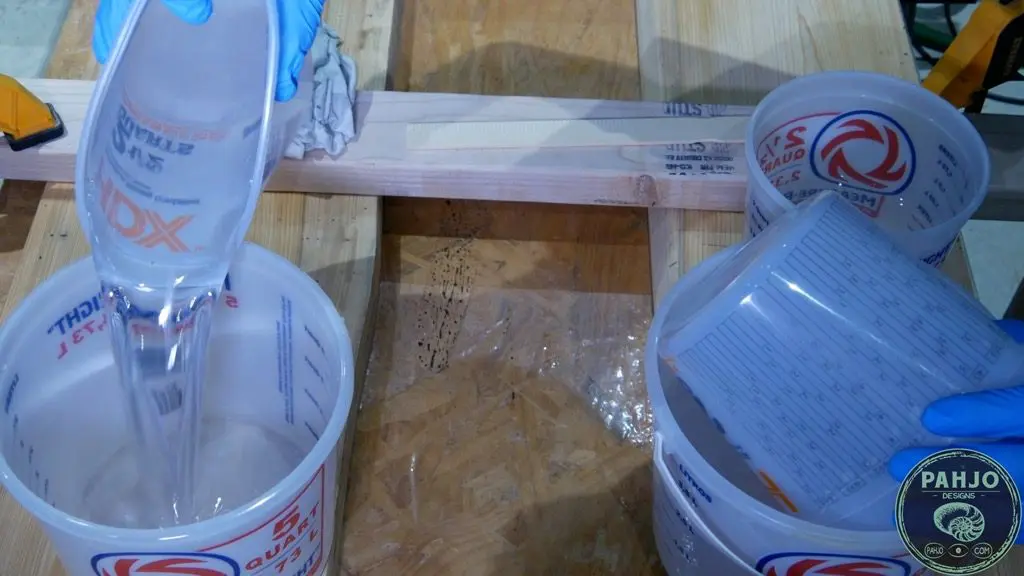
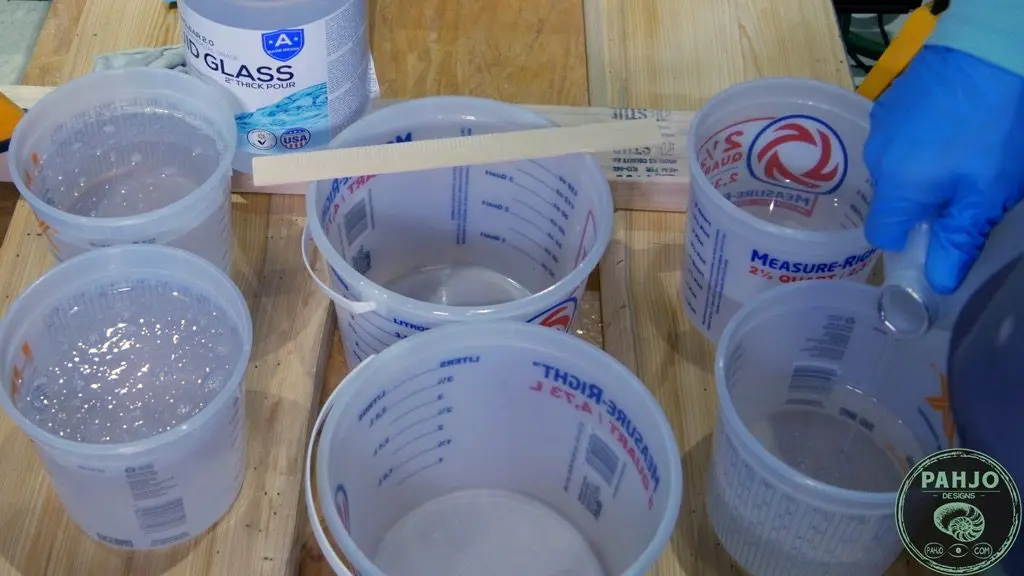
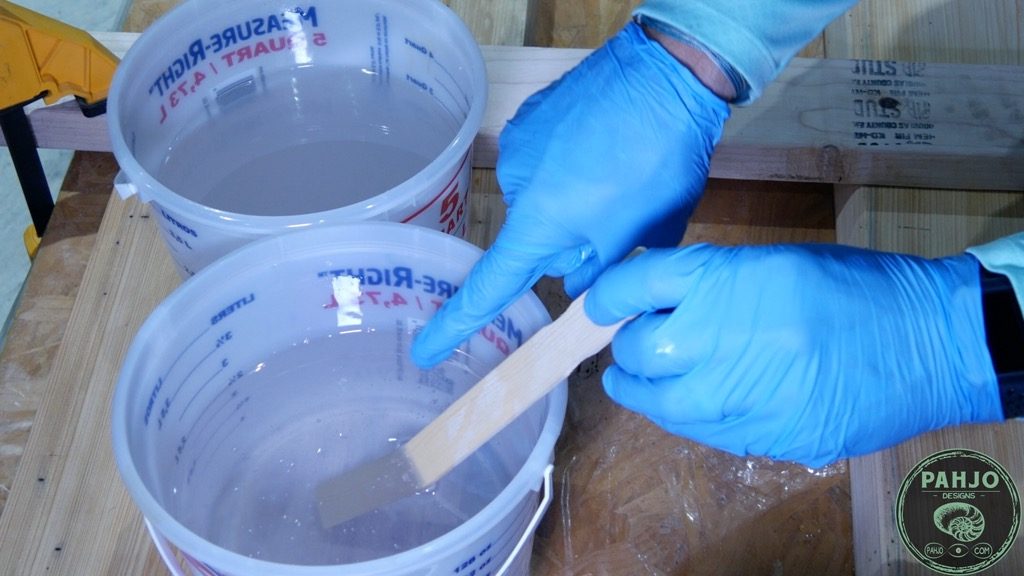
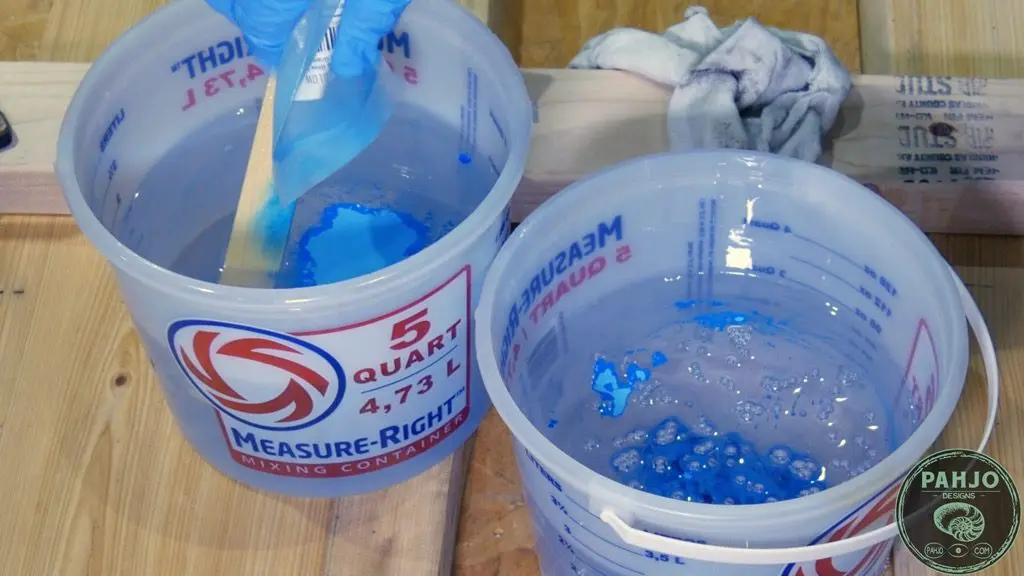
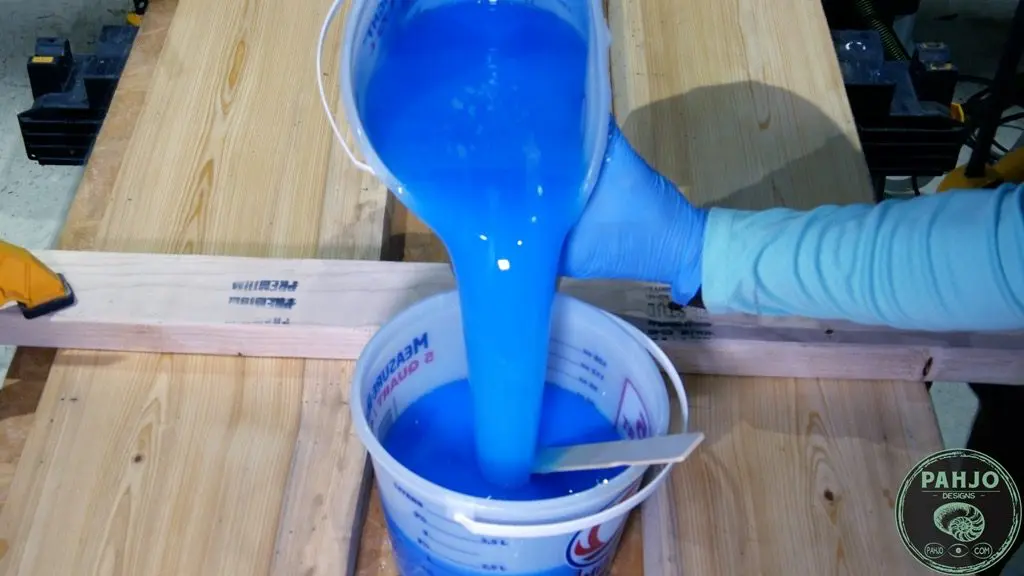
As a quick epoxy mixing tip, always mix the material until it turns clear as this is a sign it is ready to be poured.
The container at the top of the picture below has not been mixed.
Conversely, the container below it has already been mixed and very clear.

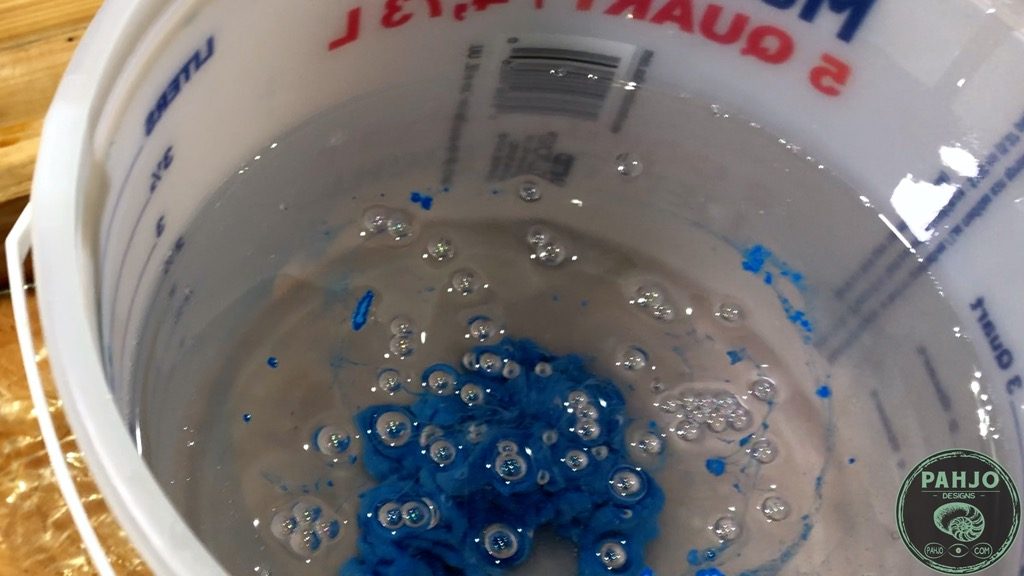
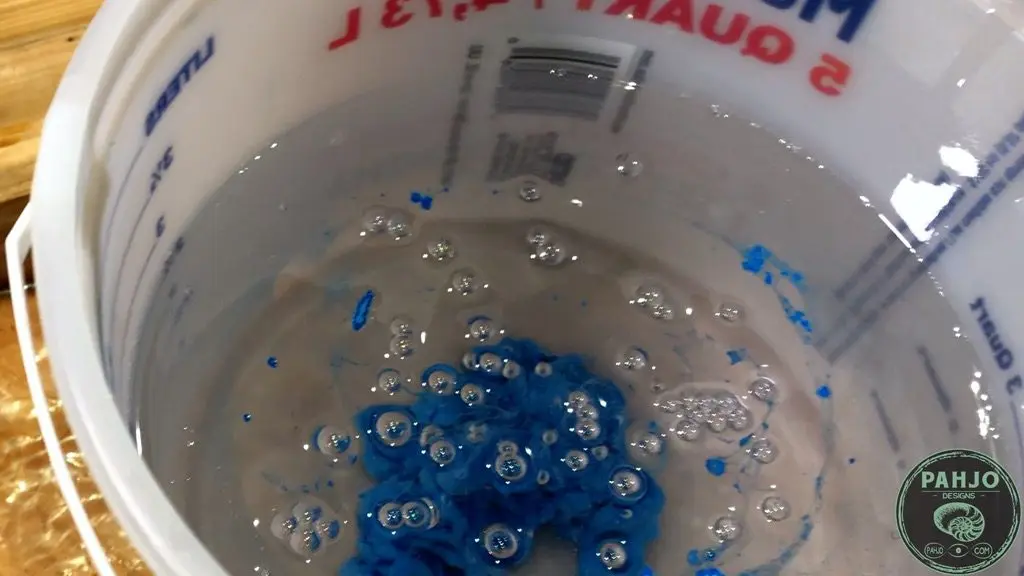
Add Epoxy Glow Powder
Once each container was mixed, I added blue epoxy glow powder to each mixture.
This fluorescent blue glow powder is blue while at rest and produces a blue glow.
Other glow powder colors tend to be a pearl white at rest and turn colors while glowing.


First, I poured roughly half of the 8 ounce bag in one resin batch.
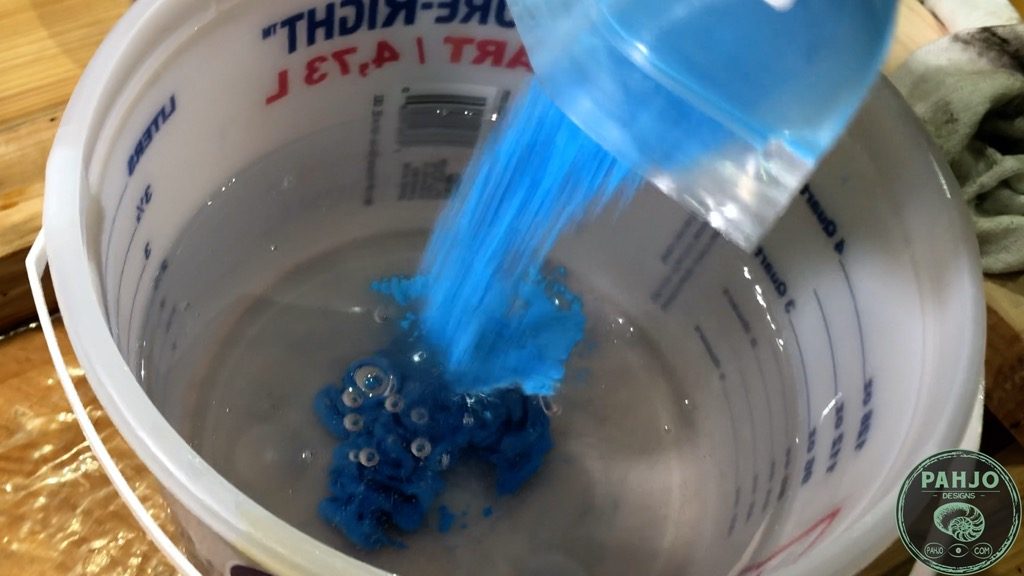

The epoxy glow powder clumps together at the bottom and releases bubbles which produces a satisfying look.

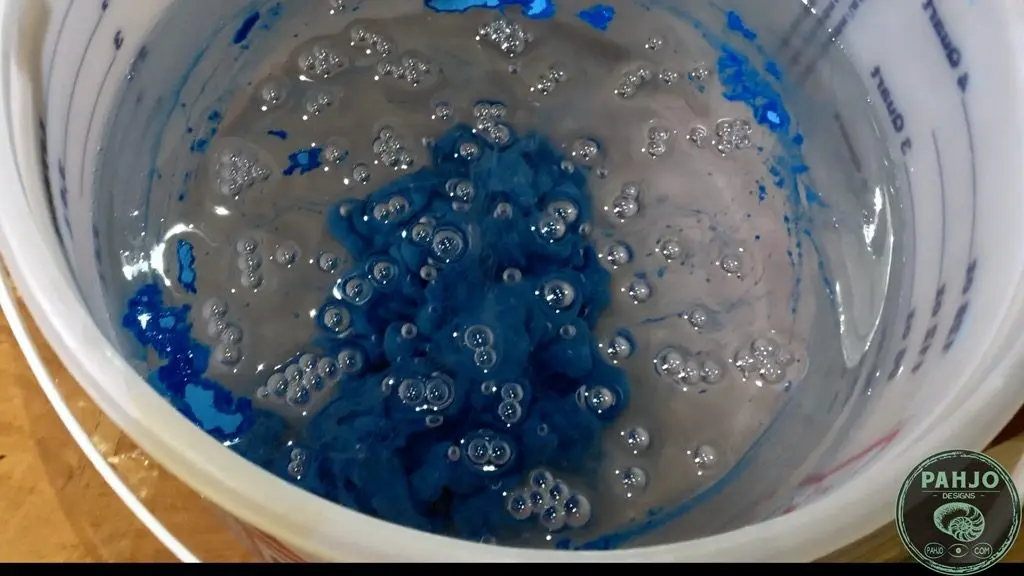

I mixed the material in each container for roughly 3 minutes.
My favorite epoxy mixing technique starts with 3 circles clockwise.
Then, 3 circles counterclockwise followed by 3 bottom scrapes.

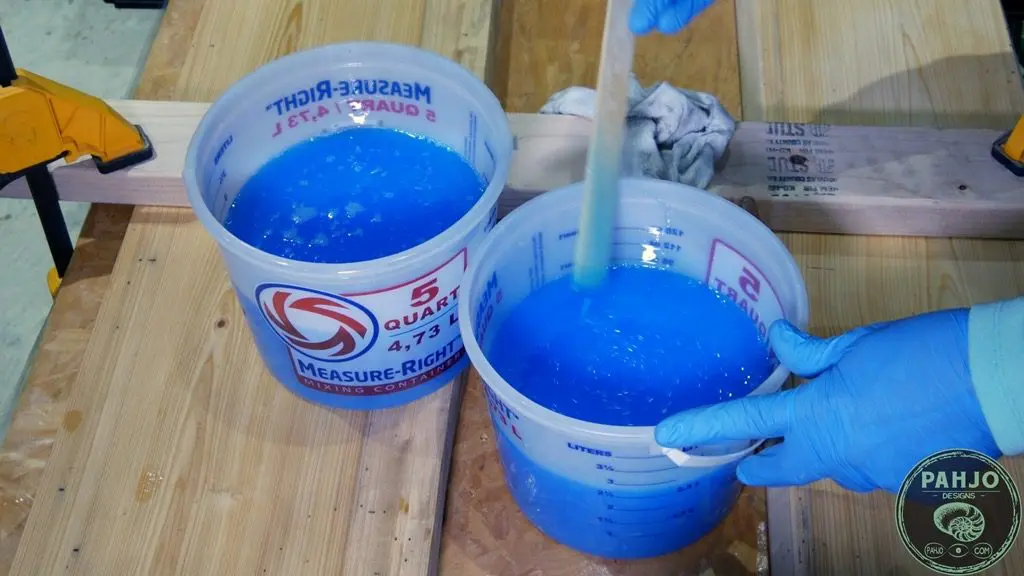
Once I finished mixing the epoxy and glow powder, I poured half of one container in the other.
Then, I mixed the half full container to make sure no blue glow powder stuck to the bottom.
Next, I repeated the process with the other container.

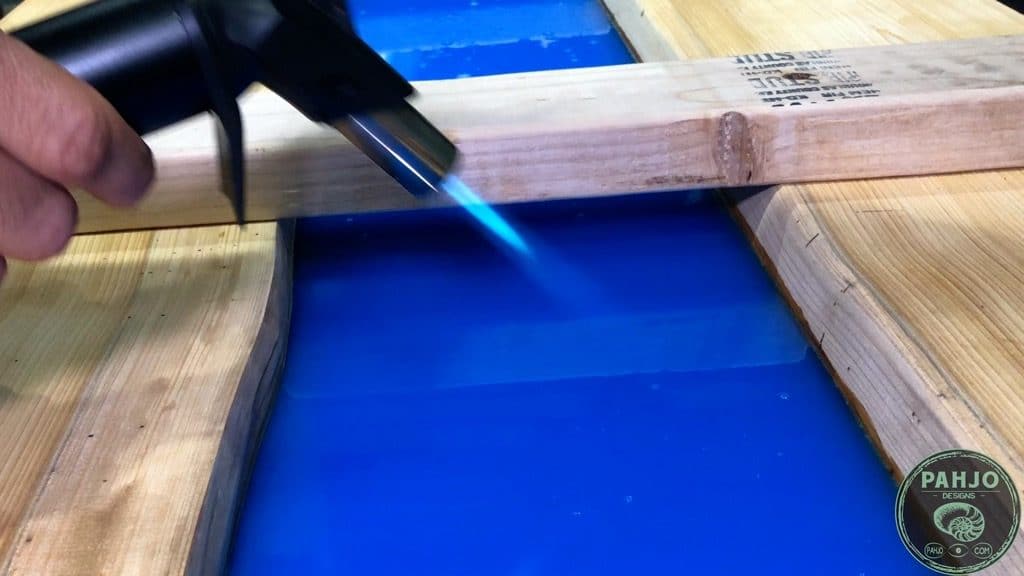
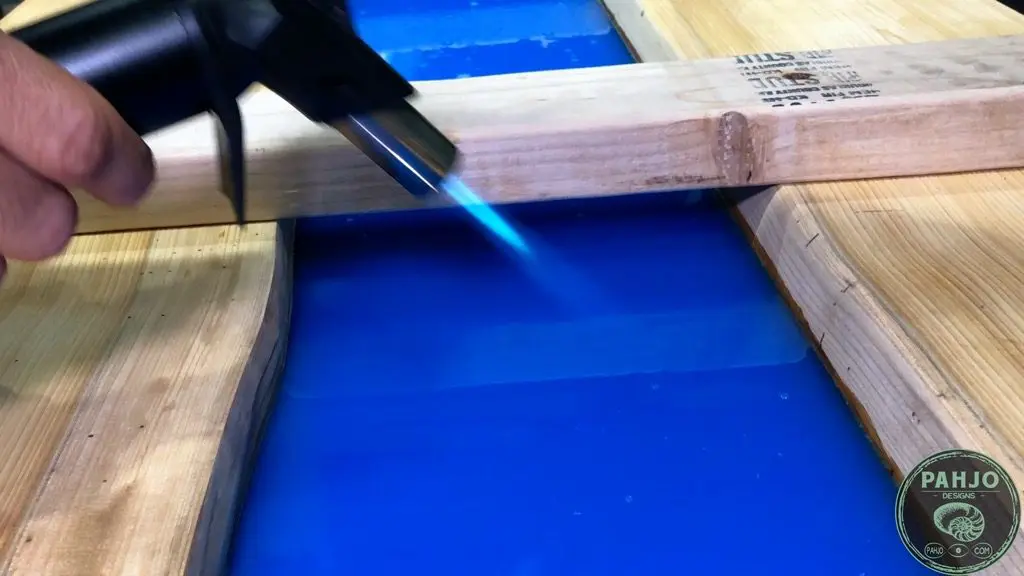
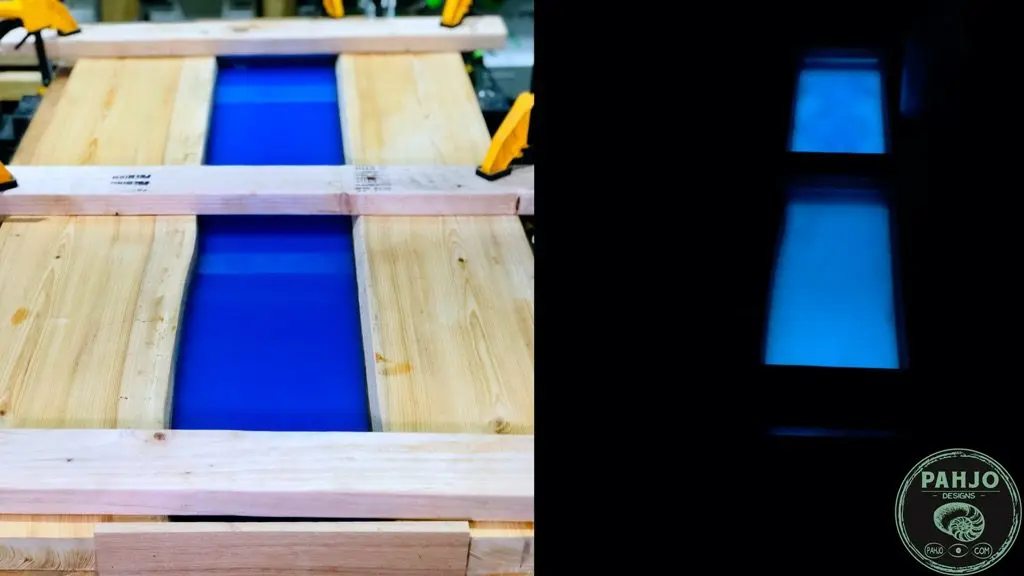
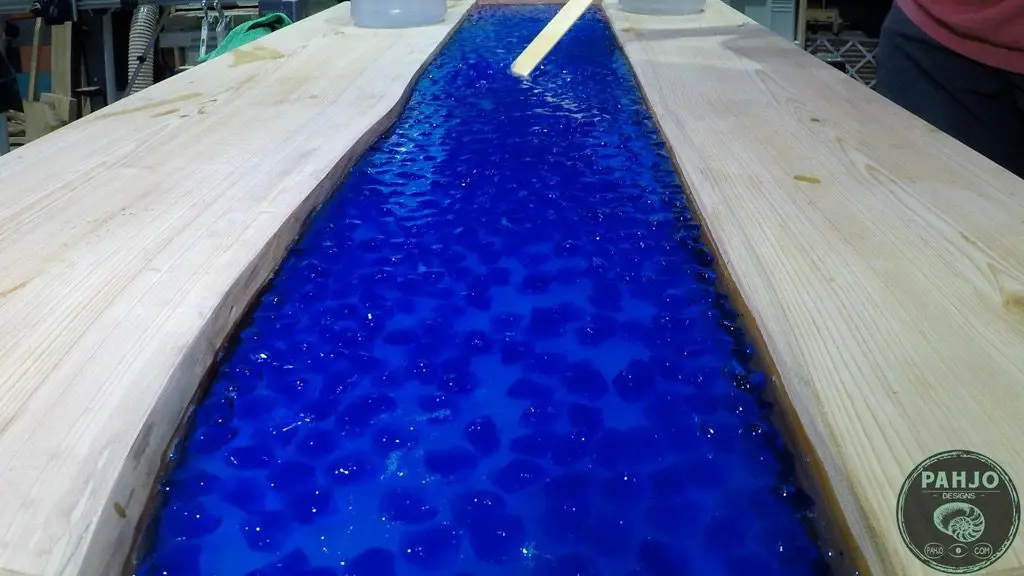
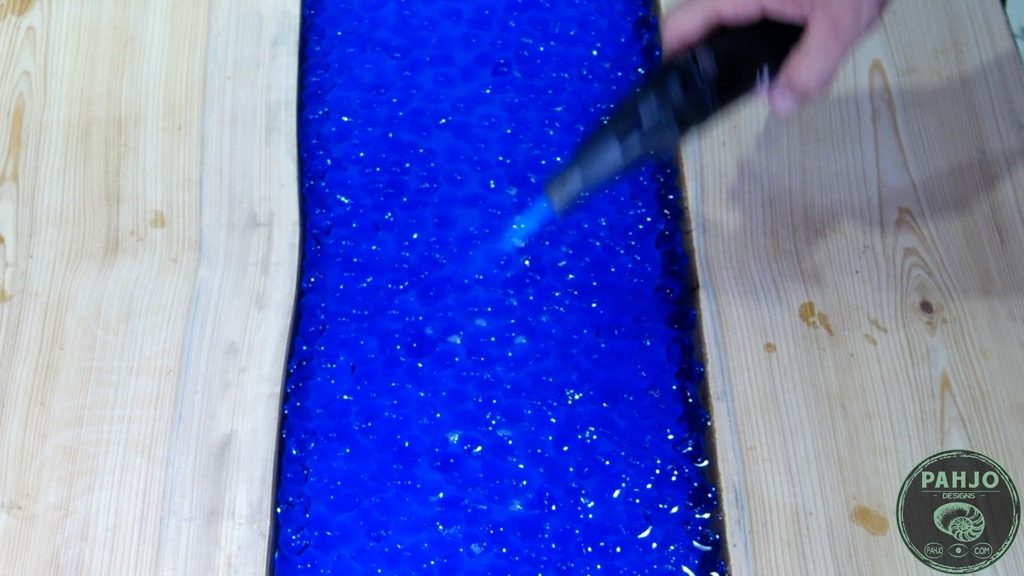
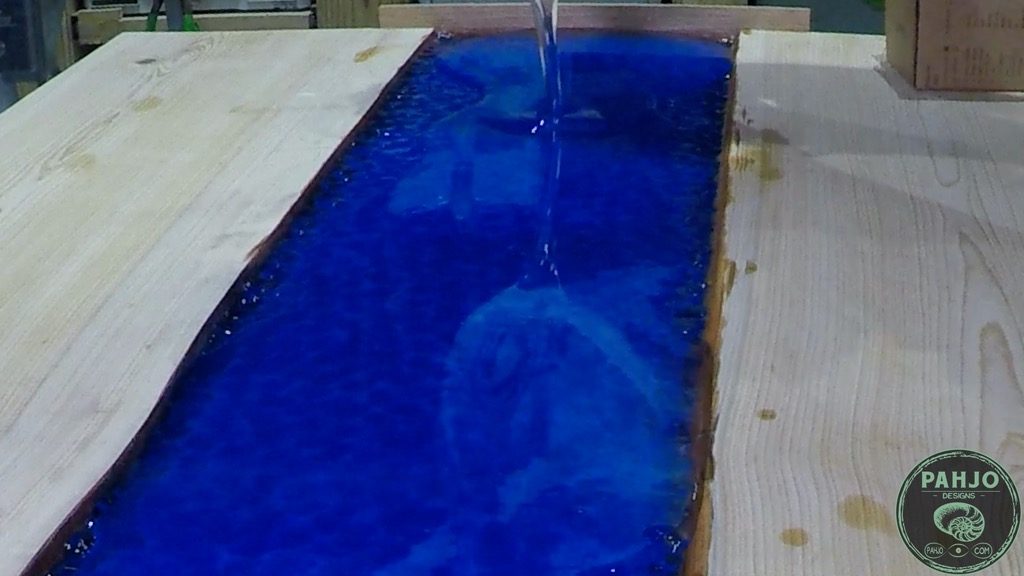
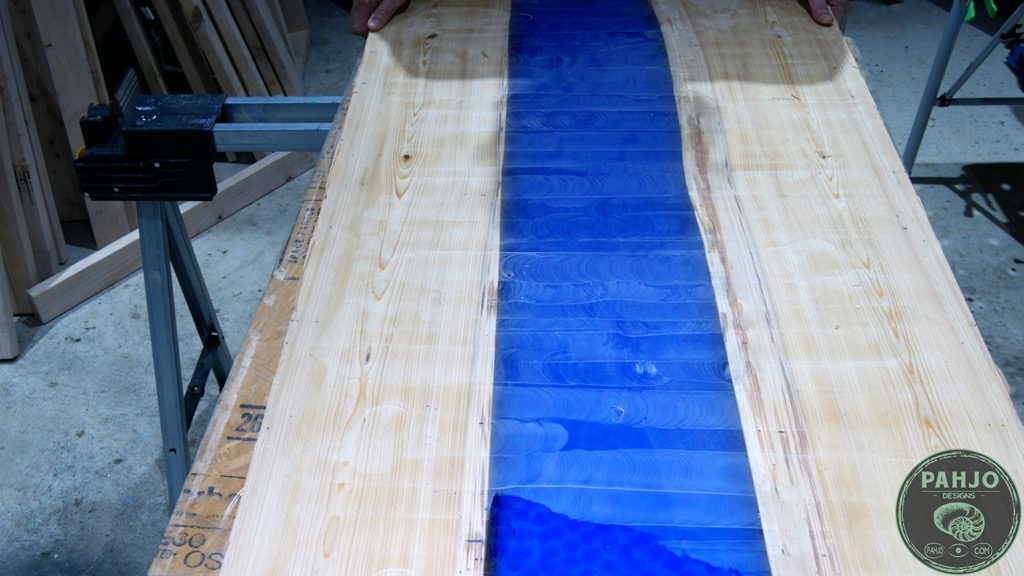
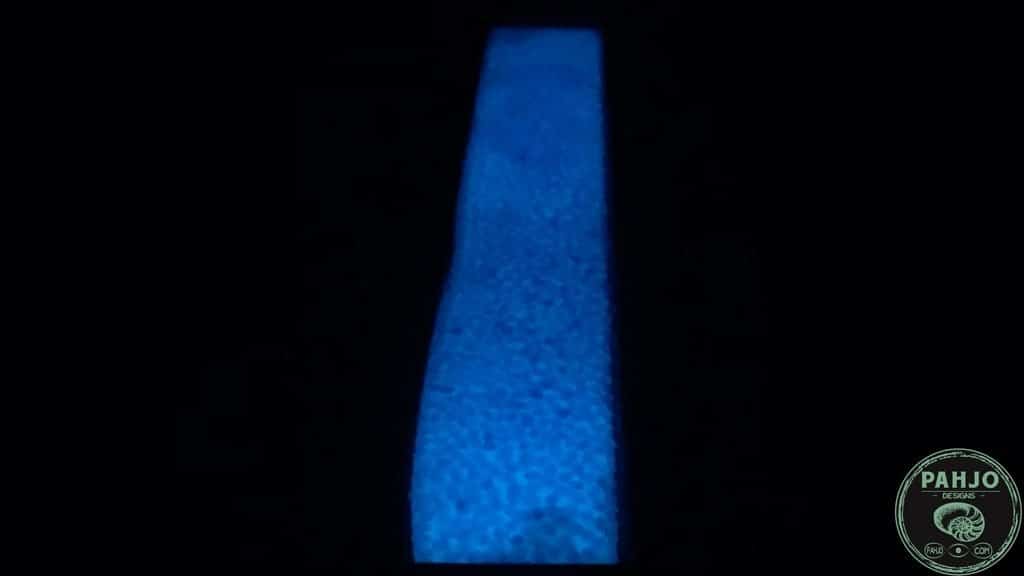
Epoxy Glow Powder Base Layer
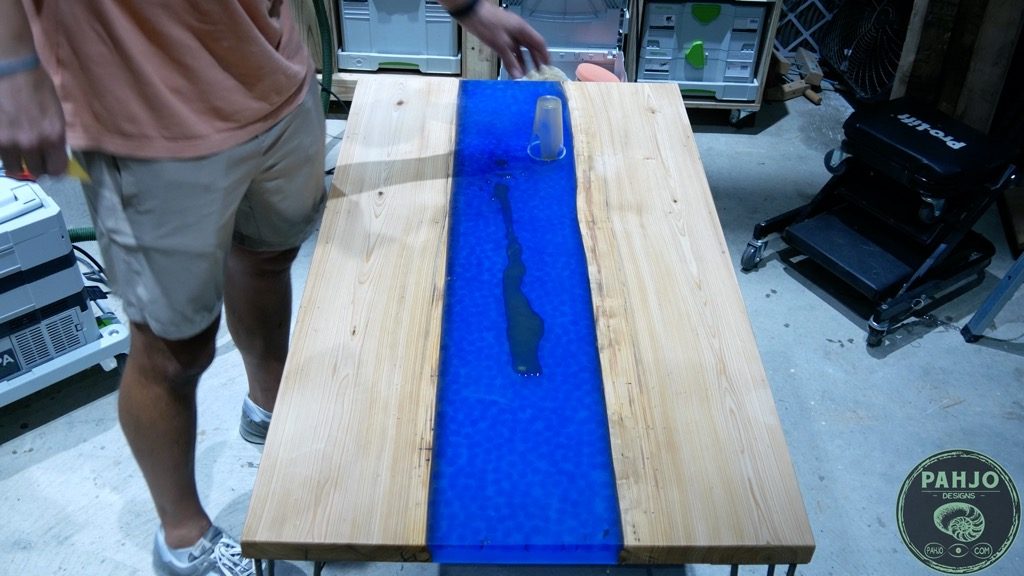
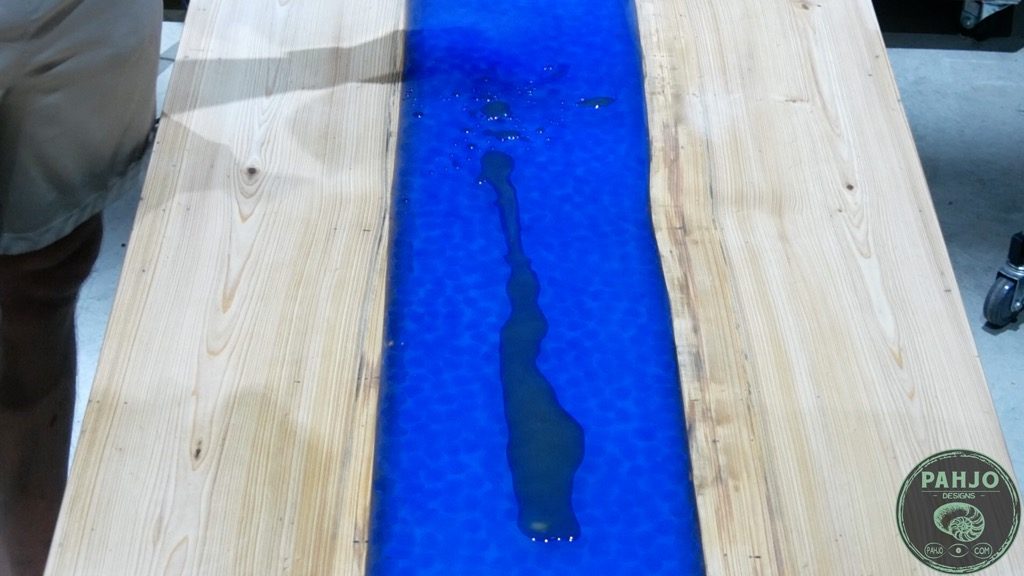
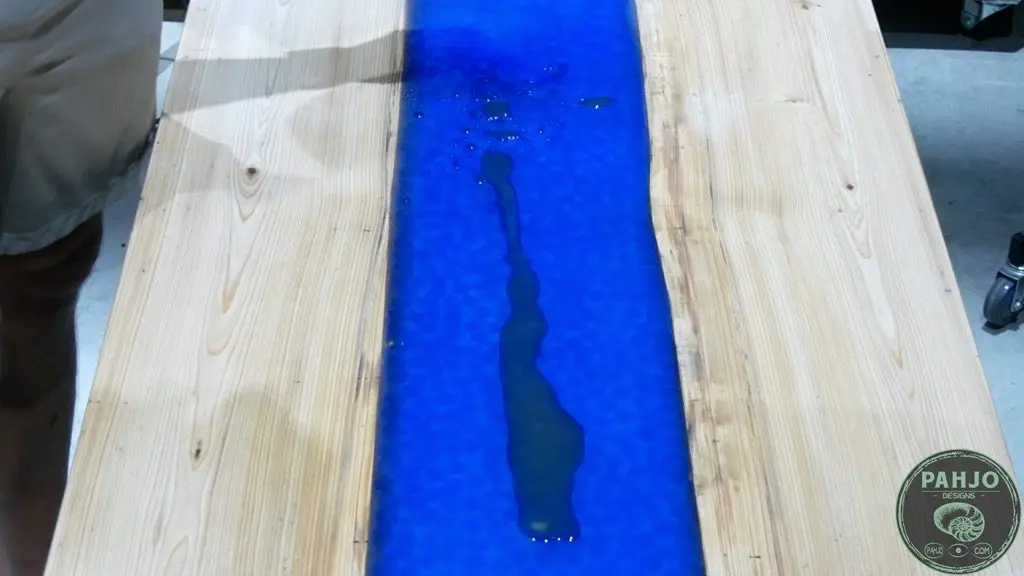
After the glow powder and epoxy were fully mixed, I poured each container to from the base layer of the transparent epoxy river table with rocks.
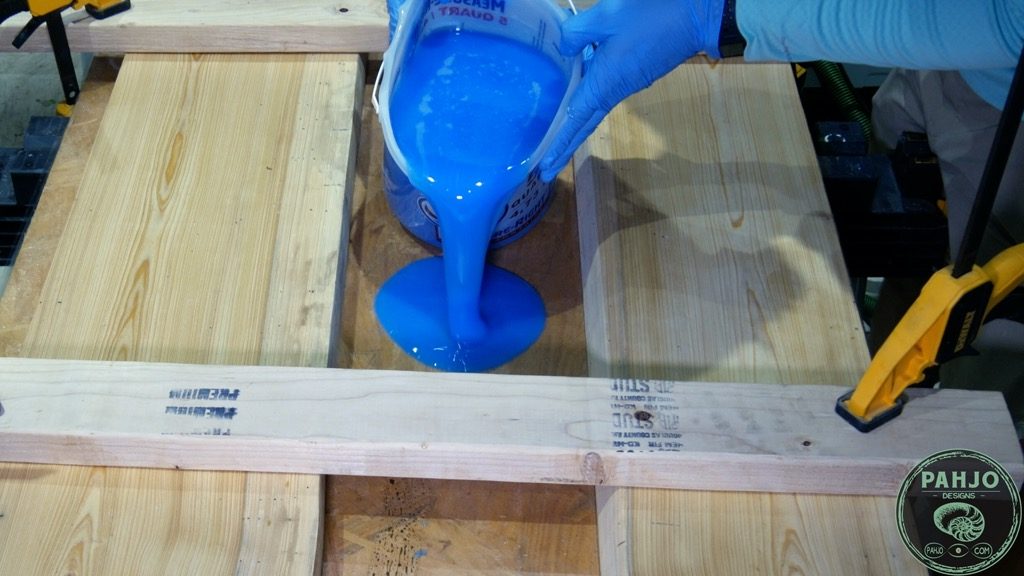

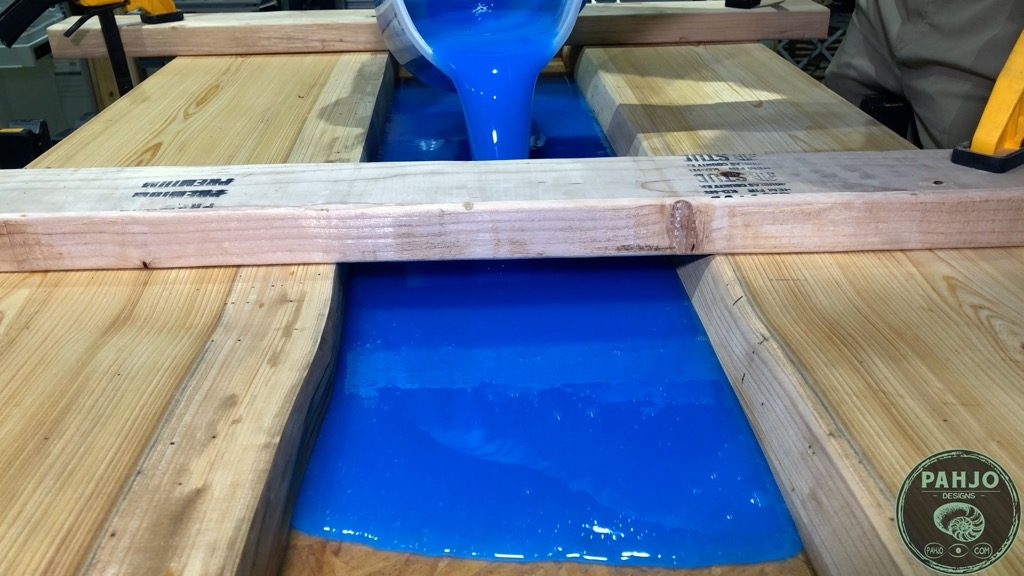
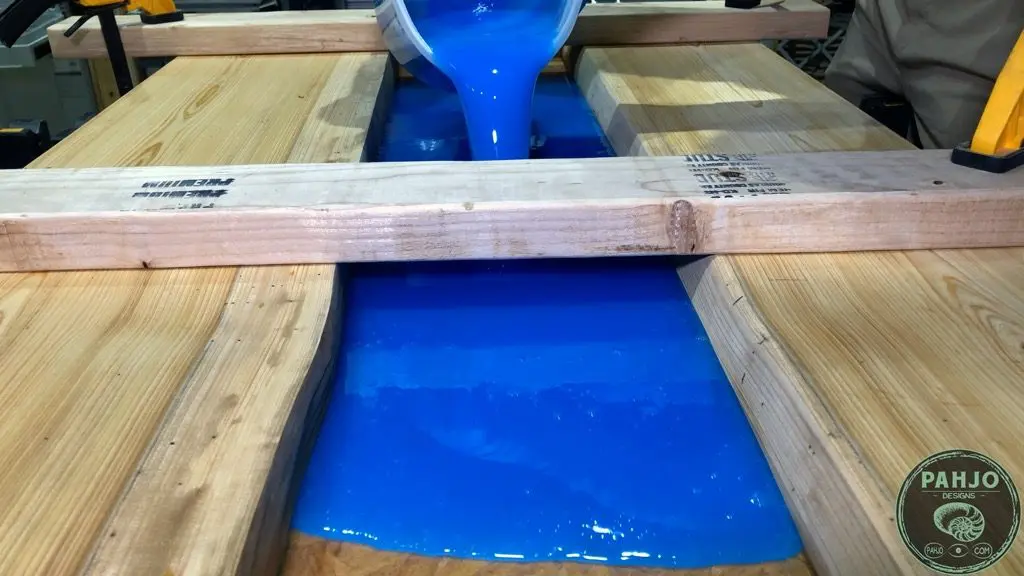

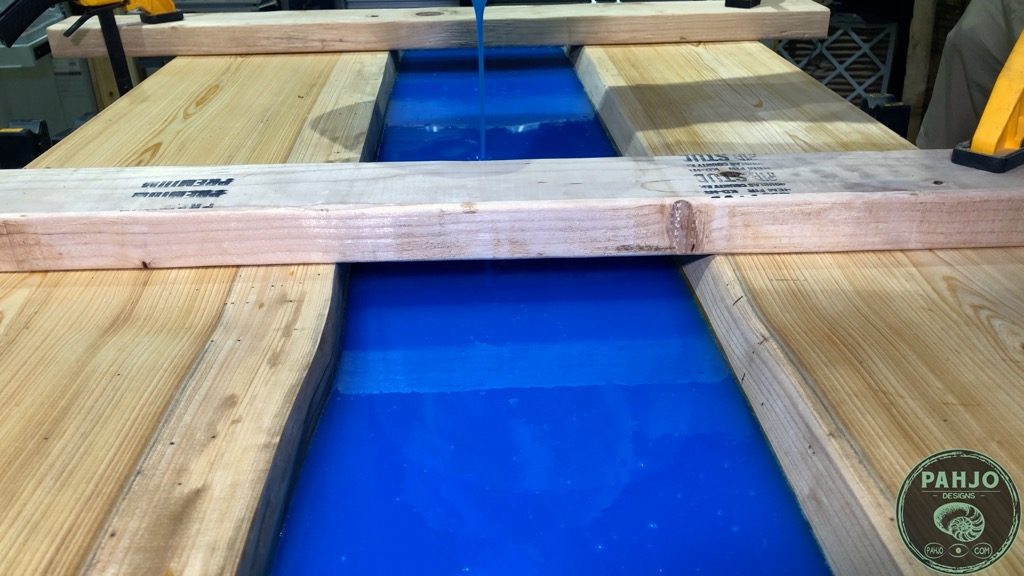

Next, I removed the bubbles with my mini torch. Surprisingly, this deep pour epoxy did not produce many air bubbles at all.
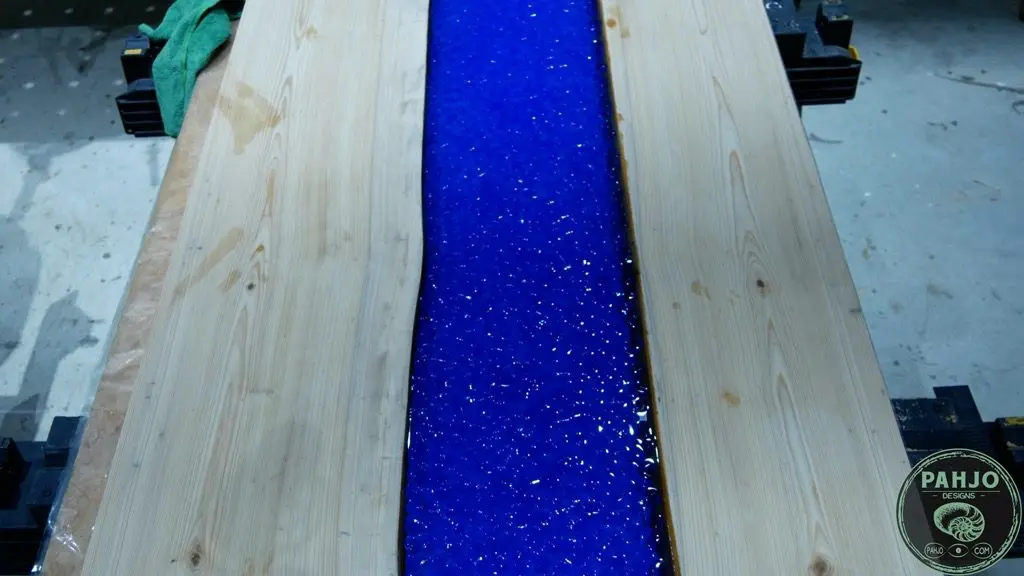
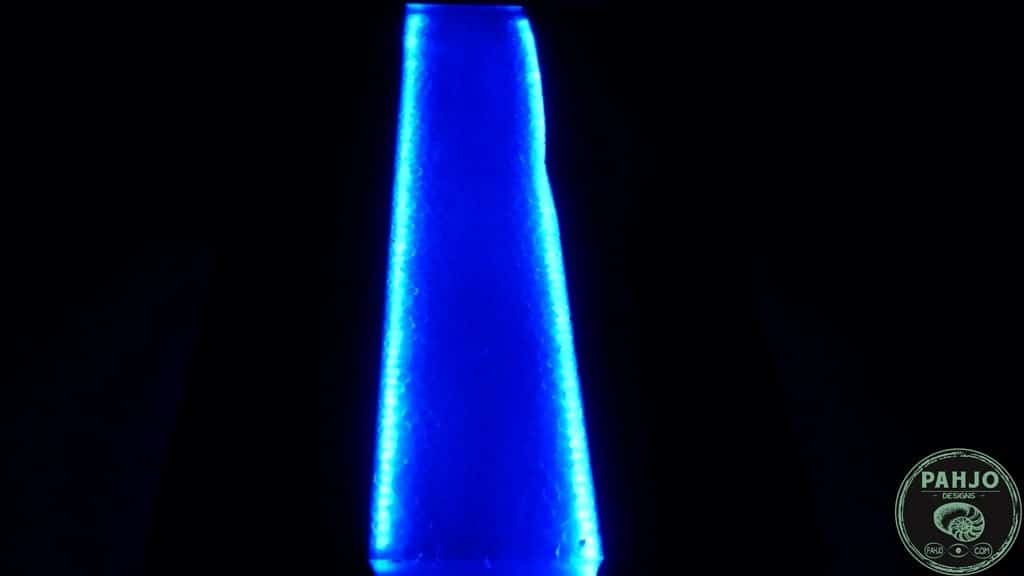
The picture below shows the blue epoxy glow powder glowing in the dark after the first pour.

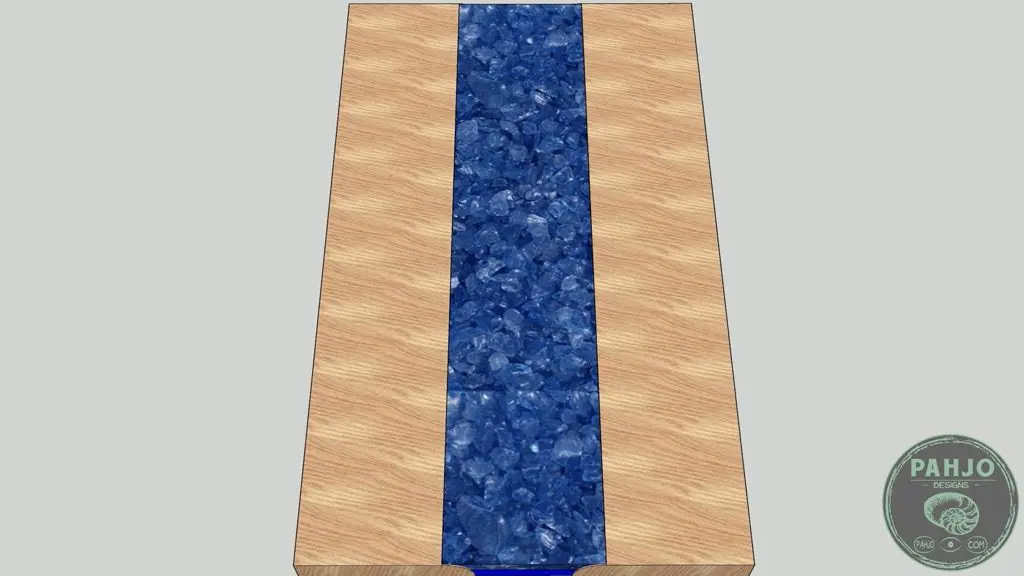
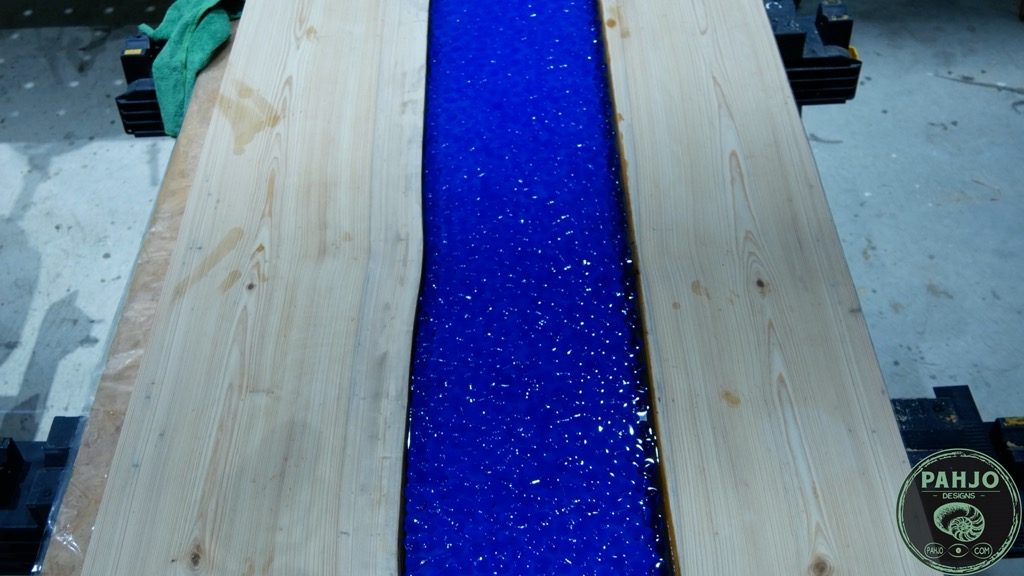
DIY Epoxy River Table with Blue Rocks
As I mentioned earlier in this DIY tutorial, I used acrylic rocks for this epoxy river desk.
The acrylic rocks will be covered with transparent clear resin to create a unique visual – especially when the epoxy river desk glows.
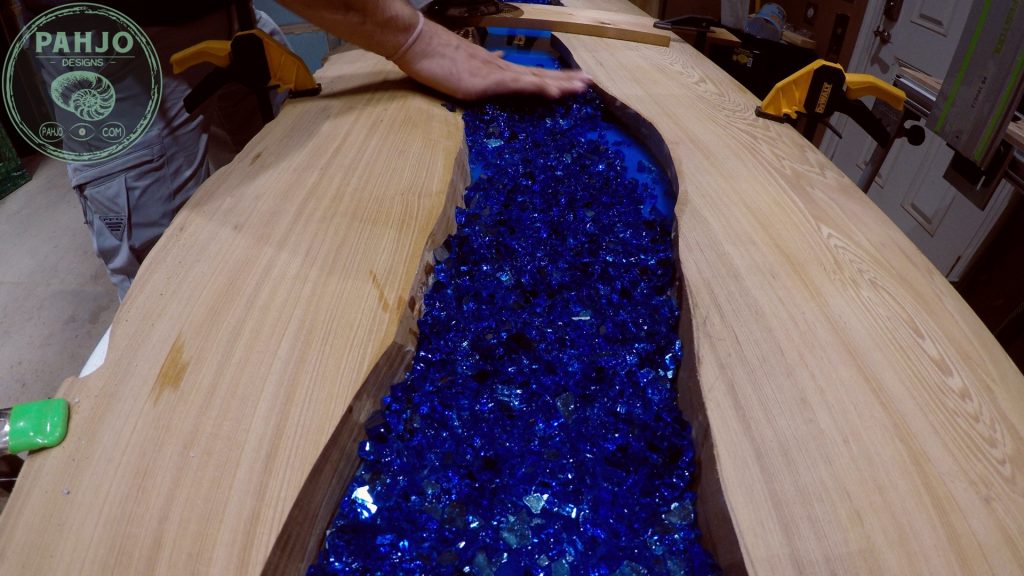
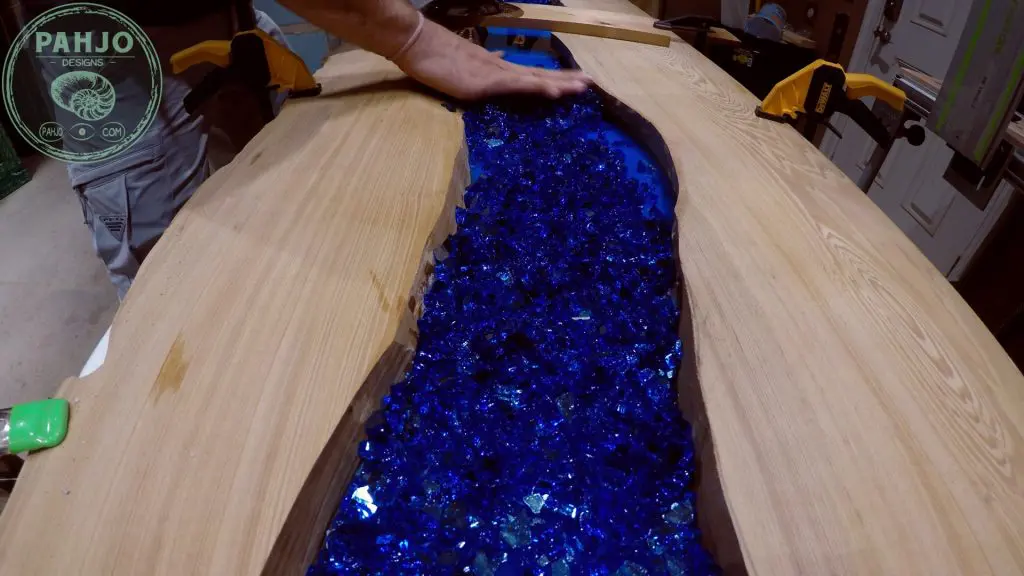
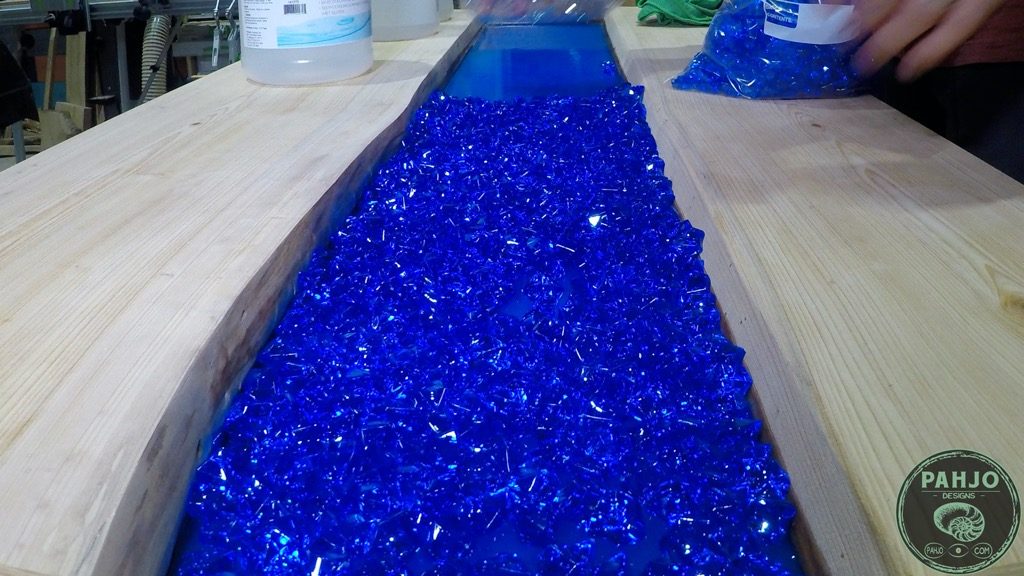
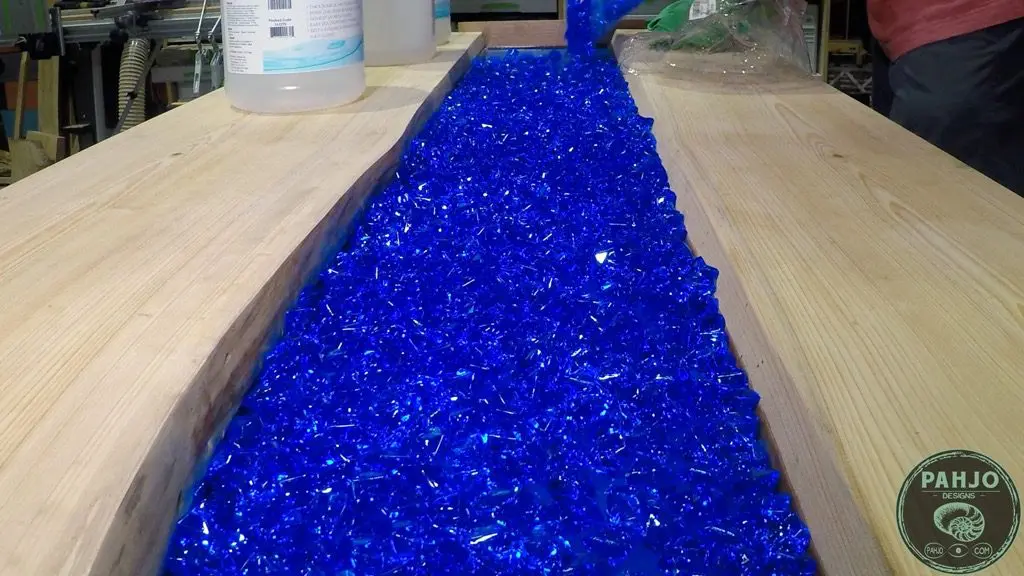
After the base layer cured for 48 hours, I spread the blue acrylic rocks on top of the epoxy glow powder layer.
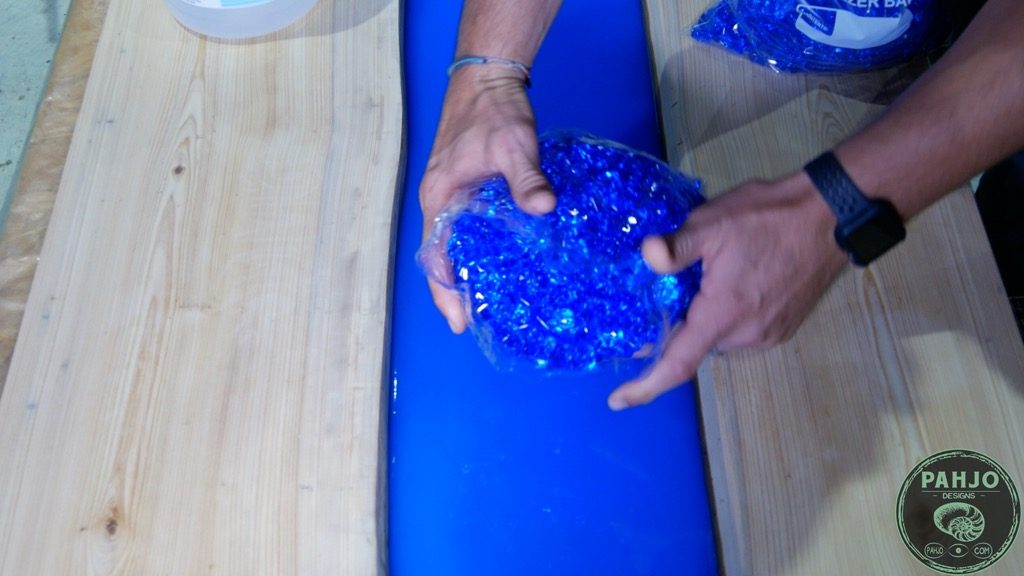

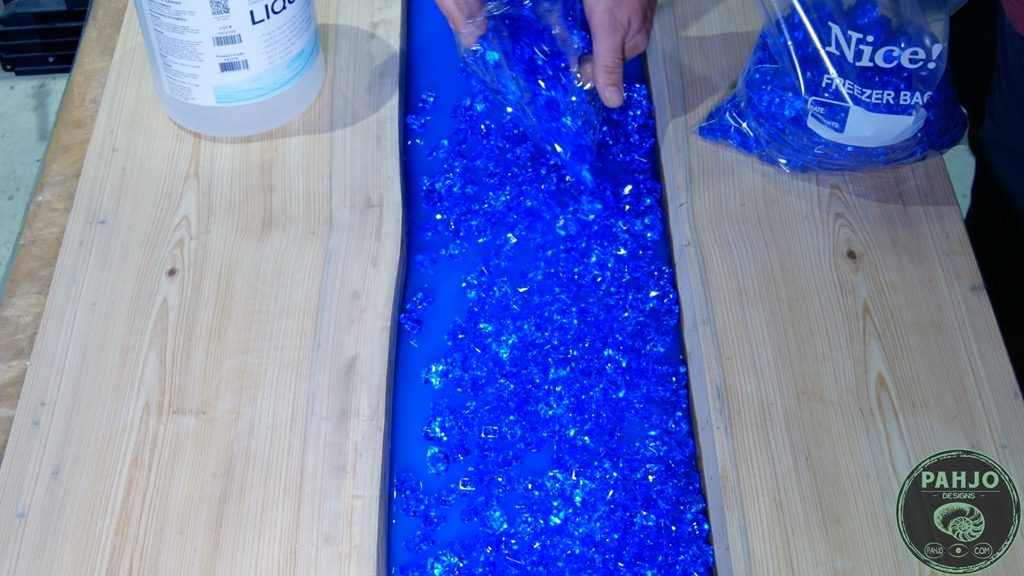
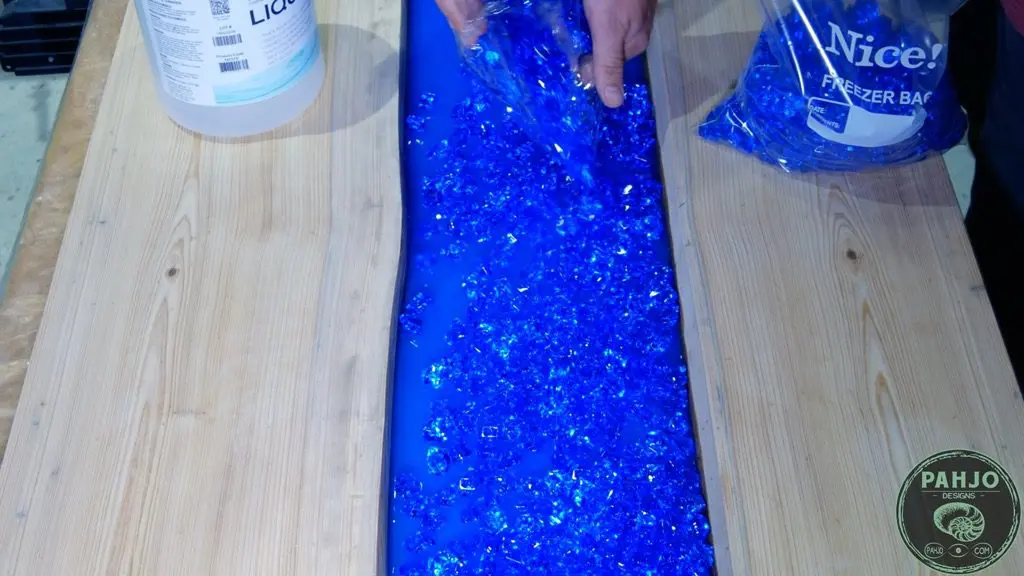
This transparent epoxy river table with rocks required to bags of blue acrylic rock to cover the surface of the river.


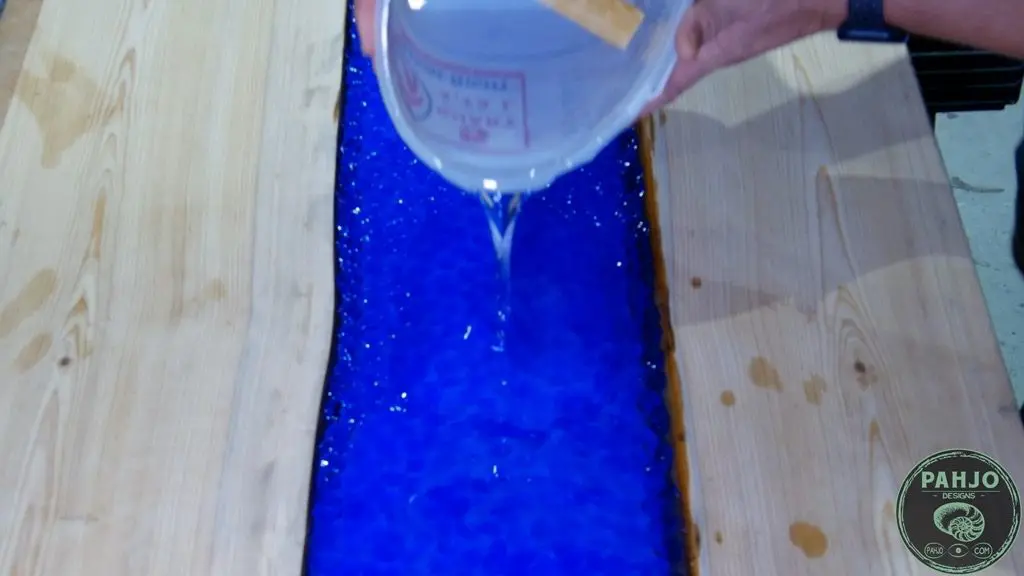
Second Epoxy Pour
After I evenly spread the acrylic rocks and they were about 1″ below the surface of the table, I started the second pour.
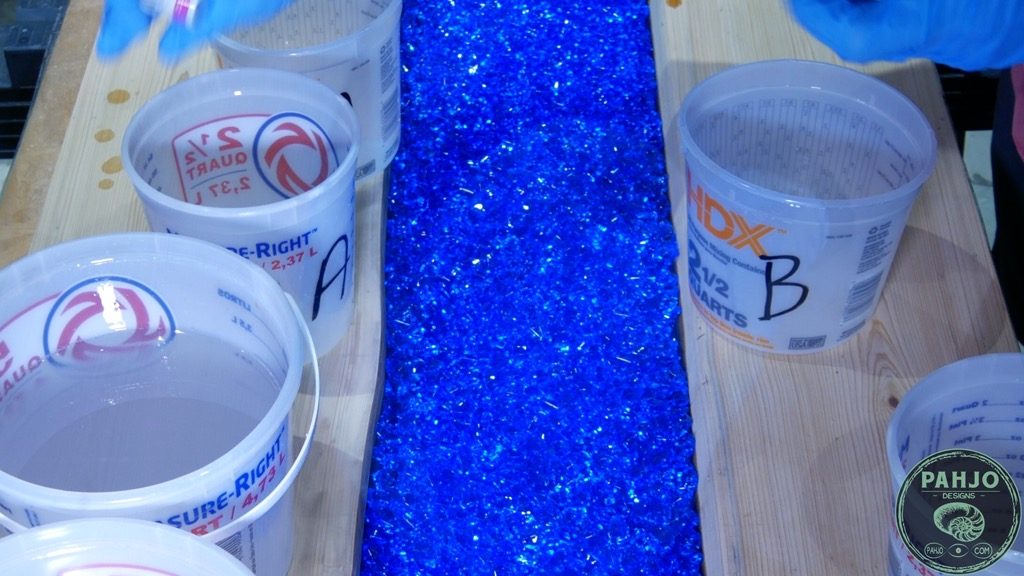
First, I labeled my buckets from the first pour.
It may be an issue if I use the part B bucket from the first pour for part A in the second epoxy pour.

Next, I mixed 96 ounces of resin using the same procedure as the first epoxy pour.
I poured the resin on top of the acrylic rocks.

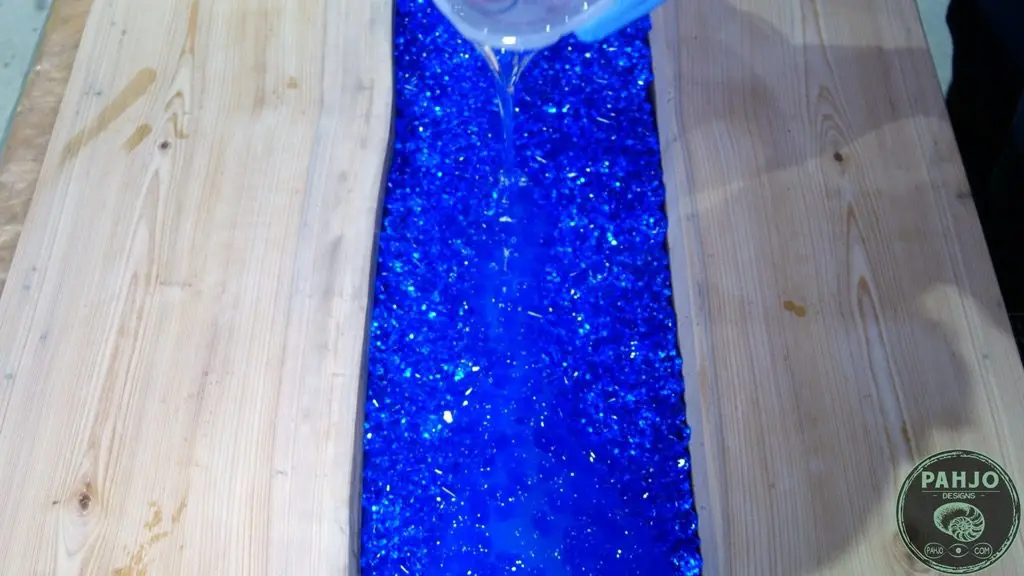
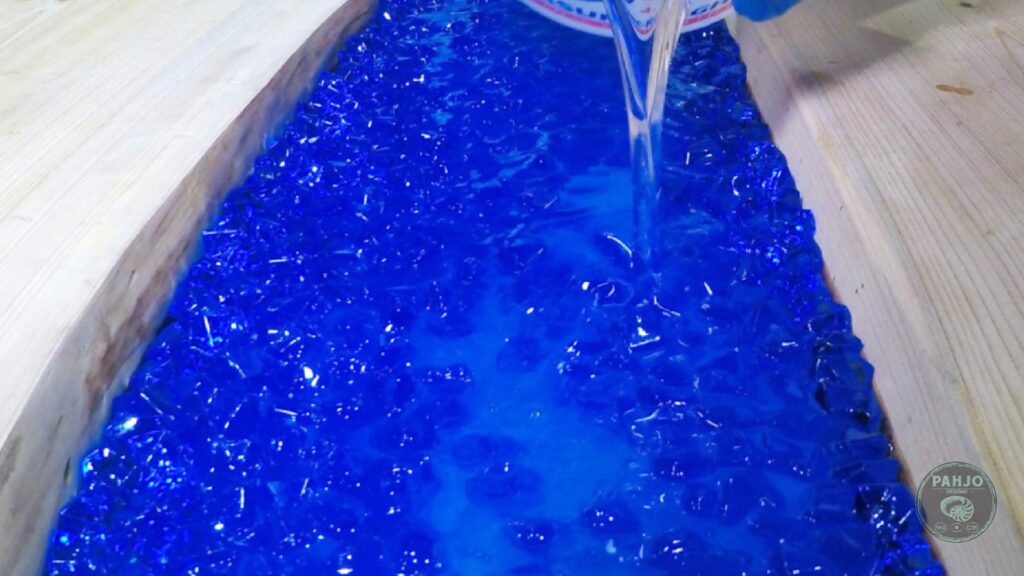

While pouring the resin, I noticed the acrylic rocks floated to the surface.
I’m not sure why I didn’t anticipate this happening.
Consequently, I will need to stop about 1/2″ from the top and perform an extra pour to reach the top of the wood slabs.

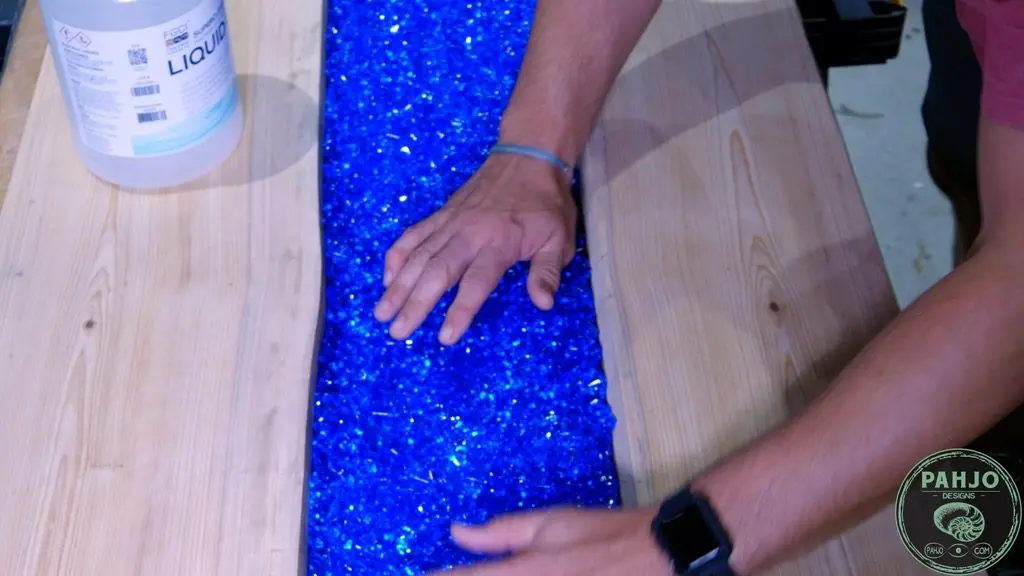
A paint stick worked perfectly to spread the rocks evenly across the transparent epoxy river table with rocks.
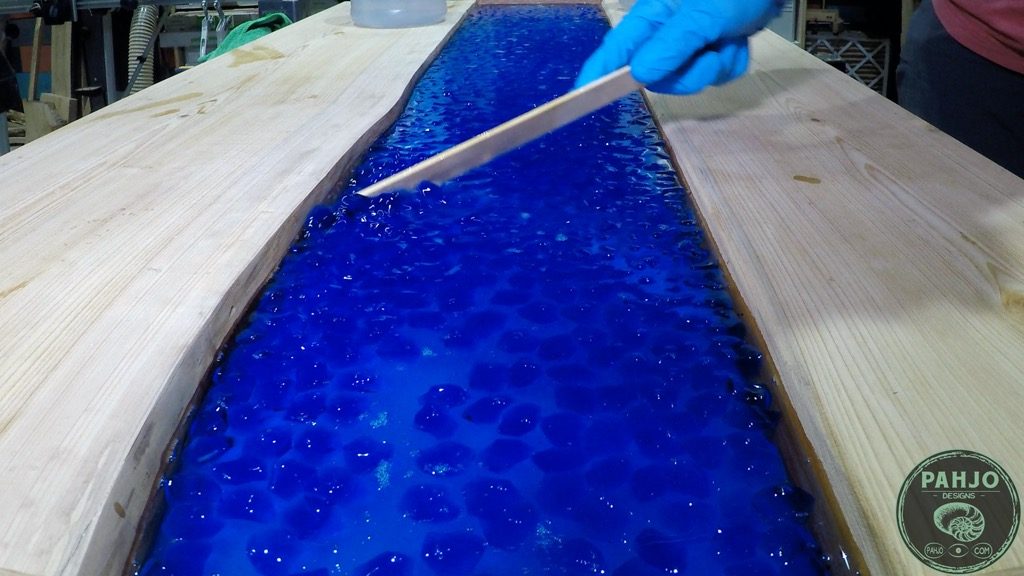


After I spread the rocks, I used my mini torch to remove the small amount of air bubbles.

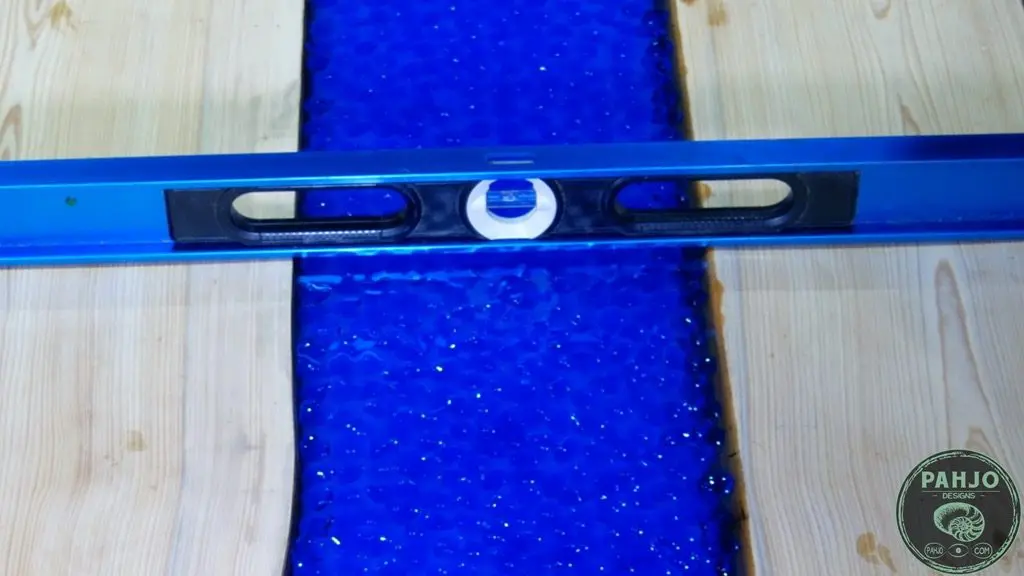
Since the acrylic rocks float, I used my level to make certain I didn’t have a protruding rock on the surface.
Also, I used the 4′ level to make sure the epoxy river desk was level.

Final Epoxy Pour
After 3 full days, I prepared the final epoxy pour.
I mixed 192 ounces of resin and filled the remaining 3/4″ until the epoxy was level with the surface of the wood slabs.

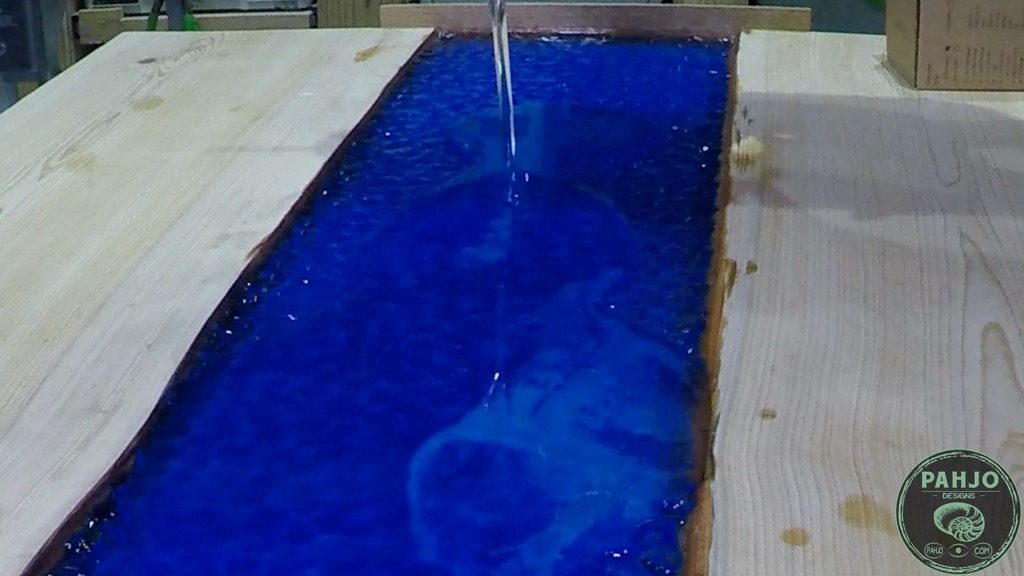
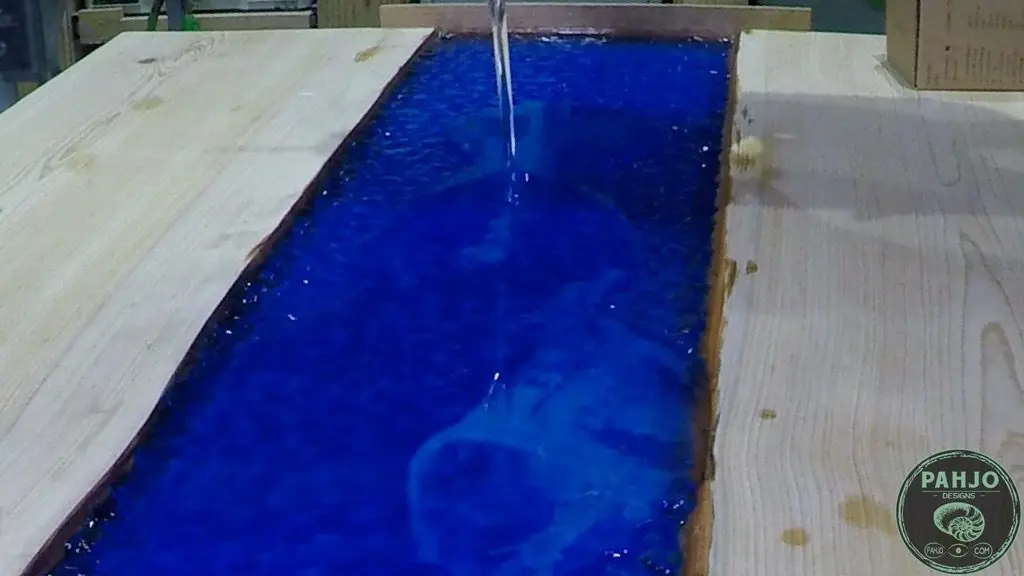
This epoxy covers the surface well and it is very clear. I really enjoyed working with it.

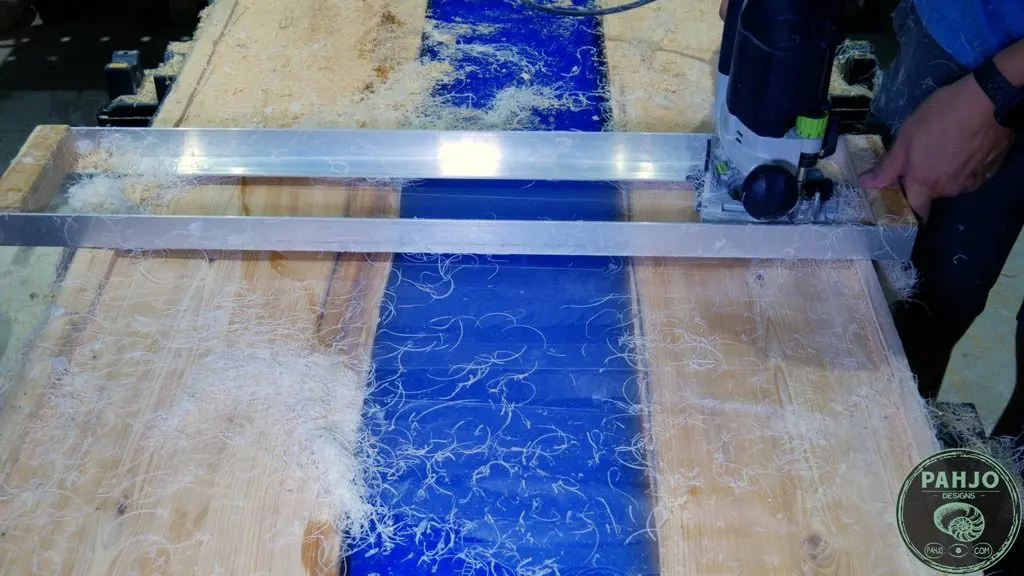
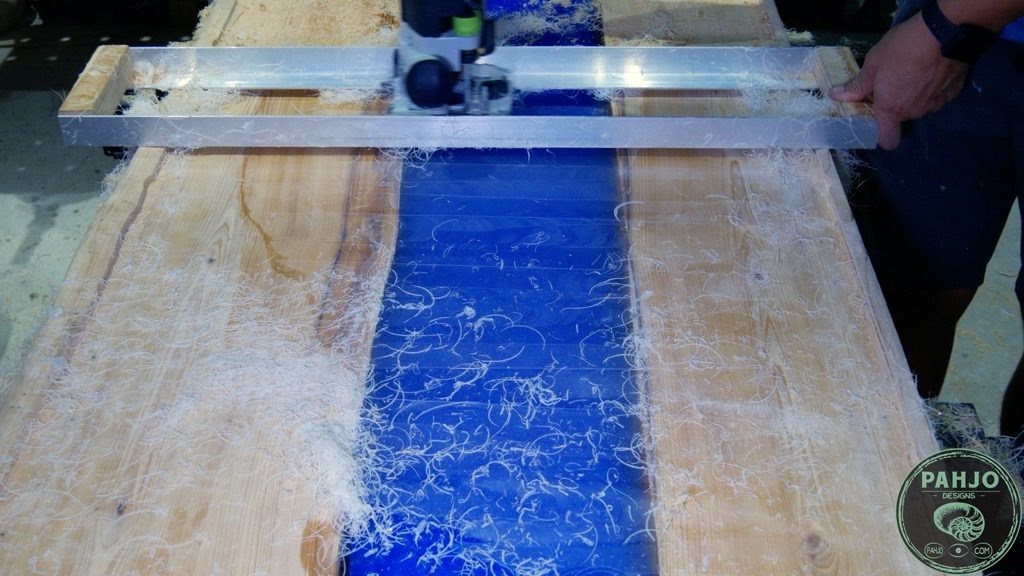
Flatten Wood Slab with Router
Although I took great care to ensure the epoxy river desk remained level, I needed to flatten the wood slabs with my router.
Ideally, this step should not be needed; however, I poured a too much epoxy.
Rather than sand the epoxy and risk burning the epoxy, I chose to use my wood slab flattening jig and router to take off 1/16″ off the top.
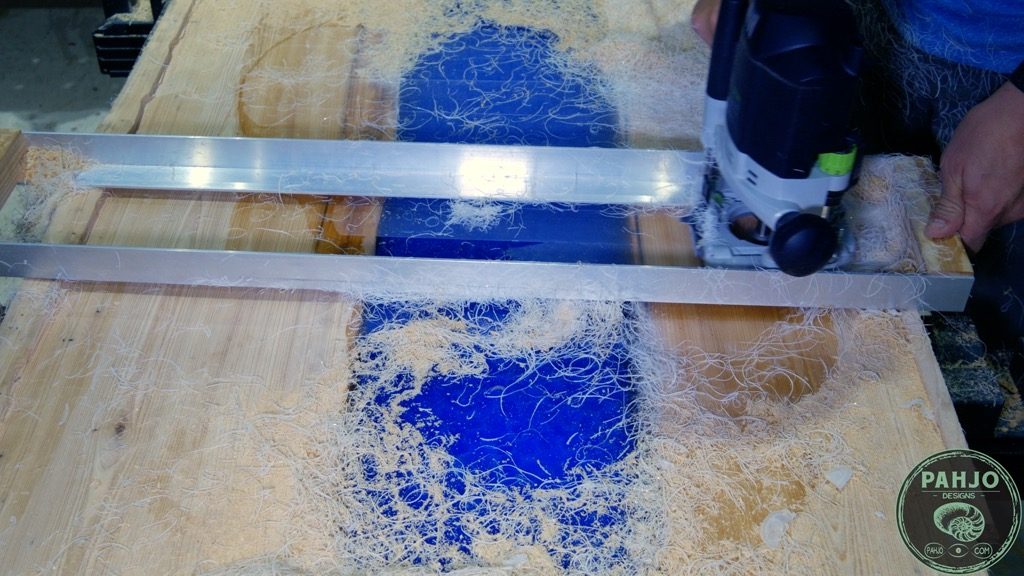

My wood flattening jig consists of 2 90 degree aluminum corner pieces with a 2×2 wood block on each end.
The wood blocks are 1/8″ wider than the base of my router to prevent sticking and kickback.


Remove Epoxy Mould
After I flattened the epoxy river table with rocks, I removed it from the epoxy mould.
To my dismay, I discovered epoxy leaked under the desk.
Luckily, the epoxy leak was not bad.
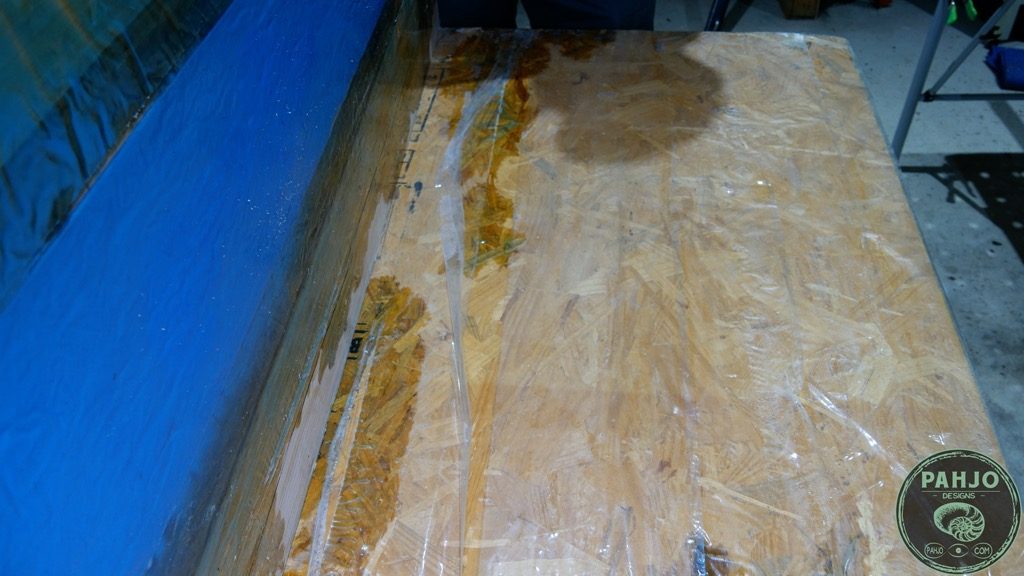
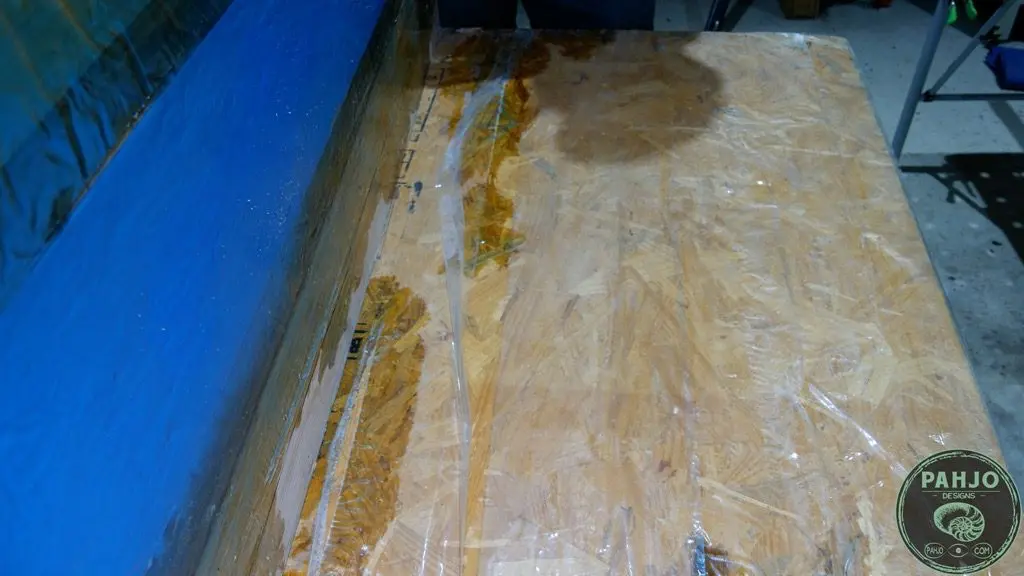
A small hole caused the leak, which was a result of not sealing the wood to the mould properly.

The epoxy would not be difficult to remove.
However, the temperature outside is in the upper 90s.
Needless to say, I rather be working inside under the cool air from my DIY mini split.

Remove Resin with Grinder
I removed the resin from the underside of the DIY epoxy river table with my grinder and 50 grit metal sanding disc.

Many people ask me how to remove cured epoxy from wood.
Essentially, the best way to remove cured epoxy is with a grinder and a few 50 grit metal sanding discs.

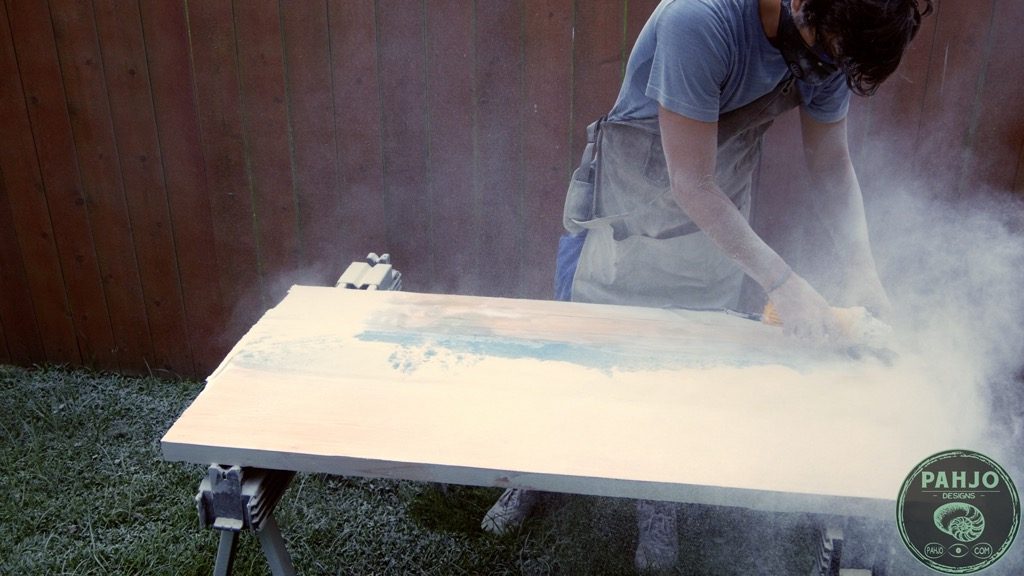
Obviously, this method to remove cured epoxy from wood makes a complete and utter mess.
However, it gets the job done quickly and efficiently.


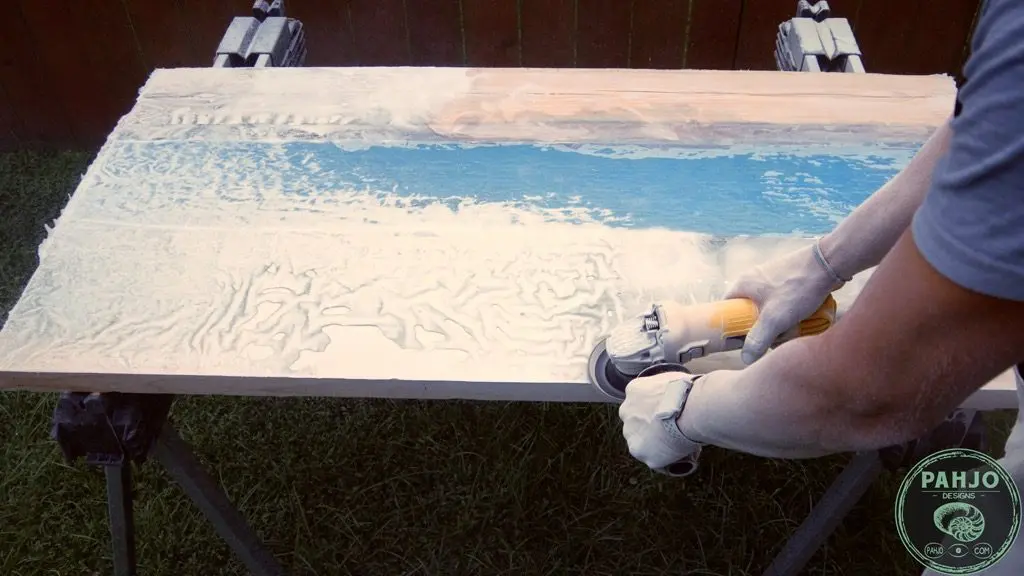
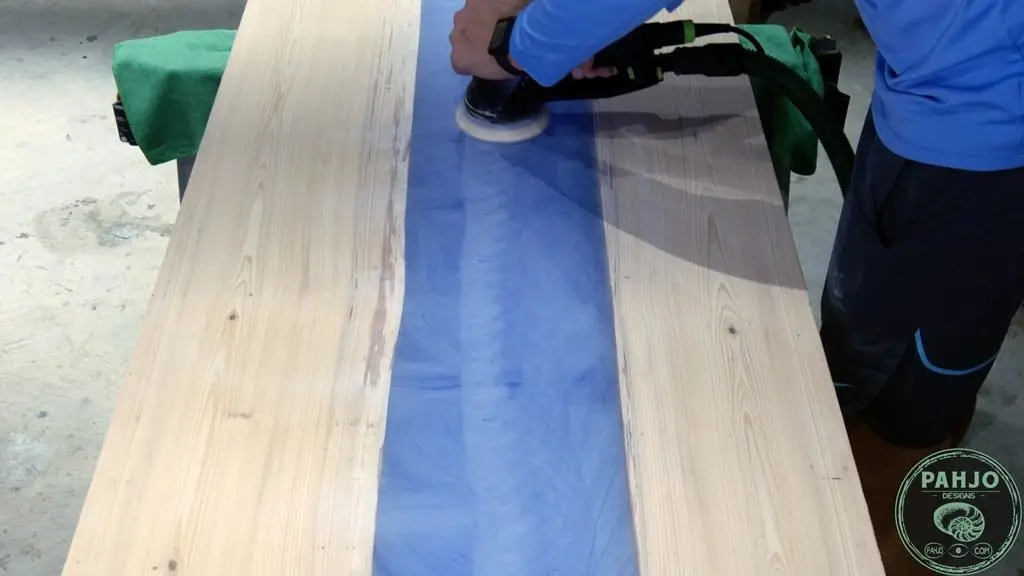
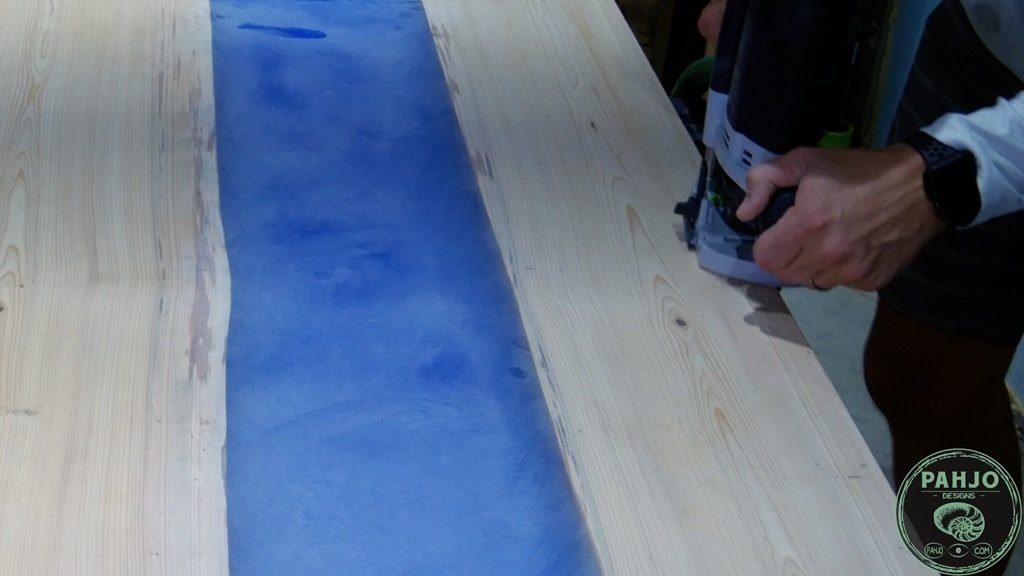
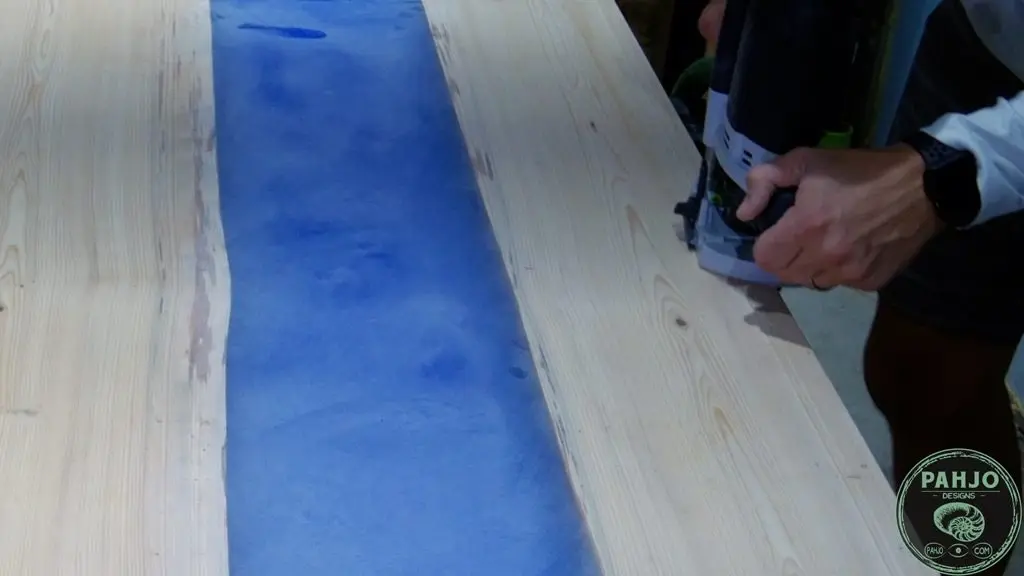
Sand Epoxy Resin
After I finished removing the cured epoxy from the underside of the epoxy river desk with rocks, I started sanding.
First, my Festool RO 125 makes sanding any epoxy or wood project much easier.
The Festool RO 125 is a dual-mode sander with a coarse and fine setting for sanding a variety of surfaces.
Also, it works great as a polisher as well.

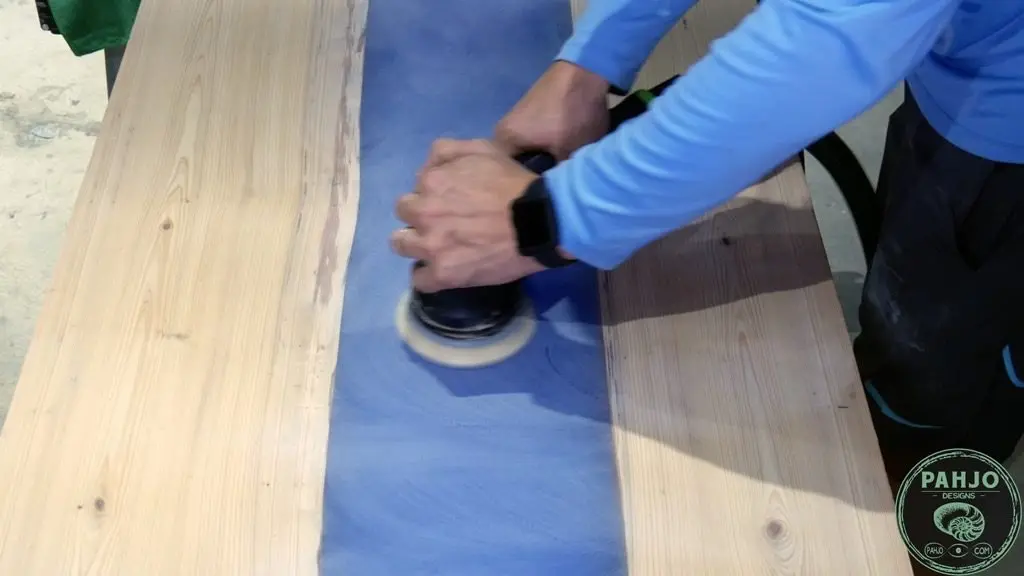
Since this transparent epoxy river table with rocks was flattened with a router, I started at 40 grit in coarse mode with the regular sanding pad.
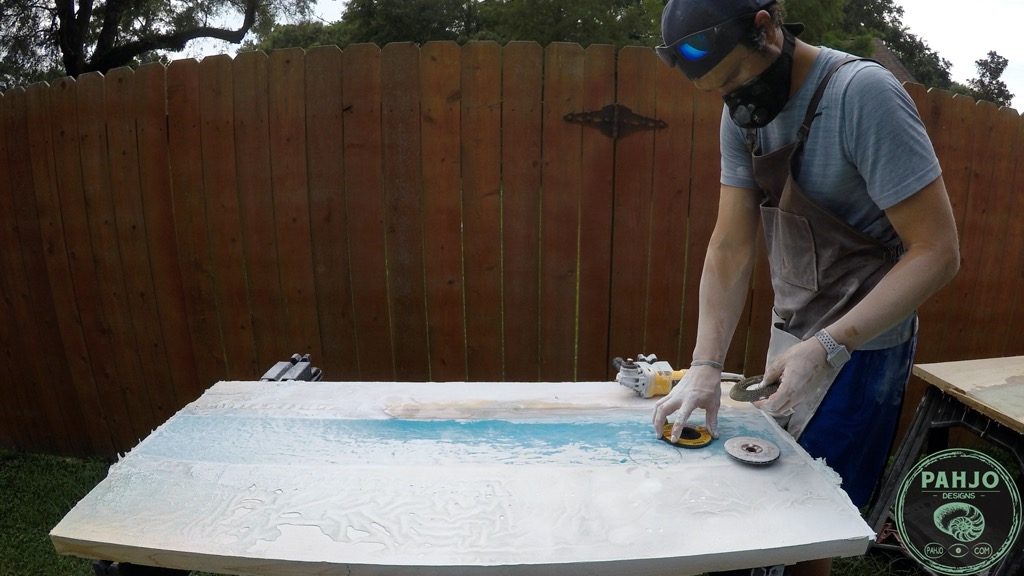
The ‘C’ stands for coarse mode and the ‘F’ stands for fine mode: 40C, 60C, 80C, 100C, 120C, 120F 150F, 180F, 220F, 320F.

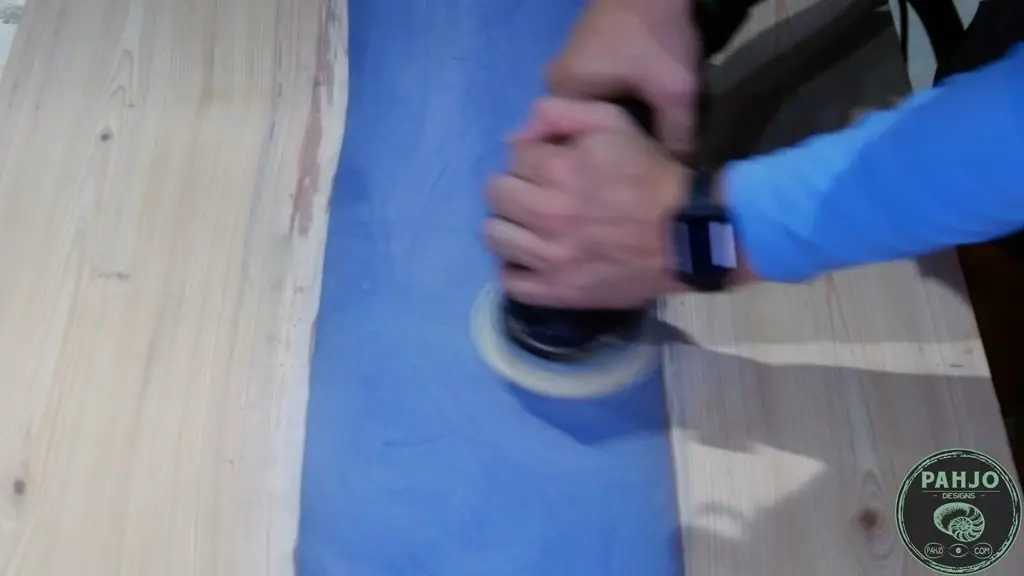
Most importantly, I use a pattern when sanding resin with each grit to prevent swirls and other sanding mishaps.
First, I choose a 3 foot by 3 foot section.
Next, I sand from east to west and overlap about an inch.
Then, I sand from north to south with the same amount of overlap.
Finally, I sand in roughly a 6″ circle and move to the next 3′ by 3′ section.

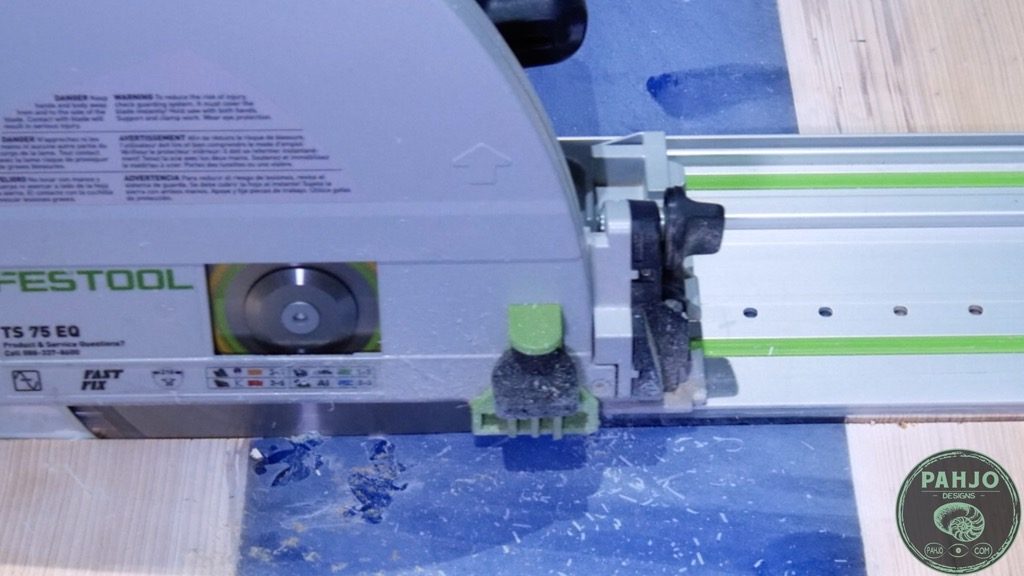
Trim to Final Dimensions
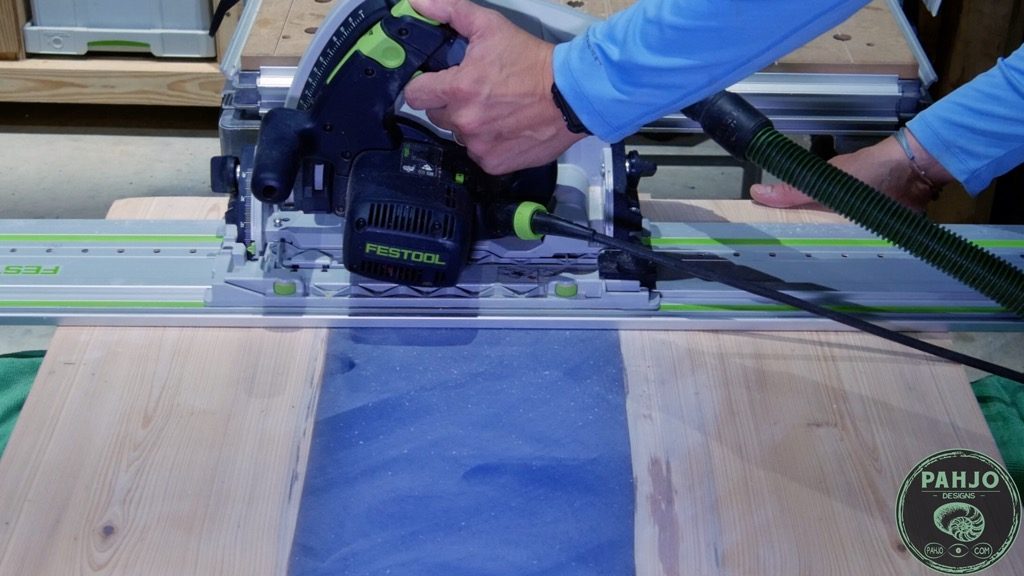
Once I finished sanding, I trimmed the epoxy resin river rock table to the final dimensions.
The final dimensions of this transparent epoxy river table with rocks is 48″x28″x28″x1.75″ (LxWxHxTH).
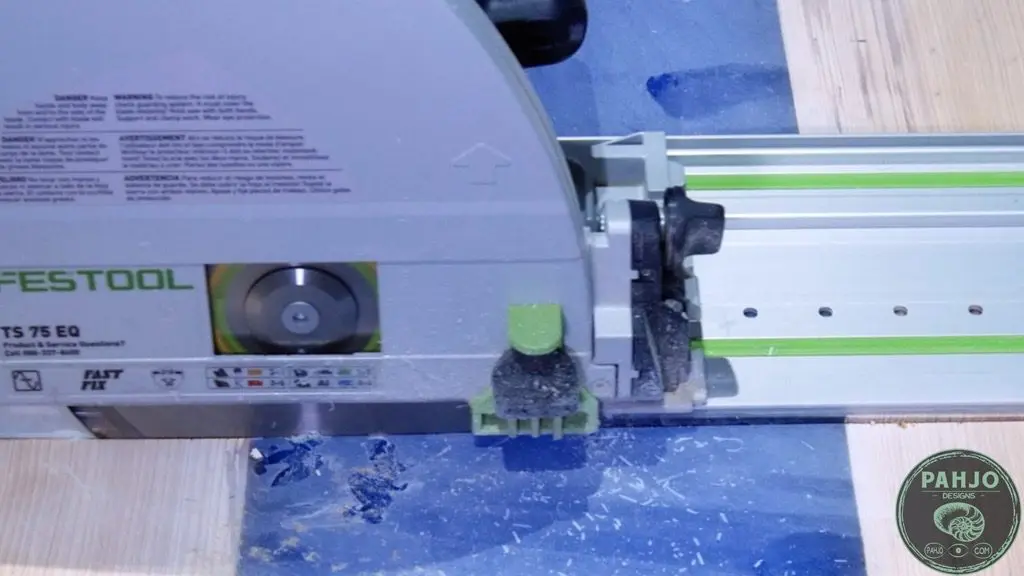
First, I cut one end using my Festool TS75 track saw to get a perfectly straight cut.
I cut the table down to 50″.
Any hand saw with a straight edge will work.
Also, I use an older saw blade to cut resin as it dulls saw blades very quickly.
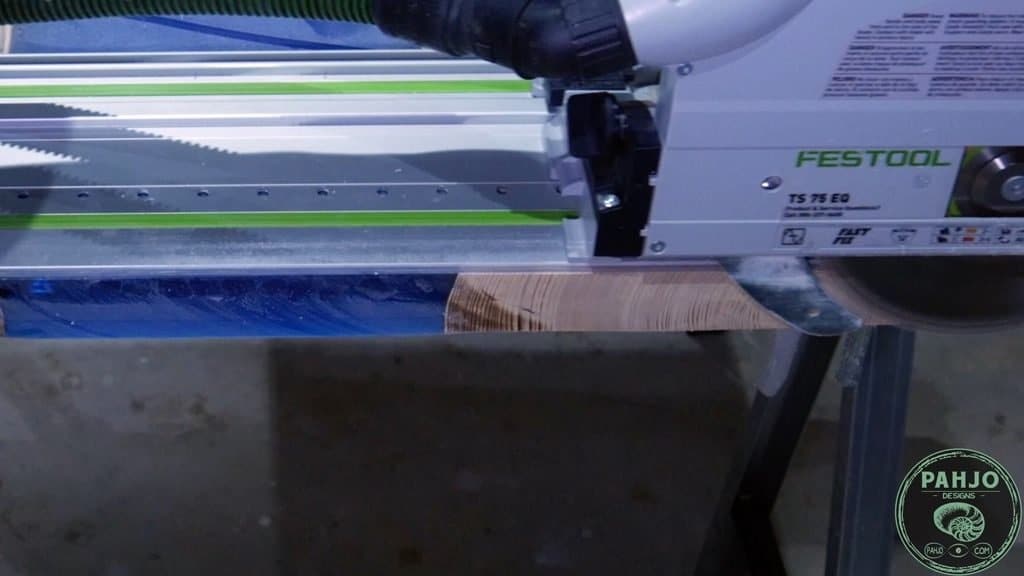

Next, I measured from the side I just cut from each side of the table and made a mark to the final dimension of 48″.
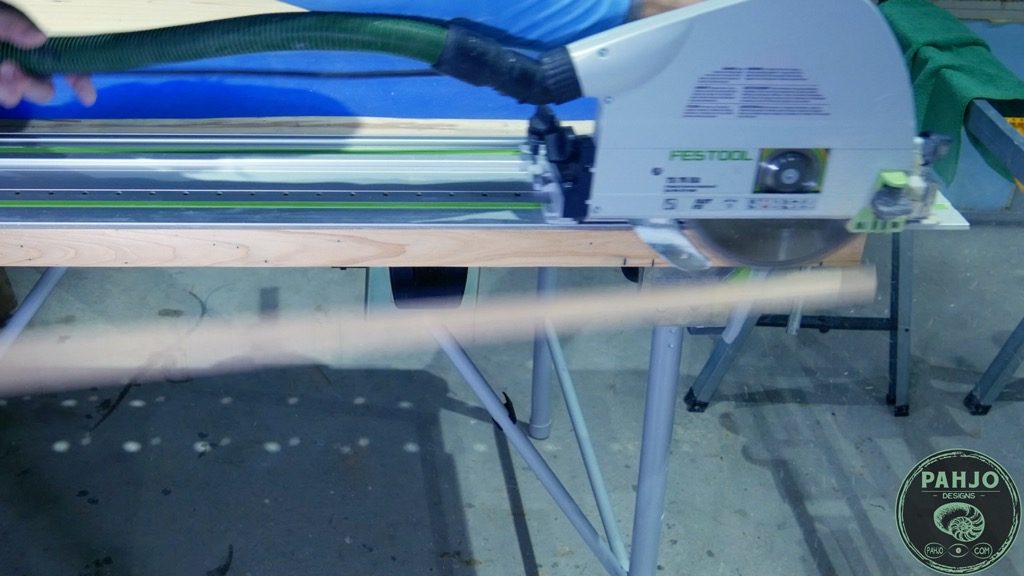
I laid my track on the 2 marks, clamped the track, and made the final cross cut.

Then, I trimmed off 1″ from each side using the same procedure.

Roundover Edges
To soften the edges of the DIY epoxy river table with rocks, I used a router with a 1/2″ roundover bit.
An orbital sander or block plane works as well to soften table edges.
After I performed the roundover, I removed the dust from the table top.


Attach Hairpin Legs
I prefer to attach the legs and complete all work on the underside of the table before applying the finish.
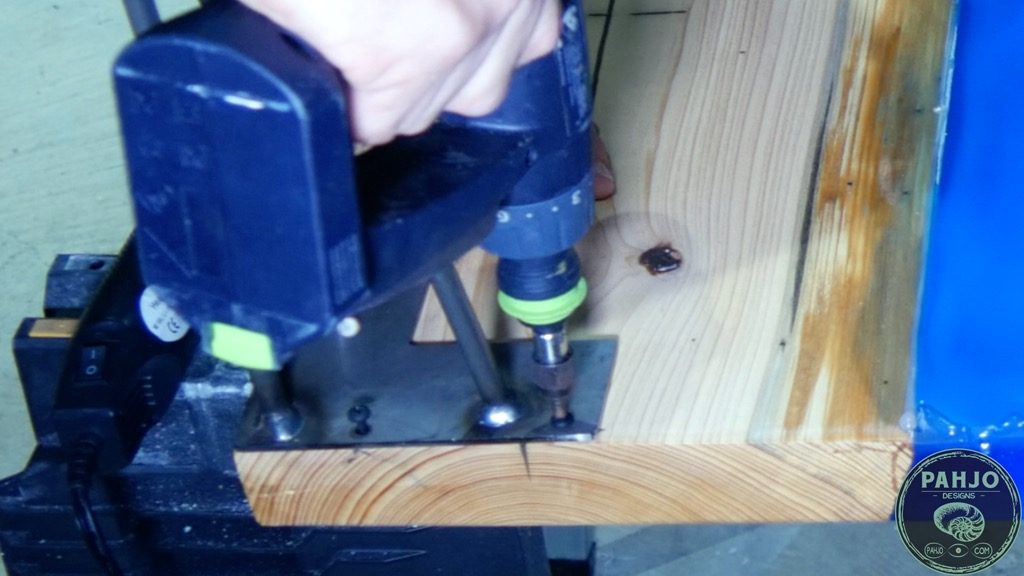
First, I flipped the table over and placed the hairpin legs on each corner.
Next, I used a nail punch to mark the holes.
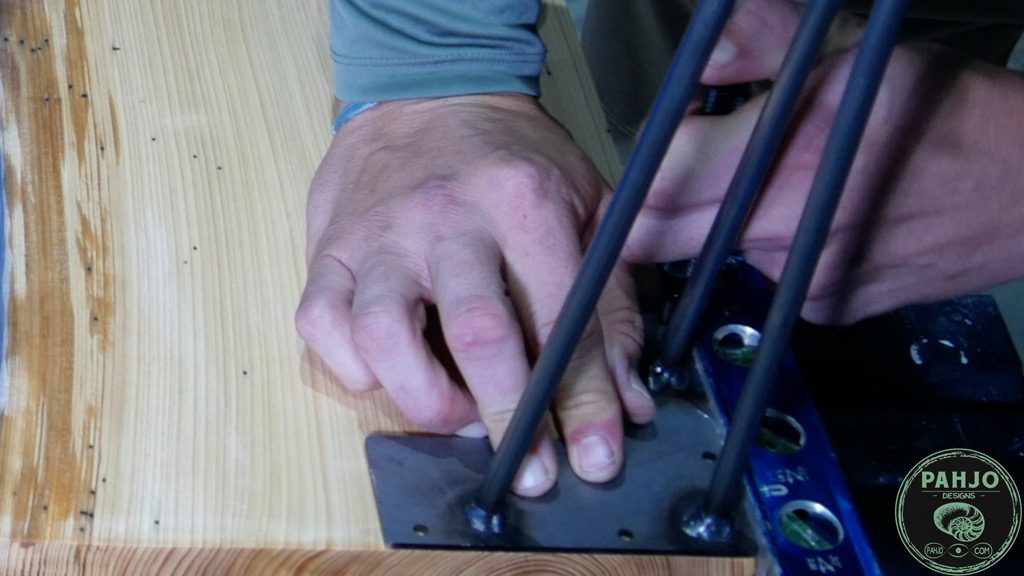
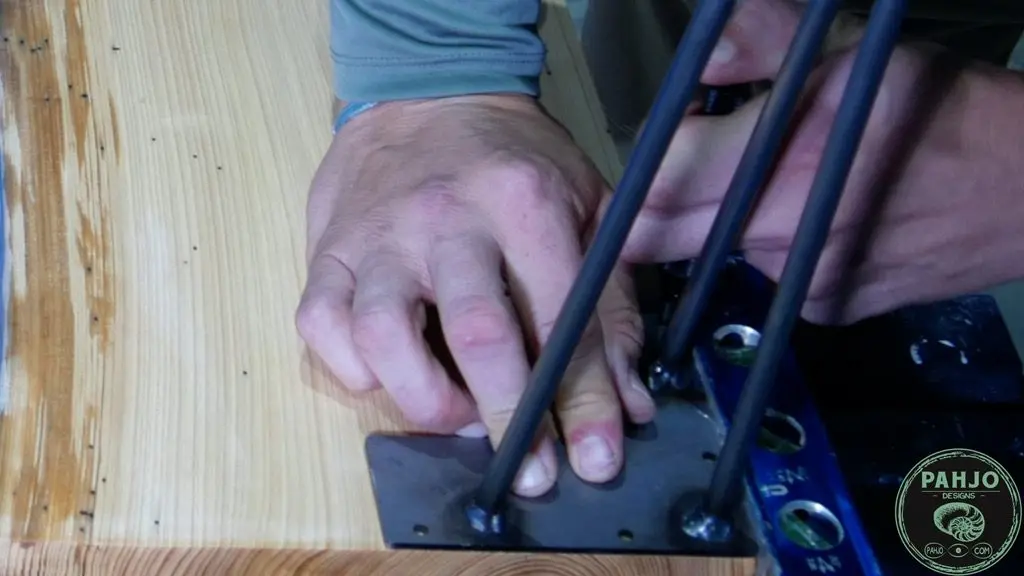
Then, I marked the depth of the screw with a piece of tape on a 1/4″ drill bit. I used my drill and gently drilled on the marks up to the line.
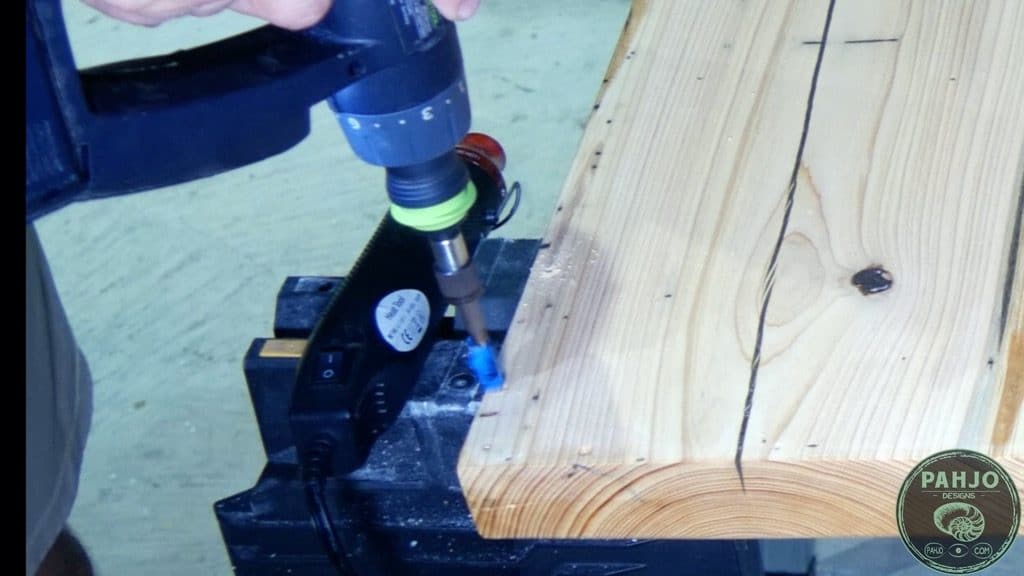

As a last step, I placed the hairpin legs back on the table and slowly screwed them in place.
I find it best to tighten the 2 inside screws first and then the 2 outside screws.

Install LED Strip Lights Under Table
In the event the epoxy river table with rocks does not have access to light, I installed black UV LED strip lights on the underside.
Essentially, the black UV LED lights exist to charge the blue epoxy glow powder.
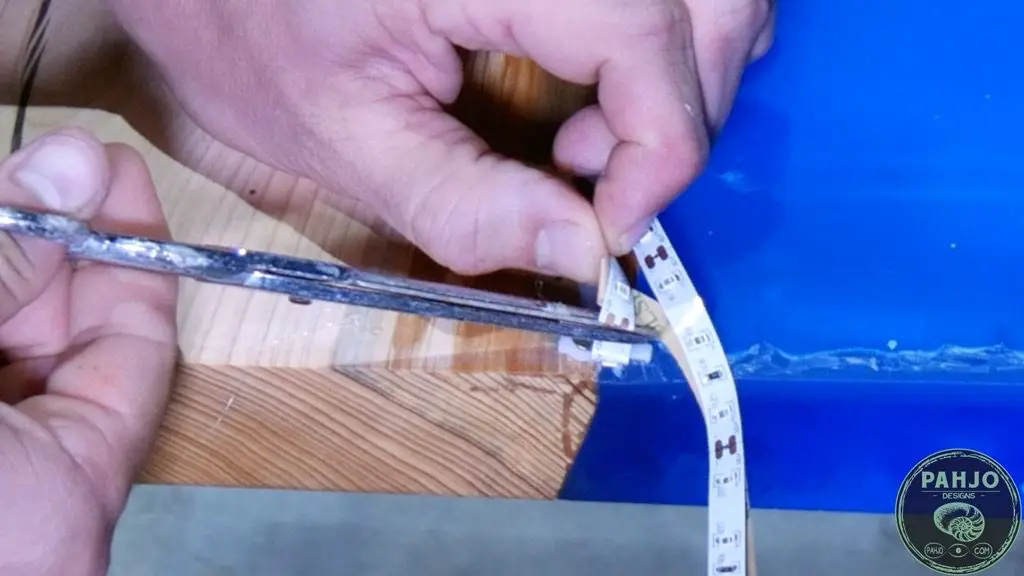
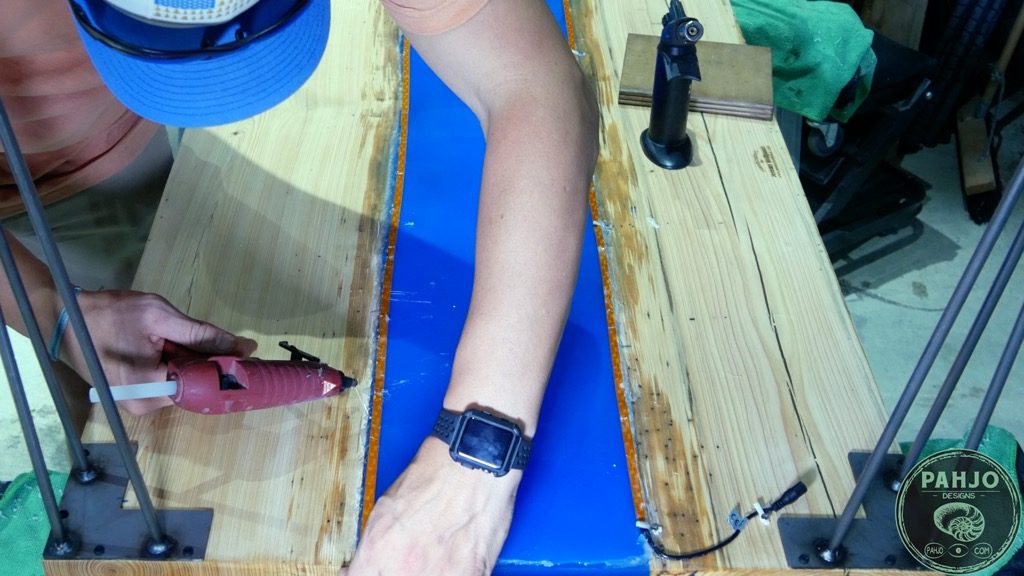
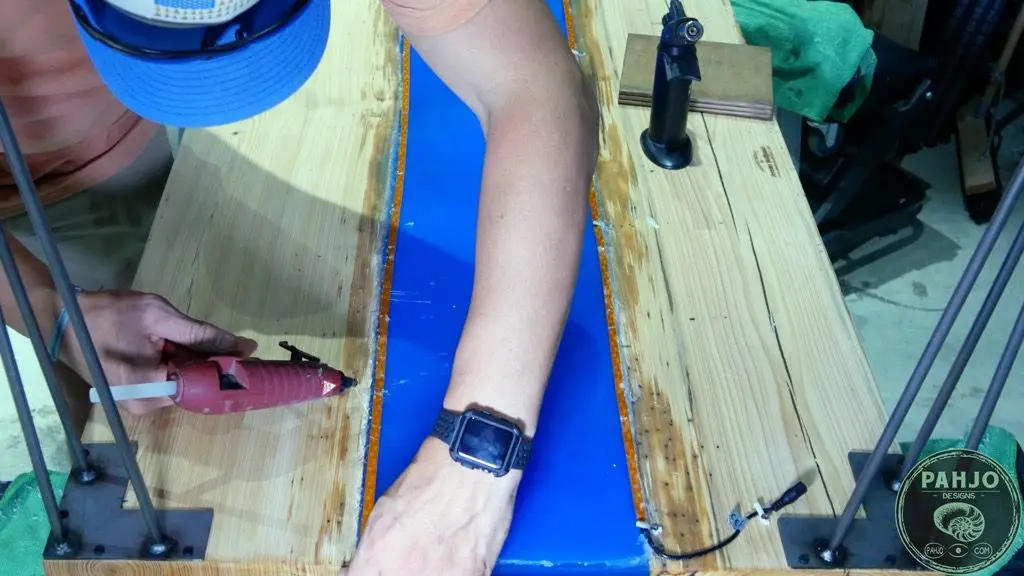
First, I placed the LED strip lights to the underside of the table where the epoxy river and wood meet.
I used the clips supplied with the UV LED strip lights along with hot glue to secure them in place.
Also, the clips helped me secure the end of the LED strip lights near a hairpin leg.
This will hide the power supply and wall outlet wire.
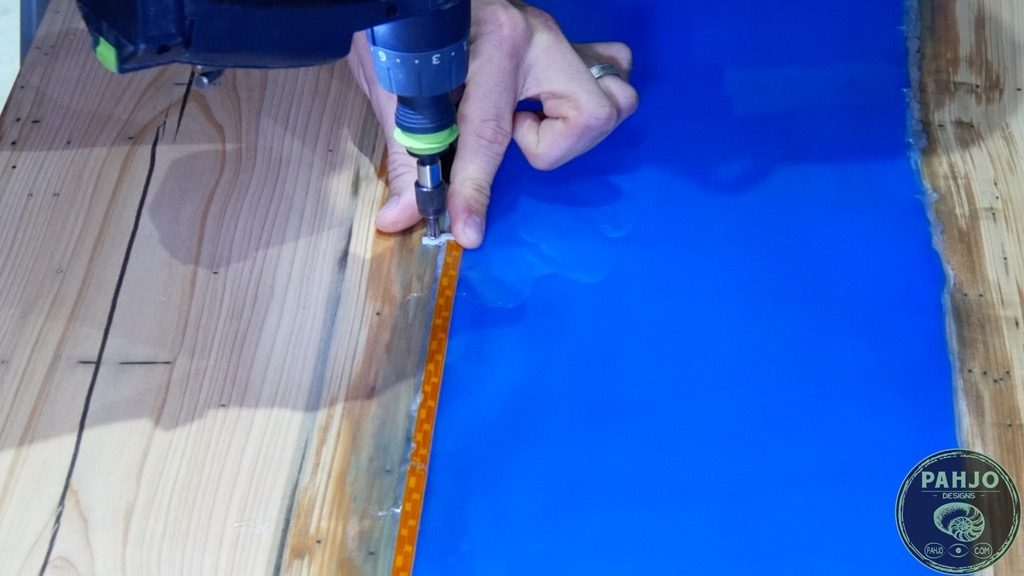

Next, I used a pair of scissors to cut the LED strip lights between the copper dots on the cut line.
It is important to cut the LED lights at this location in order for the excess to work.
Plus, it makes it easier to solder the LED lights if needed.

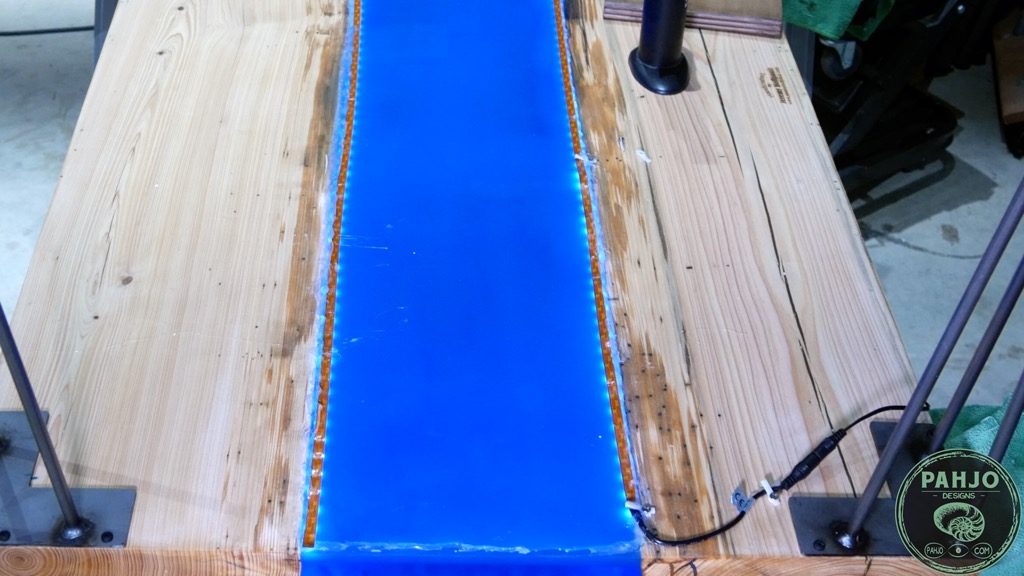
I flipped the epoxy river table with rocks over and didn’t like the look of the one LED strip.

Consequently, I decided to add another LED strip on the opposite side.
To join the lights together between the 2 sides without having lights cross the river, I soldered black and red wire to each LED strip.
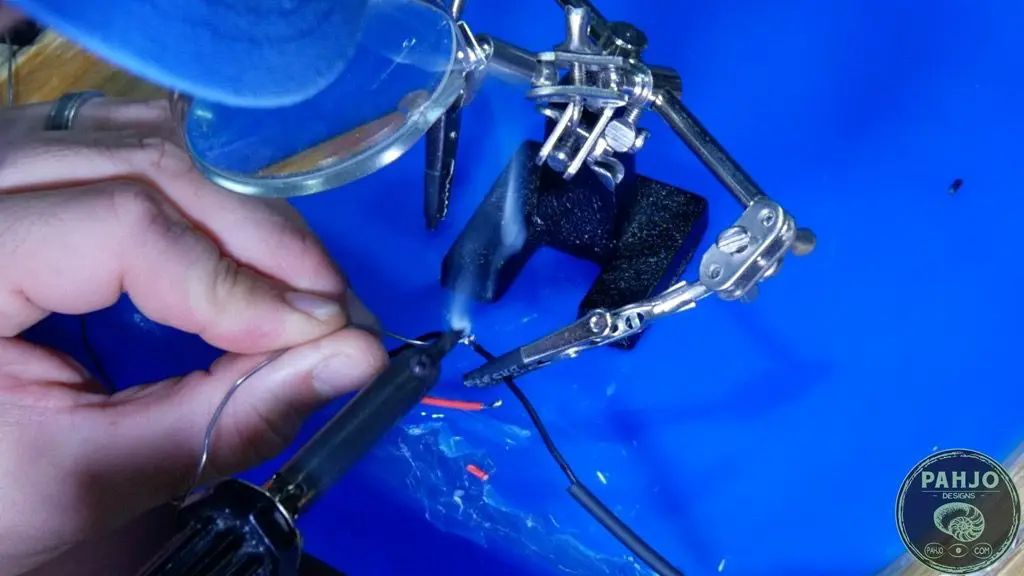
Solder LED Strip Lights
My helping hands held the 2 wires in place while I soldered them together.
I soldered the black wires together and the red wires together.
The black and red wires were long enough to stretch across the epoxy river.

Next, I pushed the sleeve over the solder and brazed it with my mini torch.
Ideally, a heat gun works best to shrink the electrical sleeve as the torch could damage the wires.

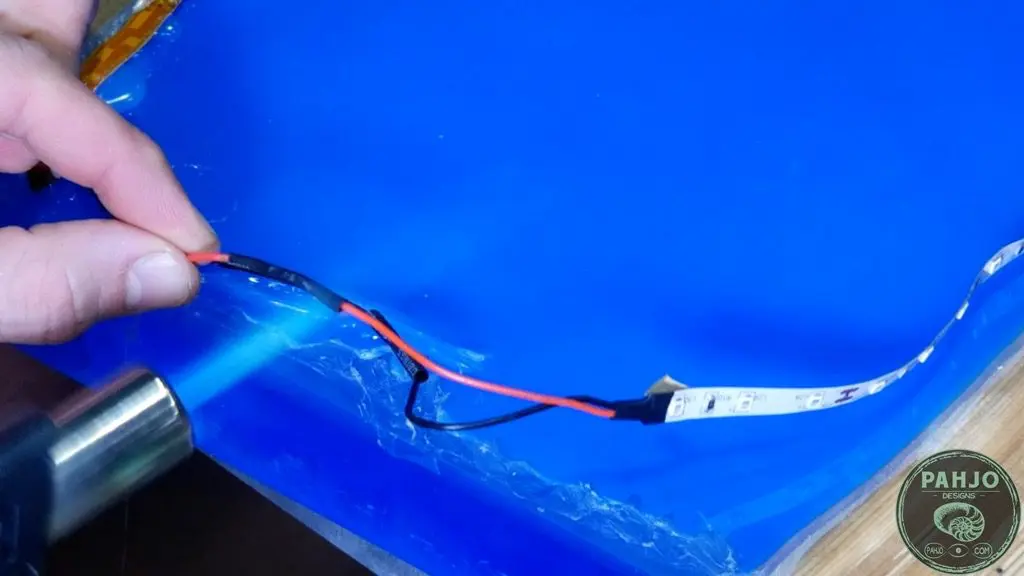
Then, I secured the second light strip using a hot glue gun to the opposite side.
After testing both LED strip lights work, I tested the lights, flipped the table over, and installed the rubber hairpin leg feet.

Ultimately, I think 2 LED strip lights look much better than one.

Apply Finish to DIY Epoxy River Table
Finally, time to apply finish to this epoxy river desk with rocks.
I wrote an in-depth article on the best finish for epoxy wood tables. Be sure to visit this article for additional information.
For this table, I used Rubio Monocoat Oil Pure.
My 3 favorite products produce a natural, matte finish while protecting the wood and reviving the transparent epoxy.
Each of these finishes work great on wood and epoxy surfaces.
Furthermore, they are all a 1-step finish.
In other words, only one coat is needed if applied correctly.
I’m not a fan of the glossy epoxy finish because I like to feel the texture of the wood.
In fact, I believe the best finish gives the appearance there is no finish at all.
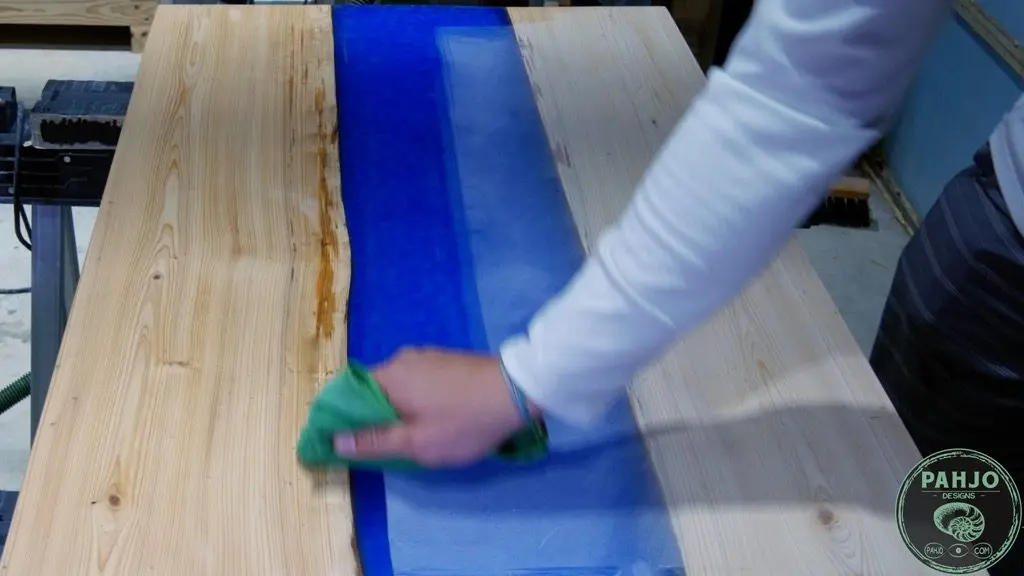
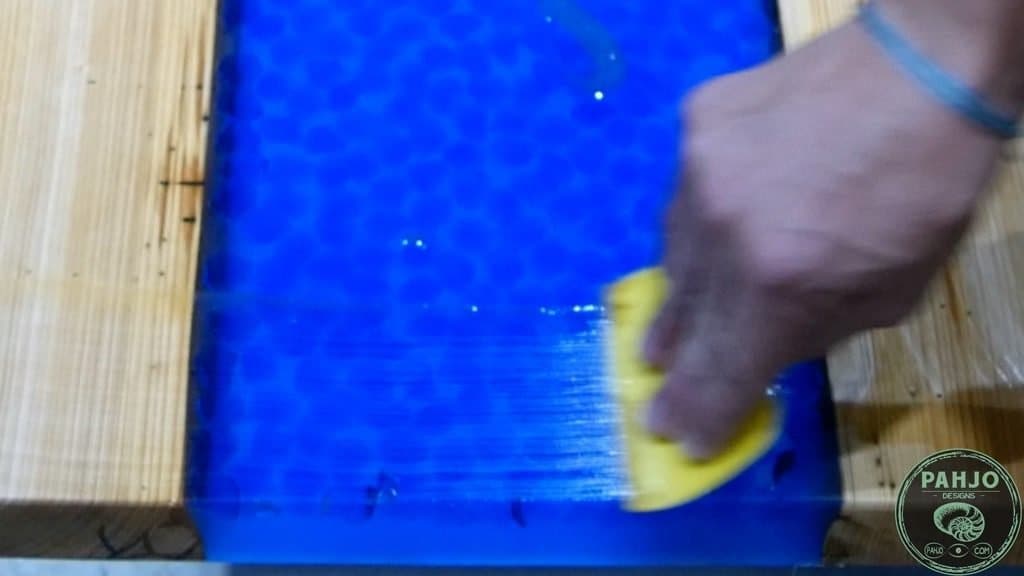
First, I mixed rubio monocoat according to the instructions and poured it on the table.
This stuff goes a long way, so I didn’t mix too much.

Next, I used a plastic spreader and worked the material across the epoxy river.

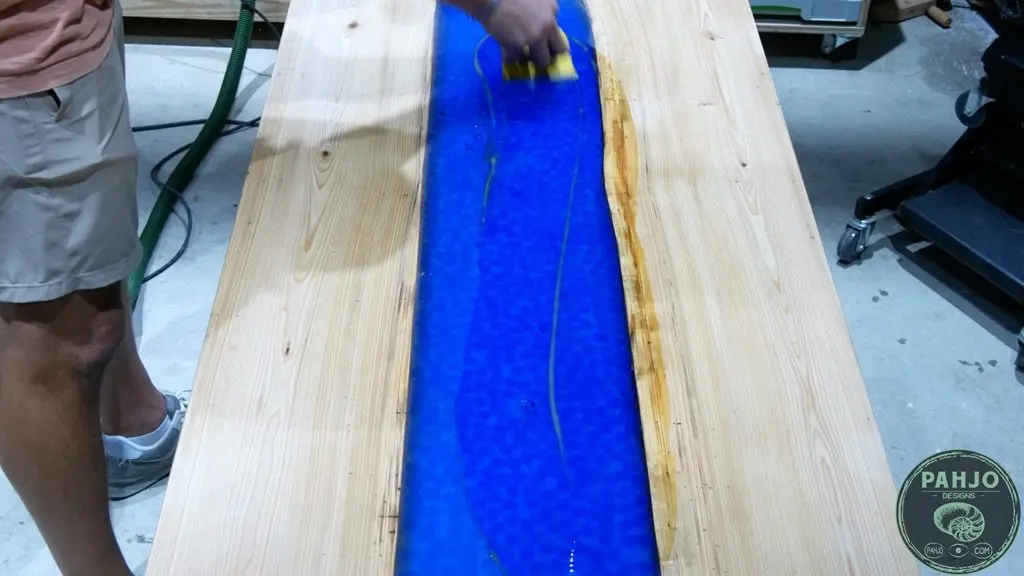


Also, I allow a small bead of finish to drip over the edge of the table to cover the sides.

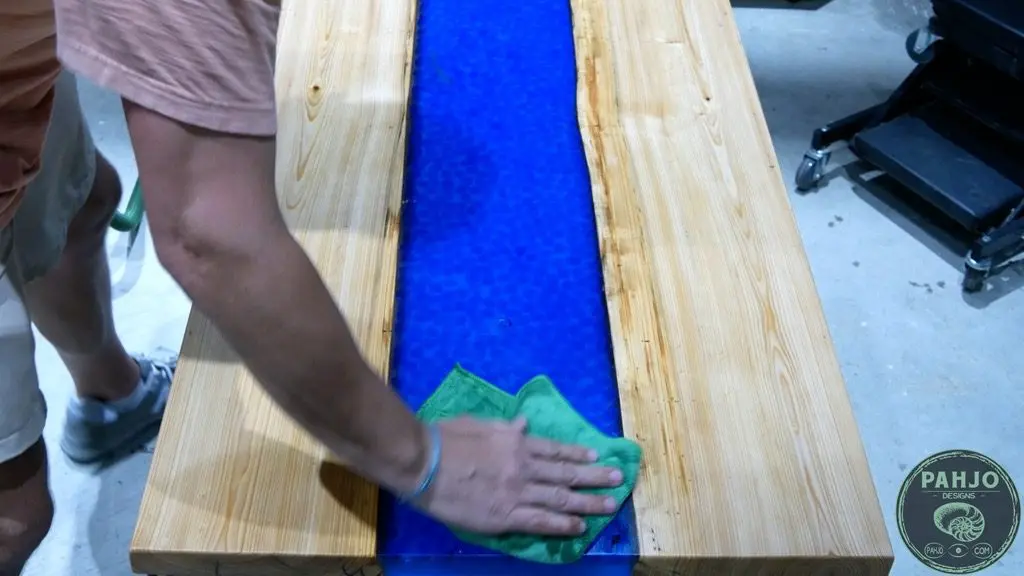
Then, I used a microfiber towel to remove the excess as best as I could.

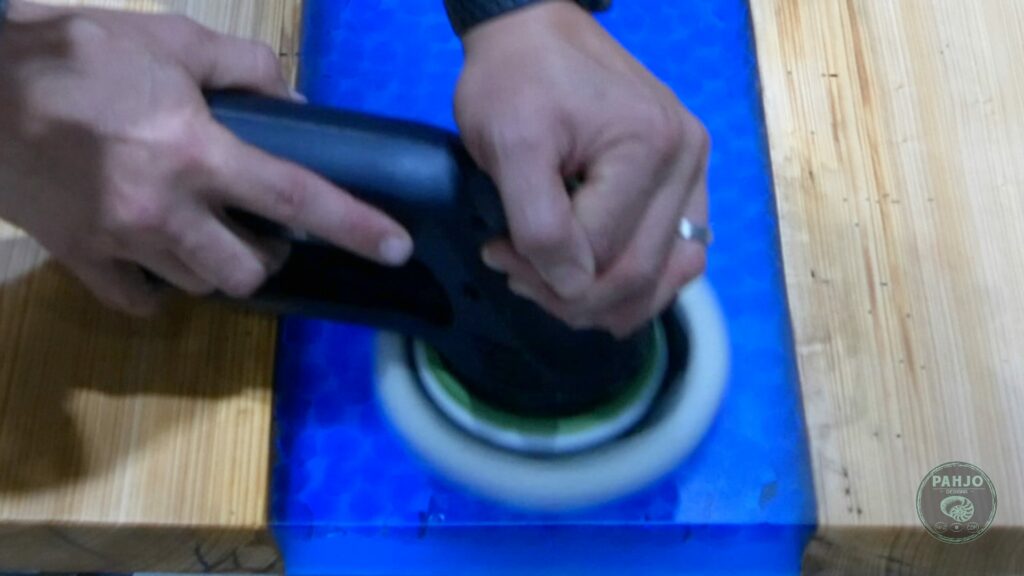
Finally, I used my Festool RO 125 with the polishing pad and sheepskin in coarse mode to buff away any finish left behind by the towel.

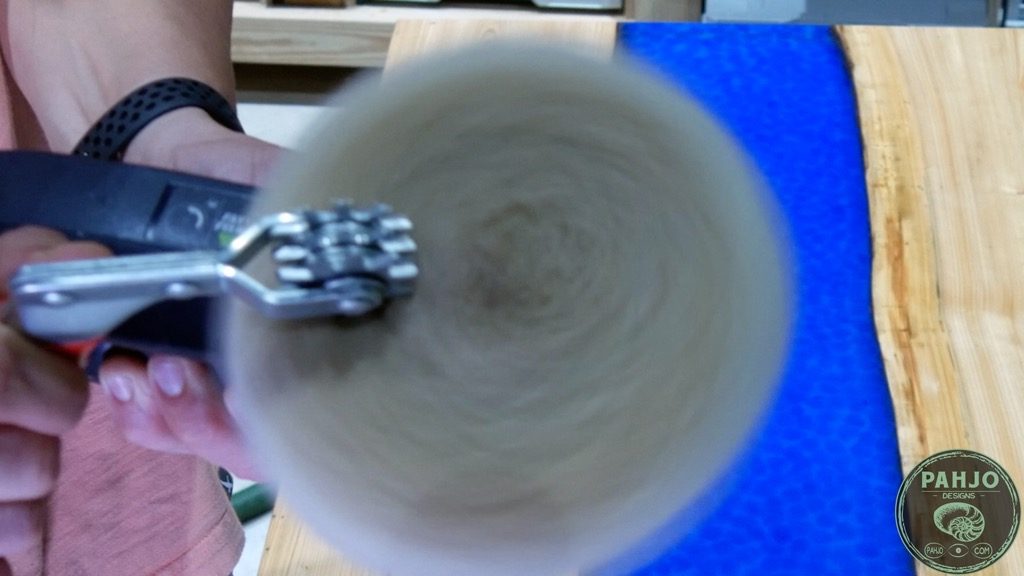
As a quick tip, I highly recommend purchasing this spur tool to clean any polishing or buffing pad.
I simply turn on the machine and place the spur tool on the sheepskin or pad.


Conclusion
In conclusion, I hope this DIY epoxy river rock table tutorial provided you with value.
Related Posts
- Best Finishes for Epoxy Wood Table
- How to Sand Epoxy Resin
- 11 Best Epoxy Resin and Application Tools


Linda
Wednesday 30th of September 2020
wondering about the Rubio Monocoat Oil Pure and is it food safe - looking to be used on a resin and wood cheese board
Bill Keller
Thursday 27th of August 2020
I did my first pour of a smaller piece to make serving tray and have sanded it down to 320 but in one area i have many small dings and gouges in the resin and it is taking away from the over all look any suggestion to patch or repair? Do a thin coat of resin or sand with higher grit sand paper 400- 800? Love your work...i have a large slab of cherry I am saving to make table in the future when I move into my new workshop
Melissa D
Saturday 8th of August 2020
This is the best tutorial I have seen online. I’ve made a couple tables, along with every mistake possible, and look forward to using your techniques in my next one. Thank you!
Chris Stahl
Friday 3rd of July 2020
How much weight can a table like that hold before the epoxy/wood bond begins to weaken? Is there ever an issue with the table beginning to separate?
Randall Marble
Friday 17th of April 2020
I really liked the info that you have provided. I have been reading a lot of info from multiple site and yours seems straight forward and informative. I'm looking forward to starting my resin project. Thanks!