
In this DIY tutorial, learn how to make a live edge bar top using a wood slab with unique features.
Even if you don’t need to make a custom bar top, the DIY tips I share can be applied to other epoxy or woodworking projects.
Here are some jump links to help you find the information you need quickly.
Video Tutorial
Tools and Material
Sinker Cypress Live Edge Wood Slabs
Step by Step Instructions
Delivering Live Edge Bar Top
Video Tutorial
There are many things which are difficult to explain with words and images, so be sure to checkout the video tutorial below.
Tools and Material
- Deep Pour Epoxy Resin
- Epoxy Resin (Table Top Epoxy)
- Trailer Hitch Truck Bed Extender
- Fire Glass
- Fluroscent Blue Glow Powder
- Laser Temperature Gun
- Strainer
- 1/8″ trowel
- Rubber Squeegee
- Chop Brush
- Mixing Containers
- Mixing Sticks
- Drill
- Drill Mixing Paddle
- heat gun
- Blow Torch
- Nitrile Gloves
- Saw Horses
- Rotary Sander
- Rotary Sander Soft Sanding Pad
- Track Saw with Track
- Dust Collection
- Trim Router
- 1/2″ Roundover Bit
- Grinder
- Kutzall Extreme Disc
- 50 grit metal sanding disc
- Jig Saw
- Countersink Bit
- Dust Mask
- Bondo
- 3/4″ square steel tubing
- Resin Mold Insulation Panels
- Tyvex Tape
- Resin Mold Packing Tape
- Packing Tape Gun
- Vaseline
- General Finishes oil and urethane
- F Clamps
- Bar Clamps
- Hot Glue Gun
- Glue for Hot Glue Gun
- Alcohol
- Black LED Light Strip
- LED Light Flashlight
Often times, I experiment with many different products and tools while working with epoxy resin.
For your convenience, I’ve compiled a up-to-date list of my favorite Epoxy Resin material and tools and how to choose the best epoxy resin.
Live Edge Wood Slabs – Sinker Cypress
I used a sinker cypress wood slab for this live edge epoxy bar top.
Sinker cypress contains unique characteristics with natural beauty making it a popular choice for coffee tables, outdoor live edge tables, and commercial bars.
Most importantly, sinker cypress provides the highest quality wood for outdoor live edge bar tops.
I contacted a local Sinker Cypress Logger near my zip code to purchase a slab for this home bar top.
Ultimately, I decided to buy the live edge slab directly from the source for price reasons and to meet the logger in person.
As I expected, he was very knowledgeable and had many beautiful pieces of sinker cypress wood for sale.
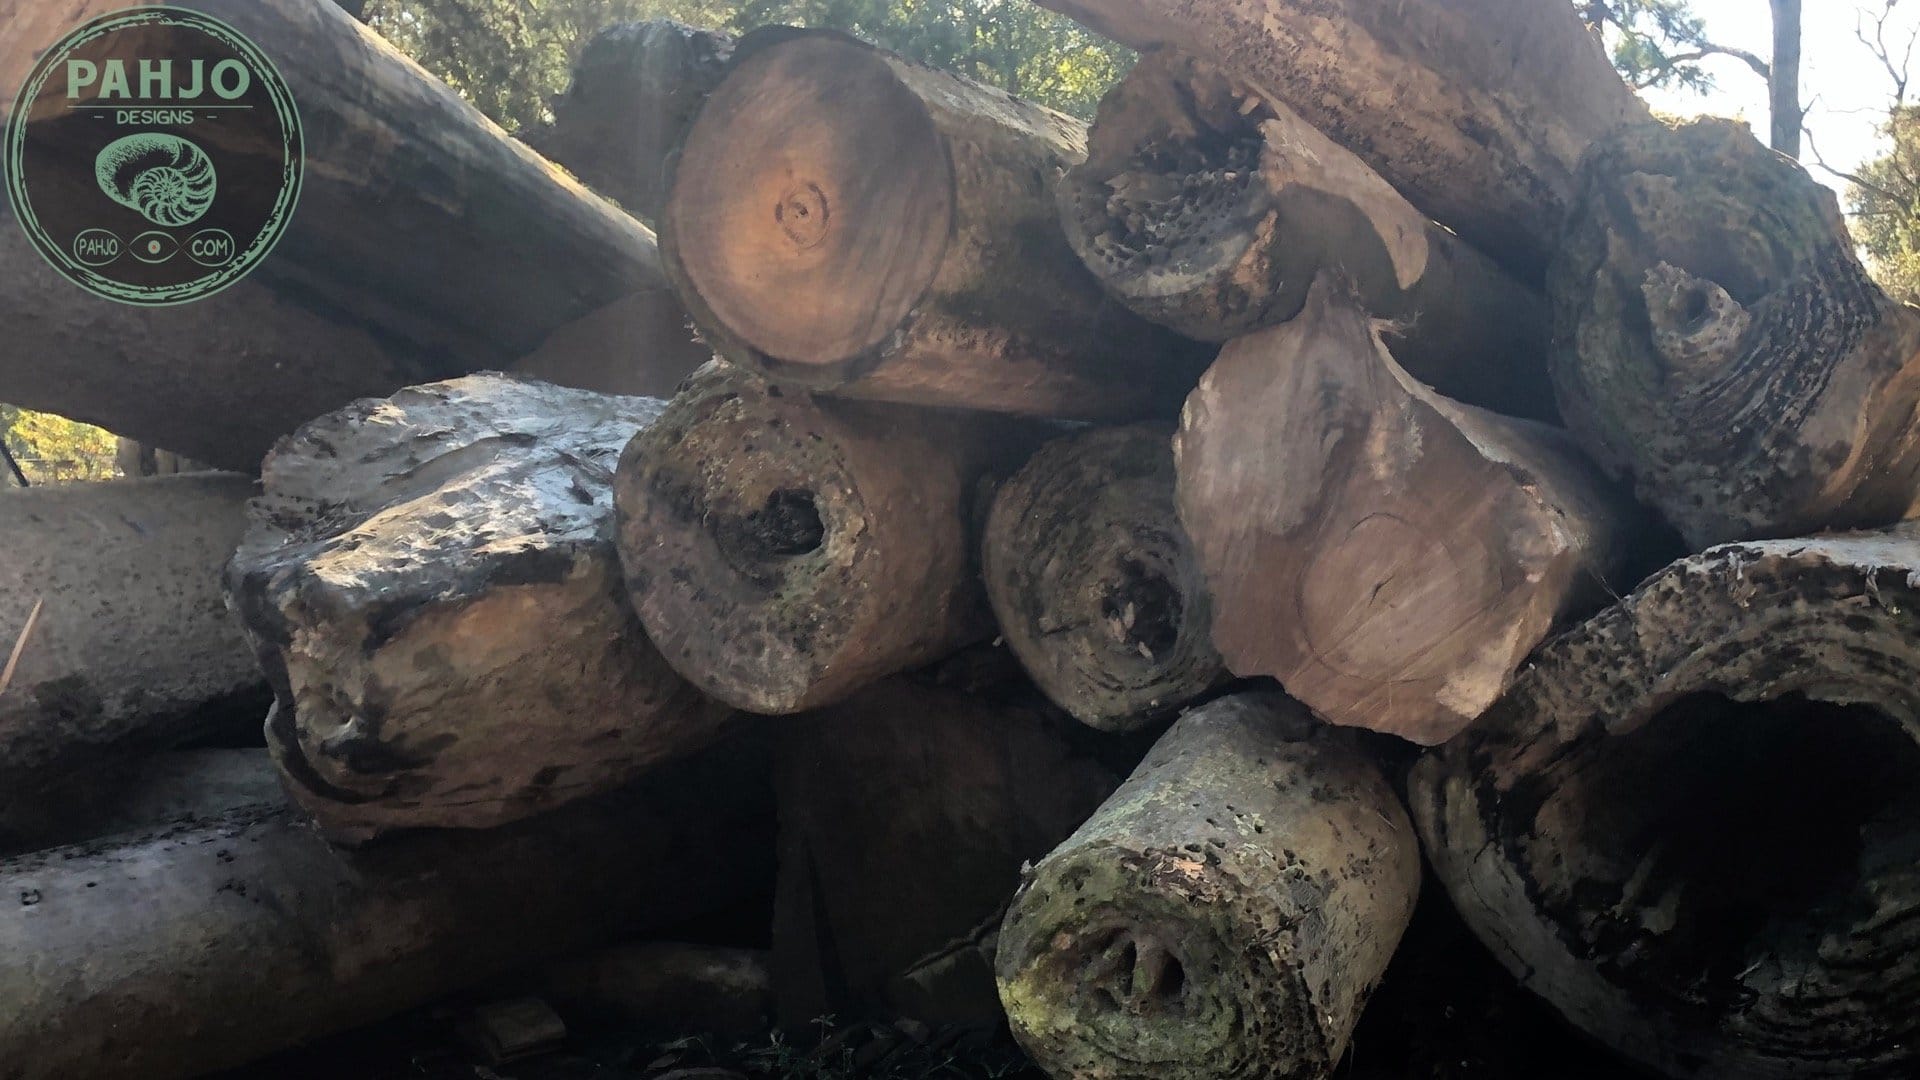


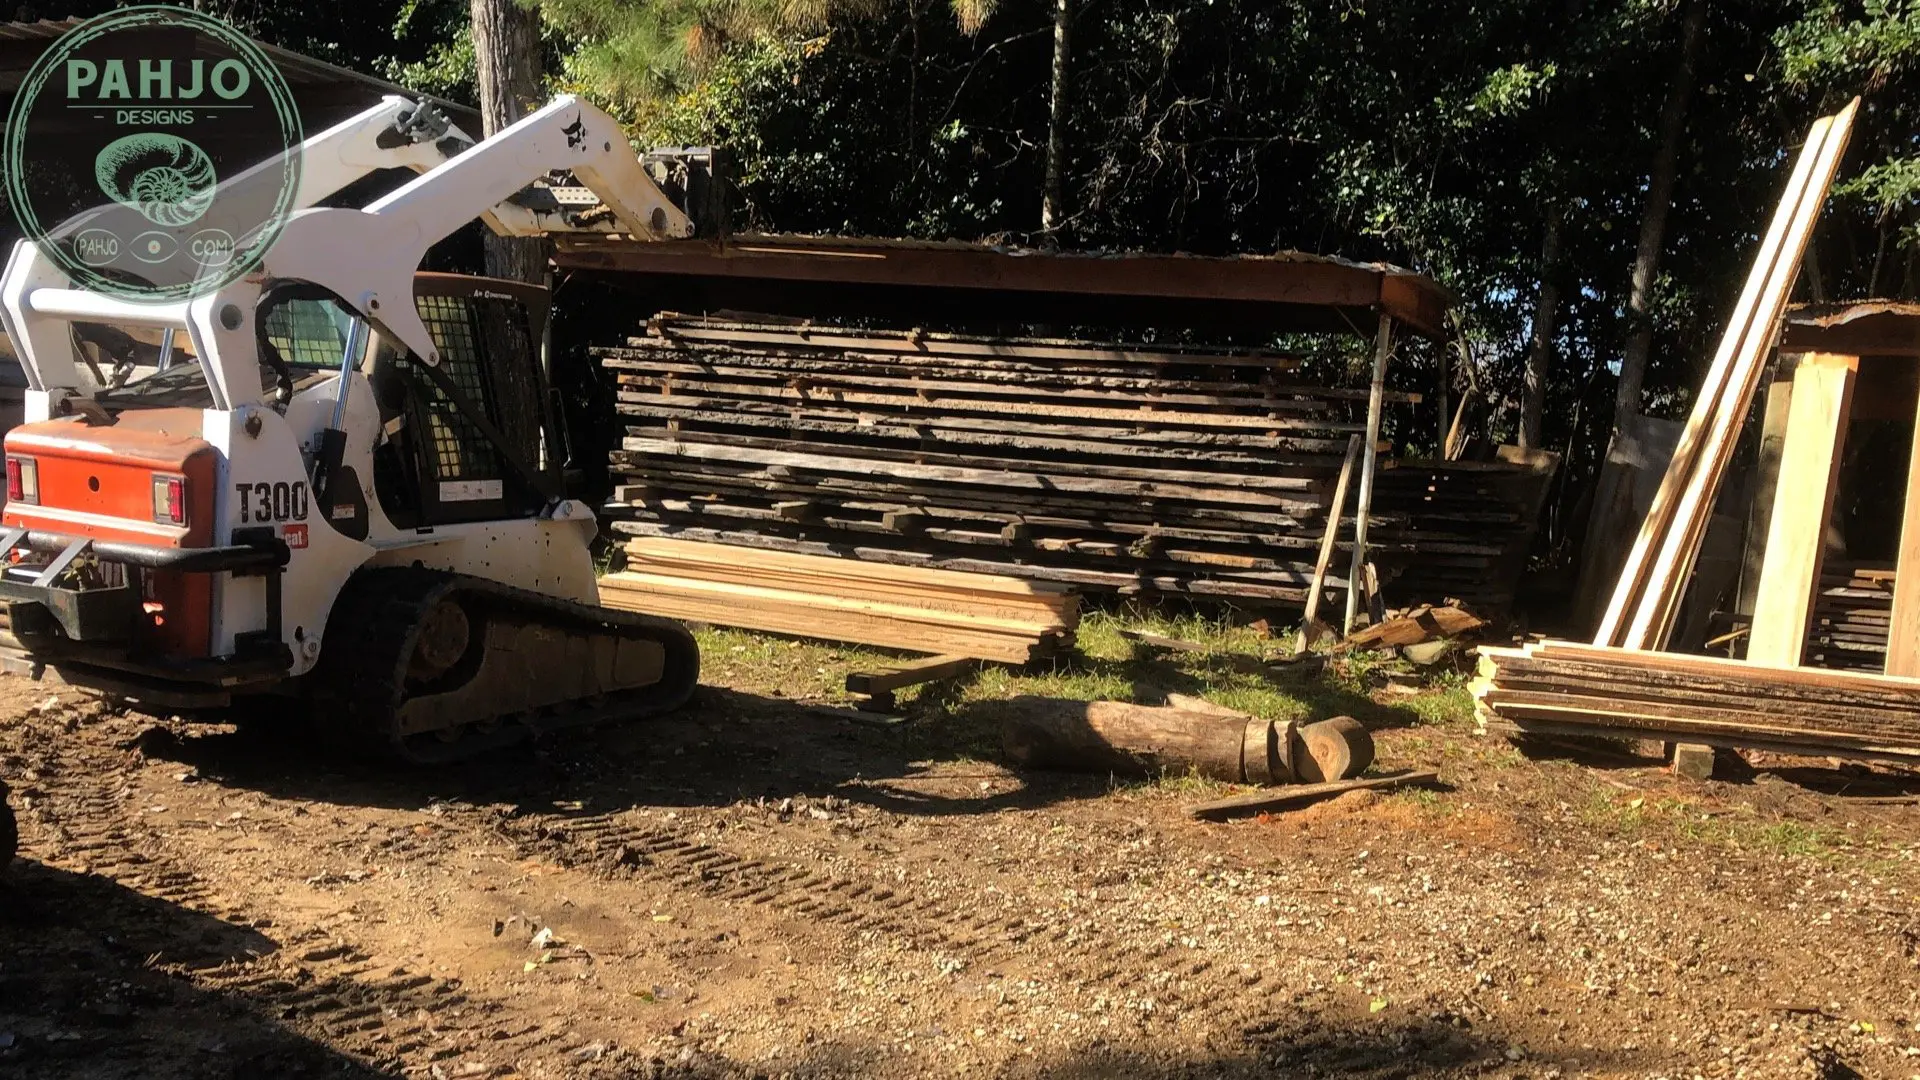
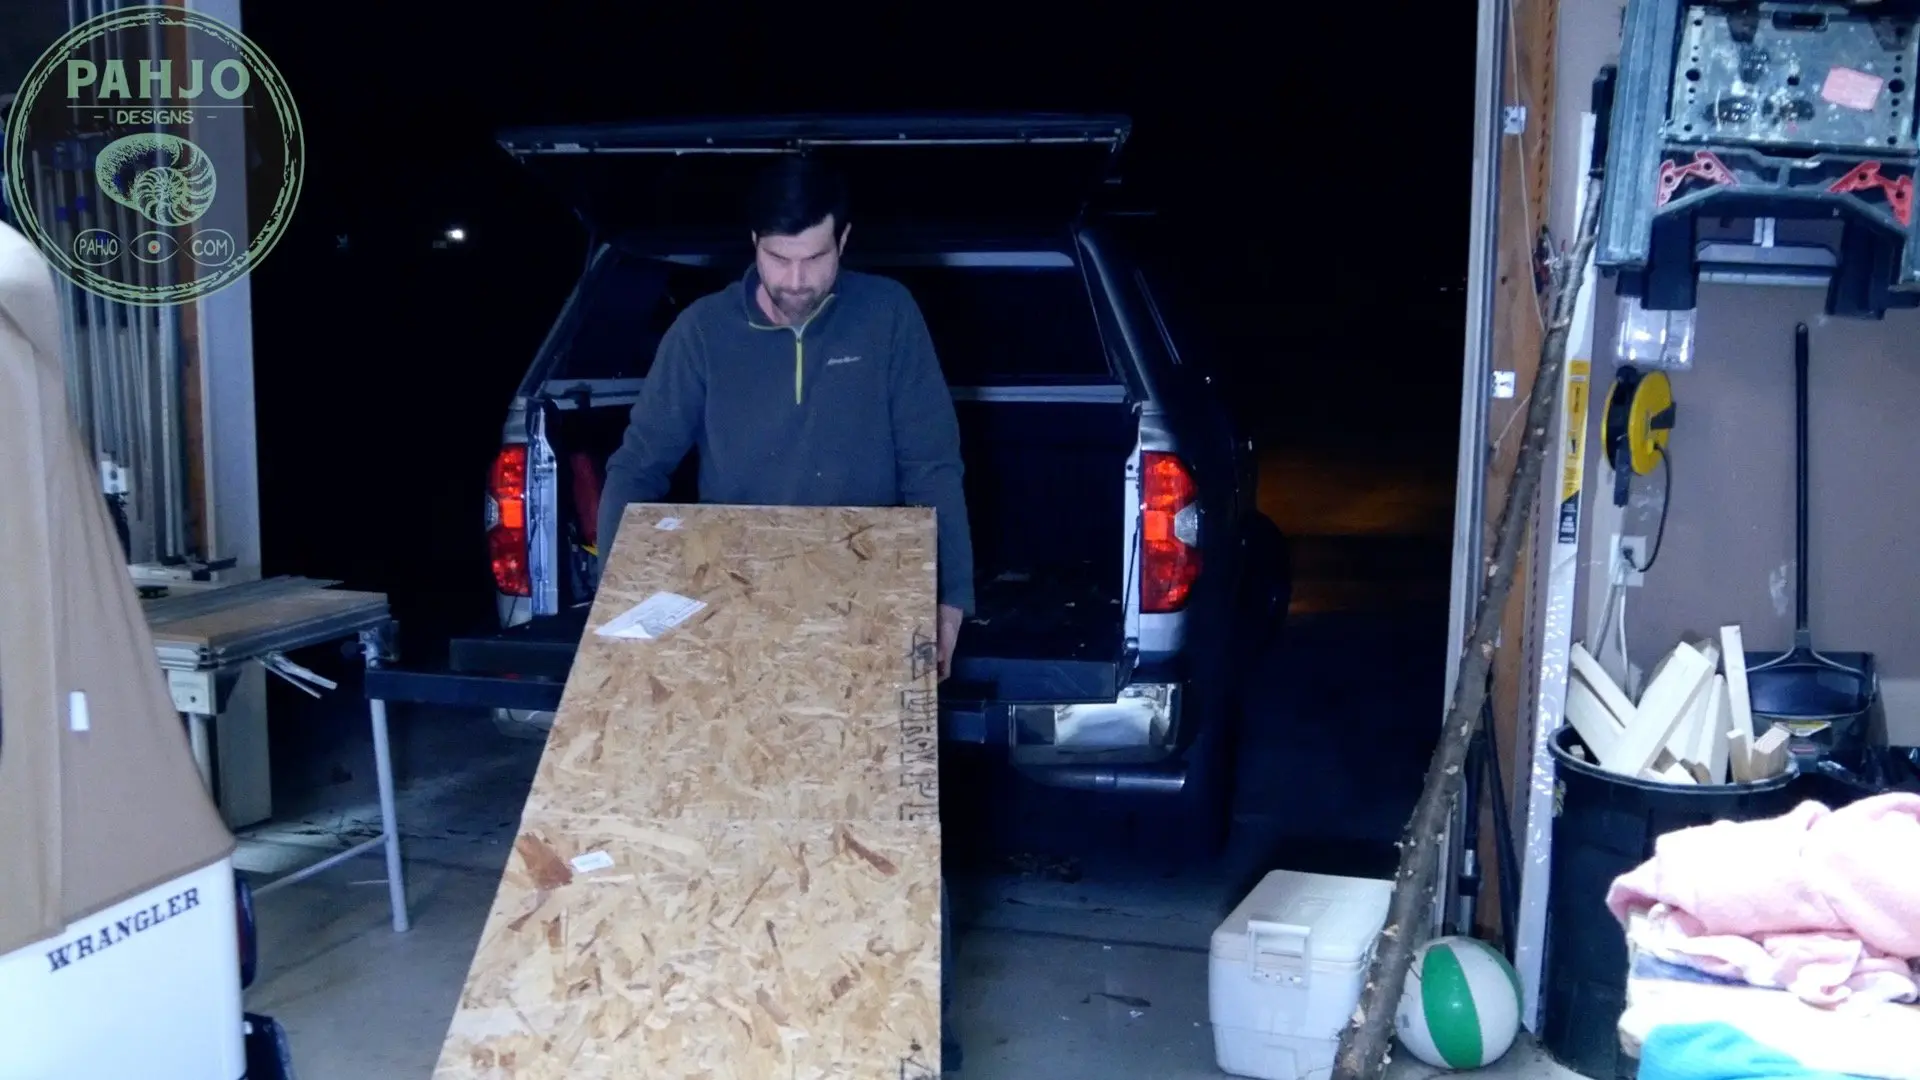
The live edge sinker cypress slab I chose was 14′ long, 28 inches wide, and 2.5 inches thick.
I hauled the slab home in my truck without issue.
However, I forgot my bed extender which made the 30 minute drive home a little nerve wracking.
More on my bed extender later in this tutorial.
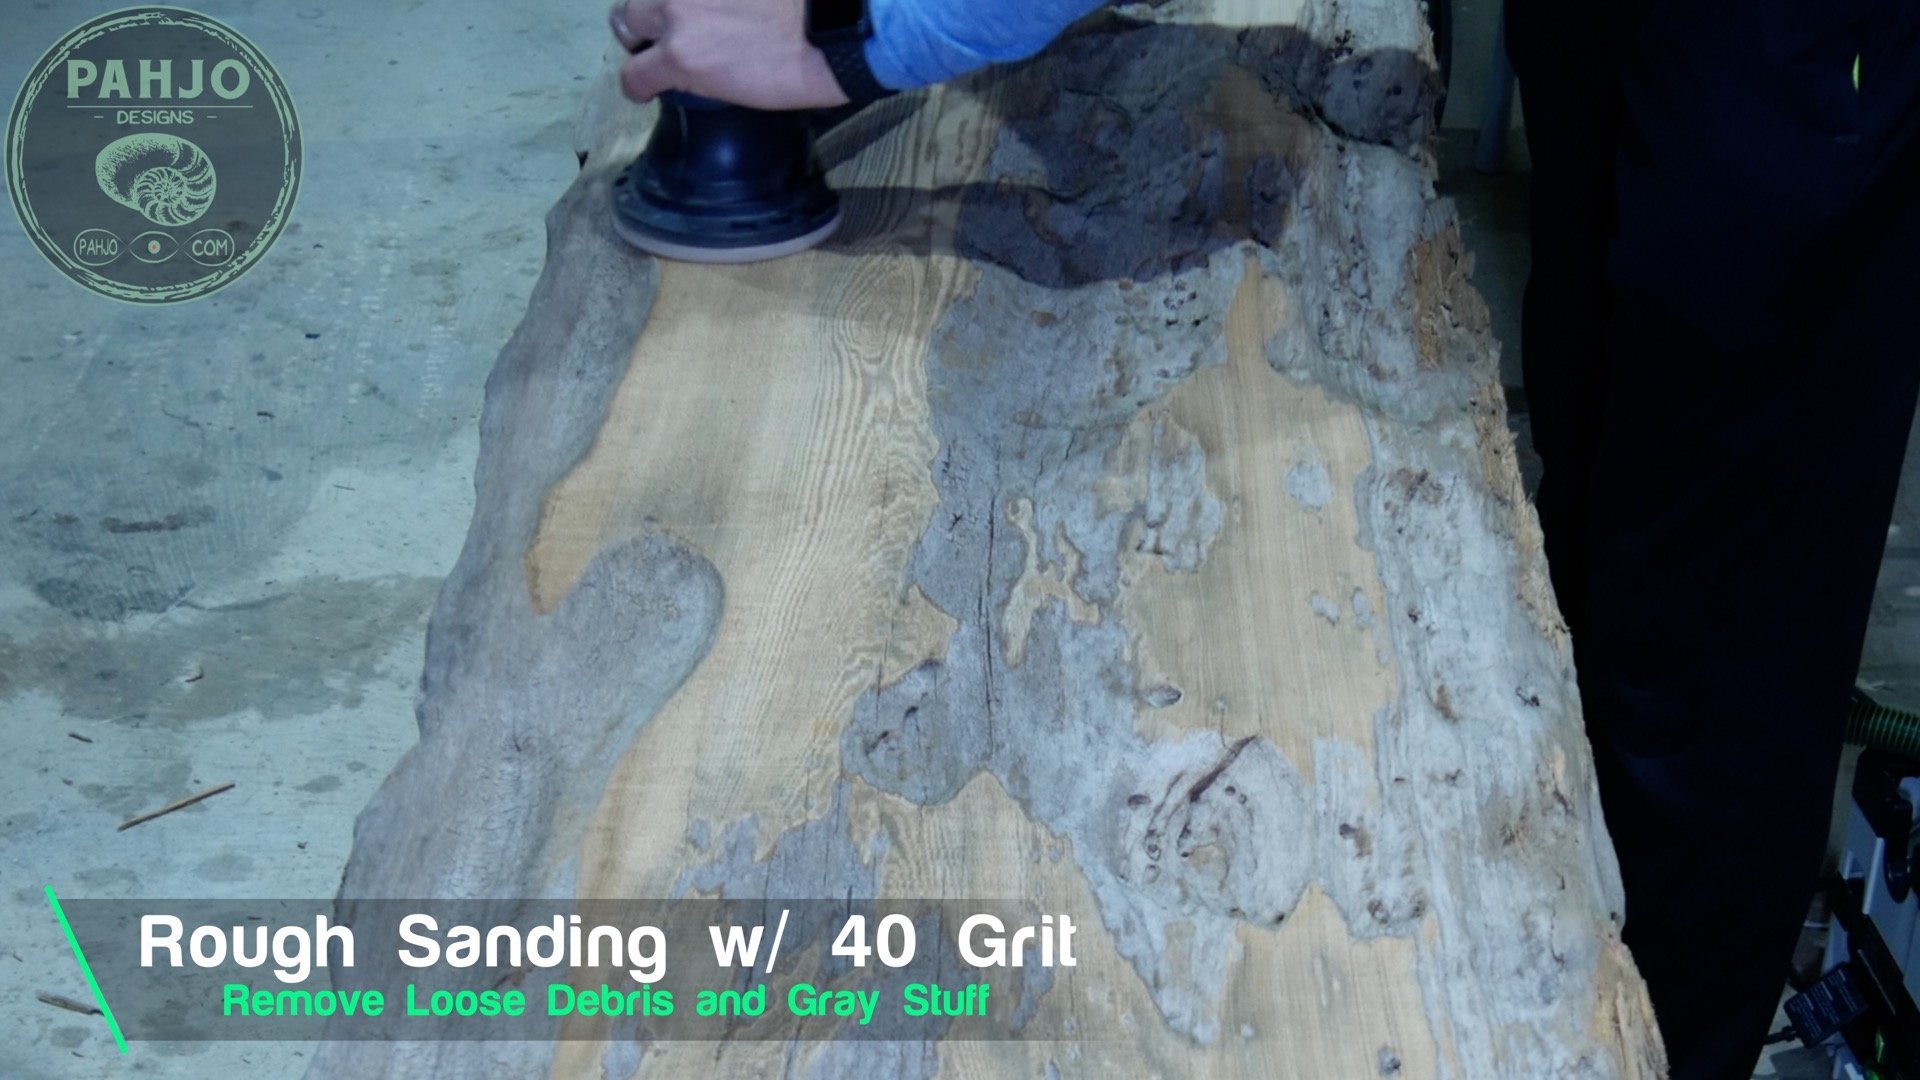
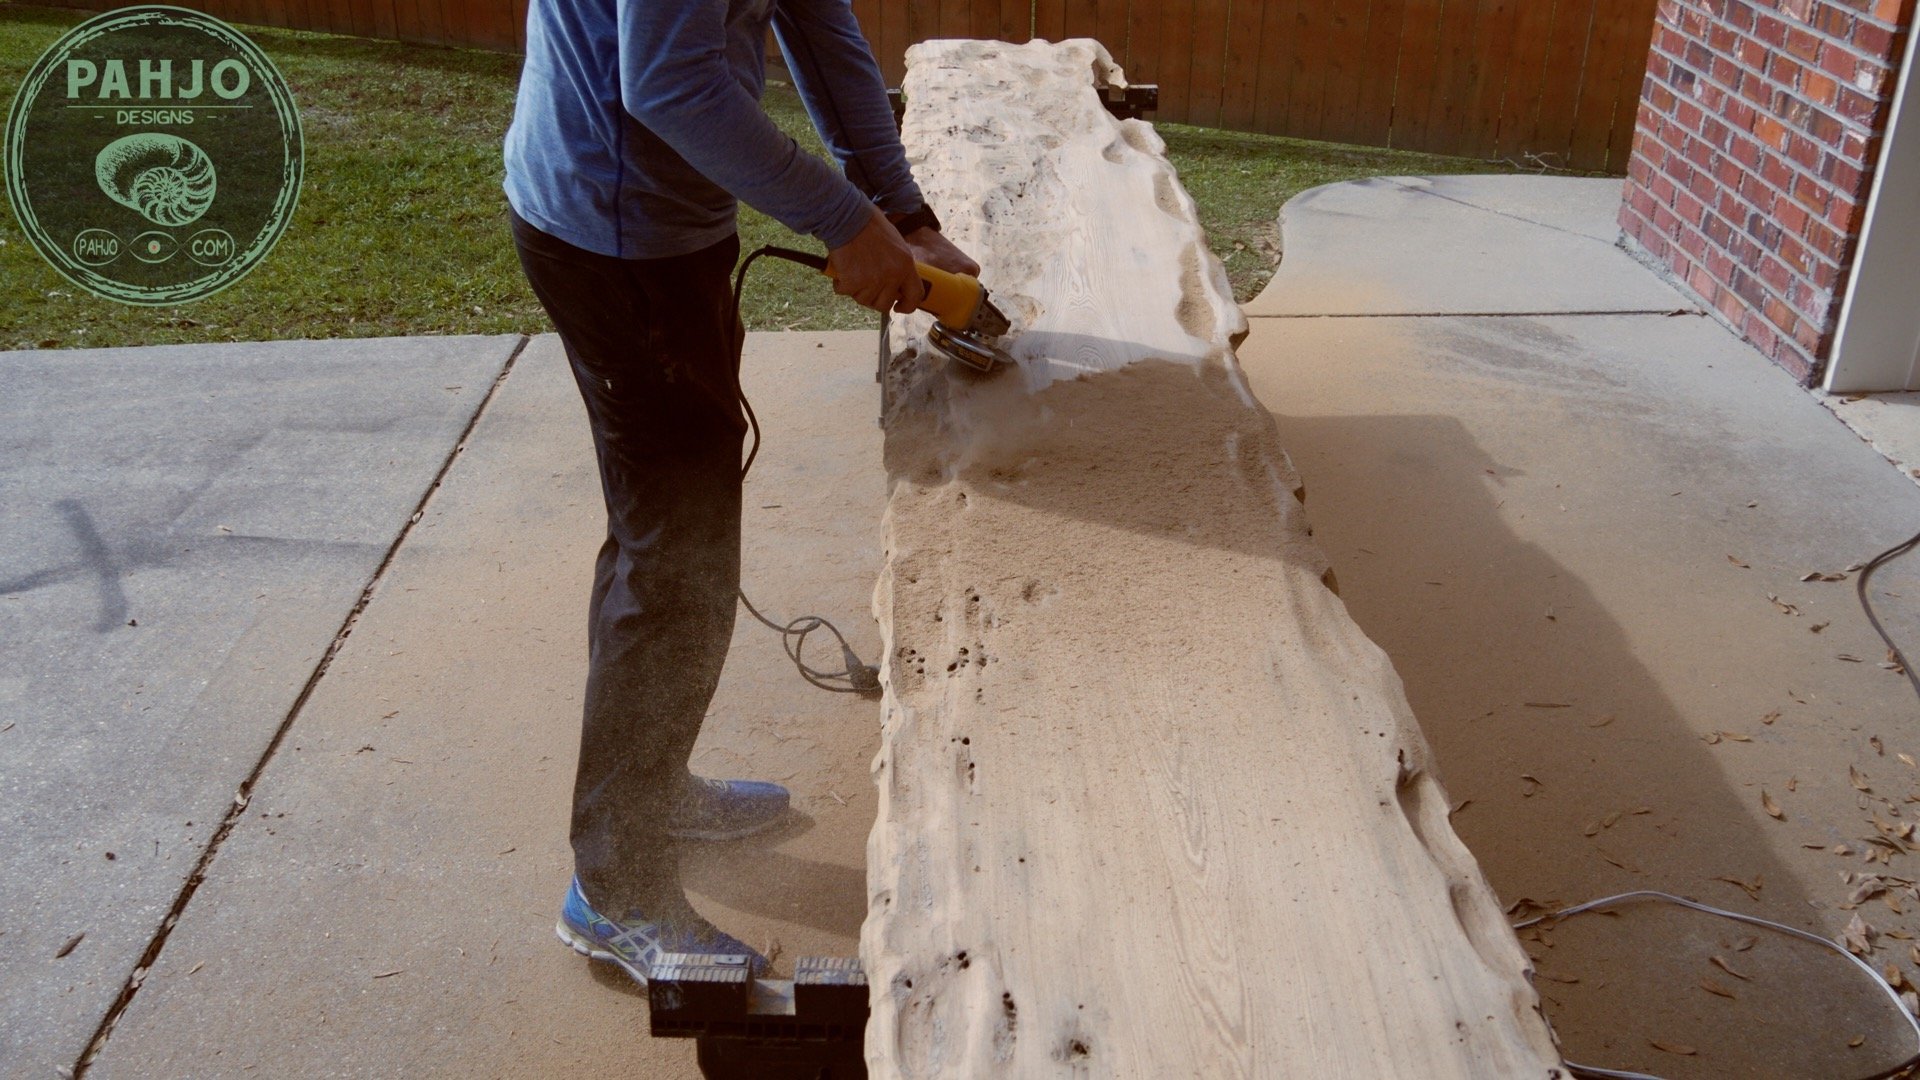
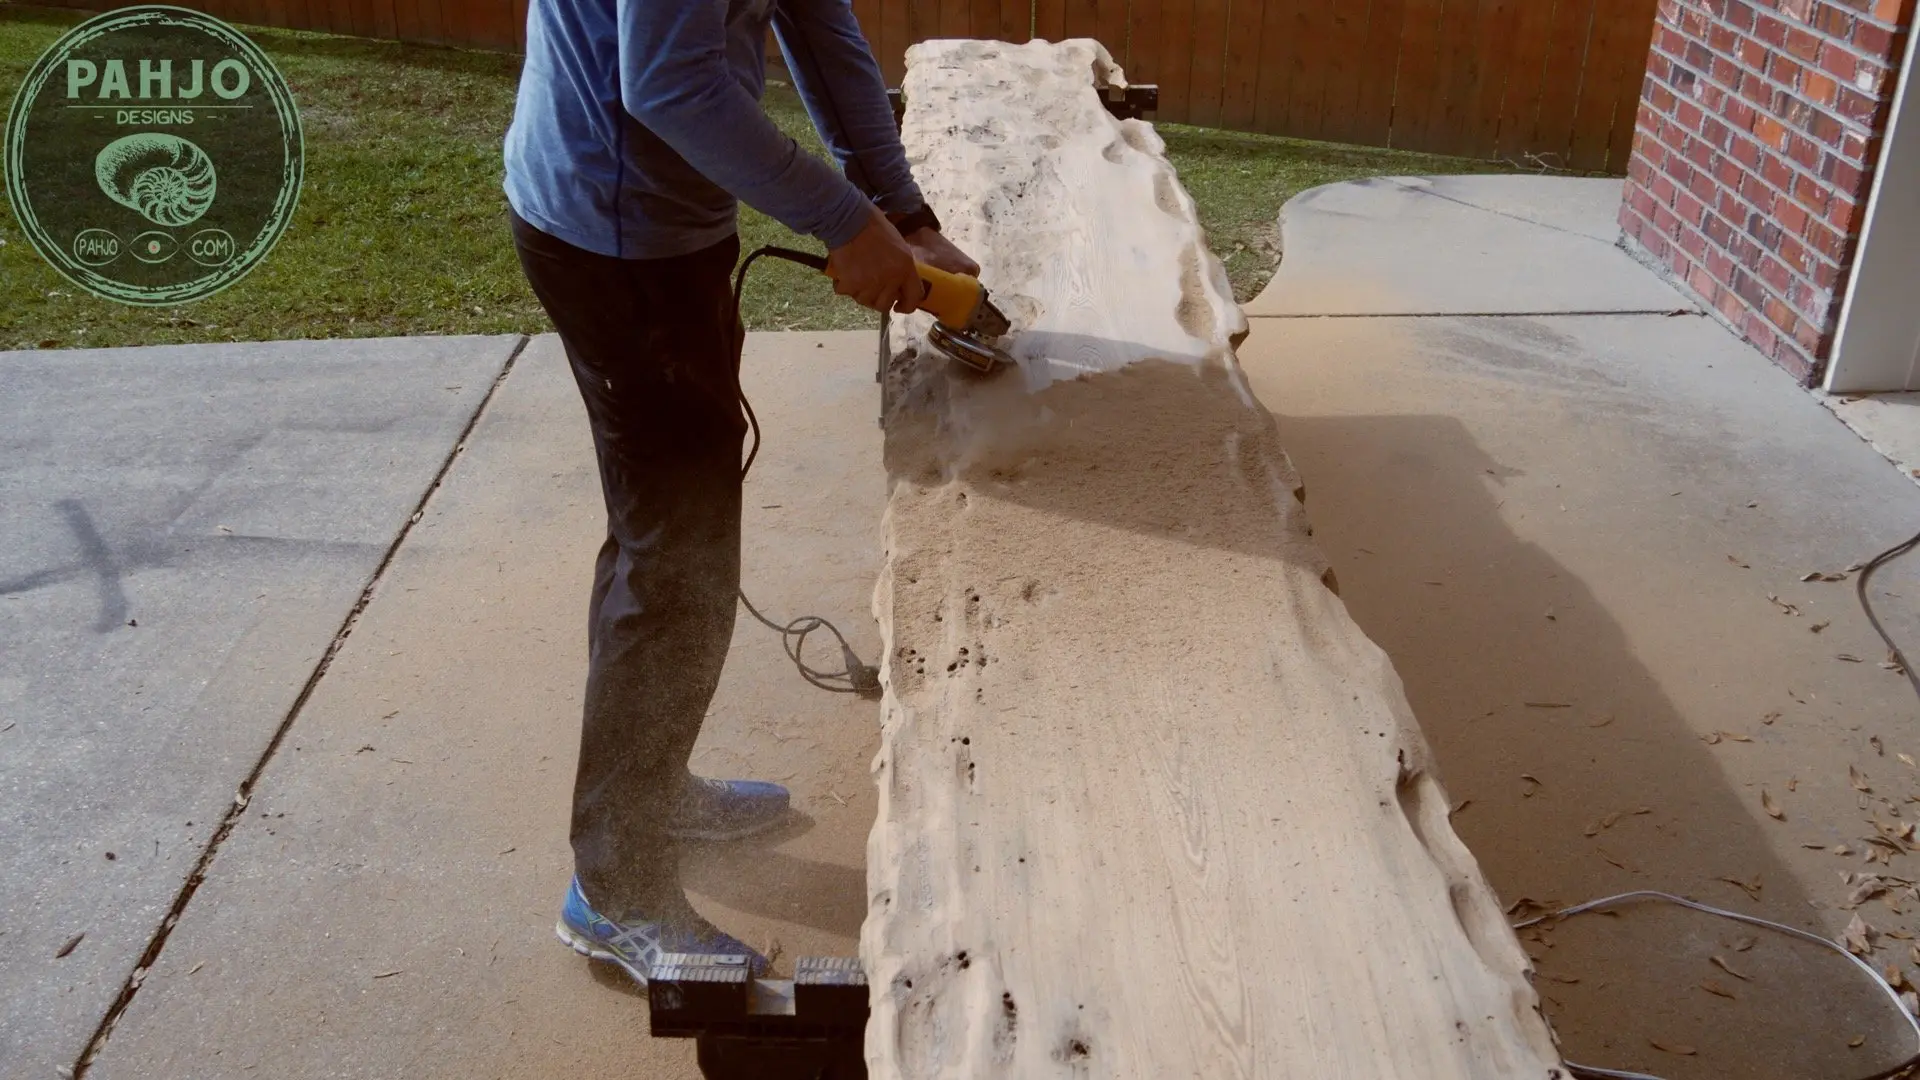
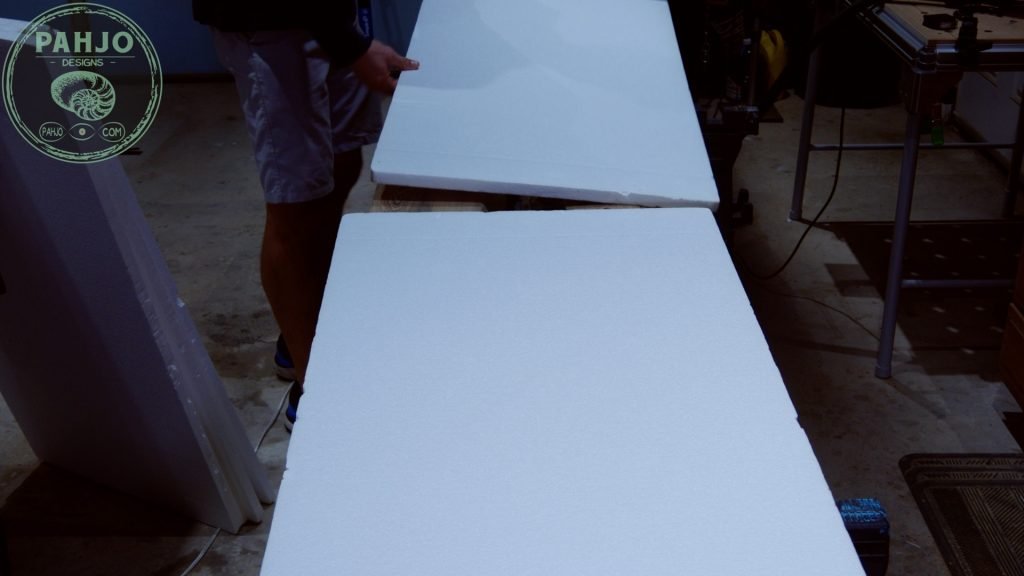
Rough Sanding
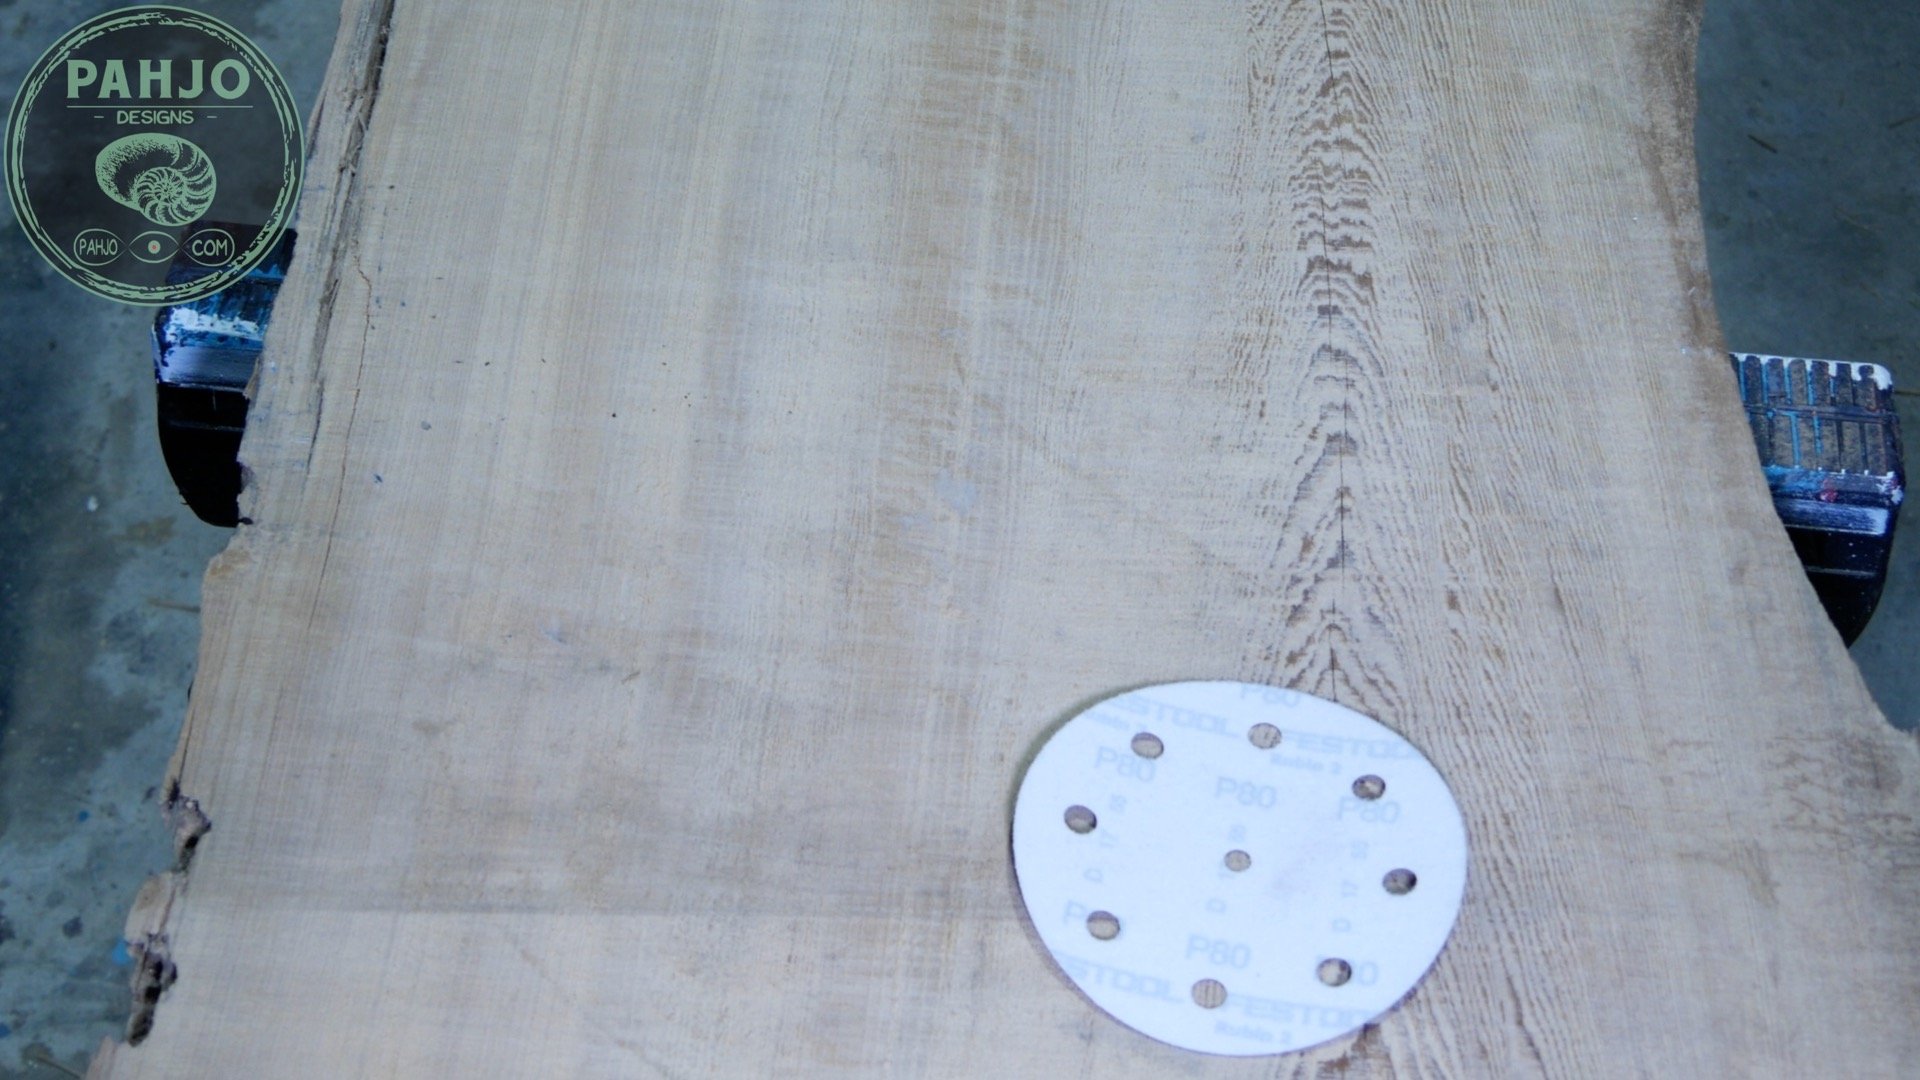
The first step of the process is rough sanding.
Rough sanding removes loose dirt, expose the grain pattern, & reveal the overall condition of the wood.
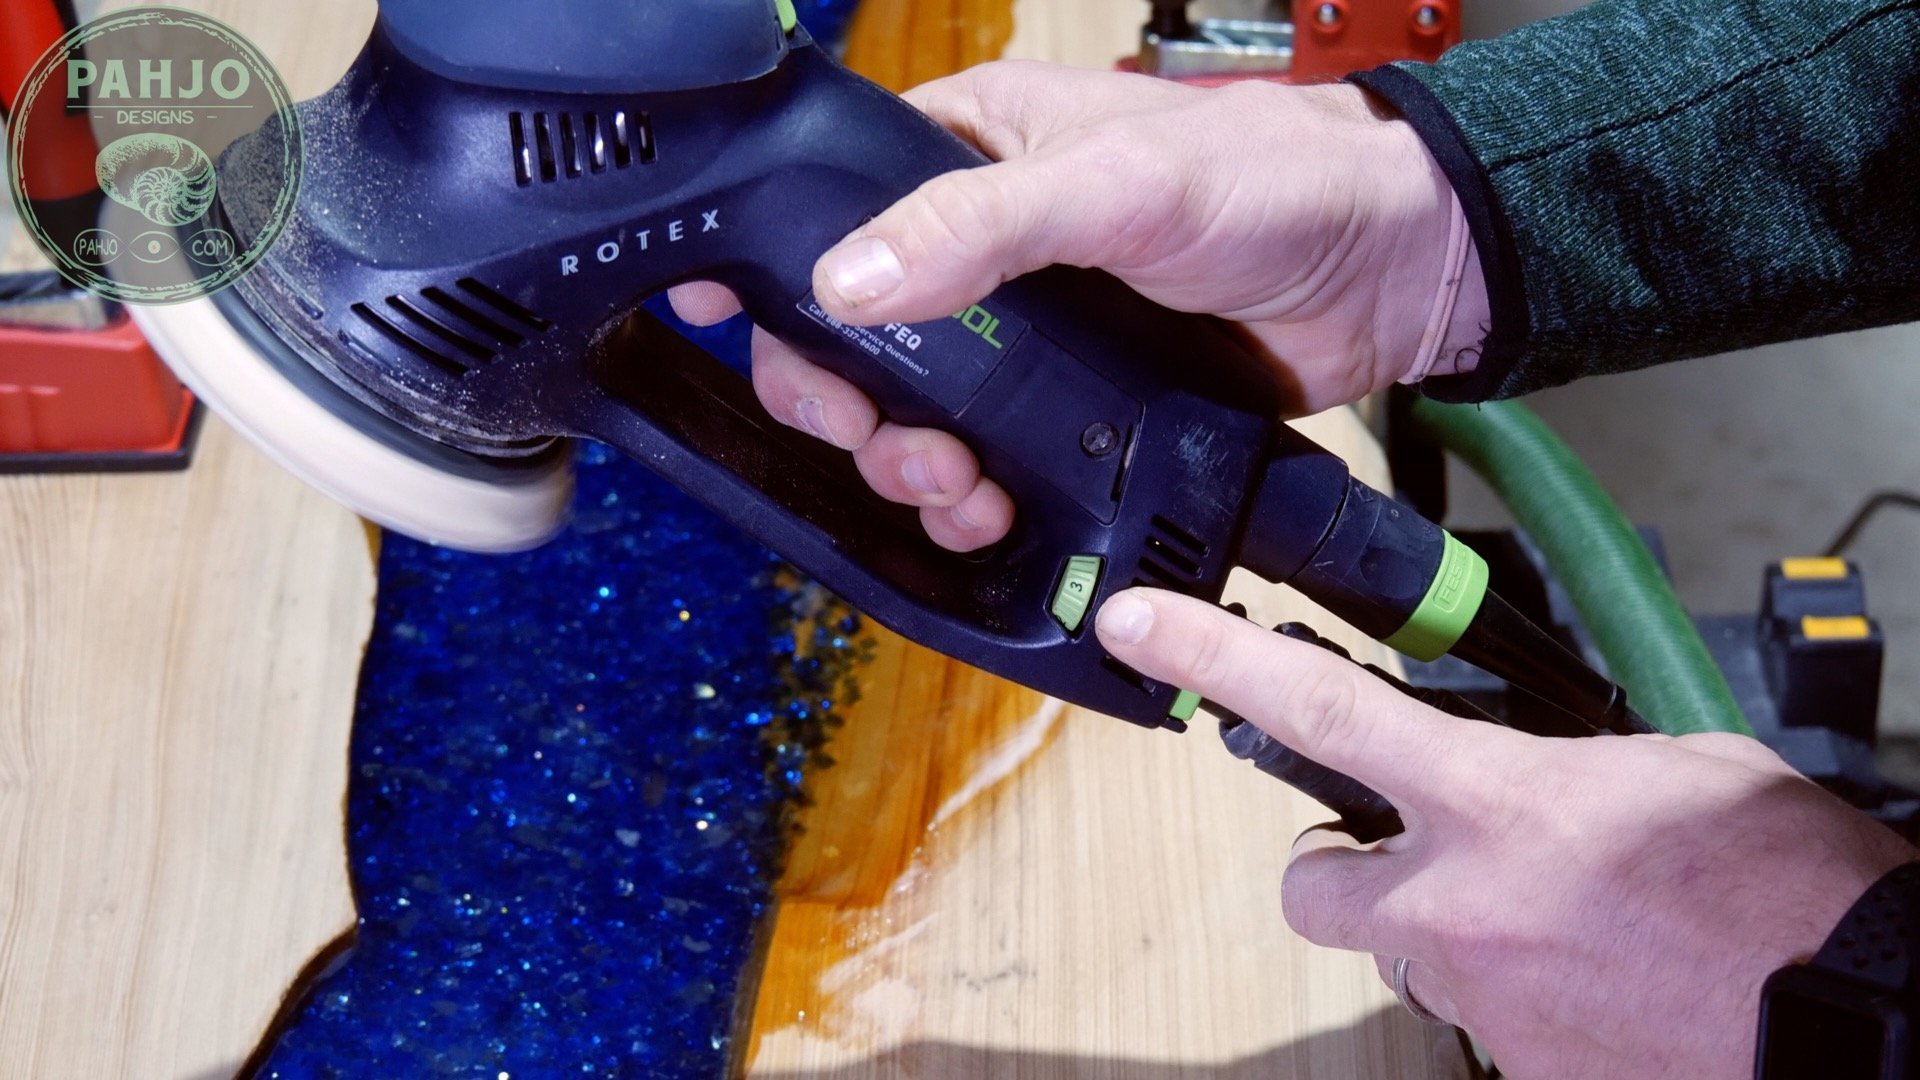
For this live edge sinker cypress slab, I started with 40 grit sandpaper & my rotex sander in rotary mode.

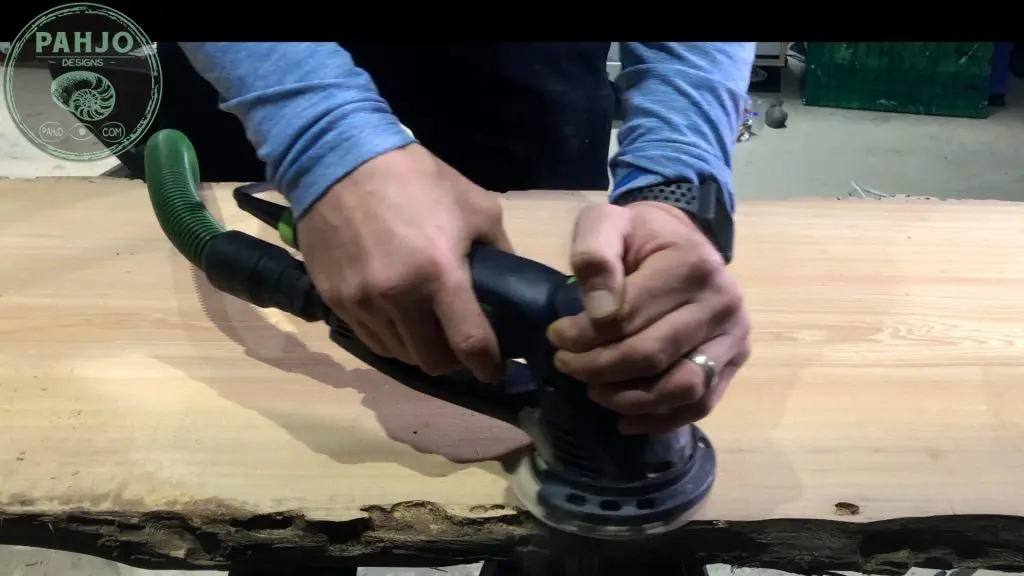
Furthermore, I bought this Festool RO125 about a year ago to reduce the amount of time I spent on sanding.
It was expensive; however, it is worth its weight in gold.
‘Buy once, Cry once” definitely applies in this situation.
Obviously, the underside of the slab was lying on the river bottom from the looks of these indentations.

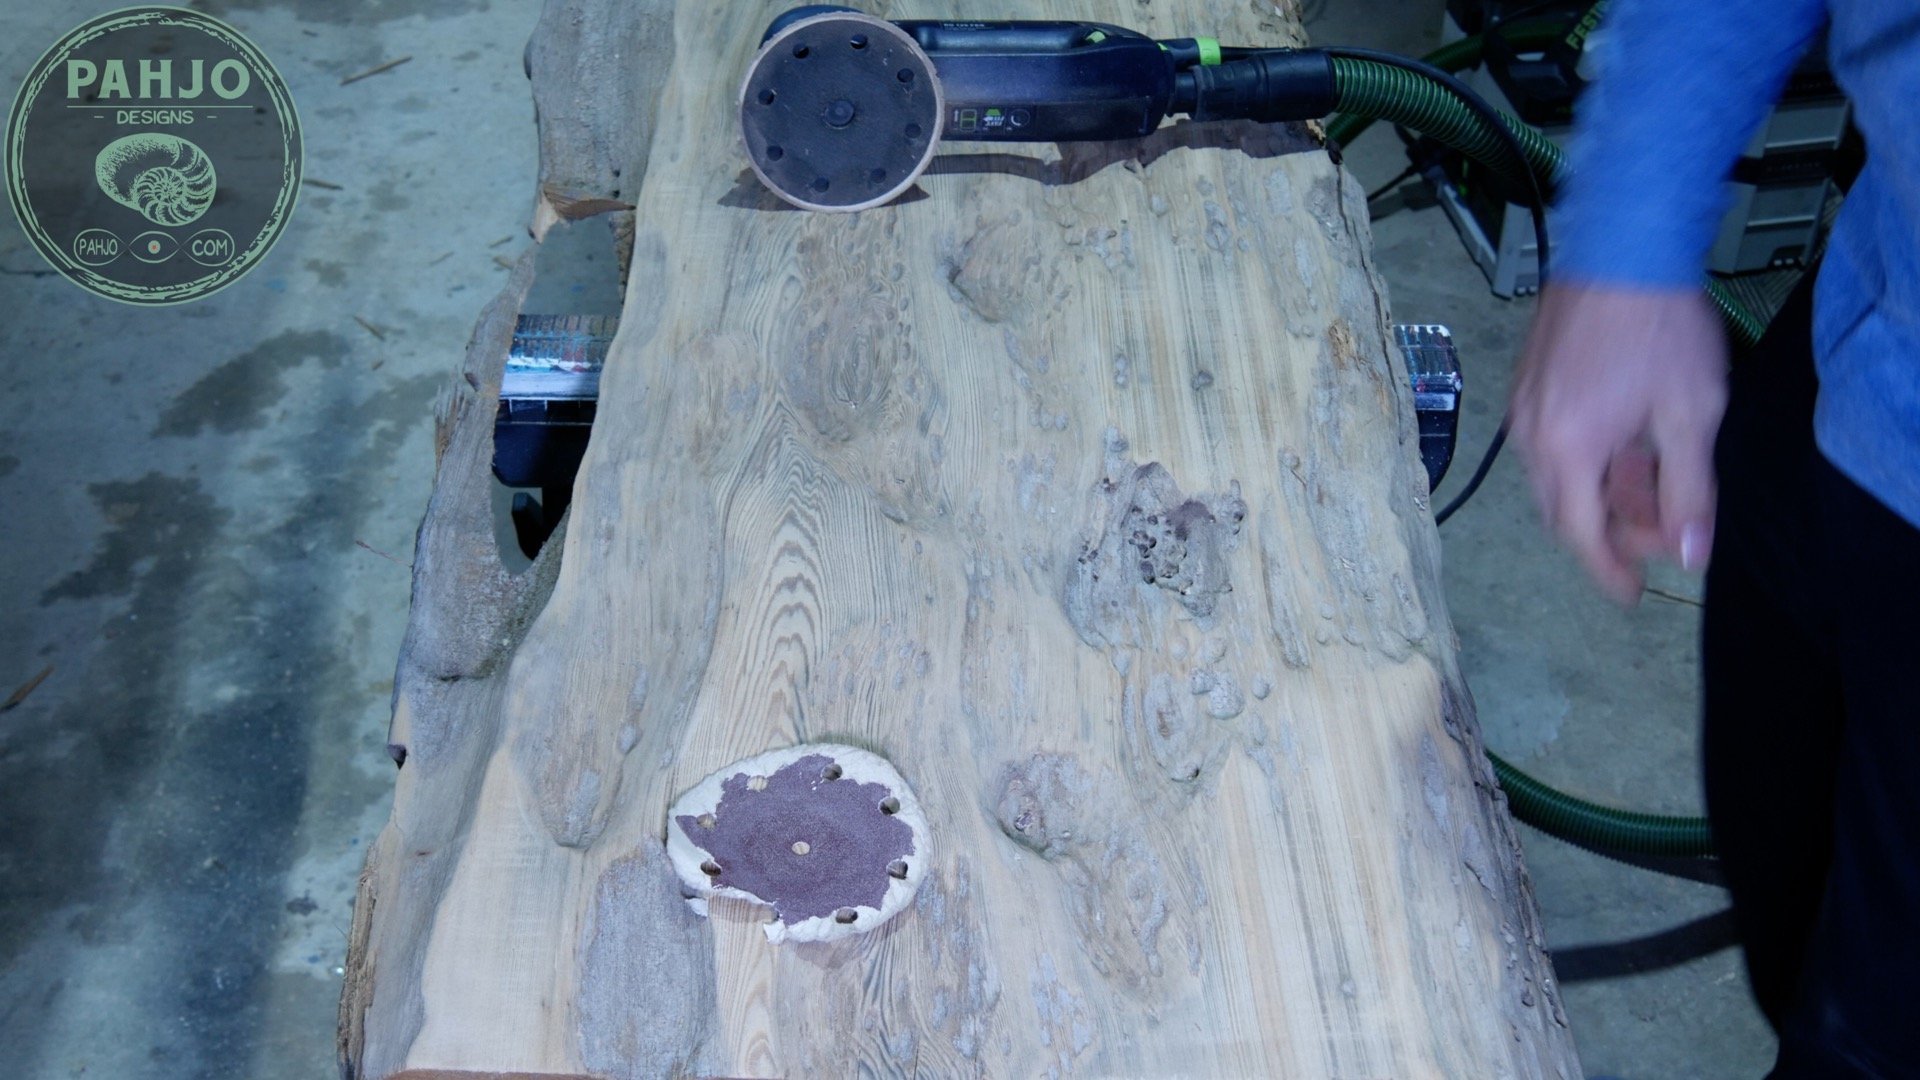

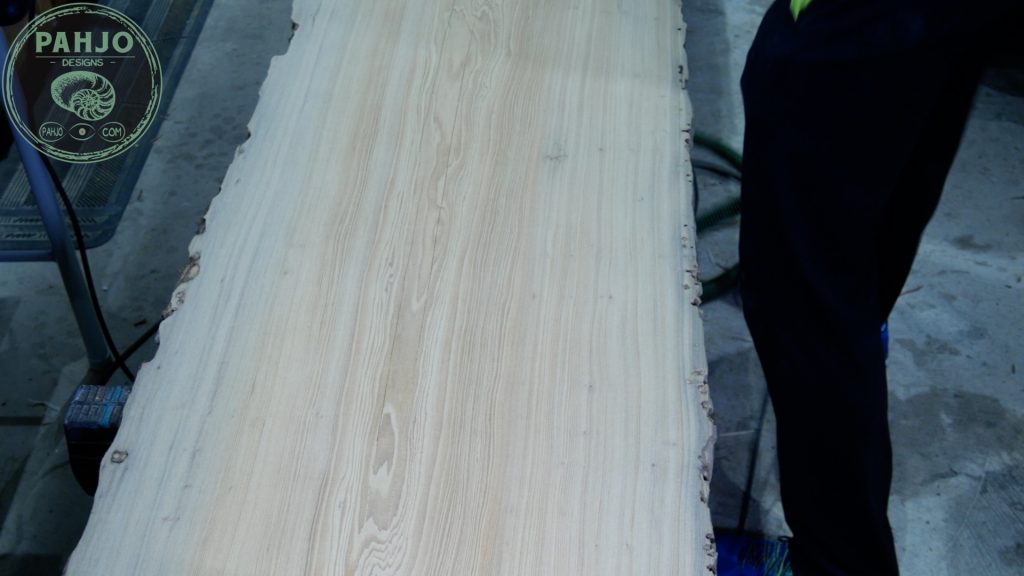
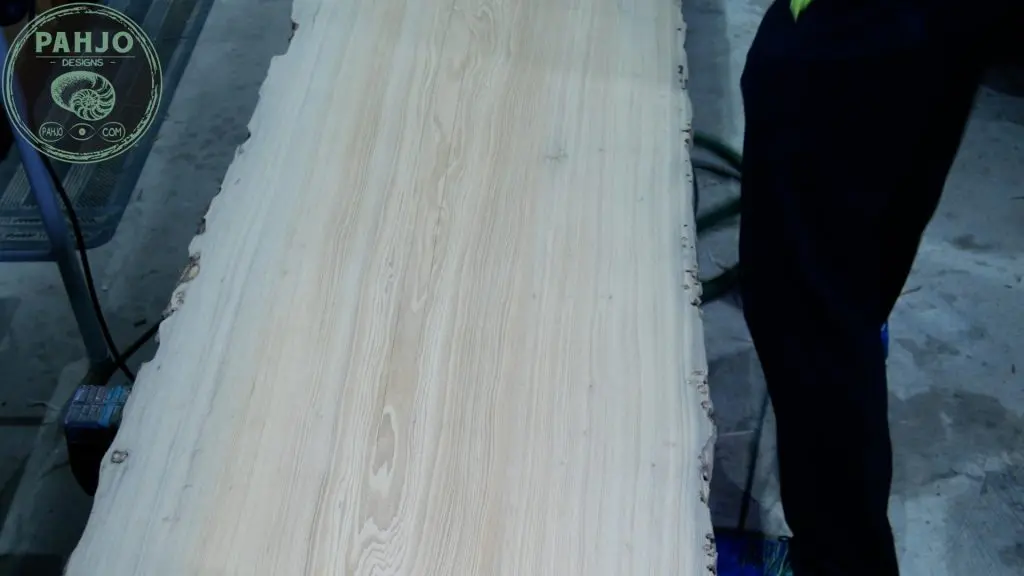
Next, I flipped the log over and sanded the top down to 80 grit.

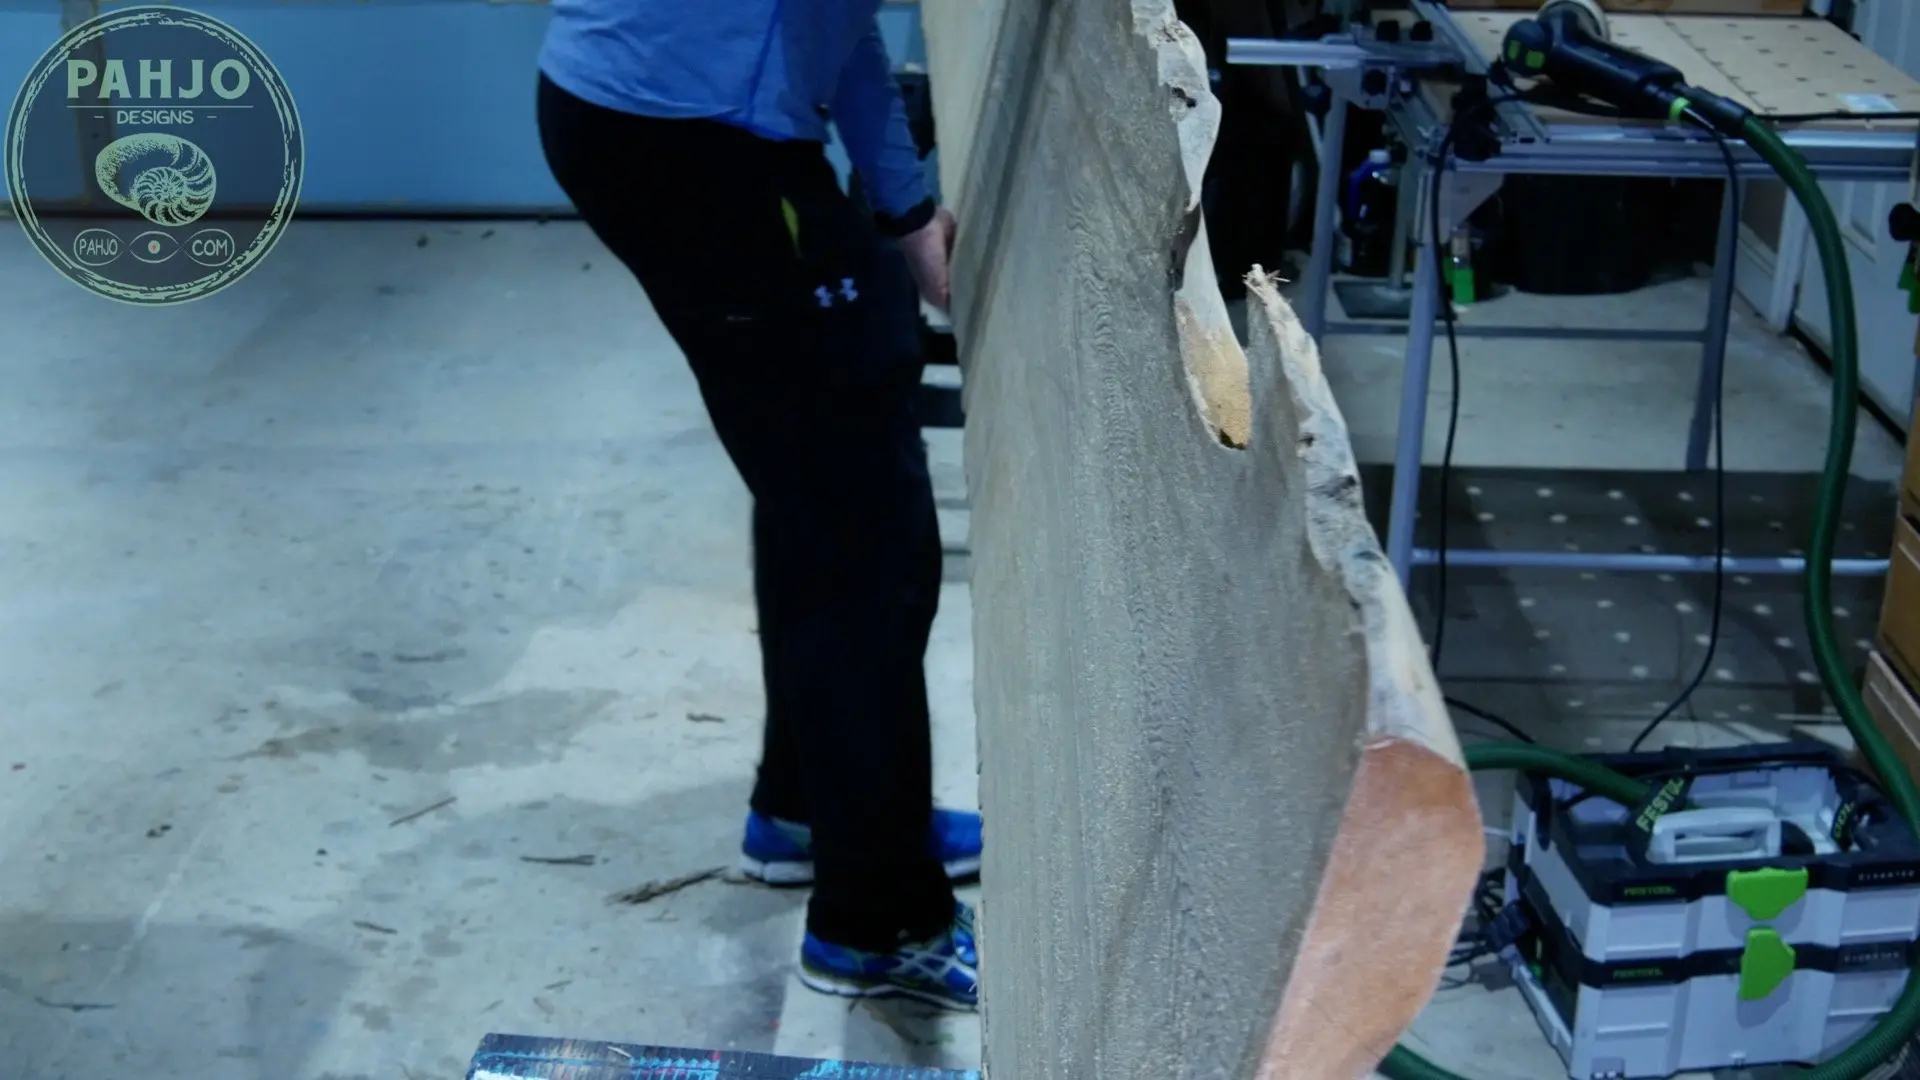

Shape Live Edge Slab
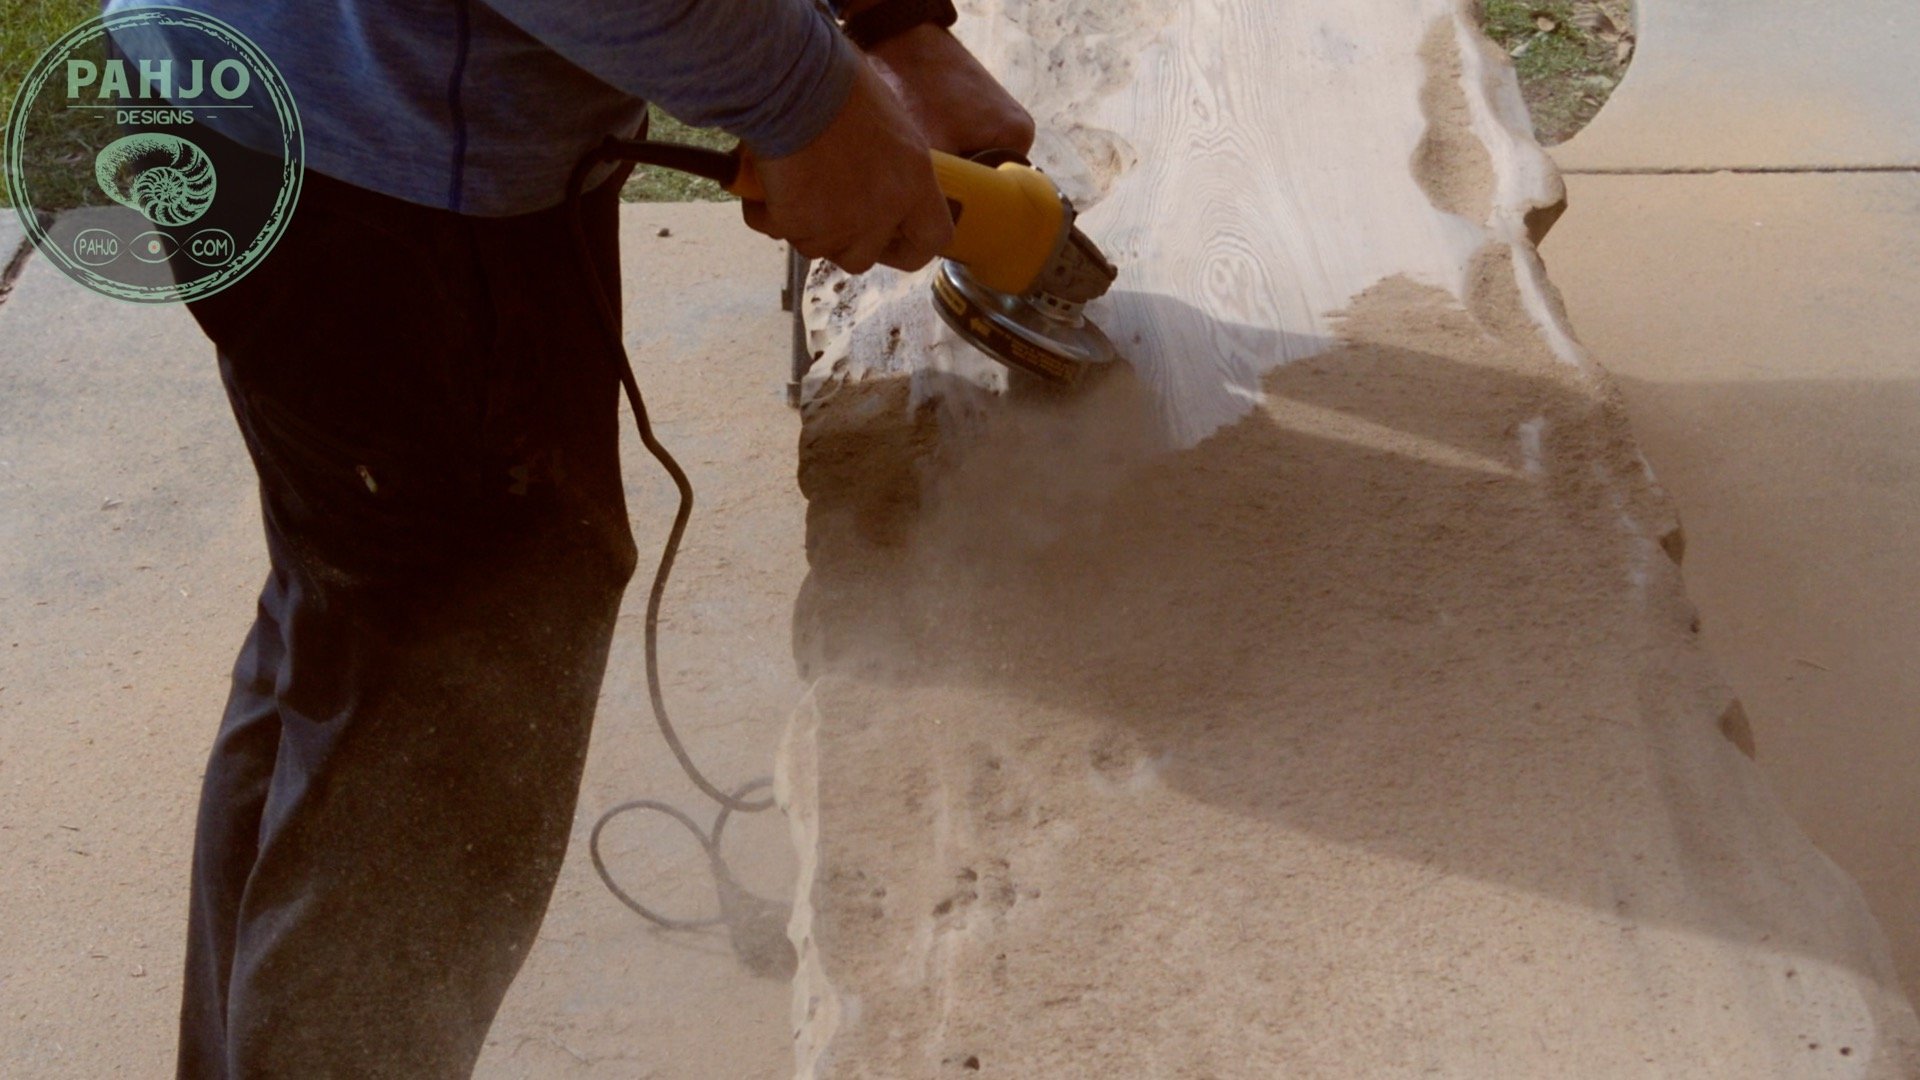
First, I carried the slab outside to reduce the amount of dust in my workshop.
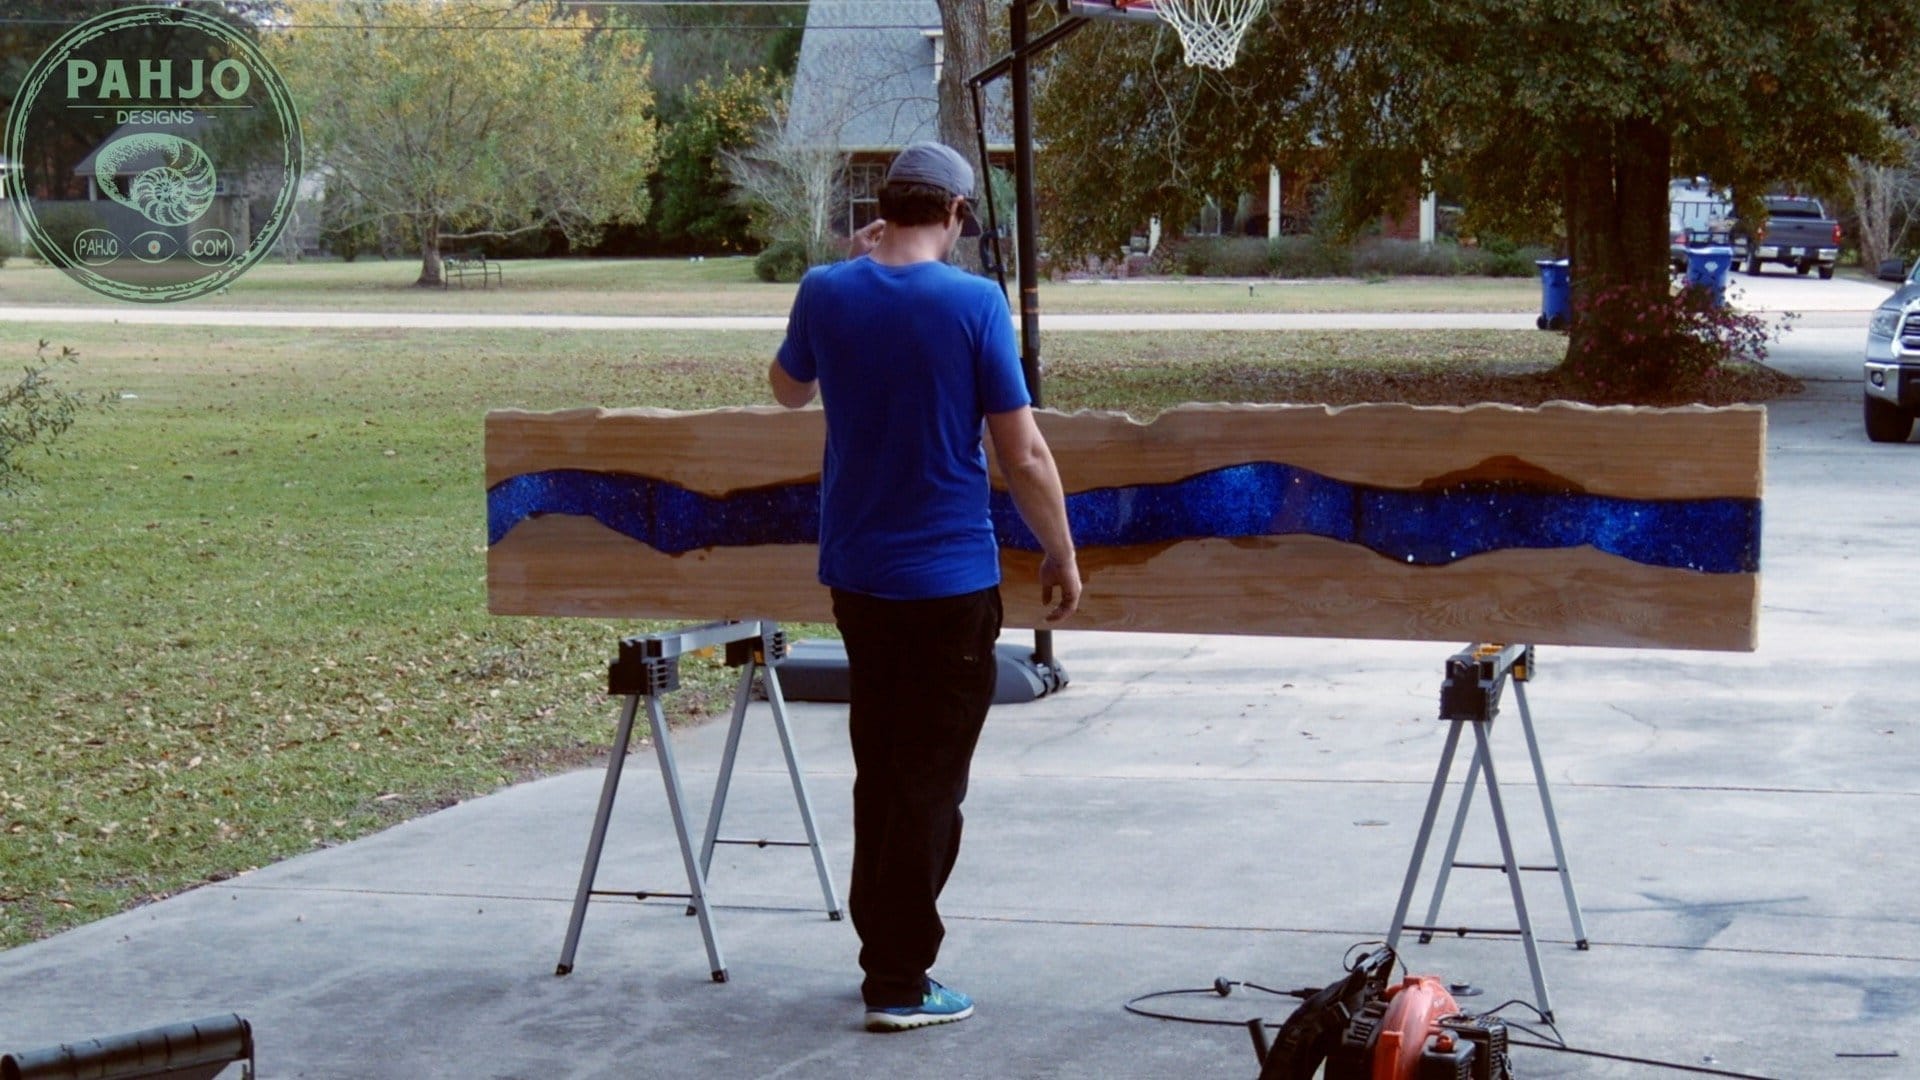
The natural edge and grain pattern makes sinker cypress wood perfect for live edge dining tables and bar tables.
This sinker cypress slab was absolutely beautiful and surely to be one of my top designs and best sellers.


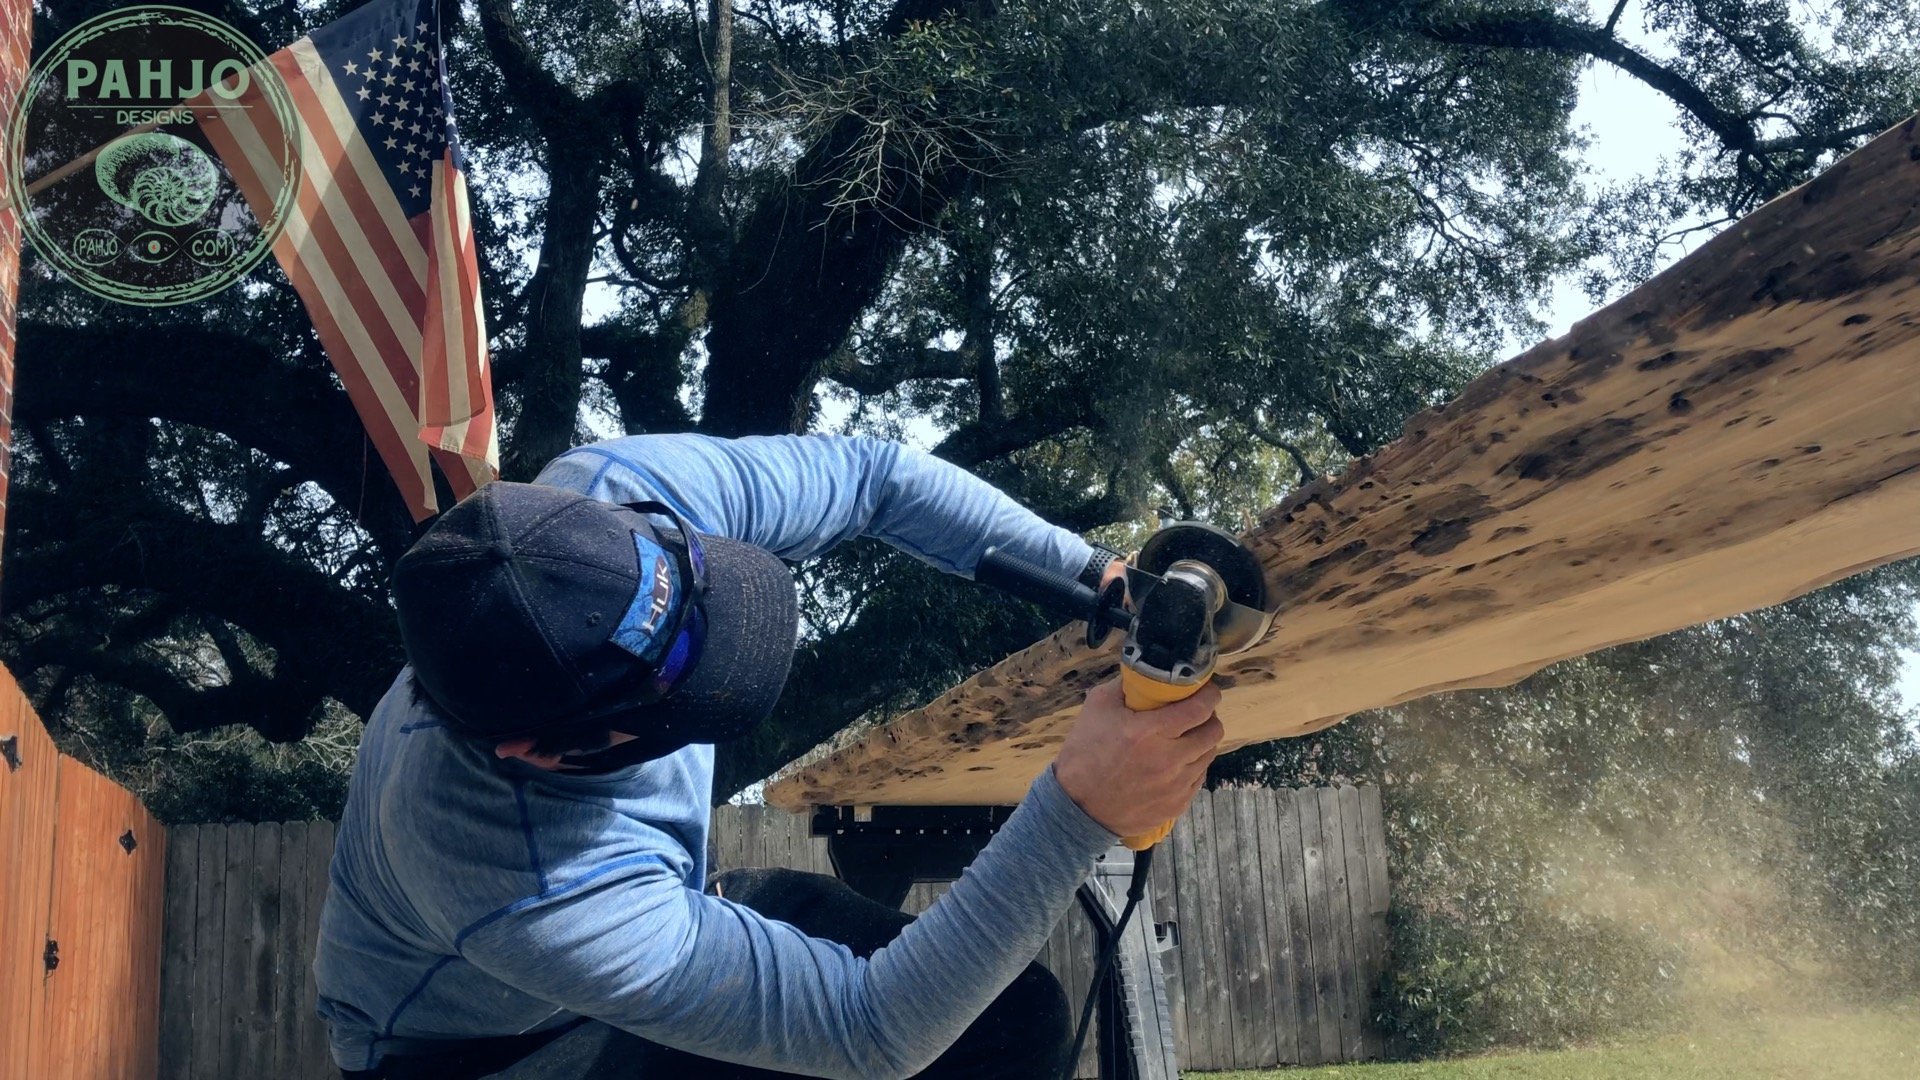
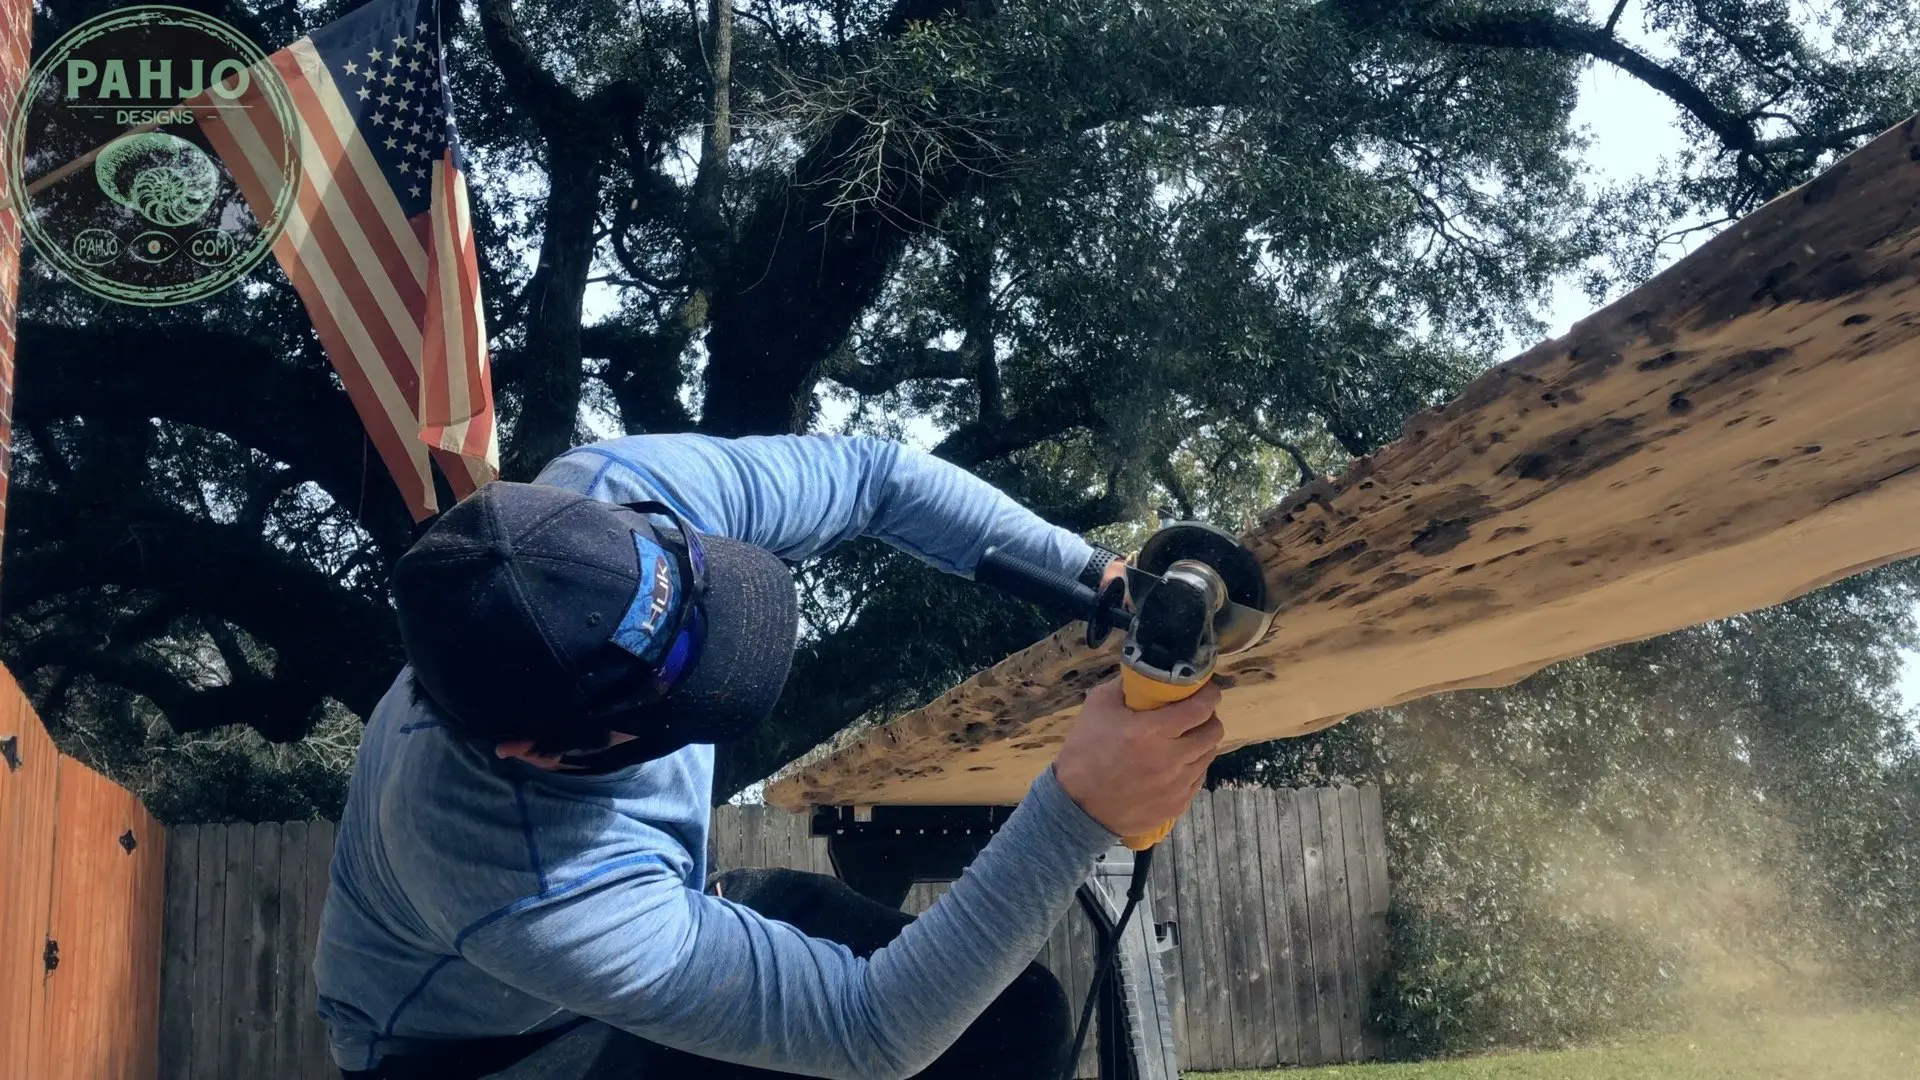
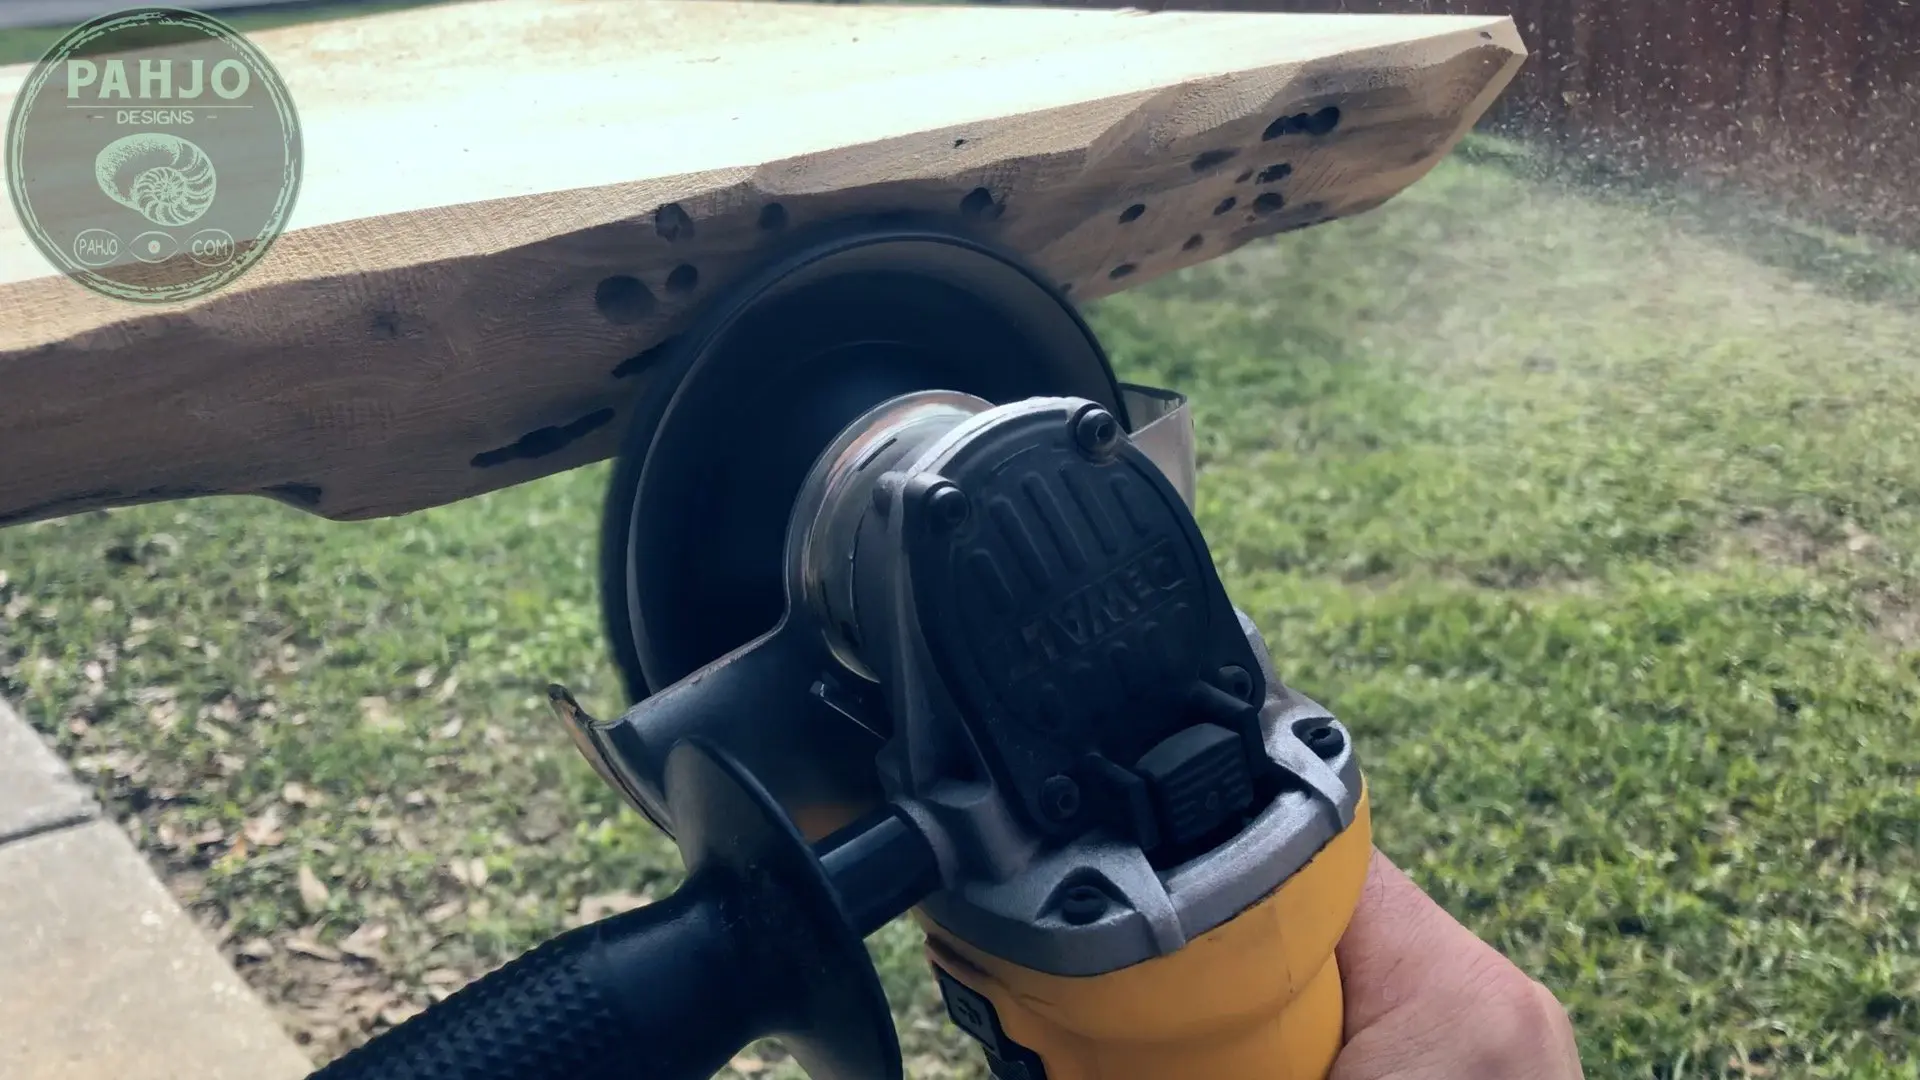
Next, I shaped and cleaned the live edge on both sides of the reclaimed wood bar top with my grinder and kutzall extreme shaping disc.
Also, the kutzall extreme shaping disc proved to be very effective to shape the live edge.
As a side note, the small holes in the sinker cypress slab were filled small crab shells.
They must have burrowed a hole in the soft spots of the wood.

Then, I flipped the table over and cleaned up the spots I couldn’t reach with my rotary sander while rough sanding.

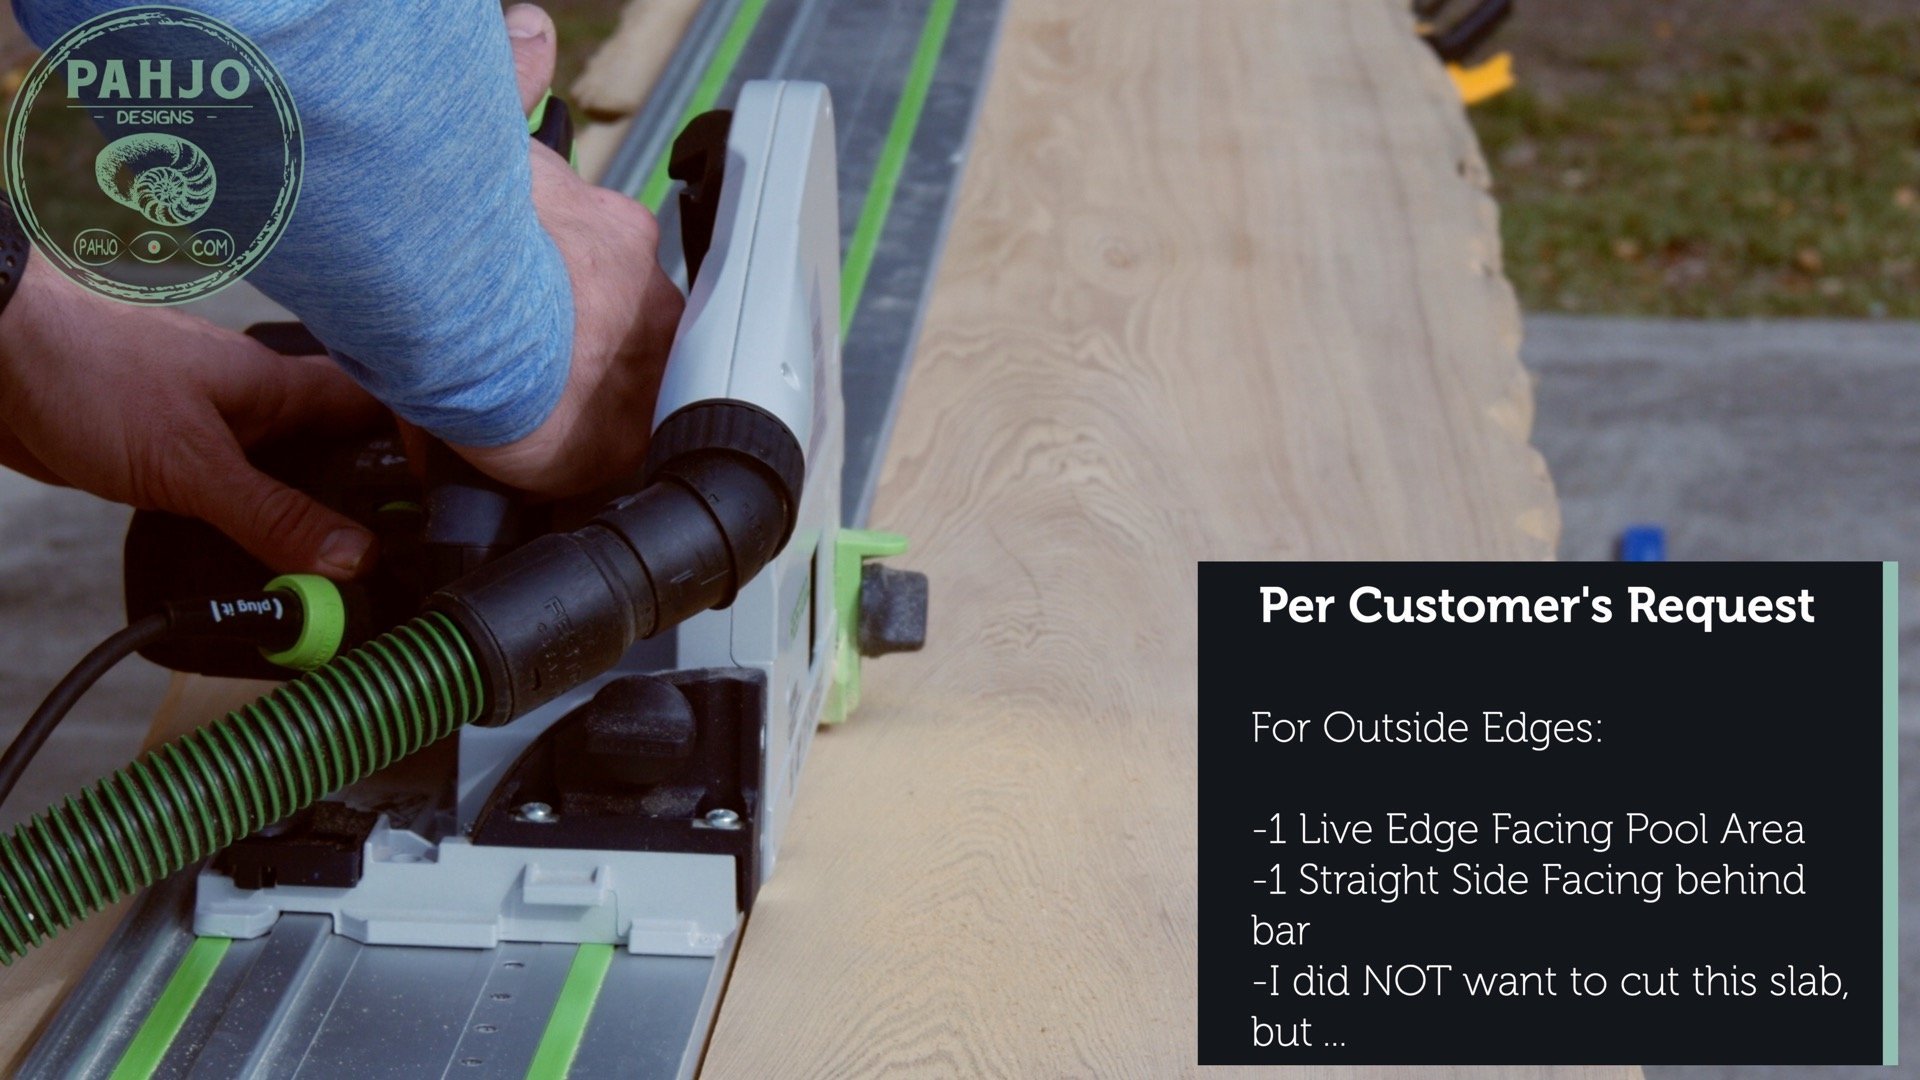
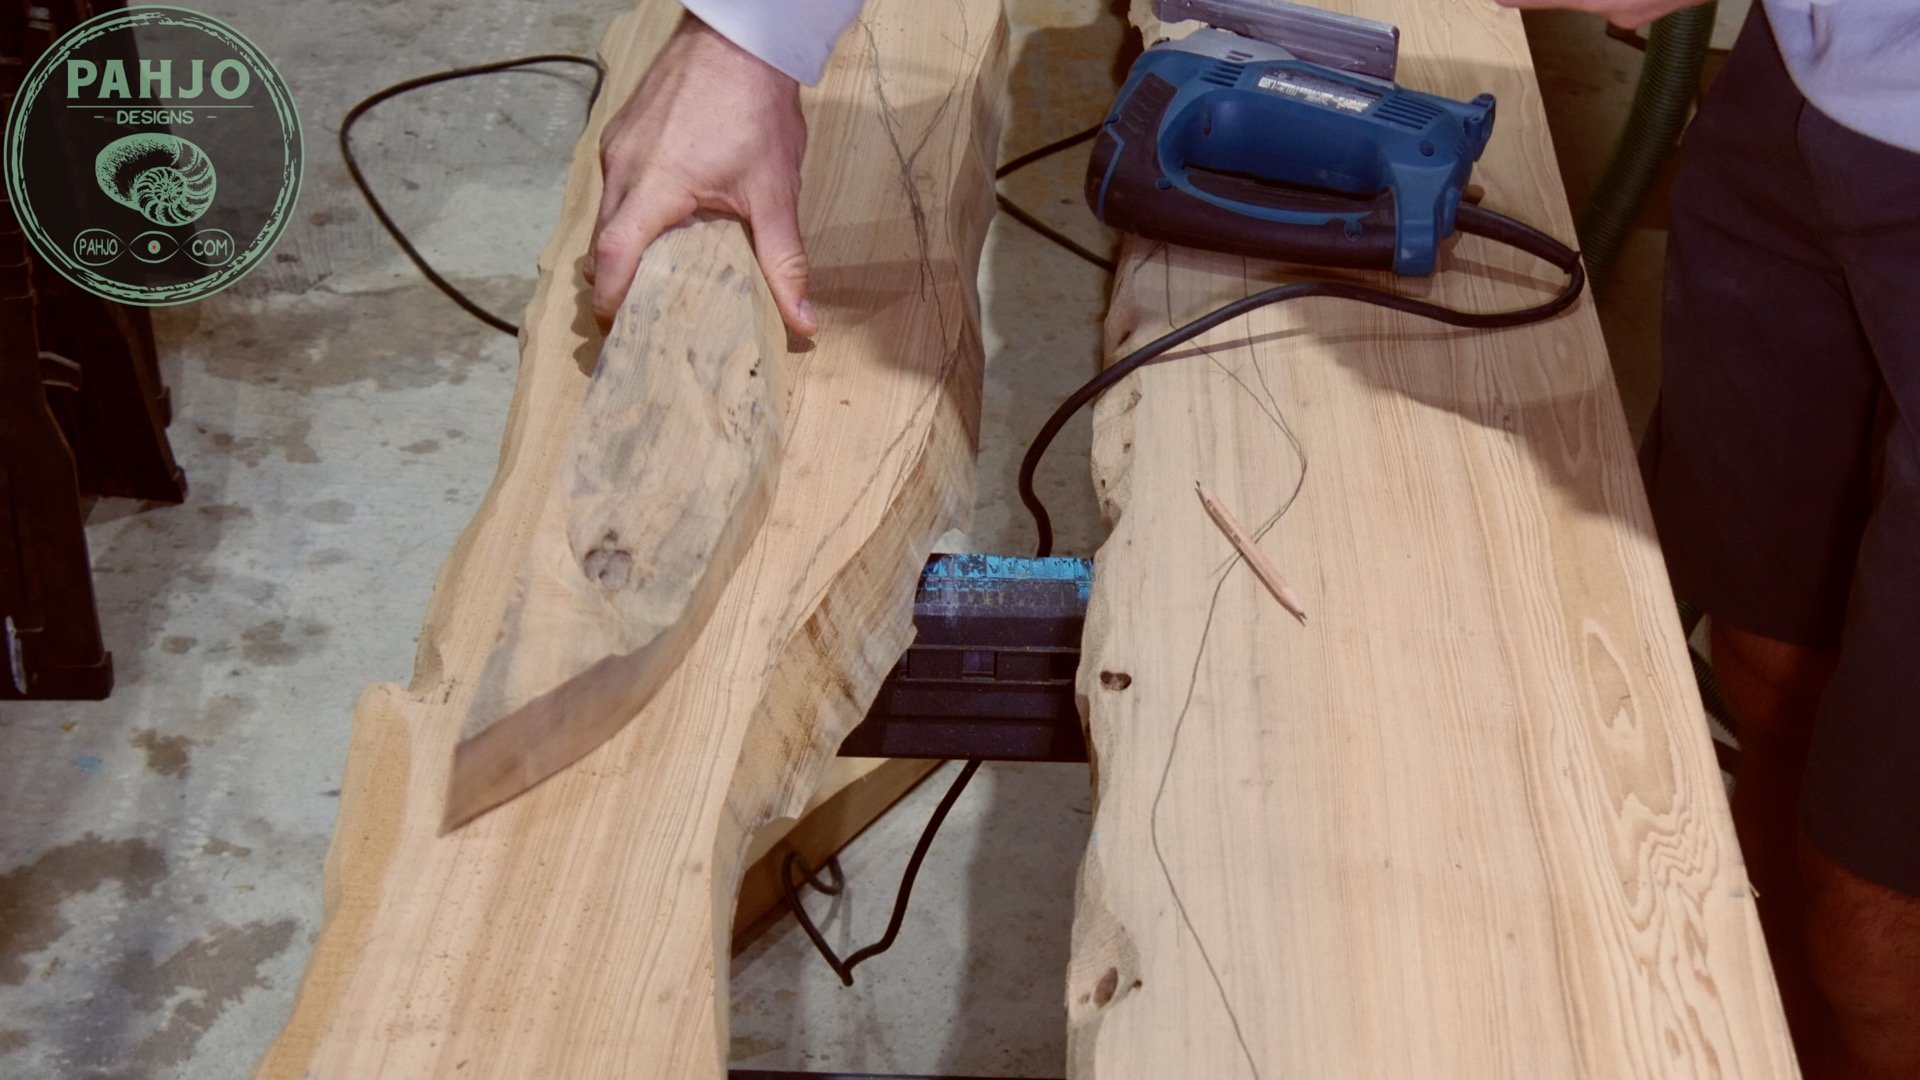
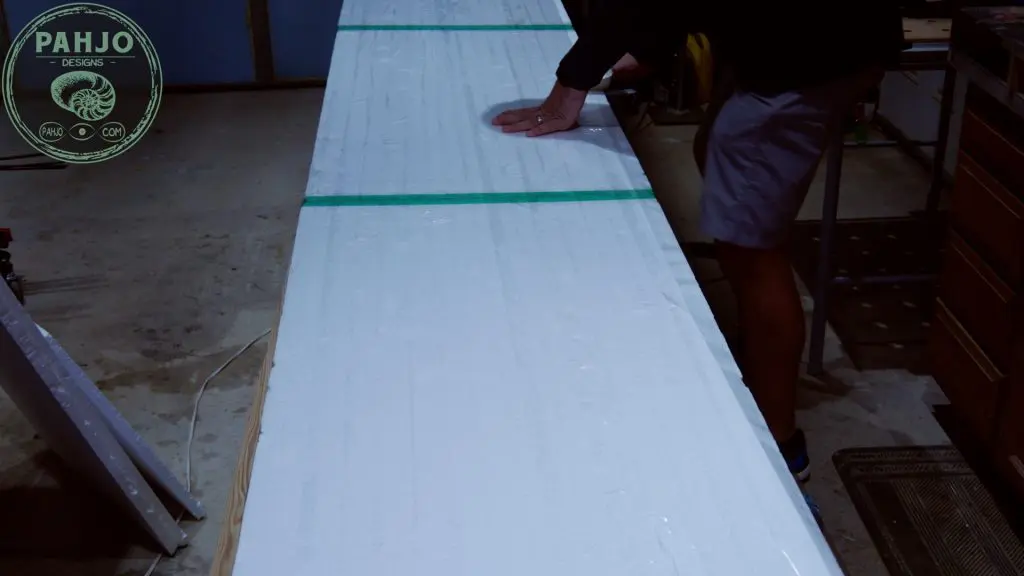
Rip Sinker Cypress Slab
For this live edge wood slab epoxy bar top, my customer requested one live edge face the pool and one straight edge facing the bar.
Sadly, I was forced to rip the top slab down the middle since this slab has 2 live edges.


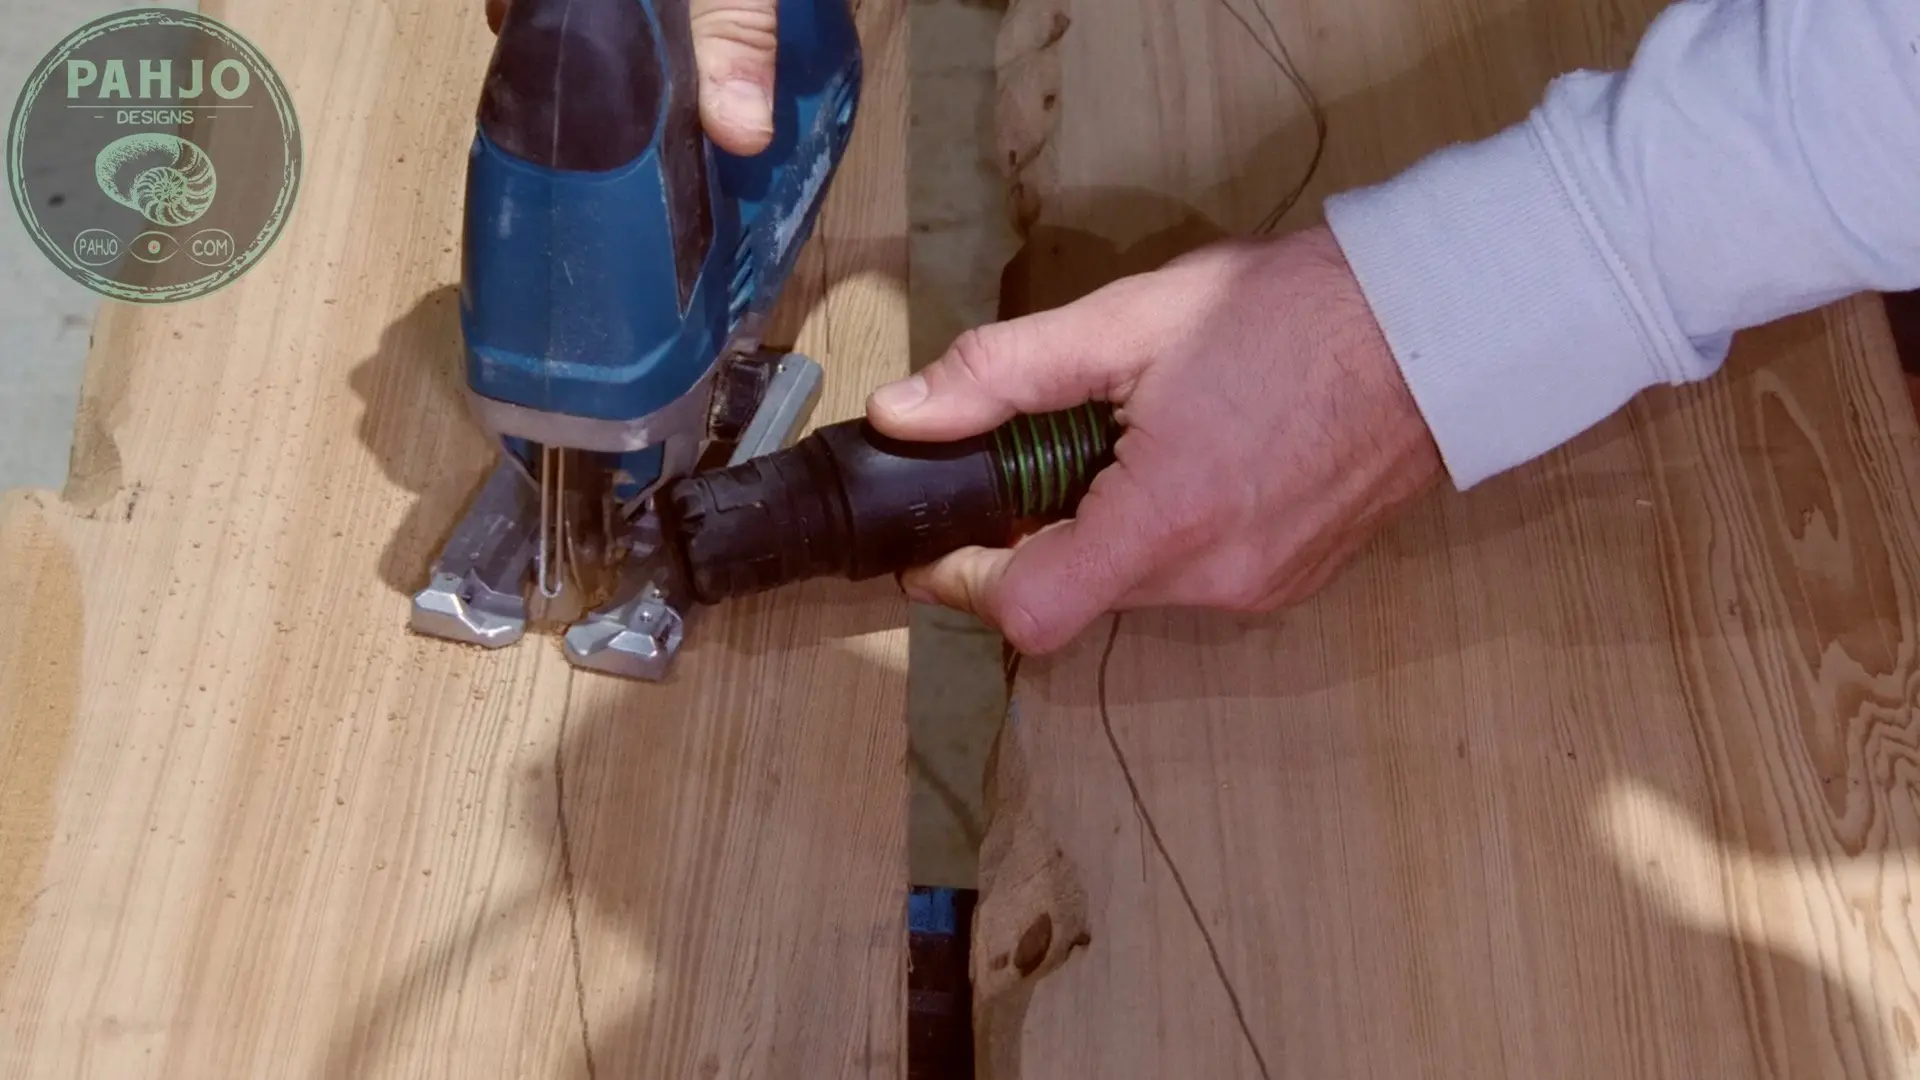
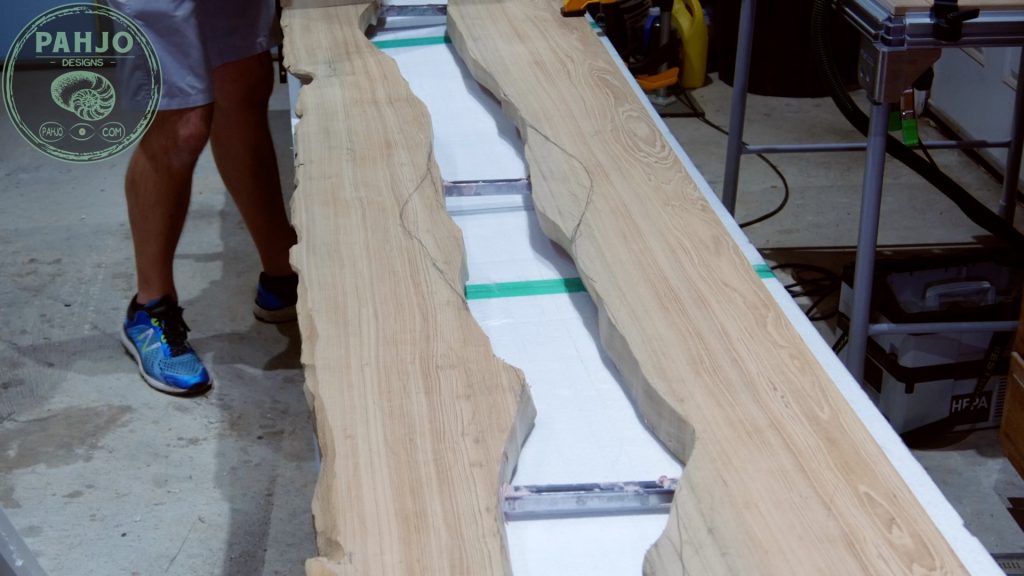
Make Artificial River
Obviously, river tables do not have straight sides.
So, I chose the best side of one part of the reclaimed wood slab for the live edge.
Next, I sketched a winding river with a pencil.


Then, I used my jigsaw to cut out the river.


Reinforce Live Edge Bar Top
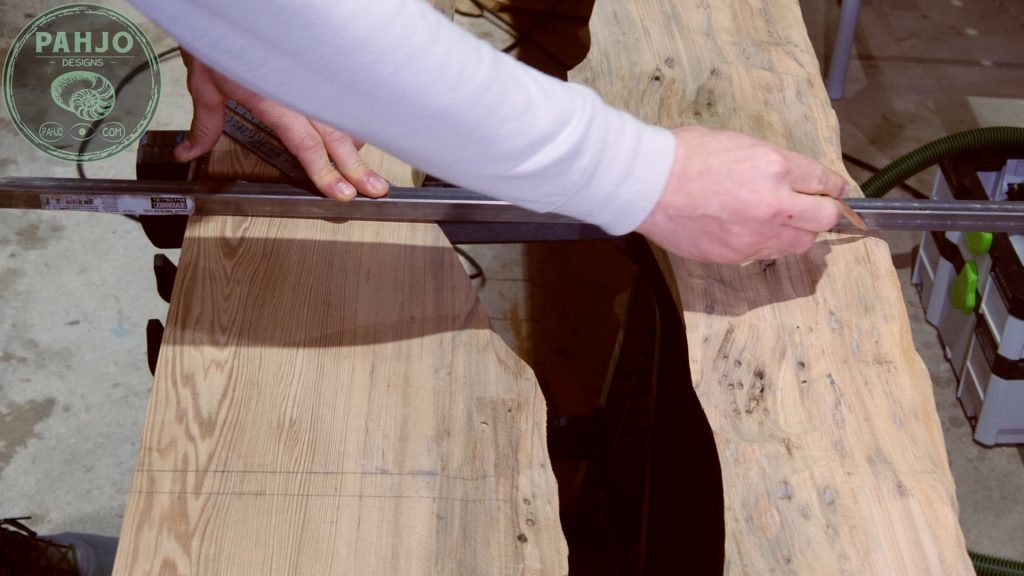
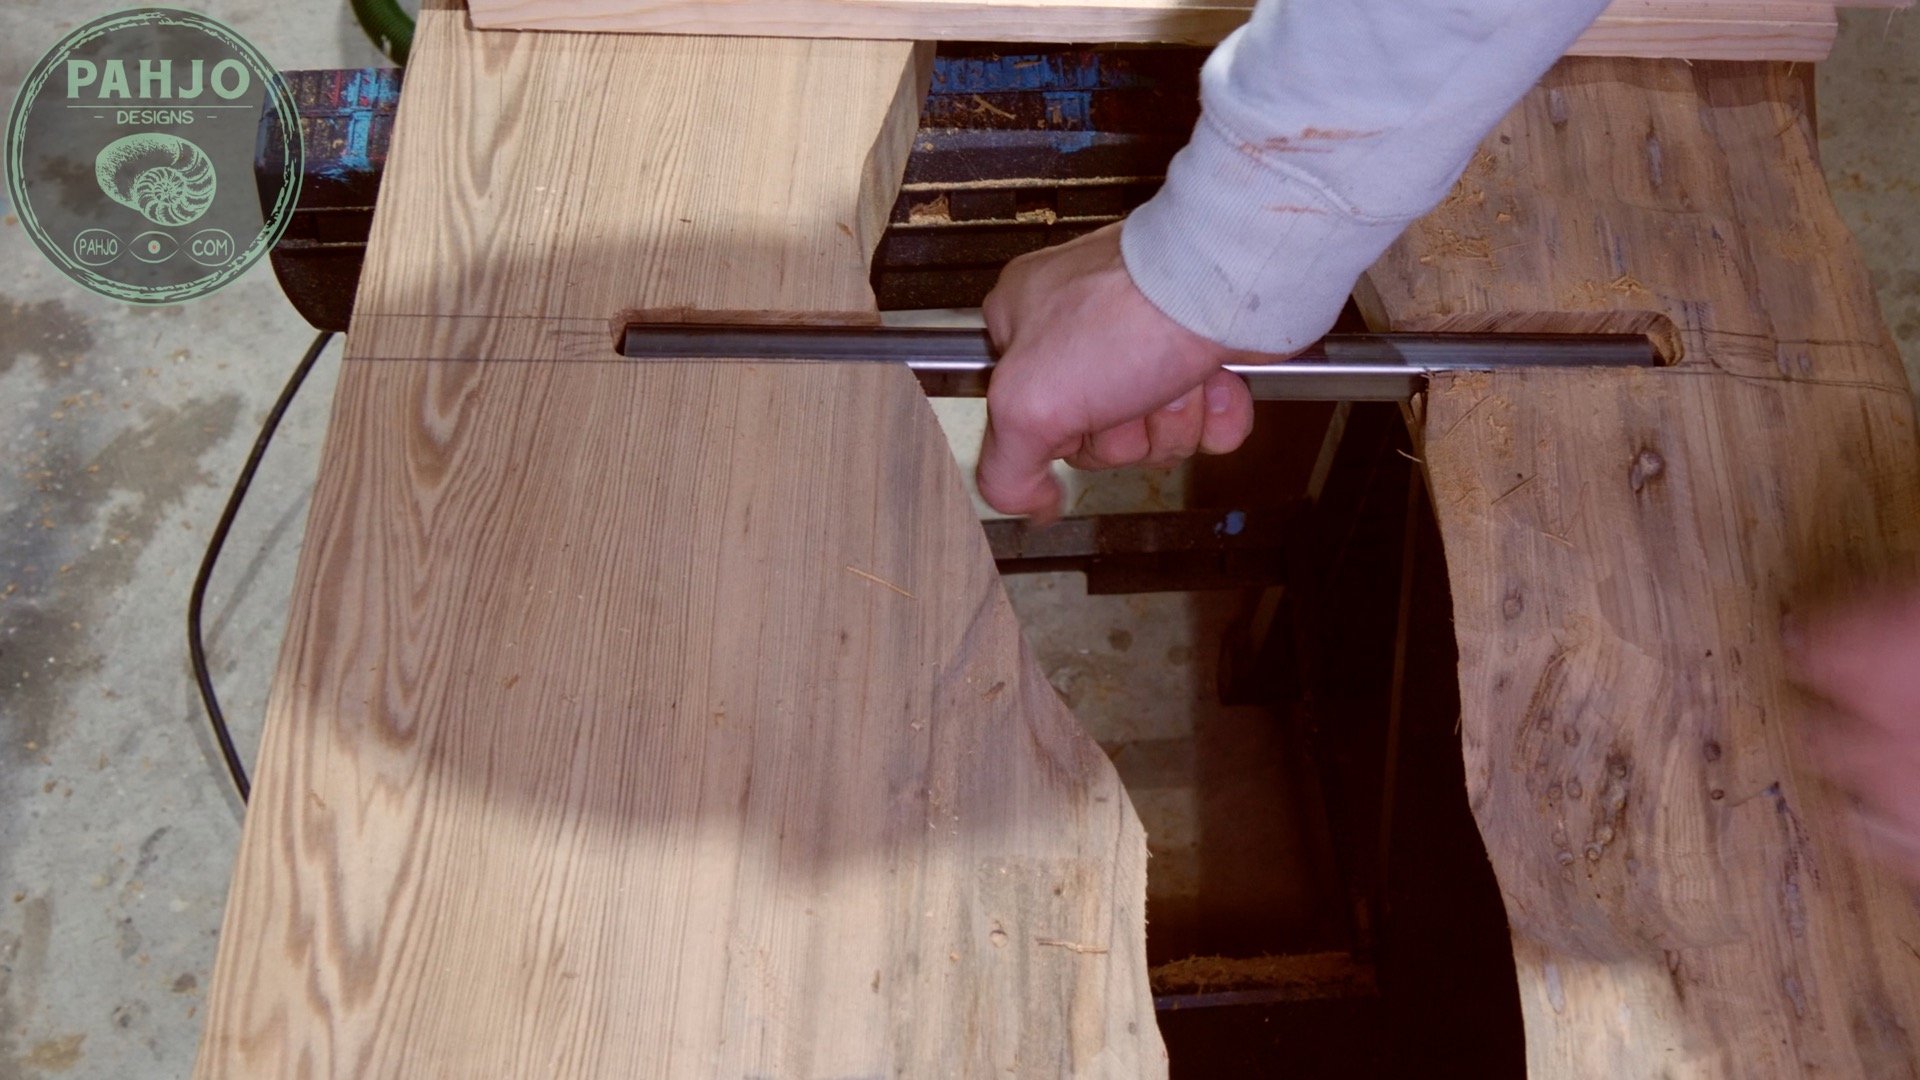
To reinforce the middle of the table, I used square steel tubing.
First, I flipped the table so the underside faced up.
Next, I spaced the 2 parts of the epoxy bar top apart to get the width of the pieces 20″ apart.
I marked the lines by using the steel tube as a guide.

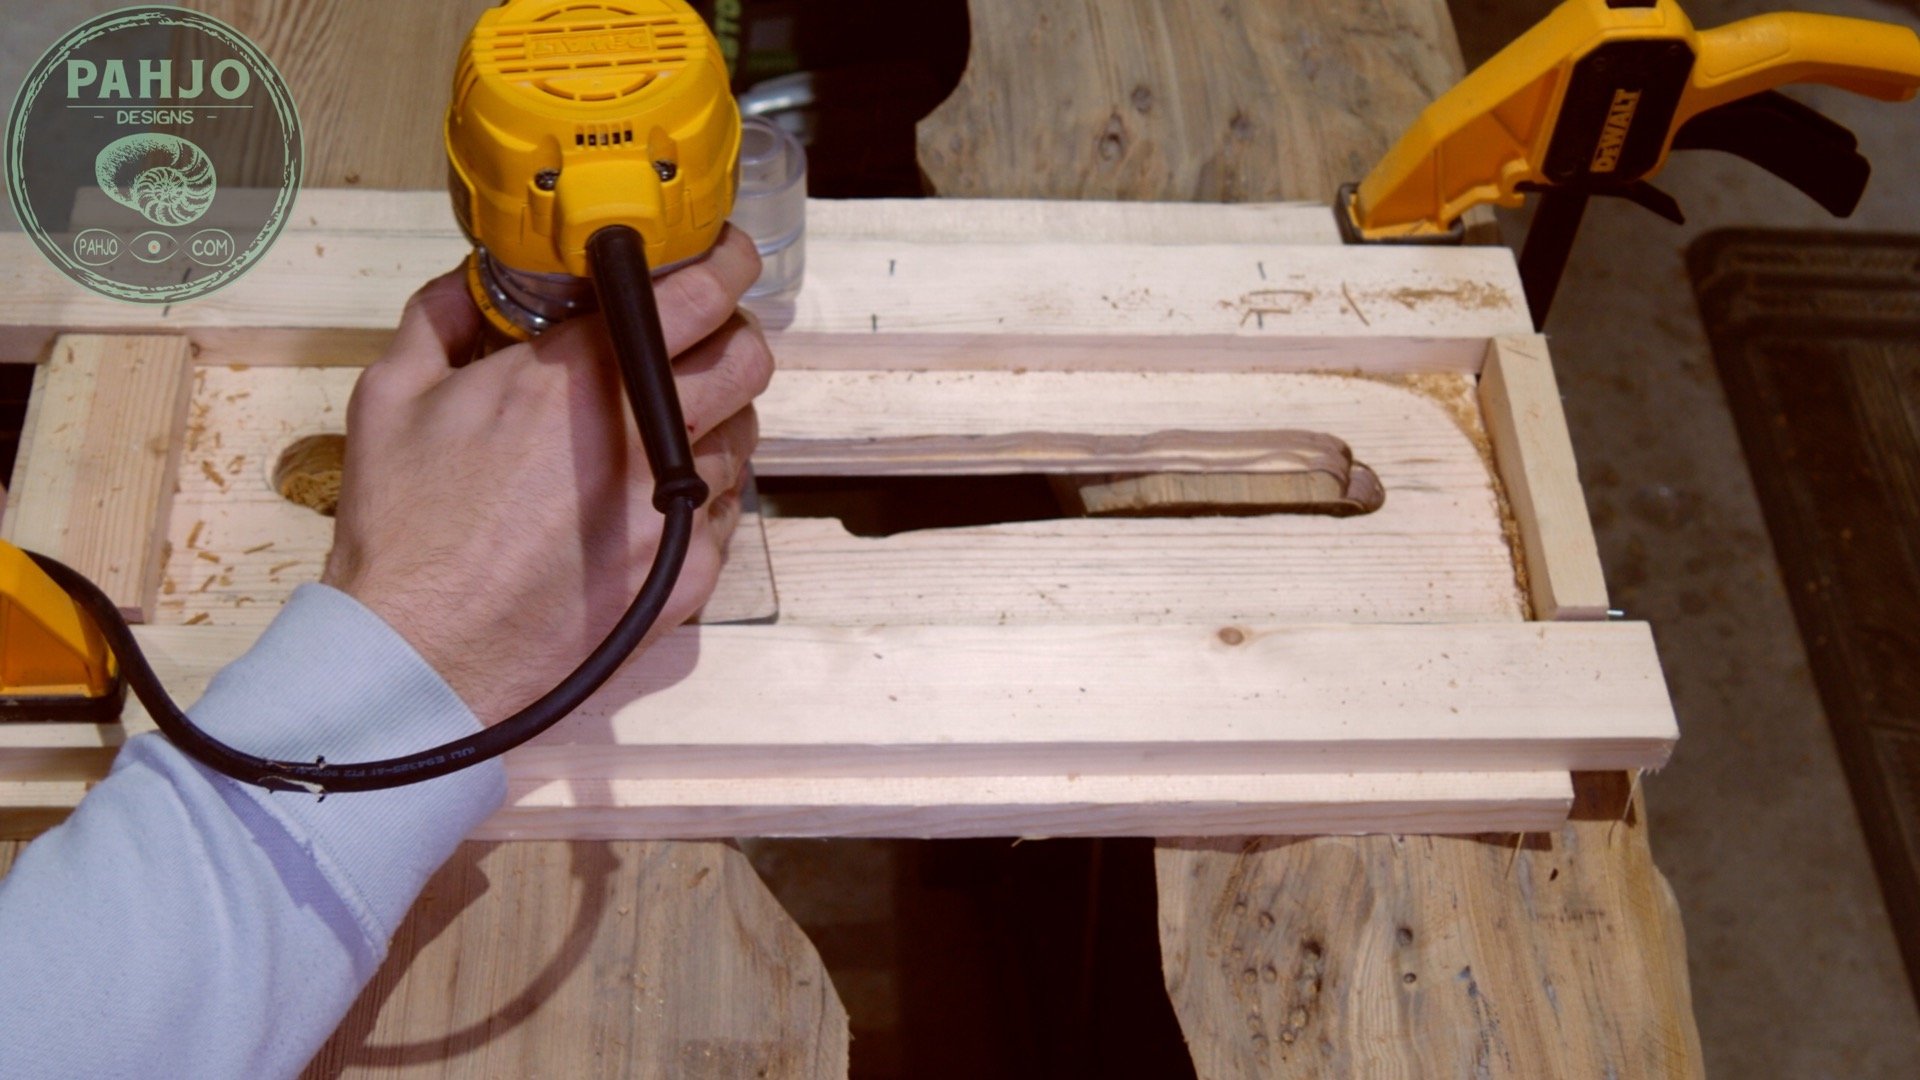
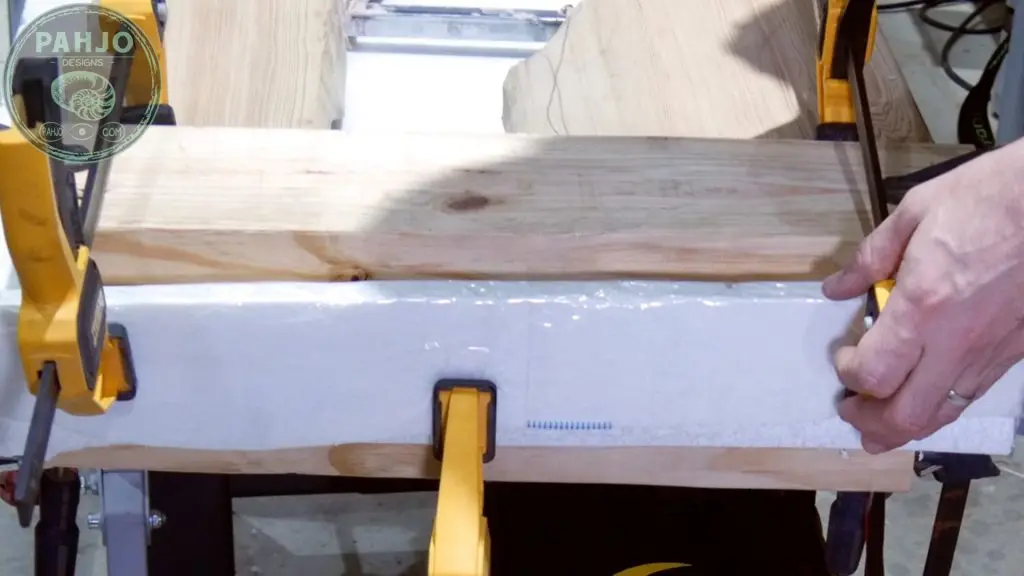
Next, I used my router & a jig I built 5 minutes before to route a channel a little wider and deeper than the tubing.


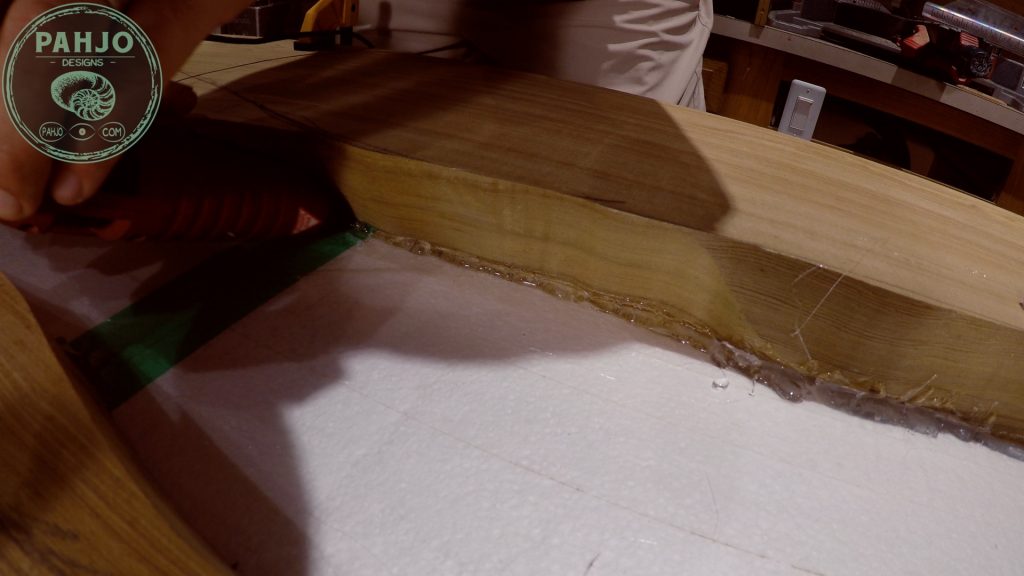
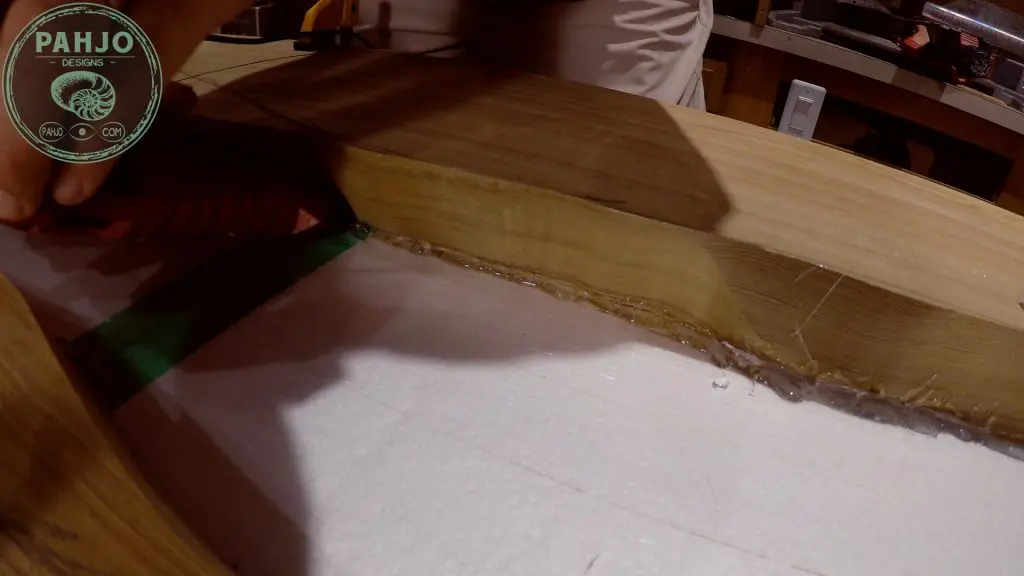
Apply Bondo
After I routed the channels, I secured the steel tubing in the channels with bondo. As you can see, I had a very special helper for this part of the project – my daughter. :)
First, we mixed the bondo according to the instructions.
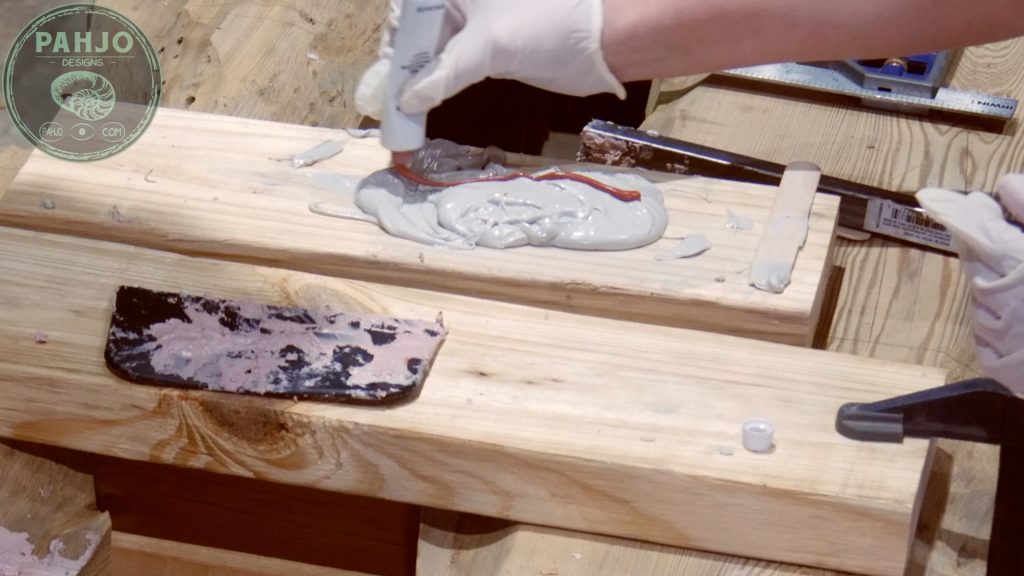
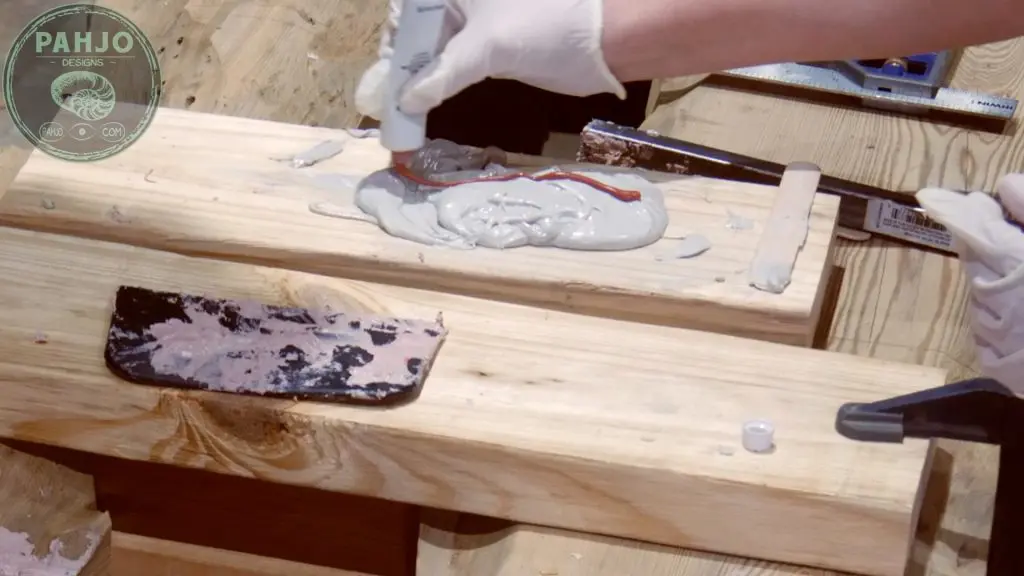
Next, we put a little bondo in the channels and placed the steel tubing on top.
Then, we covered the steel tubing with bondo.

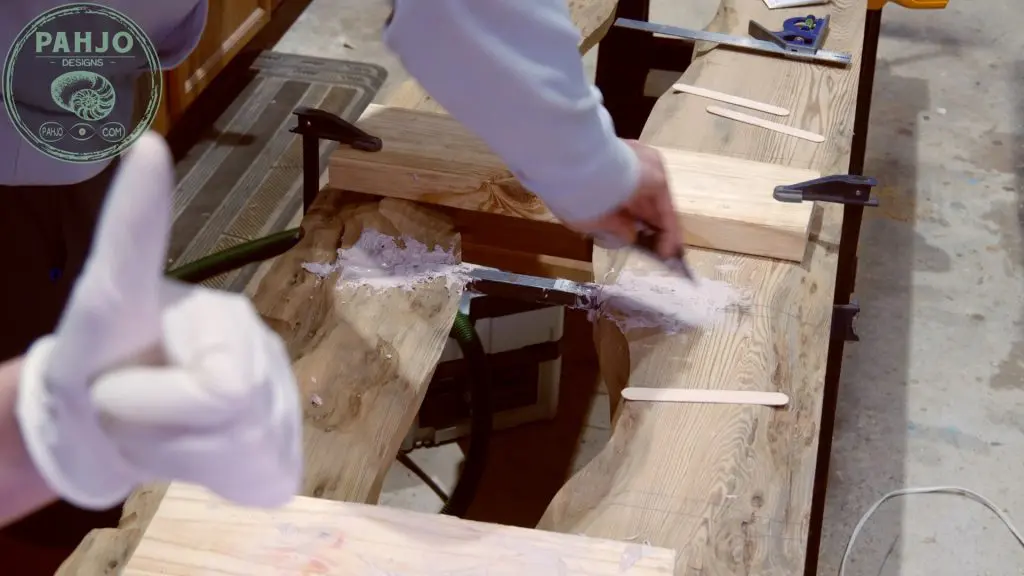
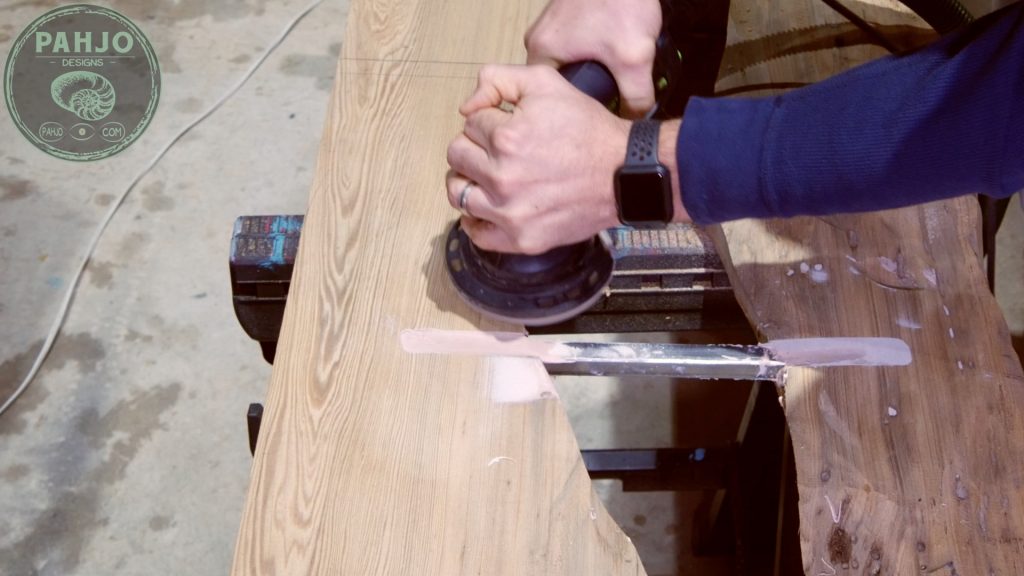
After the bondo dried, I sanded away the excess.

Epoxy Bar Top Resin Mold
Once the bondo dried, it was time to construct the resin mold.
First, I decided to use styrofoam insulation due to the size of this table.
Next, I placed 3 sheets down on the slab and secured them to each other using silicone tape and packing tape.

Then, I covered the entire side with packing tape then vaseline to serve as a release agent.

I flipped the mold over, clamped it to the slab, and flipped the entire thing over.

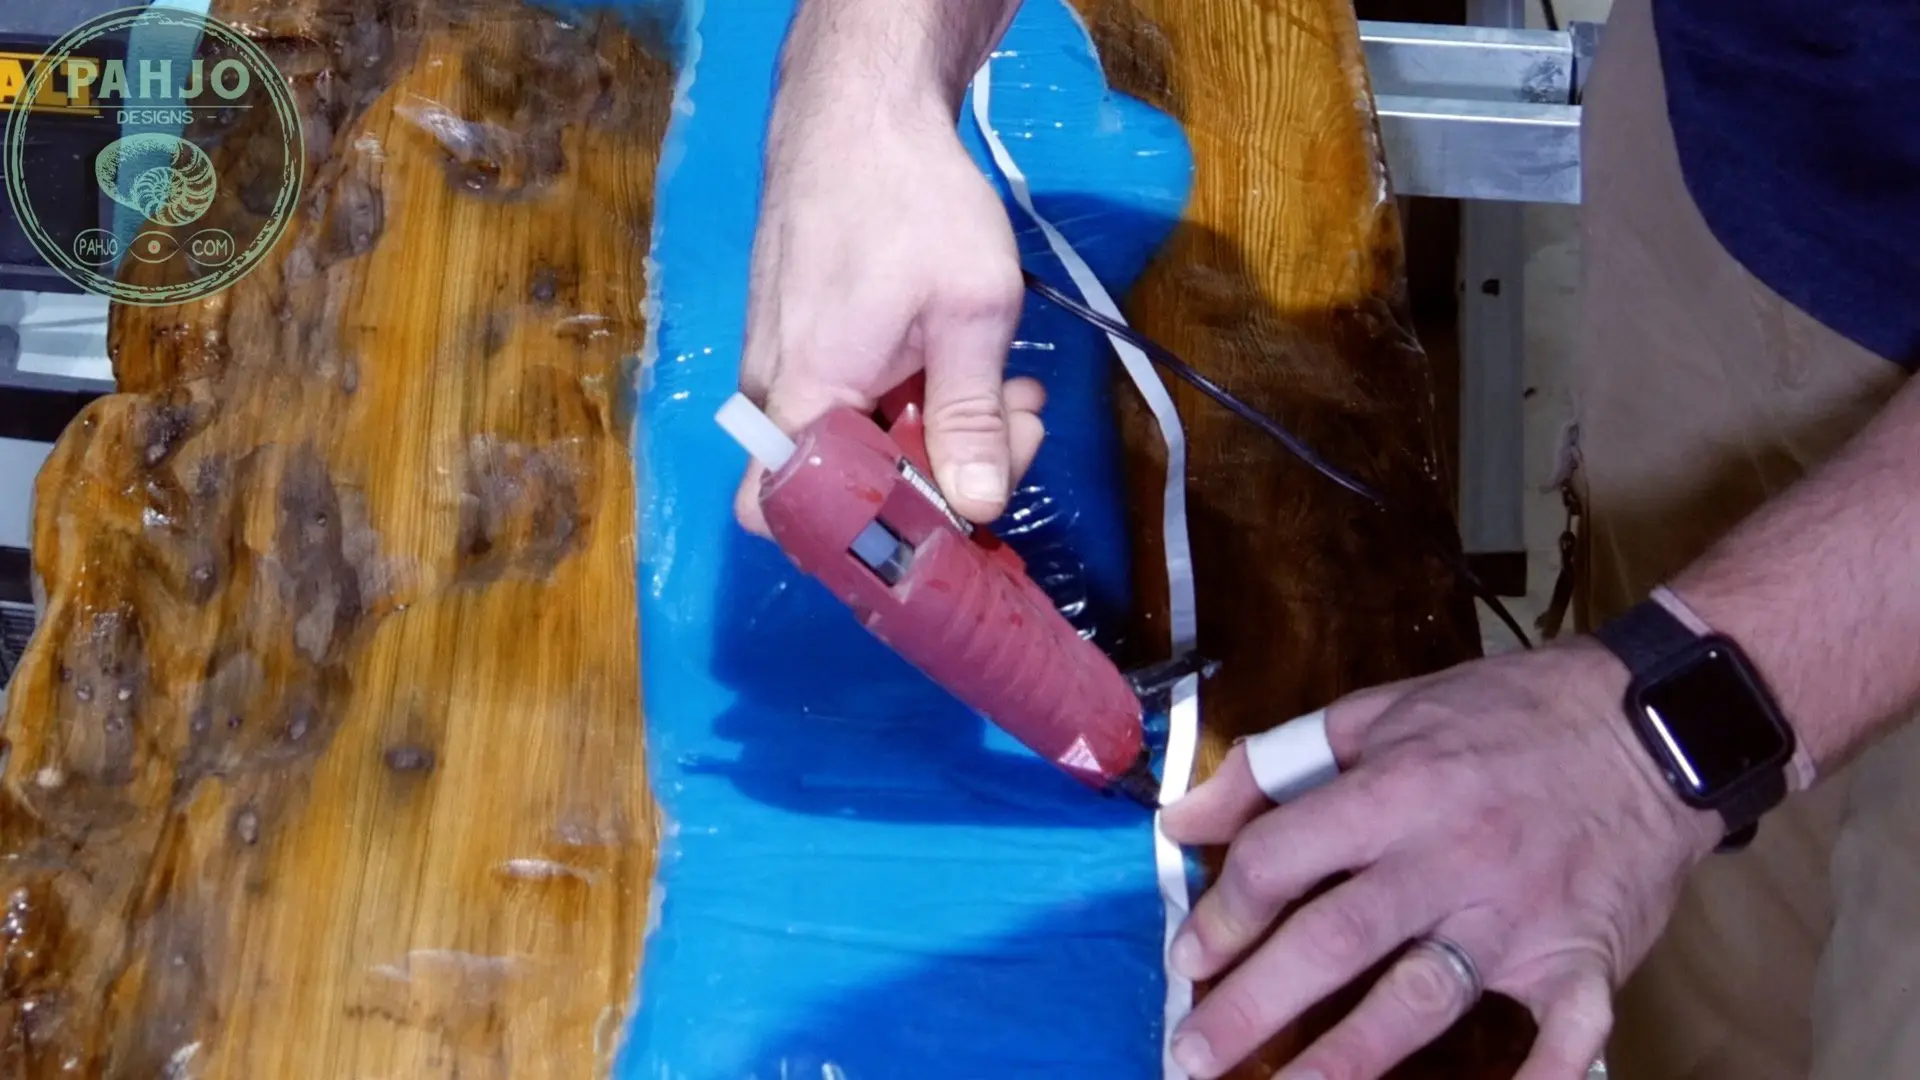
Resin Mold Ends
Since I used a large piece of styrofoam insulation as the resin mold, I left 5″ of excess at each end.
First, I used my razor knife to cut the underside of the styrofoam half way.
This allowed me to form the end of each table by folding it up.

Then, I sealed the inside of the river epoxy bar top with hot glue.
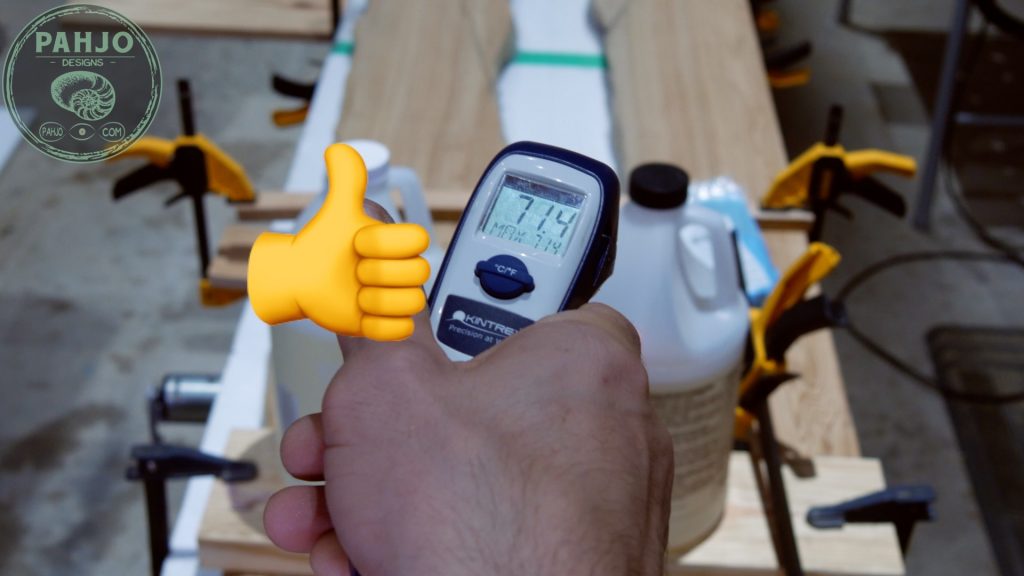
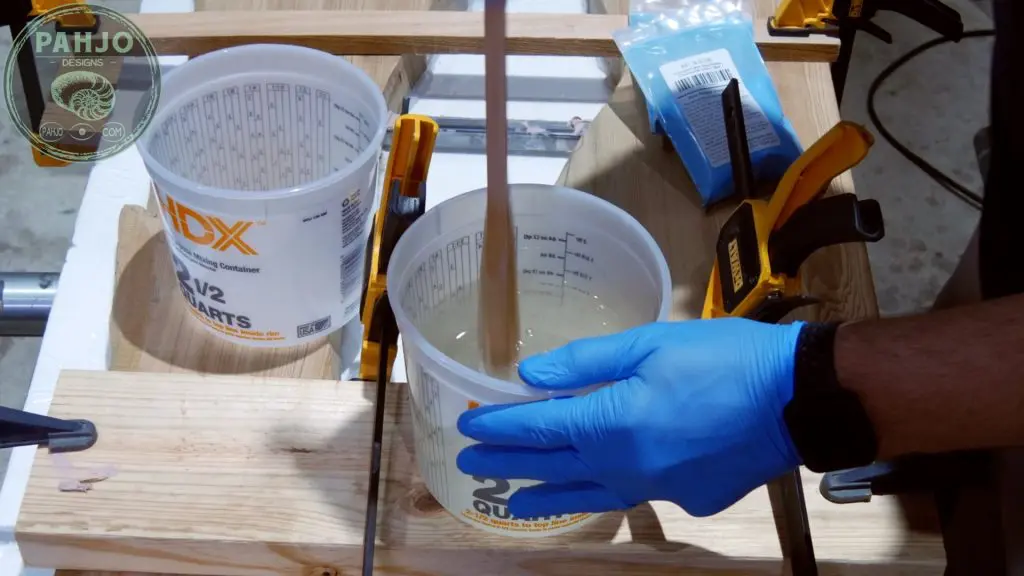
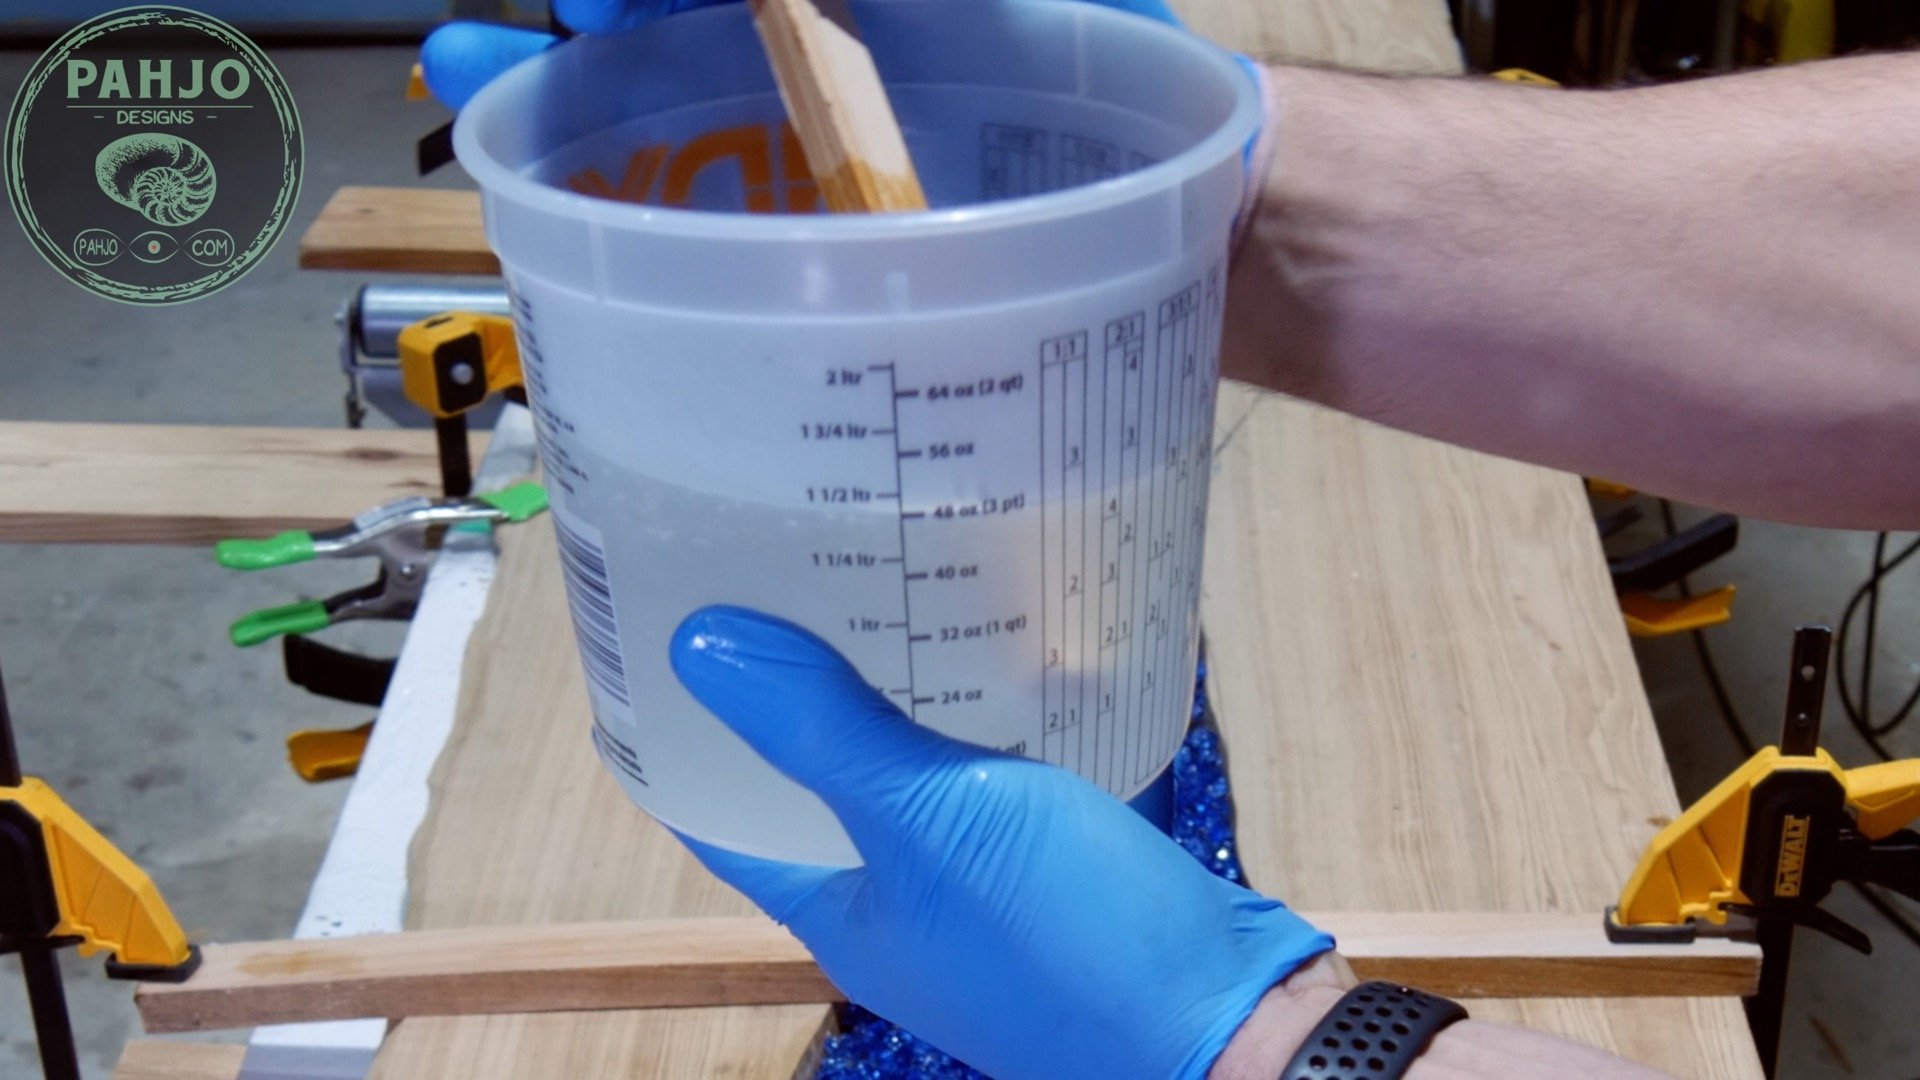
Epoxy Resin Temperature
First, I checked the resin temperature using a laser temperature gun and it was a bit low.
Also, I used this new casting epoxy resin which performs well for deeper resin pours.


The temperature is very important when mixing and pouring epoxy resin.
So, I placed the resin outside sun for about 10 minutes until it reached 70 degrees.
As you can see, a laser temperature gun is very handy to get an accurate temperature of resin.

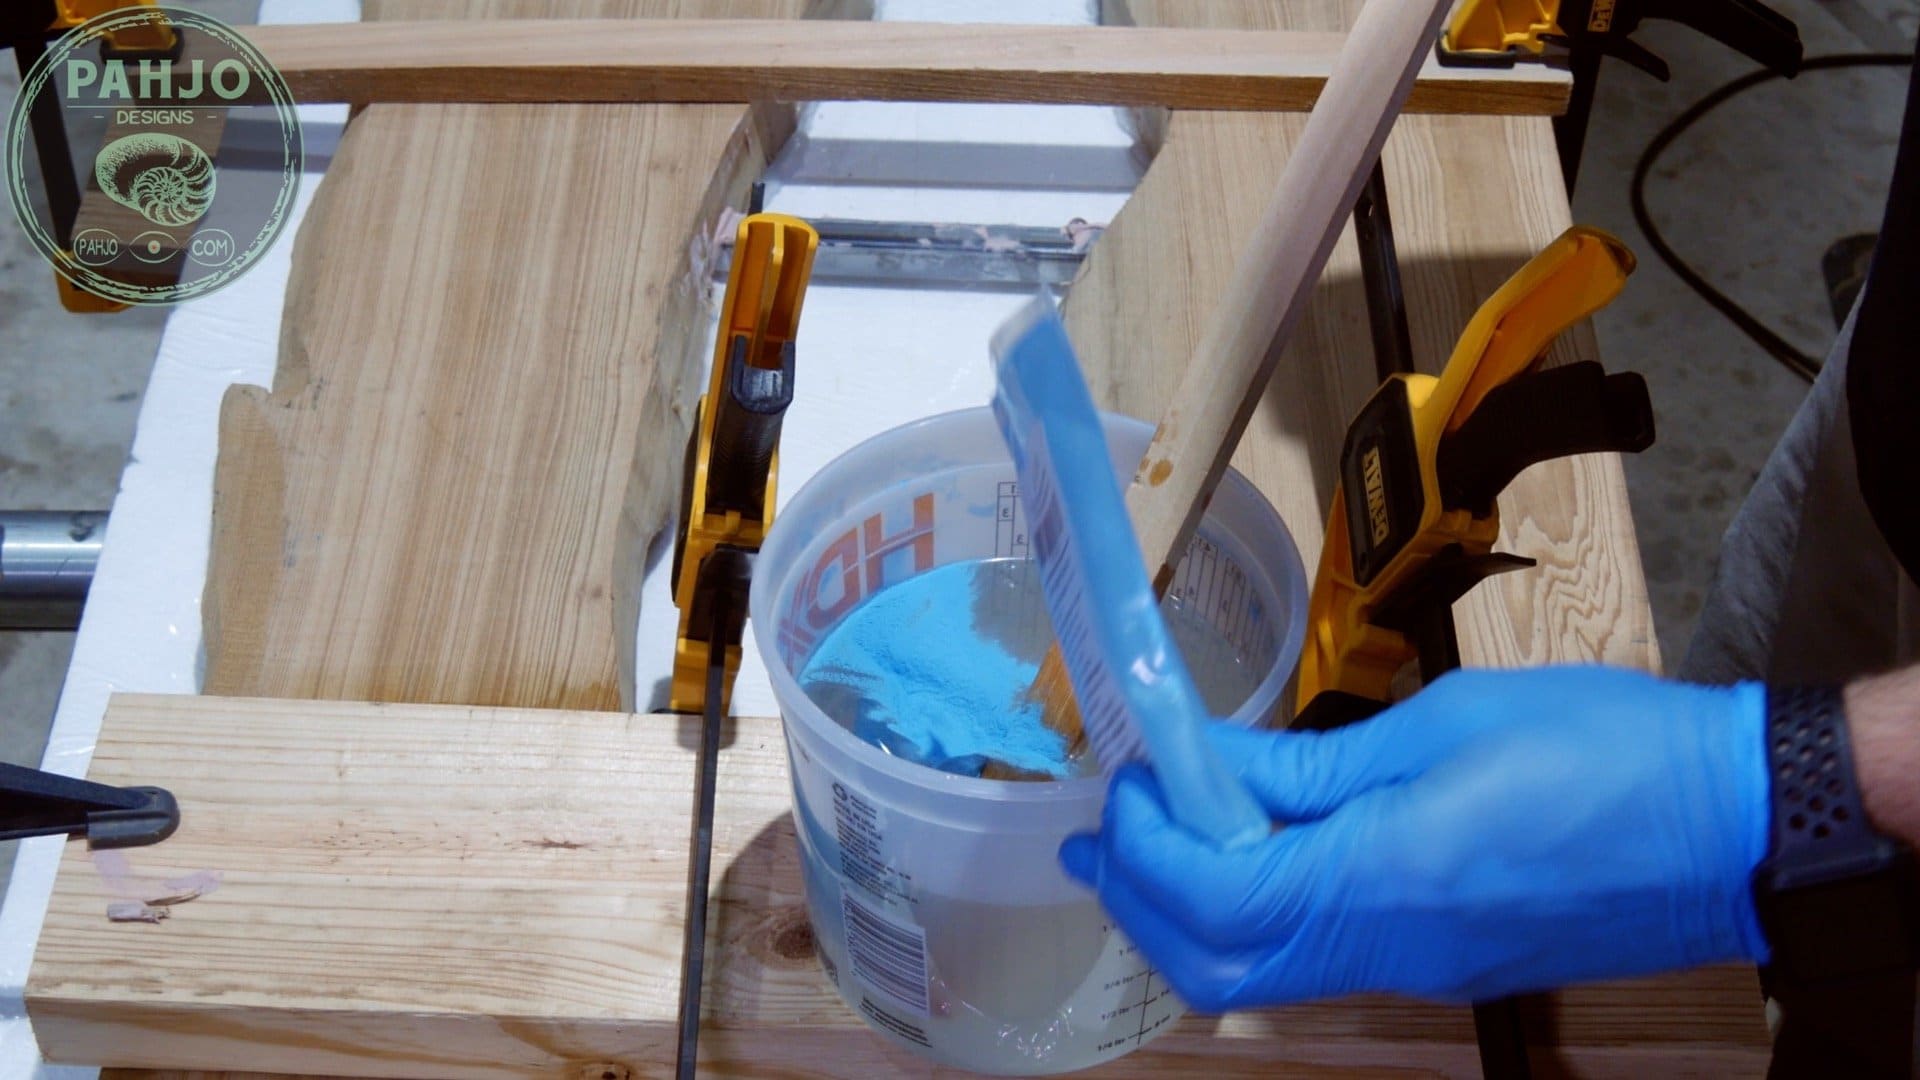
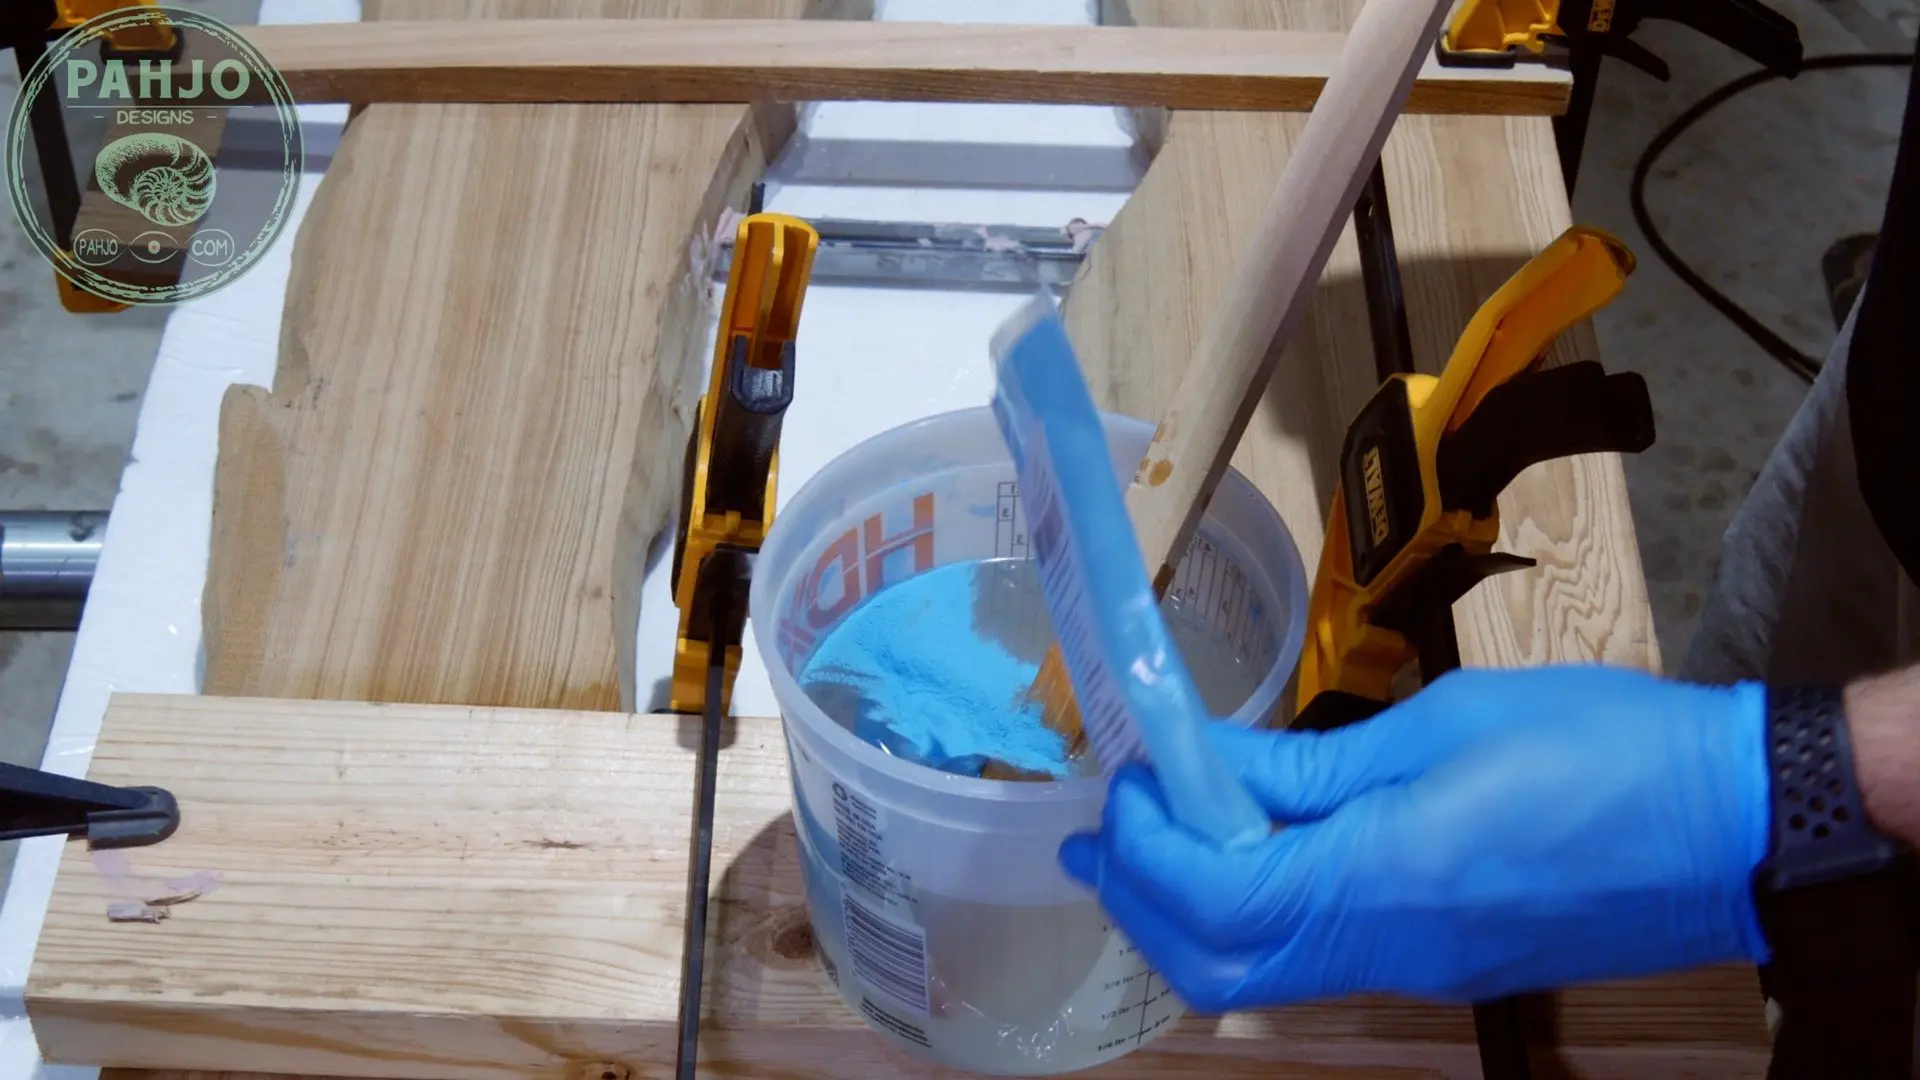
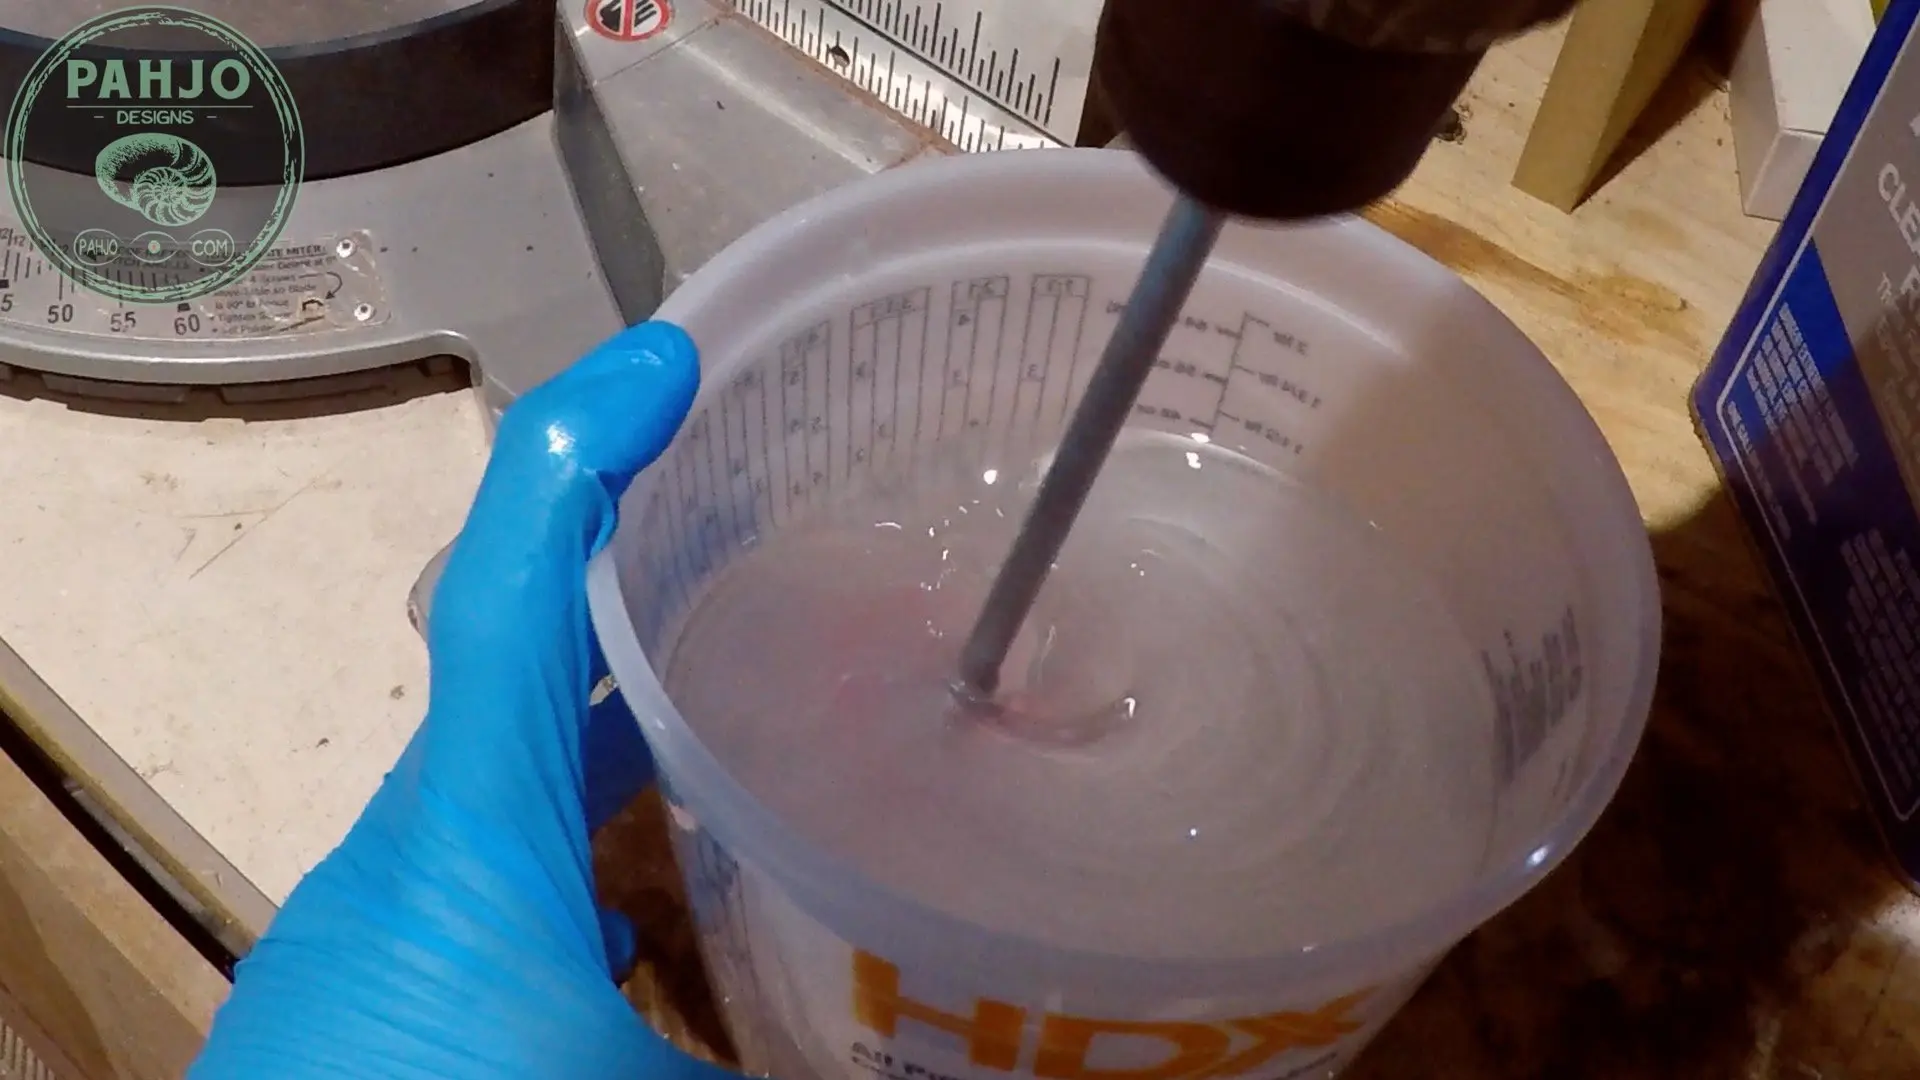
Resin Glow Powder Mixing
First, I mixed the epoxy resin per the instructions.
Please note, it is vital to follow the instructions for the type of resin you plan to use.
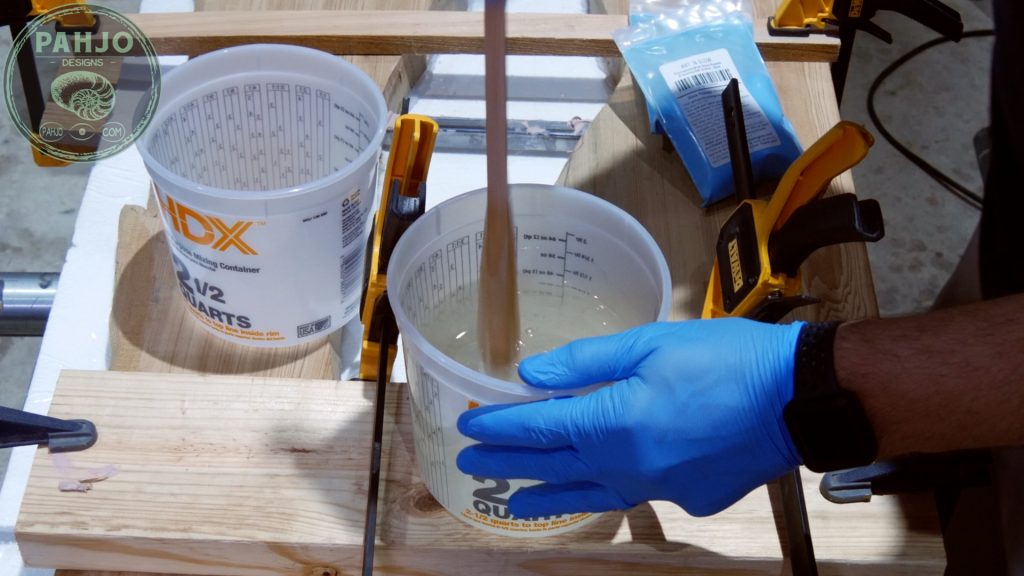
Next, I added the glow powder and stirred for about 5 minutes.
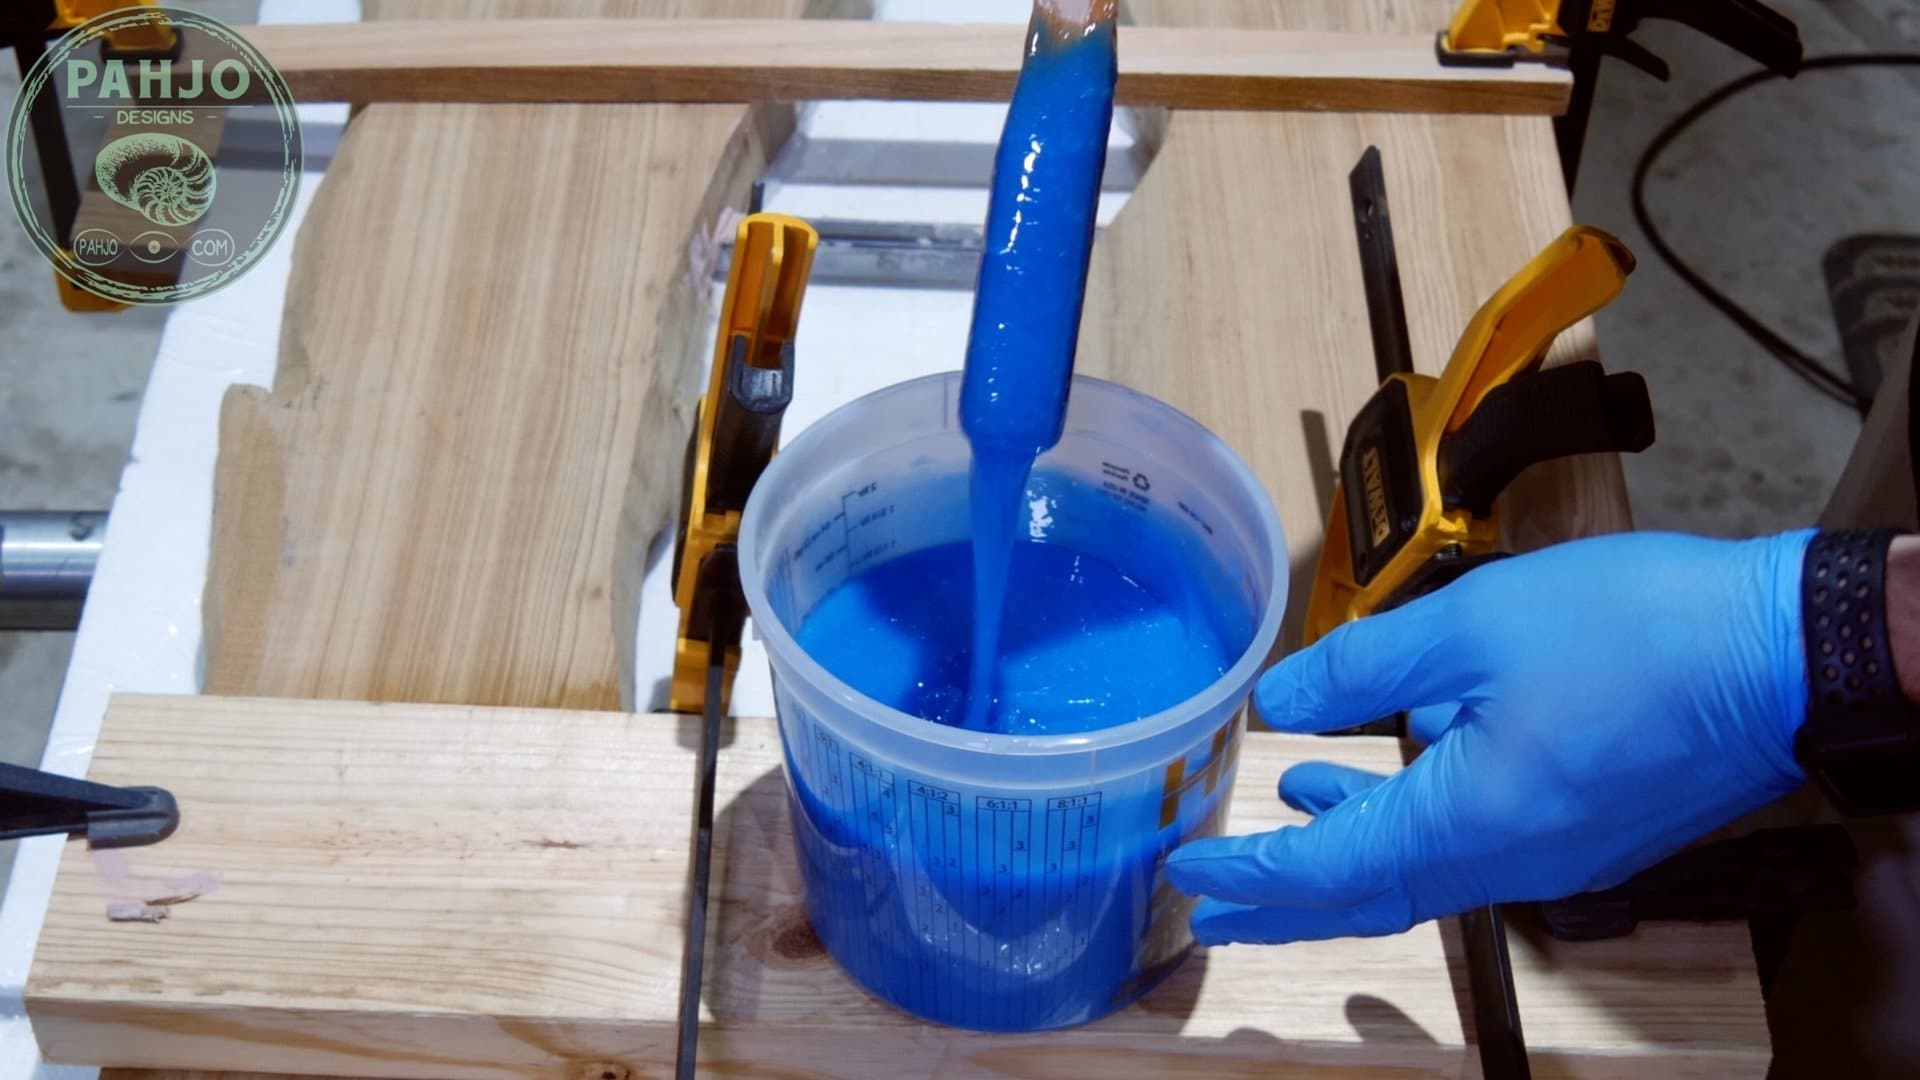

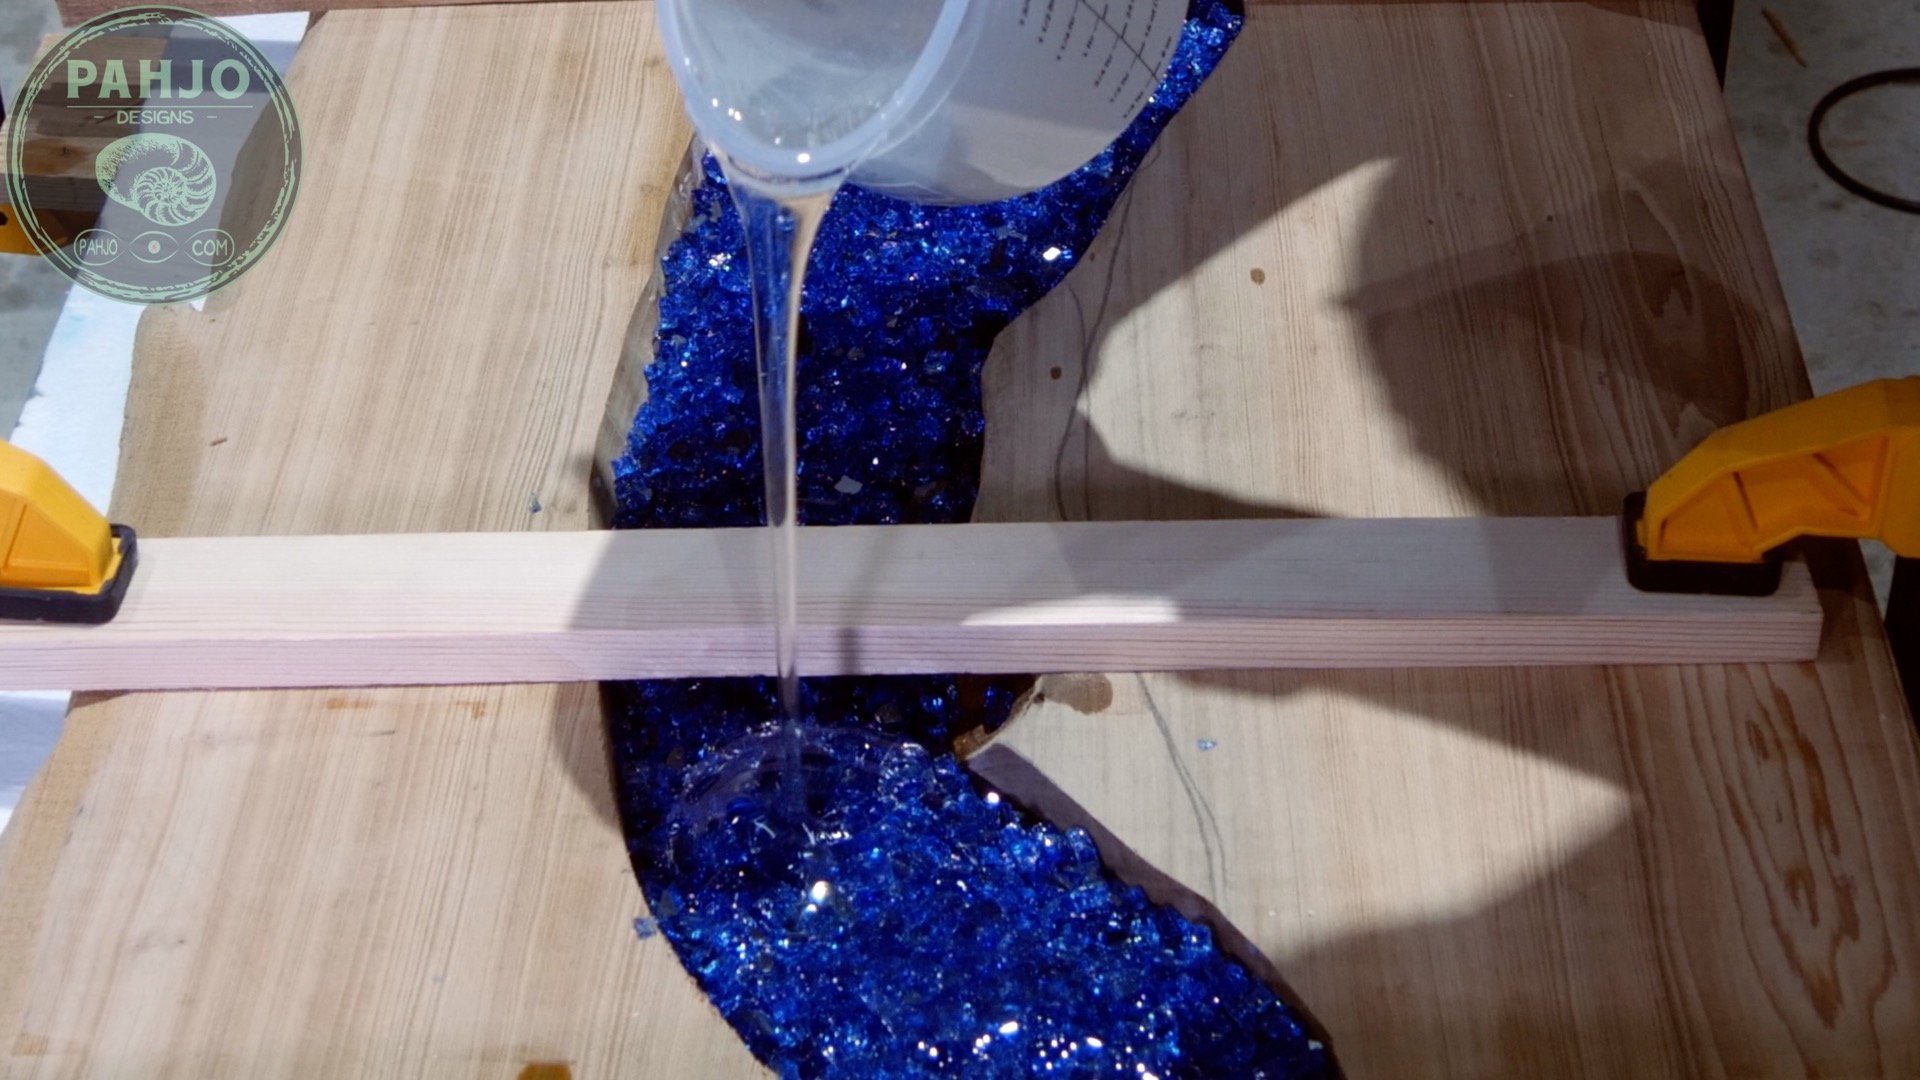
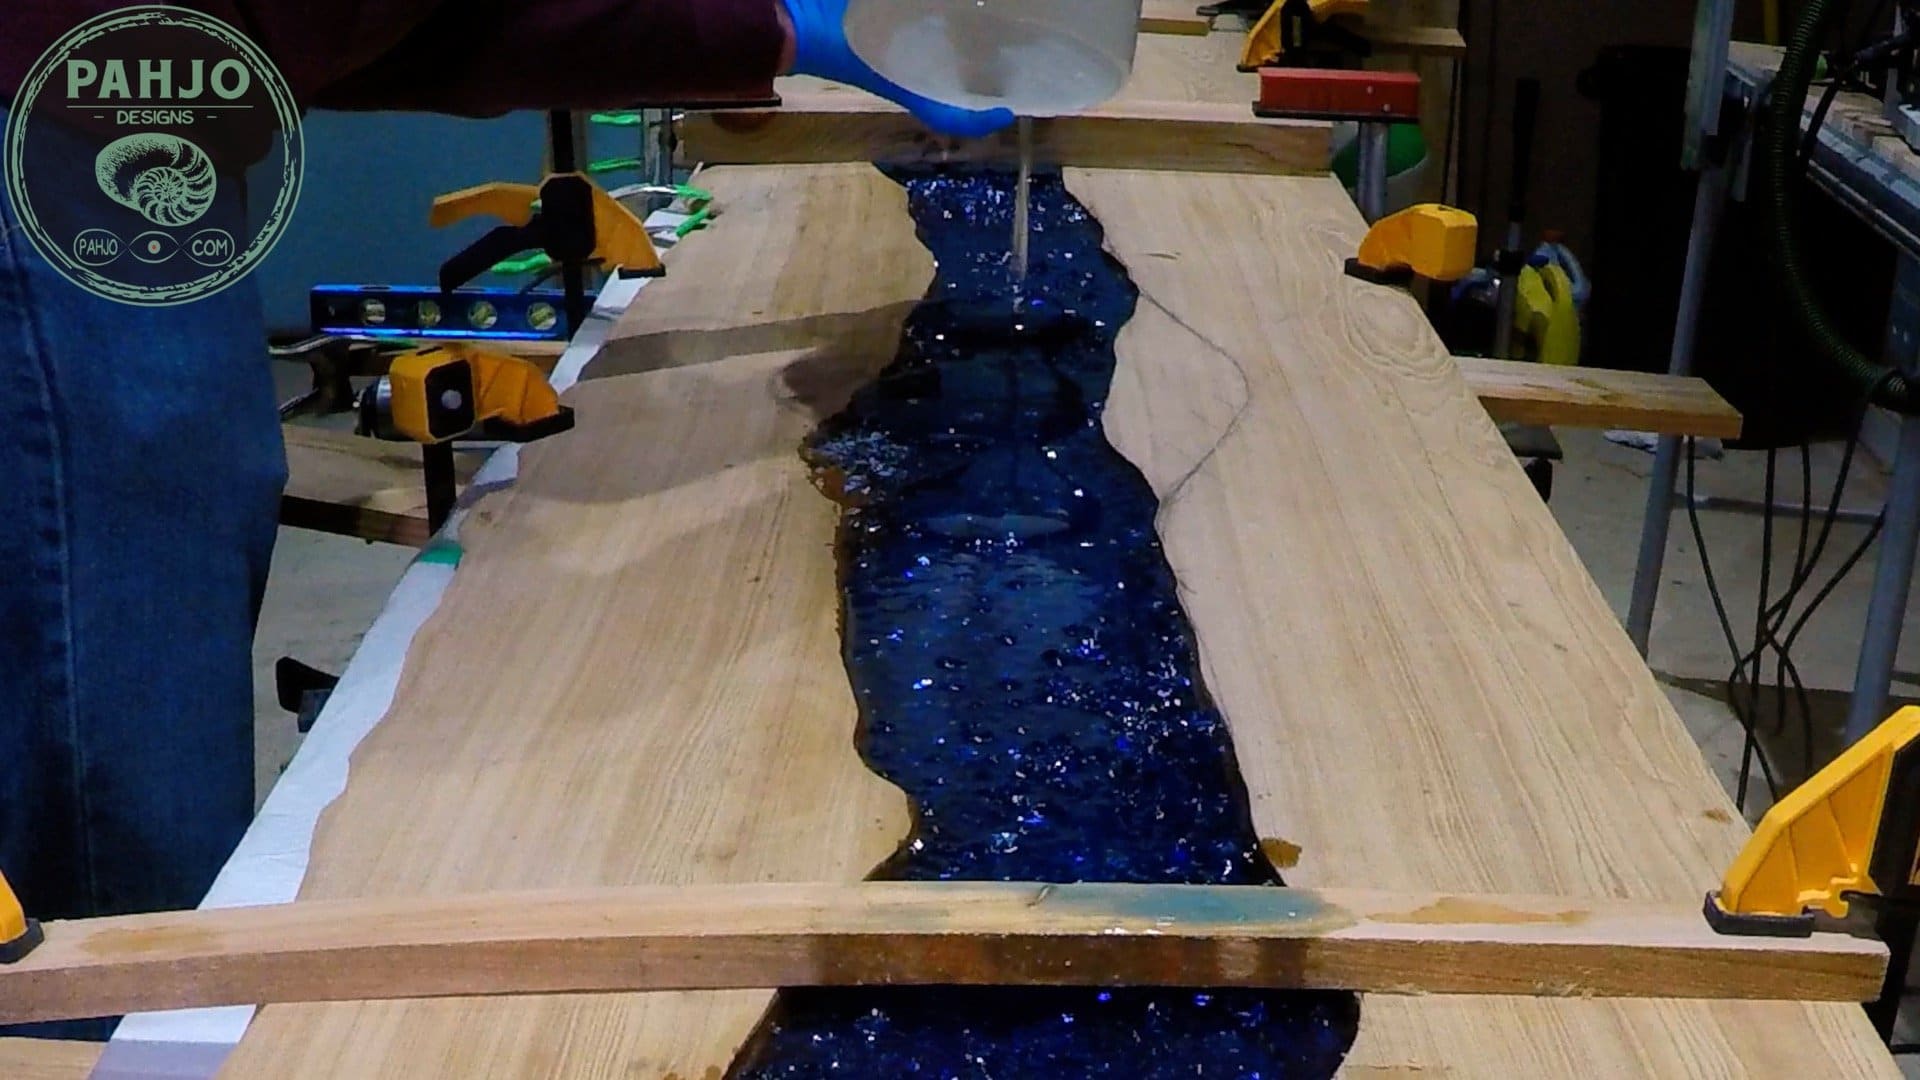
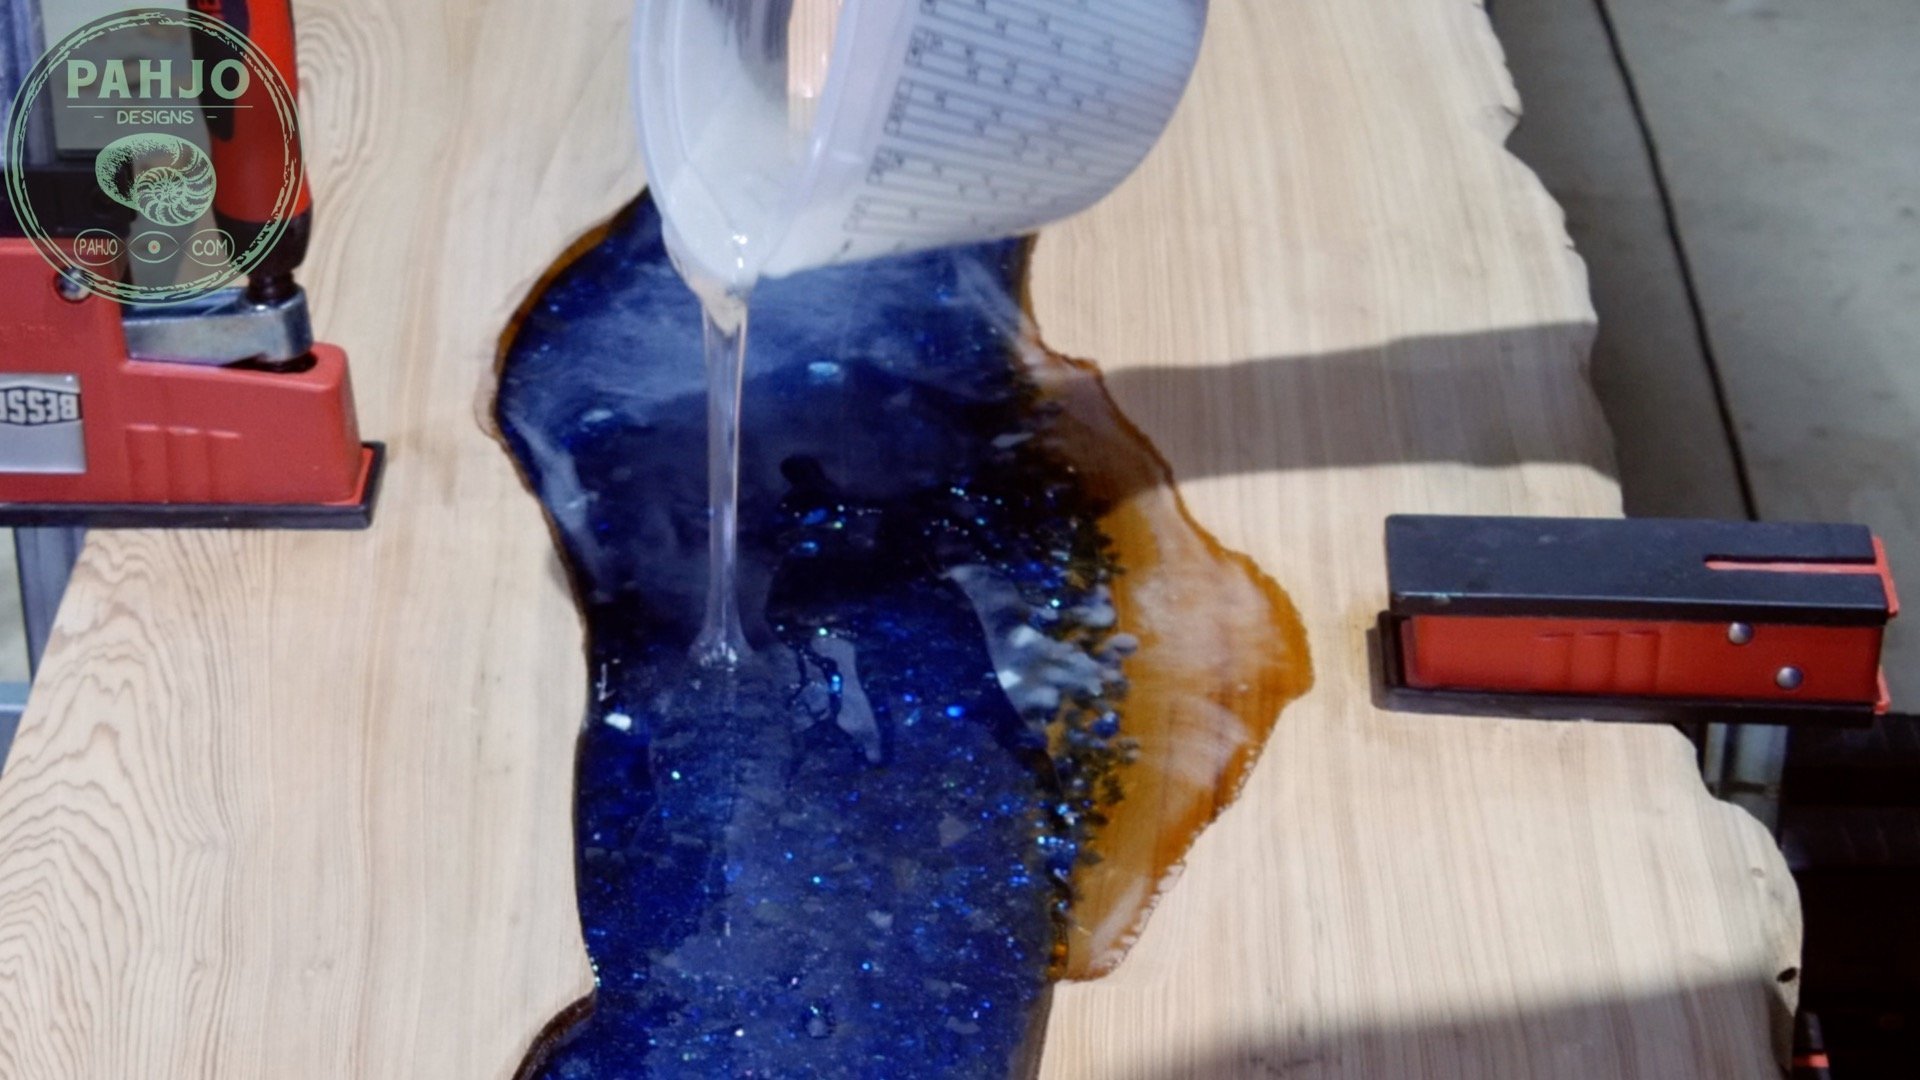
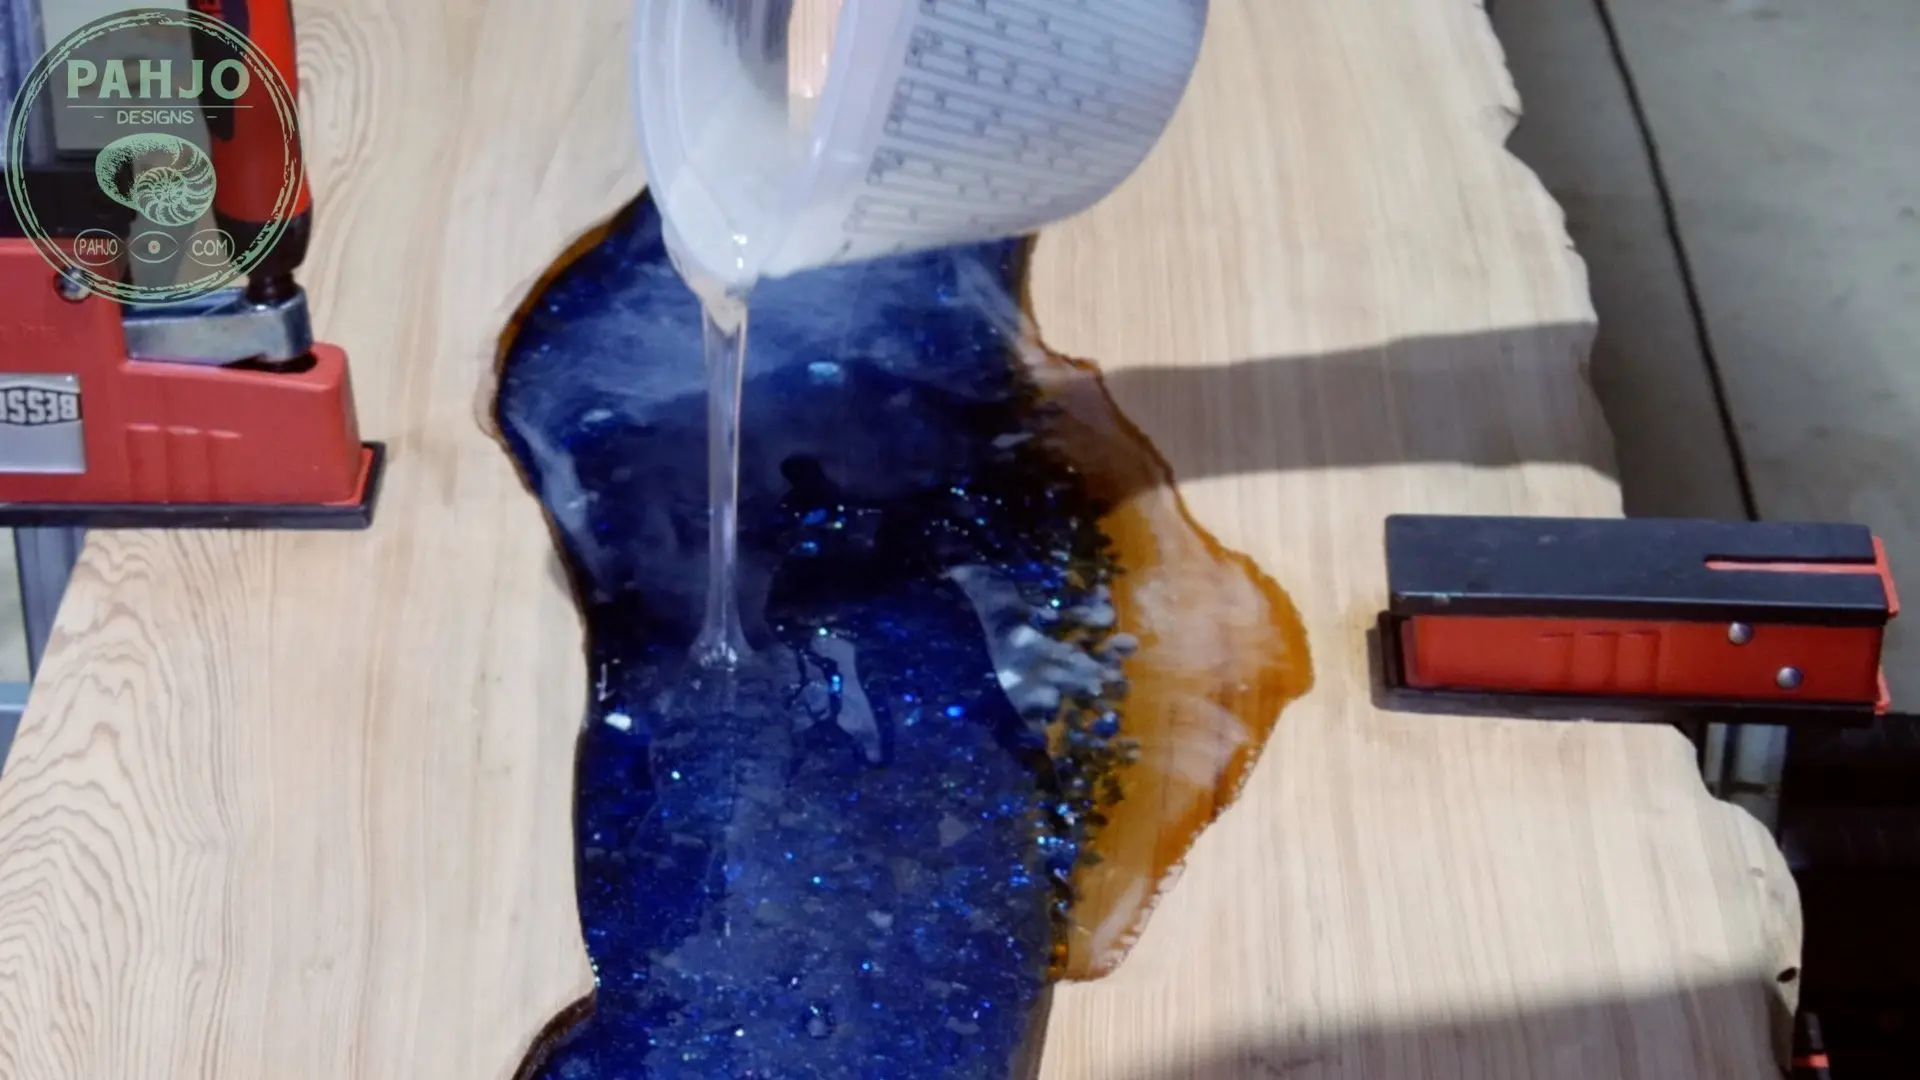
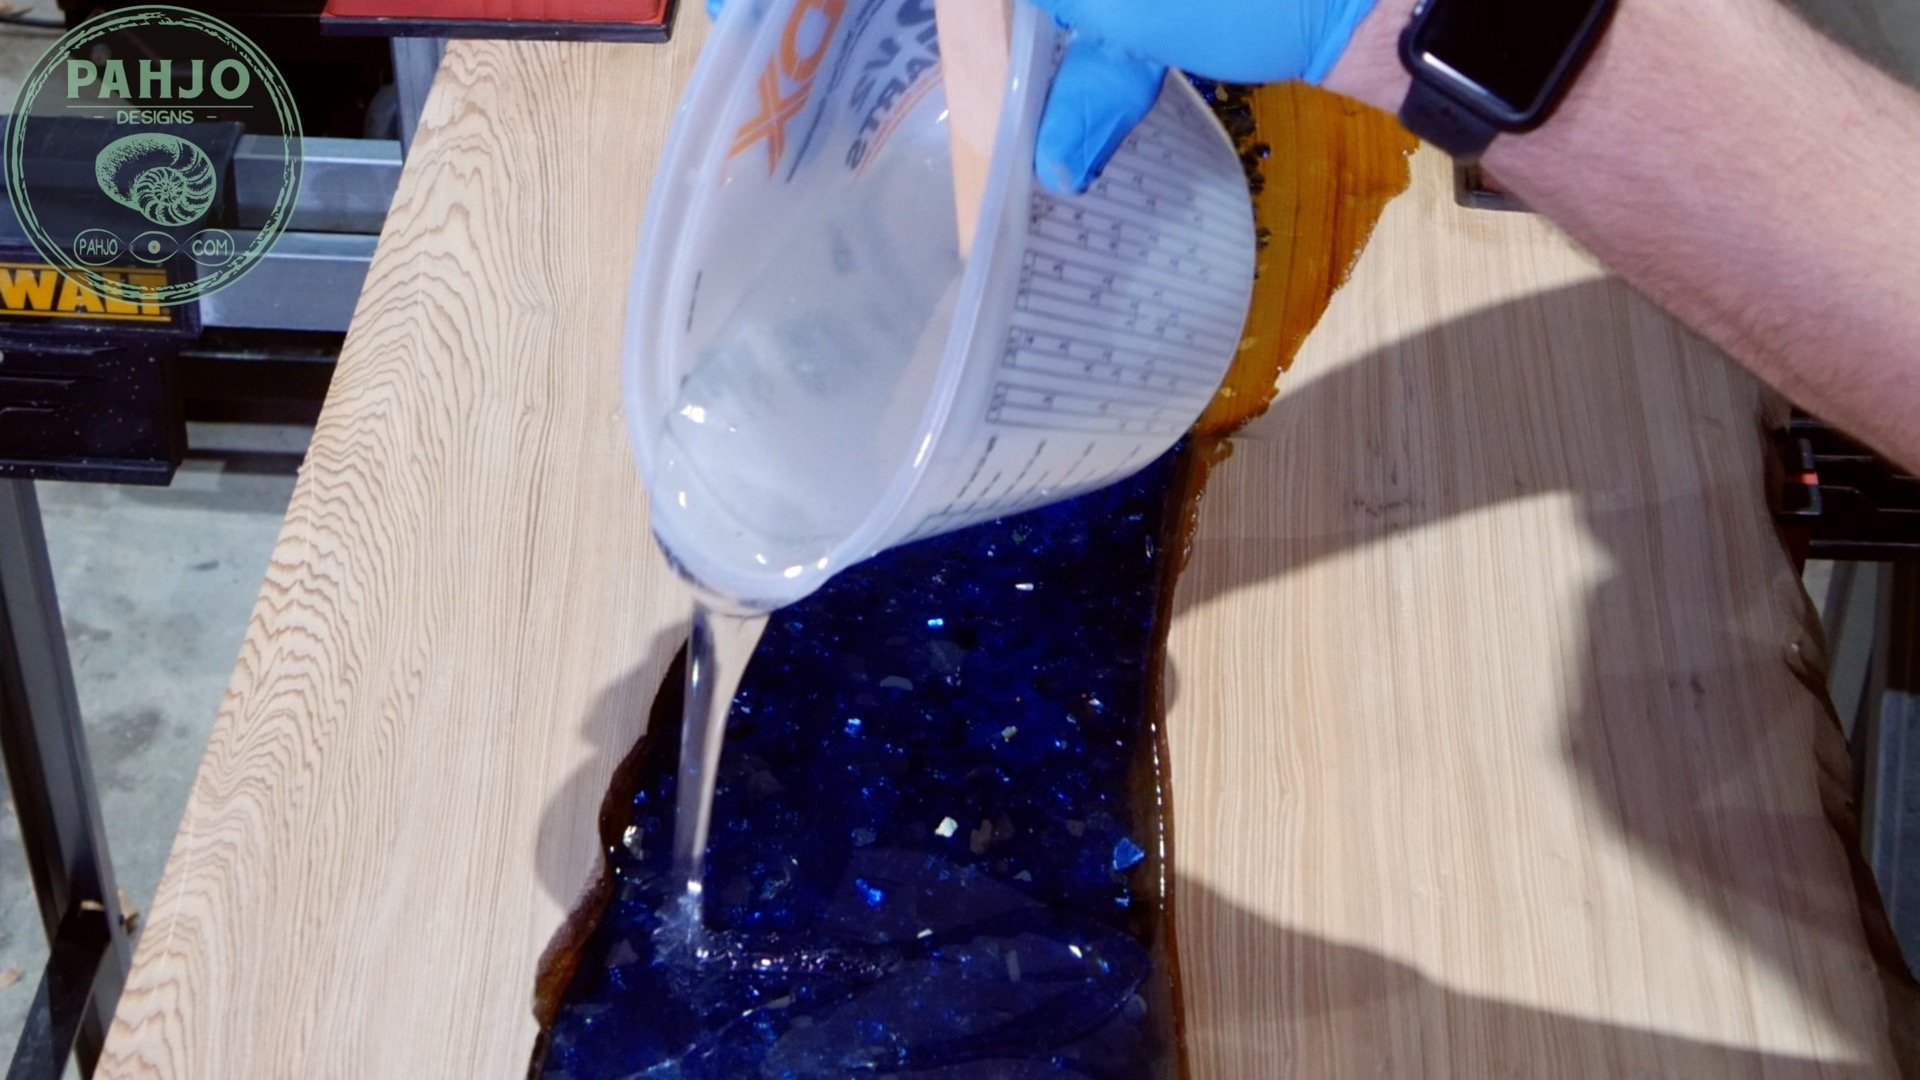
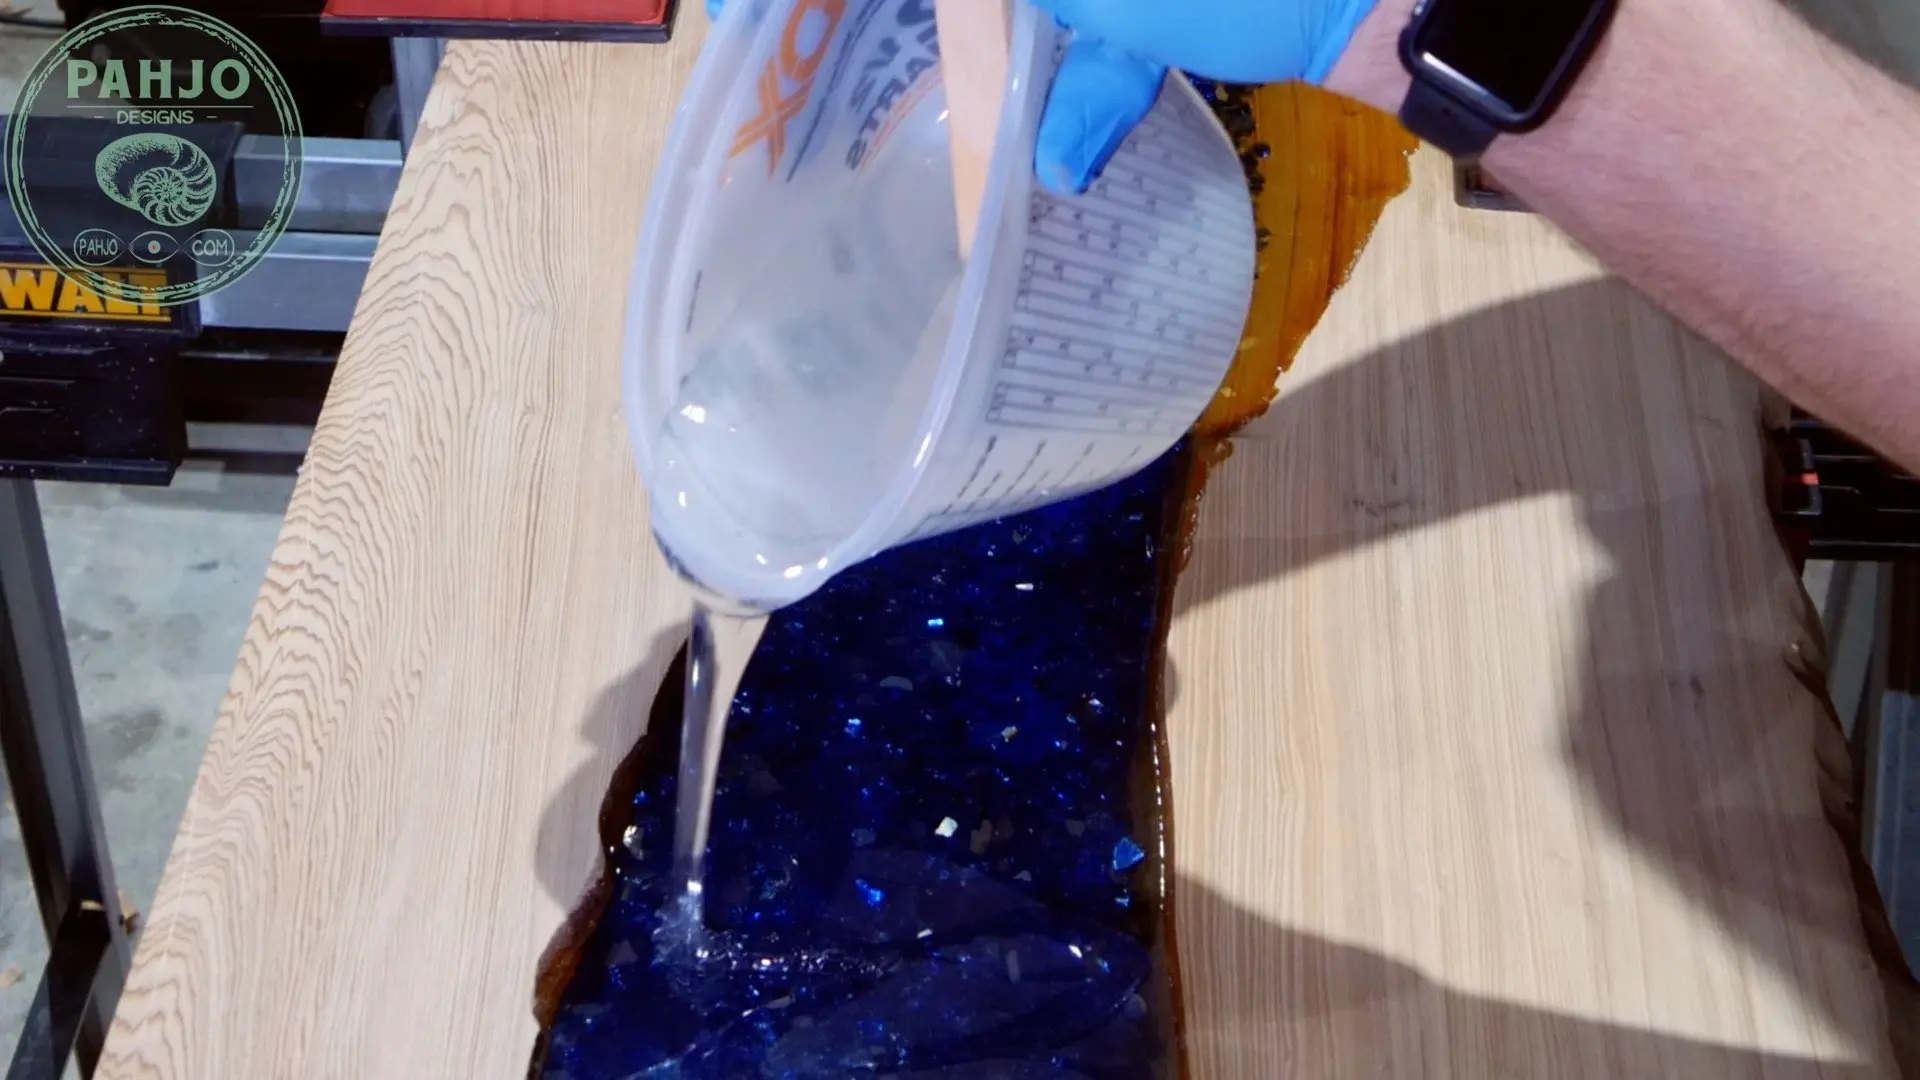
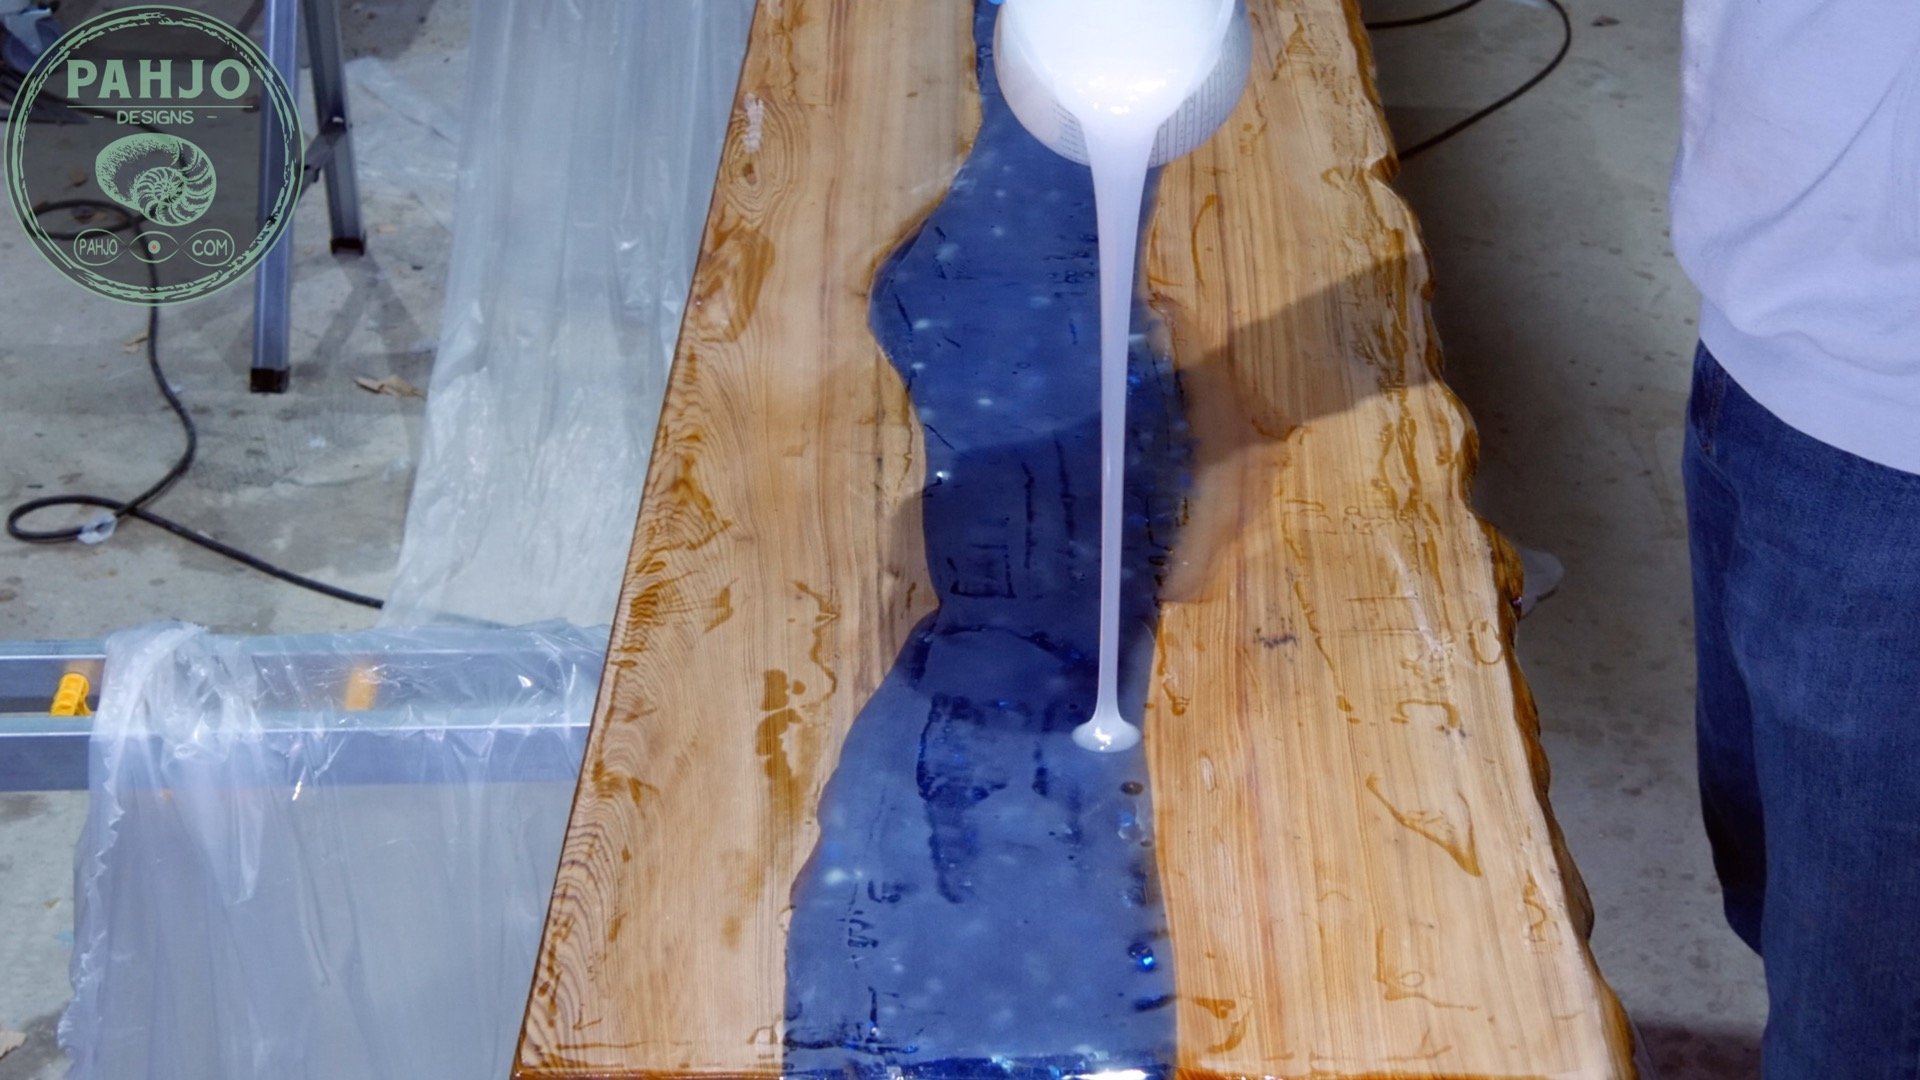
Epoxy Bar Top Resin Pour
After I mixed the resin and glow powder, it was time to pour the resin.
The amount of resin used as well as other detail will be in the DIY plans.
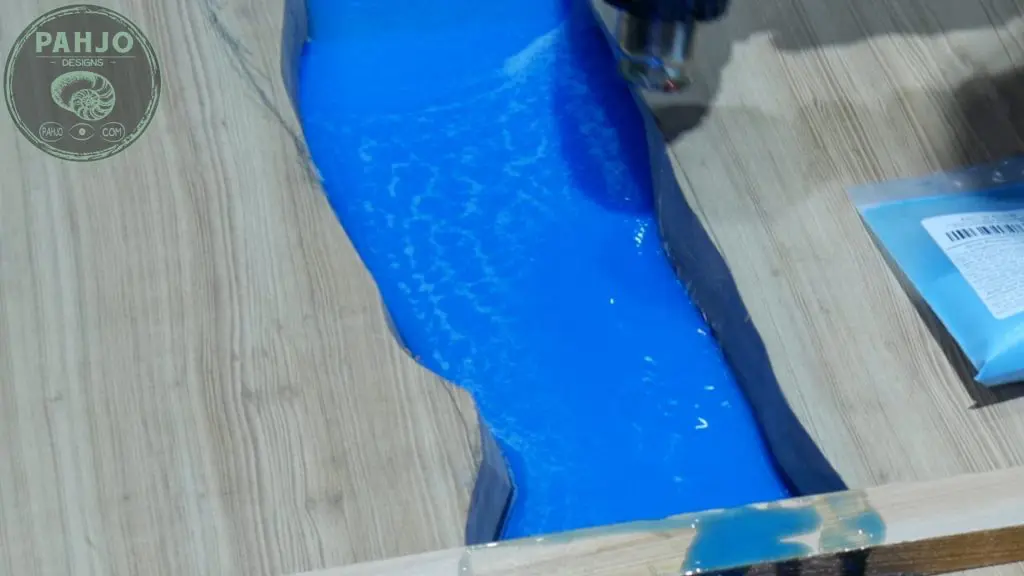
First, I poured the resin on one end of the table and moved my way down to cover the entire bottom.
The steel bars prevented the resin from running down the length of the river, so I had to pour equal amounts in each section.
Additionally, I only used glow powder on the bottom layer for this DIY epoxy bar top. This allows me to embed objects in resin for the upper layers.
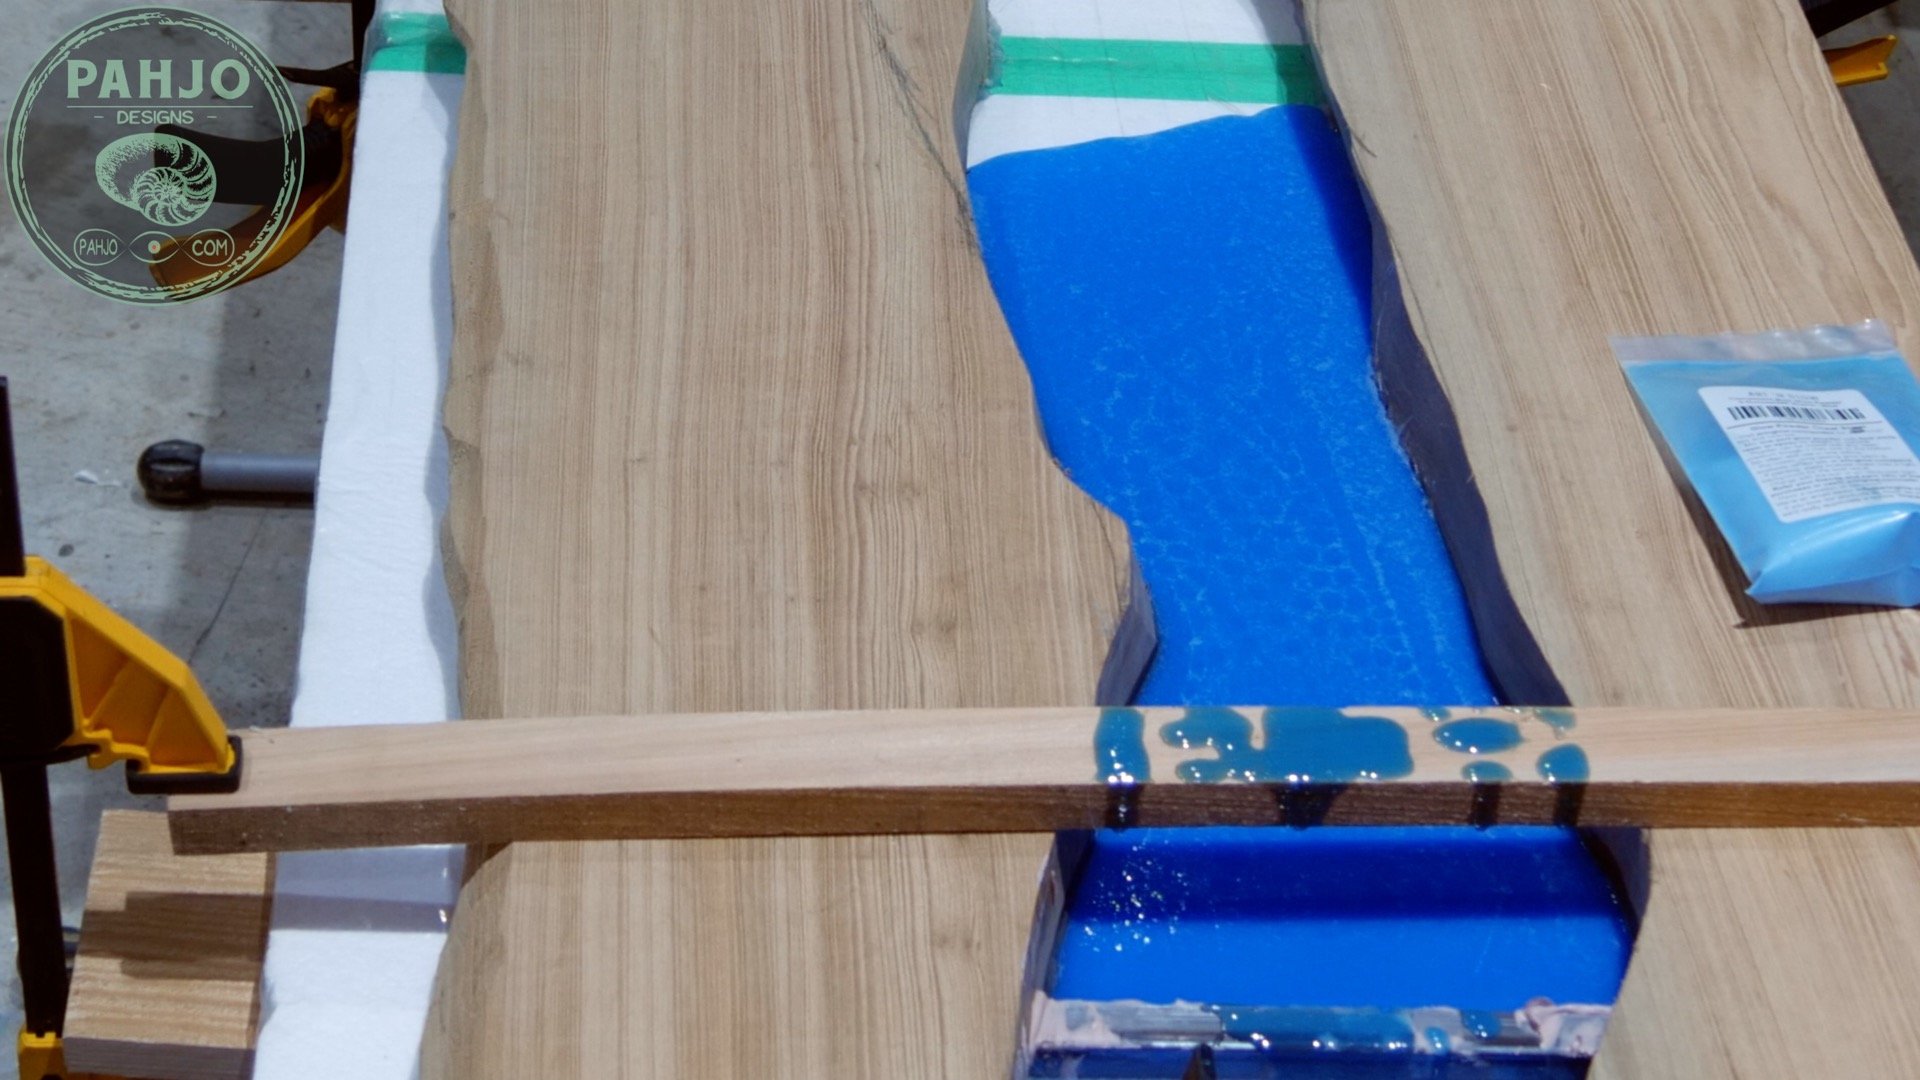

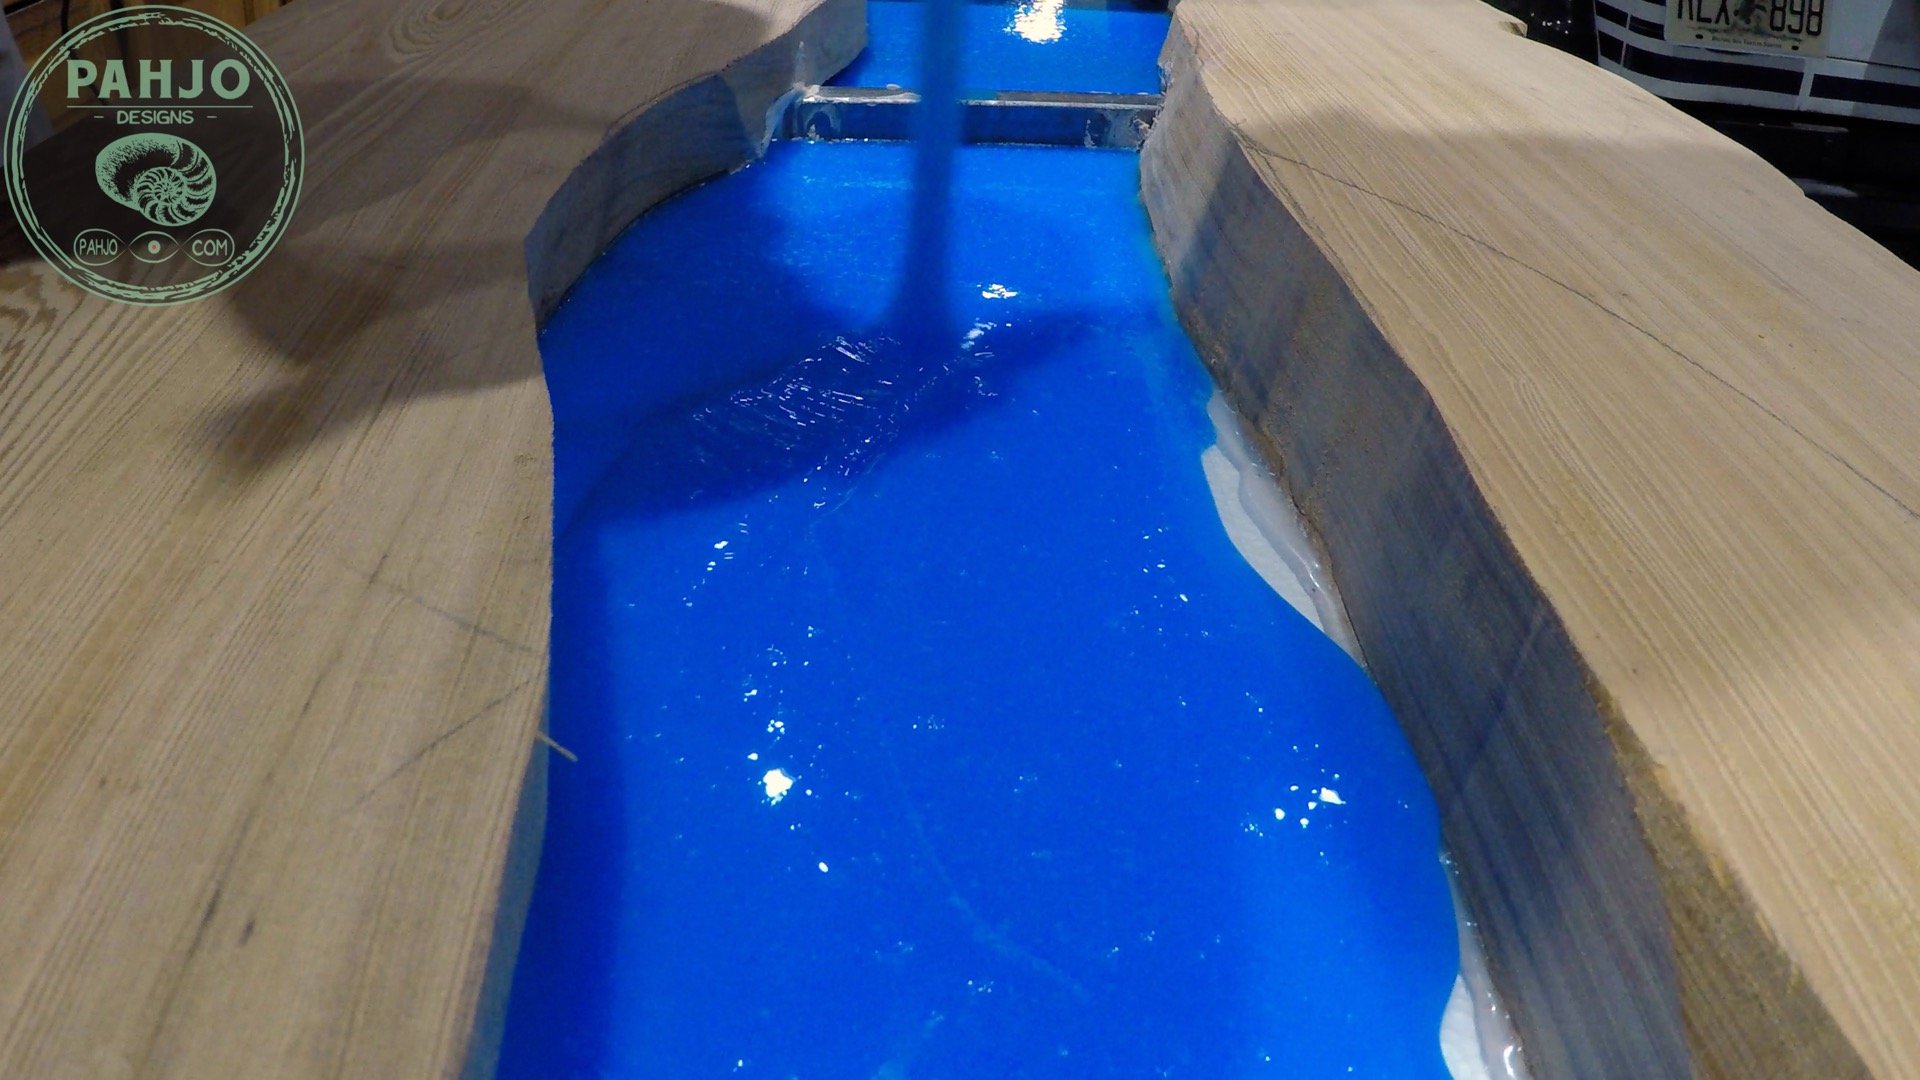

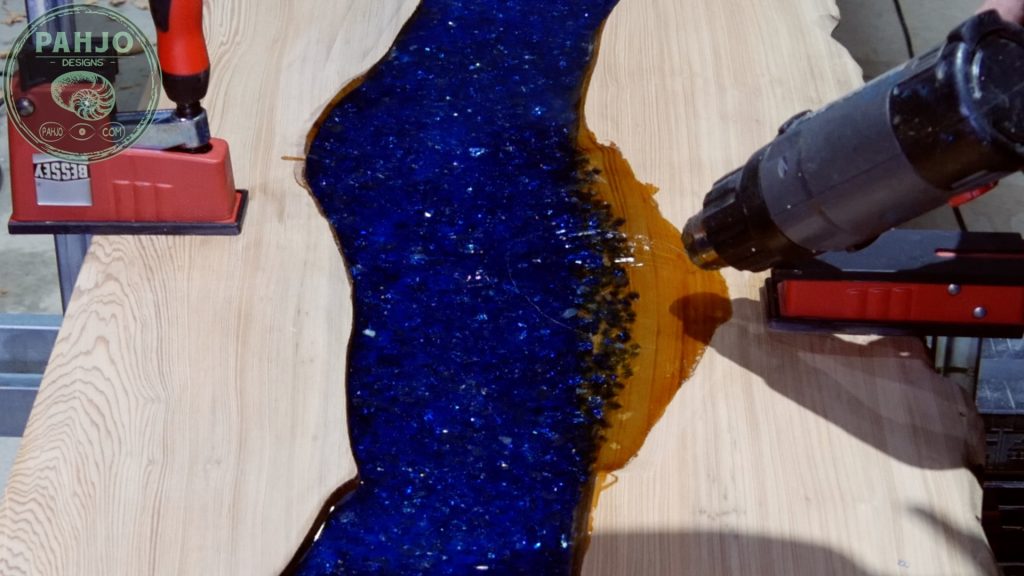
Next, I used my heat gun to remove the air bubbles.

Then, I turned off the lights and tested the glow powder with a black light.


Quick Tip: Embed LED Lights
As a quick tip, please consider using my new method for embedding LED lights in resin.
Essentially, I used an older method in this project as explained at the bottom of this post.
I recommend to scroll down to the bottom of this post to read the old method.
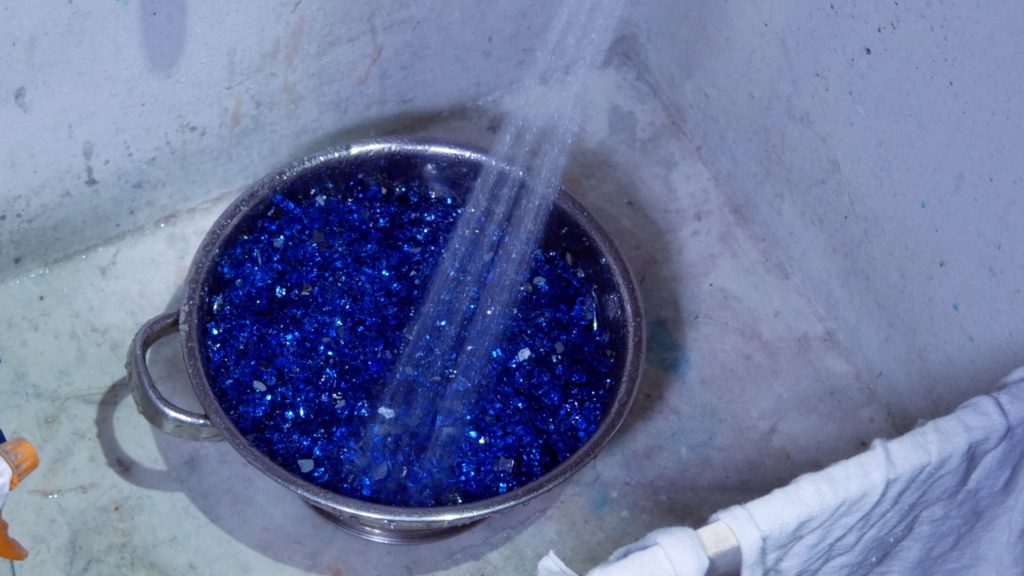
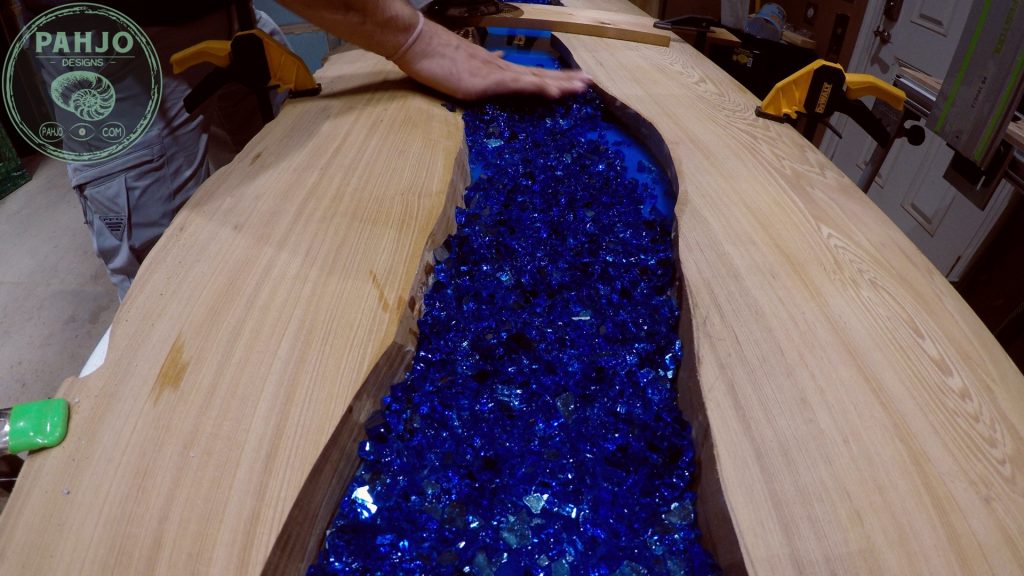
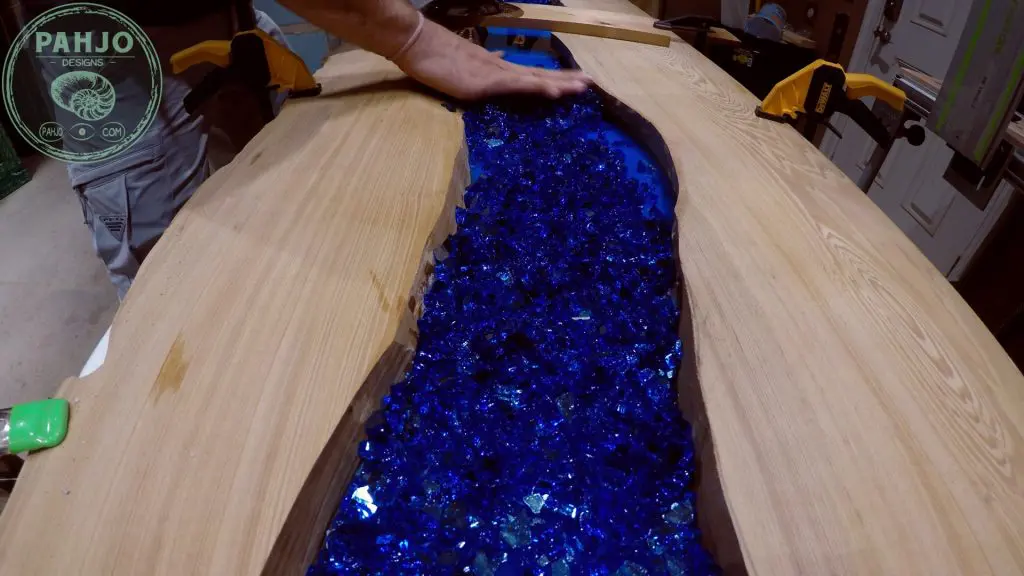
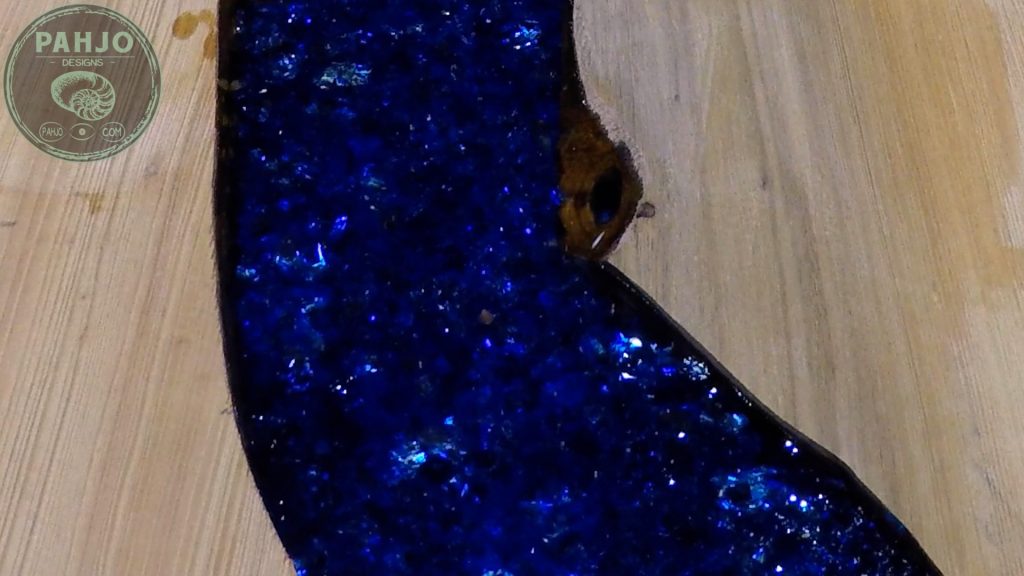
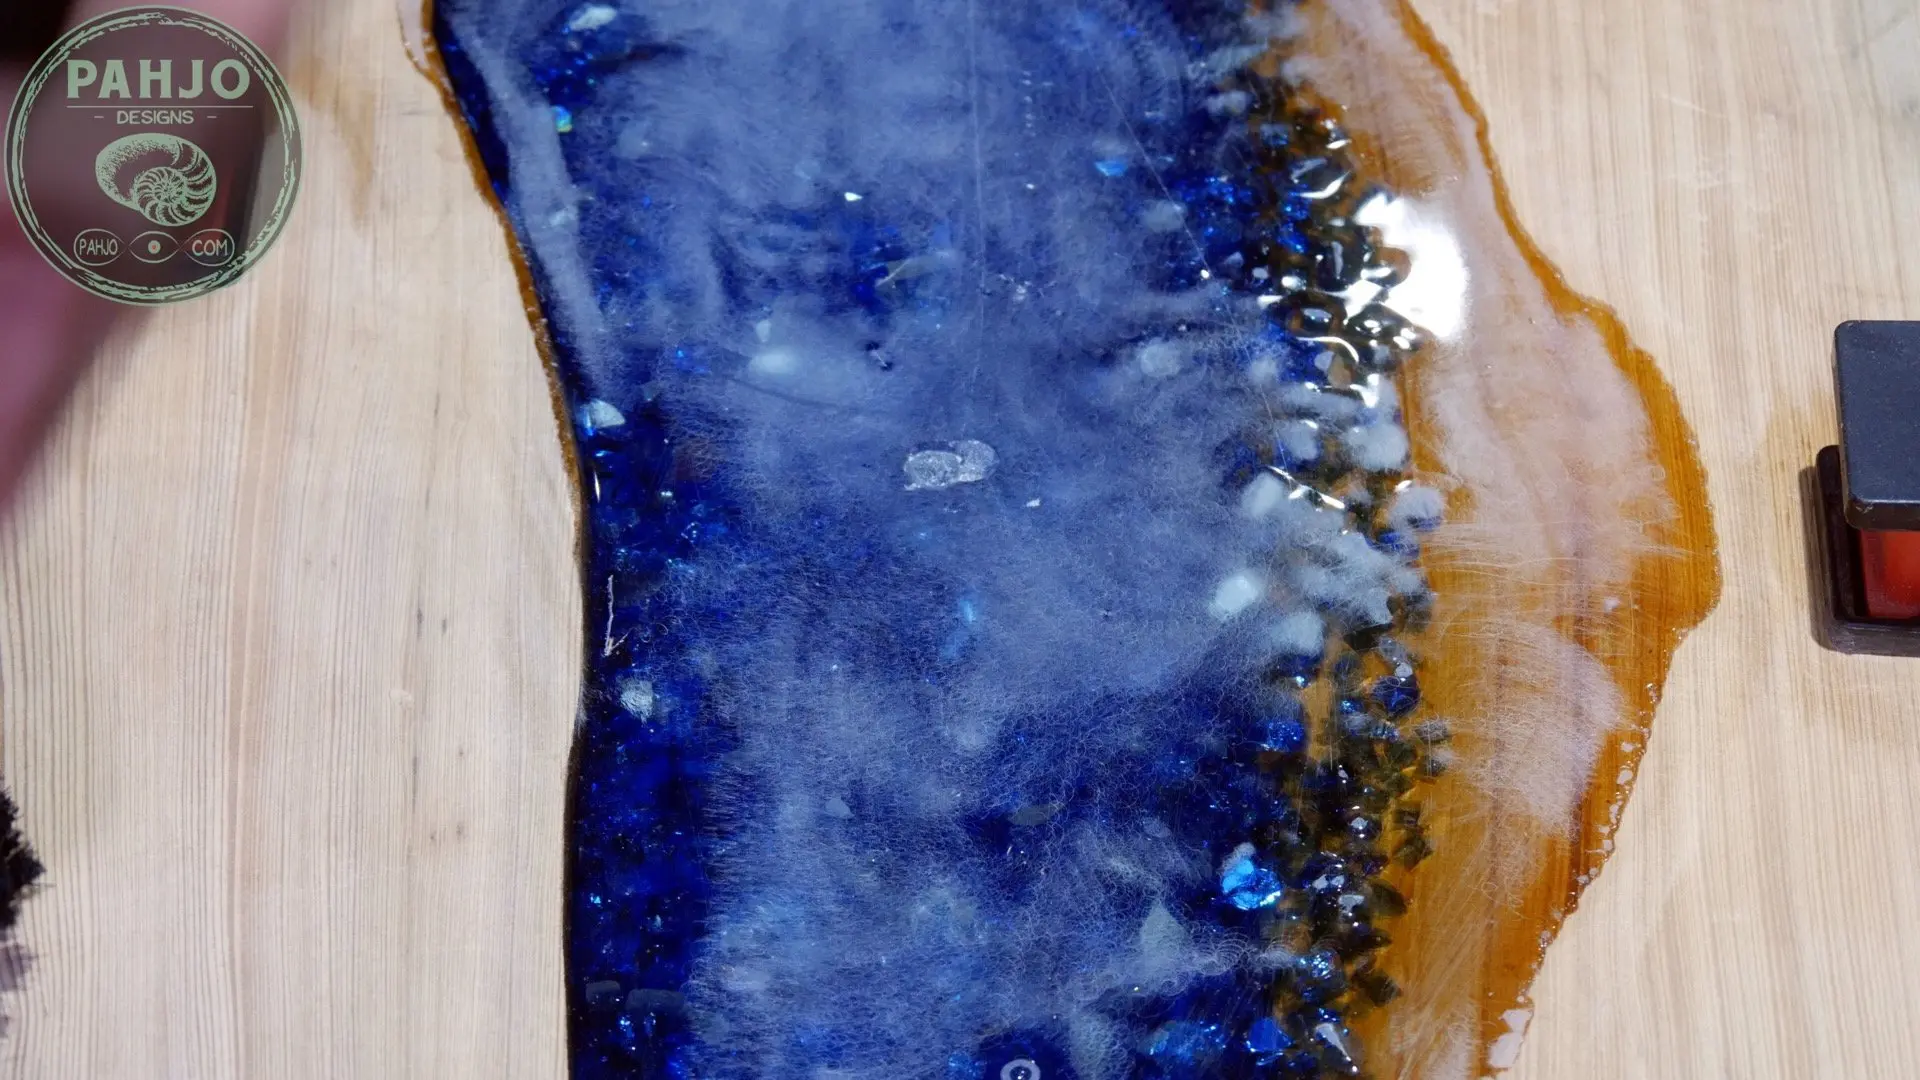
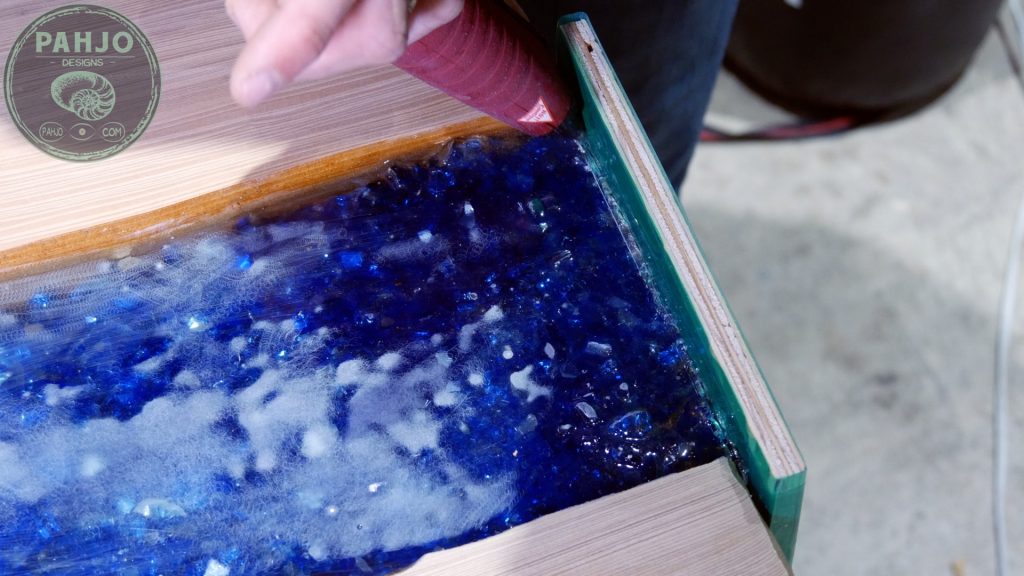
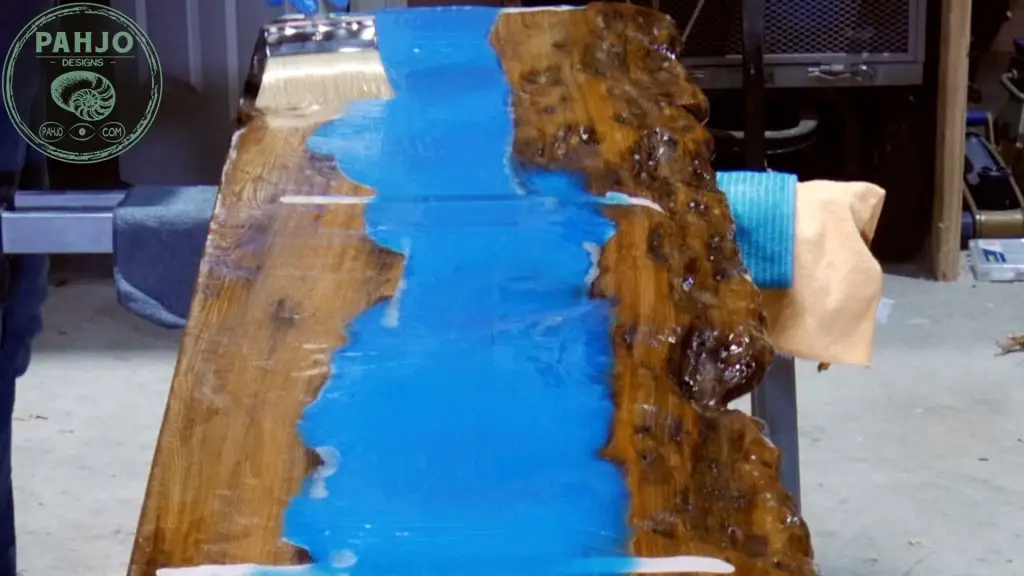
Fire Glass in Epoxy River
Once the resin cured, I cleaned & dried the blue fire glass.
Please note, I recommend to use acrylic blue rocks for an epoxy river table with rocks.
I find a strainer works well for this.

First, I spread enough fire glass to cover the bottom resin layer, but allowed enough space for the glow powder to shine through.

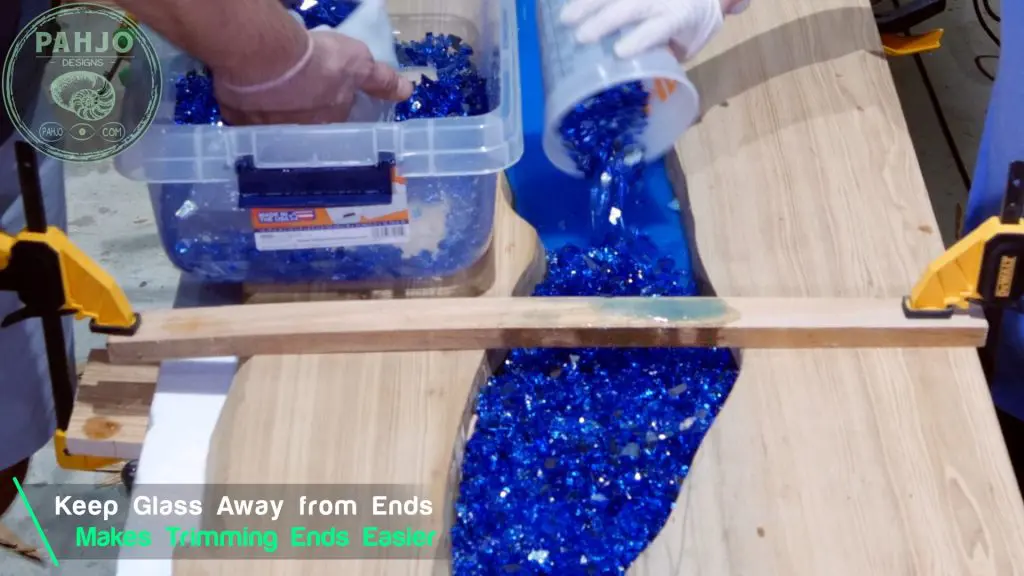
Additionally, I made sure the glass is below the river bank so it doesn’t protrude from the top.
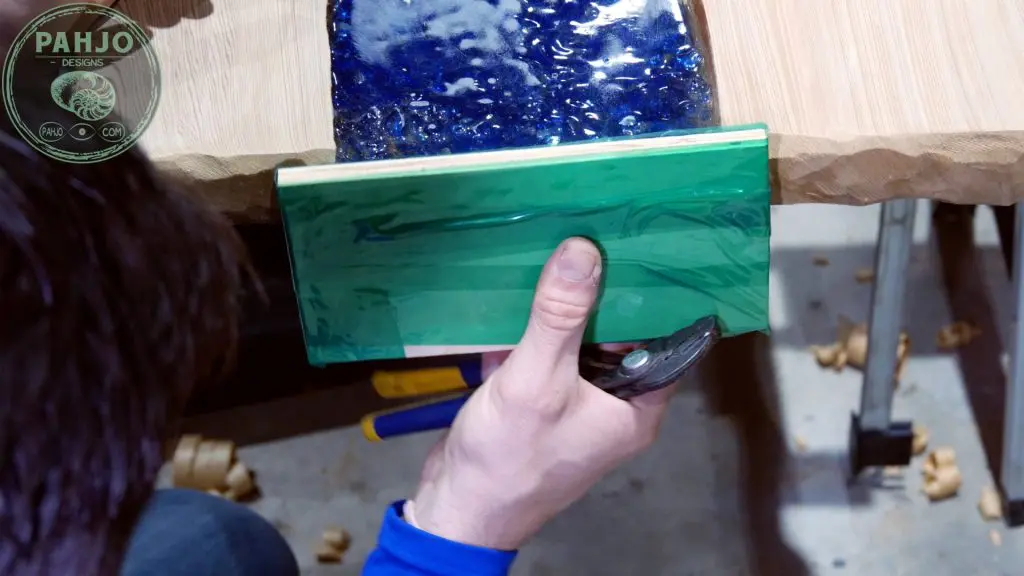
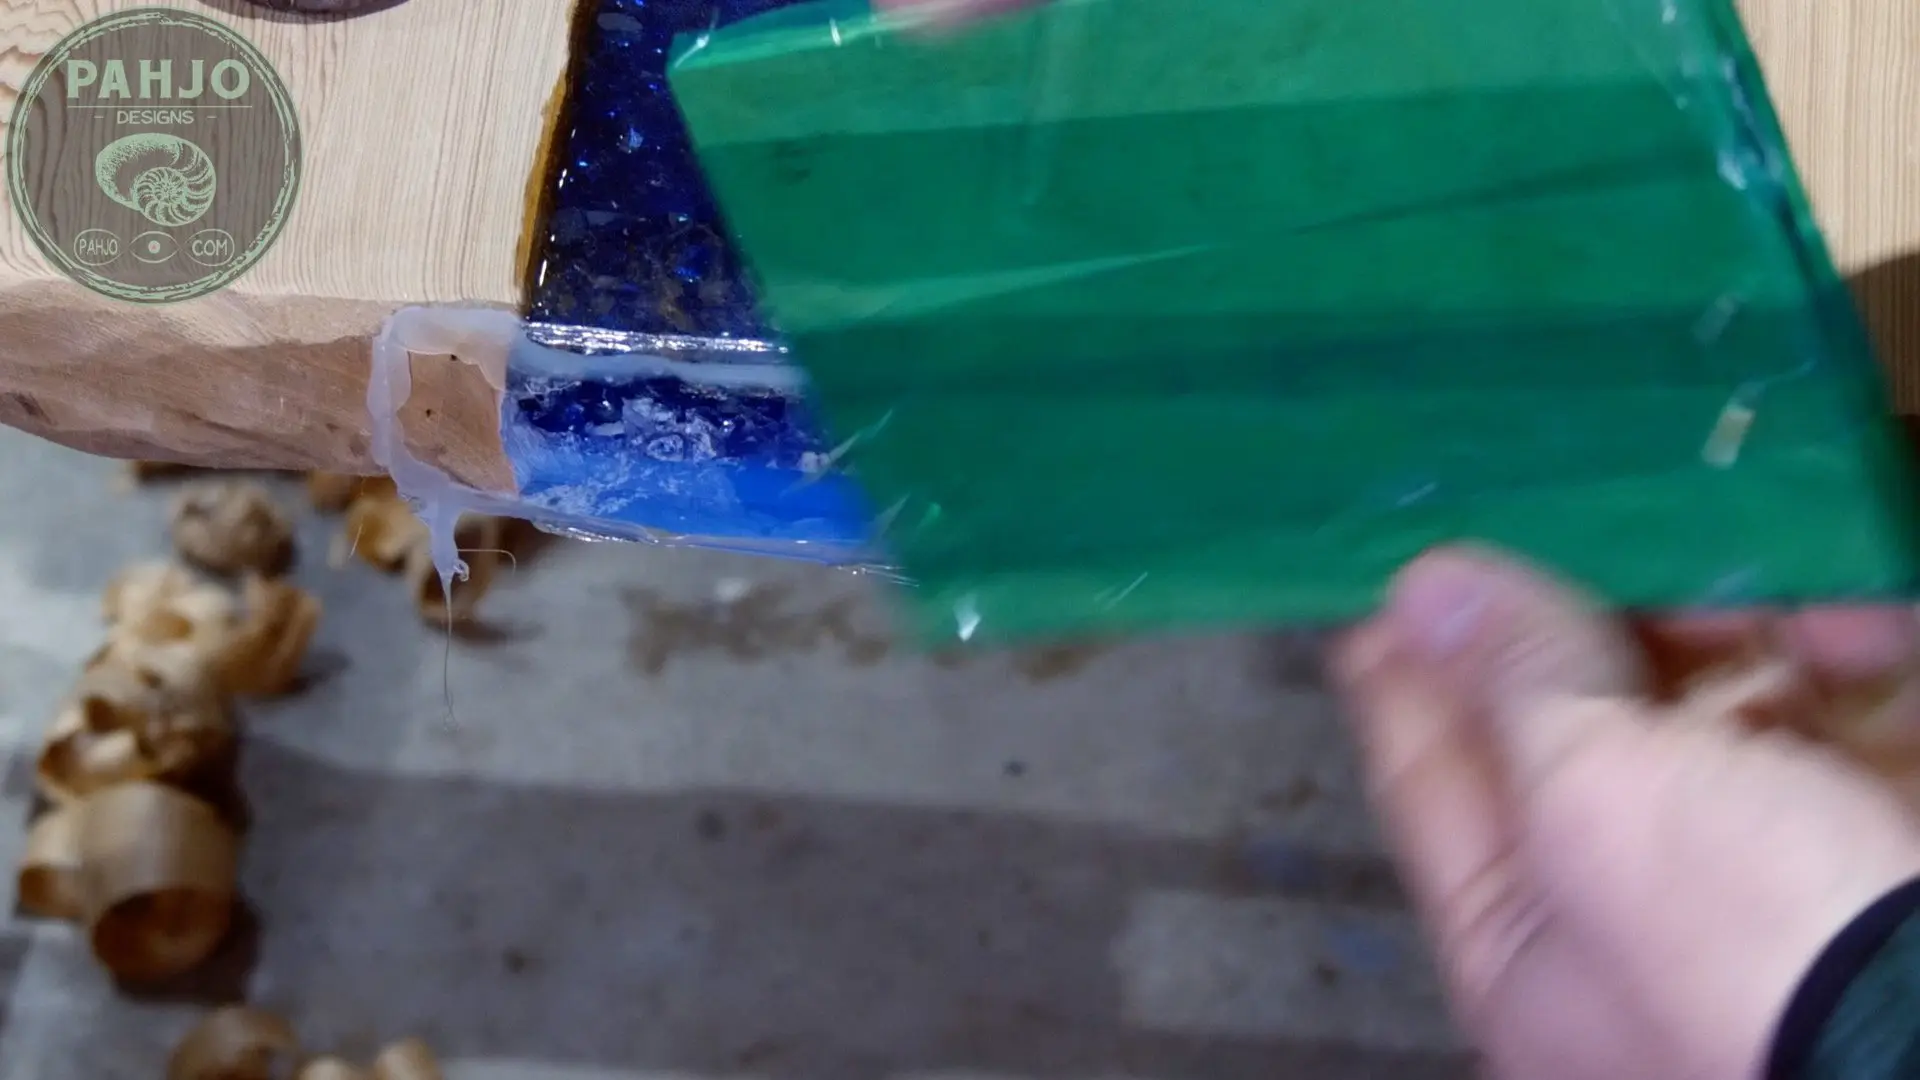
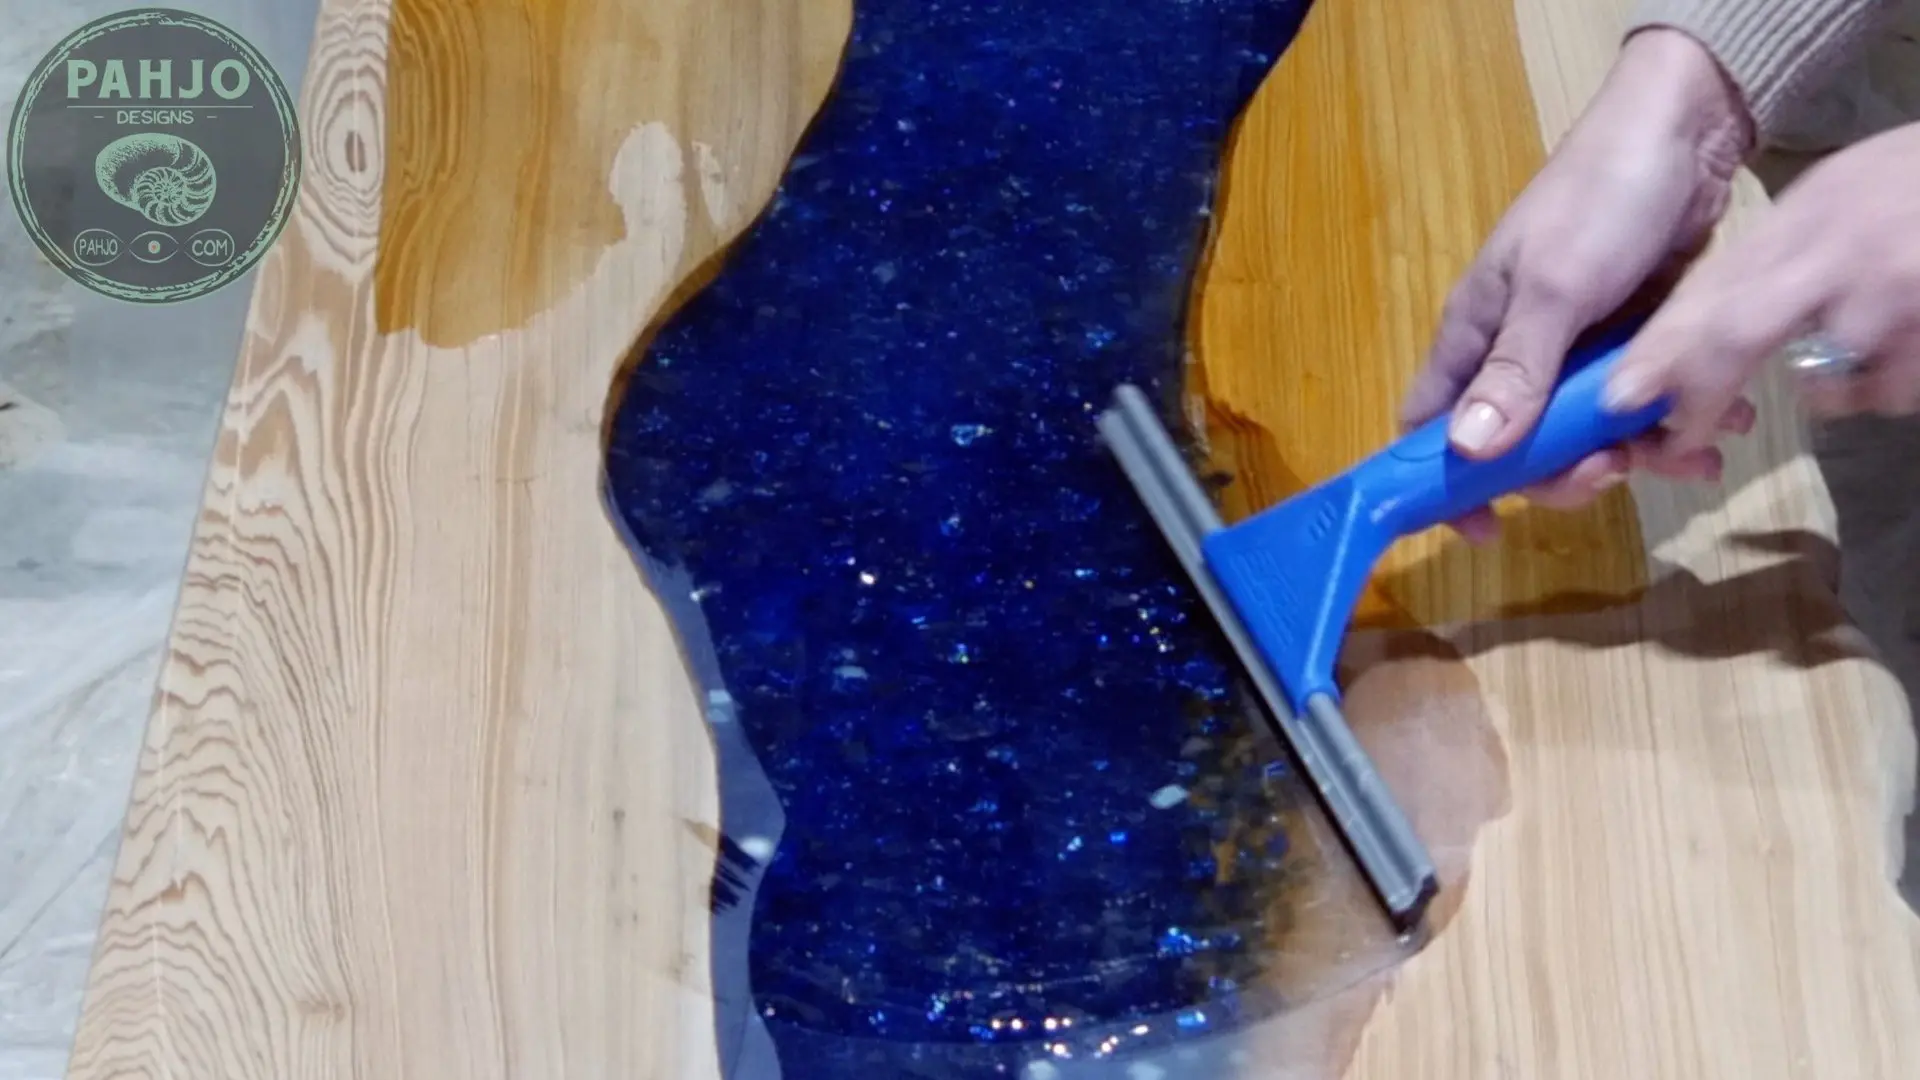
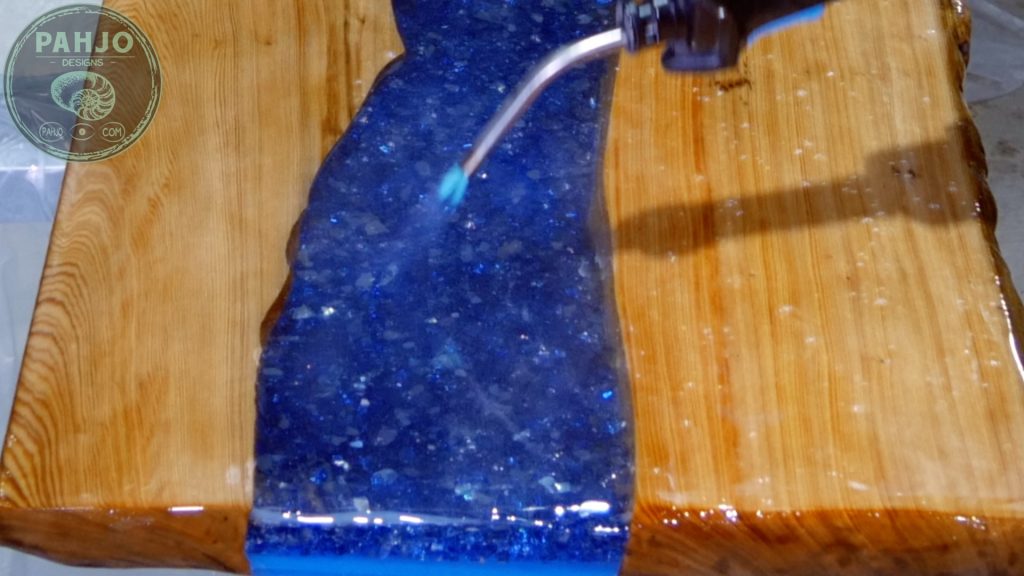
Epoxy Resin Pour: Embed Fire Glass in Resin
Once the fire glass is in place, I made sure the table was level.
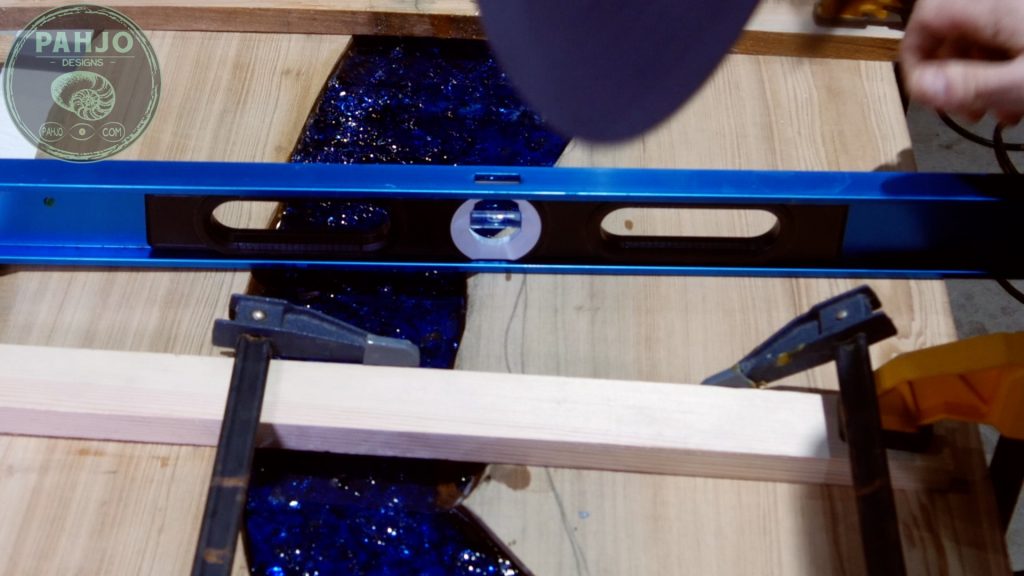

First, I took my time and filled the river with multiple layers of resin and removed bubbles after each layer.


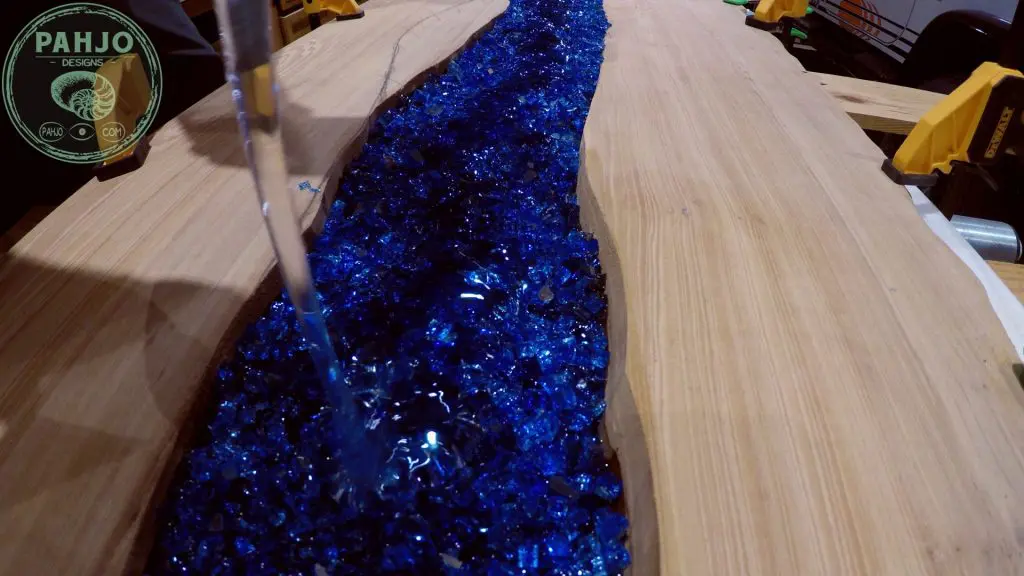
Ultimately, the goal here is to fill the DIY epoxy bar top with resin without going over the top edge which causes unnecessary work.
Also, I used casting resin which allows for deeper pours. This saves time and increased consistency.


In fact, it is better to come up a little short of the edge and sand down rather than vice versa.
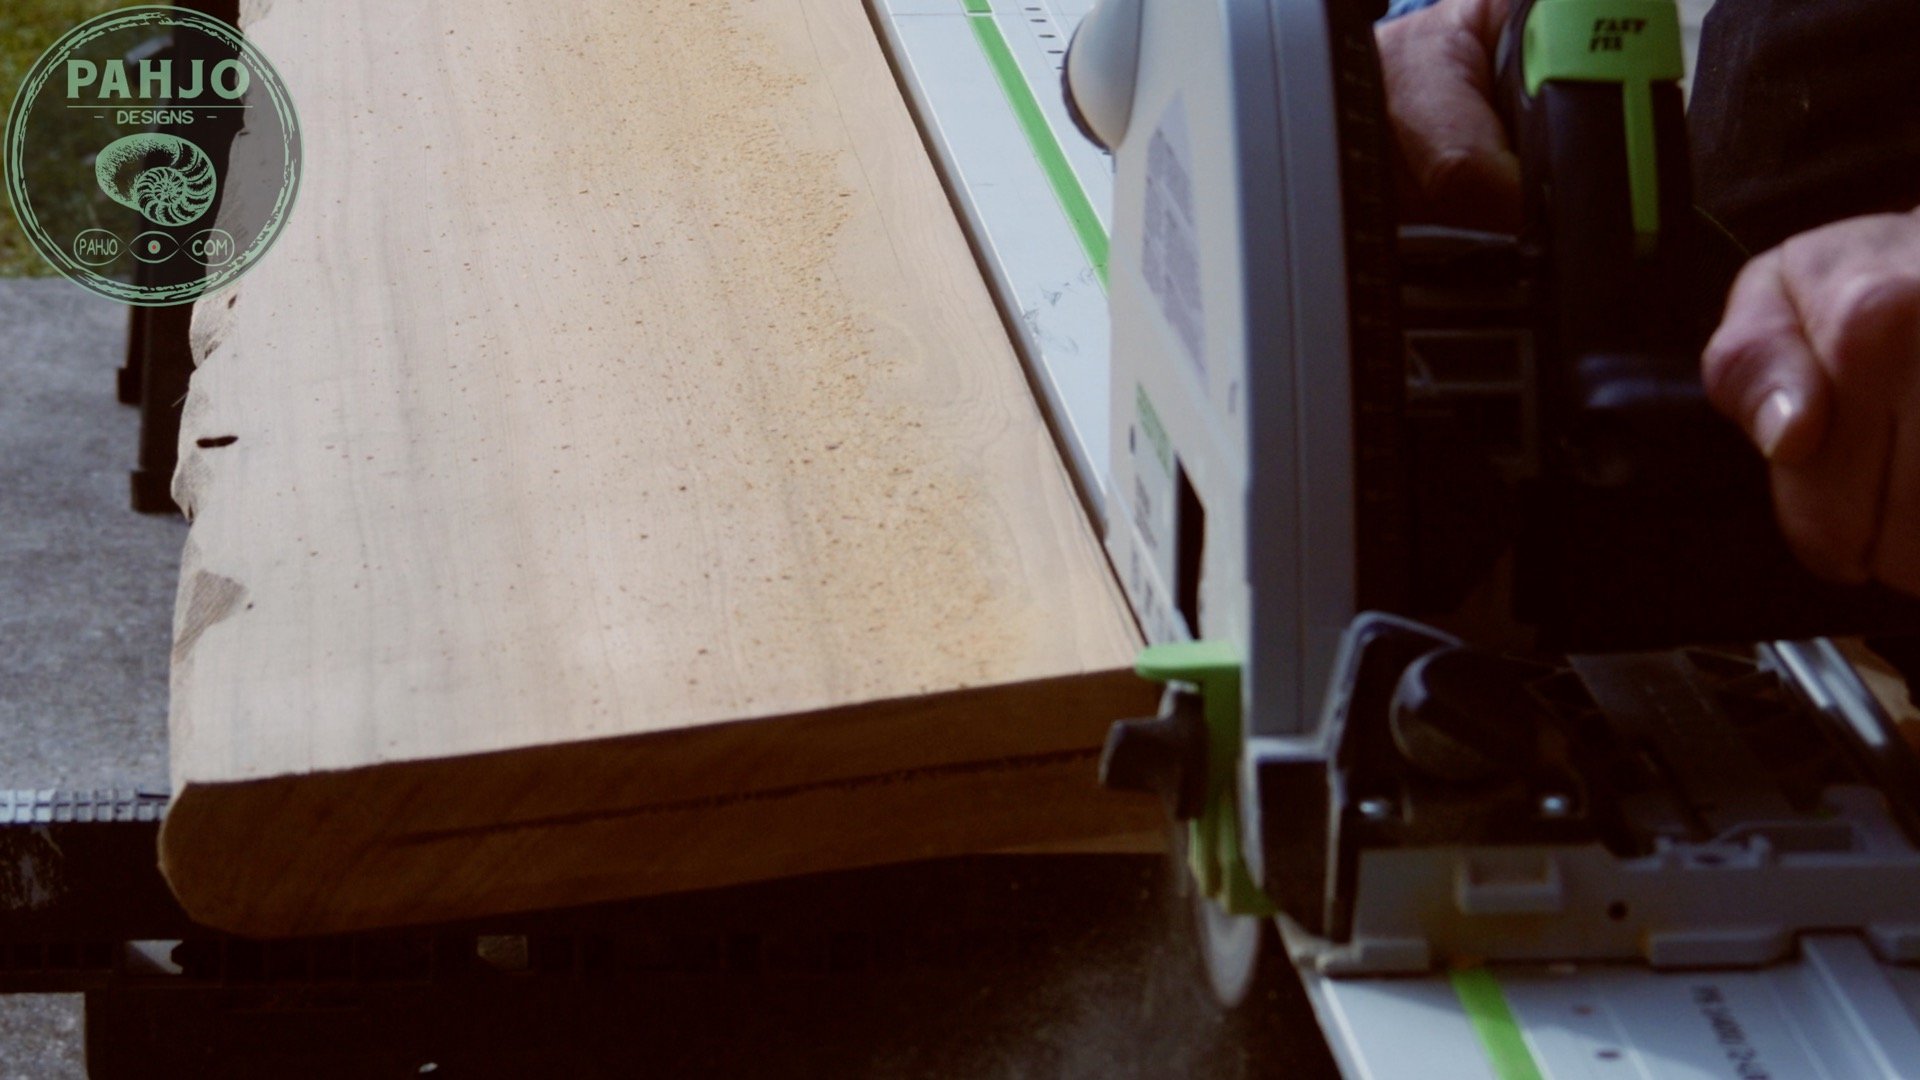
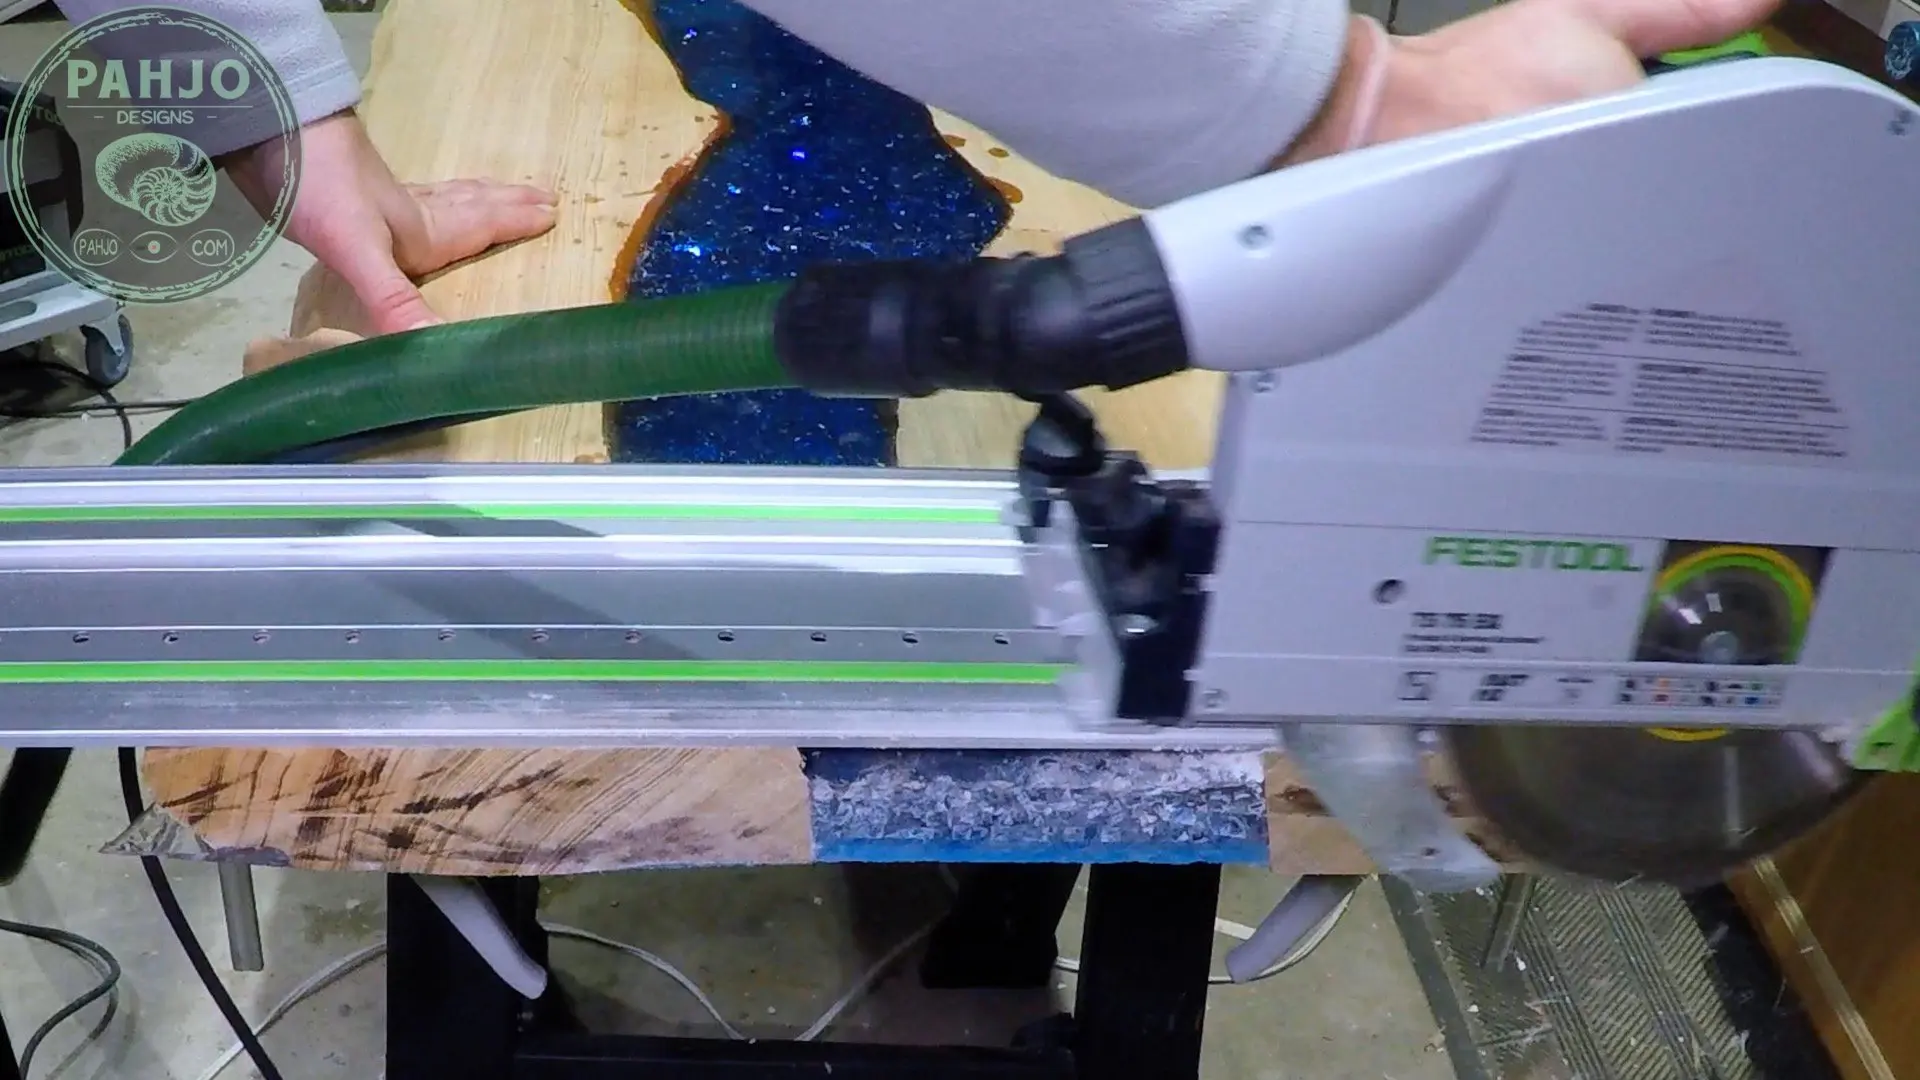
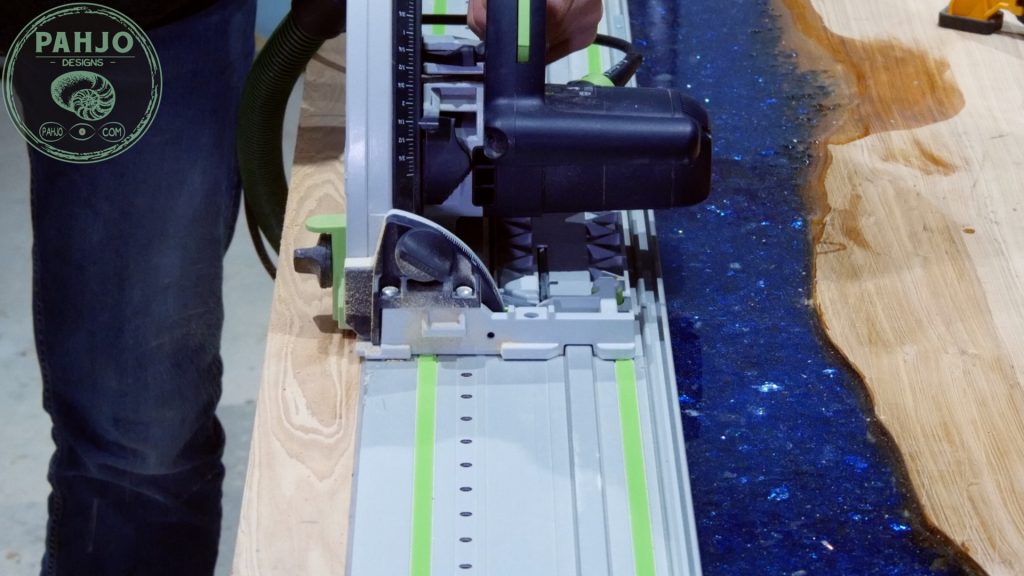
Trim Wood Slab Epoxy Bar Top
After the resin cured, I removed the resin mold and used my track saw to trim each end of the DIY epoxy bar top down to the final size.
First, I made a straight mark across the table with my T-square.
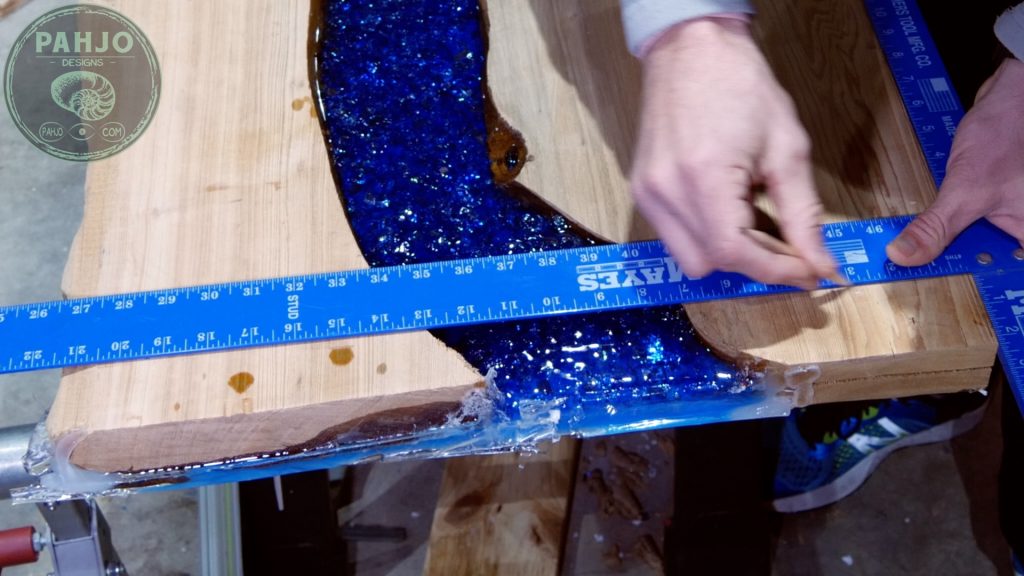
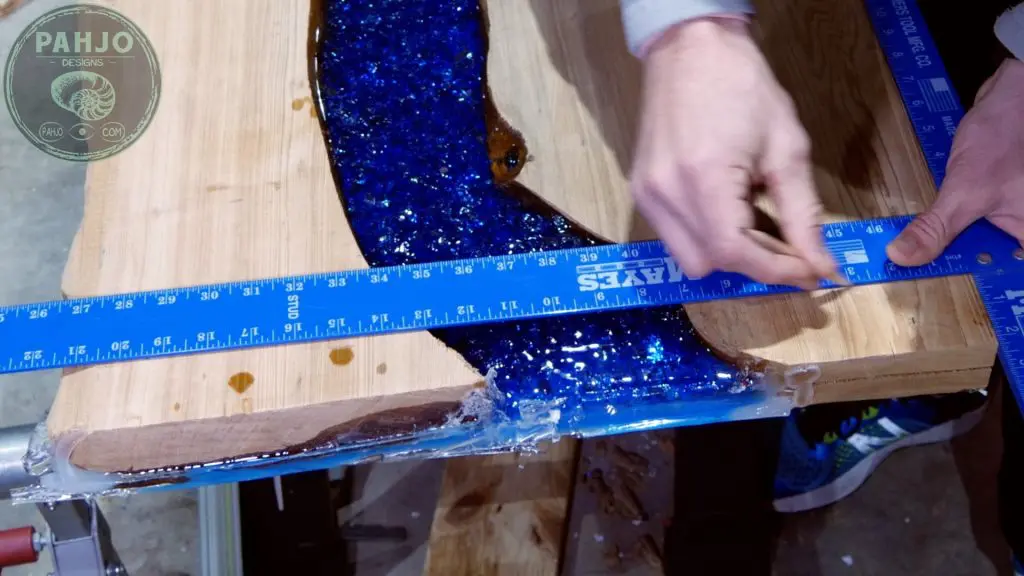
Next, I used a very old blade to cut each end using multiple passes.
However, I didn’t leave myself enough room when spreading the fire glass.
So, I had to cut through a small amount of fire glass.


Sand Excess Resin
After I trimmed the ends, I took the table outside to clean up the bottom with my grinder & a 50 grit metal sanding disc.


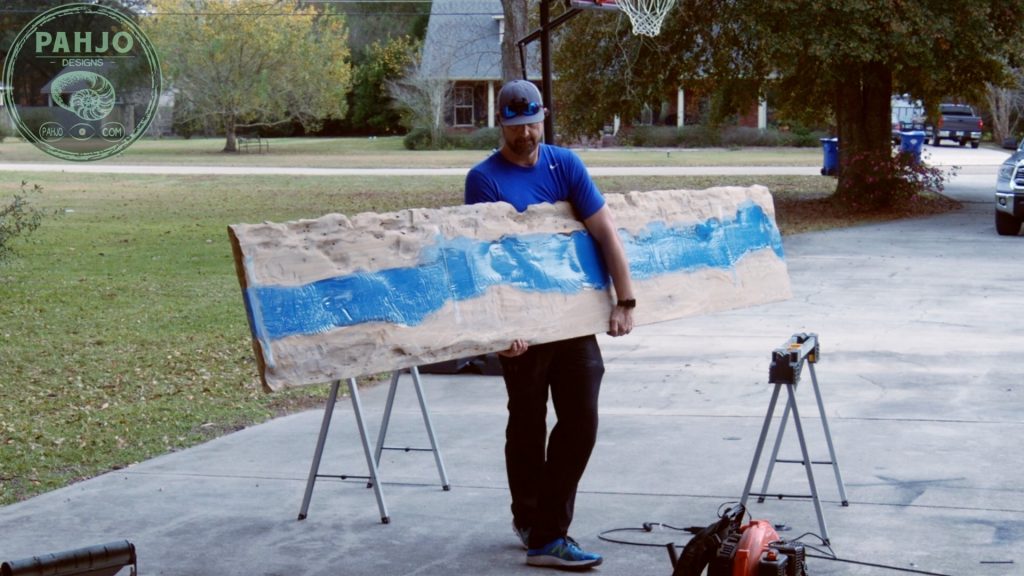

The resin spread a little in the bottom during the initial pours because of the uneven spots on the underside of the table.
Cut Wood Slab Epoxy Bar Top
I used my track saw in order to cut it to it’s final width.

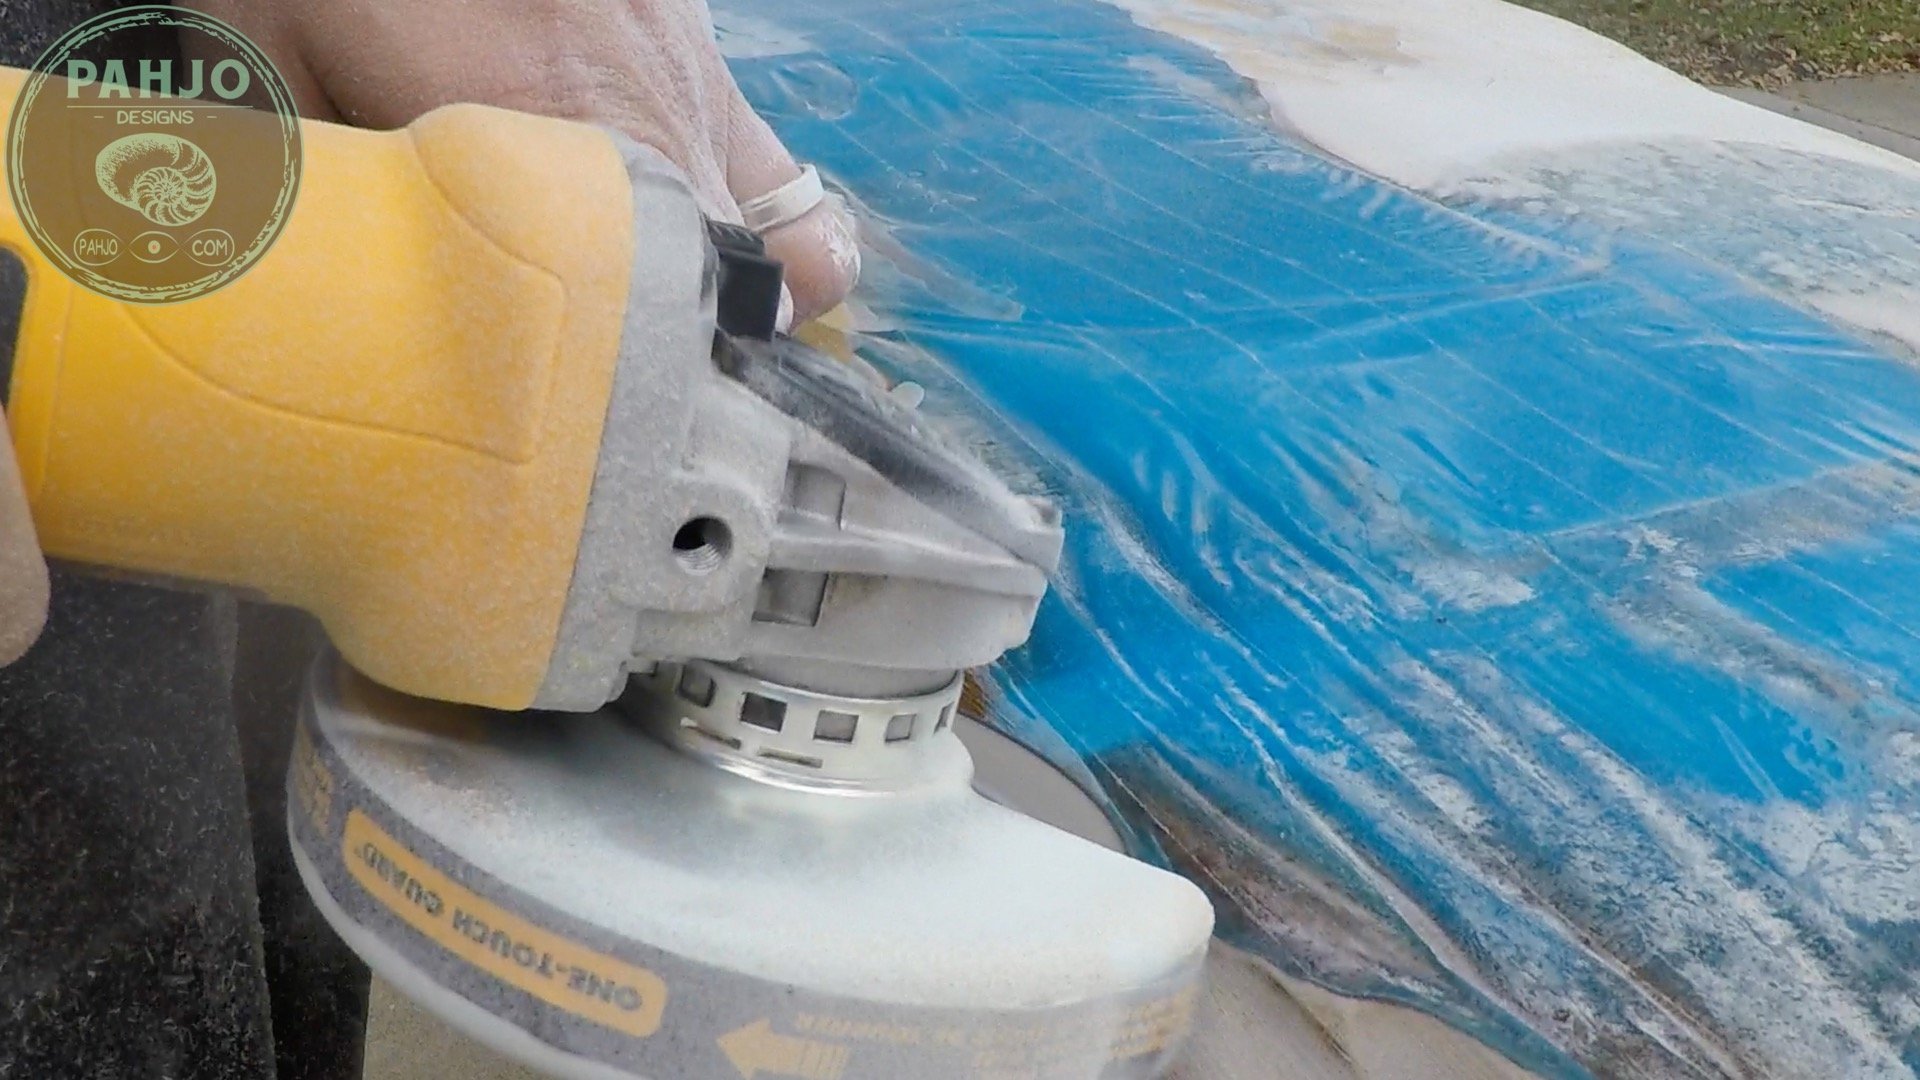
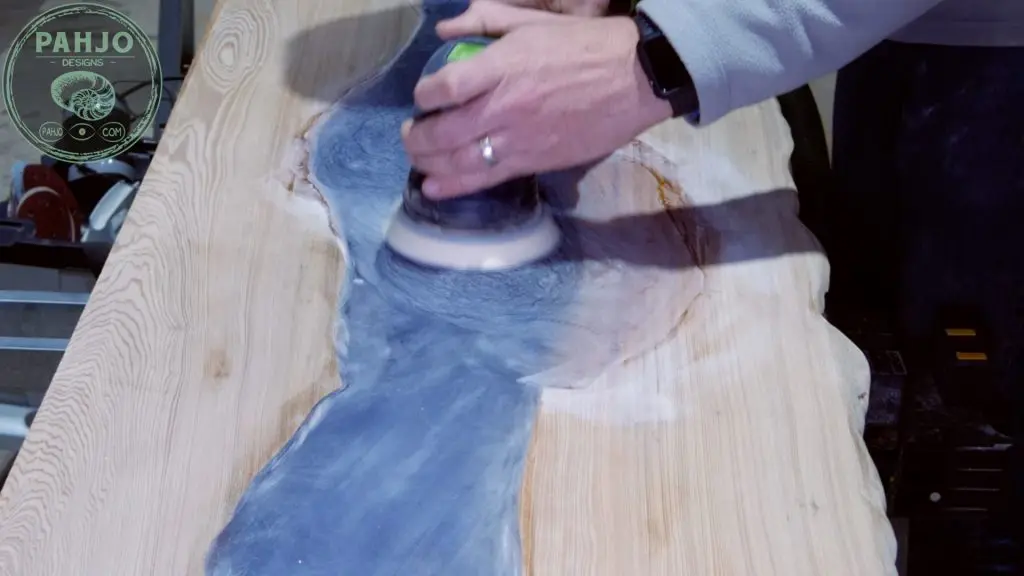
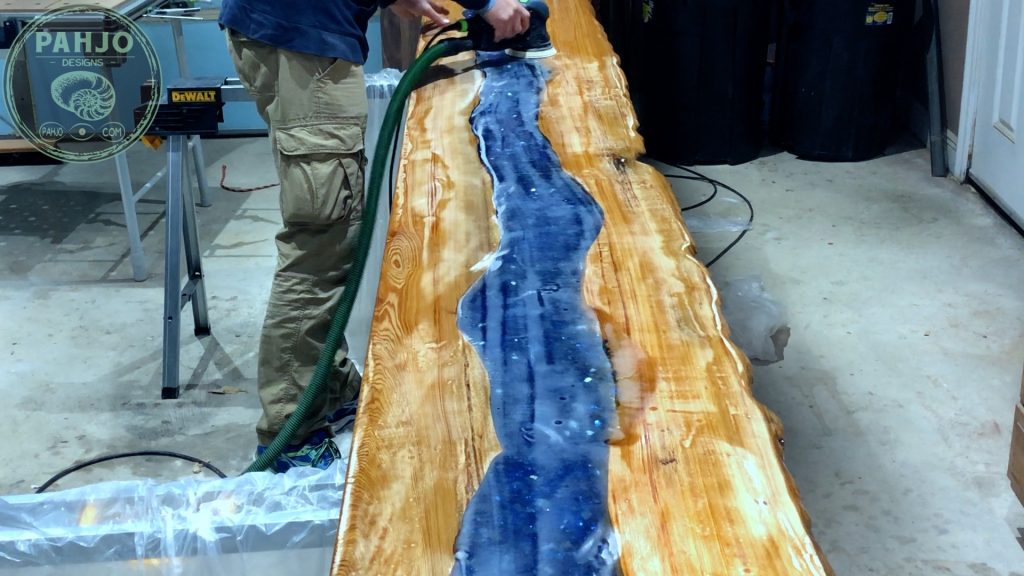
Remove High Spots
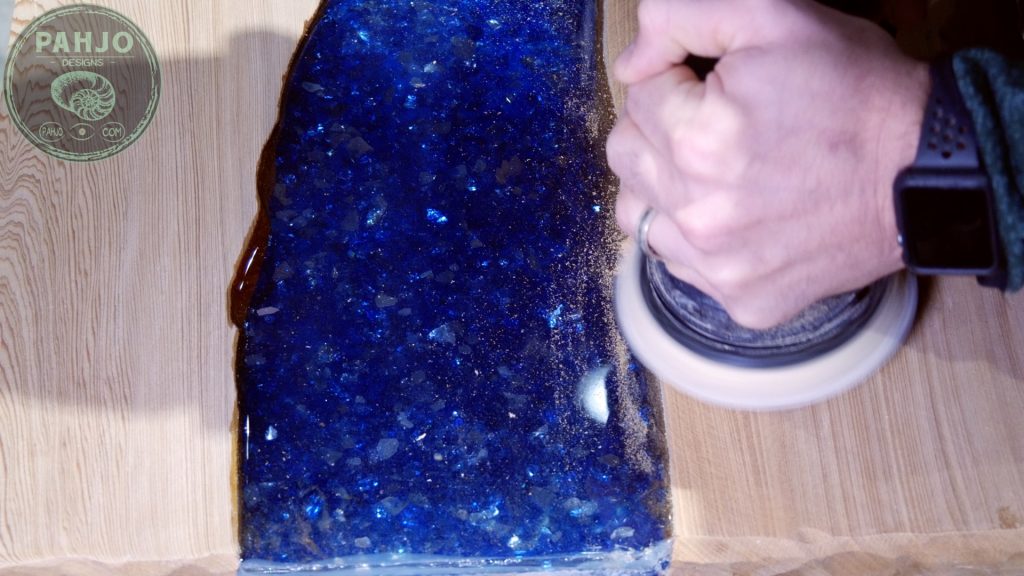
Resin spilled over on the top of the DIY epoxy bar top, so I sanded the resin with my rotary sander as well as any high spots.

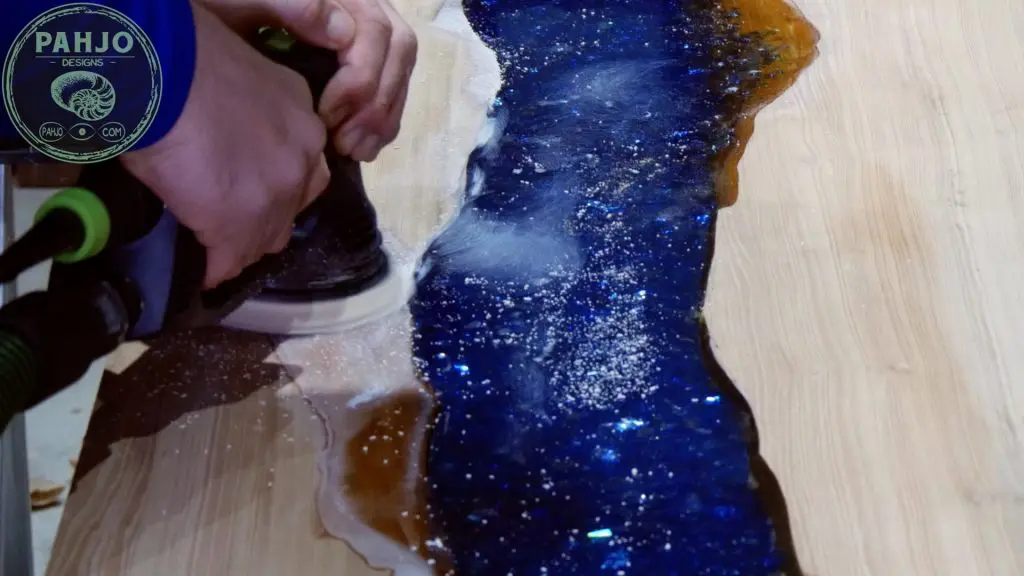
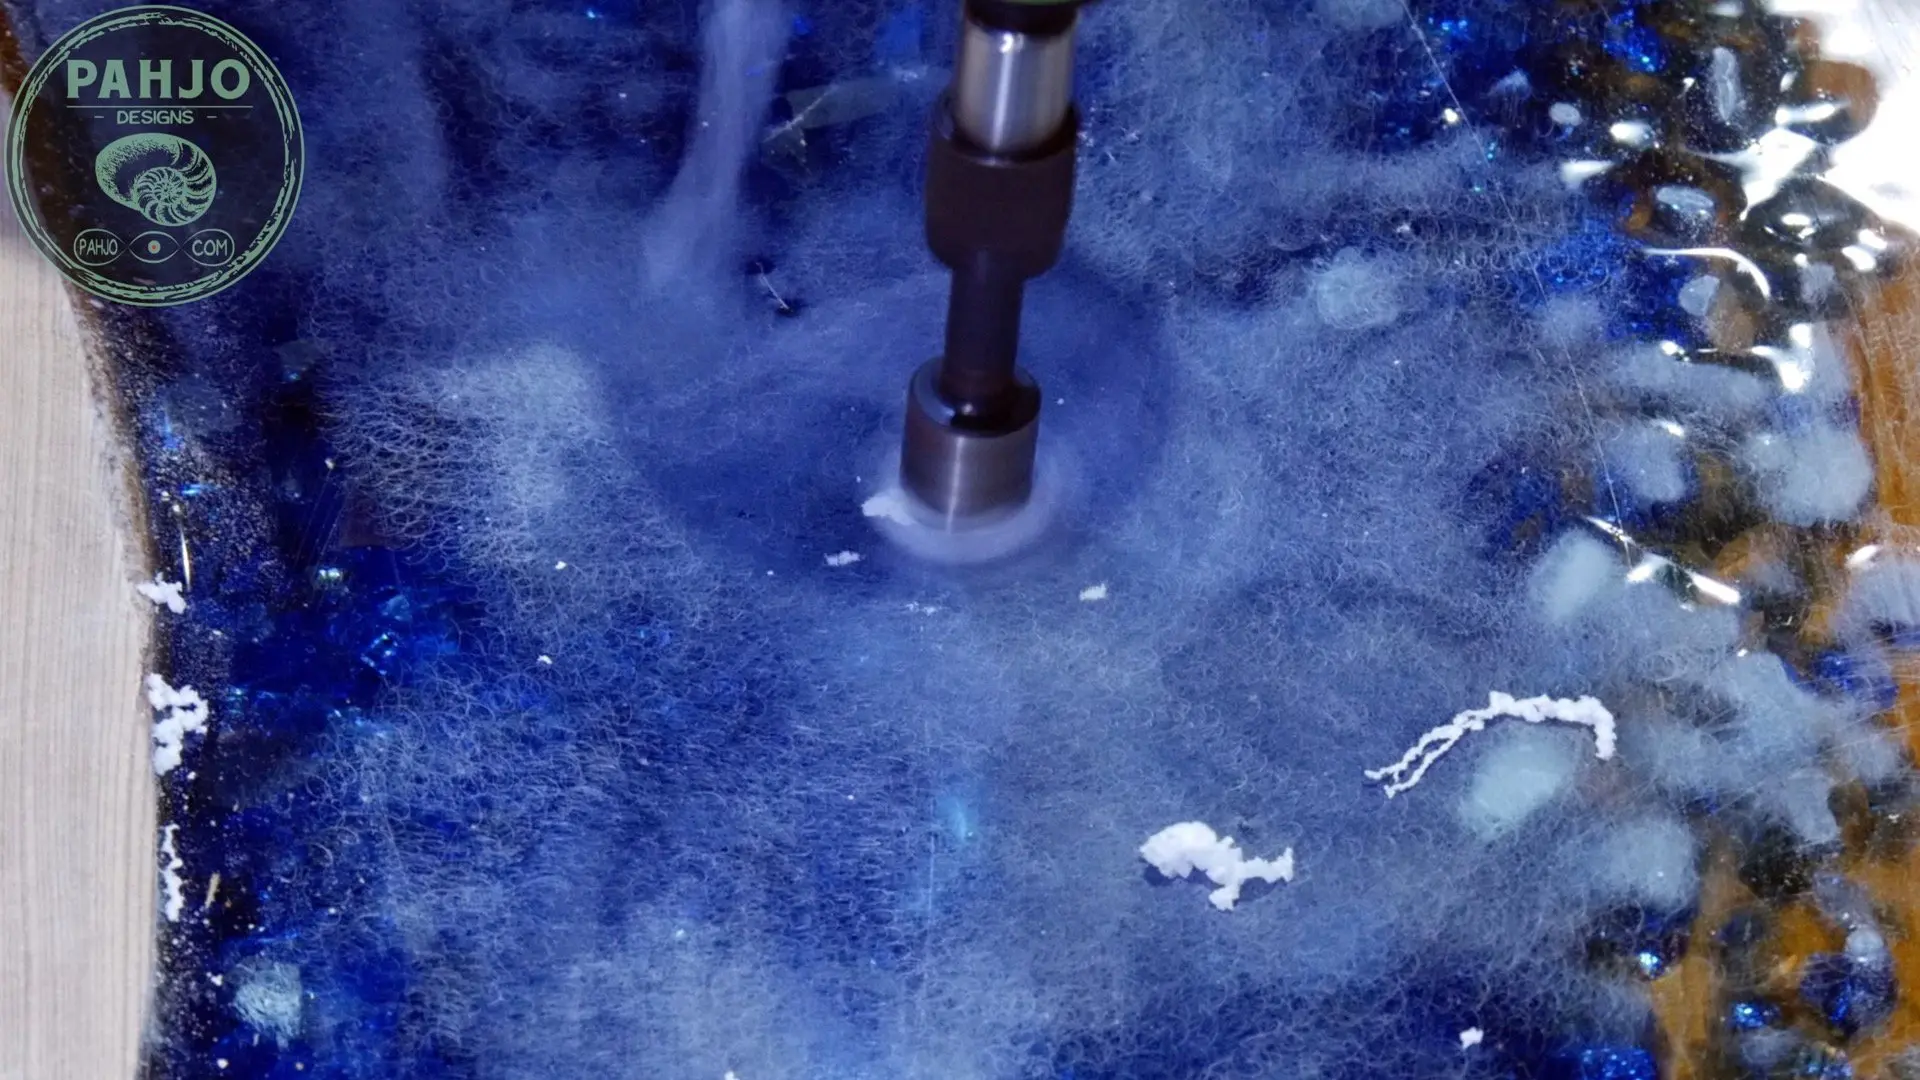
Remove White Spots from Resin
After I removed the high spots from the DIY wood slab epoxy bar top, I noticed white spots in resin.
Evidently, my sander speed was turned up too high which caused white spots.
The white spots are tiny bubbles that get filled with resin residue after sanding.
So, I used my drill and countersink bit to remove these.


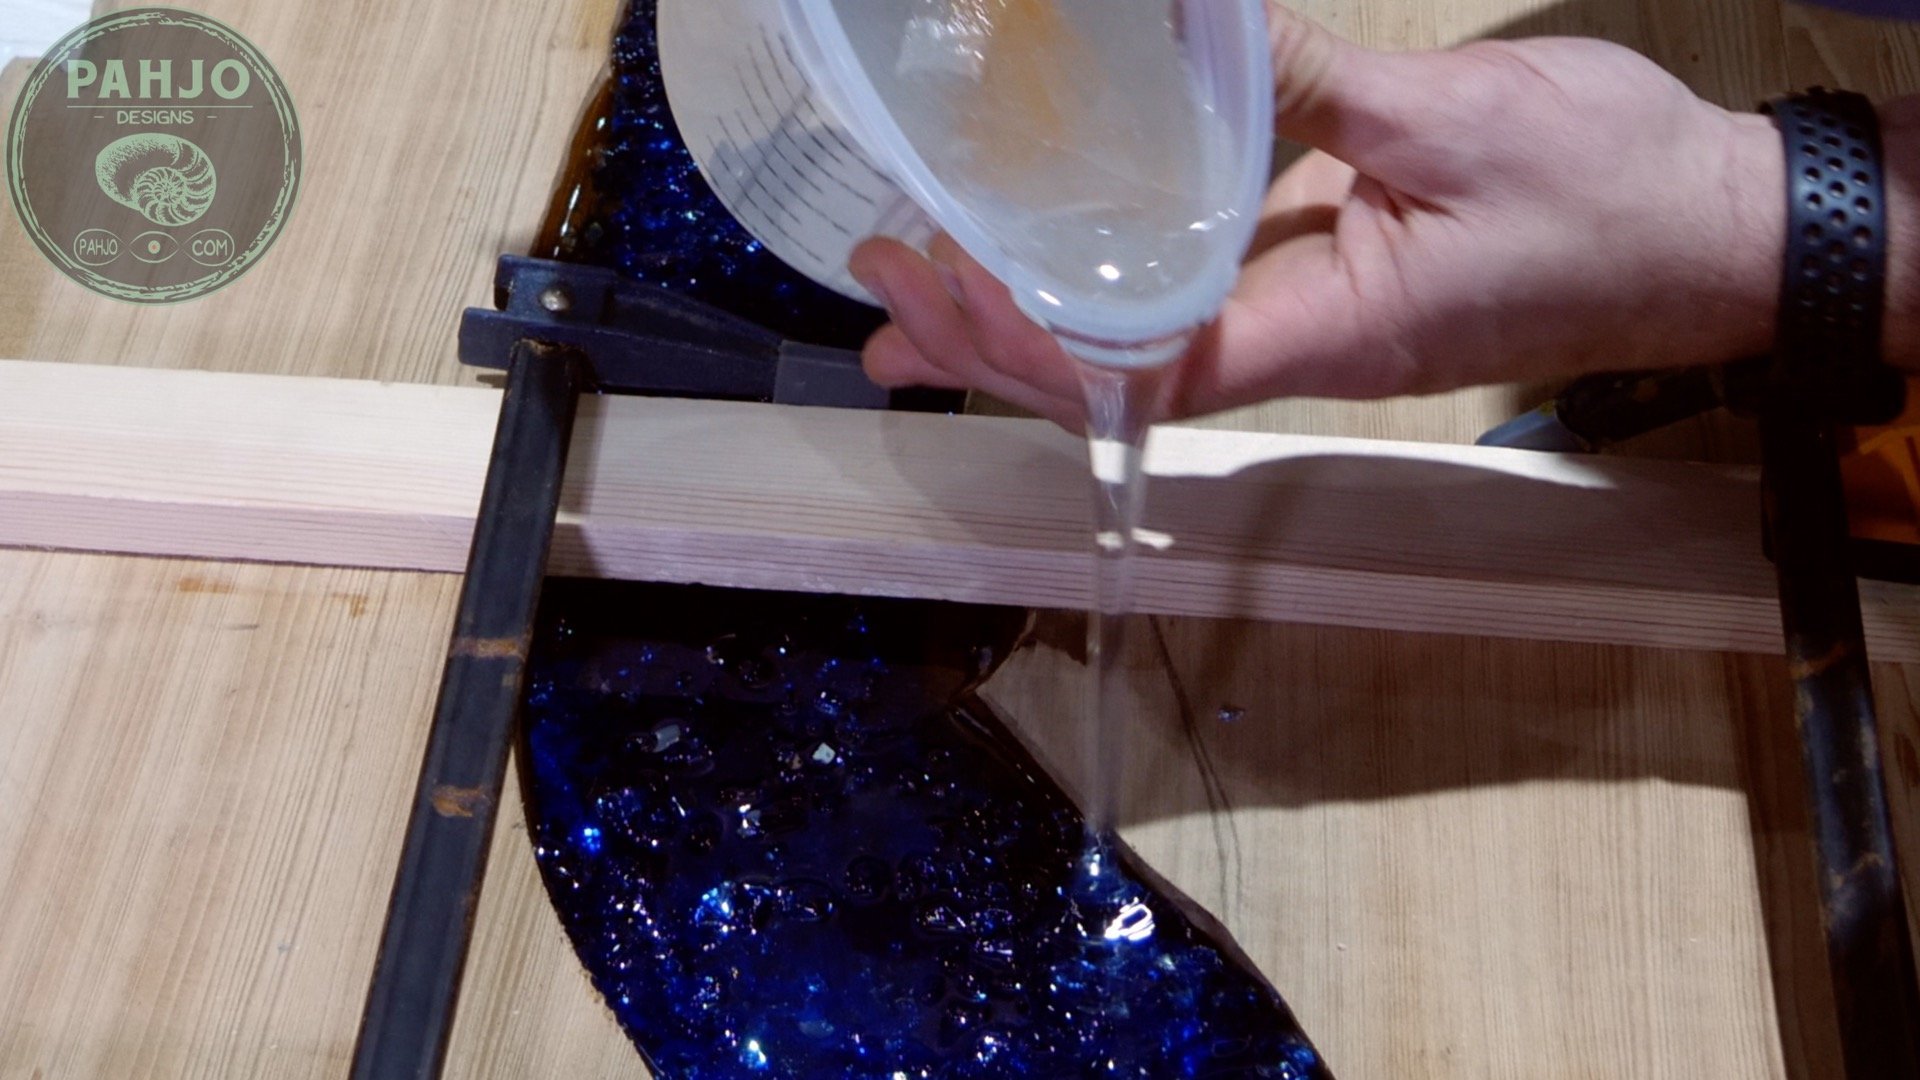
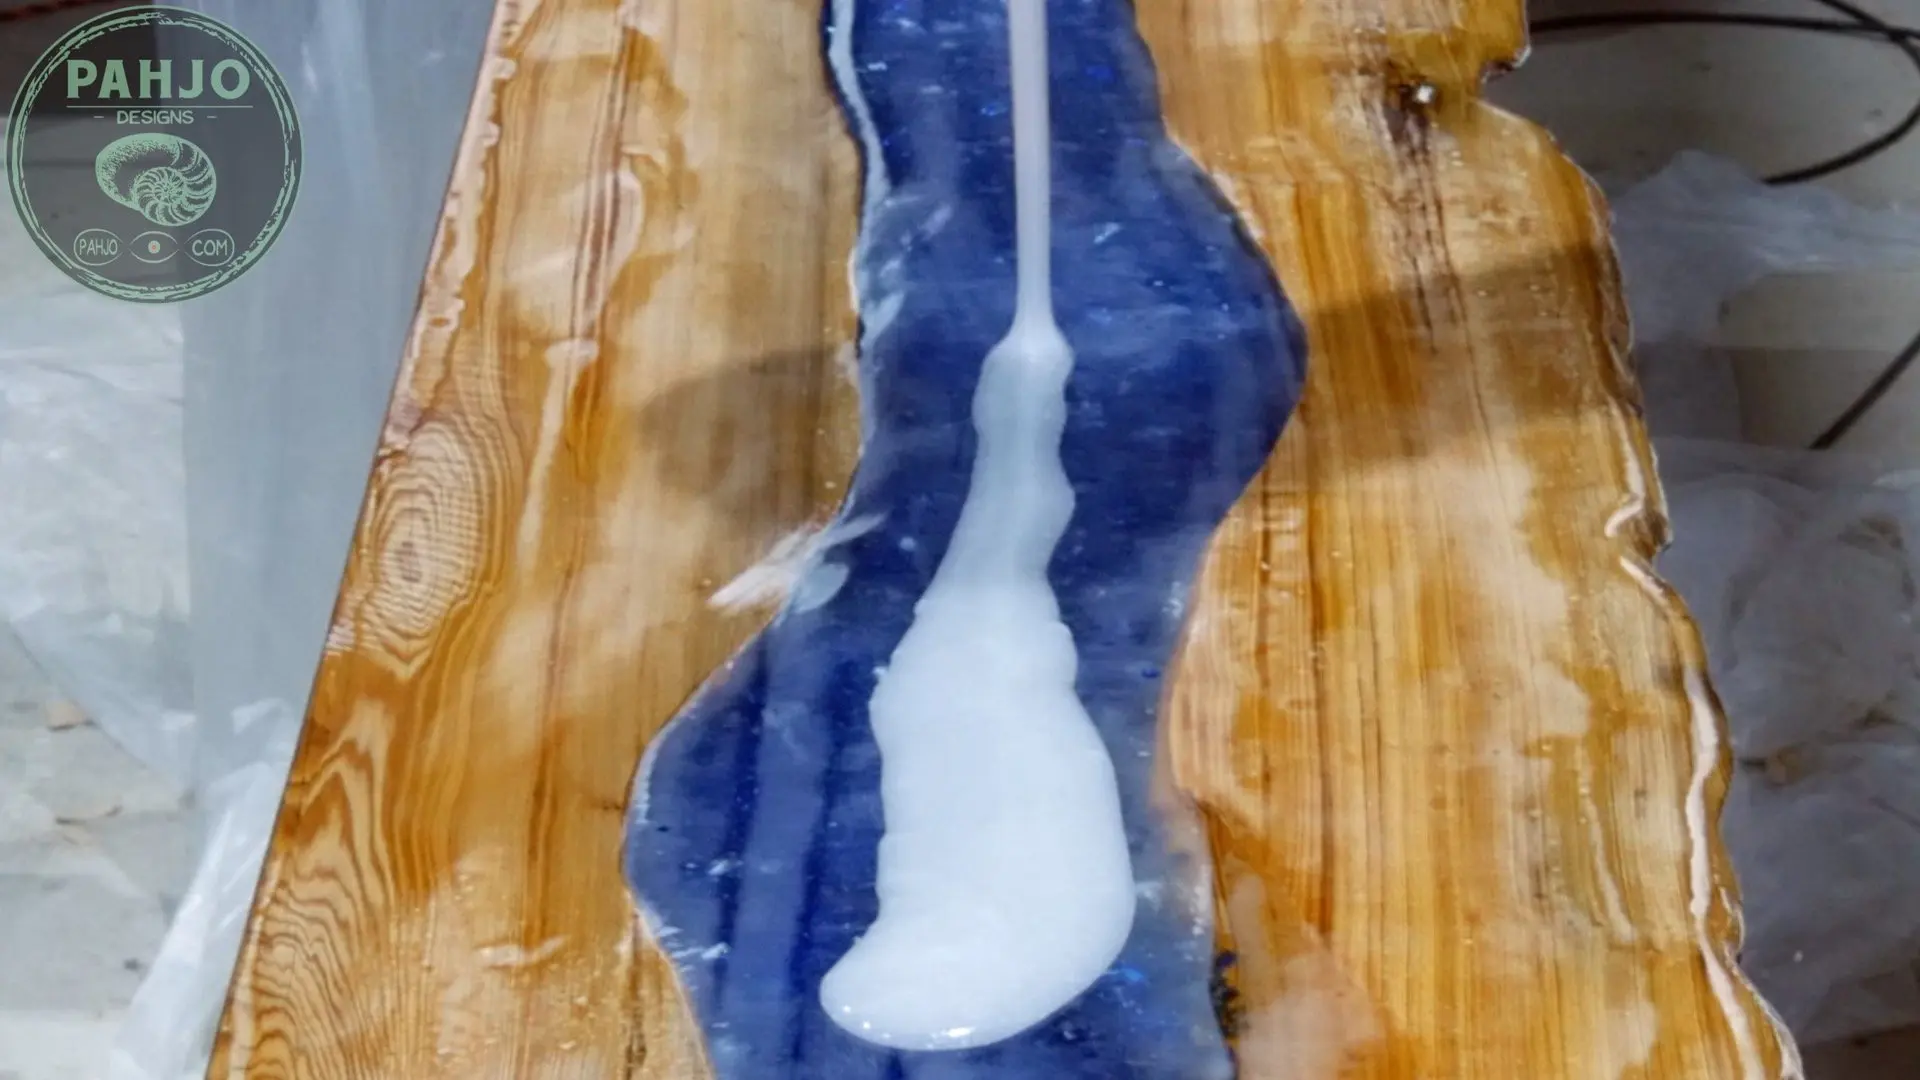
Raise DIY Epoxy Bar Top River
First, I hand sanded the surface of the resin and decided to pour one more layer of resin on the river to raise it a bit.
The river was about 1/8″ lower than it should have been.
It’s much easier to add a little resin than sand the entire table down 1/8″.
I wrapped a scrap piece of wood with silicone tape and nailed it to each end.

Next, I sealed it with hot glue and poured the resin. I actually needed more than I thought – I ended up using 2 32 ounce batches.

Then, I poured resin in the epoxy bar top river.

Remove Ends and Sand Flush
After the resin cured, I removed the boards and used my rotary sander on a low speed setting to knock down a few high spots at one end of the table.


A variable speed sander is very useful when working with resin.
The 2 areas were only about a 32nd higher than the river, but it needs to be flush before the seal coat.

Sand Resin Bar Top
I used my resin sanding technique on the entire table.

I checked each part of the bar top where the resin river meets the wood to ensure it was flat.

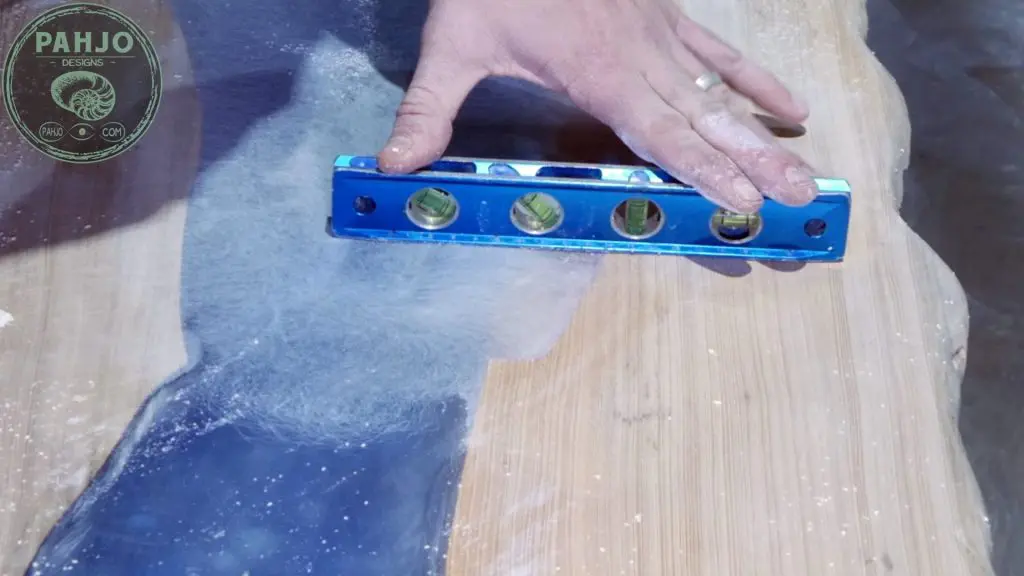
Finally, I used my hand plane to remove one high edge.

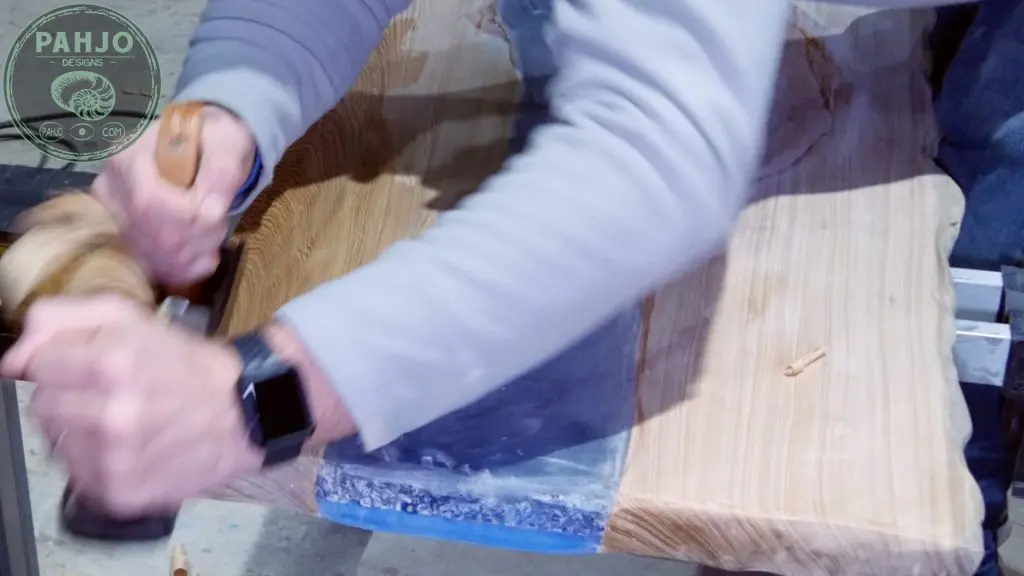
Roundover Edges
After the table was flat, I used my trim router with a 1/2″ roundover bit on the straight side of the bar top.


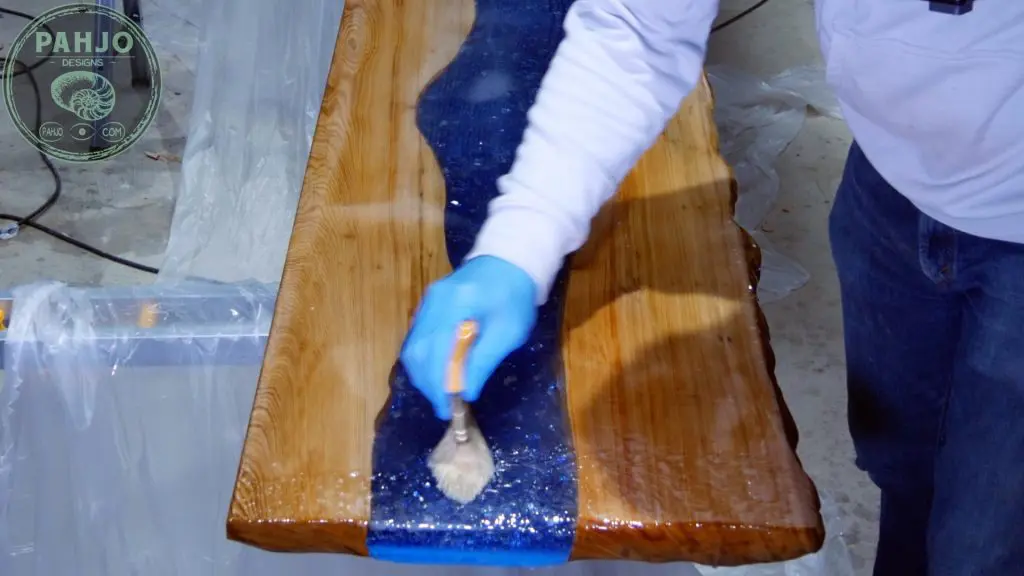
Epoxy Resin Seal Coats
I asked my wife to help me on the first seal coat and she was nervous to mess up.
So, I took the opportunity to emphasize the importance of this step in the project.

The purpose of the seal coat is just as the name implies – it’s meant to seal the surface.
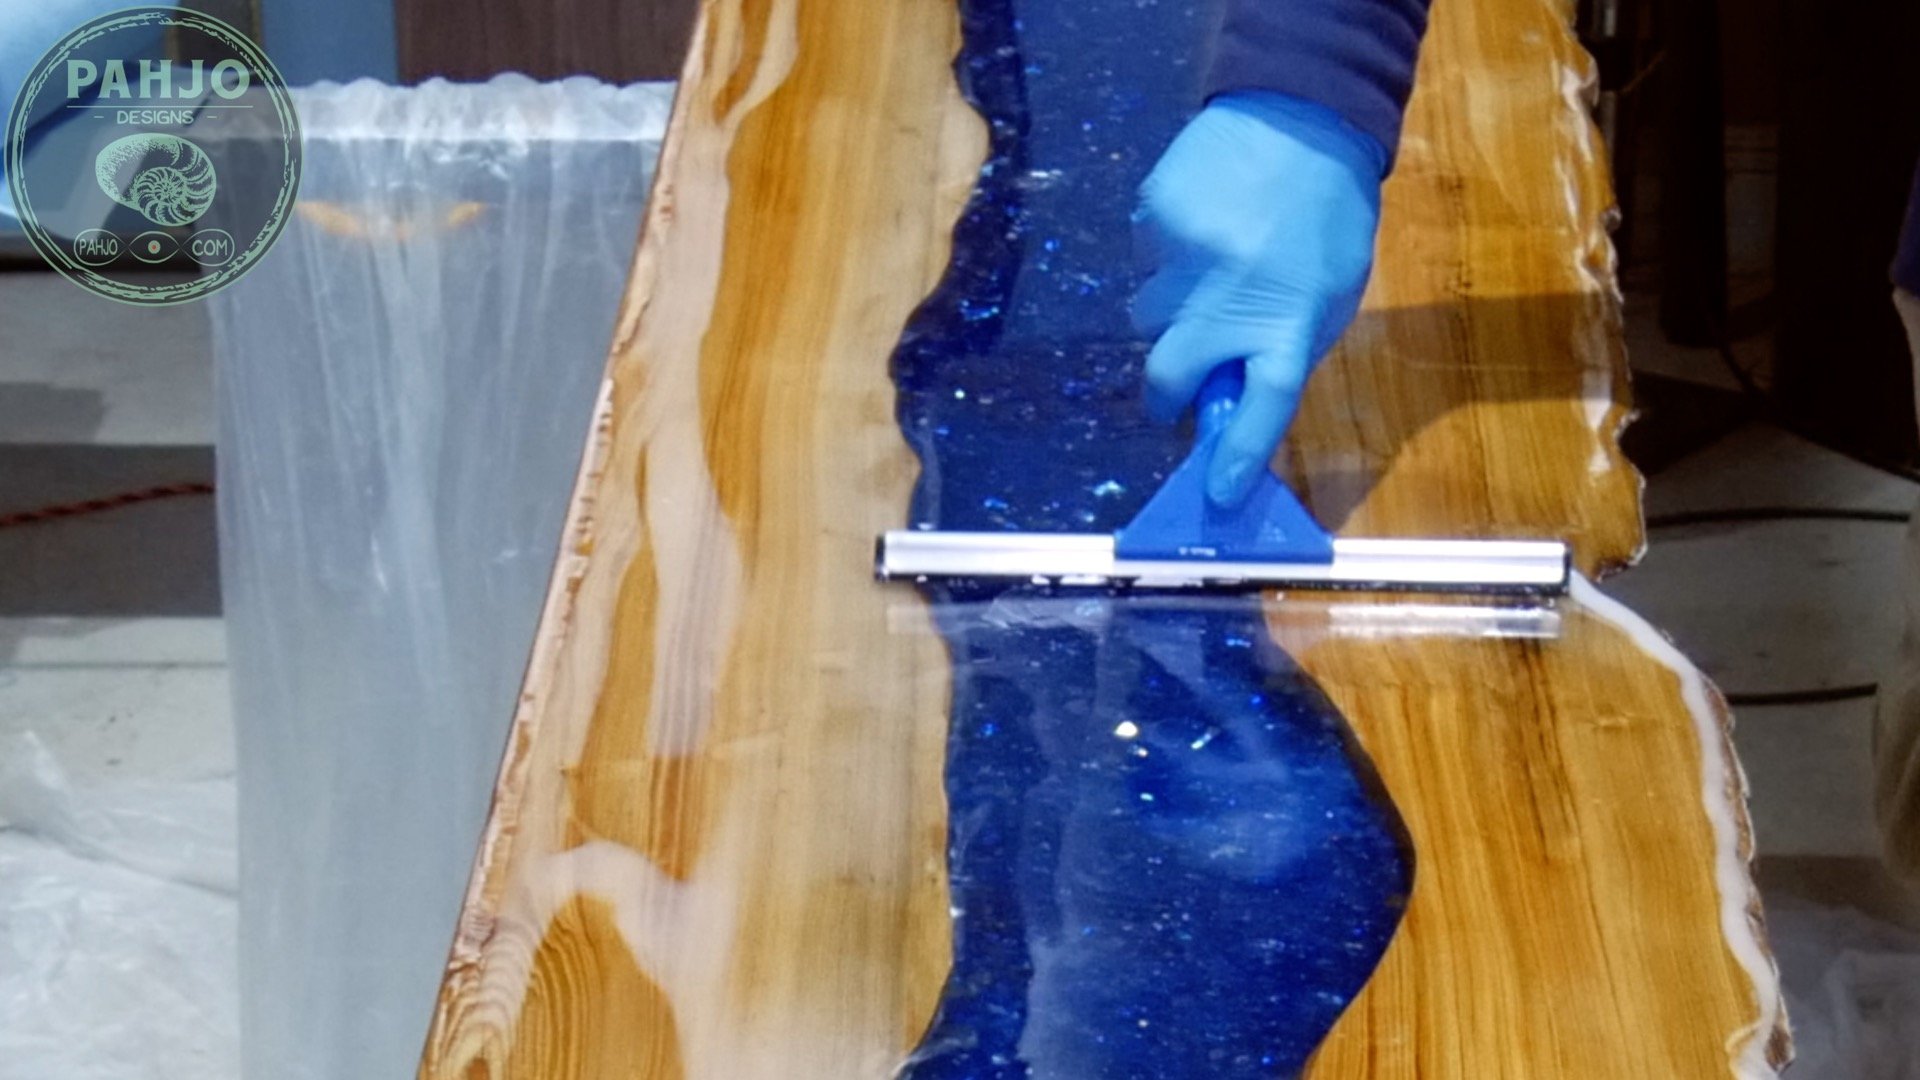
First, my wife spread the material with a squeegee back and forth and let a bead of material drip over the edge. There formula for seal coats is 1 ounce per square foot of surface area.


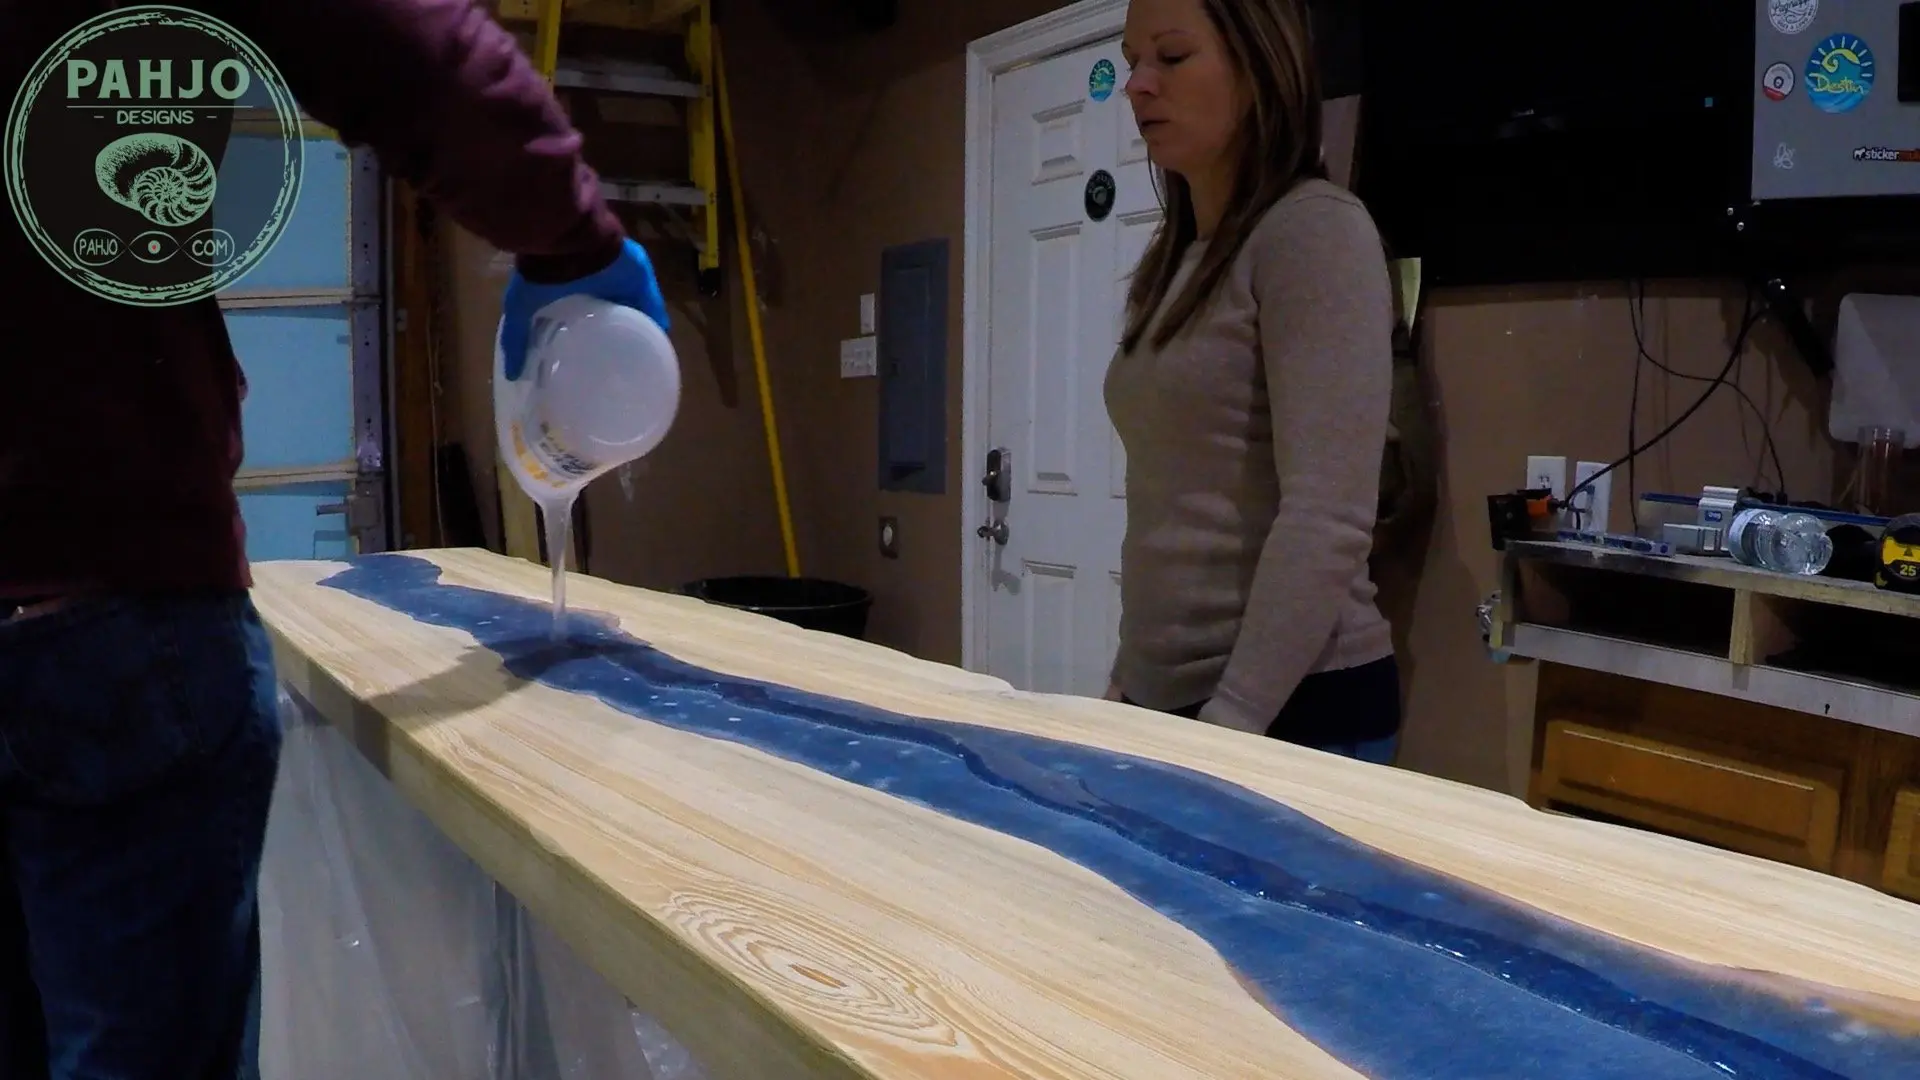


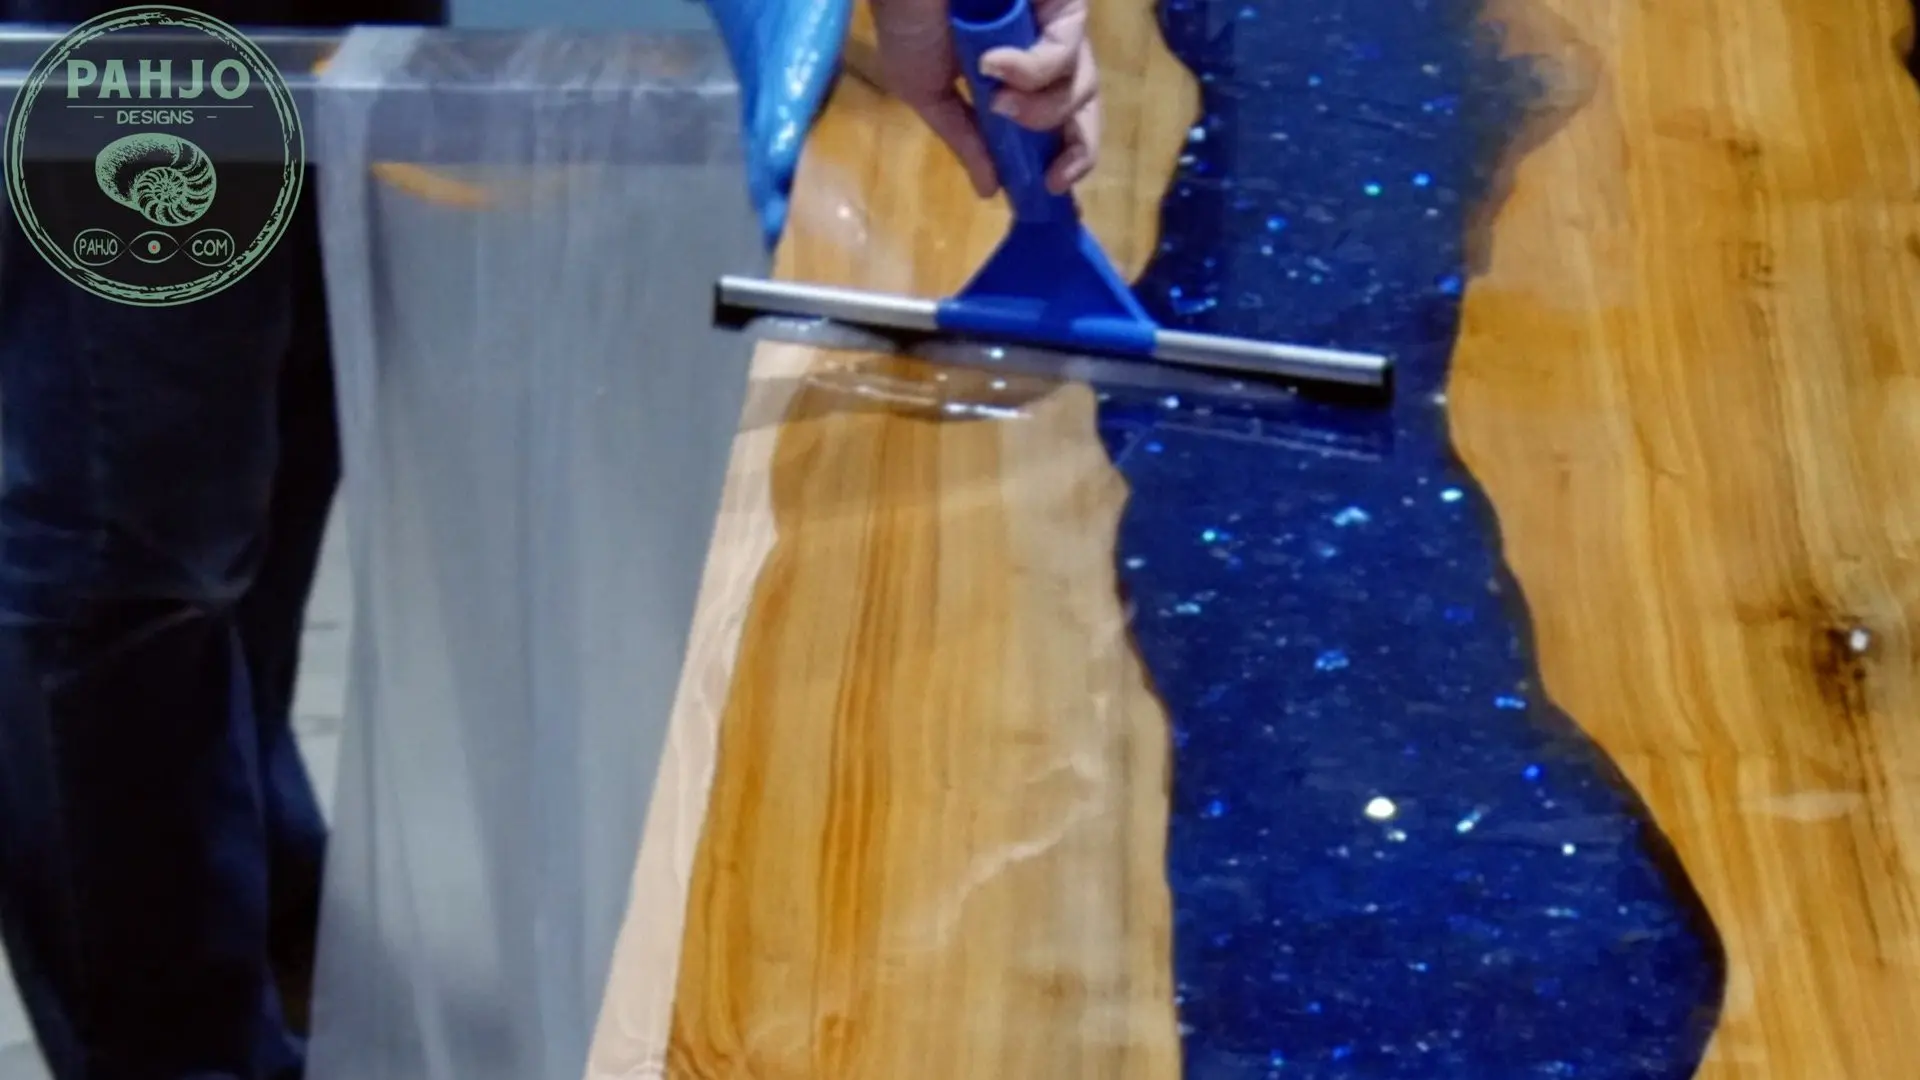
Next, I used my torch to remove air bubbles. I wiped the edge about once per 5 minutes to prevent dripping.

Sand between Seal Coats
After the first seal coat cured, I sanded the entire table with 320 grit sandpaper and repeated the process for the second and third seal coats.


Epoxy Resin Flood Coats
After I sanded the final seal coat on the reclaimed wood bar top, I mixed 3 ounces per square foot for the flood coat.


Next, I used a 1/8″ square notch trowel to move the resin across the bar top at a consistent depth.

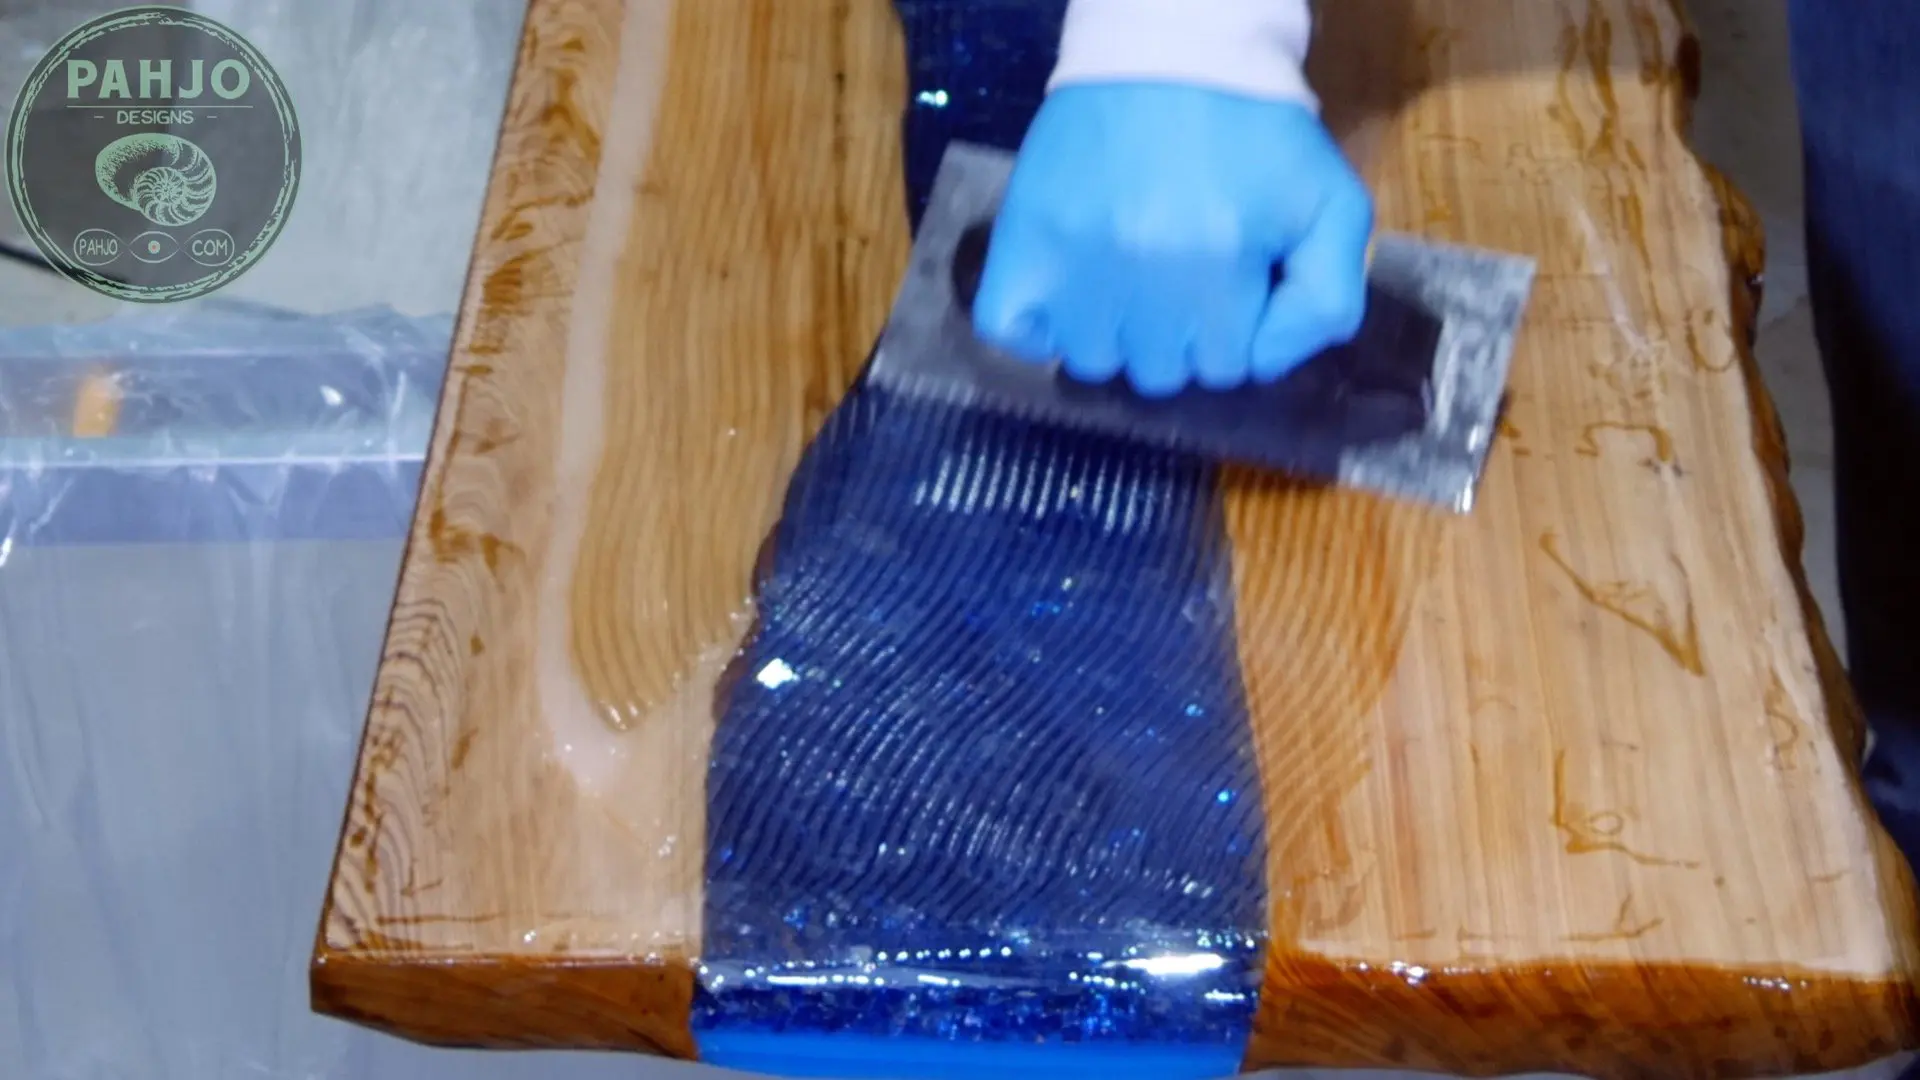


Then, I used a paint brush to chop the material to facilitate proper blending.

Finally, my torch removed the air bubbles and help flatten out the material.
I repeated this process for the 2nd flood coat to produce a glass-like finish.
Seal Underside
After the bar top cured for 6 days, I flipped it over and sealed the underside with oil and urethane.

This is not necessary for this type of wood, but it just made me feel better since the bar top would be outside.
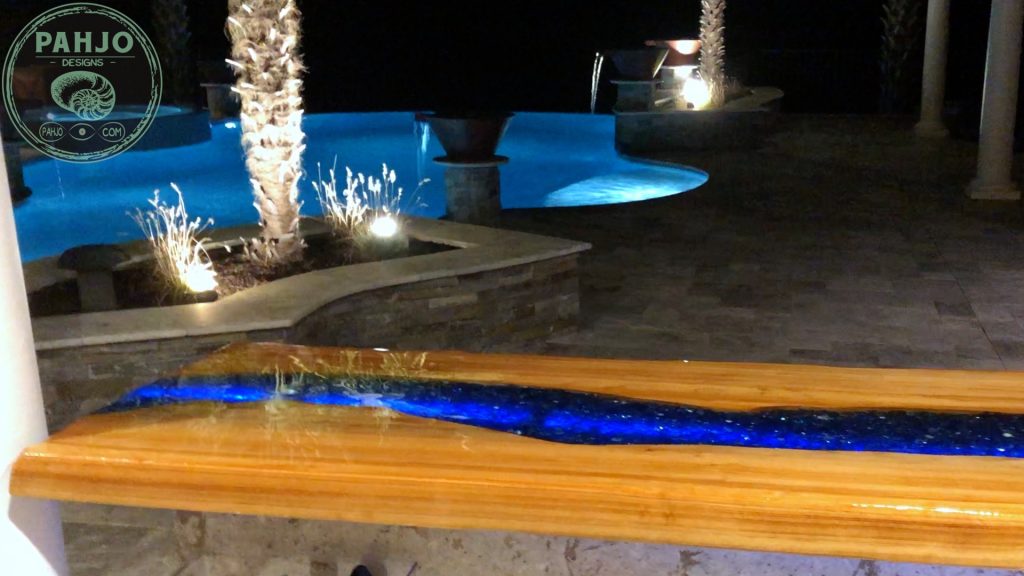
Secure Black LED Lights
First, I used hot glue to secure a string of black LED lights under the river.
More importantly, I discovered a better way to embed LED lights in epoxy resin. I encourage you to use the new method if possible.

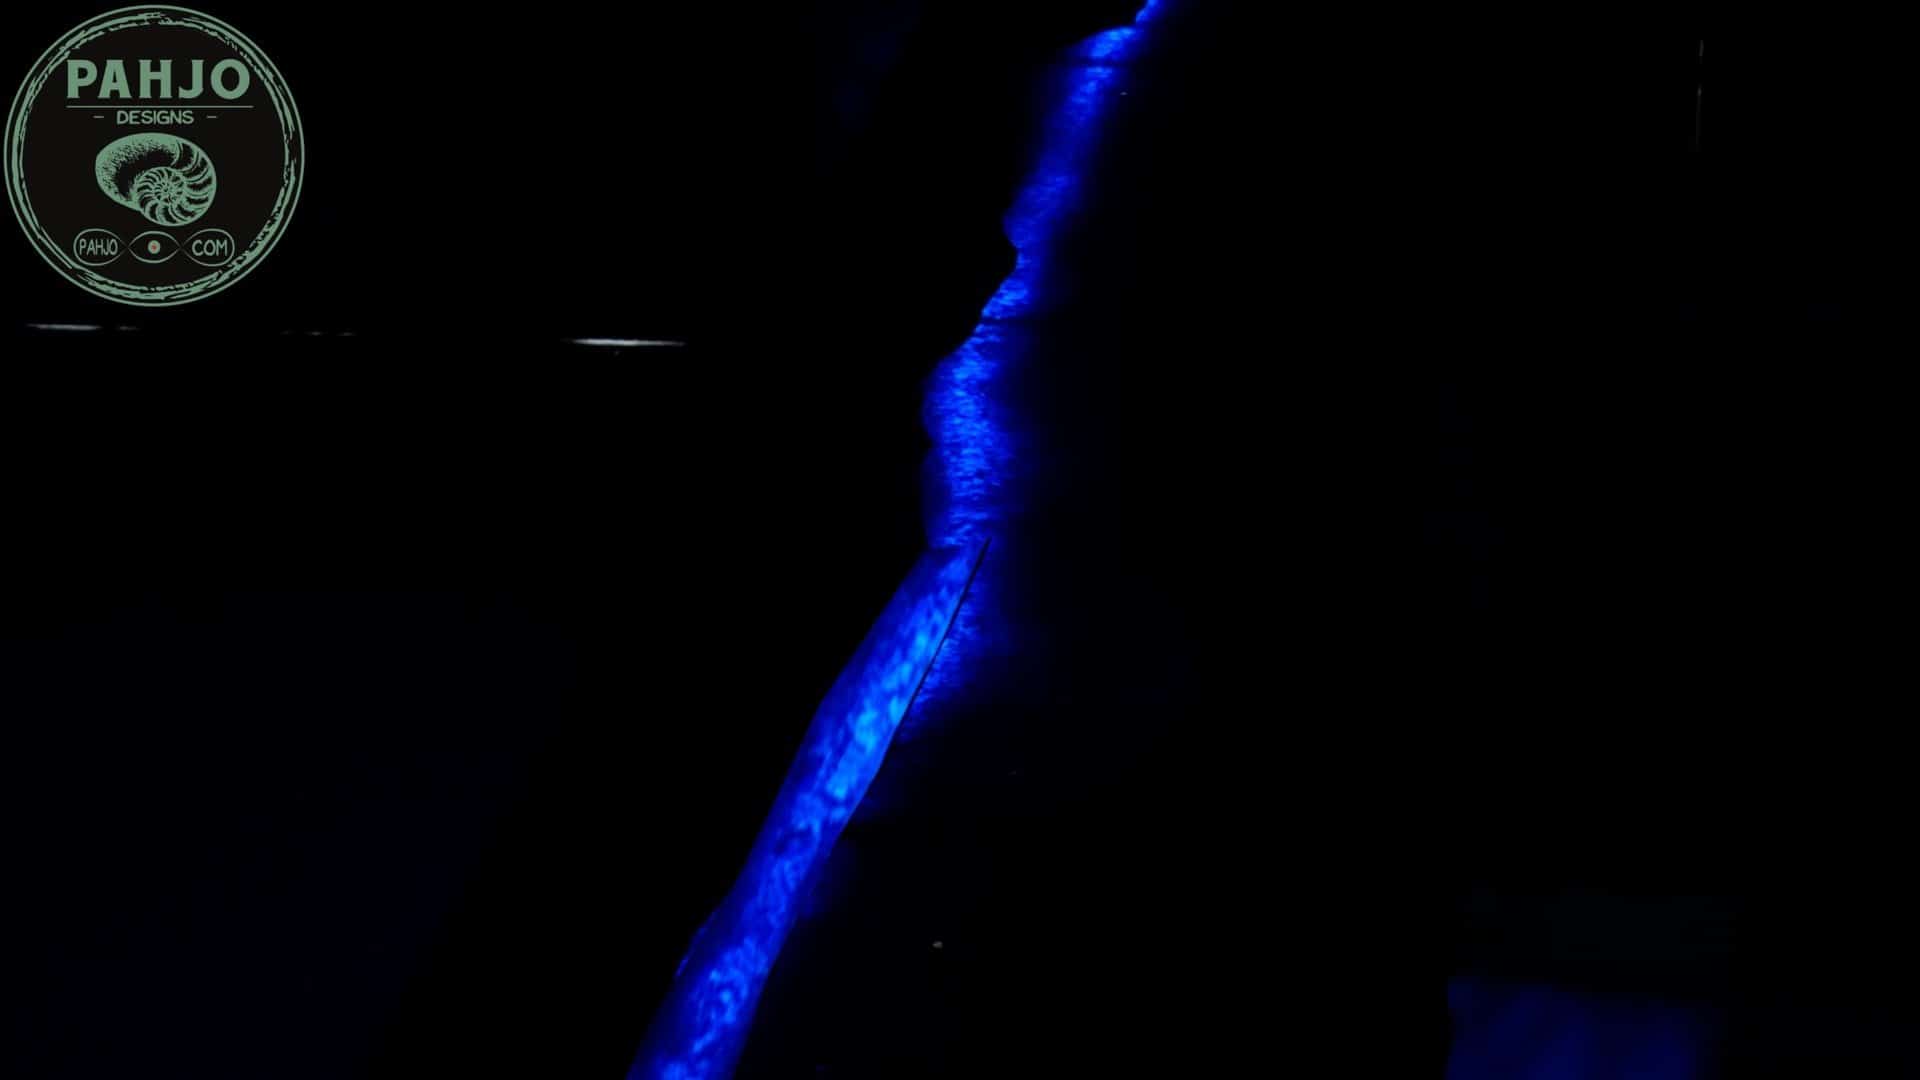
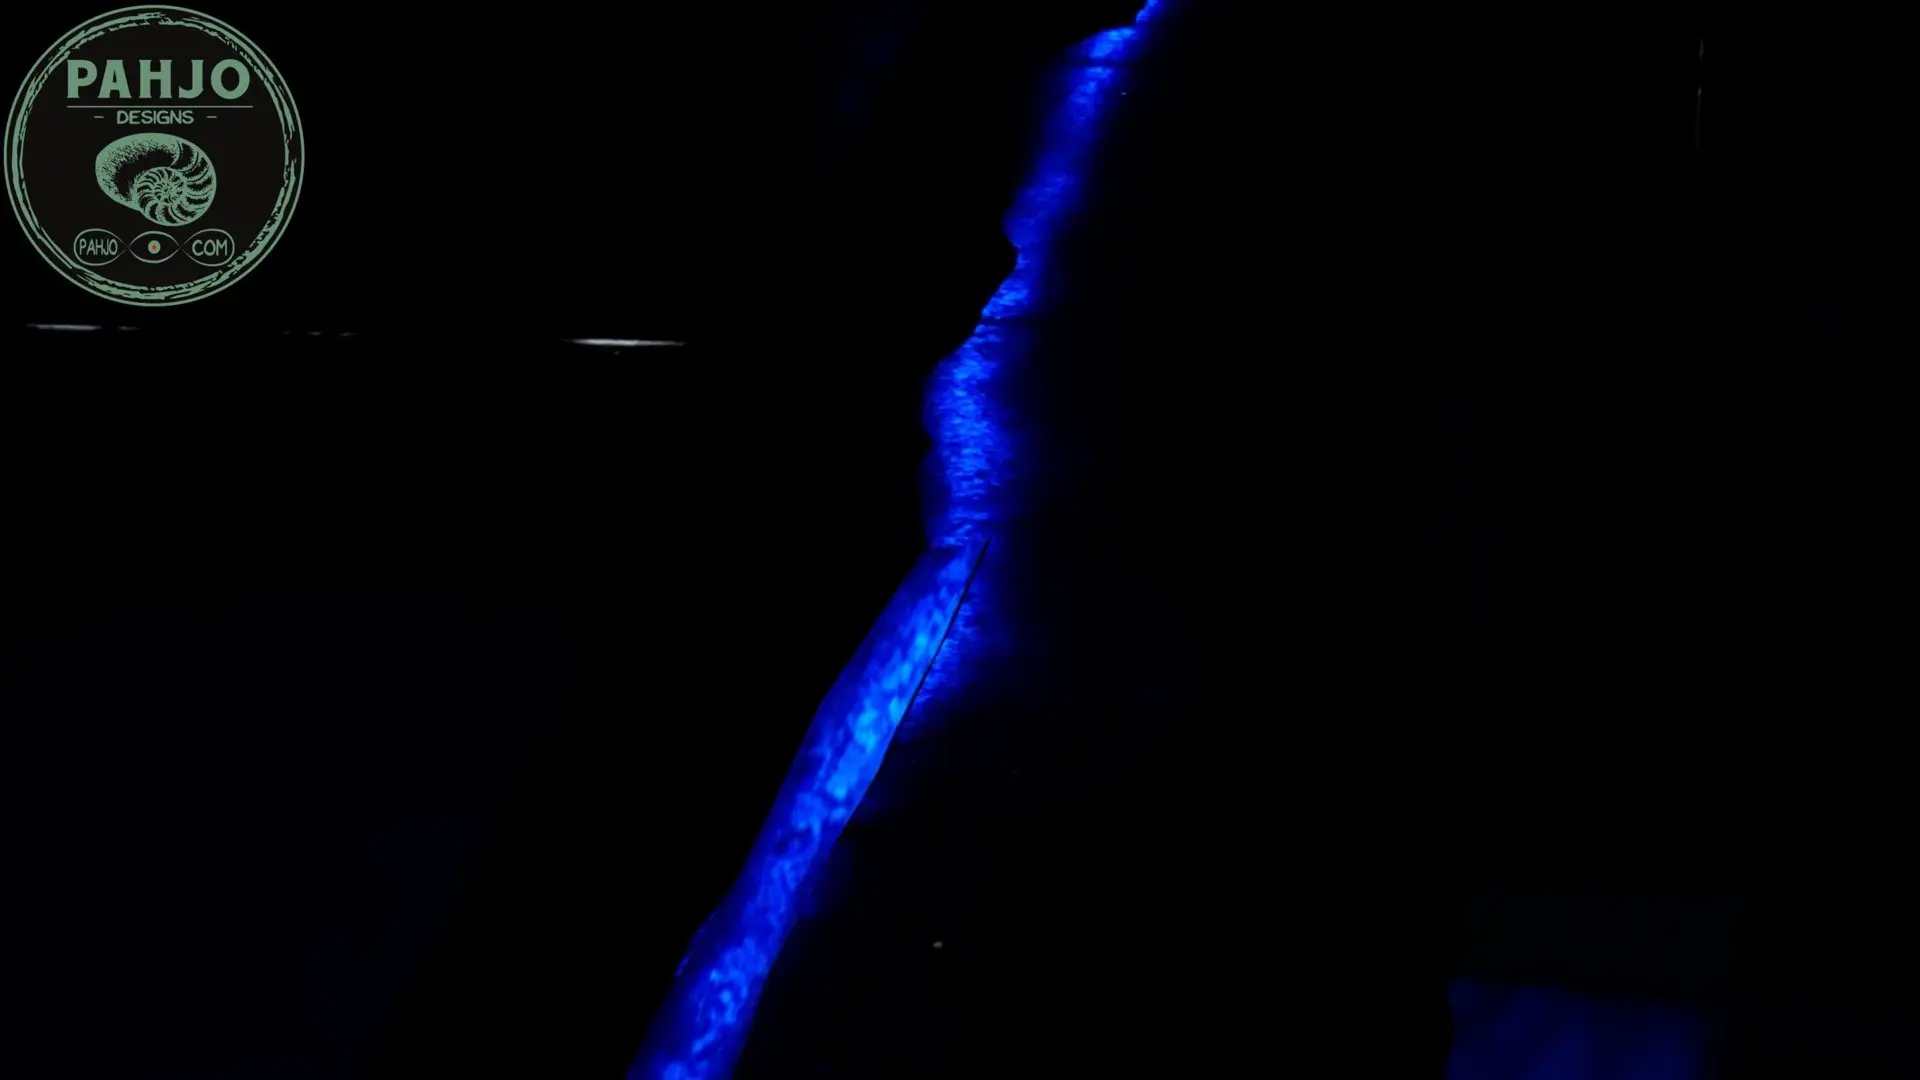
Also, this is not necessary because the glow powder is charged by sunlight or artificial light.
The black lights will charge the glow powder if the bar top is not exposed to the sun or lights.
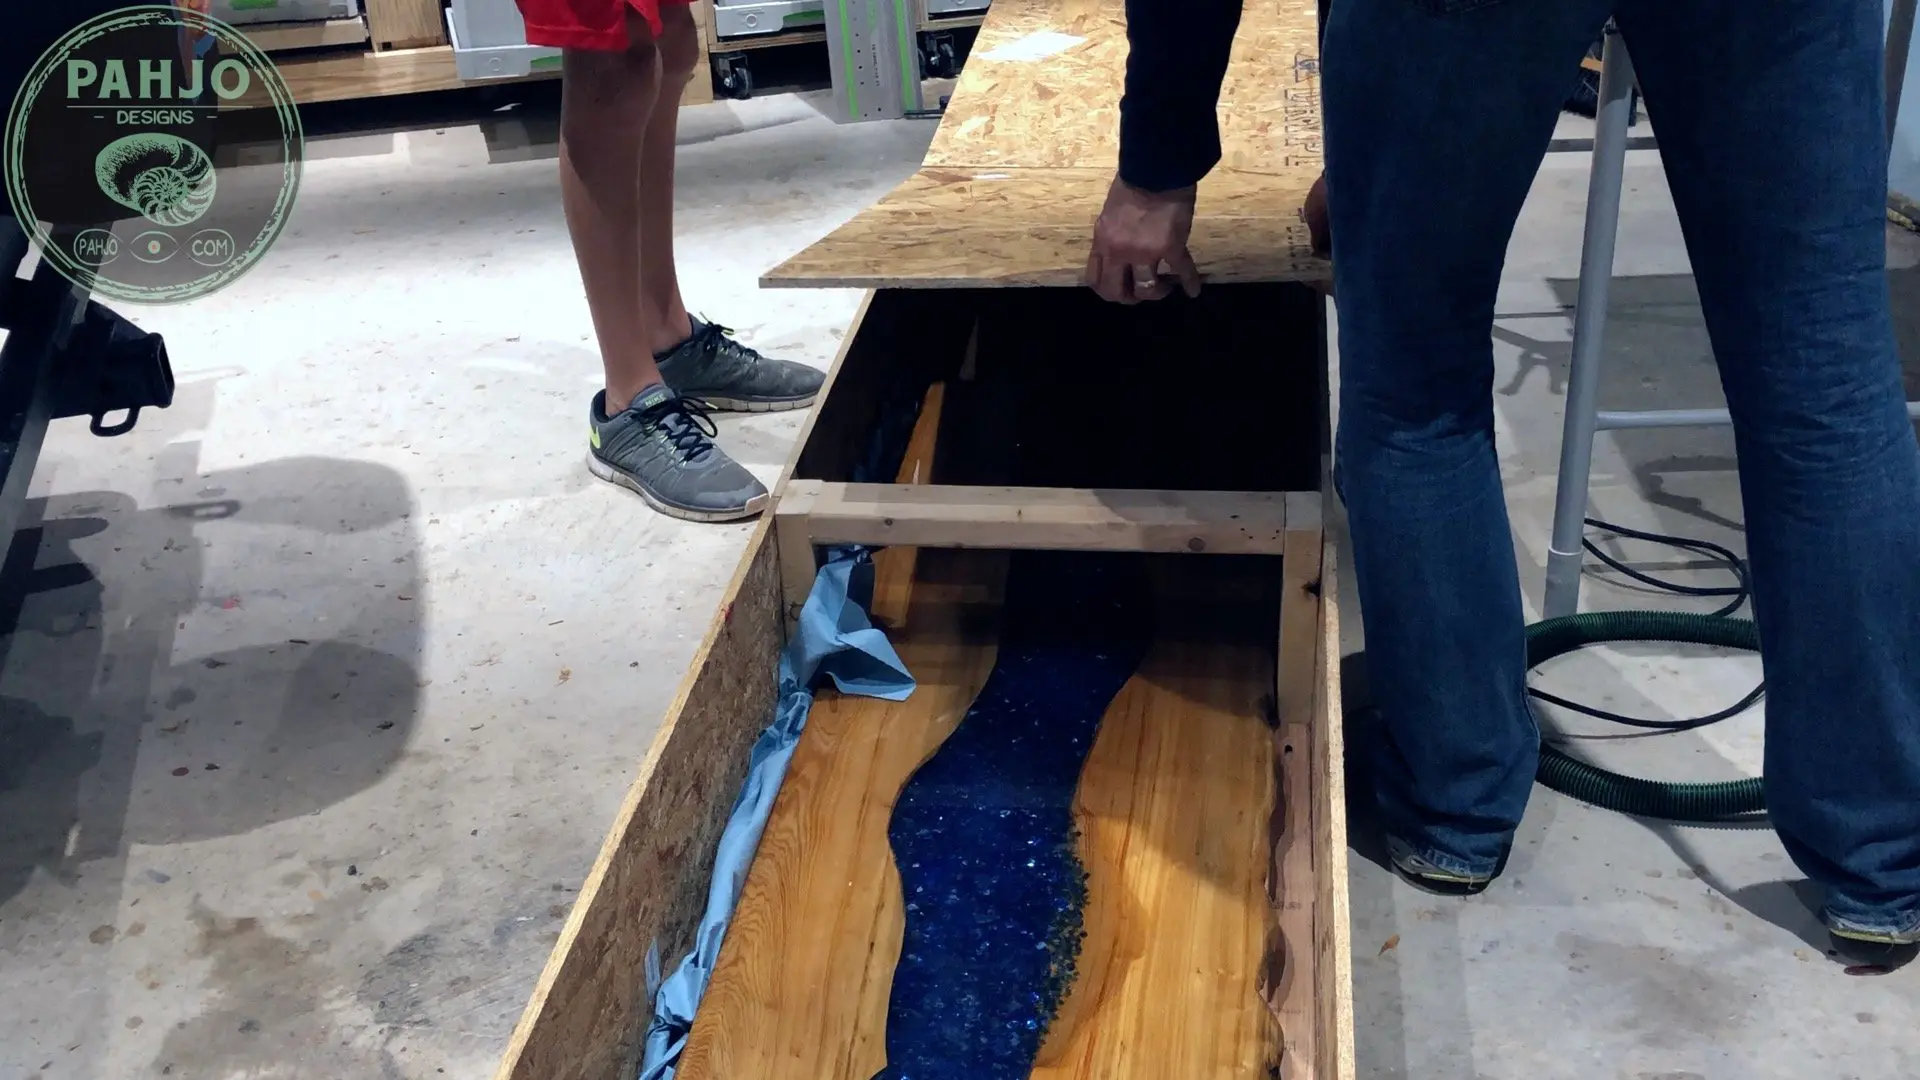
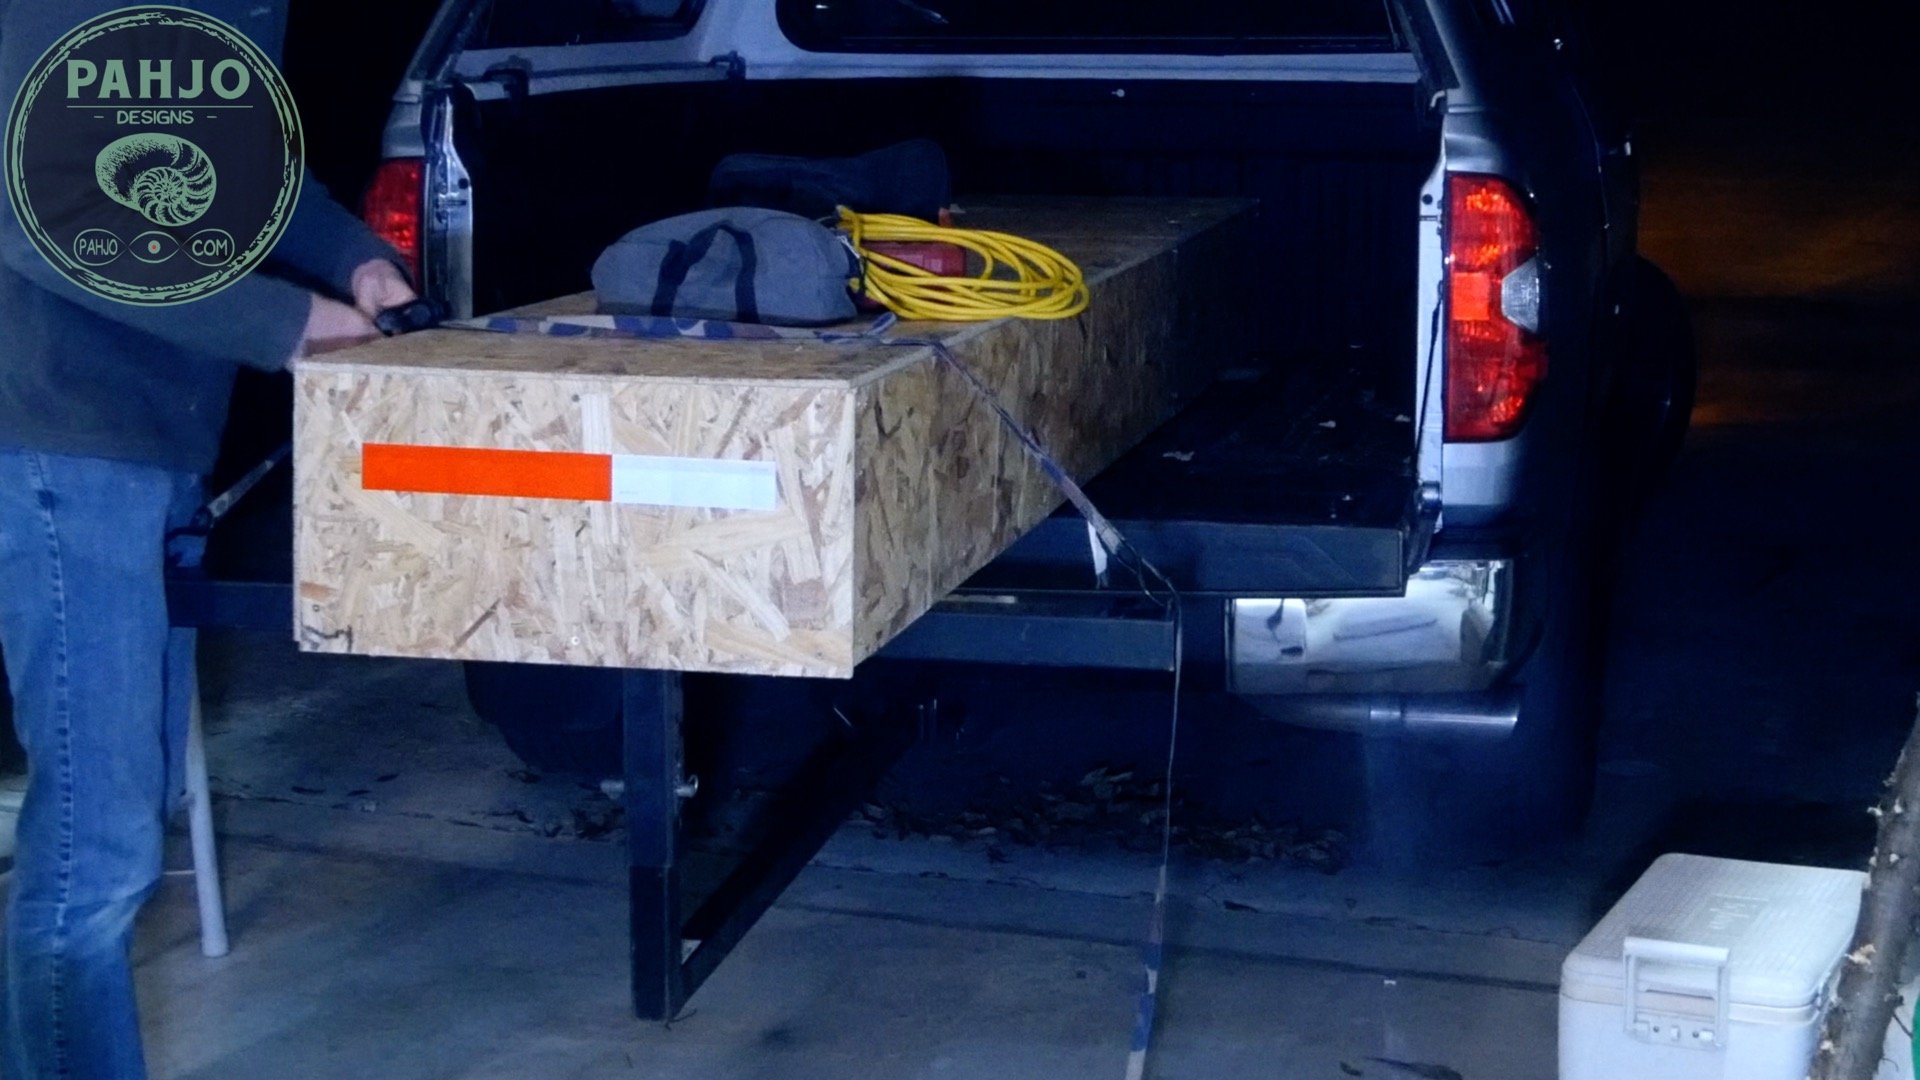
Prepare Epoxy Bar Top for Delivery
After the table was completely dry, I decided to drive this table to my customer.
Furniture shipping was very expensive due to the size of this bar top.
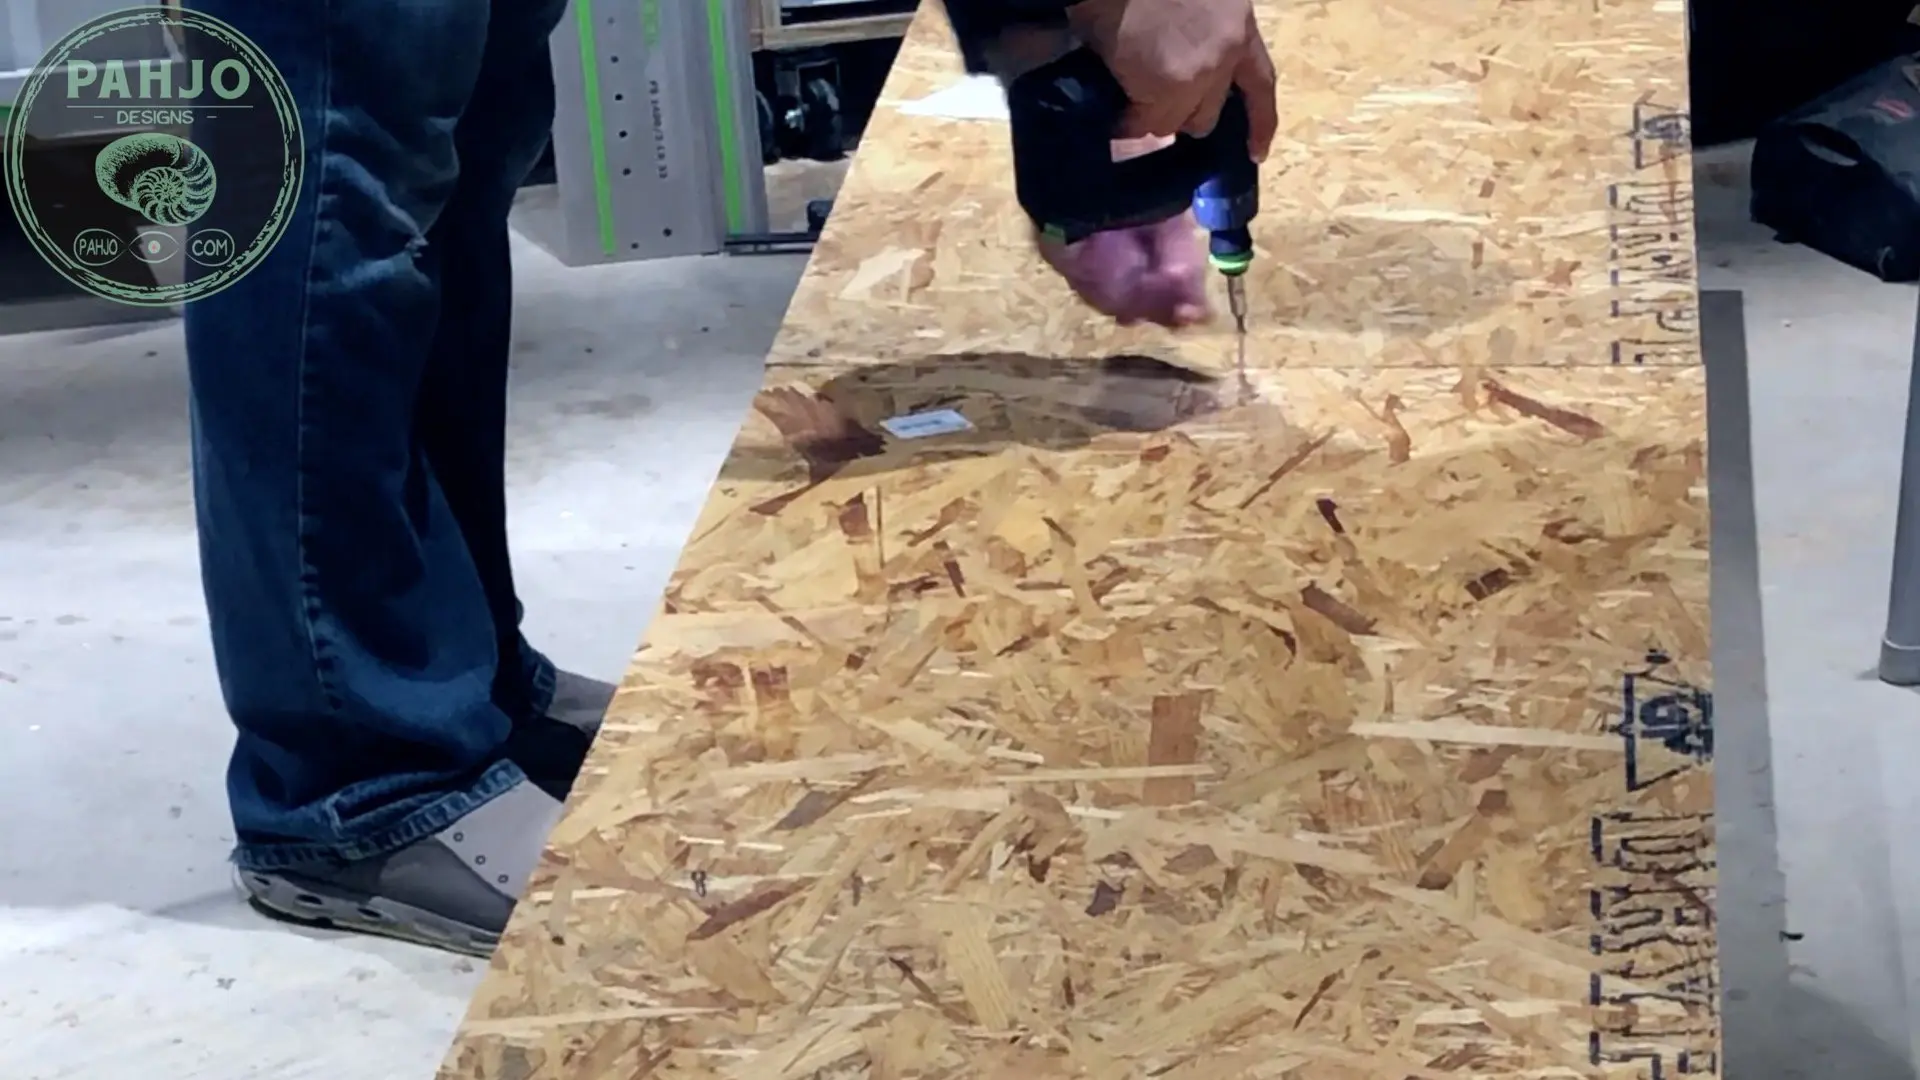
As a first step, I built a box with 2x4s and particle board roughly 4 inches longer than the table and 2 inches wider.


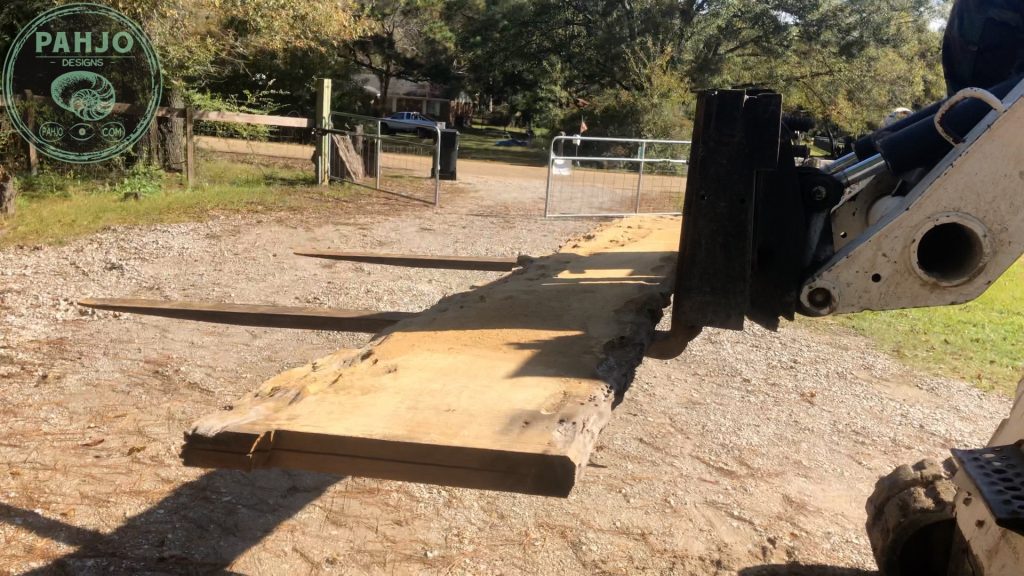
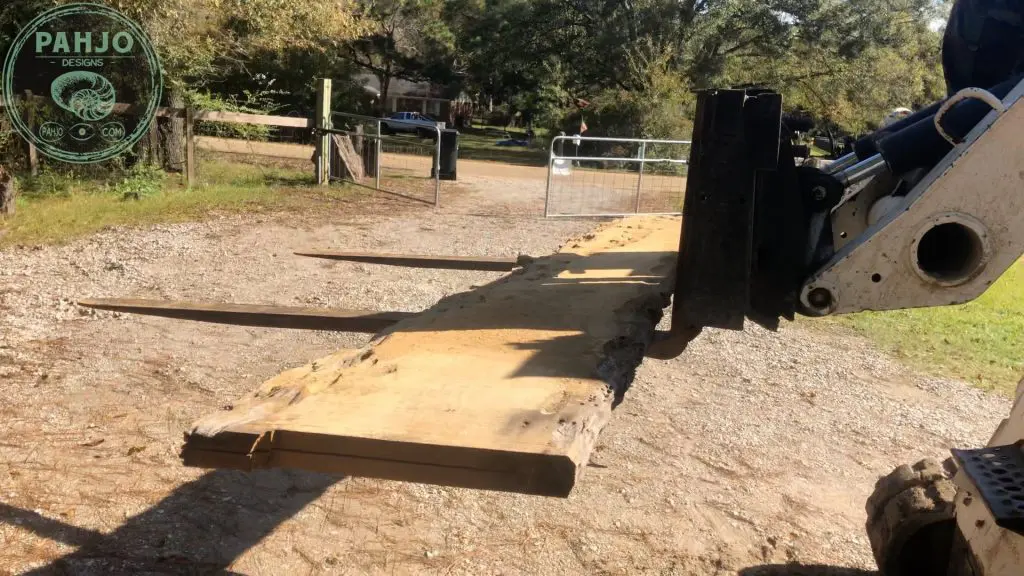
Live Edge Bar Top Delivery
In order to transport the wood slab top securely, I used my bed extender.
This bed extender is one of the handiest tools I own.

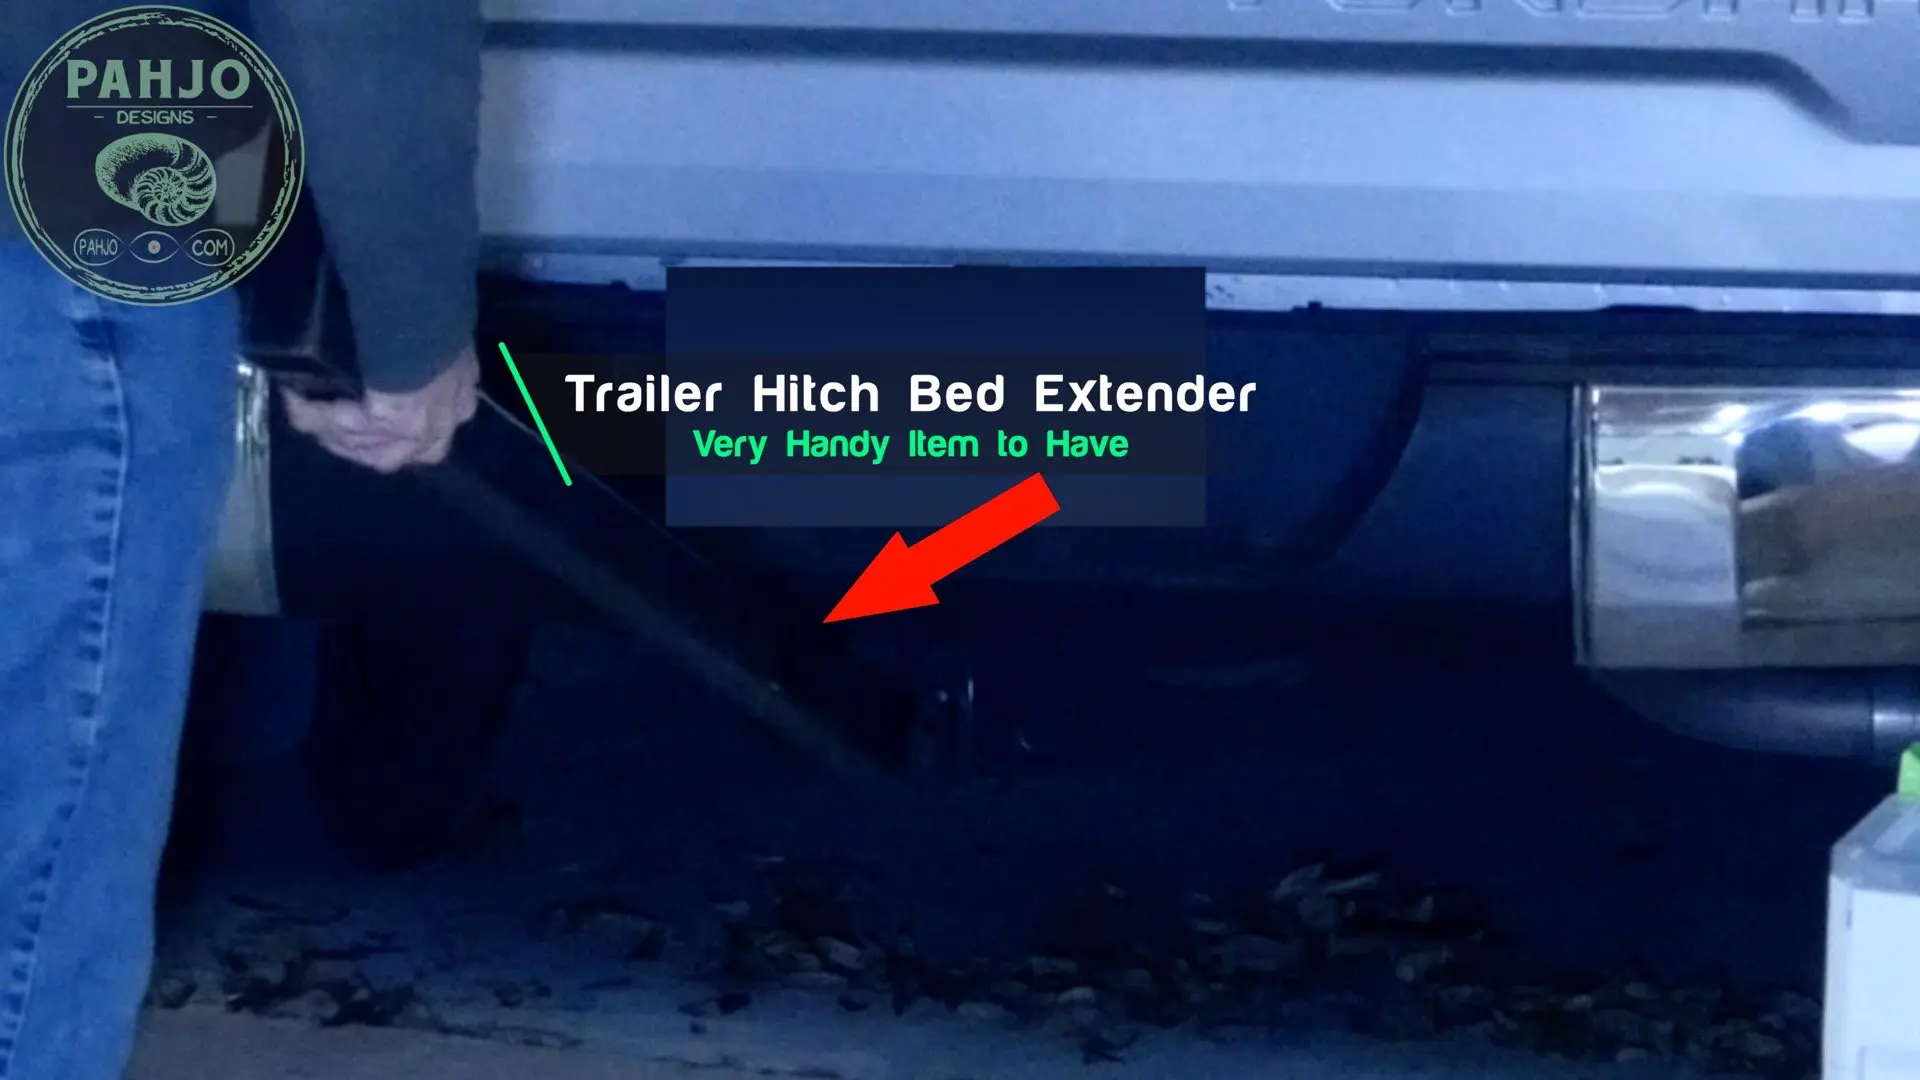
I initially bought it to haul my paddle boards in my old truck, but I mostly use it to haul lumber much longer than my truck bed.


At 4:30am, I left my house and drove 12 hours to South Carolina.
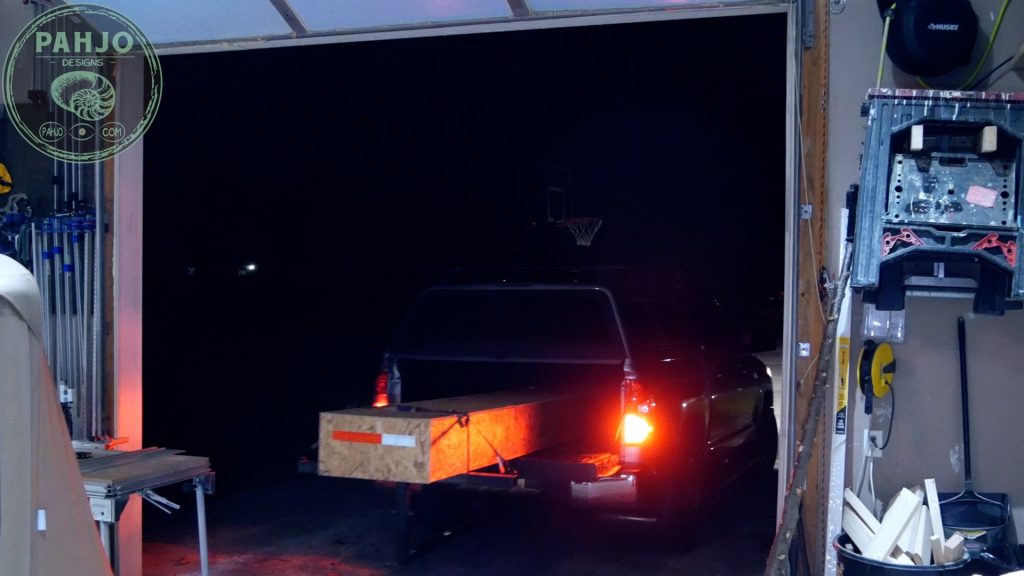
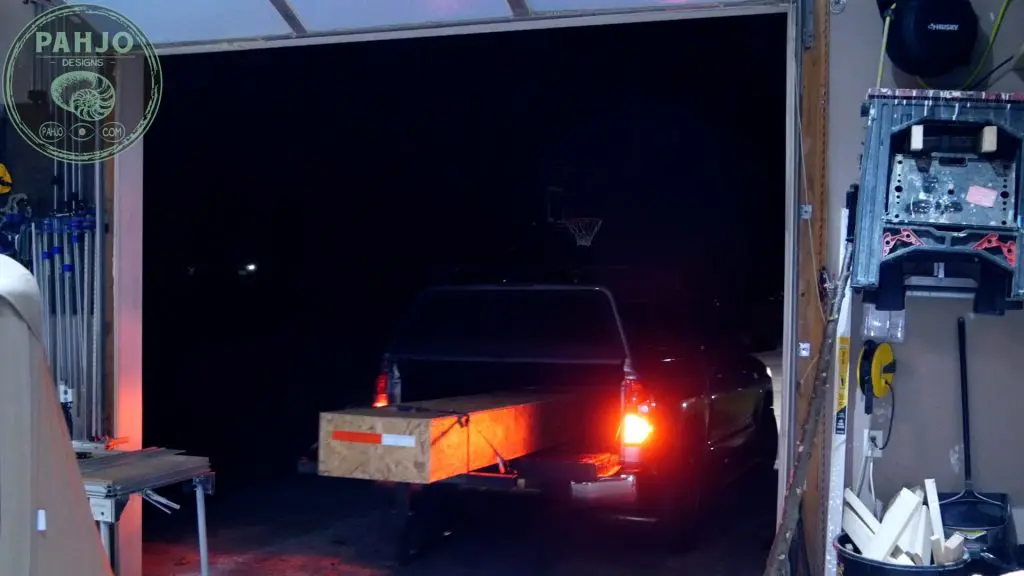
I delivered the live edge bar top to my customer, spent a few hours chatting with him & his family, and got back on the road later that evening.
Also, my wife warned me to just ship the table.
Obviously, I chose to not listen.
I wanted to save my customer the huge shipping expense (shipping quote included in quote).
Ultimately, my travel expenses were much cheaper than the shipping expense.
As much as I enjoyed meeting my customer & his family, the trip simply was not worth my time.
I will listen to my wife next time – maybe.
Conclusion
In summary, I hope this live edge bar top DIY tutorial helps you make your own solid wood bar top or counter top.
Also, I take custom orders for live edge furniture using various wood types such as sinker cypress and black walnut.
Contact me for a custom table top quote.

Related Posts
Georgeanna Rickard
Wednesday 25th of December 2019
This is an absolutely gorgeous piece.
Denise Yagelnesky
Sunday 13th of October 2019
Super cool! Instructions very detailed - you are very talented! Thank you for sharing!
Lynn Zimmerman
Monday 17th of June 2019
Beautiful workmanship! I’m sure your client is thrilled with this functional piece of art. Thank you for sharing.
epoksi zemin kaplama
Thursday 4th of April 2019
hi very successful, descriptive, and in-depth sharing thank you