
In this article, I show you how to sand rough wood and the best sander for rough cut wood. Learn a swirl-free sanding technique to get a smooth surface and how to fix sanding mistakes the easy way.
Even if you don’t sand wood, the techniques covered in this project can be directly translated toward refinishing or sanding live edge wood.
In order to help you get the information you need quickly, I included jump links to the main sections of this post.
Video Tutorial
How To Sand Wood Like a Pro
Wood Sanding Secrets
Quality Sander Matters
Why I Use Festool
Wood Sanding Tips and Tricks
How To Fix Sanding Mistakes
Sanding Rough Cut Wood Video Tutorial
There are several things that will be difficult to explain with words and images, so be sure to check out the video below.
How To Sand Rough Wood
This wood sanding technique consistently produces a smooth wood surface on live edge wood slabs & rough cut lumber with no swirl marks or pigtails.
Gather Tools and Material
I recommend the festool rotex 125 or 150 sander, a festool dust extractor, and the following sandpaper grits: 40, 60, 80, 100, 120, 150, 180, 220, 320.
Rotex Sander40 grit Sandpaper
60 grit Sandpaper
80 grit Sandpaper
120 grit Sandpaper
150 grit Sandpaper
180 grit Sandpaper
220 grit Sandpaper
320 grit Sandpaper
HEPA Vacuum
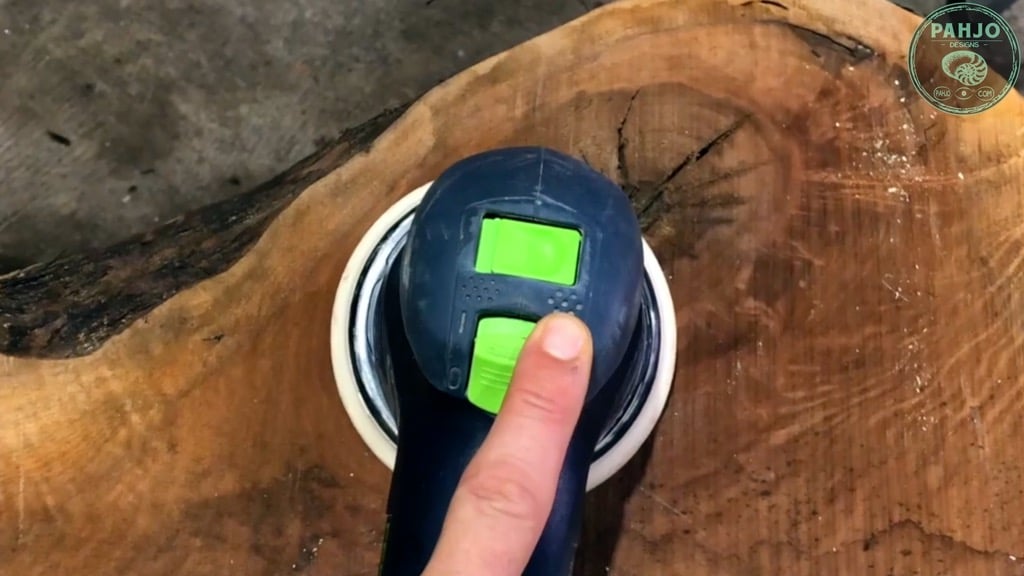
Set Sanding Mode and Speed (if applicable)
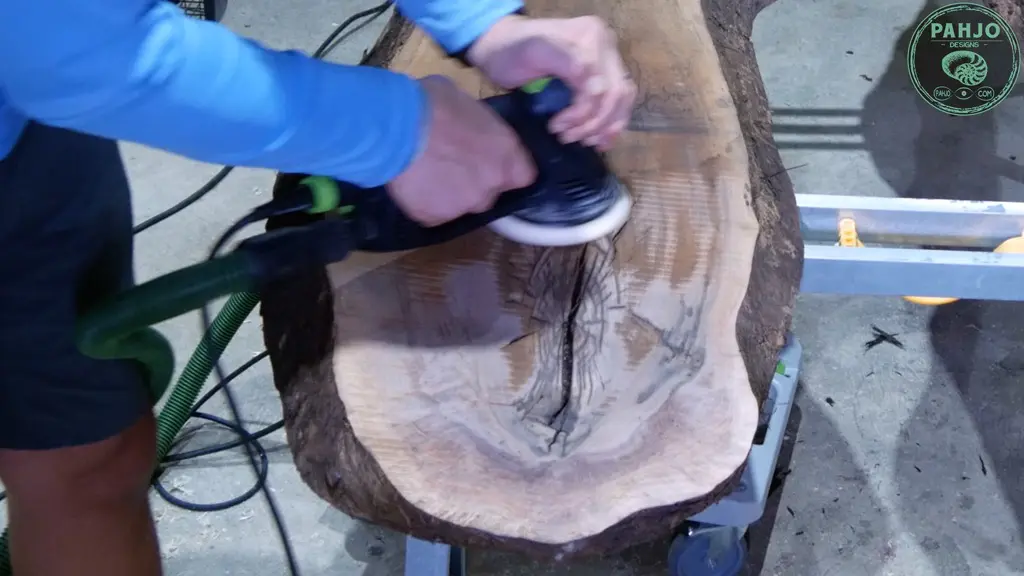
First, I place the rotex 125 in rotary mode on the highest speed setting with the black sanding pad that came with the sander.


Sandpaper Grit
In order to sand rough cut wood slabs, I start with 40 grit sandpaper and work in 2 foot by 2 foot sections.
This lower grit removes most scratches and swirl marks.
Proper Sanding Technique for Rough Wood
I always work in 2′ x 2′ sections at a time.
Small sections make it easy to monitor for mistakes and quickly pivot to correct them if needed.
Place the sander on the surface and turn it on.
Don’t turn it on then place it on the surface – no need to make a mistake on the very first movement.

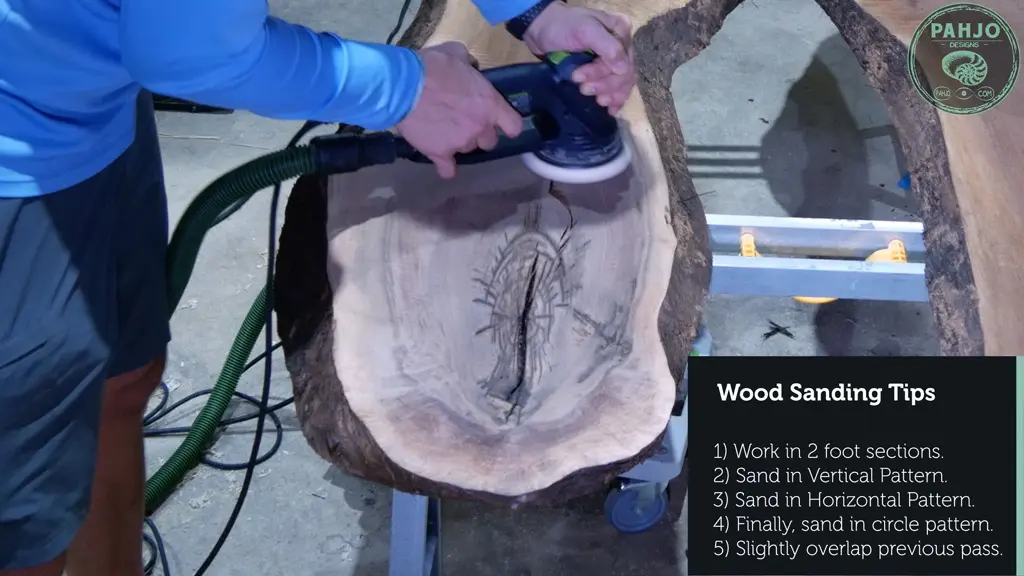
Next, sand horizontally across the wood grain and overlap the lines by 1/3 or 33%.
Then, sand vertically with the wood grain and overlap the lines by 1/3 or 33%.
Finally, sand in a circular pattern of roughly 8″.
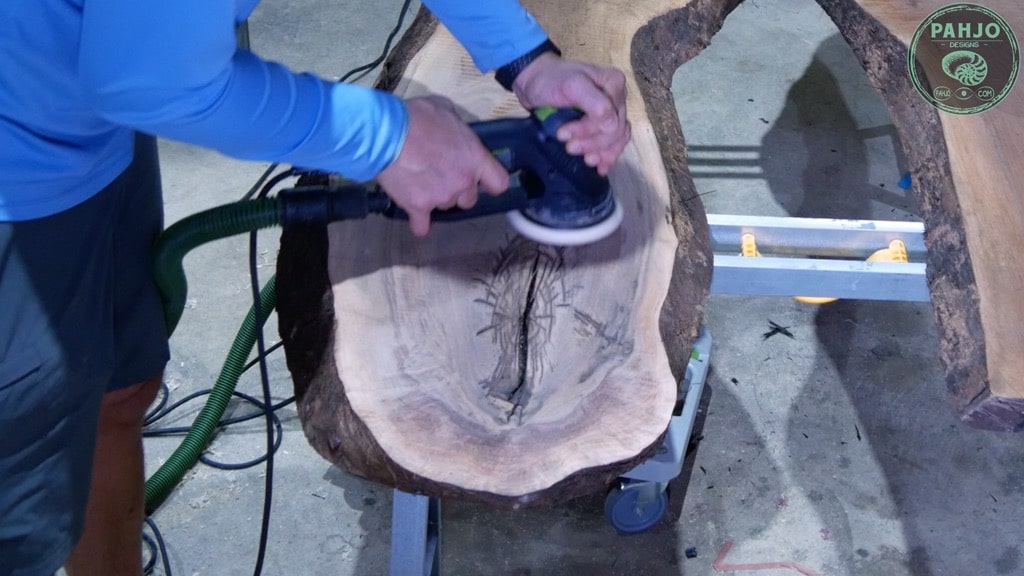

Repeat this technique for each and every grit.
Swirl Marks and Pigtails
While sanding rough wood, I monitor swirl marks and pigtails after each grit.
If swirl marks and pigtails appear, sand with the previous grit again.
Remember, higher grit sandpaper will not remove swirl marks or pigtails caused by a previous grit.
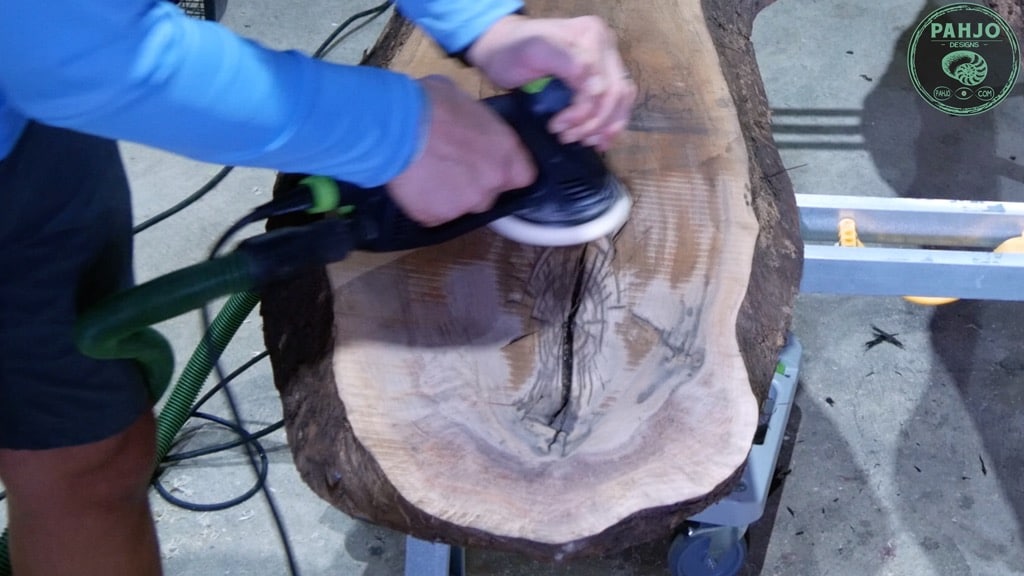
Random Orbit Mode for Higher Grits
If applicable, switch the wood sander to random orbit mode on the highest speed setting.
Using the same sanding technique, sand the wood surface with the following grits: 120, 150, 180, 220, and 320 grit.
Raise the Grain
After I finish the final grit, I use a damp rag and the wipe the wood.
Essentially, this raises the grain.
Then, I sand again with the final sanding grit for an extra smooth finish.
Wood Sanding Secrets
Do you want to know the secret sauce to sanding?
Of course you do, that’s why you are reading this article.
Here are the ingredients to the Sauce:
- Quality Sander and Sandpaper
- Dust Extraction
- Proper Sanding Technique
If you have #1 and #2 and use #3, you will get perfect results each and every time.
One other important point: If you can’t buy a sander or dust extraction system, I recommend borrowing one from a friend or renting one if possible
Using quality tools saves you time, frustration, and produces great results.
Keep in mind, I wrote this DIY article to show you how to sand ‘Like a Pro’ and that is exactly what I intend to do.
As a result, the tools I used may be a bit expensive for the normal weekend warrior.
With that said, let me be clear, you do NOT need an expensive sander to achieve great results.
A normal belt sander or orbital sander will work just fine, but it may take more time, patience, and elbow grease.
Best Sander for Rough Cut Wood
Rotex SanderHEPA Vacuum
There is a quote that states something like, “The skill lies within the craftsman, not the tool.”
While this is true most of the time, it is not entirely true for wood sanding – in my opinion.
With that said, let’s face the facts.
Most people, including myself, don’t enjoy sanding wood.
It is monotonous, boring, time consuming, and severely disappointing when the surface contains swirl marks or pigtails.
However, wood sanding can be an enjoyable experience with the correct equipment.
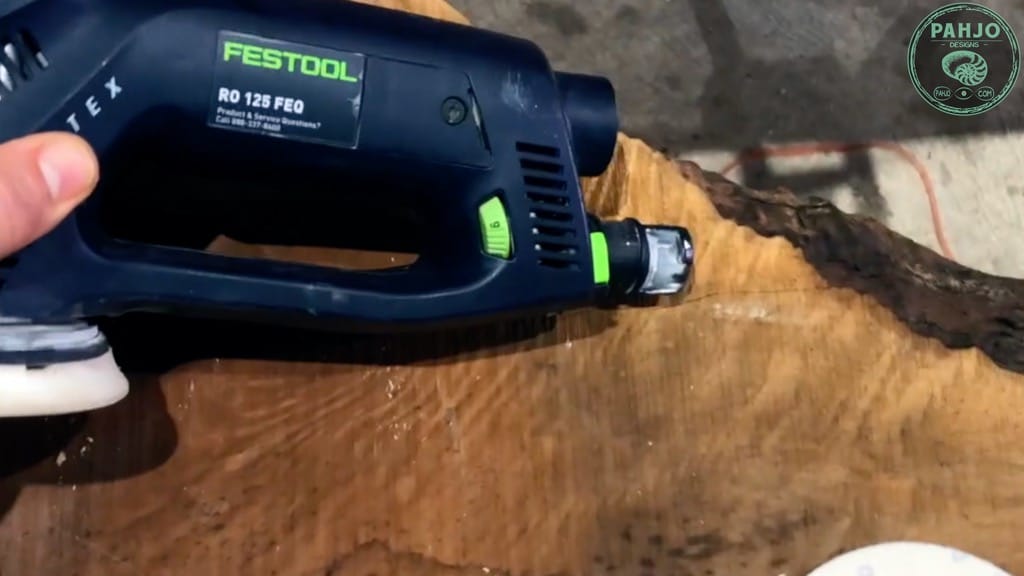
Festool Rotex 125
I use the Festool Rotex 125 sander along with a dust extractor for all wood sanding jobs.
The festool rotex line of sanders has 3 models: RO 90, RO 125, and RO 150.
Essentially, the number represents the size of the sander in millimeters.
So, the RO 90 is 3.5″, the RO 125 is 5″, and the RO 150 is 6″.
While I realize the price tag for these items exceed most budgets (including mine), the versatility of this sander makes it worth the high price tag.
“Buy once, cry once” reigns true regarding a wood sander and dust extraction system.
“Buy once, cry once” reigns true regarding a wood sander and dust extraction system.
The festool rotex 125 has 2 modes (dual mode):
- Rotary Mode for aggressive removal of stock.
- Random Orbit Mode for a fine finish.
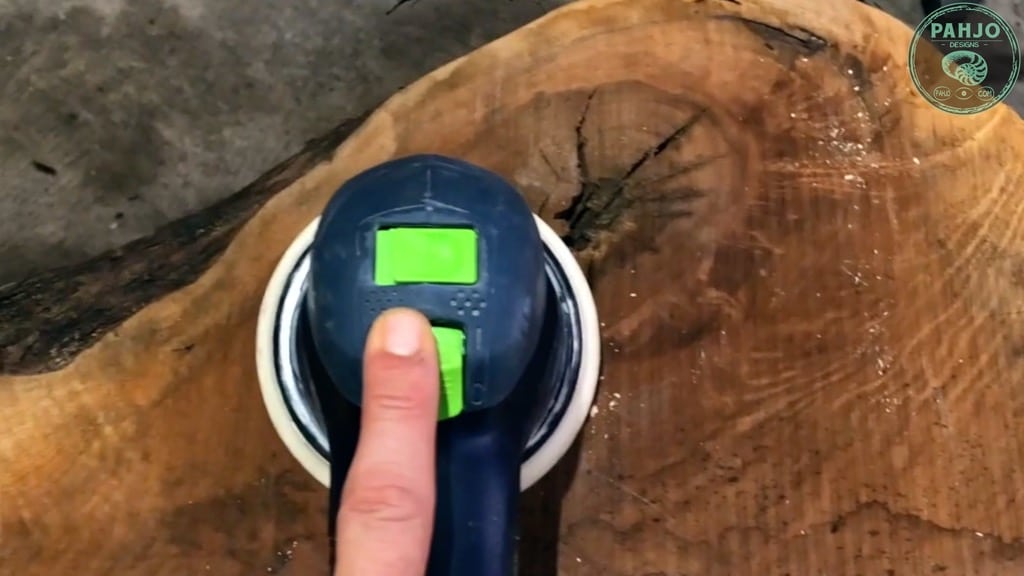

Also, this sander can polish with the a polishing pad and sponge in rotary mode.
Essentially, this sander plays the role of a belt sander (but much better) for aggressive removal of stock in rotary mode.
Also, it is a random orbit sander for a smooth finish while in random orbit mode.
I use both of these modes when sanding rough wood slabs or lumber.
Wood Sanding Tips and Tricks
While the sander does the majority of the heavy lifting, there is a grit sequence combined with a sanding mode and a proper technique.
Sanding Grit Sequence
First, sanding grits play a vital role in wood sanding. So, do yourself a solid and don’t skip sanding grits!
The sanding mode along with my grit sequence is as follows:
- In Rotary Mode
- 40 grit
- 60 grit
- 80 grit
- 100 grit
- 120 grit
- In Random Orbit Mode
- 120 grit
- 150 grit
- 180 grit
- 220 grit
- 320 grit
Also, I use the highest speed setting throughout the entire process.
How to Fix Sanding Mistakes
Even though I own an awesome sander, dust extraction system, and use quality sandpaper – I lose focus.
At times, I lose focus while listening to the JRE podcast, put too much pressure on the sander, and cause a swirl mark and/or pigtail.
It’s an easy fix as long as I follow the Golden Rule of Sanding.
A wood sanding mistake, such as a swirl mark or pigtail, can only be removed by the sanding grit from which it was formed.
A wood sanding mistake, such as a swirl mark or pigtail, can only be removed by the sanding grit from which it was formed.
In order to fix sanding mistakes, I inspect the wood surface after each grit.
If I see sanding mistakes, I sand with the same grit again.
Most of the time, this fixes the sanding mistake.
If not, I continue to back down grits until I fix the sanding mistake.
Wood Sanding Mistake Example
For example, I sand with 120 grit sandpaper and notice a few swirl marks.
Since I know 150 grit will not remove the swirl marks, I sand with 120 grit again (from reading the golden rule).

After I sand with 120 grit for the second time, I still notice the swirl mark.
So, I sand with 100 grit sandpaper (b/c I read the golden rule twice).

When I finish sanding with 100 grit, I still notice the swirl marks.
As a result, I sand again with 80 grit sandpaper (b/c I read the golden rule 3 times).


Finally, the swirl marks are gone with 80 grit sandpaper.
Since I removed the swirl marks with 80 grit sandpaper, I know they were caused by 80 grit sandpaper.
Obviously, I did not inspect the wood for swirl marks after sanding with 80 grit the first time.
Conclusion
I hope this article on how to sand rough wood and the best sander to use.
- Related Posts
What is the proper way to sand wood?
The proper way to sand wood is to start sanding with a sanding grit coarse enough to remove the debris and expose the wood grain.
Then, sand with a slightly higher grit to remove the scratches caused by the coarse grit.
Repeat this process until you reach 220 grit.
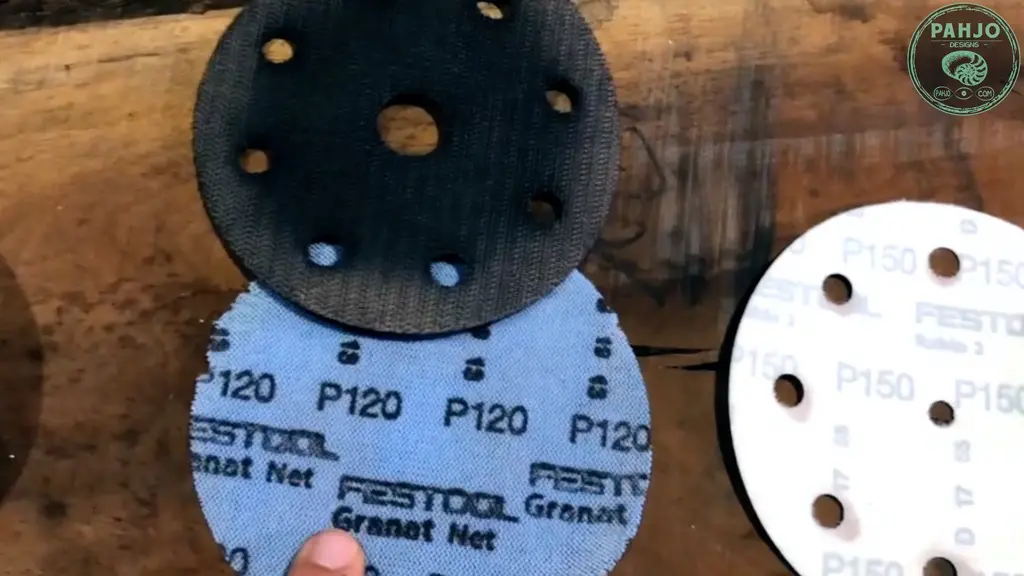
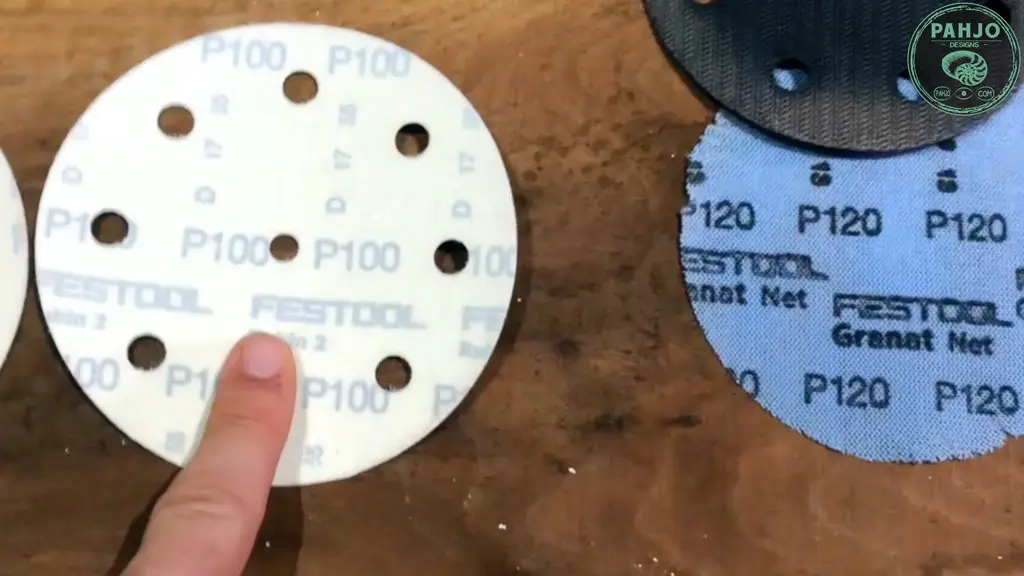
What is the Best Sandpaper for Wood
The best sandpaper for wood is Festool Granat, which is comprised of hardened Aluminum Oxide, Synthetic Resin, and Closed Coated.
What Causes Sanding Swirls?
Sanding swirls are caused by debris getting stuck between the sandpaper and the wood surface.
Also, sanding swirls are caused by applying too much pressure to the sander which traps debris between the sandpaper and wood surface.
Fred Bailey
Wednesday 9th of June 2021
It's an amazing article that helped me to choose a sander machine. Superb writeup. Thanks for sharing video tutorials for learning proper sanding techniques for rough wood.
Michael Norton
Wednesday 2nd of September 2020
Great article and videos; just what I was looking for.