
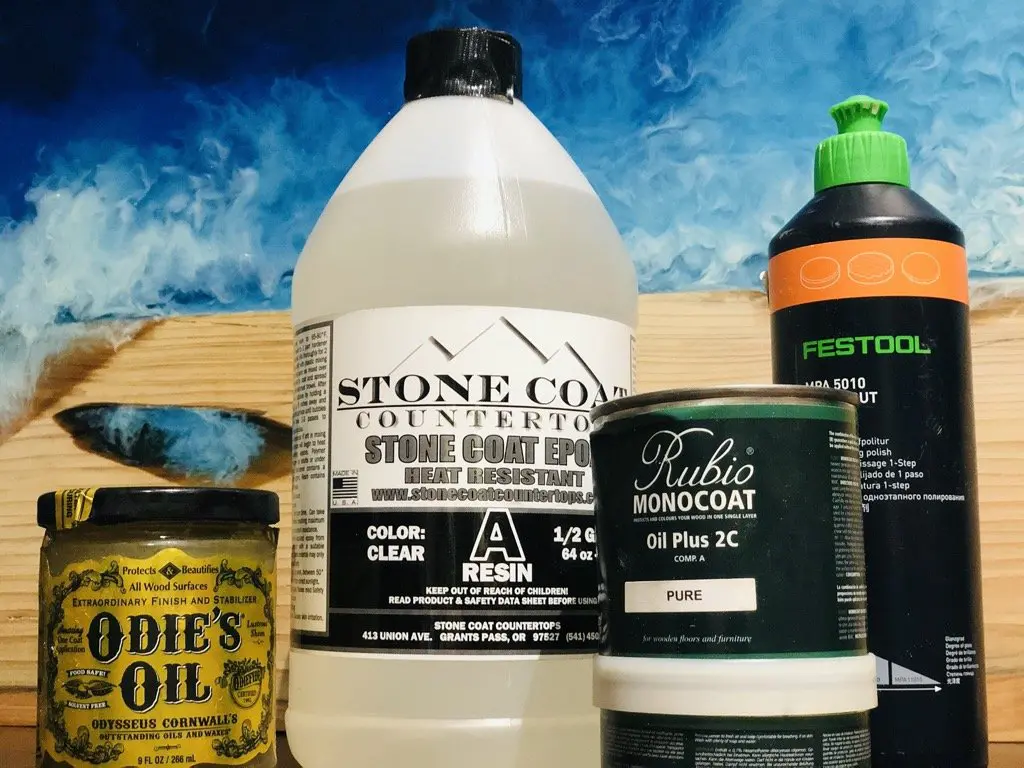
The best DIY epoxy table finish options are Rubio Monocoat, Odie’s Oil, Festool Polish, and Table Top Epoxy.
In this article, I show you how to choose the best finish for your project and how to apply each finish.
With more than 10 years of experience building and finishing hundreds of outdoor bar tops and epoxy resin tables for clients, I know how to get the best results the first time.
Even if you don’t need to apply finish over epoxy, the DIY finishing tips I cover in this article can be applied to any epoxy resin or woodworking project.
Here are a few jump links to the main sections of this post:
Video Tutorial: Best DIY Epoxy Table Finish
Best Finish over Epoxy Resin: Factors to Consider
Rubio Monocoat over Epoxy
Odie’s Oil on Epoxy
Festool Polish for Epoxy Wood Surface
Stonecoat Countertop Epoxy
Cheat Sheet: DIY Epoxy Table Finishes
Video Tutorial: Epoxy Table Top Finish
There are several things which are difficult to fully explain with words and images, so be sure to checkout the video tutorial below.
Best Finish Over Epoxy – Factors to Consider
So, you just built a beautiful epoxy wood dining table and need to choose a finish as the final step.
Or, you need to refinish an existing wooden kitchen table or coffee table.
What is the best option for a durable finish that will last a long time?
Will the epoxy wood table maintain a natural look despite heavy use?
When it comes to epoxy table top finishes, one-size-fits-all does not apply.
There are factors to consider to achieve the perfect finish on an epoxy resin tabletop.
Three factors help me make a good choice on the type of finish I use on my tables.
- Sheen Preference (Matte, Satin, Gloss)
- Location (Interior or Exterior)
- Maintenance or Upkeep
Essentially, these epoxy table finish options satisfy most situations as it relates to sheen, location, or maintenance.

Now, it’s time to learn more about each epoxy wood finish in greater detail.
So, keep reading.
Rubio Monocoat Over Epoxy
Rubio Monocoat Oil Plus 2c
Plastic Spreader
Measurement Syringe
Rubio Monocoat Oil Plus 2c is a 2-part (3 parts oil to 1 part activator) finish which leaves a matte/satin sheen and fantastic protection.
This stuff literally works like magic and it’s great to use on wood and resin projects.
I use Rubio Monocoat Oil Plus 2c to finish epoxy wood tables to satisfy the following requirements:
- Interior projects
- Matte/Satin Sheen

Rubio Monocoat Tips
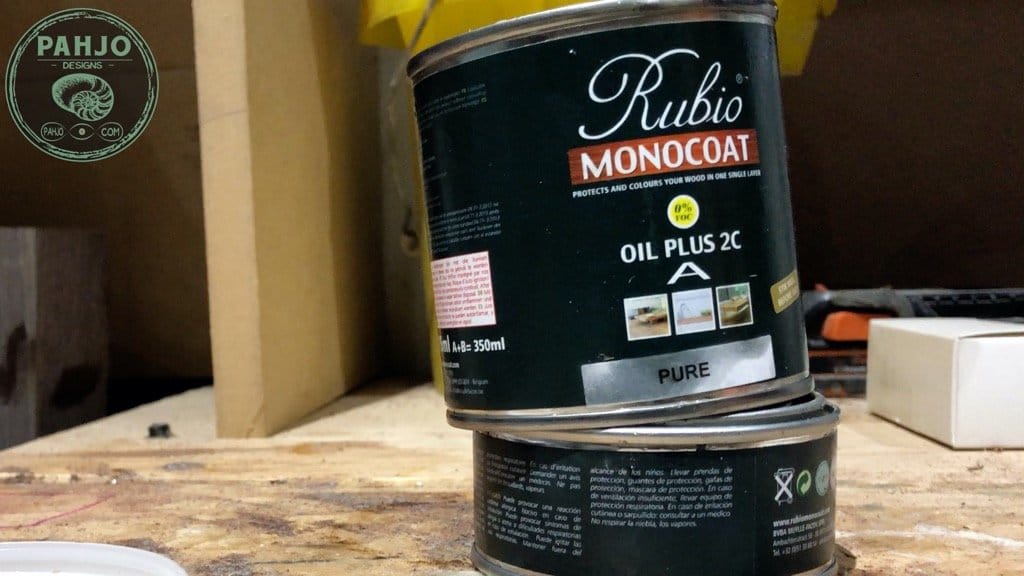
RMC oil plus 2c comes in 2 cans stacked on top of one another.
The larger can is the oil and the shorter can is activator.
Also, you can use the oil without the activator, but it takes much longer to cure.
I don’t have any experience with only using the oil as I only use it with the activator.
Due to its advanced molecular bonding technology, it only requires a single layer.
It is truly a 1 step finish with 0% VOCs or water and also bonds to bare wood at the molecular level.
Rubio Monocoat is used quite often for wood flooring, so it’s made to withstand abuse.
Rubio monocoat oil plus 2c is available in 40 standard colors plus multiple trend colors.
I prefer to use Rubio Monocoat without color, but I may use color in future projects to enhance the grain of certain wood species.
Although Rubio Monocoat produce many wood finishes for exterior use, oil plus 2c is not one of them.
I have learned RMC oil plus 2c has a 2 week shelf life after opening the can if the cans are sealed properly.
After mixing, it lasts 6 to 8 hours.
How to Apply Rubio Monocoat over Epoxy
Rubio monocoat is very simple to apply.
Most importantly, I recommend to use a proper wood sanding technique and grit sequence (40, 60, 80, 100, 120, 150).
As a quick tip, sand up to 320 grit then back down to 120 grit before applying rubio monocoat oil plus 2c.
1 – Determine Square Footage
First, determine the coverage area by calculating the square footage of the area (Length (ft) x Width (ft) = Square Footage).
One ounce of Rubio Monocoat Oil Plus 2c covers 10 square feet.
Keep in mind, porous wood may require more material; however, start with 1 ounce per 10 square feet in order to not waste material.
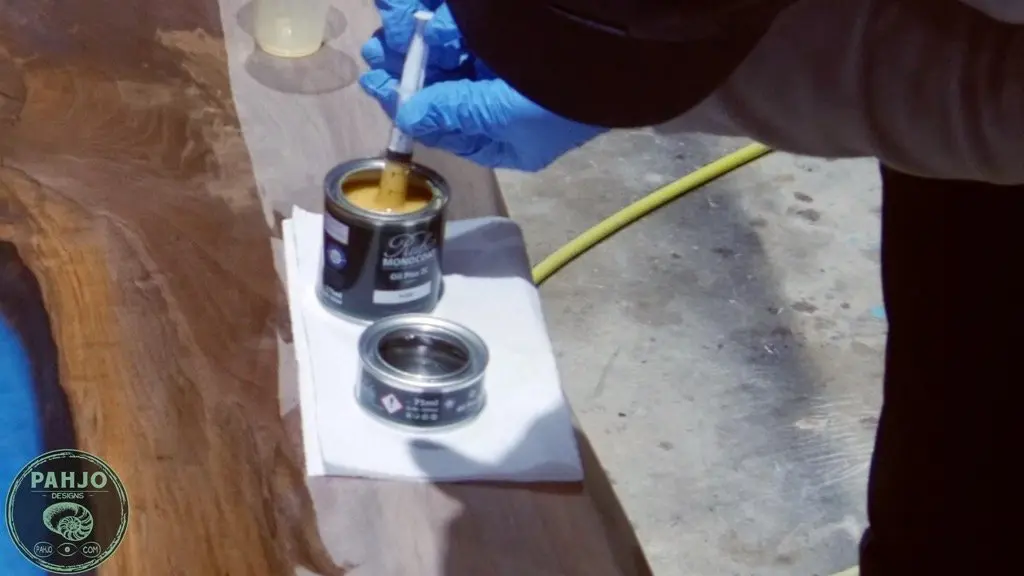
2 – Mix Rubio Monocoat
Next, mix 3 parts oil to 1 part activator.
In order to achieve the proper mixture, use a measuring syringe.
The syringe makes it easy to remove the material from the can without spilling it.
As a quick tip, use a different syringe for part A and part B so the material doesn’t cure in the syringe.

Next, dump the material in the middle of the table.

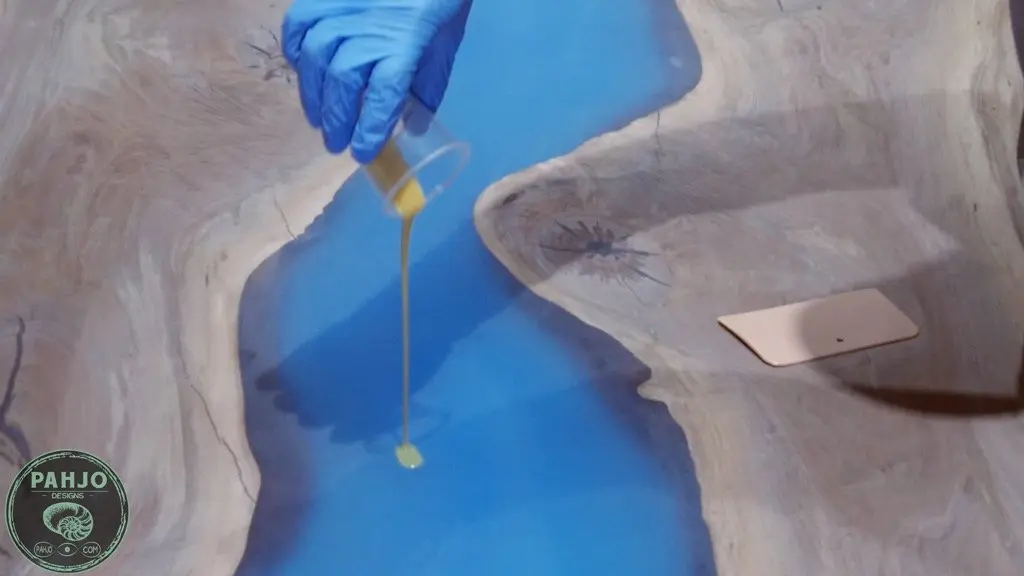
Use a plastic spreader to work the material towards the sides and ends of the table.

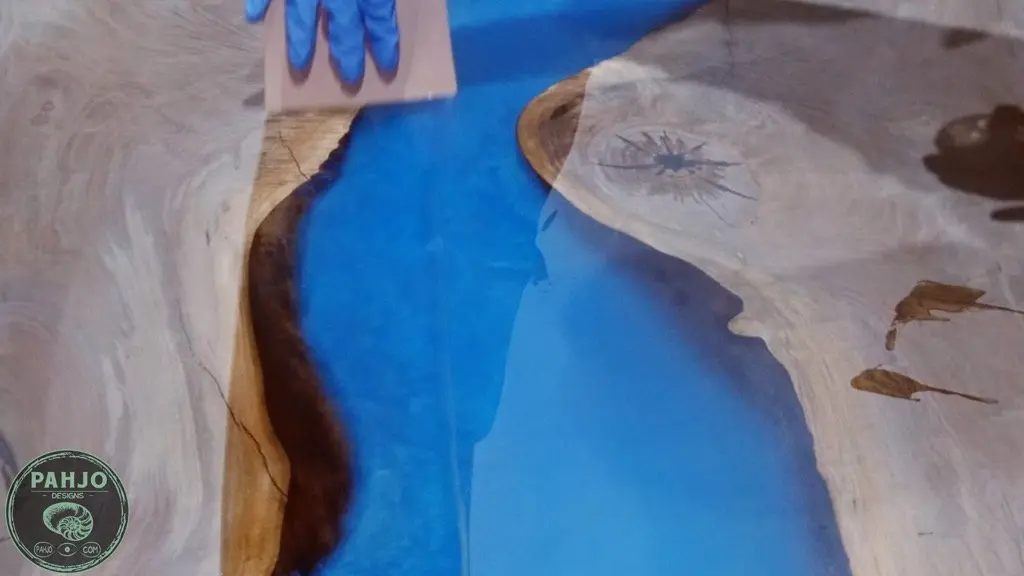
Once the surface is completely covered, allow a bead of oil to drip over the sides and use your hand with nitrile gloves to spread the material.
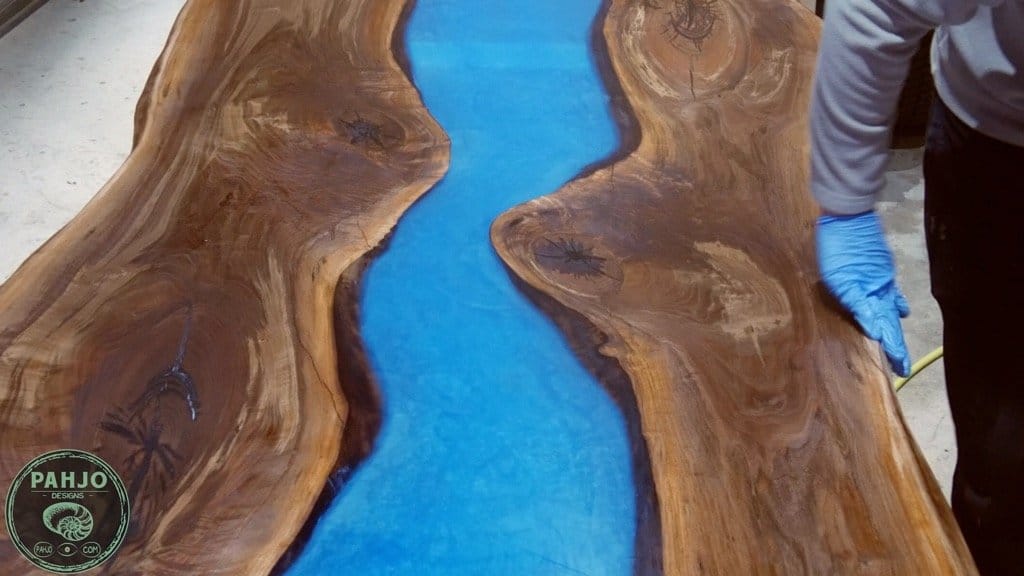

Allow the finish to sit for roughly 10 minutes to make certain the molecular bond reaction occurs.
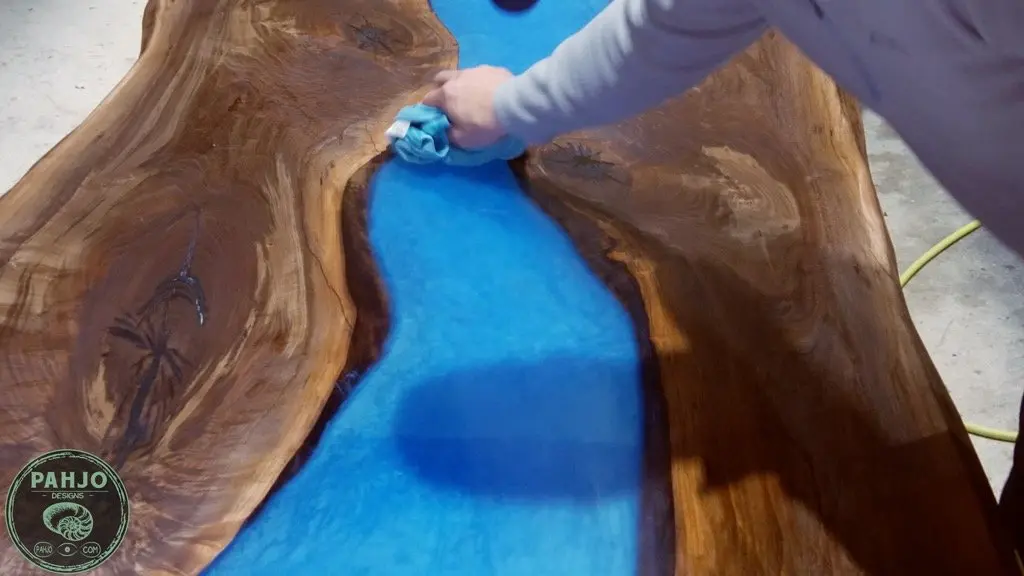
Then, wipe off the excess with a rag.

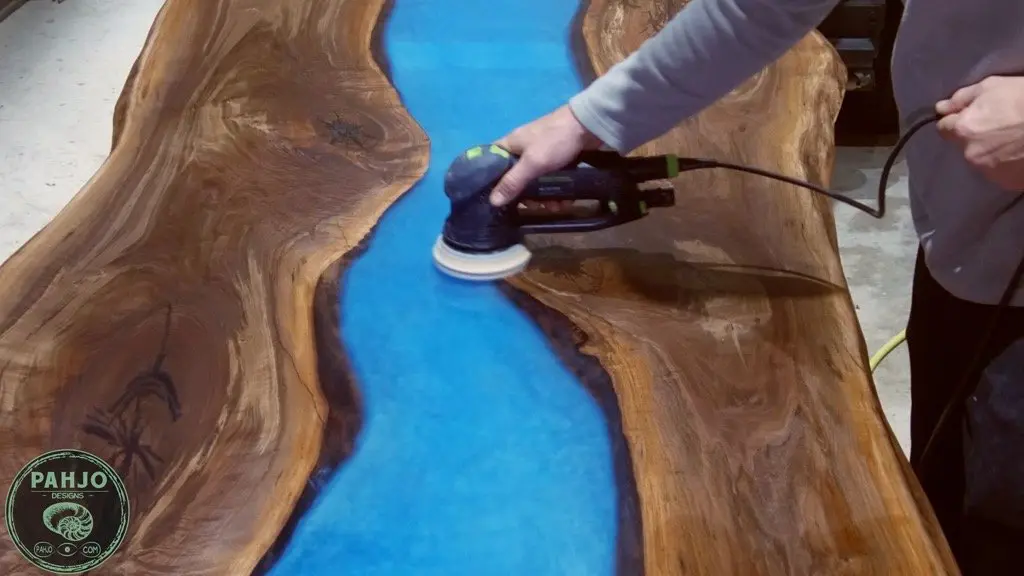
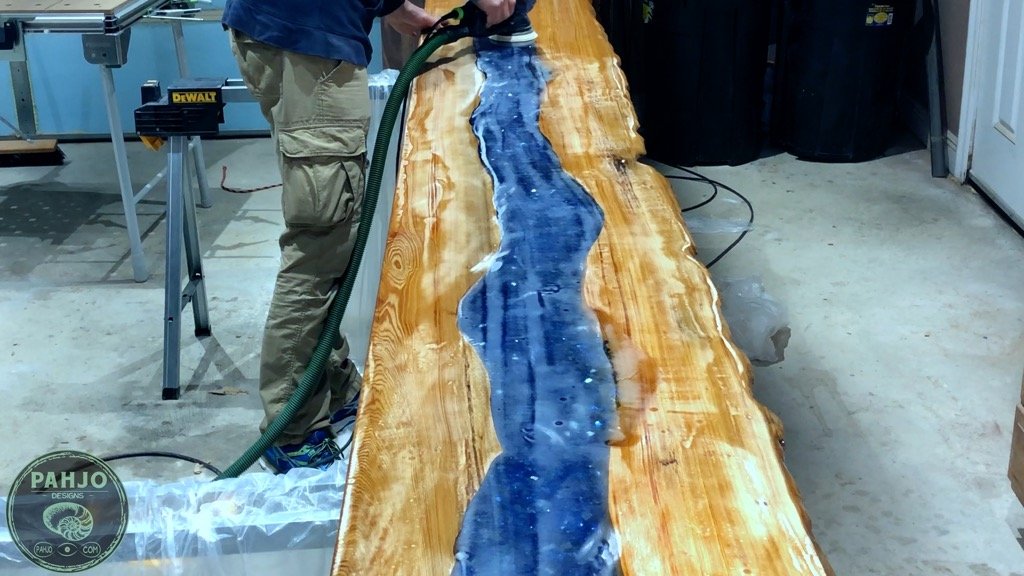
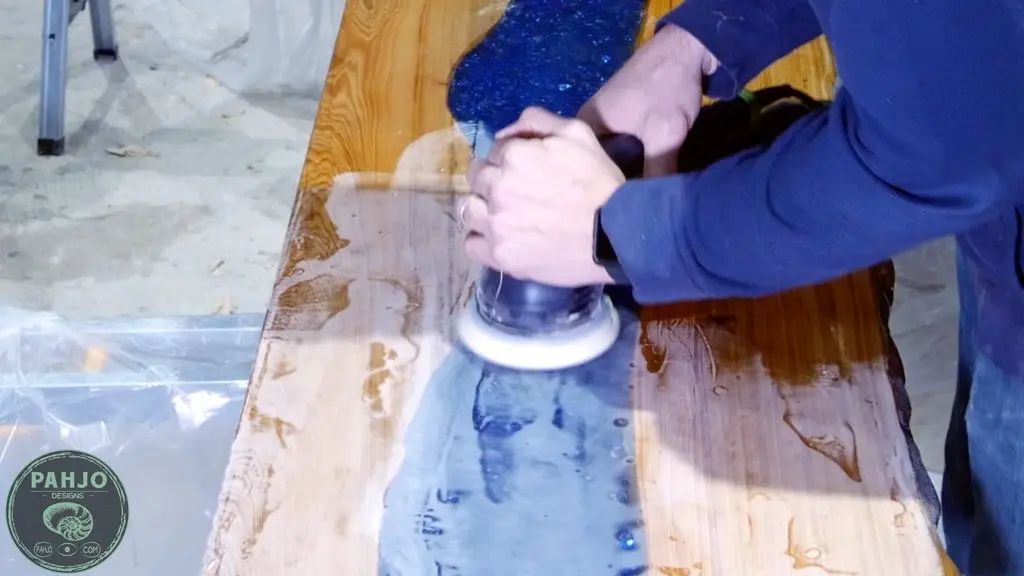
As a last step, use my Festool RO125 sander in rotary mode with no vacuum attached to completely remove the excess.

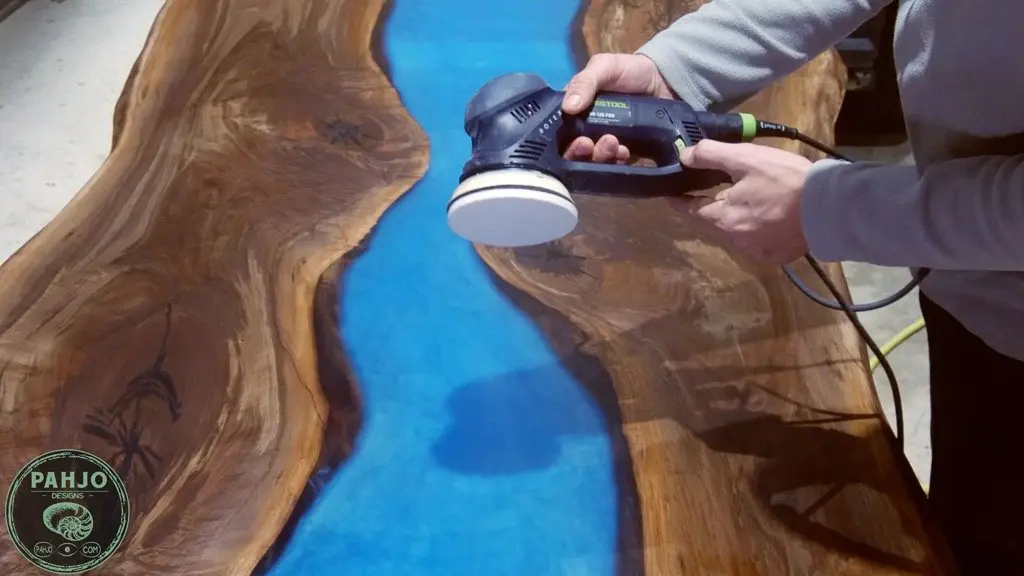
Depending on the wood surface, I use a soft felt pad or sheepskin pad to remove excess rubio monocoat oil plus 2c.


As a quick tip, use a spur tool and simple green to clean sheepskin and polishing pads.
As a quick tip, use a spur tool and simple green to clean sheepskin and polishing pads.
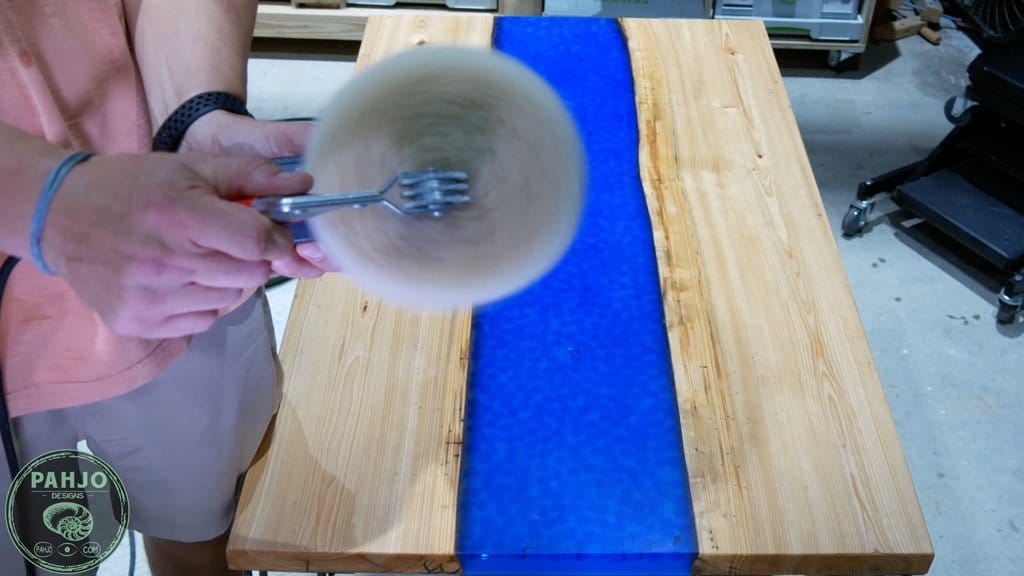

The spur tool combined with simple green allows me to reuse my sheepskin and polishing pads.

In a well ventilated room, the surface can be used within 24 to 36 hours.


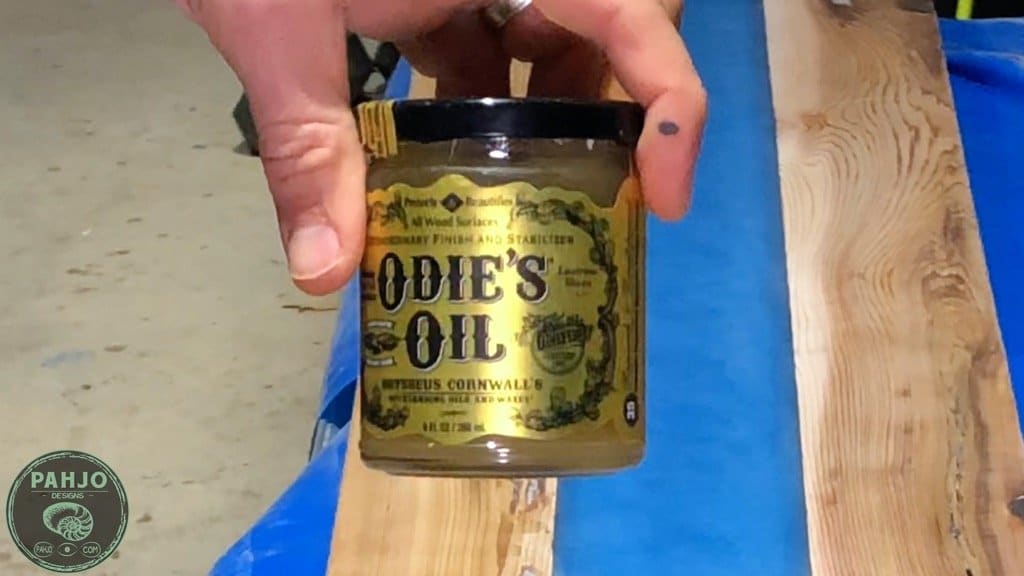
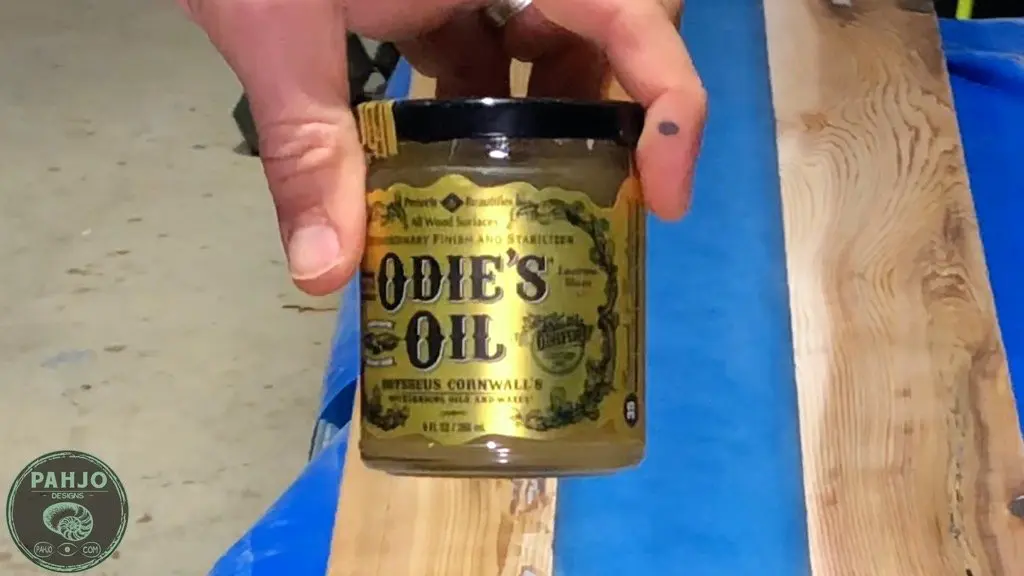
Odie’s Oil Finish on Epoxy Wood Table
Odie’s Oil
Scotch Brite Pads
Terry Towels
Like Rubio Monocoat, Odie’s oil protects wood surfaces with one coat, contains no toxic solvents, and it’s easy to apply.
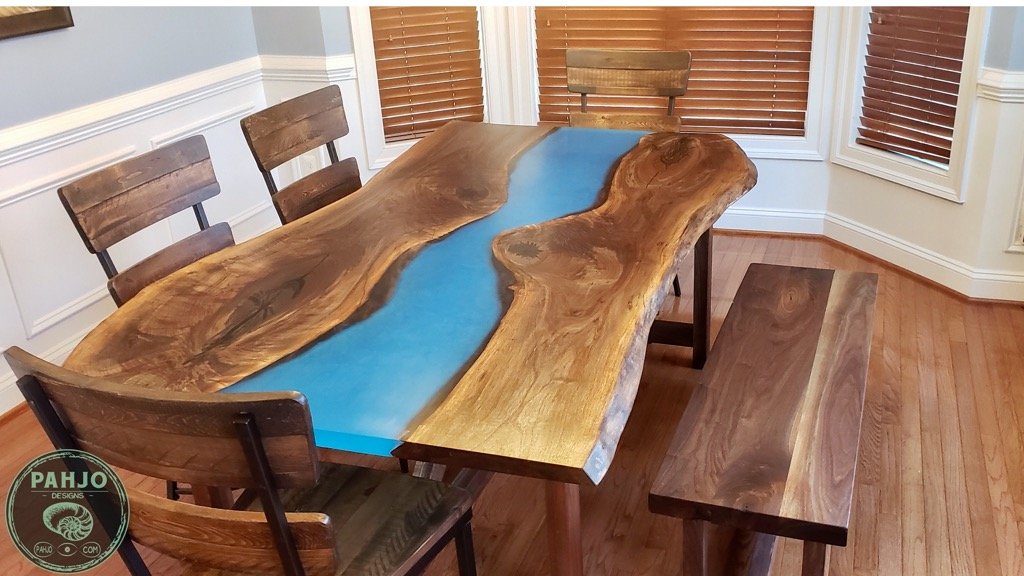
In my opinion, Odie’s oil’s versatility makes it the best oil finish for epoxy river tables.
Furthermore, it is made in the great US of A.
Odie’s Oil costs $54.99 for a 9 ounce bottle on Amazon.
The 9 ounce bottle covers 400 square feet of hardwood surface area, which is roughly $6.00 per ounce.
When do I use Odie’s Oil to finish epoxy table tops?
- For interior and exterior projects.
- To better control sheen levels.
Sheen Control
The final sanding grit determines the sheen level of Odie’s Oil.
Higher grit sandpaper produces a high sheen level and lower grits produce a lower sheen level.
Odie’s oil allows you to control the sheen level with sandpaper grits.
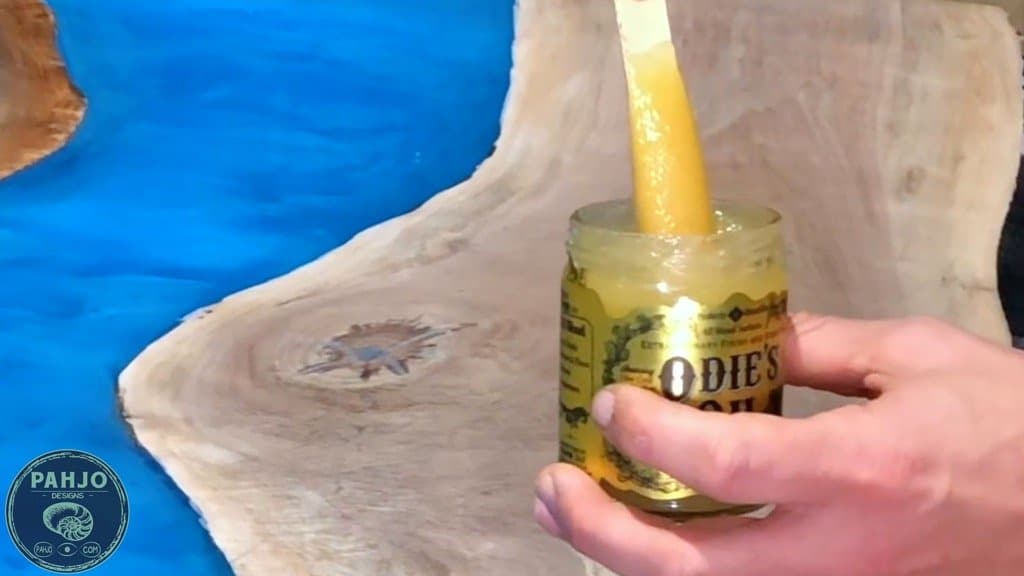
How to Apply Odie’s Oil on Epoxy Wood Table
It is important to thoroughly mix the oil to a consistency close to honey.
Many of the ingredients of the oil sink to the bottom, so I mix well before each application.
Popsicle sticks work well to mix Odie’s Oil.

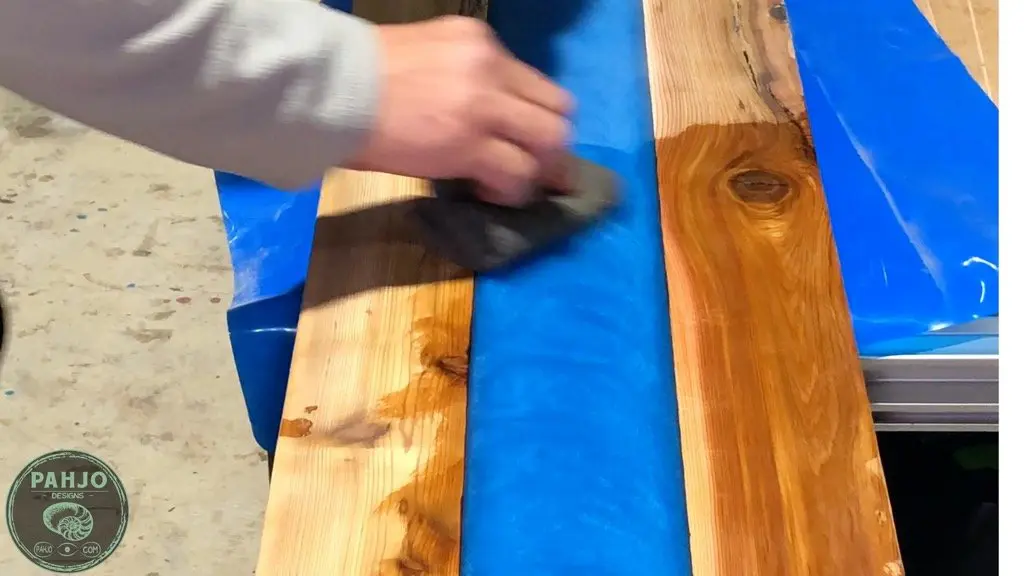
As a quick tip, do not skip any grits while sanding. My sanding grit progression is 60, 80, 100, 120, 150, 180, 220, 320, 400, 600, 800, 1000, 1200.
To apply Odie’s oil, I use either a fine scotch brite pad or a polishing pad with a low speed setting on my RO125.

Additionally, gloves are not necessary when applying Odie’s Oil.
Next, I allow it to setup for 45 minutes.
Odie’s oil produces a light haze (similar to dust on a surface) when completely set up.
I remove the as much of the excess oil with a clean, 100% terry towel.
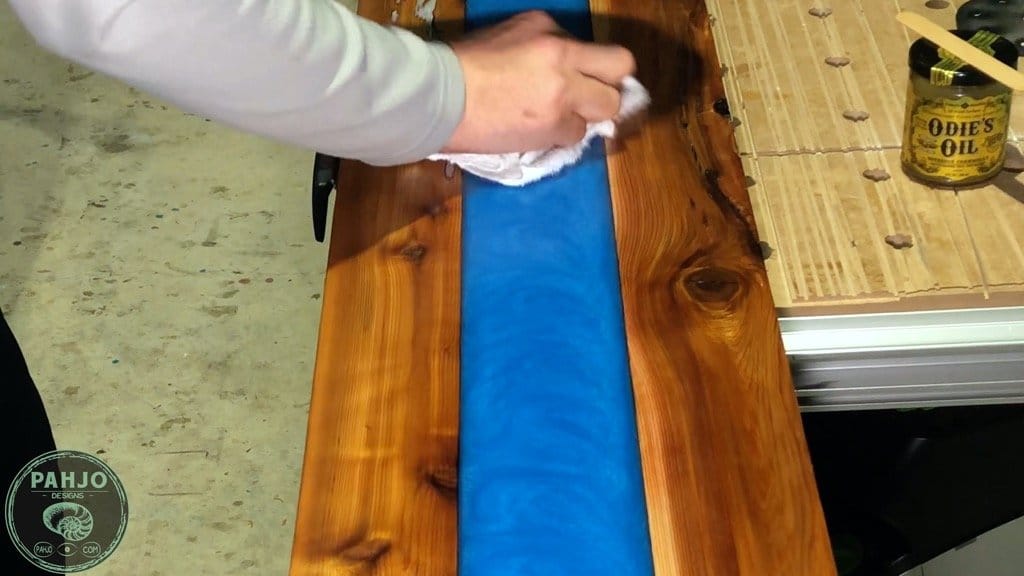

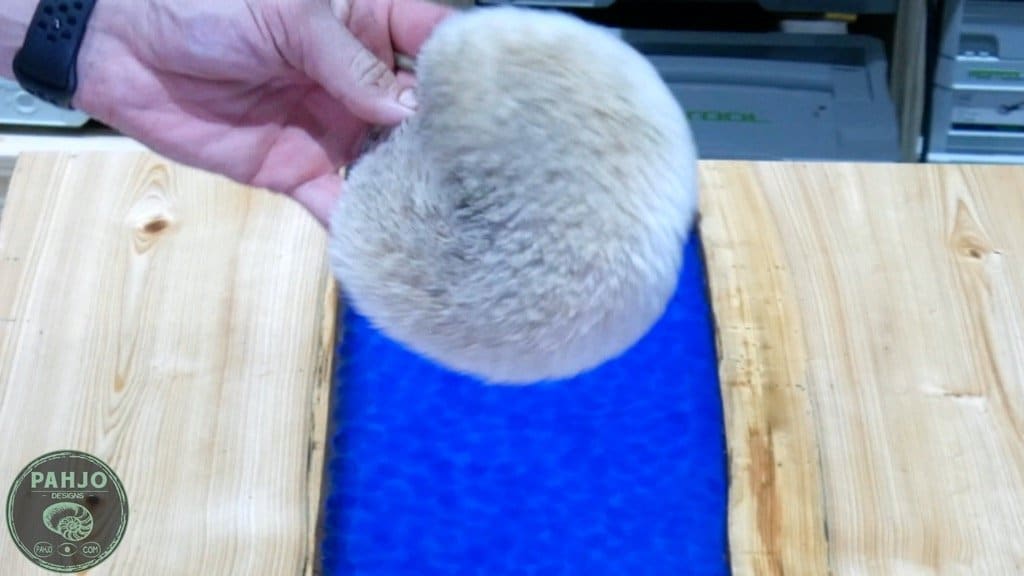
Then, I buff it off with a sheepskin pad using my Festool RO125 in rotary mode with no vacuum attached.
The most important thing to remember is to remove all the excess.
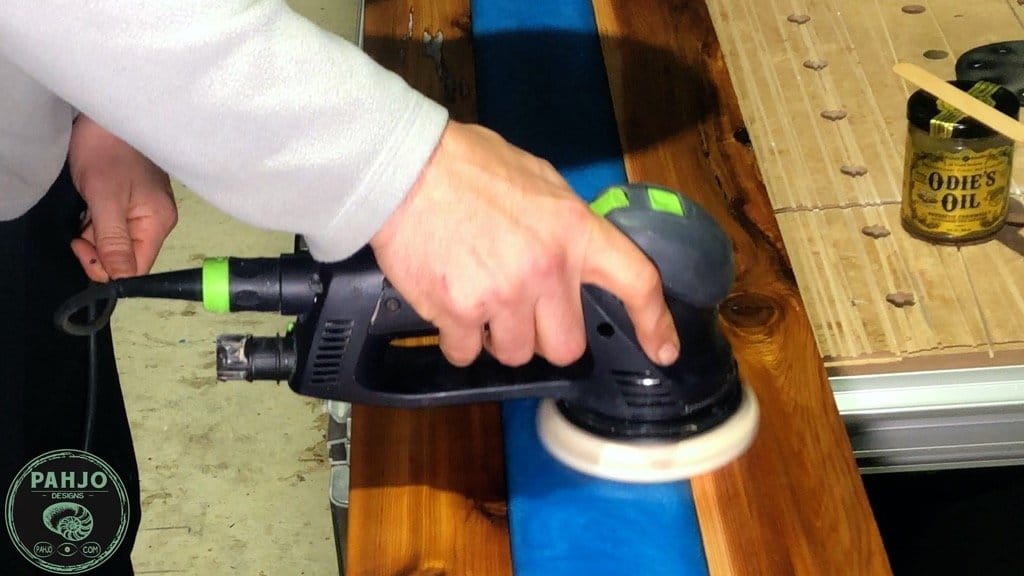

Keep in mind, buffing isn’t necessary as long as all the finish is removed from the surface with the Terry Towel.
Buffing the surface gives me the peace of mind to know I removed all the material.
The piece can be handled almost immediately after buffing, but I recommend to give it 24 hours before any use.
If the piece will be exposed to water or liquid, Odie’s Oil recommends 10 to 14 days of cure time.
I’ve exposed pieces to water after 5 days with no issues.
However, I recommend to err on the side of caution and follow the manufacturer’s instructions.
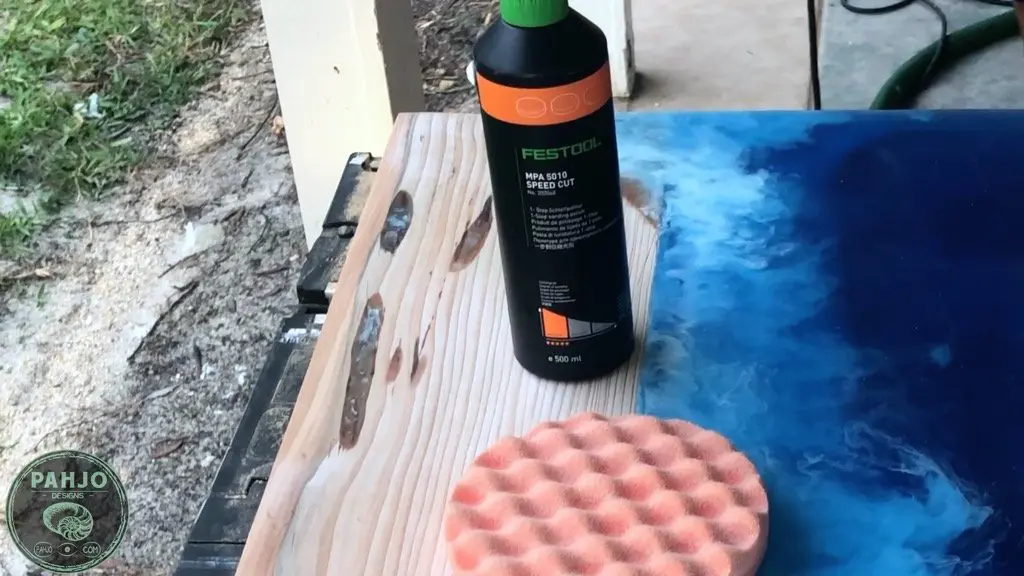
Festool Polishing Compound MPA 5010
Festool Polish 5010
Polishing Sponge (Orange)
I use festool polishing compound MPA 5010 with the corresponding sponge in the following situations:
- To remove scratches from epoxy and apply a finish at the same time.
- For high sheen levels.
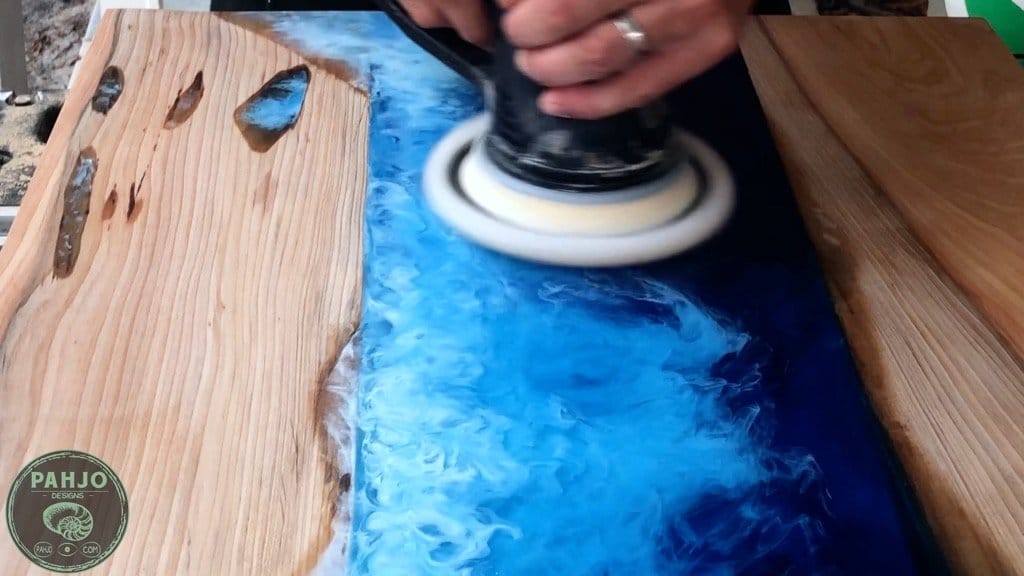
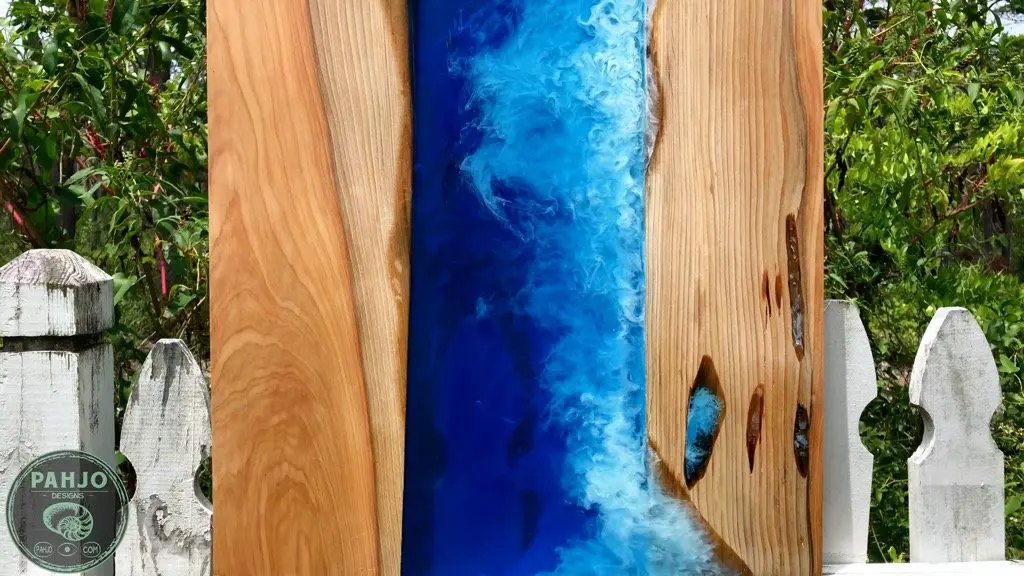
- Mostly, I polish epoxy for my epoxy resin wall art projects.
For example, I used this polishing compound on my resin wave wall art project to not only remove tiny epoxy scratches, but also as a finish.

Festool Polishing System
Festool has a system for everything and their polishing compounds are no exception.
The festool polishing system works well in the automotive industry and can also be used to achieve a high sheen on wood.
The color-coded bottles and sponges provide a system to achieve great results without frustration and confusion.
In addition, the sponges come in flat and waffled versions.
I normally use the flat sponge as it works well for flat surfaces, but the waffle sponge works on flat surfaces as well.
Basically, I use the sponge that is cleaner of the two.
As a quick tip, MPA is a festool abbreviation system for their polishes. So, the number 5010 equates to 5000 grit polish.
I find the orange polish is perfect for wood surfaces as it produces the least amount of gloss compared to other festool polishes.
For wood and resin surfaces, the sheen of the orange festool polish is plenty in my opinion.
How to Polish Epoxy Resin Table Top
Before I apply the polish, I sand up to 1200 or 2000 grit.
I use my RO125 in rotary mode on the lowest speed setting with no dust collection attached.
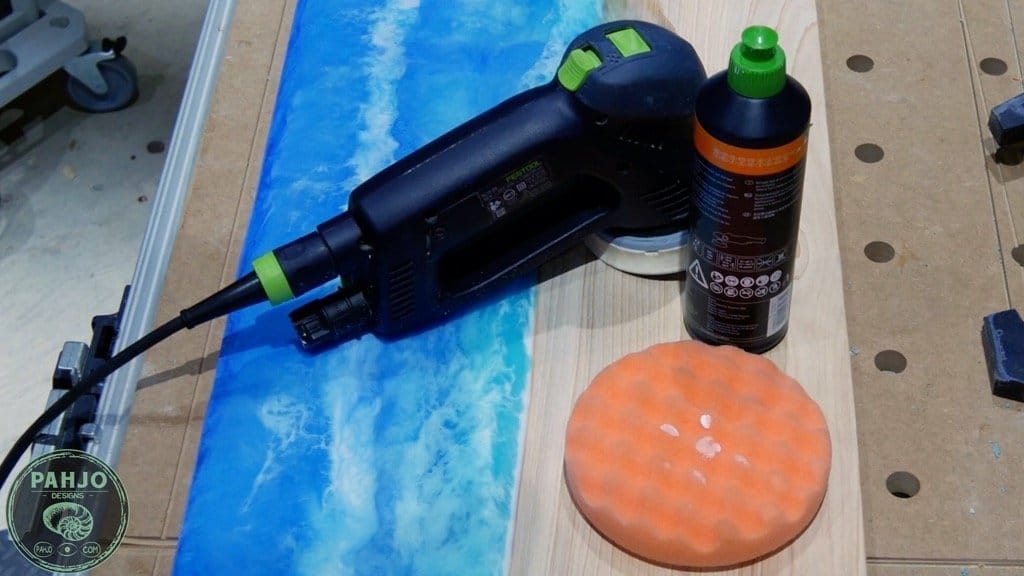

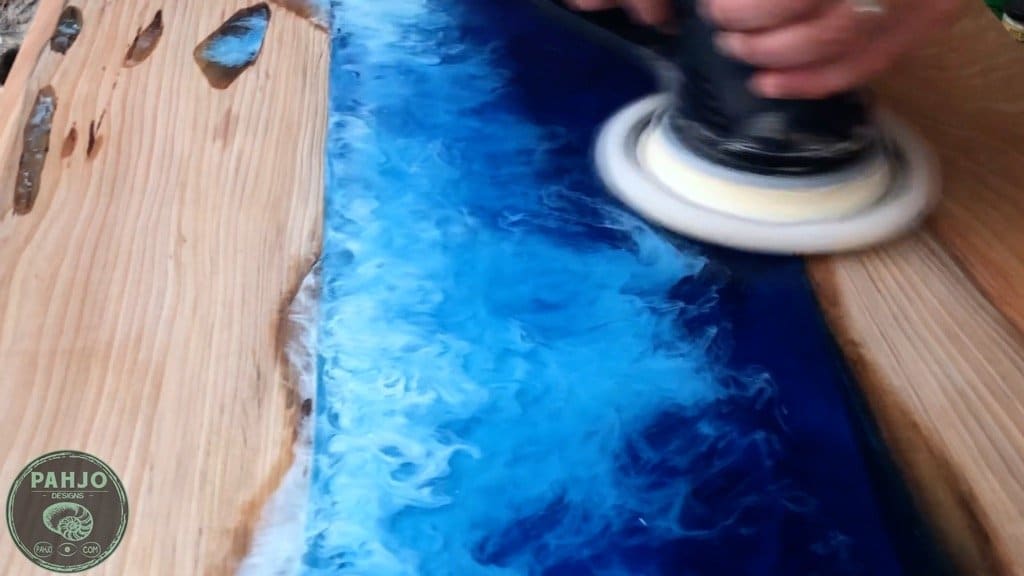
Next, I place the polish on the surface and spread it around with the sponge.
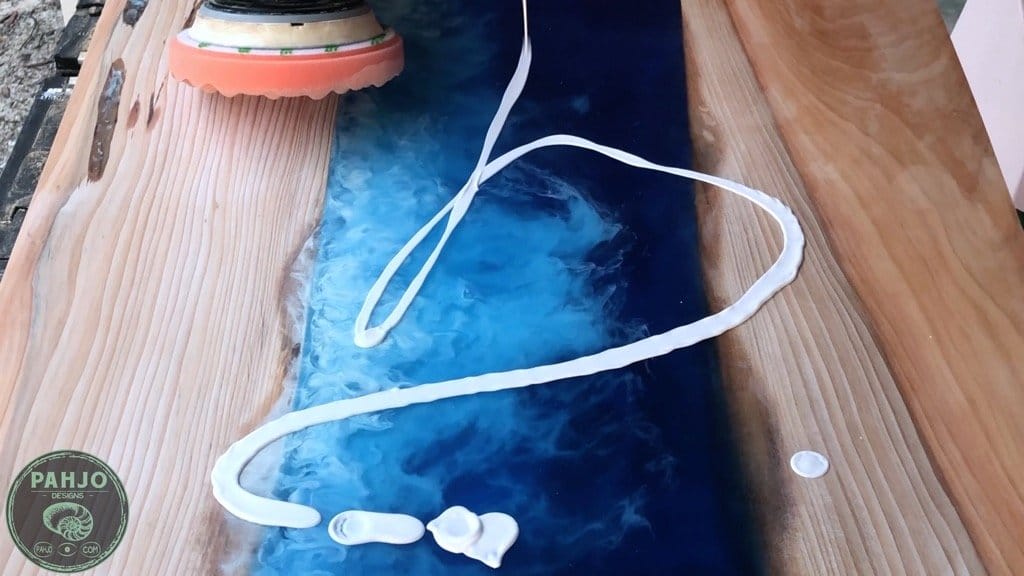

I do this to load up the sponge with polish and to prevent it from spraying everywhere.

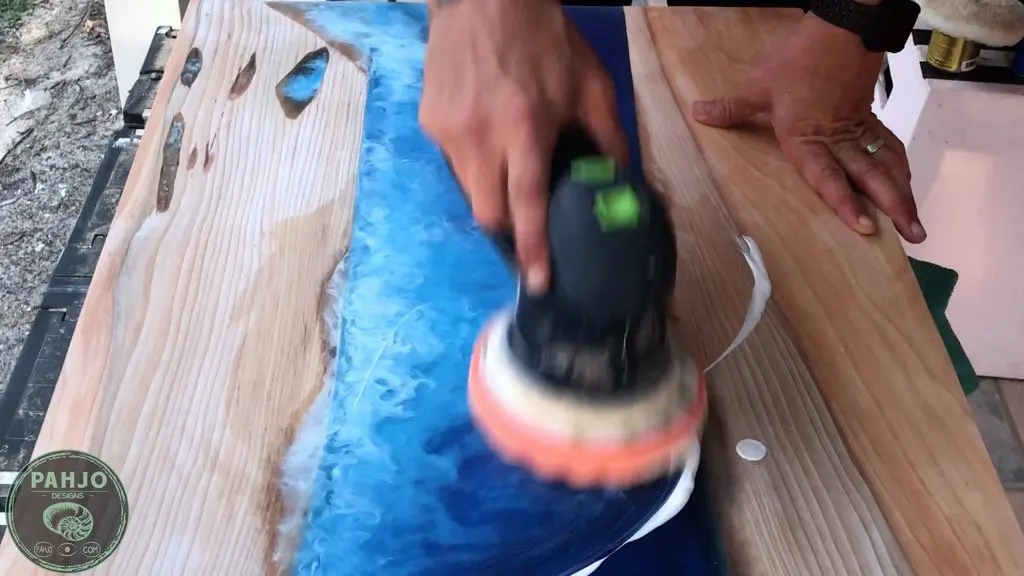
Then, I work the polish into the wood and resin.


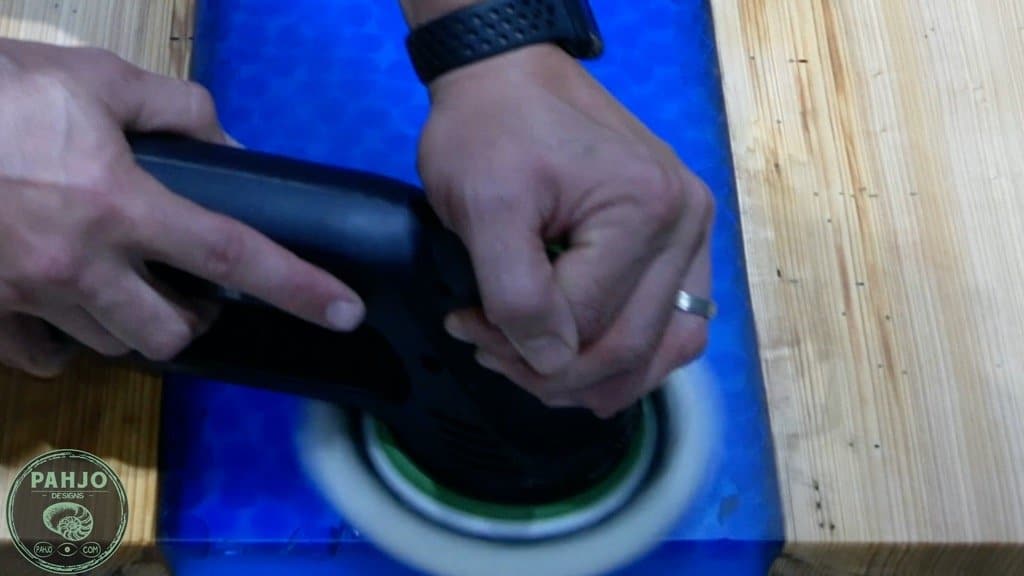
To remove the polish, I use a sheepskin pad or felt polishing pad depending on my inventory.

The sheepskin pad works well for removing polish from wood and resin surfaces.

Epoxy Polish Alternative
If you don’t already own festool products, it makes no sense to invest money into this system only for polishing.
I recommend using McGuires Mirror Glaze to achieve similar results.
However, the sheen will be higher than the orange festool polish.
Ultimately, I use the festool polishing system because it removes the guesswork for me and produces a fantastic result.
For example, I used festool polish on this resin and wood wave art piece below.
As a result, this saves me time and I get more use from the tools I own.

Stonecoat Countertop Epoxy
Stonecoat Countertop Epoxy
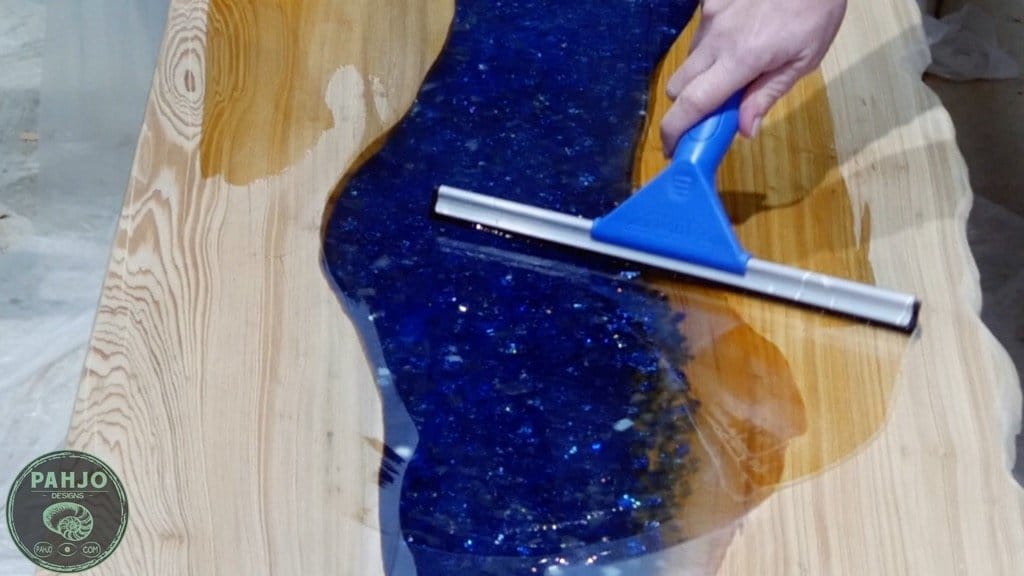
Rubber Squeegee
1/8″ trowel
Shortcut Angle Sash Paintbrush
To round out my best finishes for epoxy river tables is Stonecoat countertop epoxy.
This type of finish serves as a protective top coat of epoxy.
For your convenience, I wrote an article to help you choose the best epoxy resin for your DIY project.
I encourage you to read this article to learn about the various types of epoxy resin along with useful epoxy tips.

I use an epoxy table top finish ONLY when my client specifically requests an epoxy top coat as the final finish.
Otherwise, I steer clear of epoxy clear coat finishes.
Some of my clients prefer an epoxy finish, but I don’t use it for the following reasons:
- I’m not a fan of the high gloss finish.
- Does not hold up well outdoors.
- Outdoor humidity and moisture ruins epoxy (including shaded areas).
- Difficult to Apply.
- Makes a Mess.
- Require harsh chemicals to clean spills and epoxy resin tools
- Time consuming and requires multiple layers.
- Requires me to close my shop for a few days to avoid dust contamination.
- It is the most expensive.
- As a result, mistakes are expensive.
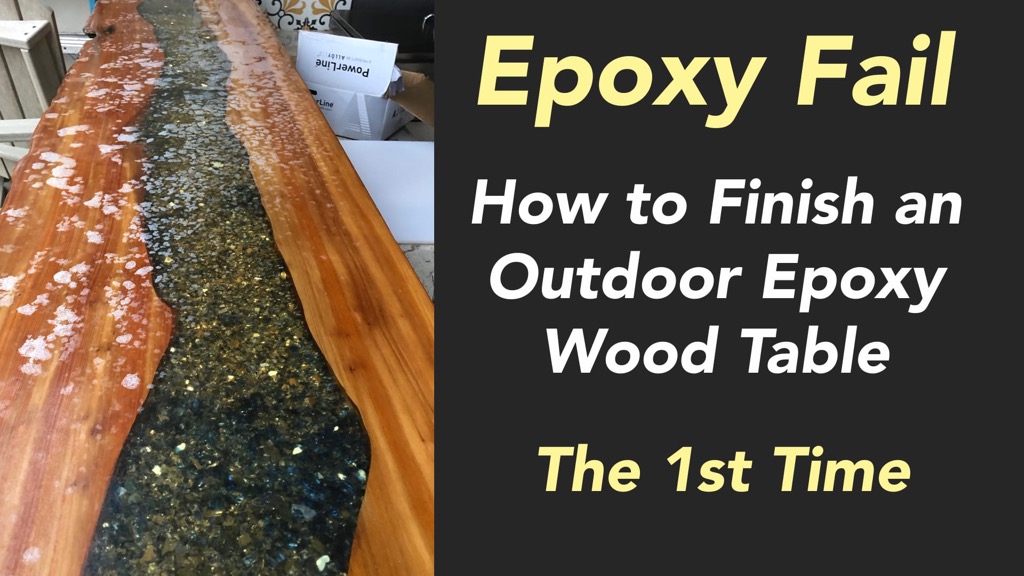
Epoxy Finish for Outdoor Wood Furniture
The biggest disadvantage for epoxy is it does not hold up well outdoors without additional protection.
Obviously, I learned this lesson the hard way after ruining a $6,000 live edge wood slab outdoor epoxy table.

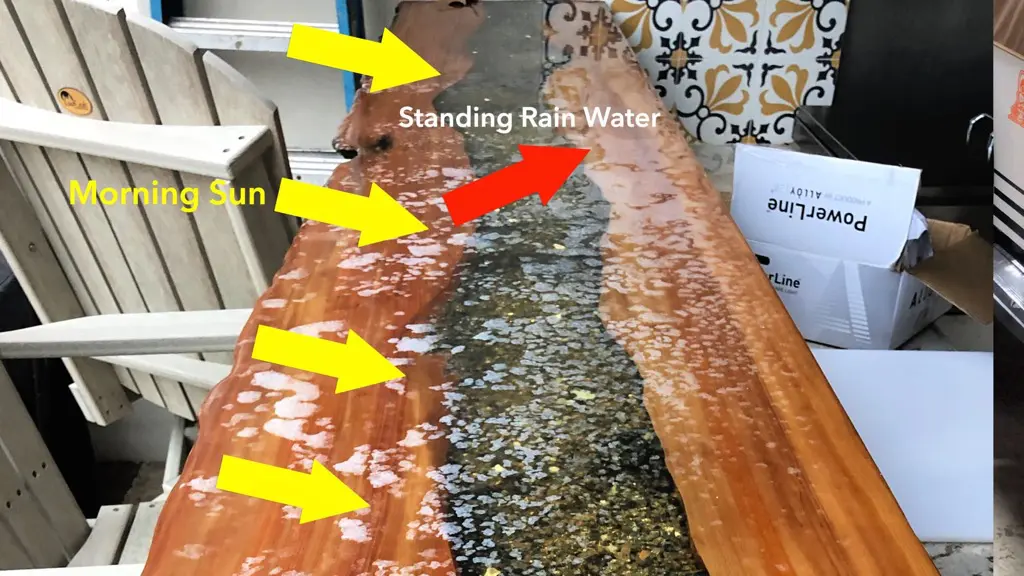
If you plan to use this finish, learn how to properly protect an outdoor epoxy wood table top from exterior elements.
Step-By-Step Instructions – Epoxy Table Top Finish
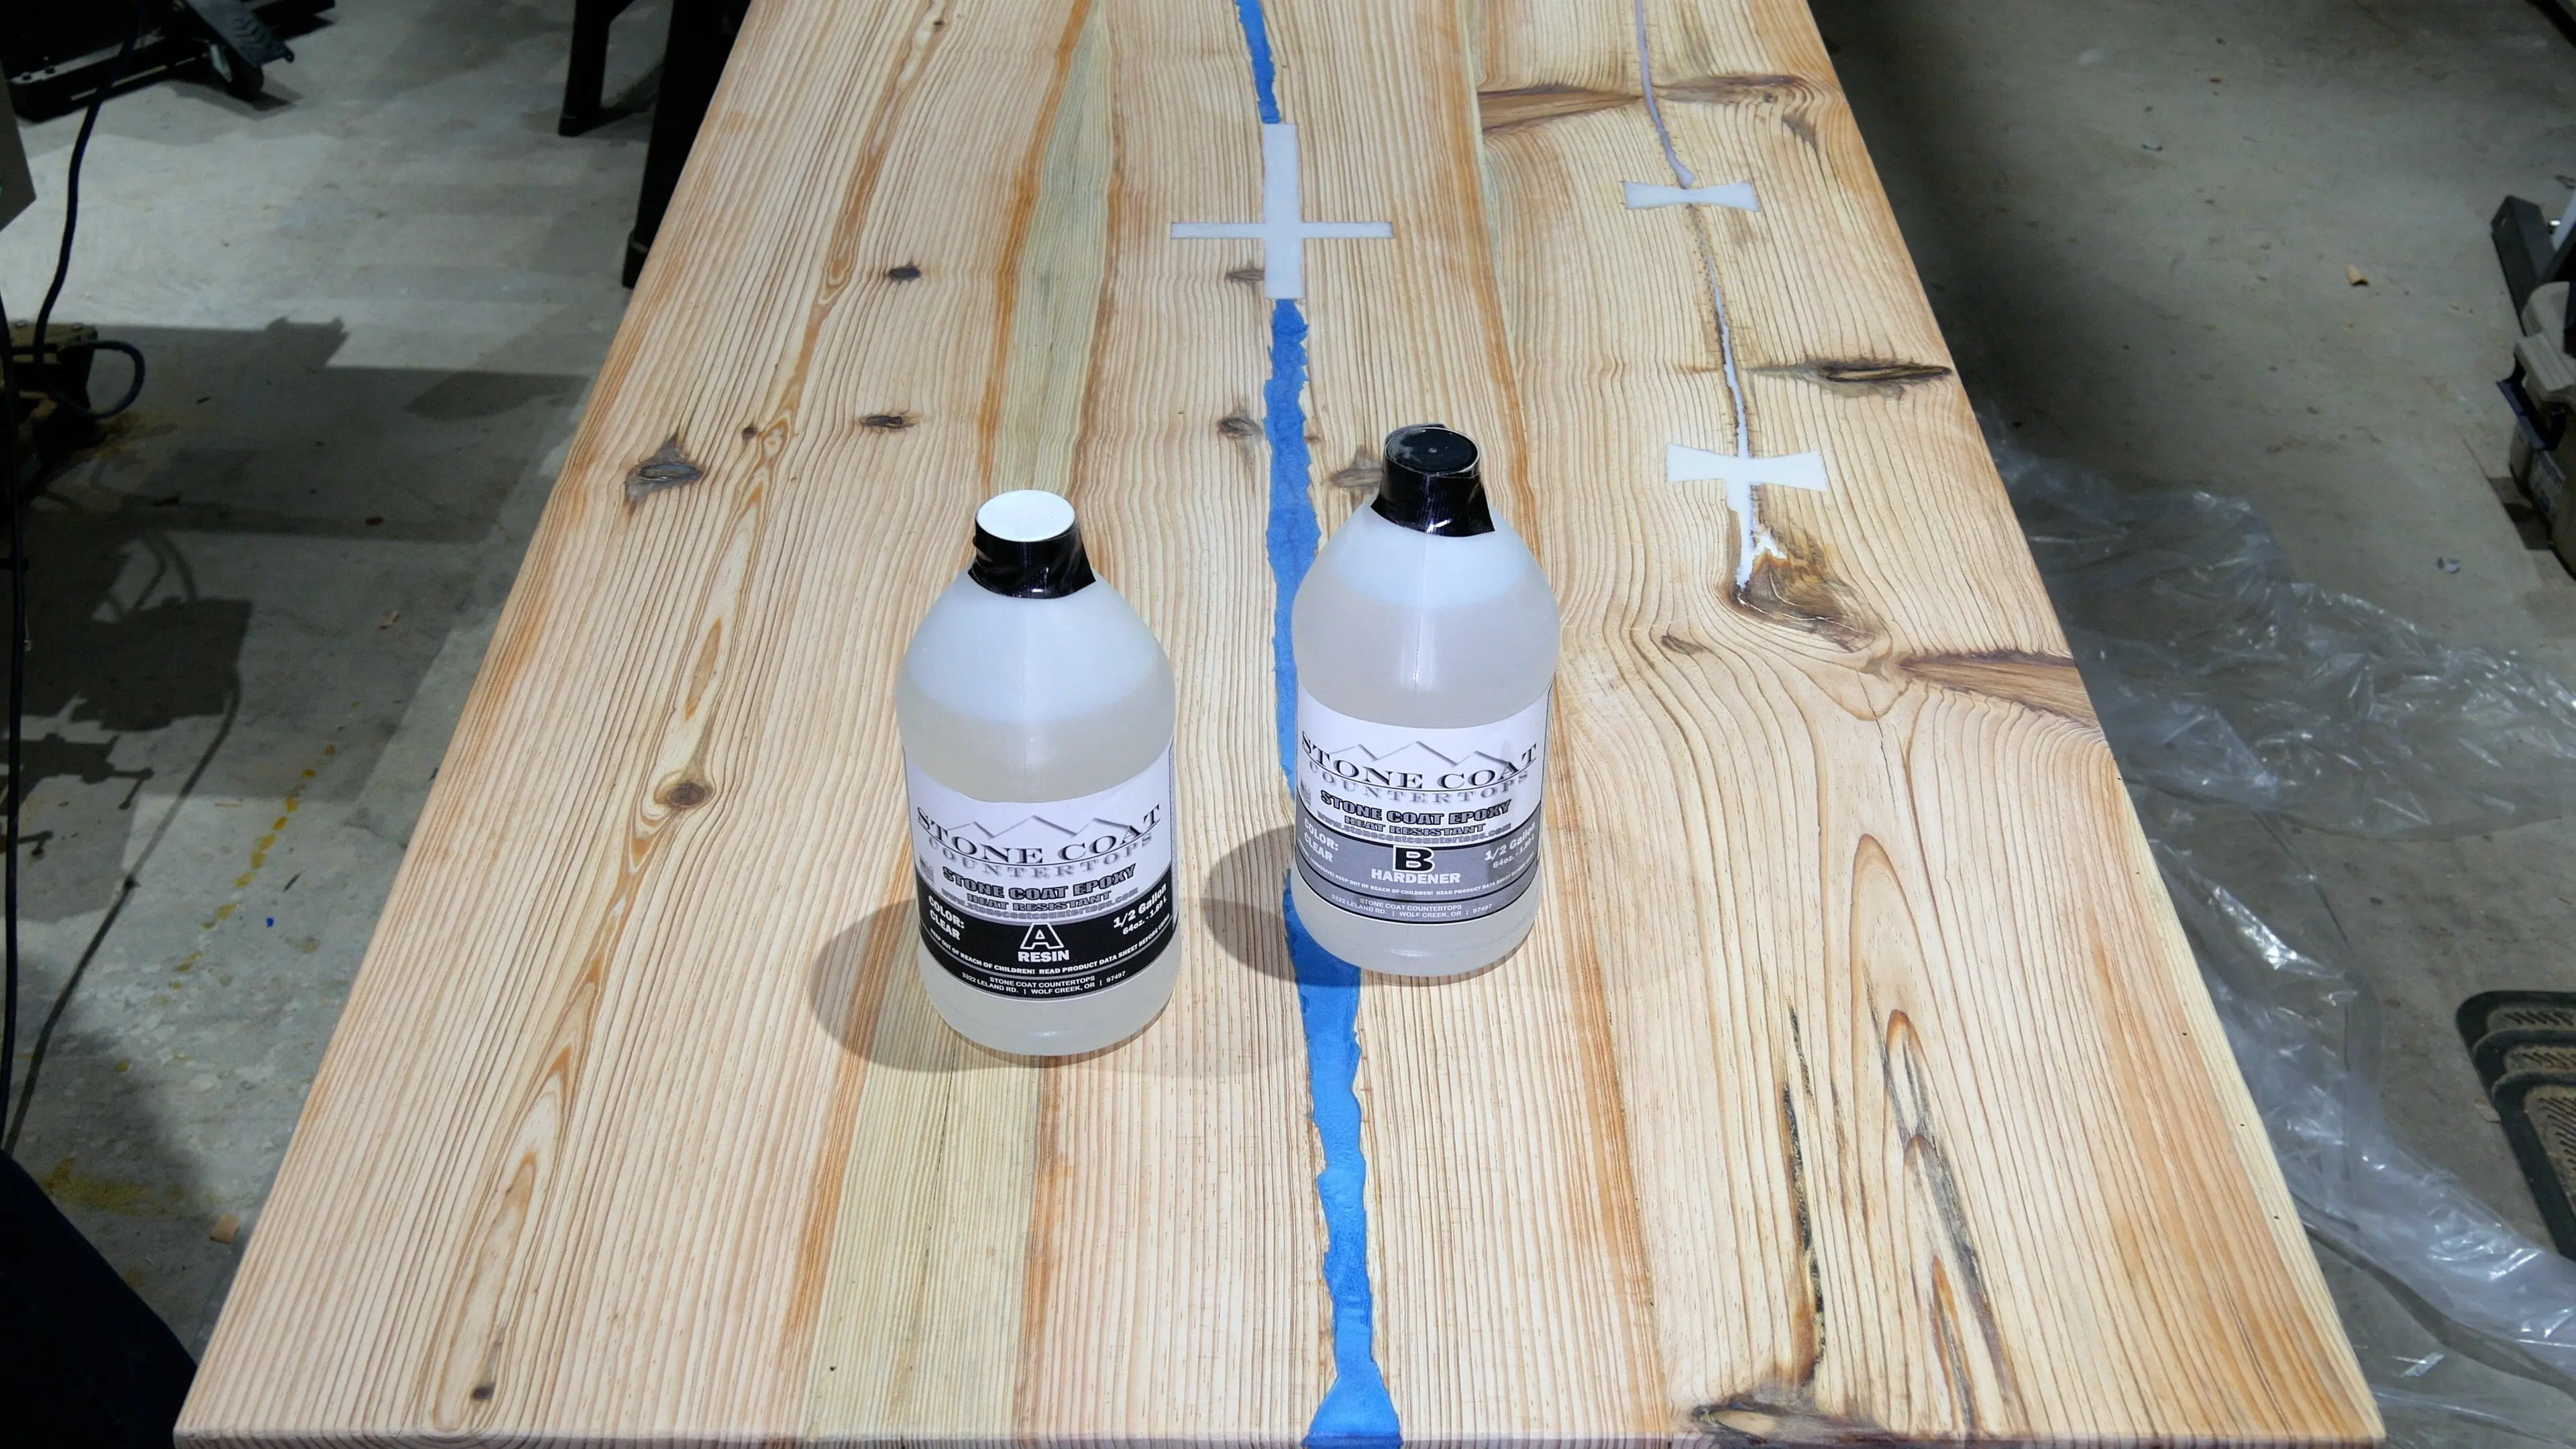
Stonecoat countertop epoxy requires a minimum of 3 coats:
- First Coat: Seal Coat.
- Second Coat: Seal Coat.
- Third Coat: Flood Coat.
As a first step, it is a good idea to make sure the entire piece rests on a flat surface.
This ensures you don’t lose too much epoxy in your work area.
Seal Coat
The first pour seals the surface and covers 1 square foot of surface area per ounce.

A rubber squeegee works well to spread the material on the surface of the wood.
These coats seal the wood to prevent air bubbles for the final flood coat.

Before I apply the second seal coat, I lightly sand the epoxy wood surface with 220 grit or higher.
It’s important to note each seal coat requires 24 hours to dry and requires a light sanding with 220 grit sandpaper (or higher) between coats.

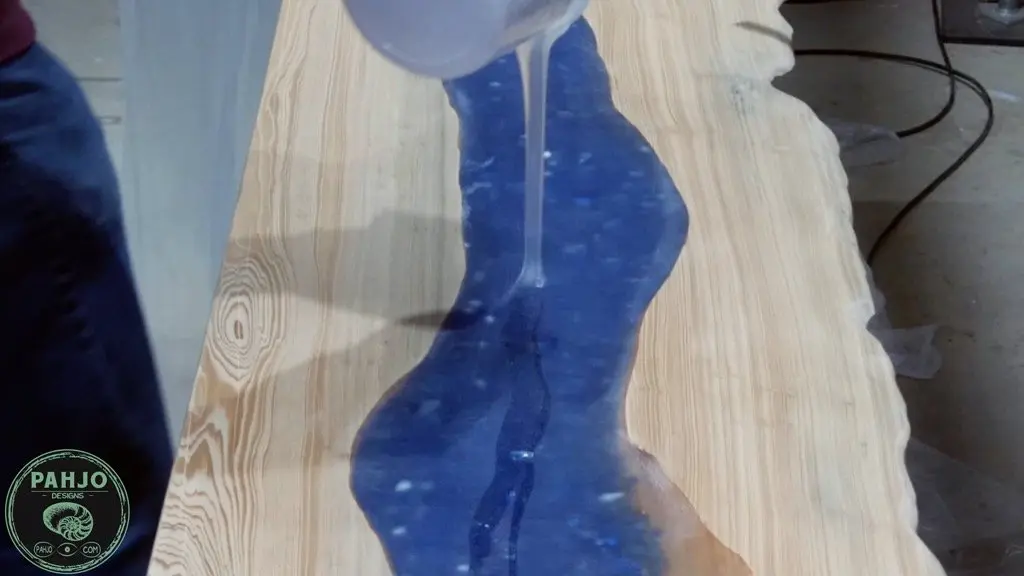
Epoxy Flood Coat
The flood coat requires 3 ounces of stonecoat epoxy per square foot of surface area.
Depending on the project, you may need to apply extra flood coats on the entire table to get a smooth finish.
In addition, the depth of the pour should be roughly 1/8″ thick.
First, I sand the surface and pour the epoxy on the table.


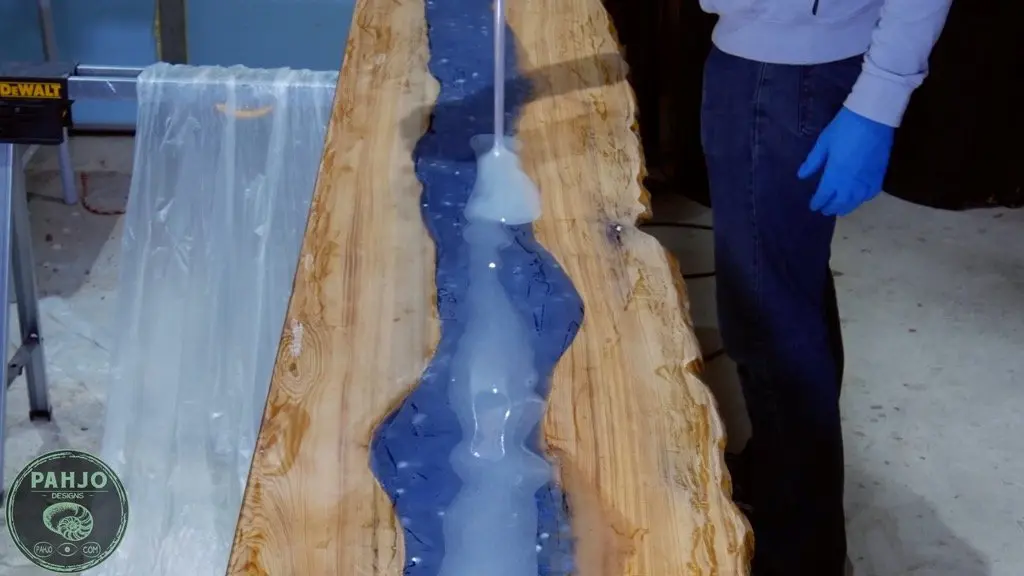
It’s recommended to apply stonecoat epoxy with a 1/8th inch trowel.


Once I spread the material evenly with the trowel, I dab the epoxy with a synthetic shortcut brush to get rid of the trowel marks.
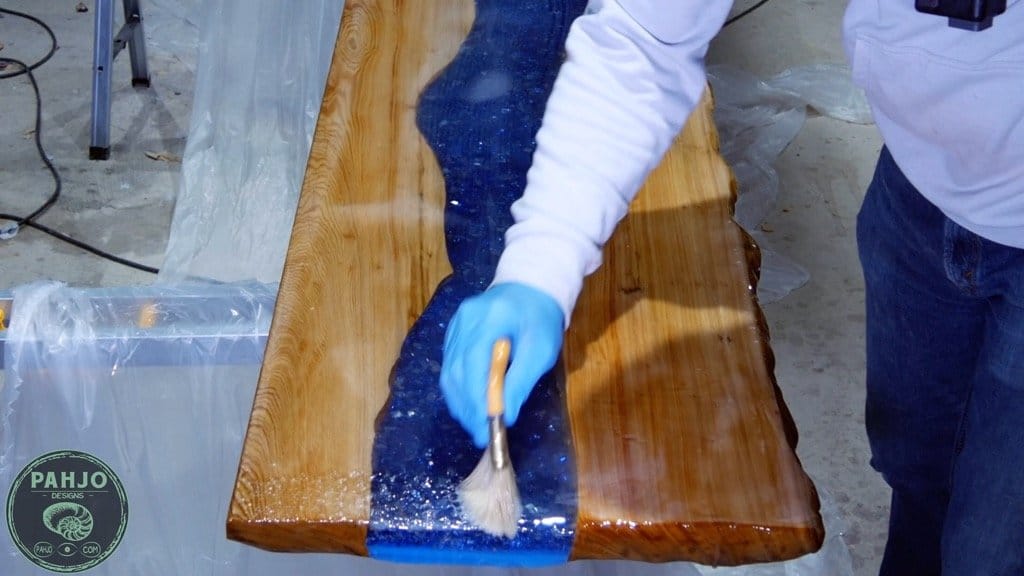

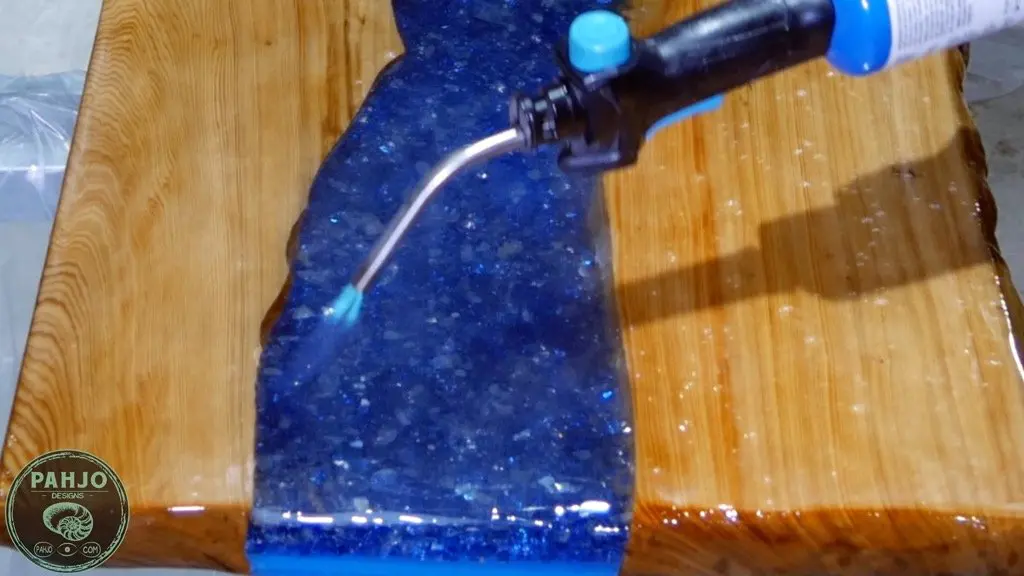
As a final step, I use a torch or heat gun over the material.
Heat helps the epoxy self level and it removes any remaining air bubbles.

This process involves many steps which I covered in great detail in my reclaimed epoxy bar top project.
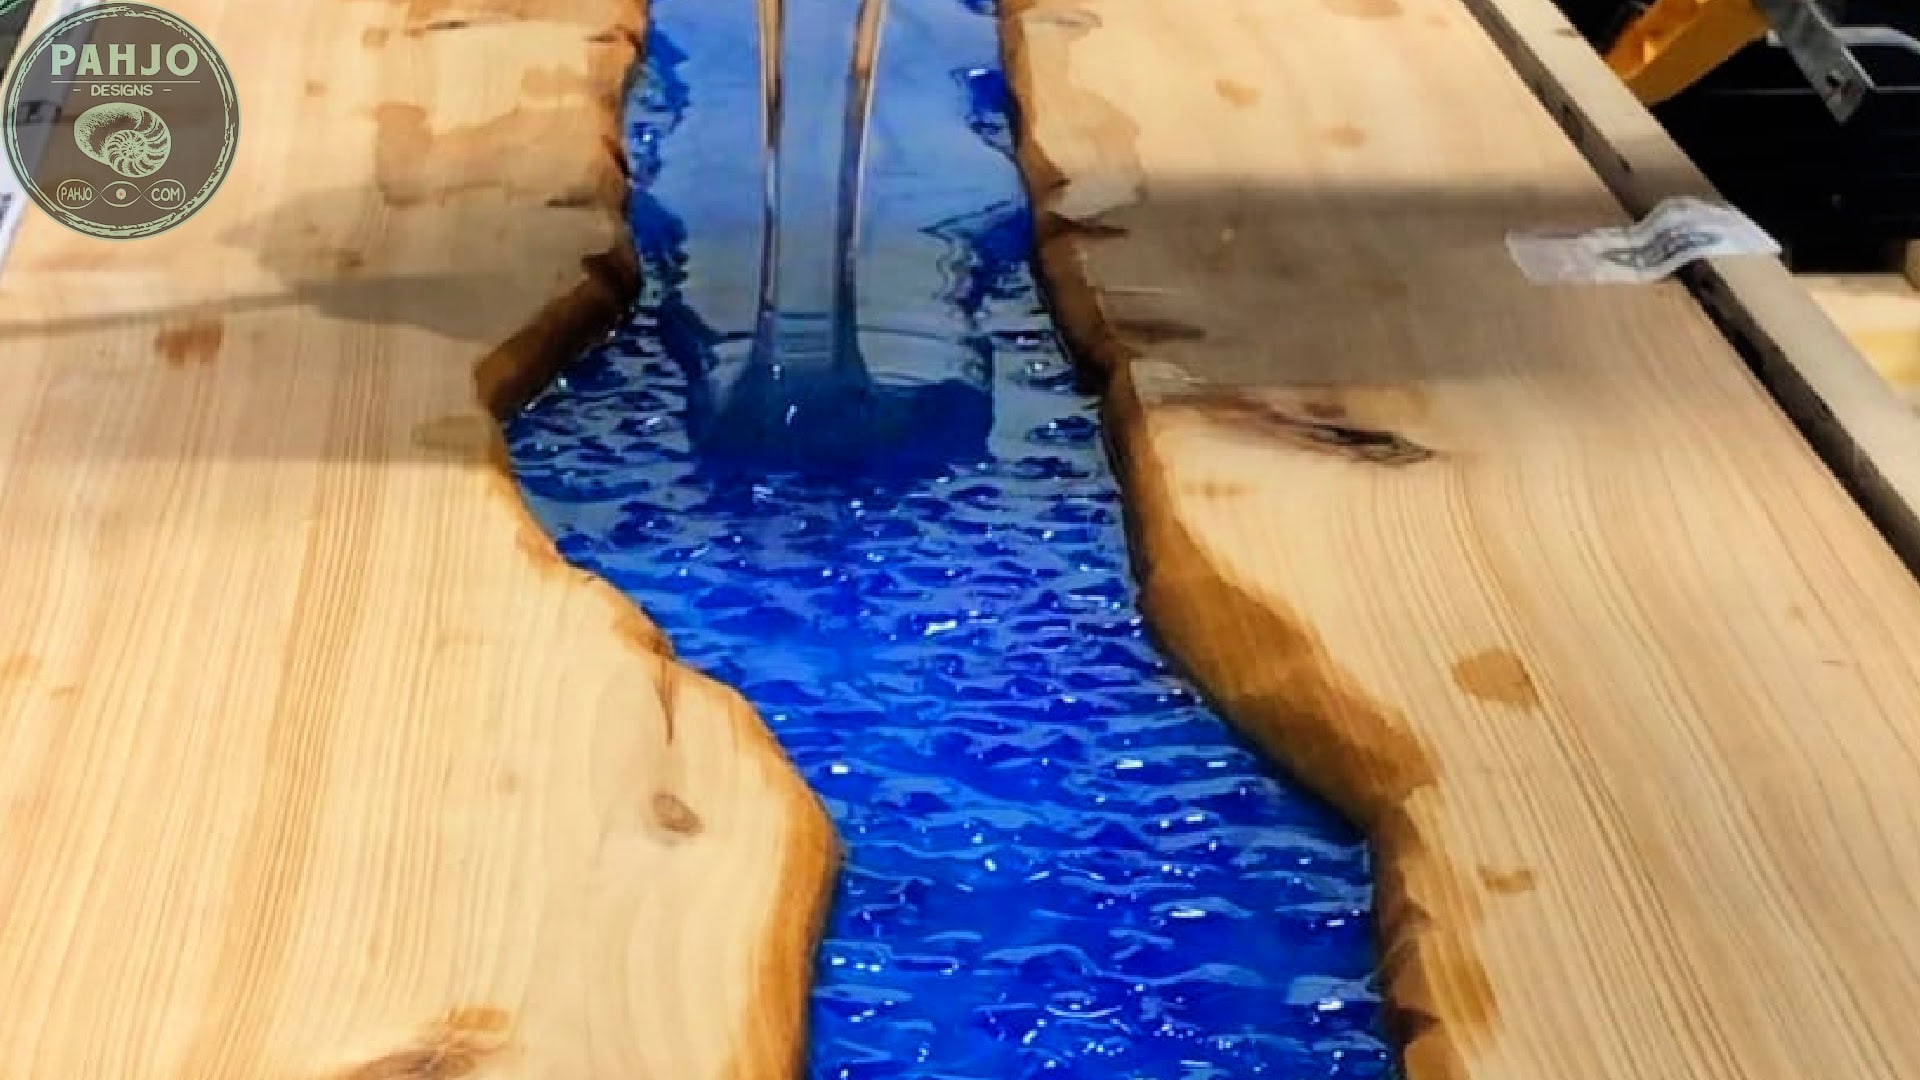
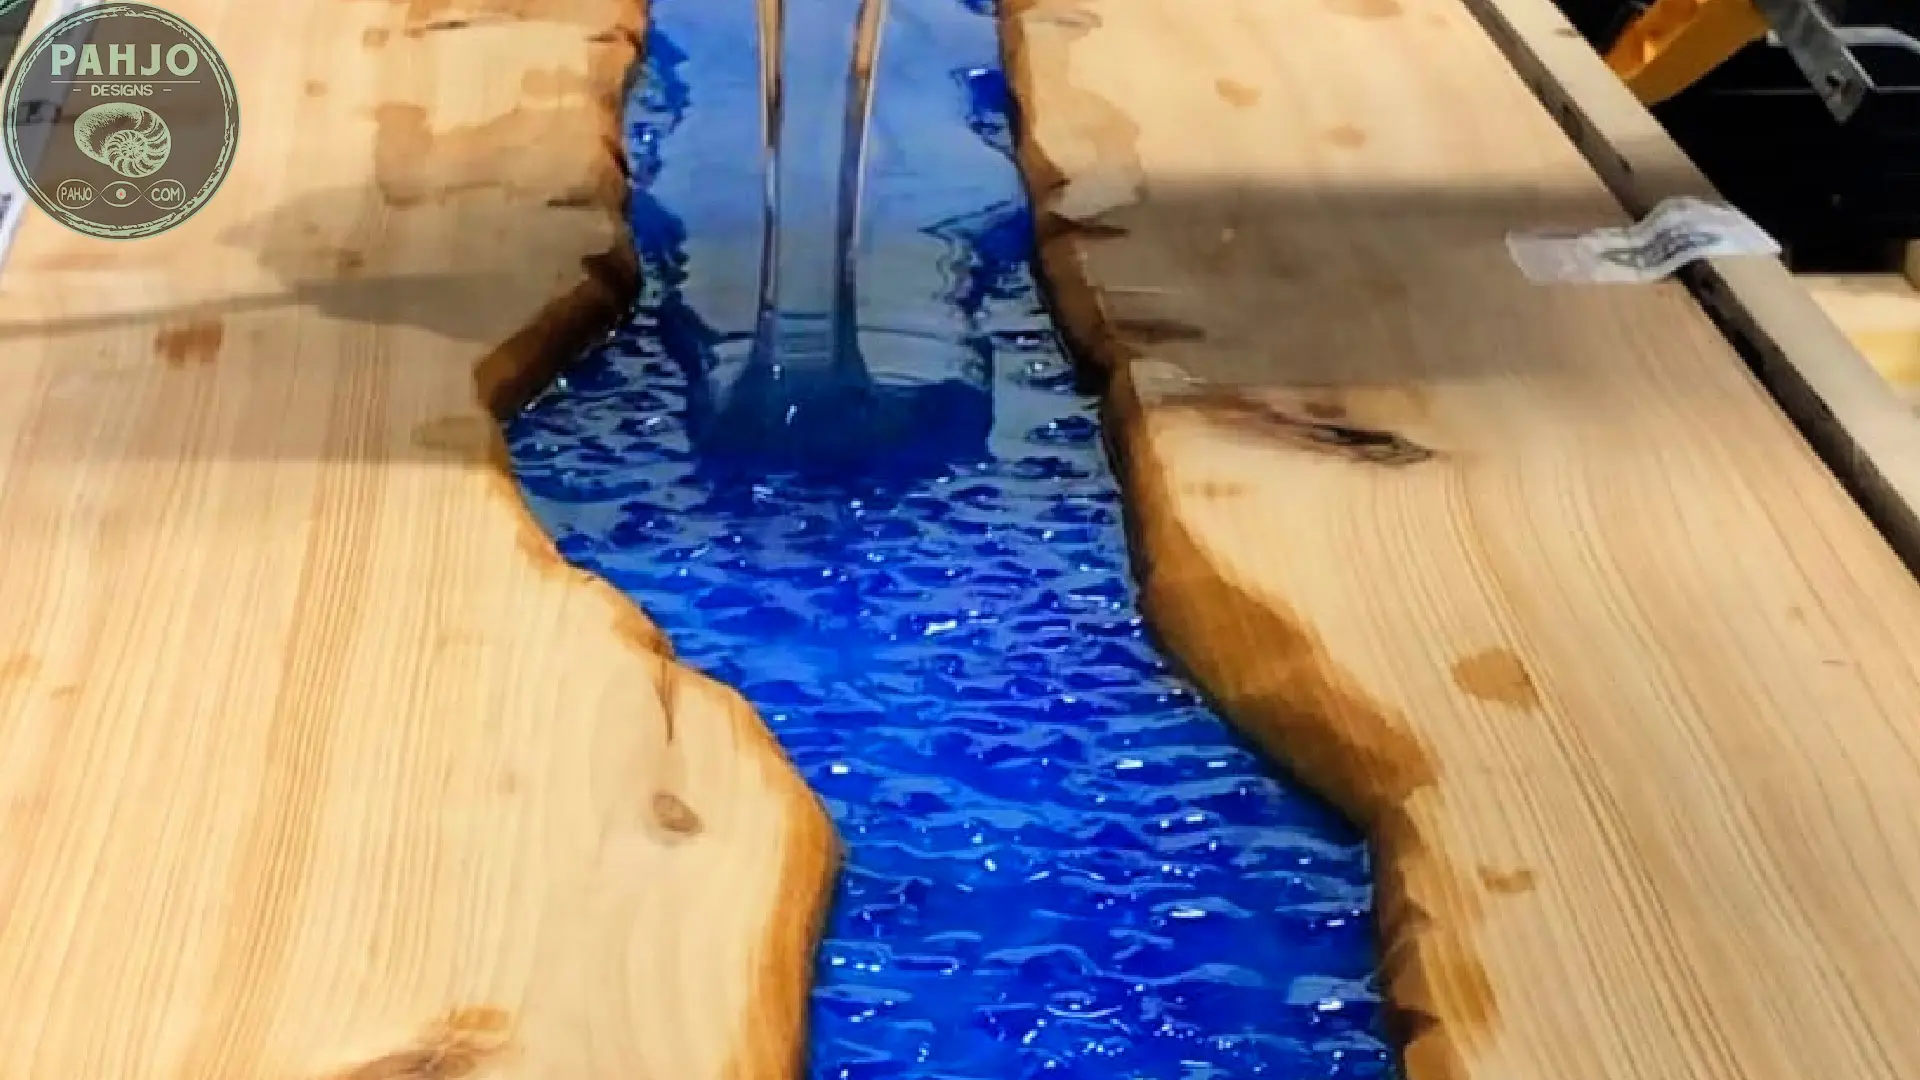
Also, I replaced the epoxy bar top in this example with a new live edge river table bar top in the picture below.
Best Epoxy Table Top Finish Summary
In this article, I reviewed the best epoxy table top finishes and listed the pros and cons of each.
However, you may still be asking yourself, “How do I choose which finish to use?.”
Well, great question.
Below is a quick guide I use to decide which finish to use.
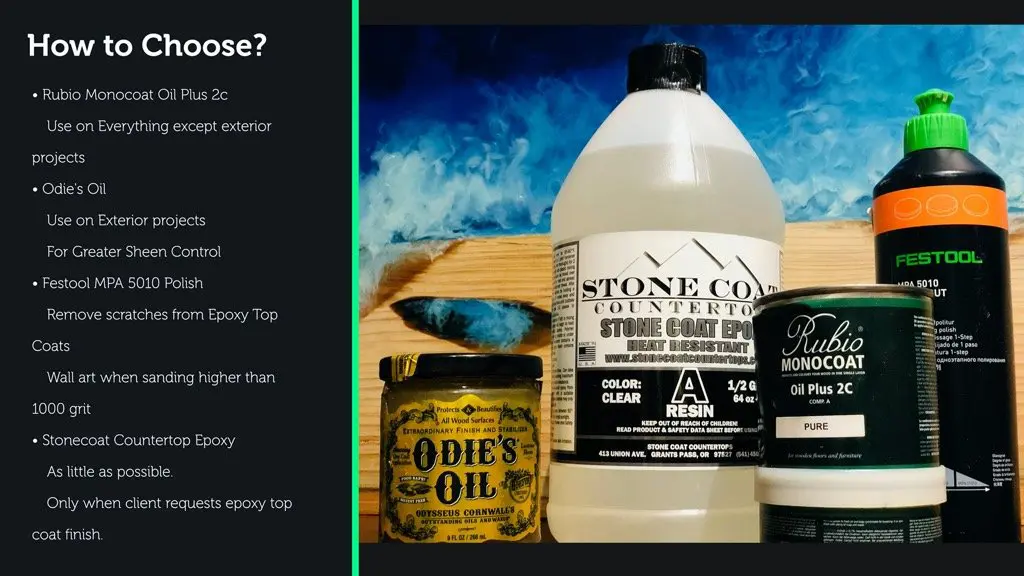
- Rubio Monocoat Oil Plus 2c
- Everything except for exterior projects.
- Odie’s Oil
- Use on exterior projects.
- When a greater level of sheen control is required.
- Festool Polish
- Repair scratches in existing epoxy top coats.
- Epoxy wall art when sanding to 1000 grit or above.
- Stonecoat Countertop Epoxy
- Use only when client requests an epoxy top coat finish

Conclusion
In conclusion, I hope my best finishes for epoxy river table list provided you with value.
Please leave a comment down below and let me know your best finish for epoxy resin & wood projects.
Be sure to visit my online store for downloadable DIY project plans and handmade items for sale.
Related Posts:
- Simple Epoxy Sanding Tips
- How To Get a Flat Finish on Epoxy
- Fill Wood Voids with Epoxy
- How to Protect Outdoor Epoxy Wood Table
- 11 Best Epoxy Tips You Need to Know
How much rubio monocoat do you need per square foot?
One ounce of Rubio Monocoat Oil Plus 2c covers 10 square feet.
Keep in mind, porous wood may require more material.
Joseph Davis
Thursday 5th of November 2020
Hi Jeremy, just wanted to say thanks for this great info. There's so many ways and combinations for how to finish a wood/epoxy piece. This narrows down the different approaches to an easy four! I'm going to order the Odie's Oil and give it a try. It's food safe, uv protectant and can be applied to both the wood and the epoxy. Plus as you've noted in the blog post, you can control the sheen based on the sanding strategy you've listed. Great info and thanks for posting it!
Jeremy
Wednesday 18th of November 2020
Hi Joseph, you are very welcome! I'm happy my post provided you with value.
Chris Festa
Sunday 1st of November 2020
Finishing a mostly resin table with small wood pieces Resin tinted but generally translucent. Sanded to 2000 in order to get a shiny finish. Have used Osmo w mixed results. Difficulty getting a purely translucent non clouded finish on the epoxy portions. Wood looks great however. For the predominantly resin table top what would you recommend.
Jeremy
Wednesday 18th of November 2020
Hi Chris, I would recommend using Odie's Oil. Is the cloudiness due to the finish or in the epoxy itself?
Chris Festa
Sunday 1st of November 2020
Finishing a mostly resin table with small wood pieces Resin tinted but generally translucent. Sanded to 2000 in order to get a shiny finish. Have used Osmo w mixed results. Difficulty getting a purely translucent non clouded finish on the epoxy portions. Wood looks great however. For the predominantly resin table top what would you recommend. End table not
Linda
Thursday 8th of October 2020
Great post! I was wondering as I see many people using Rubio on river tables and cheese boards. My question is: is Rubio food safe product?
Tim
Tuesday 15th of September 2020
I found your site and was thought your tutorial is great. I have been making epoxy tables and ran into an issue you might have experienced. I have mixed clear with color epoxy making spots where the light comes through and you can see through. It looks great with an epoxy top but i had to sand the top down to remove a bug and now I cannot get the high glossy clear look. I have sanded to 2000 and tried rubio but the sating finish did not make the clear look good. any thoughts, i have used Odies in the past but di not realize you could sand to change the sheen. You sand the odies after application to increase the sheen, correct? I wonder if that will work to make the clear more glass like.