
In this tutorial, learn how to install a DIY mini split to bring heating and cooling to an indoor space.
Even if you don’t need a mini-split system now, the DIY installation tips covered in this project can help you decide if ductless mini splits are the right choice for you.
Tools & Material
- Mr Cool DIY-18-HP-230A
- Mr Cool Multi-Zone Mini Split System
- Ductless Air Wall Mount Bracket for Mini Spit
- Line Guard Set
- 3.5″ hole saw bit
- Magnetic I-Beam Level
- IR Thermometer and Laser
- Dewalt Heavy Duty Wrench
- Hex Wrench
- Drill
MR COOL DIY Mini Split Installation Video
There are several things which are difficult to fully explain with words and images, so be sure to check out the video tutorial below.
Garage Workshop Heating and Cooling Systems
Shortly after purchasing my house, the AC unit in my detached garage workshop went out after 15 years of service.
Additionally, the replacement cost far exceeded the amount I wanted to pay.
After performing hours of research on ductless mini-splits, I decided to purchase and install a MRCOOL DIY 18k Mini Split as the heating and cooling system in my workshop.
The first level of my workshop serves as my workshop. My home office resides on the second floor.
Mr Cool Mini-Split Unit Features
I chose the Mr Cool DIY 18k ductless mini split system because of price, features, size, and ease of installation.
The refrigerant lines are pre-charged with R410A refrigerant. As a result, this eliminates the need to hire a hvac technician for a professional installation.
The features of the Mr Cool DIY mini split supported my needs based on the following factors:
- Low Noise: 57dBA decimal rating.
- Dual heat pump and AC unit.
- Refrigerant leakage detection system ensures the system operates efficiently without degradation due to corrosion.
- WiFi adapter allows it to be connected to the Internet and controlled remotely via an app.
- Warranty: 7 year compressor and 5 year parts.
- Variable Speeds
- Louver Position Memory and Swinging capability.
- No Duct Work like a traditional hvac system
Single Zone System vs Multi-Zone System
Mr Cool sold only single zone systems for individual rooms at the time of this article.
In turn, I installed 2 separate units – one for upstairs (home office) and one for downstairs (workshop).
As of 2020, Mr Cool now sells multi-zone systems.
Multi-zone ductless heat pumps allow a single outdoor compressor to control multiple indoor units in various rooms.
Multi-zone mini splits make it reasonable to consider a complete replacement of a traditional central air conditioning unit.
DIY Mini Split Price
The total price for the Mr Cool DIY Mini Split was $1,457.00 plus $50.00 for the wall mounting bracket.
In total, the price was $1457.00 before tax as of 2017.
I received multiple quotes from HVAC professionals on installing a similar unit and the prices ranged from 2.5 to 3 times more than the Mr Cool DIY mini split.
HVAC Professional Installation
First of all, there are many advantages to hiring professional hvac technicians to install a mini split or conventional central air conditioner. In fact, I hire hvac professionals to perform routine maintenance on my traditional air conditioning and heat units for my main home.
In my case, I do not consider my workshop or home office critical living space. As a result, I decided the DIY mini split was worth a try.
Ultimately, reputable HVAC professionals guarantee their installation, support manufacturer warranties, and provide service agreements.
Mini Split Sizing
Obviously, There are different Mr Cool DIY mini split models for different size areas.
Additionally, the Mr Cool DIY mini split model I installed covers 850 square feet.
I was concerned with the high ceilings and lack of insulation in my workshop, but I plan to insulate the walls and ceiling in the near future.
How to Install a Ductless Mini Split Overview
Keep in mind, this ductless mini-split installation tutorial is meant to compliment the manufacturer’s instructions.
How To Install a DIY Mini Split
In this tutorial, I show you how to install a DIY mini split to bring heating and cooling to an indoor space.
Even if you don’t need a mini-split system now, the DIY tips covered in this installation process can help you decide if ductless mini-splits fit your future needs.
Instructions
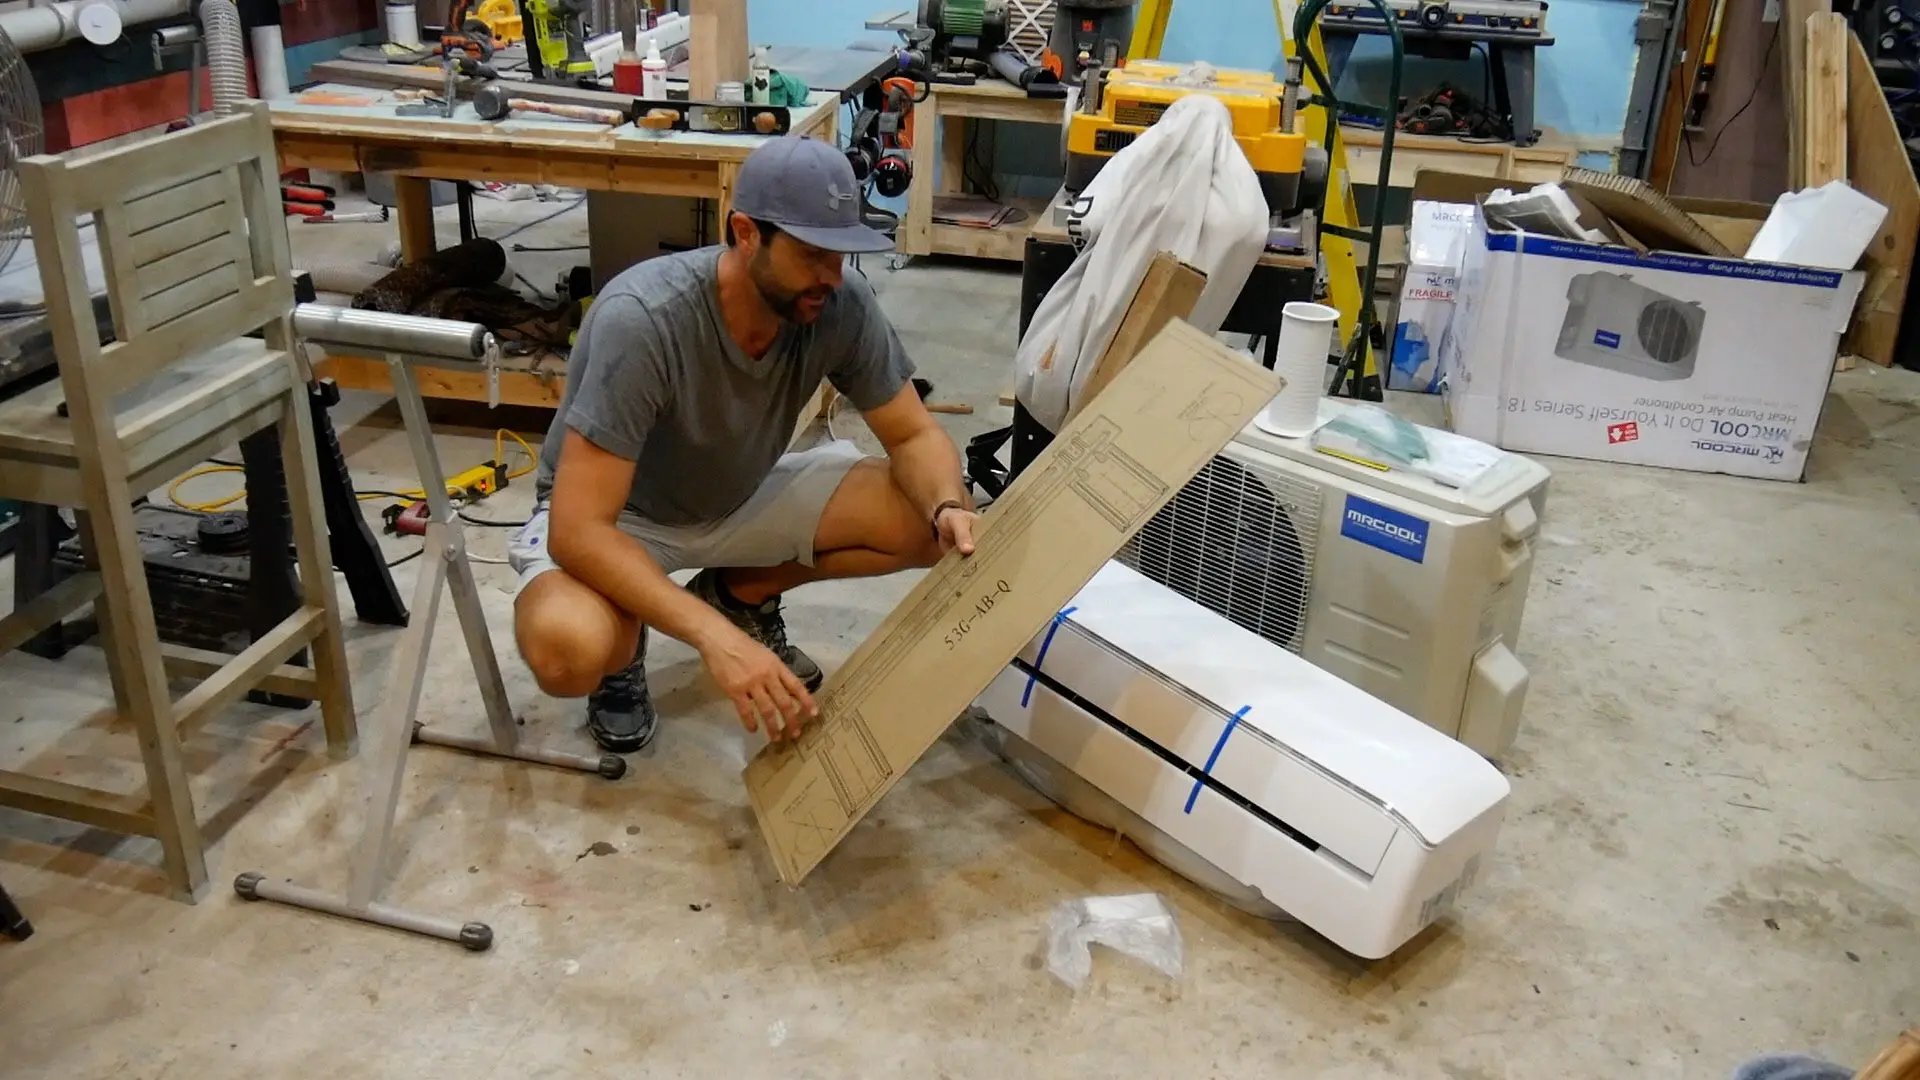
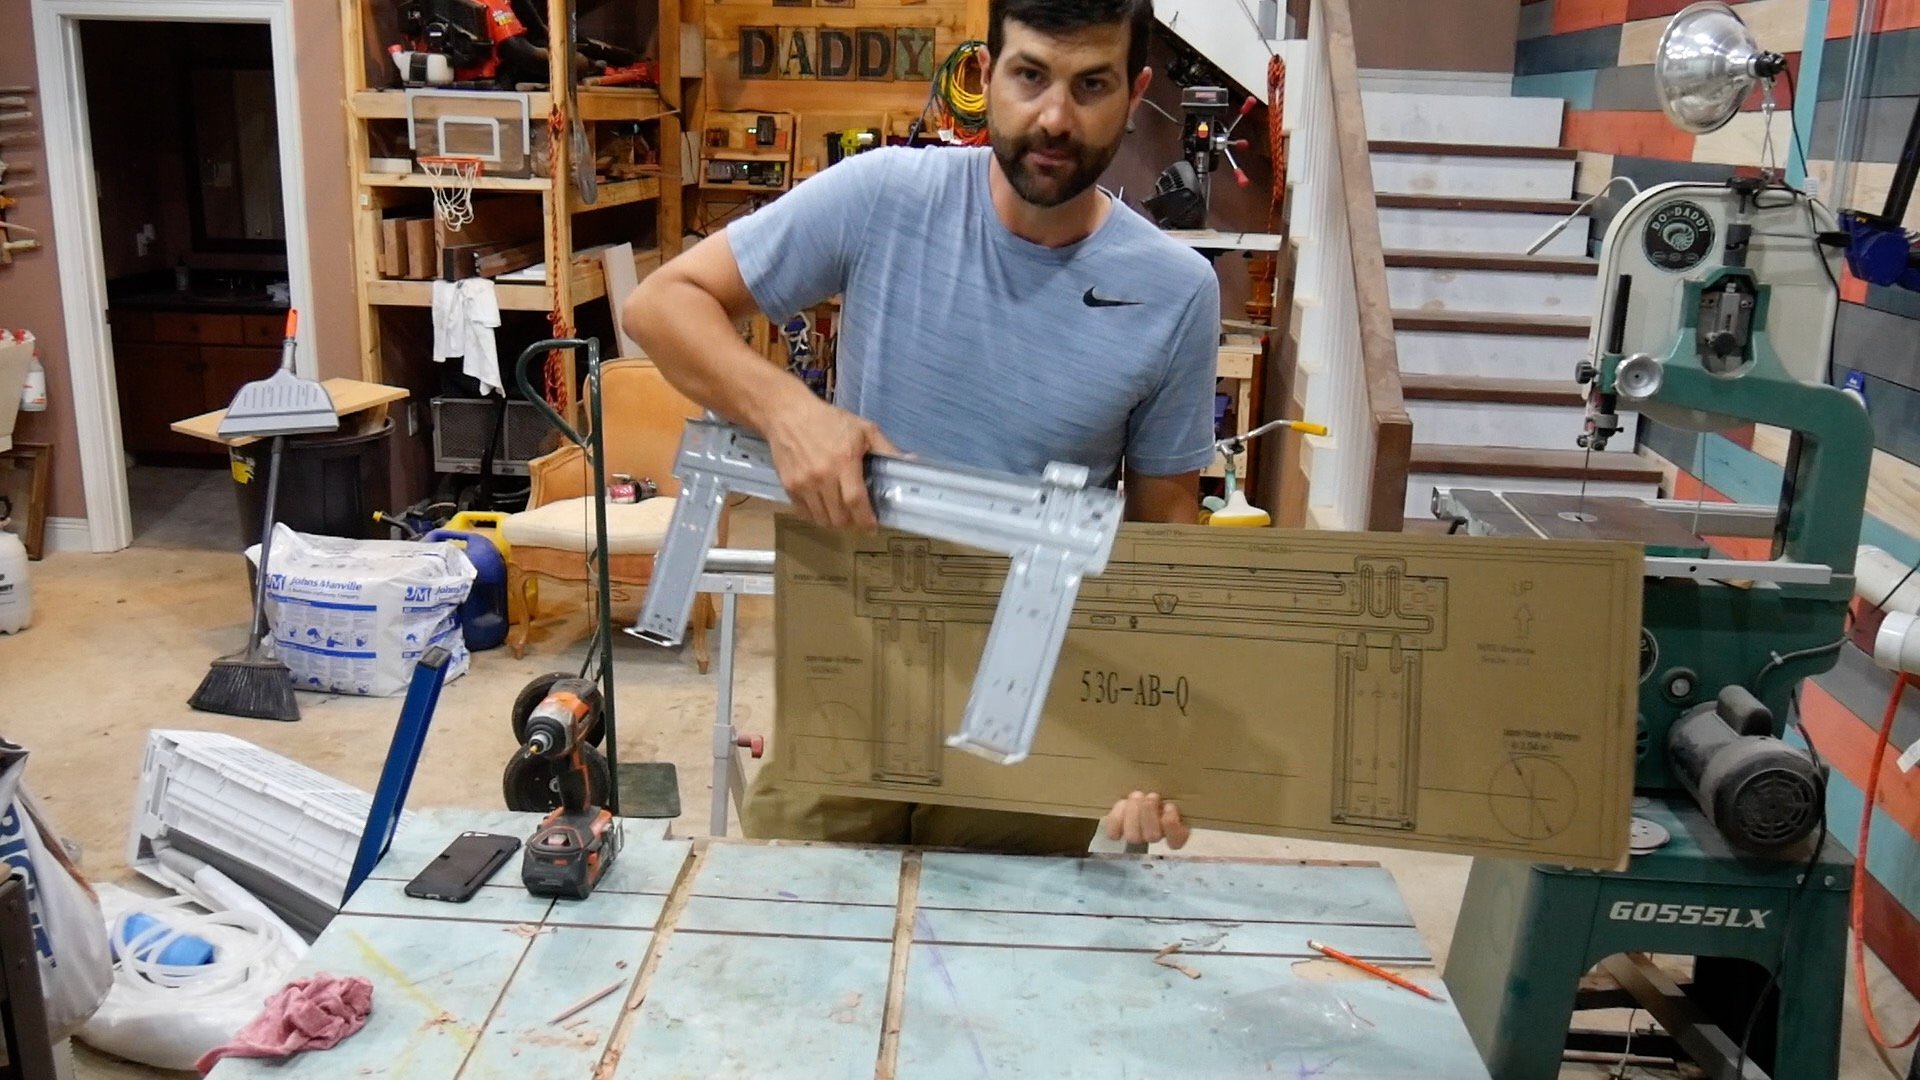
- Unbox and Inspect Mini-Split System
Inspect the mini split outdoor unit (condenser unit), indoor unit (indoor air handler), and refrigerant lines. Additionally, read the installation manual.
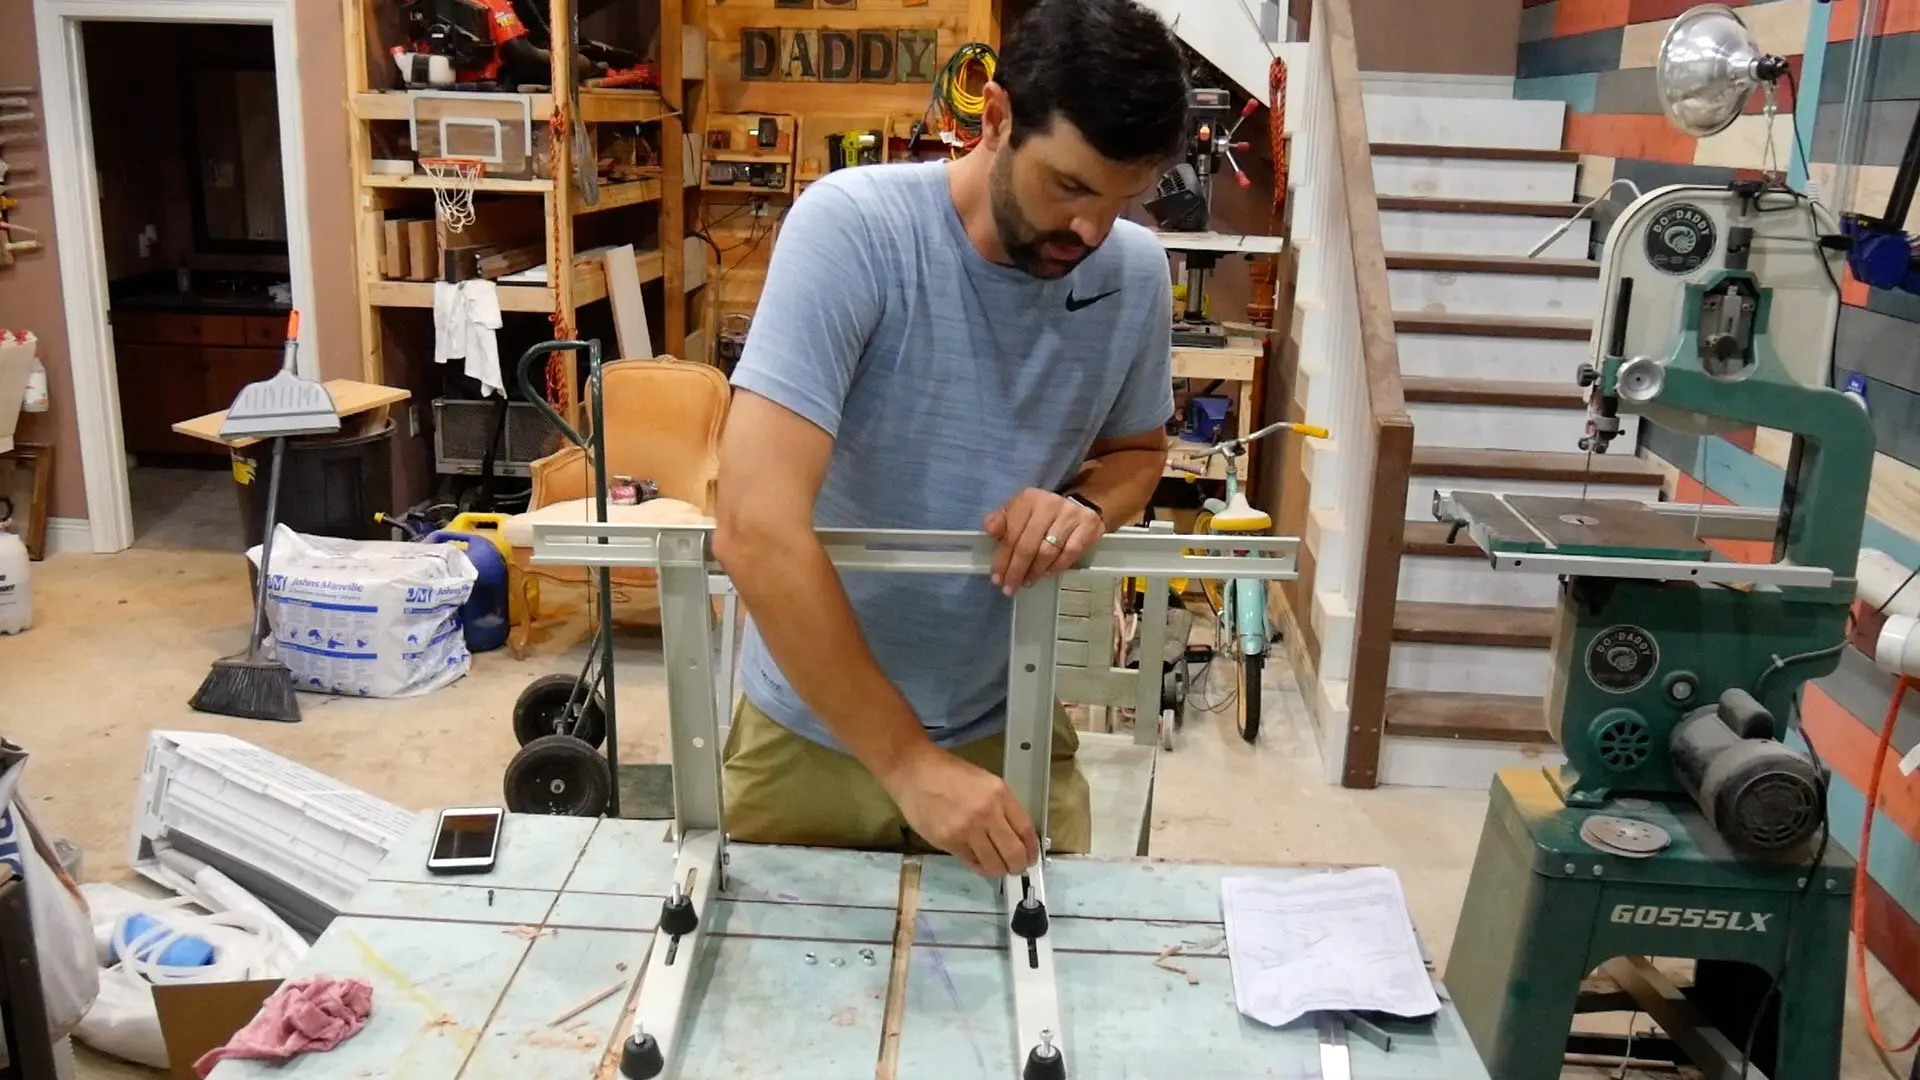
- Assemble Outside Wall Bracket
If you chose to mount the outside condenser unit on an exterior wall, assemble the bracket. Alternatively, a concrete pad can be used for the outdoor condenser.
The best location to mount the exterior unit depends on available space and preference.
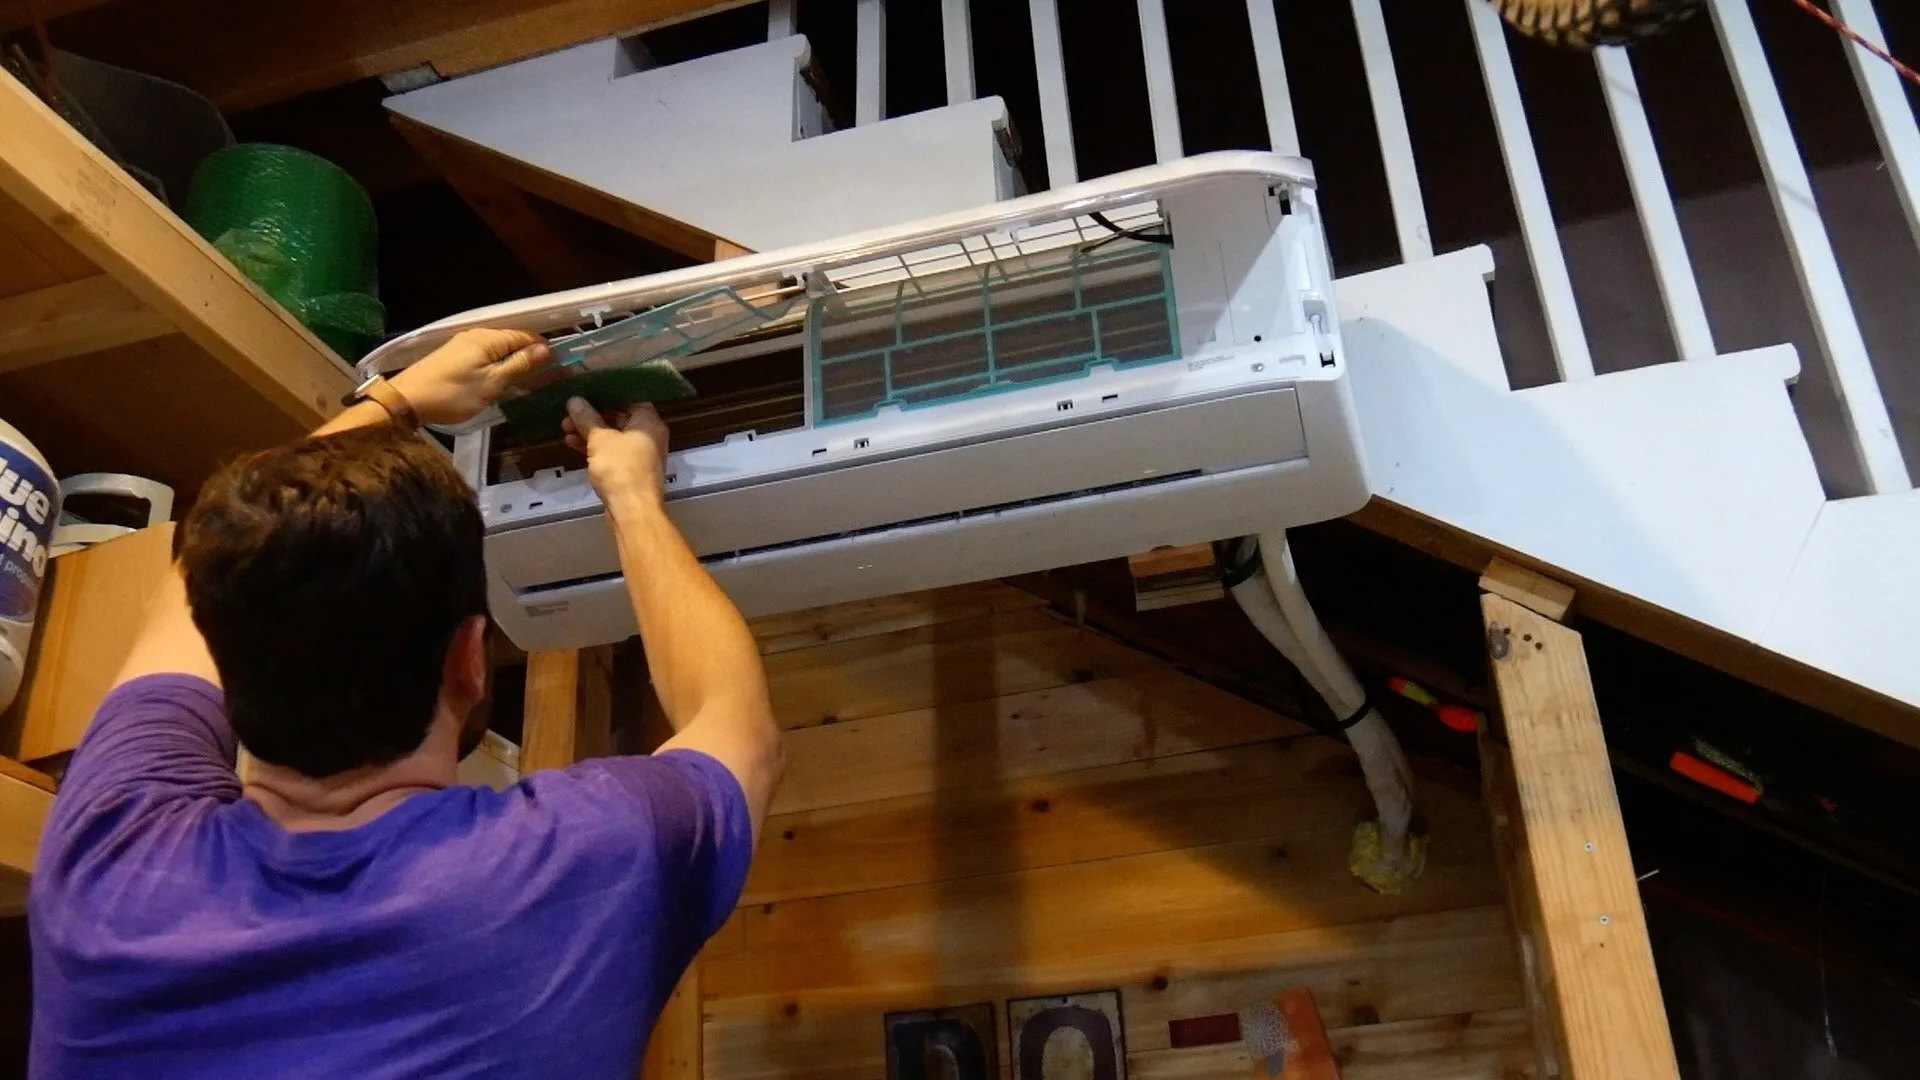
- Mount Indoor Air Handler
Use the cardboard template as a guide to mark holes and install the mounting plate for the inside unit. Ideally, the mini split mounting bracket should be attached to a stud on the interior wall.
In my case, I mounted my DIY mini split under the staircase in my workshop. As a result, I built a support bracket with 2x4s to secure the bracket to the interior wall.

Next, slowly bend the refrigerant lines according to the hole location for the line set.
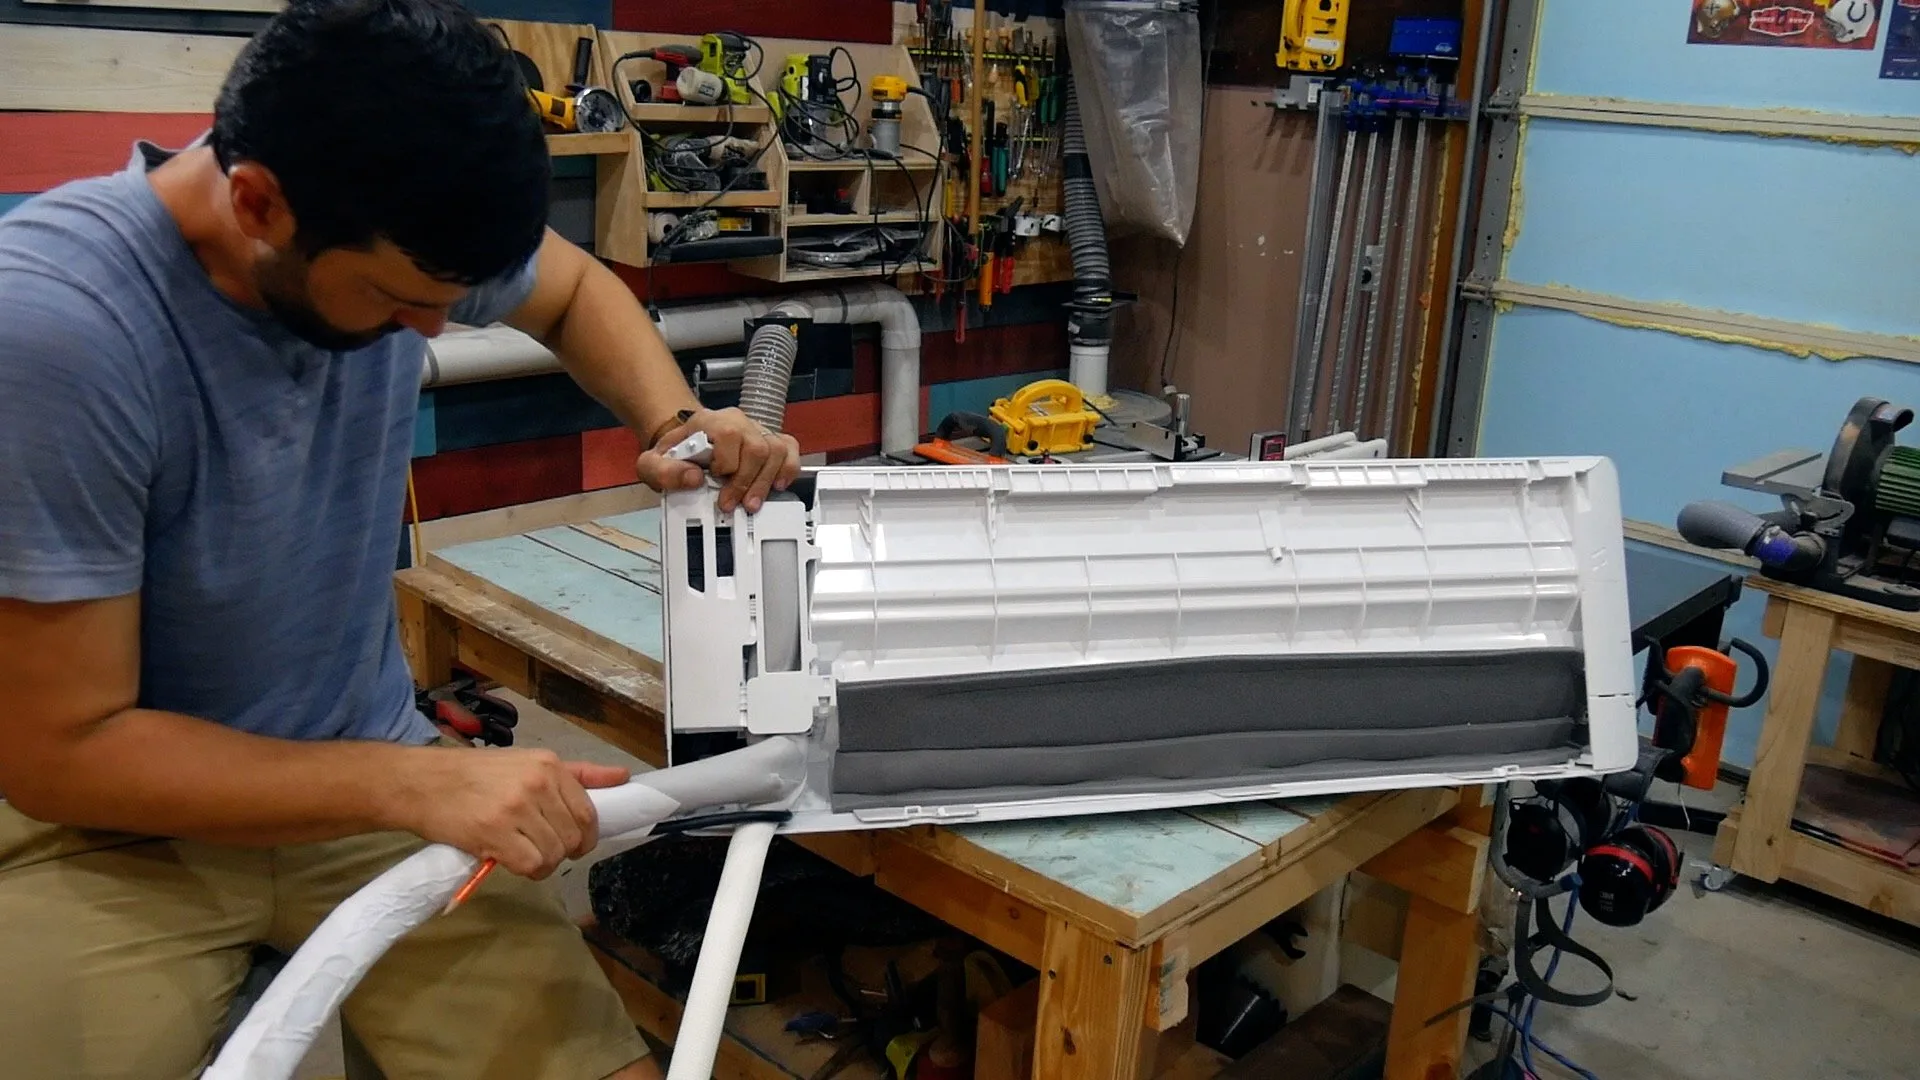
Then, lift the indoor air-handling unit and attach it to the metal bracket.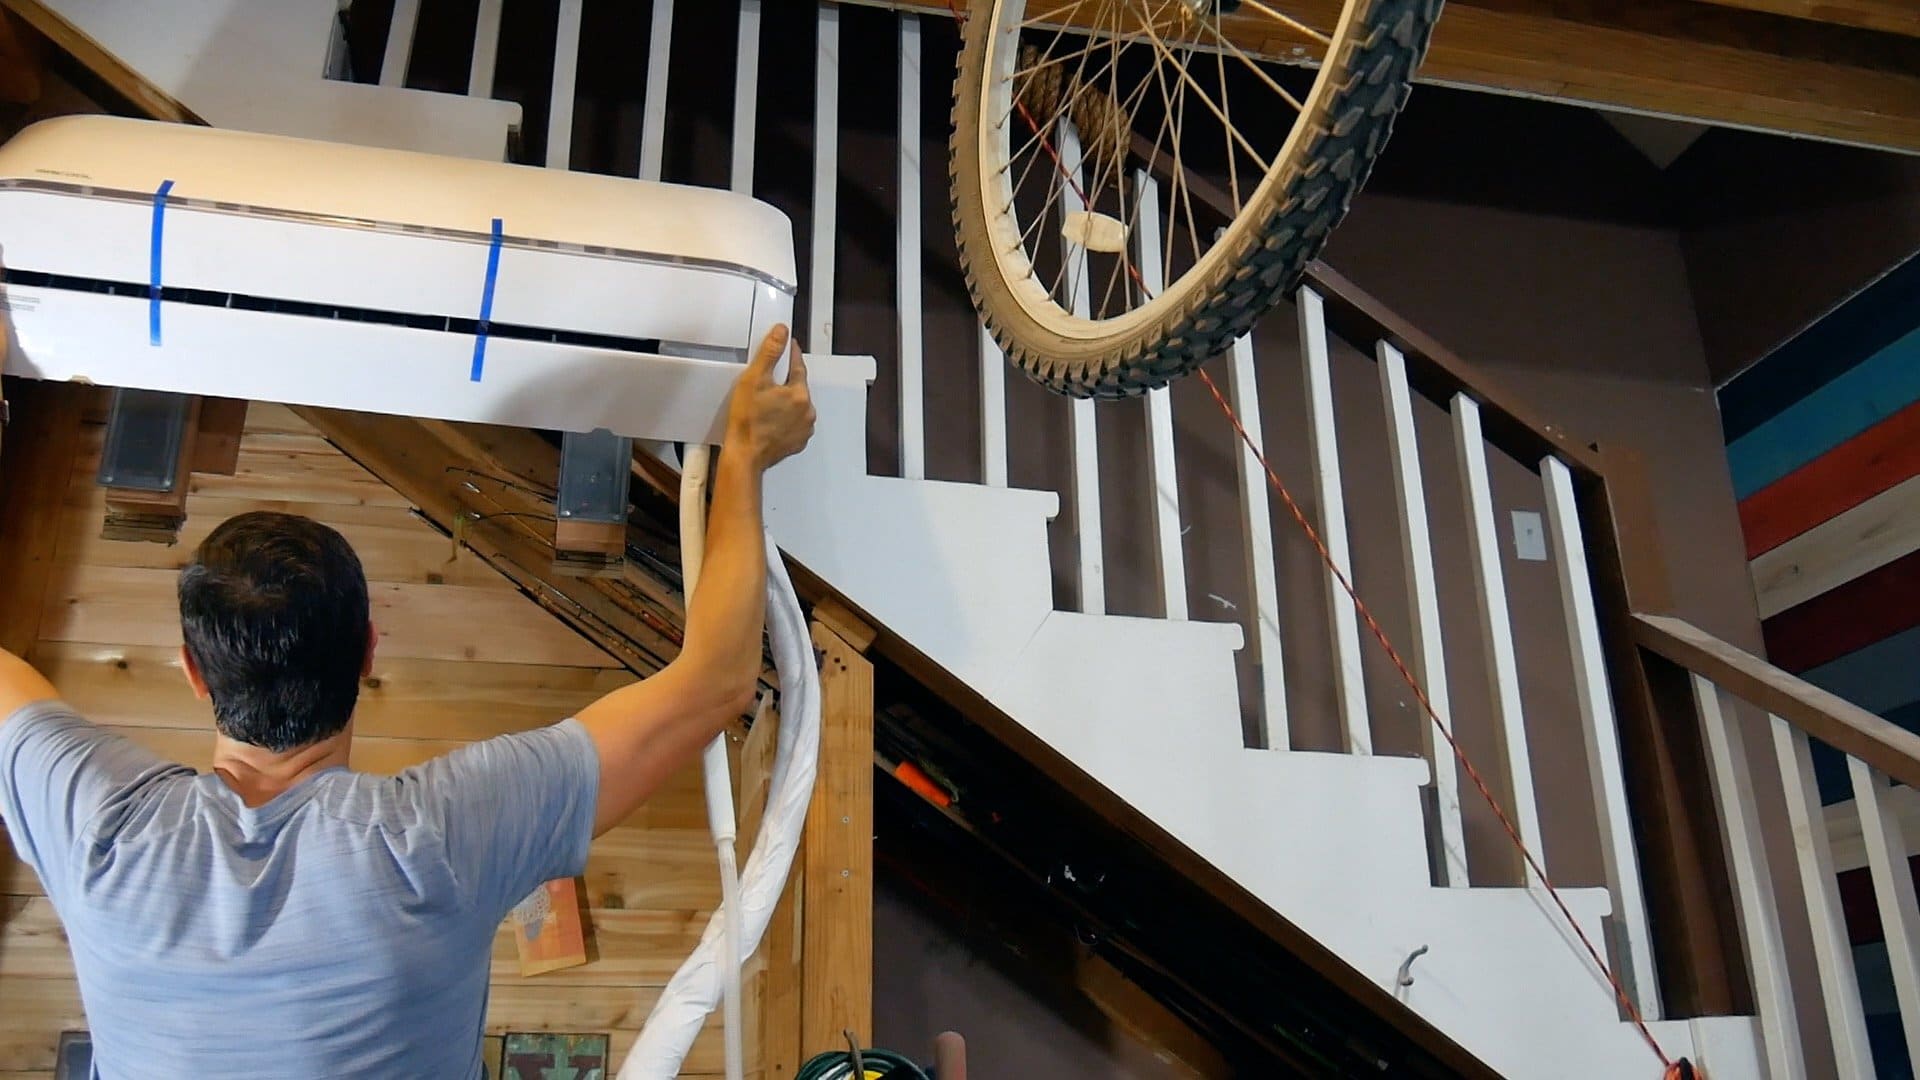

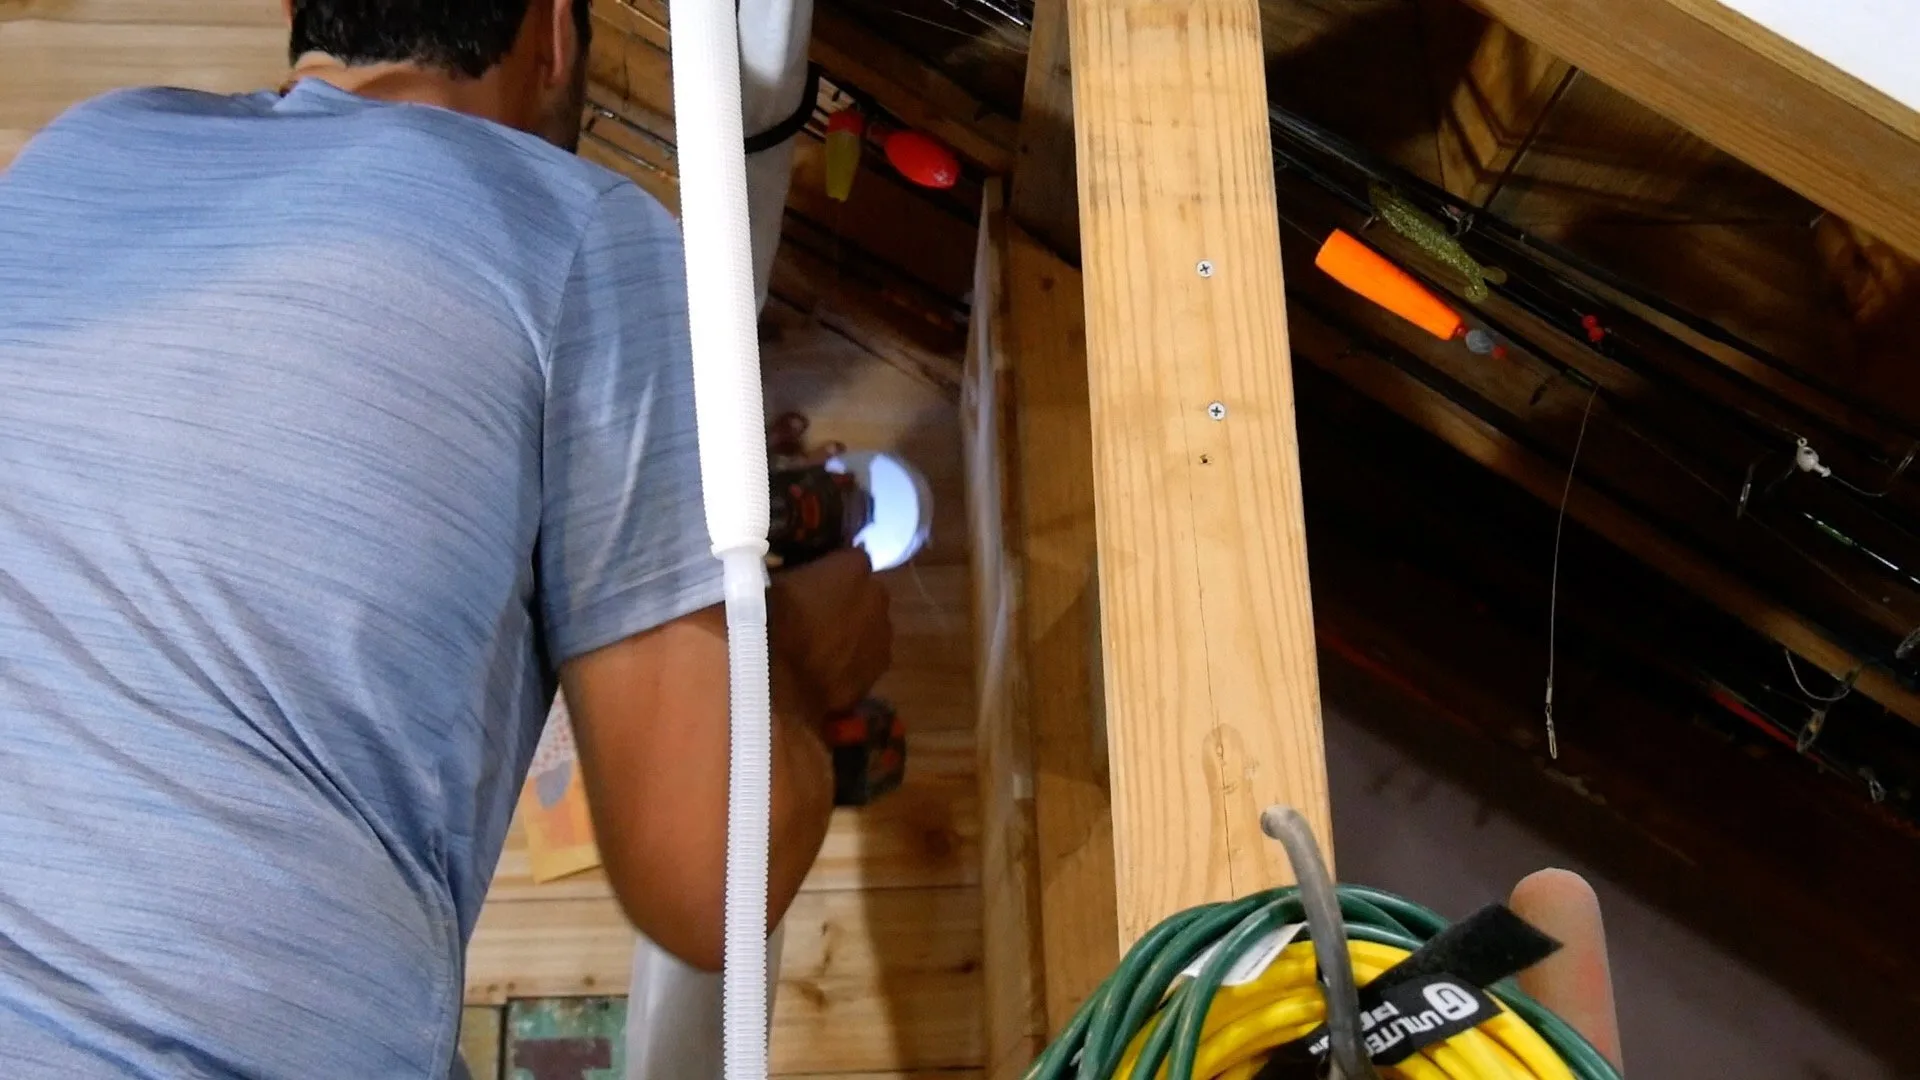
- Drill Hole in Exterior Wall
For the next step, use a drill and a hole saw to drill a three-inch hole.
Then, install the plastic sleeve in the hole and trim to fit if necessary.
As a quick tip, locate the wall studs with a stud finder and drill the hole between the studs.
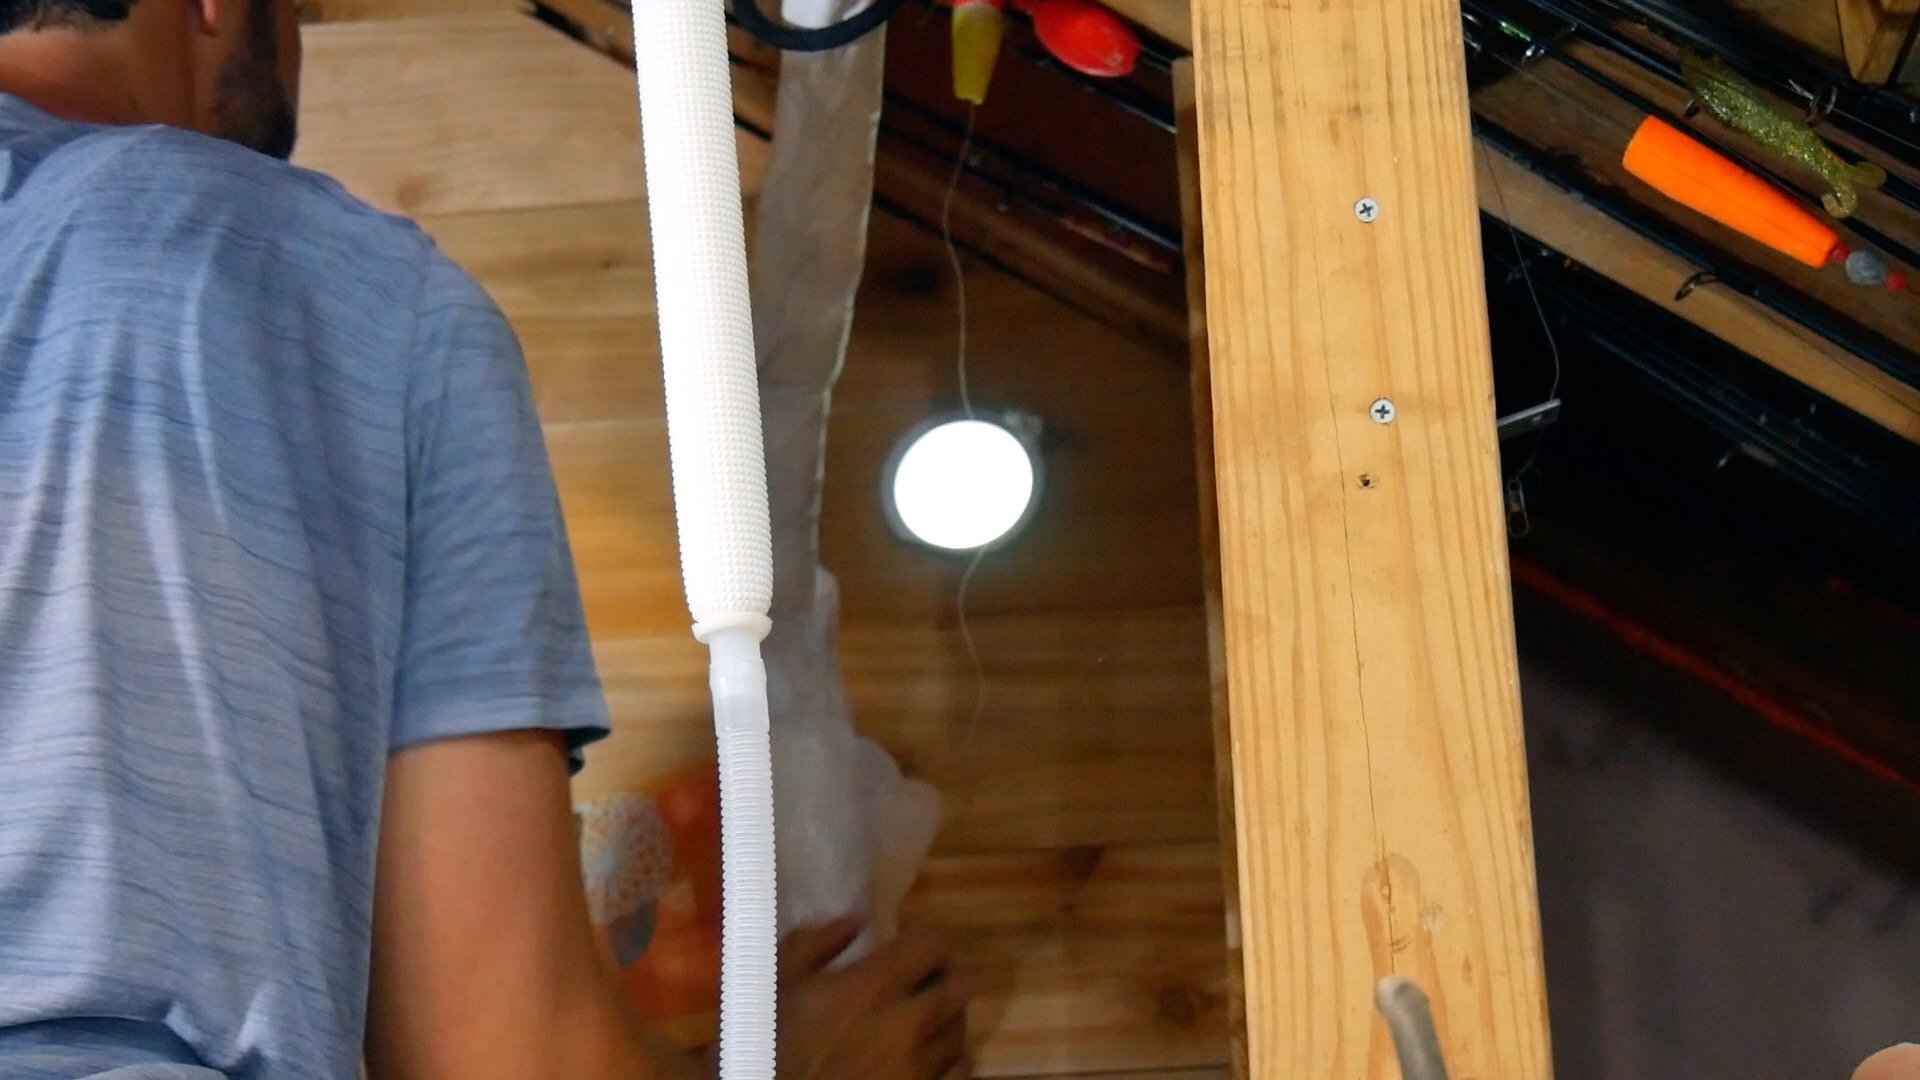

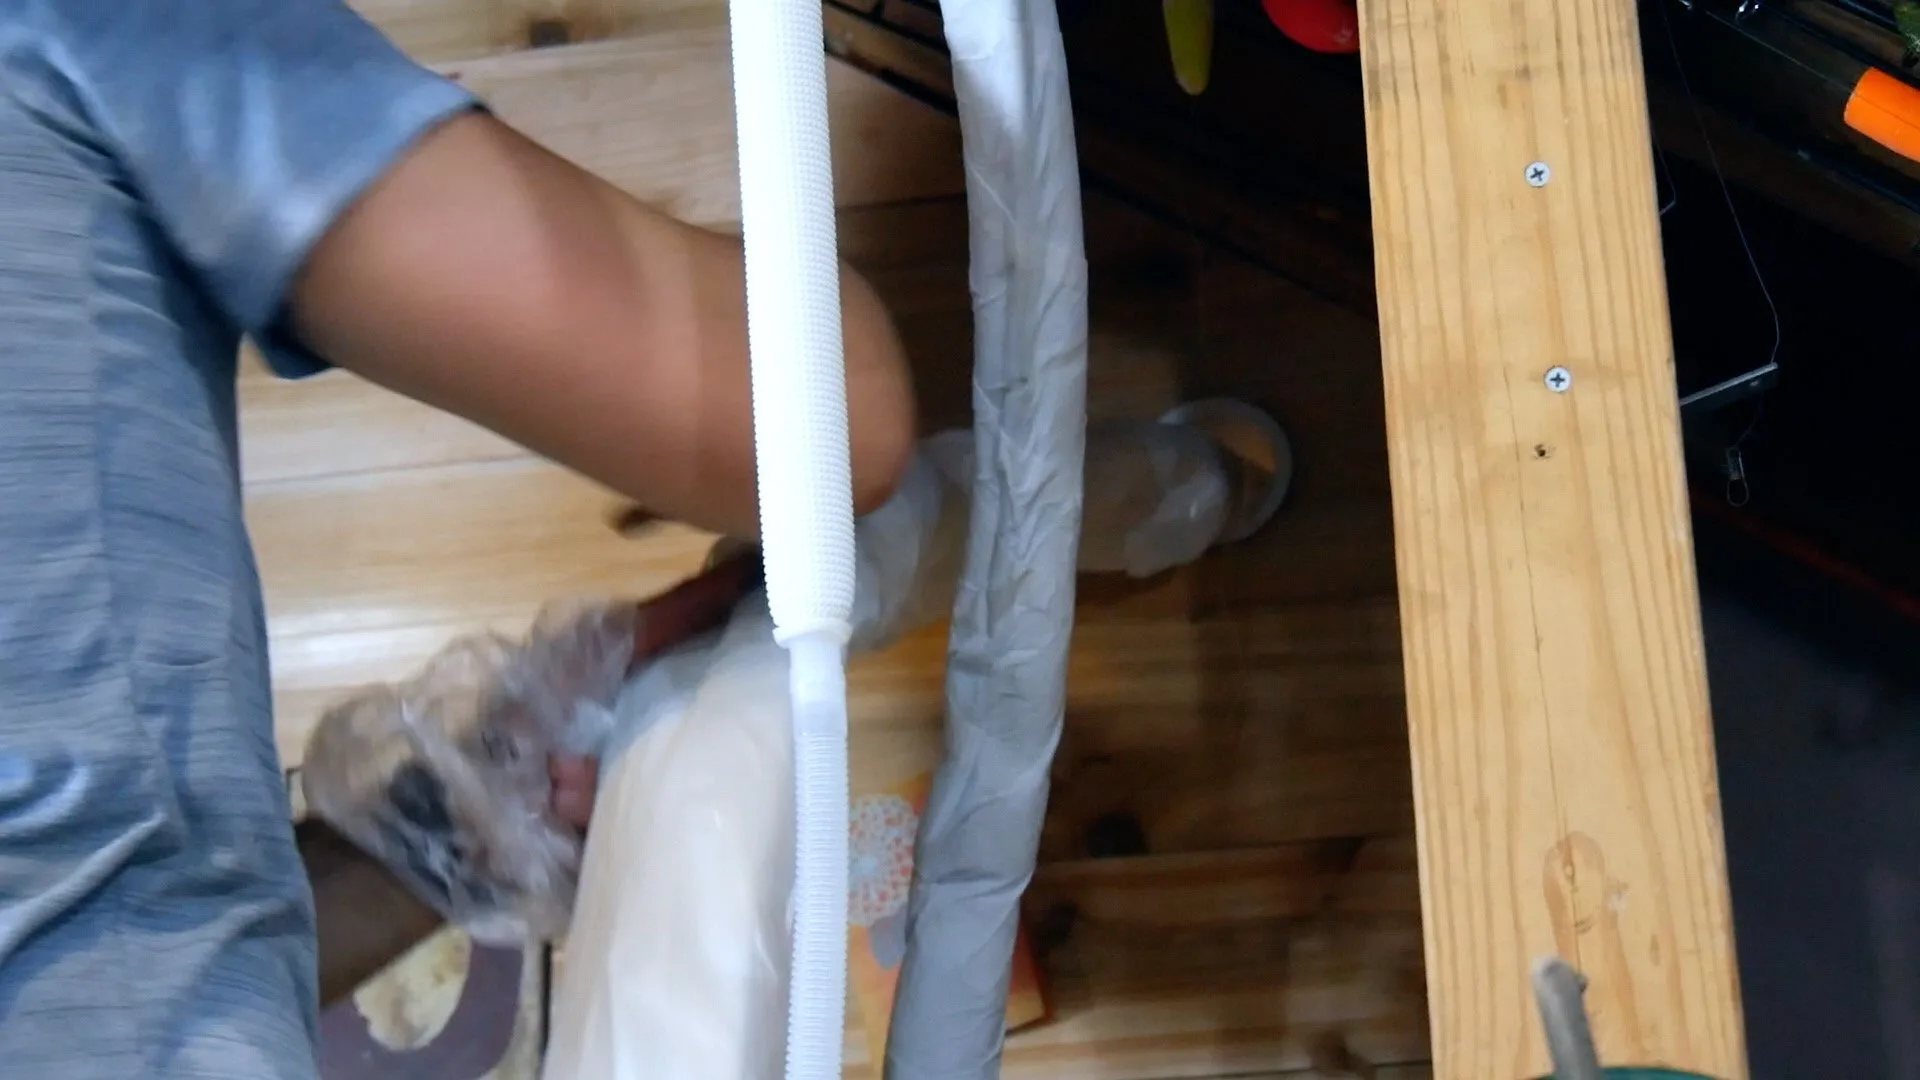
- Route Refrigerant Lines
Some DIY ductless mini splits provide options for line set length to accommodate long run. As a result, make sure the line set matches the length you need.
Route the refrigerant lines, electrical wires, and drain line through the hole to the outside wall.
Keep in mind, this wire bundle contains wires to make the electrical connections between the outside unit and inside unit.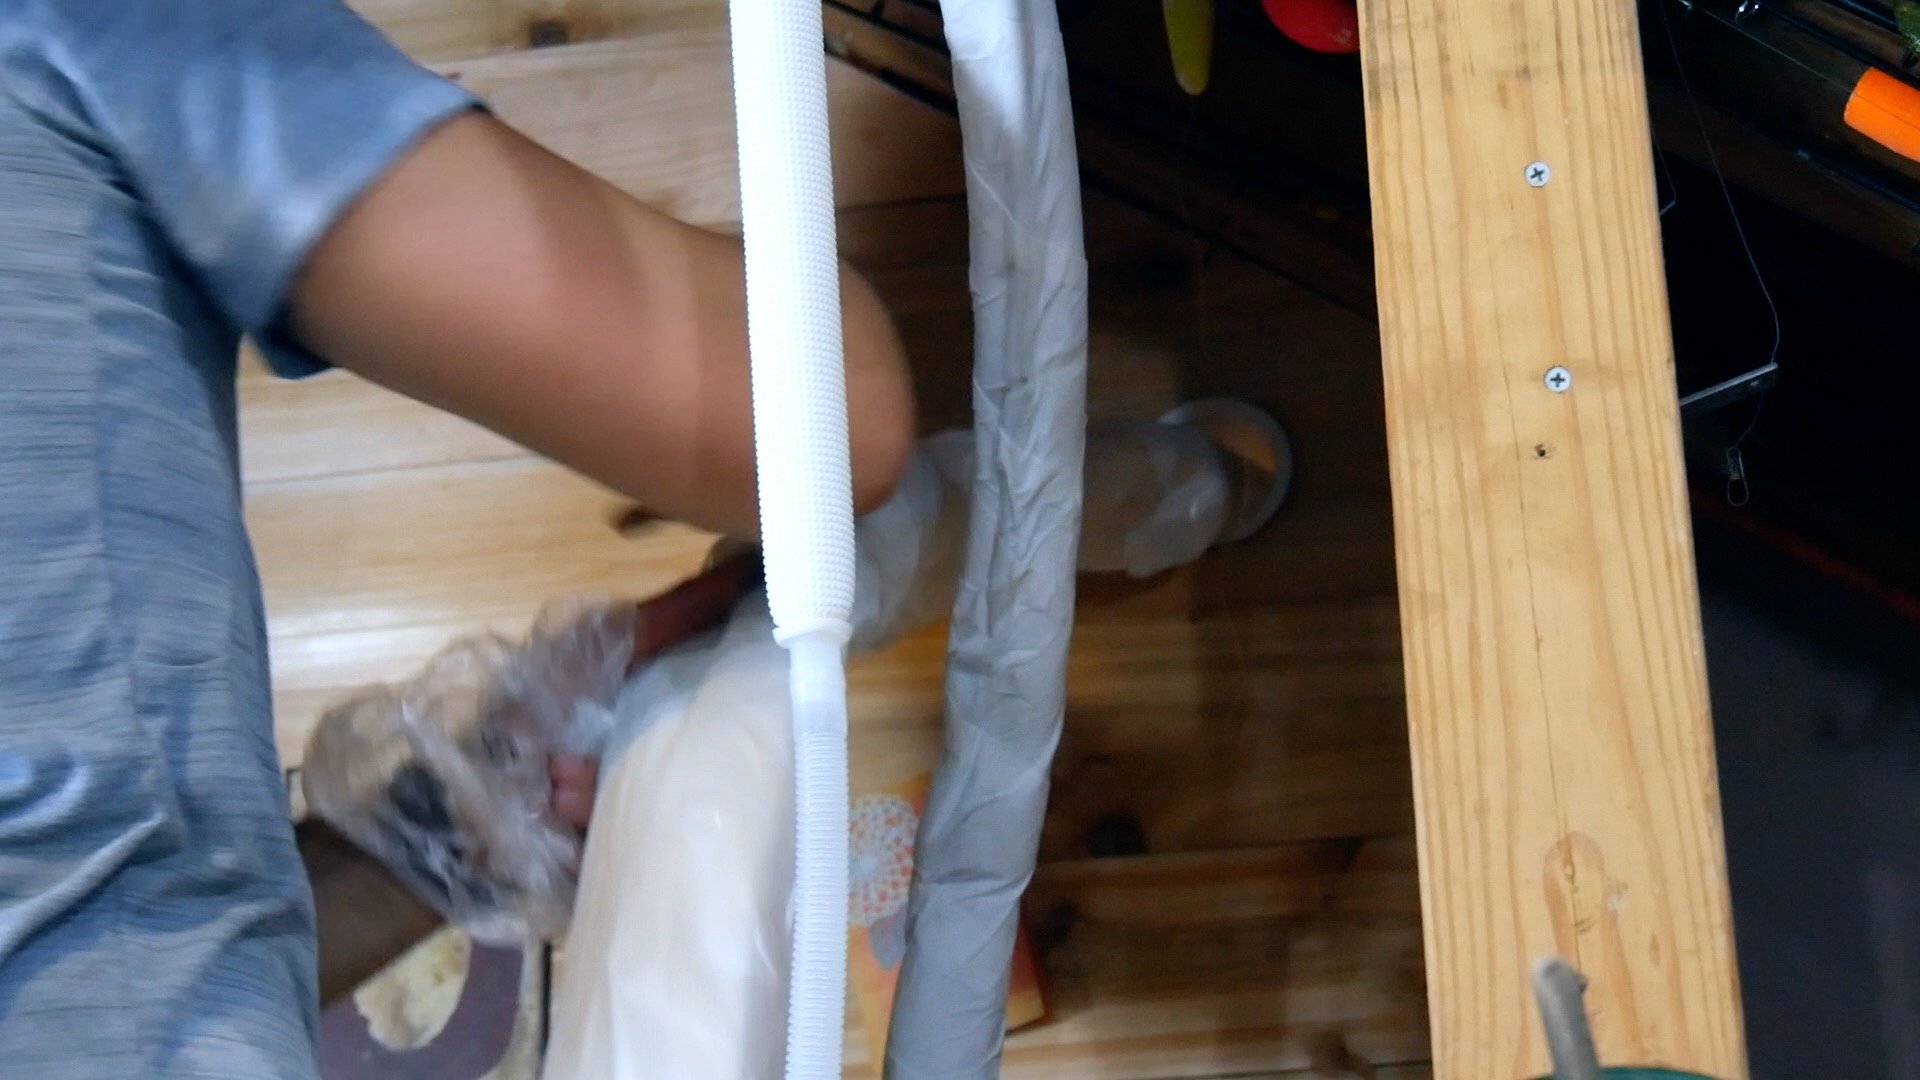
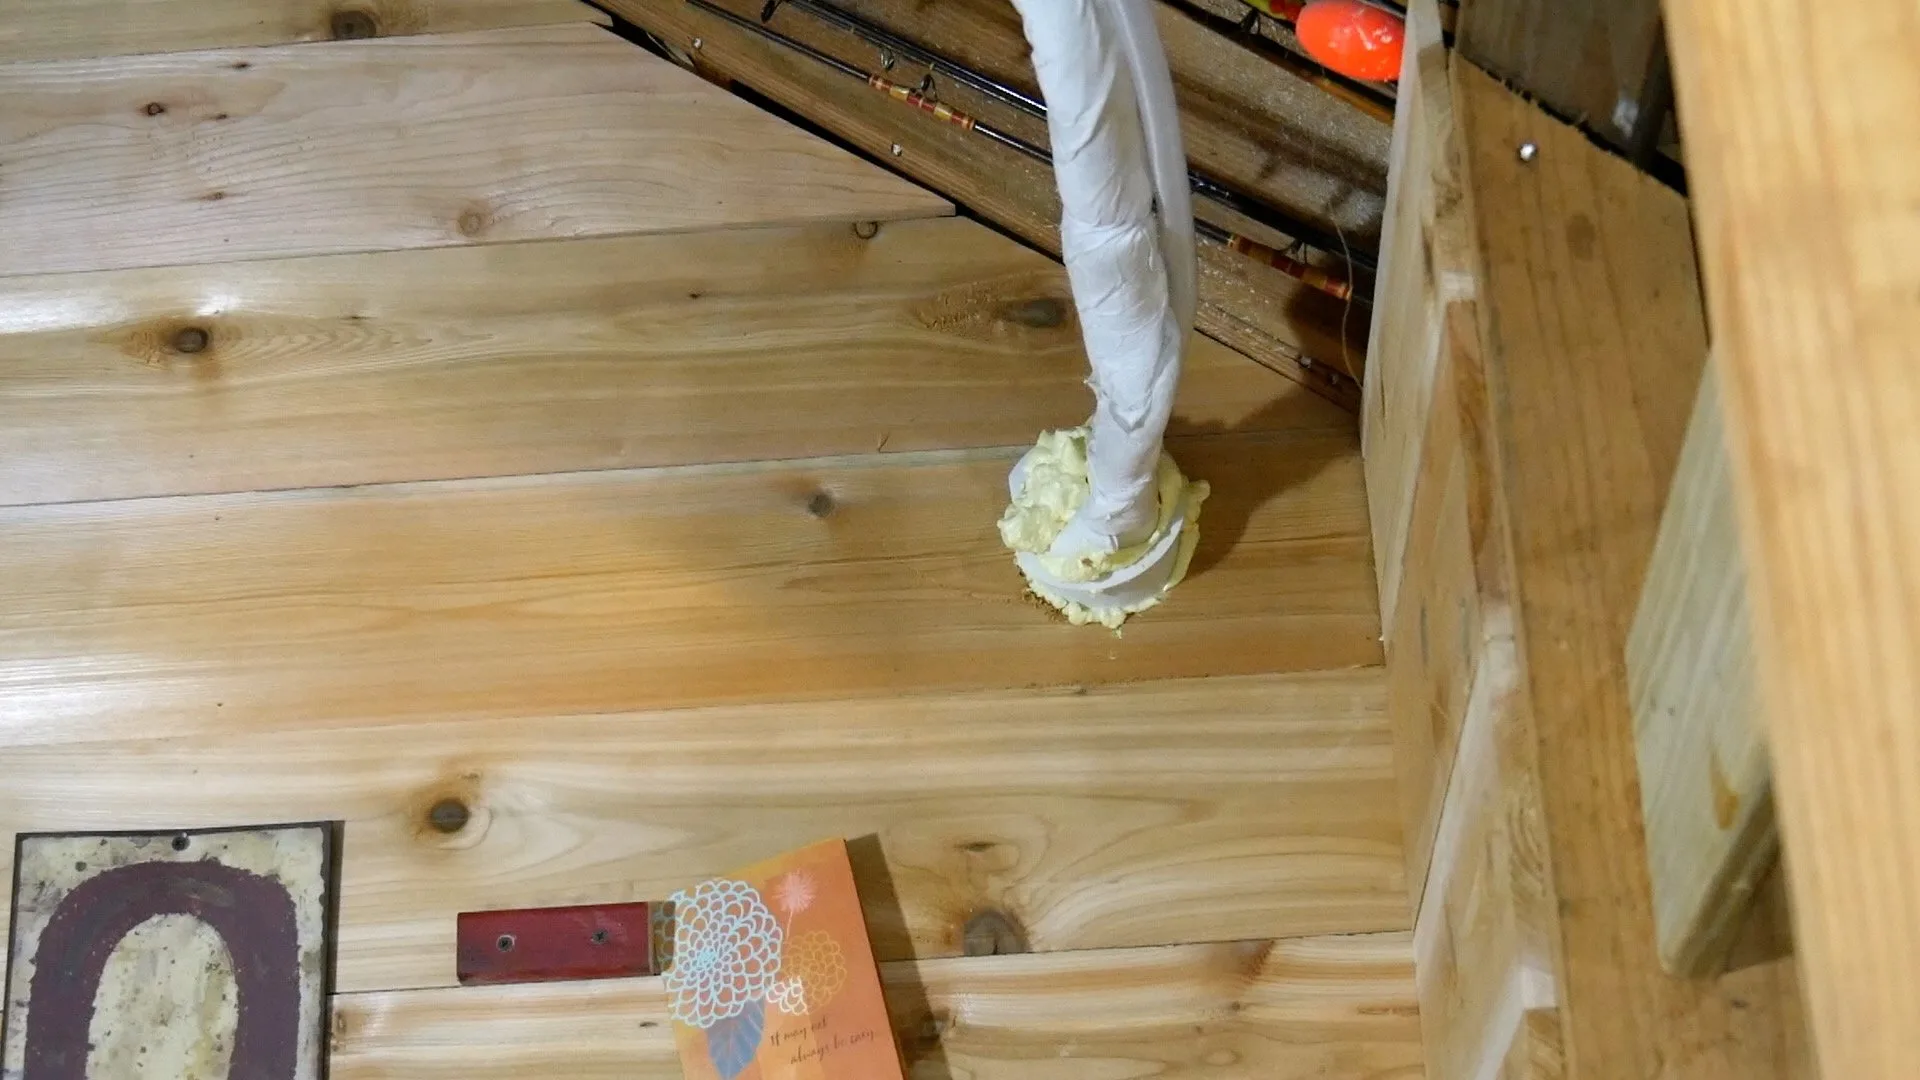
- Seal Hole
Next, seal the hole with closed cell spray foam.
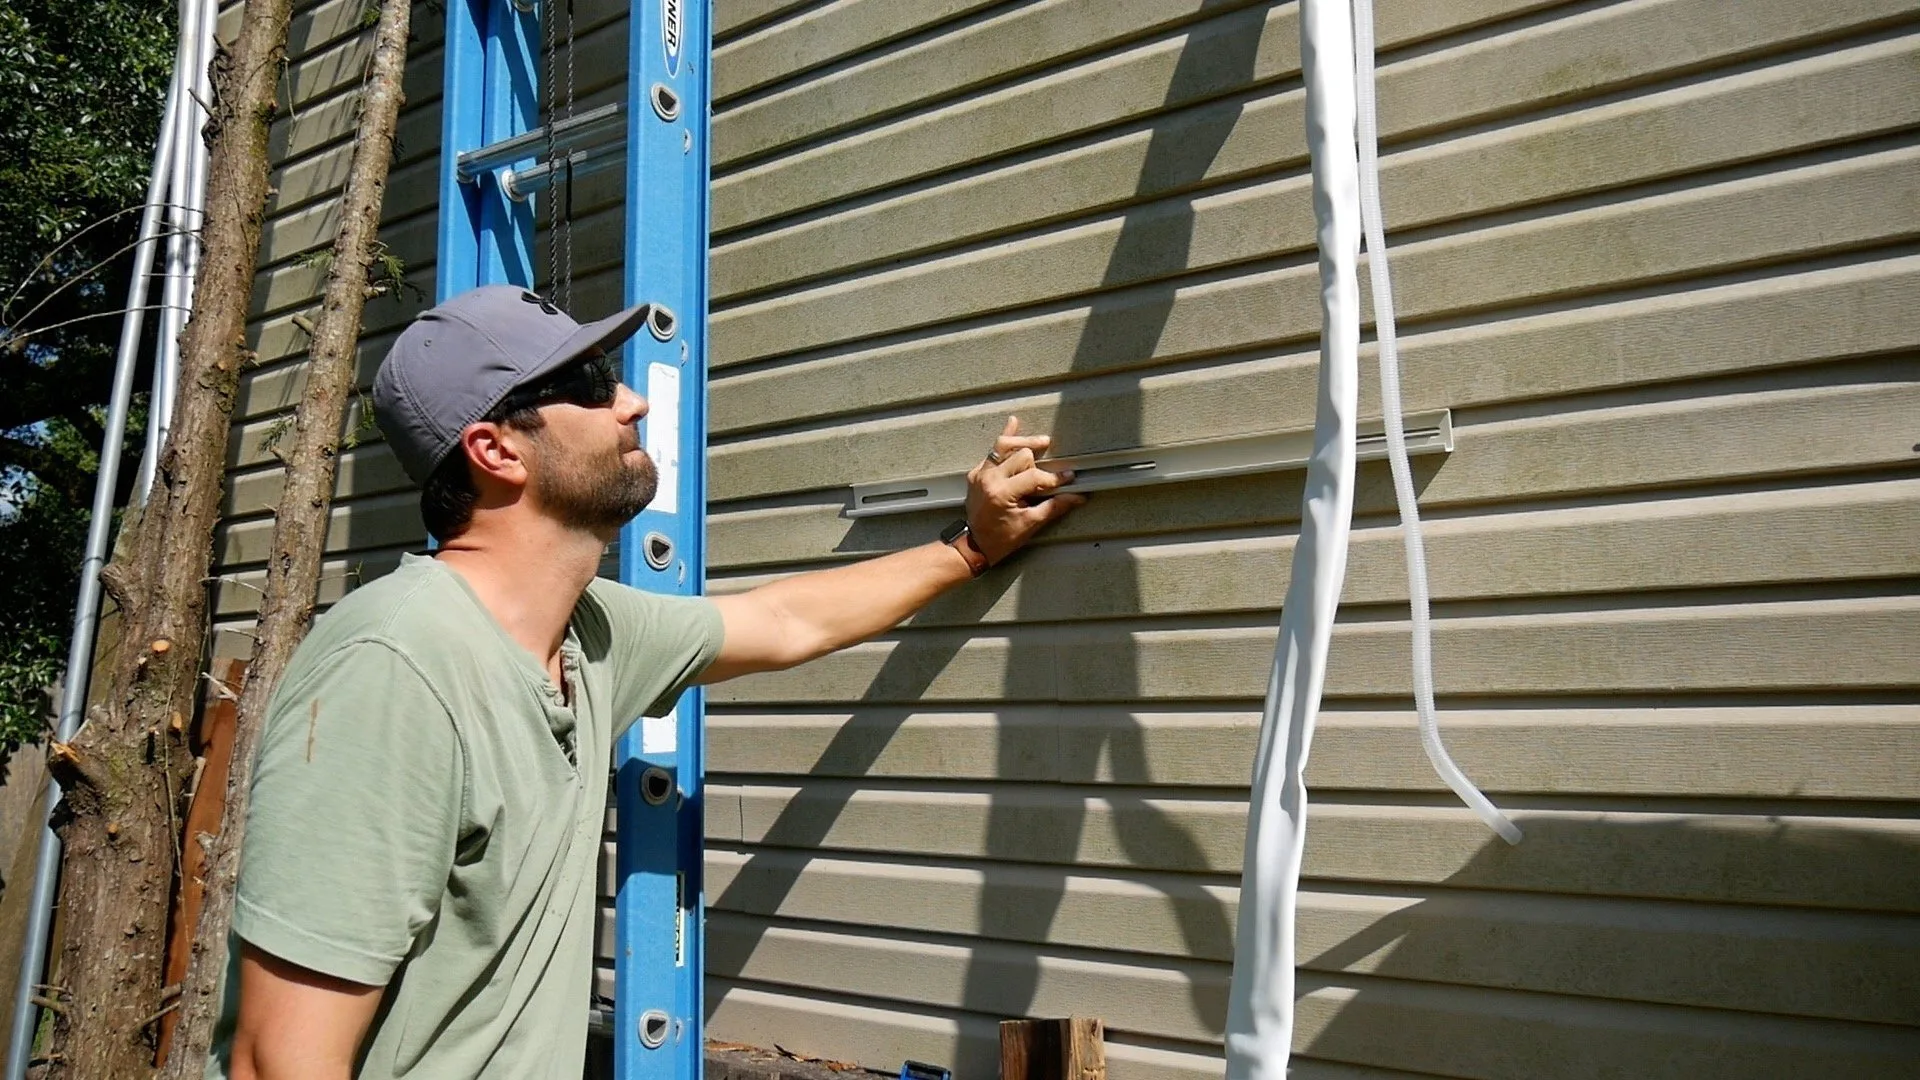
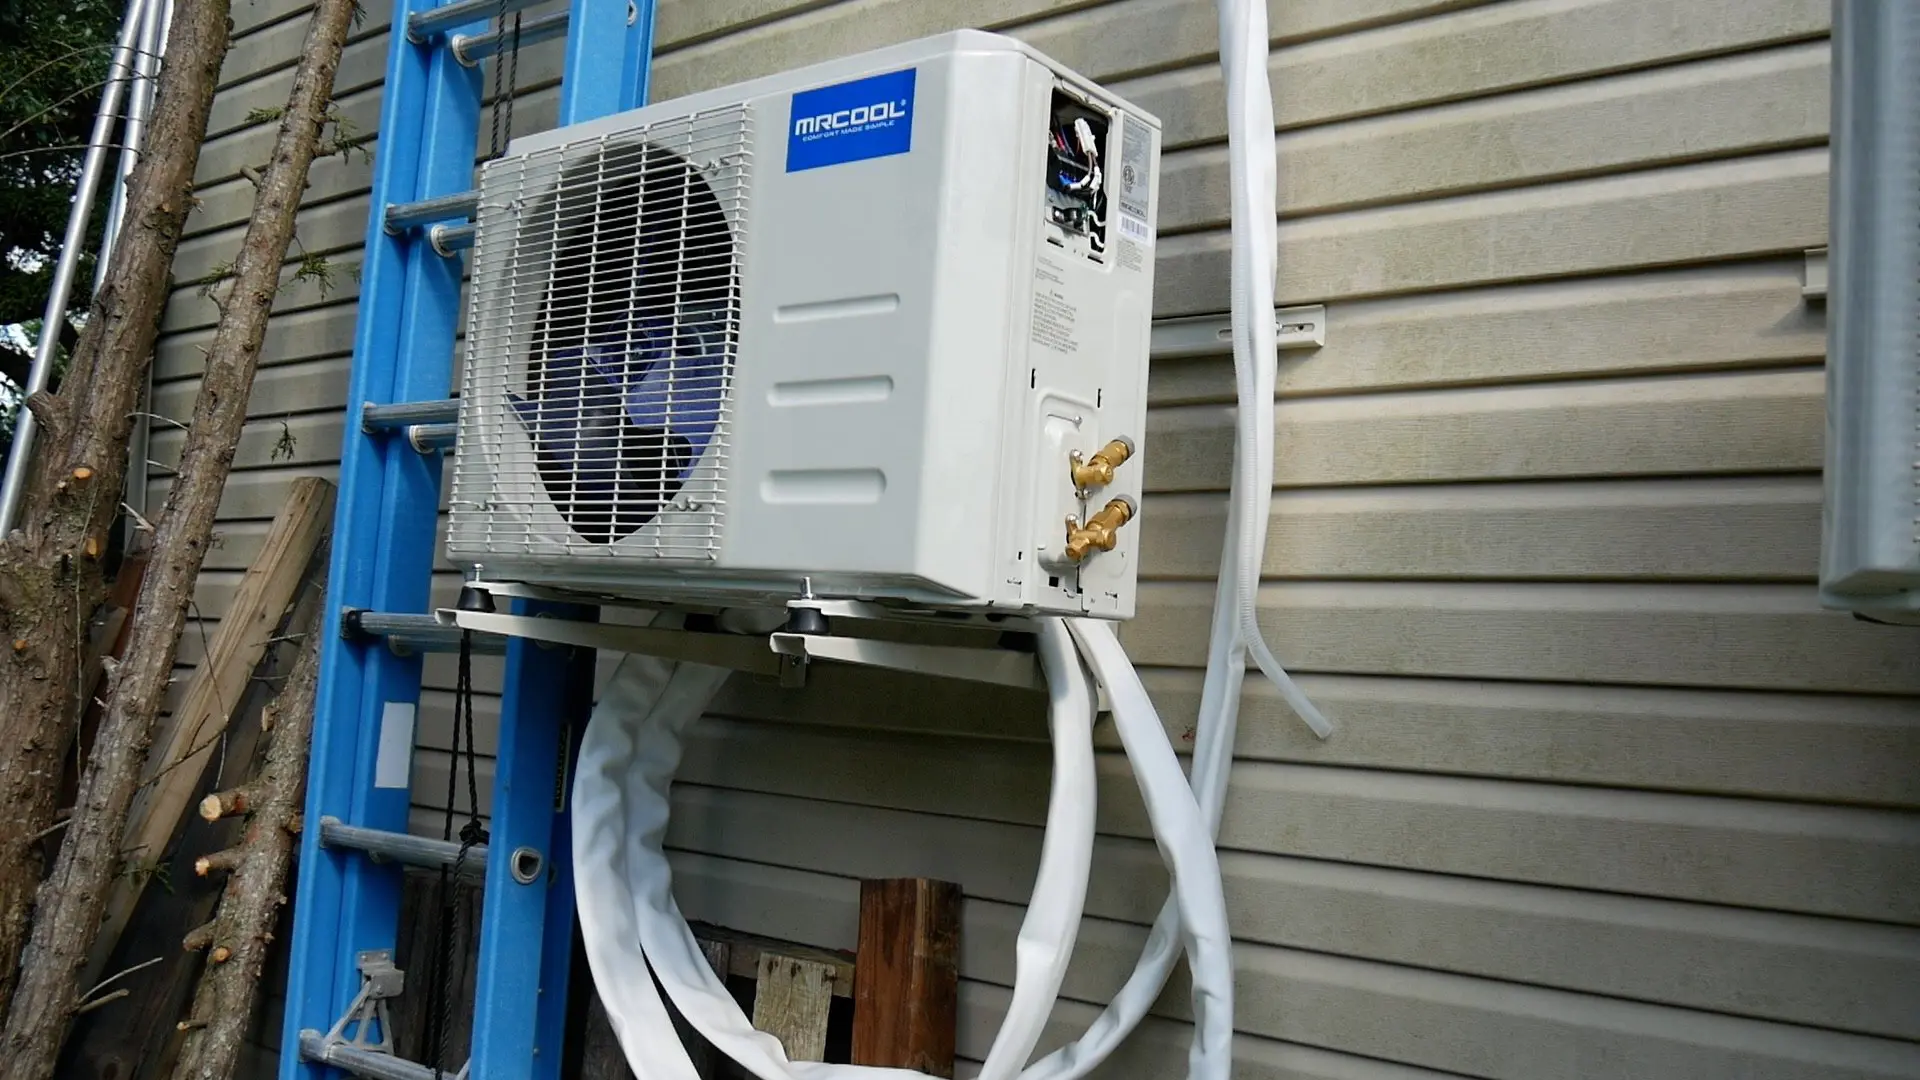
- Exterior Wall Mounting Bracket
After sealing the hole, install the wall mounting bracket for the outside unit on the rear or side of your home.
Ideally, it is a good idea to install the unit out of direct sunlight and near the electrical disconnect box. Ultimately, this reduces the amount of electrical work.
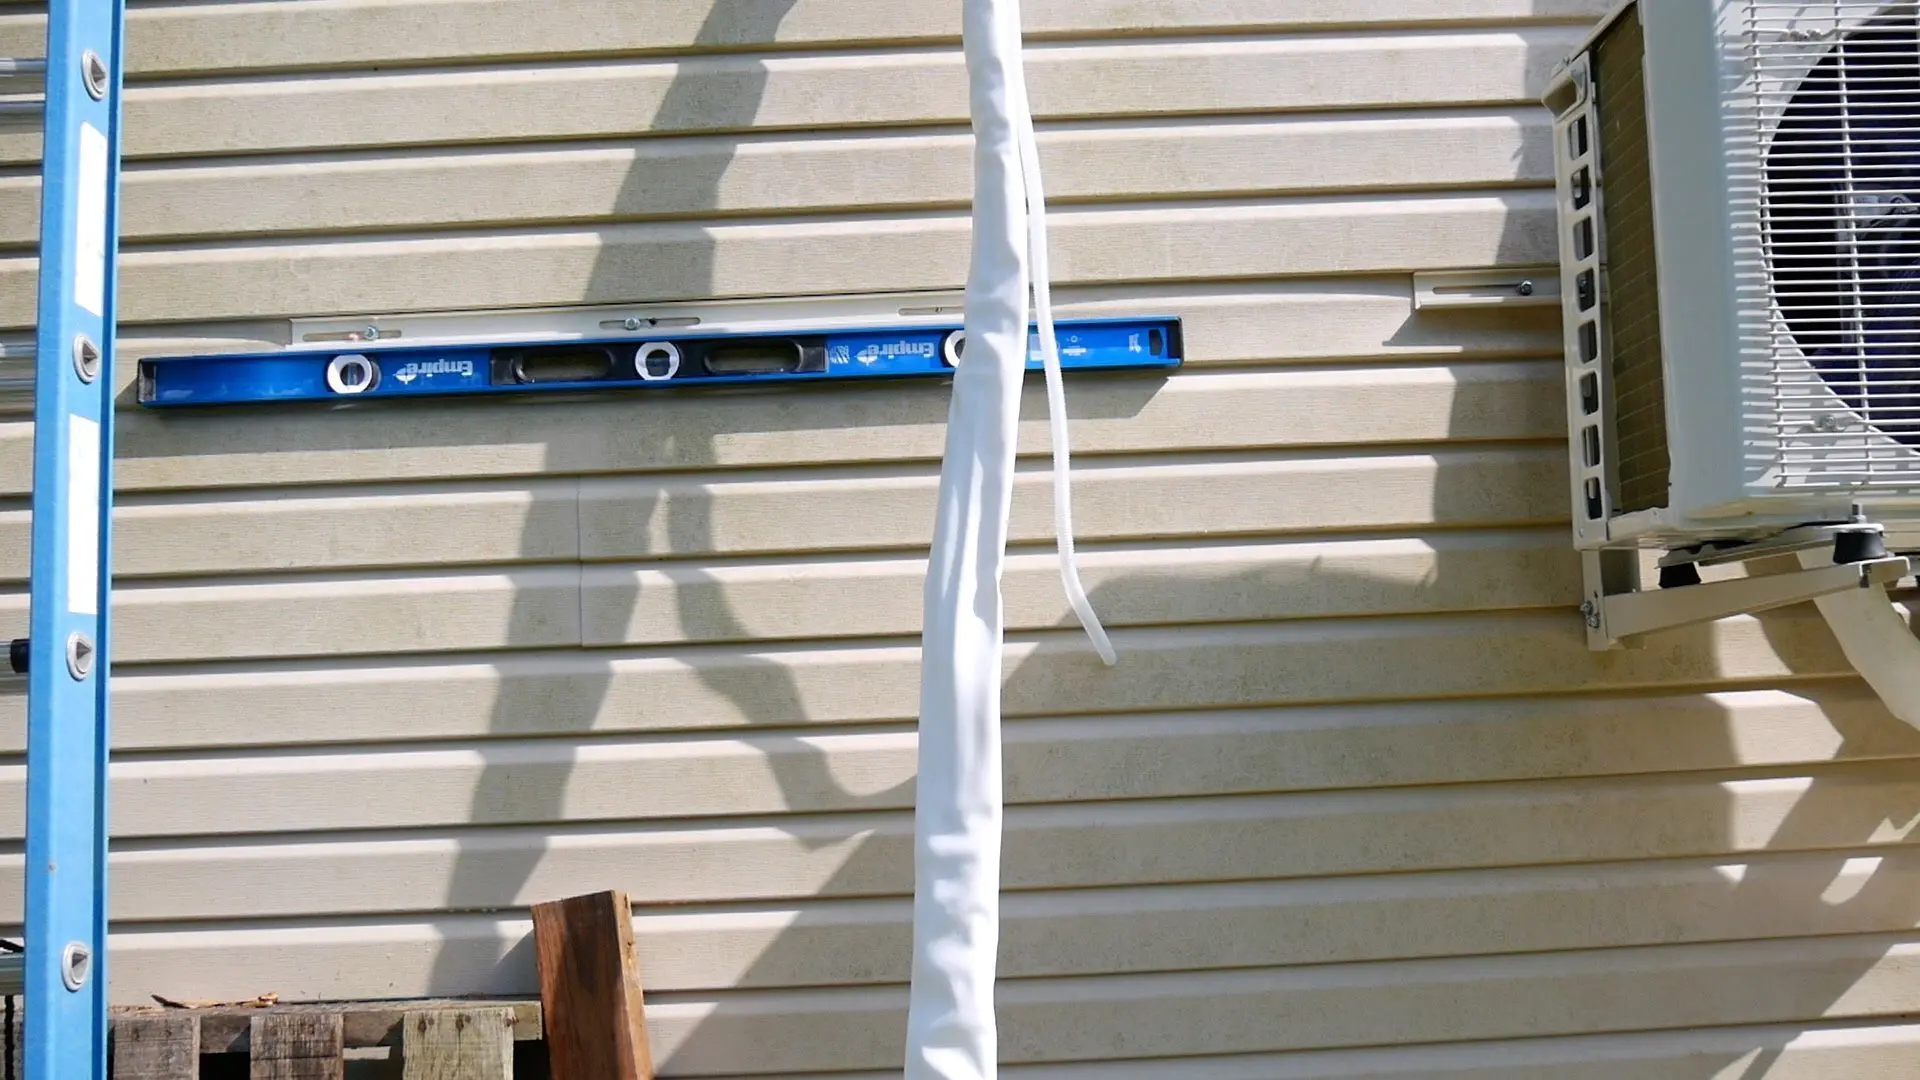
First, secure the cross support to the wall with screws and check for level. You may need to pre-drill small holes depending on the material of your wall.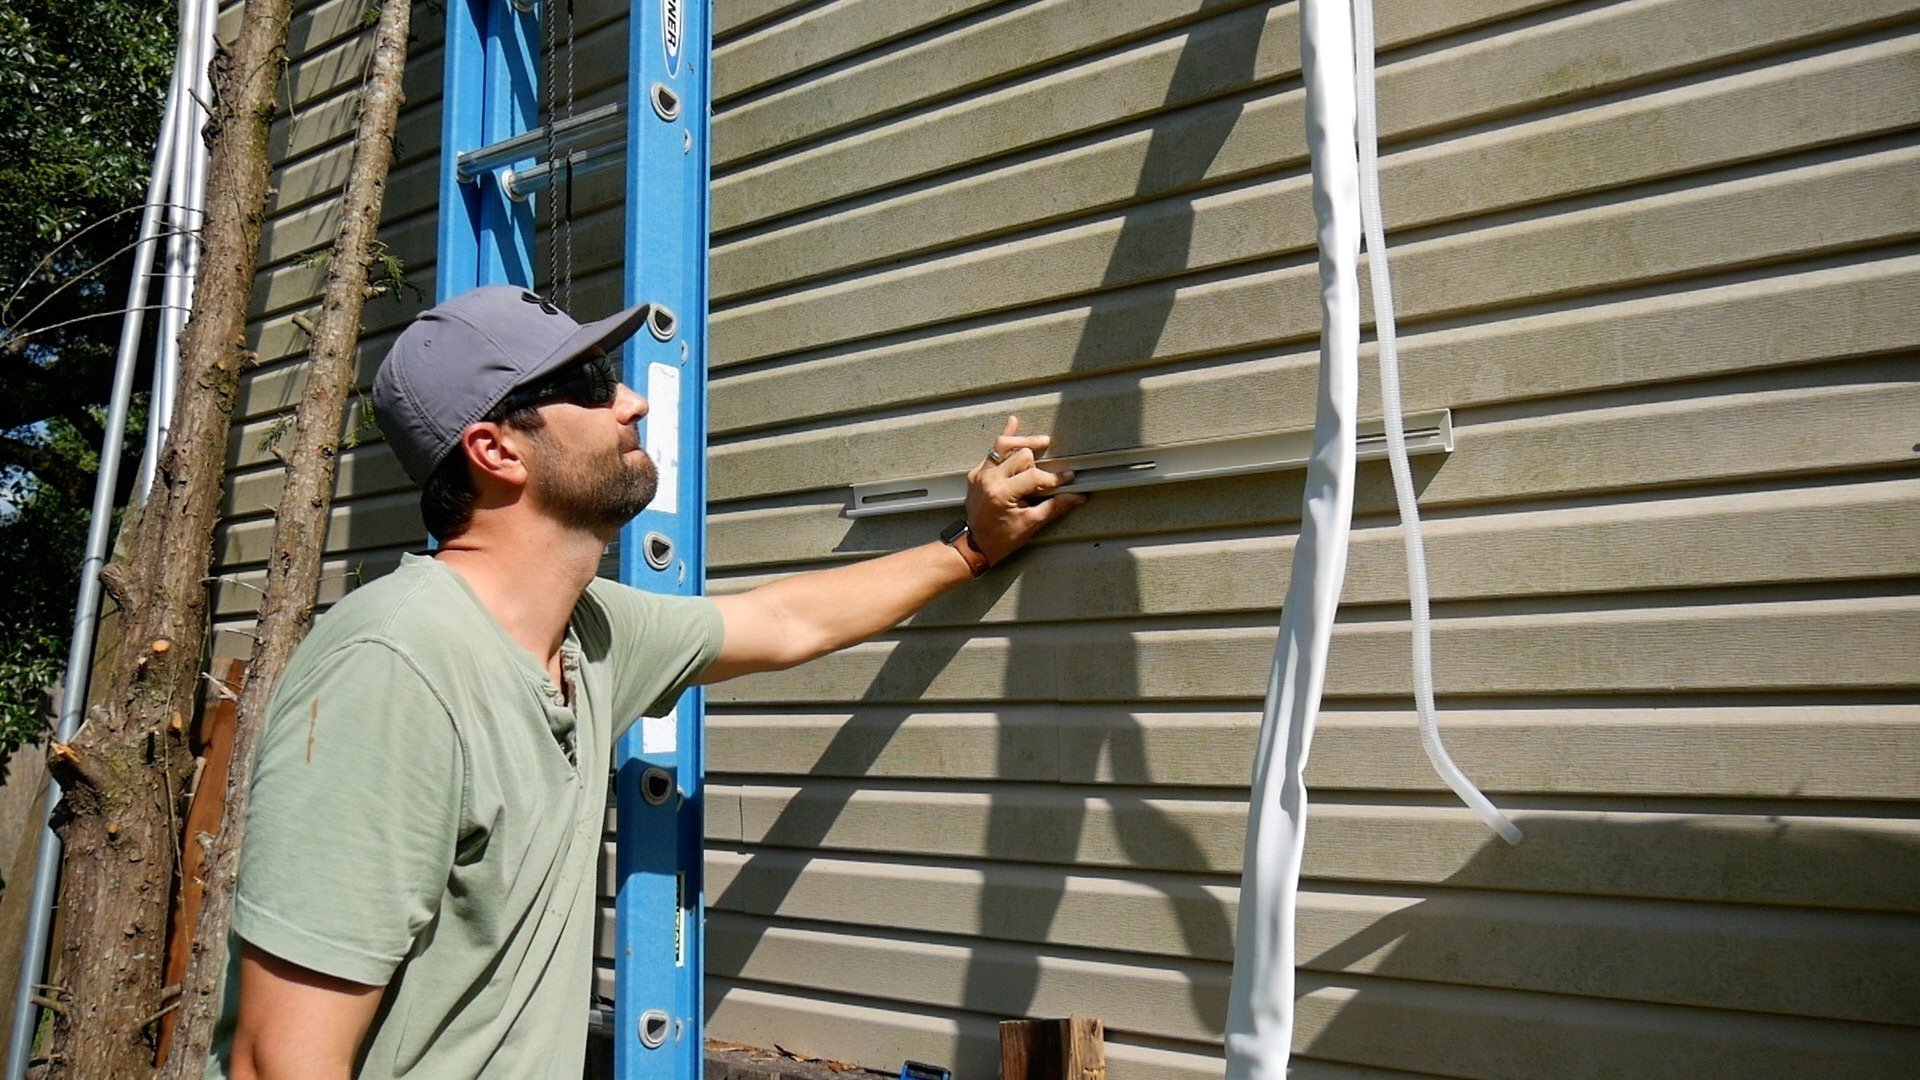

Next, install the support arms on the back piece using a drill.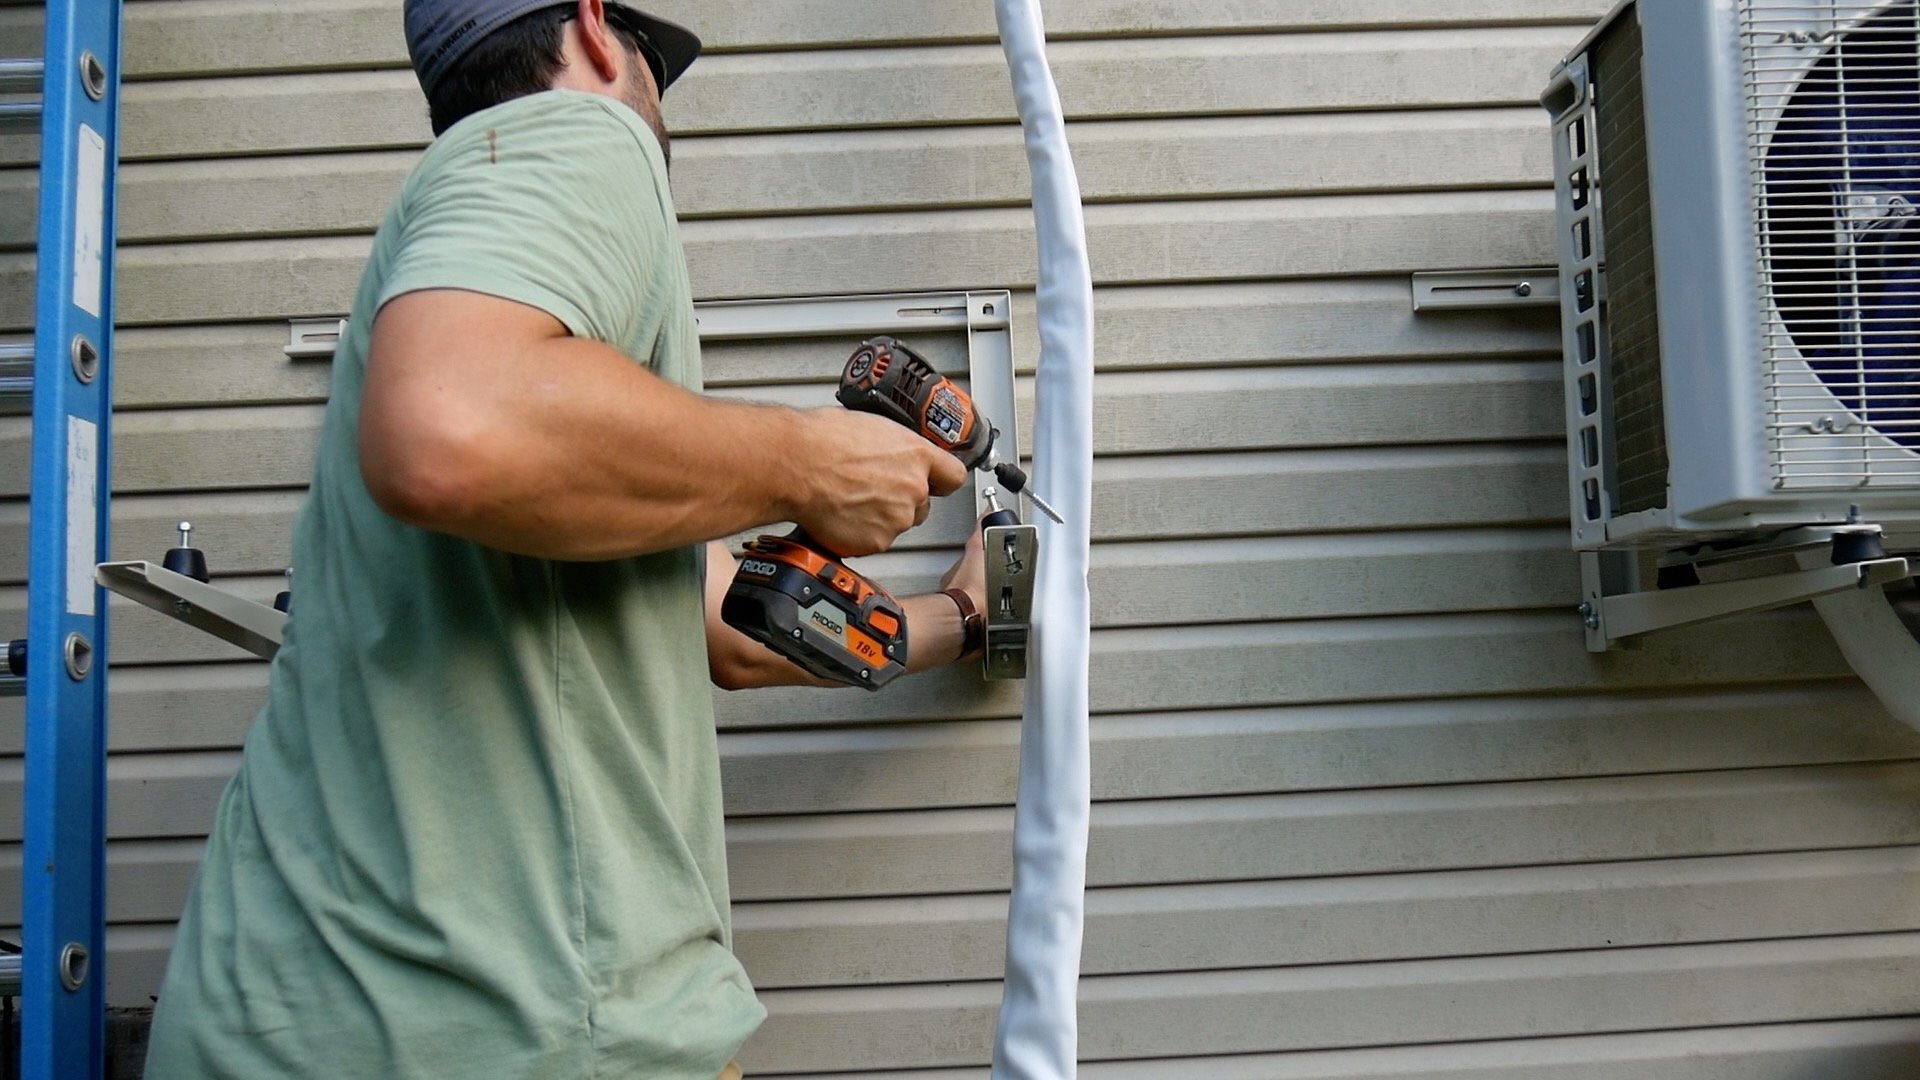

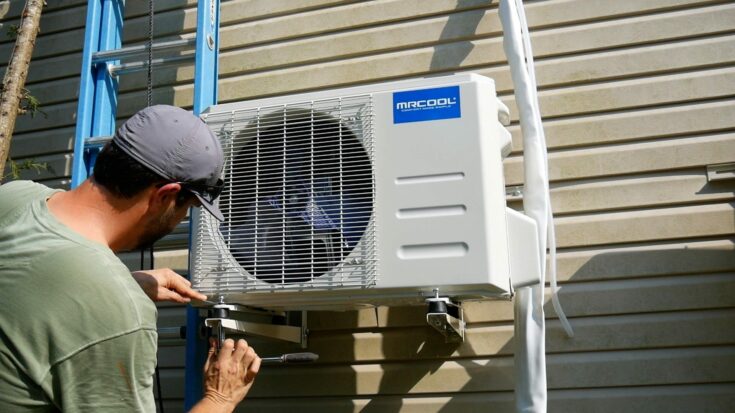
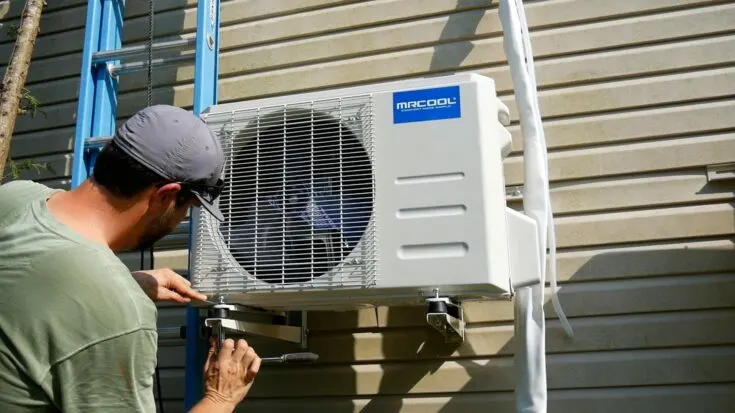
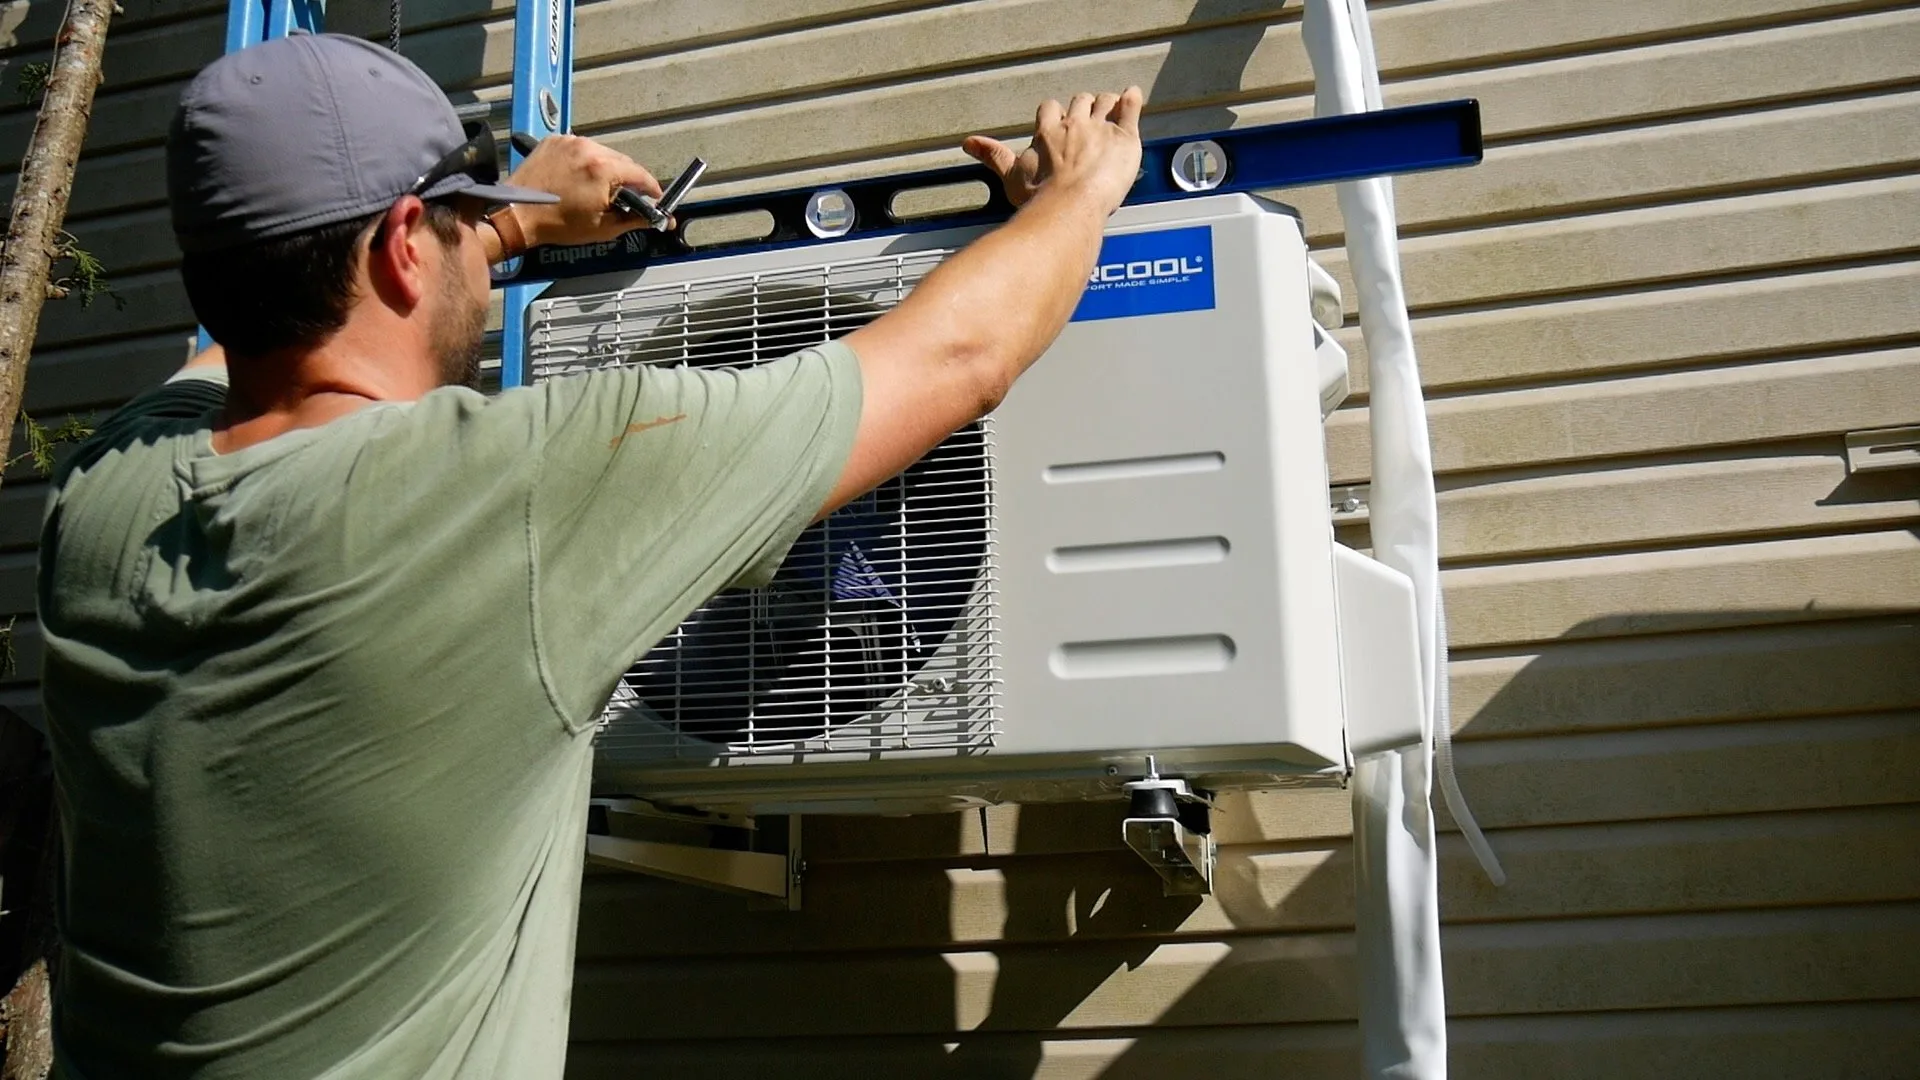
- Secure Outdoor Unit to Mounting Bracket
First, align the mounting bracket to the bottom of the outdoor unit and lift the mini split on the mounting bracket.
Next, use a torque wrench and socket to install the rubber feet. The rubber feet help reduce vibration noise when the outoor compressor runs.

Then, use a magnetic level to check for level.
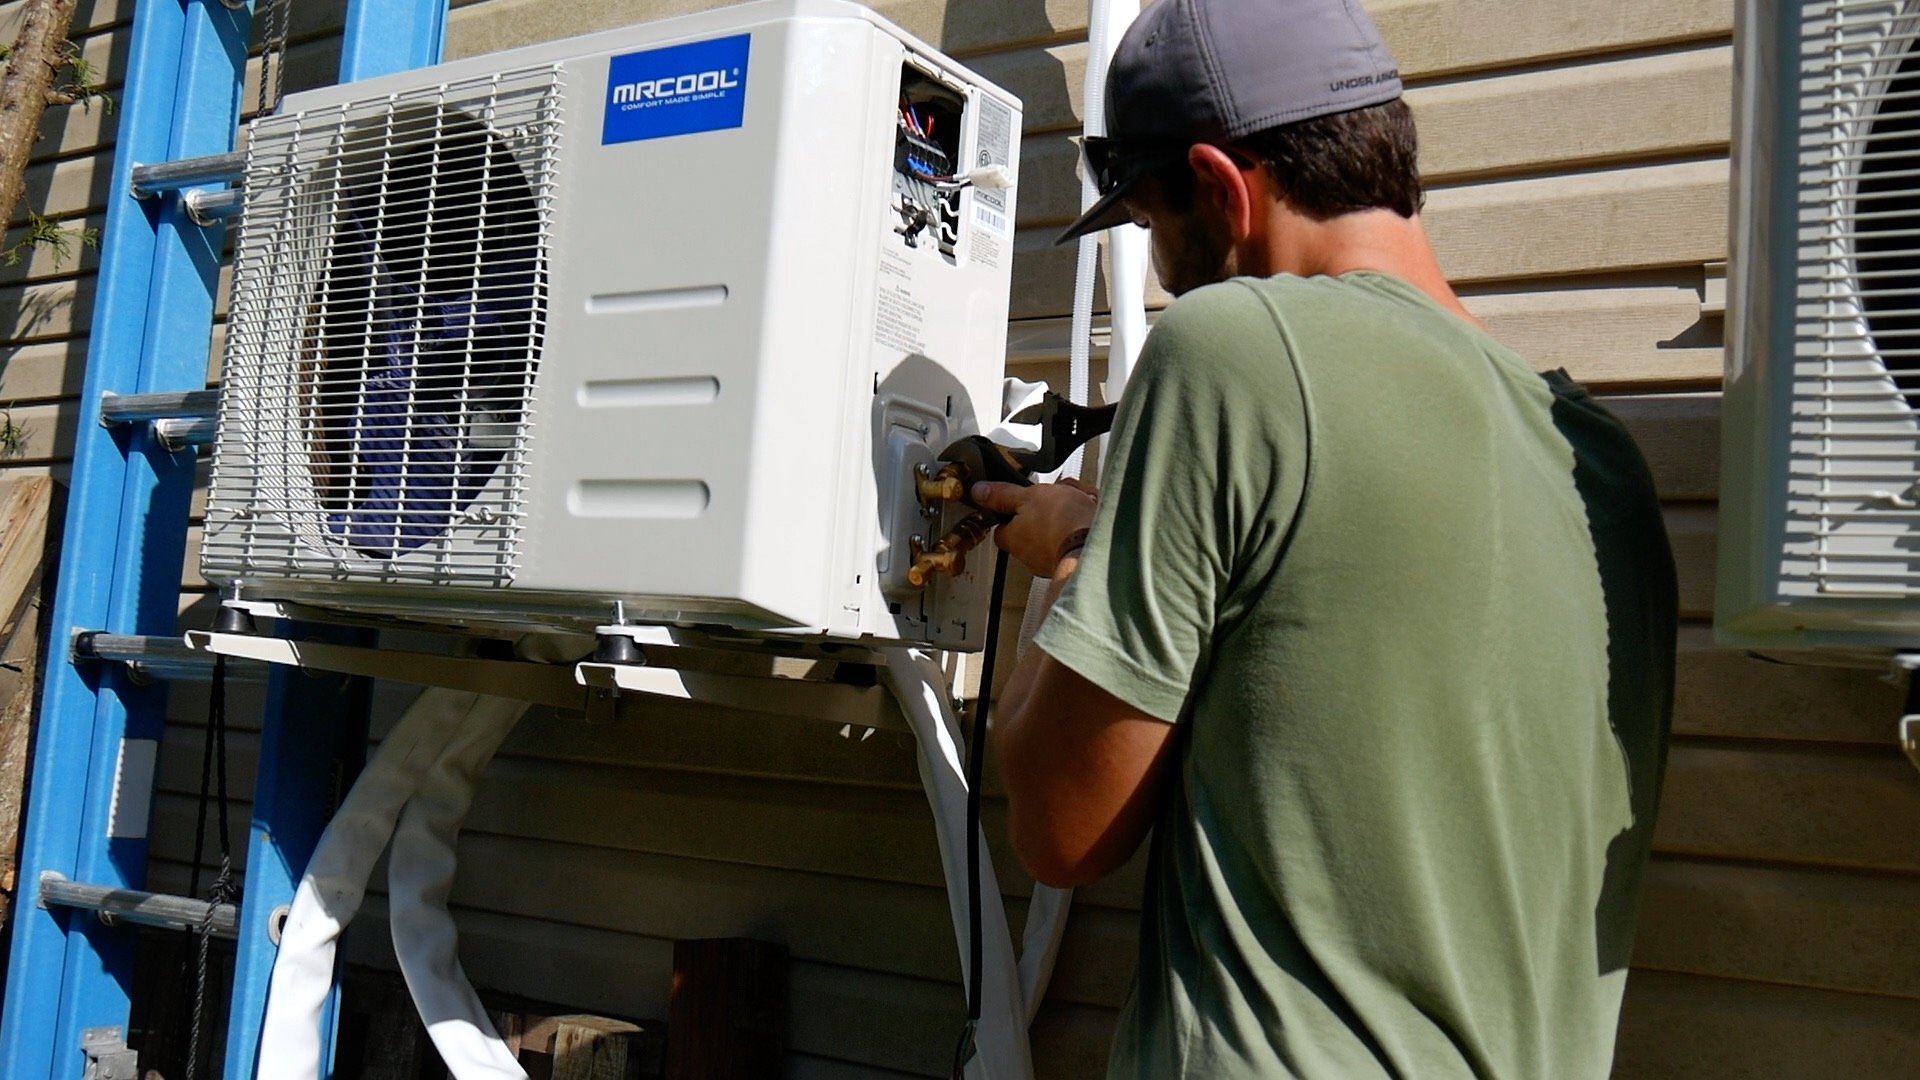
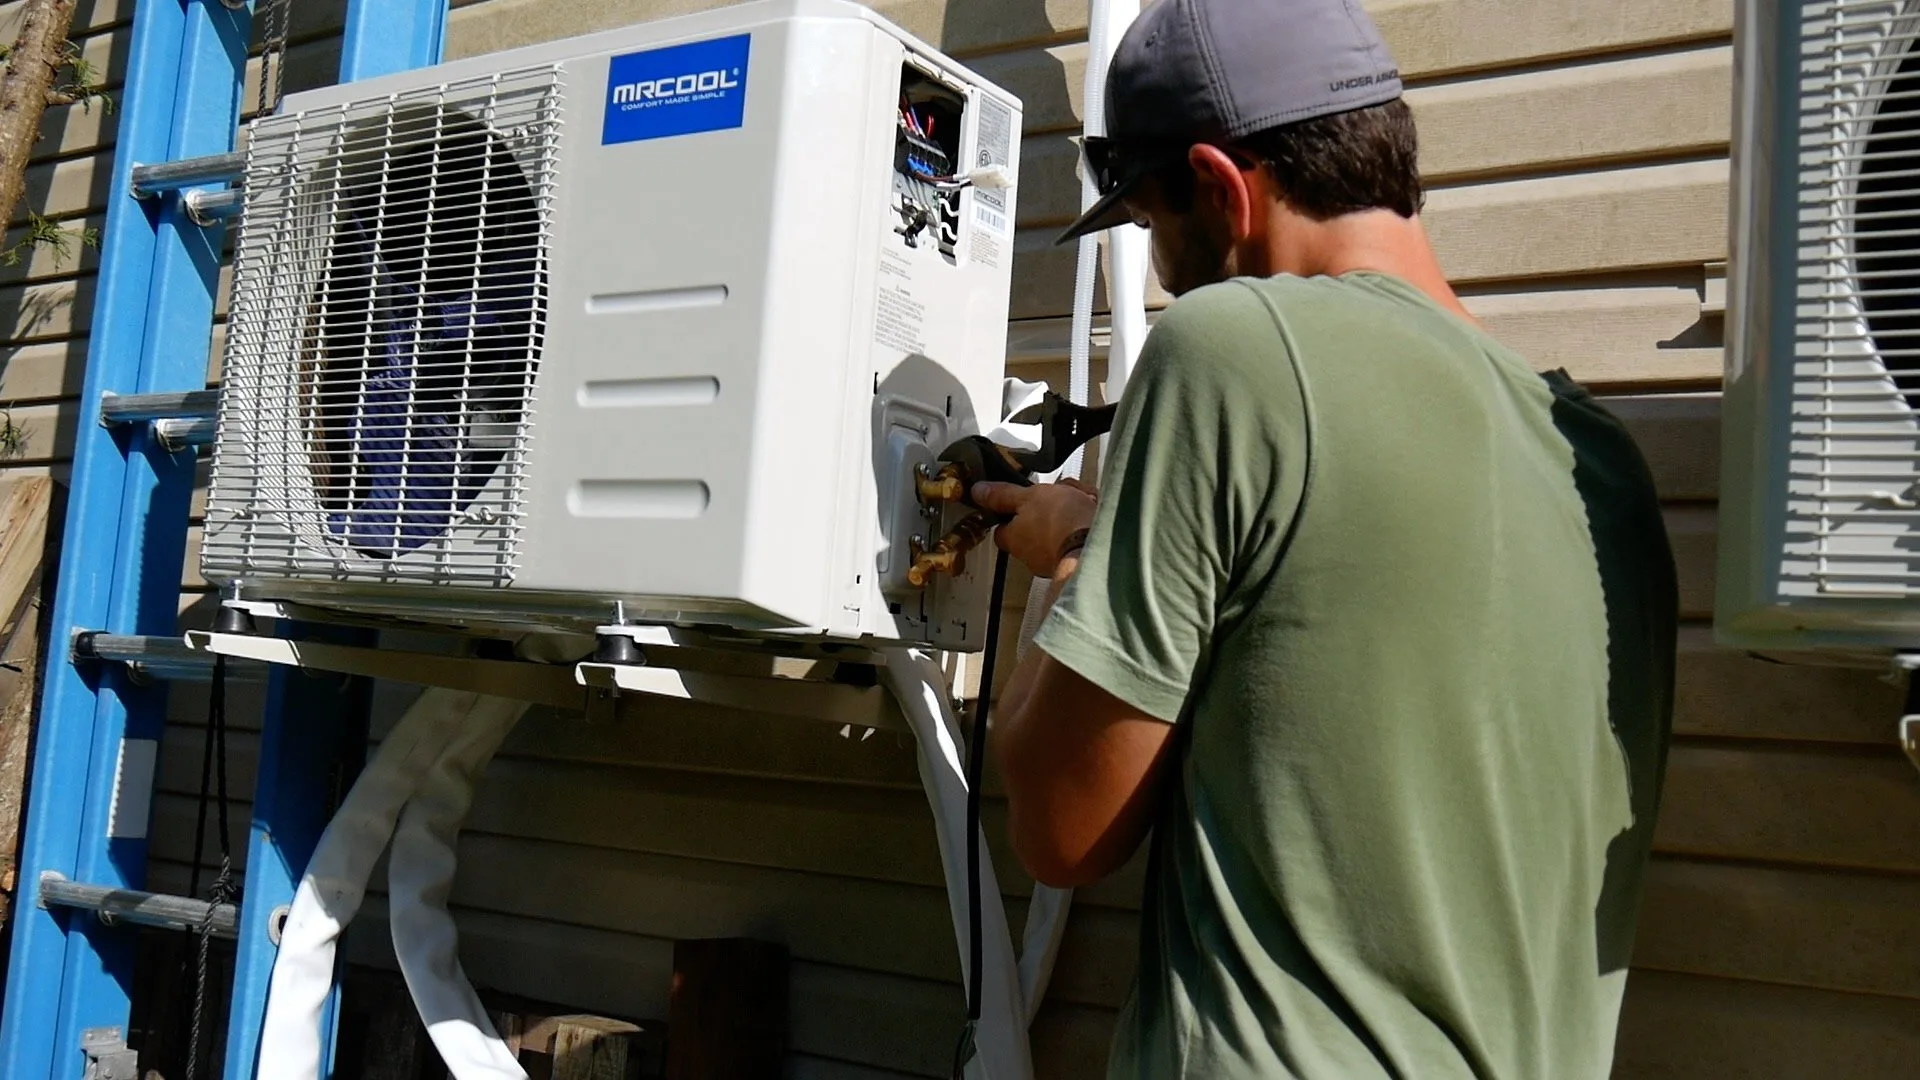
- Connect Refrigerant Line Set
First, remove the cover to expose the electrical connections and refrigerant line connections.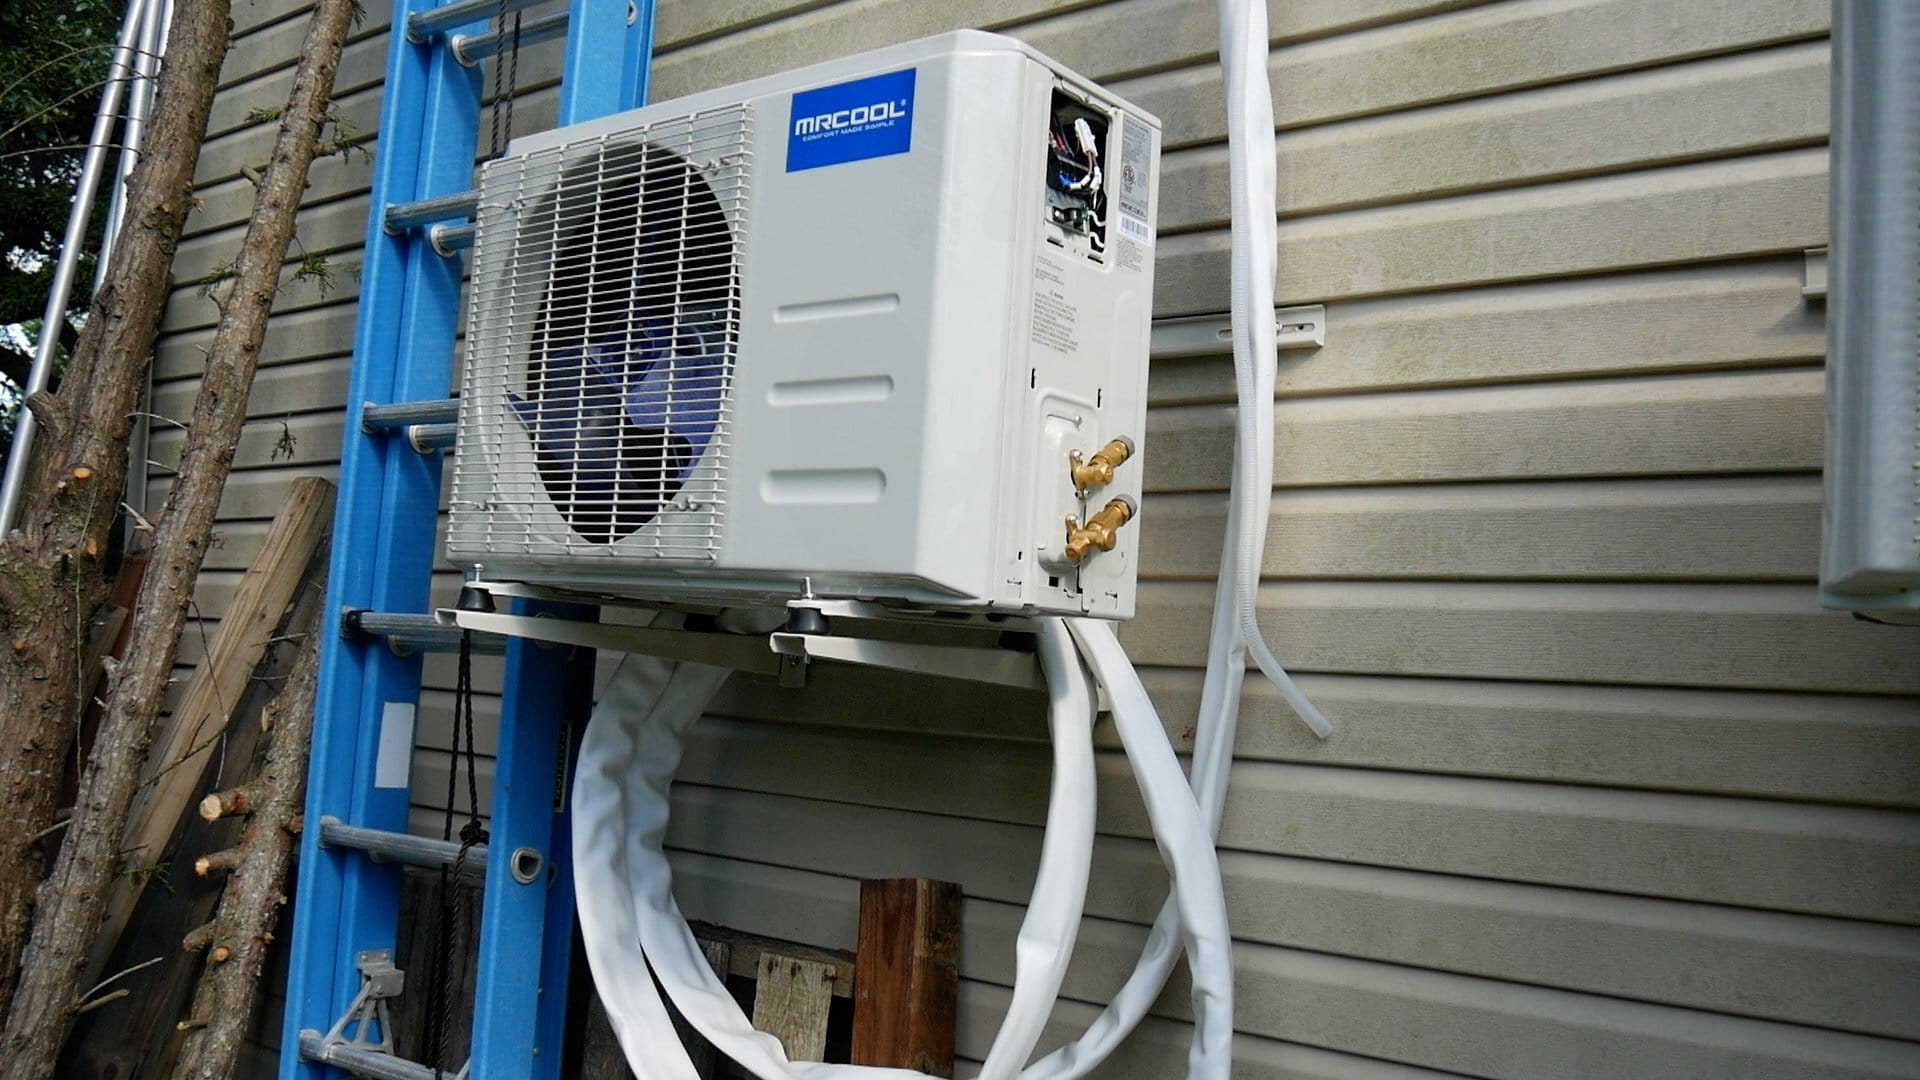
Next, remove the plastic seal on top of the high and low side connections. Then, attach the refrigerant lines and hand tighten.
Use a wrench to tighten the high and low side according to the instructions.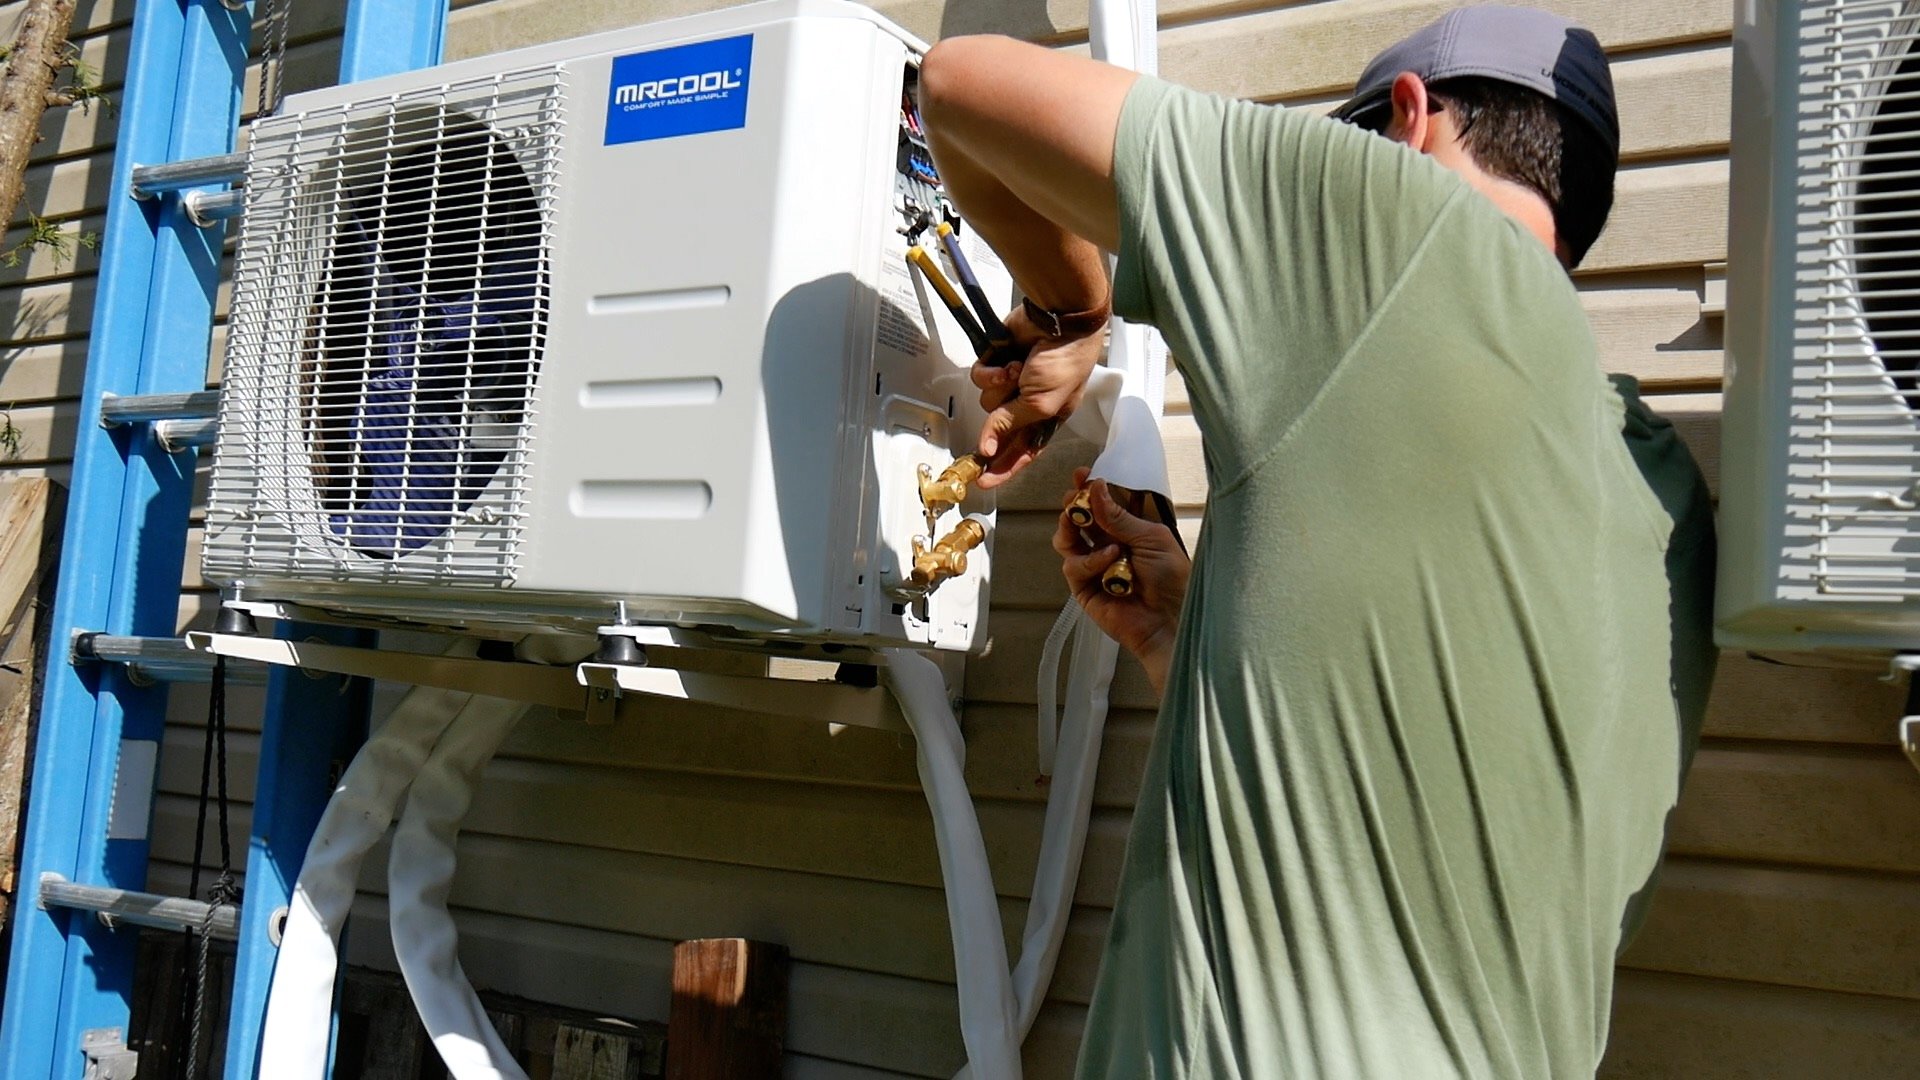

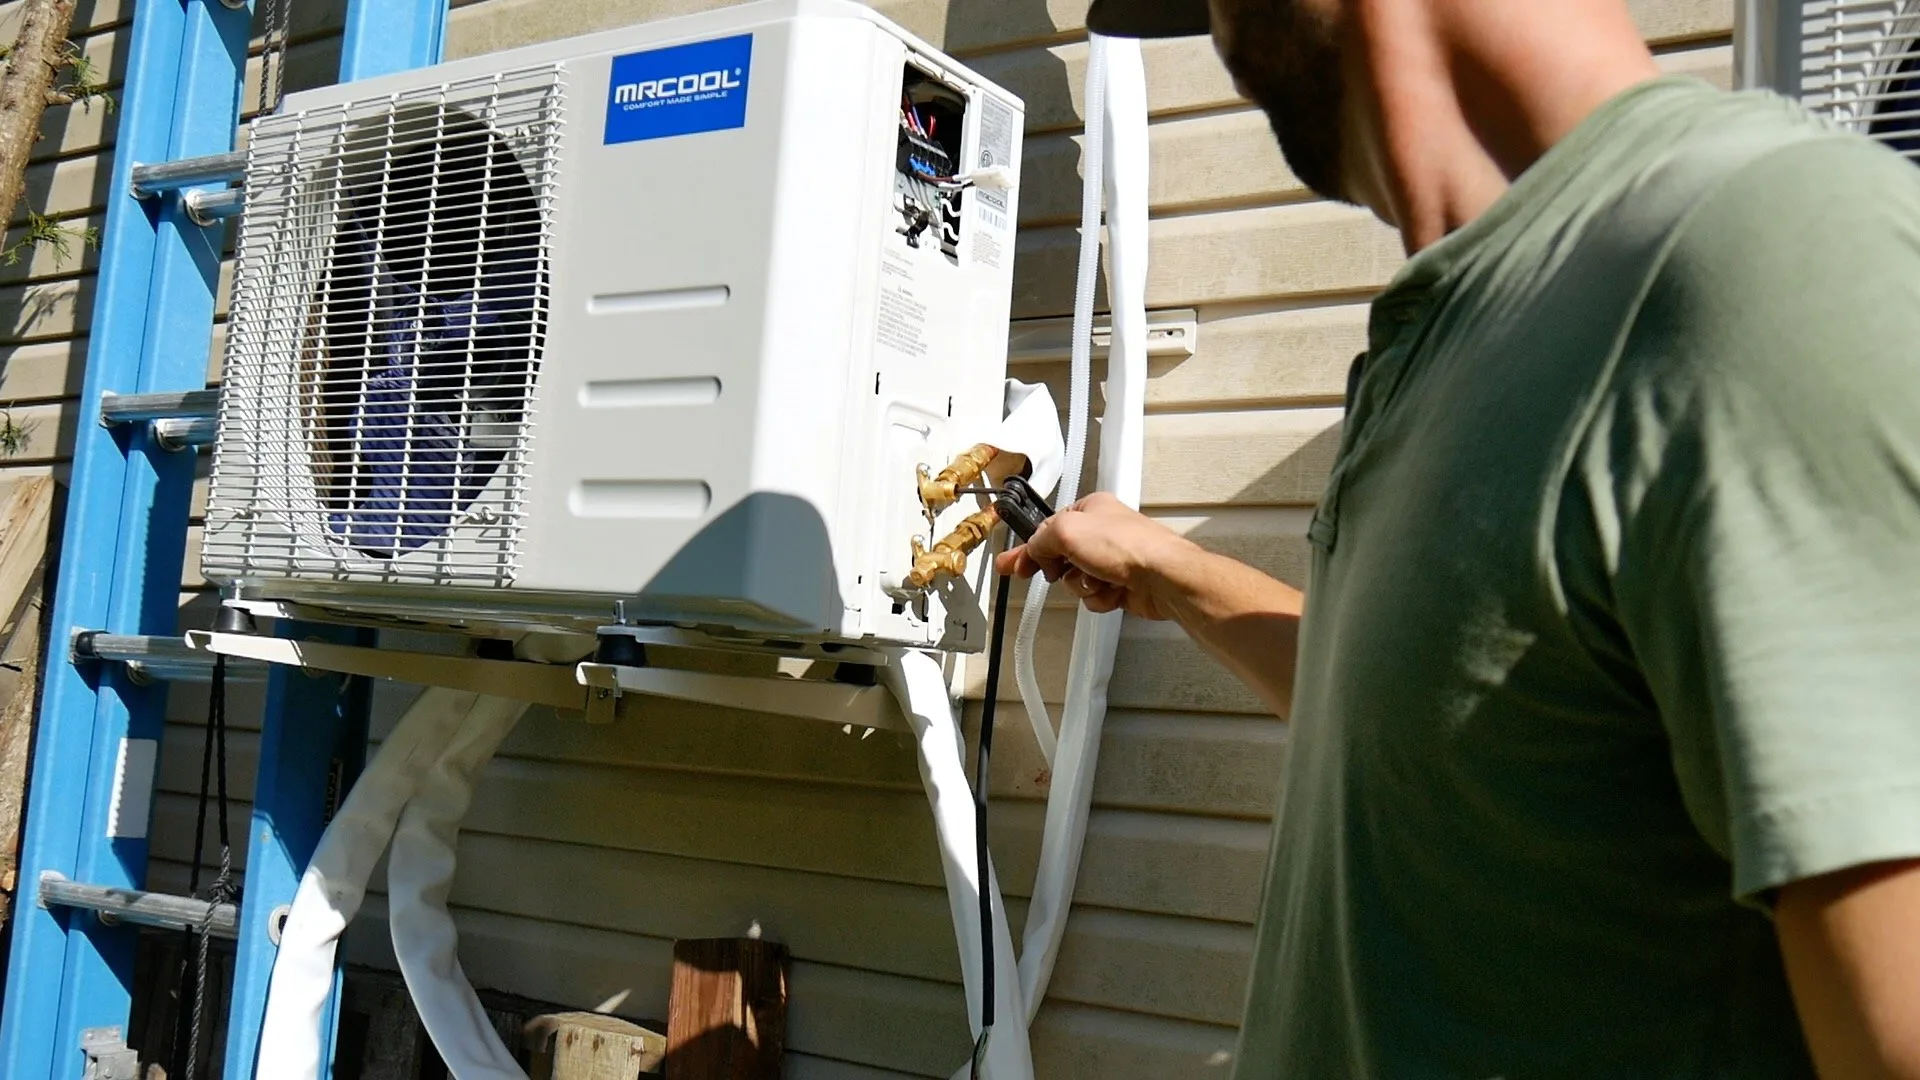
- Open Refrigerant Lines
The refrigerant is already pre-charged in the line sets for diy mini-splits. The ability to pressurize your own system makes this a DIY installation.
Also, it eliminates the need for a licensed HVAC contractor.
Professional HVAC technicians add refrigerant after the install in a traditional air conditioning unit.
First, remove the cover on the top and bottom valve. Then, open each with a 19mm allen wrench key counterclockwise.
Keep in mind, these couplings work with tapping rings, so they may leak if the lines get removed and reconnected.
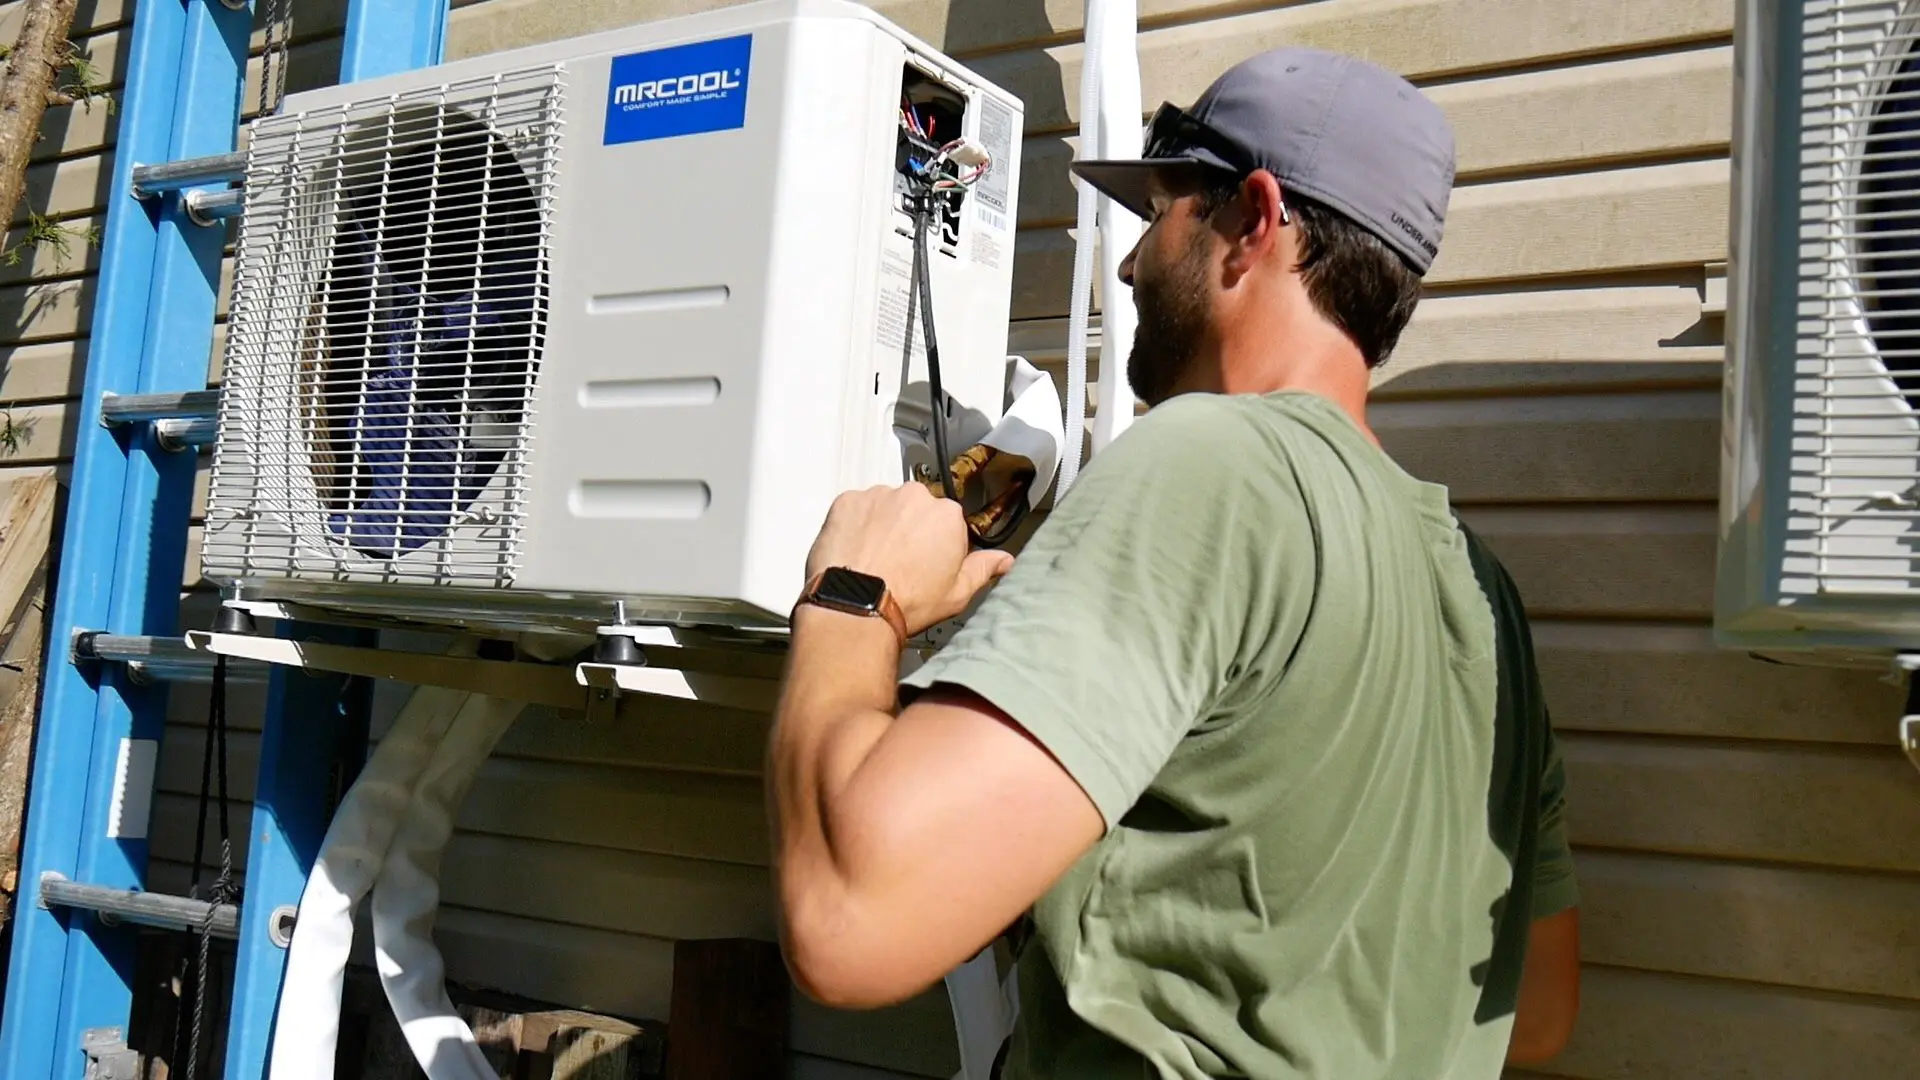
- Mini Split Electrical Connections
Within the electrical lines in the white sleeve, there is a black weather-proof wire. This electrical cable connects the indoor unit to the outdoor unit.
Attach the white connectors to each other in the fuse box of the mini split.
If you are not sure how to power the diy mini split, call a licensed local electrician to complete the electrical work.
Ultimately, I'm not qualified to provide instructions on how to size circuit breakers and install a disconnect box. - Install DIY Mini Split Air Filter and WiFI Adapter
Before powering the ductless mini split, install the air filters and the usb WiFi adapter.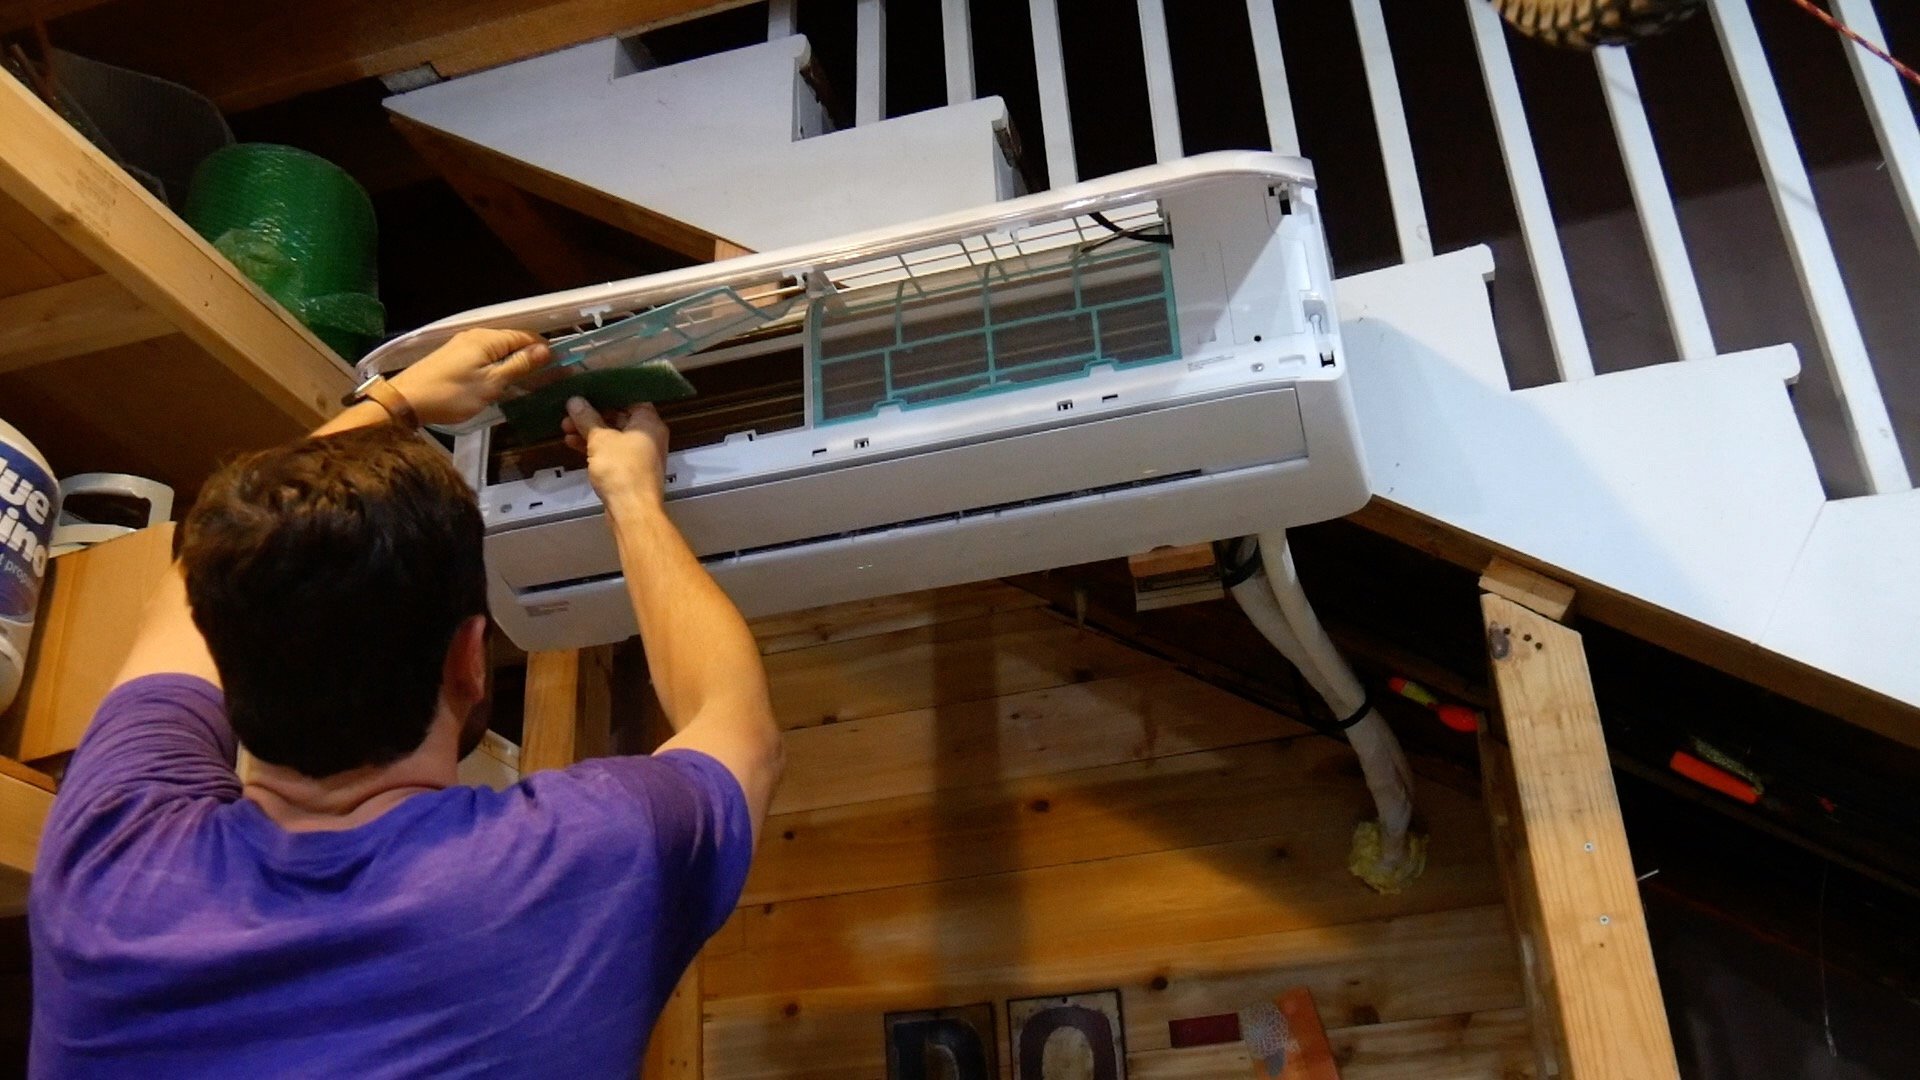


- Mount Indoor Remote Cradle
Mount the remote control cradle near the entrance and exit of your single room.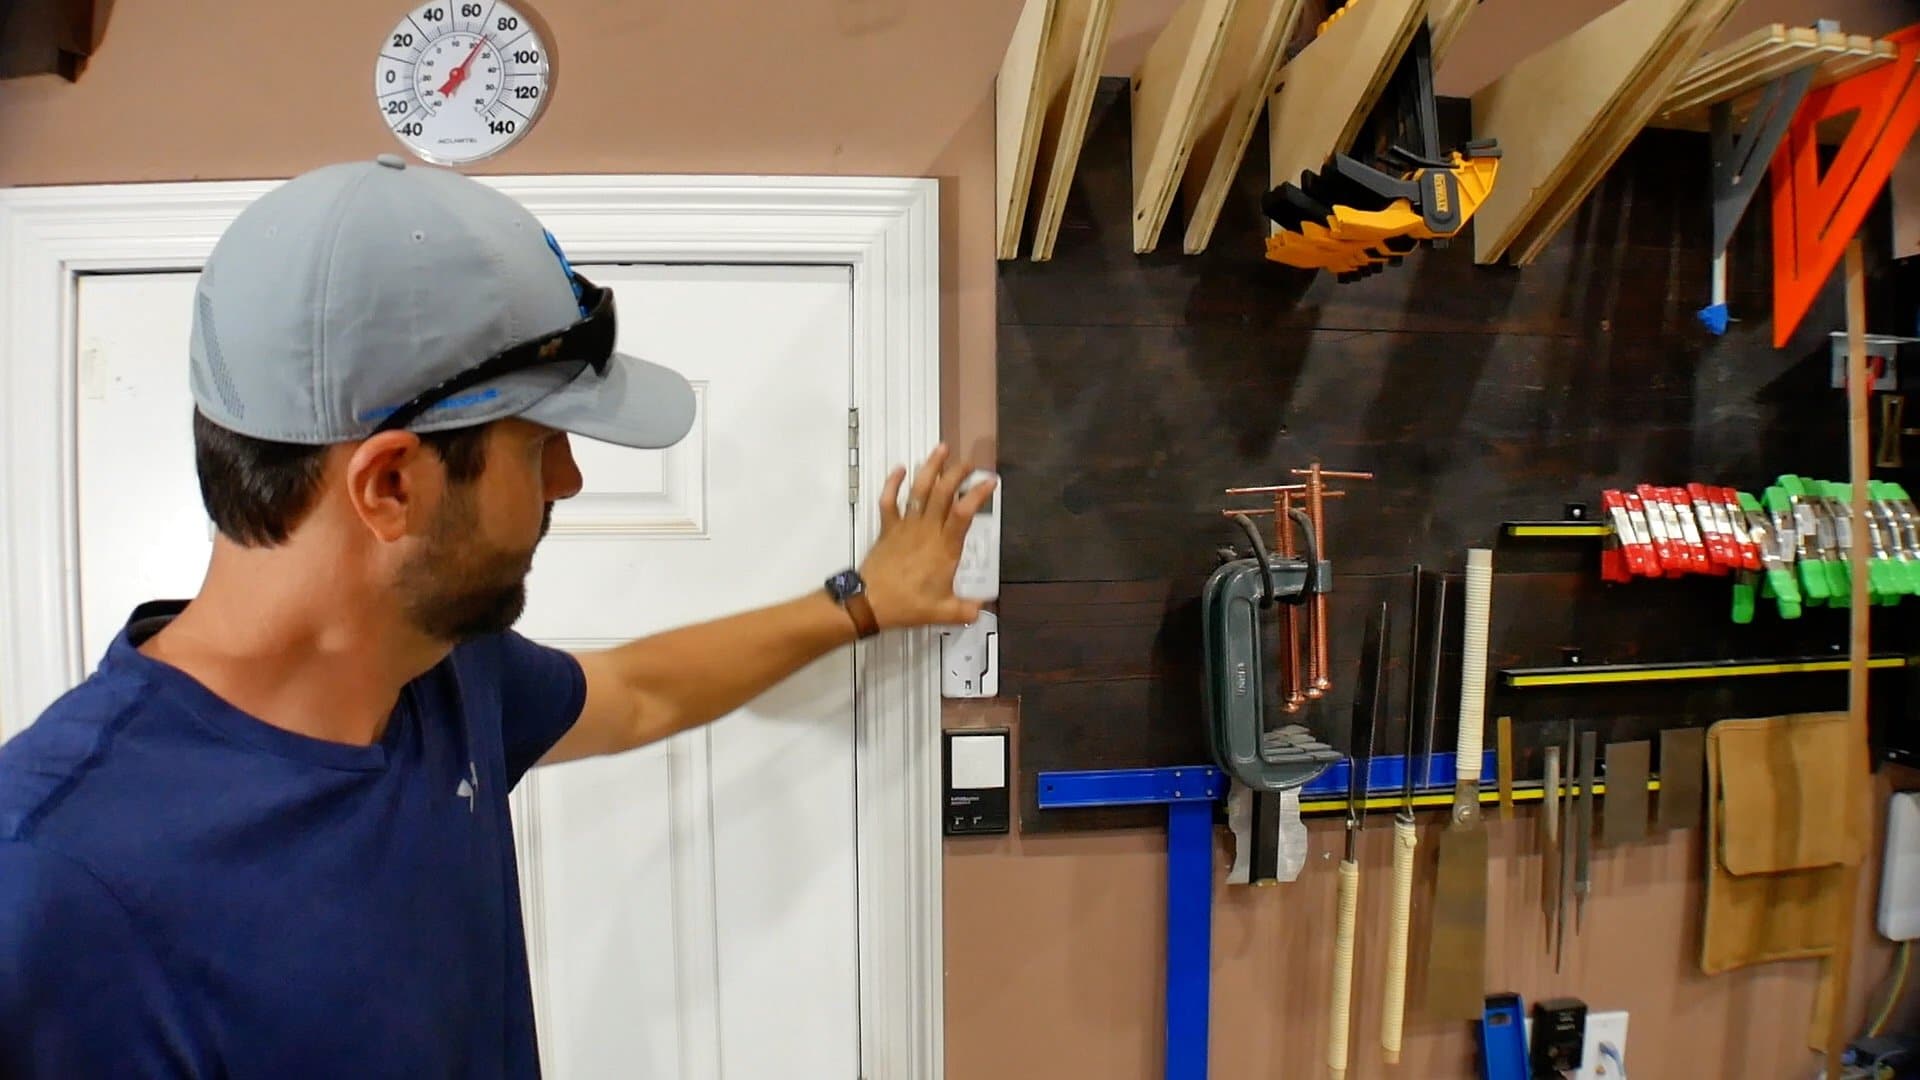
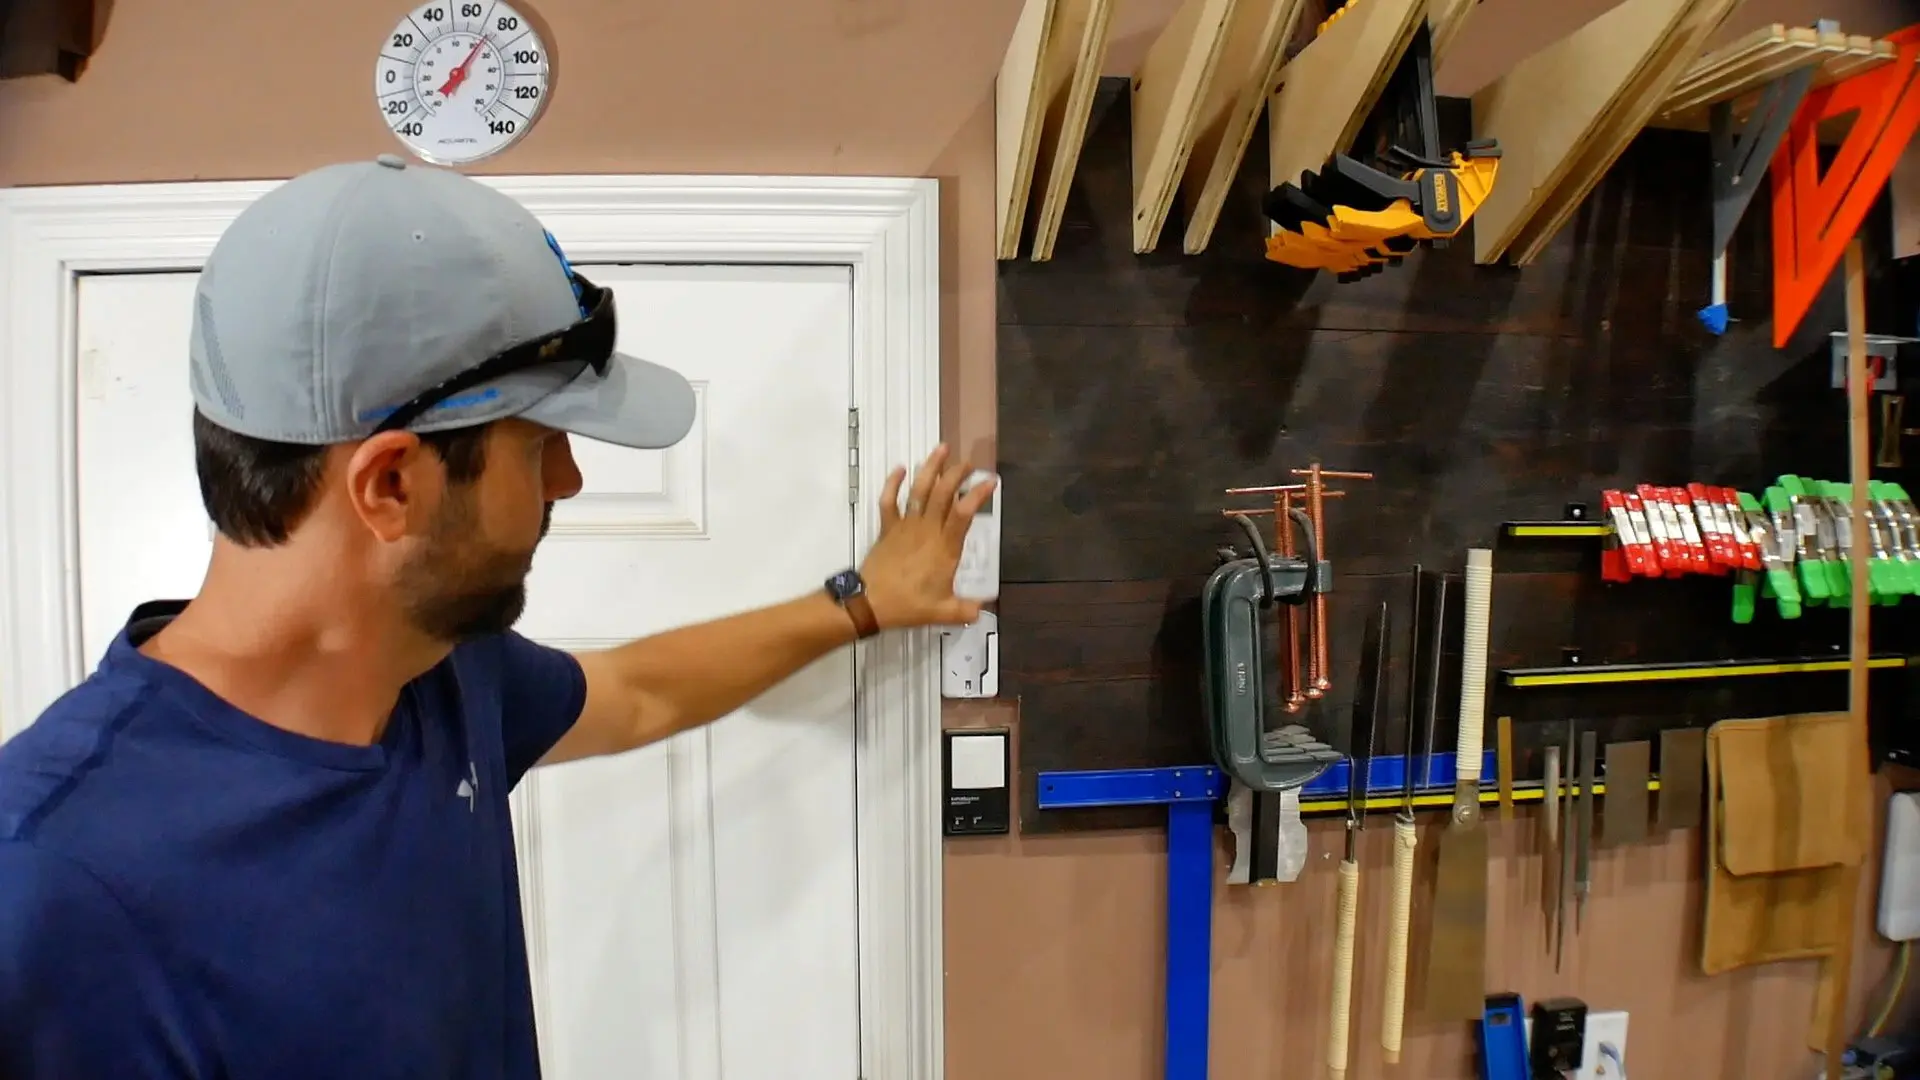
- Configure Mini Split WiFi
First, power the mini split and download the app. The app will guide you through the process of connecting the unit to your home WiFi.

The app will allow you to change modes, setup routine maintenance, and enable the "follow me" feature. - Test Mini-Split Air Conditioner
After the diy mini split connects to WiFi, turn it to cooling mode and test with a laser thermometer.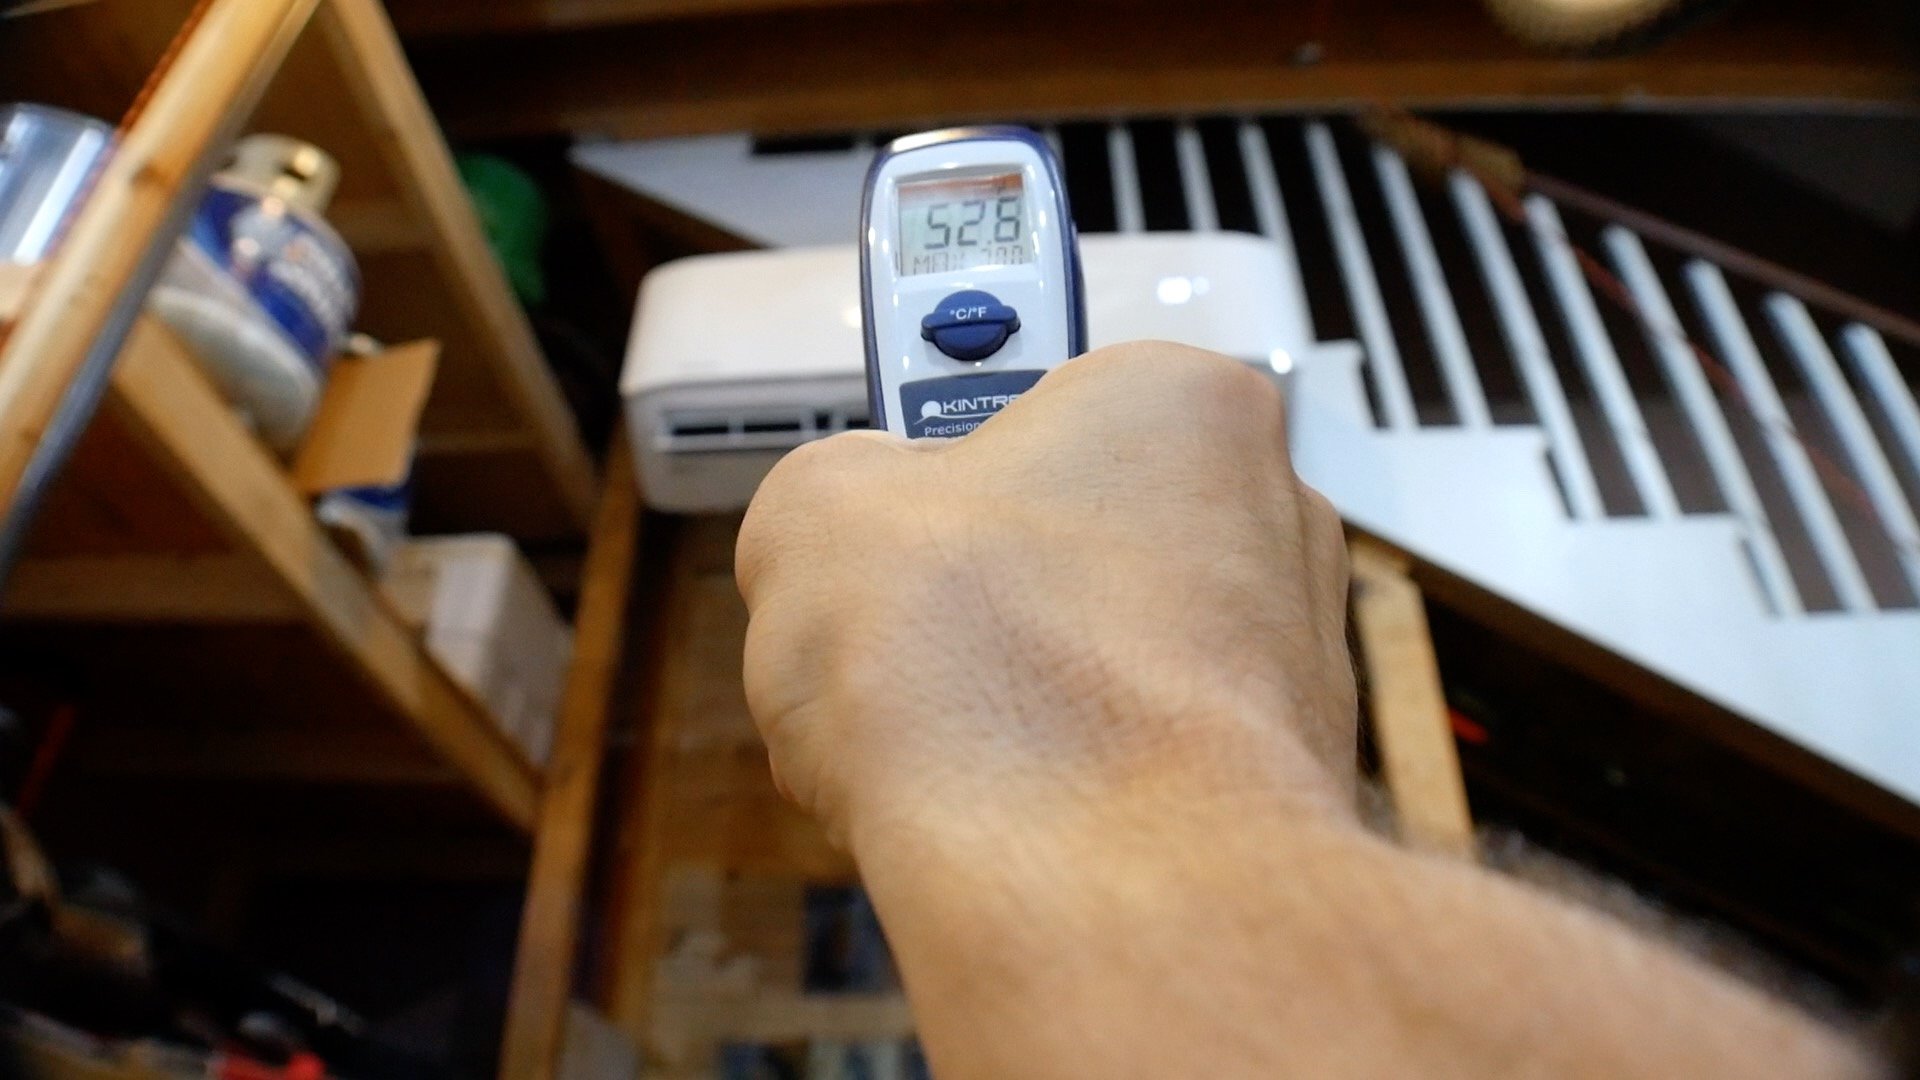

The temperature should be between 50 and 55 degrees farenheit.
Recommended Products
As an Amazon Associate and member of other affiliate programs, I earn from qualifying purchases.
-
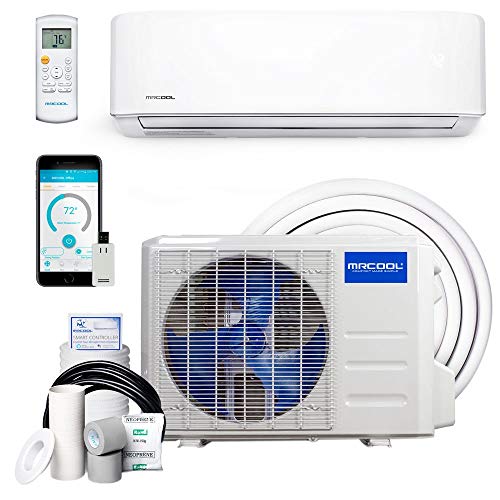 MRCOOL DIY 18k BTU 20 SEER Ductless Heat Pump Split System 3rd Generation - Energy Star 230v (DIY-18-HP-230B)
 -
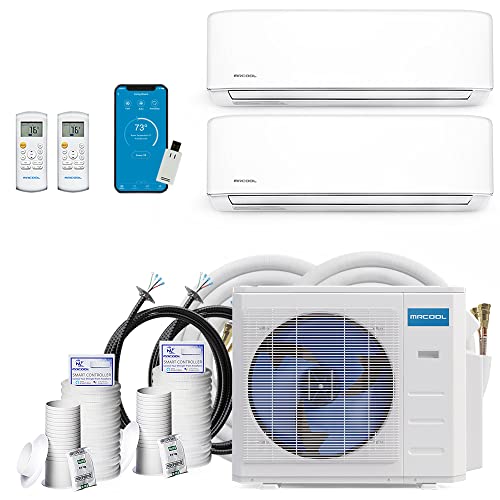 MrCool 36k BTU 21.5 SEER DIY Heat Pump Air Conditioner Mini Split AC/Heating System Unit Wall Mounted Multi-Zone 2 Zone Wifi Compatible with Alexa, Google Assistant, 4th Gen, 12k+24k Air Handler
 -
 MrCool LineGuard 4.5" Line Set Cover - 12 ft
 -
 Outdoor Mounting Bracket for Ductless Mini Split Air Conditioner Heat Pump Systems, Universal, 9000-36000 Btu Condenser
Conclusion
In conclusion, I hope you learned how to install a DIY mini split and this tutorial provided you with value.
Related Articles:
- How To Repair a Mini Split
- Mini Split Smart Controller Installation
- DIY Mini Split Install in Spray Foam Attic
- How To Automate Dust Collection System
Frequently Asked Questions
Below are the most common questions I receive about a mini-split ac installation.
DIY mini splits are very easy to install and perfect for DIYers. The pre-charged refrigerant lines with snap/seal connectors eliminate the need for a HVAC professional.
A mini split condenser can be installed on an exterior wall or on a concrete slab.
Yes, mini splits require a dedicated circuit breaker to supply power as well as a disconnect box.
Yes, mini splits require a drain line to remove the condensation created when warm air passes through the cooling coils.
Mike
Wednesday 2nd of June 2021
I’ve installed a few mini splits- I’m a homeowner but I worked in construction part time through college and have above average experience but had not installed a mini spit until last year. I had the tools to pressure test snd evacuate the supply lines, so I didn’t purchase a pre-charged line like the Mr. Cool units. The hardest thing I encountered was bending the 1/2 “copper return line. My bender only went up to 3/8”. Had get another on the internet. No mention of bends in your article.
Congressional HVAC
Thursday 20th of June 2019
Thank you for sharing this ultimate guide for DIY mini split type aircon installation. The images were really a big help to see the actual way of installation. Hats off to you Sir.
Mark
Thursday 6th of June 2019
I just received my 24k BTU unit and I noticed the line set is wrapped in some big vinyl sleeve. I assume that stays on? Most of the install vids I've seen don't look like this - they look taped instead. Sorry you had to rip it out. I hope I have better luck....
Richard Allen
Monday 30th of July 2018
Did you buy a Mr. Cool mounting bracket or a generic one? I like the one you used. Where can I get it? Thanks-Richard
Toni hill
Thursday 18th of April 2019
I am thinking about buying a used unit. Will I them have to refill the refridgerant? Is this a 220 electric unit?
Luis Jimenez
Monday 16th of July 2018
Milwaukee 49-56-0193 3-1/2-Inch Ice Hardened Hole Saw this tool can be use to drill on a concrete wall ? if you have any other suggestion or tool can be work on concrete let me know , thank you