
In this DIY tutorial, learn about embedding LED strip lights in epoxy resin. Also, I show you tips on embedding objects in resin.
In fact, this useful epoxy resin tip technique works for LED lights and other objects such as rocks or seashells.
Even if you don’t need to embed LED lights in epoxy, the DIY tips in this tutorial can be used on other epoxy resin projects.
Here are some jump links to the main sections of this post to help you get the information you need quickly.
Video Tutorial
Tools and Material
Step-by-Step Instructions
Video Tutorial
There are several things which are difficult to fully explain with words and images, so be sure to check out the video tutorial below.
Embedding LED Lights in Resin
First, I use the term ’embed’ in this article as a synonym for submerge, suspend, and encase.
There are many ways for embedding objects in resin.
Essentially, I’ve either used or considered using the 3 techniques outlined below.
Create Tunnel in Resin
Hands down, this is the best technique for embedding led strip lights in epoxy resin.

Pros
This technique makes it easy to replace broken LED light strips or upgrade LED strip lights to different colors.
Furthermore, this method helps UV LED strip lights to efficiently charge the glow powder.
The tunnel hides the LED lights from view.
Cons
Ultimately, creating a hollow tunnel is more difficult than the other techniques.
Luckily, this DIY tutorial provides detailed instruction on how to embed LED strip lights in resin using this technique.
Glue LED Light Strips
Most people glue LED light strips to the underside of the resin.
Obviously, most LED light strips have an peel-off adhesive on the back.

I used this embedding technique on many previous epoxy glow table projects.
Pros
Ultimately, this technique is simple and convenient.
I prefer to use my router to form a groove for the LED lights to rest flush.
Cons
Two issues cause me to avoid this technique if possible.
- First, the peel-off adhesive lacks proper strength to hold the LED lights in place. As a result, they eventually come off with time.
- Super glue makes a mess and it is difficult to remove.
Essentially, problem 2 solves problem 1.
However, it creates a larger problem.
Fully Encapsulate LED Strip Lights in Epoxy Resin
Since I don’t recommend this technique for embedding objects in resin, I will only list the cons.
Cons
First, epoxy produces heat during the curing process and may damage the LED light strips.
Second, it is impossible to replace the LED light strip.
Tools I Used
So, let’s get started with a list of tools and materials needed to embed lights in resin.
Epoxy Resin
Hot Glue Gun
1/4″ clear tubing
LED UV Light Strip
Step-by-Step Instructions
As mentioned, I prefer to create a hollow tunnel when embedding LED strip lights in epoxy resin.
So, keep reading to learn exactly how to put lights in resin safely.
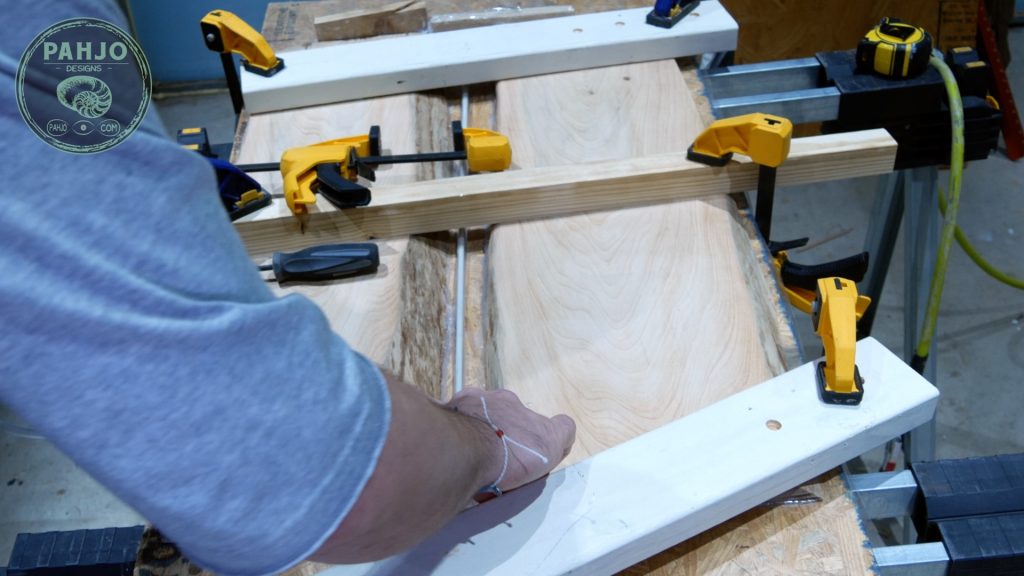
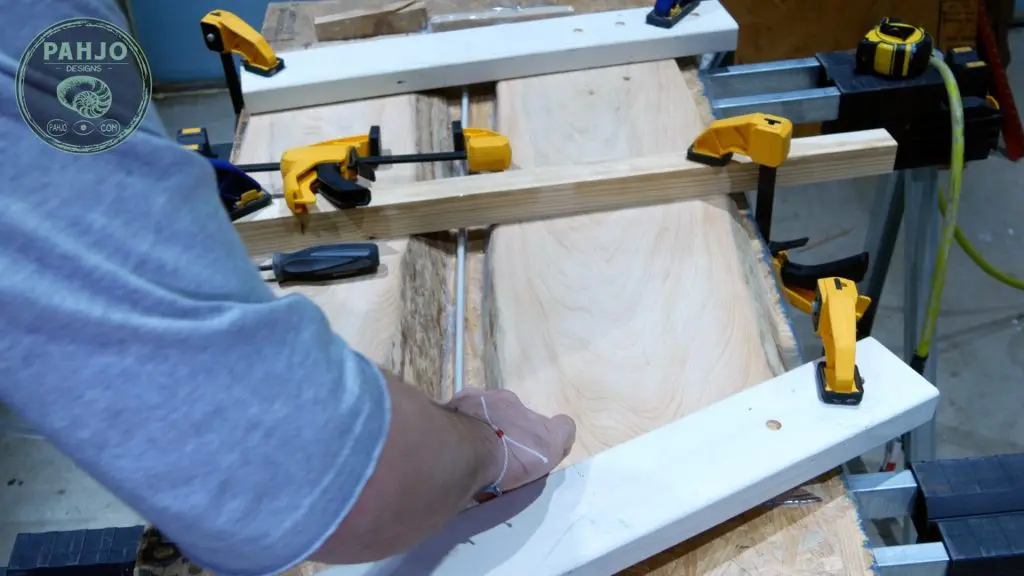
Seal and Secure Hollow Tube
First, seal and secure a hollow tube before the resin pour.
I prefer to use 1/4″ clear flexible tubing works best.
Keep in mind, the tubing does not stay straight and prefers to curl.
So, I recommend using a round wood dowel or piece of plastic to keep the tubing straight.
In this project, I used an old plastic wire fish rod which fit perfectly.
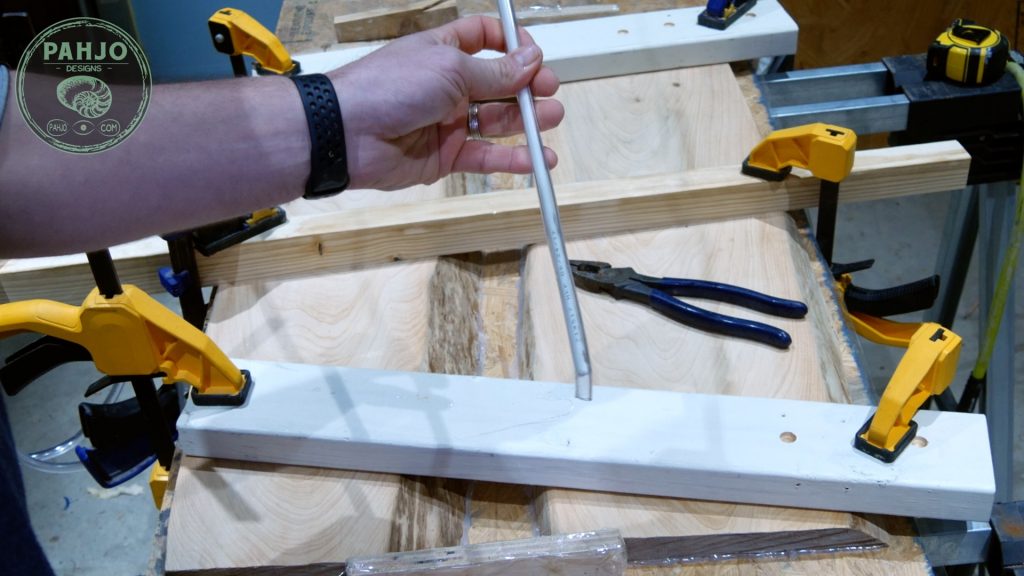

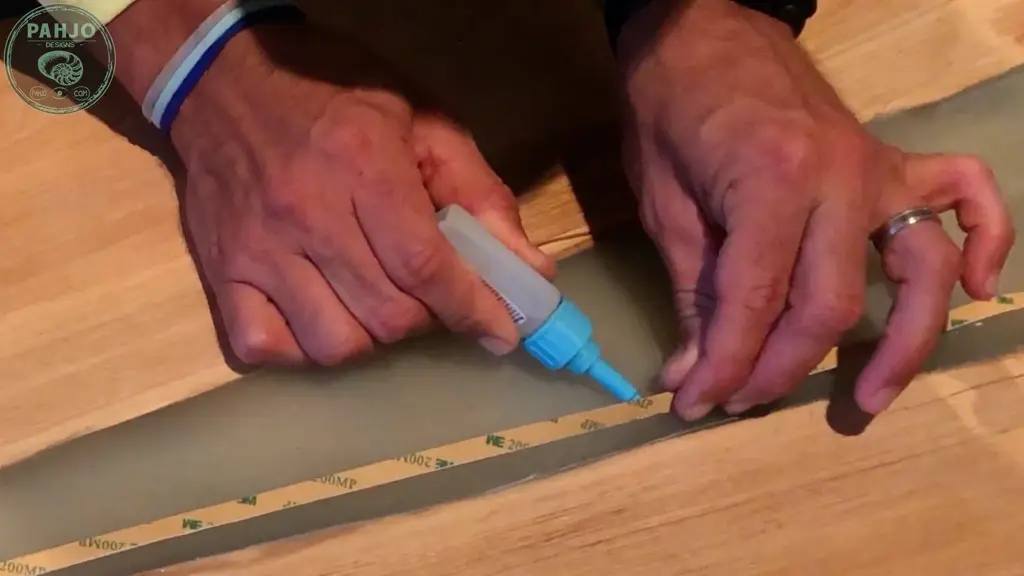
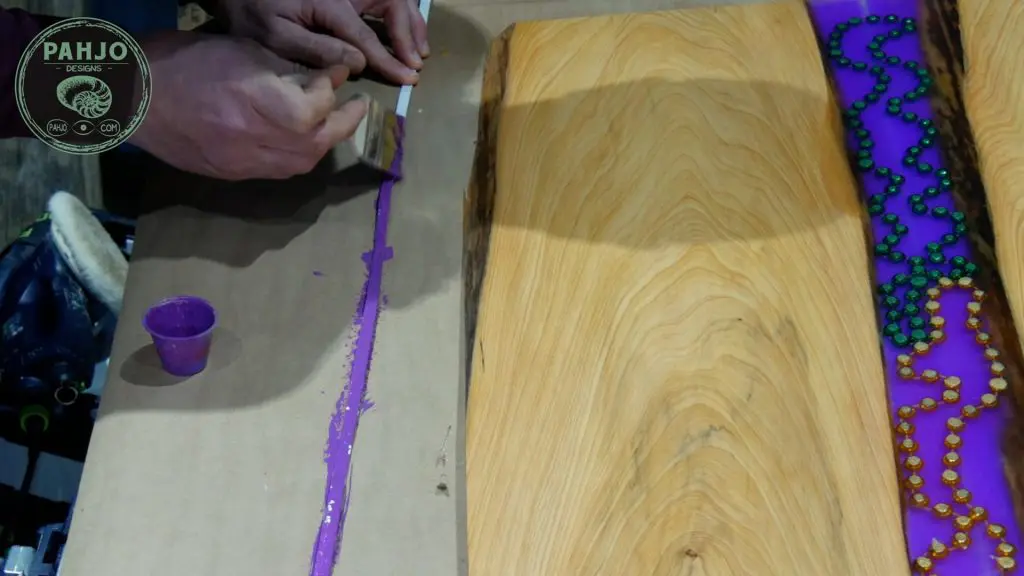
Next, use hot glue or silicone to seal each end.
Next, place the tube in the space to test fit.
Keep in mind, you will need to trim each end of the rod after the resin pour.
Alternate Option for Sealing Clear Tube
There is an option if you don’t plan to trim each side of your resin project.
First, drill a hole in the resin mold the slightly larger than tube (3/8″ should work) into each end of the resin mold.
The tubing and rod should be roughly 3 to 5 inches longer than the table.
Next, slide the tubing through the holes.
Essentially, this option eliminates the need to seal each end with hot glue.
Also, it eliminates the need to trim each end.
Simply use a razor blade to cut the tubing after the rod is removed in a later step.
Suspend LED Light Strips in Epoxy Resin
First, I pour a thin layer of resin and allow this to cure before adding the clear tubing.
Obviously, this suspends the LED lights in resin.
Additionally, this technique is also referred to as encasing objects in resin or suspending objects in resin.


Pour Resin
This is an easy step.
Essentially, just pour resin as I did for this LED wood and resin wall art.
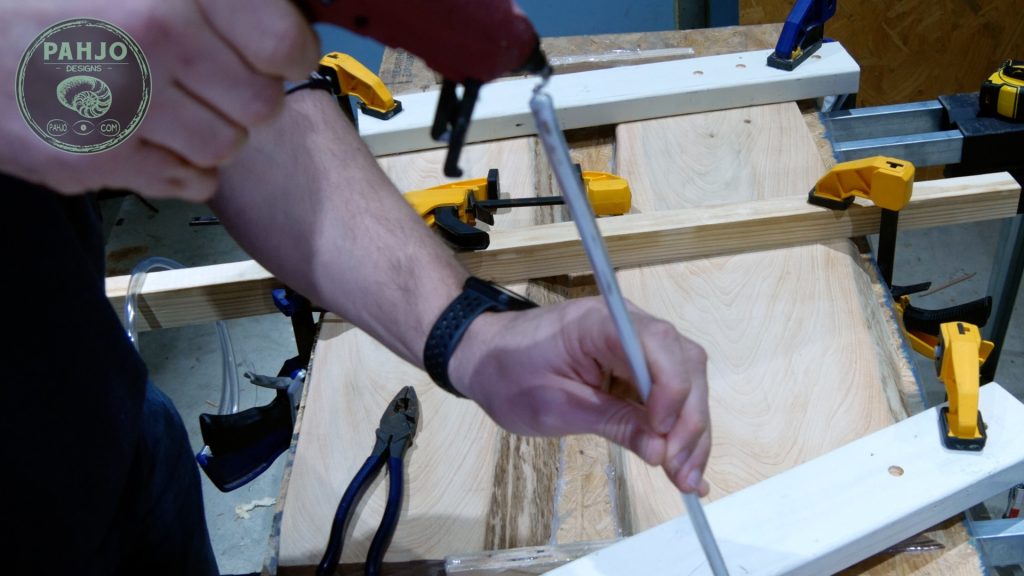
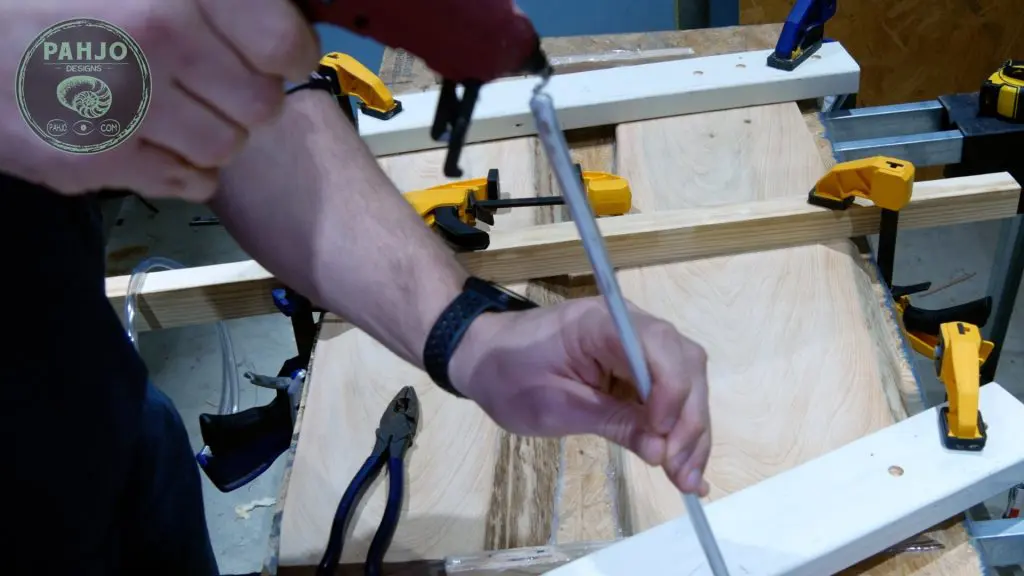
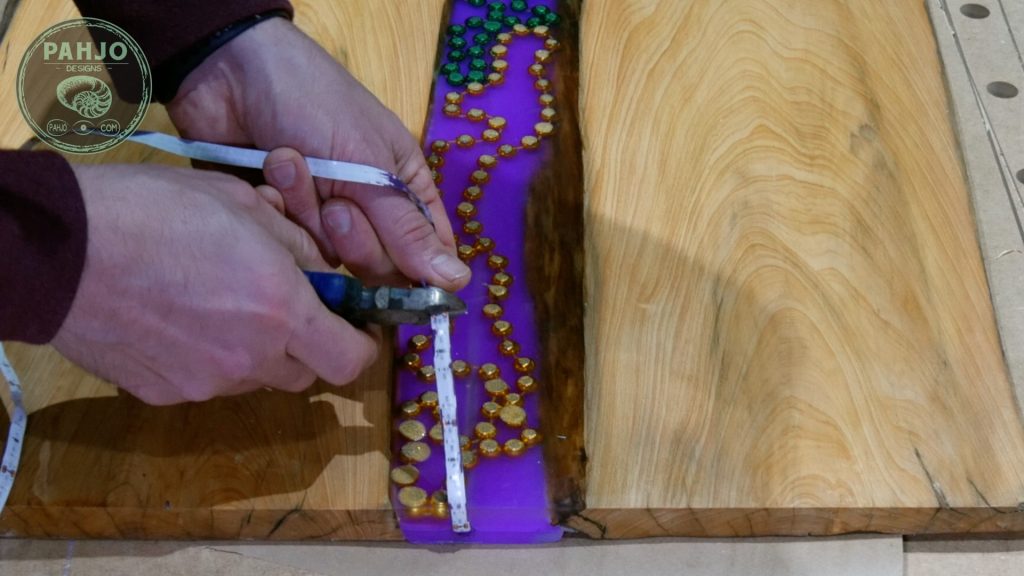
Remove Rod from Tube
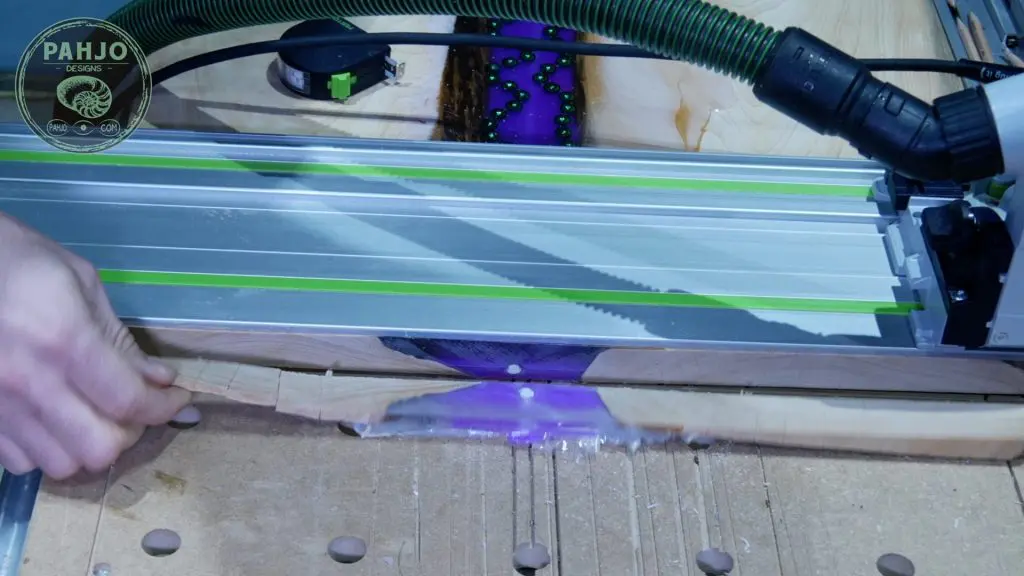
First, trim off each end with a circular saw or table saw.
Additionally, make sure to cut the end of the rod on each side.
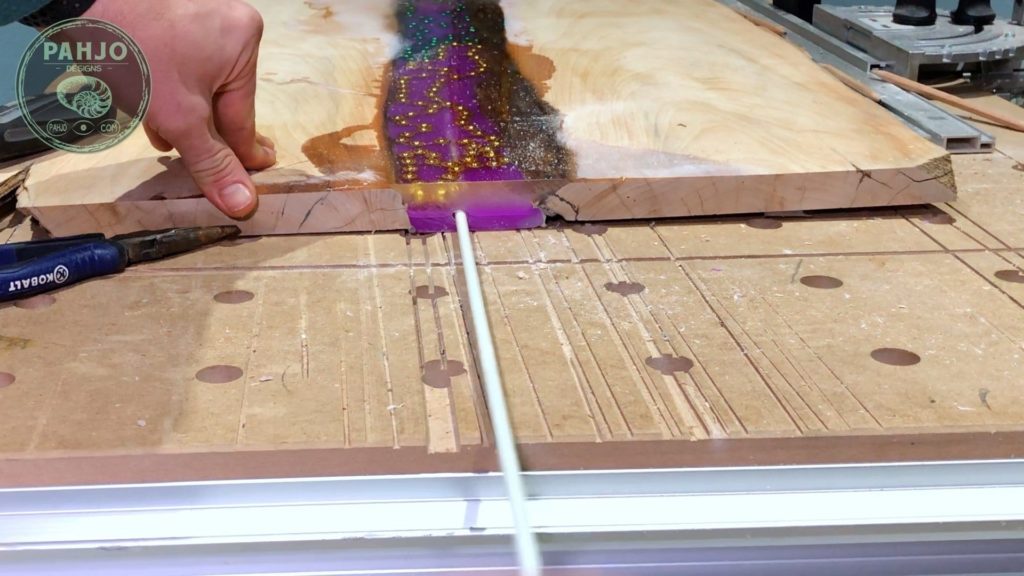
This exposes the rod which makes it easy to remove.

Next, expose the rod from the other side by pushing it a little.


Then, completely remove it.

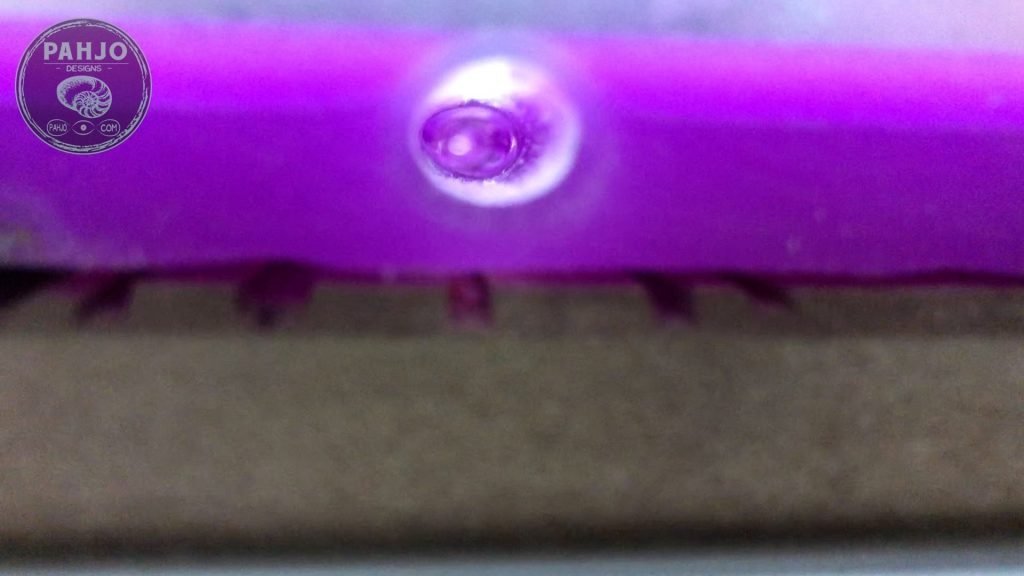
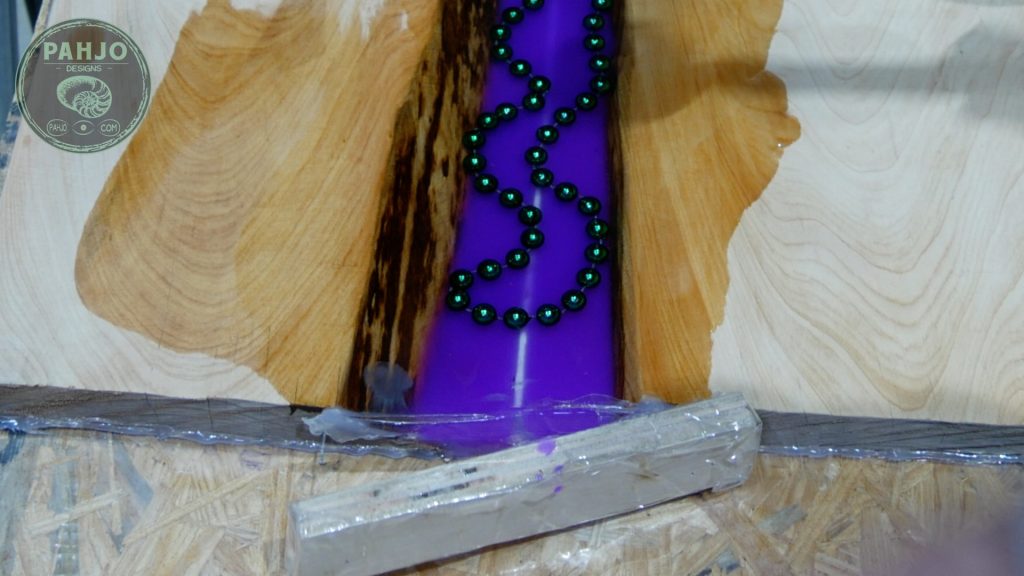
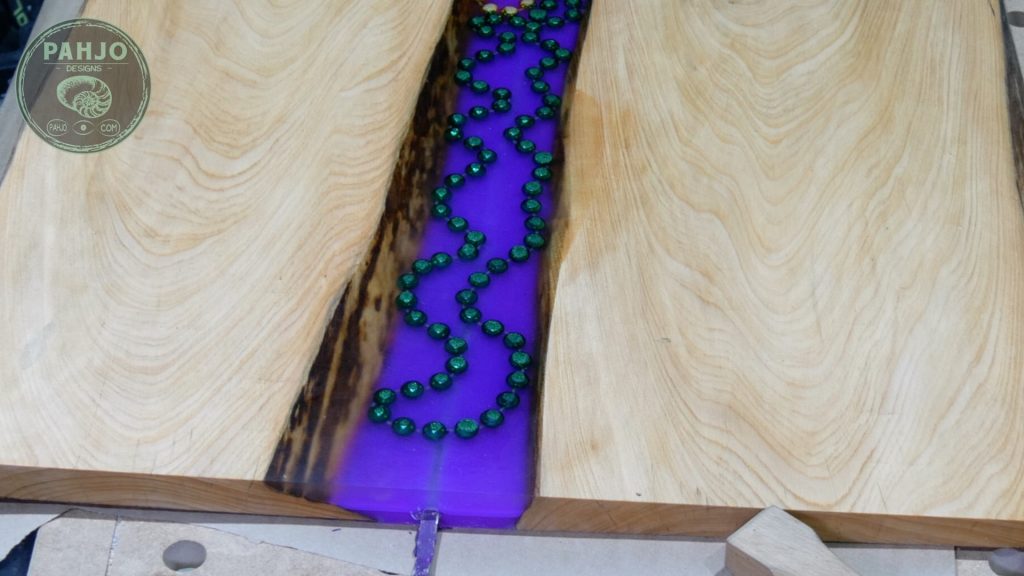
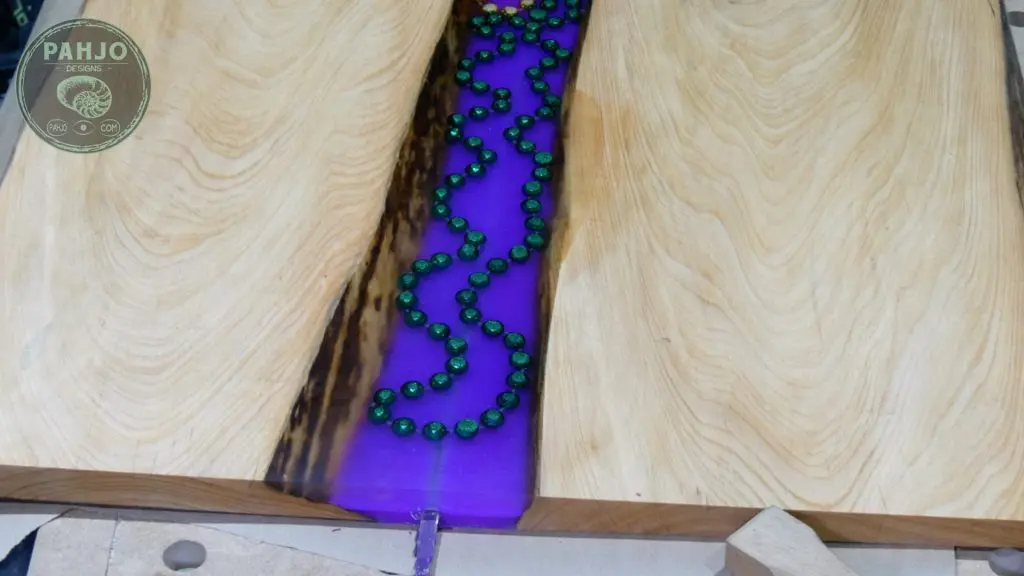
Inspect the Tunnel
First, inspect the tunnel once you remove the rod.
It should look like the picture below.
How To Put LED Lights in Resin
First, tie or tape the led light strip to the rod or device used to keep the tube straight.
I prefer the LED lights to face down towards the rear of the table.
Next, pull the LED light strip through the hollow tunnel.
Then, cut the LED strips between the contacts.
Or, bend it around the end towards the back if it will be powered via a wall outlet.
Be sure to leave about 5″ in excess to solder LED lights if needed.

Conclusion
In conclusion, I hope you learned how to embed LED strip lights in epoxy resin and the pros/cons of different options.
Leave a comment and let me know if you plan to try this technique on your next project.
Related Posts
- How To Fill Wood Voids with Epoxy
- 11 Best Epoxy Tips You Need to Know
- Best Epoxy Resin Tools and Materials
- The Best Epoxy Resin Application Tools
Is it Safe to Embed LED Lights in Resin?
Yes, it is safe to embed LED lights in epoxy resin because they do not emit heat.
How do you suspend objects in resin?
To suspend objects in resin, multiple resin layers are required. Pour in the first layer at least one-third smaller than the total resin pour depth. Allow this to cure, place the object on top this layer, and proceed with additional epoxy resin layers.
How do you keep objects from floating in resin?
To prevent objects from floating in resin, embed the objects when the resin is partially cured but still tacky.
How do you preserve something in epoxy resin?
To preserve something in resin, you need to seal it with a resin sealer. Then, proceed with embedding the object in resin.
Emmanuel Williams
Thursday 18th of March 2021
Pls what is your YouTube handle
Pahjo Designs
Thursday 18th of March 2021
Hello, it is Pahjo designs. https://youtube.com/c/PahjoDesigns
Tara
Wednesday 15th of April 2020
Looking forward to trying this. Im planning on curving it around inside a box so hopefully it still pulls free when dry
Kathy Smith
Friday 3rd of January 2020
Very helpful, trying on a curved project. Wish me luck