
In this article, I show you how to troubleshoot a MR COOL DIY mini split not blowing cold air.
DIY ductless mini splits work well and use less energy than traditional HVAC systems.
At times, DIY mini splits stop working and most local HVAC technicians won’t troubleshoot the unit.
So today, I will take you through the process I experienced to fix my DIY mini split not blowing cold air.
Video Tutorial
There are several things which are difficult to fully explain with words and images, so be sure to check out the video tutorial below.
Tools I Used
- Mr Cool DIY-18-HP-230A
- Ductless Aire Wall Mount Bracket for Mini Spit
- 3.5″ hole saw bit
- Hole saw arbor
- Magnetic I-Beam Level
- IR Thermometer and Laser
- Dewalt Heavy Duty Wrench
- Hex Wrench
- Ridgid Drill/Driver Combo
Introduction
I installed a MRCOOL DIY Ductless Mini Split (MRCOOL model: DIY-18-HP-230A) in my home office about 10 months ago.
Also, I installed the same unit in my workshop – view blog post and video here.
These 2 units worked great during the winter and spring.

MRCOOL DIY Mini Split Problems
My DIY mini split stopped blowing cold air in May of 2017, so I notified MRCOOL via email of my problem.
The folks at MRCOOL were very responsive and we traded a few emails regarding troubleshooting tips and results.
Unfortunately, we were not successful in resolving my issue.
MRCOOL informed me I would need to call a certified HVAC professional and have them check my unit.


Low Refrigerant
The HVAC professional tested my unit and determined my DIY ductless mini split was low on refrigerant.
After spending roughly 30 minutes checking for a refrigerant leak, he could not find a leak.
The HVAC technician and I came to the conclusion my MRCOOL mini split was not properly pre-charged from the factory.
Or, refrigerant was lost during the installation.
Either way, my ductless mini split needed more refrigerant.
As a result, he added more refrigerant and my mini split began cooling again.
Second HVAC Service Call
My MRCOOL mini split stopped blowing cold air again in August.
I didn’t spend much time in my home office in June and July, so it is quite possible it stopped cooling in June or July.
In turn, I did not call MRCOOL for this issue; rather, I called my HVAC professional again.
The HVAC professional put his gauges on my mini split and explained my unit was in a ‘vacuum’.
This means the unit has no refrigerant whatsoever.
So, it was obvious now my mini split definitely had a leak.
After he recharged the unit with refrigerant, he spent over an hour taking apart my ductless mini split (outside and inside unit) to locate the leak.
Despite his best efforts, he could not find the leak.
MRCOOL Warranty Claim
I found the original email chain I sent to MRCOOL in May and used it to notify them of my updated issue.
In turn, they responded immediately and asked for additional information from the unit.
Once I provided them with the serial numbers, receipt, and a few other items – they shipped a new inside unit and line set.
The unit arrived at my home 2 days later.
Troubleshooting Process
I was definitely irritated I had to pay an HVAC professional to diagnose my MRCOOL ductless mini split issue on two separate occasions.
Furthermore, my irritation increased considering my unit was under warranty and less than a year old.
After thinking about the situation from MRCOOL’s perspective, I began to understand why it is not feasible for MRCOOL to have technicians spread throughout the country to diagnose warranty issues.
These units are roughly half the cost of the similar units.
Furthermore, it is not possible for MRCOOL to sell their DIY mini splits at such an affordable price and pay technicians throughout the country for maintenance issues.
Ultimately, the technicians would significantly raise MRCOOL’s operating costs.
The increased operating cost rolls downhill to the consumer in order for MRCOOL to remain profitable and stay in business.
Traditional Mini Split Cost vs DIY Mini Split Cost
Obviously, balance exists with everything and mini splits are no different.
First, a conventional DIY mini split costs approximately $3800.00 with a full warranty, which includes diagnosis and troubleshooting.
The MRCOOL DIY Ductless Mini Split of similar size is $1,450.00 with a factory warranty.
Normally, not as comprehensive as the traditional system.
In other words, pick your poison.
Now, on to the steps I took to install my mini split I received as a result of my warranty claim.
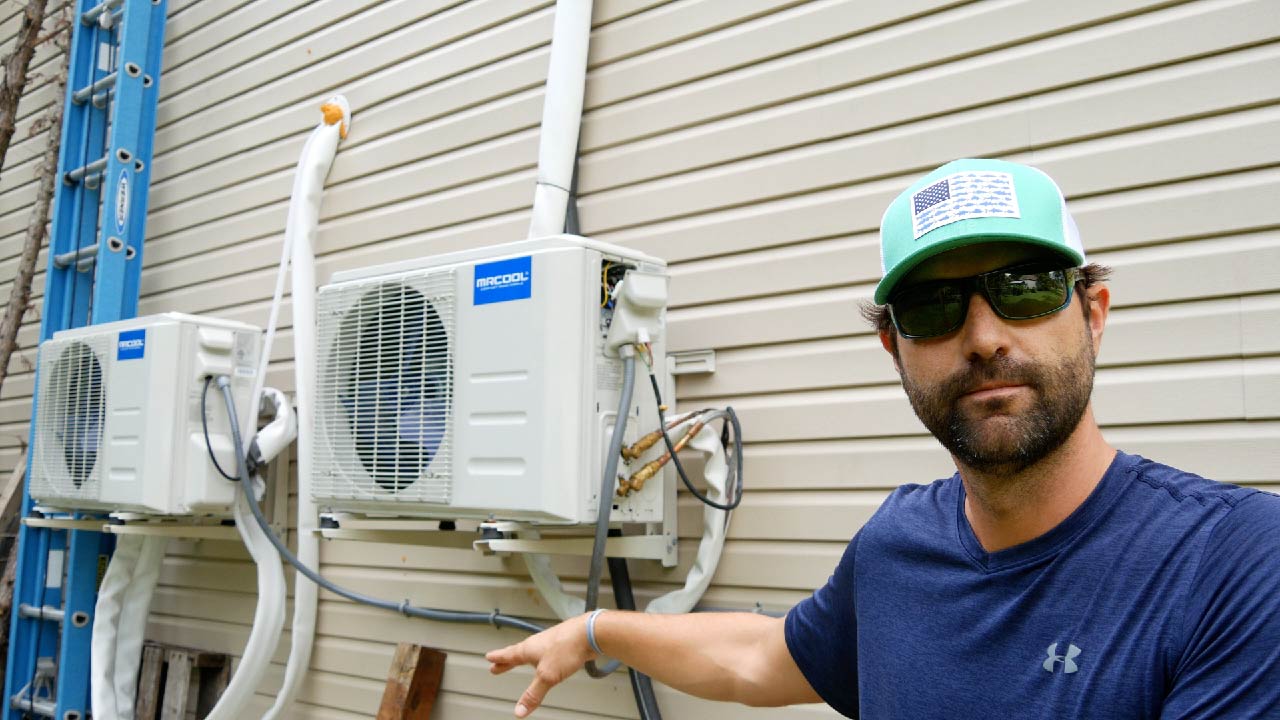
Remove Mini Split Covers
The unit on the right is for my home office and the unit on the left is for my workshop – view video and detailed instructions here.
First, I removed the top cover and disconnected the electrical line that connects to the inside unit.
Next, I removed the bottom cover and placed it to the side.
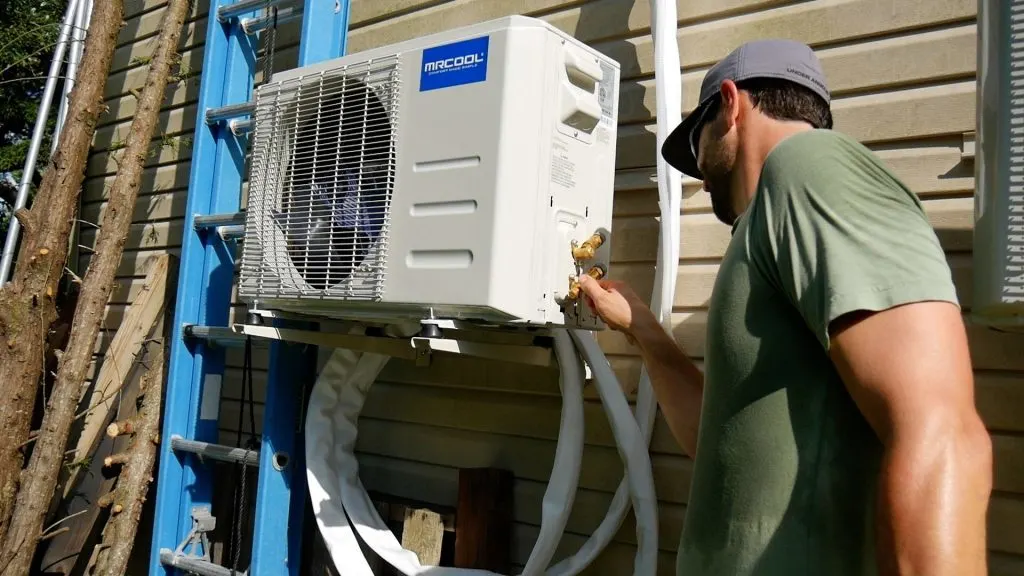
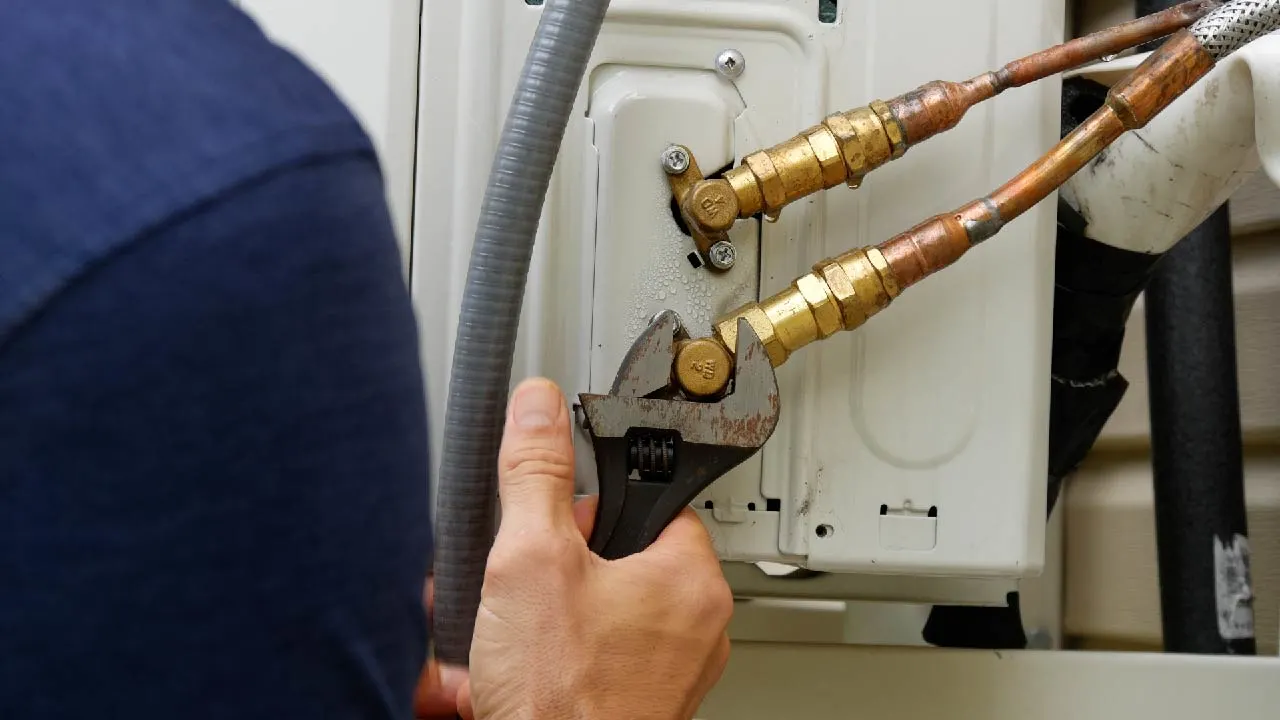
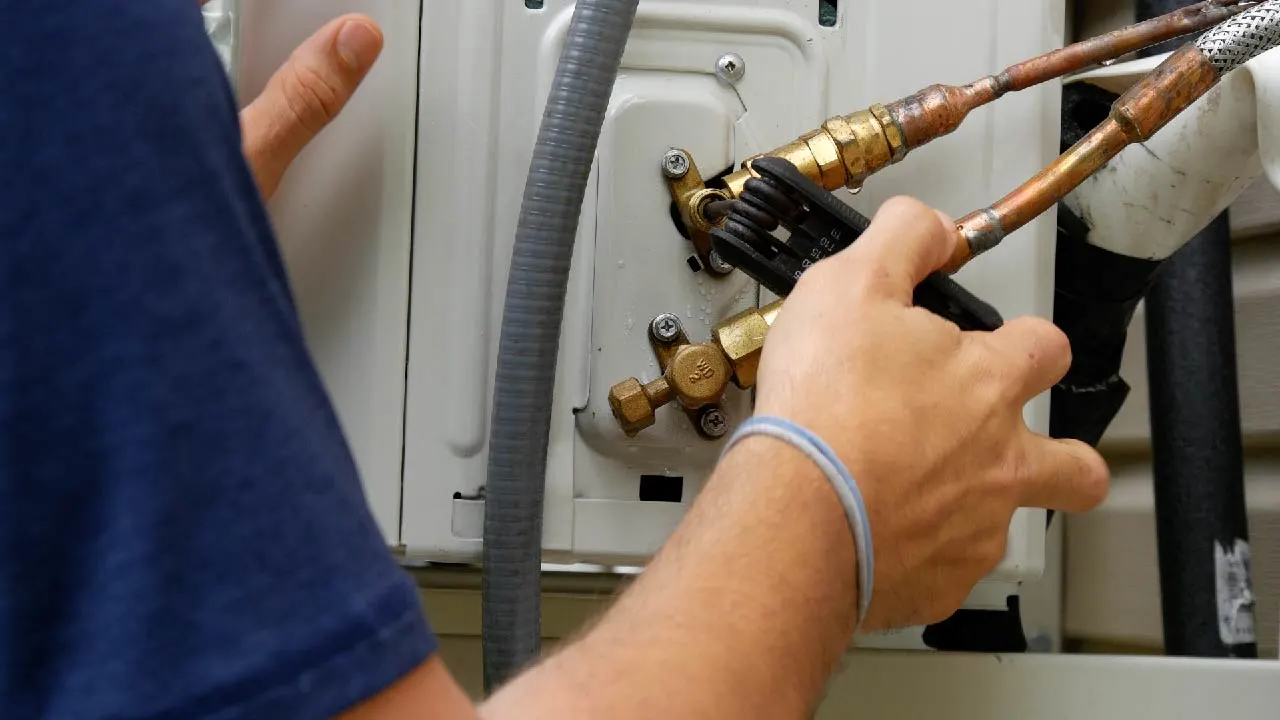
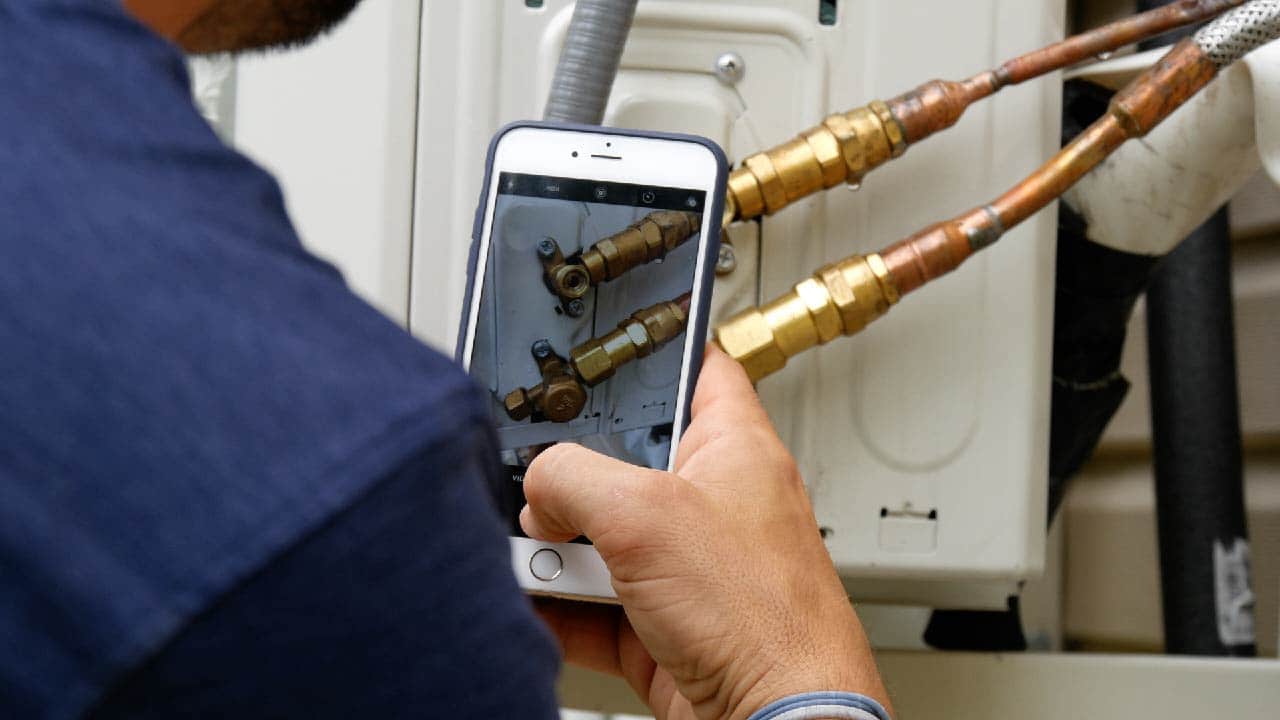
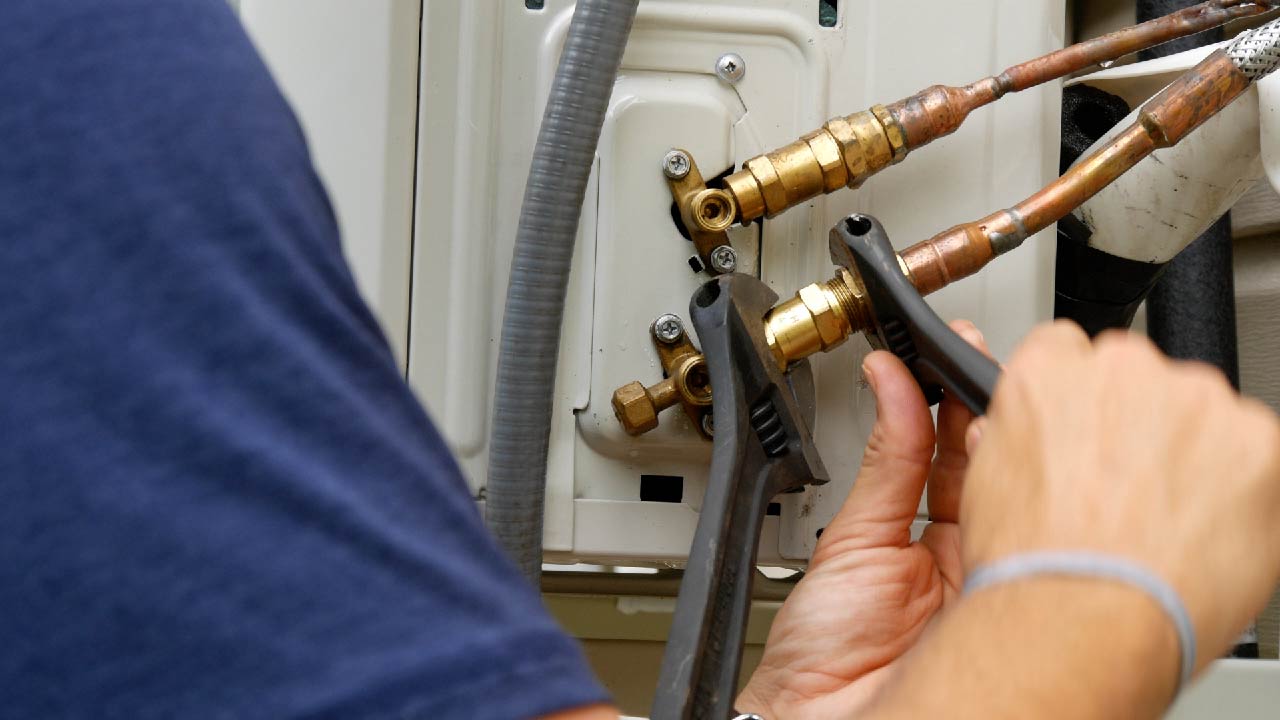
Close Refrigerant Valve
First, it is important to close the refrigerant valves with a hex wrench.
Essentially, this will prevent the refrigerant from escaping when the lines are disconnected in the next step.
Next, I remove the nut that protected the valves.
Then, I tightened the top valve and then the bottom valve.
I take pictures when I work on things I am unfamiliar with.
Ultimately, this helps me remember how to reassemble things.


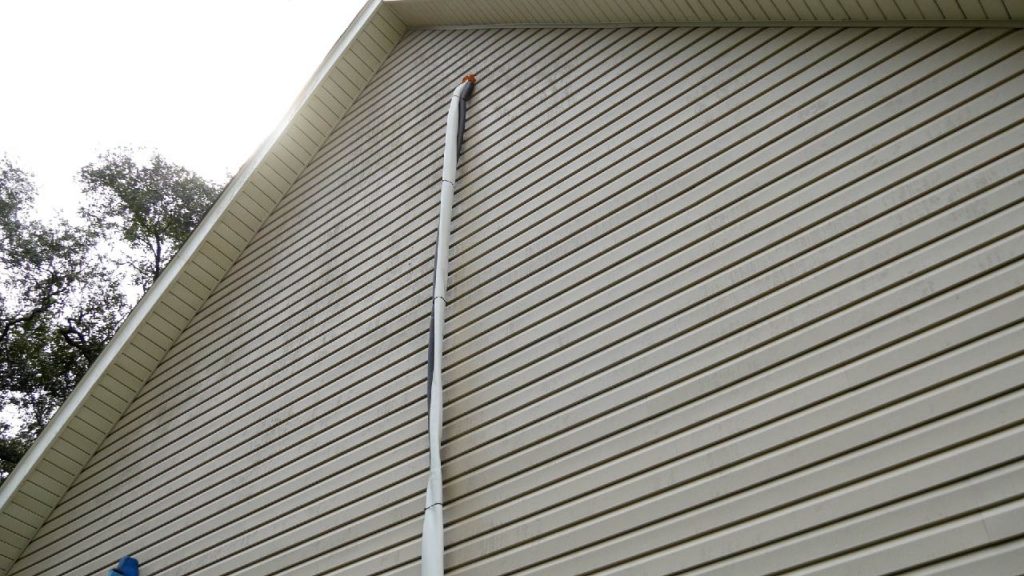
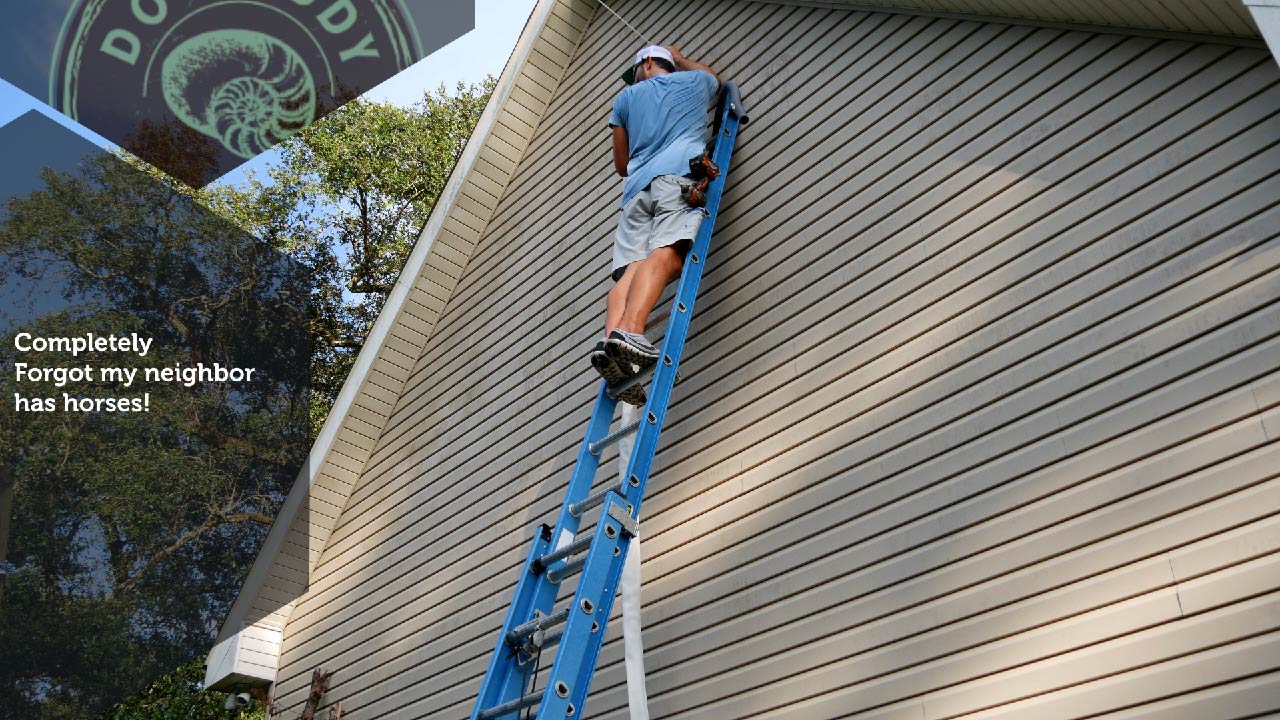
Prepare Refrigerant Bundle
I’m not a fan of heights, which is ironic considering I am 6’7″ tall.
First, I had to release the drain hose & cut out the spray foam in order to pull the refrigerant bundle back through.
Furthermore, the drain hose for my MRCOOL DIY Ductless Mini Split was secured to the refrigerant bundle with tie straps.
Additionally, I had to cut away the spray foam that sealed the hole for the refrigerant bundle.
It doesn’t look high, but it certainly is higher than it looks.
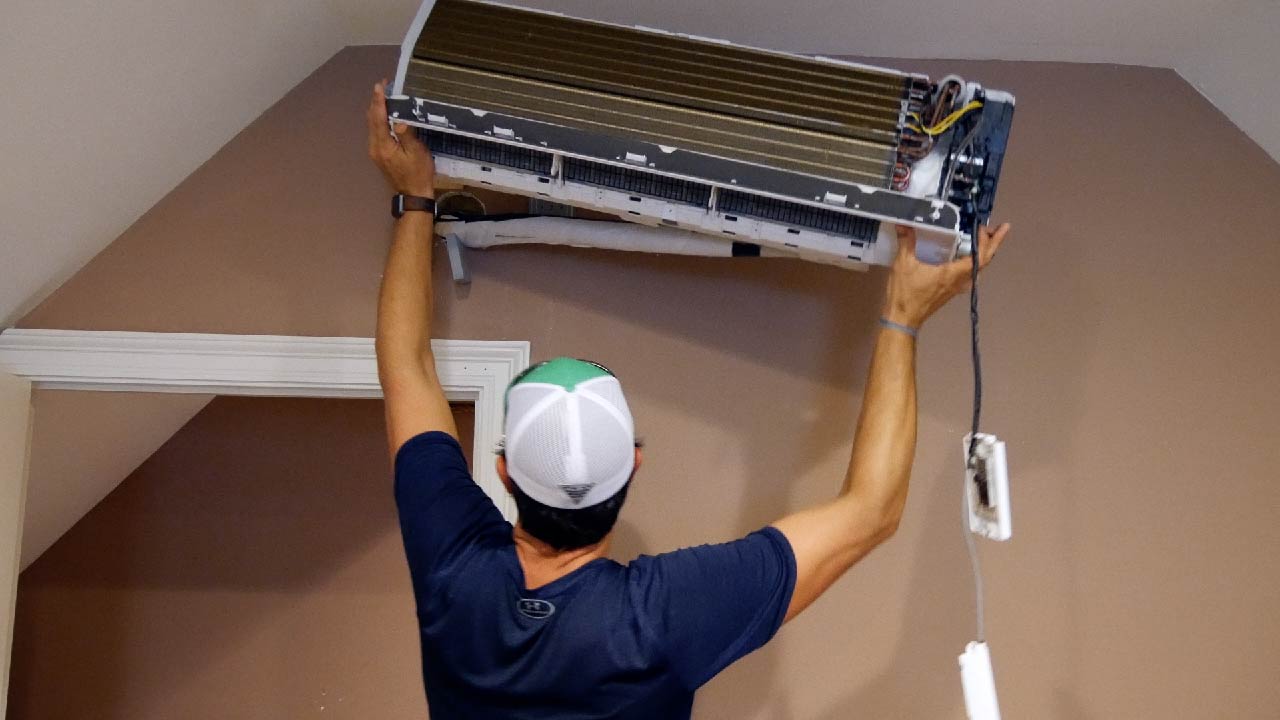
Remove Inside Unit from Wall
First, I disconnected the drain hose from the inside unit of my mini split.

Once the drain hose was disconnected, I pulled a bit of slack inside from the refrigerant bundle.
Next, I slowly lifted the inside unit from the wall bracket and gently laid it on the ground.
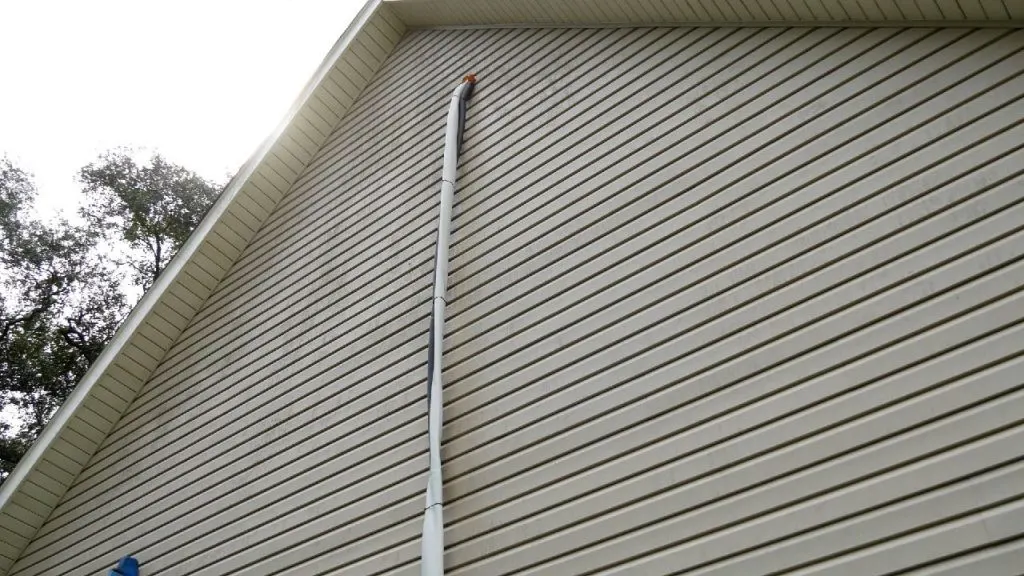
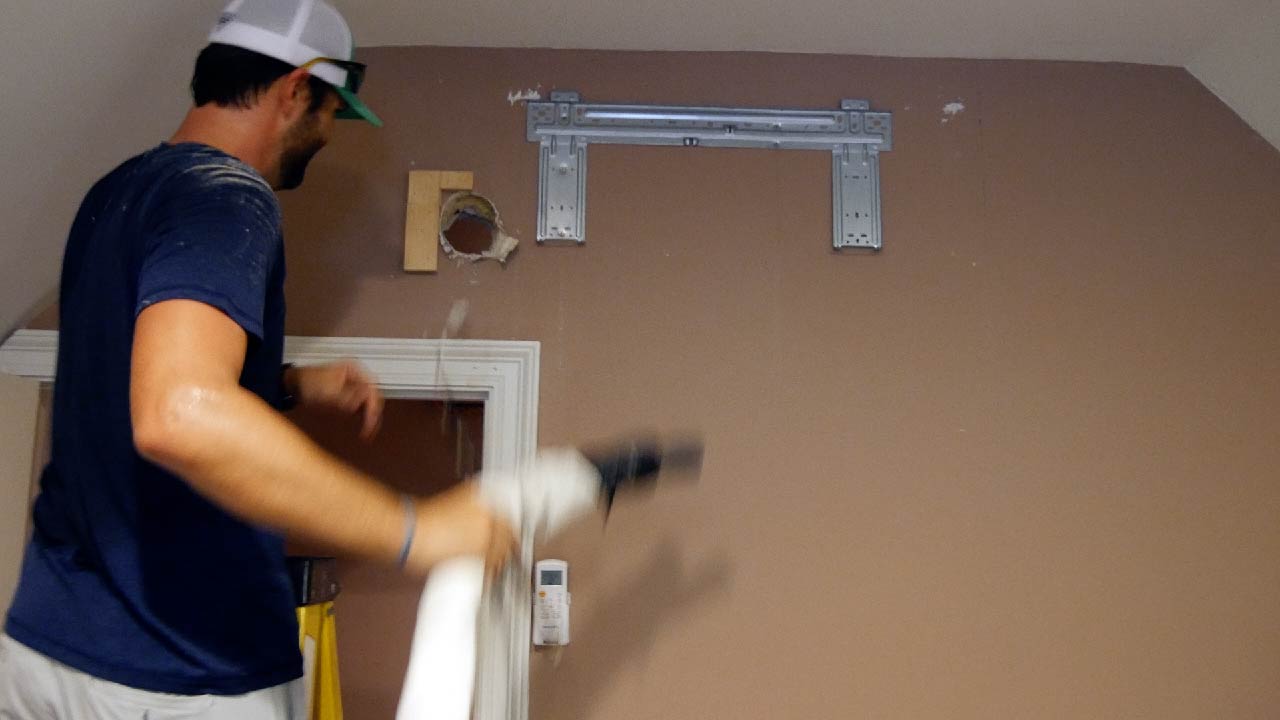
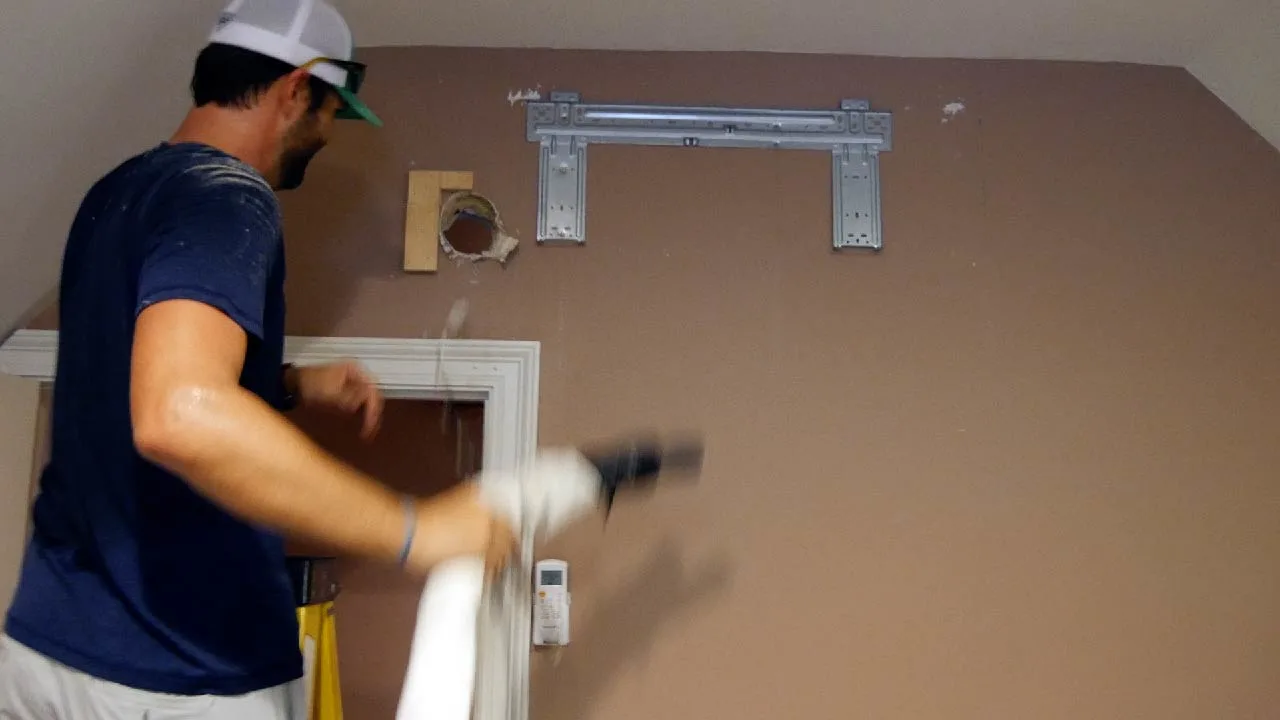
Pull Refrigerant Bundle
First, I slowly pulled the refrigerant bundle through the wall.
Obviously, this job requires 2 people.


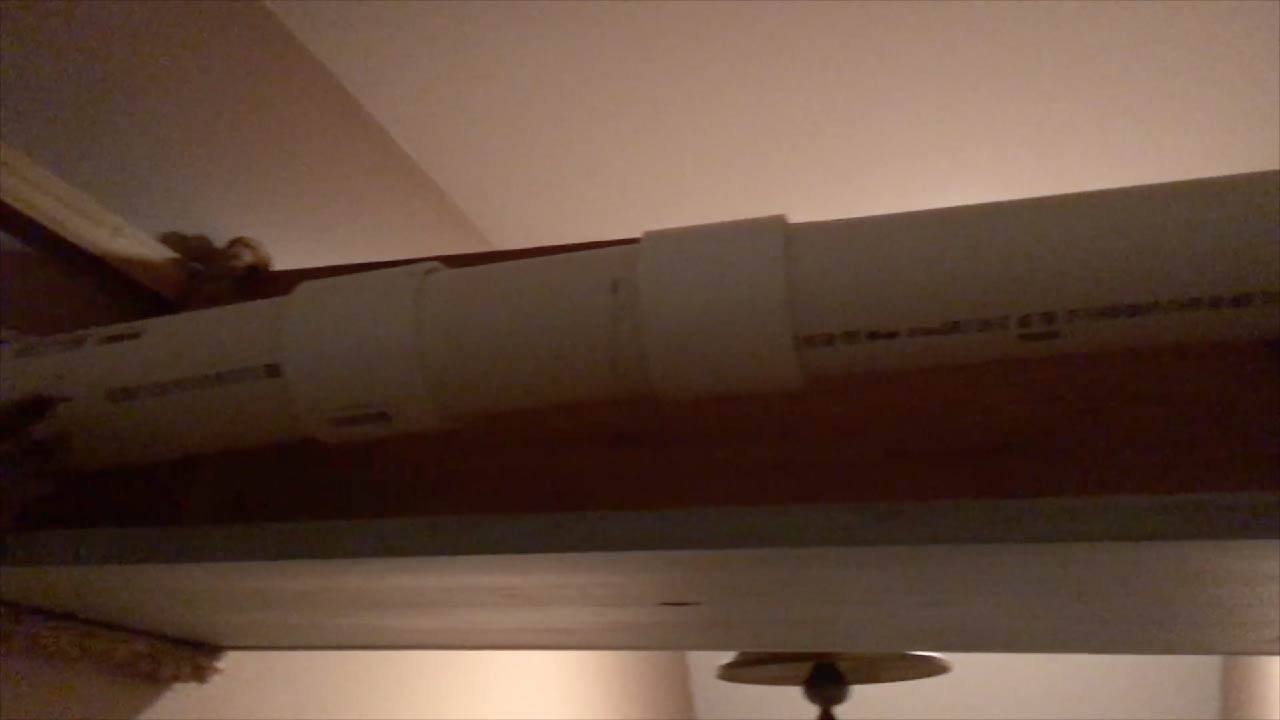
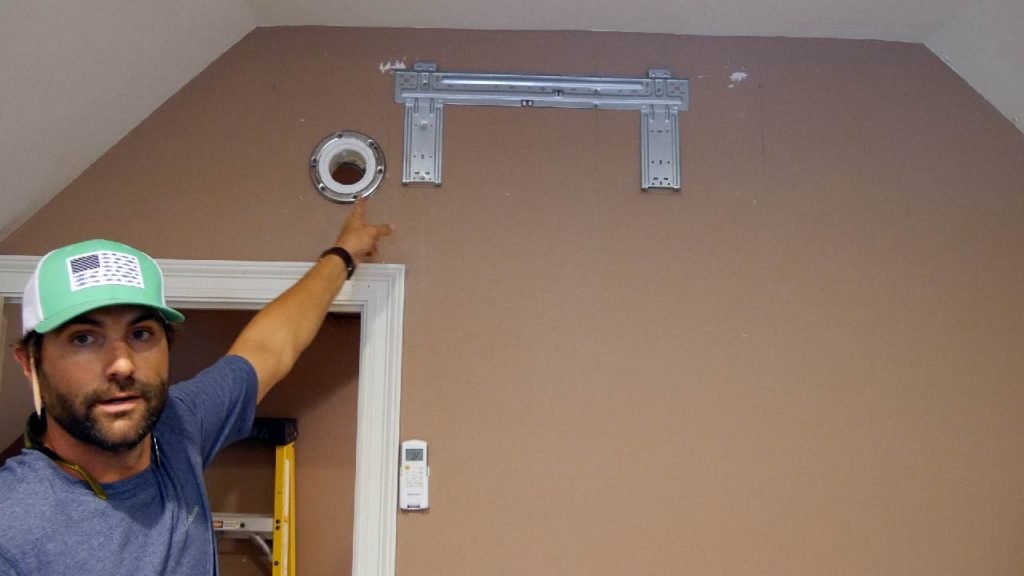
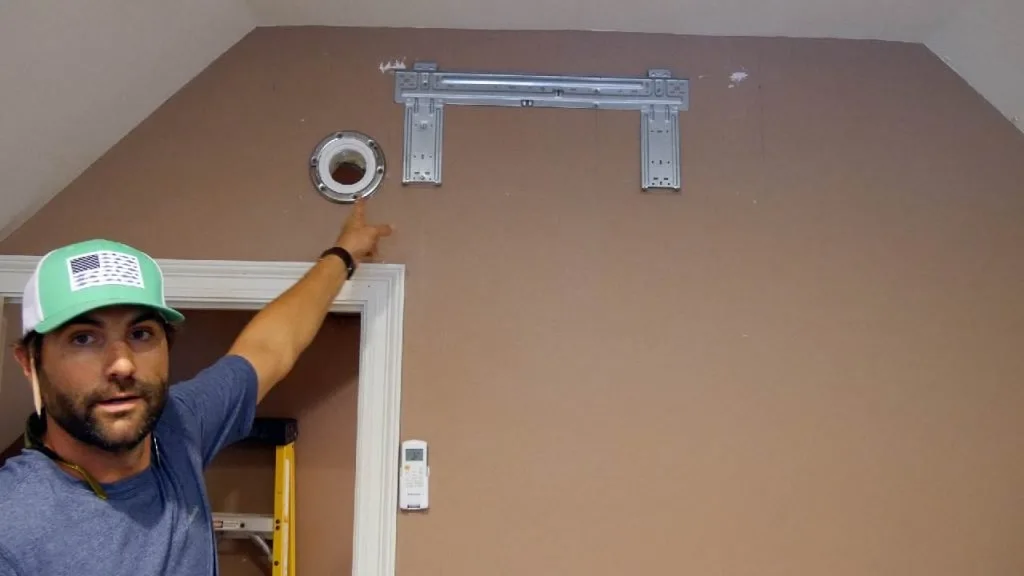
Improve Mini Split Cosmetics
Most mini split installs are very straightforward. However, mine is a bit different and more complex.
FIrst, this DIY ductless mini split is upstairs in my workshop.
The wall the inside unit is mounted on is not an exterior wall.
Furthermore, my staircase is behind this wall.
As a result, the refrigerant bundle has to pass through this 4 foot space to get to the exterior wall.
Since my home office has a maritime/marine theme, I built a box with a ship bell to hide the 3″ PVC pipe that houses the refrigerant bundle.
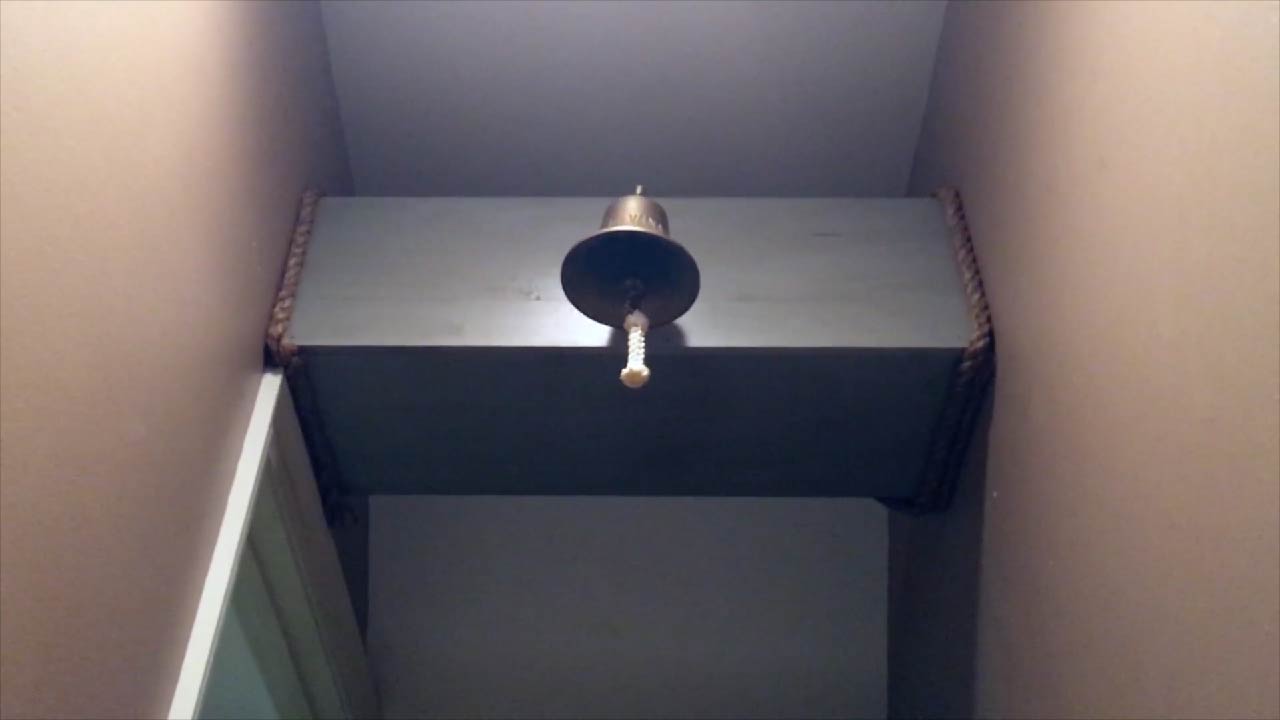


I also decided to purchase a toilet floor flange (not sure the proper name) to improve the look of the PVC wall plate that comes with the unit.
It actually fits nicely with the theme of the room
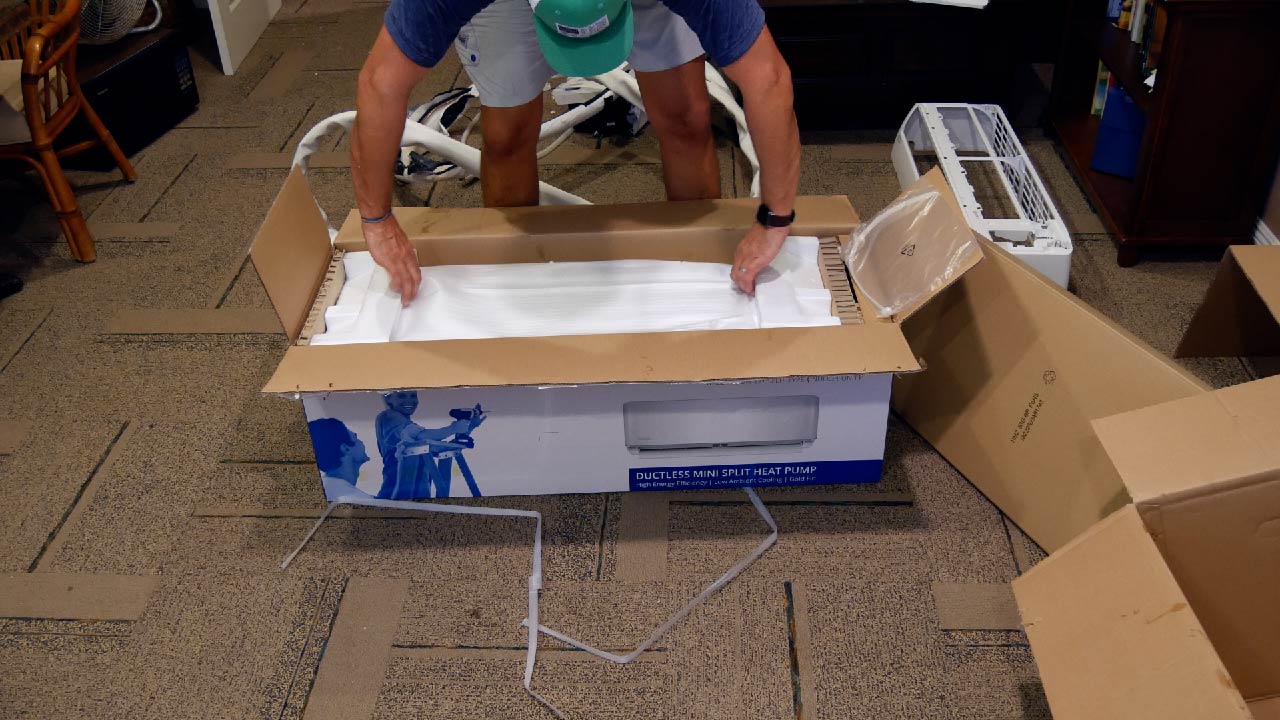
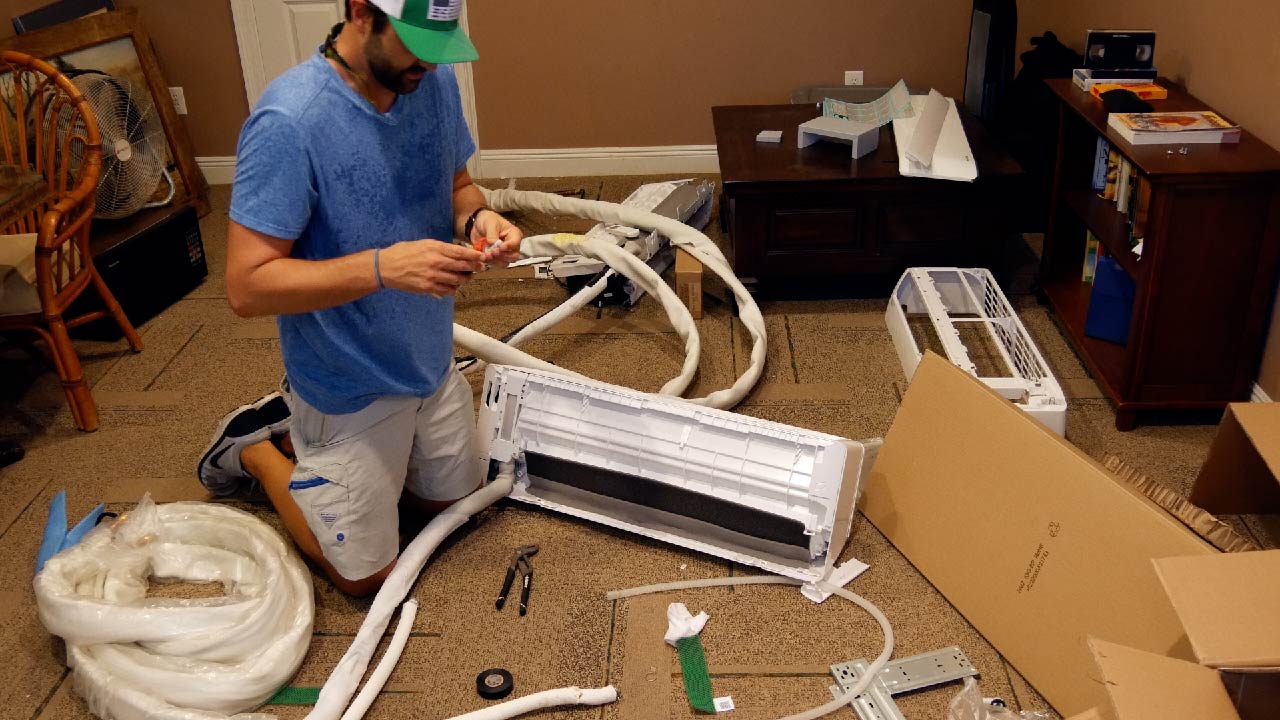
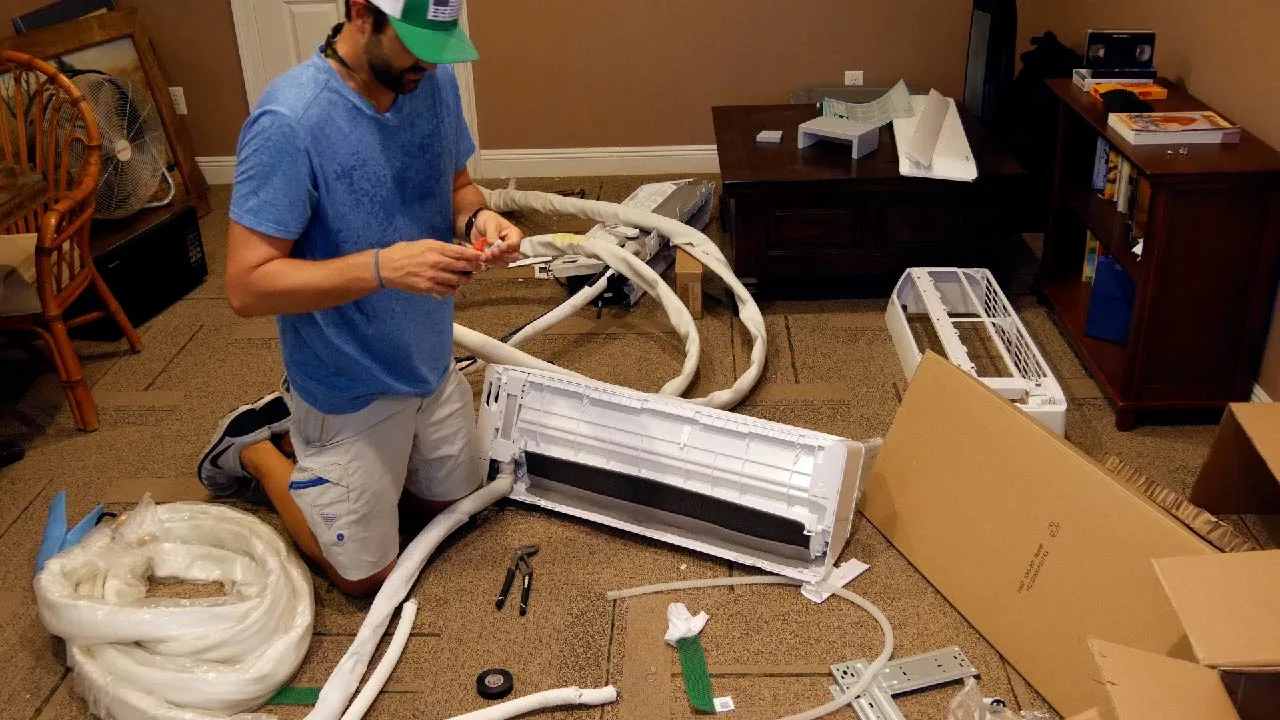
Unbox new Mini Split Wall Unit
I unboxed the new MRCOOL DIY Ductless Mini Split.
Instead of replacing my remote control mount and reconfiguring my WiFi, I transferred them from my old unit to my new unit.

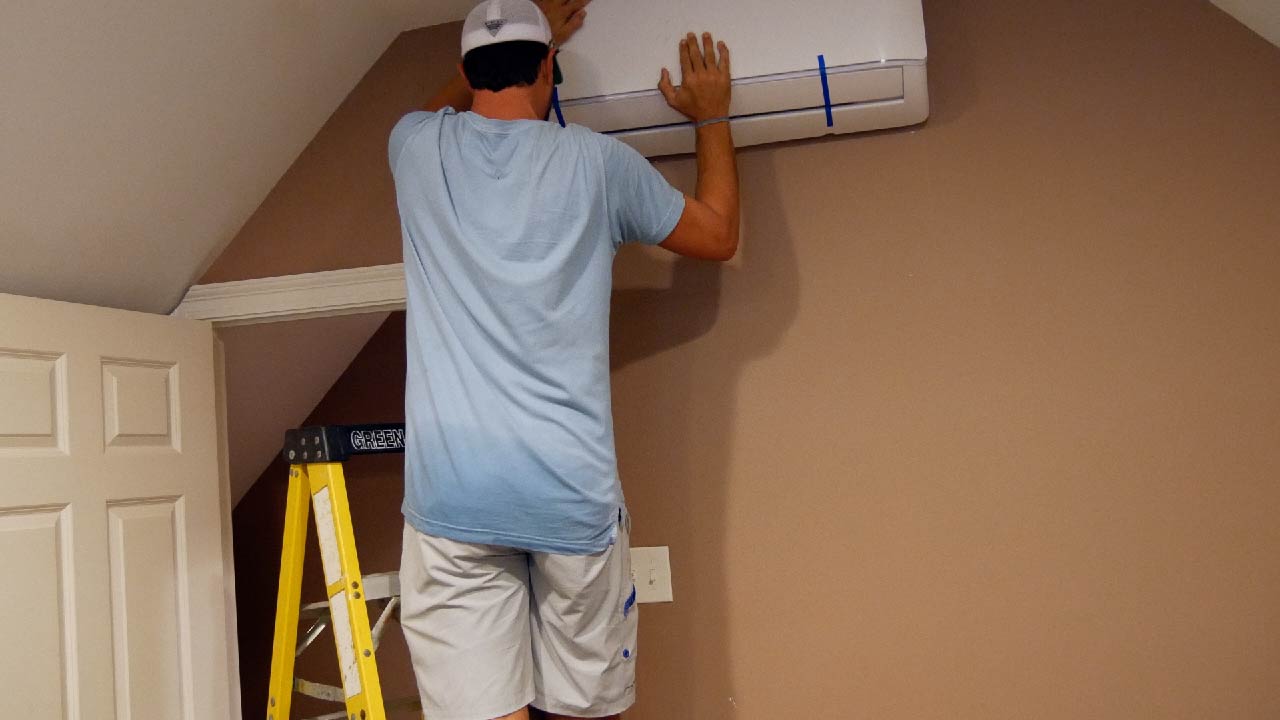
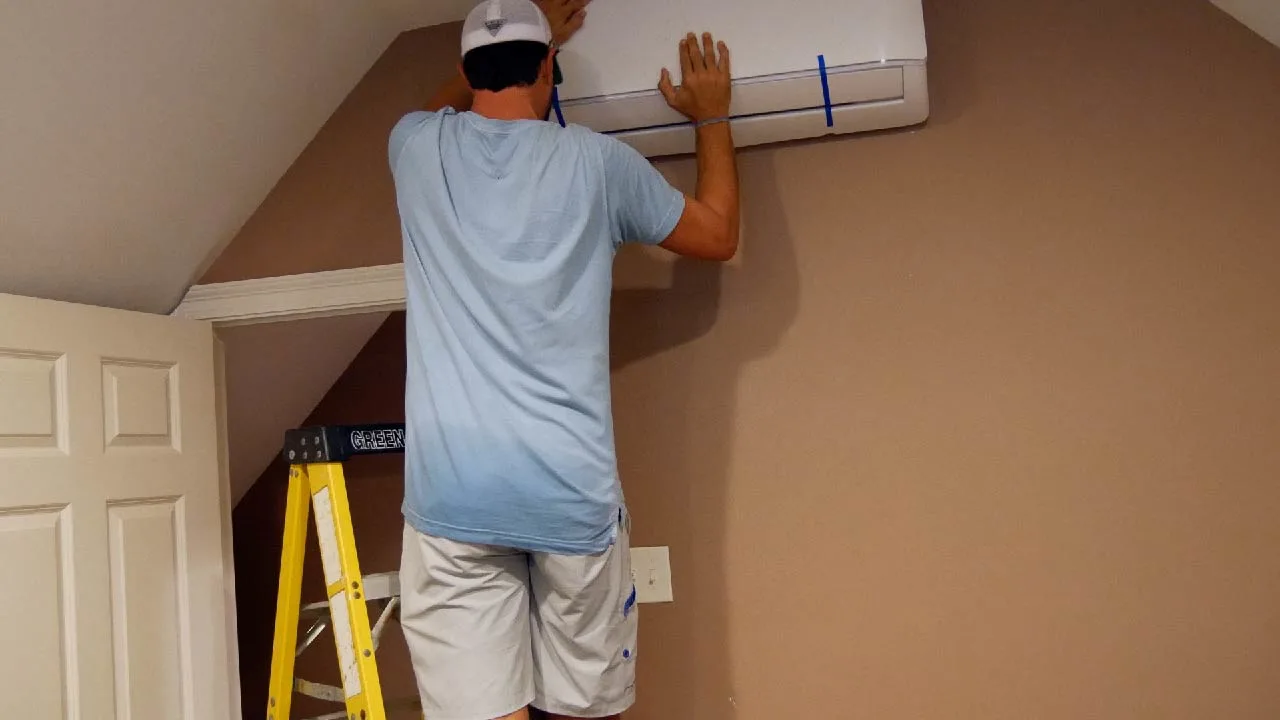
Hang New Mini Split Wall Unit
Next, I pushed the refrigerant bundle through the hole in the wall to the exterior wall as far as I could while the mini split was on the floor.
Then, I placed the new DIY ductless mini split on the top of my ladder and strapped it down so it would not fall.
Quick Tip: Ask someone to help you because it makes things much easier.
While the mini split was on the ladder, I pushed more refrigerant bundle slack through the wall.
I mounted the new mini split on the existing wall bracket.
Also, I forgot about the drain hose.
In turn, I had to get my cable fish stick, tape the drain hose to the end and push it through to the exterior wall.

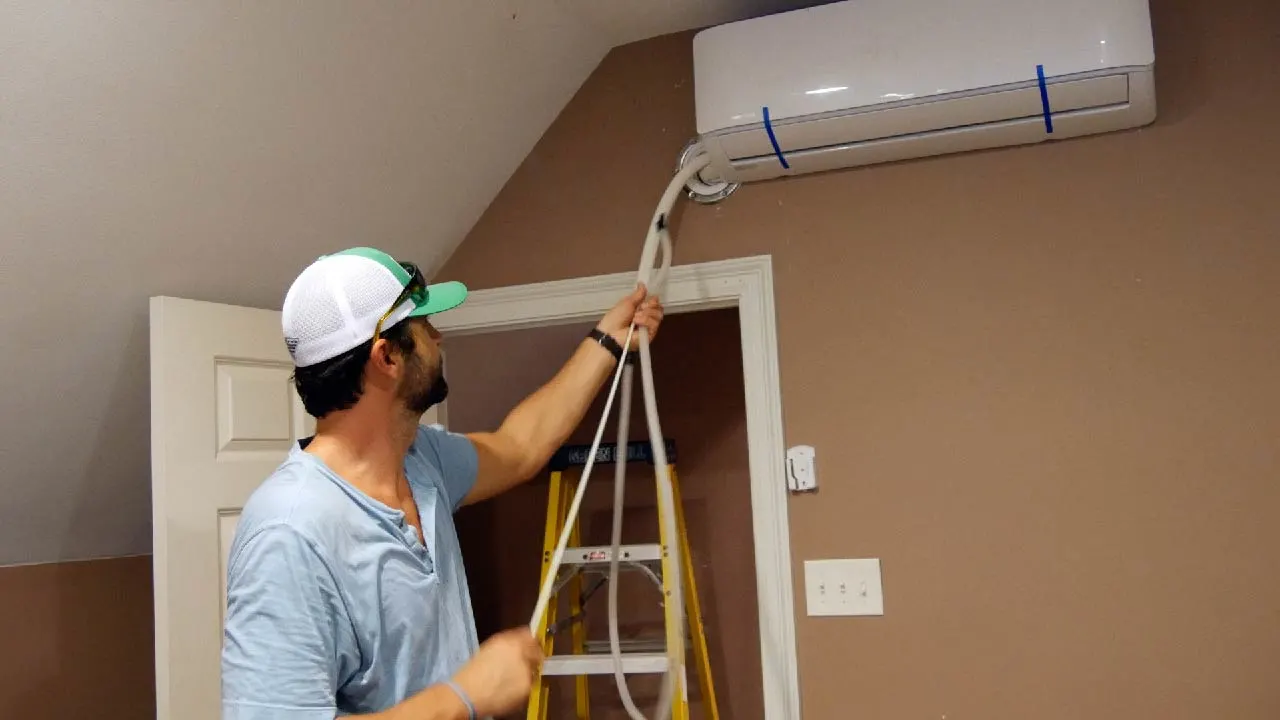
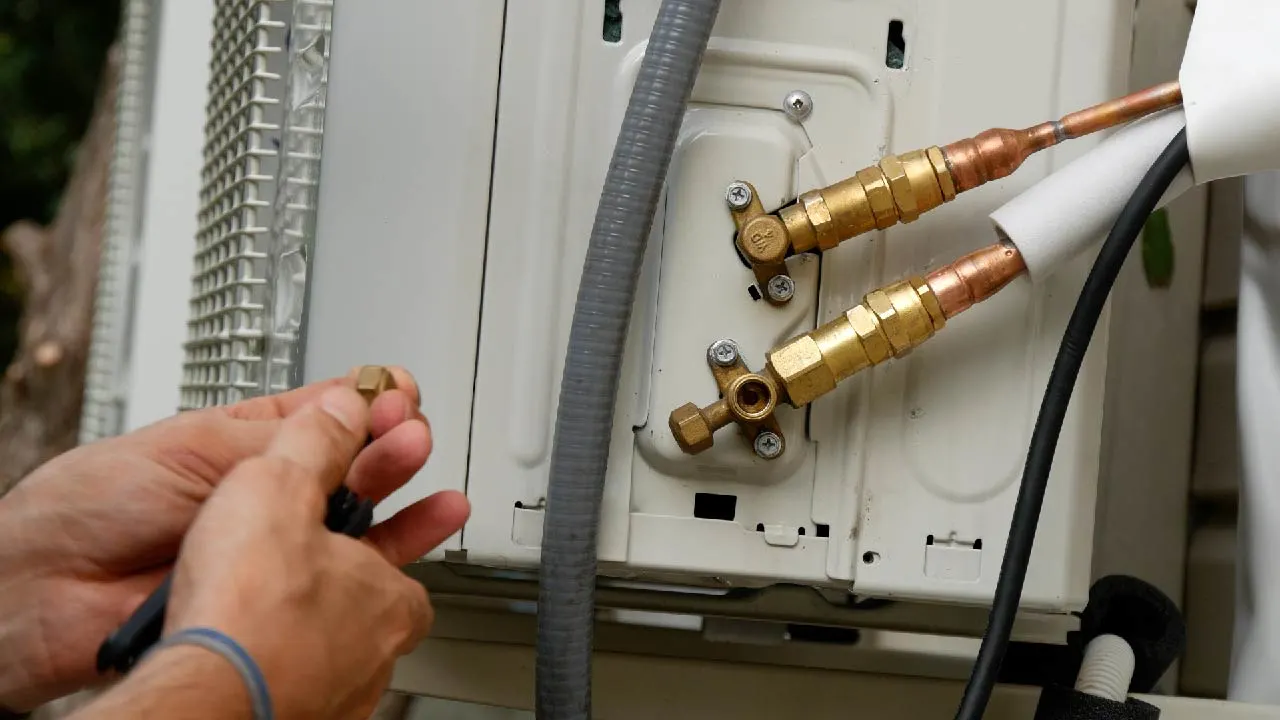
Connect Mini Split Refrigerant Lines and Drain Hose
While I was on my ladder to retrieve the drain hose and straighten the refrigerant pipes, I heard a horse behind me.
So, I turned around and saw a horse at the back of my fence fussing at me.
Moreover, I completely forgot my neighbor has a few horses on their 10 acre property.
Next, I reconnected the refrigerant lines to the outdoor condenser unit on my MRCOOL DIY Ductless Mini Split.
If you would like to learn how to do this, checkout my post on how to install a DIY Ductless Mini Split.


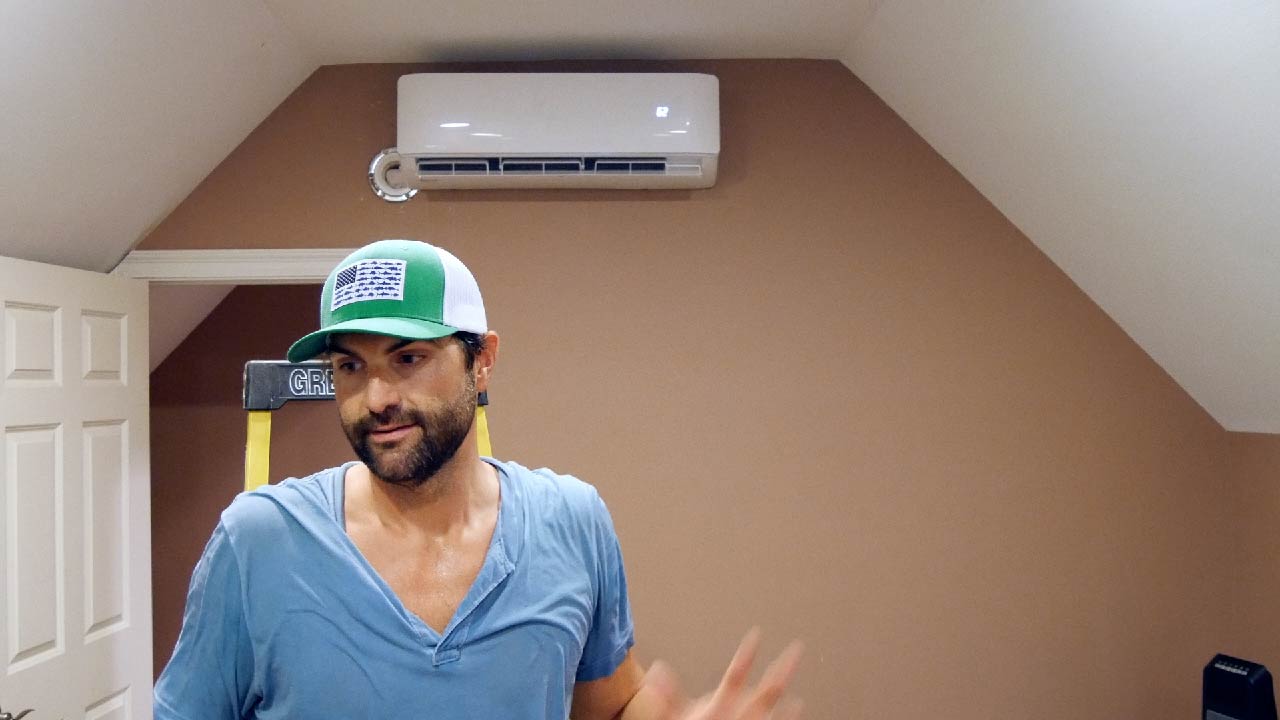
Final Mini Split Not Cooling Test
First, I performed a final test on the unit and everything worked well.
My mini split obviously has refrigerant in it because it is cooling.
Also, I’m sure I lost some since the HVAC professional refilled it.
Ultimately, I plan on calling him back one more time to come check the levels.
Conclusion
Obviously, this was not an ideal situation. Equipment & electronics fail – it happens.
However, I’m happy with the support from MRCOOL.
MRCOOL fixed the issue and responded to my issue.
Ultimately, that is all anyone can ask for.
NOTE: MRCOOL did not pay me nor did they send me anything for free in exchange for this video or blog post.
Steve Freder
Saturday 3rd of April 2021
Thanks for posting this, appreciate it! I am having very similar issues, worked great initially and then stopped after a few months and wouldn't heat. Mr Cool was less than helpful, it took months (January through Mar) before I got a response. They said it sounds like I had a leak but that wasn't under warranty and to have a service rep come out and look it it. Unfortunately I live in a VERY remote area of Utah and the nearest "authorized service represenative" is hours away and would cost in the neighborhood of $500 to $1000 to come out and look at it. Basically just to troubleshoot it is a full day work and travel. Explaining this to them was useless, I basically paid almost $2000.00 for a very expensive fan.
Tony
Sunday 20th of September 2020
Excellent write-up and video! My new 12K DIY has been running flawlessly all summer. But now that it's cold out, I've discovered the heat does not work. I double-checked my connections for leaks. I checked the physical connectors that go to the reversing valve and I do indeed hear a "click" when it switches to heat. I'm not sure, but if there are heating elements in the wall unit, it definitely sounds like eating elements crackling for a good 30 seconds. So I guess that's good (if there are heating elements in there). But after waiting a few minutes, when I check the air flow, it's coming out at 40 degrees Fahrenheit. And the connections near the outdoor unit are ice cold. I'm stumped. Any ideas?
Libby Ford
Tuesday 8th of September 2020
Do you know how to remove the louvres from the mr. cool unit that is inside the house? We used our unit while we were still working on the house and the louvres are very dirty. They need to be removed in order to clean.
Mike
Wednesday 8th of April 2020
Nice write up on the Mr. Cool and installation. I replaced a Mitsubishi Mr. Slim unit with a Mr. cool in the summer of 2018. Worked perfectly after install and saved over $2,200.00 over the local HVAC shop quotes.
Second spring/summer. Wouldn't blow cold. Considering that I had called and paid the local HVAC shops the previous year and knew they end up charging me $600. I ended up purchasing my own refrigerant, hoses, manifold and vacuum pump. A few YouTube videos later, I was pulling my own vacuum and recharging the system. Cost me a little over $300 in equipment with a 25# container of R410A. That's close to 10 recharges. As expected, here I am season 3, had to recharge myself again. Figure if I can keep this running for 10 summers, I'll replace at that time with a 'real' mini-split, professionally installed and saved myself more than half the expense.
Gary Ruprecht
Wednesday 3rd of July 2019
on the 18000 split I just bought it says to keep the back of the unit at least 10 inc from the wall it needs to cool proper to work the reason you might have trouble with the one and not the one in the work shop the work shop one don,t have a far to go so so don,t need as much cooling ,,,that one in your upstairs have father to travel so needs more cooling causeing the unit to over heat