In this article, I provide answers to all your questions about deep casting resin. Learn the benefits of deep pour epoxy, how to use it, and much more.
Even if you don’t need deep pour resin for your DIY project, these tips will help you learn the benefits of using deep casting resin.
Here are some jump links to the main sections of this article:
Best Deep Casting Resin
What exactly is Deep Pour Epoxy?
Deep Casting Resin Applications
How To Use Deep Pour Resin (Step-By-Step)
The Best Deep Casting Resin
Over the years, I built bar tops, live edge tables, and resin art projects for customers all over the world.
In the early years, I used different types of epoxy resin from various manufacturers with less than desirable results.
At some point in 2018, I used Liquid Glass deep cast resin on a large live edge bar top with multiple thick pours.
It performed so well, I never used anything else since.
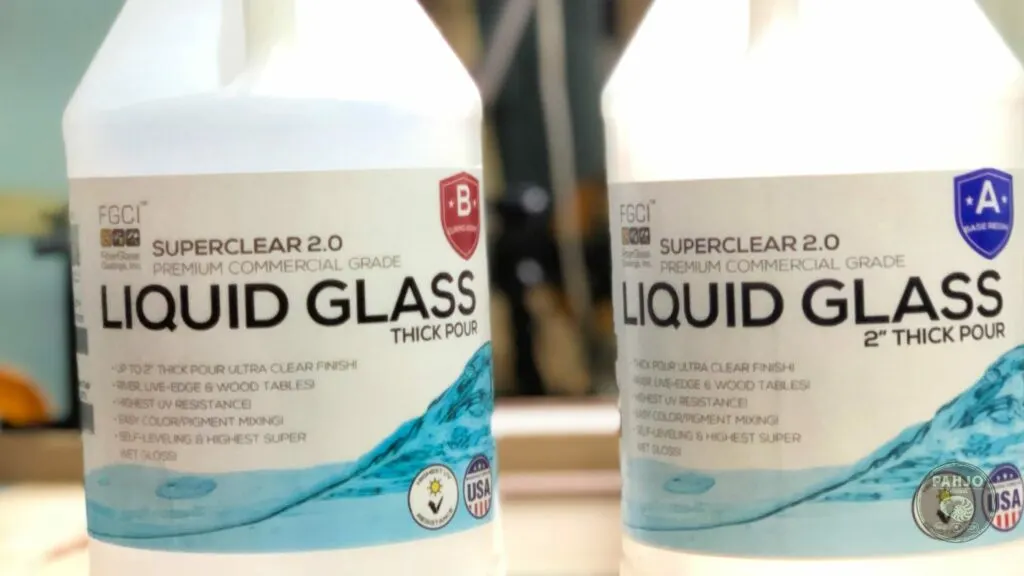
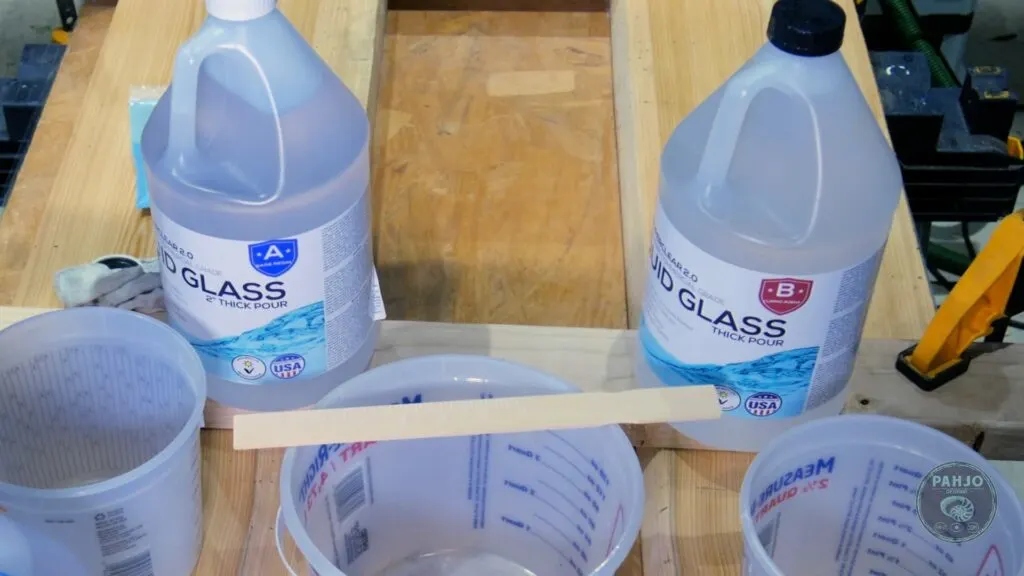
Liquid glass deep casting resin consistently produces the best results on all my projects.
Ultimately, I trust this high-quality epoxy resin system to generate professional results my customers expect.
Liquid Glass Epoxy Resin Kit Bundles:
0.75 Gallon Kit
1.5 Gallon Kit
3 Gallon Kit
Please note: I am not sponsored by or affiliated with Liquid Glass. Therefore, my opinions are my own.
What is Deep Pour Casting Resin
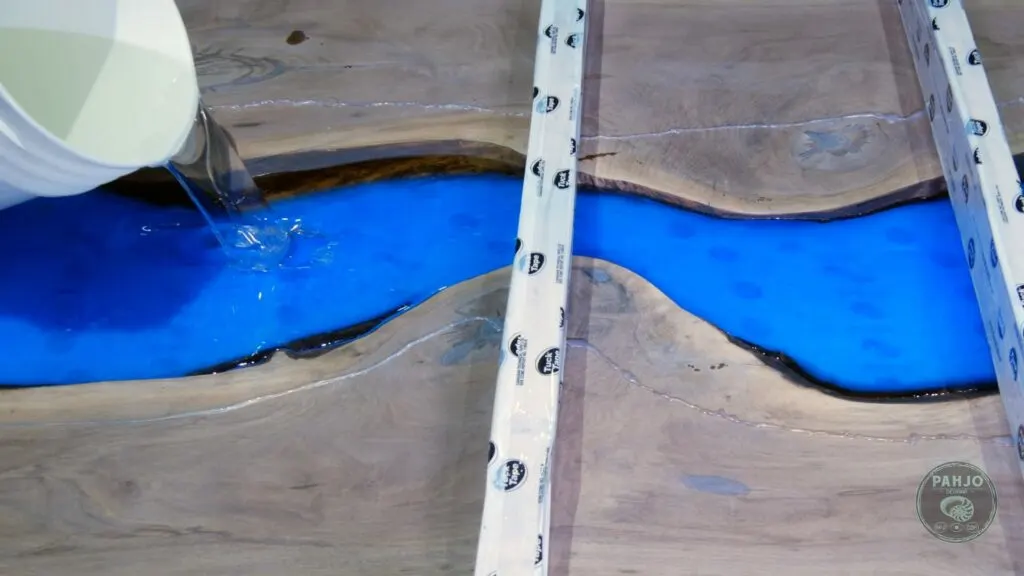
With a maximum pour depth of 2″ to 4″, deep casting resin is specifically designed for large pours and large castings.
Unlike standard table top epoxy resin, the low viscosity of deep pour epoxy resin make it unique and allows for:
- Single pour application
- Slow cure times
- Extended pot life and working time
- Low heat generation
- Deep penetration of porous surfaces
- Self-release of air bubbles
- High mix ratio (2:1, 3:1, or 4:1)
- Quickly Mix Mica Powder or Dyes for great colorful effects
- Vacuum Chamber
Deep Casting Epoxy Resin Applications
Deep casting resin offers woodworkers, artists, and DIY enthusiasts a versatile tool for a variety of large casting applications.
Resin Art
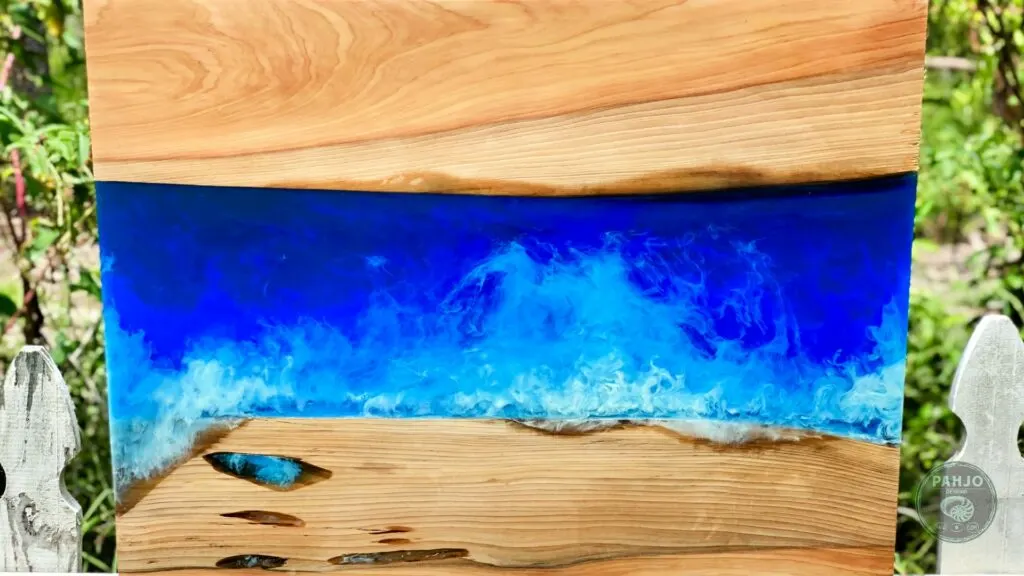
Deep clear casting resin is an excellent resin for art projects. Although resin art only requires thin layers of resin, the fluidity and extended pot life help resin artists create resin art effects with optimal results.
Woodworking
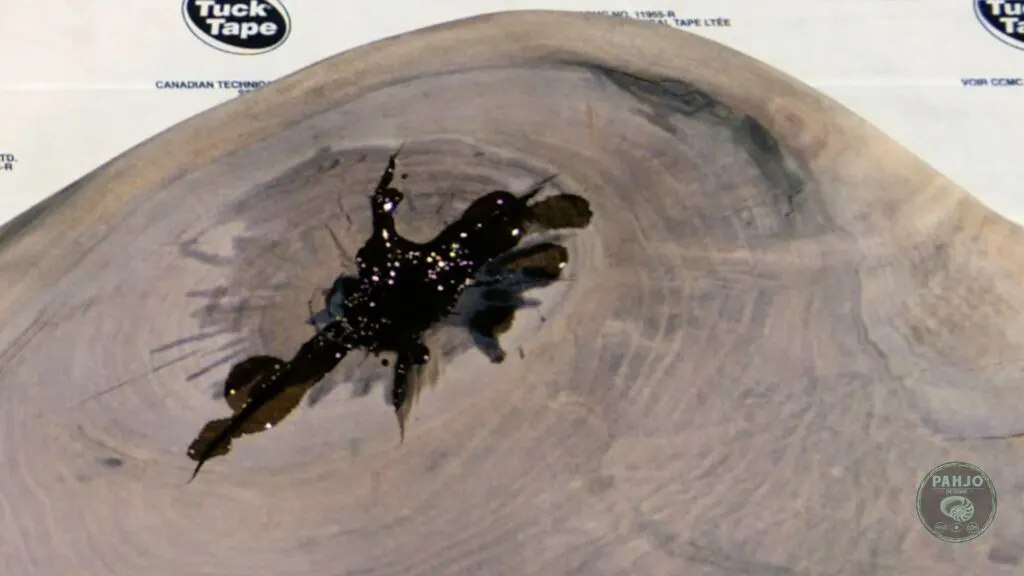
Woodworkers use deep pour epoxy to fill voids, cracks, and knots in wood. The low viscosity of epoxy casting resin allows for deeper penetration of wood fibers resulting in a stronger bond.
Resin Jewelry
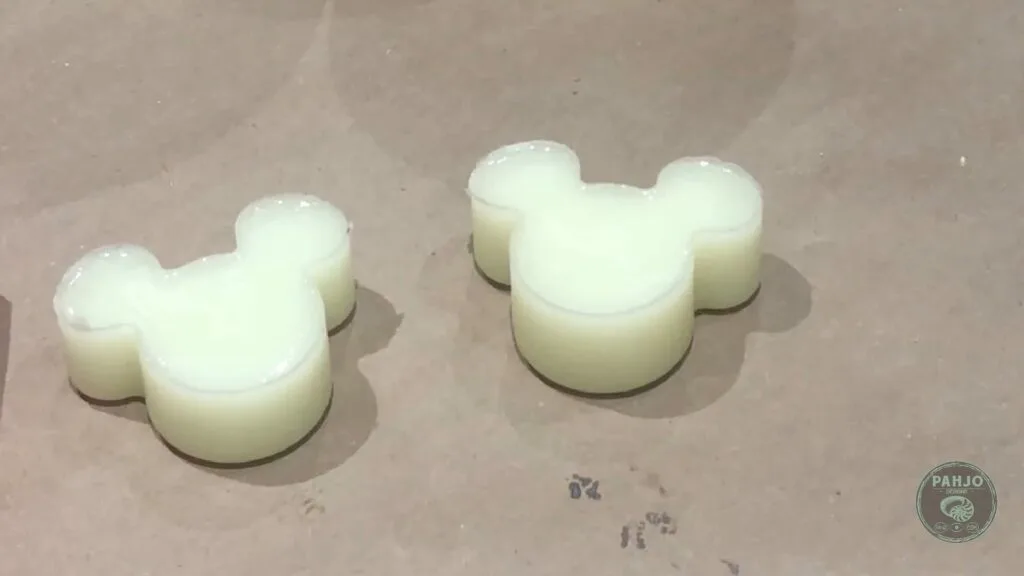
Jewelry designers utilize deep pour clear epoxy resin to encase objects in transparent castings. The crystal clear transparency of deep casting resin work best for encapsulating projects such as jewelry.
Epoxy River Tables
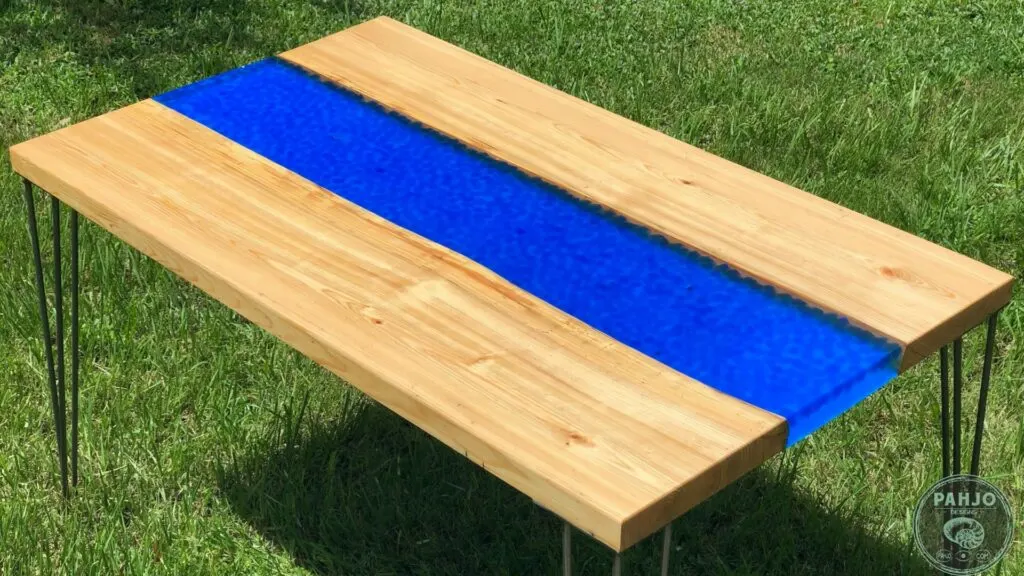
Deep pour epoxy is a great product for epoxy river tables which require large deep pours.
This type of resin allows furniture makers to mix larger quantities of epoxy resin and pour a single thick layer of epoxy.
Embedding Objects
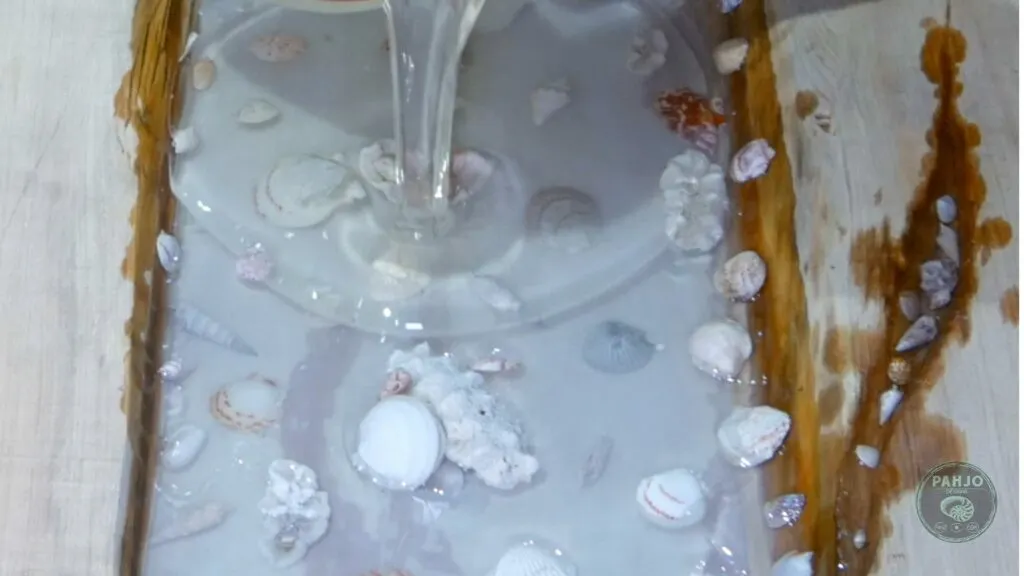
Deep casting resin works well for embedding objects into single layers of resin.
Objects like flowers, coins, or memorabilia are embedded in clear resin for decorative or sentimental purposes.
In addition, multiple thick layers may be used to embed large objects greater than 4″.
How To Use Deep Casting Resin
Here’s a step-by-step guide on how to use deep pour epoxy.
1 – Prepare Your Workspace
First, choose a well-ventilated area for your work to minimize exposure to fumes.
If applicable, build an epoxy mold.
2 – Gather Tools and Materials
Make sure you have all necessary epoxy resin tools and materials such as:
Deep Pour Epoxy
Mixing containers
Drill Mixing Paddle
Stir Sticks
Vacuum Chamber
Mica Pigment
Glow Powder
Mini Torch
Laser Thermometer
3 – Deep Casting Resin Calculator
Accurately measure the volume of the area to determine the amount of resin you need by using a deep casting resin calculator.
4 – Measure and Mix Epoxy Thoroughly
Make sure the casting resin is at room temperature by using a temperature laser.
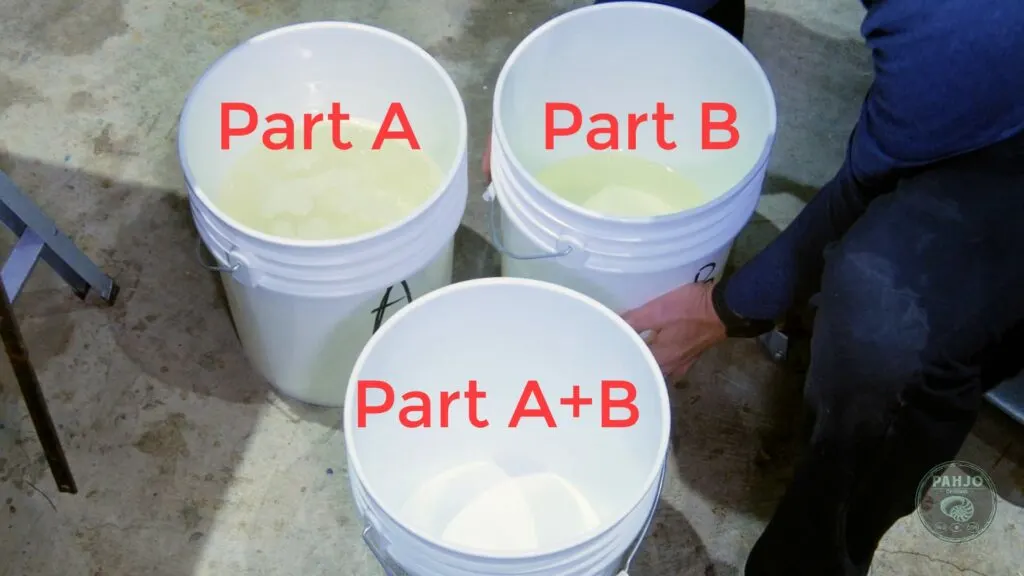
Measure and pour part A in one container and part B in a separate container.
Next, pour part A and part B in a third container.
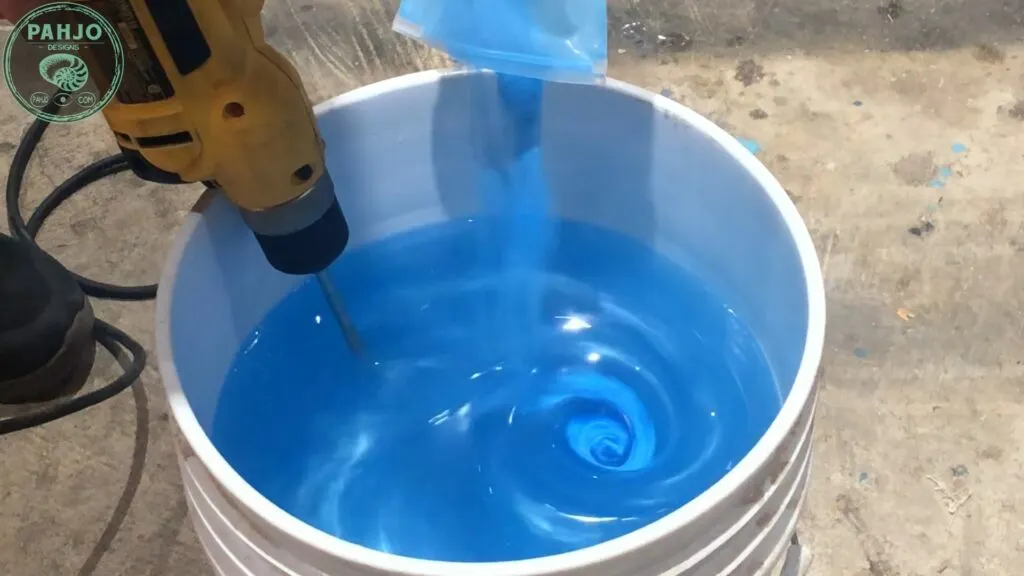
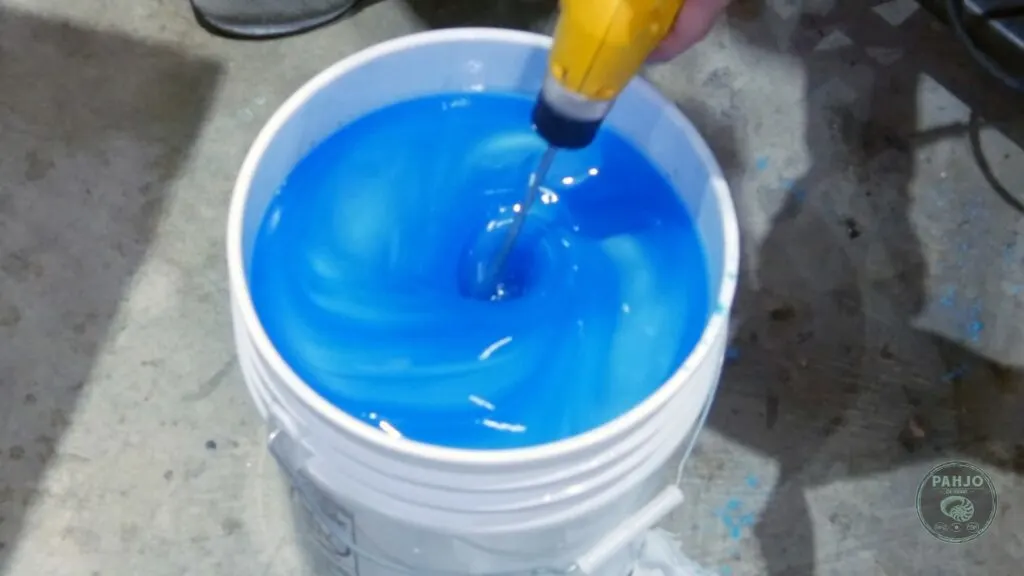
Use a drill with a mixing paddle to mix the components together thoroughly.
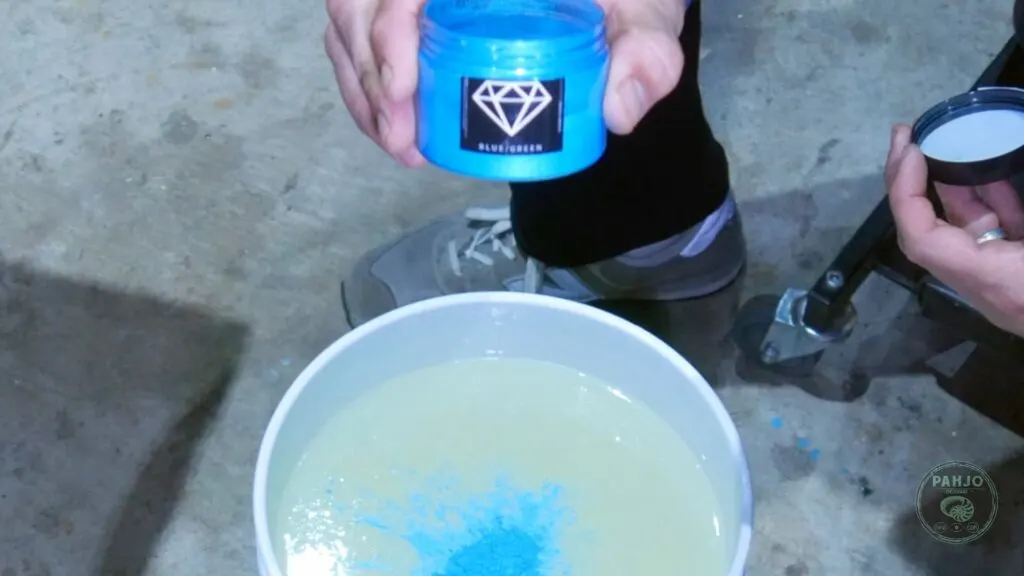
If applicable, add pigments, glow powder, or dyes to color the casting resin and mix again.
5 – Pour Resin
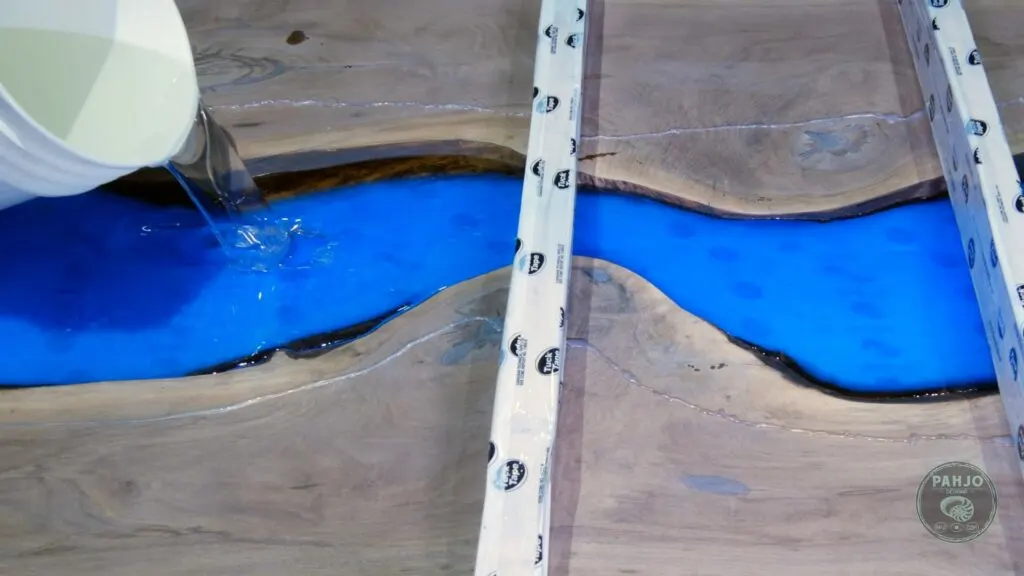
Slowly pour the mixed resin into your chosen mold or application area.
Pouring slowly helps minimize the introduction of new air bubbles.
For pours greater than 4″ thick, it may be necessary to pour in multiple layers.
Remember, allow each layer to partially cure before adding the next.
6 – Remove Air Bubbles
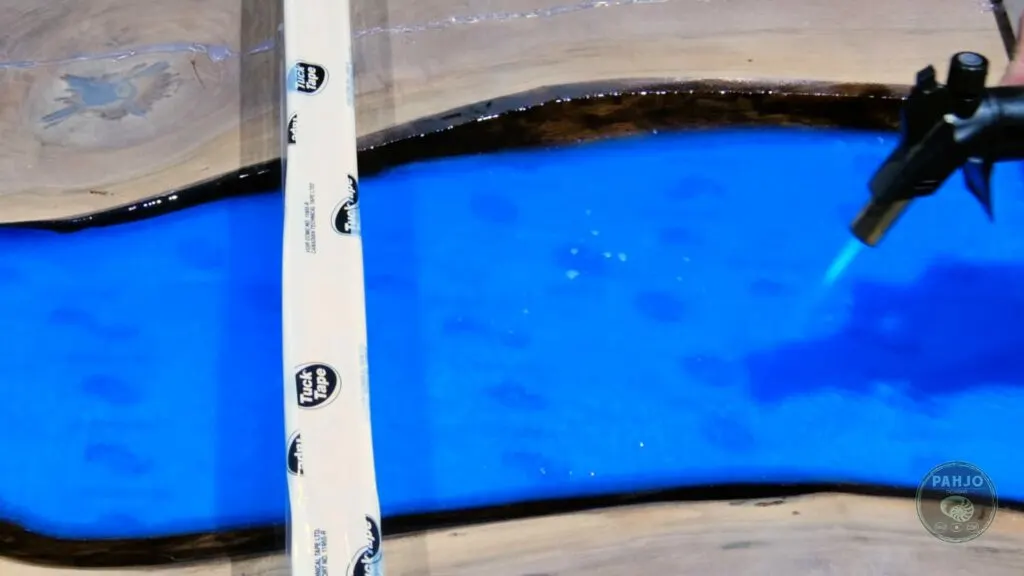
To remove perfect air bubbles from the mixture, you can use a vacuum chamber or a heat gun to carefully remove trapped air.
Not all projects require degassing via a vacuum chamber, but it can enhance the clarity of the final product.
If you don’t have a vacuum chamber, use a mini torch to remove air bubbles after mixing and after pouring.
7 – Allow To Cure
Allow the resin to cure according to the manufacturer’s recommended time.
The curing time can vary based on the specific resin used.
After the initial curing period, consider post-curing for additional strength and clarity.
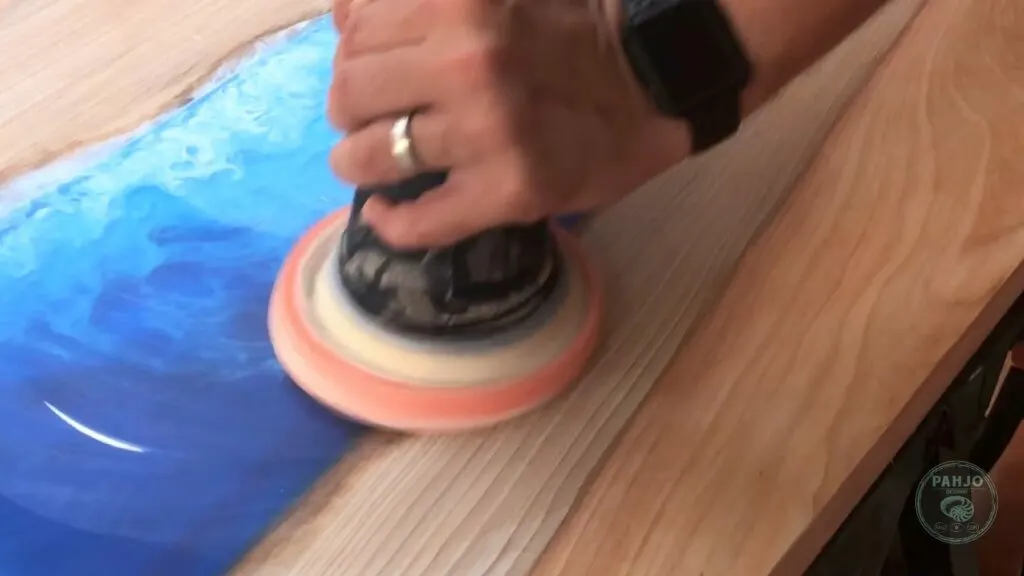
8 – Sand Epoxy Resin
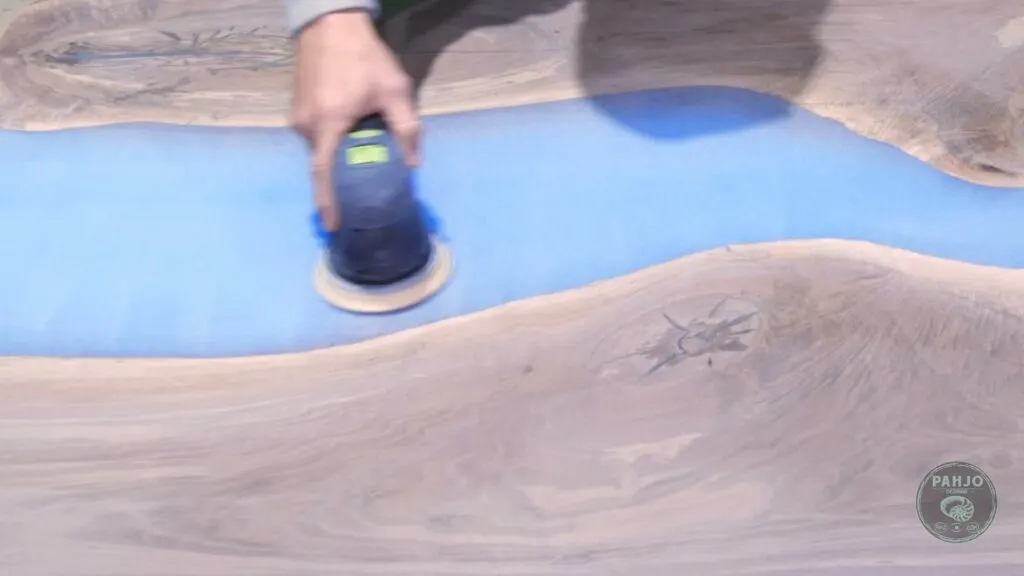
Once cured, sand the epoxy resin.
9 – Apply Finish
After you finish sanding, finish the epoxy surface with a hardwax oil such as rubio monocoat.
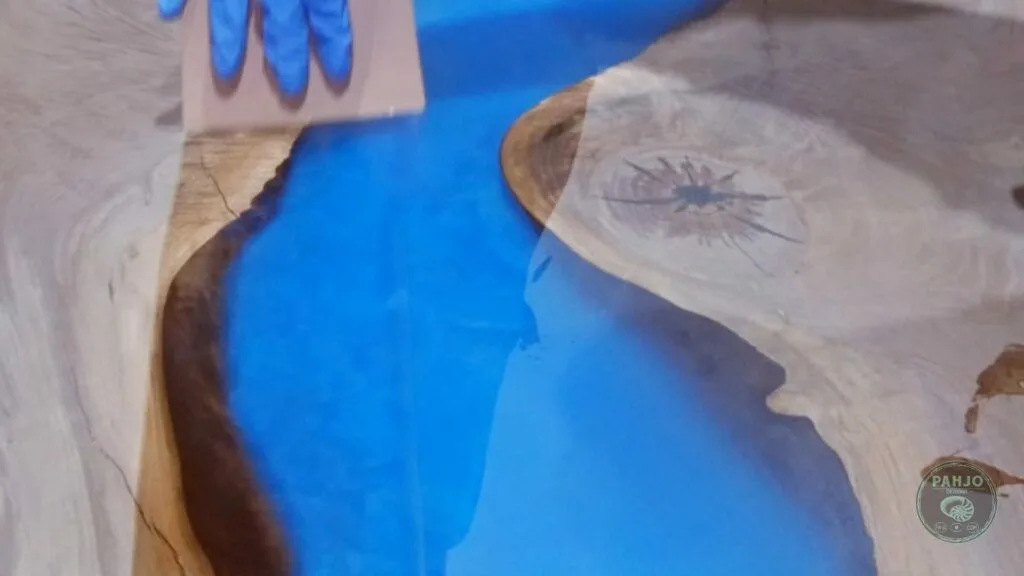
Or, polish the epoxy to a high gloss finish.
10 – Clean Tools
As a last step, clean your mixing tools and containers with isopropyl alcohol before the resin fully cures.
Dispose of any waste materials according to local regulations.
Keep in mind, always refer to the specific instructions provided by the manufacturer, as different products may have unique requirements.
Conclusion
In summary, deep casting resin offers several practical applications.distinct advantages over table top epoxy resin.
I hope this tutorial helps you choose the right resin for your next DIY epoxy project.
Related Posts:
