
In this tutorial, I show you how to protect an outdoor epoxy table with marine grade varnish.
Even if you don’t need to finish an outdoor epoxy table, the DIY tips I share can be applied to any epoxy resin and woodworking project.
Here are some jump links to the main sections of this post to help you get the information you need quickly.
Video Guide
Finishes and Tools
I replaced a $6,000 Outdoor Bar Top!
Best Outdoor Finish for Epoxy Wood Tables, Bar Tops, and Countertops
How To Protect Outdoor Table (Step-by-Step)
1 Year Update
Video Tutorial: How To Protect Outdoor Epoxy Table
There are several things which are difficult to fully explain with words and images, so be sure to check out the video tutorial below.
Outdoor Wood Table Finish
The best outdoor wood table finish and other supplies I used in this project are listed below.
Penetrating EpoxySmall Mixing Containers
Card Spreader
Halcyon Clear Gloss Varnish
Synthetic Brush
Epoxy Table Fail
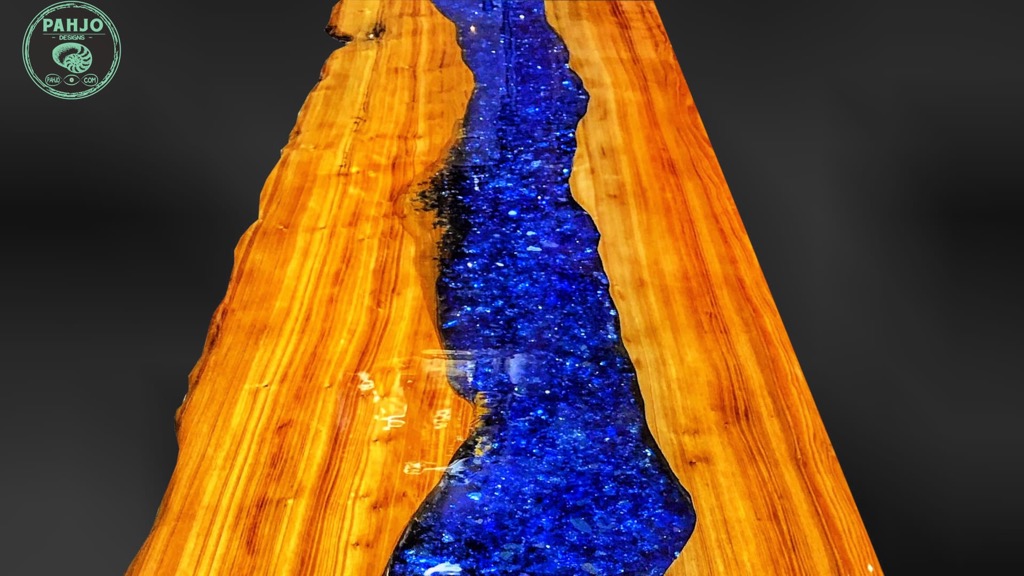
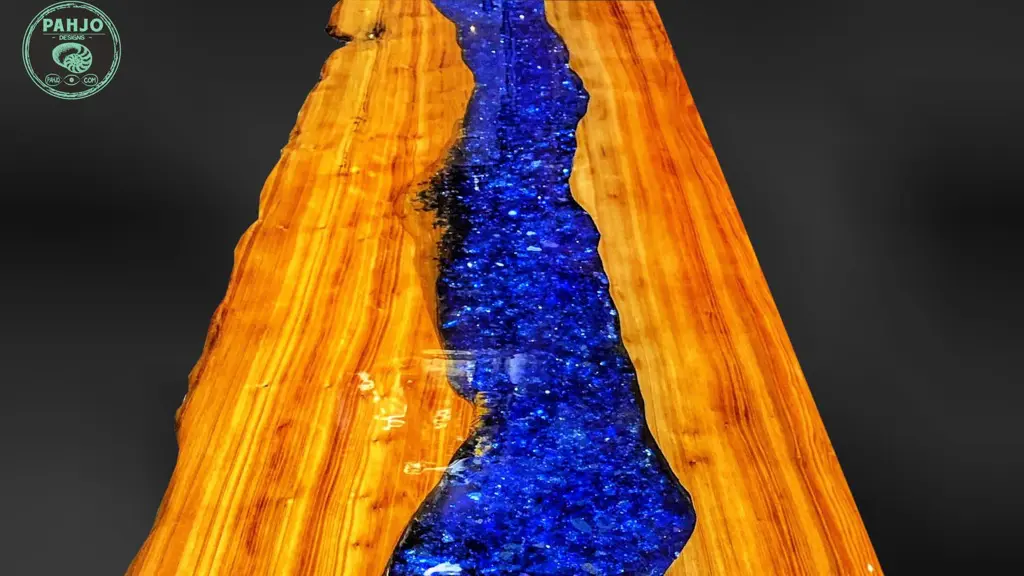
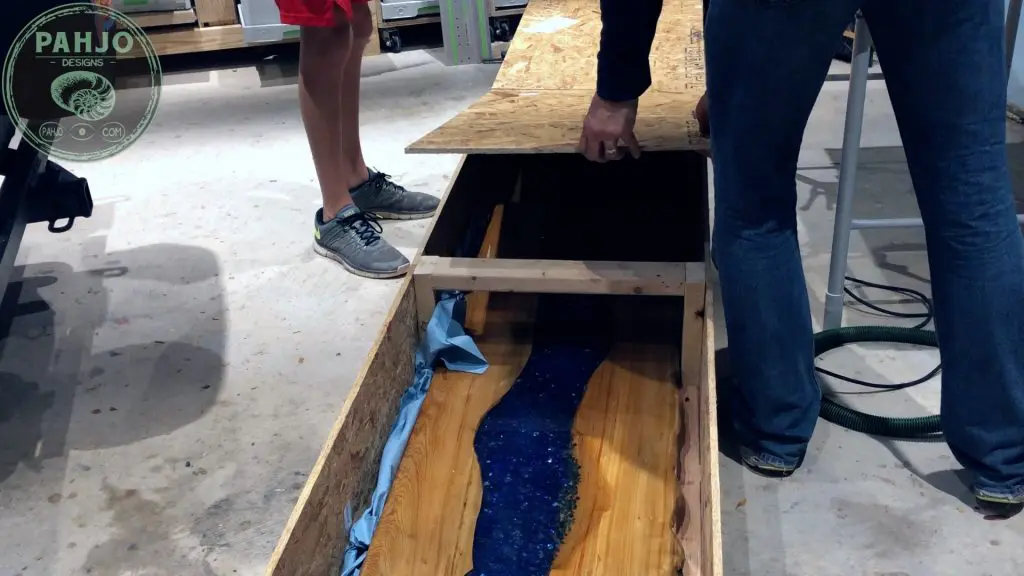
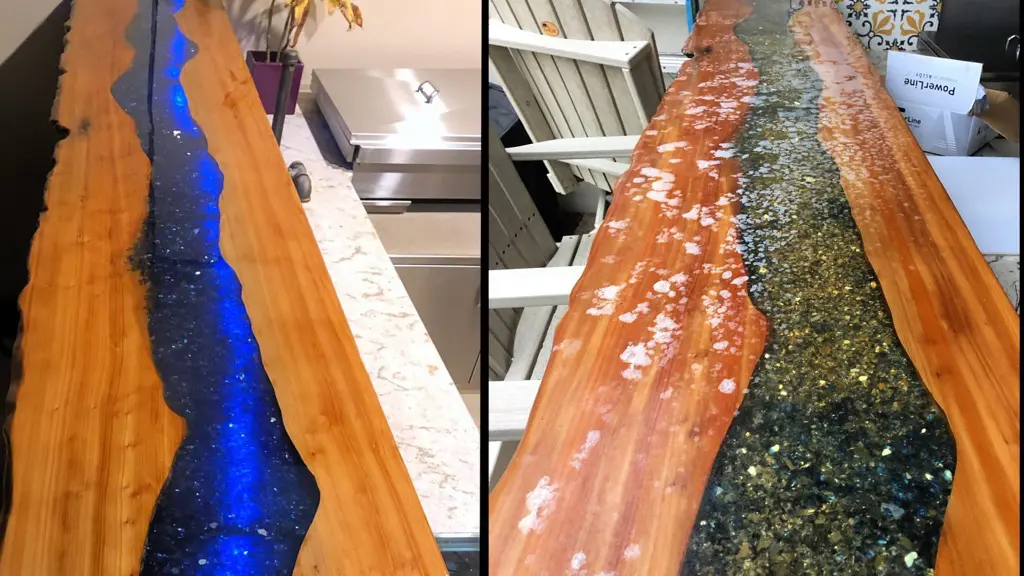
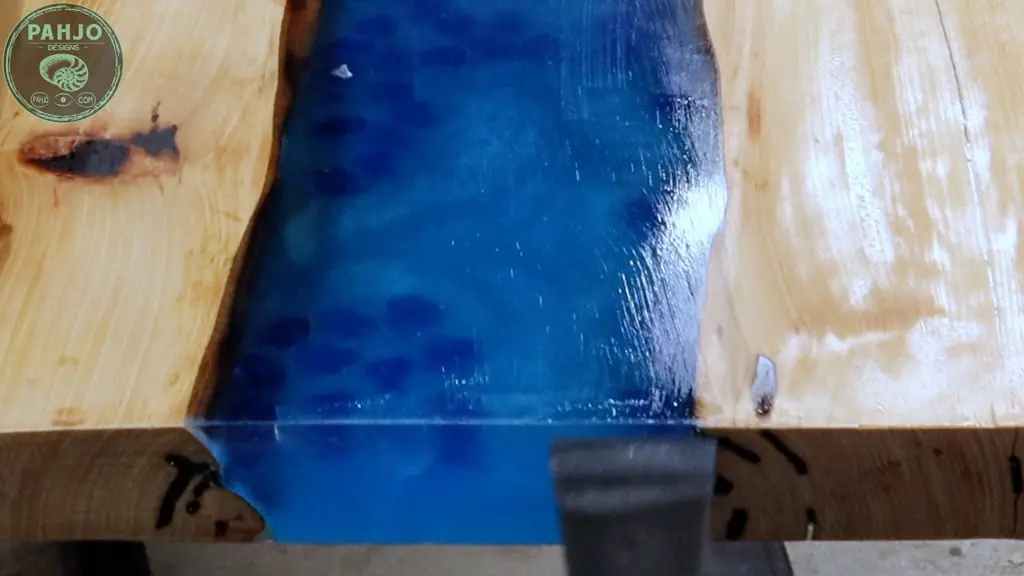
As a quick level set – I made this 12 foot x 18 inch x 2 inch (Length x Width x Thickness) outdoor epoxy bar top with a live edge sinker cypress wood slab for a customer in South Carolina.
It had an epoxy river with embedded fire glass and blue glow powder.
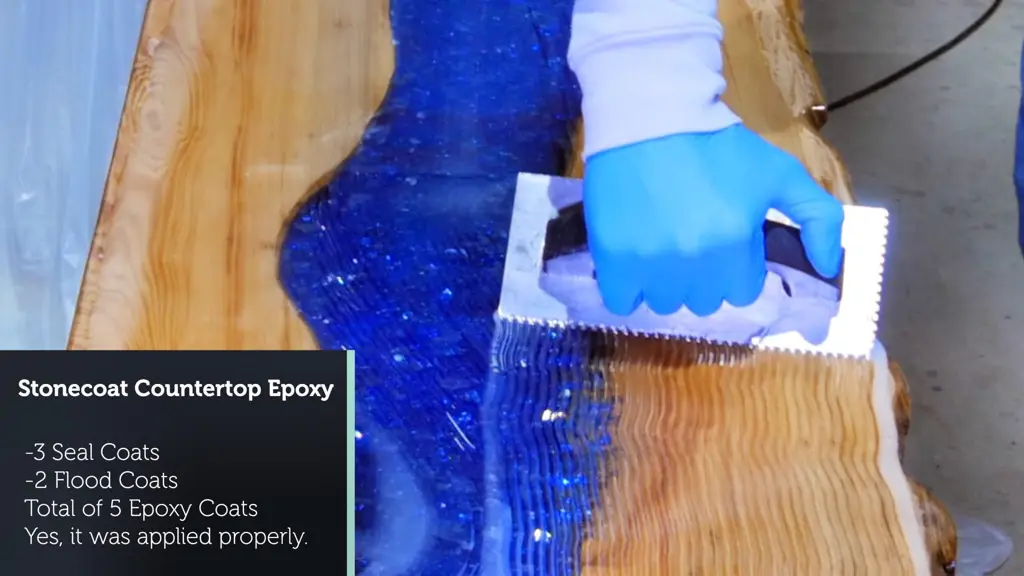
Additionally, I used stonecoat countertop epoxy as the final finish on the bar top.
I applied 3 seal coats and 2 flood coats for a total of 5 coats on this epoxy bar top.

Outdoor Wood Table Location
When my customer ordered the epoxy bar top, his home was under construction and about 75% finished.
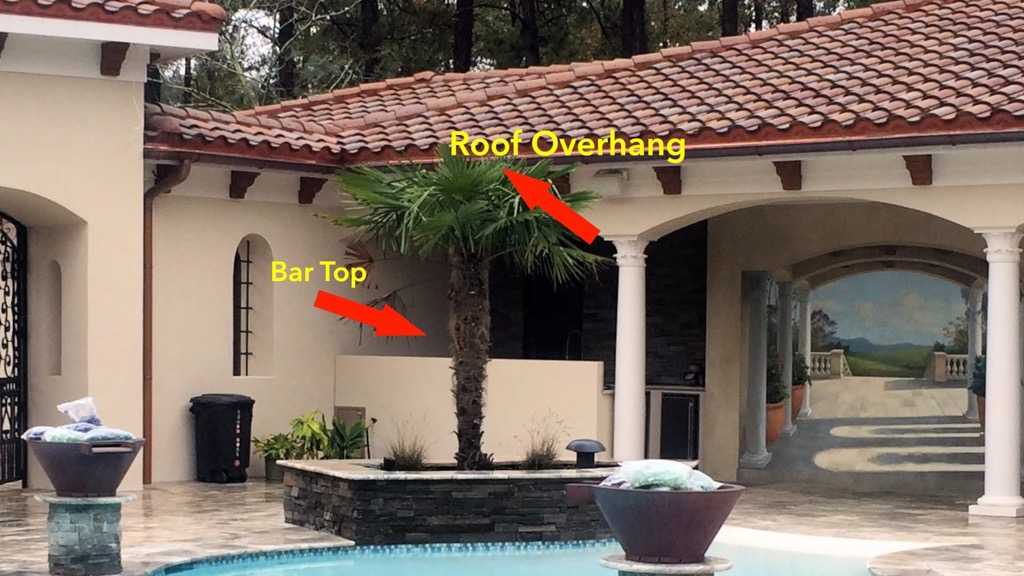
He stated the bar top is for an outdoor kitchen.
In addition, the bar top would be located under a patio and not exposed to outdoor elements.
Since the customer lives in South Carolina (12 hour drive away), I did not inspect the area.
Even if I performed a preliminary inspection, I don’t believe it would have prevented the impending disaster.

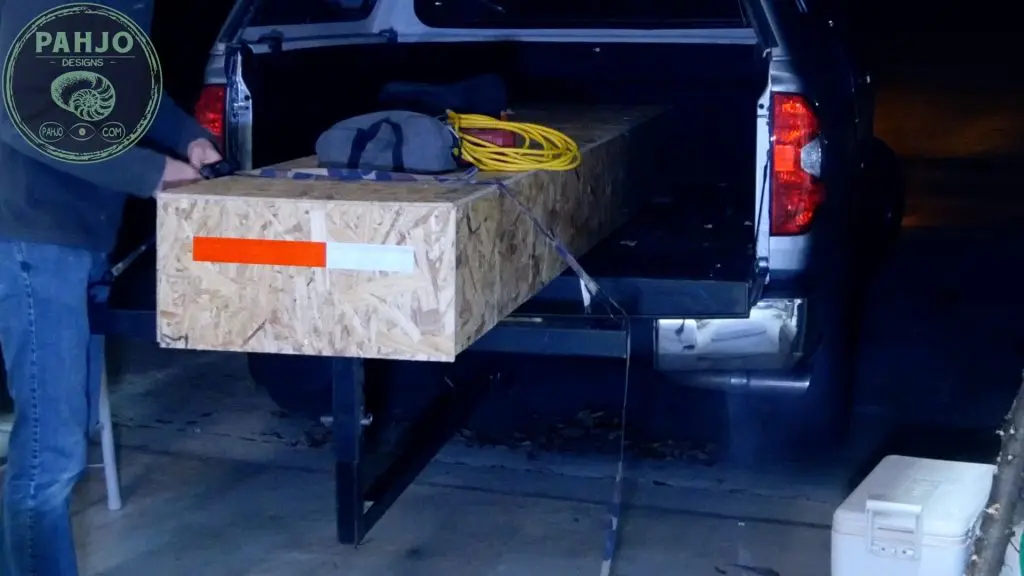
So, I completed the bar top, loaded it in my truck, drove it to South Carolina, and installed it shortly after the customer moved in to his new home.


The installation went smoothly, customer was happy, and I returned home safely.


Ruined Outdoor Epoxy Table
I get a text from my customer roughly 8 months later with this picture.
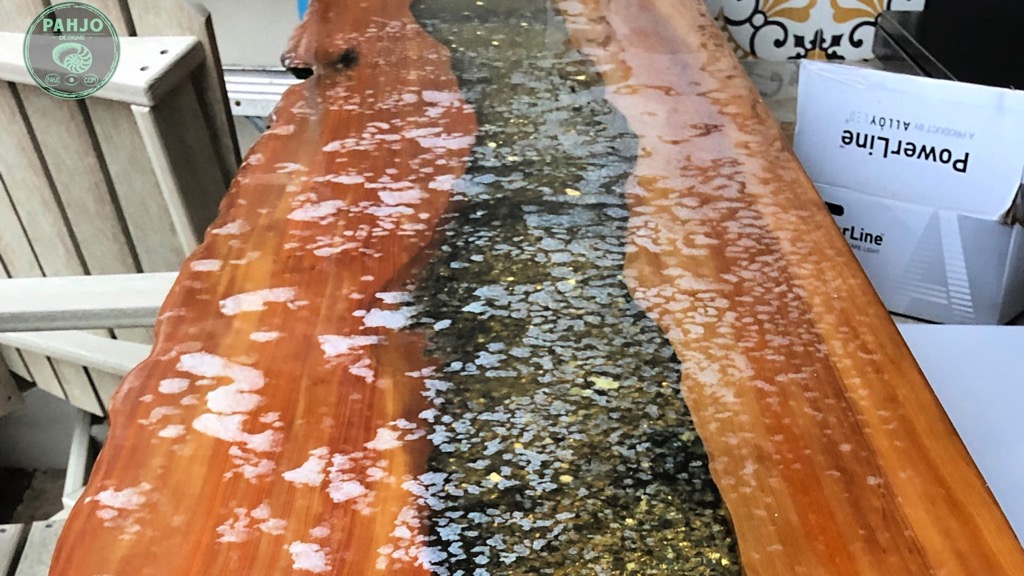


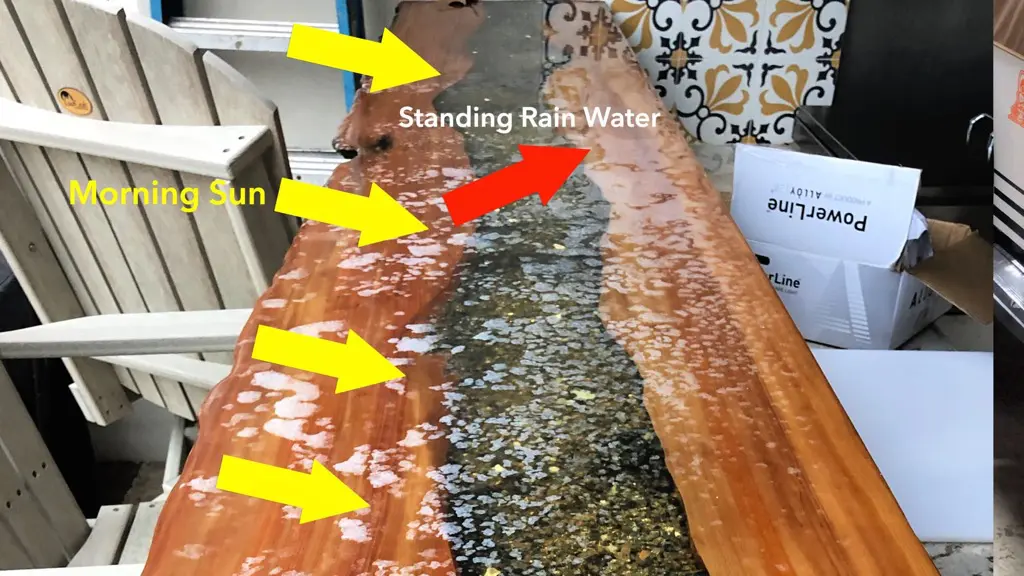
After asking a few questions, I learned the epoxy bar top was exposed to direct sun for part of the day as well as rain water.
The direct sunlight combined with standing rain water on the bar top ruined the finish.
Essentially, the harsh southern sun softened the epoxy each day.
Then, the rain and moisture eventually found its way under the epoxy.

Replaced a $6,000 Epoxy Table
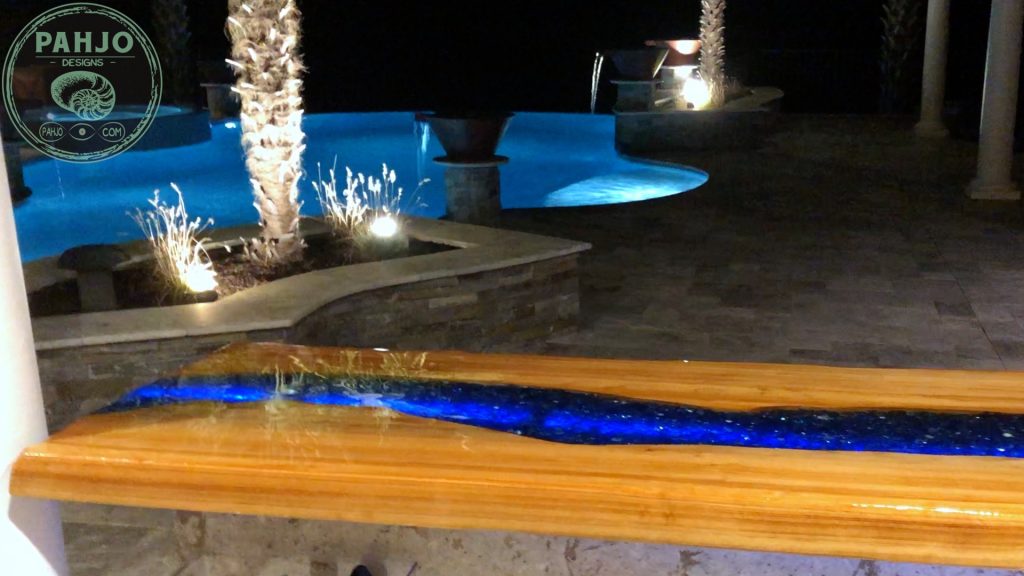
Since the customer lives across the country from me, I decided to build him a ‘new and improved’ outdoor live edge river table bar top instead of fixing the previous one.
Furthermore, I used the best outdoor wood finish (more on this later) on this outdoor wood table as well as a few other enhancements.
I shipped the customer the new epoxy bar top and he returned the old bar top back to me so I can repurpose the sinker cypress slab.

Nobody at Fault
Essentially, this was no one’s fault.
Since my customer’s home was new construction, there was no way for him to know the bar top would be exposed to direct sunlight and rain.
Based on the information provided to me, I did not use the wrong outdoor wood finish.
In addition, StoneCoat Countertop Epoxy is not made to withstand direct sunlight and rain.
In fact, no epoxy can withstand these conditions – more on this later in this article.
I do my best to avoid blaming others or things for bad situations.
It accomplishes nothing and, often times, makes bad situations worse.
Sometimes, stuff (or 4 letter S word) happens.
As the old saying goes, “Don’t fight to be right, fight to solve problems.”
Outdoor Epoxy Resin for Wood Table
Before I dive into how to protect outdoor epoxy wood table the right way, I want to address epoxy protection.
Let me be clear – no epoxy finish can withstand direct sunlight (UV Rays) for long periods of time without degrading.
Eventually, epoxy succumbs to prevailing sunlight without exception.
Depending on the amount of sunlight exposure, the epoxy resin may turn yellow or form white spots on the surface.
Epoxy finishes can survive outdoors with proper maintenance.
However, I always recommend to not use epoxy for outdoor wood furniture as the final finish.
The normal homeowner does not have the tools, skillset, or time to properly maintain this surface.
UV Inhibitors for Epoxy
Often times, epoxy manufacturer’s label their epoxy as ‘UV Resistant’.
This simply means the epoxy contains UV inhibitors.
In other words, UV inhibitors simply prolong the aforementioned inevitable result.
Protect Outdoor Epoxy Table
In order to protect outdoor furniture, wood, or anything from the outdoor elements, I prefer to use marine-grade products.
Think about it.
How does a sailboat or cruise ship protect the wooden hatches and handrails from the blistering sun, salty air, and rain?
If a finish protects wood on a sailboat or cruise ship, it certainly can protect outdoor epoxy wood tables for an outdoor kitchen in a backyard.
Ultimately, using a marine-grade wood finish simply makes sense.
Best Outdoor Wood Table Finish
A quality outdoor wood finish must provide UV protection and water protection.
The same goes applies for protecting outdoor epoxy tables.
While UV protection and water resistance may seem very different, they are closely related to one another.
In other words, if one fails the other fails.
With that said, there is a way to protect an outdoor resin river table or epoxy bar top withstand exterior elements.
How to Finish Outdoor Epoxy Resin Table
In order to finish an outdoor epoxy wood table, it must be sealed and finished with a varnish.
Seal Outdoor Table
First, the supplies I used to complete this step are as follows:
Penetrating EpoxySmall Mixing Containers
Card Spreader
Most outdoor finishes fail or simply don’t last because the surface was not properly sealed.
Moreover, properly sealing a epoxy wood surface prevents moisture or standing water from penetrating the surface and reaching the wood.
Basically, it serves as a moisture barrier which dramatically reduces the stretching and shrinking.
If water reaches the wood, it will cause all sorts of issues from wood expansion/contraction.
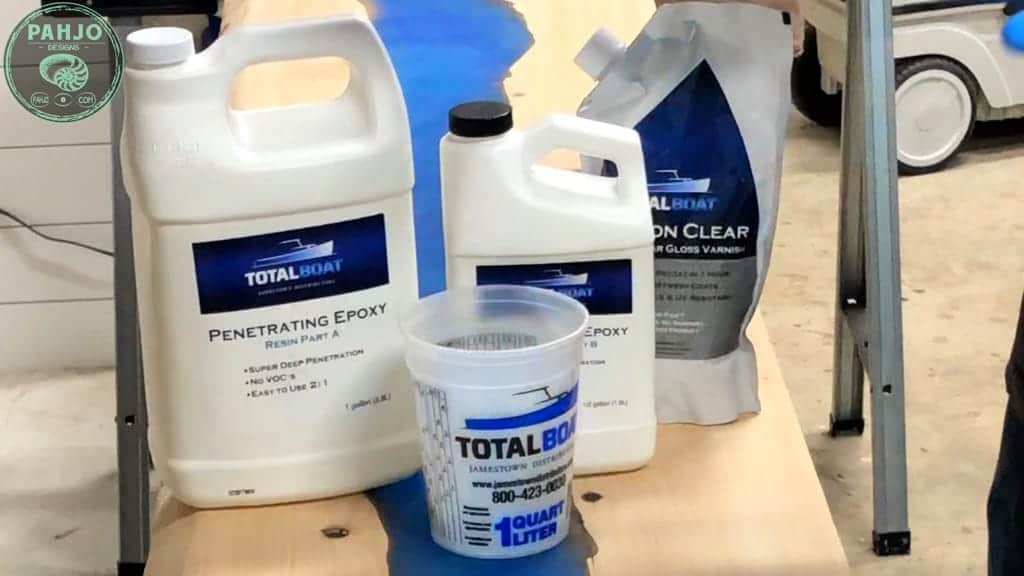
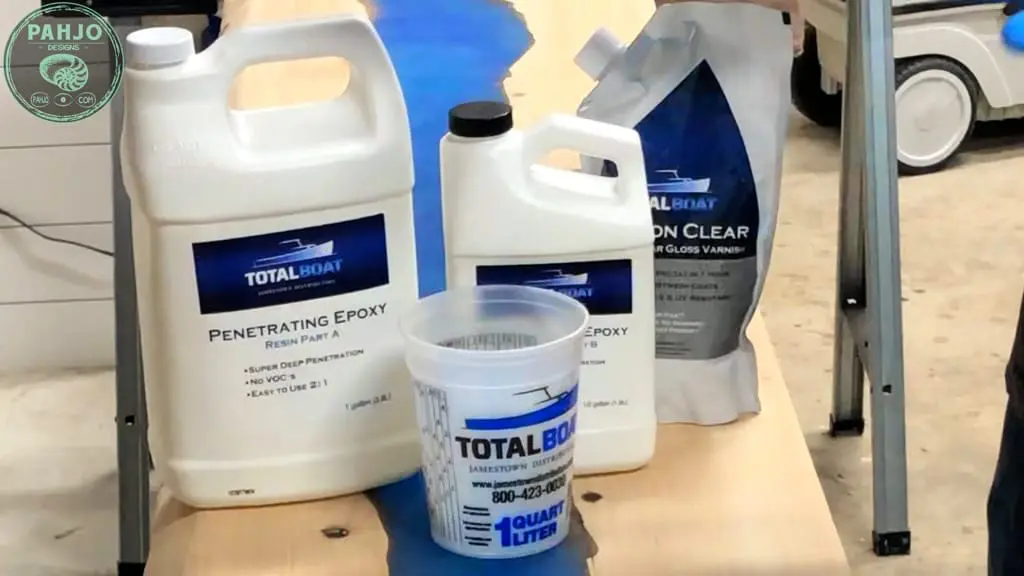
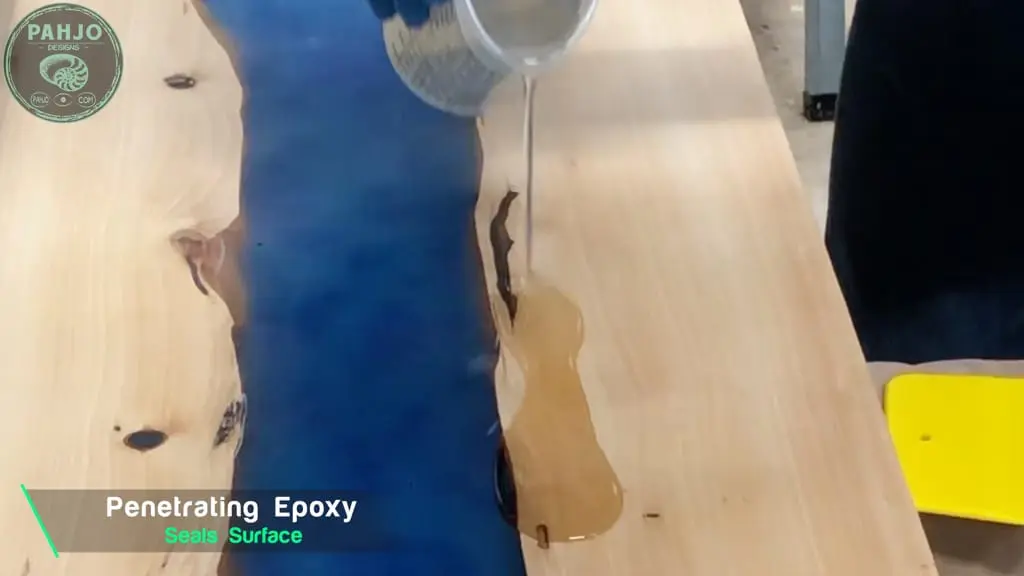
I used TotalBoat penetrating epoxy to properly seal the outdoor wood table and prepare it for the marine grade varnish.
Due to the thin viscosity, penetrating epoxy quickly penetrates cracks, crevices, and wood knots.
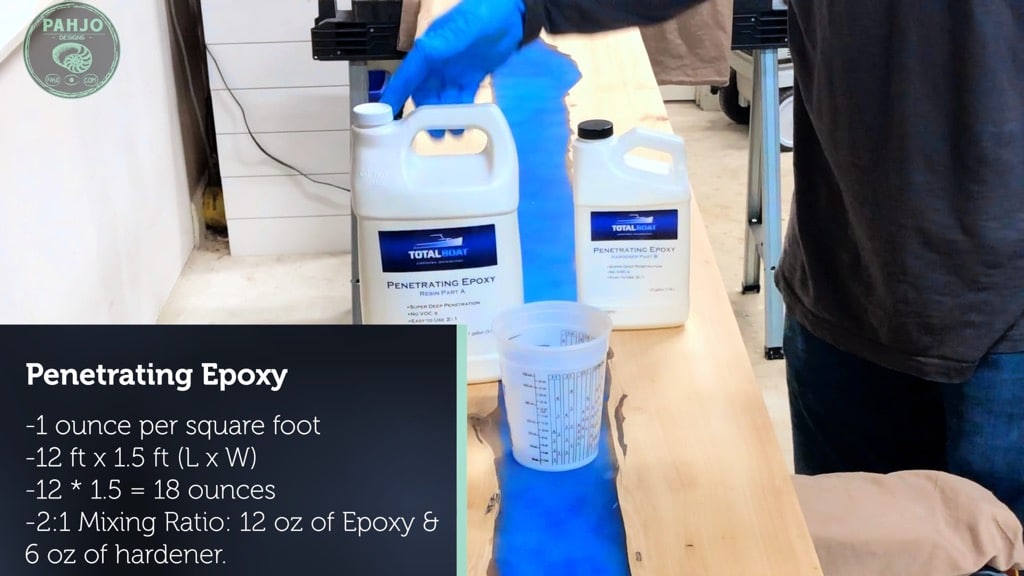
First, I calculated the square footage of the table which was 18 square feet.
I recommend using 1 ounce of penetrating epoxy per square foot, so I used 18 ounces.
Since this penetrating epoxy requires a 2:1 mixing ratio, I mixed 12 ounces of part A and 6 ounces of part B.
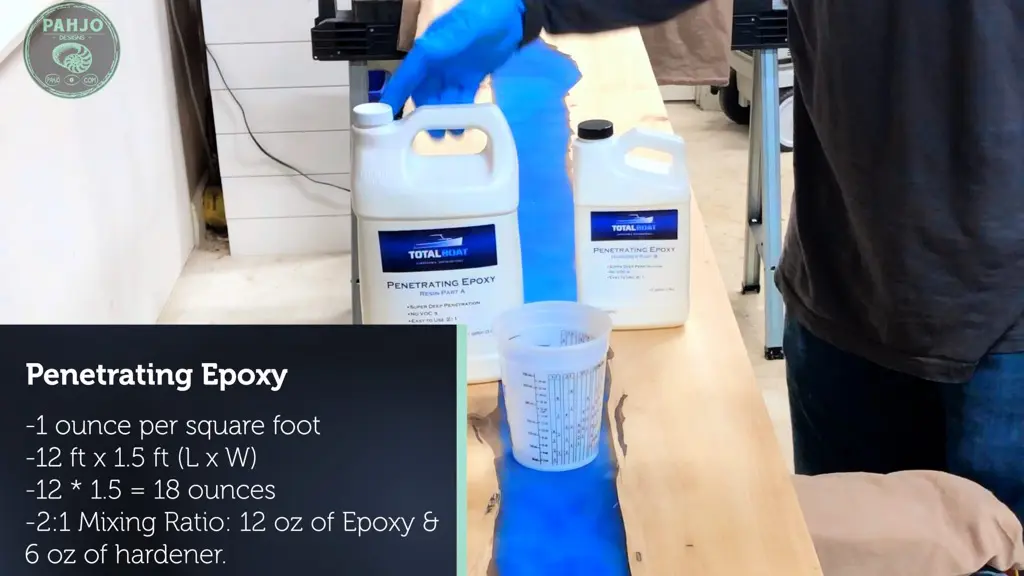
Next, I spread the material using a card scraper.


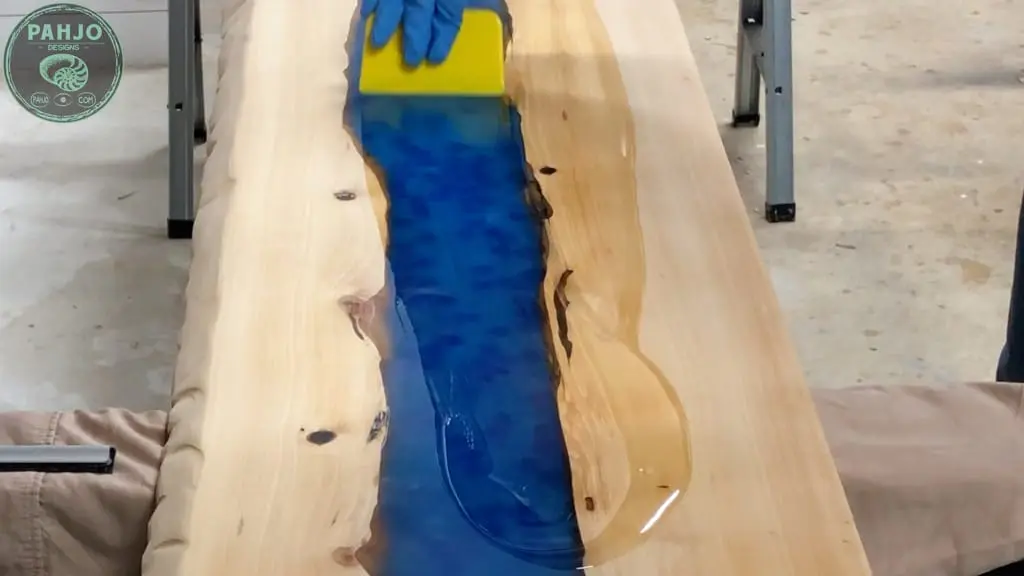

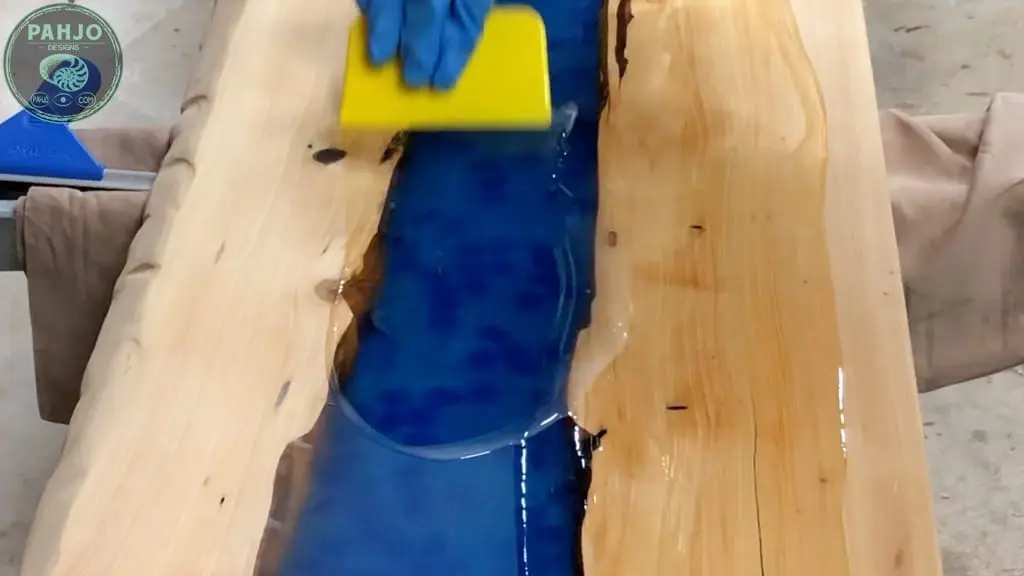
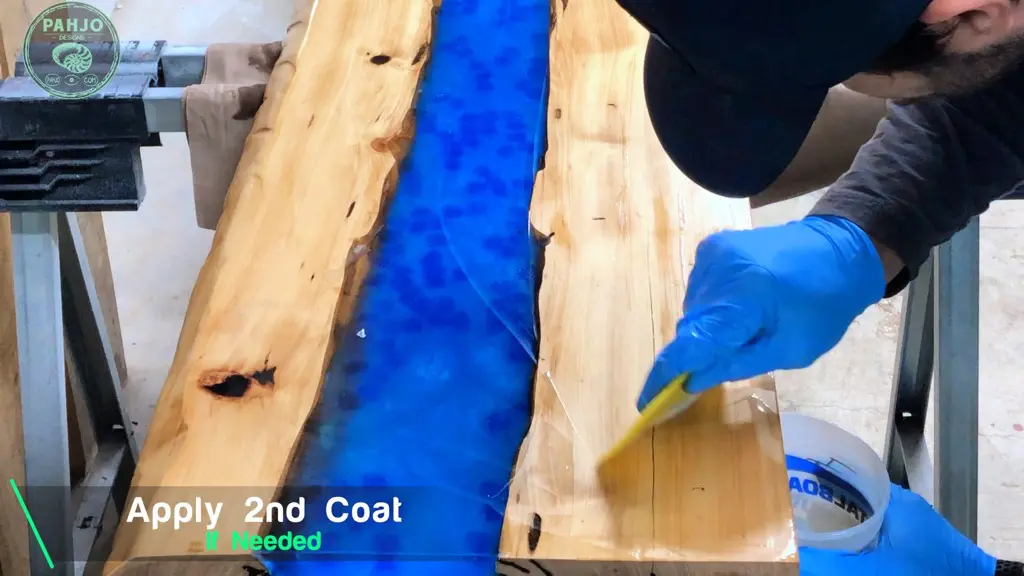
Keep in mind, you may need to apply more than one coat depending on wood absorption.
Then, I removed the excess by scraping it back into my mixing bucket.

Once it cures, the wood surface is properly sealed and ready for the final step.
Varnish over Epoxy
The supplies I used to complete this step are as follows:
Halcyon Clear Gloss VarnishSynthetic Brush
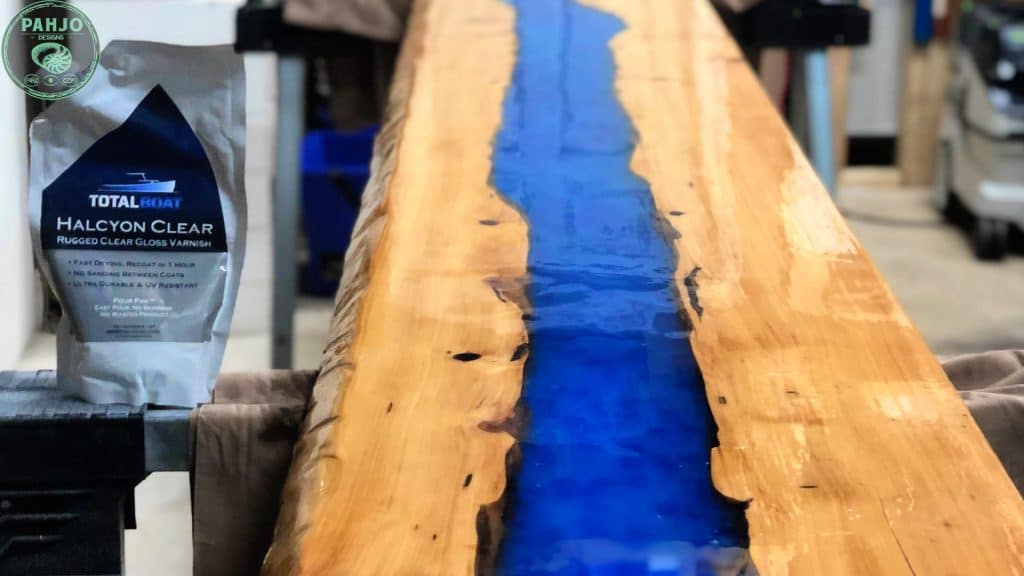
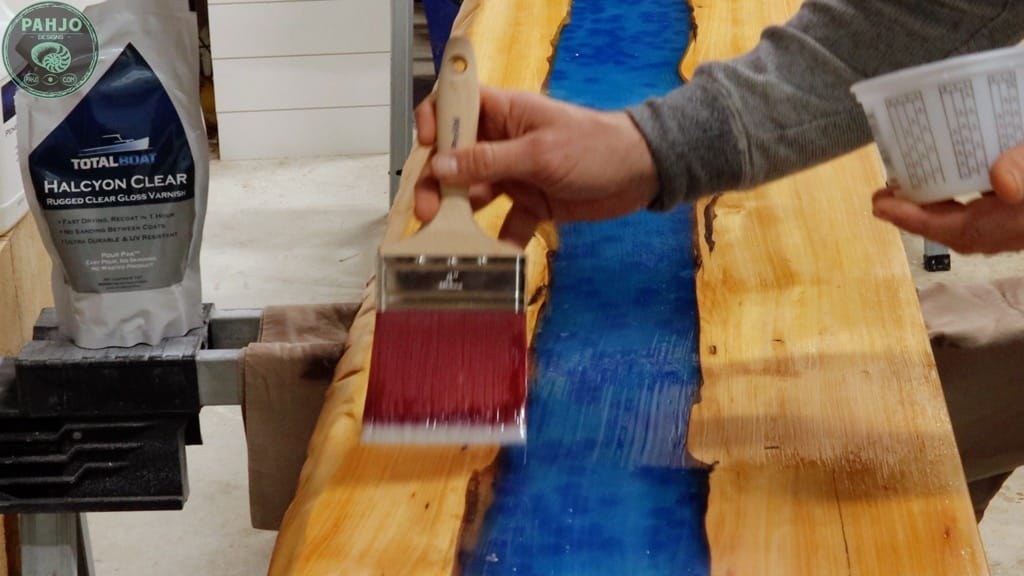
To properly protect this outdoor epoxy wood table to withstand the forces of nature, I used a Halcyon Varnish by TotalBoat.
Before I proceeded with this step, I inspected the penetrating epoxy and made certain it sealed the wood to keep moisture out.
A varnish over epoxy finish will fail prematurely if moisture penetrates the epoxy due to a poor application.
Essentially, the benefits of TotalBoat Halcyon varnish are:
- Resistant to UV, scratch, and abrasion
- Fast Drying Time
- Allows up to 5 coats in 1 day
- No sanding between coats
- Great adhesion and versatility, which allows wood to contract and expand
- Water-based, so cleanup is easy with mild soap and water
- Resealable packaging makes it easy to use and reduces waste
- Has glossy and satin sheen options
Apply Varnish over Epoxy
First, I mixed the Halcyon clear varnish by massaging the packaging at the top and bottom.


Next, I poured the varnish into a container through a strainer to catch any large particles.
I use roughly 12 ounces at a time because it dries quickly.
If I pour more than I need, I risk wasting varnish.


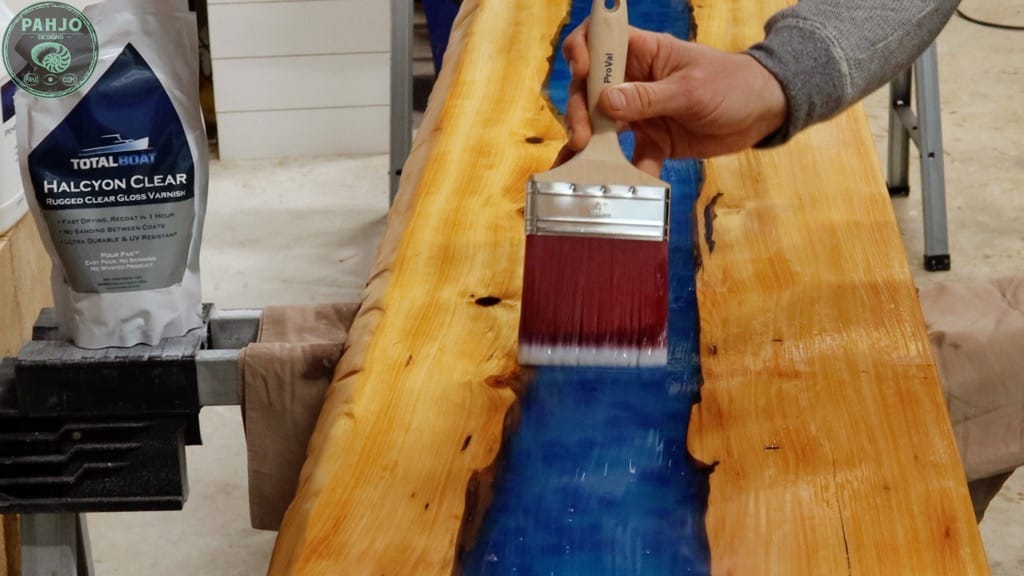
Then, I used a foam brush to apply a very thin coat.


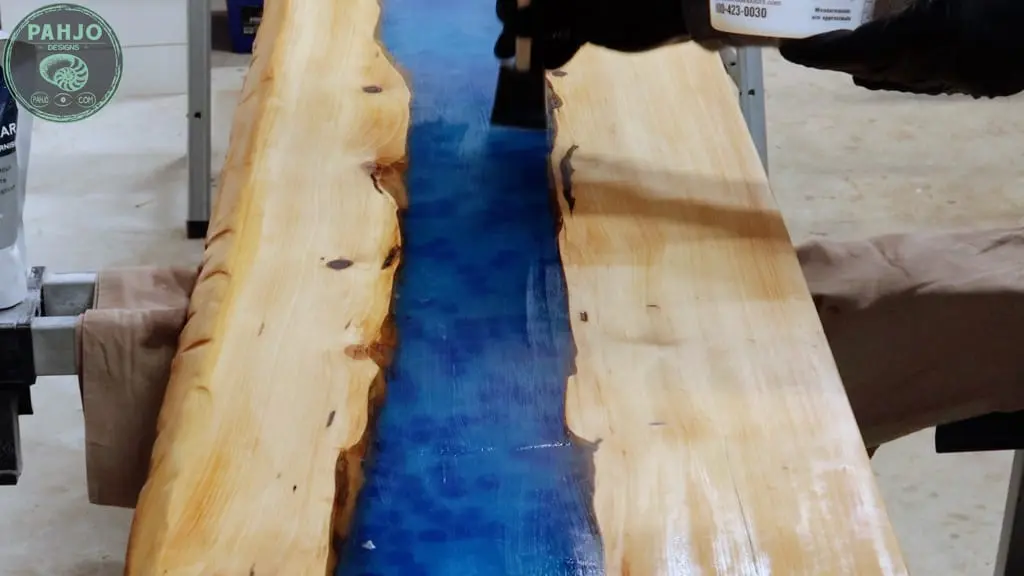
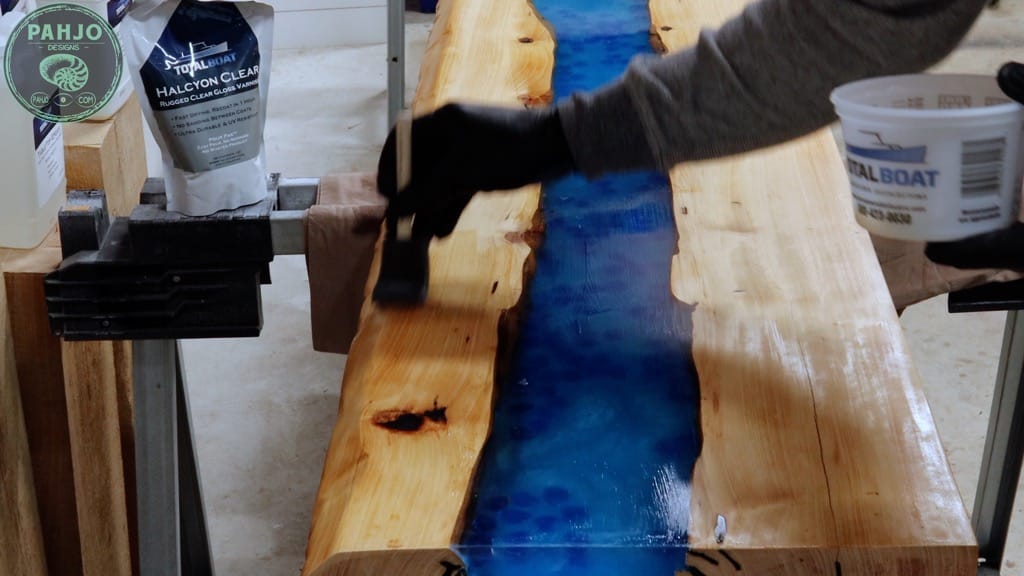

I made sure I covered the entire surface as well as the live edge.

Once I applied the first coat, I cleaned the container and foam brush with warm water an allowed the finish to dry for roughly 2 hours.
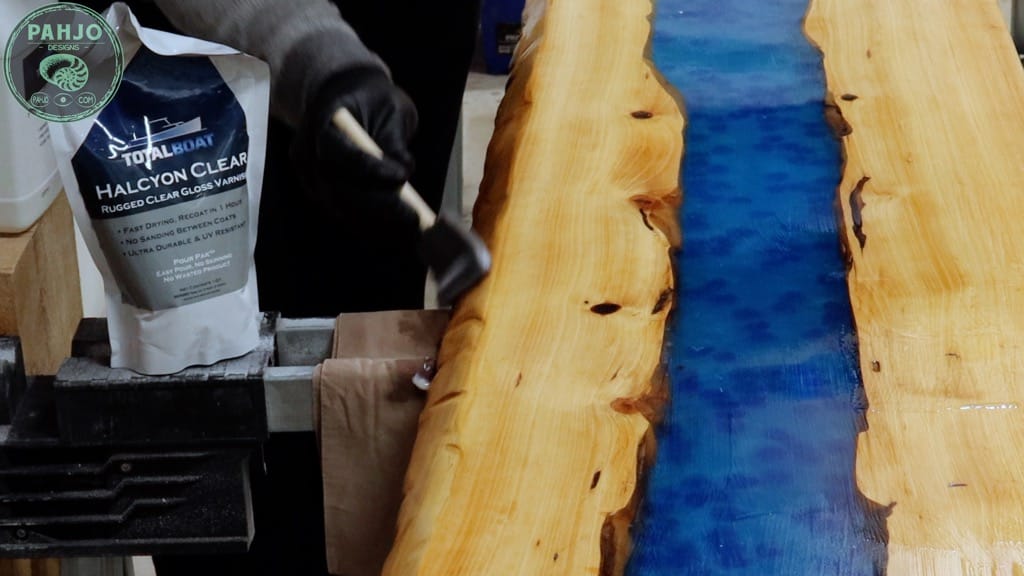
Essentially, I repeated this process 4 more times and used a synthetic brush on the fourth and fifth coat.
I find it easier to use a foam brush for the first 2 or 3 coats and a synthetic brush for the final coats.


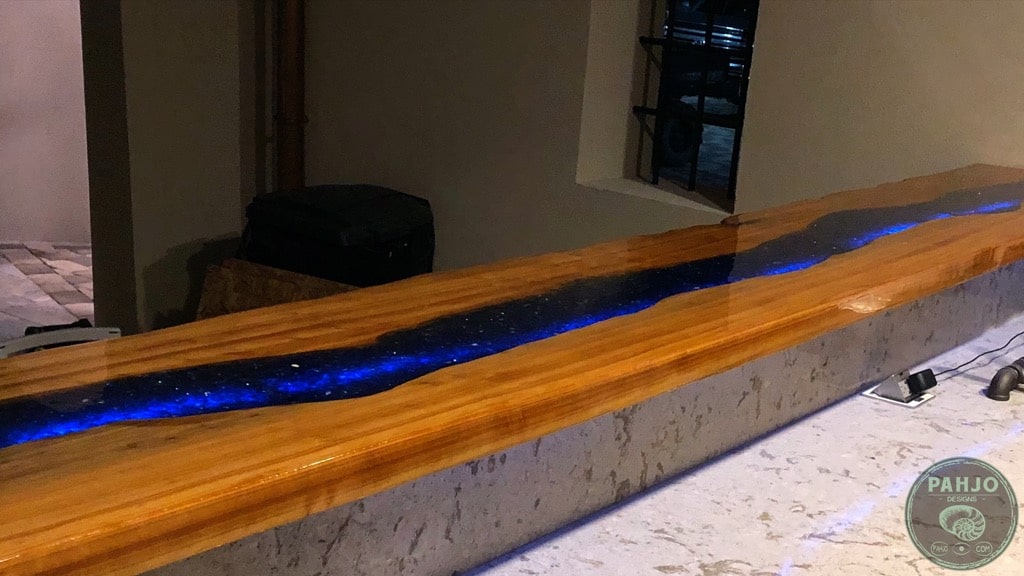
Once I applied the 5th coat of varnish over epoxy, I let it sit overnight.
This was the best outdoor wood finish I ever used.
Additionally, it was simple to apply.
1 Year Update – Outdoor Epoxy Wood Finish
I completed this project in December 2020 and intentionally waited 1 year to write this article.
Obviously, I want to provide you with the most accurate update possible regarding the durability of this outdoor wood finish.

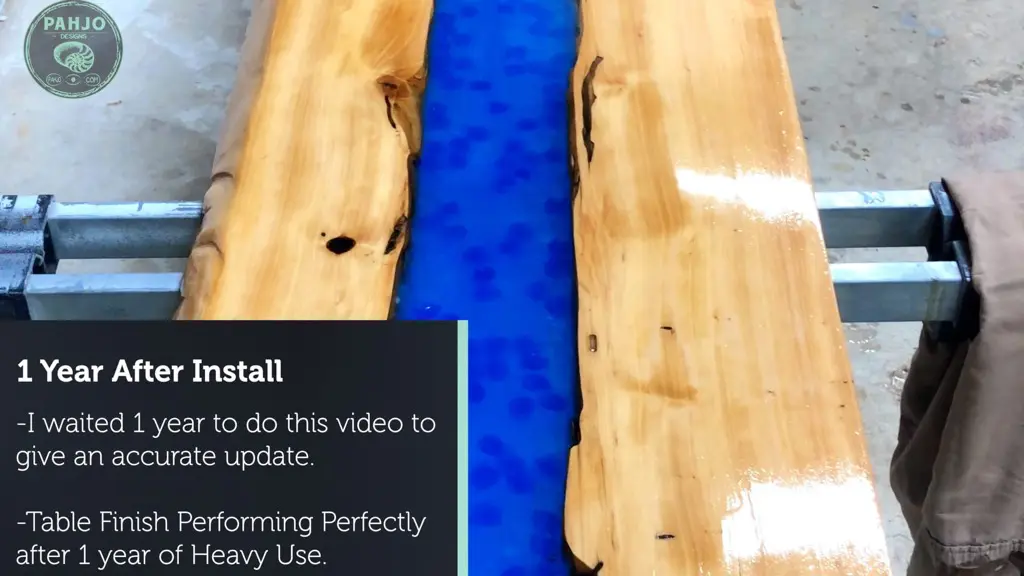
After one year, the outdoor epoxy wood table continues to withstand the outdoor elements.
I am really impressed with TotalBoat Penetrating Epoxy and TotalBoat Halcyon Clear Varnish.
Related Posts
- DIY Outdoor Epoxy River Table
- Outdoor Epoxy Bar Top
- Best Finish for Epoxy Wood Tables
- Matte Epoxy Finish on Wood
The best way to protect epoxy from UV light is use an epoxy with UV inhibitors. Additionally, use a marine-grade outdoor varnish on top of the epoxy for extra protection from UV light.
The best way to protect an outdoor wood table is to seal it with a penetrating epoxy. Once sealed, apply varnish over epoxy for extra protection.
Penetrating epoxy works best to seal a wood table for outdoor use. Sealing a wood table with penetrating epoxy forms a moisture barrier which prevents water or moisture from reaching the wood.
Epoxy resin and the outdoor elements do not mix. Eventually, epoxy will succumb to the prevailing exterior elements such as UV light from sun, temperature swings, and rain water.
An epoxy table can be used outside as long as it is protected properly. Additionally, epoxy should not be placed in direct sunlight for long periods.
Lori
Tuesday 13th of July 2021
Reading thru the other comments I see you used an oil for the bottom. I am making an outdoor bar top and used the total boat epoxy on the bottom and top, to be followed by several coats of the halcyon varnish. Was it a mistake for me to epoxy and varnish the entire slab?
Pahjo Designs
Tuesday 13th of July 2021
Hi Lori, it’s ok to epoxy both the top and bottom of your wood slab. It’s just a bit more work than what is necessary. Since the underside won’t be exposed to direct sunlight, you probably don’t need to apply multiple coats of varnish to the underside.
Mark
Monday 12th of July 2021
I'm interested in a floor being made for my 1965 c10 pickup, are you interested in making one?
Taz Hicks
Wednesday 30th of June 2021
I also live in Florida and I’m getting ready to make a river dining table, plus bar tops and work station for a customer’s tiki hut by the lake. I had heard of Halcyon through a sign club I belong to online, but never thought of using penetrating epoxy to soak into, instead of onto, the wood. Excellent article sir, it gave me some confidence that I needed to proceed, because I know how this Florida sun affects finishes. Thank you
Pahjo Designs
Saturday 10th of July 2021
Hi Taz, you are quite welcome. I'm glad my article provided you with value and good luck on your project!
Esha
Thursday 10th of June 2021
Hi, Thank You so much for taking the time to write this very informative post and share your experience.
I am attempting an outdoor bench using pallet wood. I am going to paint the seat and back using unicorn spit (water based stain,gel). Since the Halcyon Varnish is water based, it will not work since the stain is also water based, from what I read.
Is there an oil based marine varnish or appropriate alternate you could recommend?
Any other tips would be greatly appreciated. Thank you so much.
Regards, Esha
Pahjo Designs
Saturday 10th of July 2021
Hi Esha, this oil-based product will work great for your project.
Steve Ridout
Monday 7th of June 2021
What increments is your resin calculator in? I have received it but was wondering if it was in feet, inches, centimetres or....???
Thanks again for your detailed post.
Pahjo Designs
Tuesday 8th of June 2021
Hi Steve, the resin calculator measurements are in inches. Thank you for pointing this out - I'll update the resin calculator accordingly.