
In this DIY tutorial, I show you how to build a bench seat for kitchen table or dining table.
Additionally, you will learn how to make bench legs, how to attach legs without an apron, and much more.
So, let’s dive right in with a list of tools I used for this project.
Tools I Used
Disclaimer: Affiliate links help us produce good content and earn a small commission. Learn more.
I realize most folks reading this article don’t own some of the tools I used in this project.
So, I listed alternative tools to make this project more budget-friendly.
Rubio Monocoat
Festool Domino
Biscuit Joiner (Alternative Tool)
Rotex Sander
Oribital Sander (Alternative Tool)
40 grit Sandpaper
60 grit Sandpaper
80 grit Sandpaper
120 grit Sandpaper
150 grit Sandpaper
180 grit Sandpaper
220 grit Sandpaper
320 grit Sandpaper
HEPA Vacuum
Track Saw
Circular Saw (Alternative Tool)
Track
Straight Edge (Alternative Tool)
MFT3 Table
Bandsaw
Jig Saw (Alternative Tool)
Bandsaw Blade
Chisels
Pocket Sander
Threaded Inserts
Furniture Glides
Drill Bit for Threaded Inserts
Drill
Large Speed Square
Parallel Clamps
F Clamps
How To Build a Dining Bench Video Guide
There are several things which are difficult to fully explain with words and images, so be sure to check out the video tutorial below.
Kitchen Table Bench Seat Plans
I recommend downloading the DIY dining table bench seat plans if you plan to build this yourself.
These DIY dining room table bench plans include:
- 65 page pdf with step-by-step instructions.
- Detailed photo illustrations for each step.
- Material List.
- Tool List along with recommendations for Alternate Tools.
- Cut List.
- Simple woodworking techniques and DIY tips.

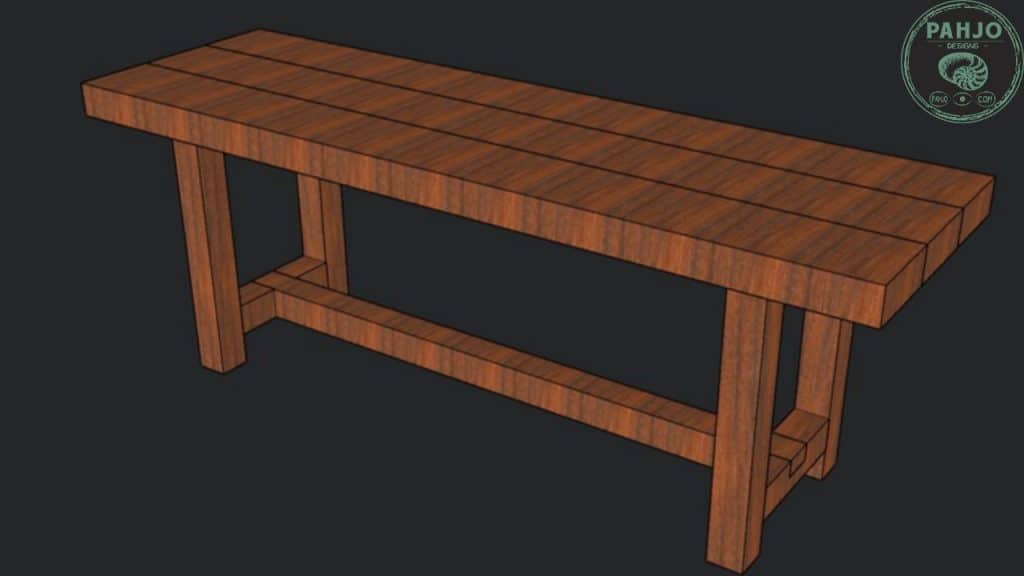
DIY Table and Bench Design
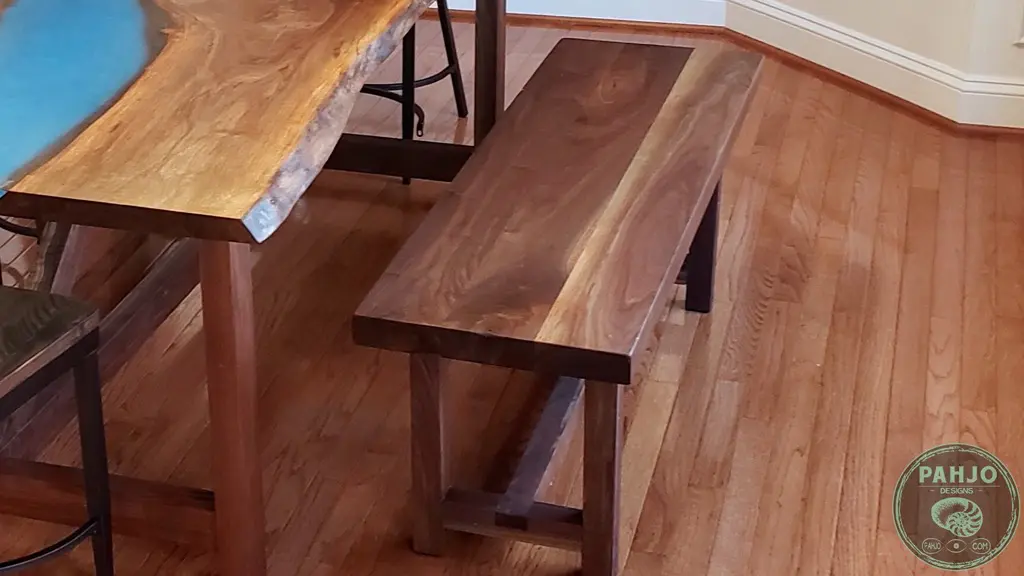
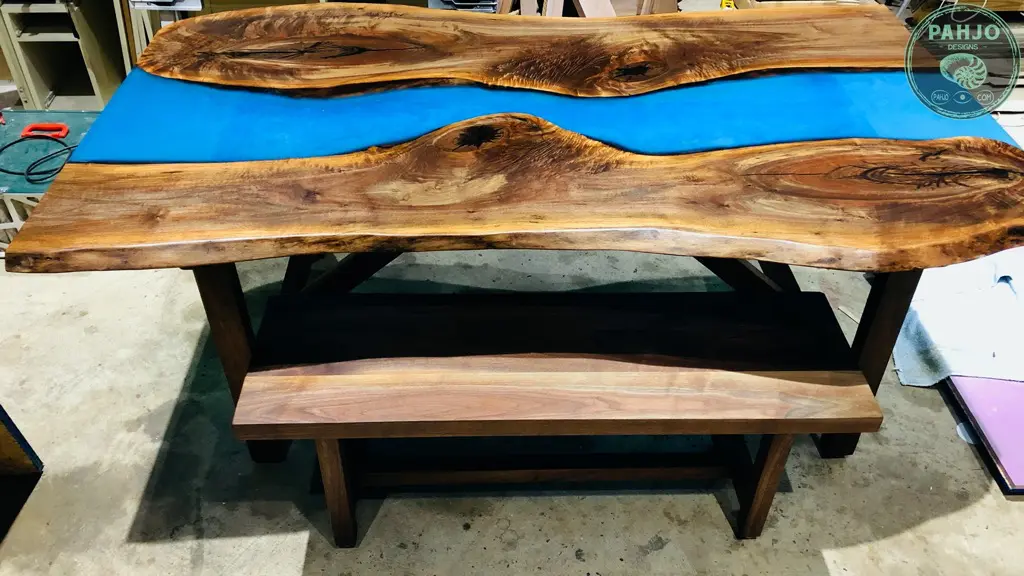
I designed this rustic bench to accompany a epoxy river farmhouse dining table for a client.

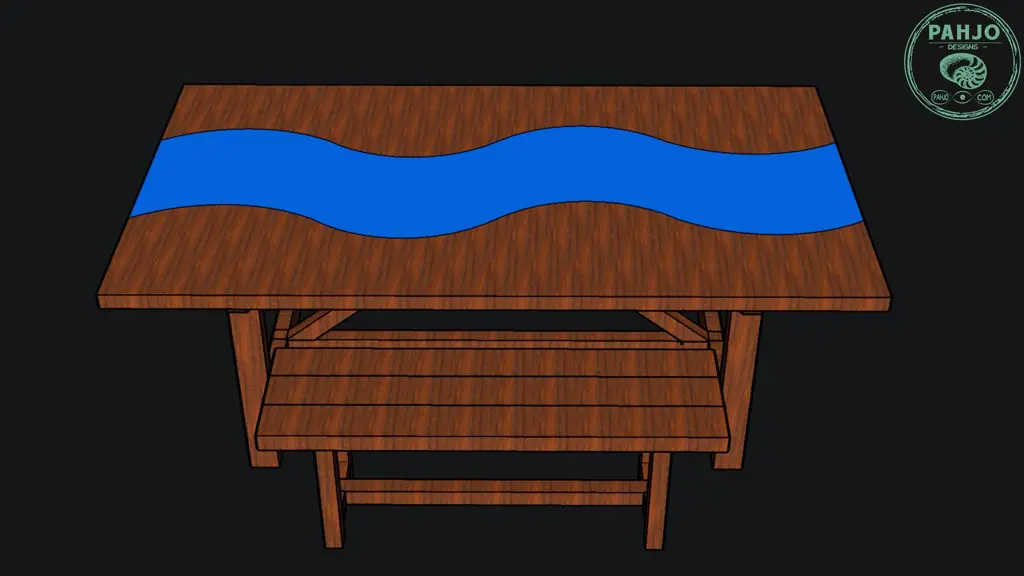
The half lap joinery I used on this simple bench bottom adds strength and a farmhouse style.
In addition, the bench seat top attaches to the bottom via threaded inserts and screws.
Threaded inserts make it easy to detach the bench top for easy shipping and transport.

Bench Seat Dimensions
The dimensions of this bench seat are 50″ x 15″ x 18.25″ (L x W x H).


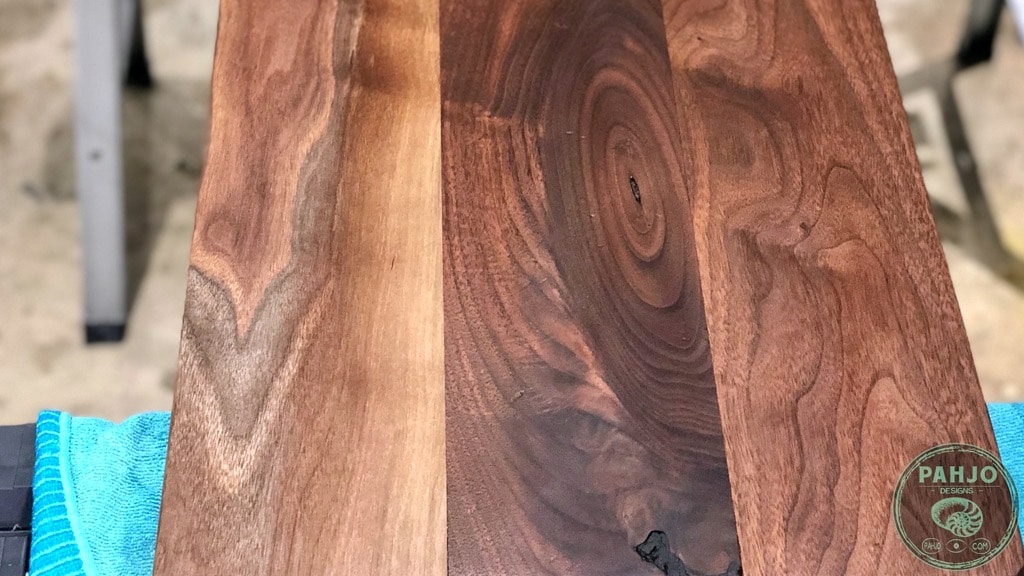
Best Wood for Dining Table Bench
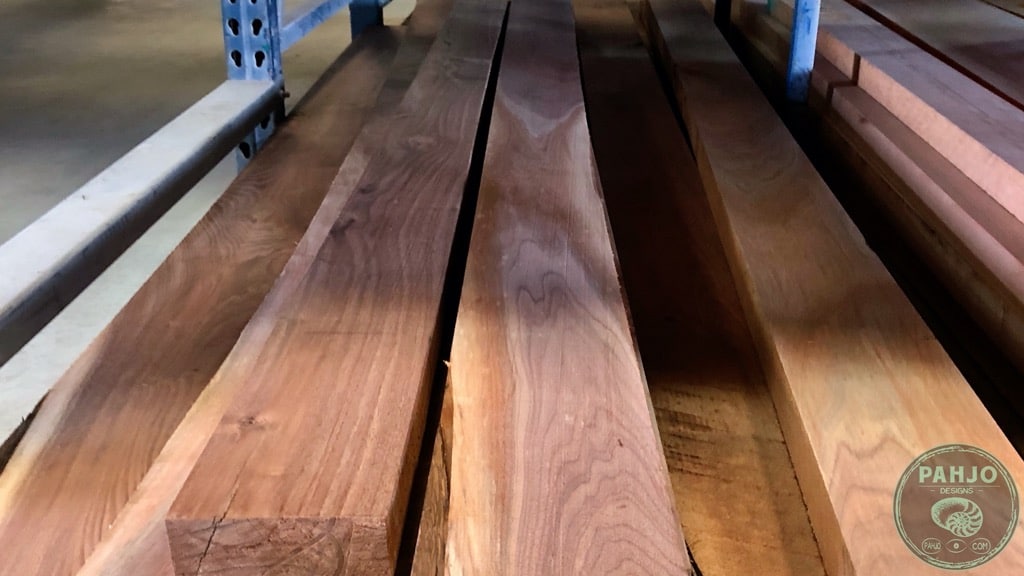
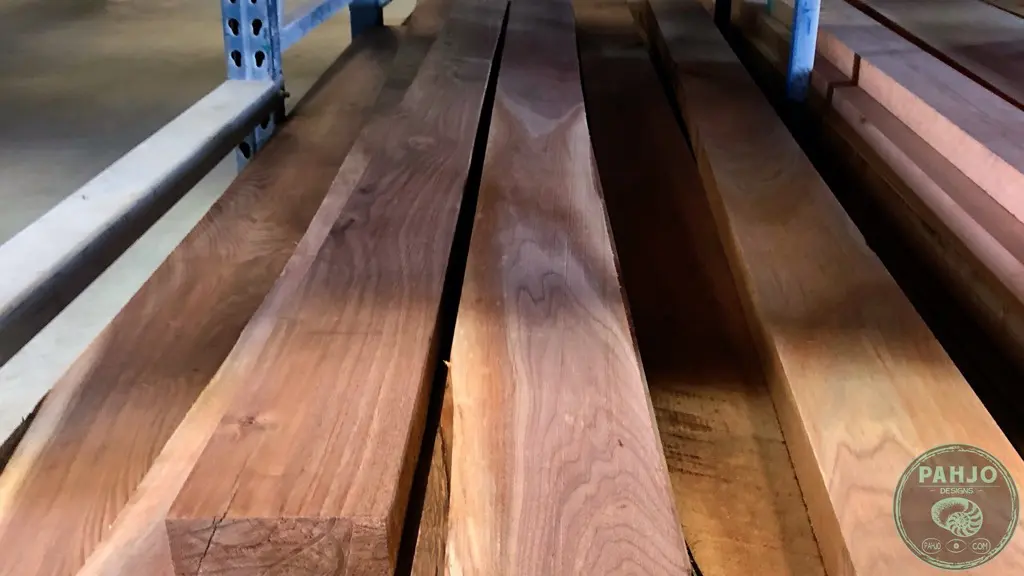
I used black walnut slabs for the walnut dining table this bench was built for.
In order to match the dark walnut dining table, I used dimensional black walnut wood to build this simple dining bench and DIY bench legs.
Obviously, using live edge walnut slabs for a dining table bench would not be a wise thing to do.
I visited my local hardwood dealer & purchased the walnut wood to build the dining table bench.
Ultimately, I needed the walnut boards to be at least 6″ wide and 2″ thick material for the benchtop pieces.
Prepare Wood
First, preparing wood properly saves a lot of work and reduce extra cost.
Track SawCircular Saw (Alternative Tool)
Track
Straight Edge (Alternative Tool)
MFT3 Table
To prepare the walnut wood, I used my track saw & track to get a straight side for each board.
Most of the time, my track saw does the job of a jointer.
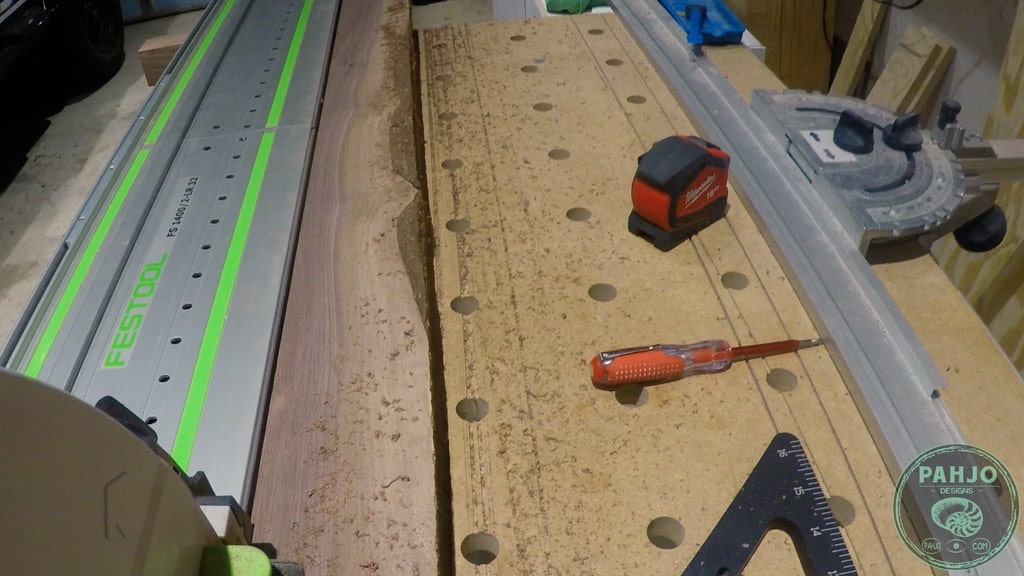

Next, I used the straight side for reference on my MFT3 table to square each end of each board.
I kept the straight side against the MFT3 guide rail system to make sure each end remained square.

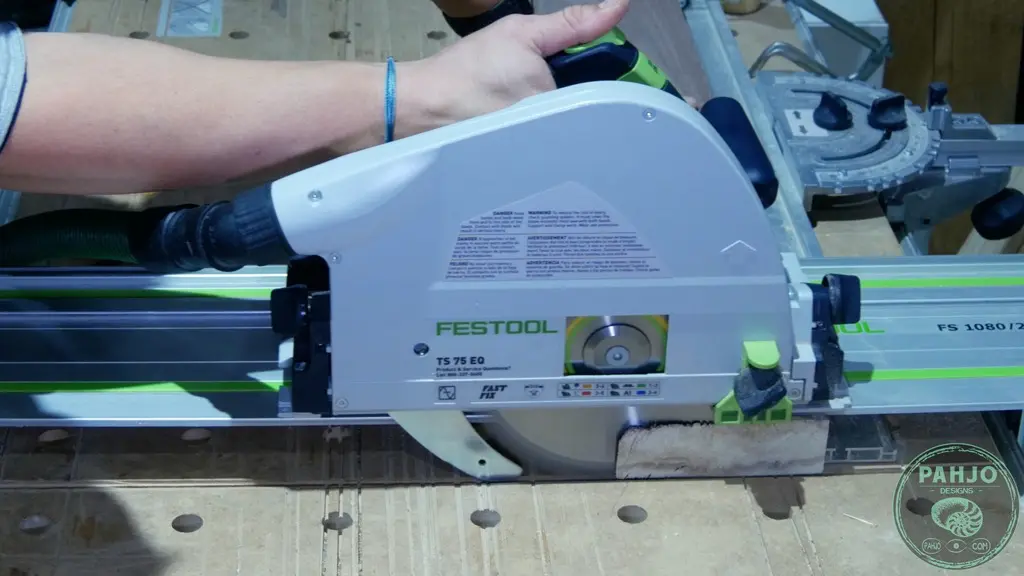
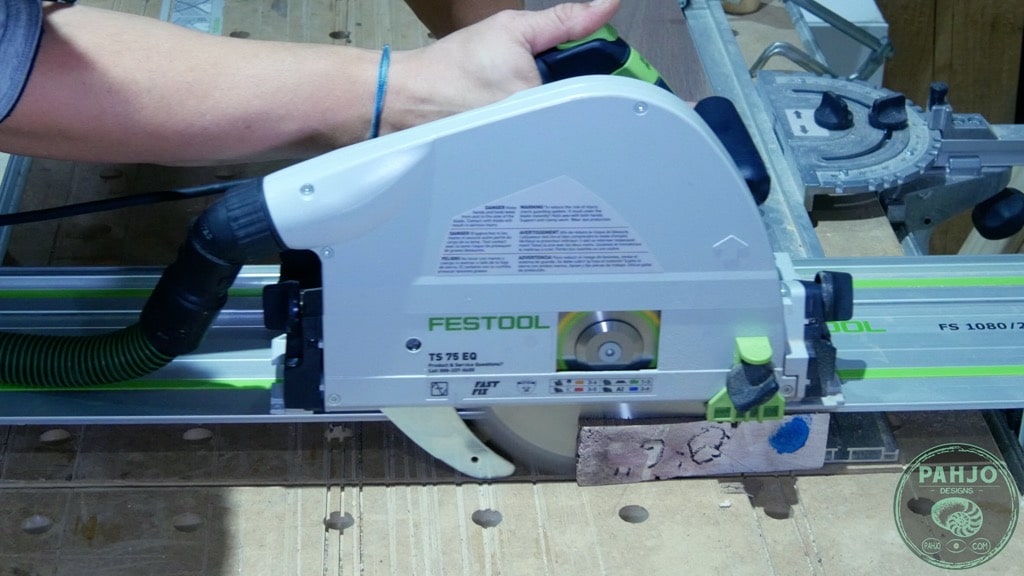

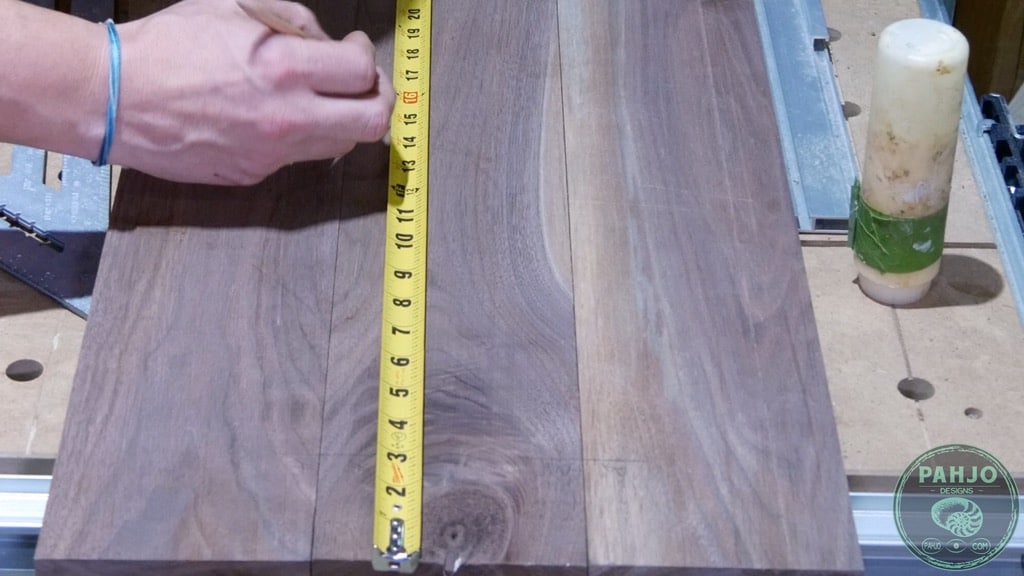
Then, I made the final rip cut on the other side with my track saw to a final width of 5″.
As a final step, I cross cut 3 boards at 50″ long for the bench seat top.

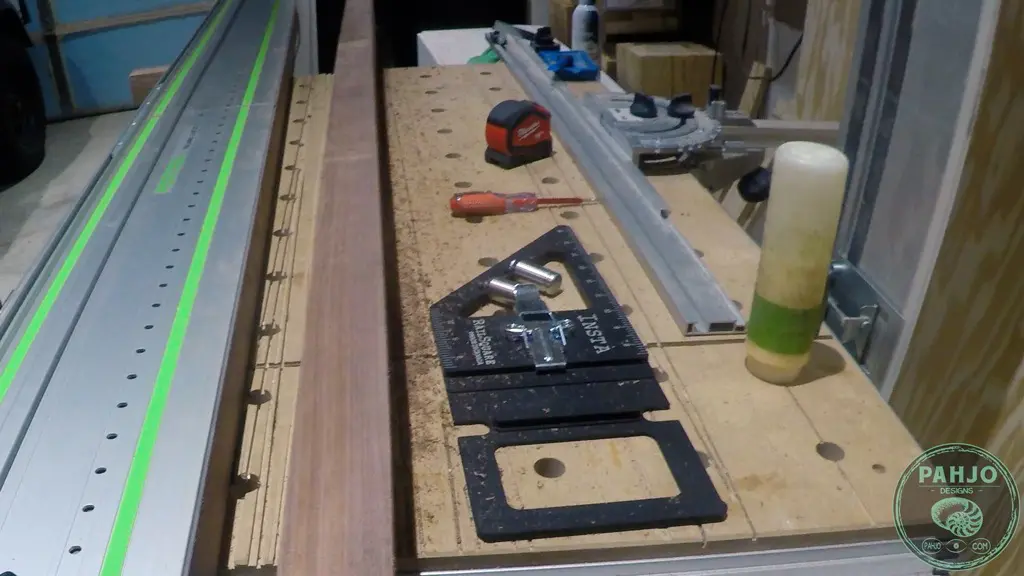
Table Bench Seat Top Wood Joinery
Large Speed SquareFestool Domino
Biscuit Joiner (Alternative Tool)
Parallel Clamps
F Clamps
I used my festool domino to join the 3 boards for the dining table bench top.
As I listed in the tools section at the beginning of this article, a biscuit joiner or a dowel jig work as an alternative joinery method.
For the cheapest alternative available at any hardware store, I recommend pocket holes using a kreg jig.
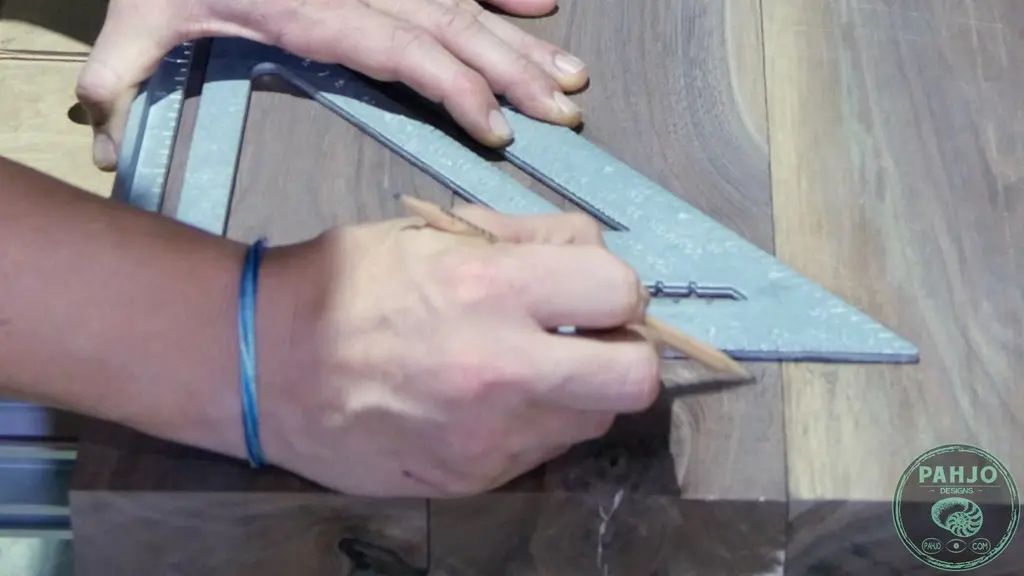
Mark Domino Locations
First, I marked the domino locations 3″ from each end and made marks 12″ apart in between.
I labeled each mark with corresponding letters on each board in case I mixed them up.
A speed square is a great way to draw an accurate line.


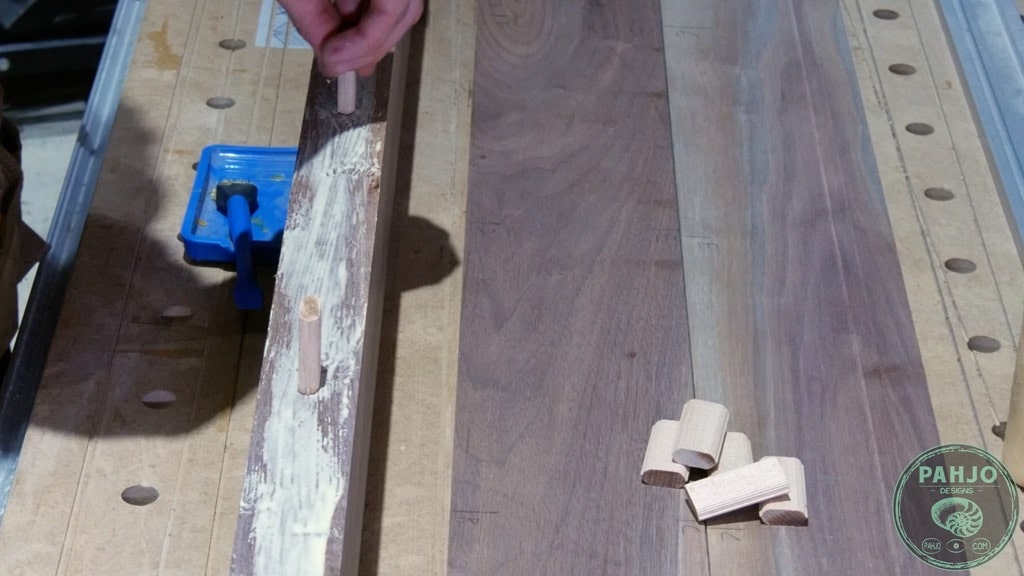
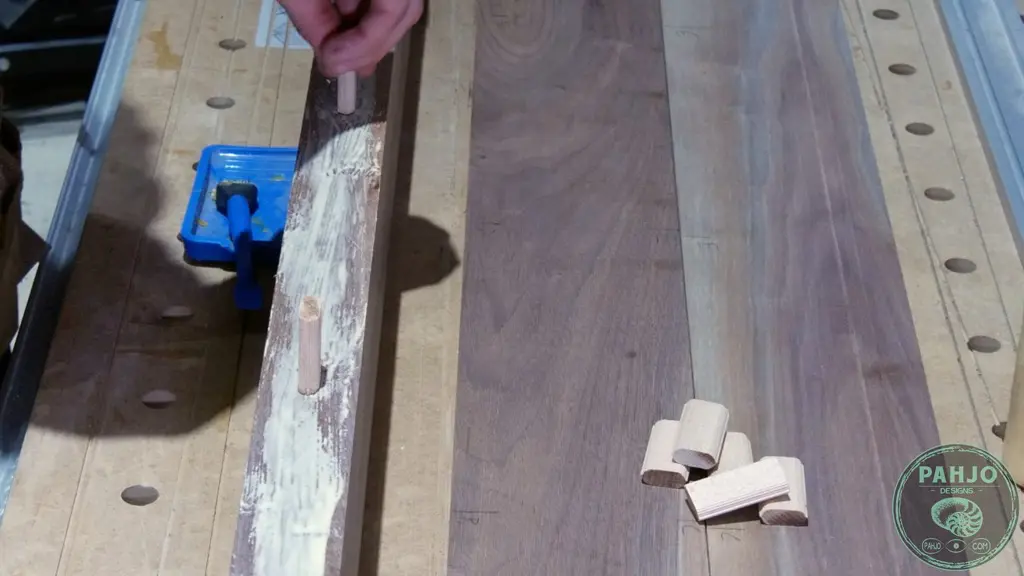
Once I marked the domino locations, I cut each mortise using the top of the bench seat as a reference.

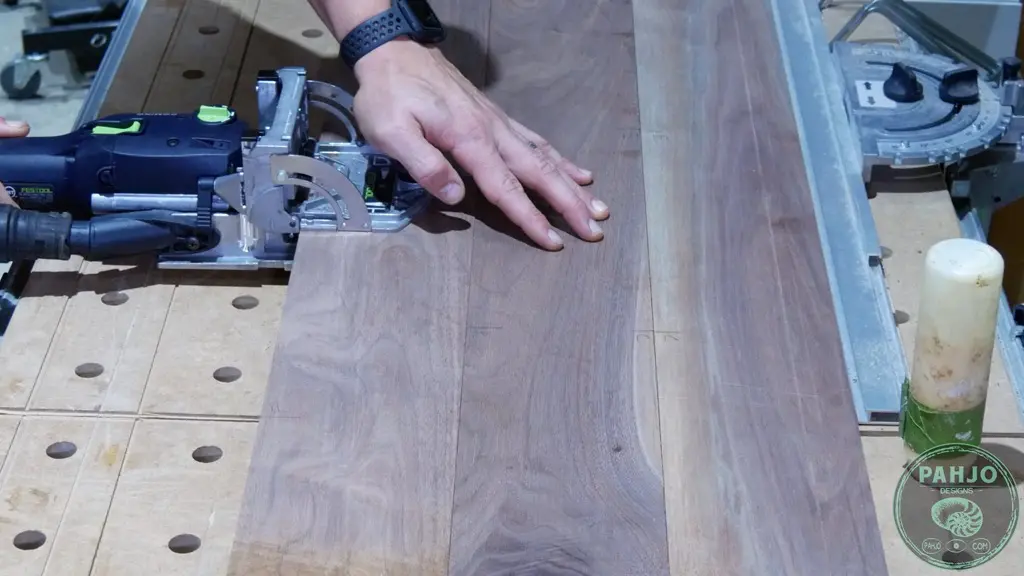
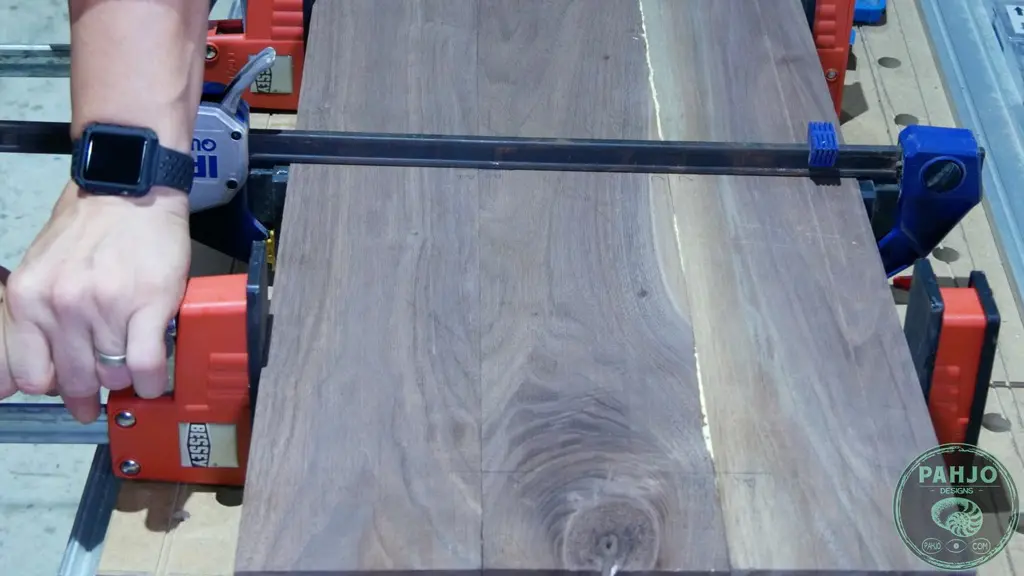
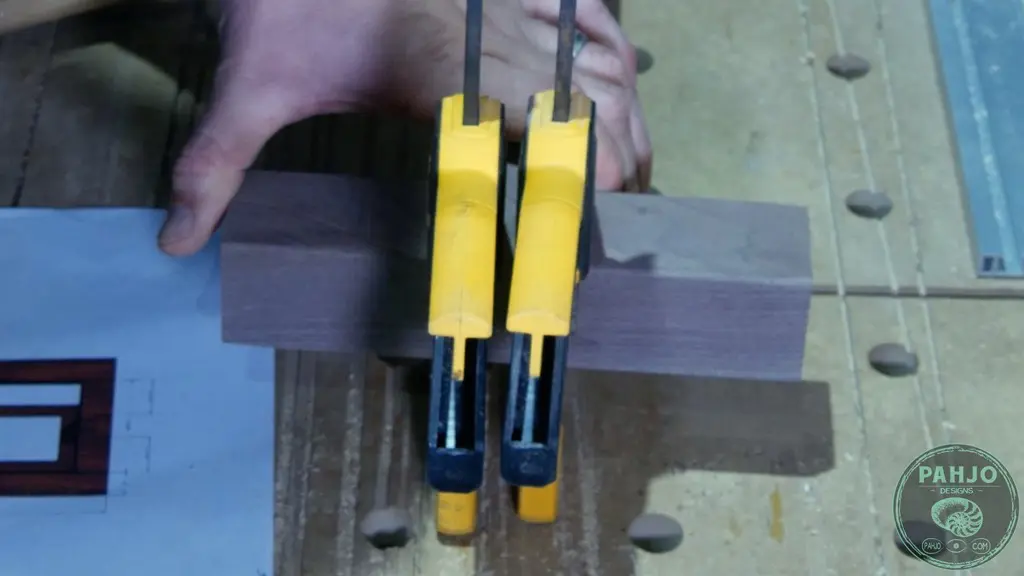
Next, I spread wood glue and inserted the dominos.

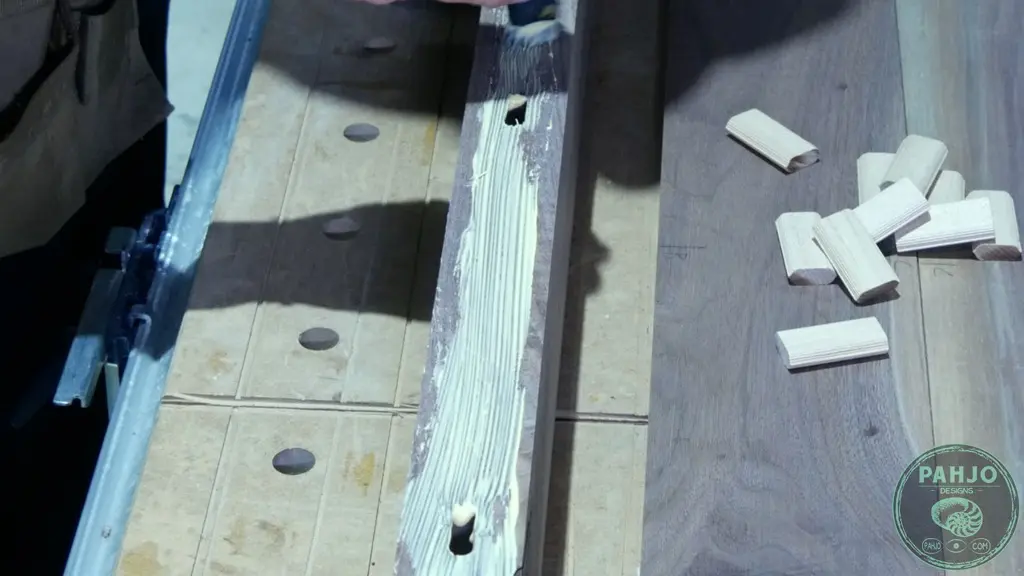
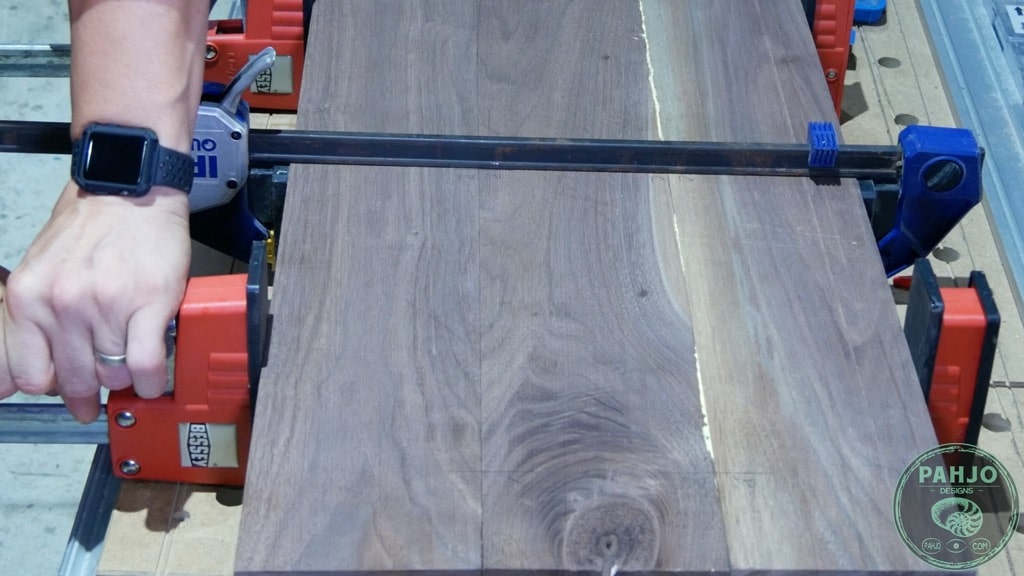
I placed the boards together, clamped them with parallel clamps, and let the glue dry for a few hours.
The glue does not take a long time to dry.
Sand DIY Dining Table Bench Seat
Rotex SanderOribital Sander (Alternative Tool)
40 grit Sandpaper
60 grit Sandpaper
80 grit Sandpaper
120 grit Sandpaper
150 grit Sandpaper
180 grit Sandpaper
220 grit Sandpaper
320 grit Sandpaper
HEPA Vacuum
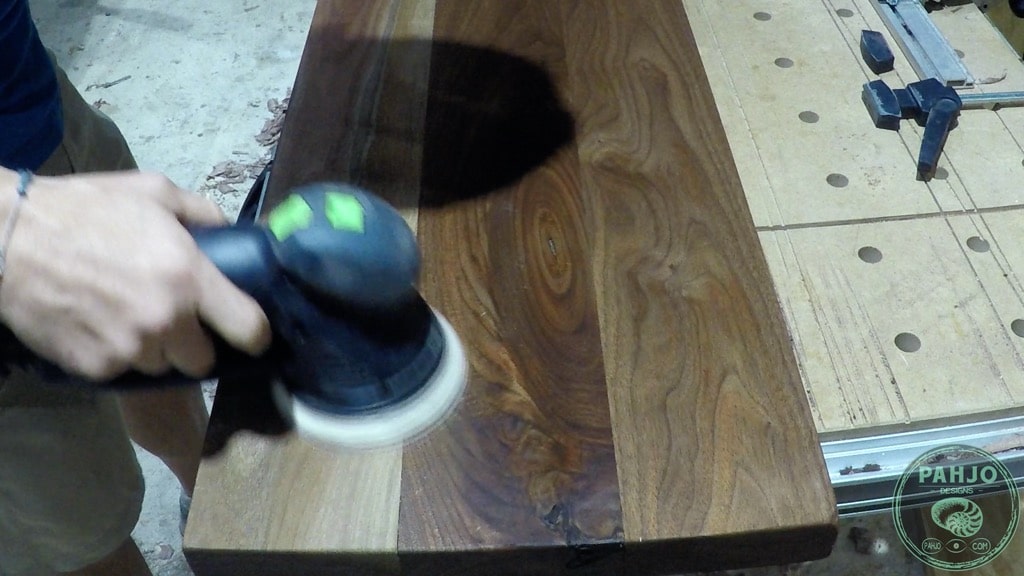
Once the glue dried, I used my swirl-free wood sanding technique to sand the bench seat.
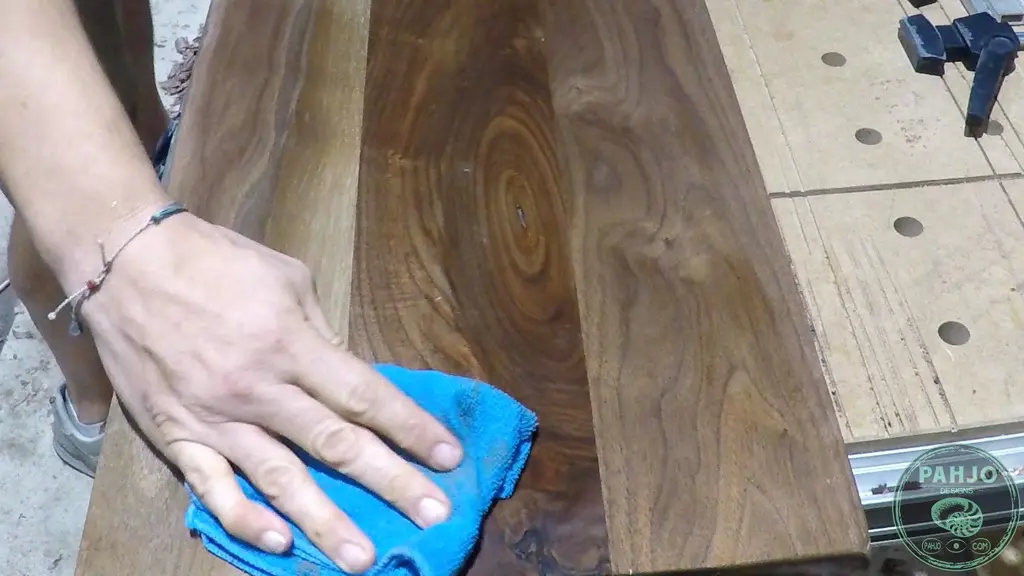
For an extra smooth wood surface, wipe the surface with a damp rag after sanding with the last grit to raise the grain. Sand again with the highest grit while the surface is still damp.

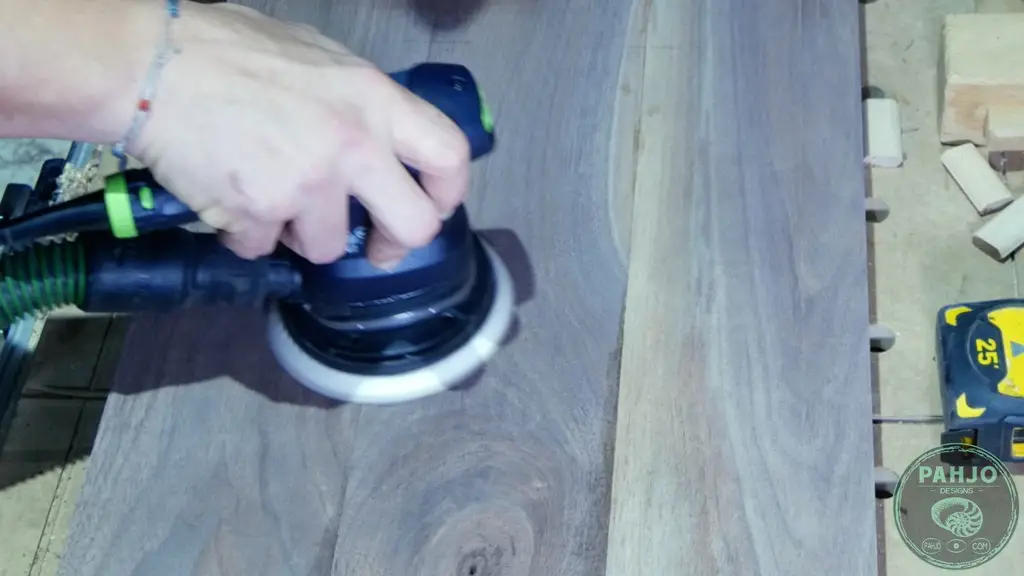
For an extra smooth wood surface, wipe the surface with a damp rag after sanding with the last grit to raise the grain. Sand again with the highest grit while the surface is still damp.


How To Make Dining Bench Legs
BandsawJig Saw (Alternative Tool)
Bandsaw Blade
Chisels
Parallel Clamps
F Clamps
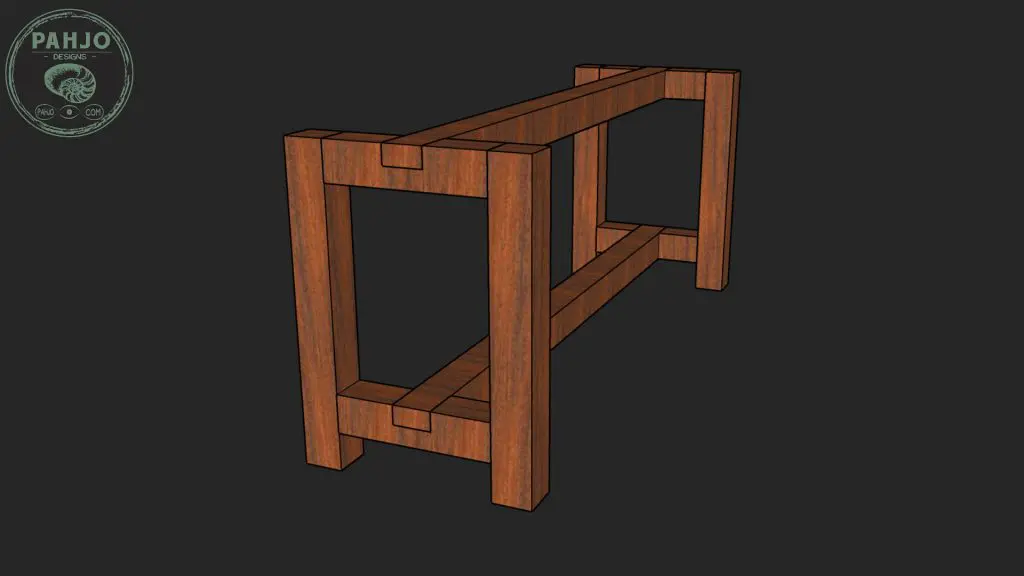
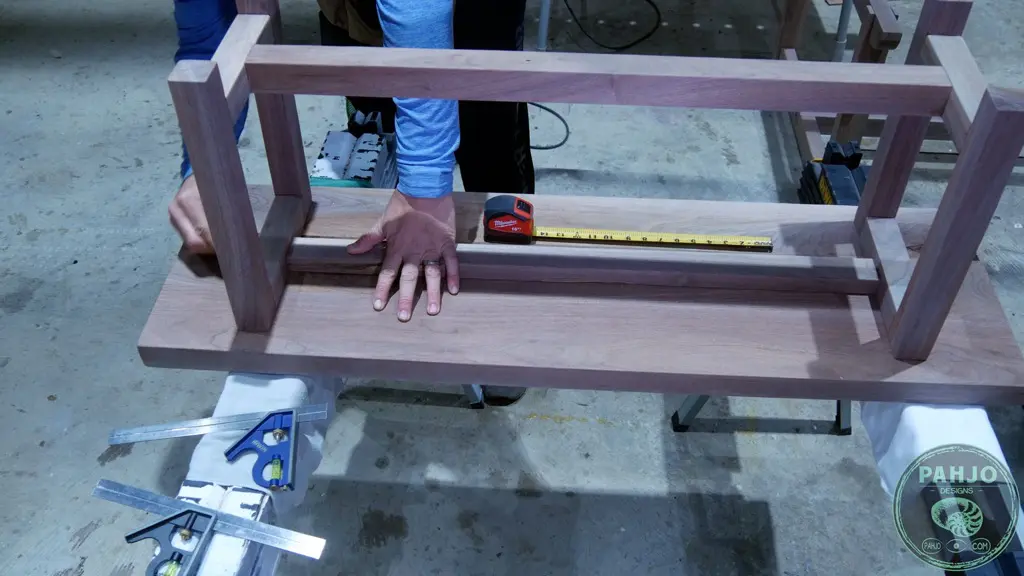
Once I finished the DIY dining table bench seat top, I started building the bench seat bottom.
The bottom closely resembles the walnut epoxy dining table bottom – a simple, farmhouse-style bottom with half-lap wood joinery.
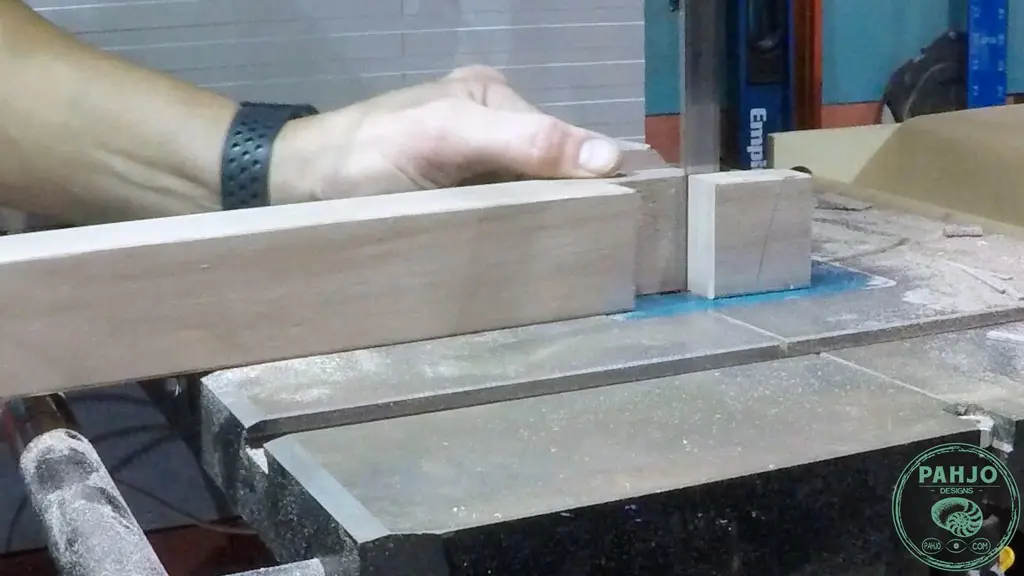
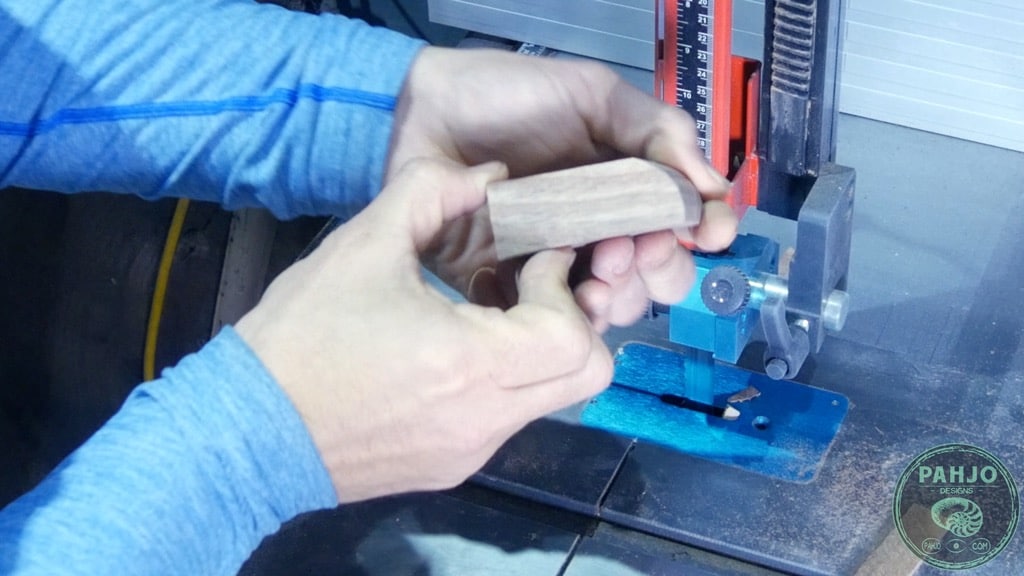
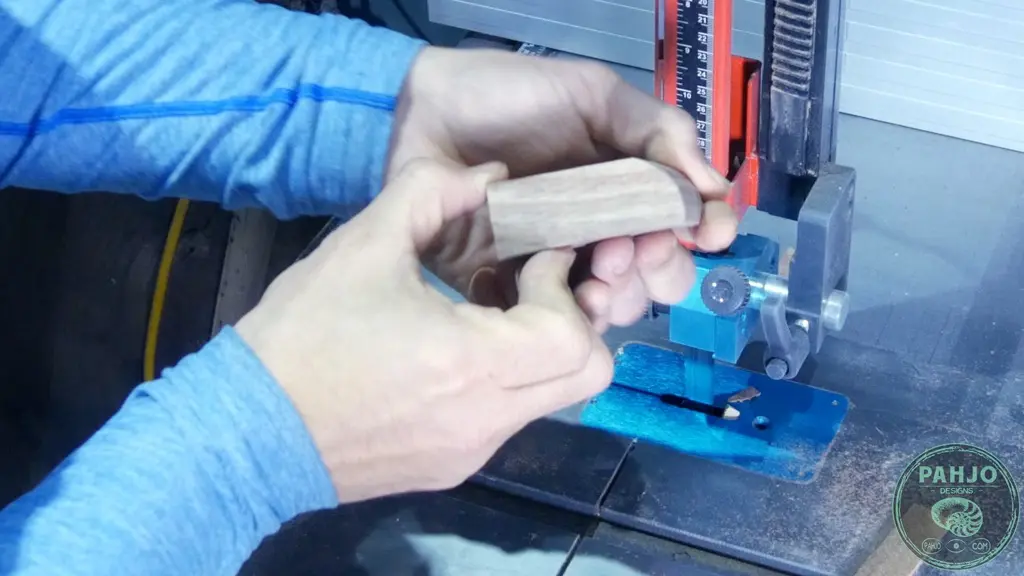
First, I cut the cross support and stretcher piece of walnut to size on my bandsaw.
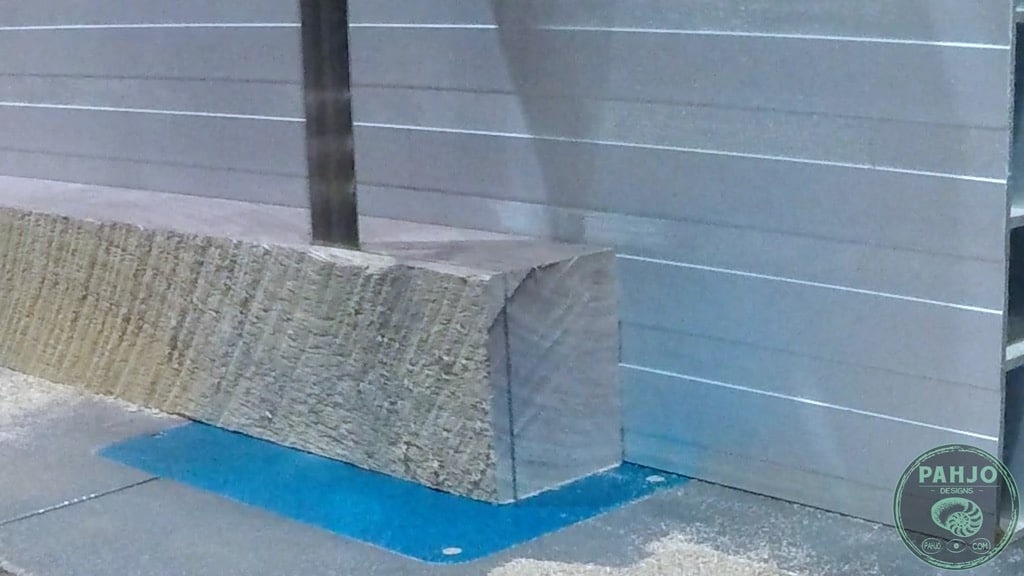

As a side note, I sold my table saw and this piece of wood was too small for my track saw.
So, most people believe you can’t get a straight cut on a bandsaw.
But, I beg to differ.
With the proper bandsaw, bandsaw blade, and a few passes with my low angle jack plane, I can get a very straight cut.
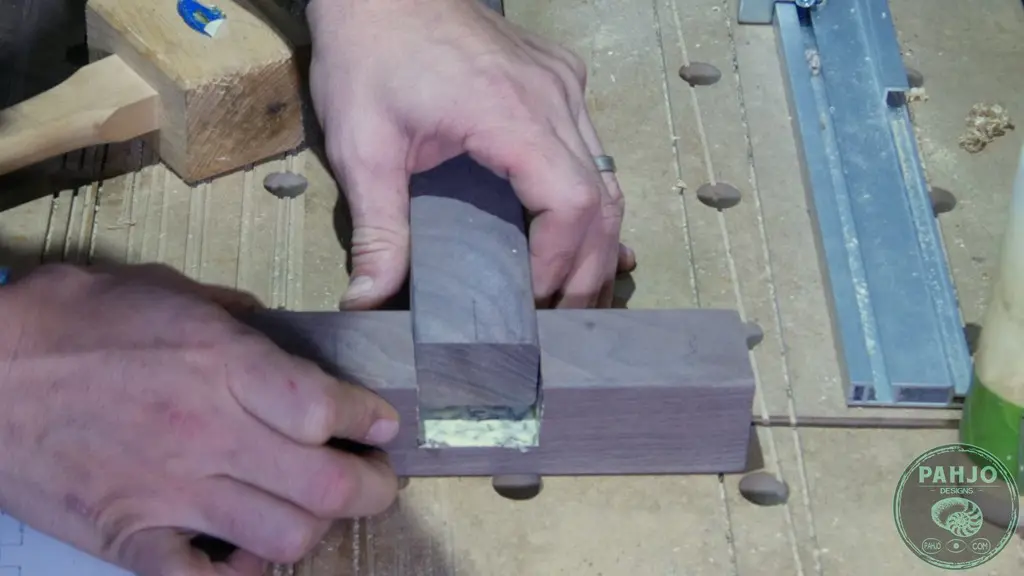
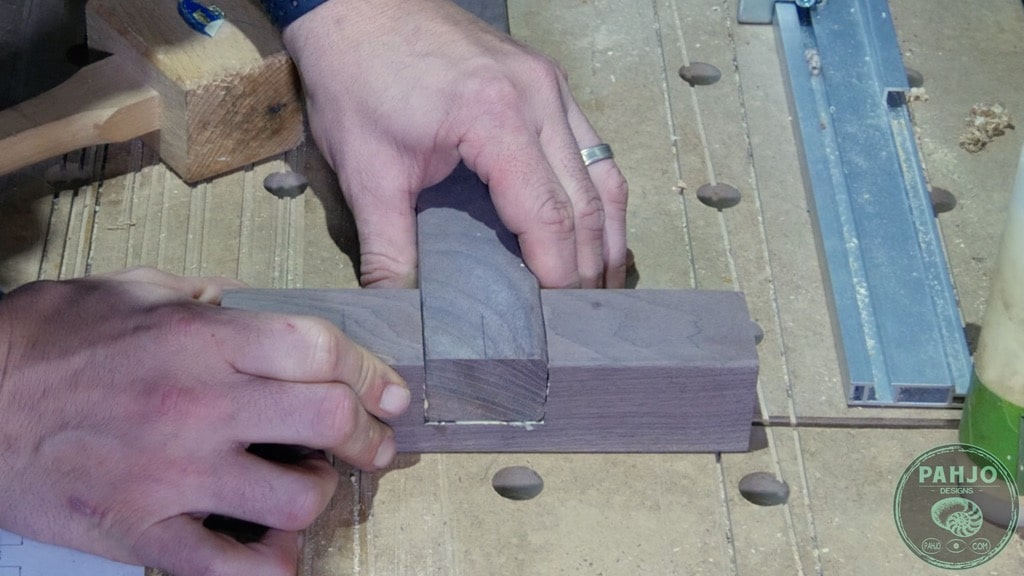
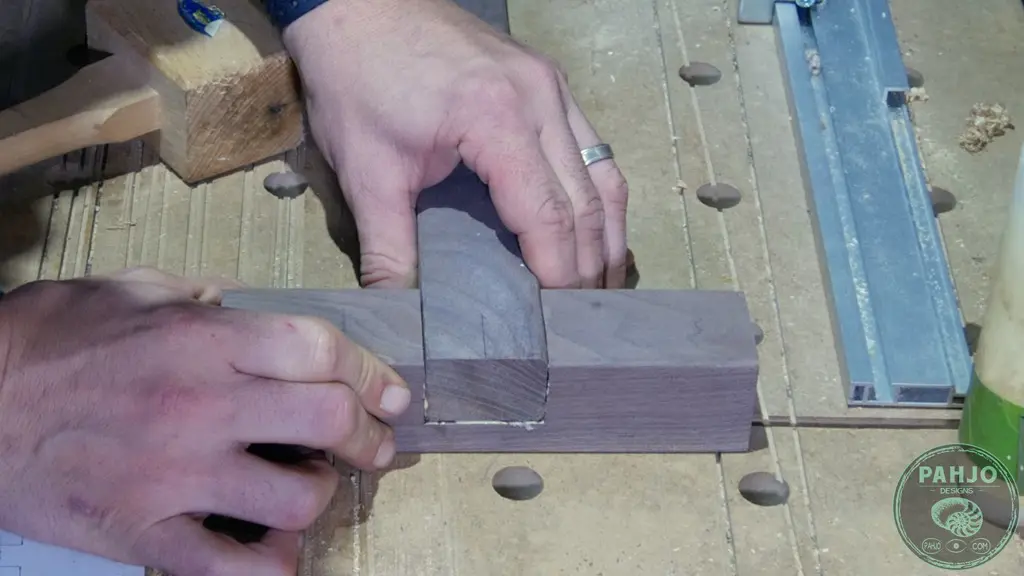
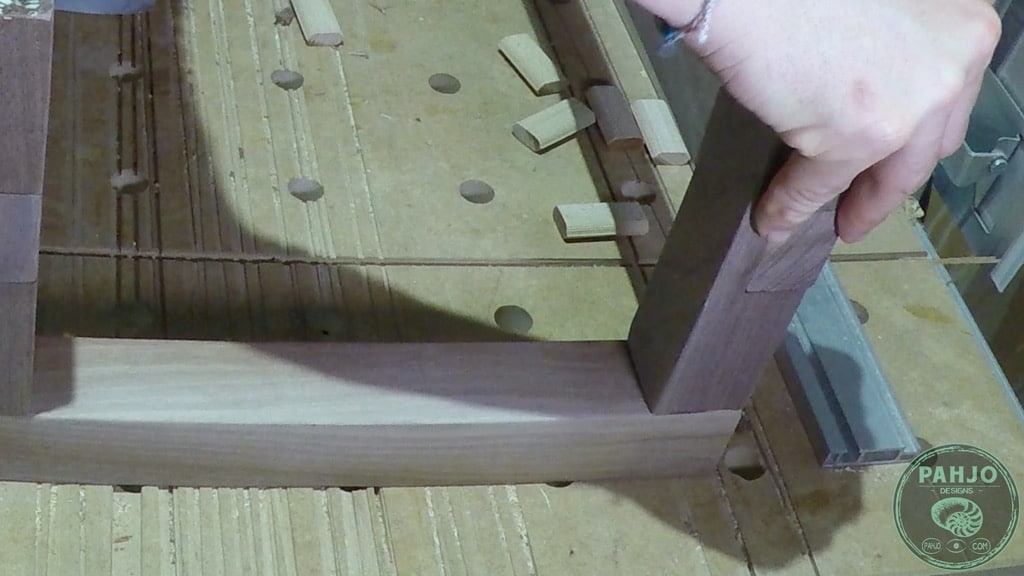
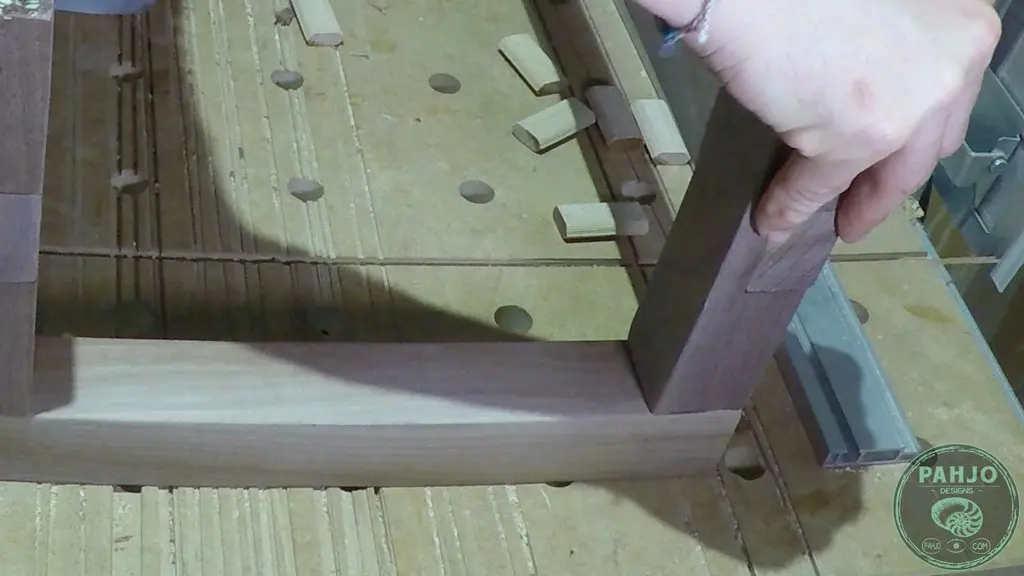
Half Lap Wood Joint as Leg Joiners
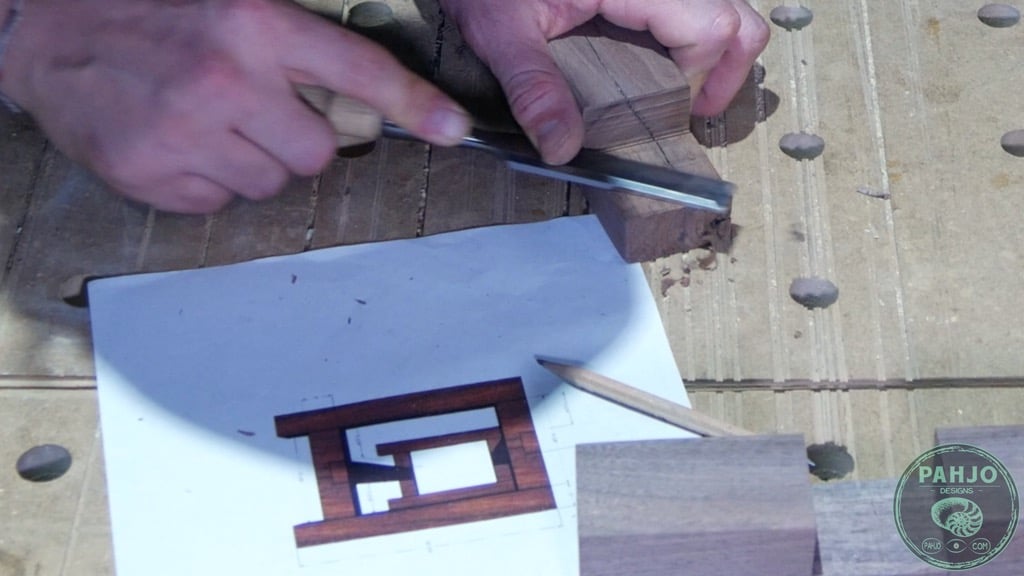
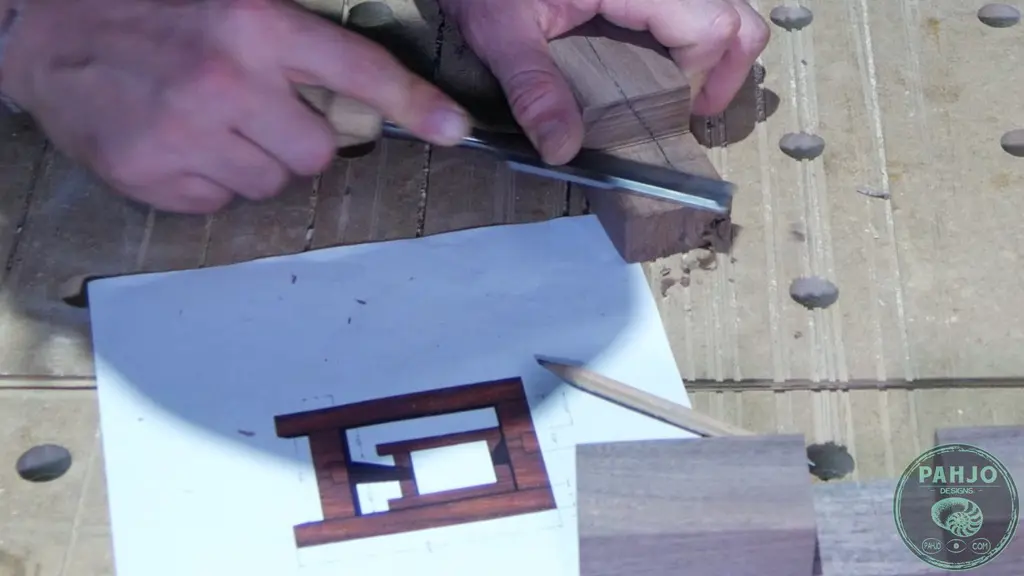
After I cut the pieces of walnut for the wooden bench seat bottom, I measured and marked the locations of the half lap joints.
I cut the half-lap joints on my bandsaw.
To cut a half-lap joint, each joint needs to be cut half the thickness and the same width of the other board.

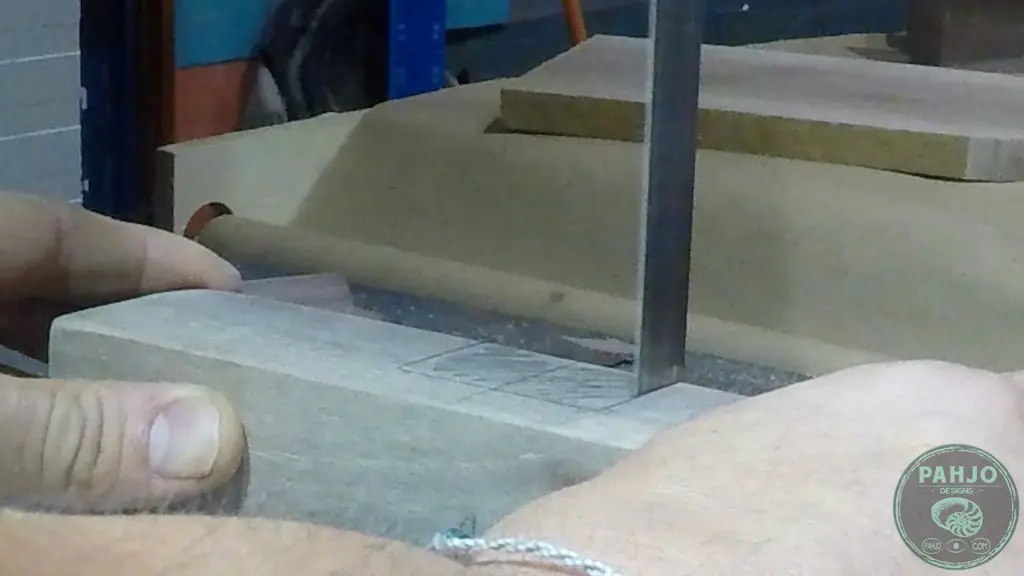
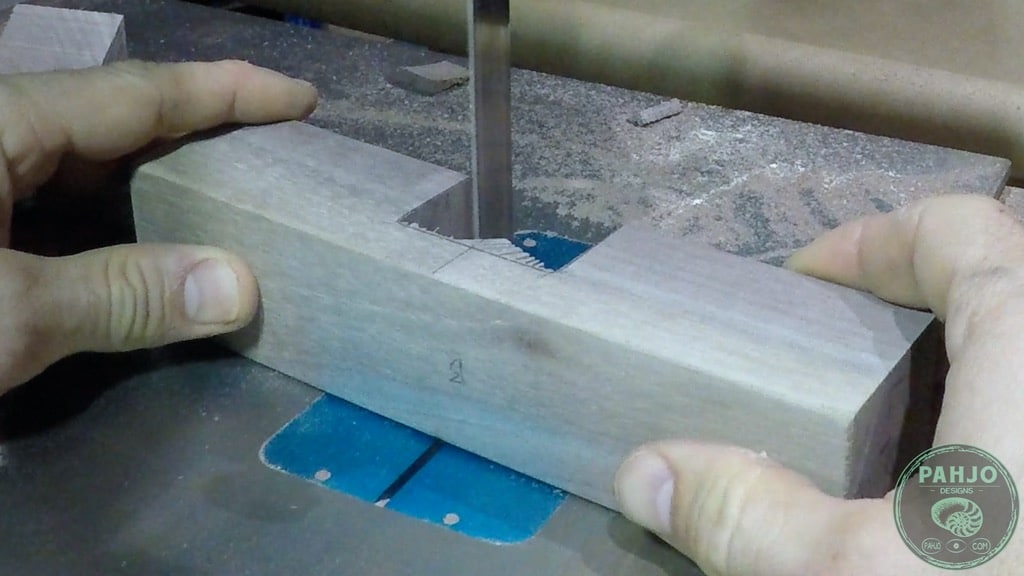


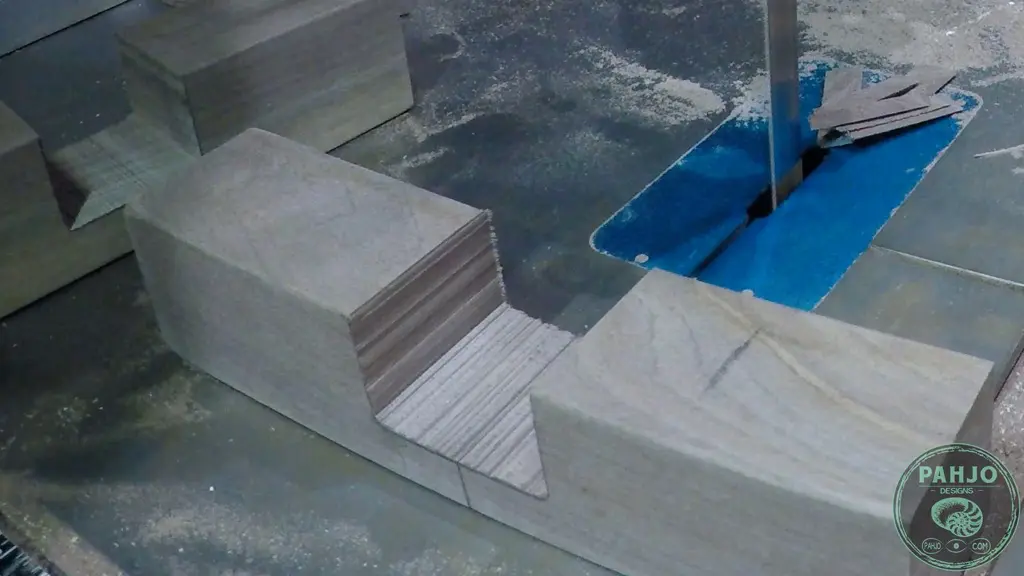

Also, I always cut my half-lap joints a bit small and clean them up with my chisels.
Sandpaper works as well, but takes longer.
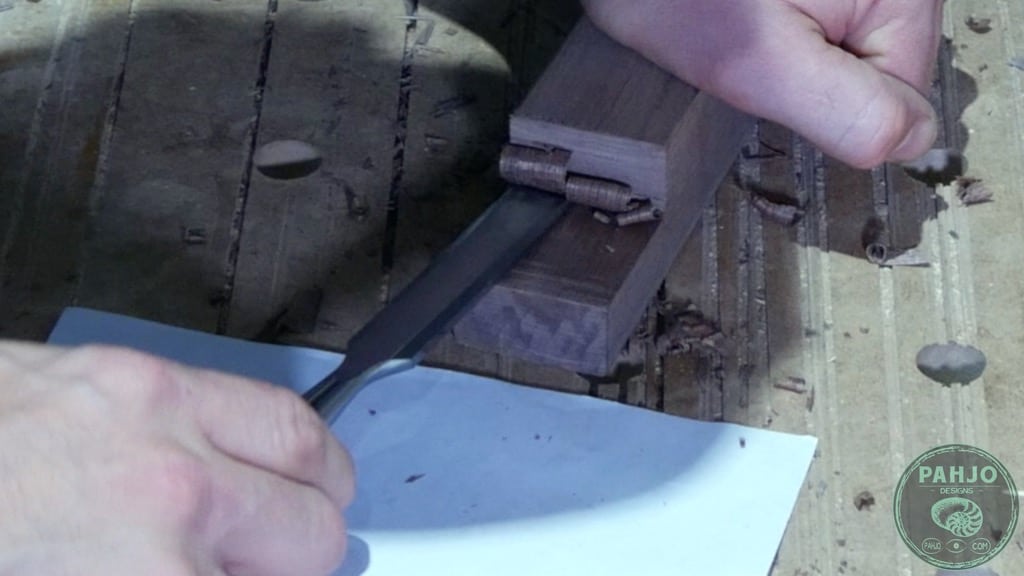

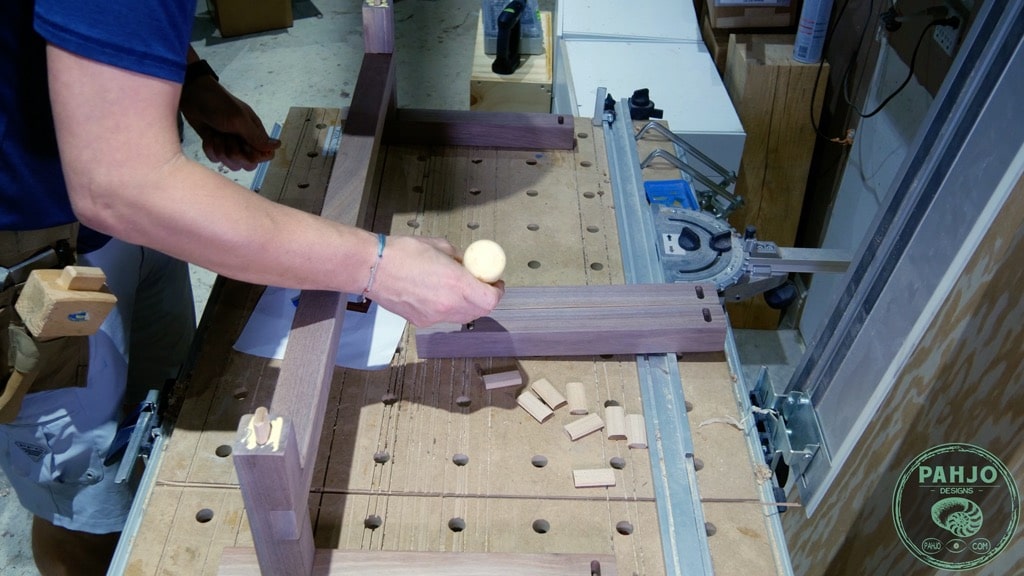
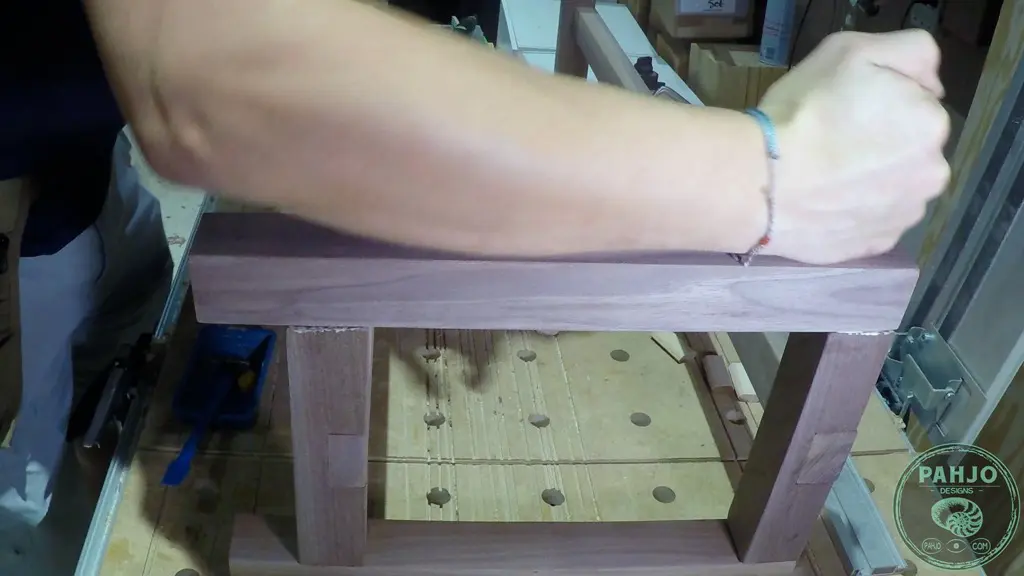
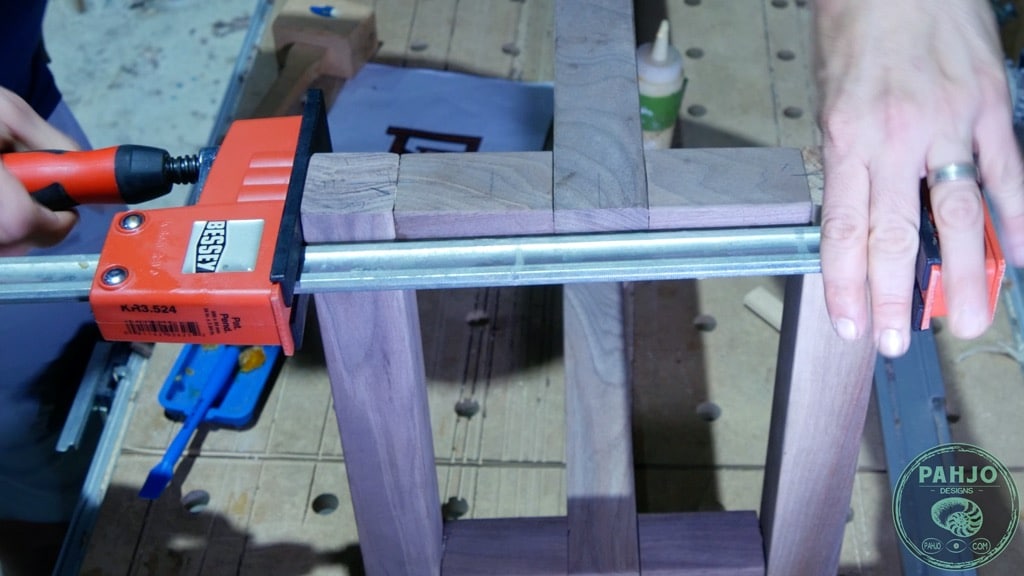
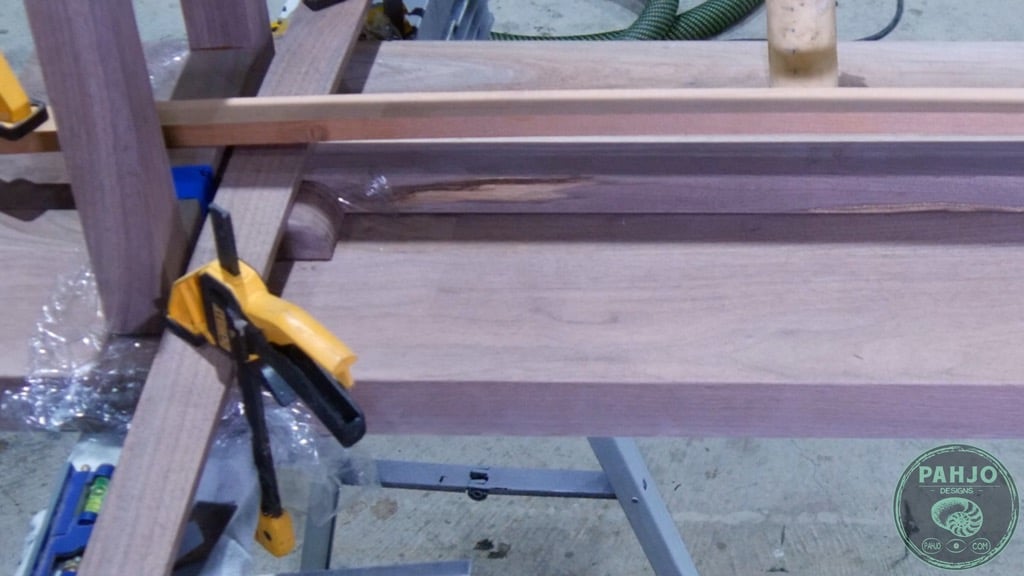
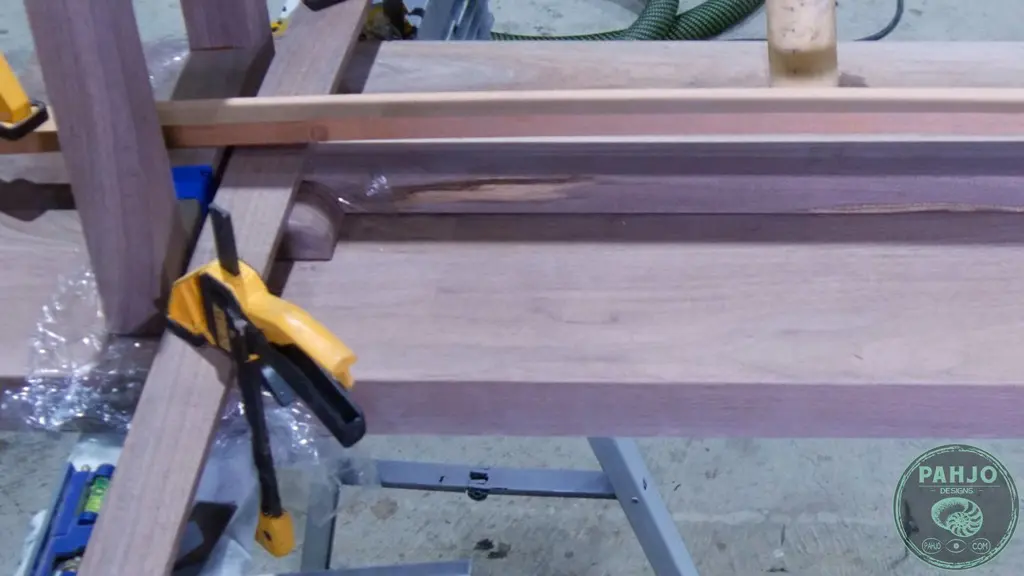
Glue Half-Lap Joints
Once I finished cleaning the wood joints with my chisels, I glued the cross braces for the top runner and bottom runner.


Next, I clamped the half lap joints with F clamps and allowed them to dry for a few hours.

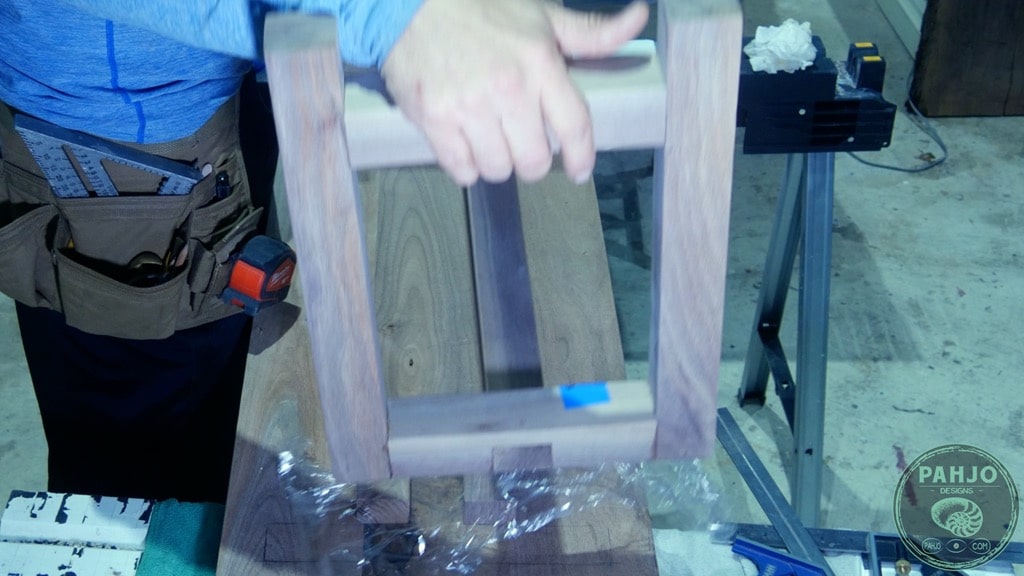
I used my festool domino to join the bottom and top runner to the 4 posts of the bench frame.


Finally, I checked for square, used parallel clamps to secure everything in place, and allowed the bench bottom to dry overnight.

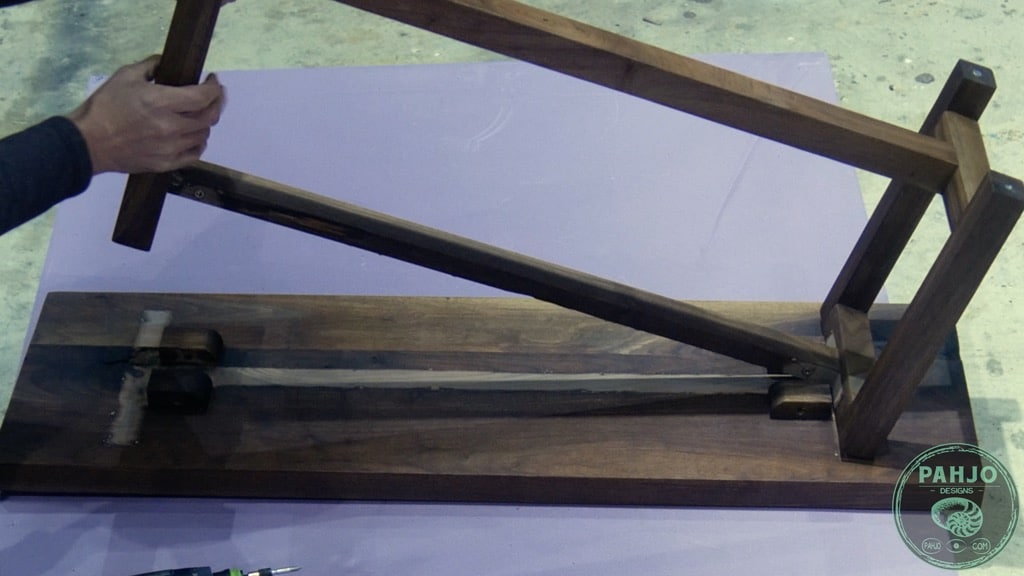
How To Attach Legs Without Apron
Threaded InsertsFurniture Glides
Drill Bit for Threaded Inserts
Drill
Since I need to ship this DIY dining table bench seat across the country, I designed the bench seat to easily detach from the bench bottom.
To attach the bench seat to the bench bottom without an apron, I used the same procedure to attach the table top to table base using threaded inserts and connector blocks.
More on threaded inserts in a later step.
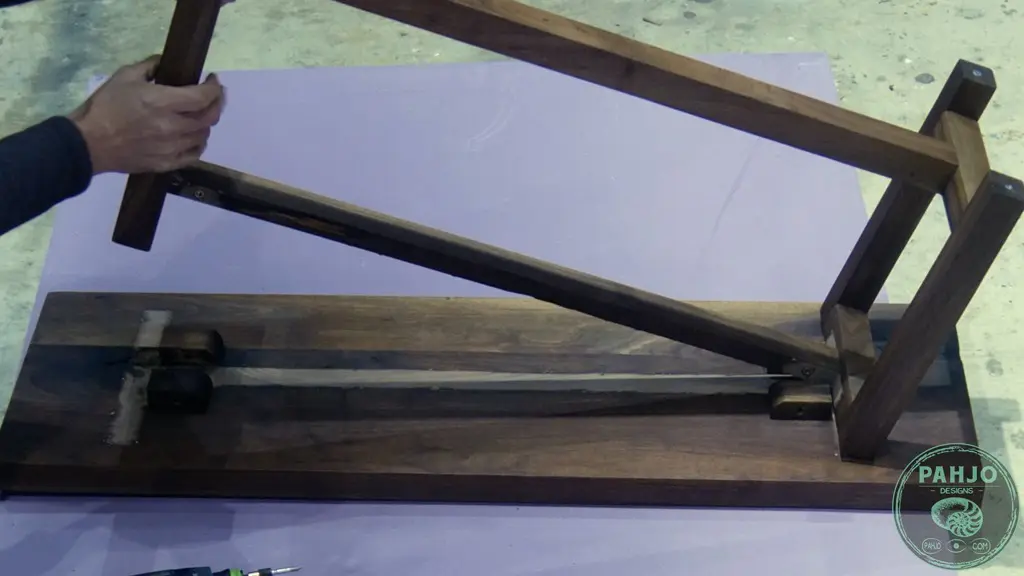
First, I used 2 speed squares to easily mark the location of the four bench legs.
The first speed square measures from the side while the other measures from the end.

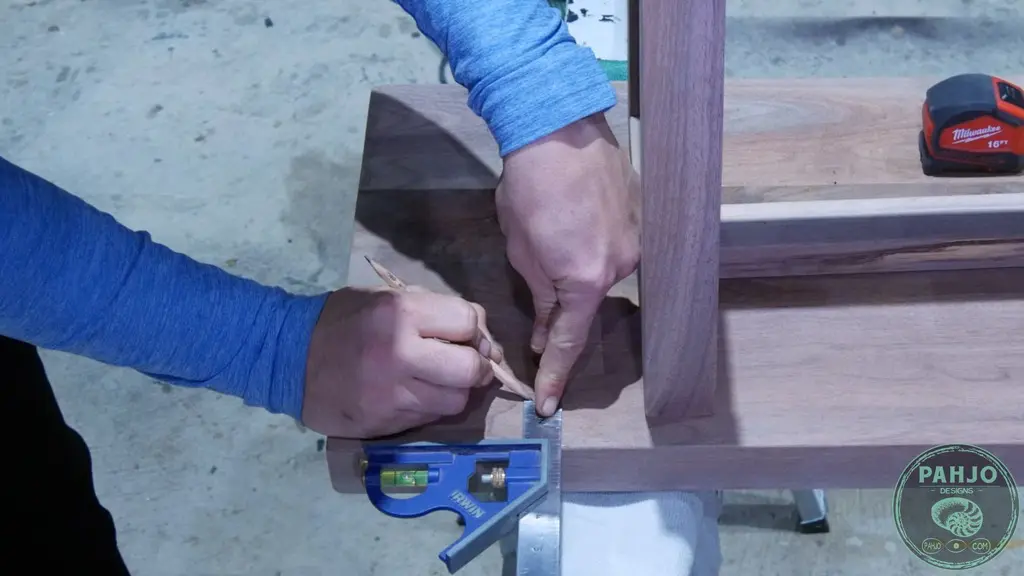
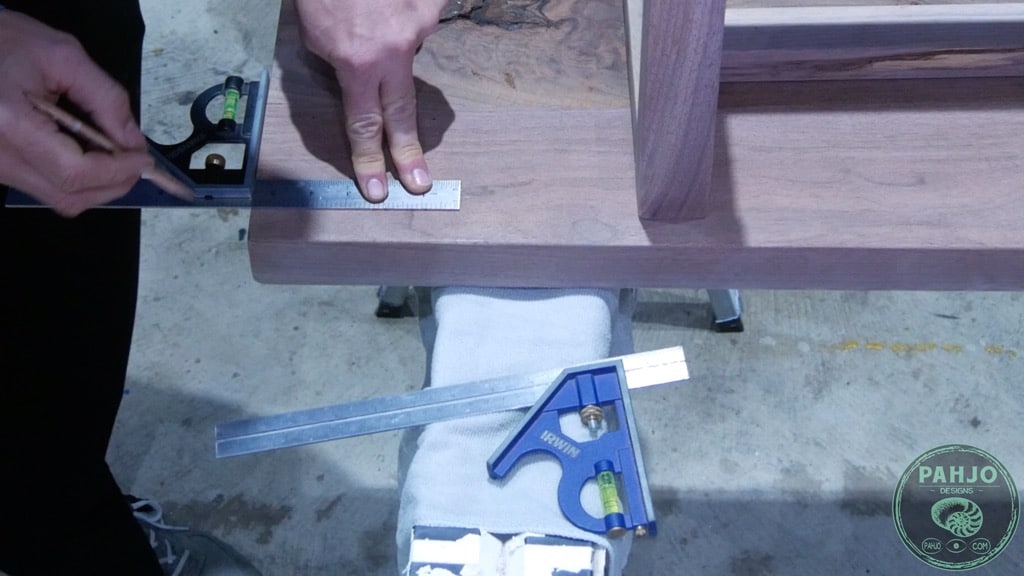

By using 2 speed squares, I eliminate the potential of error when adjusting 1 speed square to measure 2 distances.
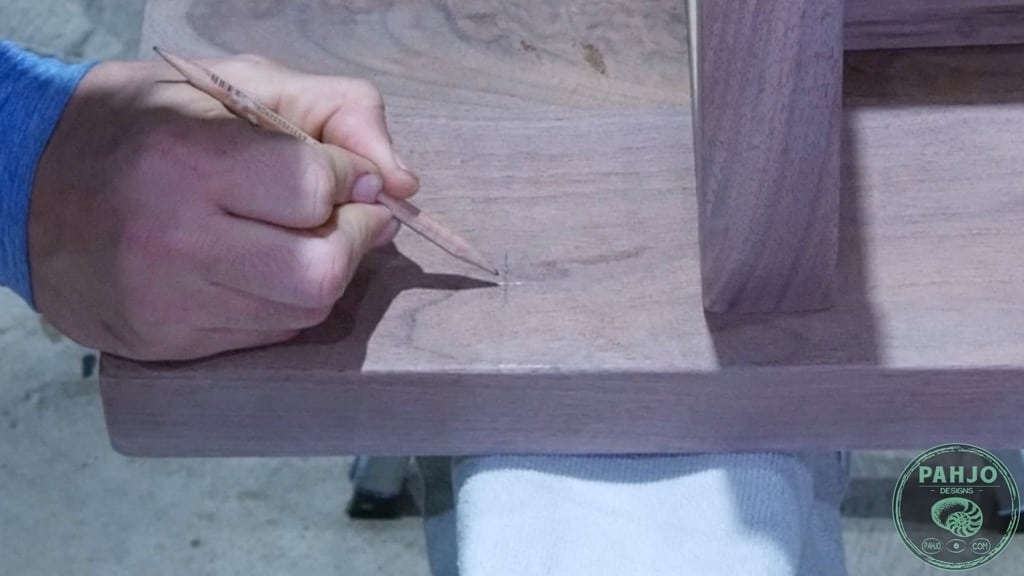

Once I marked the 4 locations, I placed the top of the legs bench bottom on the marks and traced it on each end.

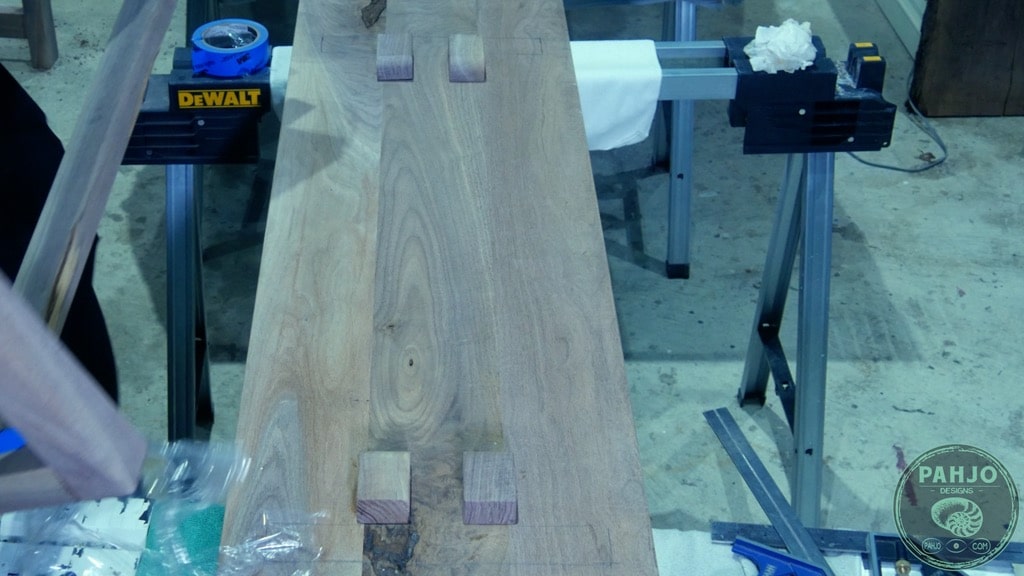
Connector Blocks
I find connector blocks (handmade pieces of wood) with threaded inserts make it easy to connect a table bench bottom to a bench seat.
So, I used pieces of walnut wood to cut out 4 identical connector blocks.
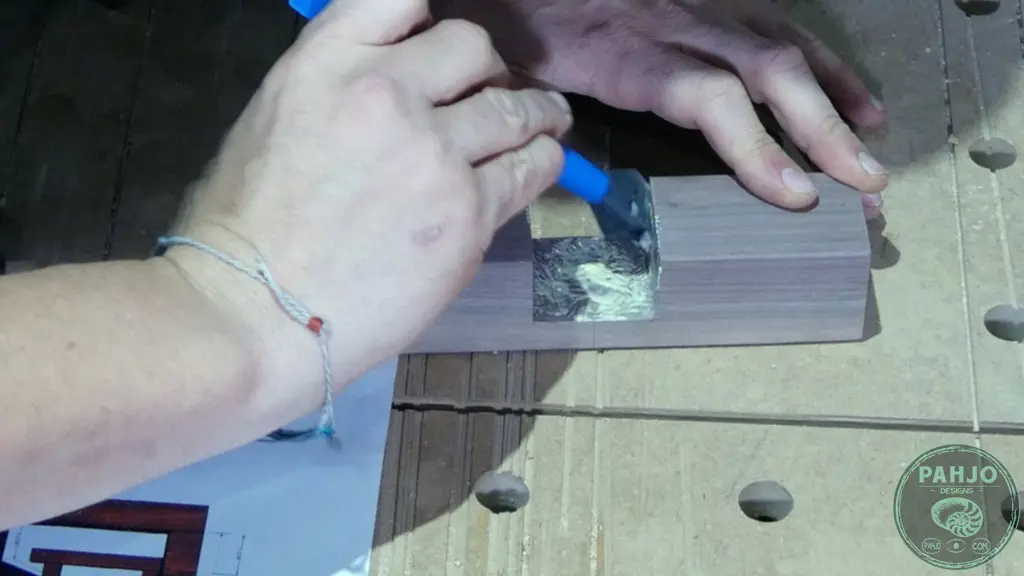
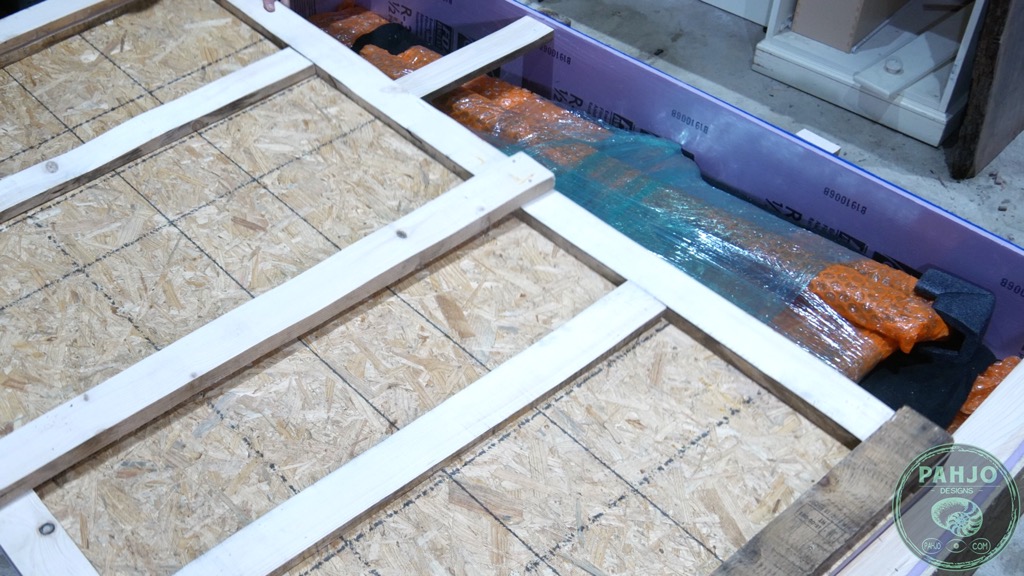
Next, I used plastic wrap to prevent the connector blocks from sticking to the dining table bench bottom.

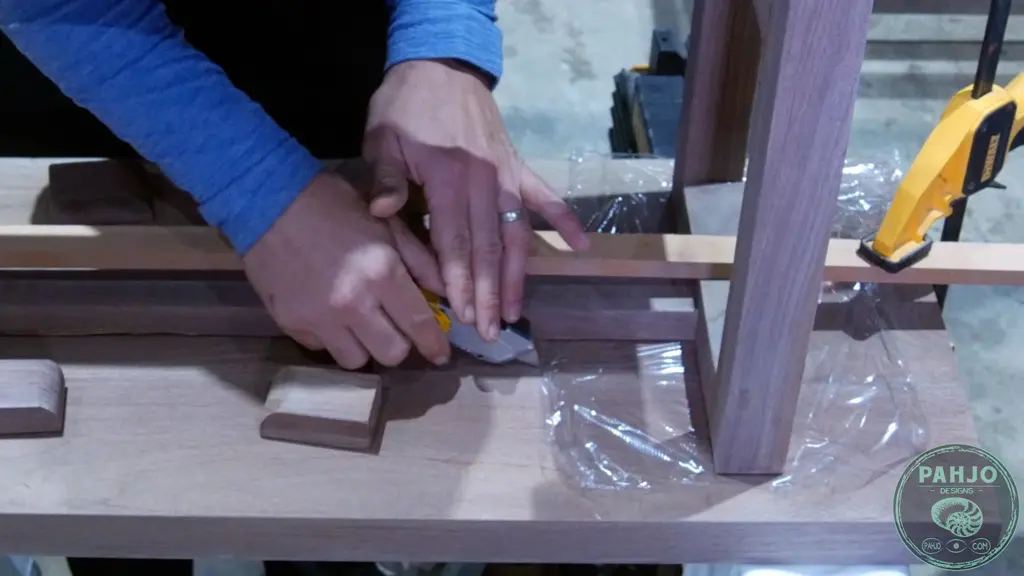
Then, I applied glue and placed the connector blocks in the ideal location.
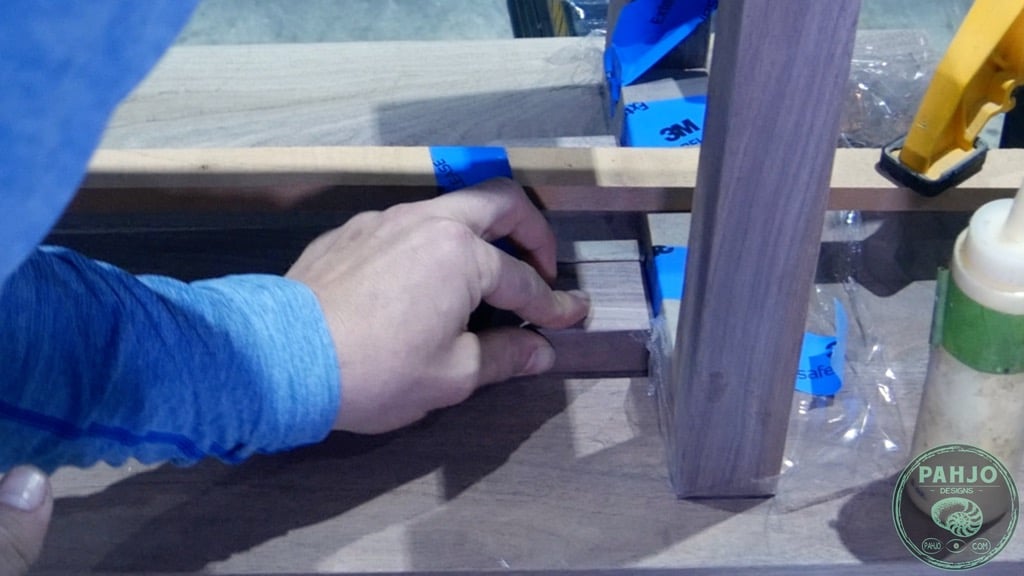

I used a scrap piece of thin walnut with a few clamps to apply a bit of pressure so the glue will adhere properly.
Finally, I removed the bench bottom from the bench seat.


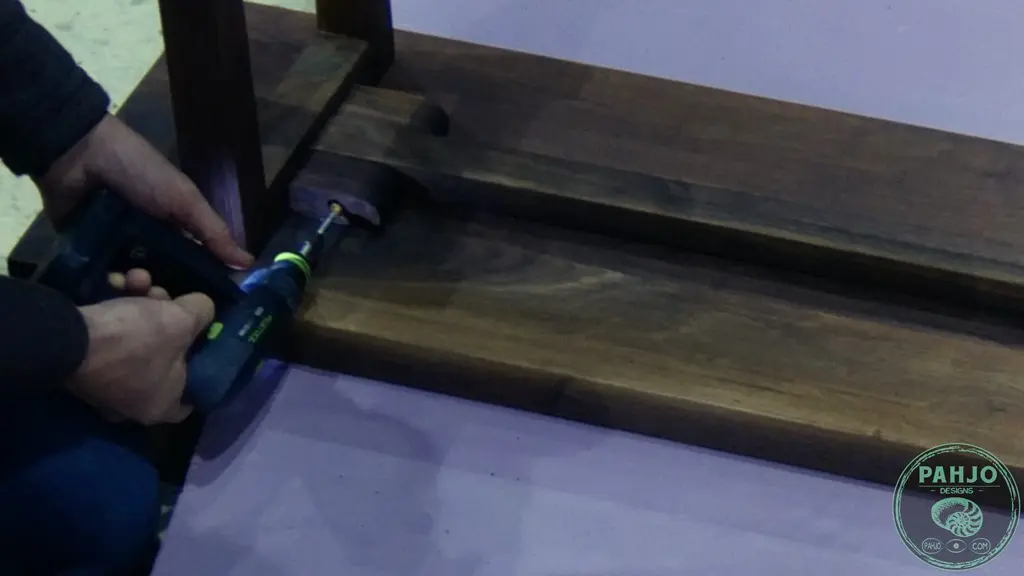
How To Install Threaded Inserts
Threaded Inserts work really well to connect pieces of furniture together.
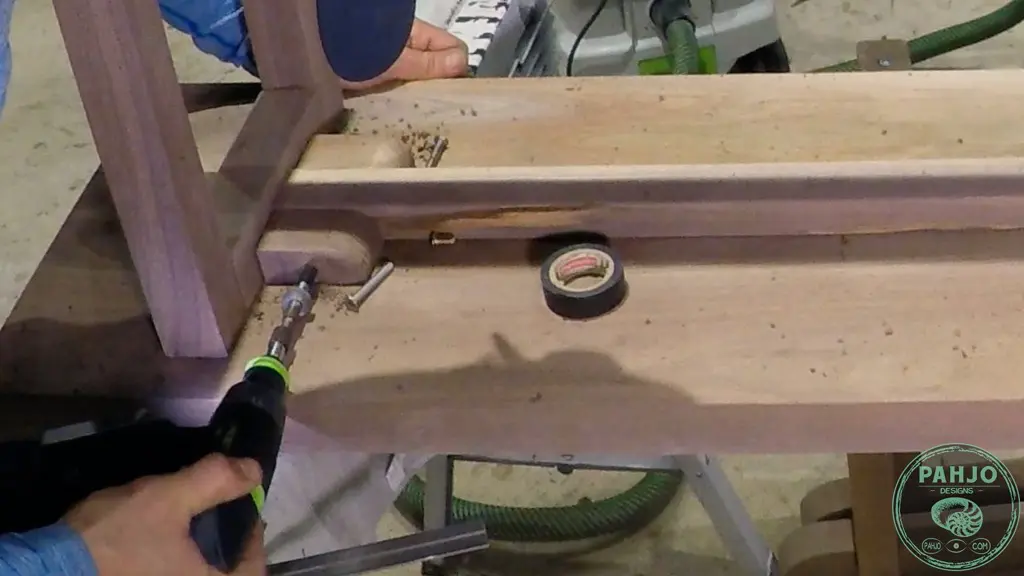
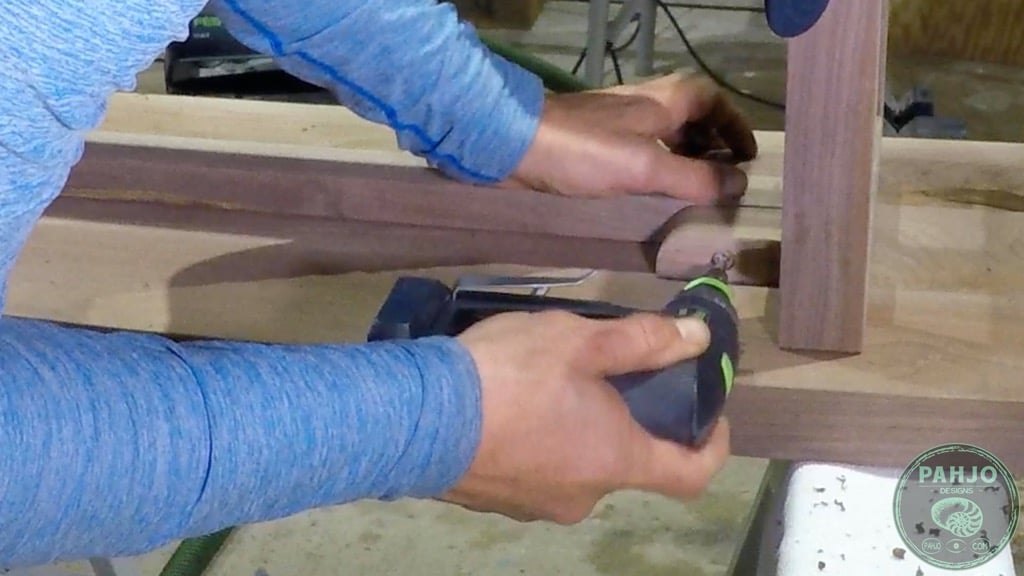
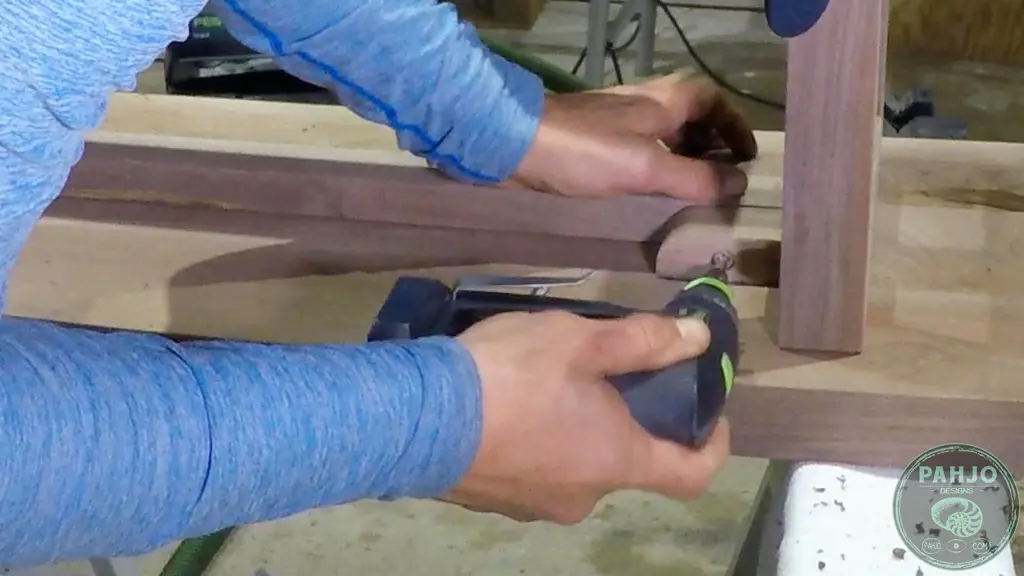
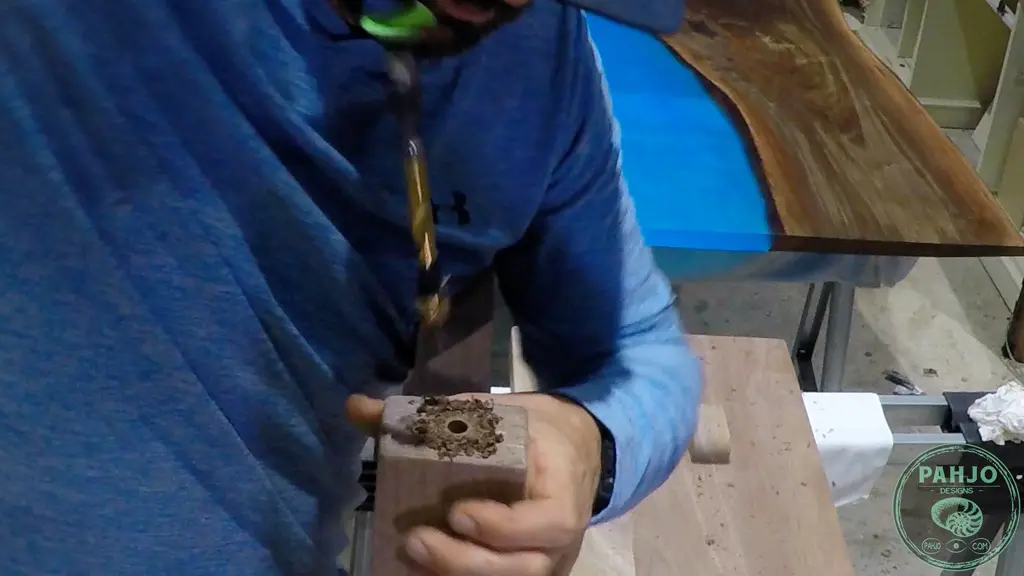
First, I placed the bench bottom in position and marked the depth of my drill bit with a piece of electrical tape.
Next, I drilled through the connector block and into the middle cross bar slightly deeper than the length of the threaded insert.

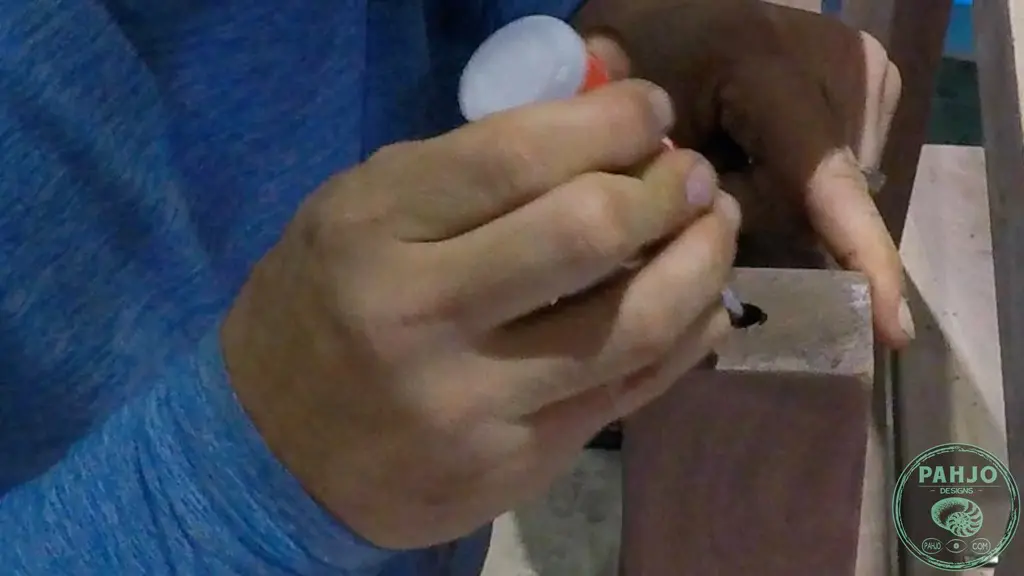
Next, I removed the bench bottom and applied glue to the hole I drilled on the cross bar.
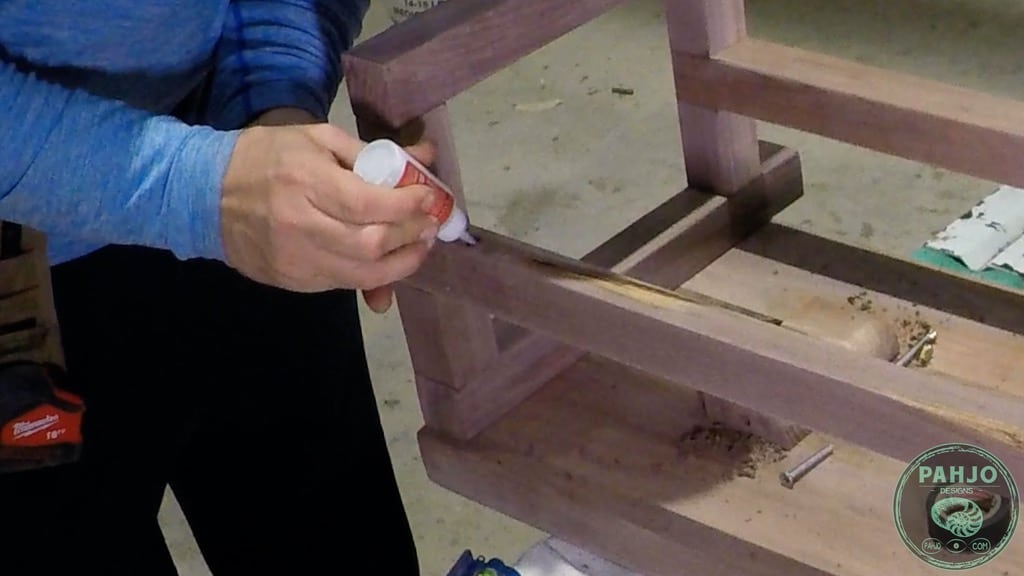
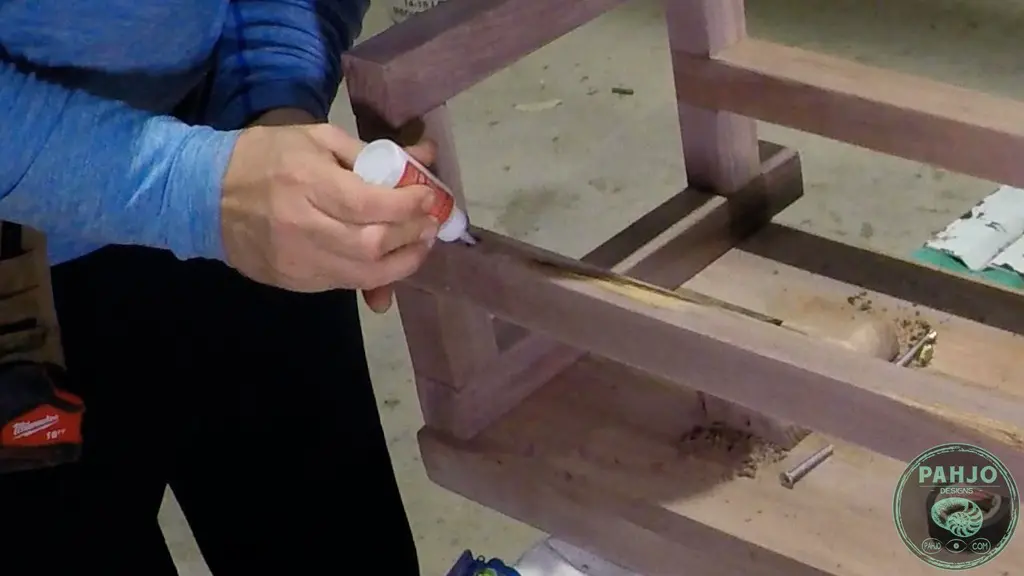
Then, I used my drill to secure the threaded insert in the hole very slowly in order to avoid stripping the hole.

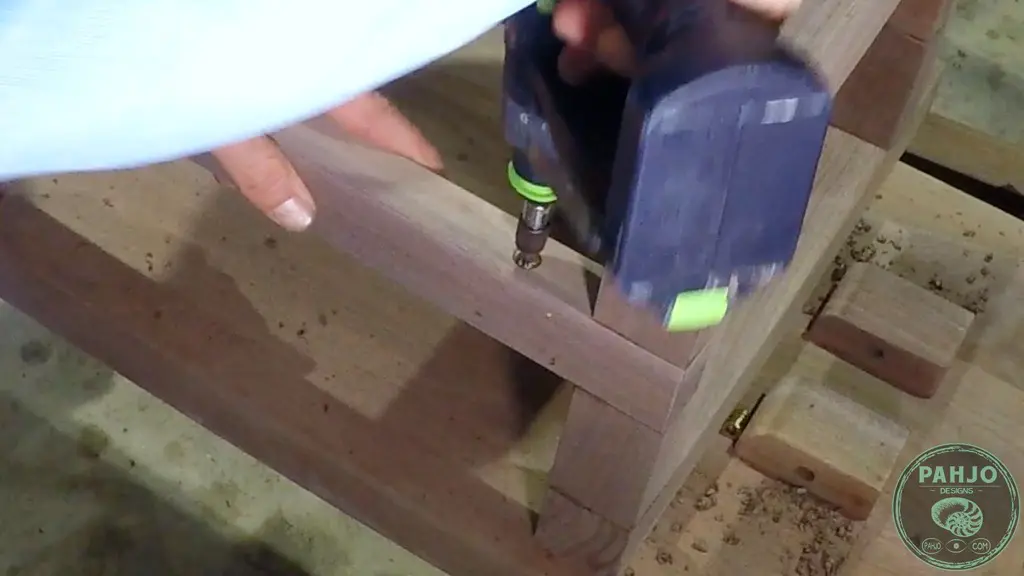
After the glue cured for. afew hours, I secured the dining table bench seat to the bottom with a screw.
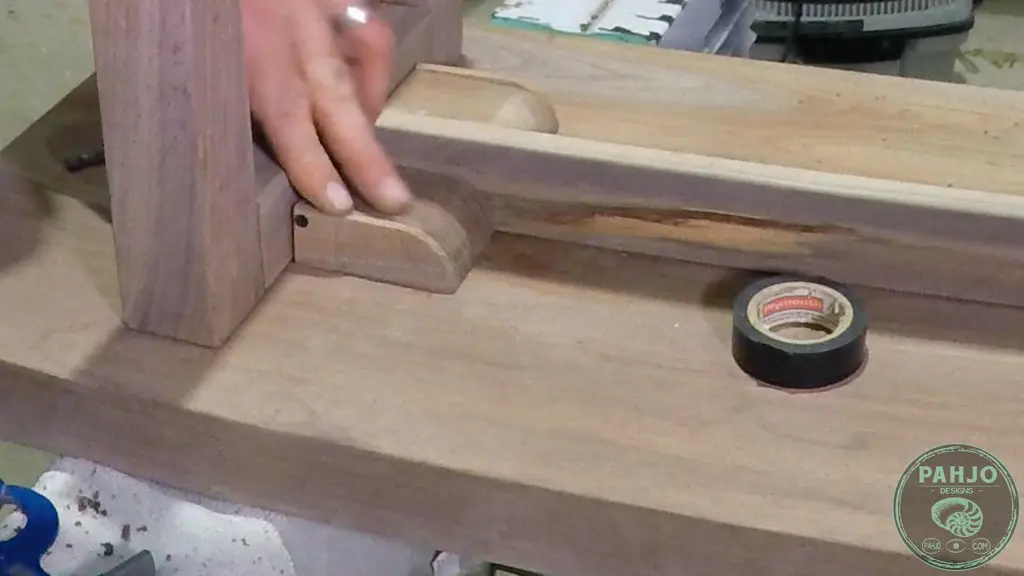
To conceal the threaded insert, I cut a piece of walnut the same shape and size as the connector block.
I used a small black screw to secure it to the outside of the connector block.

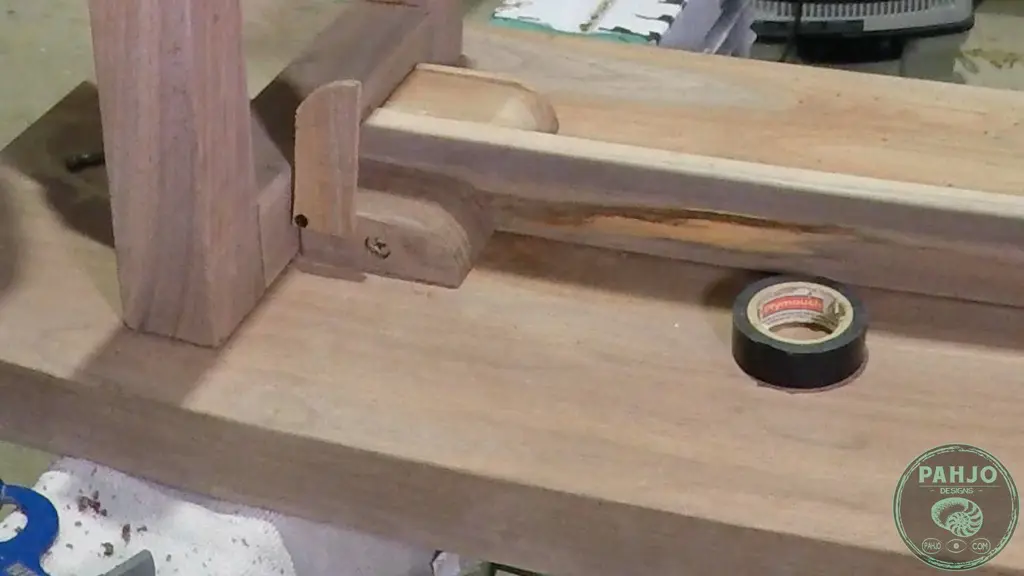
It worked well and concealed the hole perfectly.

How to Install Furniture Pad Feet
Threaded InsertsFurniture Glides
Drill Bit for Threaded Inserts
Drill
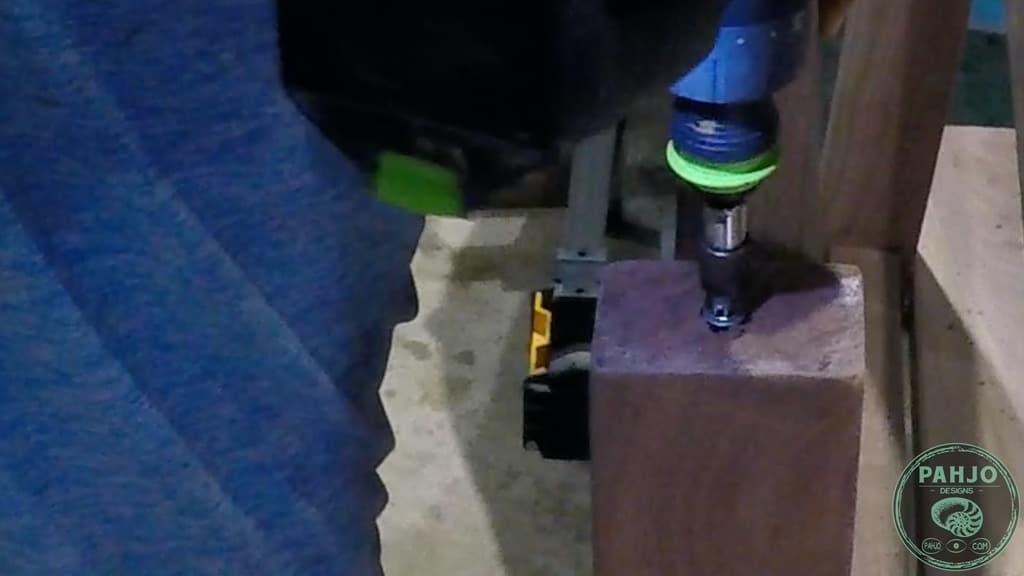
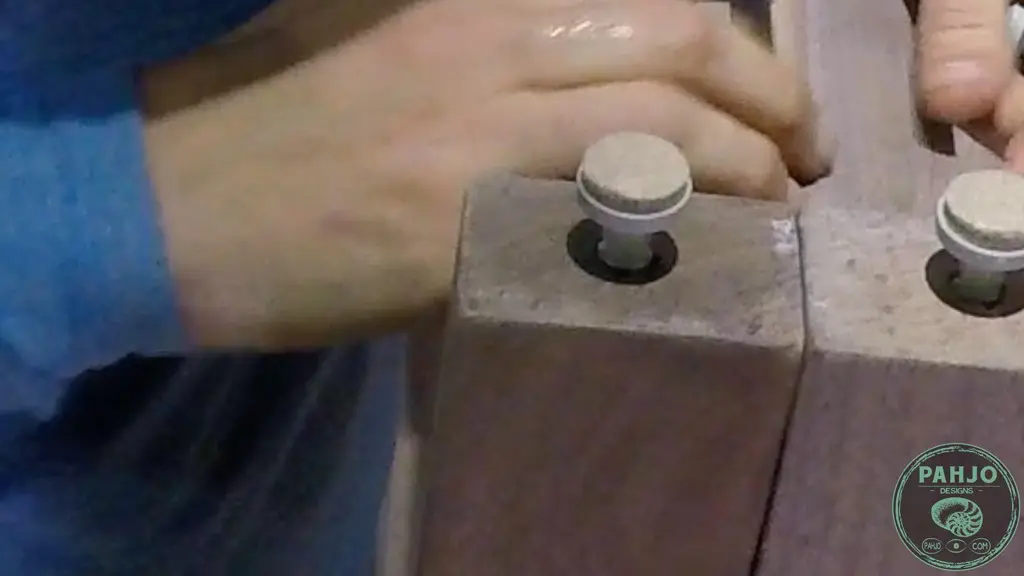
To install the furniture pads, I followed the same procedure as the previous step.
However, the furniture pads screw into the threaded inserts instead of the screws.


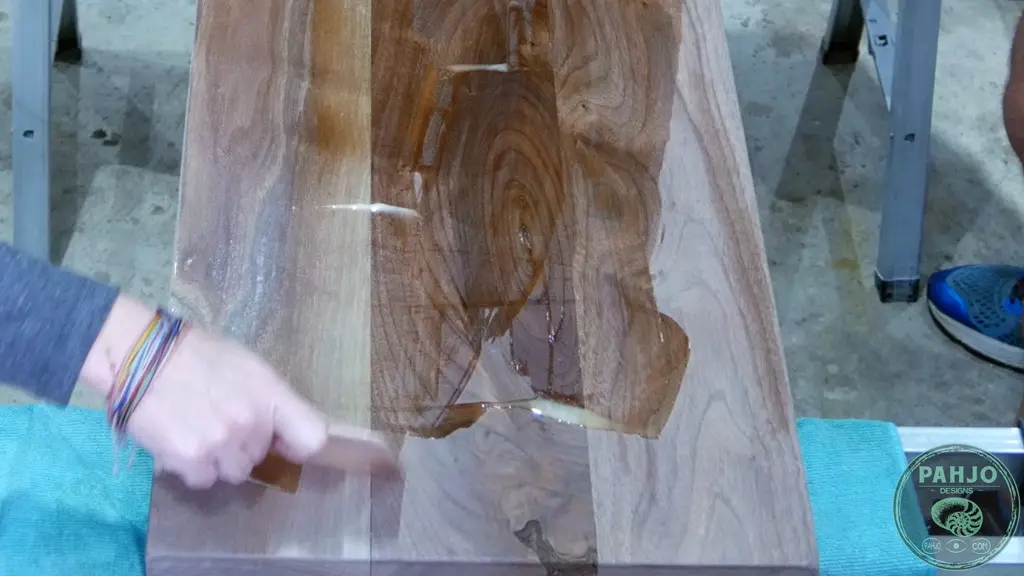
Apply Wood Finish
Rubio MonocoatAs a last step, I used Rubio Monocoat Oil Plus 2c to finish the kitchen table bench seat.
I wrote a detailed article summarizing my favorite wood finishes for table projects, so be sure to check that out.
Actually, my wife applied the finish to this dining table bench seat. She did a great job!
Remember, a little bit goes a long way with this finish.


Detach Dining Bench Base for Shipping
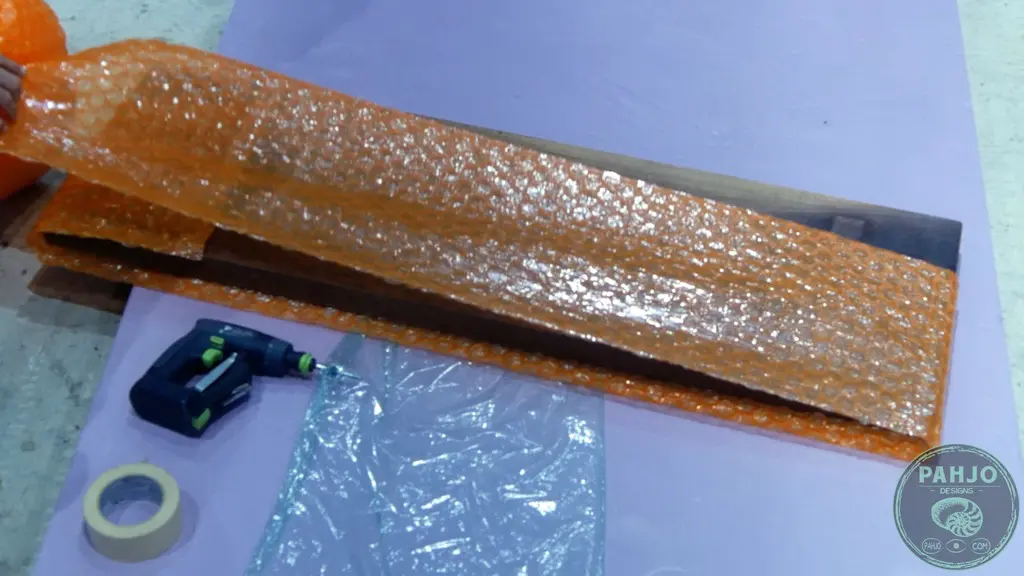
I detached the DIY dining table bench seat from the bottom by removing the screws.

Next, I wrapped the entire bench in bubble wrap along with the dining table bench bottom.

Also, I wrote a detailed article on the how I ship custom furniture across the country.

Conclusion
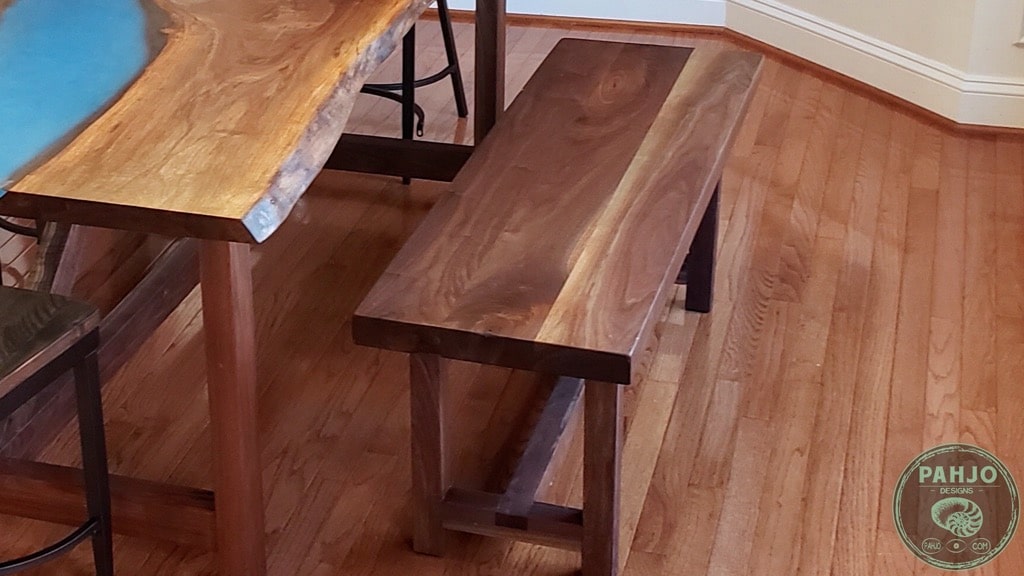
The bench fits perfectly under the side of the new dining table and looks great with the chairs at the end of the table.
In conclusion, I hope this article showed you how to build a bench seat for kitchen table or dining table.
This bench for dining table is a fairly straightforward DIY woodworking project for all skill levels.
Related Posts:
- DIY Walnut Epoxy Dining Table
- Best Way to Ship Furniture Across Country
- How To Sand rough Wood (Like a Boss)
- How To Attach Table Base DIY
What is the standard size of a dining table bench seat?

Dining table bench seats should be between 28 to 30 inches high. In addition, a dining table bench should be able to slide under the table top.
How thick should a dining table bench be?
The thickness of a dining table bench is between 1 to 2 inches in thickness and wide enough to slide under the table top.
Should a dining table bench fit under a table?
A dining table bench should fit under a table to save space and match the style of the table.

How deep should a bench seat be?
A dining table bench seat should be deep enough to slide under the table.