
In this tutorial, I show you how to make a DIY Pizza Peel with a long handle using mahogany and walnut wood.
Pizza is a beloved food all around the world, with its crispy crust, delicious toppings, and gooey melted cheese.
While many of us enjoy ordering pizza from our favorite restaurants, there’s something special about making it at home.
In this blog post, I’ll show you how to make a pizza peel with a long handle.
Also, I’ll guide you through the process, step by step and provide you with all the materials and tools you need.
By the end of this post, you will learn how to make a beautiful and functional pizza peel.
Tools I Used
Table Saw or Circular Saw
Miter Saw
Clamps
Band Saw or Jig Saw
Wood Glue
Orbital Sander
Disc Sander
Spindle Sander
Drill
Forstner Bit
Food Safe Finish
Video Tutorial
There are several things which are difficult to fully explain with words and images, so be sure to check out the video tutorial below!
Wood Species
First, it is important to choose a suitable hardwood for a DIY pizza peel.
A wood pizza peel will come into contact with food and it will be exposed to excessive heat.
Mahogany and Walnut seemed like a great choice for this DIY pizza peel.
Essentially, they are both hardwoods and I had excess in my workshop.
I wanted the pizza peel to have a long handle and be about 14″ wide.
The dimensions I used originated from the look and feel, not from exact dimensions.
Mill Wood
First, I cut the 8×4 (2″ thick) piece of mahogany on my table saw.
Normally, I use my bandsaw to resaw wood. However, my blade was broken at this point in time.
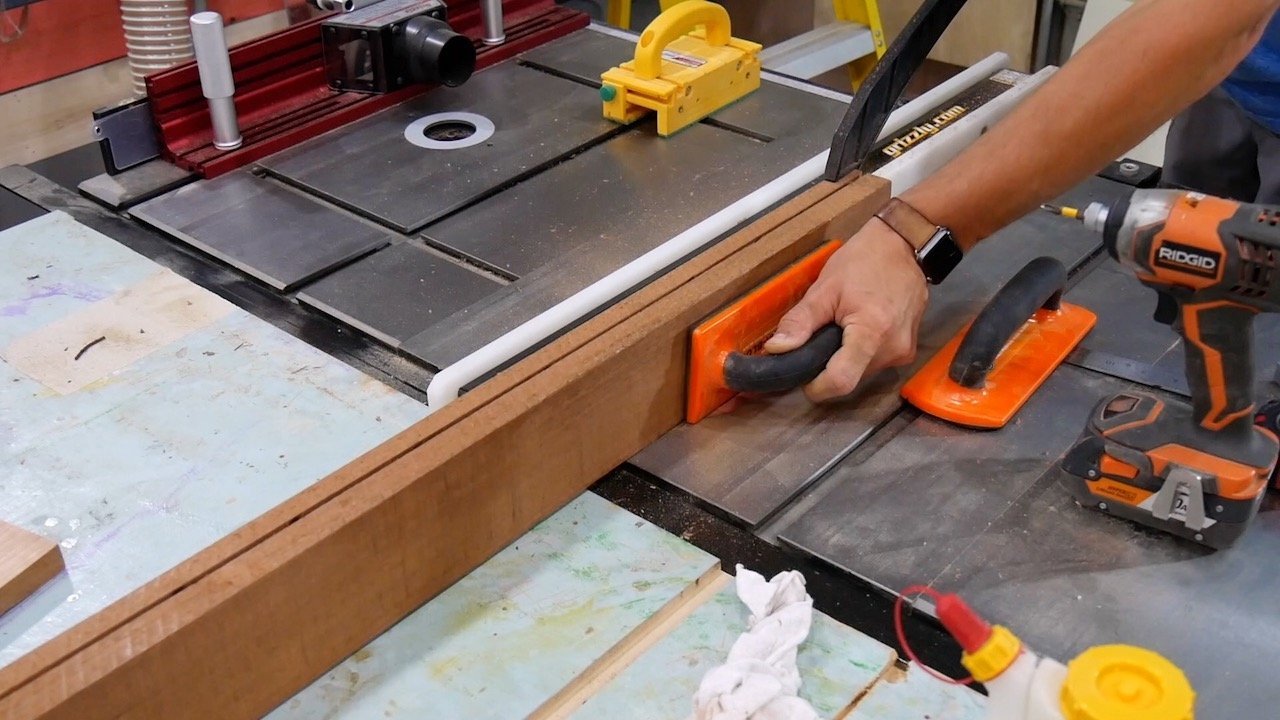
To get a straight side, I used my homemade jointer sled with 2 grooves I cut with a dovetail 14 degree router bit
Also, my dovetail clamps
Then, I used my table saw to straighten the other side by using the first side as reference. I repeated this procedure for all 3 boards.

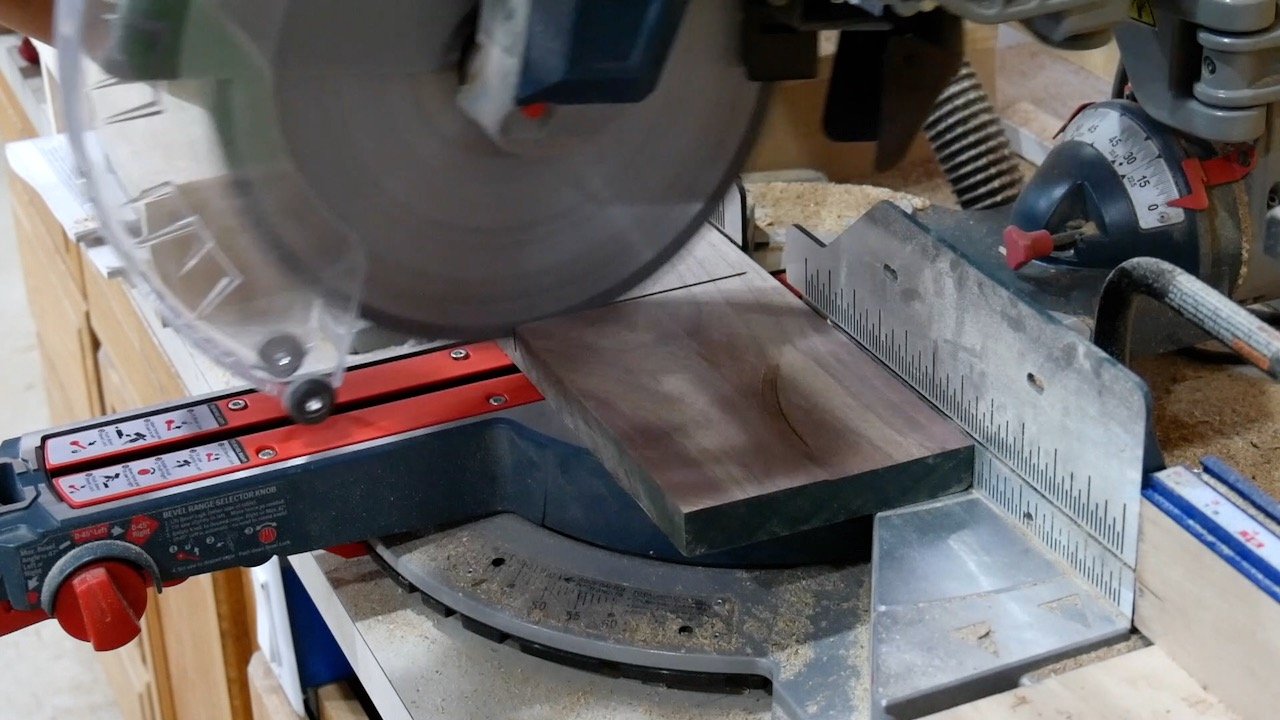
Next, I cut 2 pieces of 4×4 (1″) walnut to 14″ on my miter saw. These pieces were the sides of the DIY Pizza Peel.
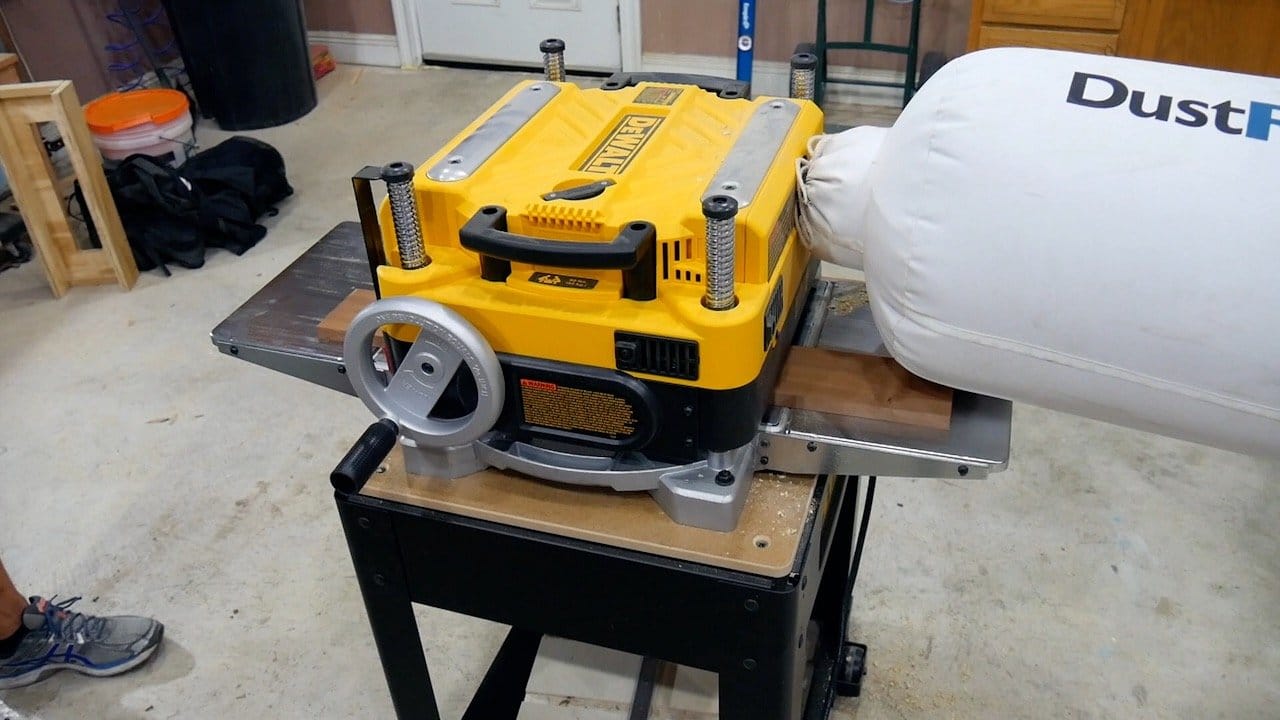
Plane Wood
Next, I ran them through my dewalt planer
The boards were already fairly flat, so a few passes achieved the desired result.
You can use an orbital sander to complete this step as well.
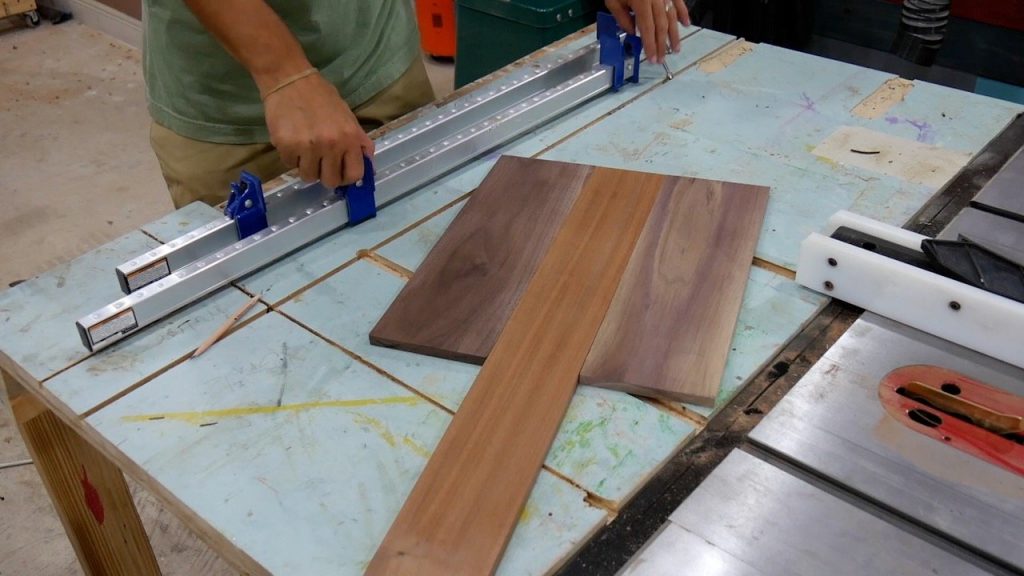
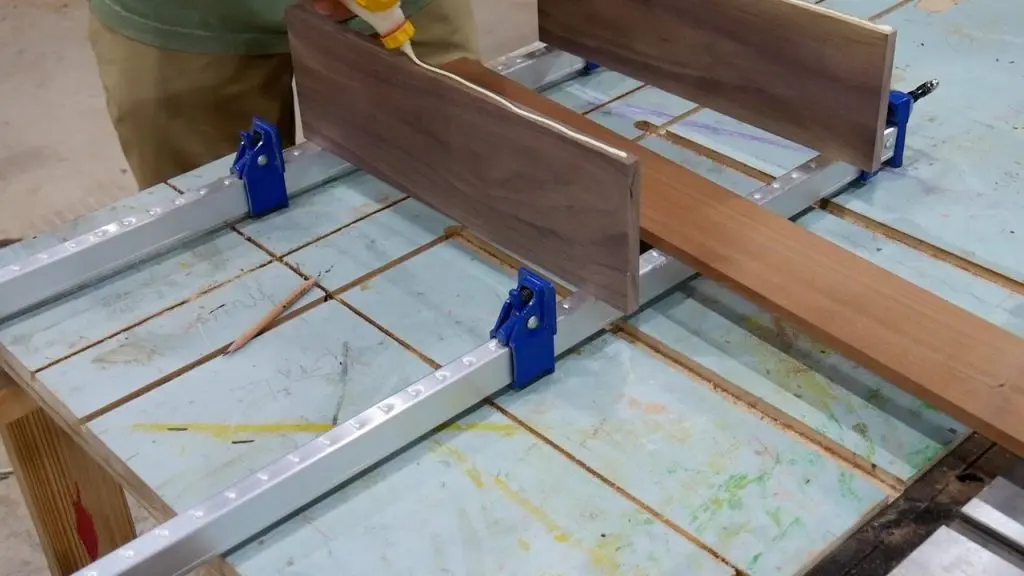
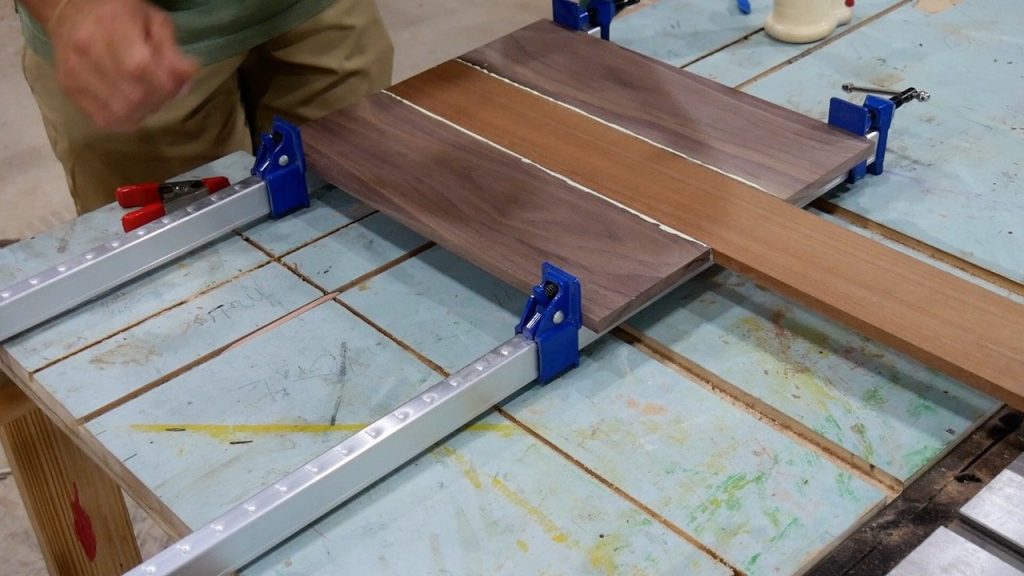
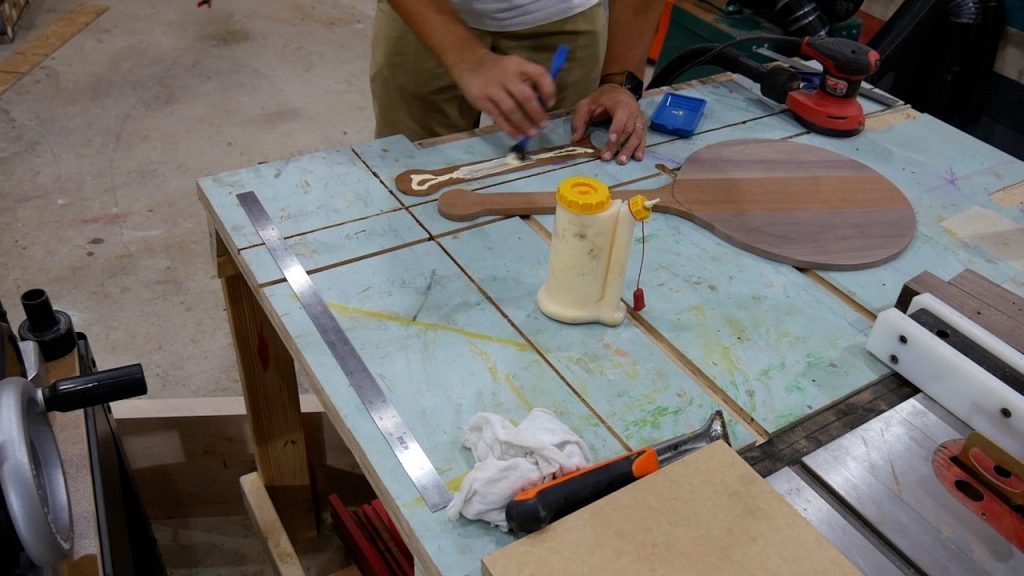
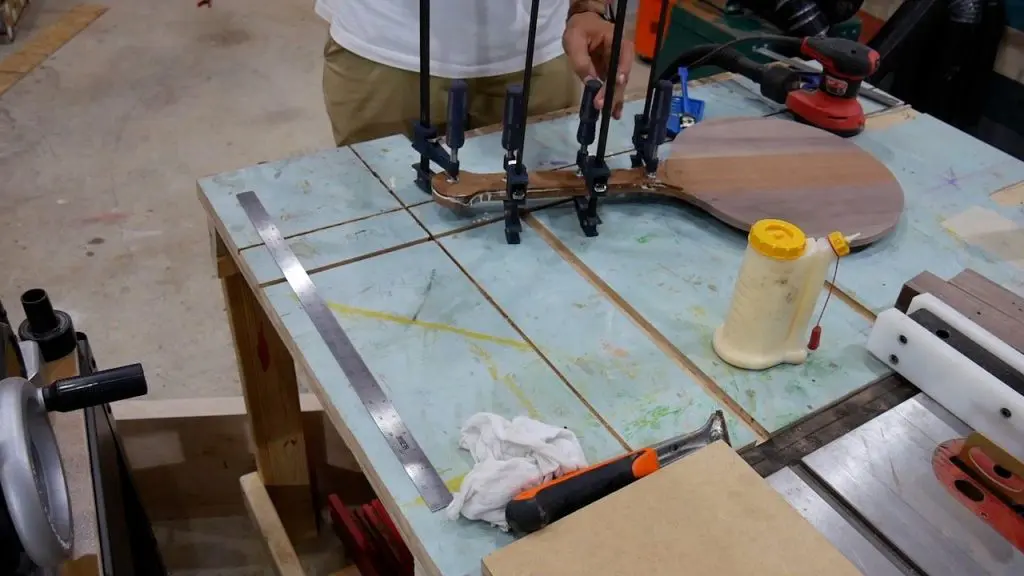
Glue Up
First, I placed the boards in their appropriate position to make sure they were flush. I placed the boards on 2 bar clamps and flipped the pieces of walnut upwards.
Then, I used a glue dispenser
Next, I used a rockler silicon glue applicator set to cover the entire area. I slowly applied pressure with my bar clamps until glue seeped out evenly.
The picture shows 2 bar clamps, but I used 4 bar clamps in total.


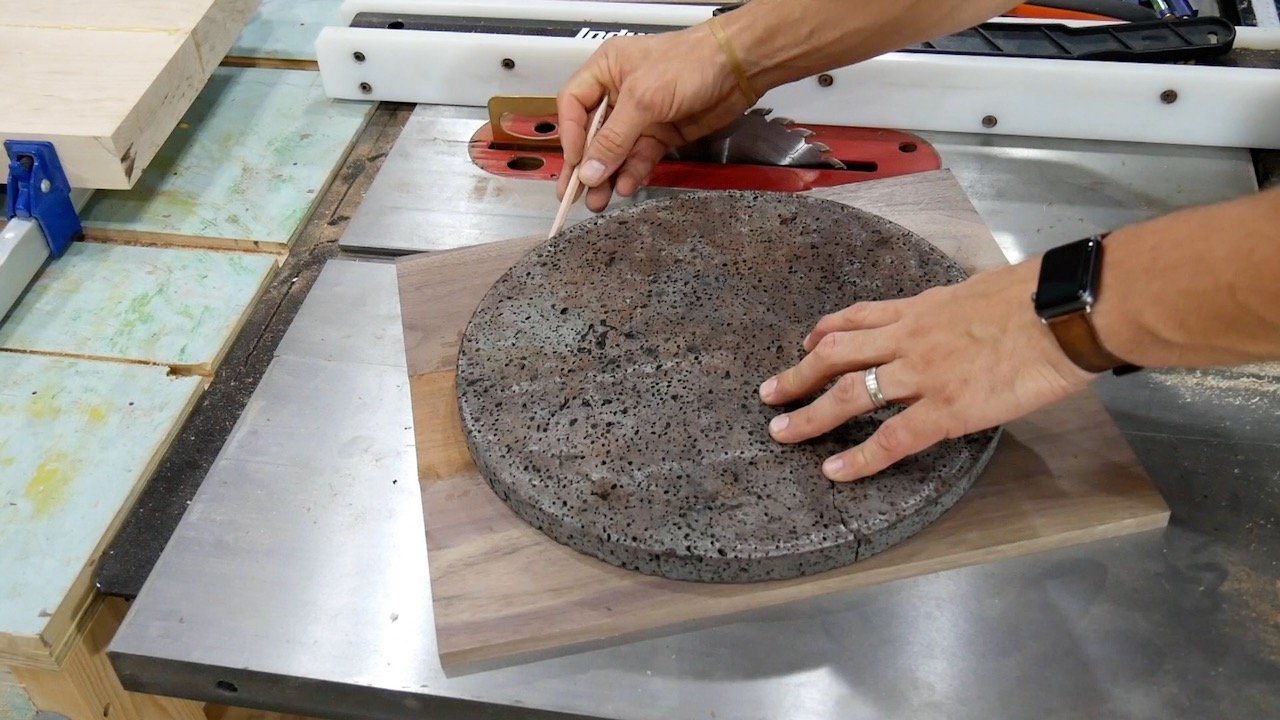
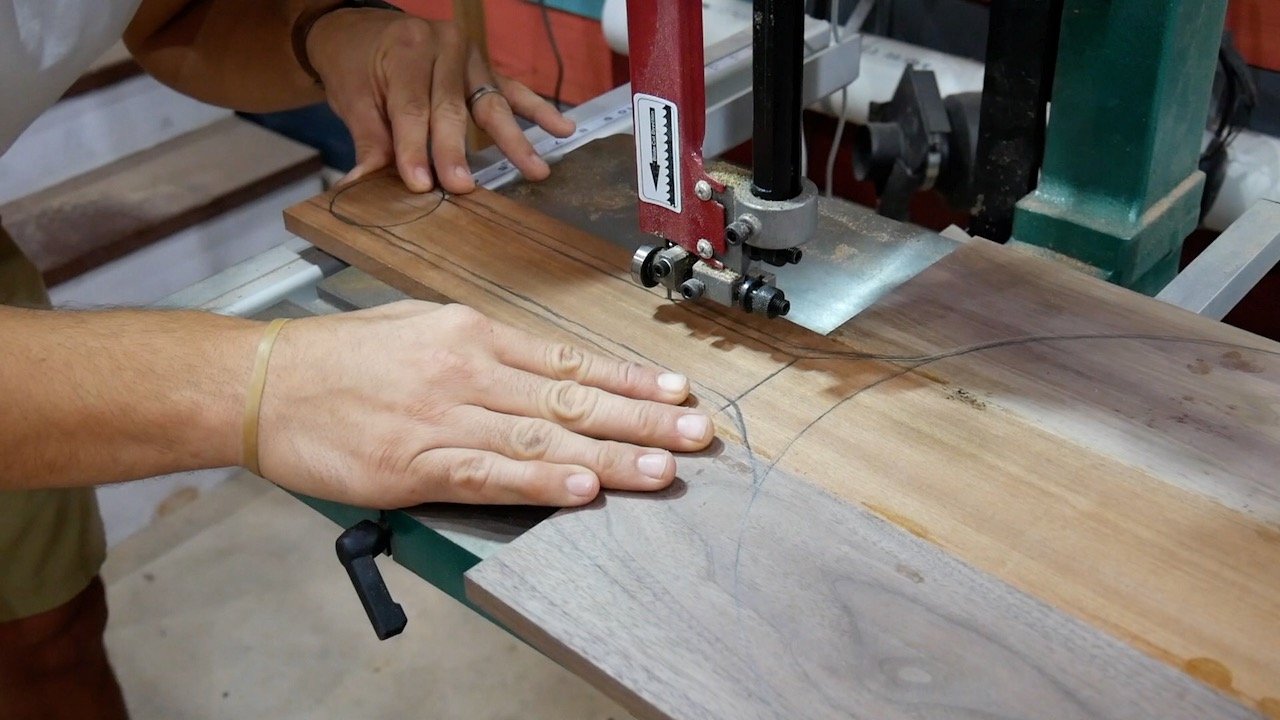
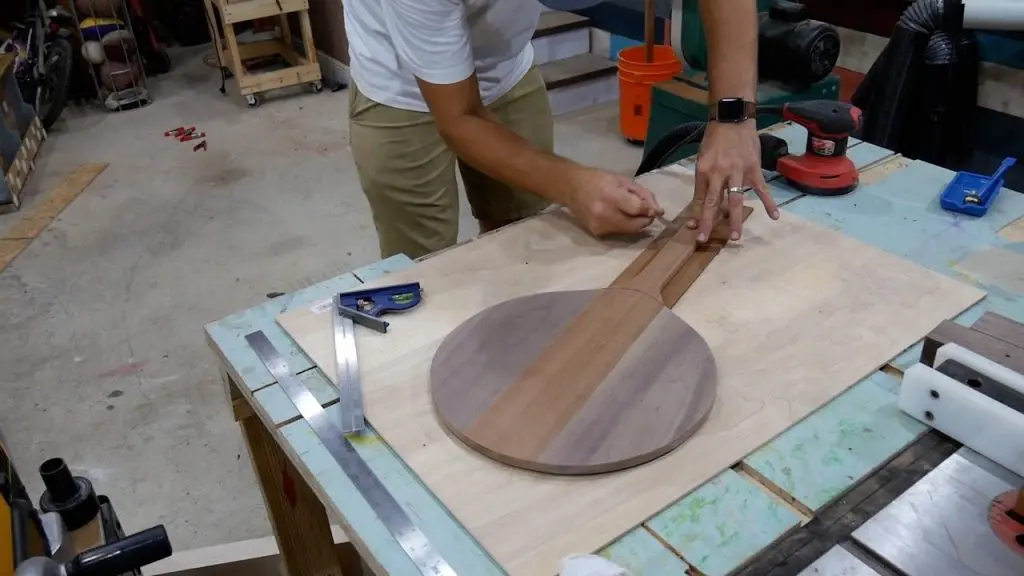
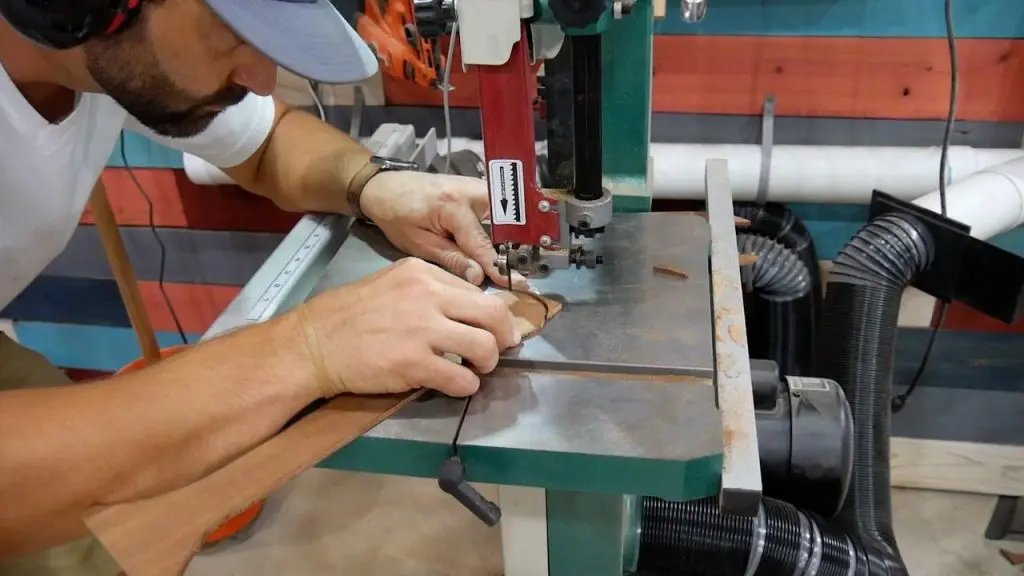
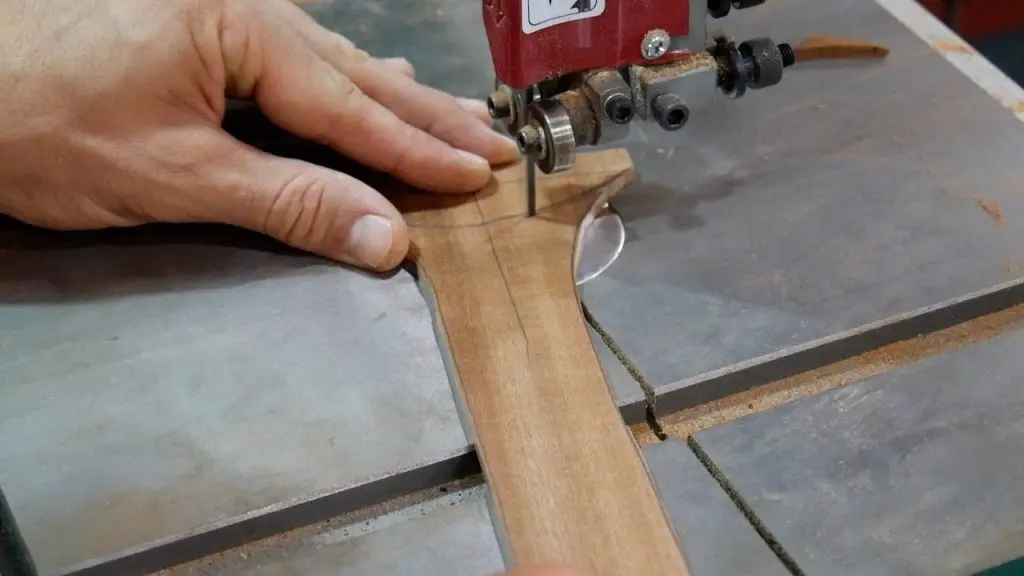
Draw Template
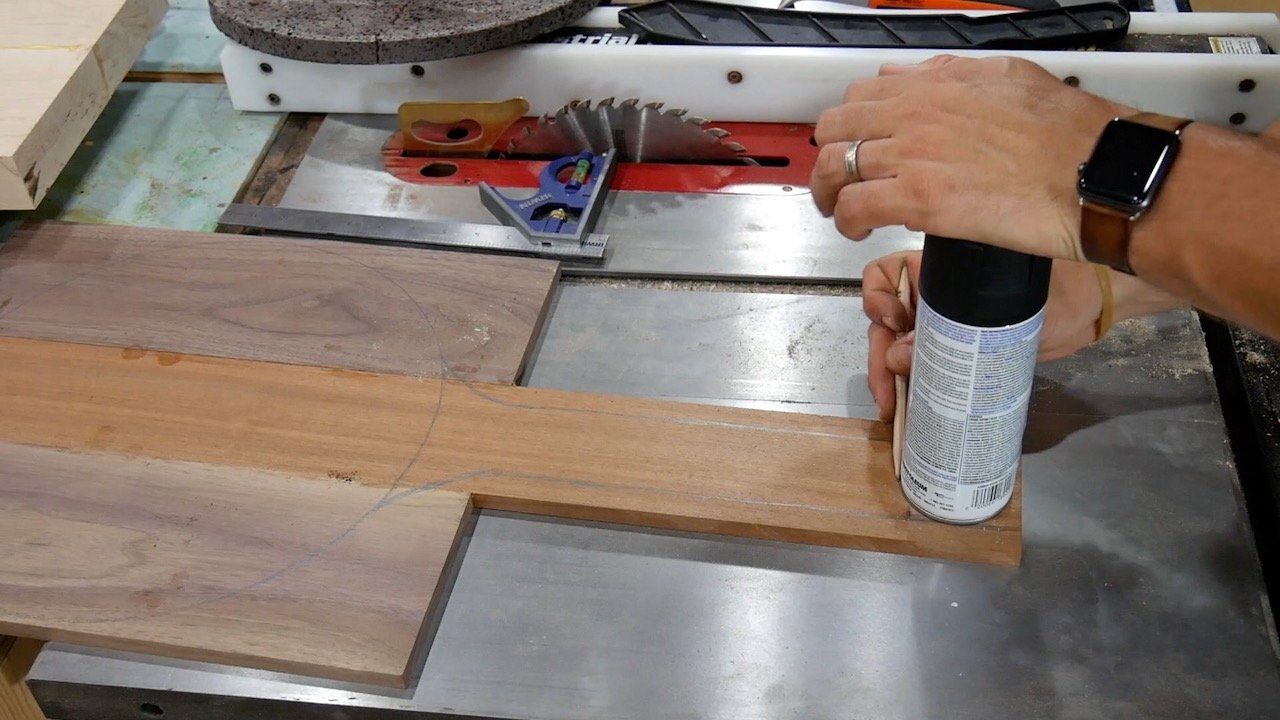
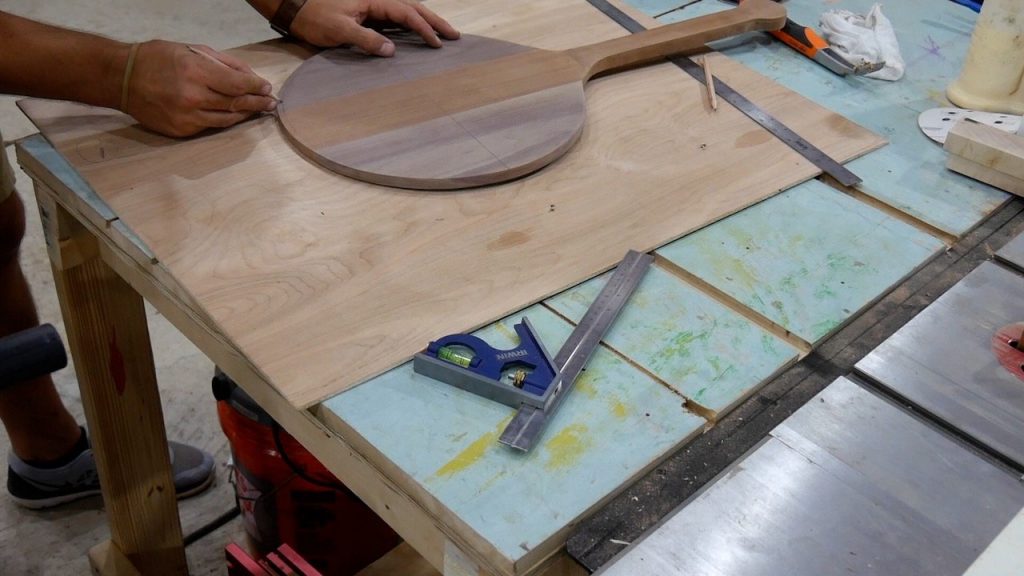
As I mentioned previously, I didn’t use a template for the wood pizza peel. Instead, I used a pizza stone from my smoker.
Next, I traced it with a double sided pencil.
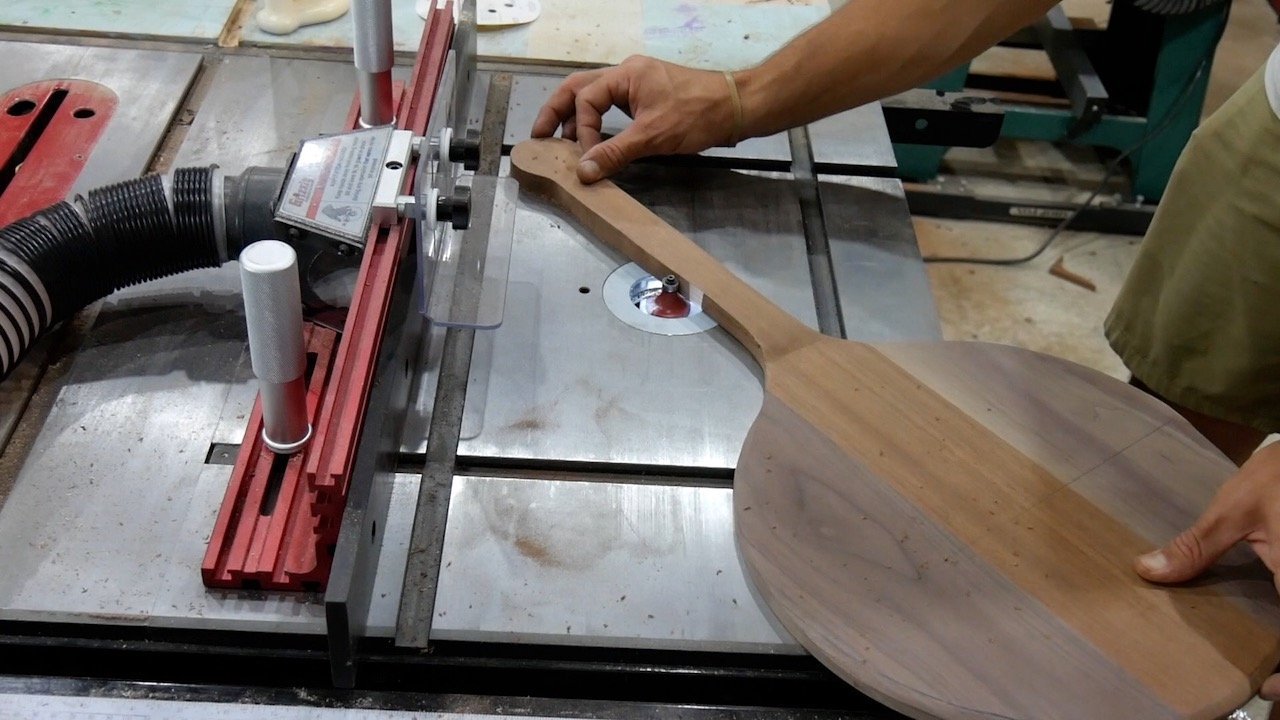
I free-handed the neck of the wood pizza peel while ensuring it was even on both sides. Ultimately, it was important to me to have a long handle.
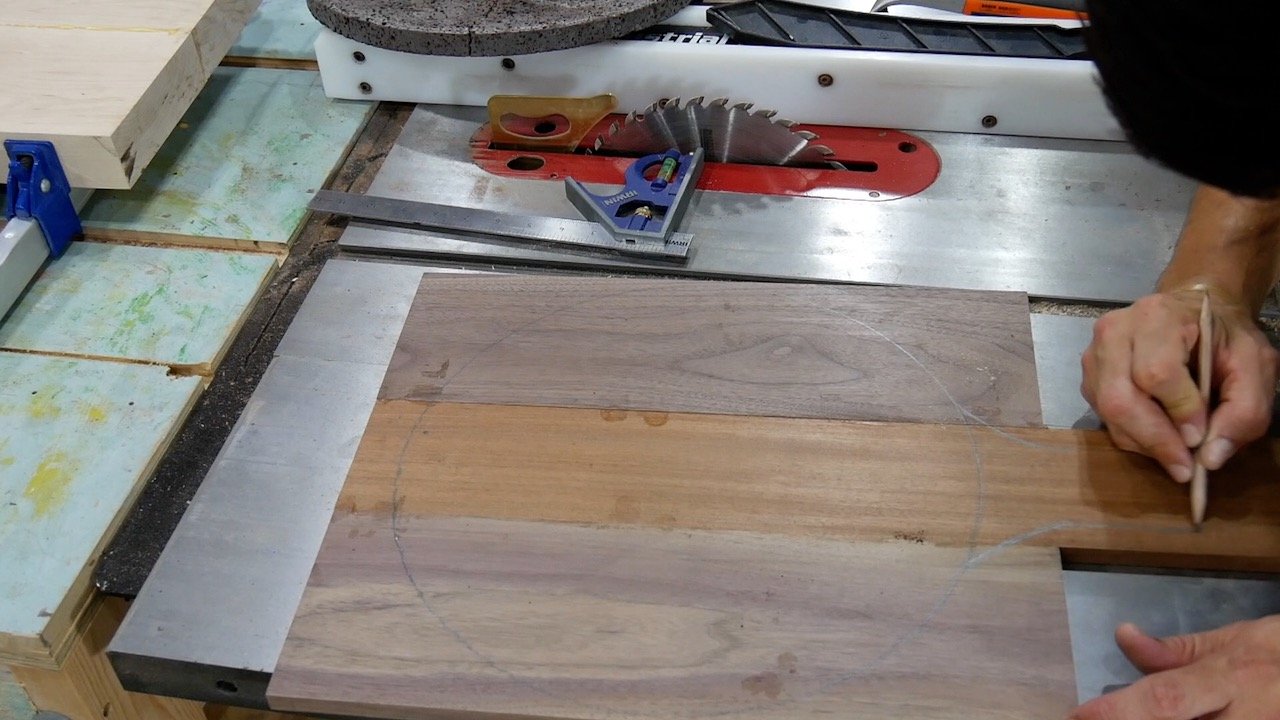
Spray paint cans are very handy for drawing perfect circles. So, I decided to use one to form the knob.
Finally, I cut out the lines using my bandsaw.
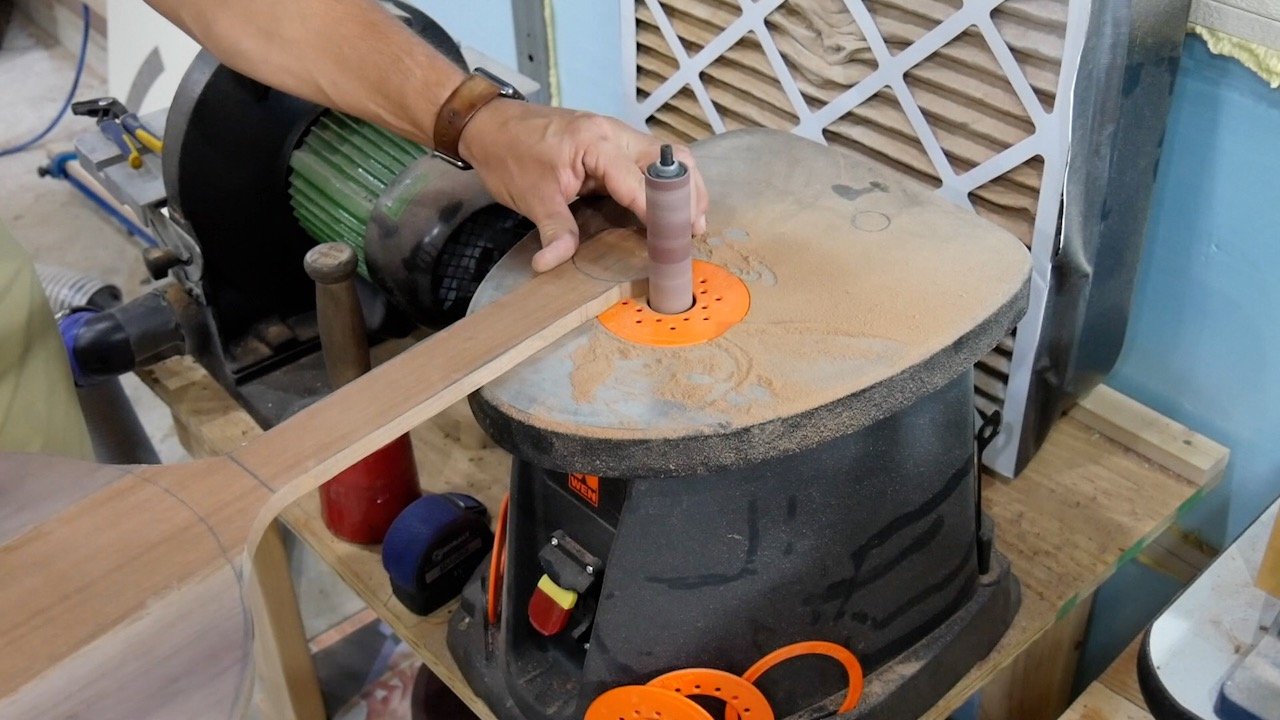
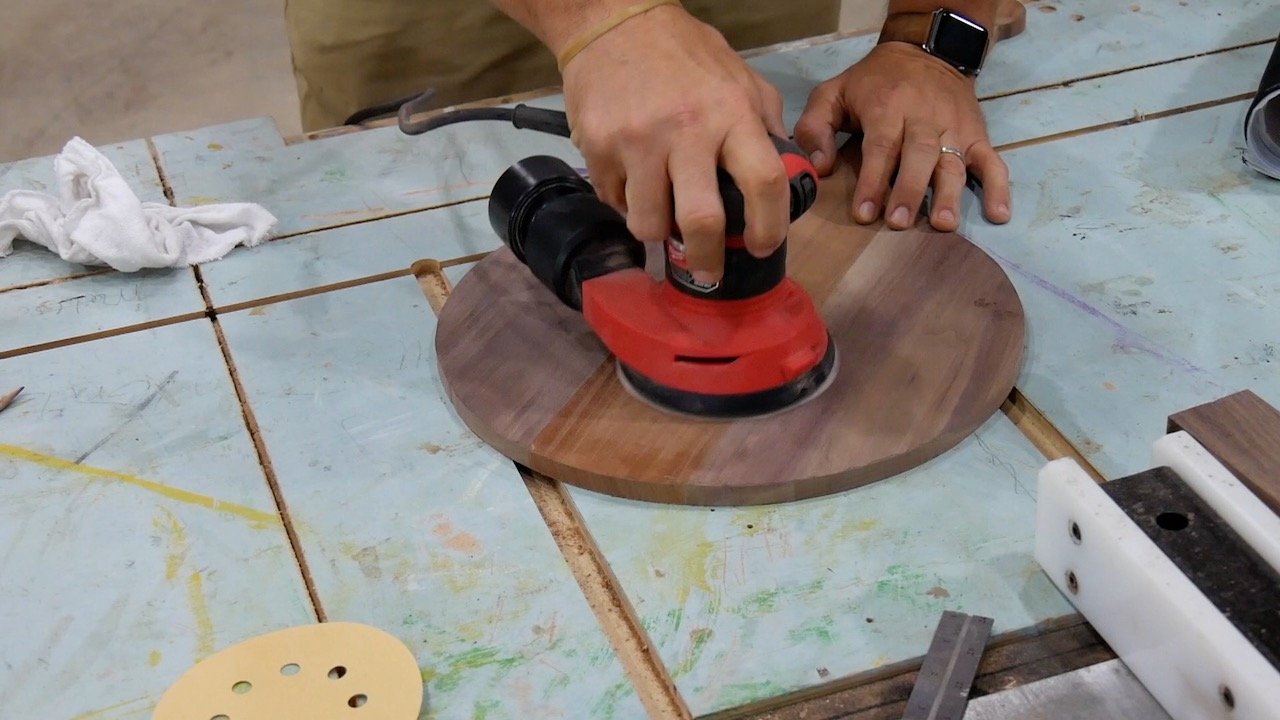
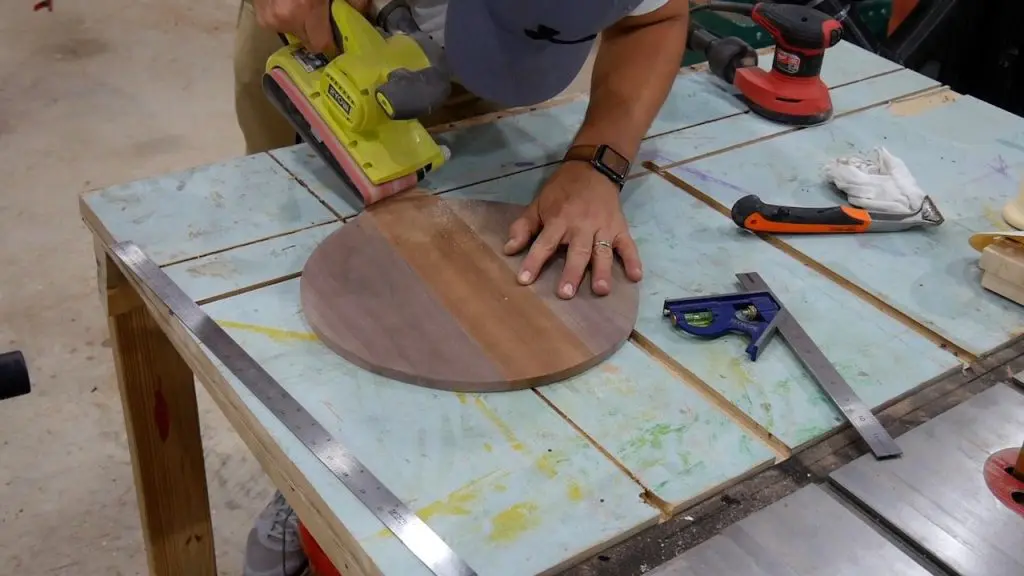
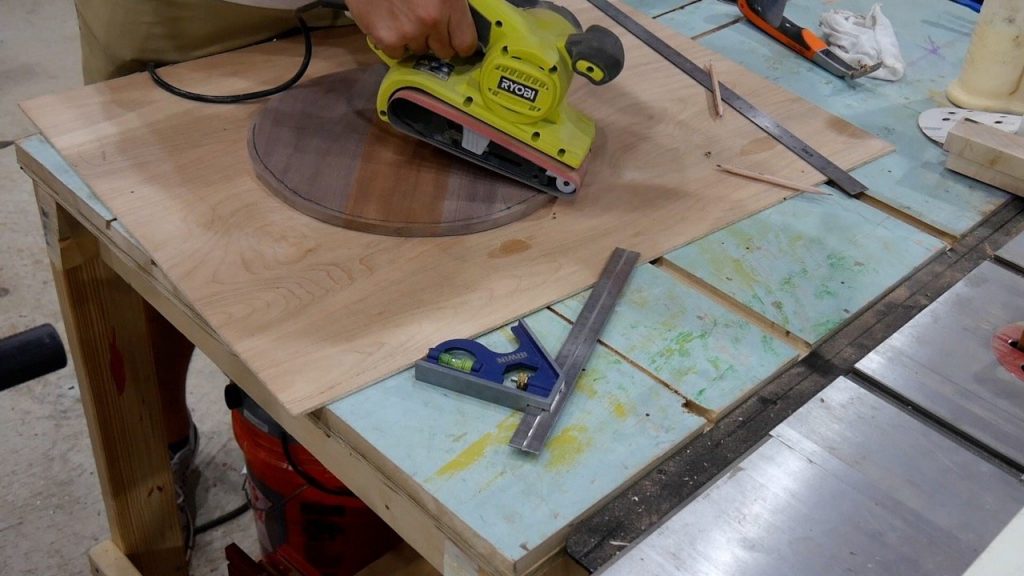
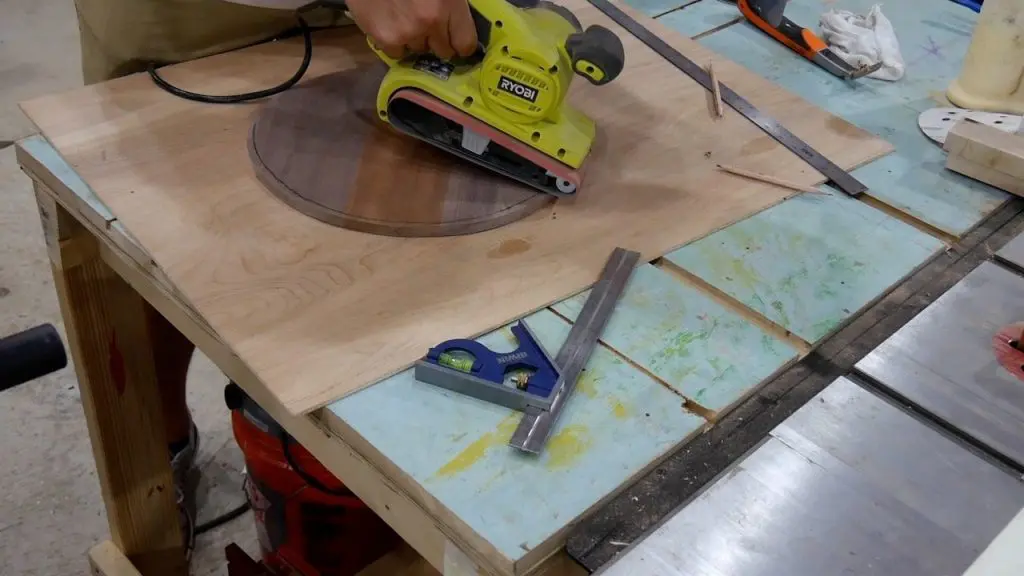
Rough Sanding
Sanding is an essential part of how to make a pizza peel.
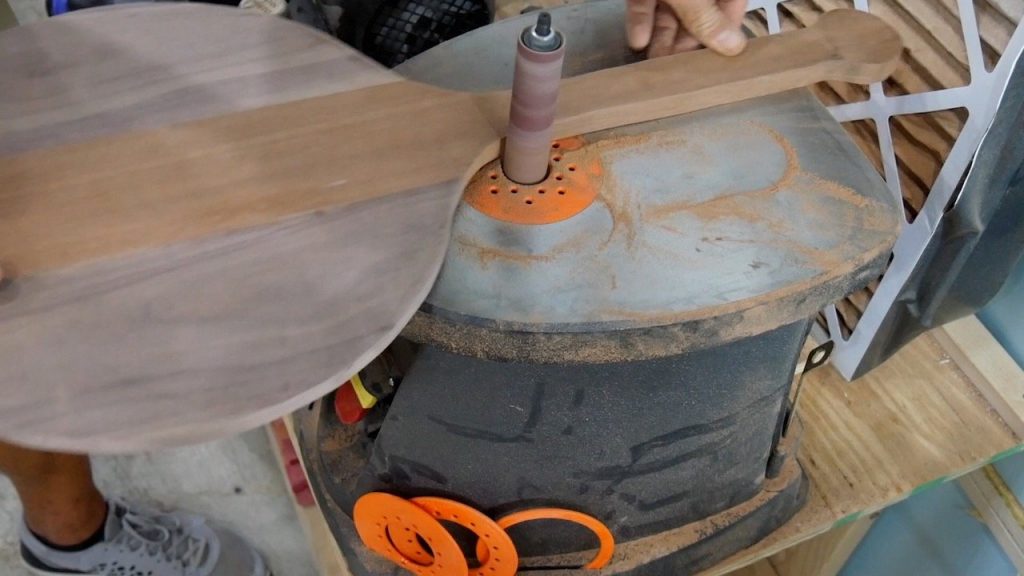
First, I used my spindle sander with the wide spindle to knock down the rough spots on the wood pizza peel.

Next, I used my small spindle on my spindle sander to sand the pizza peel long handle and knob.
Then, I used my disc sander remove the marks caused by the spindle sander.
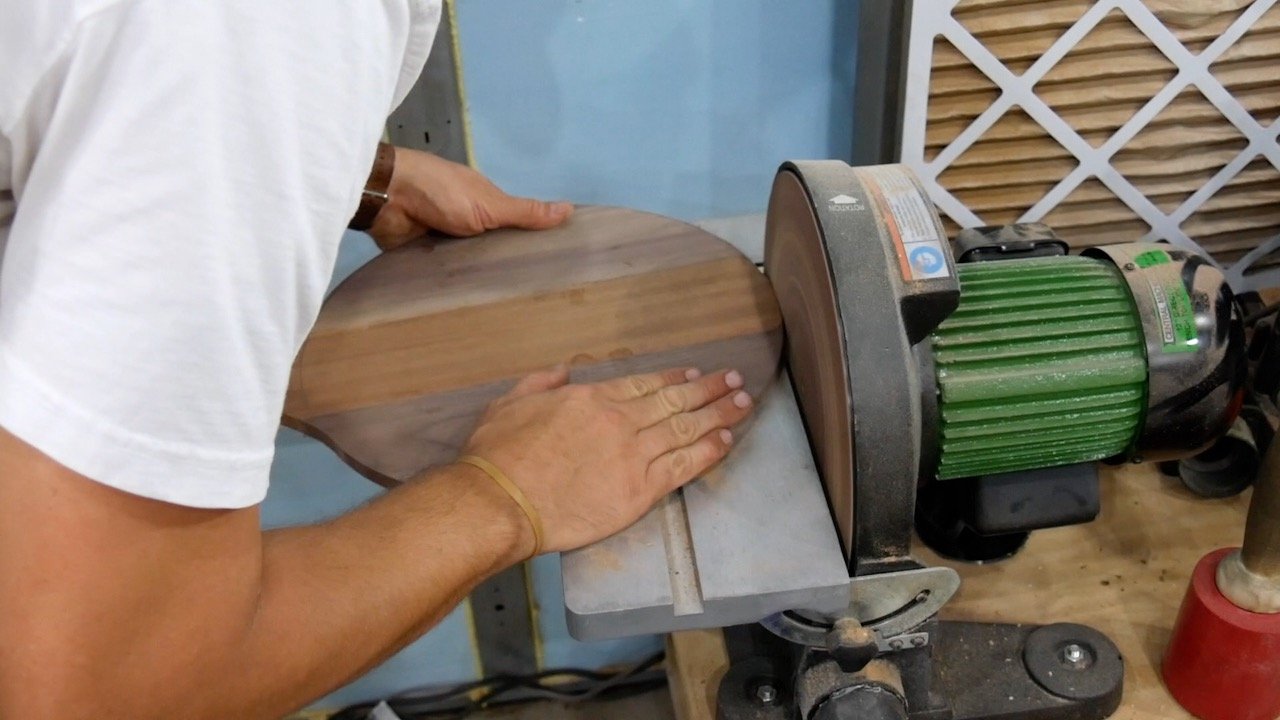
Finally, I finished sanding with my orbital sander on the top and bottom.
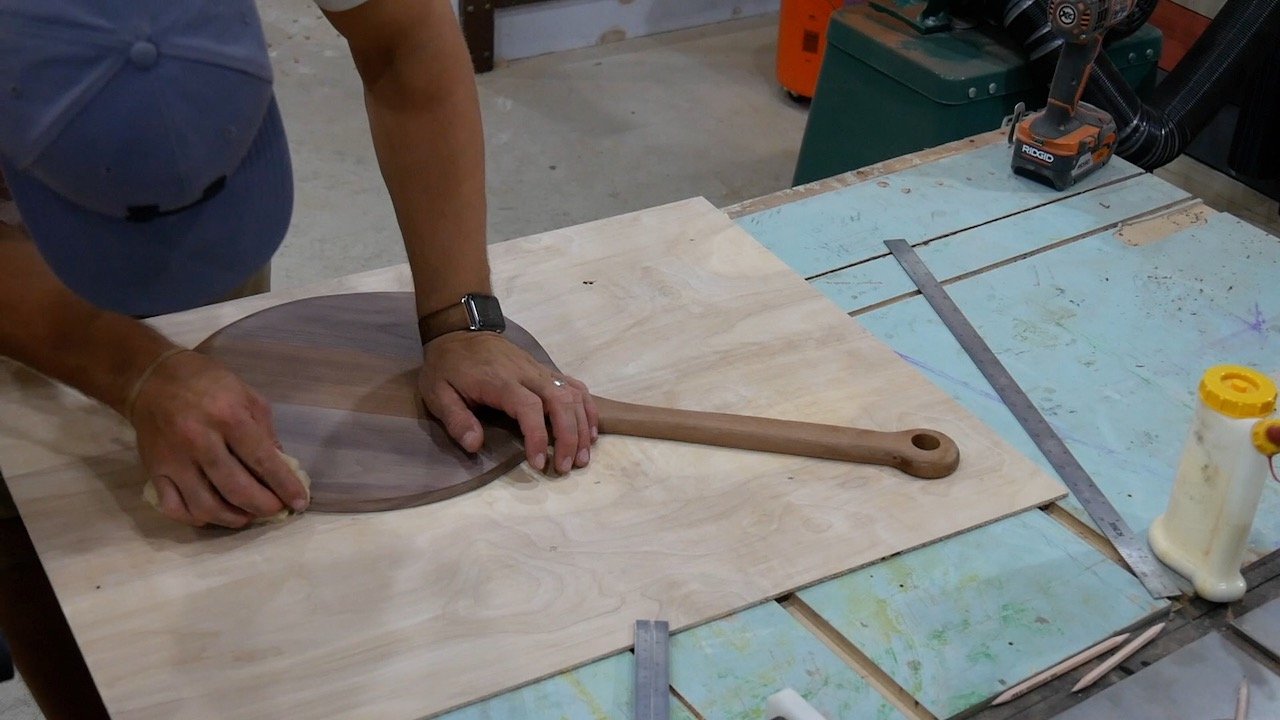
Make Handle Thicker
After sanding, I immediately noticed the handle was too thin for my liking.
So, I need to make it thicker.
I used another piece of mahogany under my pizza peel and traced the shape of the long handle and knob.
Next, I used my bandsaw to cut slightly outside the line just like in a earlier step.


Once the mahogany was cut out, I placed it on top of the pizza peel and sketched the half moon the same circumference as the circle. I cut this out on the bandsaw.
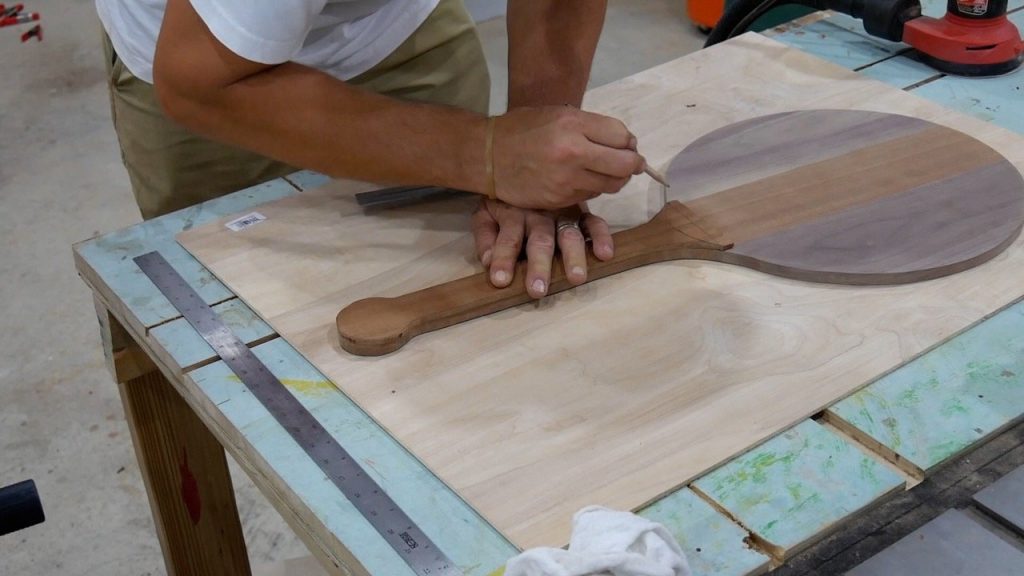


Next, I used wood glue


Make Handle Transition
I used my belt sander
Then, I smoothed the edges on the spindle sander with the small spindle.


Roundover Edges
I used my trim router


Pizza Peel Lip
An indented lip helps the pizza peel slide under the pizza when removing it from the pizza oven or grill.
I used my pencil to draw a horizontal line across the middle of the pizza peel.
Next, I used one finger as a guide and traced a line about 1″ from the edge of the pizza peel.
This line will start the downward slant to the end of the pizza peel.
Then, I used my belt sander to sand from the line to the edge of the pizza peel.

Pizza Peel Knob
In order for the pizza peel to hang from the wall, I drilled a hole in the knob. I used my drill press


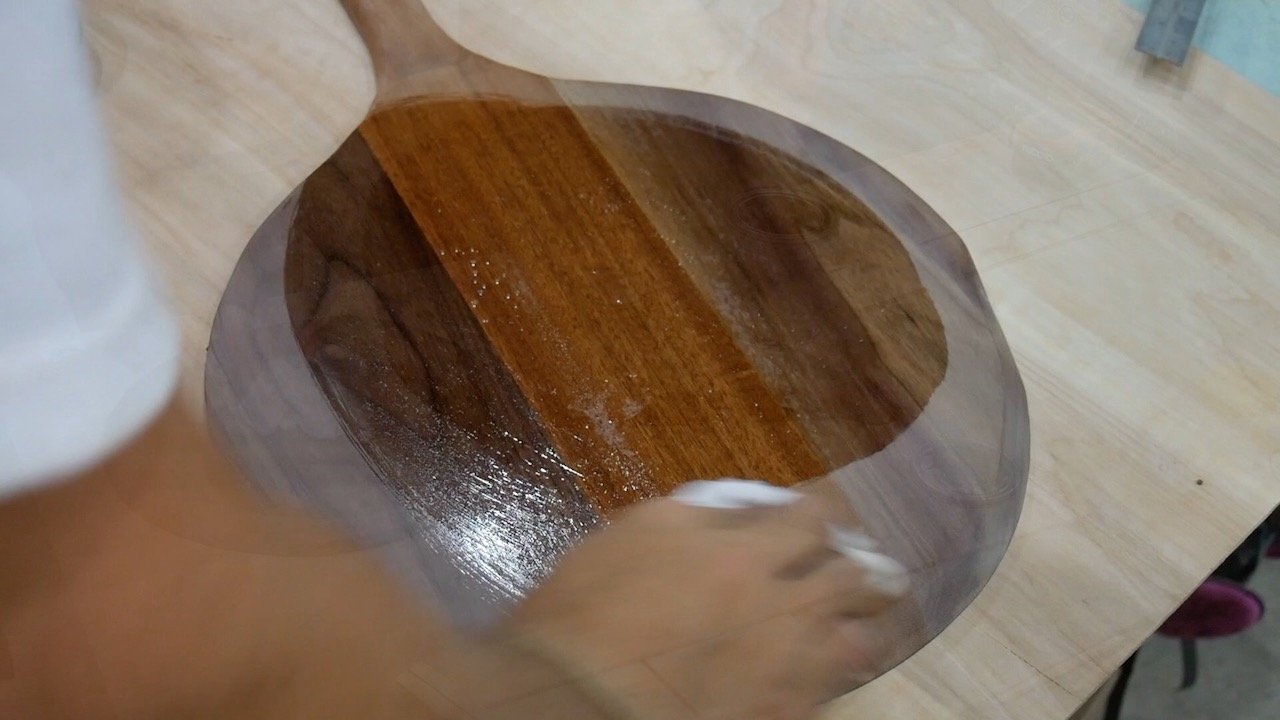
Apply Finish
Before I applied the finish, I used a tack cloth to remove the loose dust.
Finally, I applied a food safe finish. I wiped it down with a lint free cloth and I was done.
Conclusion
In conclusion, I hope you learned how to make a DIY Pizza Peel.
Related Posts