
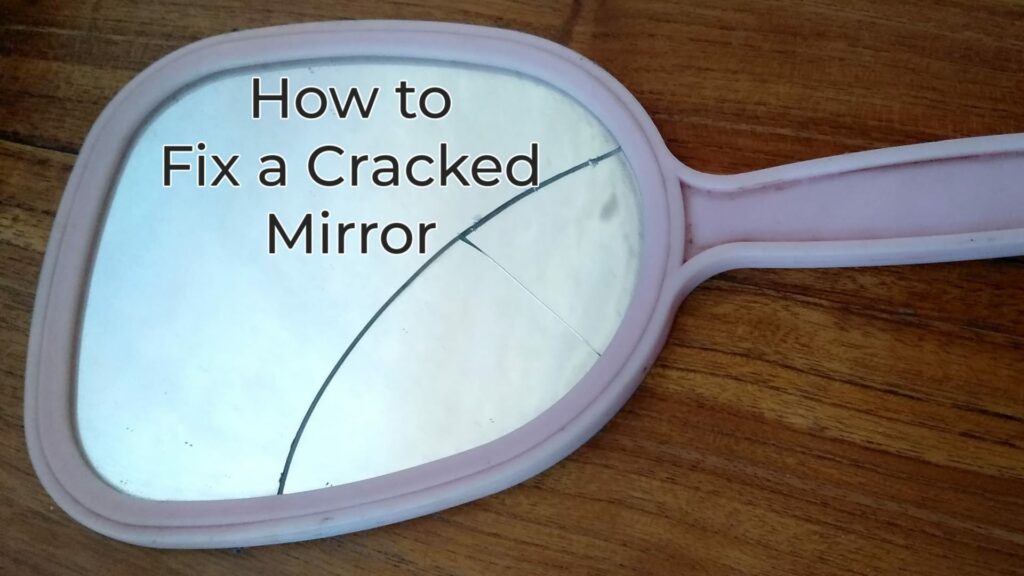
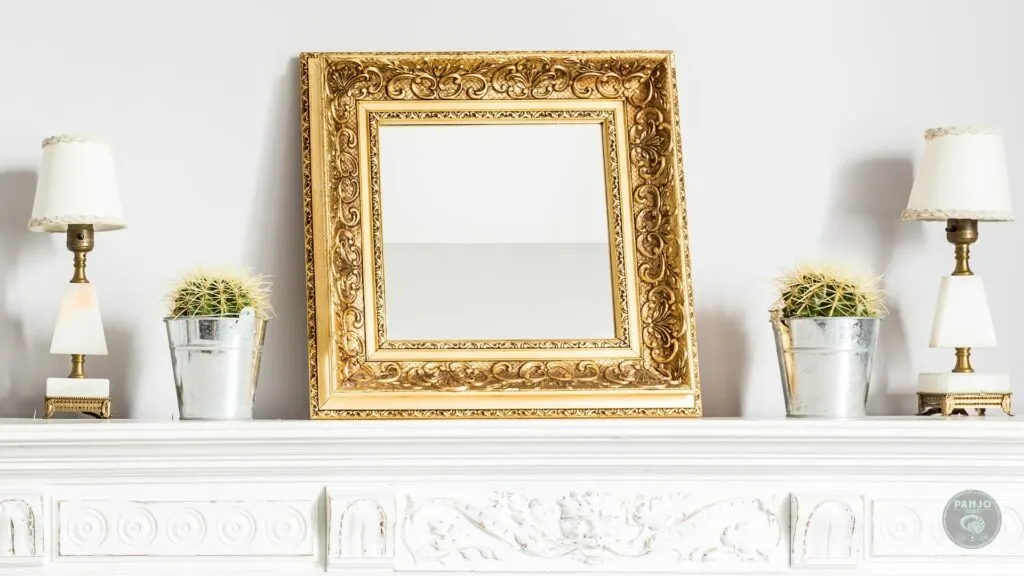
In this tutorial, learn the 4 best ways to fix a cracked mirror and restore it to its former glory.
Mirrors serve both functional and decorative purposes.
They are an essential part of our daily lives.
However, accidents happen.
Mirrors crack or break, leaving us with an unsightly blemish or a potentially dangerous situation.
If you have a cracked mirror, don’t worry!
This DIY repair guide walks you through the 4 best ways to fix a cracked mirror, step-by-step.
Here are some jump links to the main sections of this post.
In addition, I debunk the myth of years of bad luck and share some tips on how to prevent future damage.
Introduction to Fixing a Cracked Mirror
Before we begin, some cracks can be repaired with a DIY approach.
However, others require professional help.
Assess the damage, gather the right tools and materials, follow the repair steps, and adhere to safety precautions.
With the right approach and some patience, you can restore your mirror to its former glory with a few easy steps.

Assessing the Damage to Your Cracked Mirror
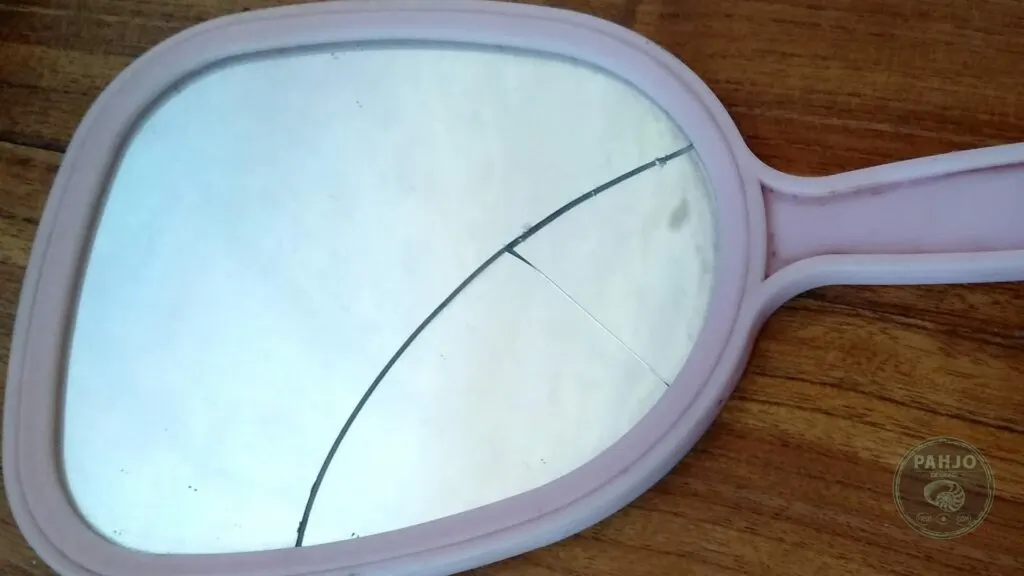
As a first step, assess the damage to the cracked mirror to determine the best way to repair it.
A little bit of time spent goes a long way to repair mirrors and cracked glass.
Take a close look at the crack, black spots, or chips to determine their size, depth, and location.
Keep in mind that if the damage is extensive it may be best to consult a professional for advice.
In addition, a professional repair works best for an important mirror with sentimental value.
In some cases, a new mirror or a complete replacement of the mirror glass without replacing the vintage or antique frame.
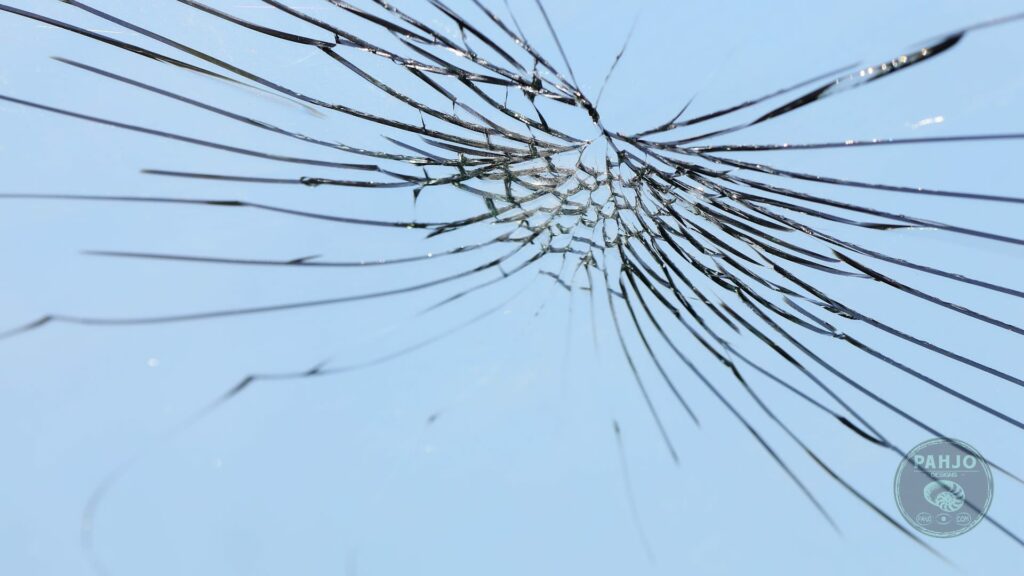
Small Cracks
Small cracks can often be repaired using super glue, nail polish, or clear tape.

Large Cracks
However, large mirrors with deep cracks or multiple chips require a more robust solution, such as 2-part epoxy adhesive or a professional mirror repair kit.
Gathering the Right Tools and Materials for Mirror Repair
Before you begin the repair process, gather the right tools and materials.
Although I included a product links within each method in this article, your local hardware store sells these items as well.
Having these tools and materials on hand will ensure that you’re prepared to tackle the job with confidence.
The Importance of Safety Precautions During Mirror Repair
Working with glass can be dangerous, so it’s essential to take the proper safety precautions before beginning your mirror repair.
Always wear safety gloves to protect your bare hands from sharp edges and protective eyewear to shield your eyes from glass shards.
Additionally, make sure your work area is clean and free of any debris that could cause further damage to the mirror or pose a hazard to yourself.
Remember that this method is best suited for small cracks, and if the crack is large or the mirror is badly damaged, the best option may be to replace the mirror entirely.
Now that you’ve assessed the damage, gathered your tools and materials, and taken the necessary safety precautions, it’s time to begin repairing the cracked area.
Repair a Cracked Mirror with Super Glue Adhesive


To fix a cracked mirror using super glue, follow the simple steps below to help you through the process.
1 – Gather Tools and Material Needed
Here’s a list of what you’ll need for a successful DIY mirror repair using super glue:
Super Glue AdhesiveGlass Cleaner
Lint Free Soft Cloth
2 – Clean the Mirror
Use a clean, lint-free cloth and a gentle glass cleaner to thoroughly clean the area around the crack.
Make sure the area is completely dry before proceeding.
3 – Apply Super Glue
Squeeze a small amount of super glue onto the crack, then use a toothpick or a similar small tool to spread the glue evenly along the crack.
Be careful not to use too much glue, as this can create a mess and make the crack more visible.
4 – Press the Crack Together
Use your fingers or a soft cloth to gently press the edges of the crack together.
Hold the edges together for a few minutes to give the glue time to bond.
5 – Allow Super Glue to Dry
After pressing the edges together, allow the glue to dry completely.
This typically takes 24 hours, but check the instructions on your particular brand of glue to be sure.
6 – Check the Mirror Repair
After the glue is dry, inspect the mirror to make sure the crack is no longer visible and the glue has bonded the edges together.
If necessary, you can repeat the process with more glue until you are satisfied with the results.
Fix a Cracked Mirror with Nail Polish
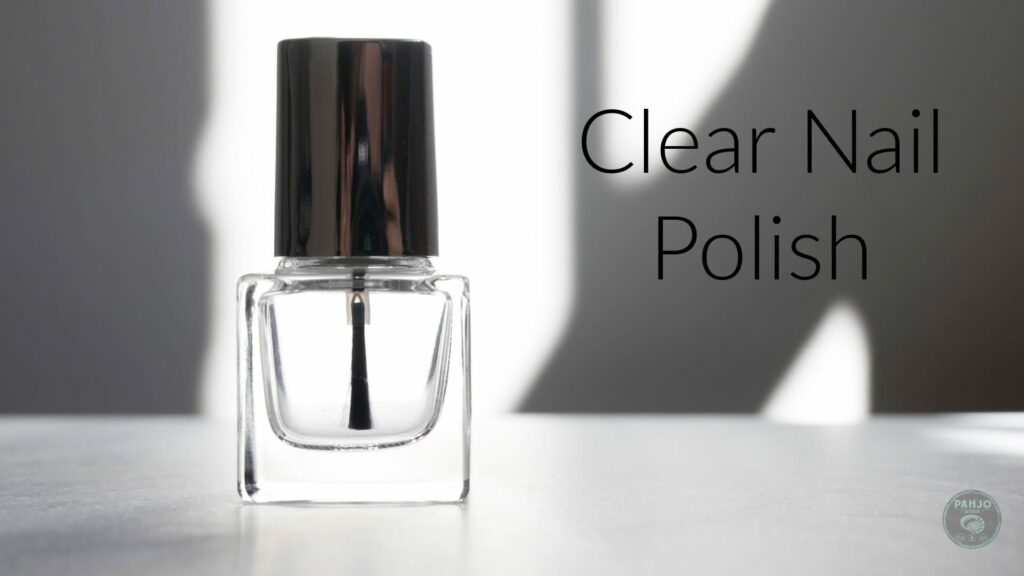
While nail polish may provide a temporary fix for a cracked mirror, it is not a permanent solution.
However, use this solution for small mirror cracks or if you don’t have access to super glue.
1 – Gather Tools and Material Needed
Here’s a list of what you’ll need to fix a cracked mirror using nail polish:
Clear Nail PolishGlass Cleaner
Lint Free Soft Cloth
2 – Clean the Mirror
Before starting the repair process, clean the mirror with a glass cleaner and a microfiber cloth to remove any dirt, dust, or debris.
3 – Apply Clear Nail Polish
Apply a small amount of clear nail polish to the crack.
Use a toothpick or a fine brush to apply it evenly over the crack.
Make sure to apply it carefully to avoid any smudging or excess.
4 – Let the Nail Polish Dry
Allow the nail polish to dry completely.
This may take several hours depending on the temperature and humidity.
5 – Repeat the Process
Follow the previous steps and apply clear nail polish to fill the crack completely.
Allow the nail polish to dry between each layer.
6 – Remove Excess Nail Polish
Once the final layer is dry, use a razor blade or a sharp object to remove any excess nail polish around the edges of the crack.
Please Note: This is not a permanent solution.
If the crack spreads, hire a professional to replace the mirror for a long-term fix.
Or, fix the cracked mirror with epoxy resin adhesive.
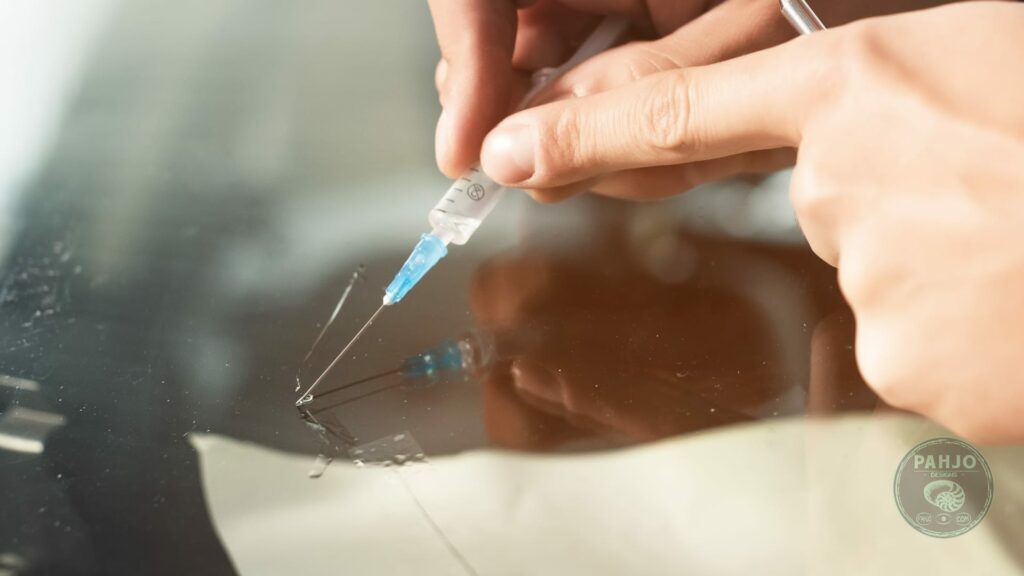
Repairing a Cracked Mirror with Epoxy Resin Adhesive

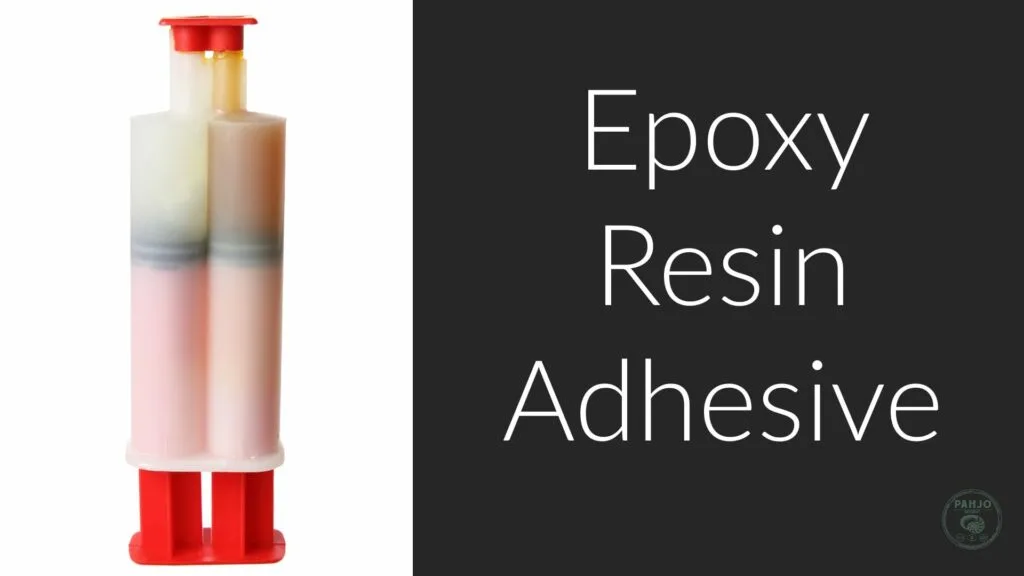
Epoxy resin adhesive is a more effective way to fix a cracked mirror compared to nail polish or super glue.
1 – Gather Tools and Material Needed
Here’s a list of what you’ll need to fix a cracked mirror with epoxy resin adhesive:
Epoxy Resin AdhesiveGlass Cleaner
Lint Free Soft Cloth
Rubbing Alcohol
Glass Removal Tool
Putty Scraper Tool
Aluminum Foil Tape
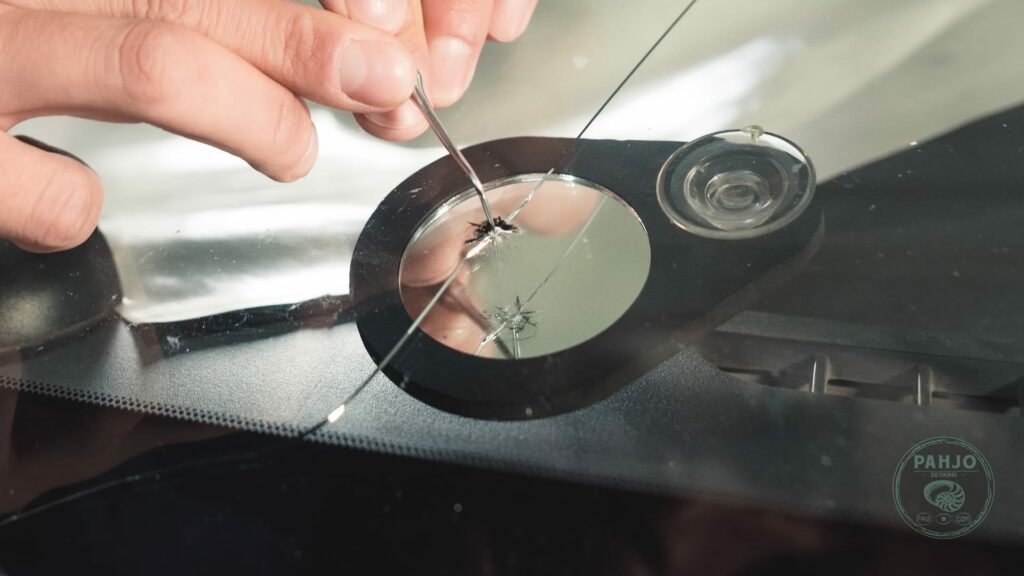
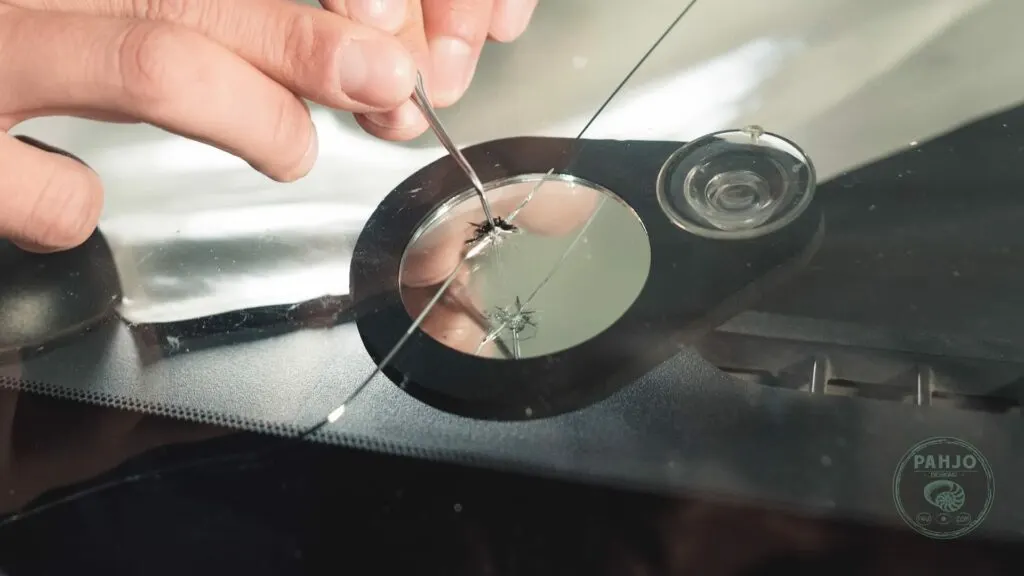
2 – Clean the Entire Mirror
Before starting the repair process, clean the mirror with a glass cleaner and a microfiber cloth to remove any dirt, dust, or debris.
3 – Prepare the Damaged Area
Use a clean cloth and rubbing alcohol to clean the entire mirror, focusing on the damaged area.
This will remove any dirt, dust, or debris that could interfere with the repair process.
In addition, make sure to remove the broken pieces from the floor or counter.
4 – Apply Clear Tape or Aluminum Foil
Next, apply a piece of clear tape or use aluminum foil to the back of the mirror, covering the crack.
Essentially, this provides additional support and serves as a stabilizer strip to prevent the crack from spreading during the repair process.
5 – Prepare the Epoxy Resin Adhesive or Mirror Repair Kit
If you’re using a glass repair kit, follow the manufacturer’s instructions to mix the adhesive and apply it to the damaged area.
First, prepare the mixture by mixing equal parts of the two components – resin and hardener.
Apply a thin layer to the crack using a putty knife or scraper.
6 – Apply the Adhesive to the Crack
Use a toothpick or a fine brush to apply a thin layer to the crack using a utility knife or scraper. Make sure to apply it carefully to avoid any smudging or excess. Be sure to work quickly, as epoxy resin adhesive has a short working time.
7 – Press the Crack Together
After applying the adhesive, gently press the two sides of the crack together to ensure that the adhesive fills the crack completely.
Use a clean cloth or putty knife to gently remove any air bubbles and excess resin from the surface of the mirror.
This will ensure a strong bond and a smooth, even finish.
8 – Let the Adhesive Dry
Allow the adhesive to dry completely.
This may take several hours, depending on the temperature and humidity.
Before proceeding to the next step, apply a second layer of adhesive if needed.
9 – Sand the Surface
Once the adhesive is dry, use sandpaper to sand the surface of the adhesive until it is smooth and level with the rest of the mirror.
How to Replace a Cracked Mirror

If you fail to repair the cracked mirror or want a long-term fix, simply replace the cracked mirror.
Here are the steps you can follow to replace a cracked mirror:
1 – Measure the Size of the Mirror
Use a tape measure to measure the size of the mirror.
Make sure to measure the length and width accurately.
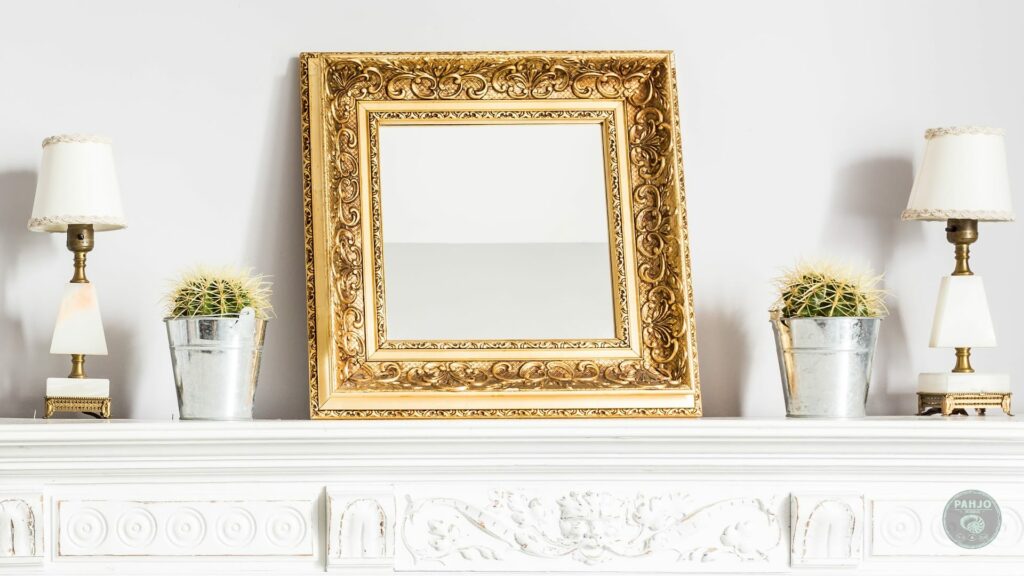
2 – Purchase a New Mirror
Purchase a replacement mirror that matches the size and shape of the old one.
You can buy it from local hardware stores or order it online.
3 – Remove the Old Mirror
Use a putty knife or a scraper to remove the old mirror from the frame.
Be careful not to damage the frame.
4 – Clean the Frame
Clean the frame with a damp cloth to remove any adhesive or debris left behind by the old mirror.
5 – Apply Adhesive
Apply adhesive to the back of the new mirror.
Use a mirror adhesive that is designed specifically for this purpose.
6 – Install the New Mirror
Carefully place the new mirror onto the frame, making sure that it is centered and level.
Press down on the mirror to ensure that it adheres to the frame.
7 – Secure the Mirror
Use mirror clips or brackets to secure the mirror to the frame.
Make sure that the clips or brackets are evenly spaced and secure.
Note: Hire a professional if you are not comfortable replacing the mirror yourself.
Replacing a mirror can be dangerous if not done properly, and it is better to be safe than sorry.
Mirror Paint is Not a Repair
Using mirror paint to fix a cracked mirror is not a recommended method as it will not actually fix the crack or make the mirror usable again.
Mirror paint is designed to create a reflective surface on a non-reflective surface, such as glass or plastic, and it cannot repair cracks or damage to an existing mirror.
Mirror paint
If you want to fix a cracked mirror, use super glue, clear nail polish, or epoxy resin adhesive and tape.
You can find mirror paint at most hardware or craft stores.
Tips for the Best Results in DIY Mirror Repair

To achieve the best results in your DIY mirror repair, keep the following tips in mind:
- Work in a well-lit, well-ventilated area to ensure proper curing of the adhesive.
- Allow the adhesive to cure fully before attempting to move or hang the mirror.
- This can take anywhere from 24 to 72 hours, depending on the type of adhesive used.
- For a small crack, simply apply clear nail polish over the crack. Ultimately, this helps prevent the mirror crack from spreading.
- Be patient and take your time during the repair process.
- Rushing can lead to mistakes and a less-than-perfect result.
- Unless you plan to repair your favorite mirror, consider a replacement mirror.
- Most hardware store and thrift store sell mirrors.
When to Consider Professional Help for Mirror Repair
While DIY mirror repair can be an effective solution for minor cracks and chips, there are times when professional help may be necessary.
If the damage is extensive, the mirror is particularly large or valuable, or you are unsure about your ability to complete the repair, it’s best to consult a professional.
Professionals own the necessary tools, expertise, and experience to ensure a successful large crack repair or replacement of new and vintage mirrors.
Preventing Future Mirror Cracks and Damage
Once your mirror is repaired, it’s essential to take steps to prevent future damage.
Here are some tips to help you maintain your mirror and keep it looking its best:
- Always handle mirrors with care, using two hands to move and hang them.
- Avoid placing mirrors in areas with extreme temperature fluctuations or humidity, as this can cause the glass to expand and contract, leading to cracks.
- Clean your mirrors regularly using a soft cloth, warm water, or a gentle glass cleaner to remove dirt, dust, and fingerprints.
Debunking the Myth: Years of Bad Luck from a Cracked Mirror


We’ve all heard the old superstition that breaking a mirror results in seven years of bad luck.
The myth about a cracked mirror and bad luck started centuries ago.
The superstition states if you break a mirror, seven years of bad luck follows.
This superstition is prevalent in many cultures around the world.
Also, the severity of the bad luck varies depending on the size of the crack.
The origin of this myth originated from the ancient Romans, who considered mirrors to be a reflection of one’s soul.
Therefore, breaking a mirror shatters one’s soul, leading to misfortune and bad luck.
Another theory statest the seven-year period of bad luck comes from the idea the body undergoes a complete regeneration every seven years.
In turn, breaking a mirror during this period was thought to interrupt this cycle, leading to a prolonged period of misfortune.
While this superstition has no scientific basis, many people still believe and take precautions to avoid breaking mirrors.
Some of these precautions include covering mirrors with a cloth during thunderstorms or other times of potential danger.
But rest assured, there’s no truth to this myth!
Mirrors are merely reflective surfaces made of glass, and any misfortune resulting from a broken mirror is purely coincidental.
So, go ahead and fix that cracked mirror without fear of bad luck!
Conclusion
With this comprehensive DIY repair guide, you now have the knowledge and tools needed to fix a cracked mirror with confidence and ease.
By assessing the damage, gathering the right tools and materials, and following the step-by-step instructions, you can restore your mirror to its former glory and prevent future damage.
And remember, there’s no need to worry about years of bad luck – fixing a cracked mirror is a practical solution, not a cause for superstition!