In this DIY tutorial, we will discuss the step-by-step process of how to rust metal quickly using along with tips to achieve a rustic look.
One of the most effective methods and best way to get a rusty finish is to use a combination of hydrogen peroxide and muriatic acid.
Here are some jump links to the main sections of this post to help you find the information you need quickly:
Tools and Materials
Video Tutorial
What is Rust?
Steps to Rust Metal Quickly
Tools and Material Needed
To create rust on a metal surface, you will need the following items.
Metal objects to rust (Corrugated Metal)Hydrogen peroxide
Muriatic acid
Plastic container for Pouring
Gloves
Safety goggles
Protective clothing
Respirator
Plastic Spray Bottle
Pump Sprayer
DIY Rusting Metal Video Tutorial
There are several things which are difficult to fully explain with words and images, so be sure to check out the video tutorial below!
What is Rust?
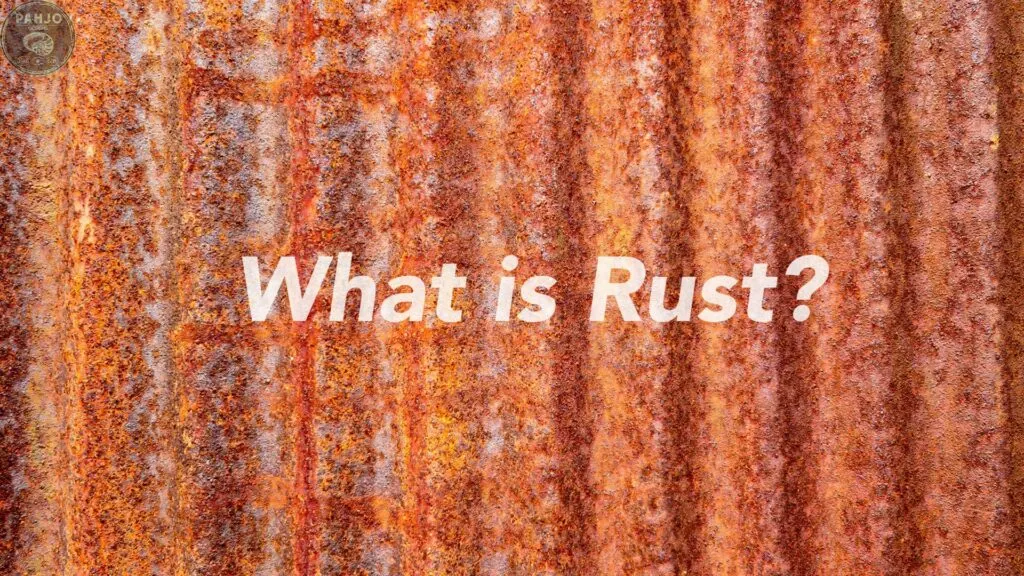
Before we dive into the process of rusting metal, let’s first understand what rust is and how it forms.
Rust is a type of corrosion that occurs when iron, stainless steel, or a metal item come into contact with water and oxygen.
When the metal surface is exposed to air and moisture, it reacts with the oxygen atoms in the air to form iron oxide. Then, rust forms.
The rusting process occurs in stages, starting with the formation of small reddish-brown spots on the metal surface, which eventually spread and merge to form a thick layer of rust.
Rust can cause damage to metal objects, weaken their structural integrity, and reduce their lifespan.
While rust can be damaging and unsightly, it can also be used intentionally to achieve a unique vintage look for metal objects.
How To Rust Metal Quickly with Peroxide and Acid
Rusting metal is a popular DIY technique used to create a vintage or rustic look on various metal surfaces.
It is a relatively simple process using common household chemicals that can be done at home with a few simple tools and materials.
Now that we have our tools and materials ready, let’s dive into the step-by-step process of rusting metal pieces.
Here’s how to do it:
1: Choose the Right Metal
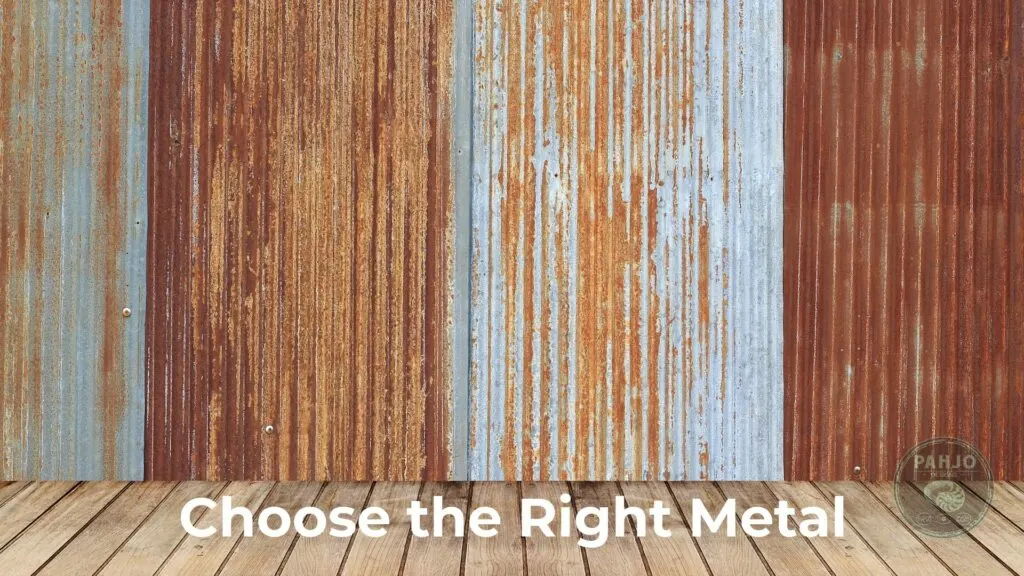
To achieve the perfect rust patina effect, choosing the right metal is crucial.
To achieve the perfect rust patina effect, choosing the right metal is crucial.
Some metals are easier to rust than others, and the process may vary depending on the metal you’re working with.
For example, copper and brass react differently to acids than a piece of iron or regular steel during the rusting process.
It’s always a good idea to select the right metal for your project and know the best method to apply.
Before you begin rusting your metal, consider the type of metal you have and how it will react to the rusting process.
If you’re unsure about the metal you’re working with, a simple test can help you determine whether it’s suitable for rusting.
You can apply a small amount of acid to the metal or steel objects and observe the reaction.
If the metal rusts quickly, it’s suitable for the process.
The most commonly used metals is corrugated roofing.
Another factor to consider when choosing the right metal is the intended use of the item.
If the metal will be used for outdoor furniture or decor, it’s essential to select a metal that can withstand harsh weather conditions.
In contrast, if the metal will be used for indoor decoration or art, you may have more flexibility in your selection.
In the next section, we’ll discuss how to prep the surface before beginning the rusting process.
Keep in mind, you do not need power tools to rust the surface of metal.
Proper preparation is vital for achieving a flawless rust effect and ensuring that the metal doesn’t corrode or rust too quickly.,
2: Clean the Metal
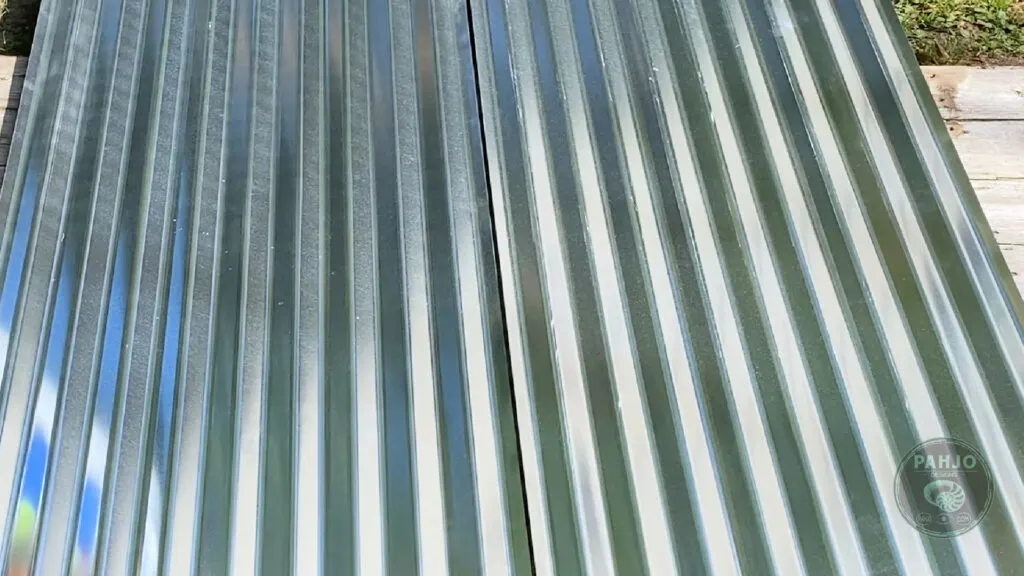
The first step in the rusting process is to prepare the surface.
First, remove any dirt, debris, rust, or paint from the metal surface using sandpaper or steel wool.
As an optional step after cleaning and roughing up the metal, you can apply a metal primer to help protect the surface and further ensure a smooth and even rust effect.
Allow the primer to dry completely before proceeding to the rusting solution.
Proper surface preparation is essential to the success of the rusting process.
By taking the time to clean, rough up, and prime the metal, you’ll be able to achieve a flawless and long-lasting rust effect.
In the next section, we’ll cover how to apply the rusting solution to your prepped metal surface.,
Ultimately, the surface needs to be clean to ensure that the rusting process is even and effective.
Allow the metal surface to completely dry in direct sunlight before proceeding.
3: Apply Muriatic Acid to the Metal
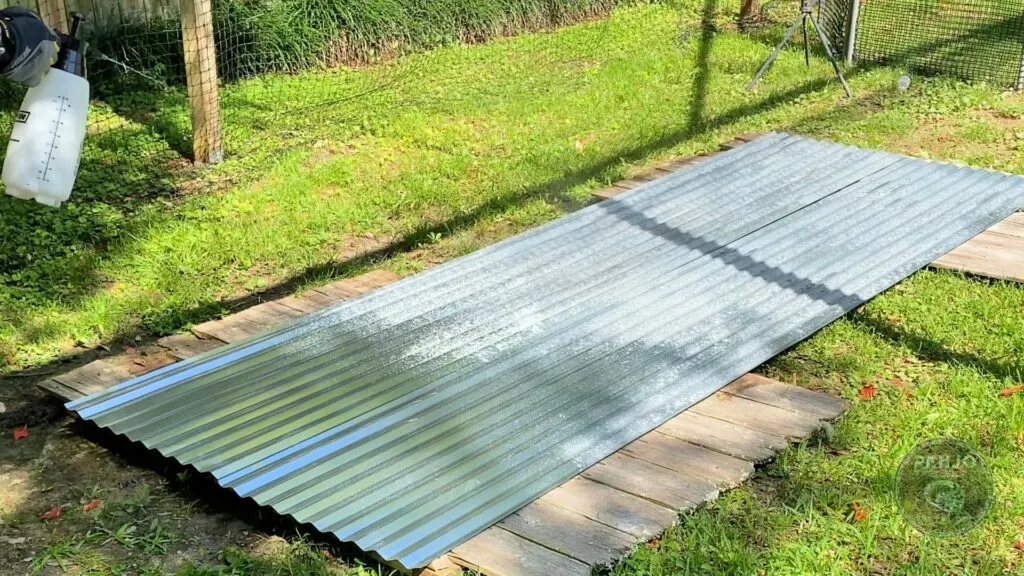
First, pour the muriatic acid in a plastic container.
Next, spray or brush the muriatic acid over the metal.
The muriatic acid cause a chemical reaction with the metal and may produce a little smoke.
Don’t worry, this is normal.
Some folks prefer to mix the acid and hydrogen peroxide to form a chemical compound mixture before applying it to the metal.
However, applying them separately allows you to gain more control over the rusting process.
Regardless, always wear gloves and safety goggles when handling these chemicals.
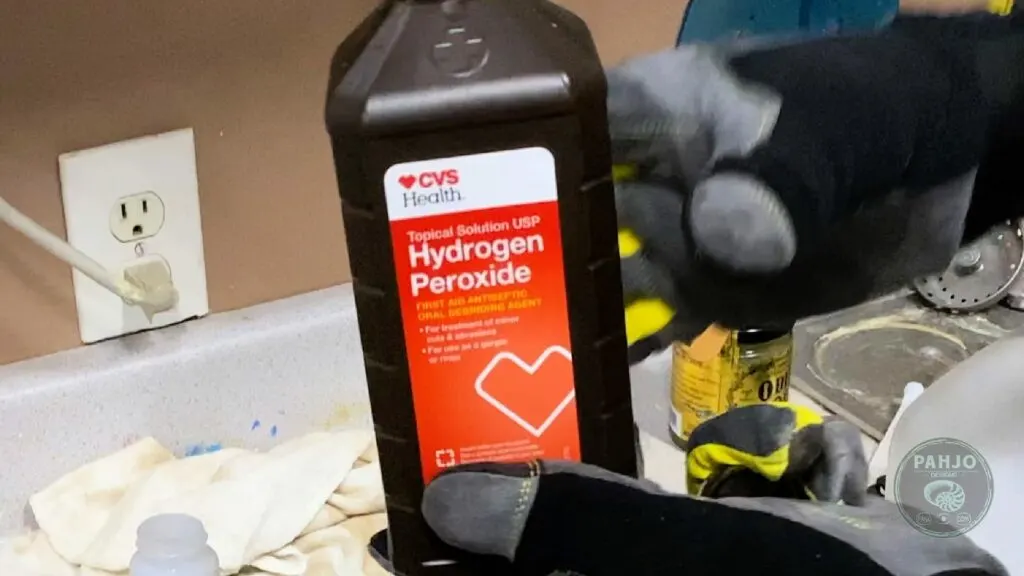
4: Apply Hydrogen Peroxide to the Metal
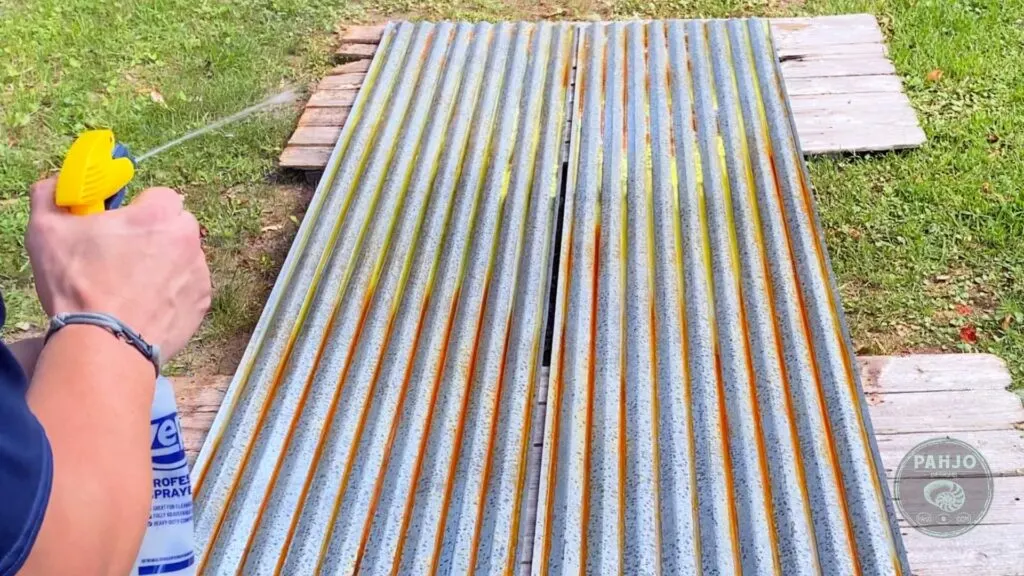
First, pour a new bottle of hydrogen peroxide in a plastic spray bottle.
Using a spray bottle or brush, apply the peroxide to the metal objects you want to rust.
The more hydrogen peroxide you spray, the more rust will form.
Once the chemical processes start, pay attention to the different colors that form on the surface.
Be sure to apply the solution evenly over the entire surface of the metal.
5: Let It Sit
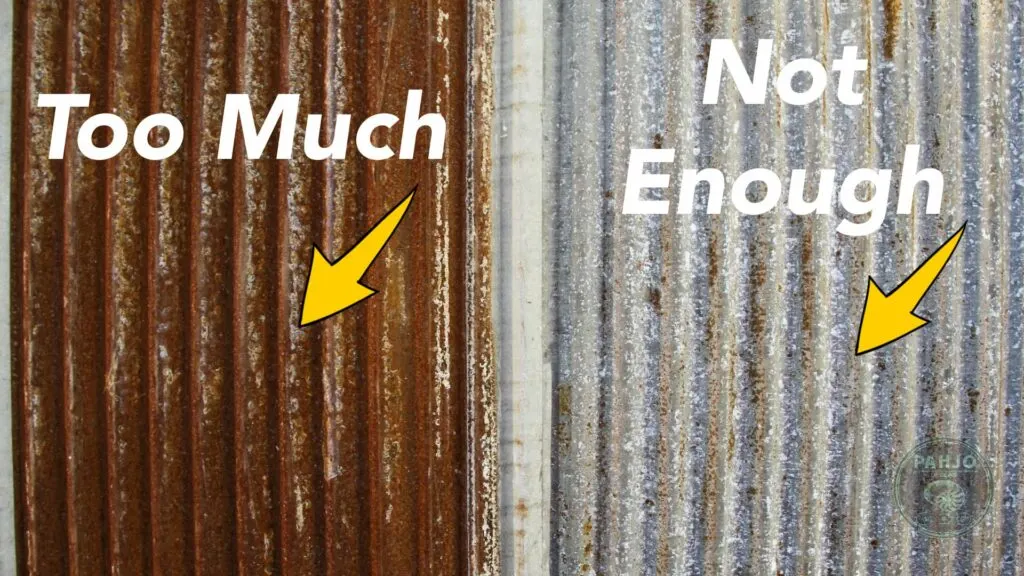
Allow the metal to sit for a roughly 10 minutes.
The longer you let it sit, the more rust will form from the oxidation process.
6: Rinse and Dry
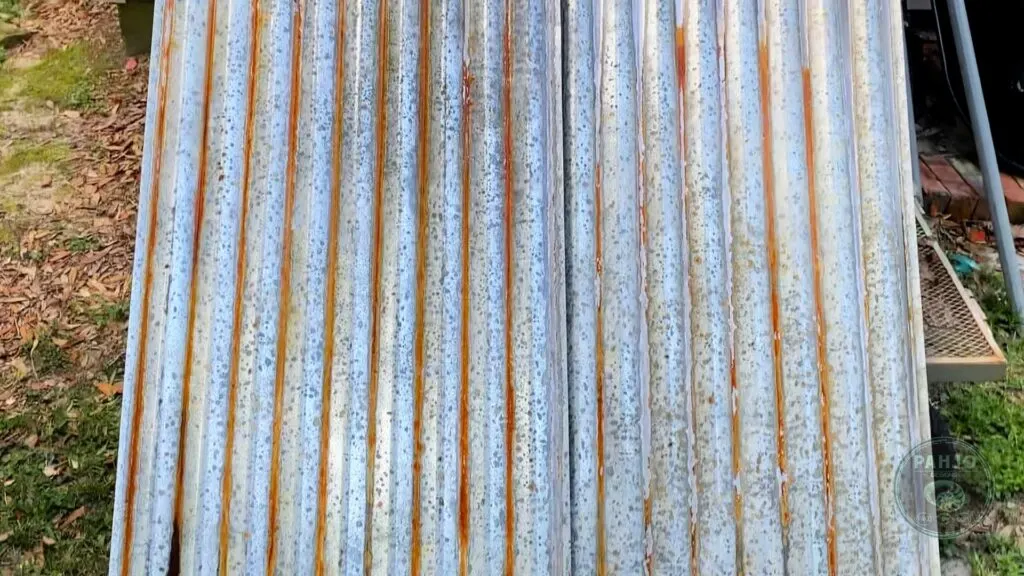
Once the surface has achieved the desired level of rust, rinse it off with water and dry it thoroughly.
7: Seal the Rust
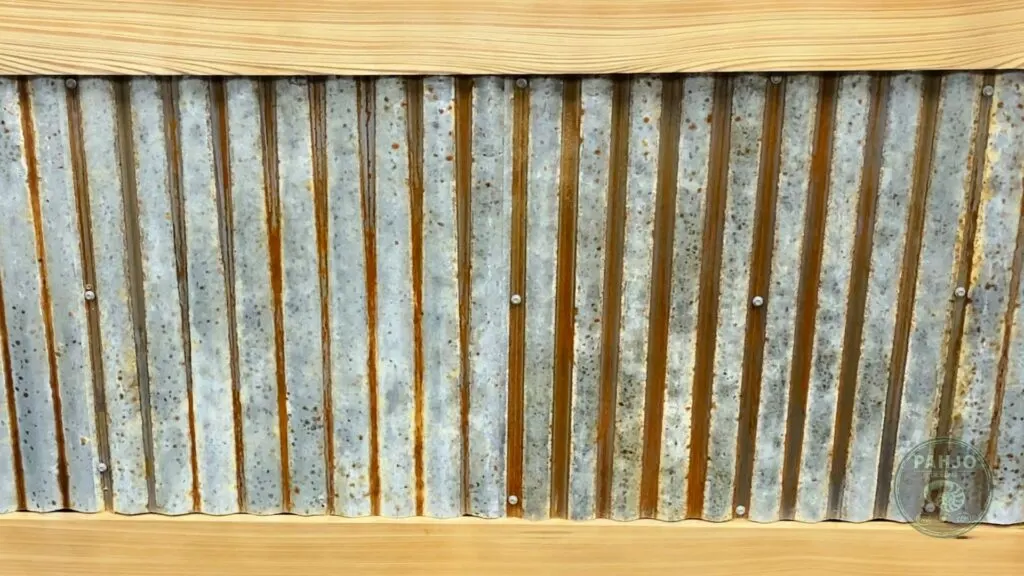
The rust should be sealed with a clear coat protective coating to prevent further corrosion.
Now that you have successfully created metal rust, it’s important to seal the rust for longevity.
Without a protective coating, the rust will continue to develop, and the metal will eventually deteriorate.
In addition, you may get rust stains on clothing or shoes.
Fortunately, there are various options for sealing rusted metal.
One of the most popular methods is to apply a clear coat of polyurethane or lacquer.
This will not only protect the metal but also enhance the color of the rust.
Simply apply the clear coat with a brush, roller, or spray can, and let it dry completely.
Another option is to use a rust converter or inhibitor.
These products convert the rust into a stable compound and prevent further corrosion.
They come in both spray and brush-on forms, and many are clear or lightly colored, so they won’t obscure the rusted look.
Whichever method you choose, be sure to apply the sealant in a well-ventilated area and follow the manufacturer’s instructions carefully.
Also, note that some sealants cause a color change of the rust, so it’s a good idea to test a small area first.
By sealing the rust, you’ll be preserving the vintage look of your metal piece for years to come.
Keep in mind, the sealing process may require an additional coat to protect the surface for an extended period of time.
How to Rust Metal with Vinegar and Salt
If you prefer to use vinegar and salt to add rust to metal, the process is very similar.
In addition to the materials mentioned above, you will need white vinegar and table salt.
- Mix equal parts white vinegar and table salt in a spray bottle.
- Spray the solution onto the metal object, ensuring that the entire surface is covered.
- Allow the metal to sit for several hours or overnight, depending on the desired level of rust.
- Rinse the metal off with water and dry it thoroughly.
- Seal the rust with a clear coat to prevent further corrosion.
Tips for Achieving the Desired Effect
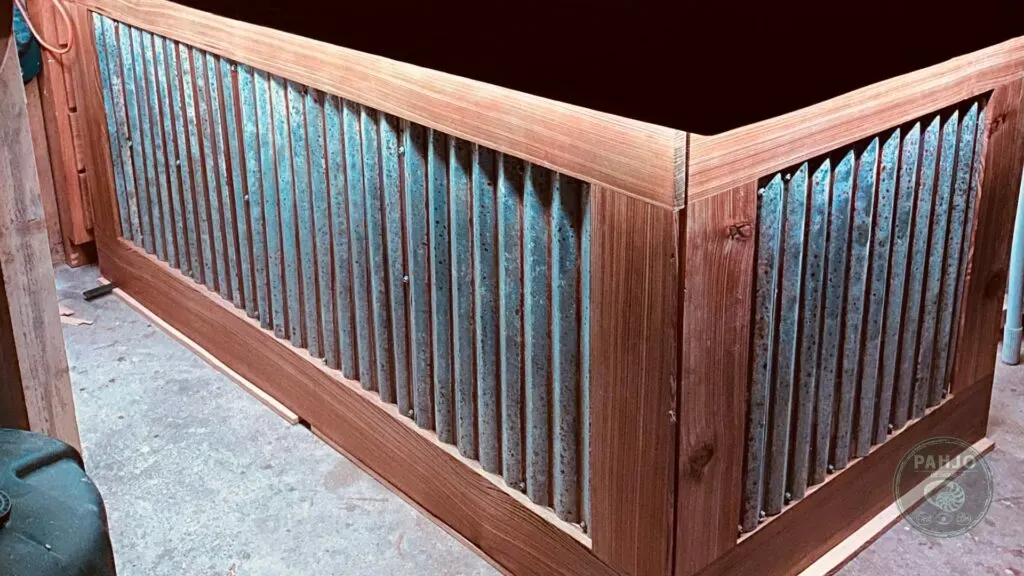
Here are a few tips to help you achieve the desired effect when rusting metal with peroxide and acid:
- Use steel or iron objects. These metals rust more easily than other metals like aluminum or copper.
- Experiment with different ratios of peroxide and acid to achieve different levels of rust.
- Allow the metal to sit for longer periods of time to achieve a deeper level of rust.
- Create a pattern on the metal by using tape or stencils to cover certain areas before applying the rusting solution.
- Remember to seal the rust with a clear coat to prevent further corrosion.
Safety Precautions
When working with peroxide and acid, it is important to take the necessary safety precautions to avoid injury or damage to your skin.
Here are some safety tips to keep in mind:
- Always wear gloves and goggles for safety purposes when handling these chemicals.
- Work in a well-ventilated area to avoid inhaling fumes.
- Keep the peroxide and acid solution away from children and pets.
- Do not mix peroxide and acid in a metal container, as it can cause a dangerous chemical reaction.
Conclusion
Rusting a metal surface with peroxide and acid is a great way to quickly achieve a unique look for metal objects.
Whether you’re looking to create a vintage or industrial look for your home decor, or you want to add some texture to your metal artwork, this technique is worth trying.
With a few simple materials and some experimentation, you can achieve the desired level of rust and create a one-of-a-kind piece.
Be sure to take the necessary safety precautions and experiment with different ratios of peroxide and acid to achieve the desired effect.
Related Posts
How to Sand Rough Wood
DIY Furniture Distressing Technique
5 Simple Tips for Sanding Epoxy Resin
