
In this article, I show you how to make DIY wood and resin beach art with real sand and sand dollars.
Learn how to embed objects in resin, add translucent dye to epoxy, and much more.
Also, I include a FREE downloadable resin calculator at the end of this post.
Tools & Materials I Used
Epoxy Resin
Transparent Blue
Pearl White
Tranparent Green
Vaseline or Furniture Wax
Stir Sticks
Containers
Heat Gun
Torch
Tape Dispenser
Packing Tape
91% Isopropyl Alcohol
Spray Bottle
Brush
Rubber Gloves
Hot Glue Gun
Hot Glue
Sand
Fleur Des Lis Silicone Mold
Seashells Silicone Mold
Craft Paper
Plastic Spreader
Favorite Resin Tools
Often times, I experiment with many different products and tools while working with epoxy resin. Therefore, the products I use in a certain project may not be my favorite.
For your convenience, I’ve compiled a complete list of my favorite epoxy resin material and tools.
Video Tutorial
There are several things which are difficult to fully explain with words and images, so be sure to check out the video tutorial below.
Introduction
While scrolling through the pictures on my phone last month, I ran across a picture of the beach my wife took last summer.
The picture inspired me to do a DIY resin beach scene with a piece of scrap live edge Cypress wood from a previous project.
In order to make this project more interesting than simply a wood and resin art project, I decided to embed objects in resin such as real sand and sand dollars.
Prepare Wood for Resin Pour
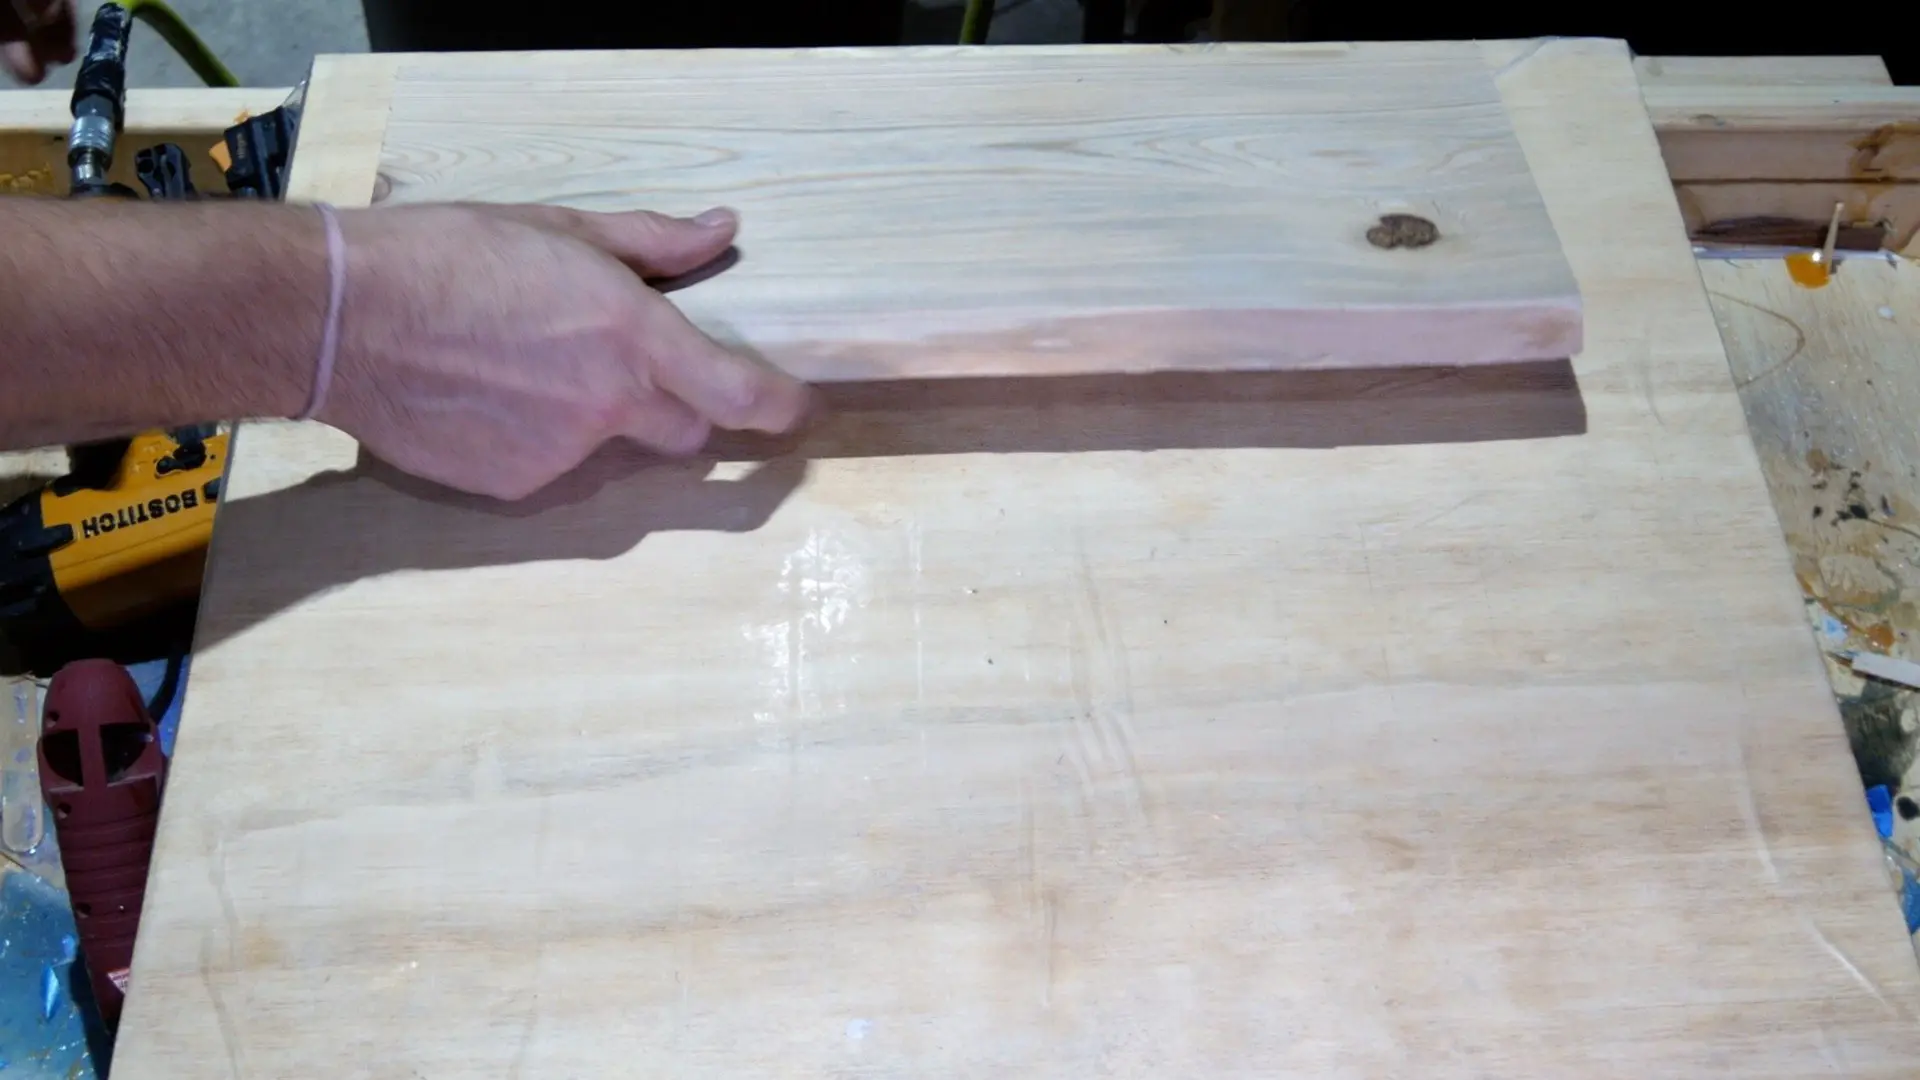
I found this unique piece of live edge cypress wood in my scrap wood bin.
Also, I chose this piece of cypress wood because the live edge would fit nicely as the beach entry of the wood and resin beach art scene.
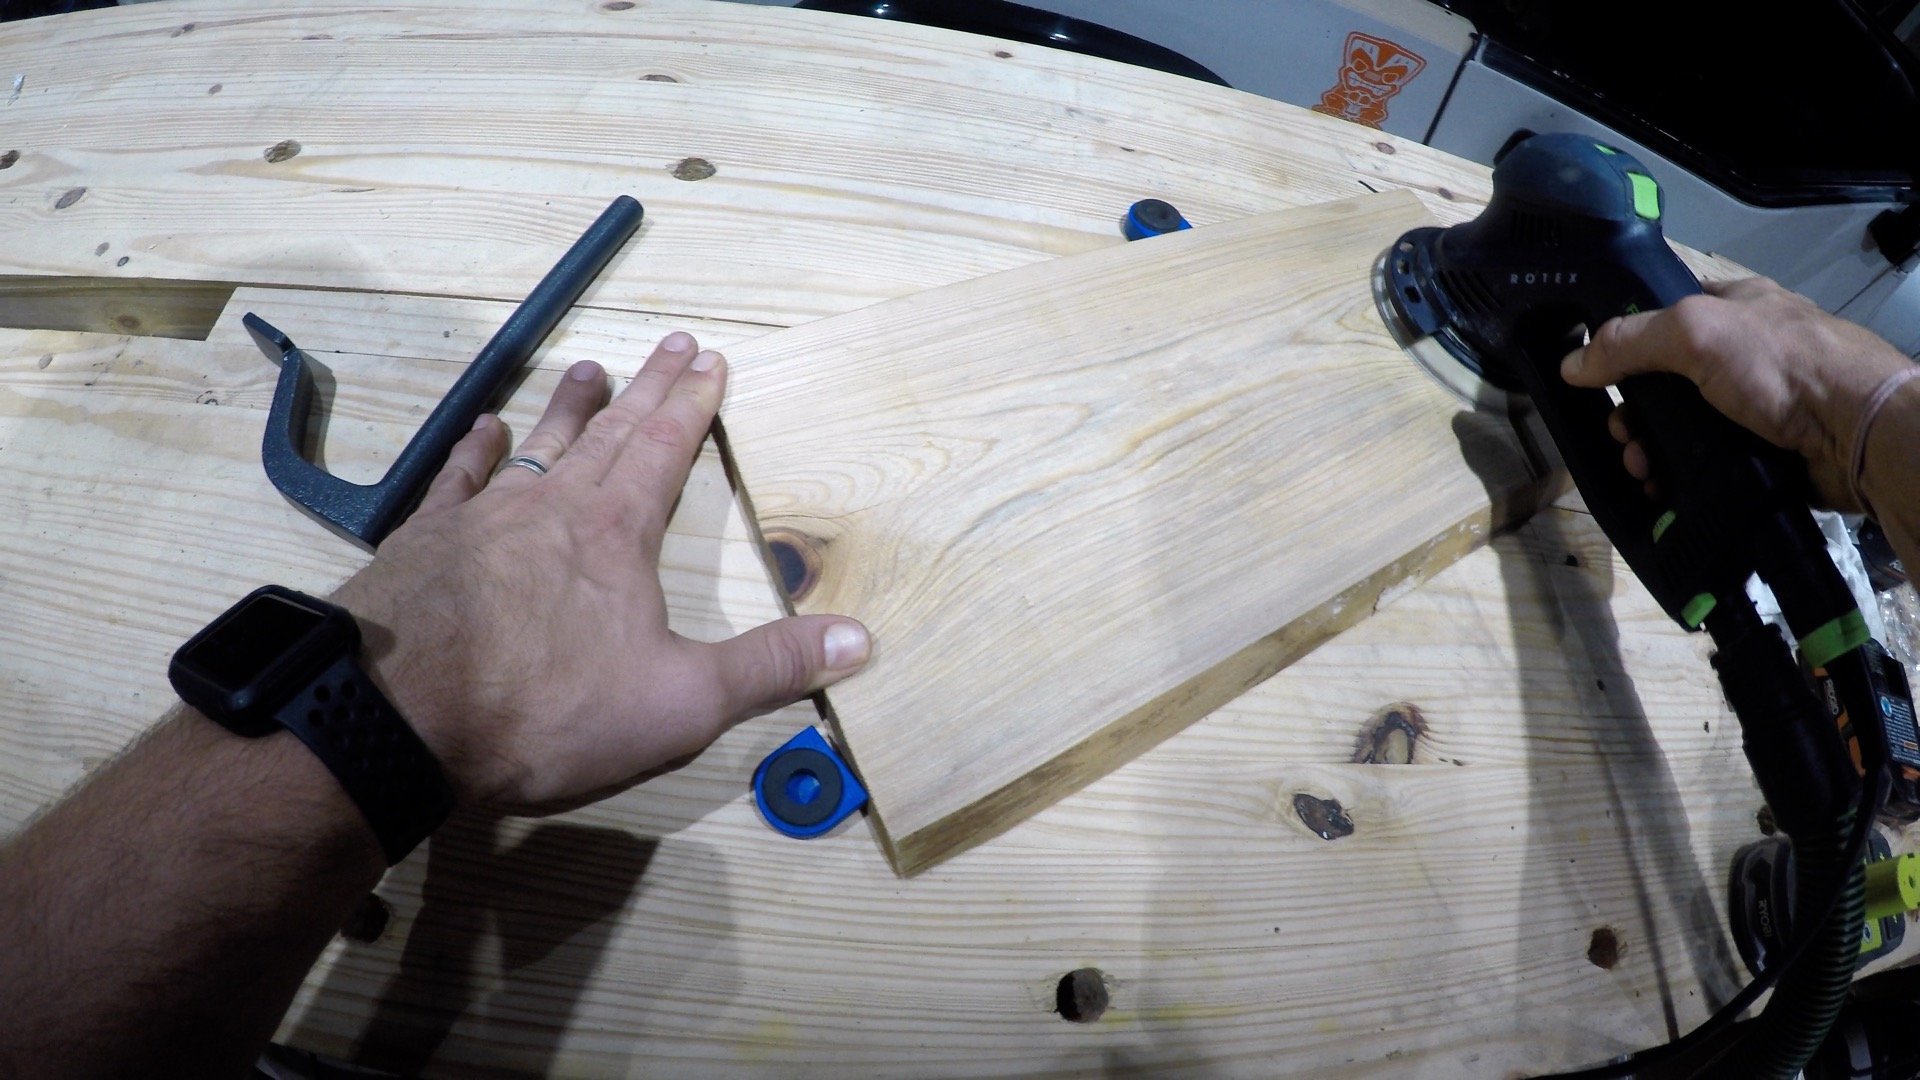
First, I sanded both surfaces with 80 grit, 120 grit, 180 grit, and 220 grit.
I lightly sanded the loose debris away from the live edge while careful not to damage it.
The edge opposite from the live edge was already straight from my previous project.
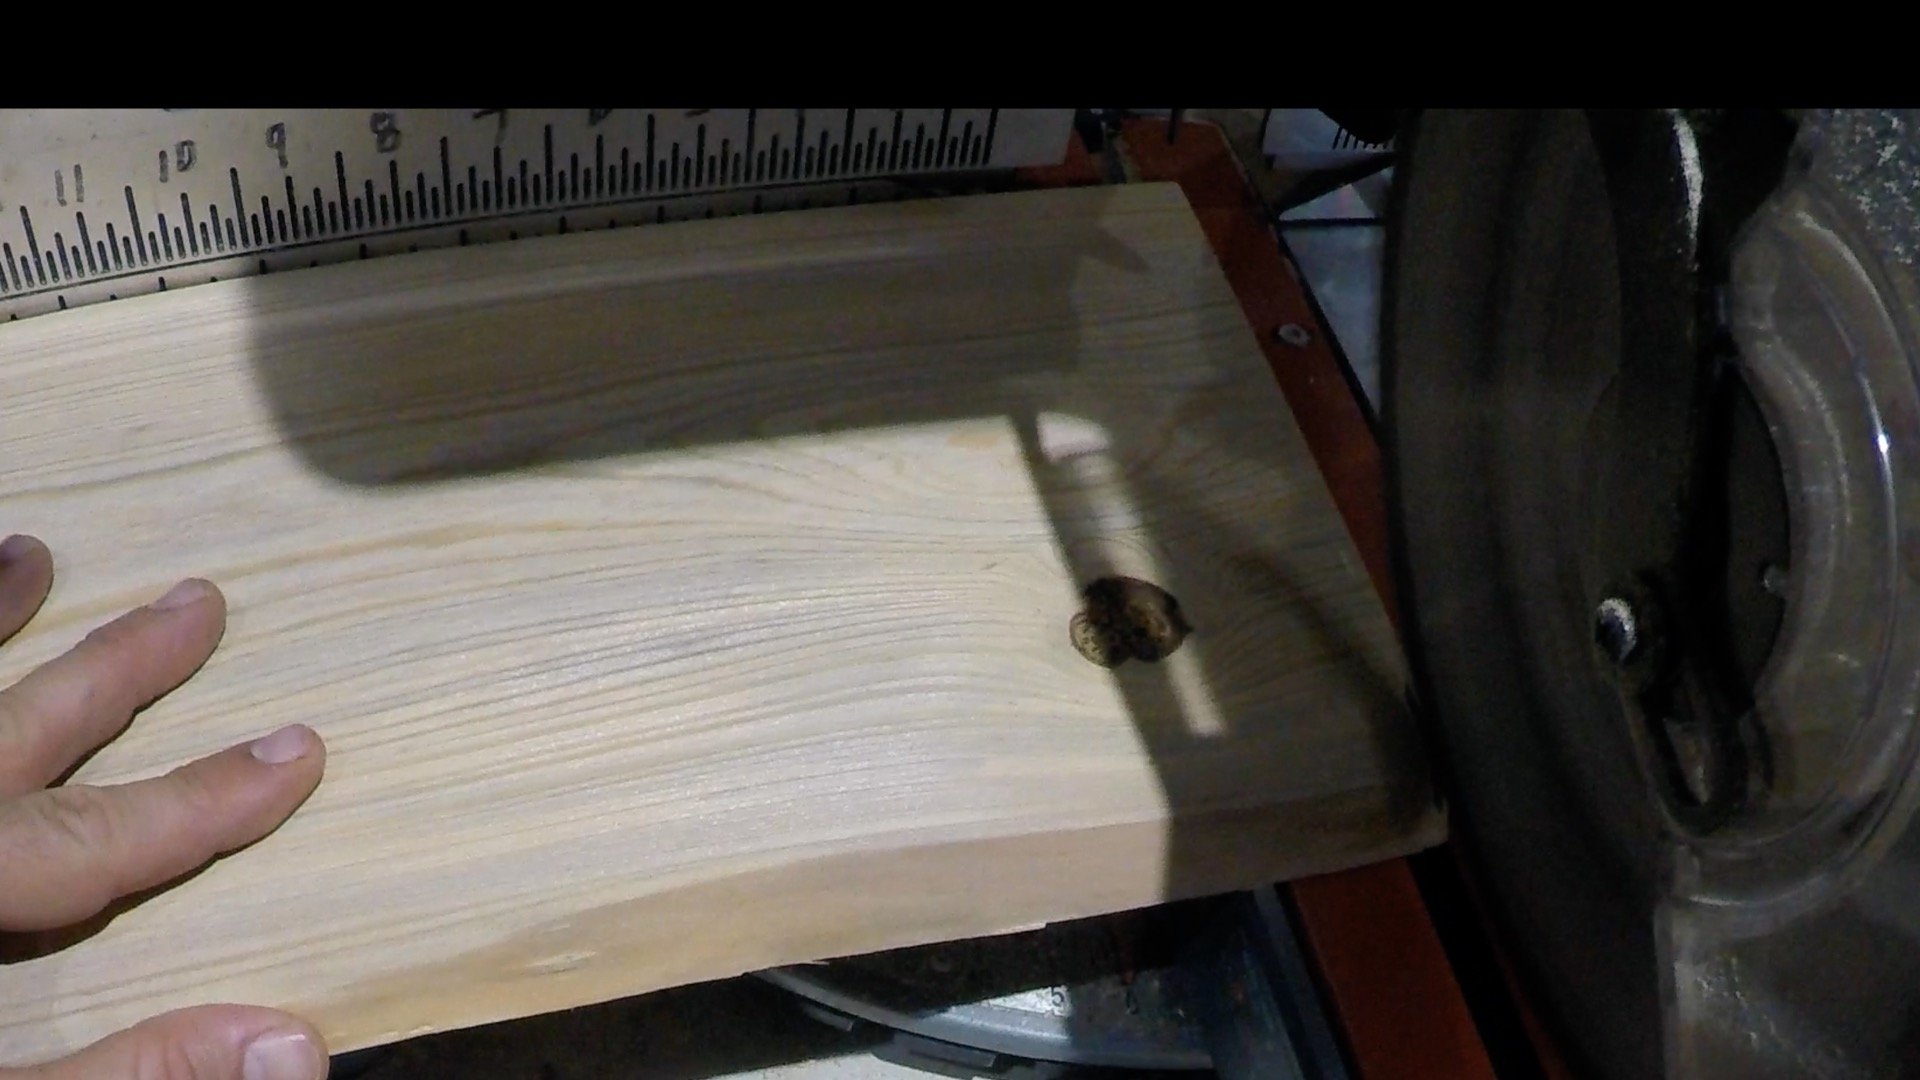
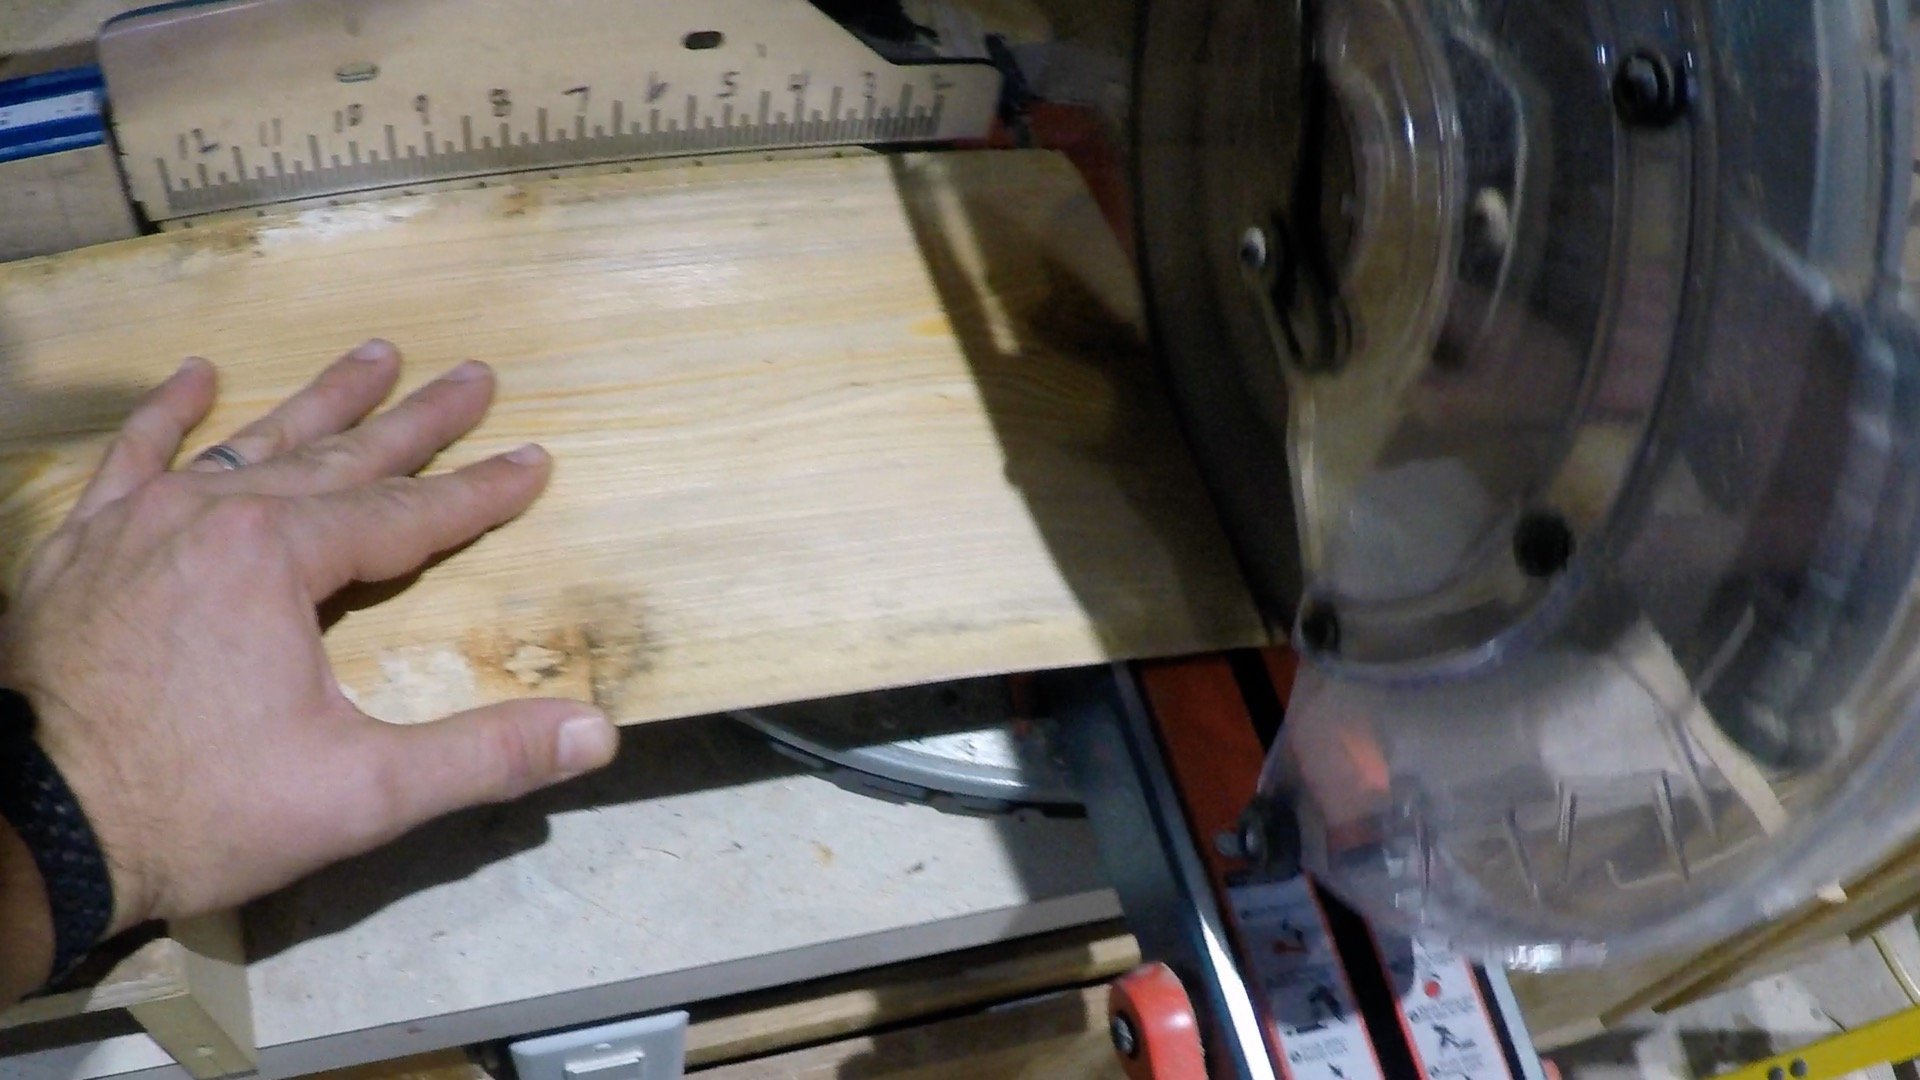
Next, I squared one side of the cypress wood with my miter saw.
I flipped the wood over and squared the other side.
Keep in mind, I didn’t need to do square each end.
However, my OCD activates when I see asymmetrical edges or sides.


Then, I took the wood to my resin pouring station to build the resin mold.
Also, be sure to checkout my DIY folding wall desk that is also wood resin beach art.
Wood and Resin Beach Art Mold for Resin Pour
First, I found a scrap piece of 3/4″ plywood to use as the bottom of the resin mold.
The bottom piece of the resin mold must be at least 1.5″ wider than the wood.
Also, the length needs to be as long as the wood and resin beach art plus 1.5″.
The additional 1.5″ in each direction (length and width) accommodates the 2 pieces of 3/4″ plywood which form the box.
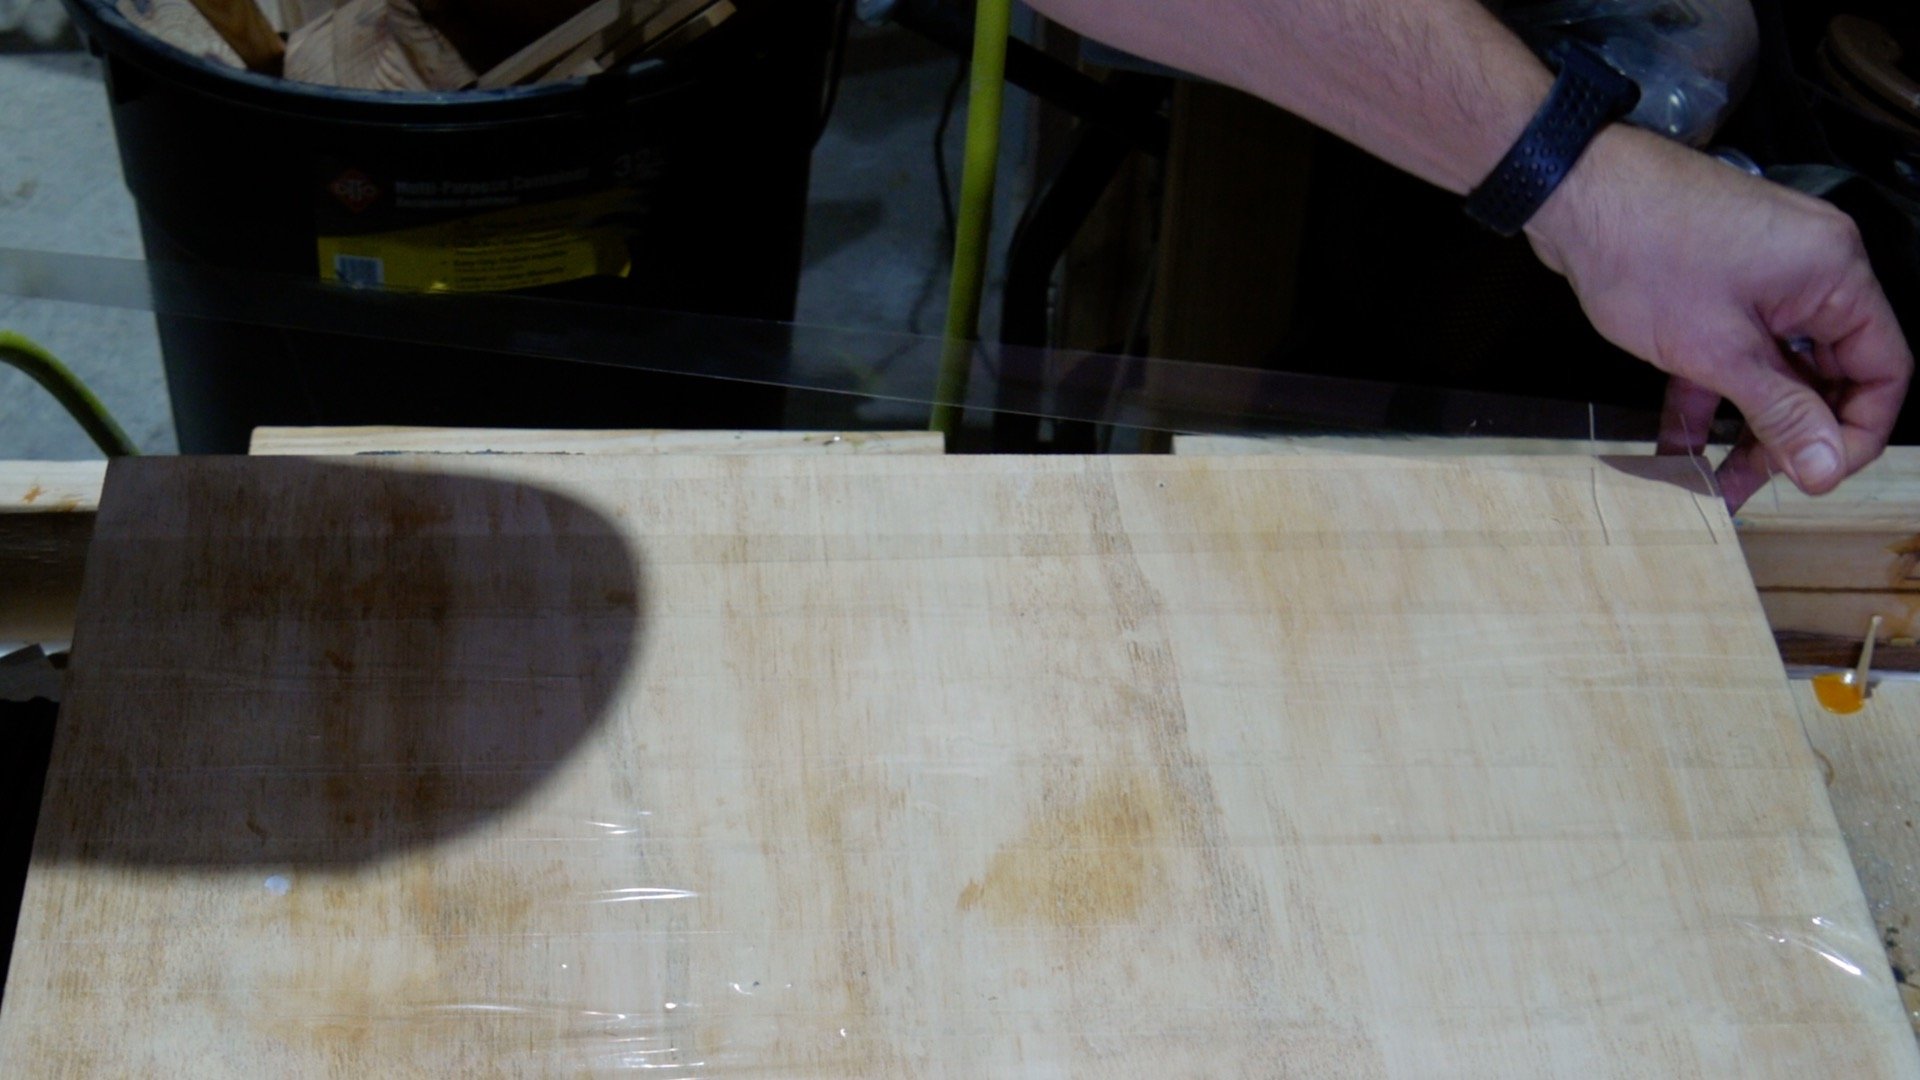
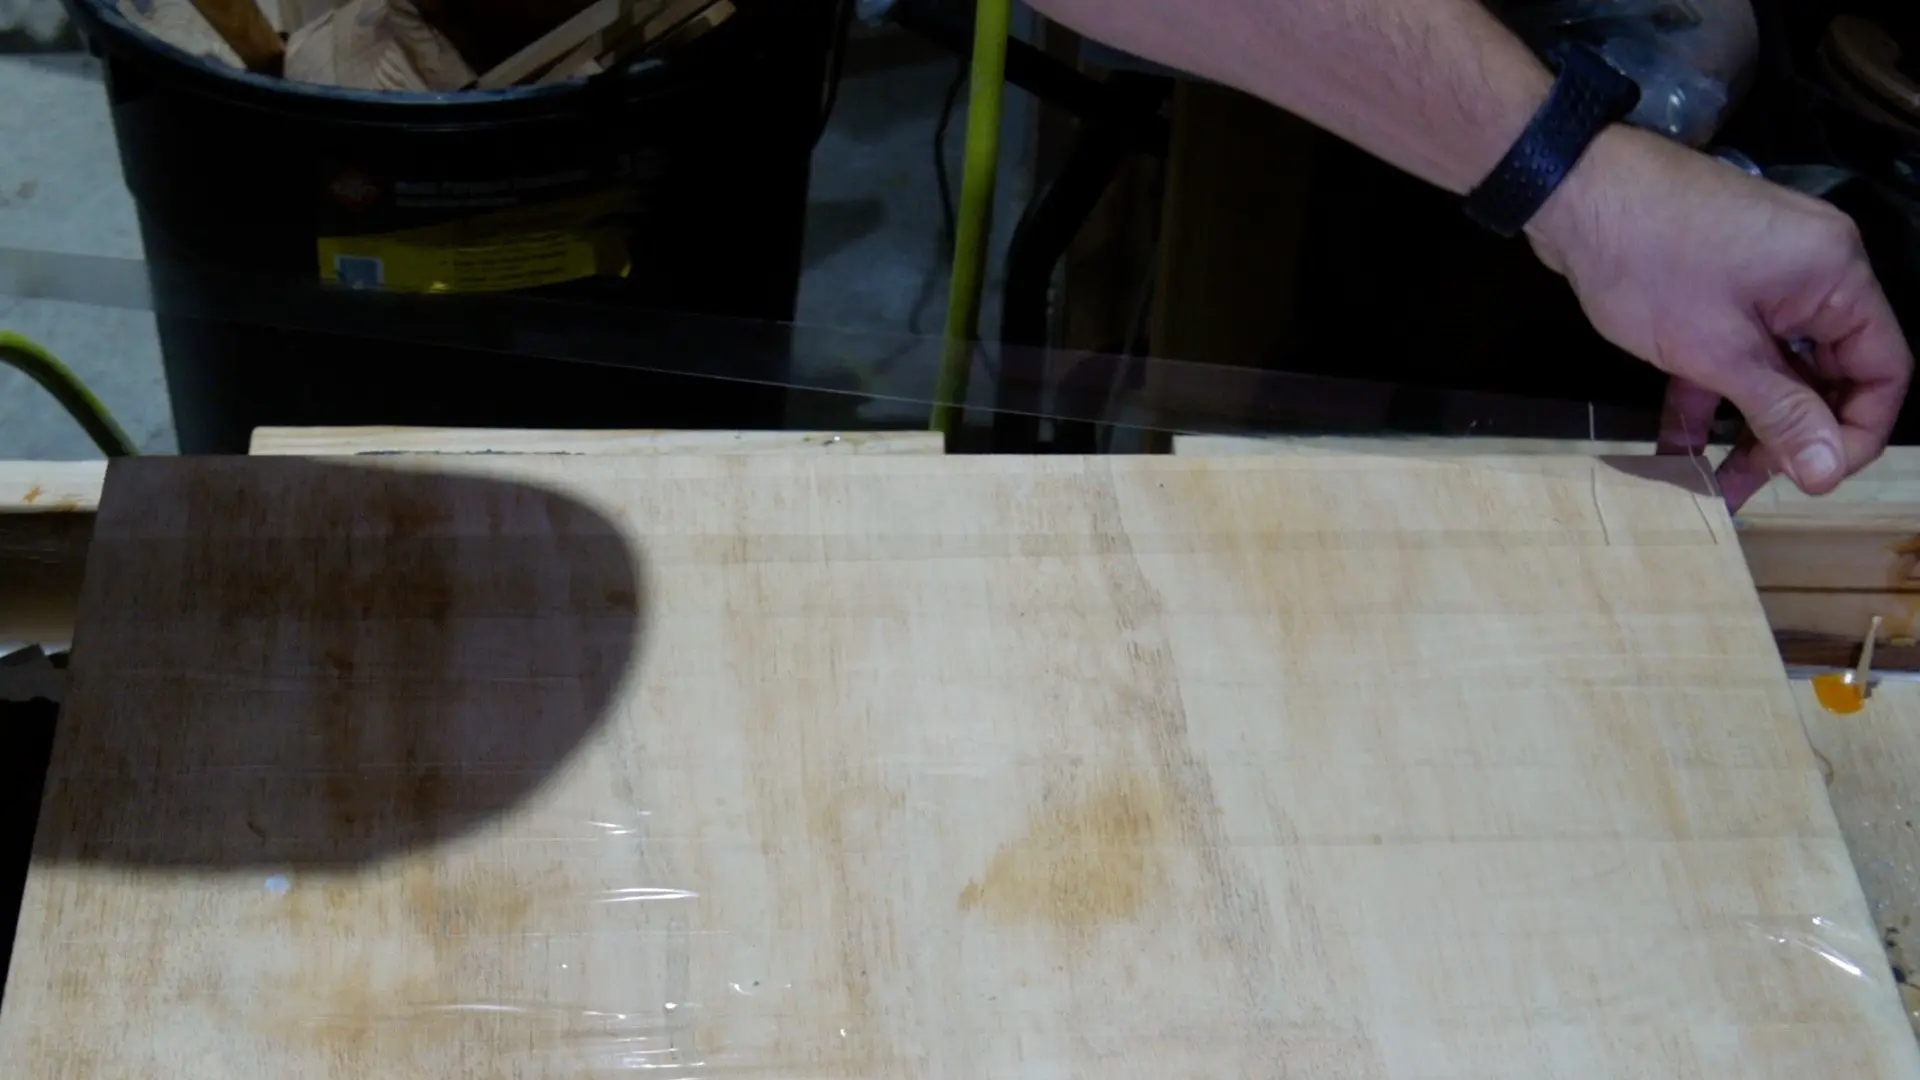
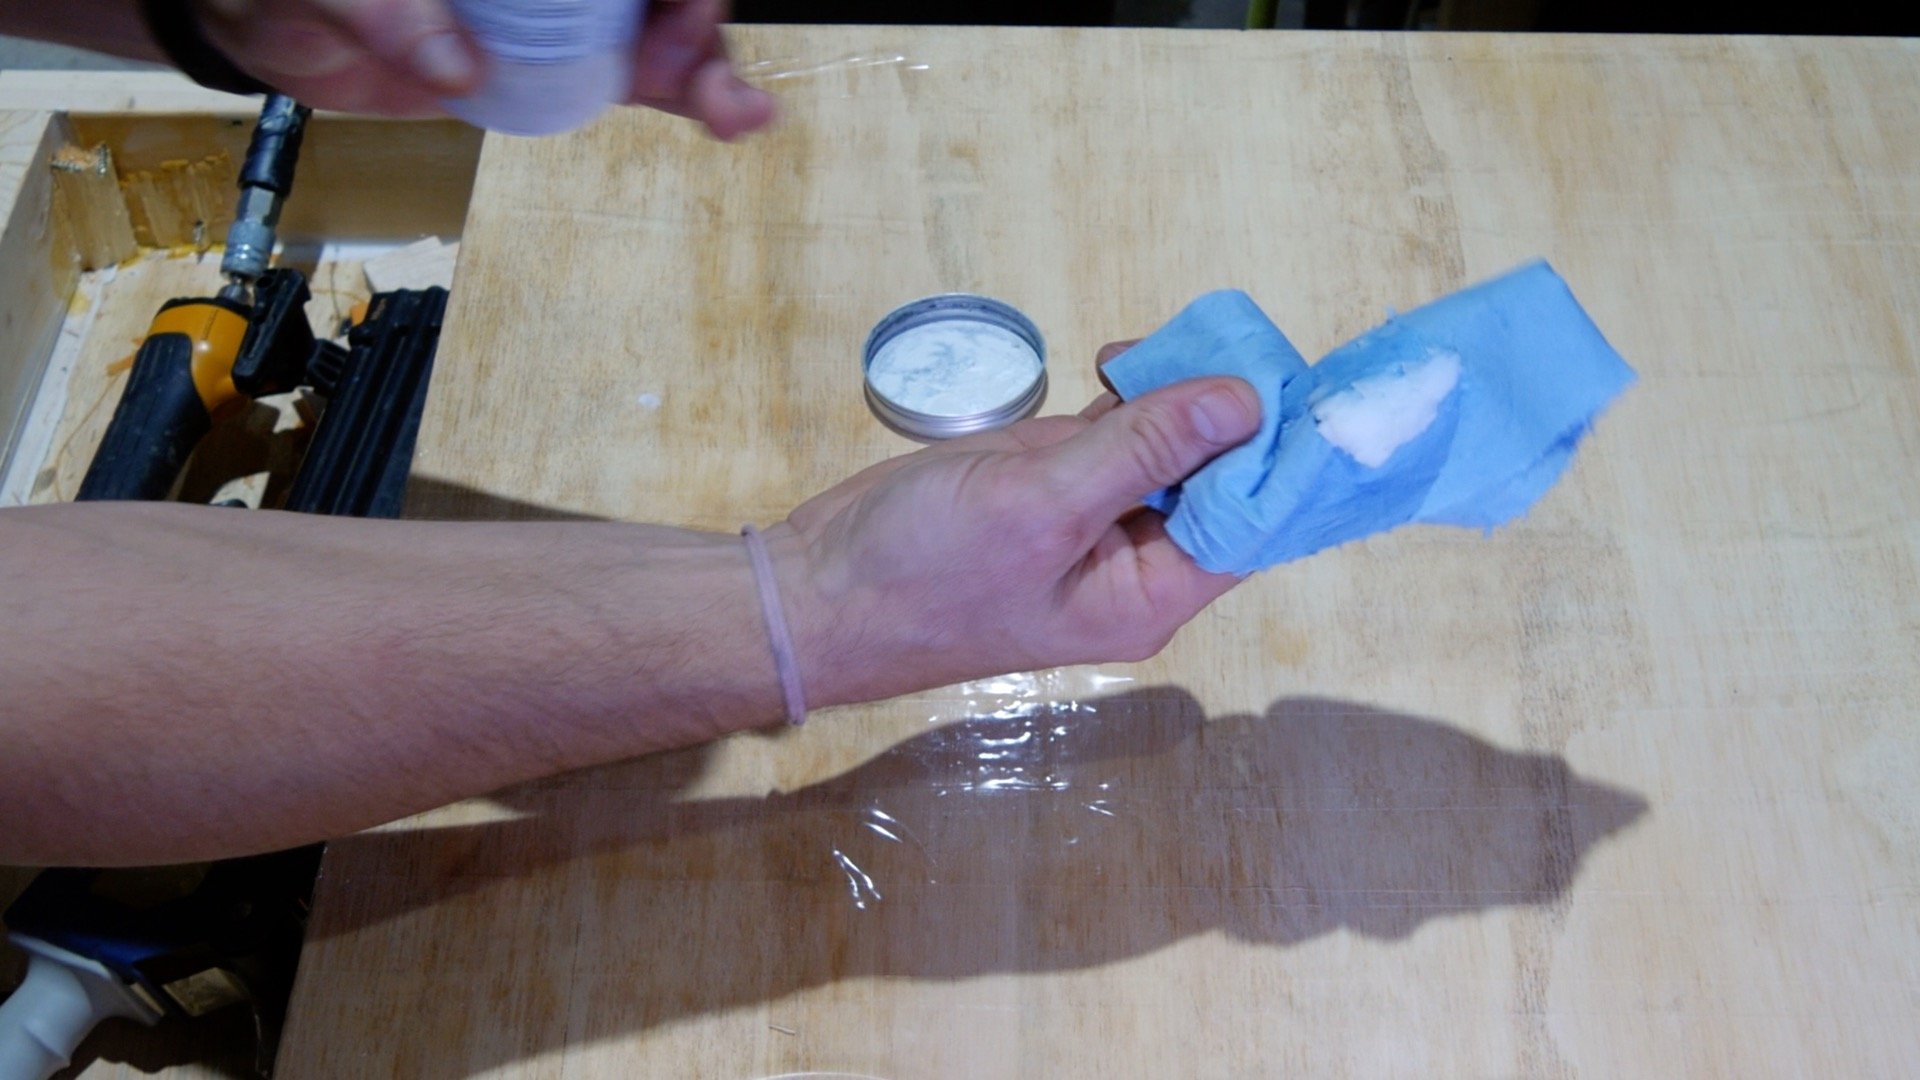
Next, I covered the plywood with packing tape and covered the tape with furniture wax.
The packing tape prevents the resin from adhering to the plywood.
Furniture wax (or vaseline) serves as a release agent and makes the wood and resin beach art easy to remove.
I repeated this process for the resin mold sides as well.

Build Perimeter of Resin Mold
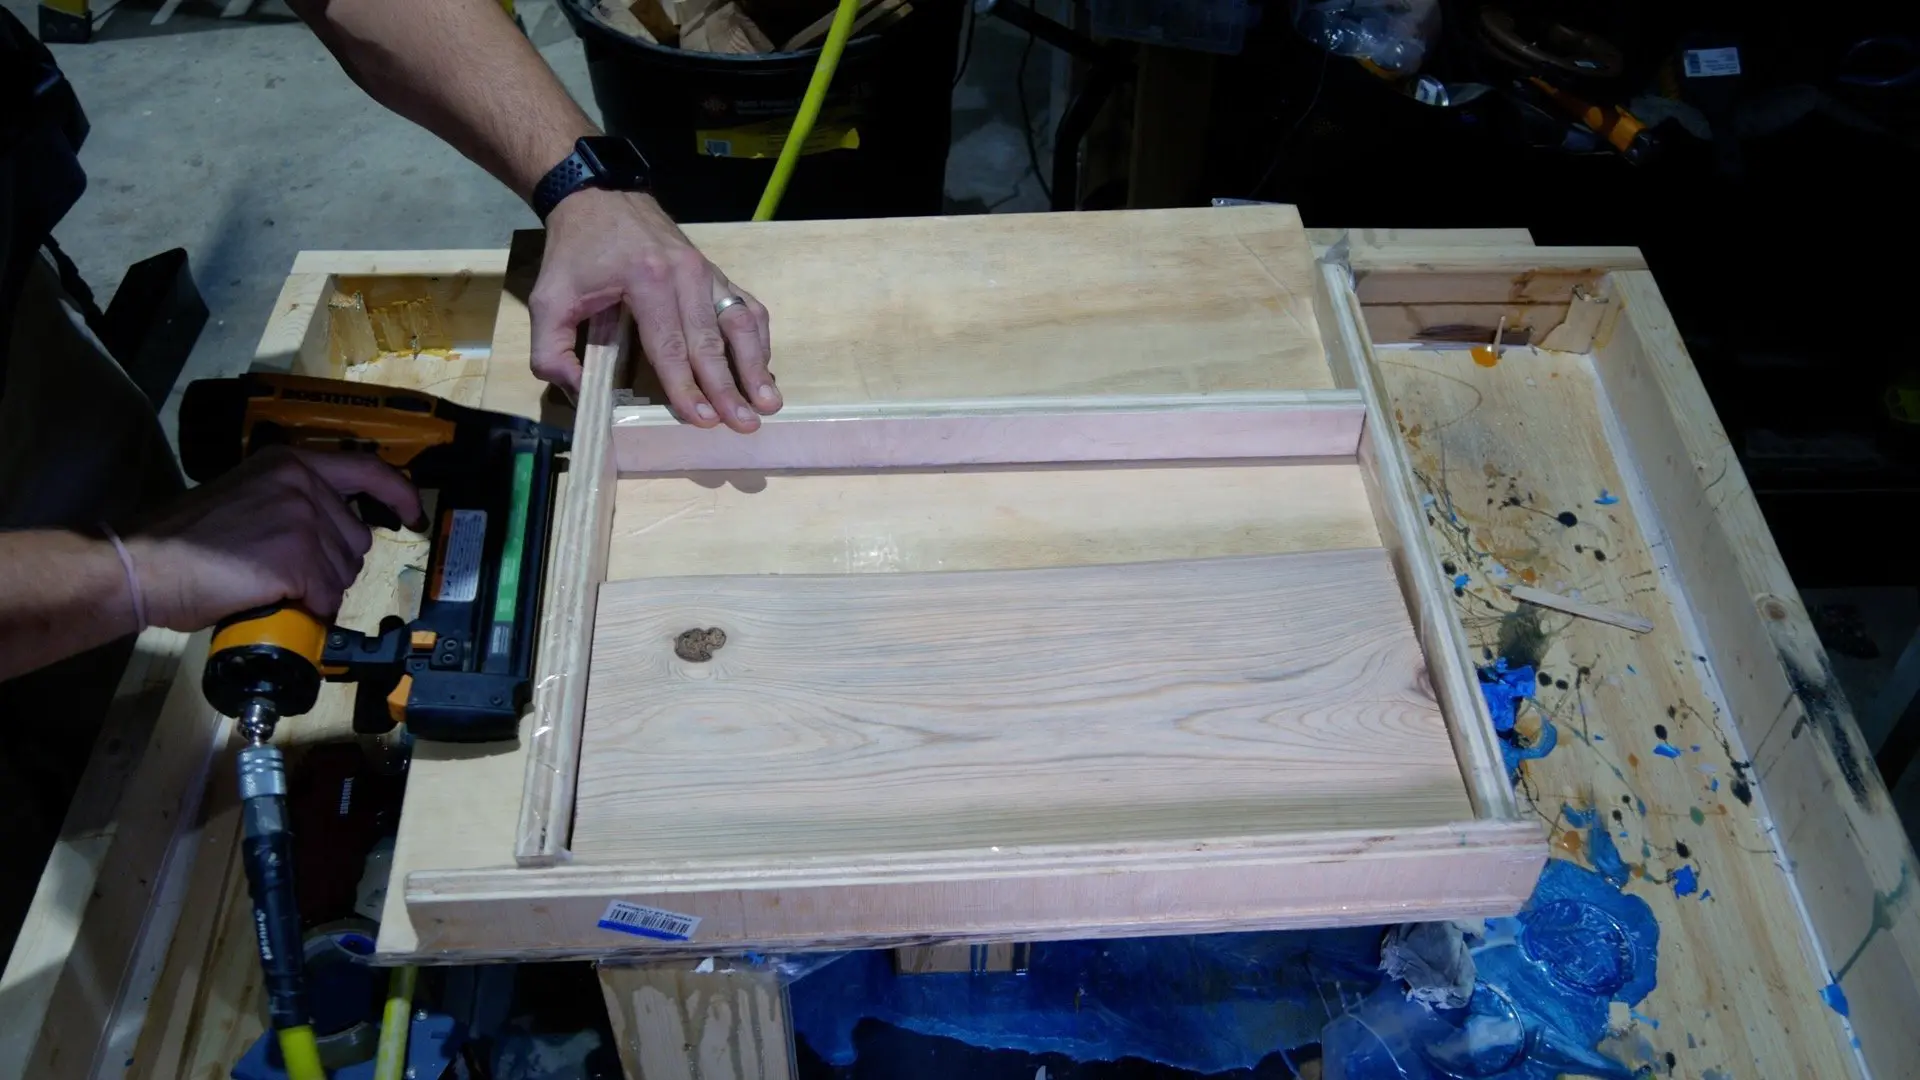
First, I placed the cypress wood in the resin mold and grabbed a few scrap pieces of 3/4″ plywood for the each side, front, and back.
As I mentioned previously, I covered the sides, front, and back pieces with packing tape and furniture wax.
Keep in mind, the perimeter pieces don’t need to be cut to size in order to fit perfectly.
Essentially, they will work as long as they form a square.

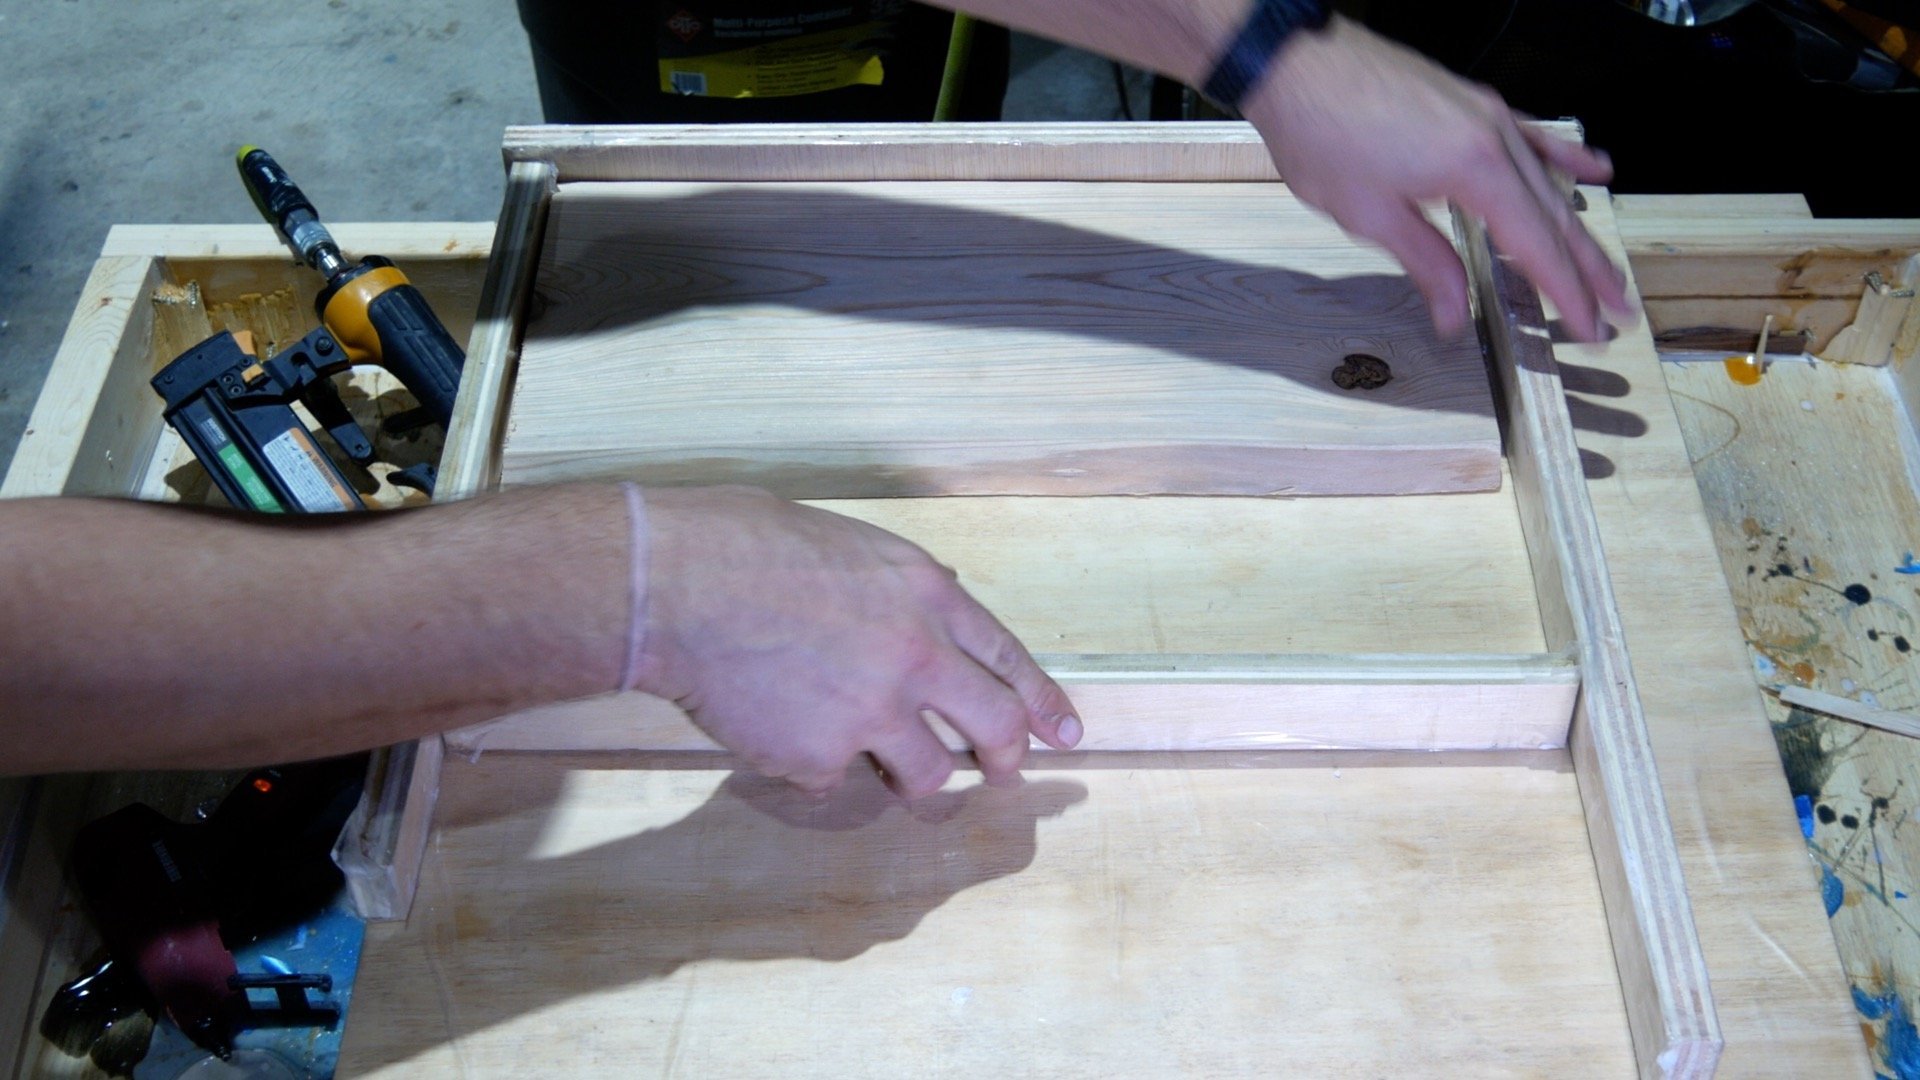

Next, I used my brad nailer to hold down the sides, front, and back pieces.
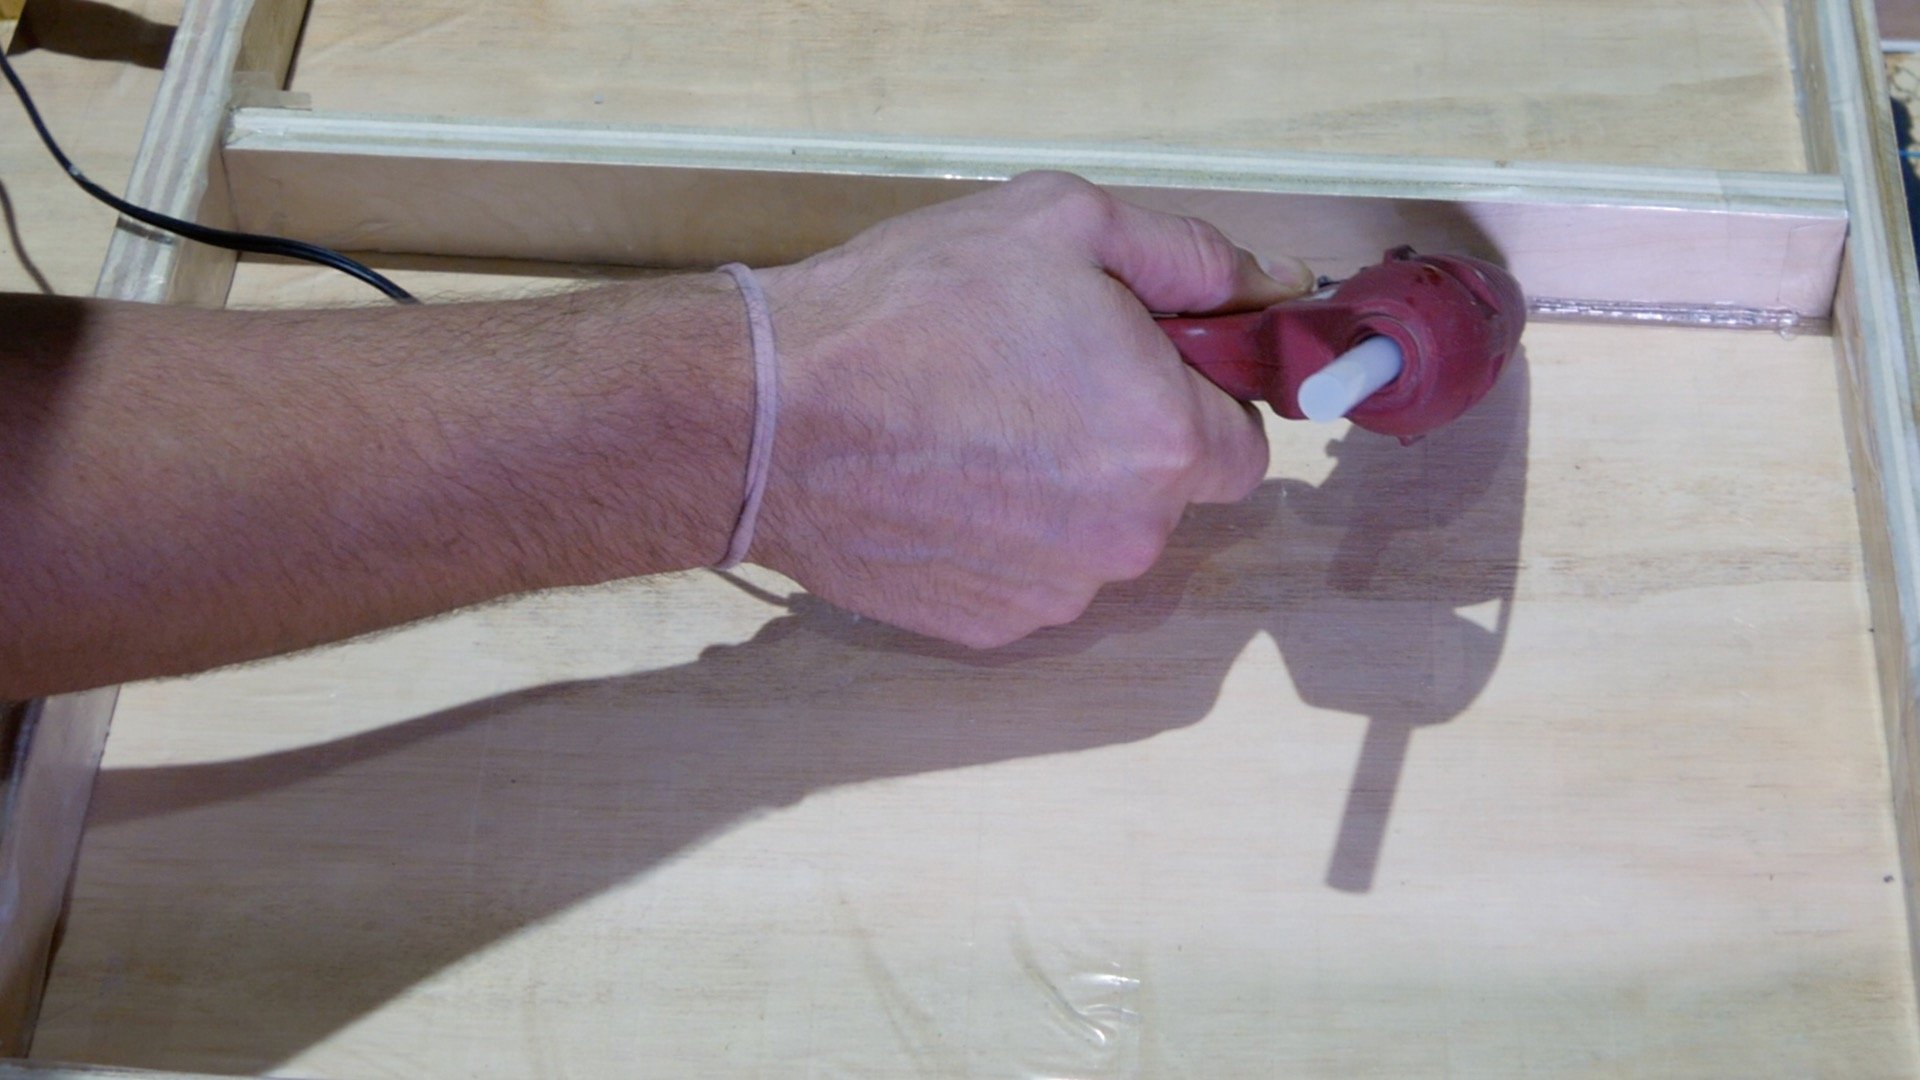
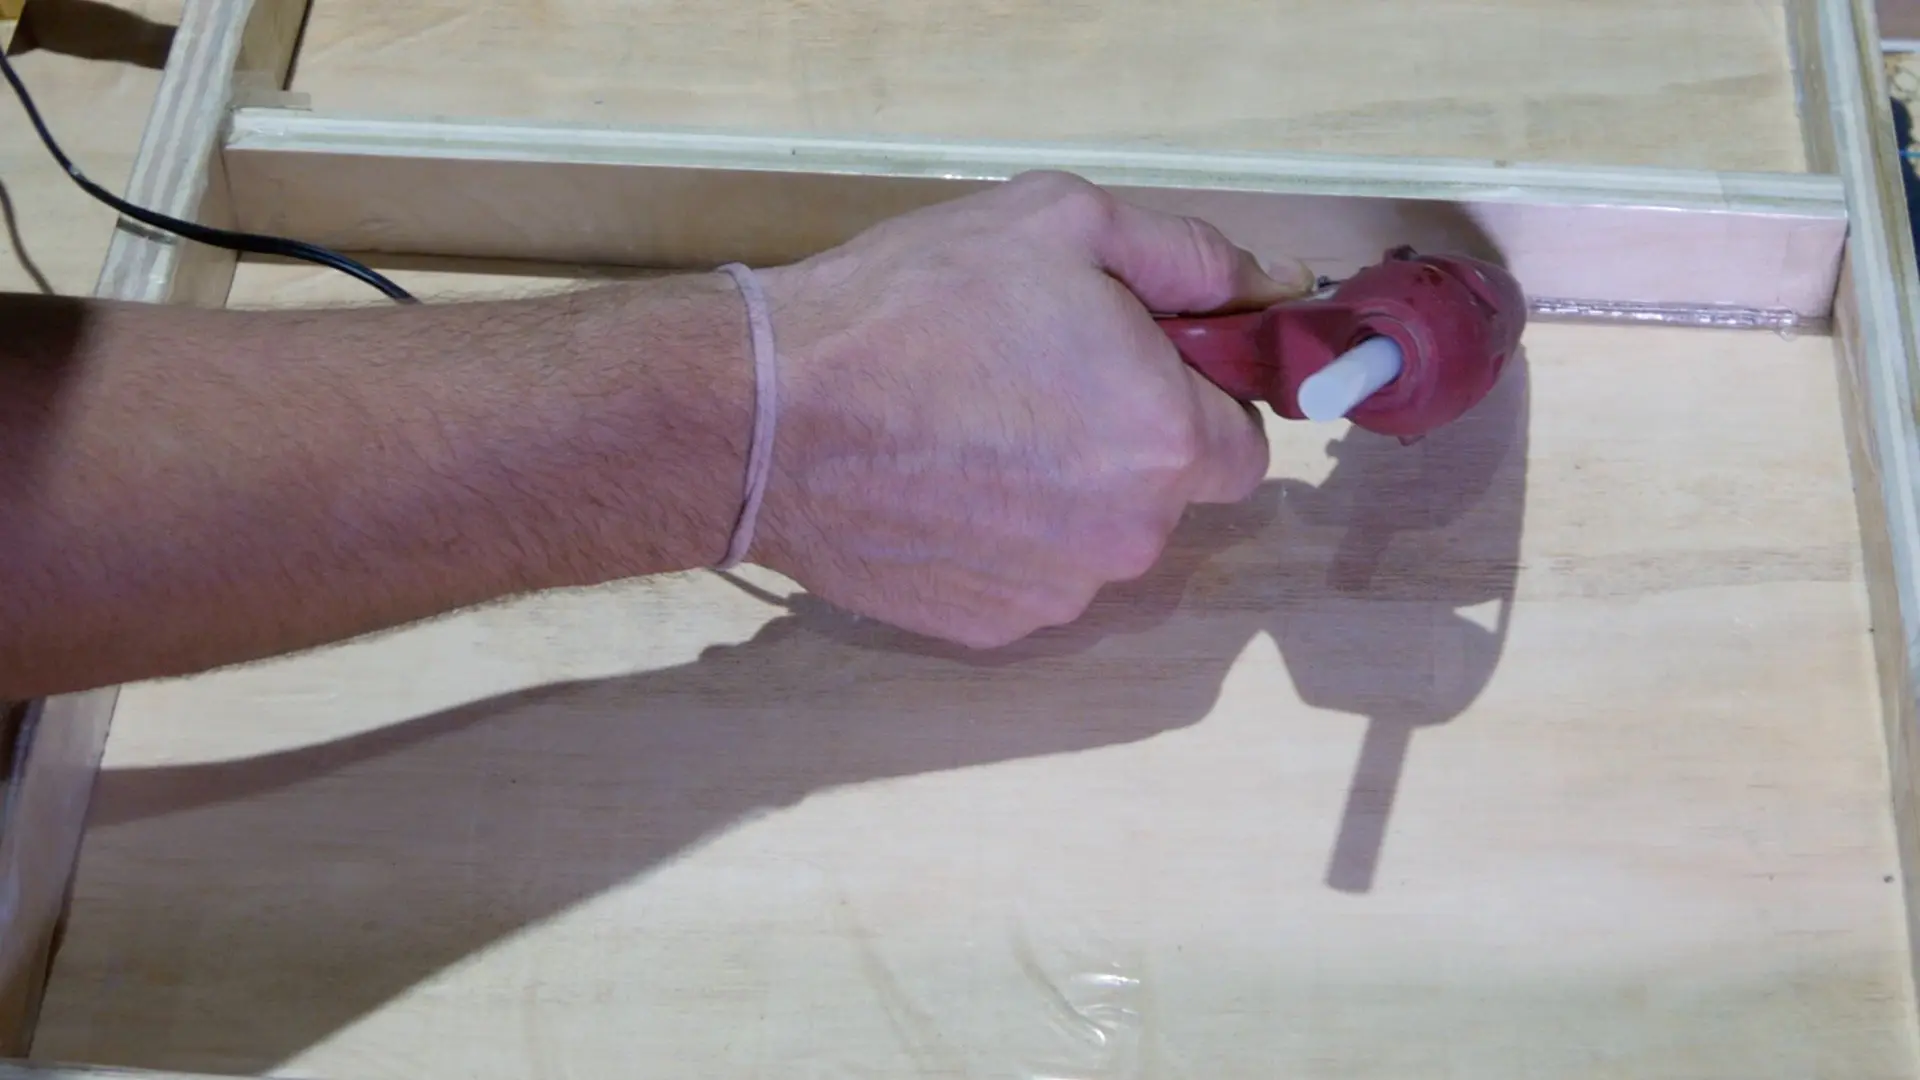
Then, I used my hot glue gun to seal the resin mold and prevent leaking.
Silicone or hot glue seal and prevent resin from leaking.
I used hot glue because it was within arm’s reach of my resin pouring station.
Ultimately, hot glue is not as strong as silicone but it dries quicker.

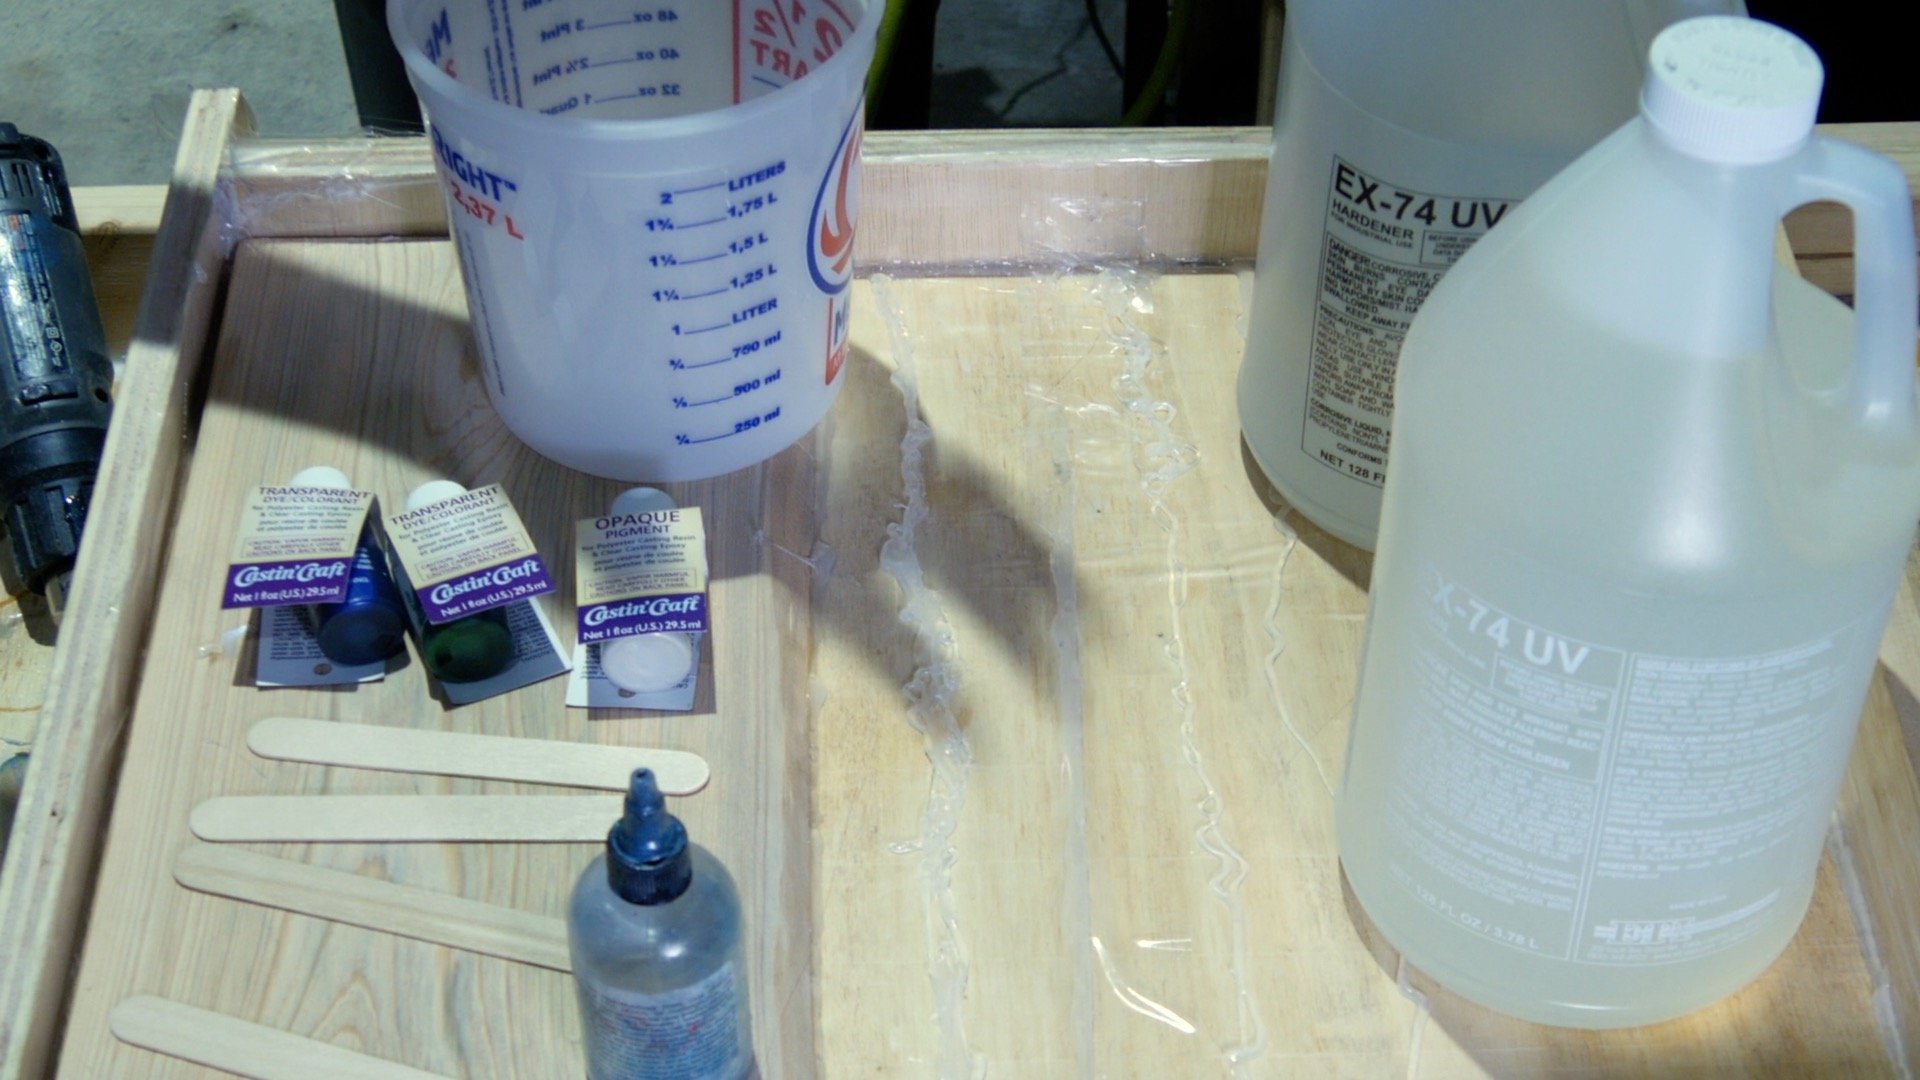
Epoxy for Wood and Resin Art
Since I use epoxy resin on most of my DIY projects, I like to try different types along with various transparent dyes and resin pigments.
All products I used for this project are listed in the first section of this post.
For this wood and resin beach art with real sand project, I’m using epoxy resin from ETI.
This is the first time I’ve used this product and I’m really impressed with the performance.
Epoxy Resin performance details is beyond the scope of this wood and resin beach art tutorial.
However, you can read more about the technical specs and instructions here if you are interested.
Ultimately, I recommend this resin based on the 2 projects I’ve used it on thus far.
As with any type of epoxy resin, following the instructions precisely produces the best results.
First Pour for Resin Beach Art
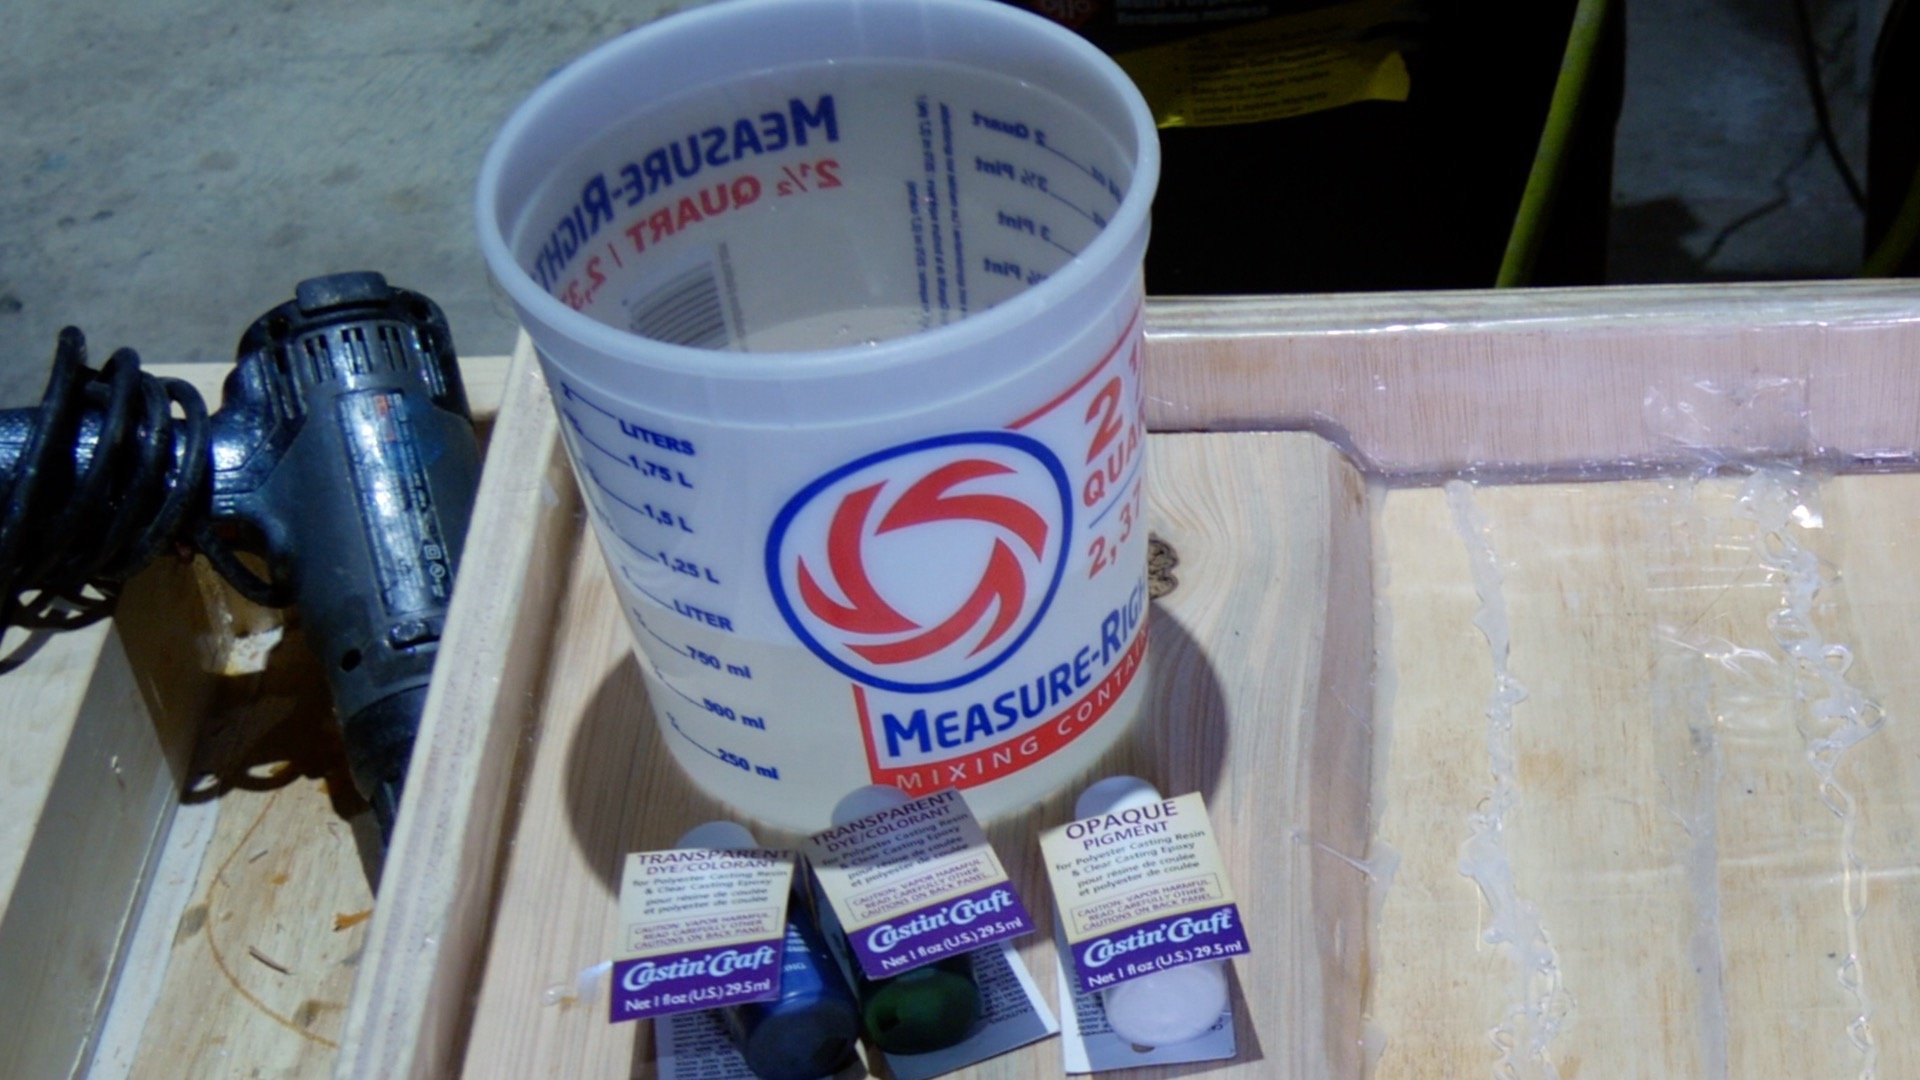
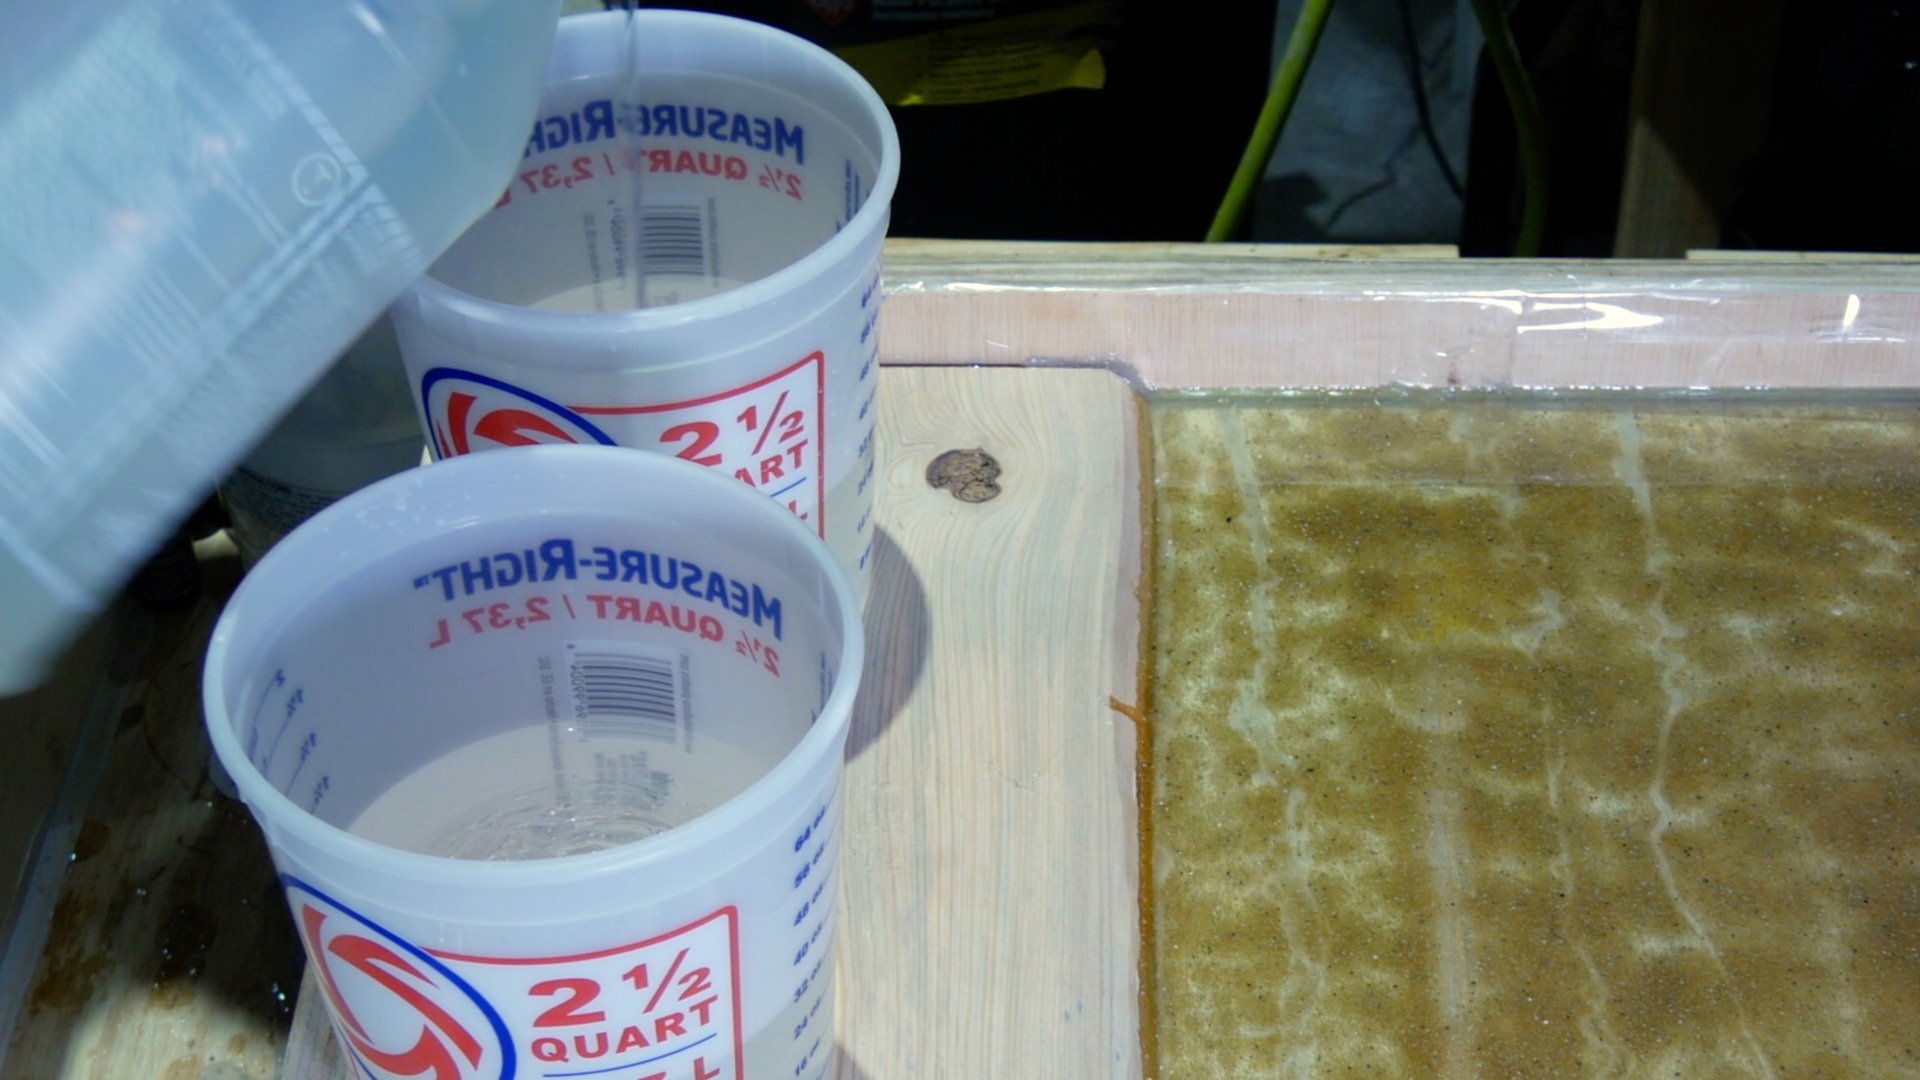
For the first resin pour, I mixed 32 ounces of epoxy resin in 1 container according to the manufacturer’s instructions.
Next, I poured 16 ounces into a different container.
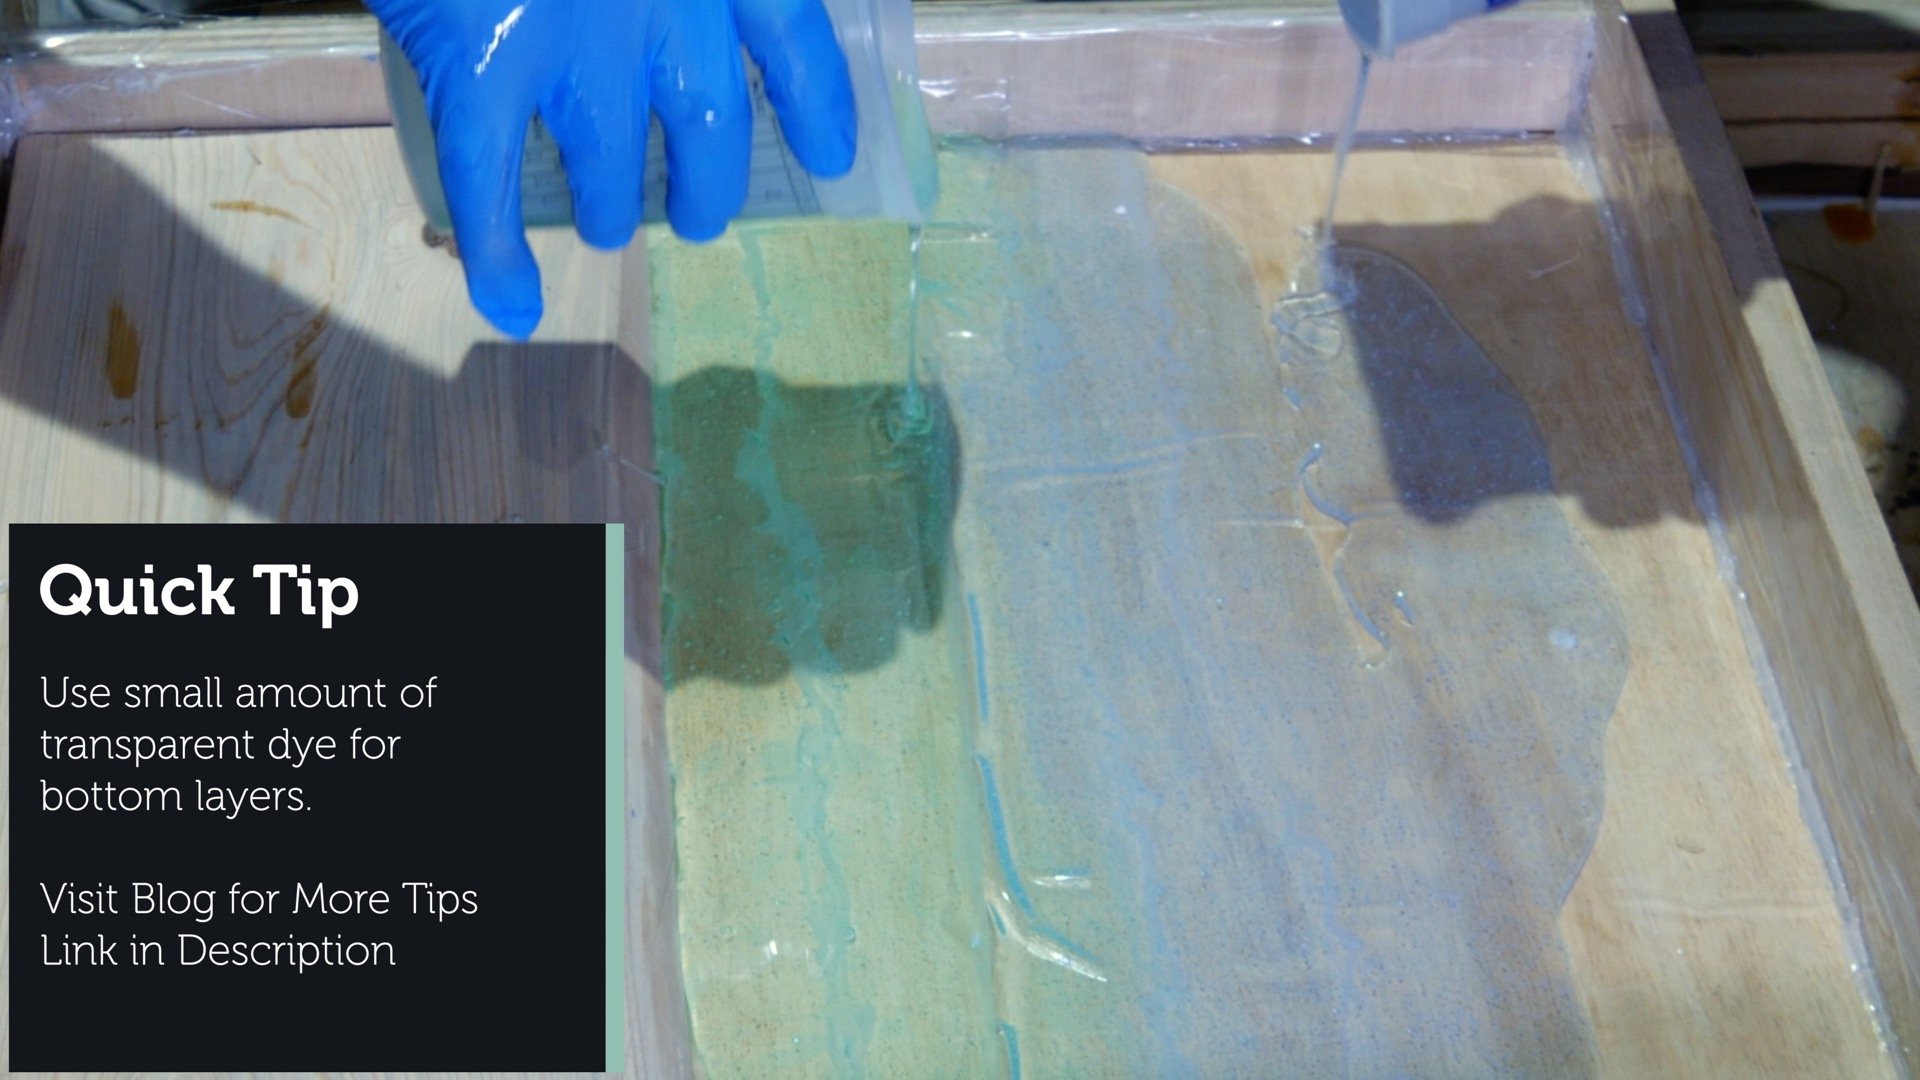
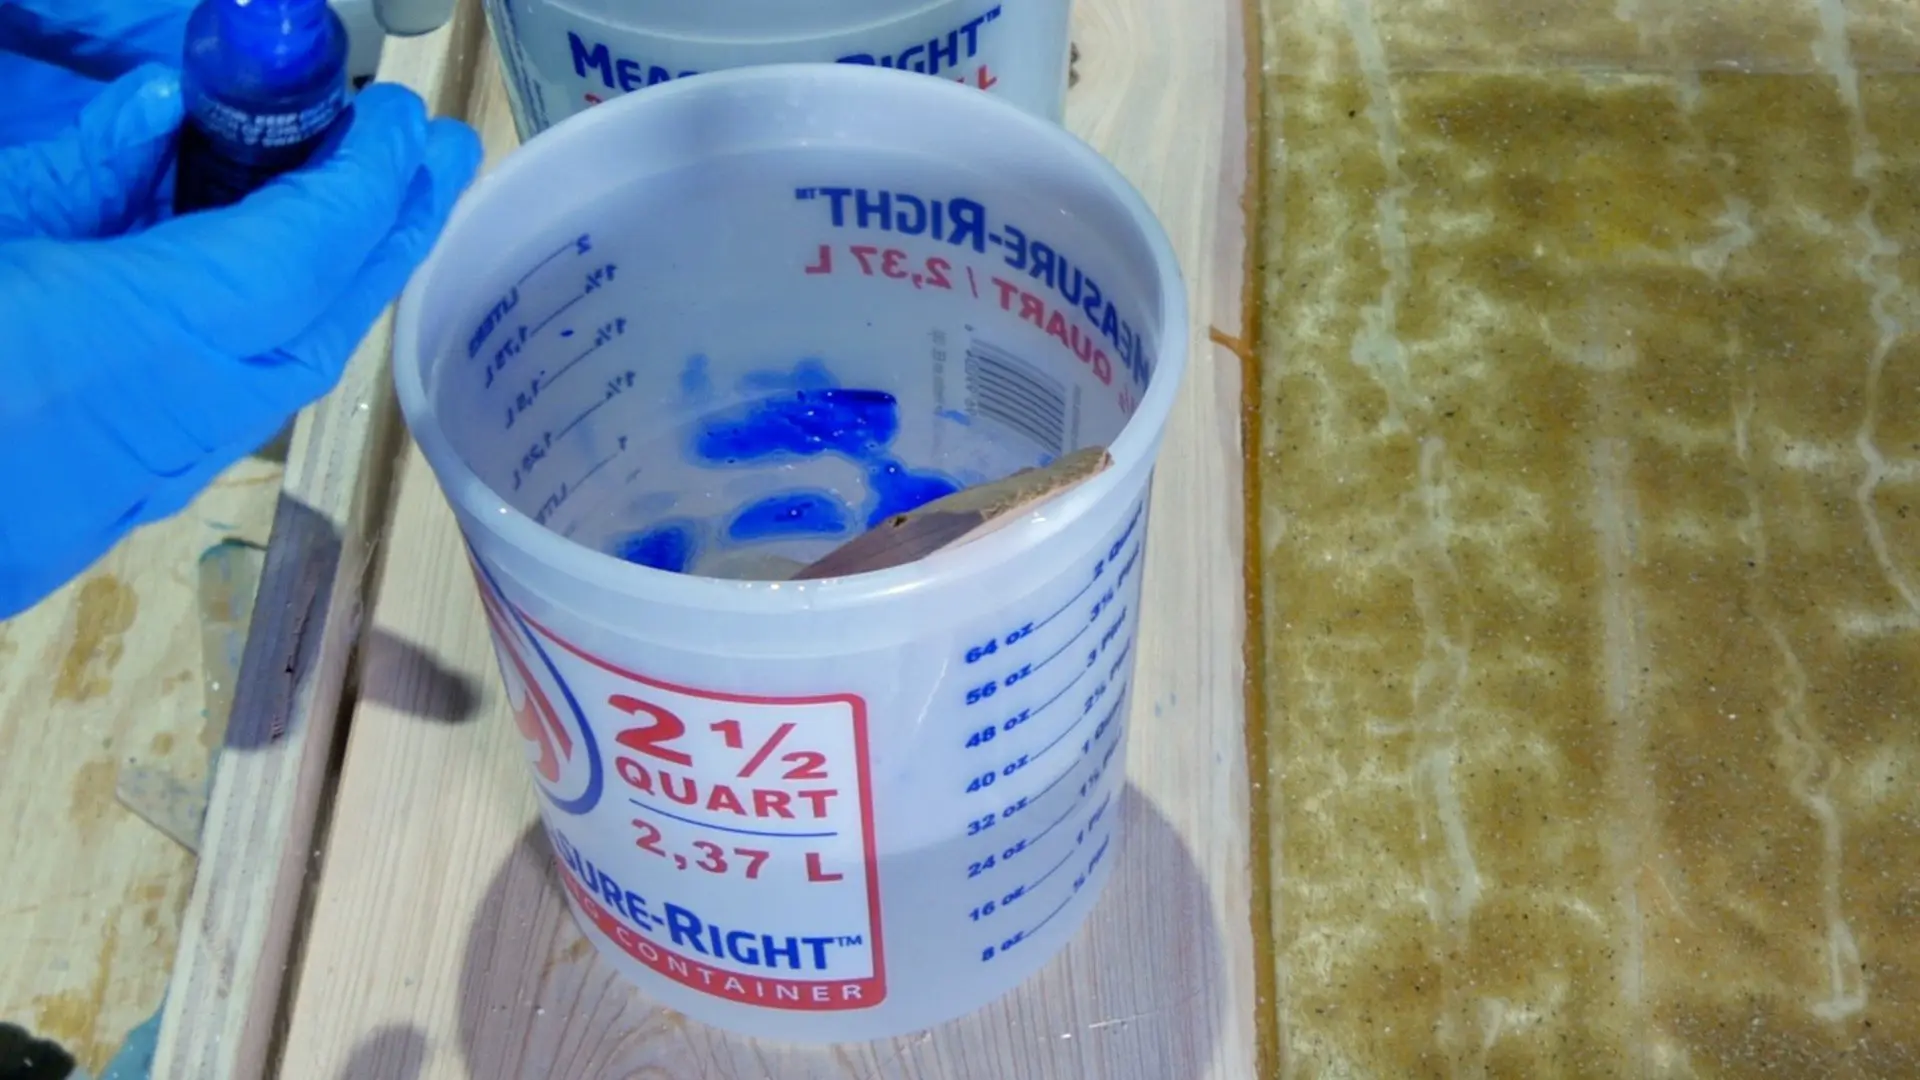
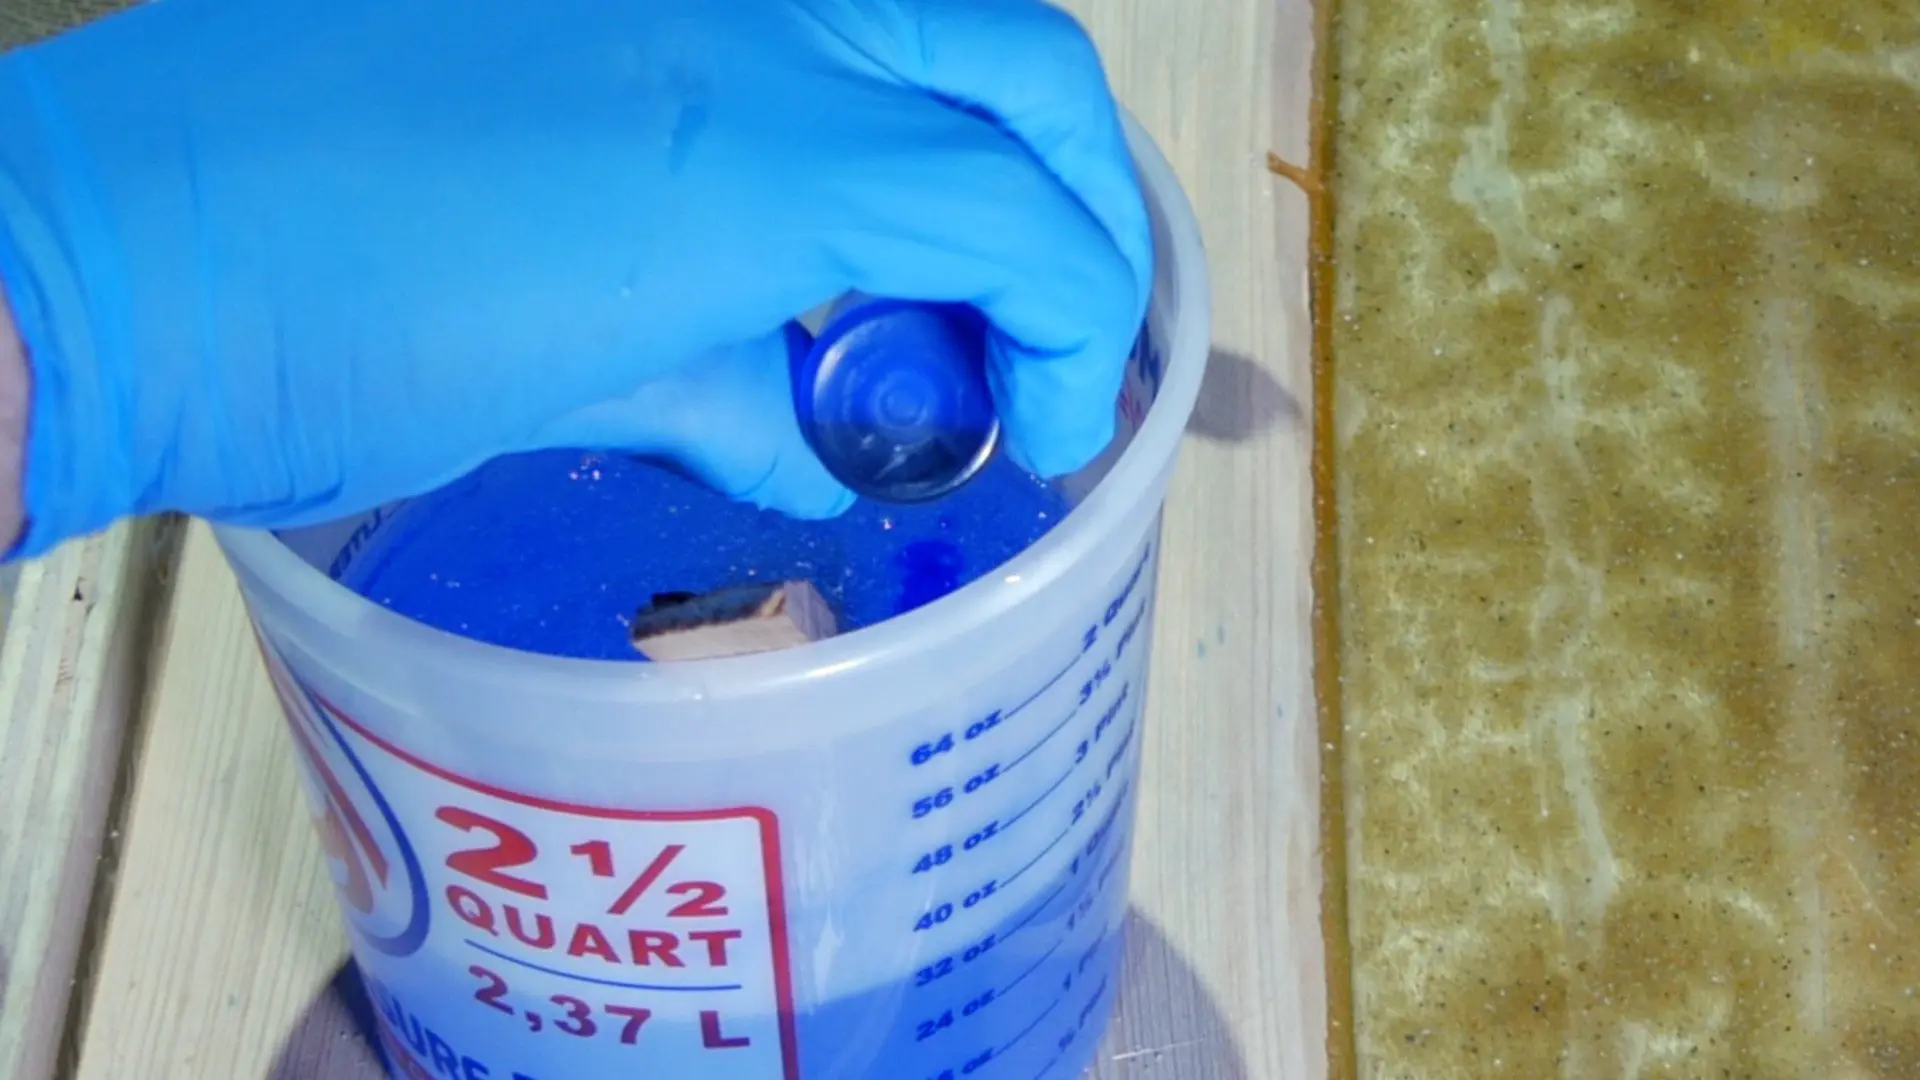
I added 2 drops of transparent blue dye in 1 container and 2 drops of transparent green dye in the other container.
This was my first time using this transparent dye, so I was careful not to add too much.
I can always darken the resin beach art top layers, which is exactly what I needed to do.
This transparent dye is very thin, which could be good or bad.
I believe it is good because I can control the color better.
However, some may view this as bad because more dye is required to achieve the medium to darker colors.
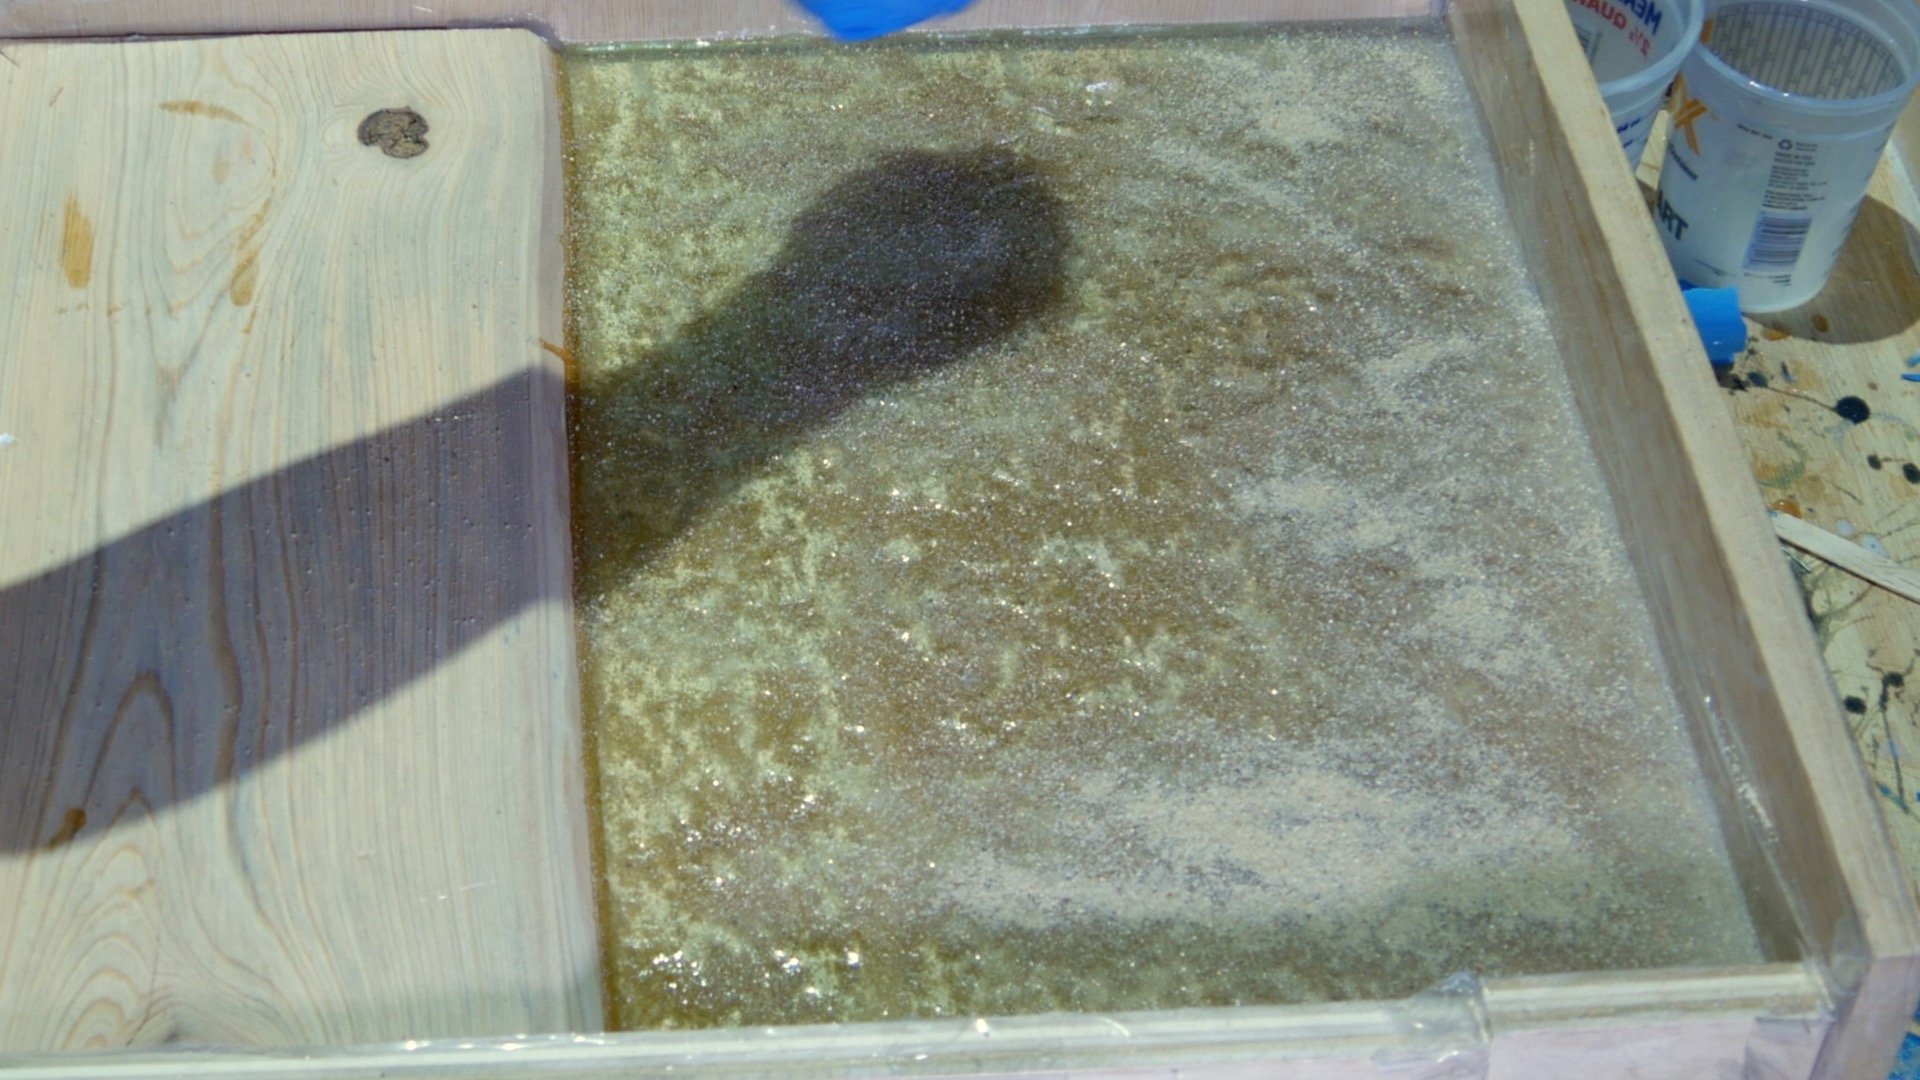
After I mixed the transparent dye, I poured the resin.
The emerald waters of Destin, Florida have a thin layer of blue/green water close to the beach and darker blue beyond the second sandbar.


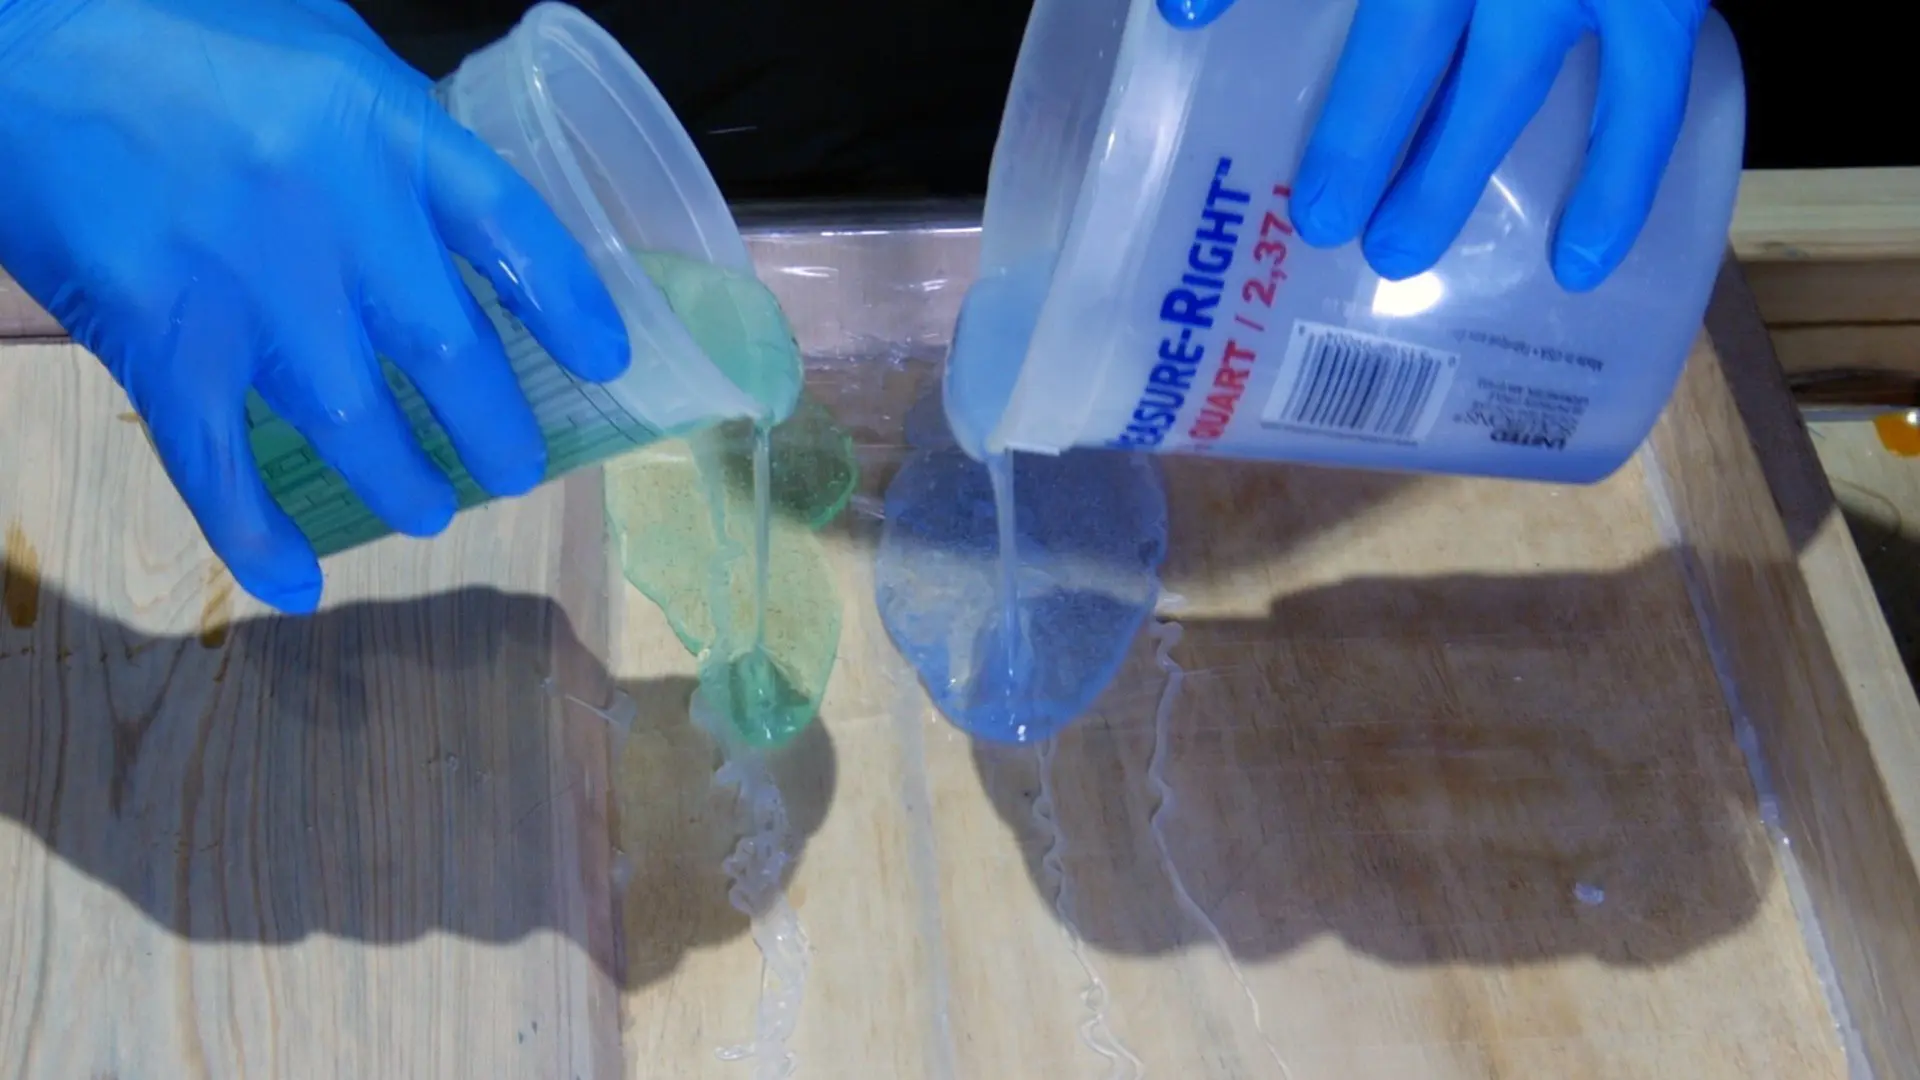

Then, I removed the bubbles with my mini torch.
Add Real Sand to Resin
I’ve read nightmare stories about people trying to mix sand and resin.
Luckily, this is my second project using resin and real sand without issues.
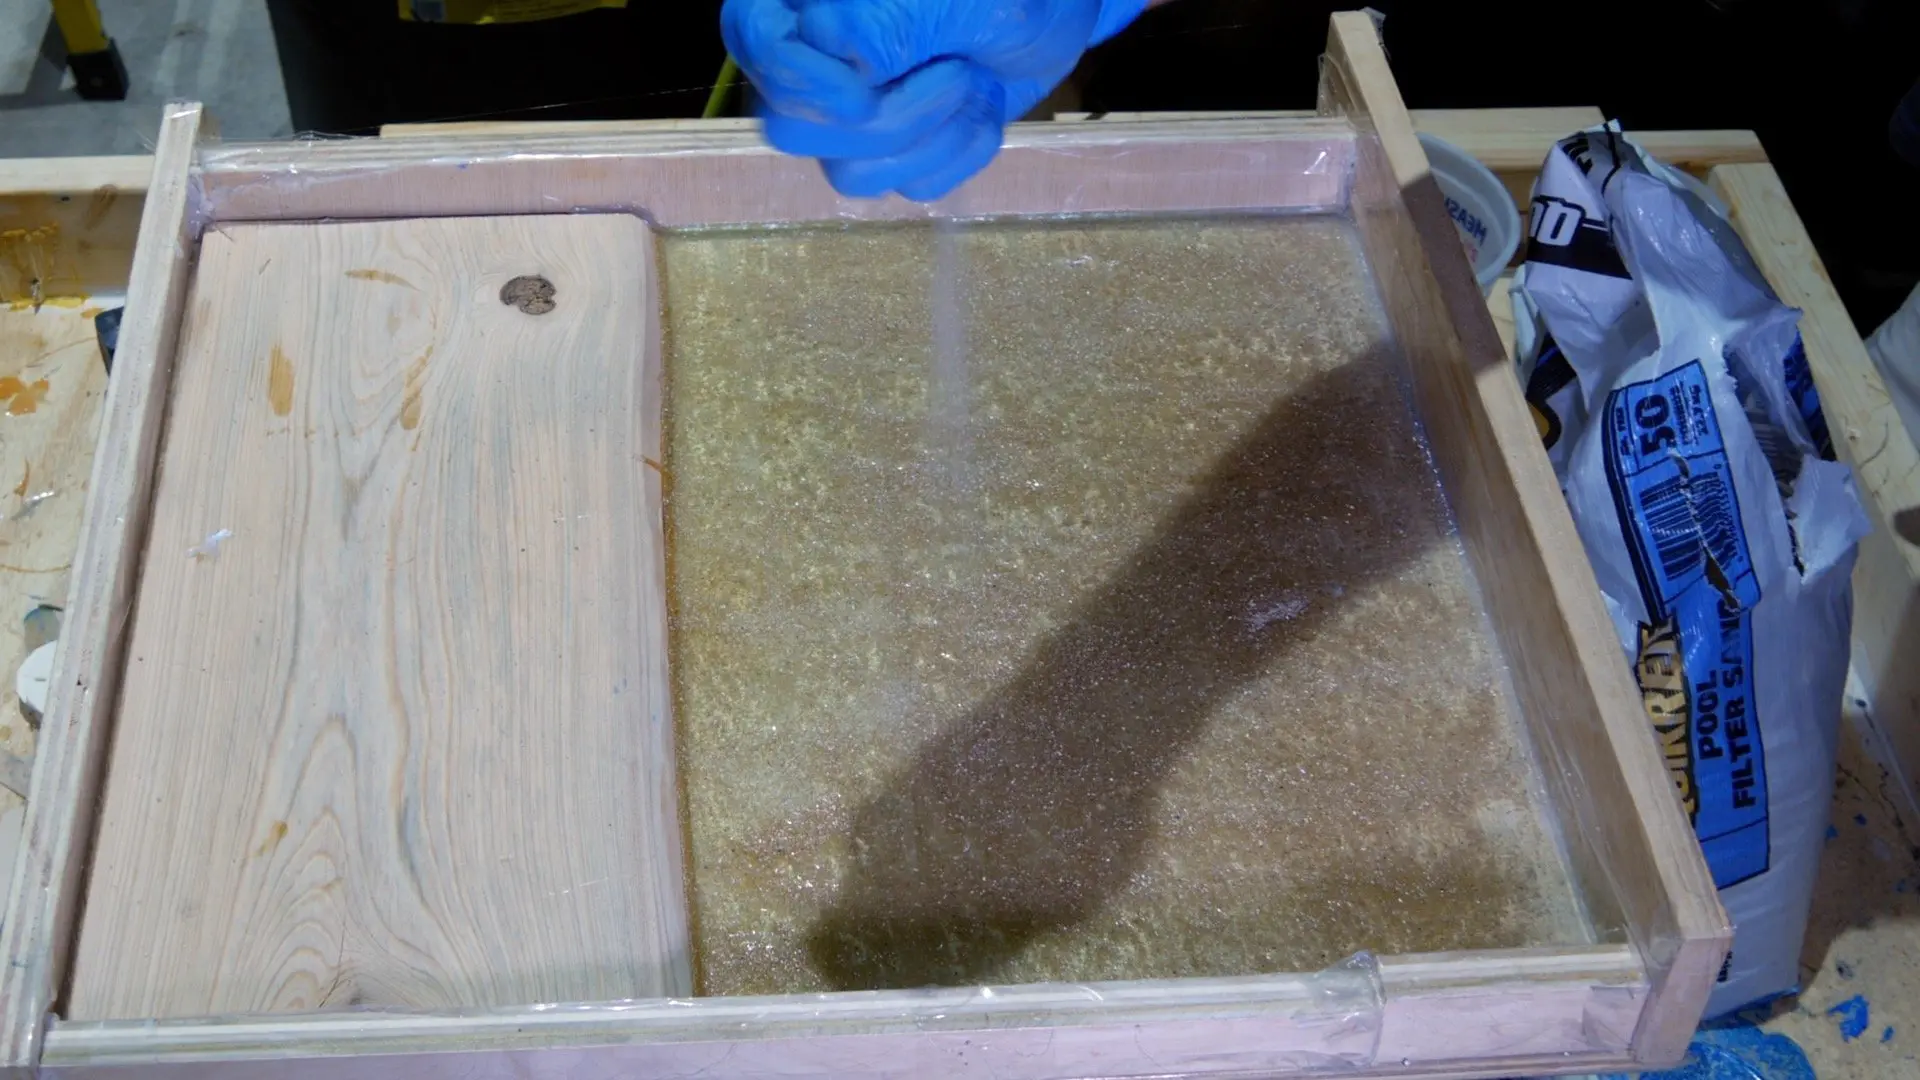
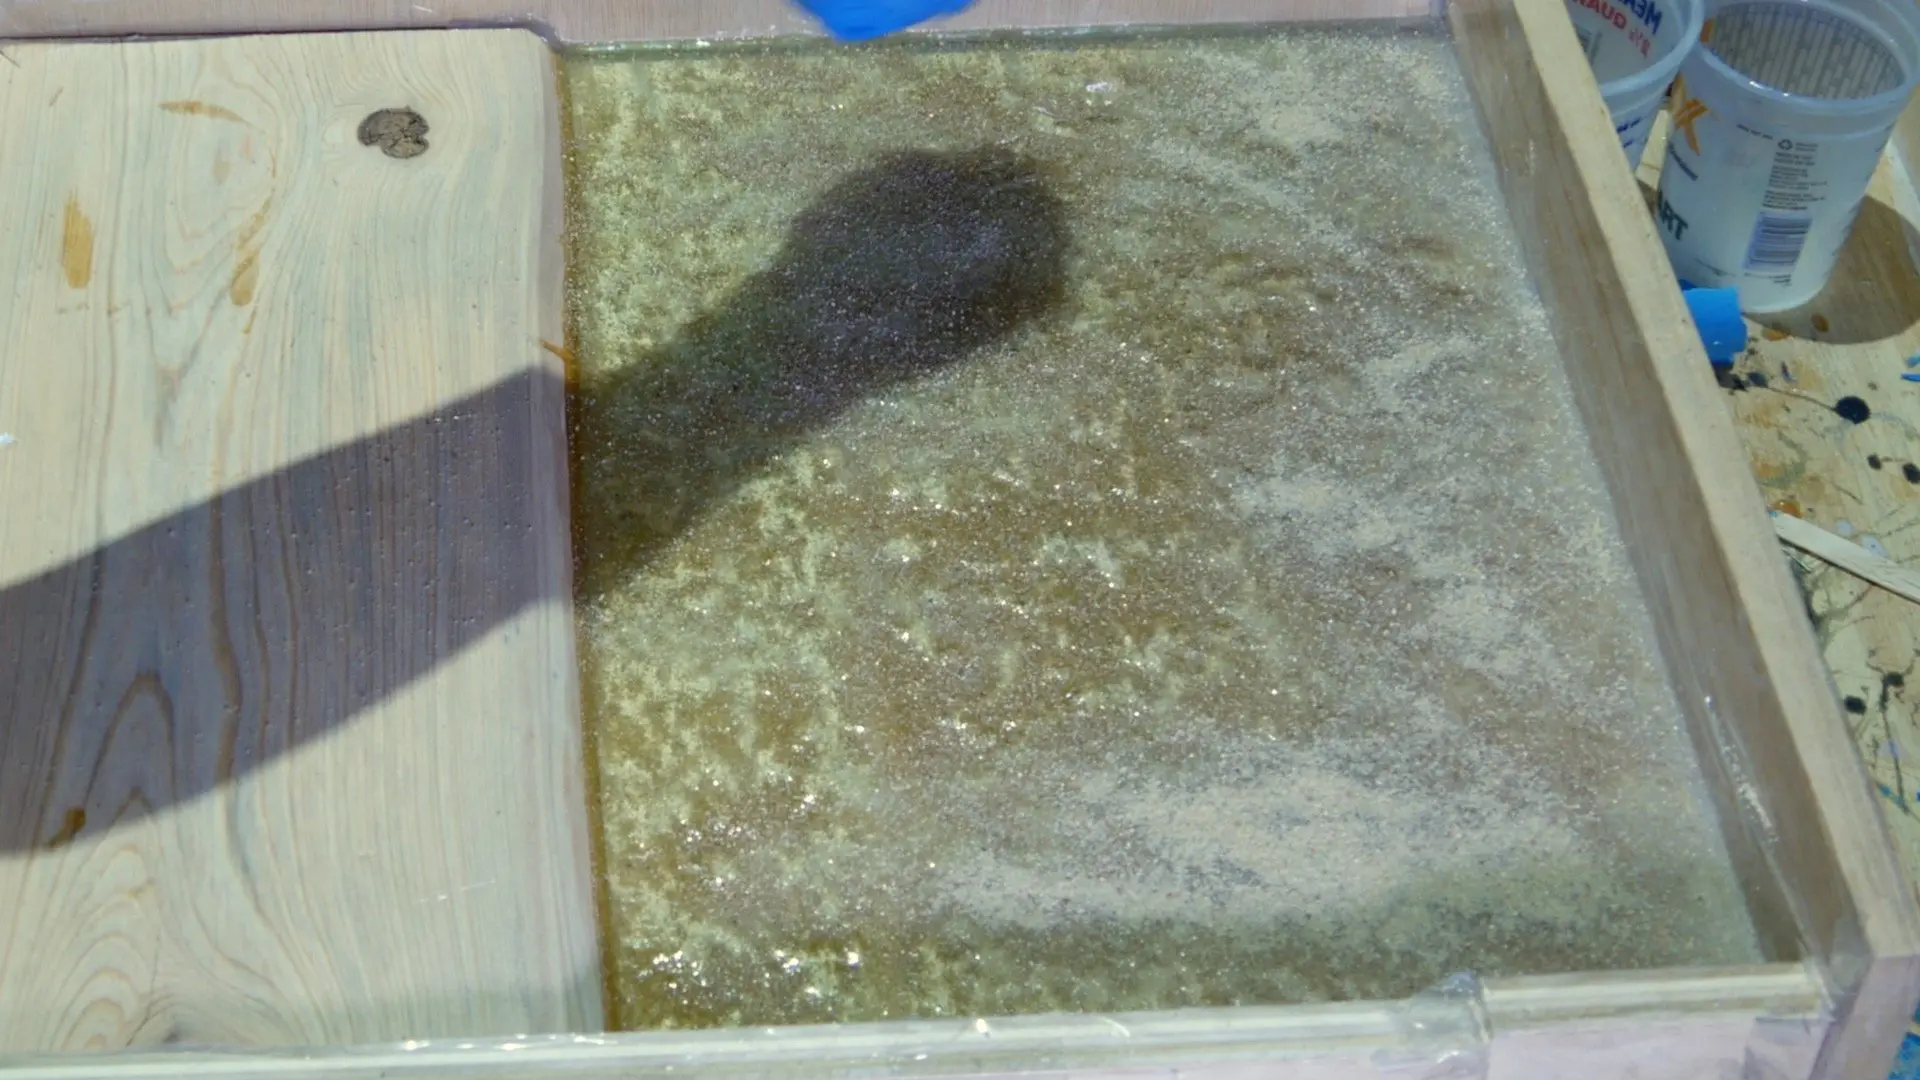
First, I sprinkled pool sand (Quikrete) in the resin immediately after the first pour.
I let the sand sink to the bottom and sprinkled more.
The sand sort of clumps as it sinks to the bottom due to the thick consistency of the resin.
So, sprinkling sand twice helps eliminate any bare spots on the bottom.
Then, I used my mini torch to remove bubbles every 2 of 3 minutes for 15 minutes.

Second Resin Pour
After the first resin pour, I allowed it to cure for 24 hours.
It didn’t need that much time, but I gave it that much time because I had other things to do.
First, I mixed 32 ounces of resin in one container and 32 ounces of resin in a different container.
Obviously, I didn’t add enough transparent dye in the resin during the first resin pour.
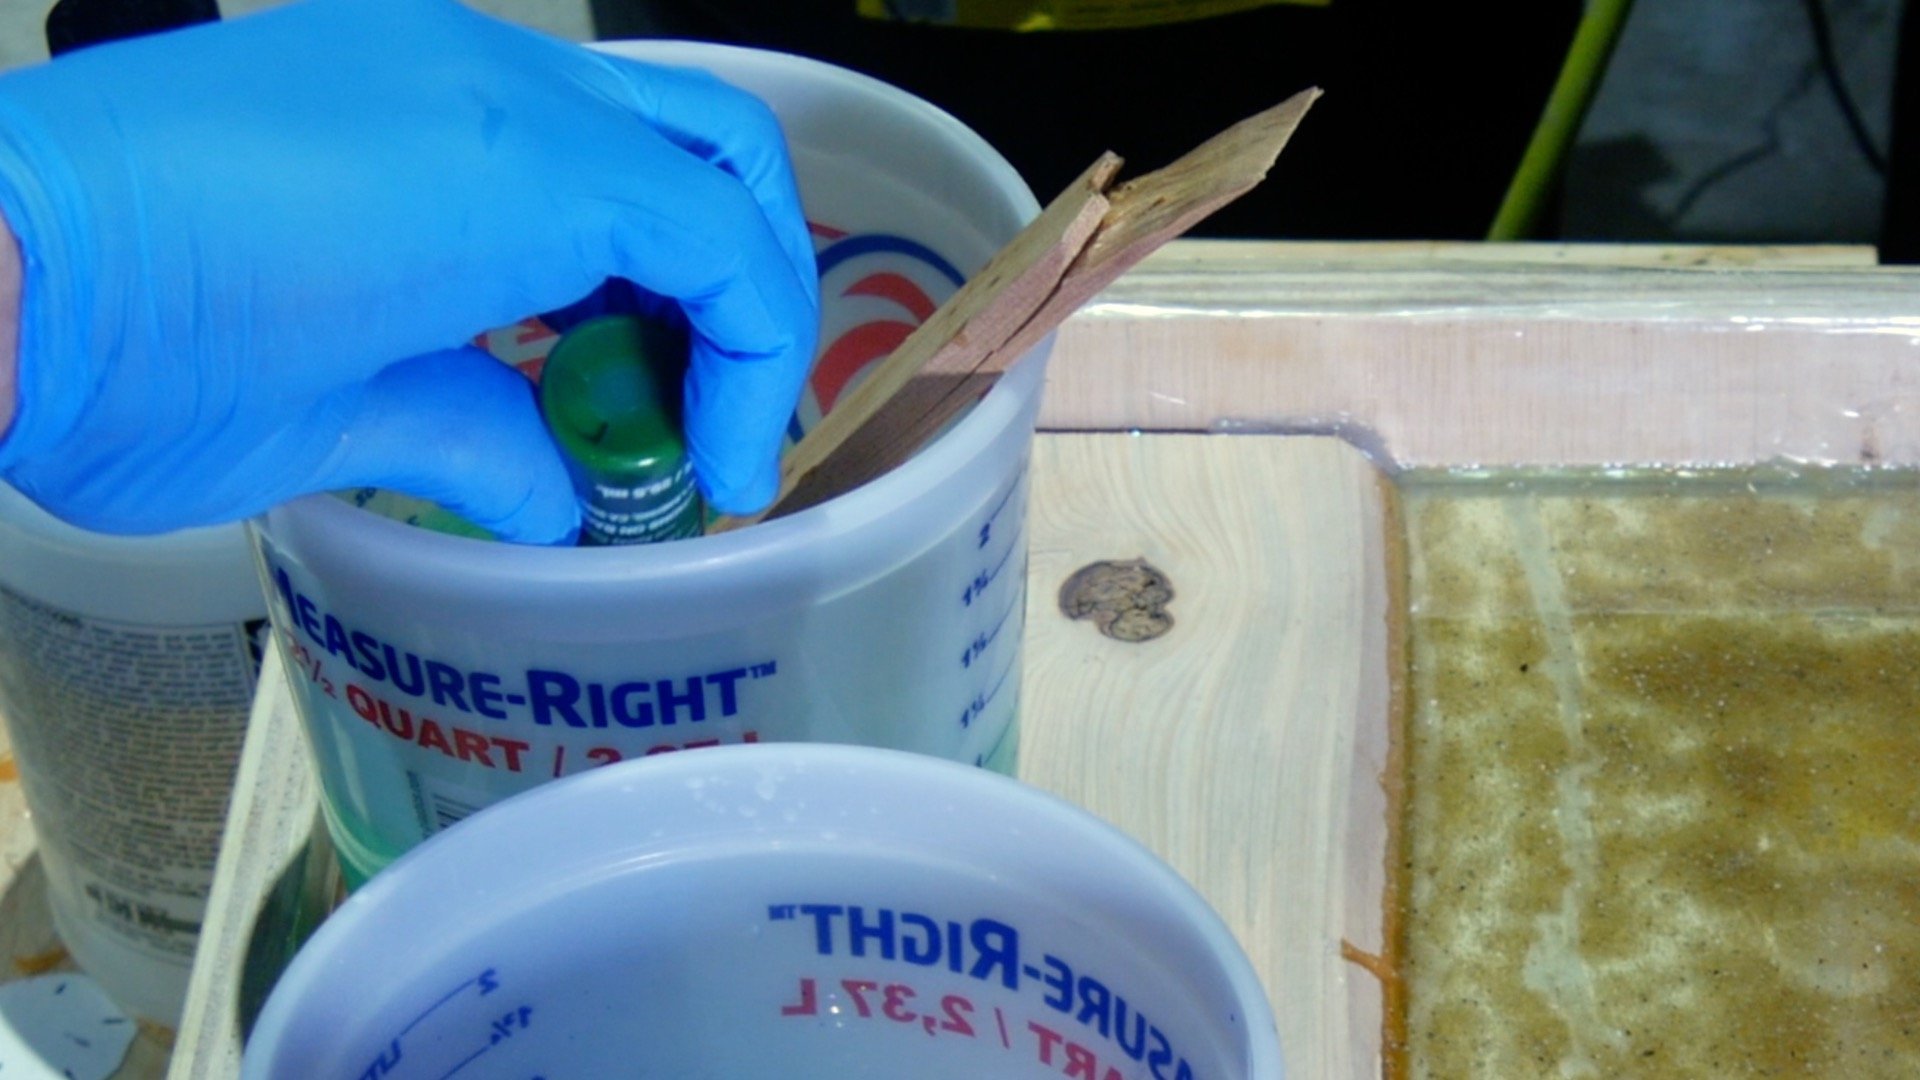
So, I added about 10 drops of transparent blue dye in the first container and transparent green dye in the second container.


Add More Transparent Blue Dye to Resin
After I mixed the 10 drops of transparent dye in each container, the color was still too light.
So, I added 5 more drops which was perfect.


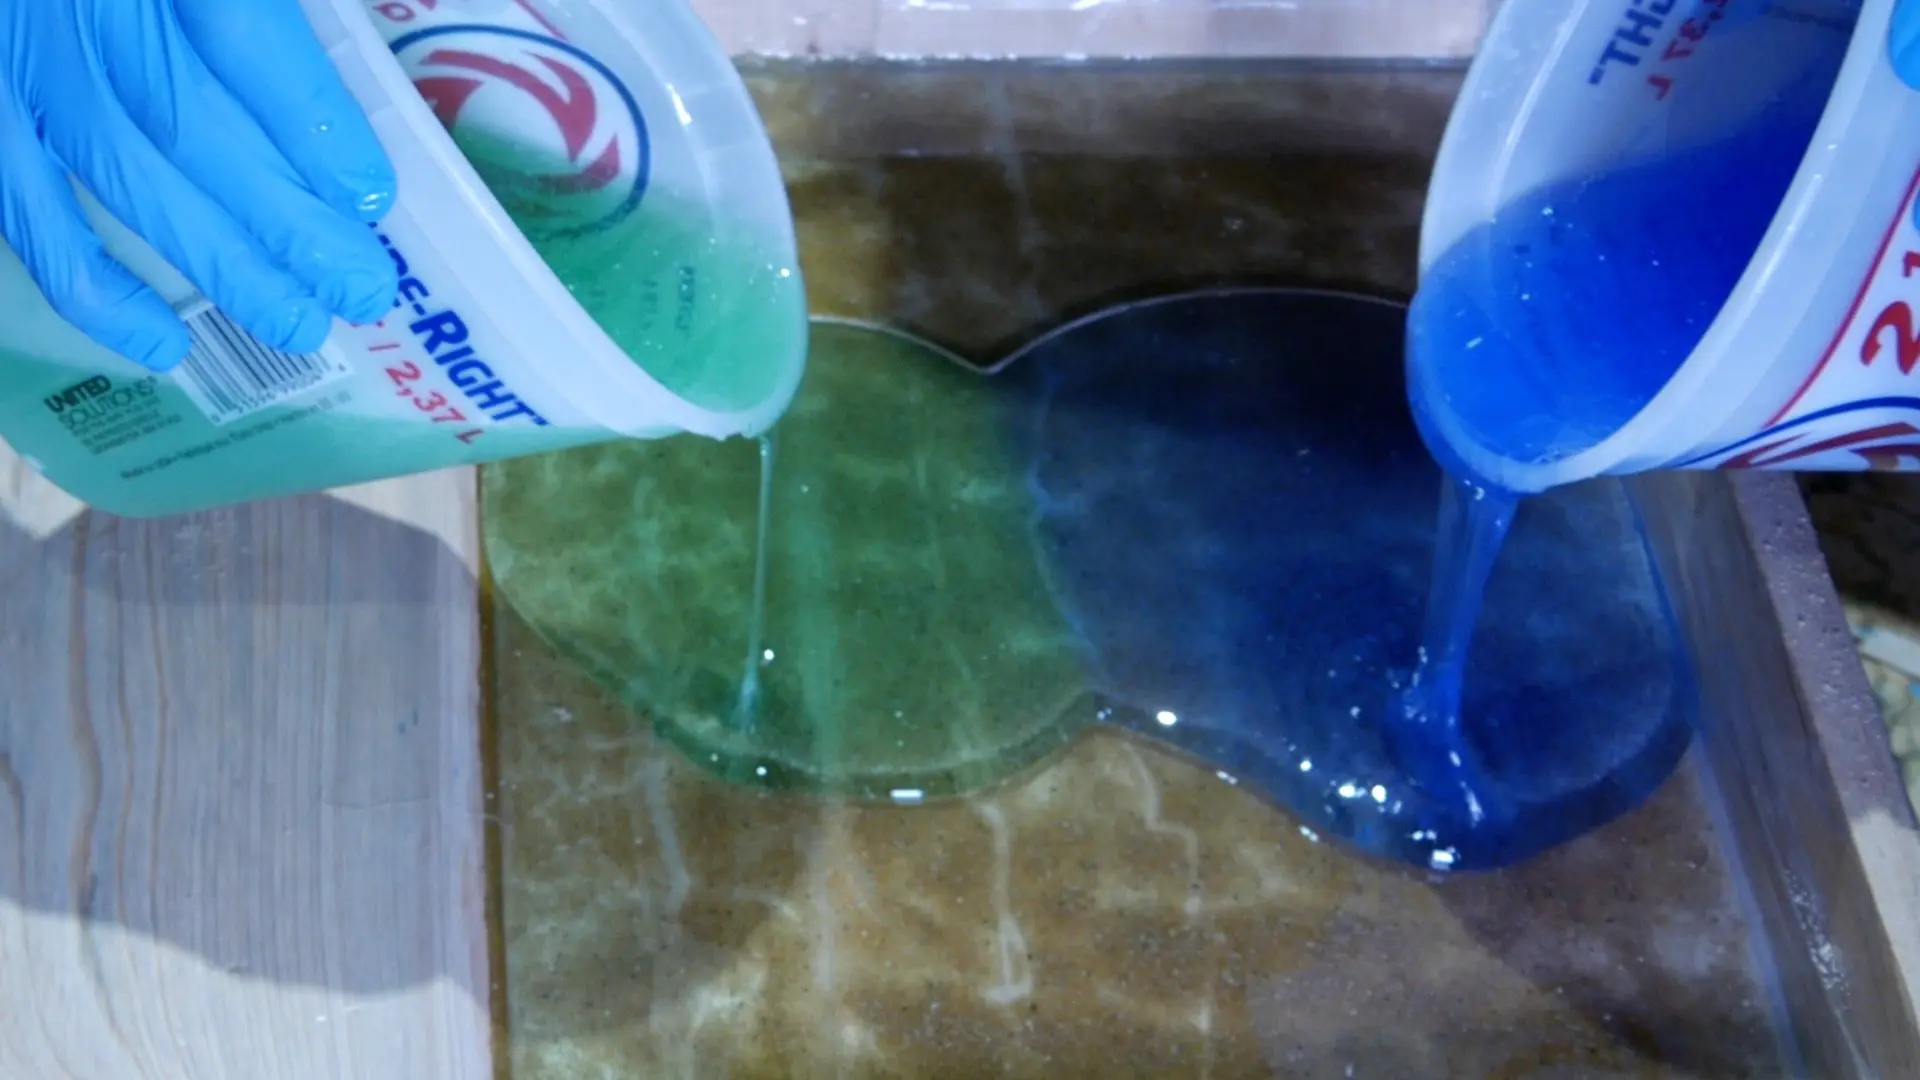
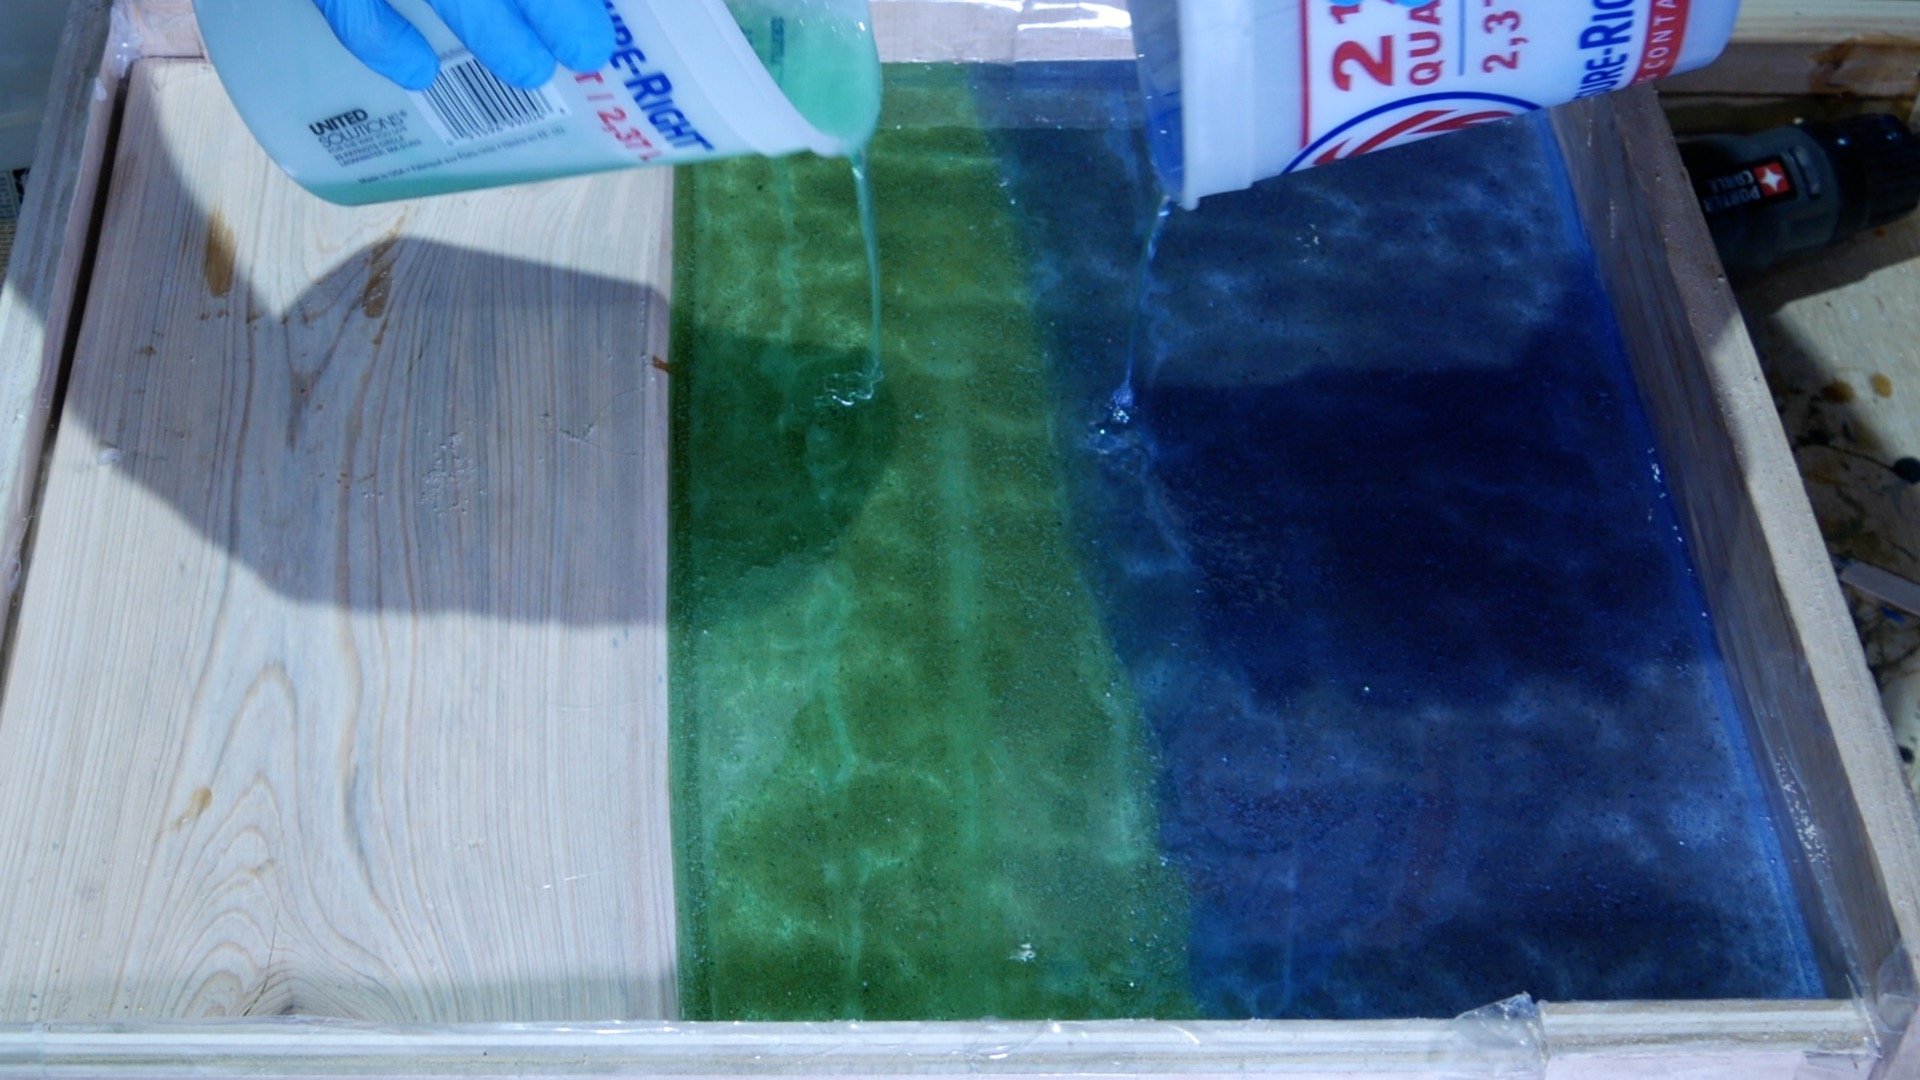
Blend Resin Colors
First, I poured the green and blue resin slowly in the resin mold.
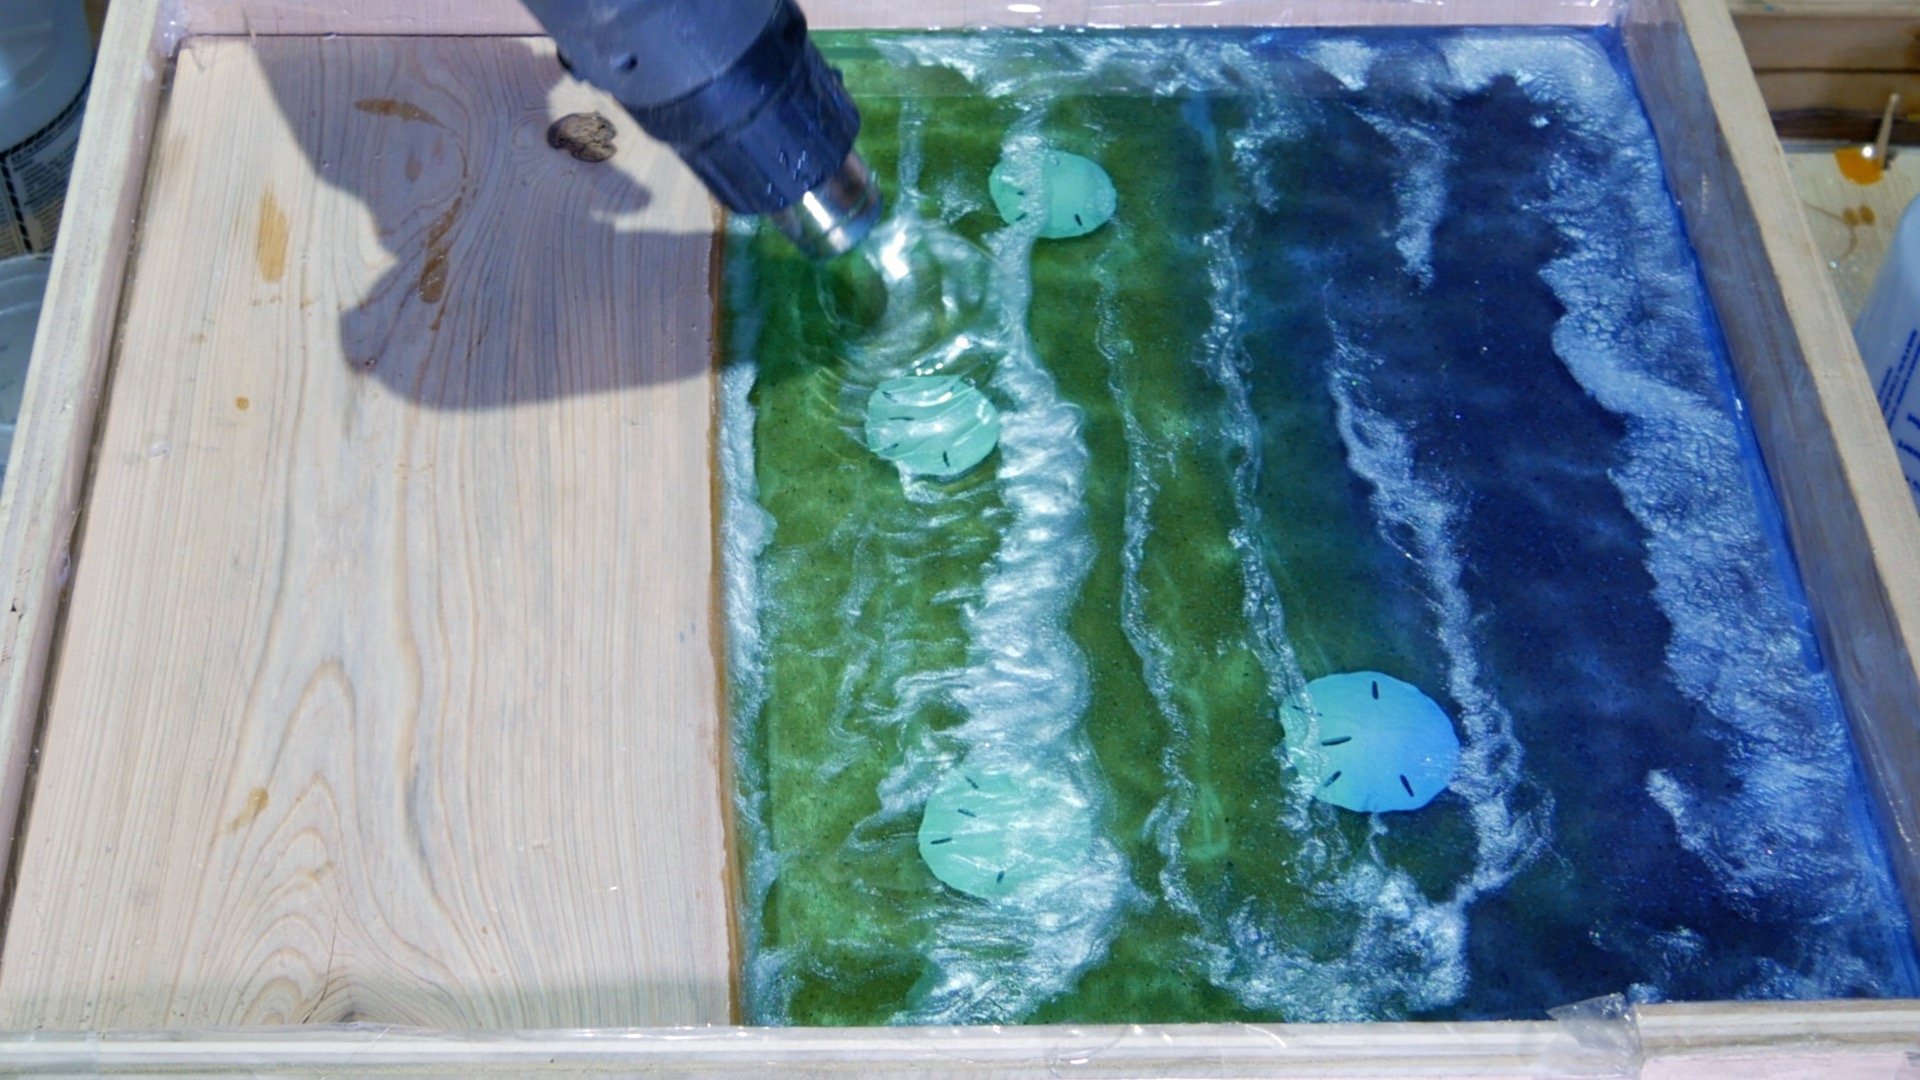
Next, I used my heat gun to blend the colors where they met in the middle.


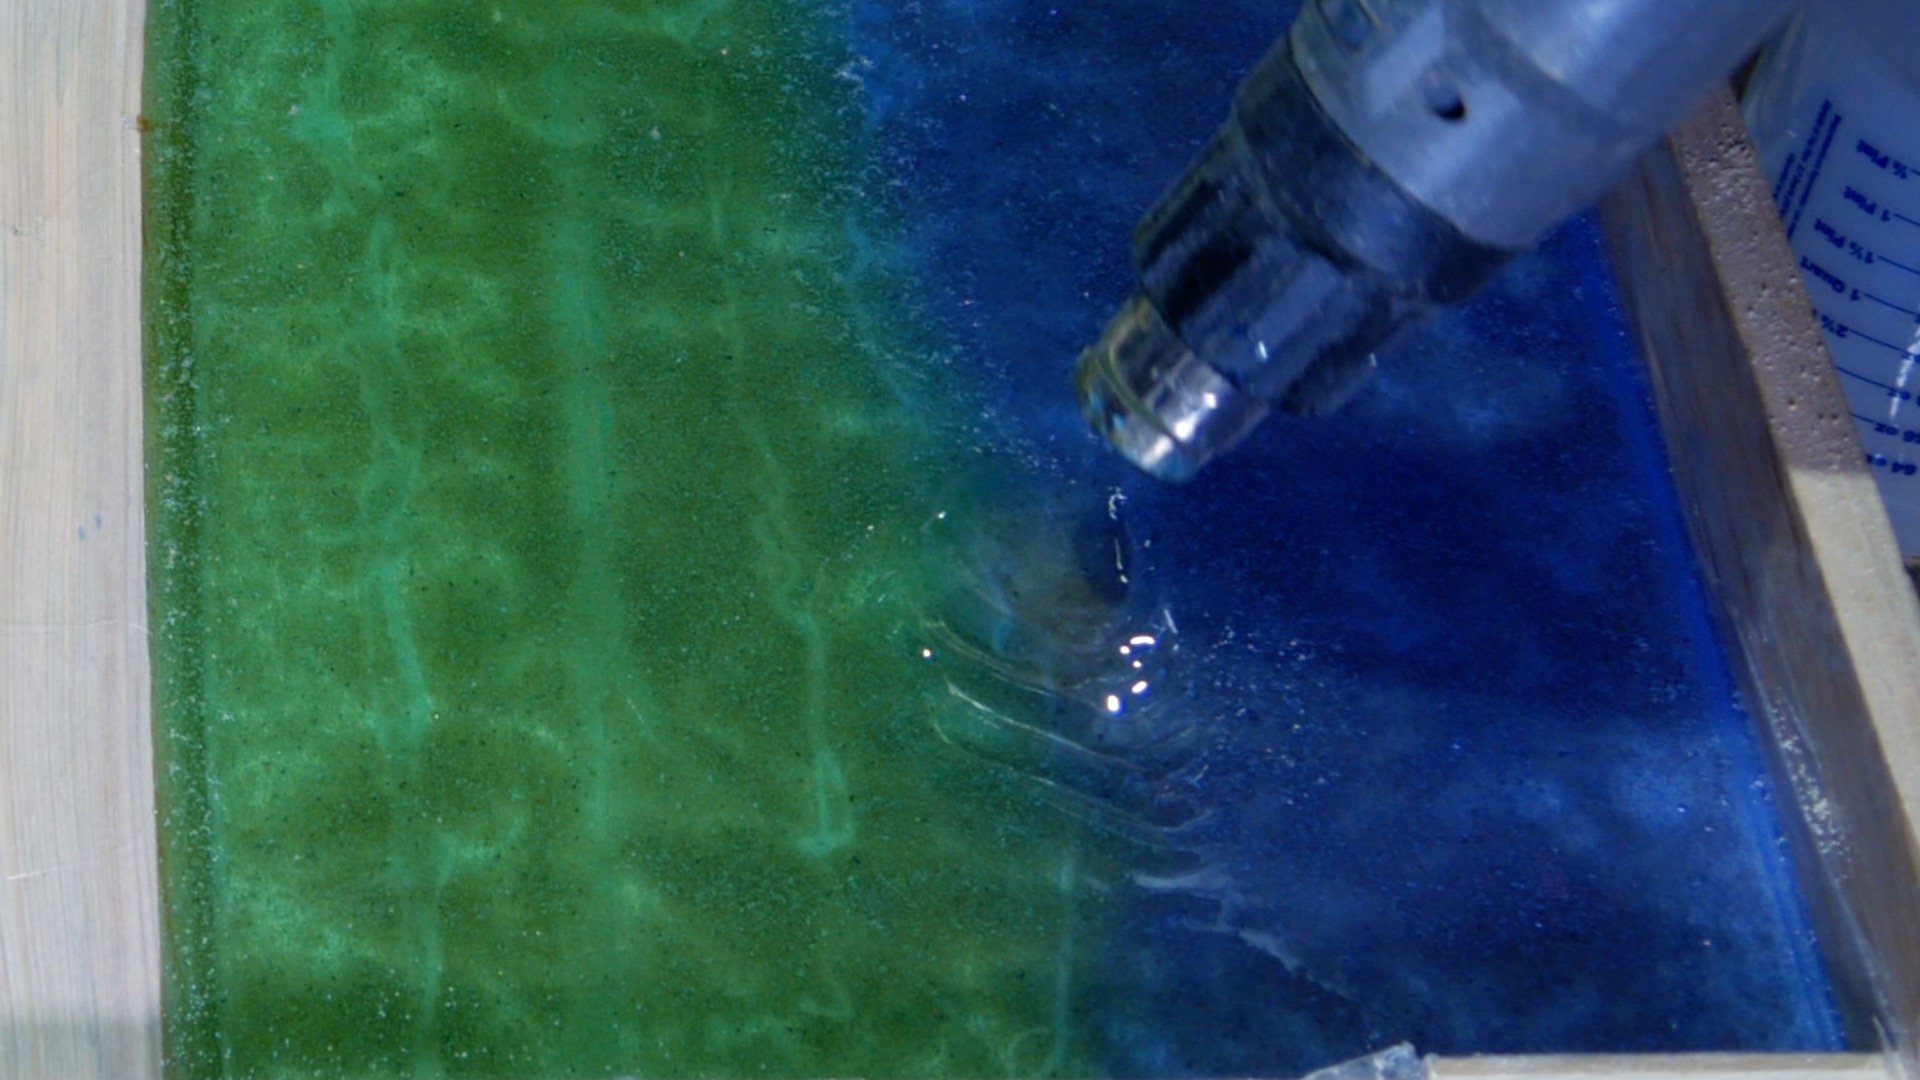

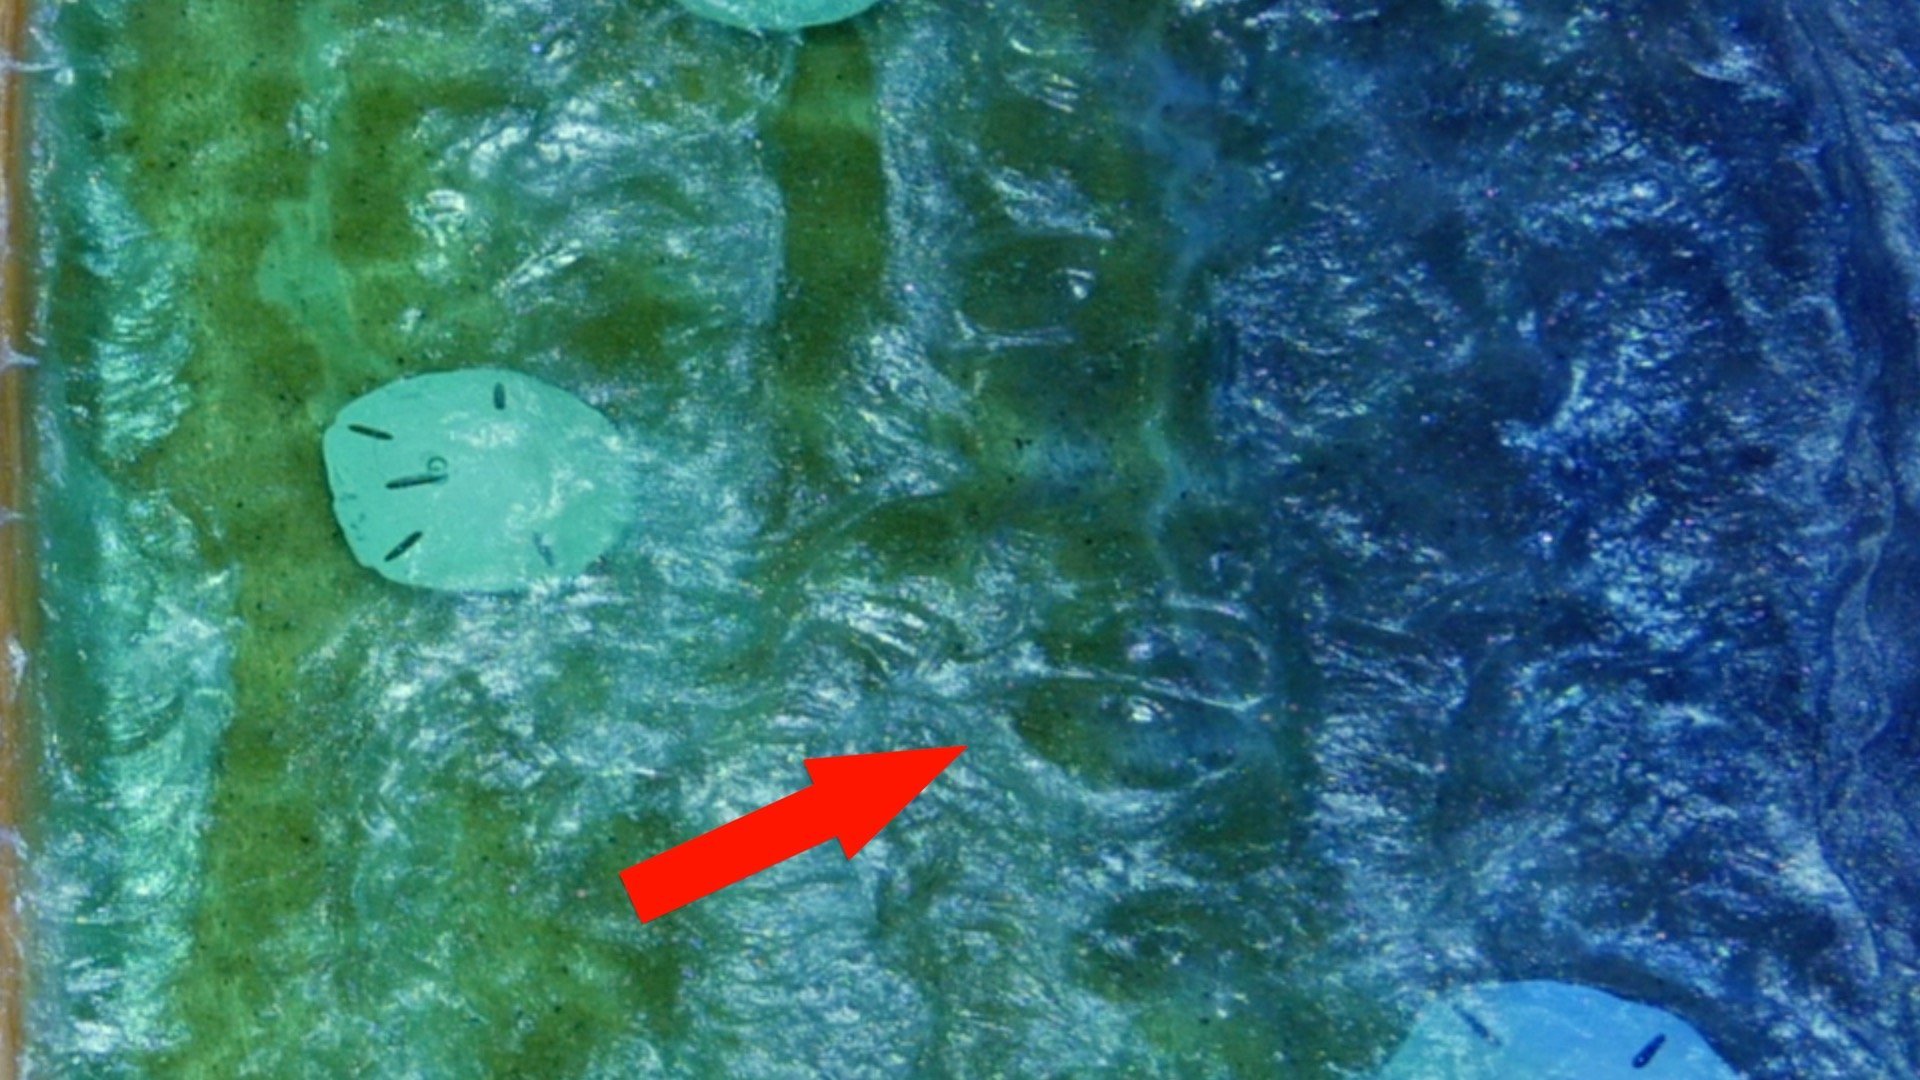
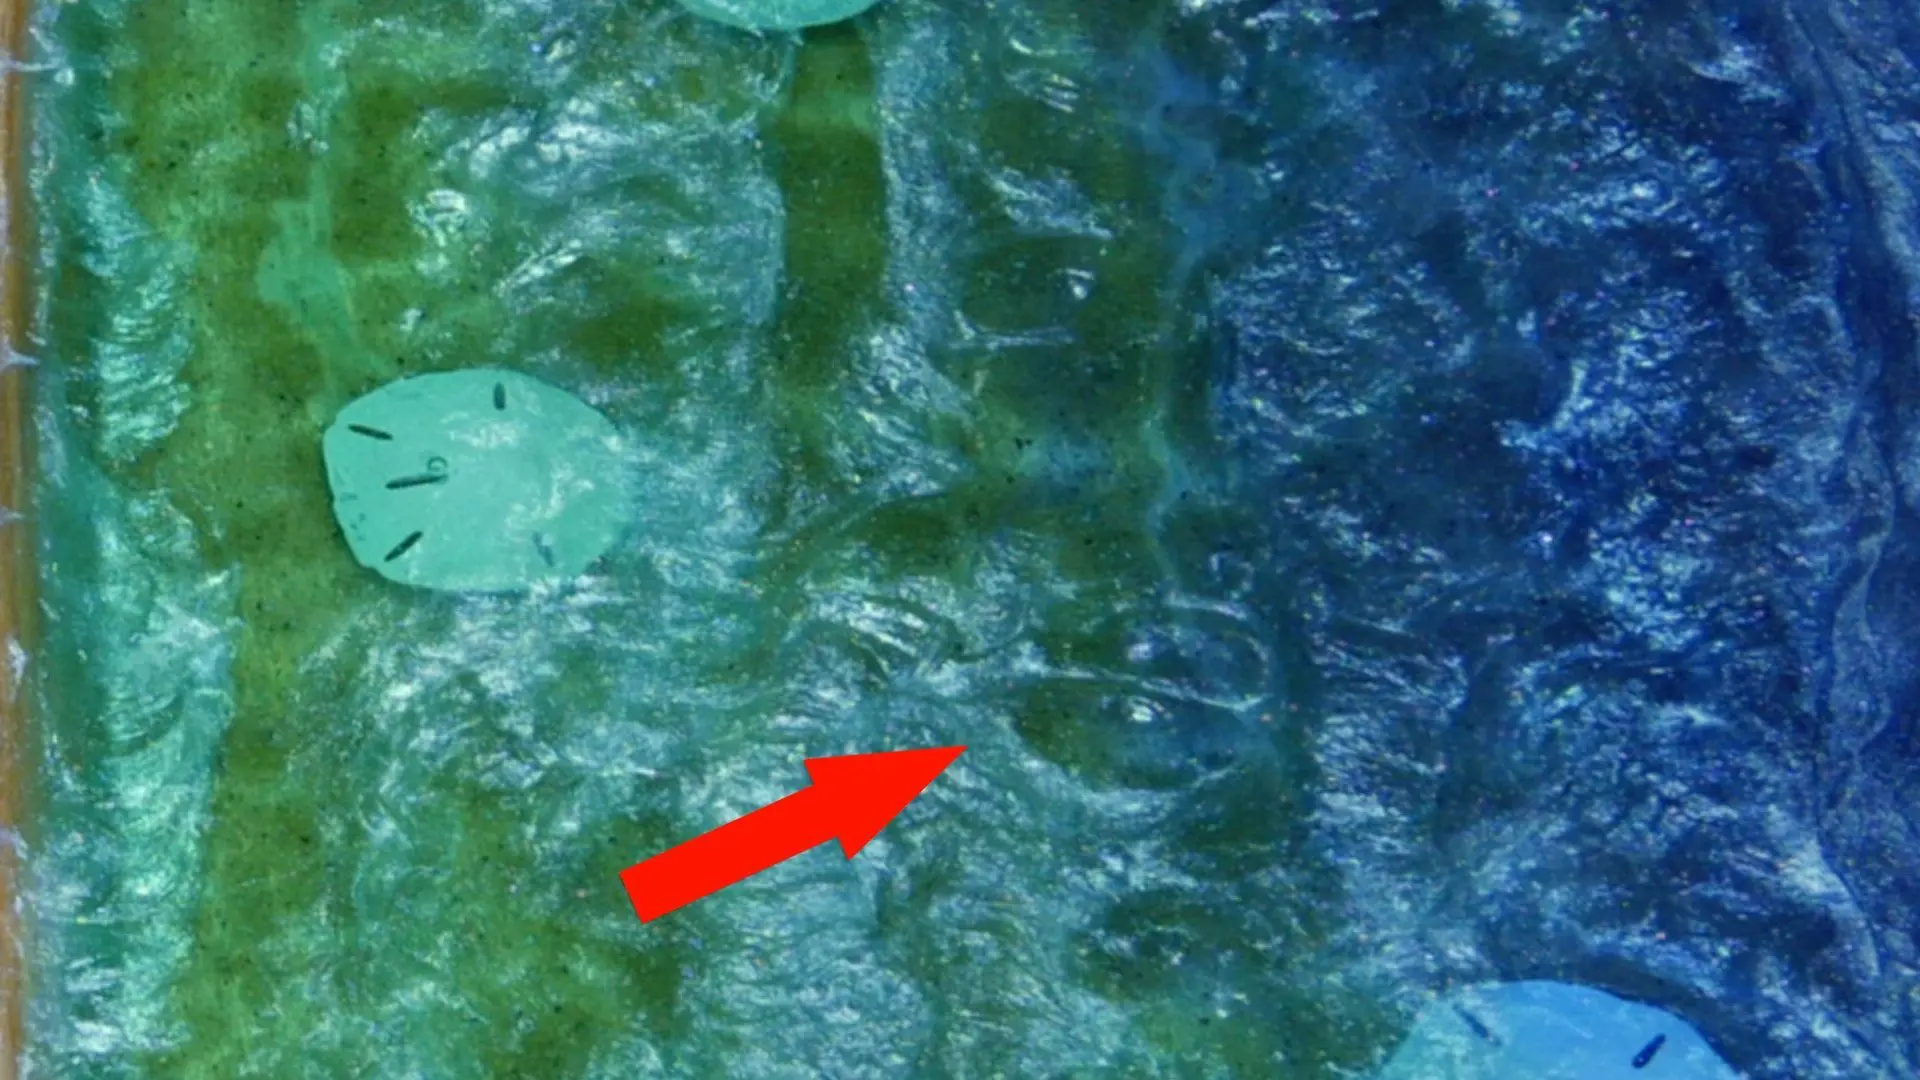
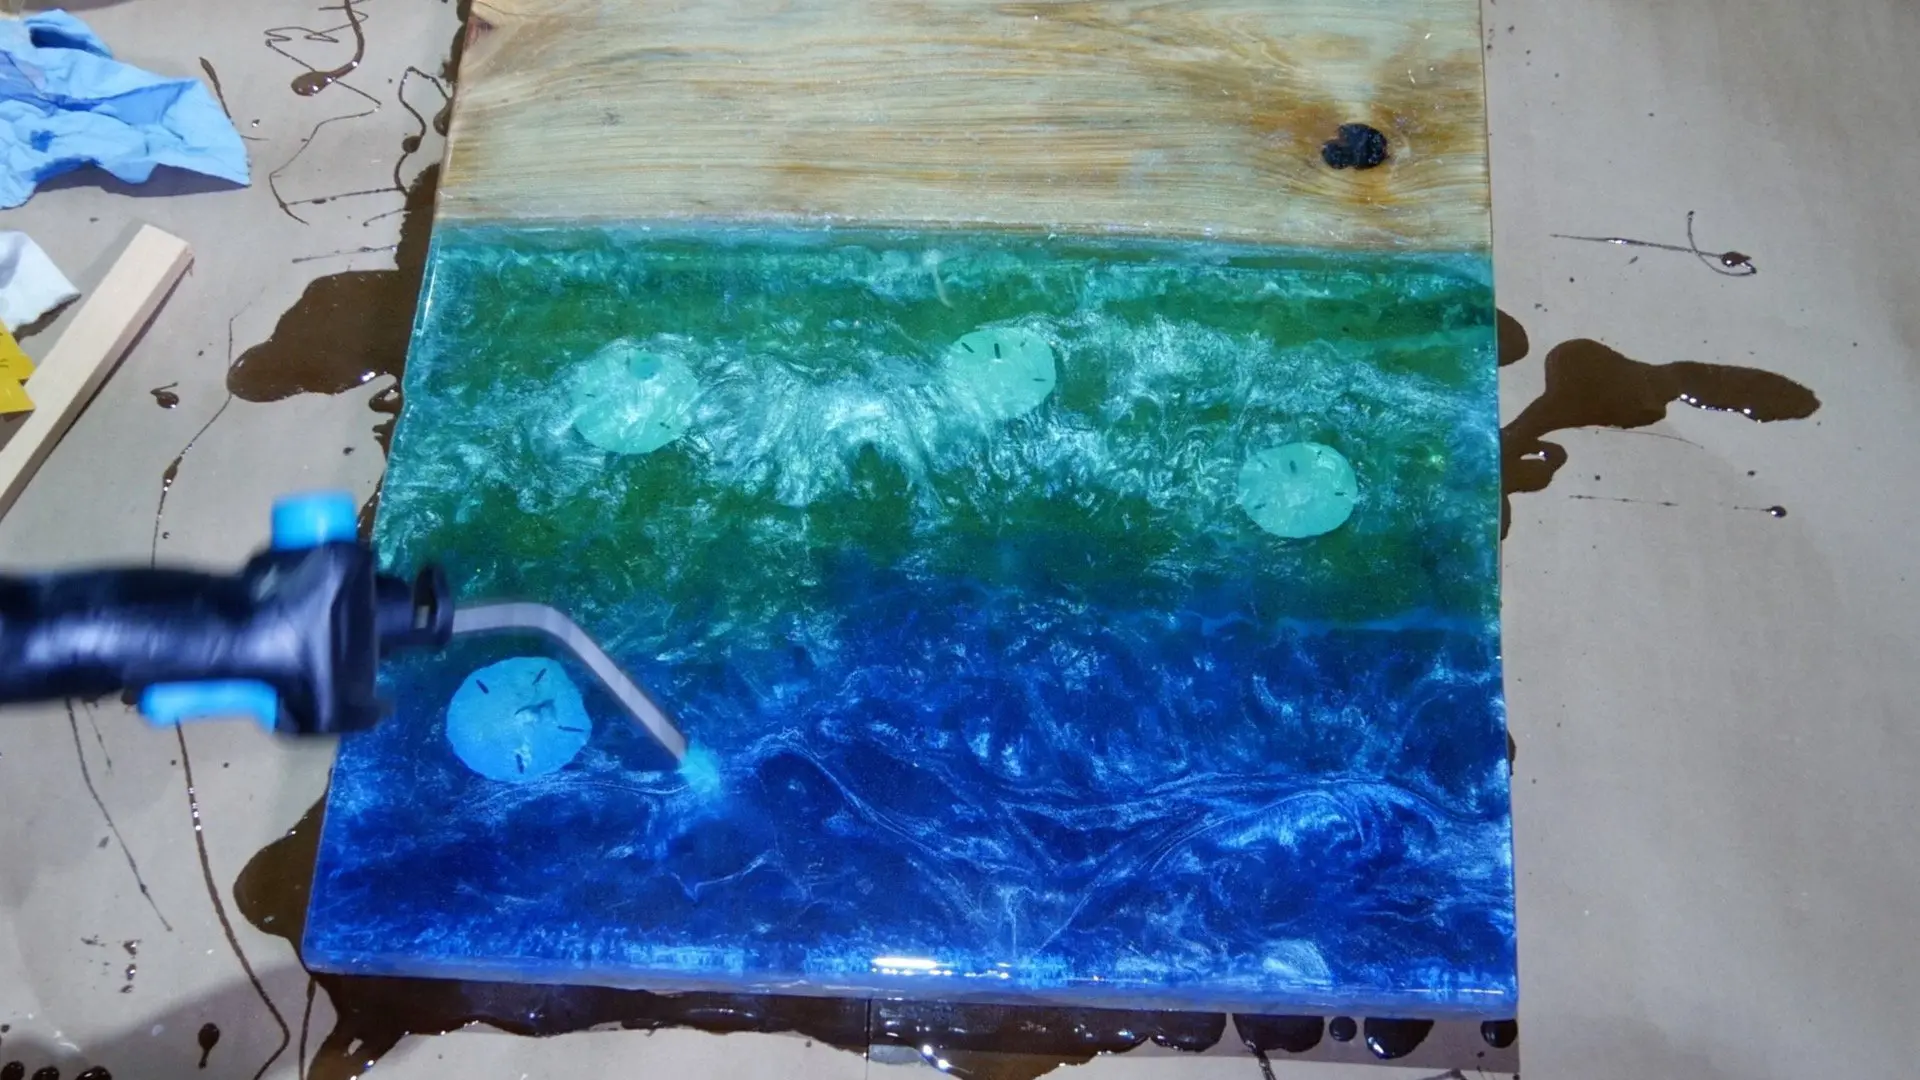
Embedding Real Sand Dollars in Resin
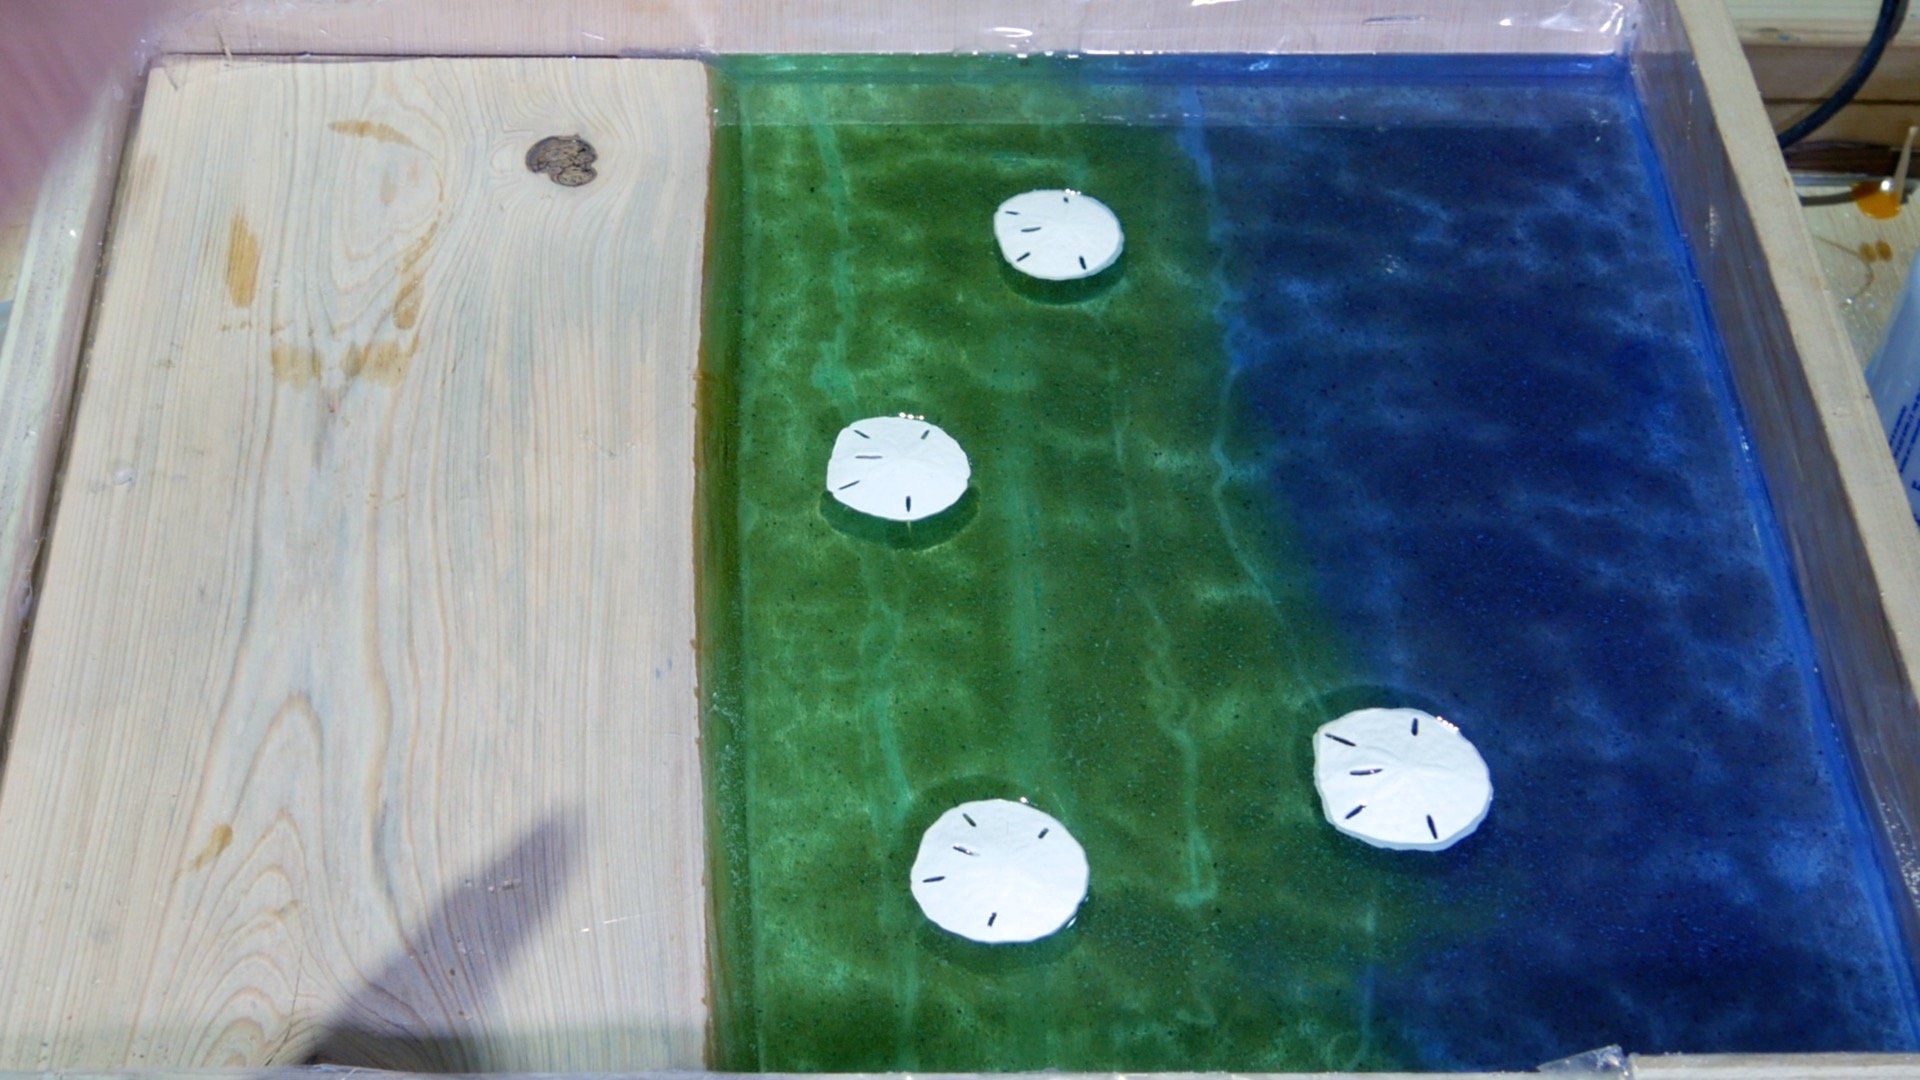
Immediately after the second resin pour, I added real sand dollars to resin.
First, I dropped 4 sand dollars in random locations in the resin beach art scene.
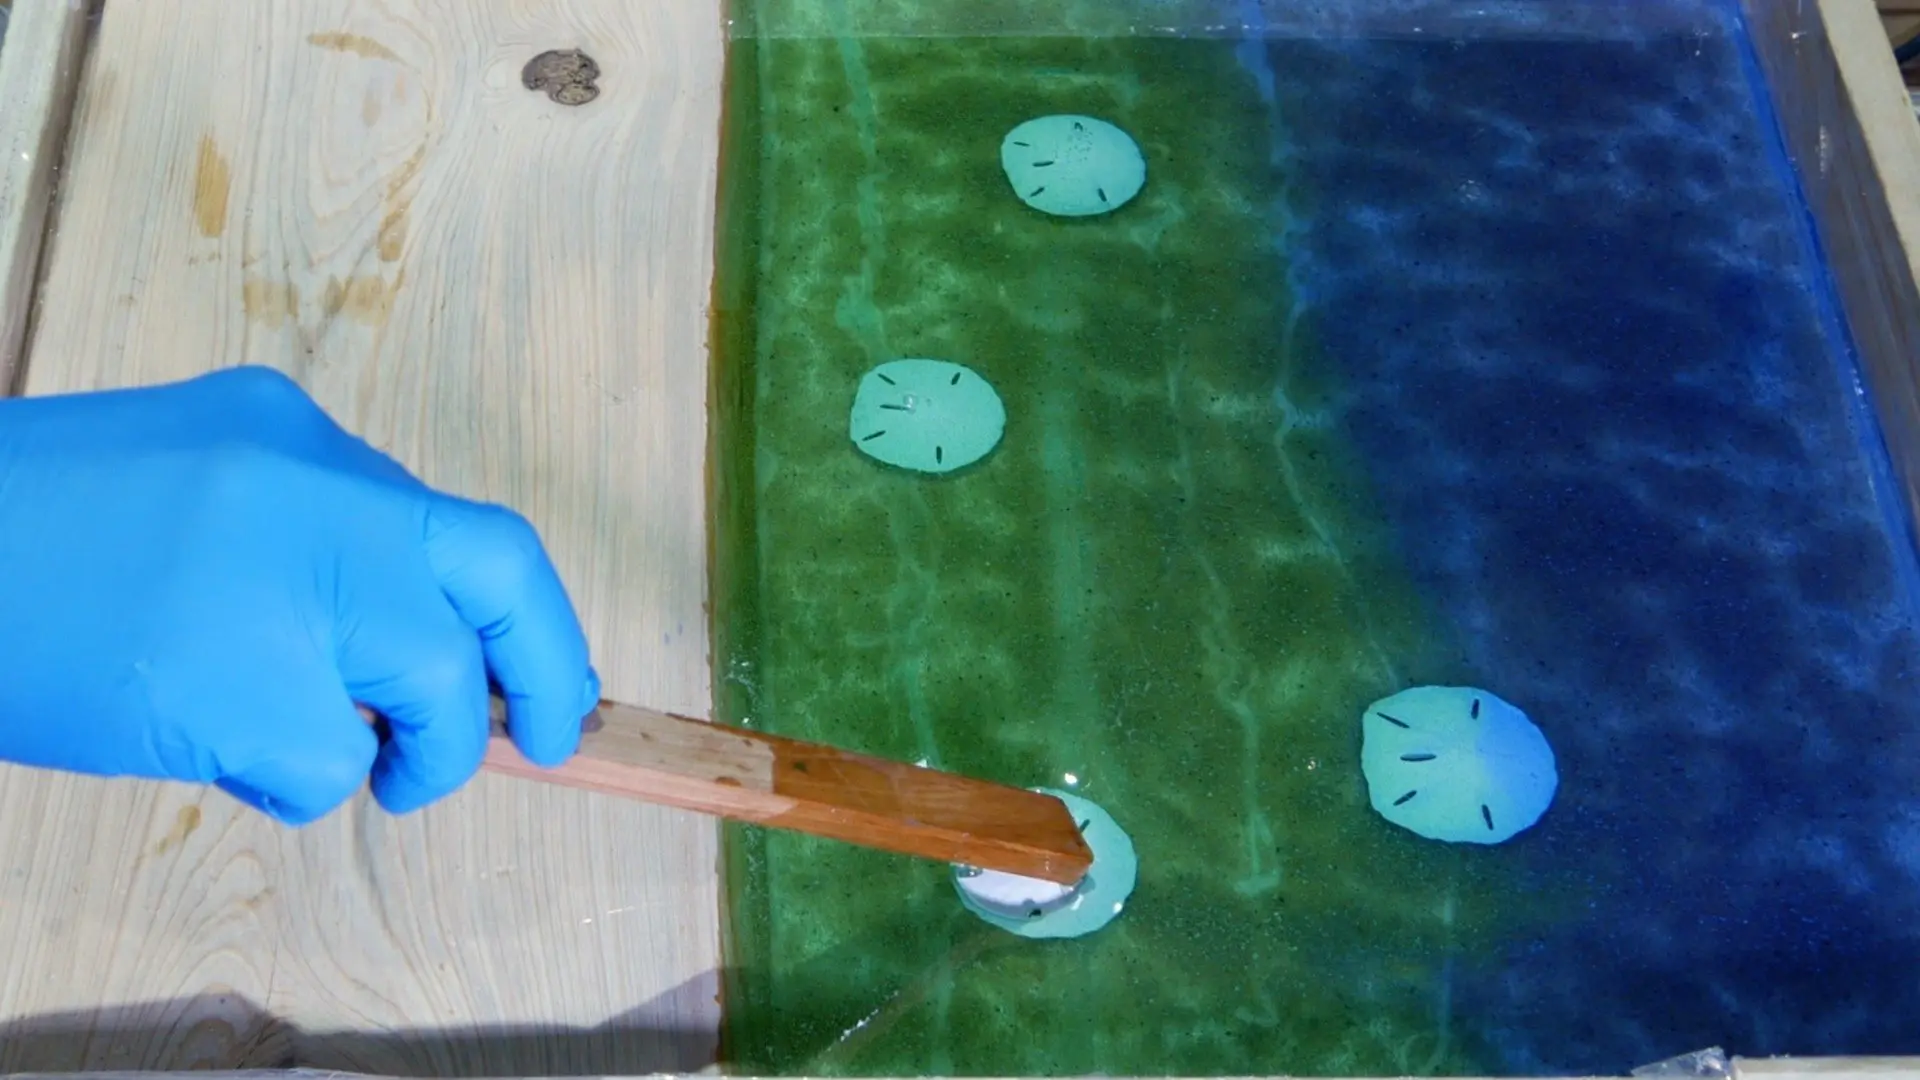
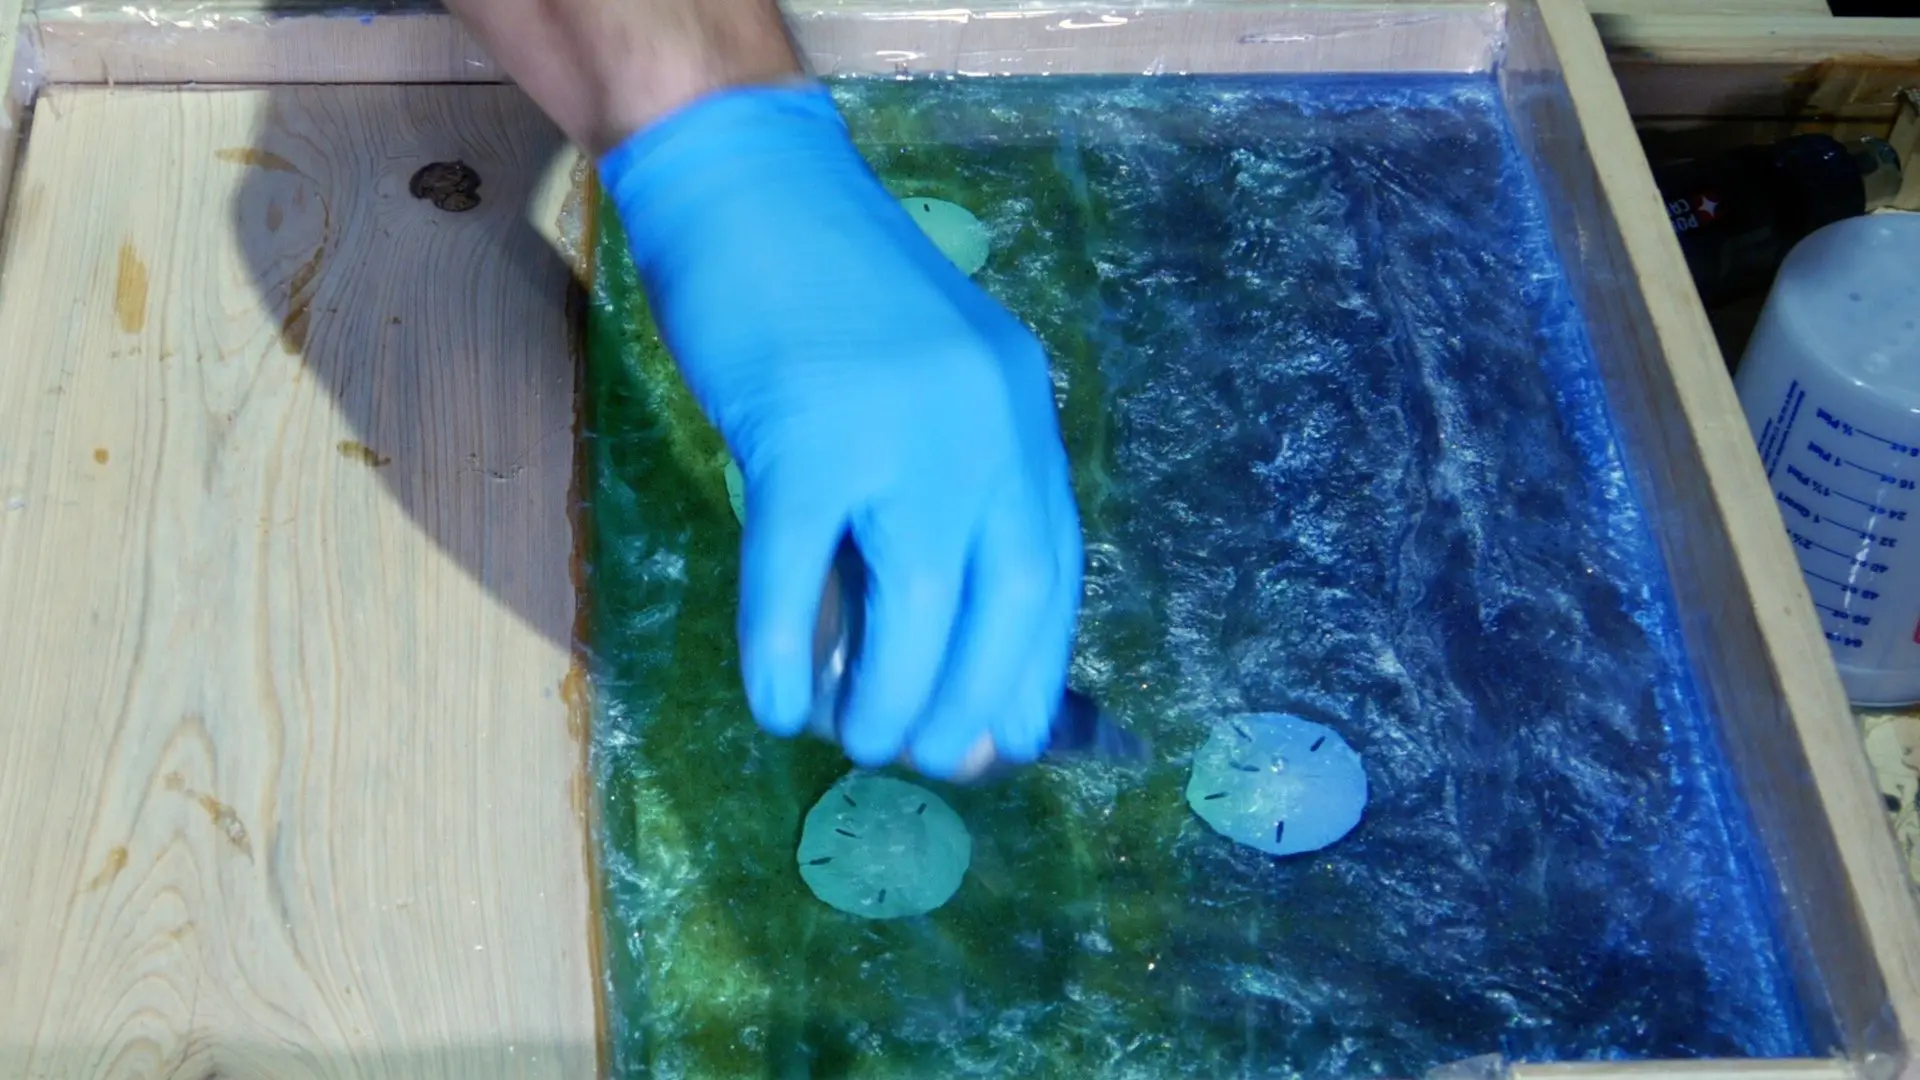
Next, I used my stir stick to push the sand dollars to the bottom.
I had to push the sand dollars back to the bottom twice over a period of 5 minutes to prevent them from rising.


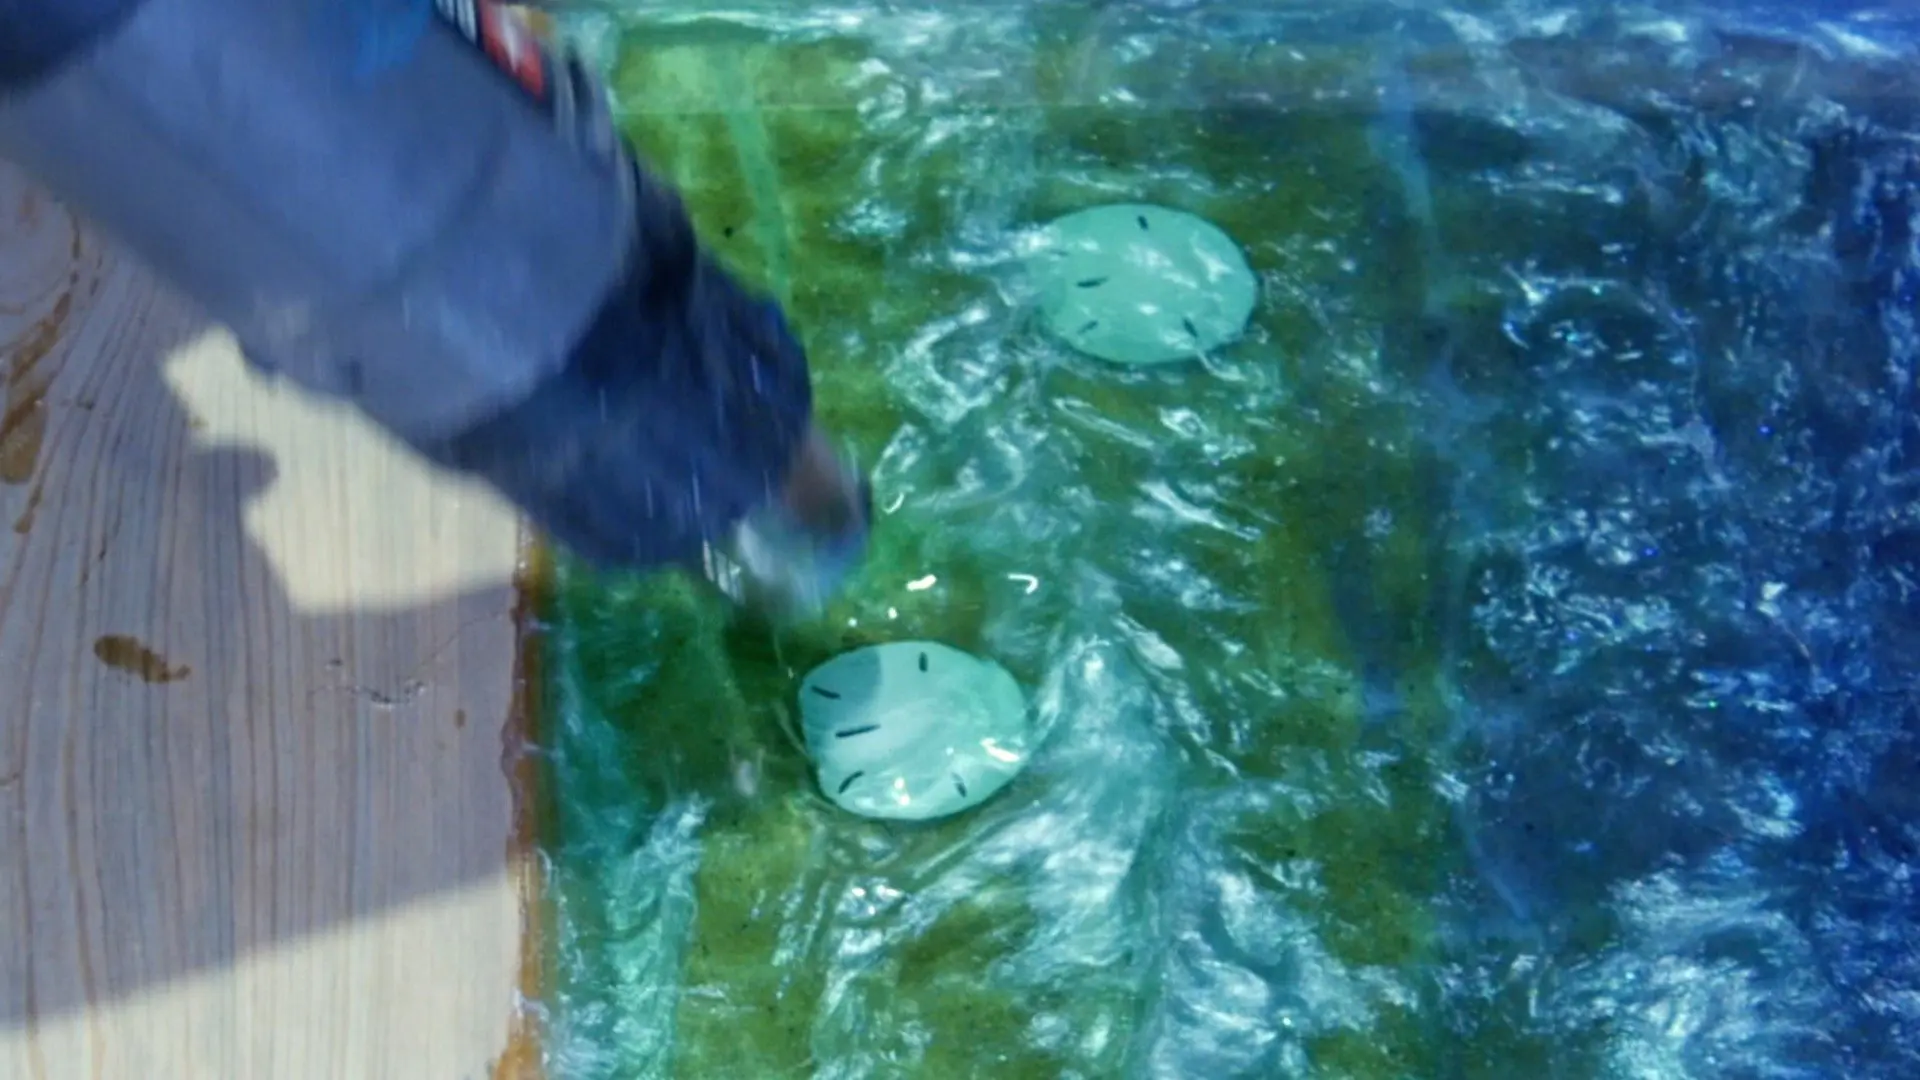
Add Resin Art Waves
Immediately after I added the sand dollars, I mixed 12 ounces of resin.
Next, I mixed pearl white pigment into the resin.
The resin wave effect can be accomplished many different ways, but this way works best for me.
Then, I poured the resin and used my heat gun to mix it.
Ultimately, there is no set rule regarding this step.
I simply keep playing with it until I achieve a look I liked.

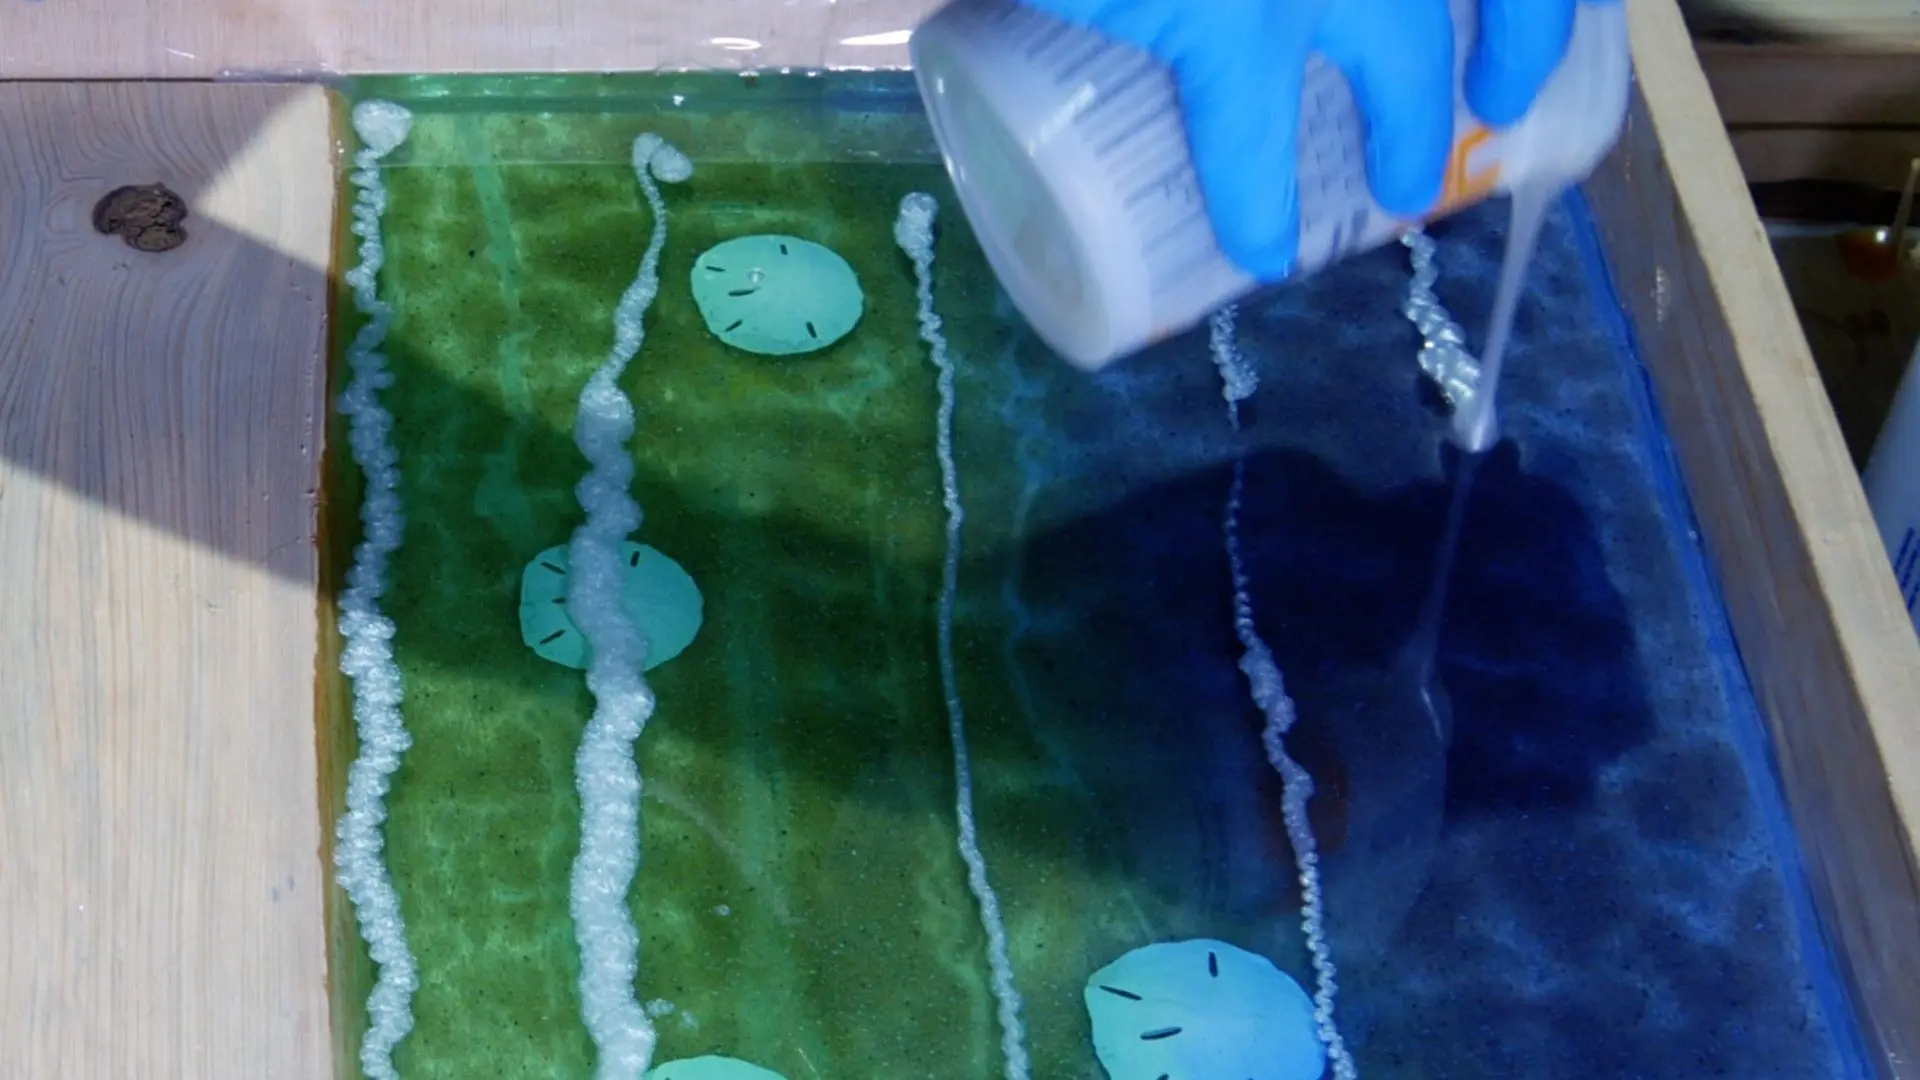

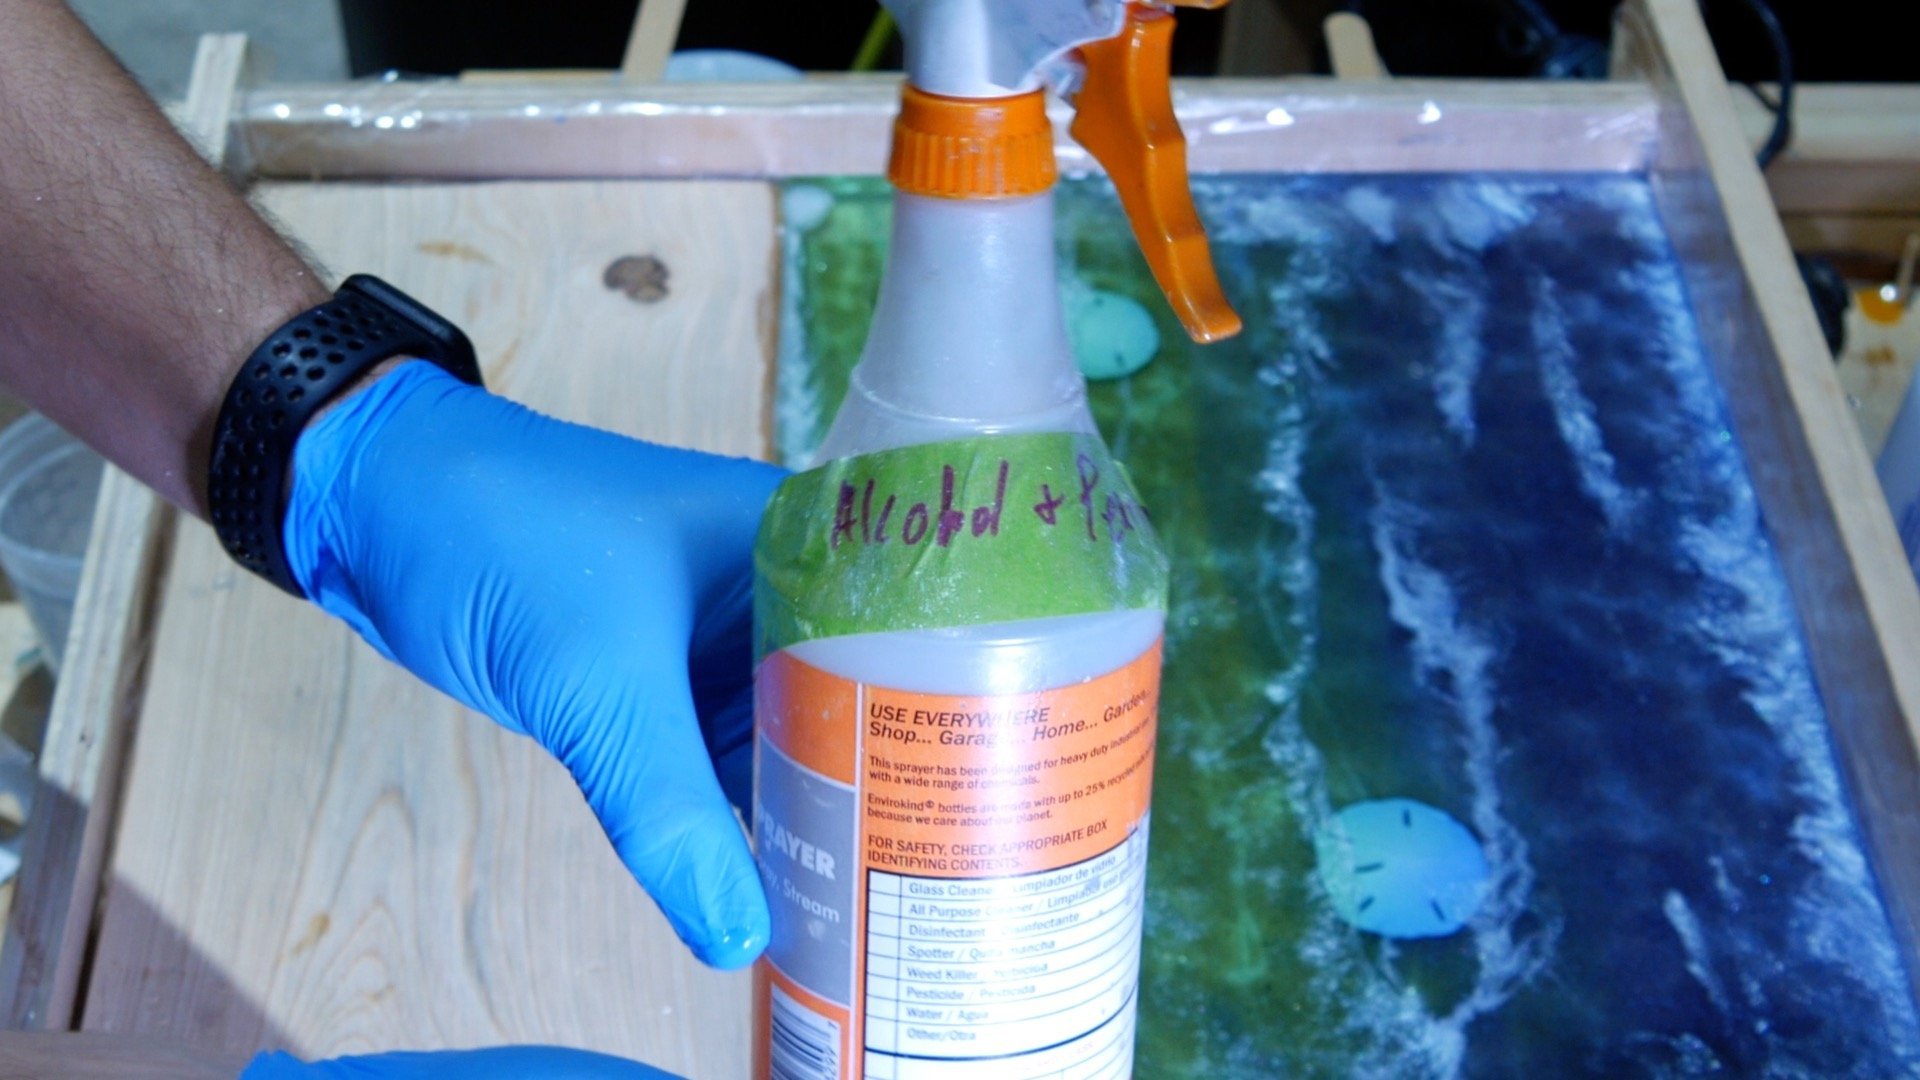
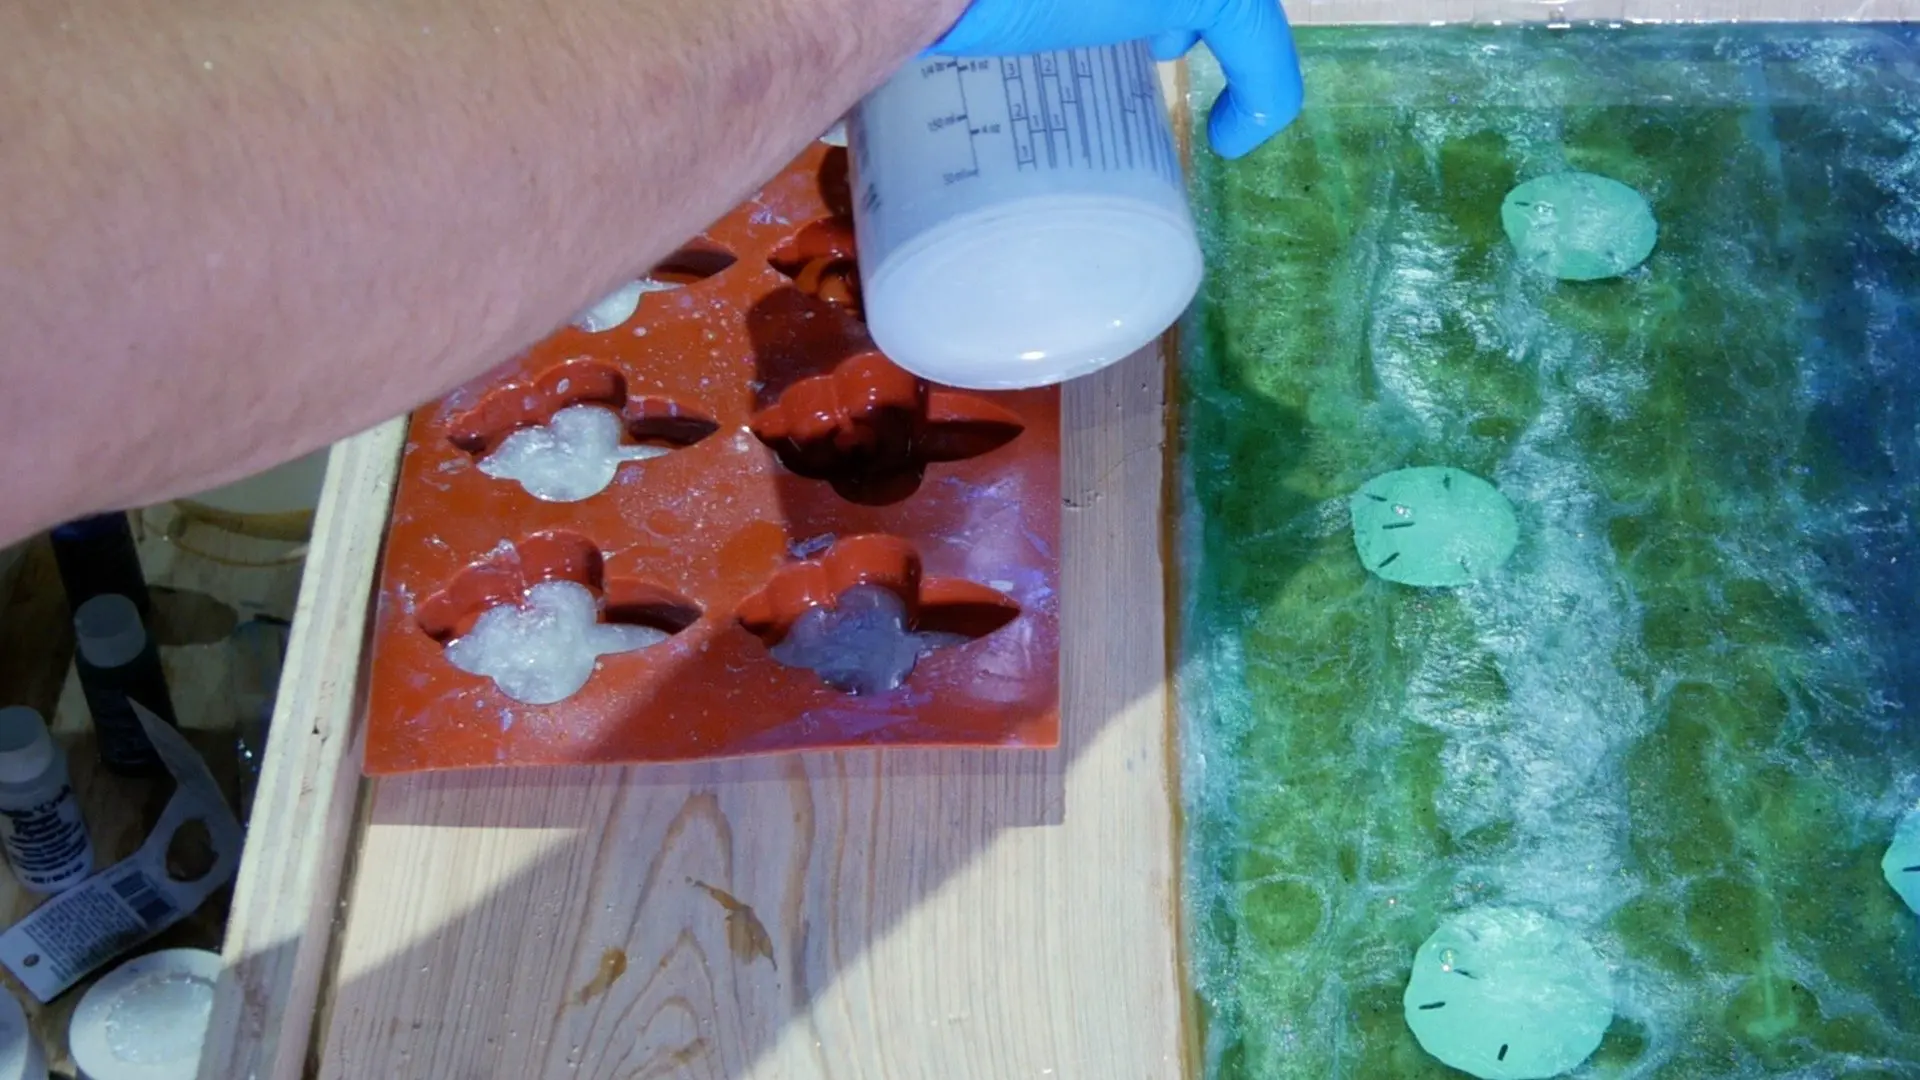
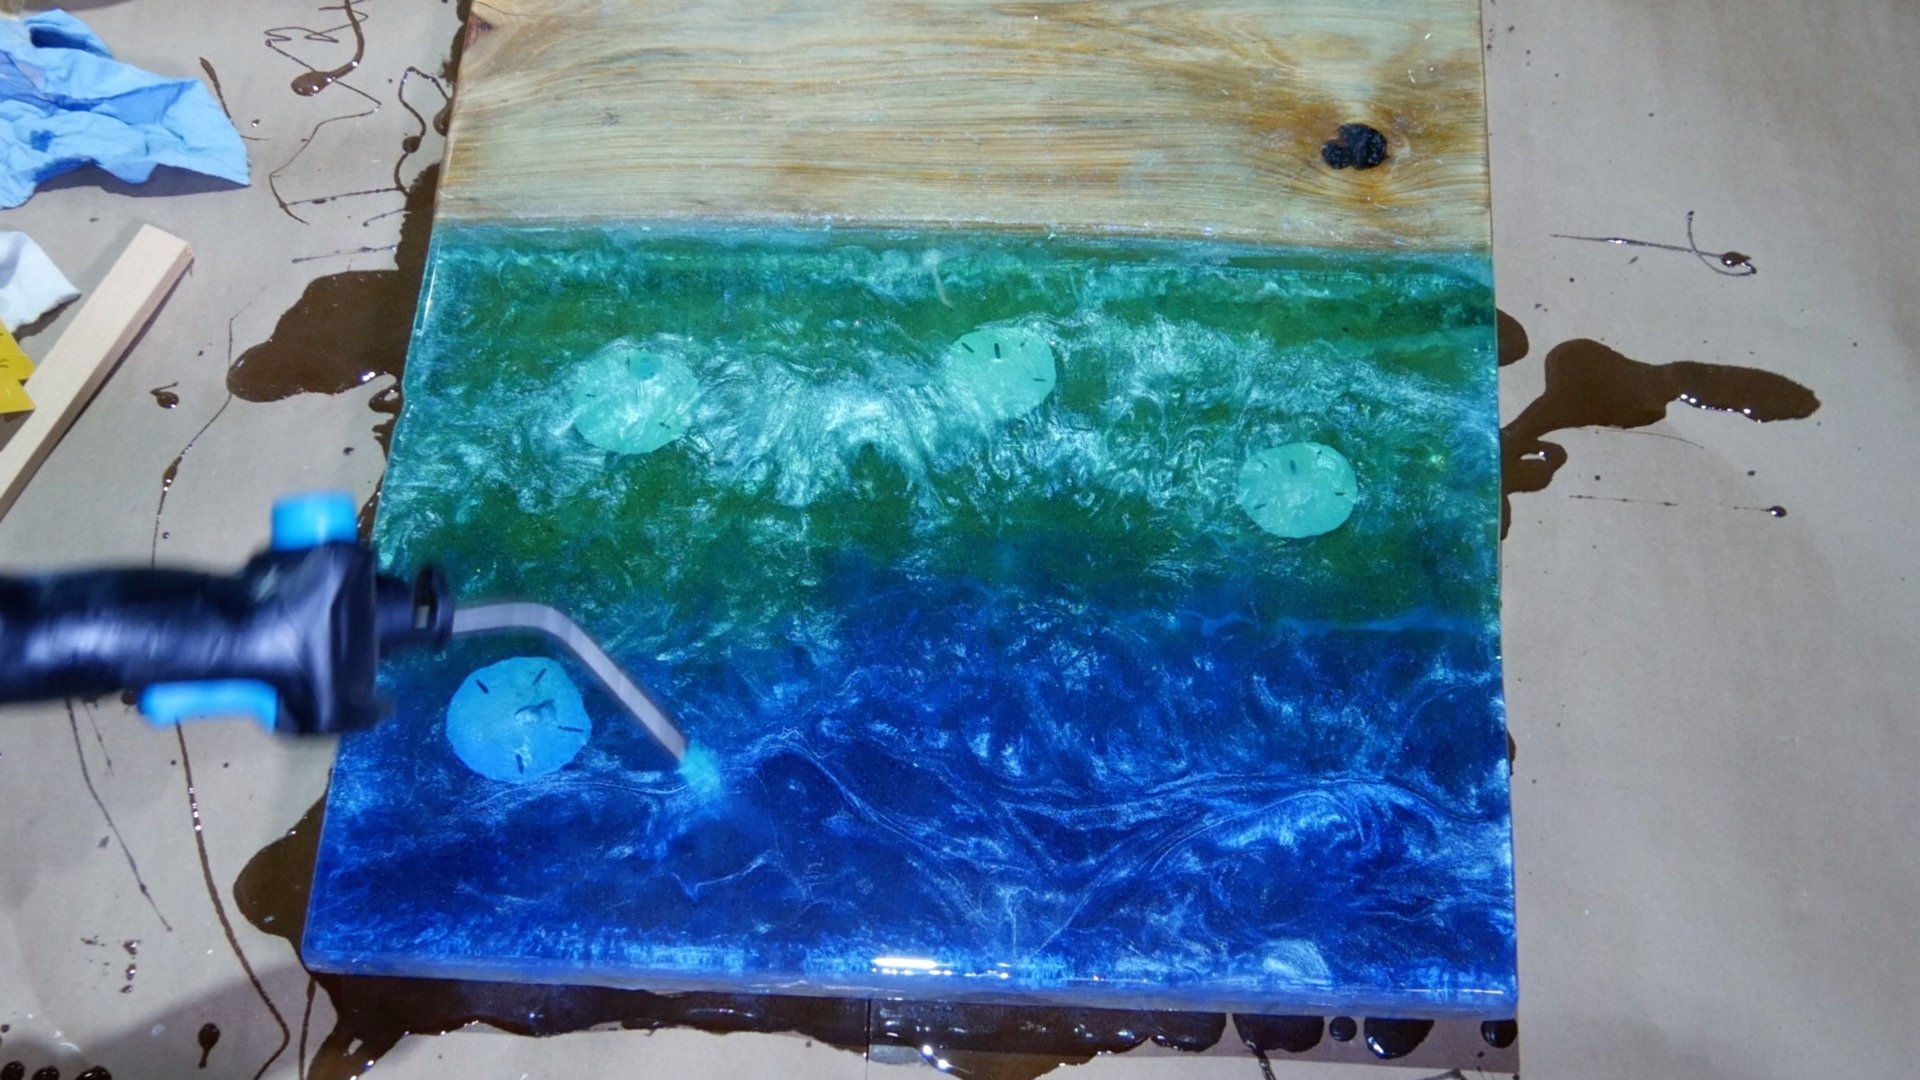
Resin Art Lace Effect
First, I poured 12 ounces of 91% isopropyl alcohol in a spray bottle.
Next, I added 10 drops of pearl white pigment.
I added 5 drops at a time until I got the color consistency I needed.
Some people refer to this mixture as alcohol ink.
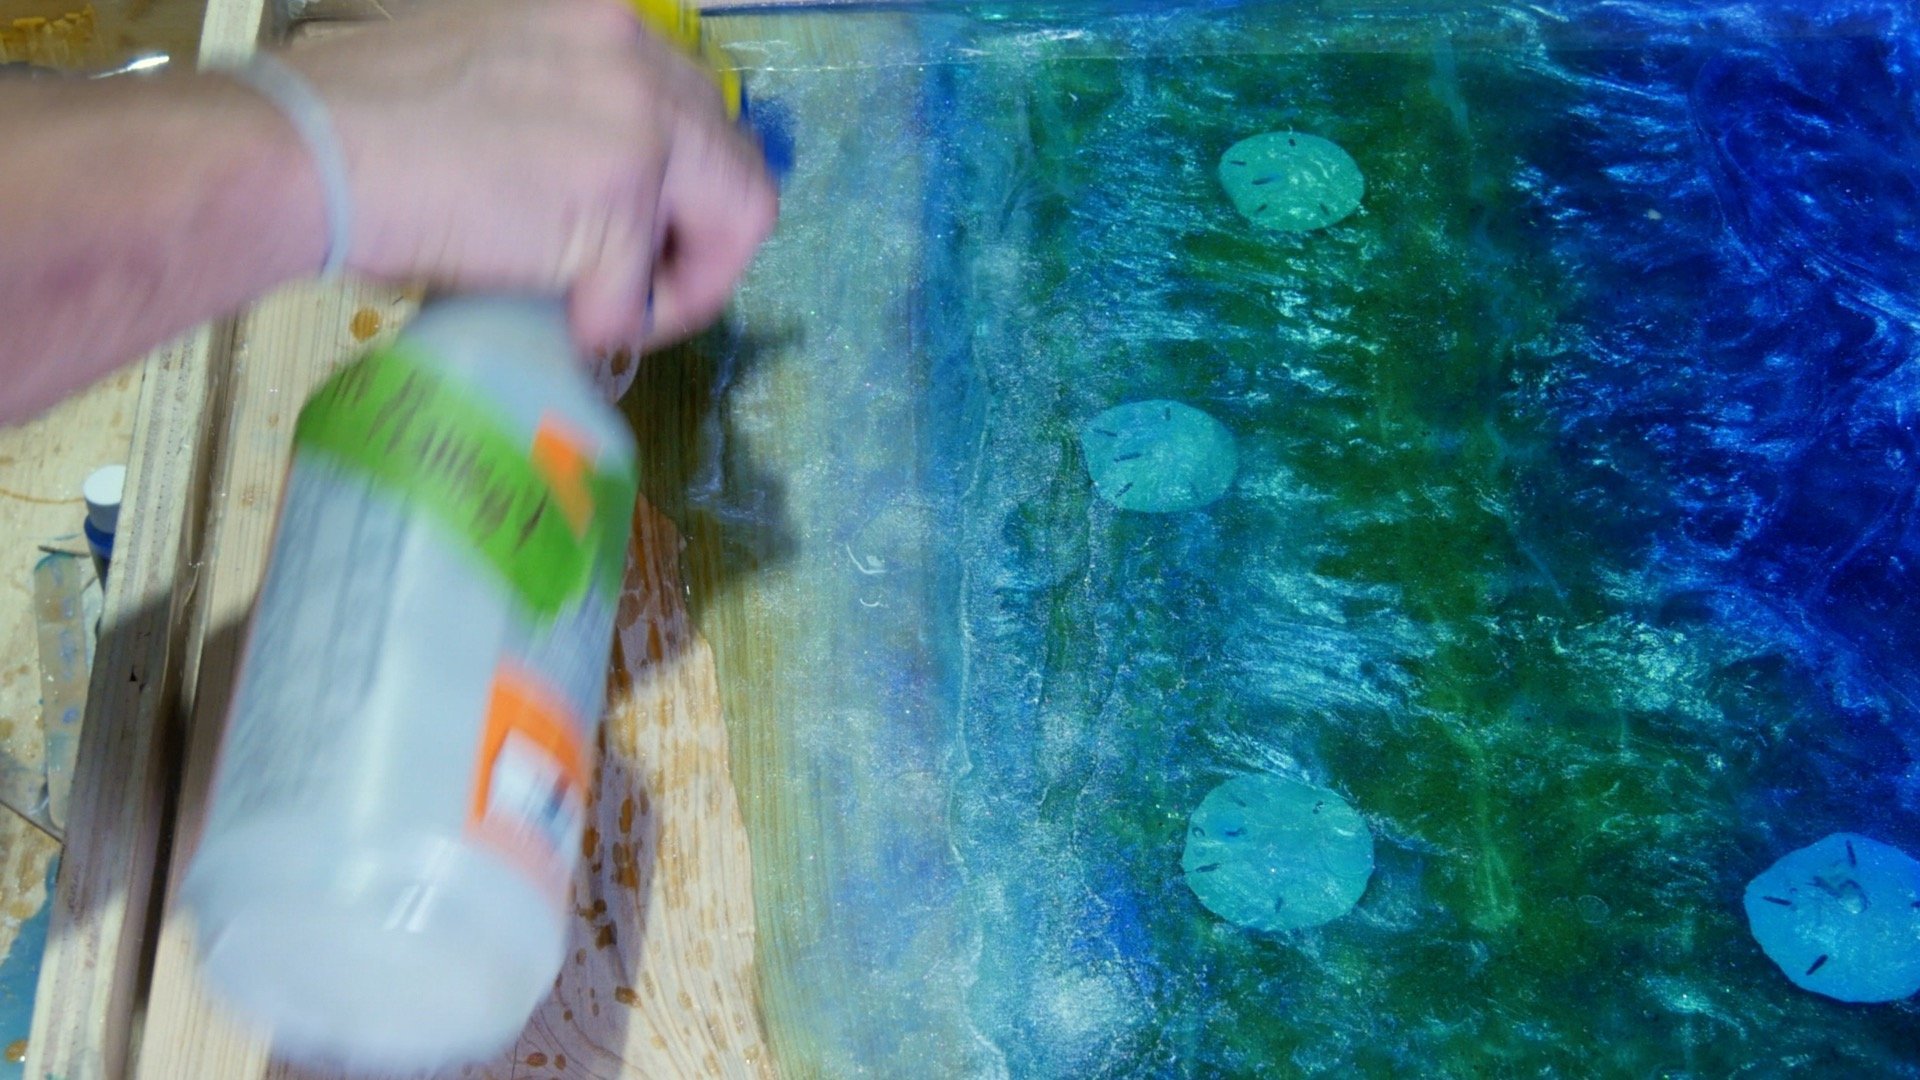
Then, I sprayed the mixture on the resin beach art with real sand white waves.
Alcohol creates a the resin lace effect, which makes the waves look more realistic.
Finally, I used my heat gun to move the resin around and remove bubbles.


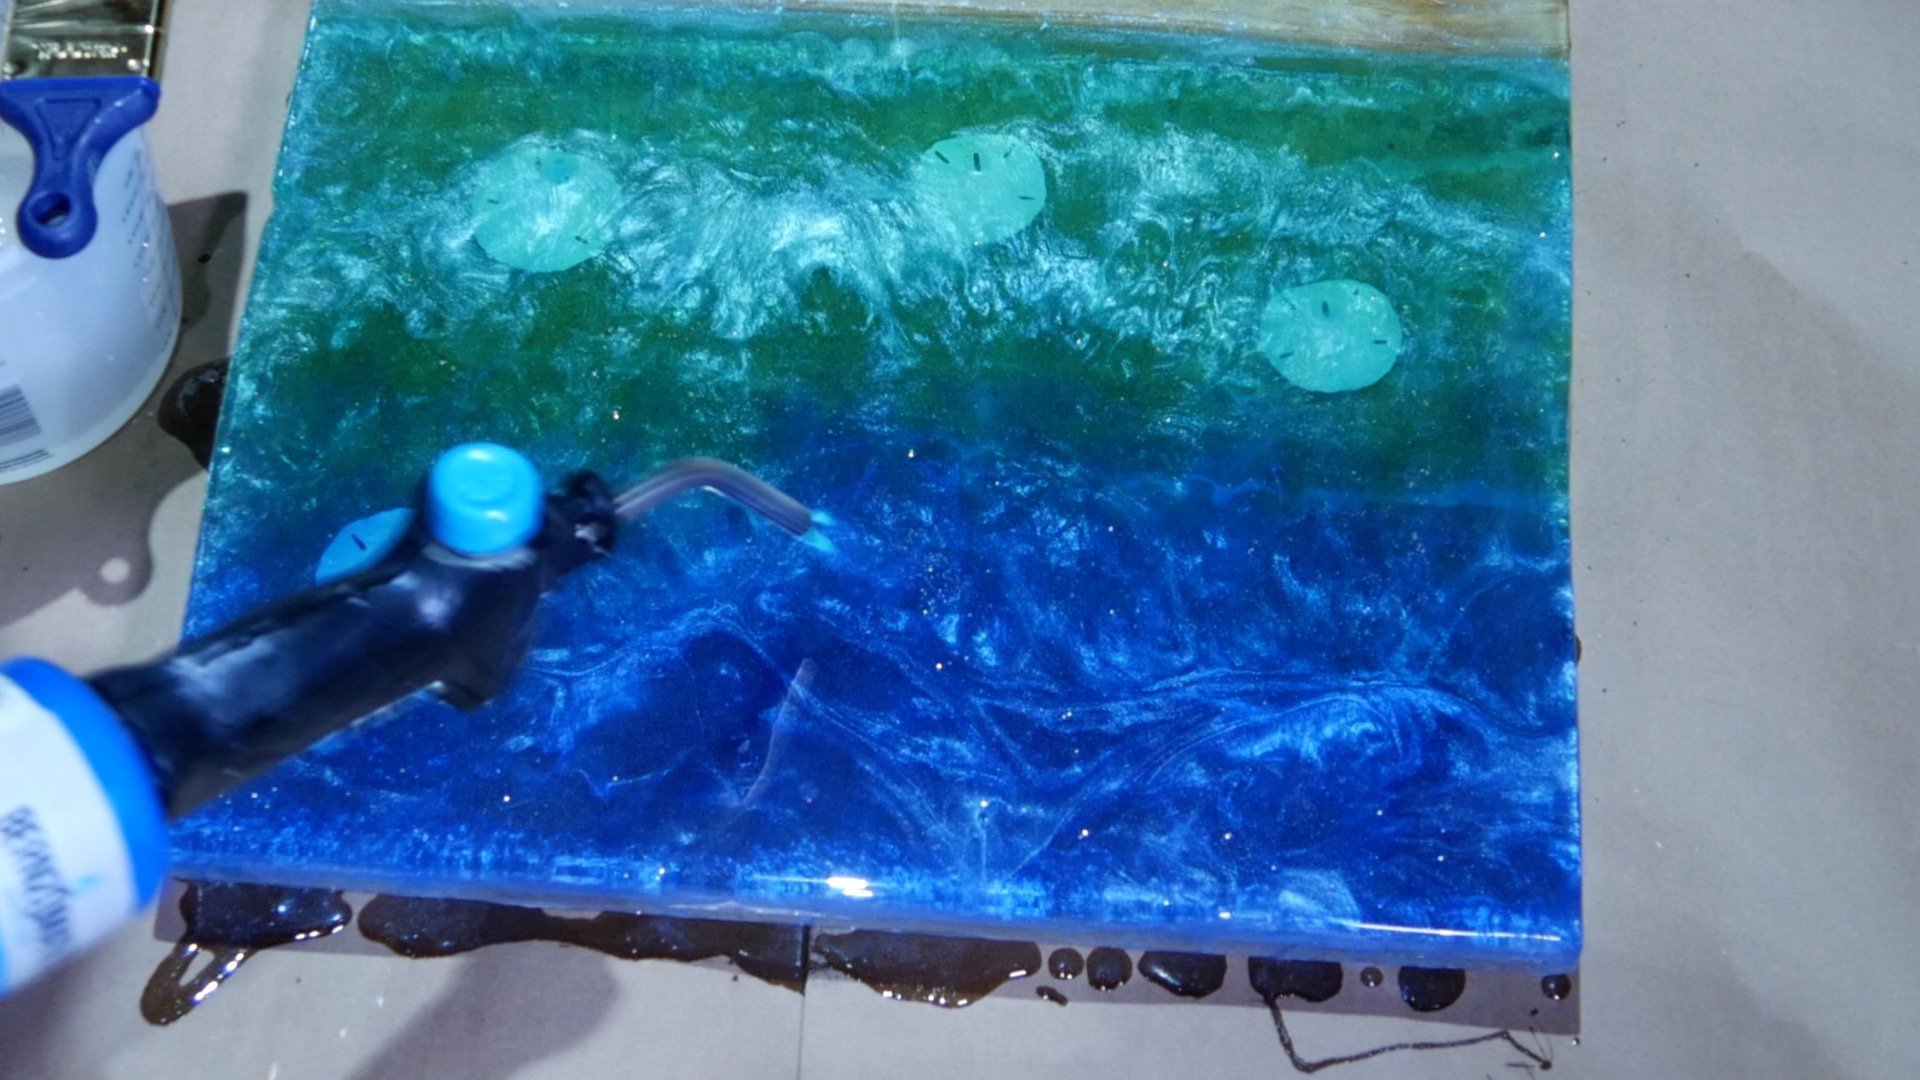
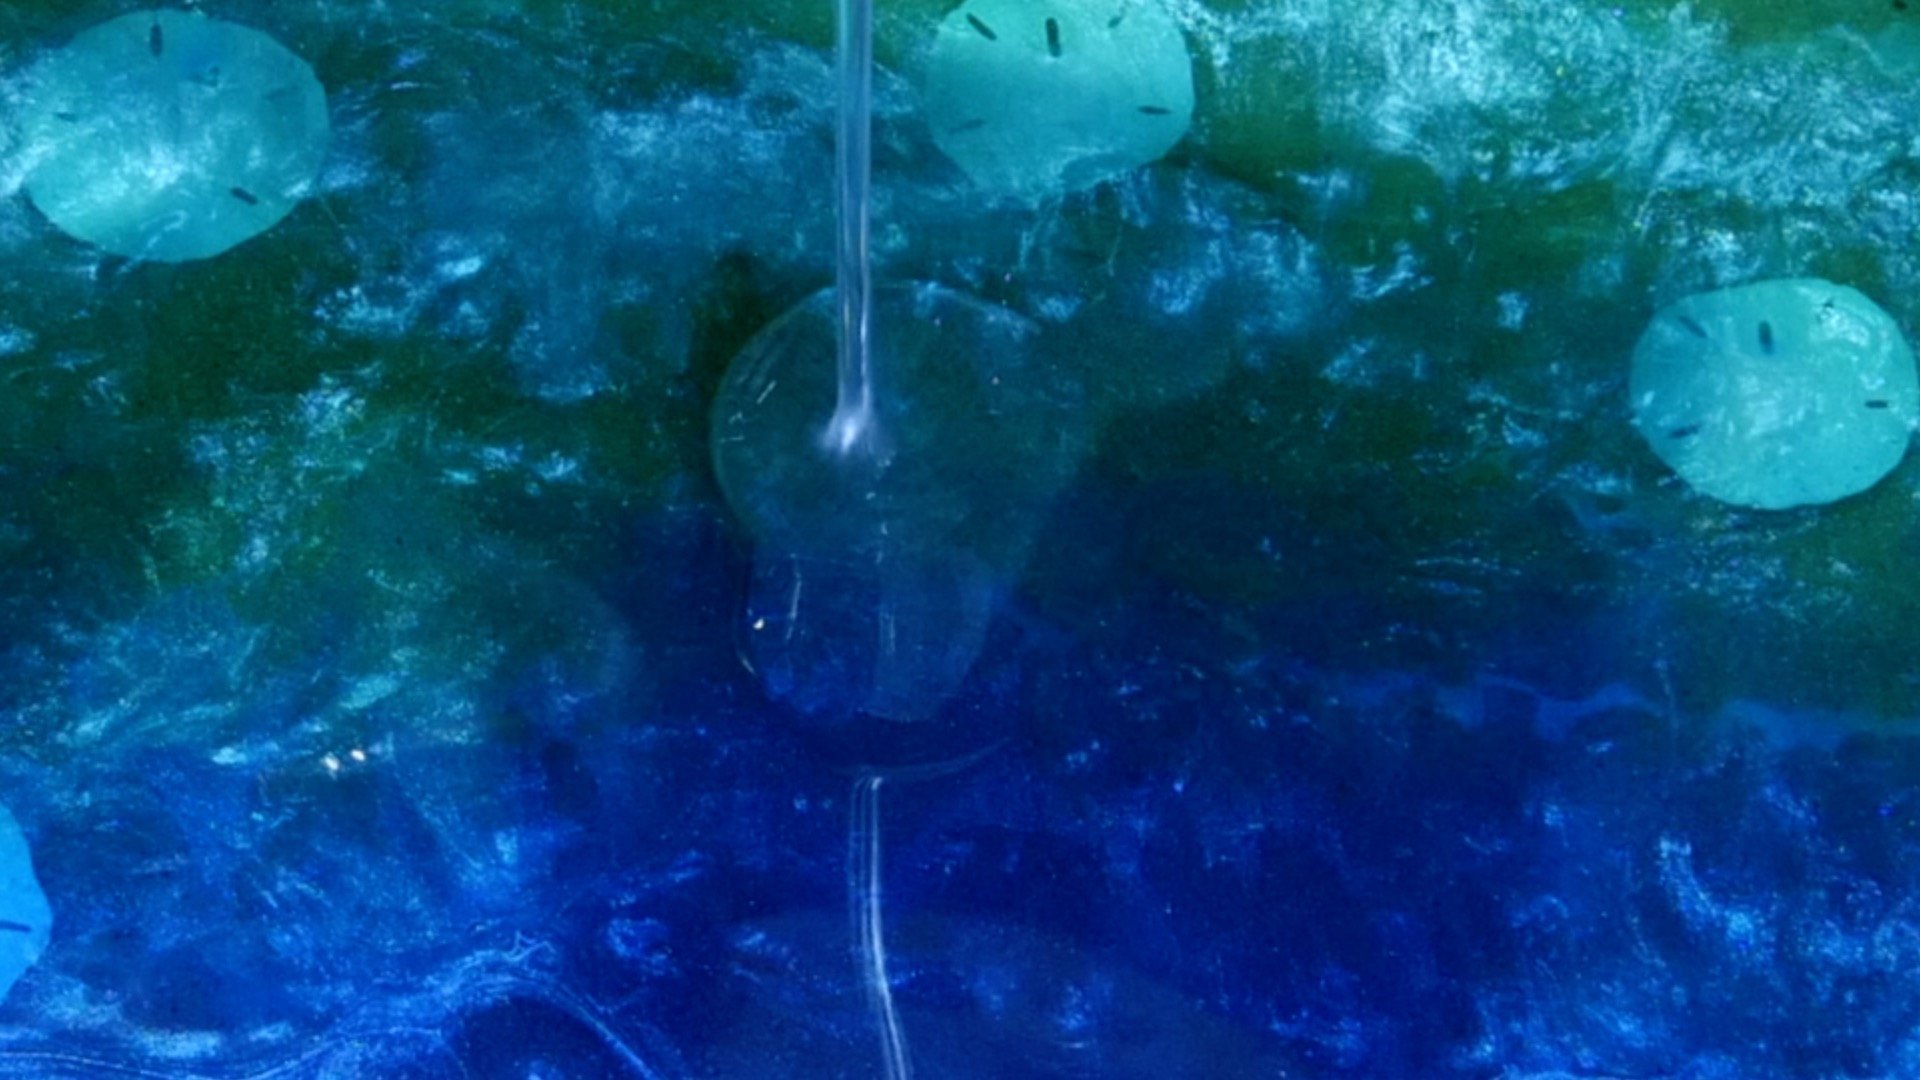
Create Resin Cells
To create resin cells, I used 3 drops of silicone oil in various locations on the resin beach art.
Resin cells create small circles on resin art because it disperses the material it comes in contact with.
This resin art effect makes the waves to appear alive or in action.


How to Use Excess Resin?
Often times, I have a small amount of excess resin after a resin pour.
So, what do I do with excess resin?
How to dispose of resin properly?
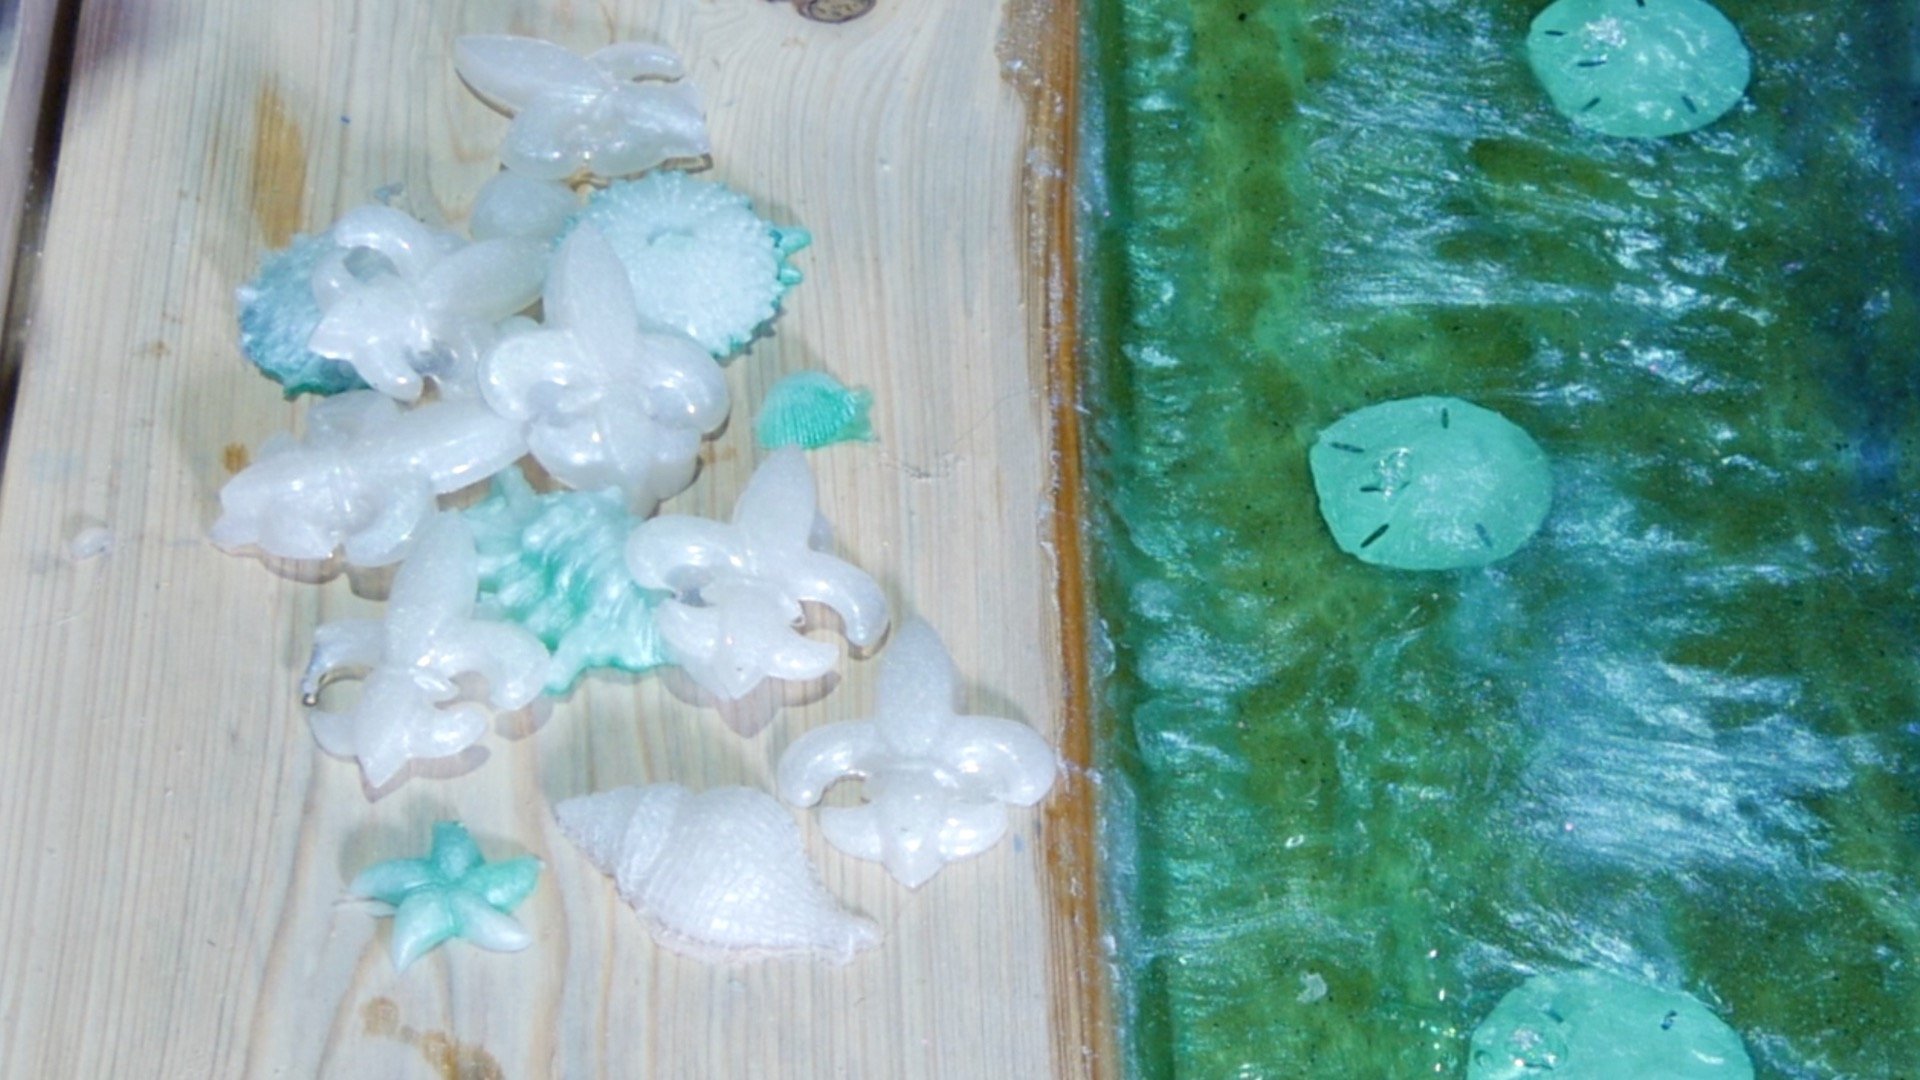
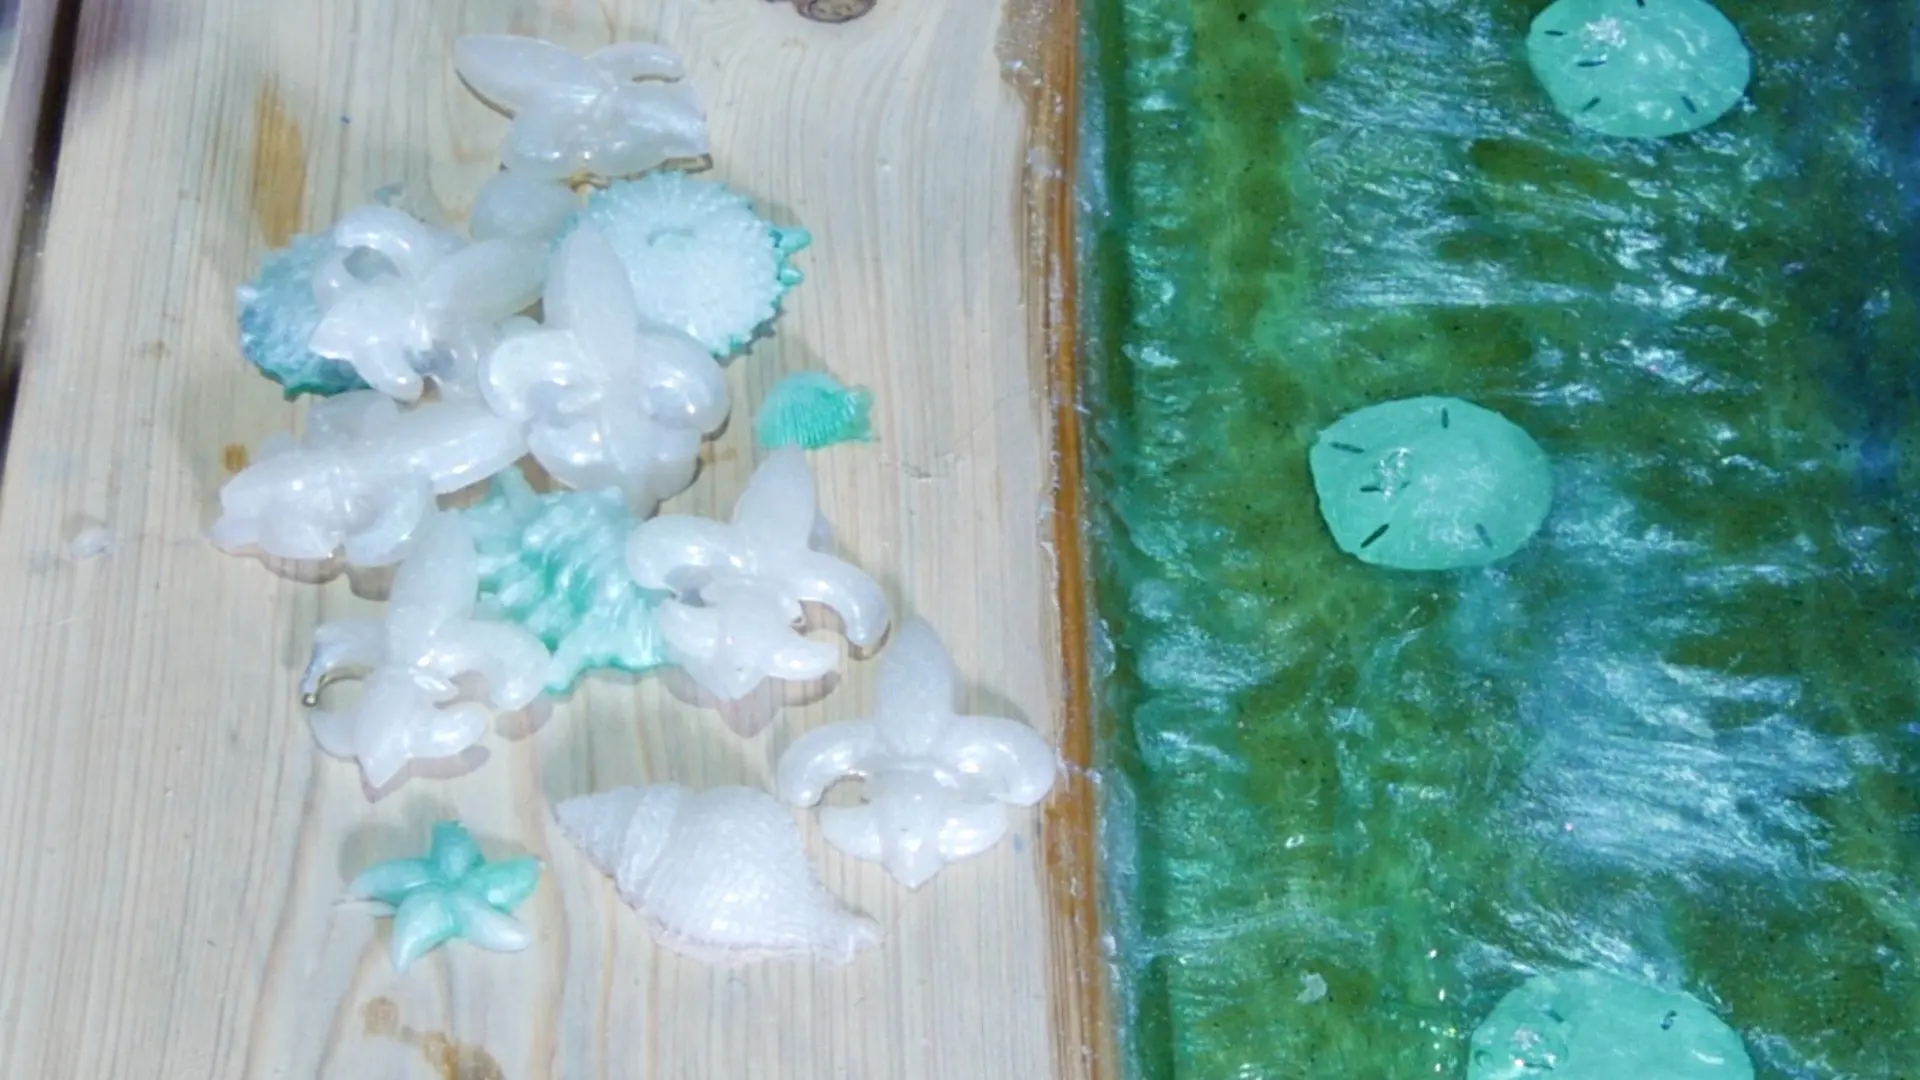
I pour excess resin in silicone molds (in top section of this article) to convert excess resin into something useful for future projects
If you are interested in making objects from resin silicone molds, checkout this glow in the dark resin casting tutorial.

Remove Resin Beach Art from Mold
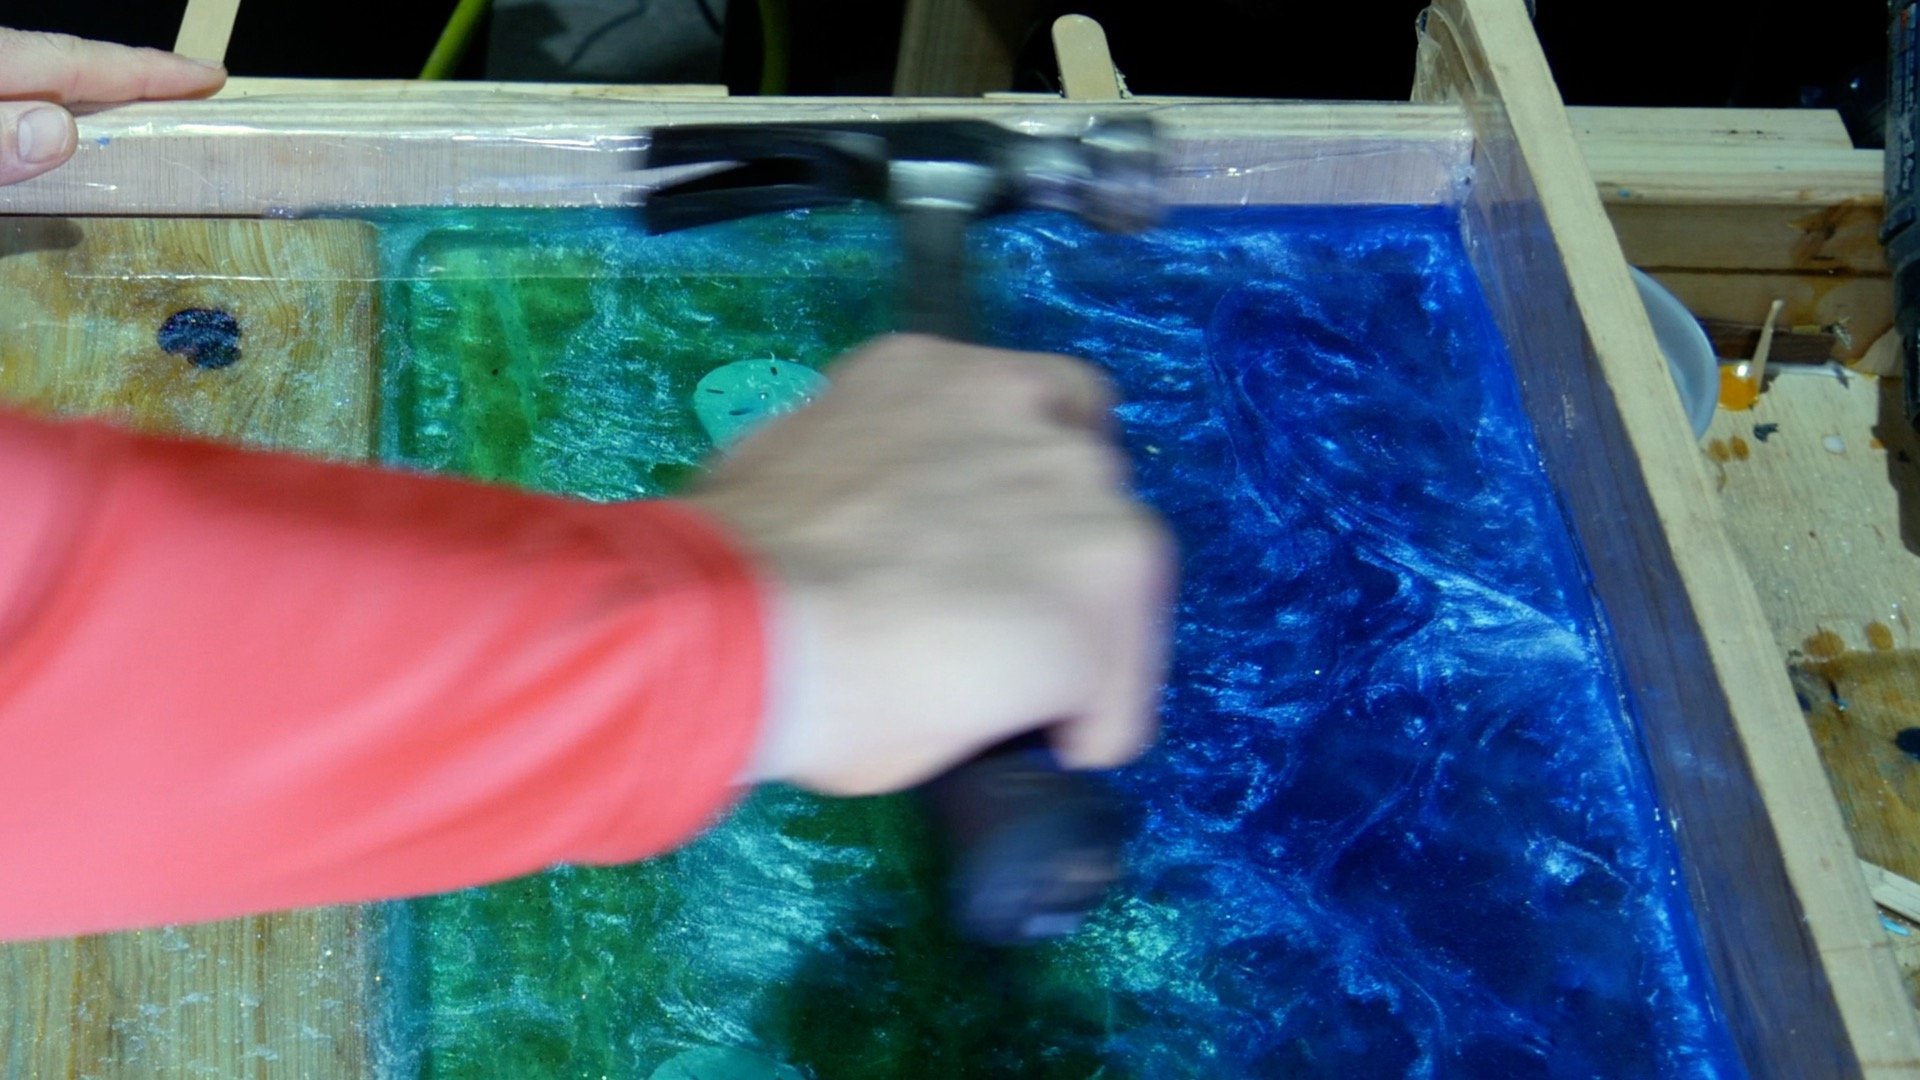
First, I used a hammer and tapped on each end and side of the resin mold. The mold released very easily.
Next, I used a pry bar to gently pop up one end.
I pulled up gently and the rest of the wood and resin beach art released very easily.


Then, I cleaned up the trash and dust from my work area.
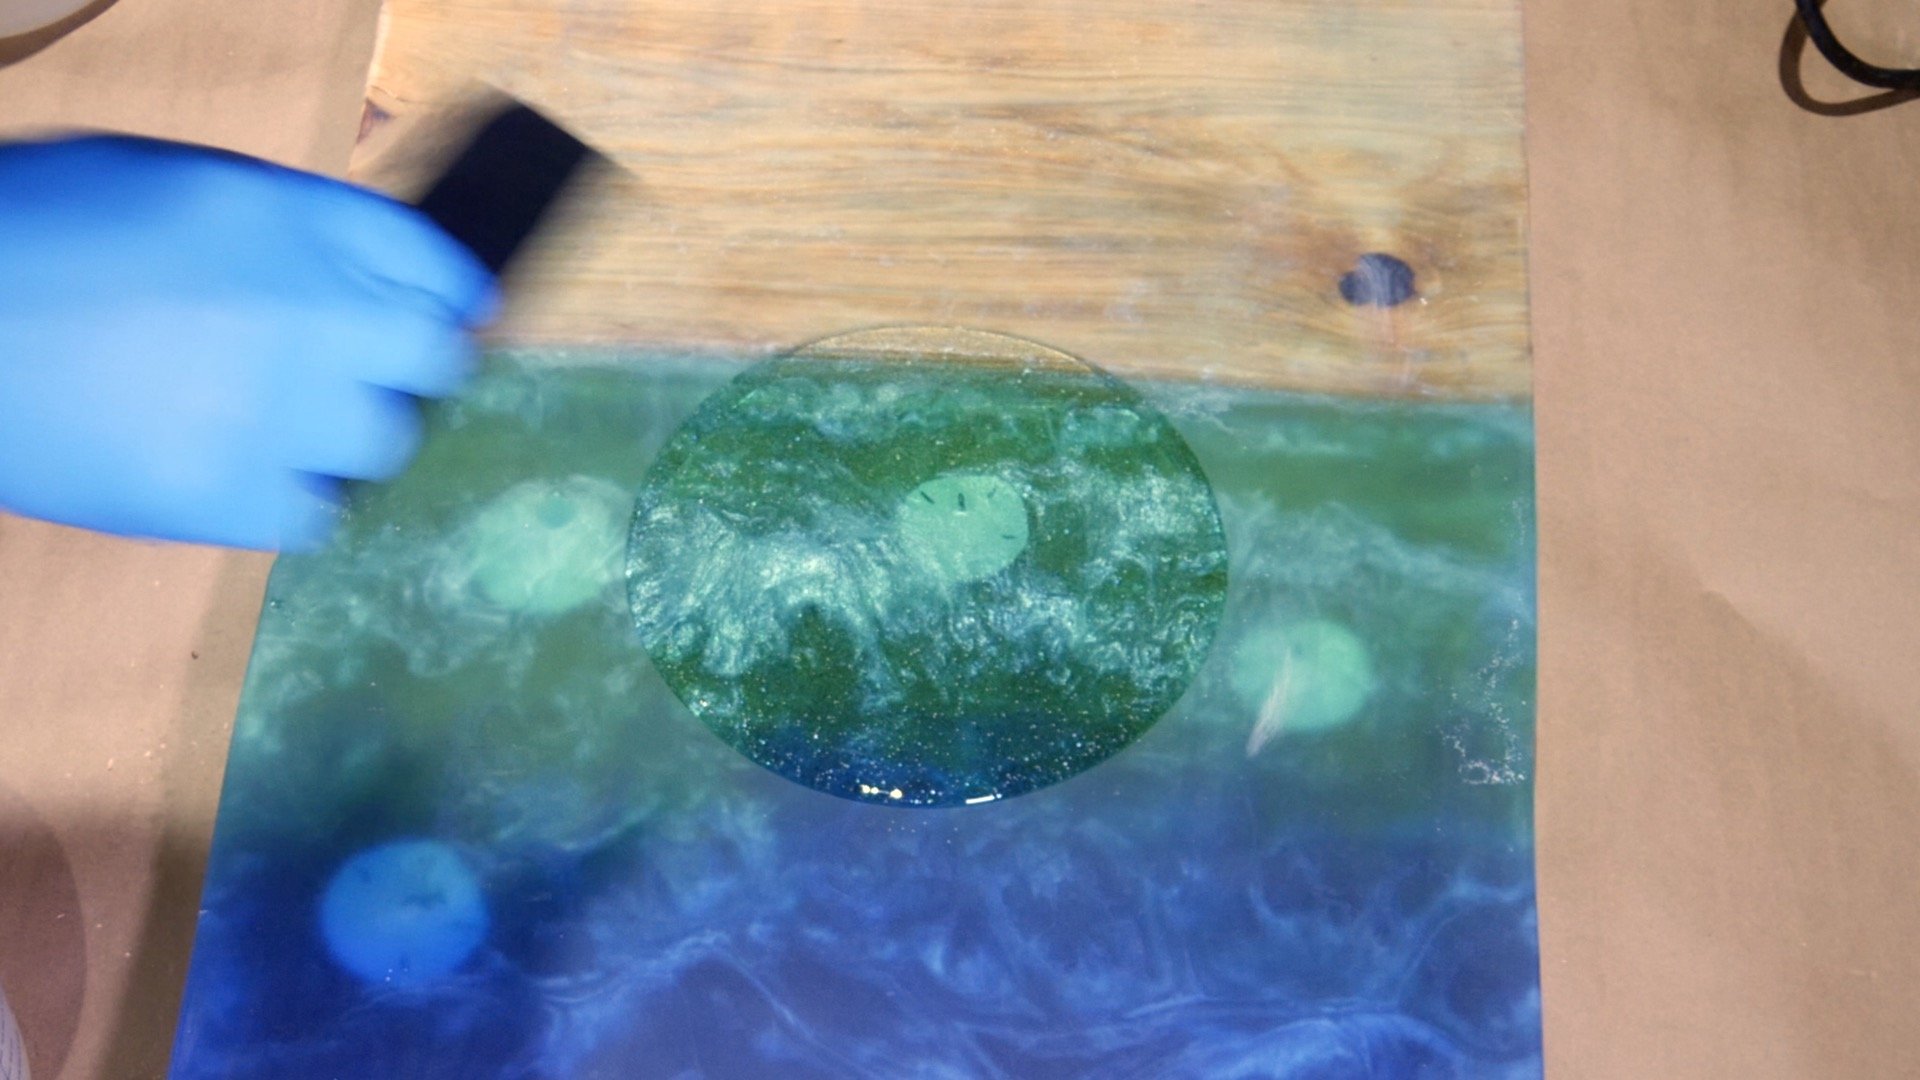
Resin Art Flood Coat
The flood coat for any resin art project is important.
It not only provides the final finish, but it also protects the resin wall art.
First Resin Flood Coat
First, I used my leveler to make sure the resin beach art was level both horizontally and vertically.
Next, I mixed 16 ounces of resin. The flood coat is clear, so no need to add pigment or dye.
Then, I used a plastic spreader to spread the material on the wood and resin beach art.
The flood coat really made the resin beach art come to life!


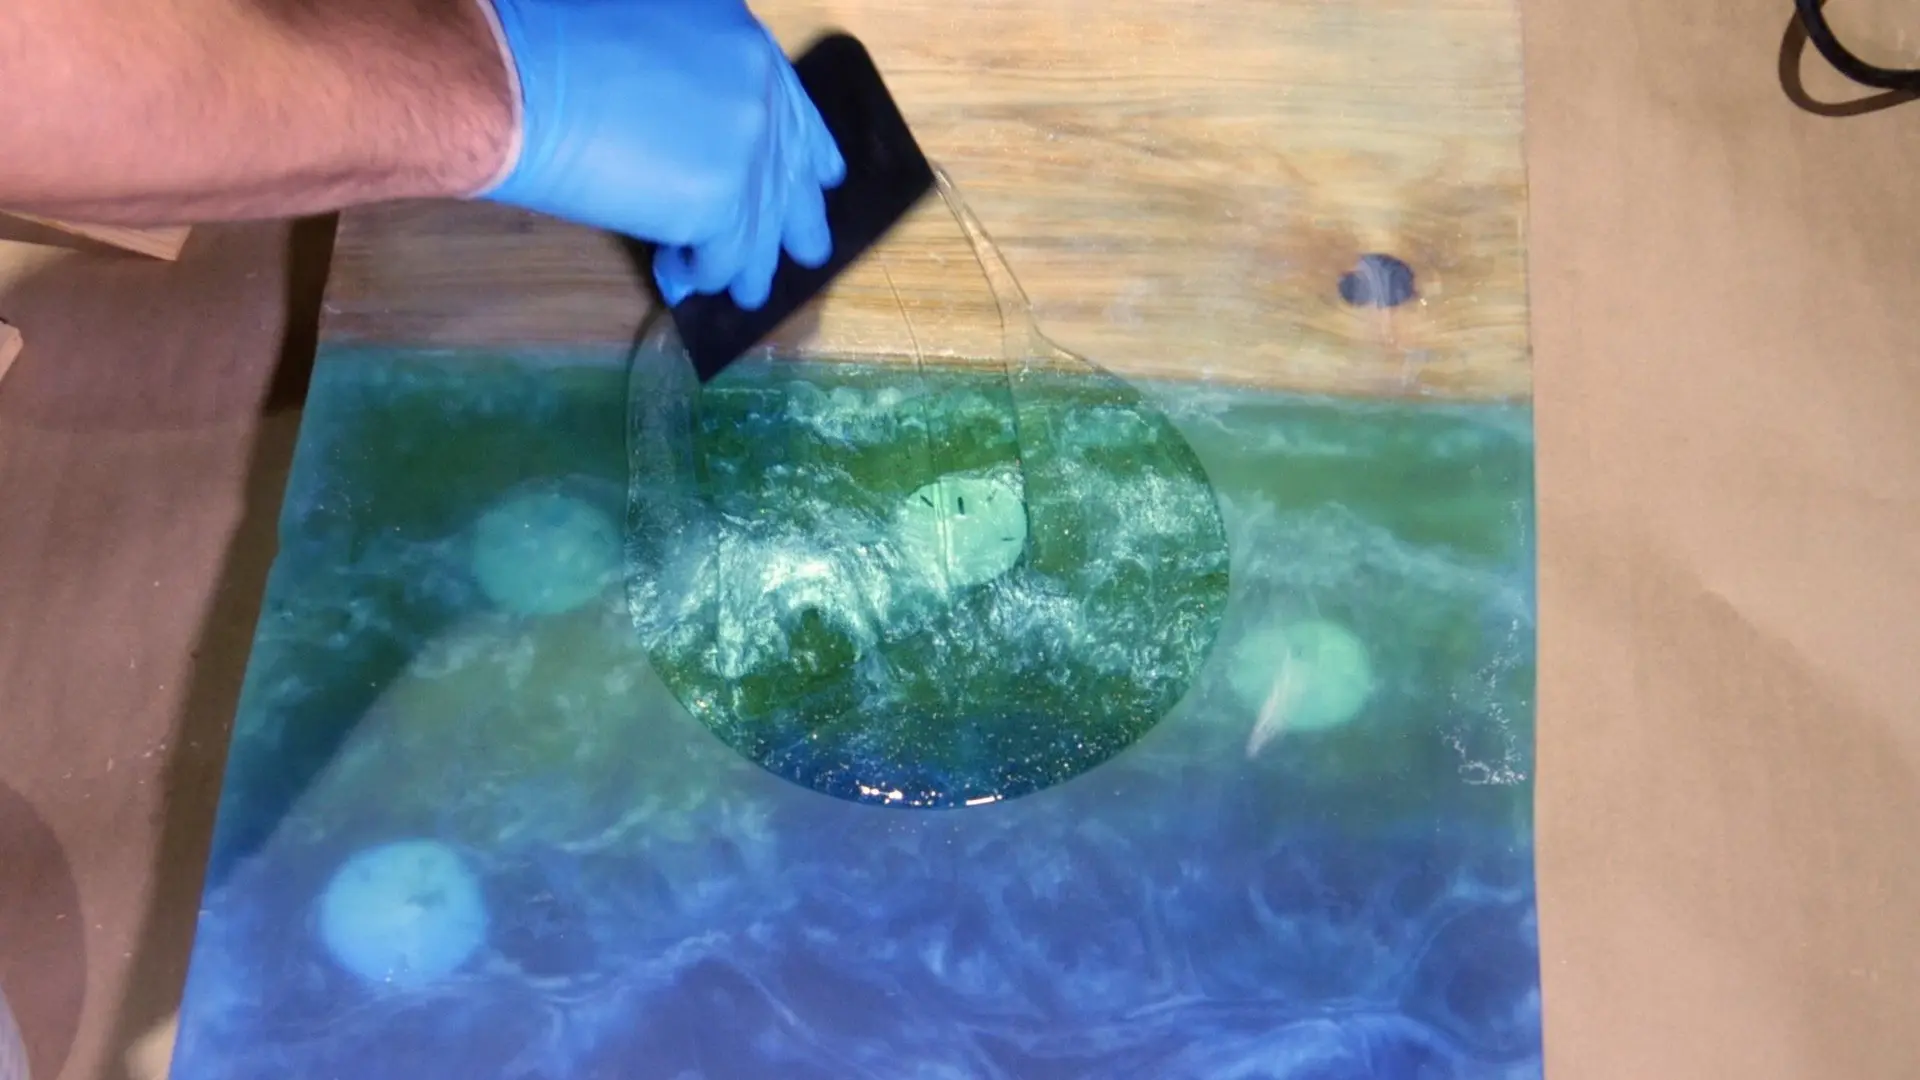
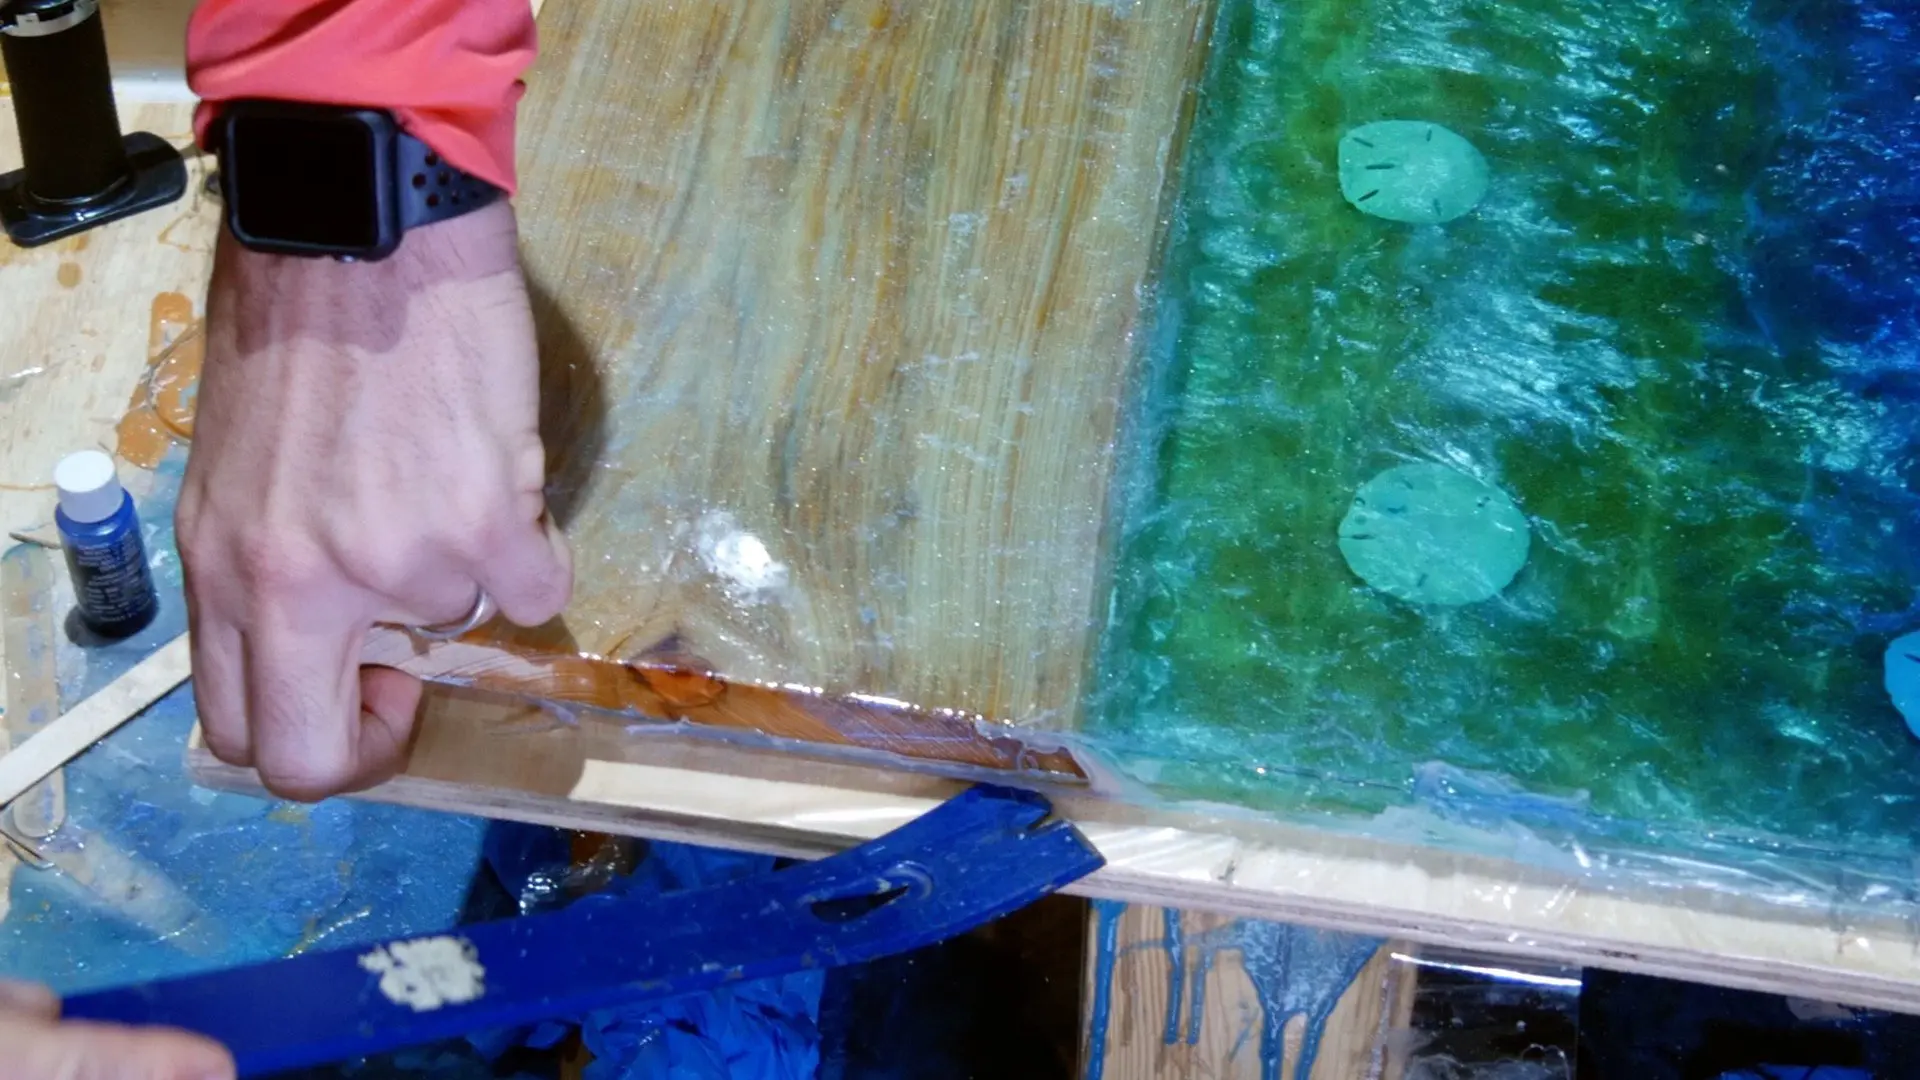
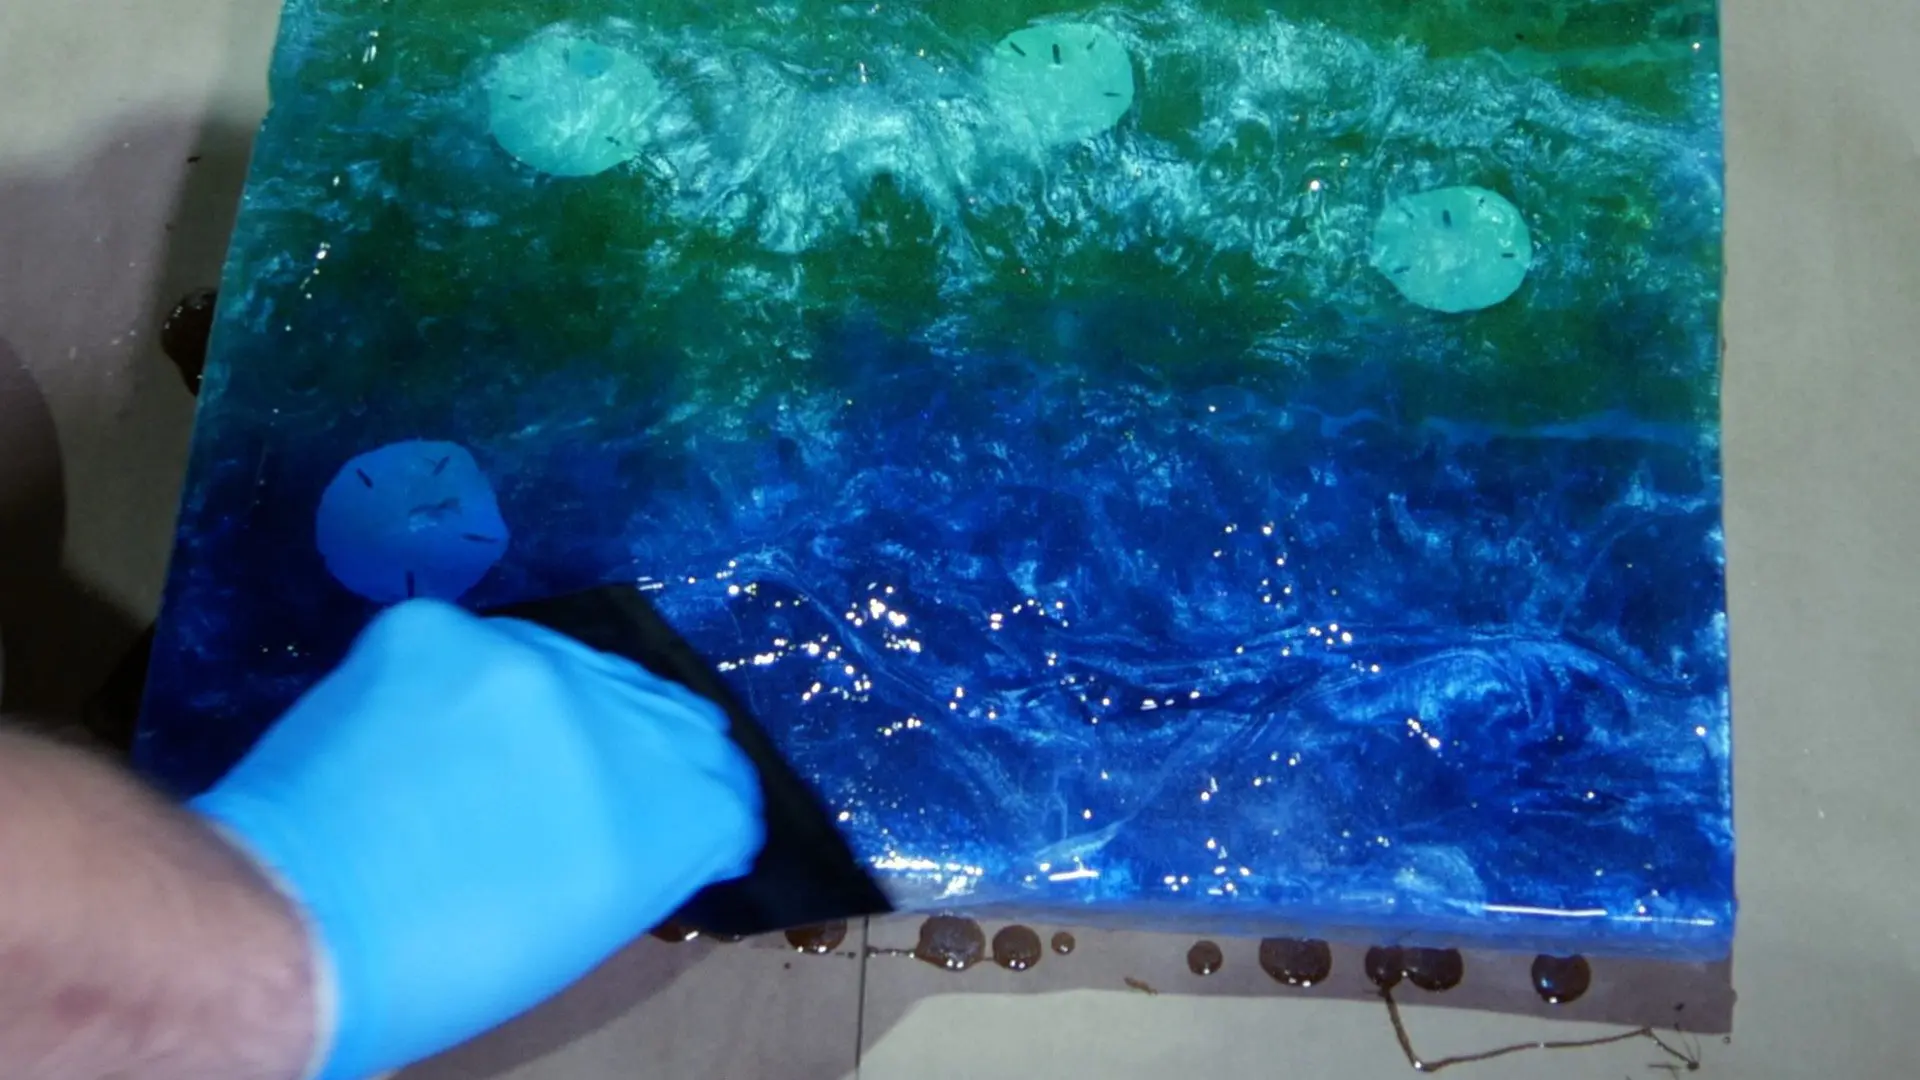
After the resin covered the material, I spread the resin towards the side and allowed a small bead drip over.
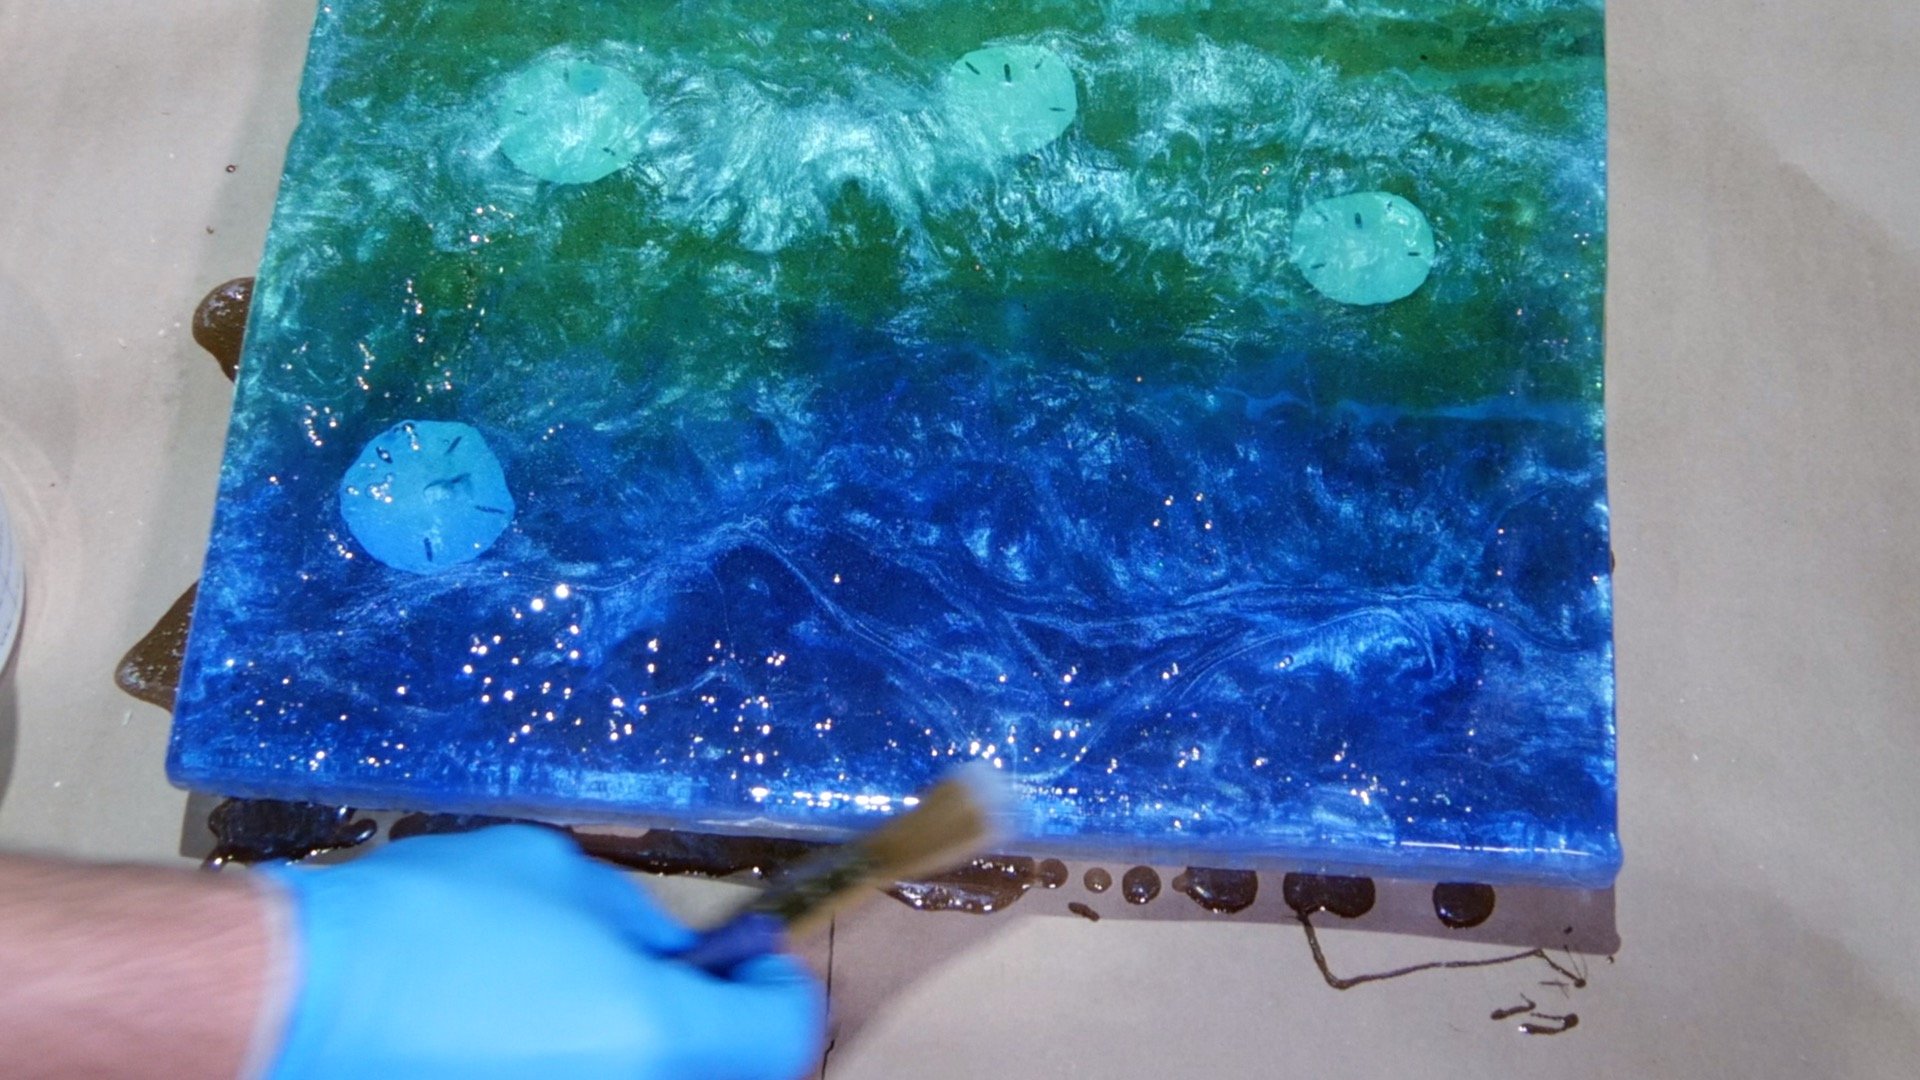
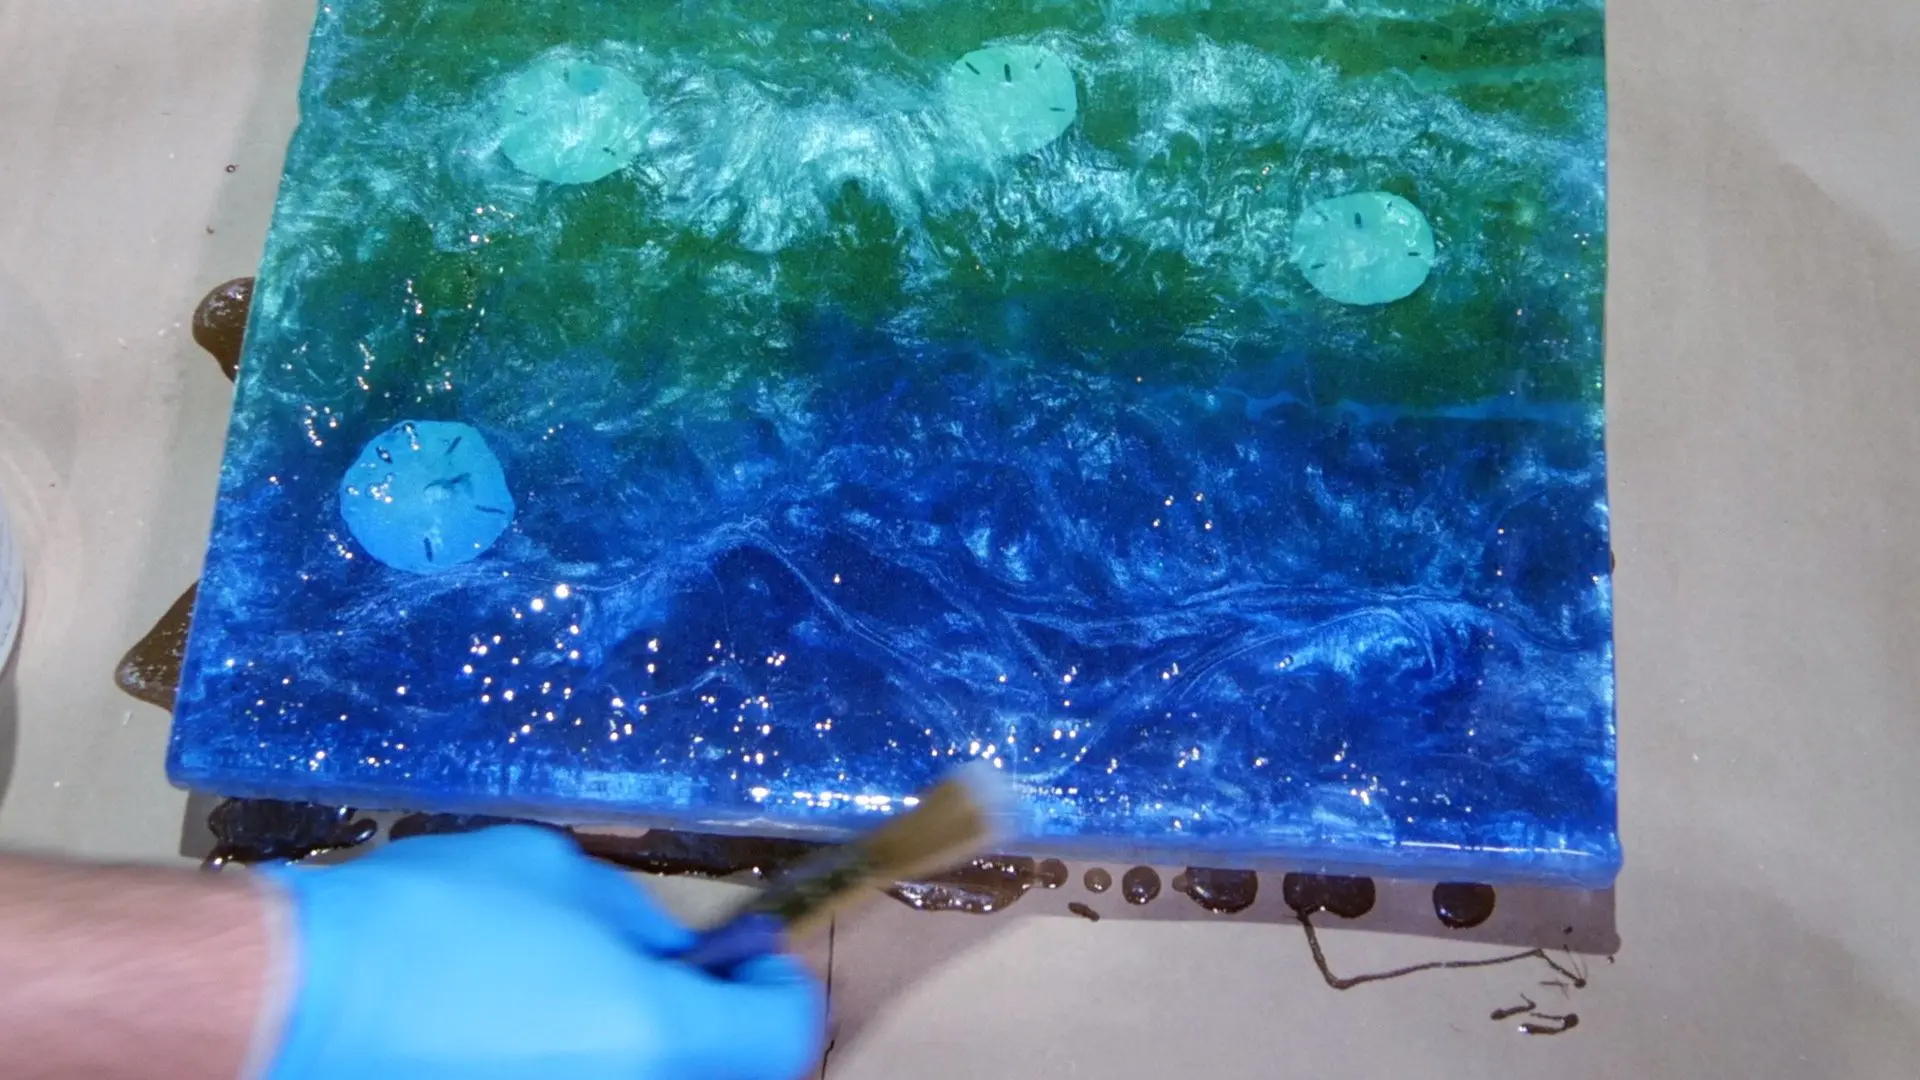
I used a brush to smooth out the sides.
The brush bristles lightly scrape the bottom to keep the resin from beading.
Normally, I use my fingers to do this; however, my gloves had a tear across my fingertips.
I had to wipe the sides every 3 minutes for 15 minutes.
Finally, I used my torch to remove resin air pockets.


Second Resin Flood Coat
After roughly 12 hours, I repeated the process for the second flood coat.
However, I did not use the plastic spreader with the second flood coat.
I simply poured 16 ounces of material on top of the resin beach art with real sand and allowed it to self level.
Of course, this won’t work unless the surface of the resin beach art is not level.
If it is not level, no big deal – simply tilt the work surface in all directions and let the resin run over the opposite end.

Conclusion
The picture below is what inspired me to do this project.
I think I came fairly close to the water color in the picture.
For what it is worth, the shallow water in Destin, Florida is normally a lighter blue with a slight green tint.
It is not as green as it is in the picture below.

I truly hope this DIY wood and resin beach art with real sand inspired you to create resin art of your favorite place to be.
Related Posts
J
Wednesday 10th of April 2019
hi i tiled an old table top and the result is not as level as i had hoped. would you suggest using resin over the tile and polimer grout to protect and even it out?