
In this resin casting with glow powder tutorial, learn how to make resin crafts that glow in the dark.
Tools I Used
- Epoxy Resin: https://amzn.to/2ohapd6
- Mickey Mouse Ears Silicone Mold: http://amzn.to/2FX0Bgk
- Resin Glow Powder (Neutral Green): http://amzn.to/2D3m7wX
- Resin Pigment Powder
- Black: http://amzn.to/2FfHzkj
- Blue: http://amzn.to/2D2duTh
- White: http://amzn.to/2tj6eTy
- Pink: http://amzn.to/2oIIfsq
- Assortment Pack: http://amzn.to/2D0o1yA
- Micro Butane Torch/Lighter: http://amzn.to/2FUEiI9
- Fuel for Torch: http://amzn.to/2Fi1XRV
- Stir Sticks: http://amzn.to/2FdhsOT
- Rubber Gloves: http://amzn.to/2FexyI8
Introduction
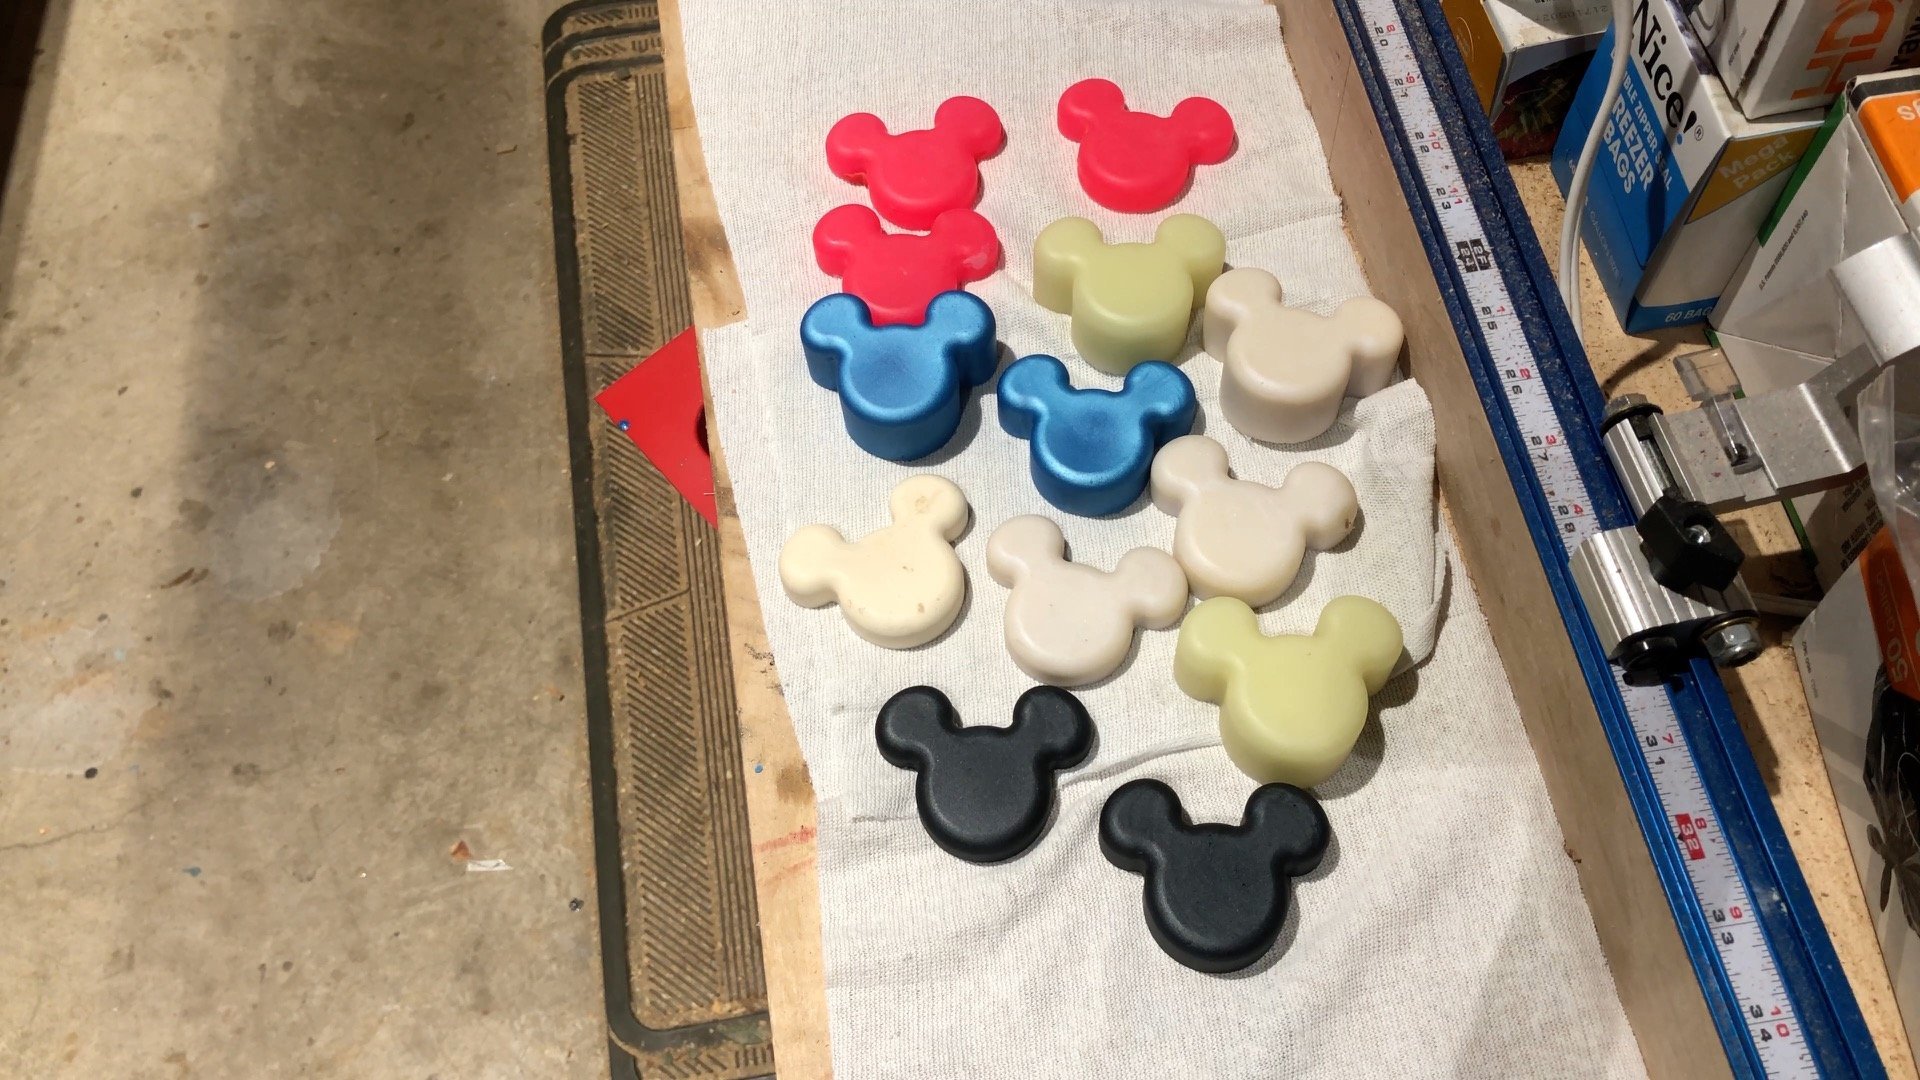
This resin casting with glow powder tutorial shows how to make Mickey Mouse ears from excess resin.
Also, I used various colors to make the Mickey Mouse ears along with resin glow powder to make them glow in the dark.
Obtain Silicone Mold and Epoxy Resin
First, I purchased a silicone mold to make glow in the dark epoxy resin casting.
Next, I purchased a silicone mold of Mickey Mouse ears from amazon. You can find it here.
Epoxy Resin will not adhere to silicone, which makes it a perfect material for a resin casting project.
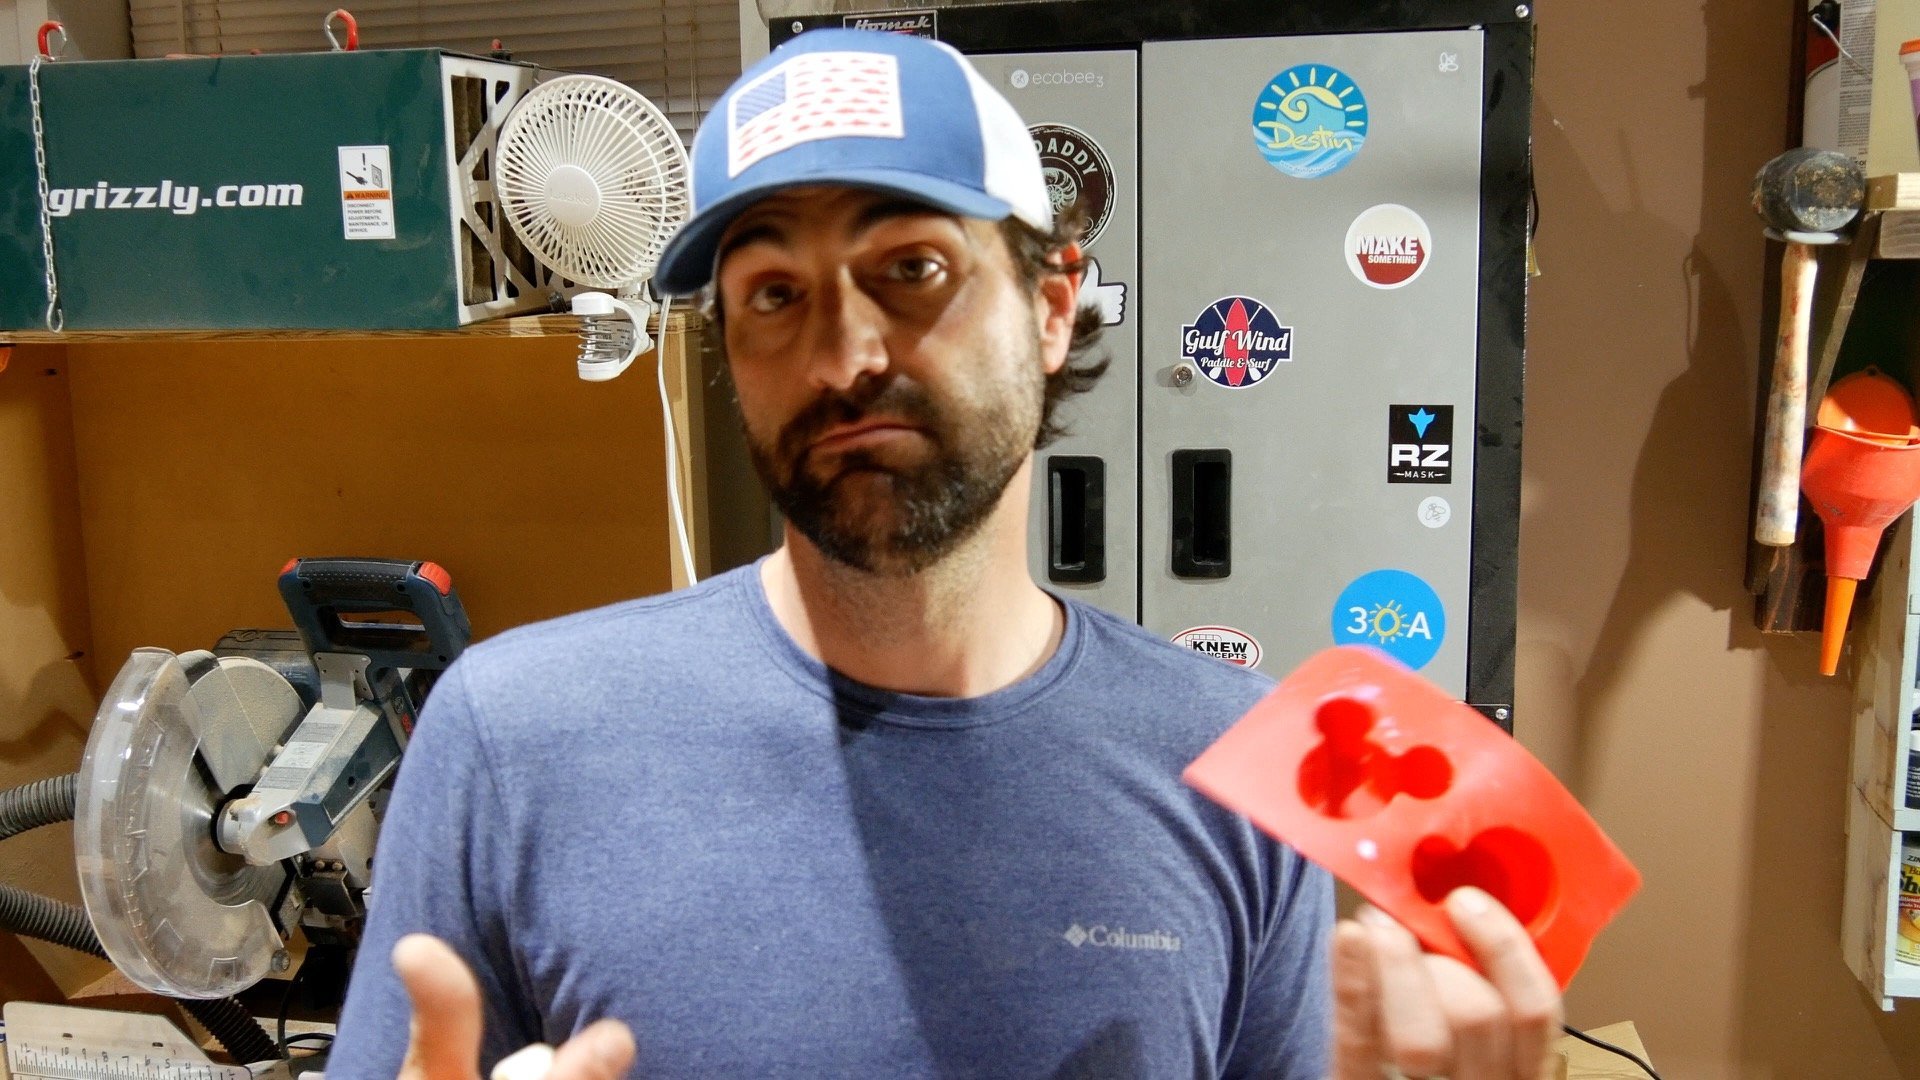
Next, I purchased epoxy resin from amazon. I’ve tried many different types of resin and this one is by far the best.
Mix Epoxy Resin
The most important step of this project is to mix the epoxy resin according to the instructions from the manufacturer.
Each resin has a different formula; therefore, it is vitally important to mix the resin appropriately for a successful project.
After I measured the resin and poured each part into the container, I added glow powder and mixed according to the instructions.
In addition, the glow powder is actually called photoluminescence powder.
This type of powder is fantastic to use in epoxy resin, paint, and more.
Essentially, the glow powder charges naturally from light. Therefore, it requires no batteries or pre-charging.
You can purchase glow powder from here in various colors and quantities. I used Natural Green for this project.
Also, I used pigment powder for the resin casting of Mickey Mouse ears. These were used as Fish Extender gifts on our Disney Fantasy Cruise.
Pigment powder, in my opinion, colors resin the best due to the vibrant tones and different combinations available.
There are many different ways to add color to resin such as latex paint, dyes, etc..
I used latex paint to color the resin in my canvas art project and it worked really well.
Prepare Mold and Pour Epoxy Resin
To prepare the mold, I removed dust/debris.
Some people add a thin layer of wax to the silicone mold to make it easy to remove, but I don’t think this is necessary.
I use furniture wax on my river table projects because it makes it much easier to remove from the melamine or whatever material I choose to use.
Next, I poured the resin into the mold slowly and in a controlled manner.
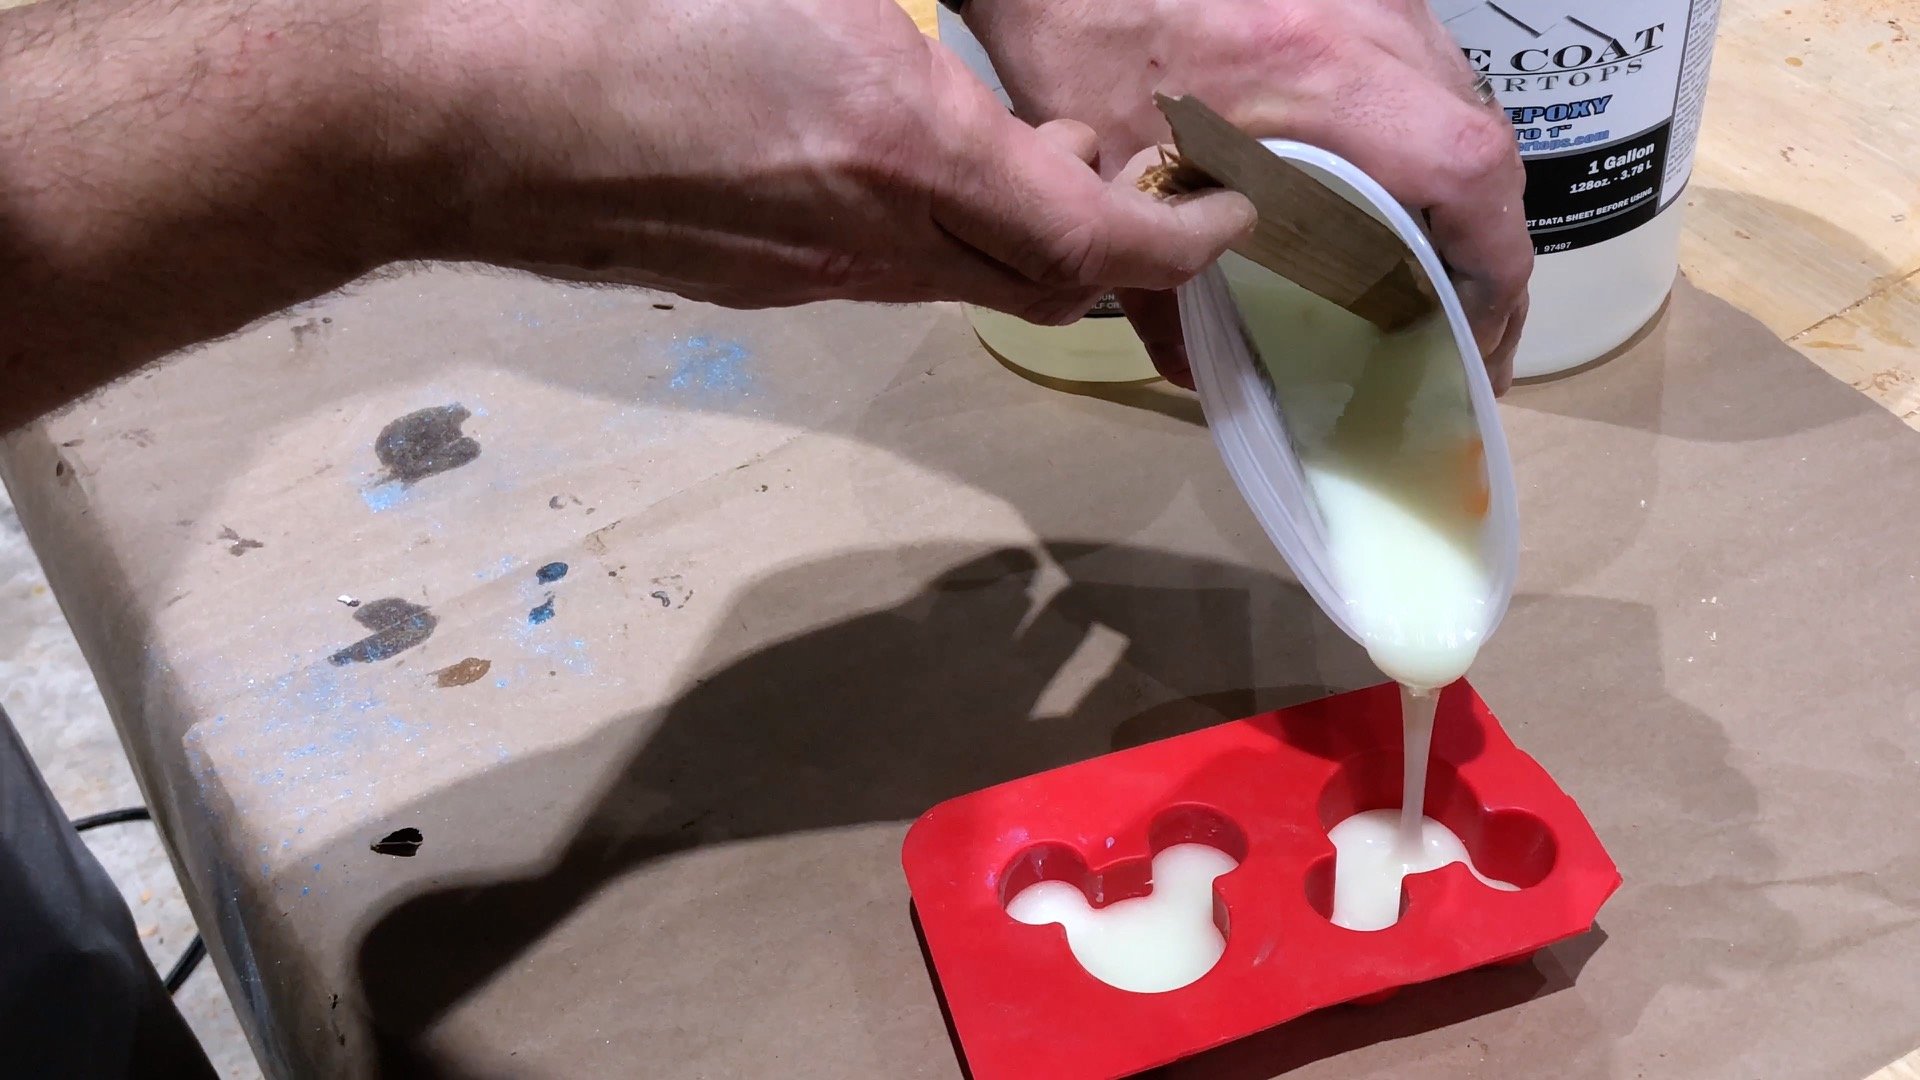
The Mickey Mouse ear silicone mold I used is roughly 3″ thick.
So, I can fill it up to the top and get 3 Mickey Mouse ears from one after I slice it on my bandsaw.
Quick Tip: If glow powder is used, I normally pour thin layers because the glow powder normally sinks to the bottom.
If the resin casting is too thick, the top of the mold won’t have enough powder to glow.
Remove Bubbles
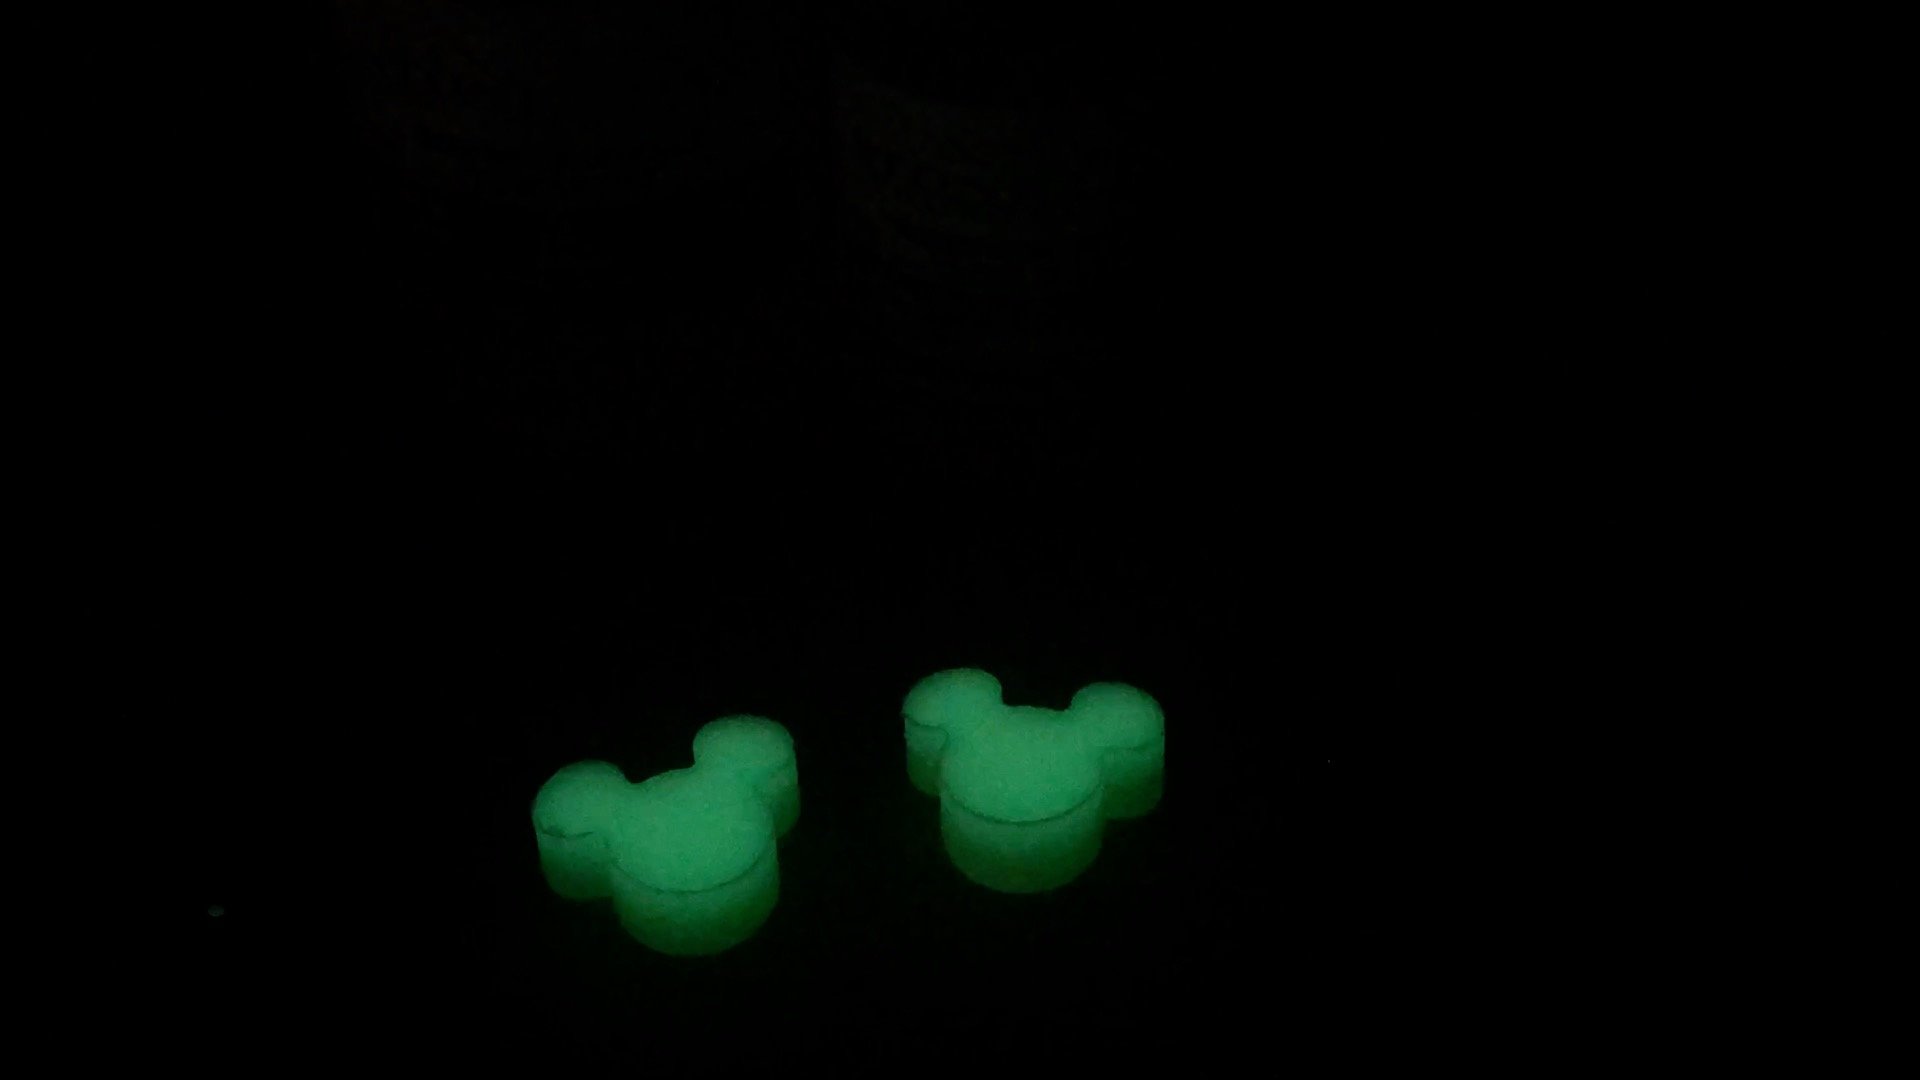
After the resin is poured, I use my mini torch to remove bubbles from the resin.
It is important to not let the torch touch the silicone mold for an extended period of time for obvious reasons.
Also, I keep the flame roughly as far away from the resin as possible to successfully pop bubbles.
Essentially, I start about 5 inches away and get closer until I see bubbles begin to pop.
Bubbles continue to rise to the surface for roughly 10 minutes after the resin is poured.
I normally pop bubbles for every 2 to 3 minutes for 10 minutes.
Remove Object from Mold
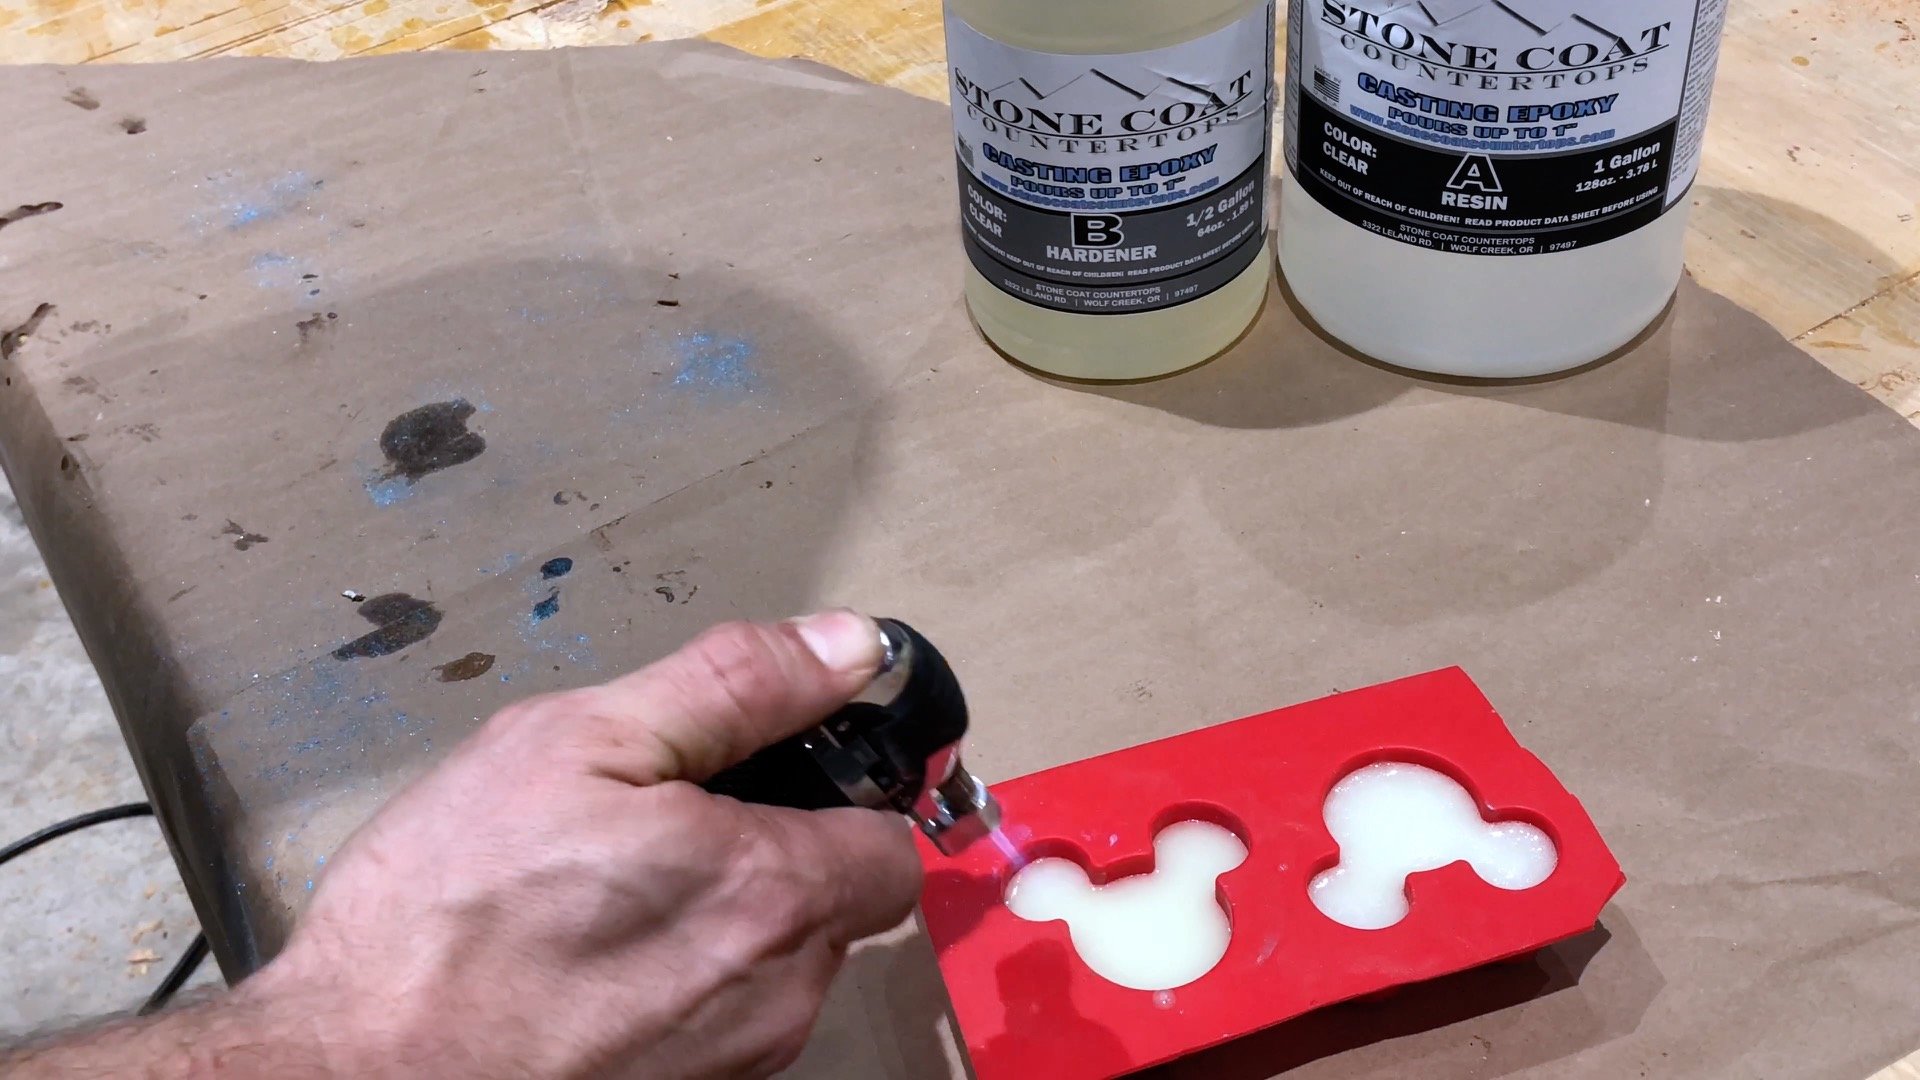
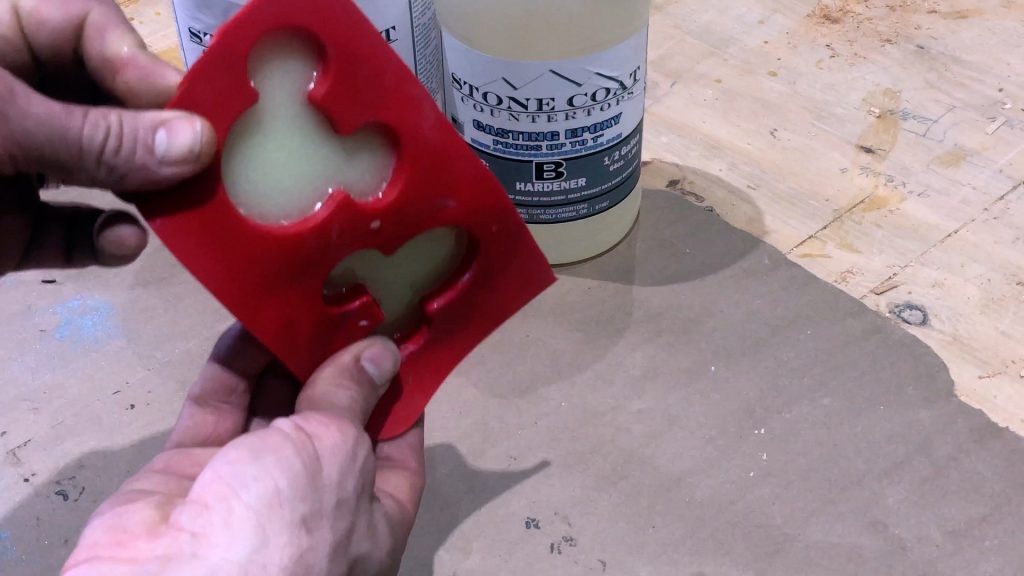
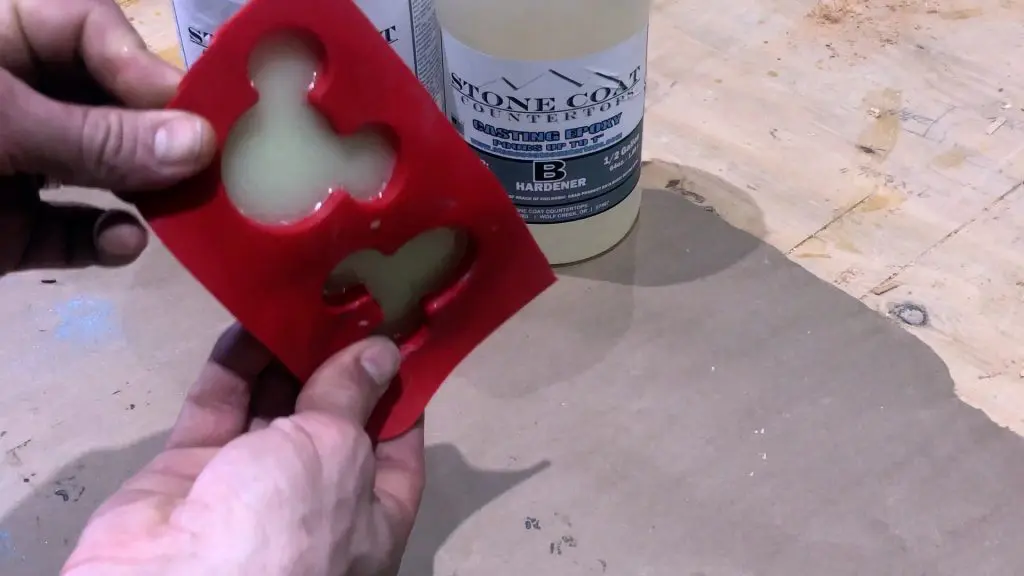
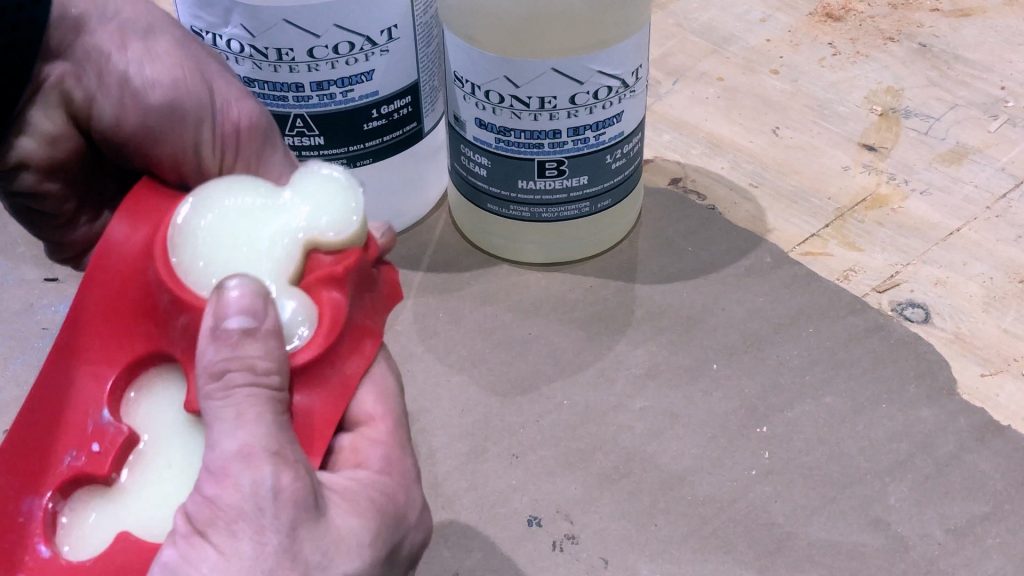
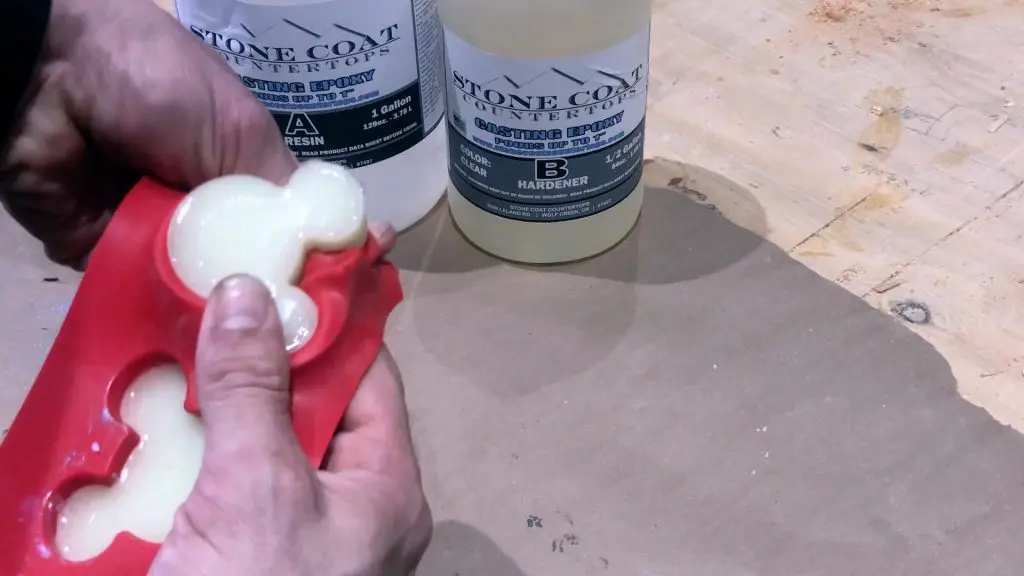
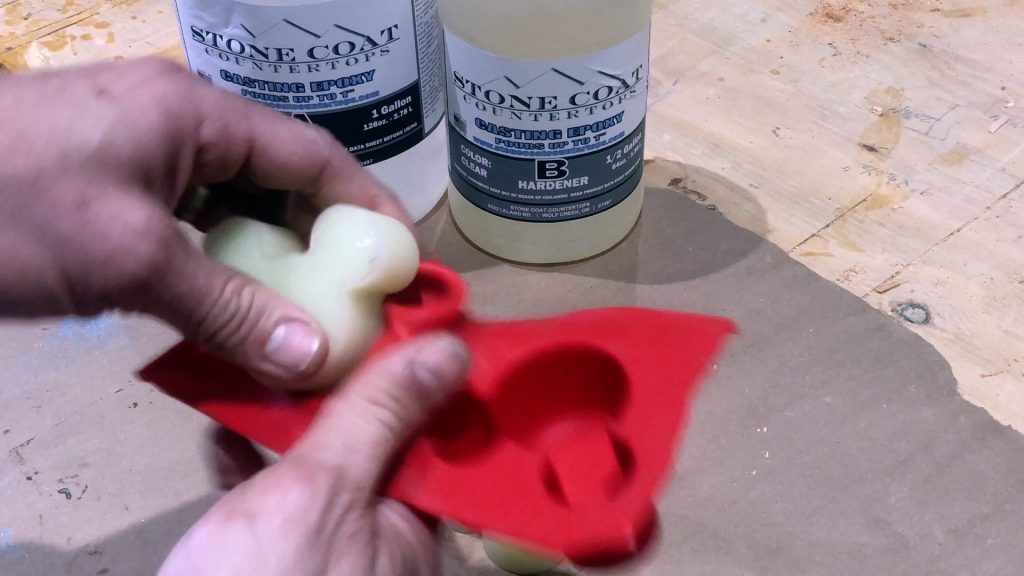
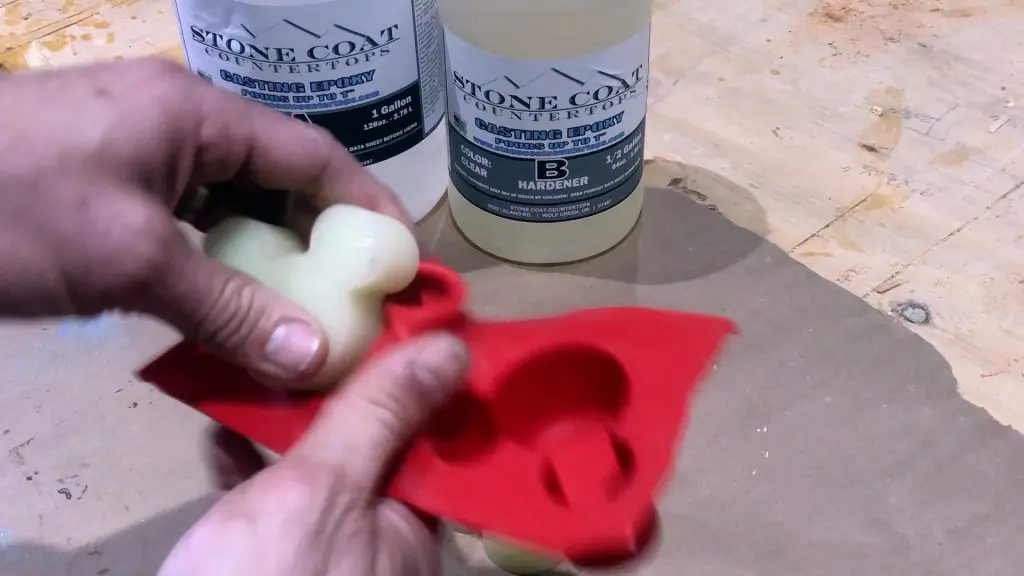
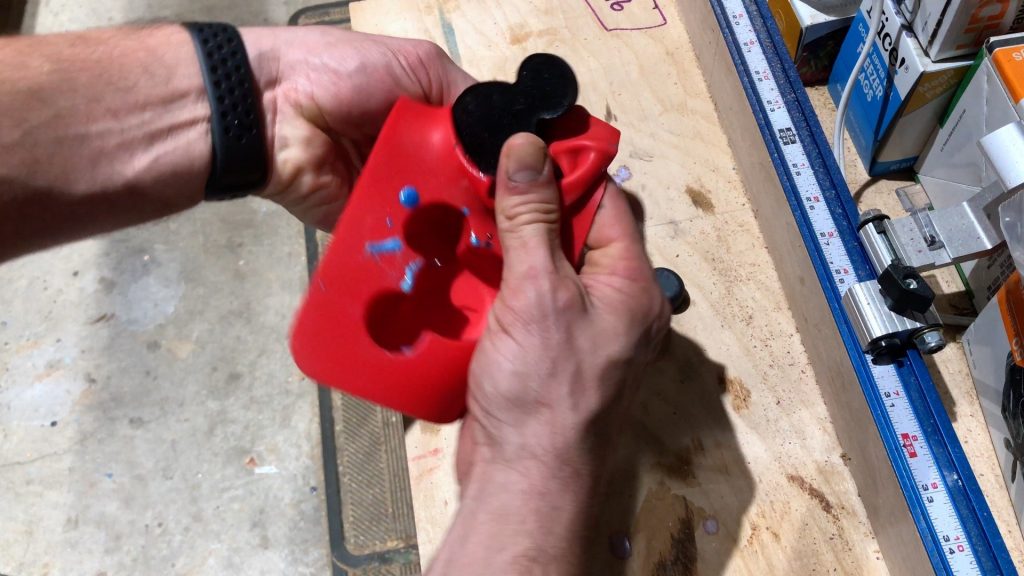
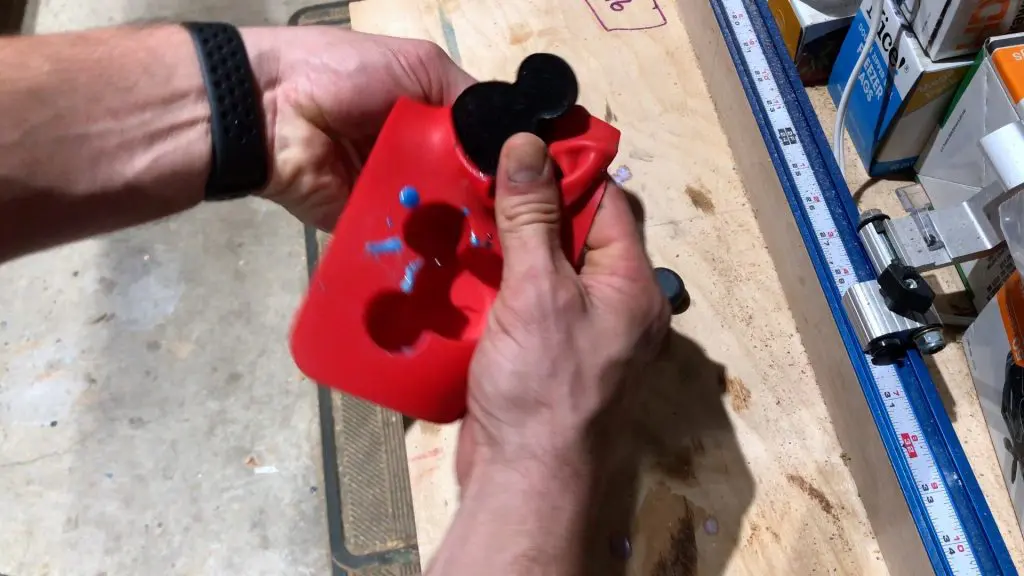
To remove the epoxy resin casting from the silicone mold, simply peel it back and the mold should release easily.
Test Different Color Combinations
As I mentioned, I made all my epoxy resin castings of Mickey Mouse ears from leftover epoxy resin from various projects.
As a result, I have many color variations of Mickey Mouse ears.
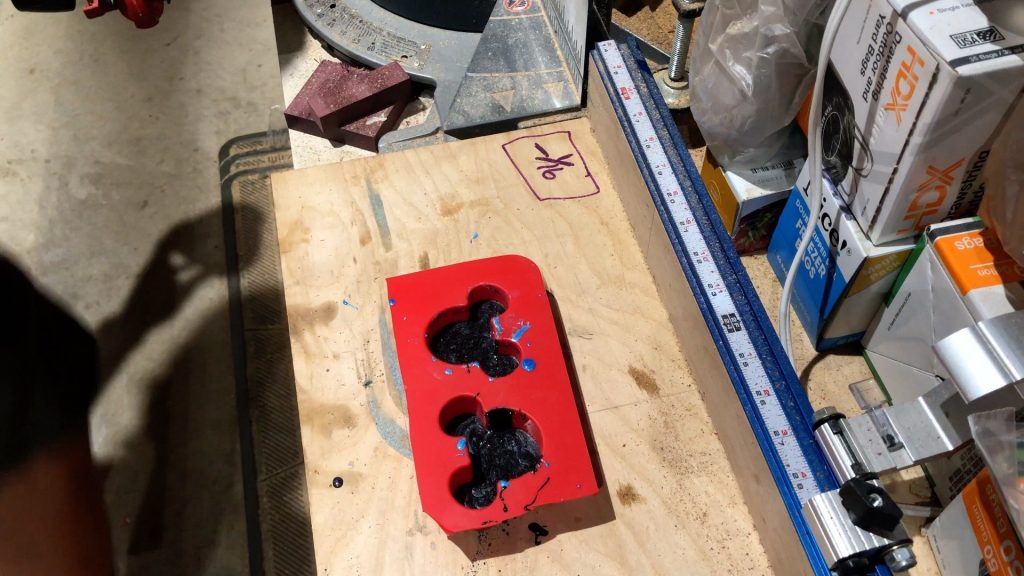
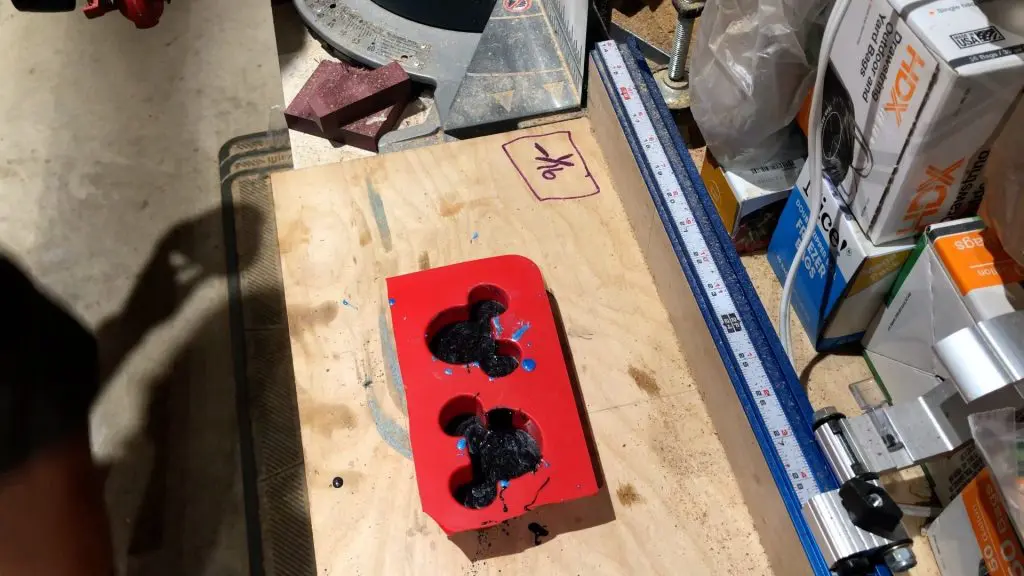
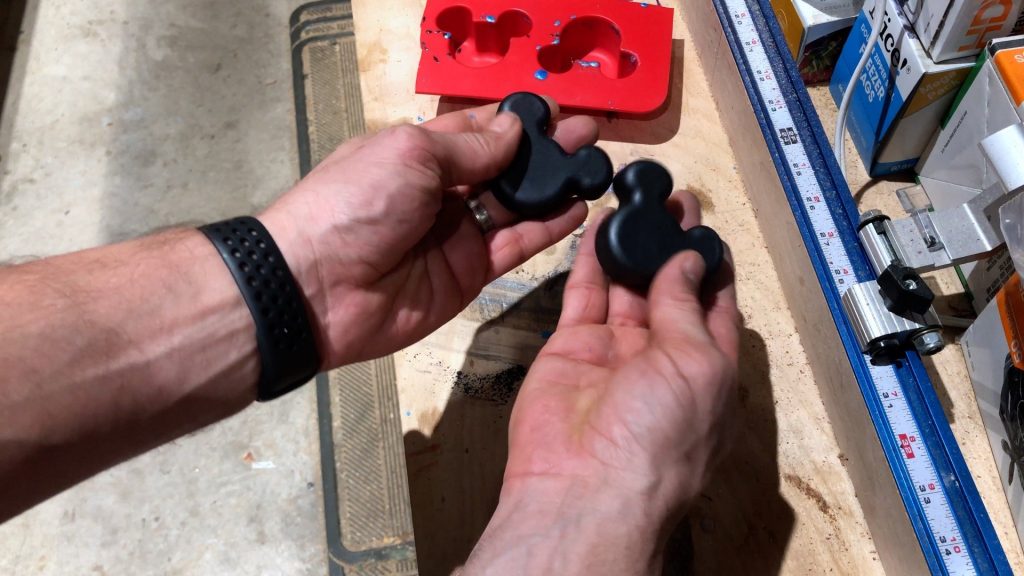
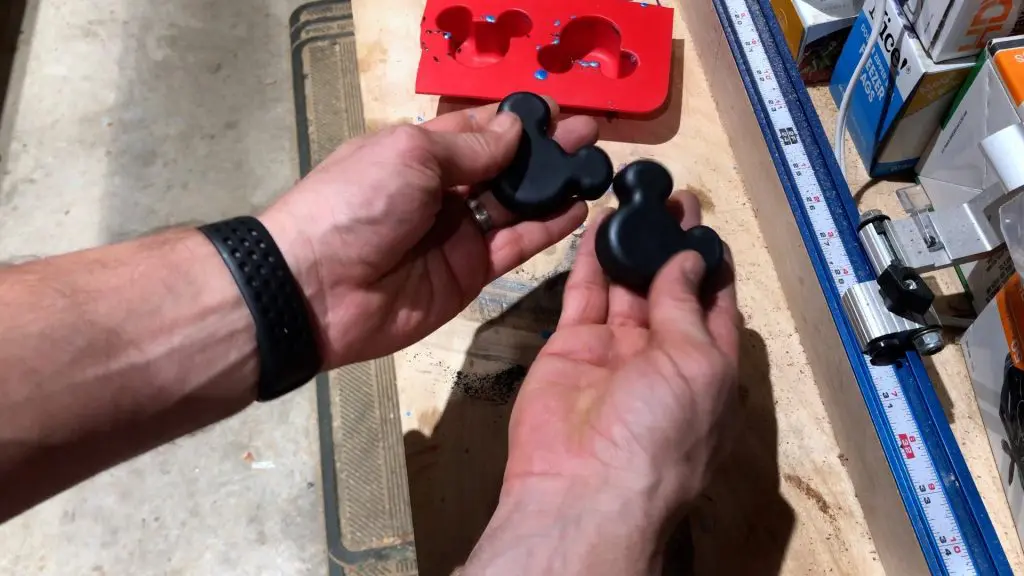
Experiment with different colors and a variety of silicone molds – just have fun with it.
Conclusion
In conclusion, I hope this resin casting with glow powder tutorial provided you with value.