
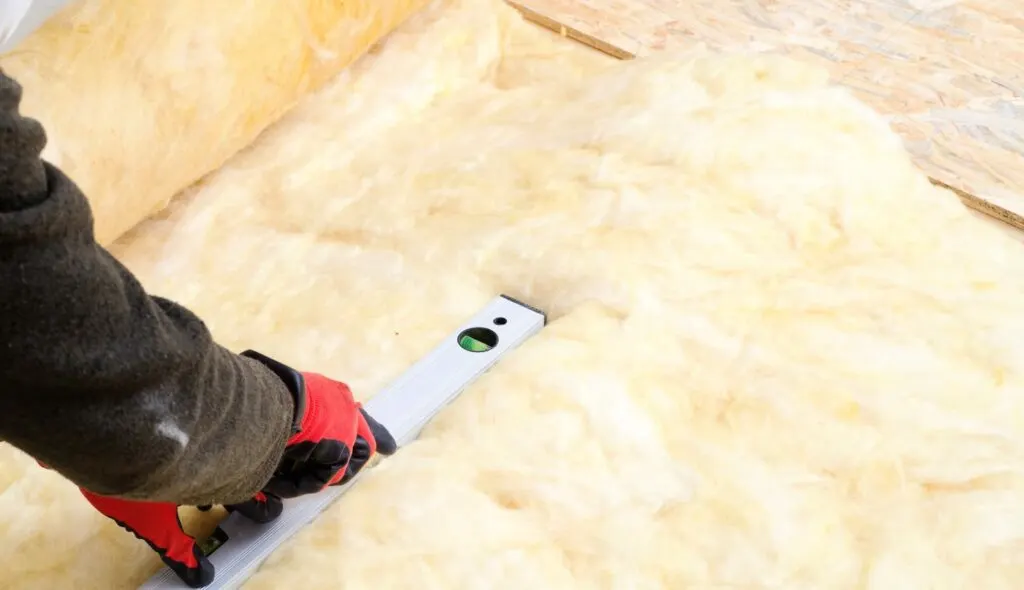
In this article, I cover the things you need to know about DIY spray foam insulation. Get the information you need to tackle this DIY project or hire an insulation contractor.
With energy costs steadily rising, many homeowners want to increase the energy efficiency of their home with spray foam insulation.
Luckily, DIY kits make it more affordable to install spray foam to replace old insulation and seal air leaks.
Are DIY spray foam kits the right choice for your project?
Should you hire professional installers for your spray foam installation?
Keep reading to learn the answers to these questions plus much more.
Here are some jump links to the main sections of this post.
- Best DIY Spray Foam Insulation Kits
- DIY Spray-Foam Insulation Considerations
- Types of Attic Insulation
- Spray Foam Insulation: Open-Cell vs Closed-Cell
- Benefits of Spray Foam Insulation
- DIY Spray Foam Insulation Cost
- Professional Contractor vs DIY
- DIY Spray Foam Installation Tips
- Is DIY Spray Foam Insulation Worth It?
DIY Spray Foam Insulation Kits and Gear
Hazmat Suit
Goggles and Respirator
Non Slip Shoe Covers
DIY Spray-Foam Insulation Considerations
The decision to use DIY spray foam insulation depends on the size of the job, skill level, and your budget.
Scope of Project
First, assess the size of your project.
For small jobs, a DIY spray foam kit works great and saves on labor costs.
However, the best choice for large areas is to hire a professional.
Skill Level
Second, evaluate your skill level.
If you lack experience in home improvement projects, DIY spray foam insulation is not a good idea.
Cost
Lastly, weigh the cost factor.
DIY spray foam insulation kits are typically more budget-friendly than hiring professionals.
However, an improper installation could cause serious problems costing you more in the long run.
A good contractor knows what type of spray foam to use as well as other main factors you may not consider.
The main reason to hire a professional is to remove the burden from your shoulders and prevent future problems.
Types of Attic Insulation
The 3 most common type of insulation found in home’s today are fiberglass, cellulose, and spray foam insulation.
Fiberglass Insulation

Fiberglass insulation remains one of the most popular and widely used types of attic insulation.
It consists of tiny glass fibers and is available in batts, rolls, or loose-fill form.
When properly installed for a home’s insulation, it provides a decent r-value rating at an affordable price.
Cellulose Insulation


Cellulose insulation, commonly referred to as blown-in insulation, is made from recycled paper products treated with fire-retardant chemicals.
It’s an eco-friendly option to insulate the floor of an attic space.
Cellulose insulation can be blown-in or installed by hand.
Moreover, cellulose insulation is known for it’s resistance to heat transfer and air infiltration.
Spray Foam Insulation
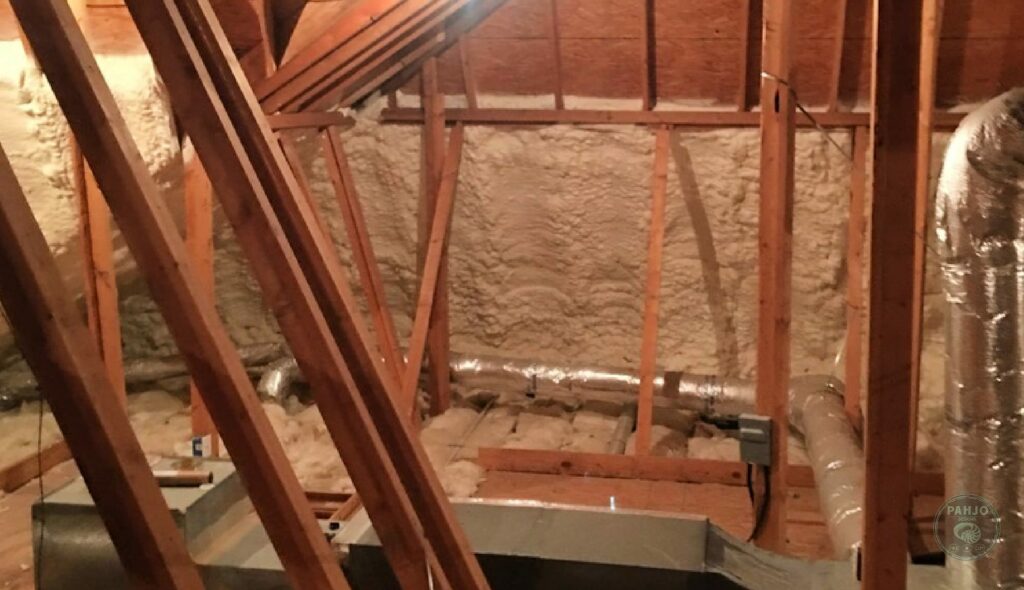
Spray foam insulation, either open-cell foam or closed-cell foam, provides high R-value and exceptional air-sealing properties.
Two main components comprise spray foam: a polyol resin and an isocyanate.
These two components are kept separate until they are sprayed.
Once sprayed, a chemical reaction occurs to create a foam.
This foam quickly expands and forms an airtight and thermal barrier when applied to a surface.
Spray Foam Insulation: Open-Cell vs Closed-Cell
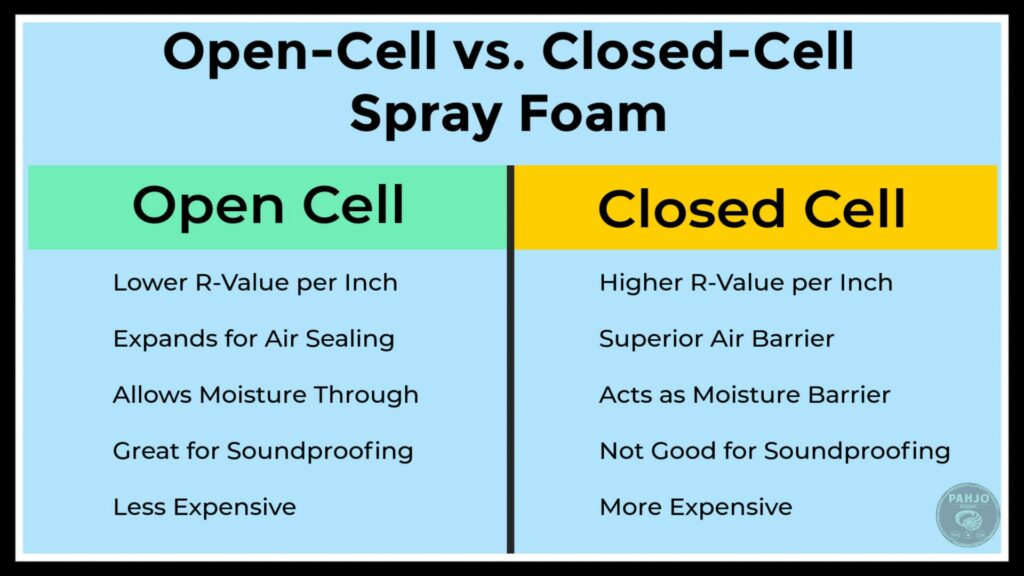
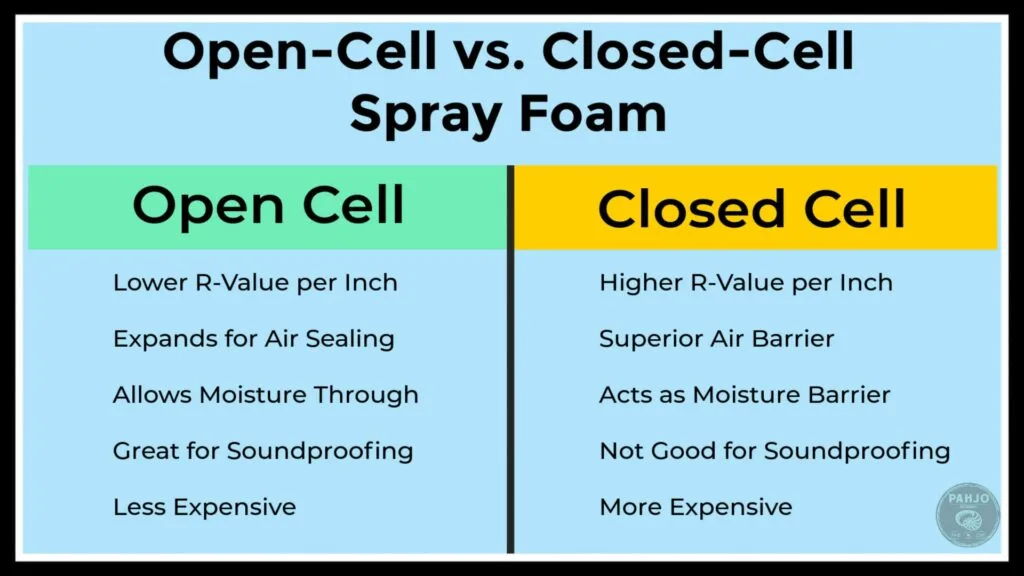
There are two primary types of spray foam insulation: open-cell and closed-cell foam.
Open-Cell Spray Foam
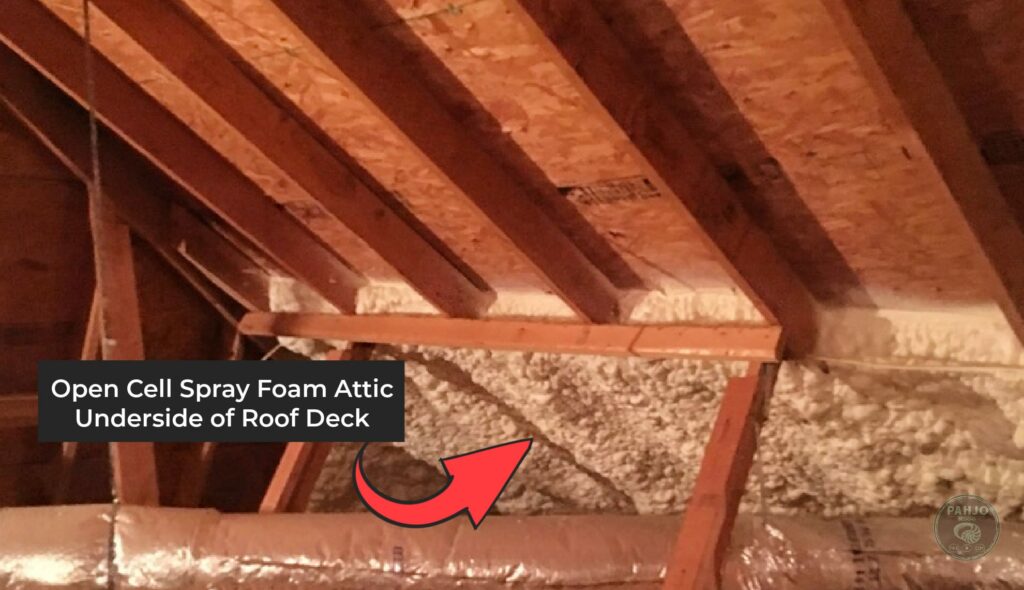
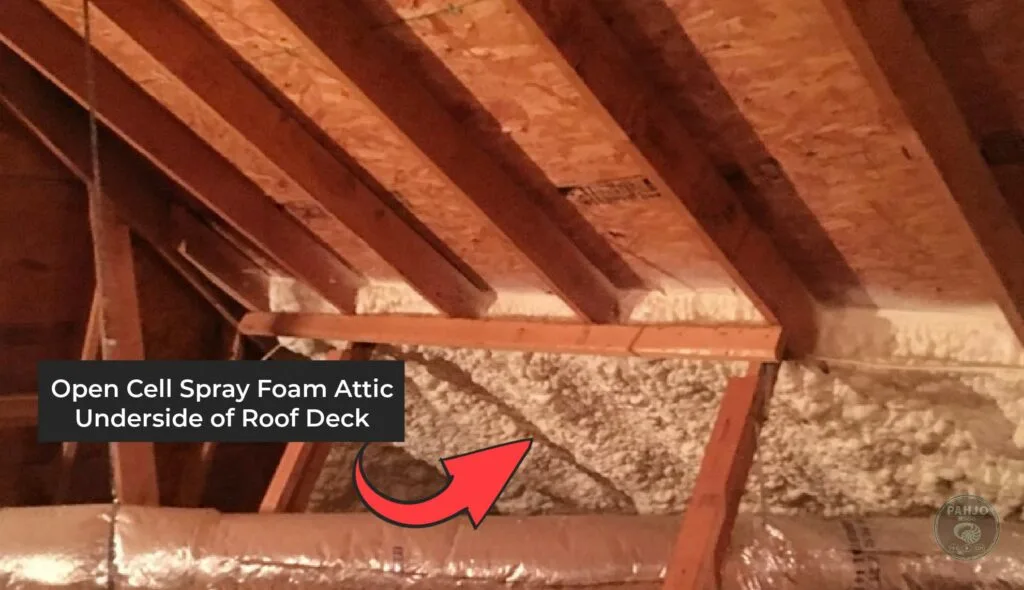
Open cell foam works well for soundproofing and insulating attic roofs.
This type of foam is less dense and has a lower R-value than closed cell foam.
However, it offers a higher r-value than fiberglass installation.
The moisture permeability allows water to pass through in order to identify roof leaks.
Closed-Cell Spray Foam
Closed-cell foam is denser and offers the highest R-value.
Also, close cell spray foam creates a moisture barrier and works well in a crawl space, rim joist, and an exterior wall.
Benefits of Spray Foam Insulation
While spray foam insulation costs more than other insulation, it offers many benefits:
- Air and Water Resistance: Closed-cell foam can serve as an effective air and vapor barrier, eliminating the need for additional vapor barriers.
- Energy Efficiency and Cost Savings: Properly installed attic insulation reduces heat transfer, lowering heating and cooling costs year-round.
- Soundproofing: Spray foam insulation works great as a sound barrier on interior walls.
- Longevity: Spray foam won’t settle over time like cellulose insulation.
- Mold Resistance: Spray foam is resistant to mold.
- Improved Comfort: Insulation helps maintain consistent temperatures throughout your home.
Spray foam insulation offers advantages over traditional insulation types.
This makes it a great insulation choice if your budget permits.
DIY Spray Foam Insulation Cost
DIY spray foam insulation kits cost in the range of $300 to $850 or $0.80 to $1.80 per board foot.
It’s important to note that a board foot equals one square foot with a thickness of 1 inch.
In other words, 12 inches by 12 inches by 1 inch.
This cost varies based on factors such as the type of foam, thickness, desired R-value, and the specific area of your home you plan to insulate.
Here’s a look at the average costs in board feet:
- Open-cell polyurethane: $0.45–$0.65
- Closed-cell: $1–$1.55
- Plant-based: $1.50–$3.00
- Water-based: $0.50–$2.50
While DIY kits can be more expensive per board foot, they are more economical for small projects like insulating crawl spaces are small exterior buildings.
Professional Contractor vs DIY
Now, let’s delve into a detailed comparison between DIY spray foam insulation and professional installation:
Pros and Cons of DIY Spray Foam Insulation
Pros of DIY Spray Foam
- Cost Savings: DIY kits cost less.
- Suitable for Small Projects: DIY kits work best in small attic spaces.
- Flexibility: You can work at your own pace.
Cons of DIY Spray Foam:
- Limited Expertise: DIYers may lack the experience of professional installers.
- Safety Concerns: Handling chemicals requires caution and protective gear.
- Risk of Mistakes: Errors in application can lead to inefficiencies.
Pros and Cons of Professional Spray Foam Insulation
Pros of Professional Spray Foam:
- Expertise: Professional installers have years of experience and training. This experience helps them avoid costly mistakes.
- Efficiency: Pros complete larger areas quickly.
- High-Quality Application: Professionals ensure a proper insulation job.
Cons of Professional Spray Foam:
- Higher Costs: Professional installation generally comes with higher labor and material costs.
- Scheduling: You’ll need to coordinate with contractors, which can be less flexible.
How To Choose between DIY Spray Foam or Hiring a Pro?
To make an informed choice between DIY and professional spray foam insulation, consider the following factors:
- Project Size: For small projects and tight budgets, DIY kits may be suitable. Professional installers are best for larger areas.
- R-Value Needs: If you require a high R-value, closed-cell foam applied by professionals may be the better option.
- Experience and Expertise: Assess your own DIY skills and comfort level. If unsure, consult a professional.
- Cost Considerations: Compare the costs of DIY kits, material, and labor for professional installation.
- Time Constraints: DIY projects may take longer, while professionals can complete work more efficiently.
DIY Spray Foam Installation Tips
A successful DIY spray foam insulation installation requires careful planning and execution. Here are some DIY tips:
- Plan Ahead: Make sure you have all the materials and a clear path to every place you need to work.
- Safety: A full body suit, googles, and a respirator must be worn to protect your skin and lungs from toxic fumes.
- Work Efficiently: Spray foam insulation requires efficiency. Once you start, you have to flow through the project. Keep in mind, the spray nozzle tip must be replaced if you stall for longer than 30 seconds.
- Monitor Conditions: Only apply spray foam insulation if the air, walls, and foam containers’ temperatures are above 65 degrees Fahrenheit. Furthermore, do not apply foam to a damp or wet surface.
- Proper Ventilation: Always work in a well-ventilated area. Use a fan to move the air out of the space.
Is DIY Spray Foam Insulation Worth It?
DIY spray foam insulation can be a cost-effective solution for small projects, such as insulating crawl spaces or soundproofing interior walls.
However, for larger areas or new construction, hiring a professional may be more cost-effective due to the bulk pricing they can access.
DIY spray foam insulation requires careful planning, execution, and safety precautions.
If you’re uncertain about any aspect of the installation process, hire a professional to perform the job.
Related Posts: