
In this article, learn all about a DIY front door replacement. From choosing a new door to performing a complete door installation, this article provides everything you need to know.
Are you tired of looking at your outdated front door each time you enter your home?
Do you feel worse when you think of the cost to hire a professional?
Today, I bring good news. A DIY front door replacement is easier than you think.
Here are some jump links to the main sections of this post.
Benefits of Replacing Front Door
Choose a New Front Door
How To Replace a Front Door
Common Problems and Solutions
Front Door Maintenance Tips
Benefits of DIY Front Door Replacement

A DIY front door replacement offers several benefits for homeowners.
In fact, it’s the most noticeable of all renovation projects.
It provides significant cost savings compared to hiring professional installers.
Keep in mind, a building permit may be required under certain circumstances.
For example, if you decide to change the size or shape of the current door.
Also, consider your skill level and the complexity before you decide to install a new exterior door.
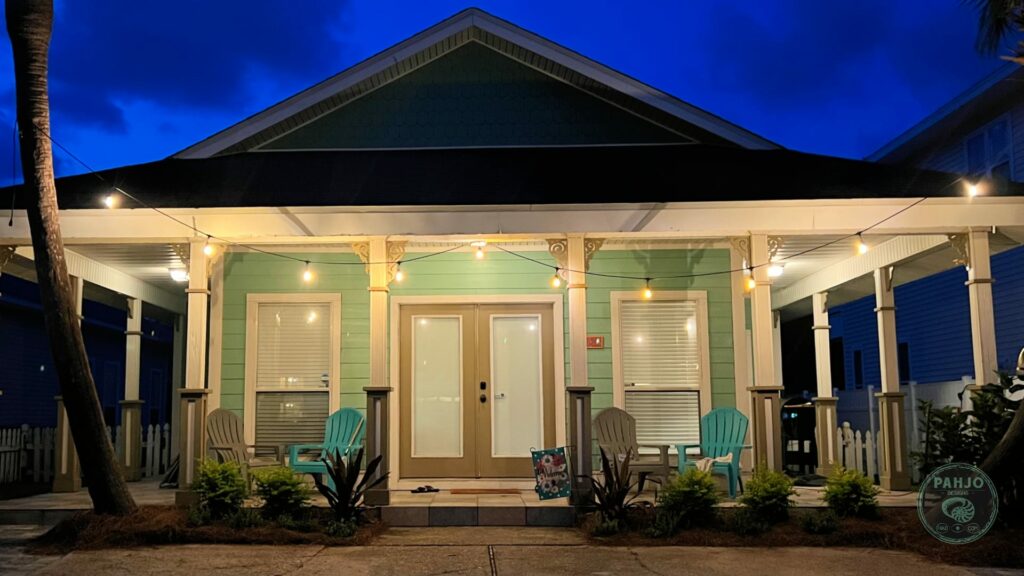
Curb Appeal
A new front door can enhance the look of your home.
It’s often the first thing visitors or potential buyers notice.
Better Security
Modern front doors often come with advanced security features.
These features include reinforced frames, multiple locks, and impact-resistant materials, providing better protection against break-ins.
Energy Efficiency
Upgrading to a well-insulated front door improves your home’s energy efficiency.
This means better temperature control, lower energy bills, and eliminating wood rot.
Reduced Maintenance
Newer materials and finishes require less maintenance than older doors.
You’ll spend less time and effort on painting, staining, and repairs.
Better Insulation
Properly insulated front doors help maintain a comfortable indoor environment by keeping out drafts and noise. This is especially important in regions with extreme weather conditions.
Increased Home Value
A stylish, well-installed front door can increase the resale value of your home. It’s an investment that can yield returns when you decide to sell your property.
Personalization

When you replace your front door, you have the opportunity to choose a style, color, and material that matches your home’s architecture and reflects your personal taste.
Durability
New doors are built to last, often with materials designed to withstand wear and tear, weather, and UV exposure.
Improved Functionality
A new front door can come with updated features including locks, weatherstripping, and smoother operation.
Safety
In the case of extreme weather events like hurricanes or tornadoes, prehung storm door kits resist impact and provide better safety for your family.
How To Choose a New Front Door
Before replacing a front door, the first step is to choose a new front door.
This important decision greatly impacts the look, security, and energy efficiency of your home.
So, don’t rush into a store and purchase the first new front door you see.
The process involves several important considerations to ensure you make the right choice.
Door Material
First, decide on if you want a steel door, wood door or fiberglass doors
Wood doors offer a classic look but require more maintenance.
Conversely, fiberglass doors resemble wood, are durable, and low-maintenance.
Steel doors offer high durability, security, and energy efficiency. However, they cost more.
Choose based on your style, maintenance preferences, and security needs.
Style & Color
Next, think about the style and aesthetic appeal.
The front door offers a focal point of your home’s exterior, so it should complement the architectural style.
A few common styles for entry doors include traditional, contemporary, and rustic. More on the various styles later.
Keep in mind that your front door is an opportunity to express your personal taste and make a statement about your home.
Security
Security is another critical factor.
The front door is your first line of defense against intruders, so select a door with robust locking mechanisms and sturdy materials.
Choose doors with multiple locks and deadbolts, reinforced frames, and impact-resistant glass for max security.
Energy Efficiency
Energy efficiency provides a more comfortable indoor environment and reduces your utility bill.
Also, energy-efficient doors significantly contribute to a more eco-friendly and cost-effective living space.
Maintenance Considerations
Lastly, don’t forget to consider durability and maintenance.
Different materials, such as fiberglass, steel, and wood, have varying maintenance requirements.
Choose a material that suits your lifestyle and climate conditions.
Wood doors, for example, offer a classic look but may require more maintenance.
Fiberglass and steel doors tend to be low-maintenance options.
Common Sizes
Front door sizes vary, but there are common dimensions for residential front doors in the United States.
These standard doors are typically based on the width of the door. The standard sizes are listed below:
- Single Door:
- 36 inches (3 feet) in width by 80 inches (6 feet 8 inches) in height.
- 32 inches (2 feet 8 inches) in width by 80 inches (6 feet 8 inches) in height.
- Double Doors (French Doors):
- 72 inches (6 feet) in width by 80 inches (6 feet 8 inches) in height.
- 60 inches (5 feet) in width by 80 inches (6 feet 8 inches) in height.
Obviously, custom front doors introduce non-standard openings. So, always measure your doors as these may be custom.
How to Measure Your Front Door
You must accurately measure the existing size door to make sure you select the right-sized replacement door.
Follow these steps to get accurate measurements:
- Remove the Trim: If your door has any exterior trim or molding around it, gently remove it. This exposes the rough opening and makes measuring easier.
- Width Measurement:
- Measure the width of the door frame from the inside of the left jamb to the inside of the right jamb. Measure in several places to ensure accuracy, as door frames may not be perfectly square. Use the smallest measurement to ensure the new door will fit.
- Height Measurement:
- Measure the height of the door frame from the top of the threshold (the bottom part you step on) to the top of the opening, which is often the underside of the top trim or header.
- Depth Measurement:
- Measure the depth or thickness of the door. Standard residential doors are typically 1 3/4 inches thick, but it’s important to confirm this measurement, especially if you have a non-standard door.
- Rough Opening Measurement:
- Measure the rough opening, which is the space between the door frame’s studs. Measure from the left side stud to the right side stud for the width, and from the bottom of the threshold to the top of the opening for the height.
- Note Any Obstacles: Take note of any obstructions or features that might affect the installation, such as electrical outlets, light switches, or vents near the door. This will help you select a door that accommodates these features.
- Consider Door Swing: Determine the swing direction of your door (inward or outward) and note if it’s a left-hand or right-hand swing when viewed from outside. This information is crucial when selecting a new door.
- Jot Down Measurements: Record all measurements accurately and double-check them to ensure they’re correct. It’s often helpful to draw a rough diagram to visualize the dimensions.
Door Swing
Door swing, also known as door handing, refers to the direction a door opens and closes.
There are four common types of door swings:
- Inswing Door: An inswing door swings into the interior of the building. When you stand outside the room, if the door’s hinges are on the left, and it opens towards you, it’s a left-hand inswing (LHI) door. If the hinges are on the right and it opens toward you, it’s a right-hand inswing (RHI) door.
- Outswing Door: An outswing door swings out of the building. An outswing door will be labeled as a left-hand outswing (LHO) or right-hand outswing (RHO) based on the hinge and opening direction when viewed from outside.
- Left-Hand Door: This type of door has hinges on the left side when viewed from outside. The door can be either inswing or outswing, and its designation as inswing or outswing will depend on the direction it opens.
- Right-Hand Door: Similar to a left-hand door, this door has hinges on the right side when viewed from outside, and it can be either inswing or outswing.
When choosing a new front door replacement, be sure to make note of your door swing.
The wrong door swing can affect the usability and flow of your living space.
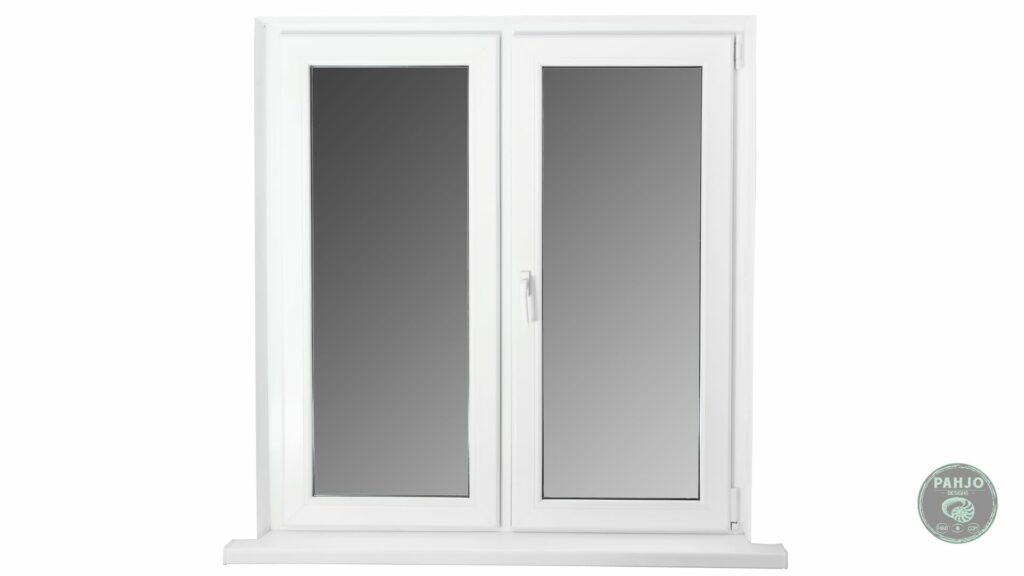
What is a PreHung Door
A pre-hung front door includes a complete front door system often sold at big box stores such as Home Depot or Lowes.
It includes the door, door frame, hinges, and the threshold.
Furthermore, a prehung exterior door comes pre-assembled and ready to be installed as a single unit.
Obviously, this makes installation much easier.
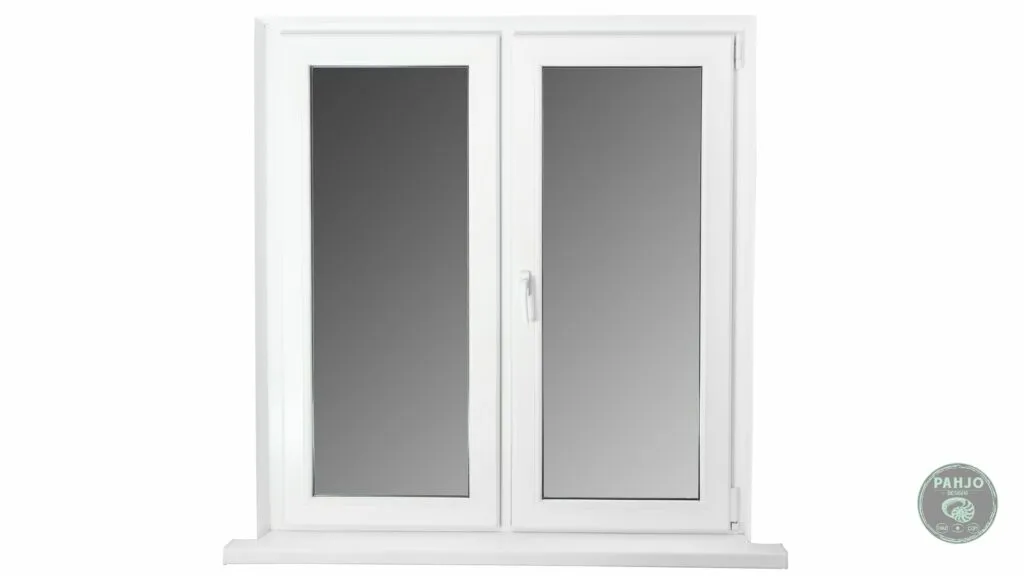
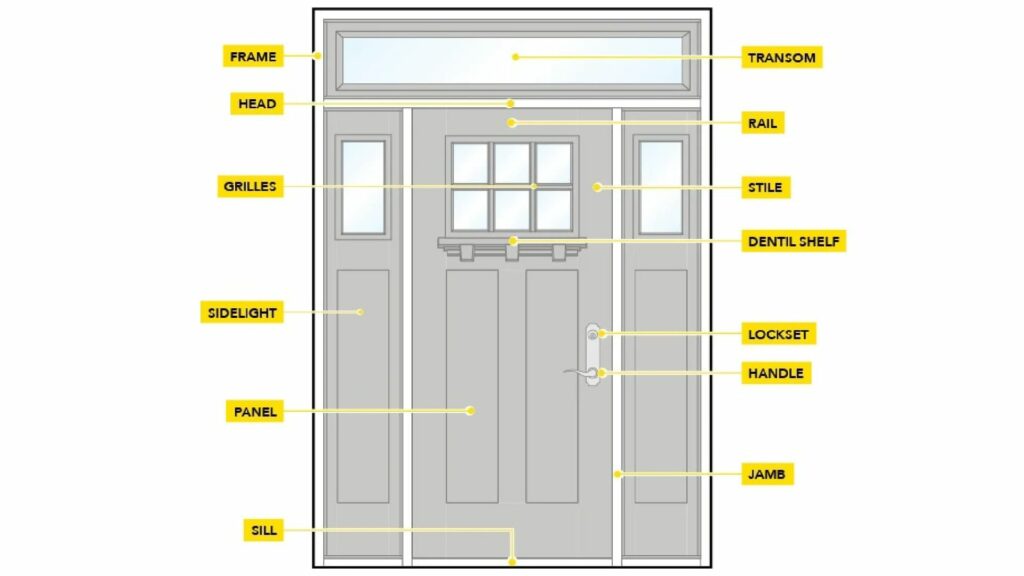
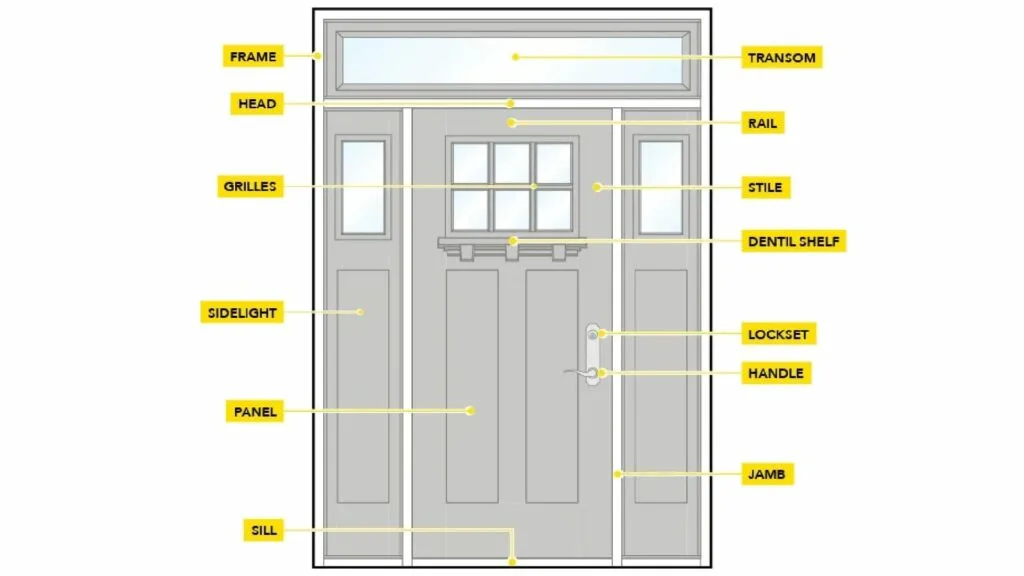
Here are the key components of a pre-hung front door:
- Door Slab: This is the actual door panel, which can be made from various materials like wood, fiberglass, or steel. Normally, it comes with pre-drilled holes for hardware like the doorknob and deadbolt.
- Door Frame: The door frame consists of the vertical side jambs and the horizontal head jamb. It is pre-fitted to the door slab, ensuring that the door fits perfectly within the frame.
- Hinges: Pre-hung doors typically come with the hinges already attached to the door and the frame. This ensures that the door swings correctly and makes installation easier.
- Threshold: The threshold, or sill, is the bottom part of the frame that rests on the floor. It helps to seal the bottom of the door and prevent drafts or water from entering your home.
- Weatherstripping: Many pre-hung doors include weatherstripping to provide a better seal against the elements, improving energy efficiency.
- Hardware: While the doorknob and deadbolt are not always included, some pre-hung doors come with the necessary hardware for installation.
The main advantage of a pre-hung front door is easier installation.
However, the dimensions of the door frame should match the rough opening in your wall, so proper measurements are crucial when selecting a pre-hung door.
How To Replace an Exterior Front Door

To successfully complete a DIY front door replacement for a fresh new look, follow the steps below
Necessary Tools and Material
Replacing a front door equires the right tools and materials.
Also, I encourage you to rent special tools for door installations to save money.
Level
Screwdrivers
Hammer
Chisel
Utility Knife
Cordless Drill
Hand Saw
Pry Bar
Adjustable Wrench
Safety Glasses
Hinge-mortising jig
el=”noreferrer noopener sponsored nofollow”>Caulk
Lockset
Hinges
Threshold
Front Door Paint
Wood Finish
Wood Filler
Sandpaper Blocks
Before starting your front door replacement project, double-check the manufacturer’s instructions and recommendations for specific tools and materials that may be required for your particular door model.
Safety Precautions
For this DIY project, safety should be a top priority.
Always wear protective gear such as safety glasses, work gloves, and ear protection.
This prevents injuries from sharp tools, debris, and loud noises.
Obviously, exterior doors are heavier than an interior door.
So, ask someone to help you lift the door during installation.
Remove the Old Front Door
Start by carefully removing the old front door.
This process involves unscrewing and removing all hardware, including doorknobs, locks, hinges, and kick plates.
Additionally, take out any trim or molding around the door frame.
Be cautious to avoid damaging the wall or the door during removal.
Remove Hardware
This step focuses on removing all the hardware from the old door, including locks, handles, and hinges.
Depending on the type of hardware, you may need various tools like screwdrivers and pliers to detach them from the old door.
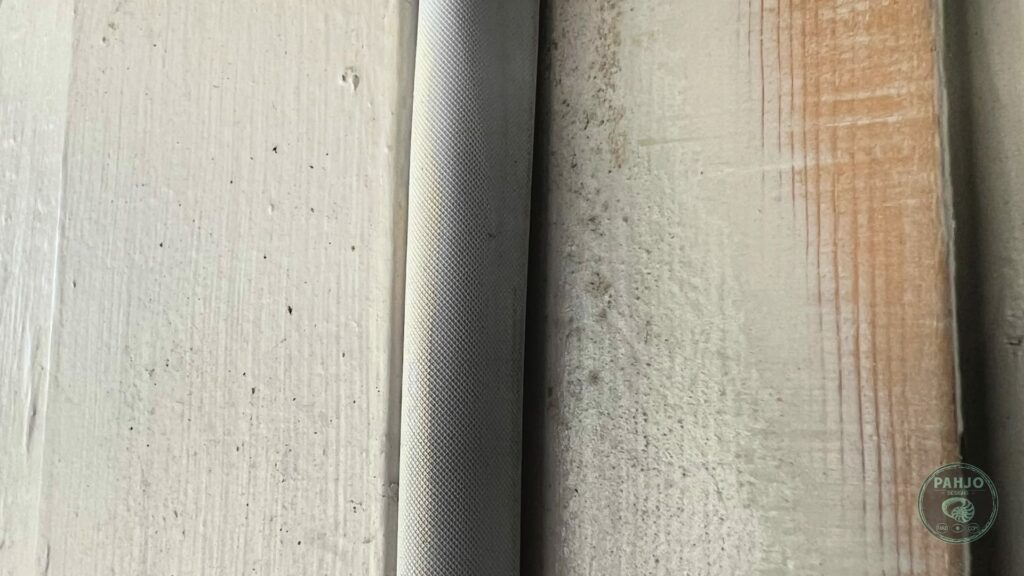
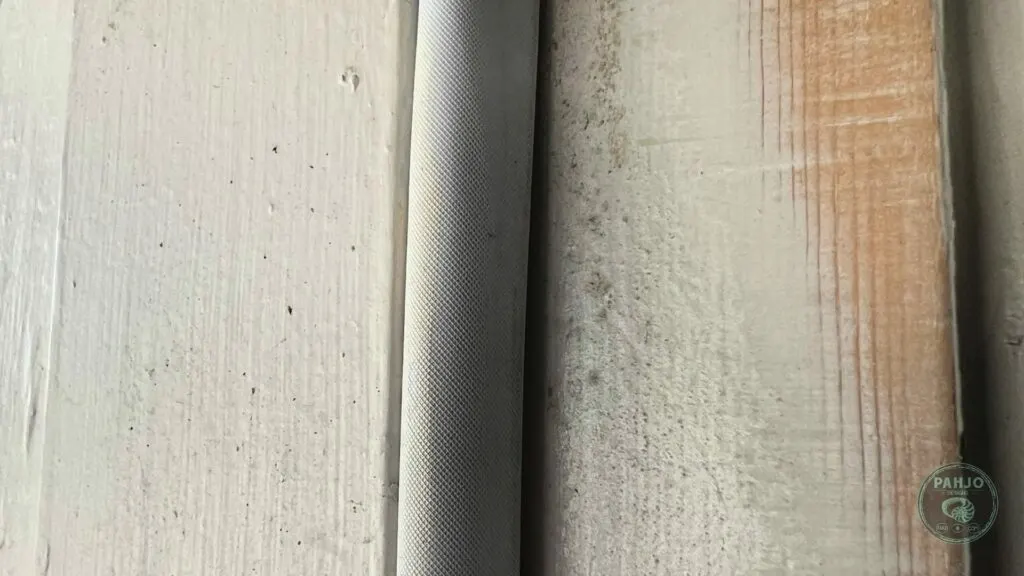
Inspect the Frame
After removing the door, thoroughly inspect the old door frame for any signs of damage, rot, or structural issues.
Most importantly, address any problems with the frame and make necessary repairs to ensure a stable foundation for the new door.
Clean the Frame Opening
Clean the frame opening by removing dust and debris.
A vacuum or soft brush makes cleaning the frame opening easy.
A clean surface ensures a better seal and fit for the new door.
Once the frame is cleaned, proceed to the next step.
Prepare the Frame
To prepare the frame, check for level, square, and plumb.
If it’s not, you may need to make adjustments by shimming or realigning it.
Next, install a door sill or flashing tape to protect the lumber of the door frame from moisture.
Make sure the sill plate is level and does not prevent the door from opening or closing.

Then, install flashing tape over the entire frame. Also, make sure to overlap the flashing tape.
Test the New Door
Start by placing the door within the opening without securing it permanently.
Check that it’s level, plumb, and square, using shims as needed for support and adjustment.
Ensure proper alignment with the strike plate, allowing for a smooth latch.
Maintain an even gap around the door’s perimeter using shims.
Confirm there are no drafts or gaps when the door is closed.
Temporarily secure the door with a few screws once you’re satisfied with the fit.
Install the Exterior Door
First, run a bead of caulk or sealant around the three exposed sides of the door and the sill plate.
Next, carefully place the new door into the side of the door jamb.
If needed, shim the door at the bottom door sill and sides as necessary to keep it in position.
Adjust and Level
After hanging the new door, secure it in place with temporary screws.
Next, adjust the hinges or strike plate to ensure the door is level, plumb, and properly aligned.
The door should open and close smoothly with a secure fit and airtight seal.
Once level and plumb, use longer screws to secure it in place.
Seal the Door
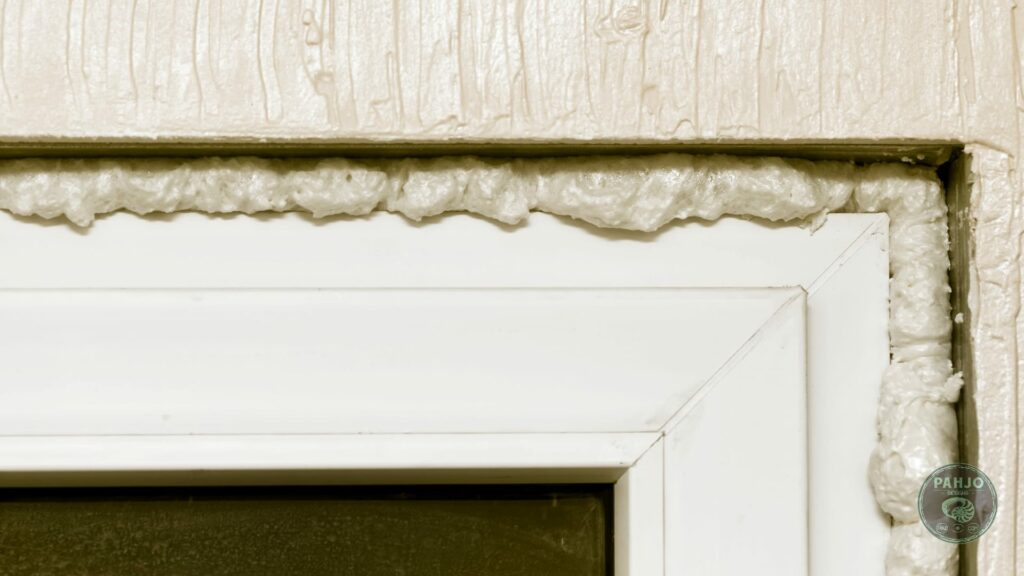
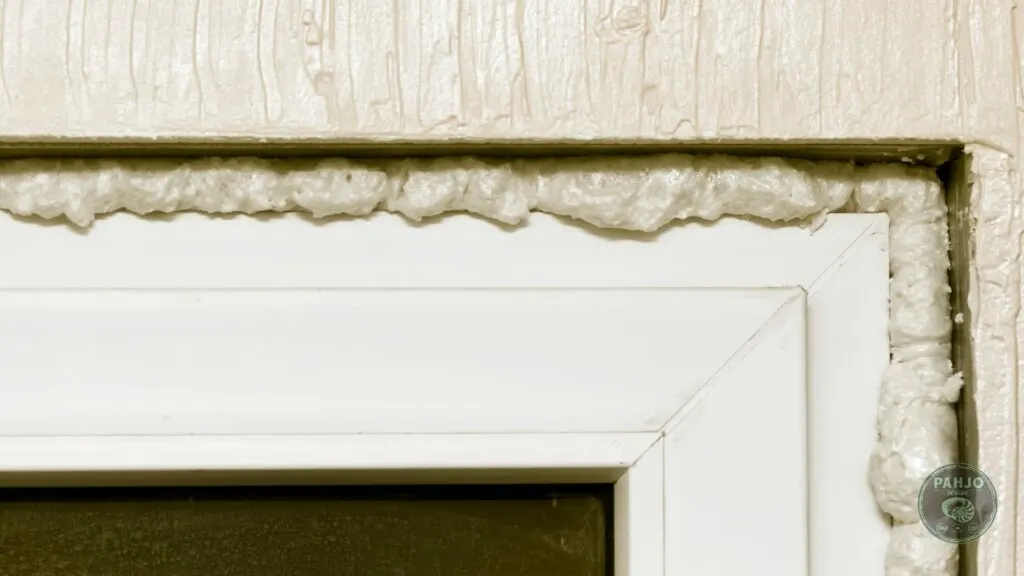
Once level, trim the shims and seal the door with spray foam.
You should apply spray foam insulation in two specific areas.
The first area is between the side of the door jam, while the other is between the frame.
To optimize energy efficiency, make sure to seal the open gap in all areas.
This involves finding the right balance between applying sufficient foam without obstructing the door’s placement.
Once the spray foam has dried, use a utility knife to trim any excess material.
Additionally, use caulk to create a seal around the exterior side of the brickmould.
This caulk bead serves as a protective barrier against water infiltration, safeguarding your home from potential damage.
Install Door Weather Stripping
Weatherstripping seals gaps and preventing drafts around the door frame.
The door frame normally has slots pre-built for weatherstripping.
Once installed, test the weather stripping by closing the door. It is a good idea to not skip this step.
The door shut fit snug to the frame and make for an energy-efficient
Add Hardware and Accessories
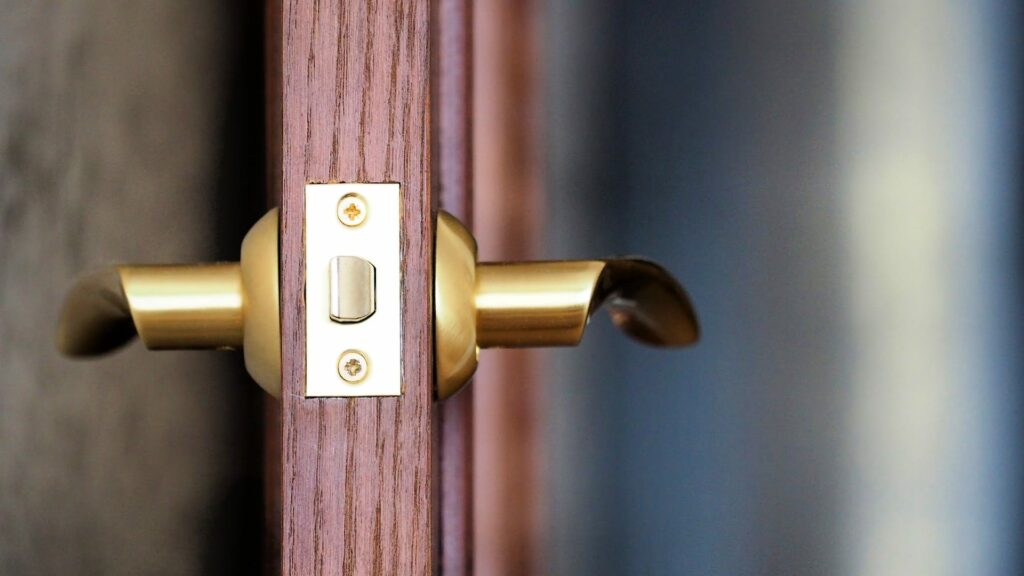
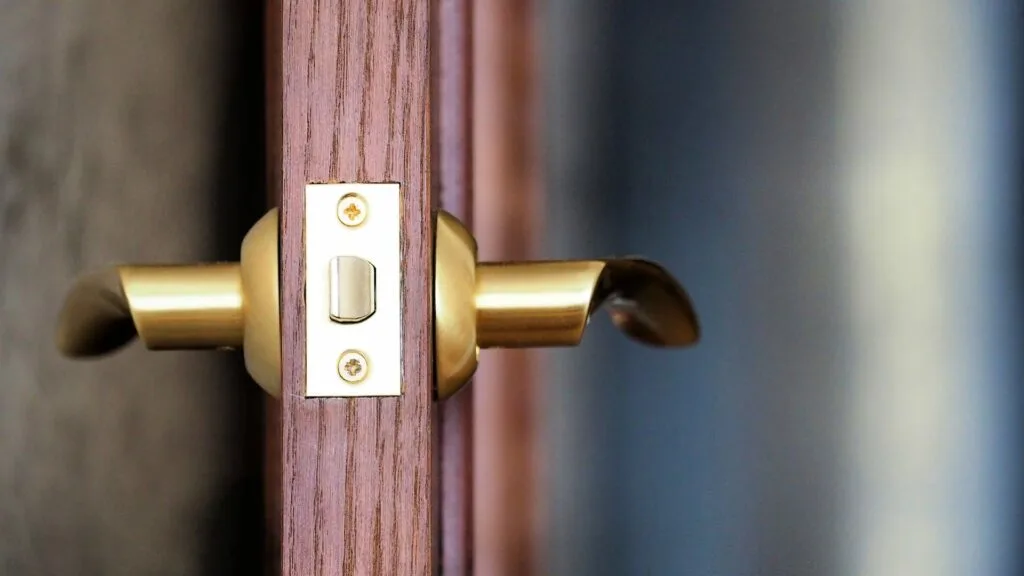
Install the doorknob or door handles and deadbolt by following the manufacturer’s instructions.
Securely attach the strike plates to the door frame, ensuring they align with the locks.
If your door has a peephole or viewer, drill a hole for it at the desired height and install it securely.
Complete the process by adding any additional hardware like kick plates, door knockers, or a mail slot, securing them according to the manufacturer’s guidelines.
Verify that all hardware is functioning correctly and that the door opens, closes, and locks smoothly before considering the installation complete.
DIY Front Door Replacement Finishing Touches
After your DIY front door replacement, you have several options to choose from.
When finishing a new front door, most people use either paint or stain.
If you choose to paint, make sure to apply primer and use exterior rated front door paint.
Multiple coats may be necessary for an even finish.
Paint offers a wide range of color choices and options.

On the other hand, staining the door showcases the natural beauty of the wood, and you can choose from various shades and finishes.
Before applying stain, make sure to apply a wood conditioner before the stain and a wood protective finish after the stain.

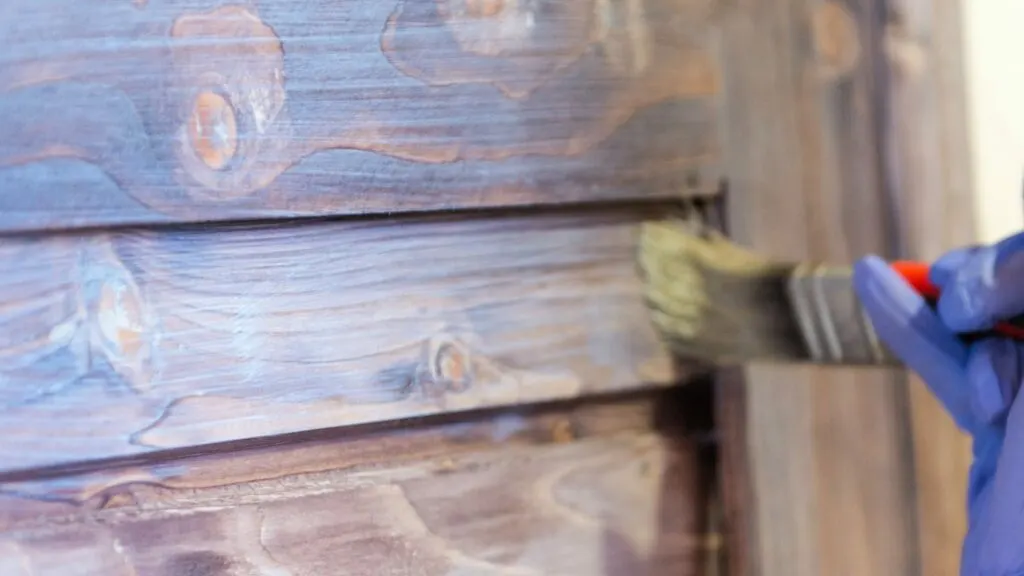
The wood conditioner enables the stain to sink into the wood while the protective finish protects the stain for years to come.
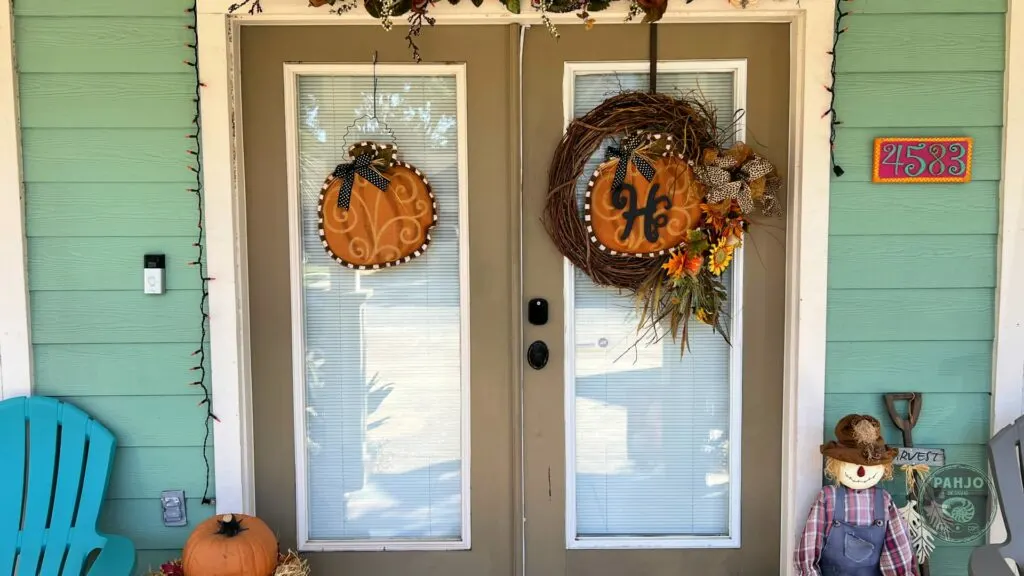
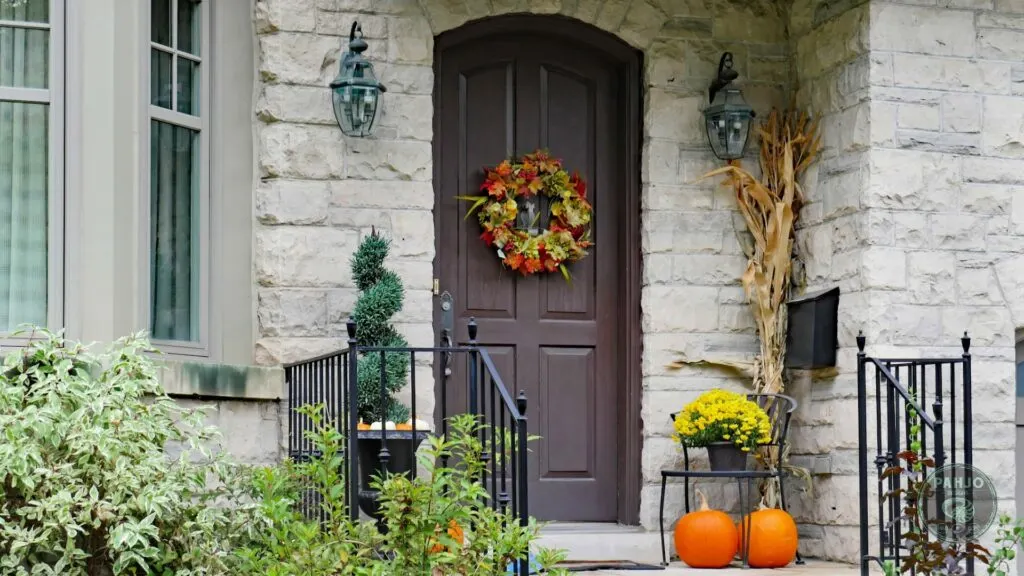
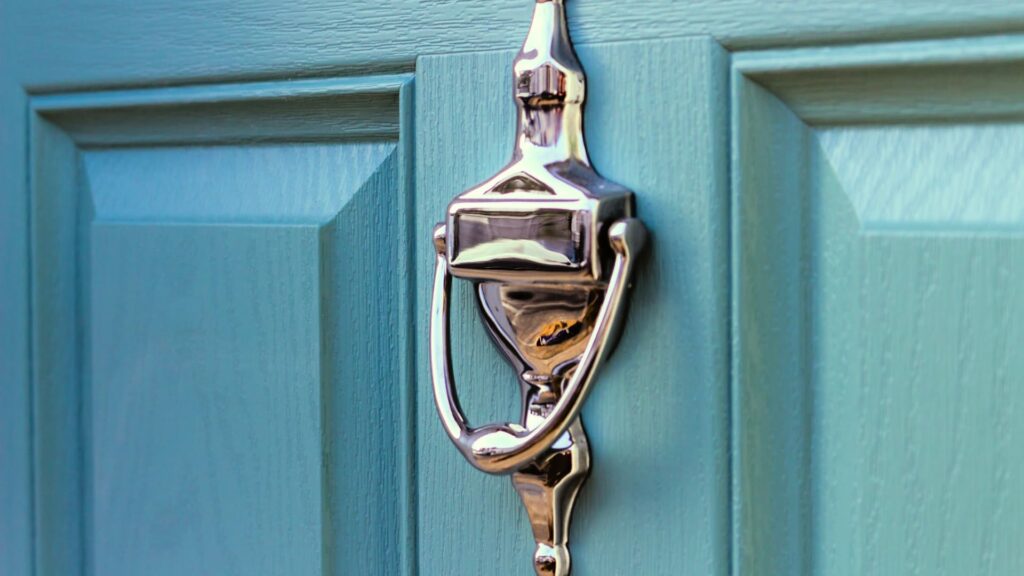
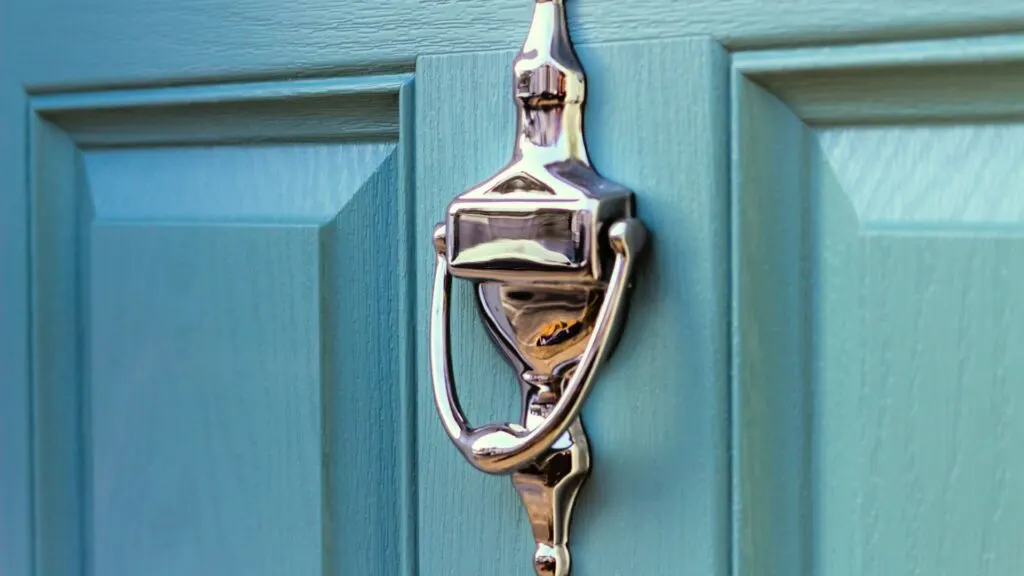
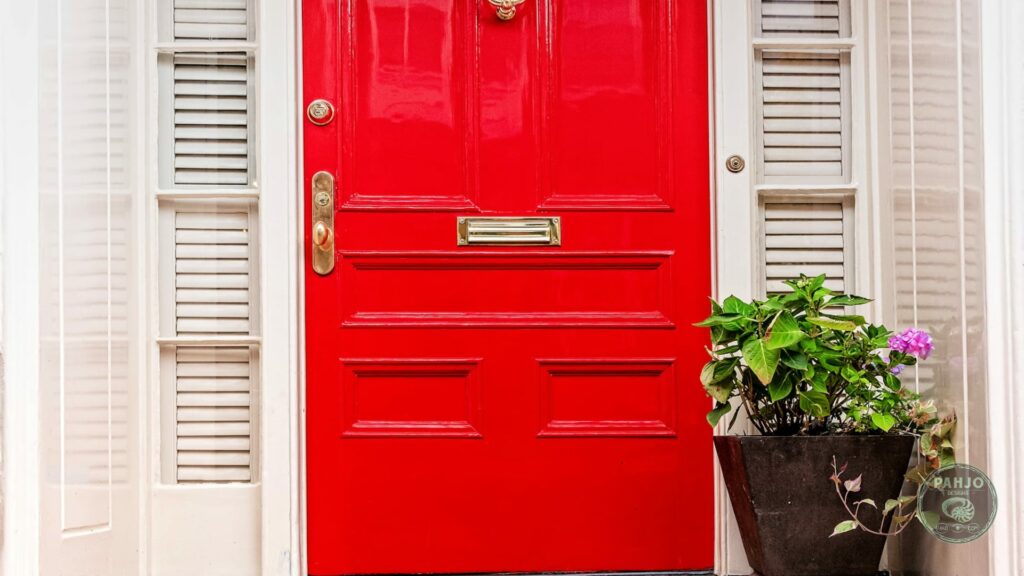
Personalization and Curb Appeal
Adding some bling to your new front door makes a significant difference in the appearance.
Consider adding exterior and interior trim, sidelights, a transom window, or stylish hardware like door knobs, kick plates, and door knockers.
Additionally, lighting fixtures such as sconces or a well-placed porch light, highlight the door’s features and make it more inviting.
Overall, attention to detail transform your new front door into a stunning focal point that raises your home’s curb appeal.
Common Problems with Solutions
Certainly, here are some common challenges when replacing a front door and their corresponding resolutions:
Incorrect Measurements
Measure the door frame accurately to ensure the new door fits perfectly.
Frame and Door Level
Use shims or adjust the frame as needed to make it level and plumb. This makes for a proper fit for the new door.
Structural Damage
Address any structural damage in the wall or frame by making necessary repairs before installing the new door.
Inadequate Weatherproofing
Improve sealing and insulation around the door frame with weatherstripping and proper caulking during installation.
Check the sill area, sill plate and the top of the frame in addition to the sides of the door frame.
Security Concerns

Choose a door with advanced security features, such as reinforced frames and multiple locks, to enhance home security.
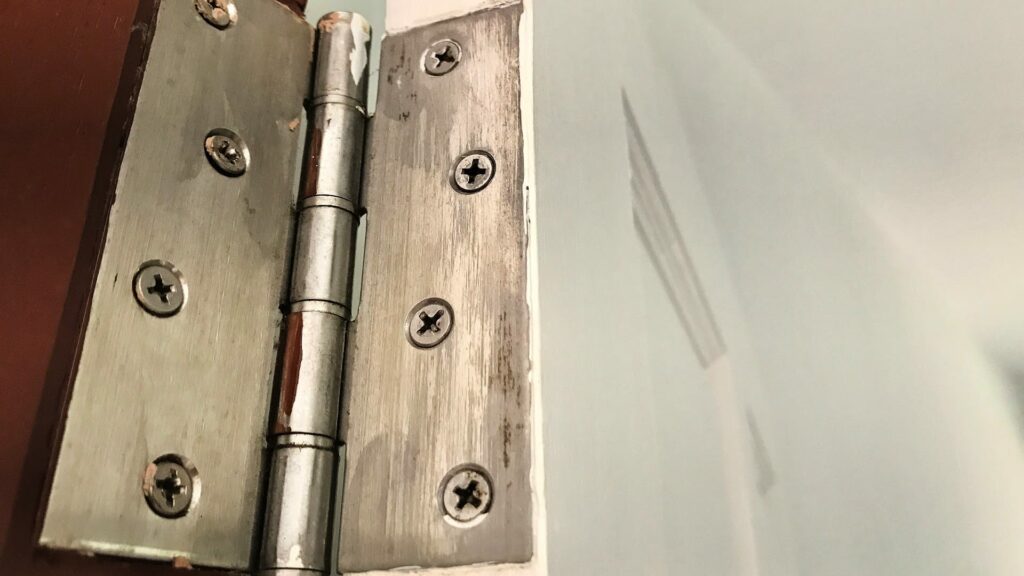
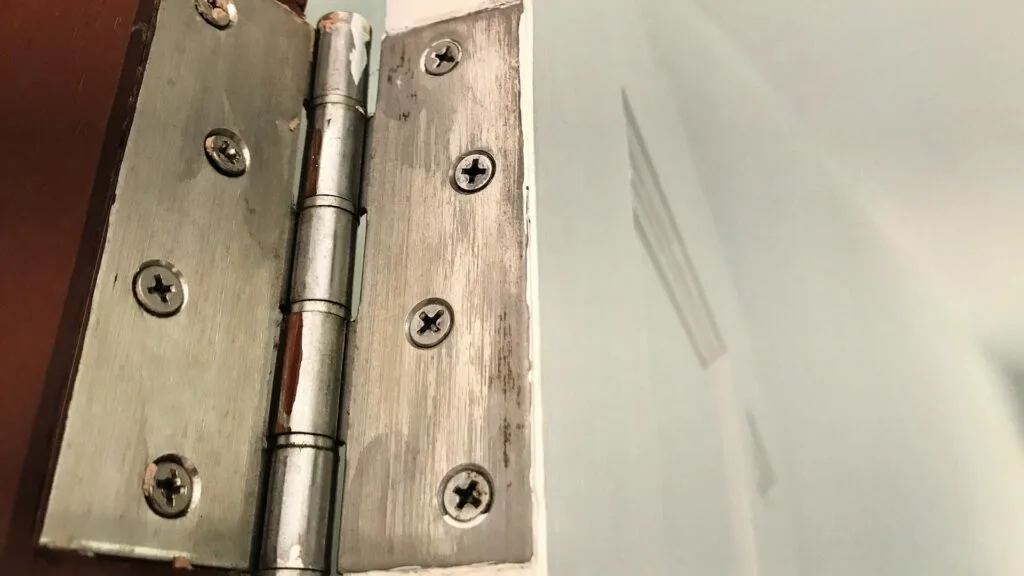
Hinge and Hardware Compatibility
Replace hinges, hinge pins, and hardware if they are incompatible with the new door, ensuring smooth operation.
Paint or Finish Issues
Carefully match the paint or finish of the new door to the existing frame for a consistent appearance.
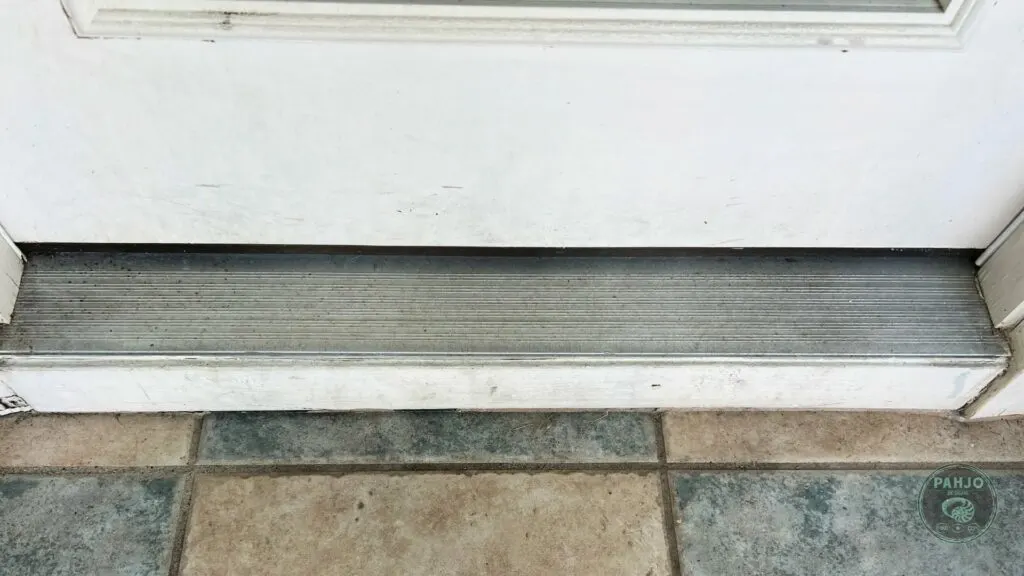
Threshold Adjustment
Adjust the threshold to ensure it seals tightly with the new door. A slab door can have a different thickness.
Challenges with Old Materials
Properly remove and dispose of old or deteriorated materials. Replace them as needed for the new installation.
Improper Installation
Ensure the new door is installed correctly. Hire a professional installer if needed.
Permit and Code Compliance
Research local building codes and obtain necessary permits before replacing the door to ensure compliance.
Environmental Factors
Plan the installation around weather conditions and consider covering the work area if necessary to protect it from rain or extreme temperatures.
Maintenance Tips
After a DIY front door replacement, here are some periodic maintenance tips to keep your new door in excellent condition:
- Regular Cleaning: Clean the door’s surface regularly with a gentle detergent or mild soap and water. Avoid abrasive cleaners that could damage the finish.
- Check for Seal Integrity: Periodically inspect the weatherstripping, bottom of the sill, and door sweep to ensure they’re in good condition. Replace them if they show signs of wear or damage to maintain energy efficiency.
- Lubricate Hardware: Apply lubricant to the hinges, locks, and other hardware components to keep them operating smoothly and prevent rust or corrosion.
- Repaint or Refinish: If you have a wood door, monitor the paint or finish for signs of wear or peeling. Touch up or refinish the door as needed to protect it from the elements.
- Inspect Caulk and Insulation: Regularly check the caulk around the door frame and insulation for gaps or damage. Reapply caulk and replace insulation as necessary to maintain a weatherproof seal.
- Clean Glass and Hardware: Clean the glass and hardware regularly to maintain a polished appearance and prevent tarnishing or buildup of dirt and grime.
- Check Security Features: Ensure that all security features, including locks and deadbolts, are functioning correctly. Tighten loose screws and make adjustments as needed.
- Maintain the Threshold: Keep the threshold clean and ensure it’s properly sealed. Make adjustments as required to maintain a tight seal between the door and the threshold.
- Inspect the Frame: Periodically check the door frame for any signs of damage or rot, especially if you have a wood frame. Address any issues promptly to prevent structural damage.
- Seasonal Checks: Conduct more thorough checks and maintenance before each change in the season to prepare your door for varying weather conditions.
By following these maintenance tips, you can ensure that your DIY front door replacement remains in good shape, functions properly, and retains its appearance and energy efficiency for years to come.
Video Tutorial: DIY Front Door Replacement
There are several things which are difficult to fully explain with words and images, so be sure to check out the video tutorial below!
Conclusion
In conclusion, this home improvement project offers a worthwhile investment.
Remember to choose the right door to replace your existing door, gather the necessary tools, and approach the project with patience and attention to detail.
With the right preparation, you can successfully complete a DIY front door replacement. And, have a good time!
Related Posts: