
In this resin art tutorial, I show you how to make LED epoxy resin wood wall art.
Even if you don’t need to make an epoxy wall art piece, the techniques covered in this DIY tutorial can be translated towards any resin and wood project.
So, lets get started with a list of tools and materials.
Tools & Material I Used
Epoxy Resin
Purple Glow Powder
Odie’s Wood Butter
RO125 Sander
Soft Sanding Pad
Sandpaper
Vacuum for Sander
Wool Skin Pad
Bandsaw
Track Saw
MFT Table
Furniture Wax
Vaseline
Hot Glue Gun
Clamps
1/4″ clear tubing
Mardi Gras Beads
Heat Gun
Rubber Mallet
Soft Rags
Chisel Set
LED UV Light Strip
Rocker Switch w/ Wire Leads
9v Battery
9v battery connectors
Solder
For your convenience, I’ve compiled a complete list of epoxy resin tools and material I use most often.
Video Tutorial
There are several things which are difficult to fully explain with words and images, so be sure to check out the video tutorial below!
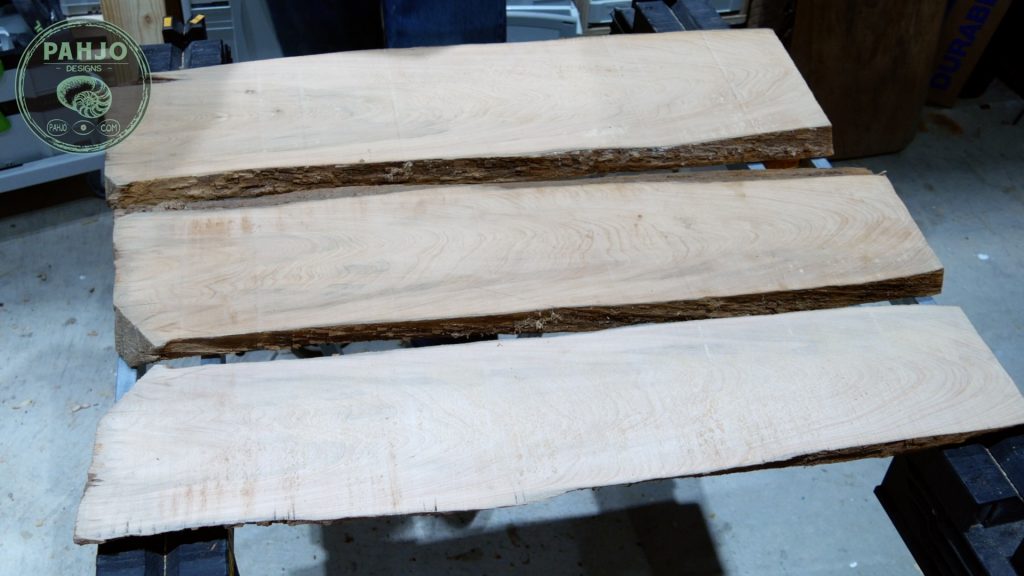
Reclaimed Wood
This piece of cypress wood is roughly 5 inches thick and very uneven. Obviously, this is too thick for a resin art project.
In order to use the entire piece of wood, I needed to resaw it into 3 – 1 1/4″ each.
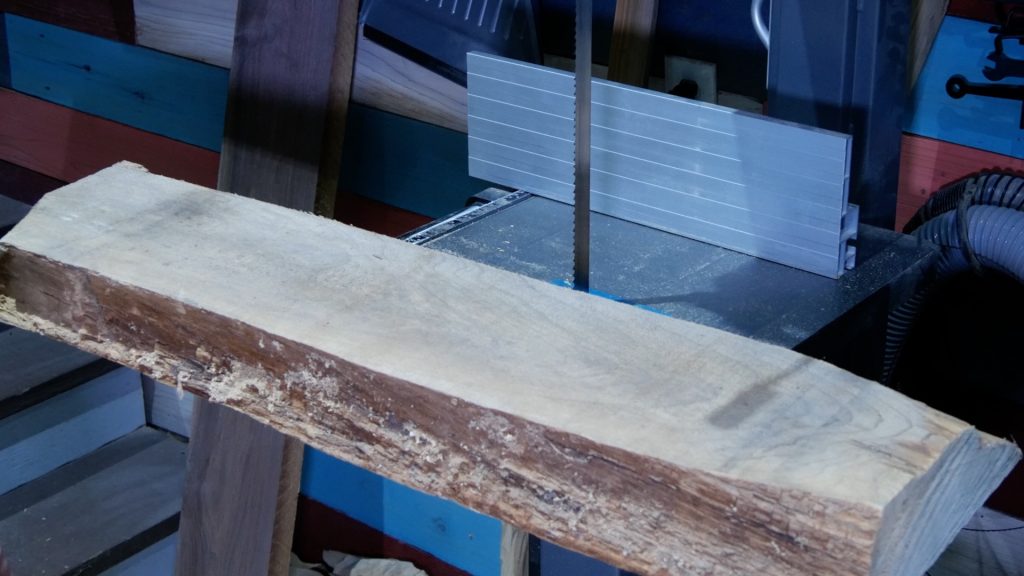

Resaw Wood
First, I used a flat 2×6 to use as a bandsaw resaw jig.
This resaw jig provides a flat surface to use as a point of reference for the first cut.
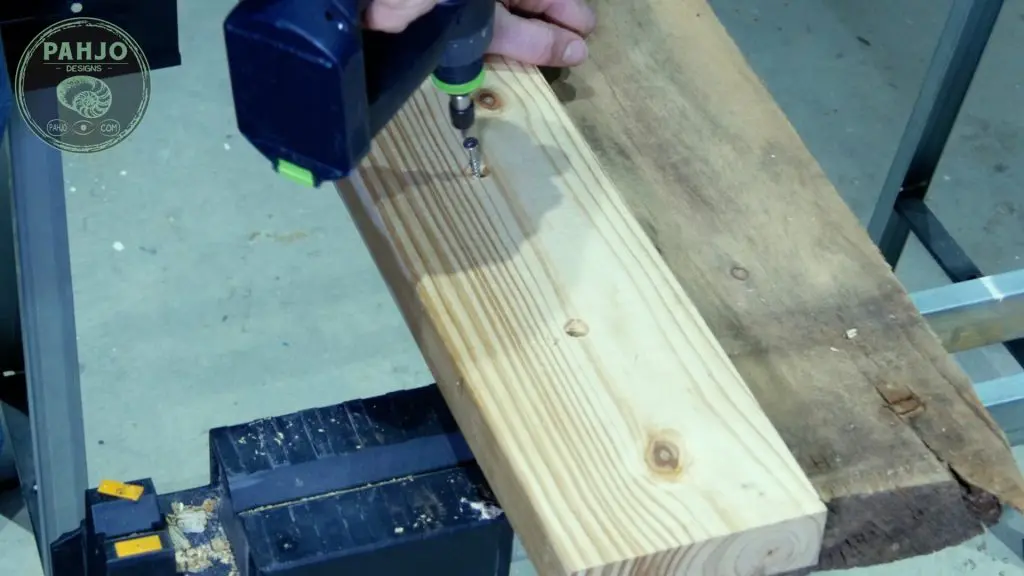
Next, I drilled various pilot holes and countersunk each of them.
I used screws slightly larger than the 2×6 to secure it to the cypress.

Then, I made a mark on the cypress 1.25″ and setup my bandsaw fence so the mark lined up with the blade.
I slowly ran the wood through while allowing the blade to do the work.

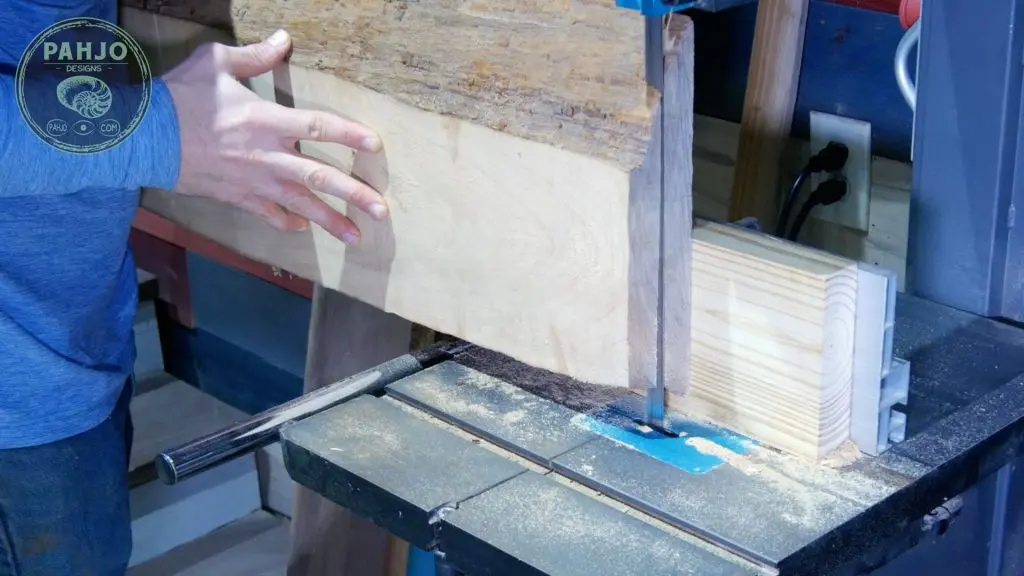
I removed the screws and ran the cypress wood through the bandsaw 2 more times with the flat side against the fence.

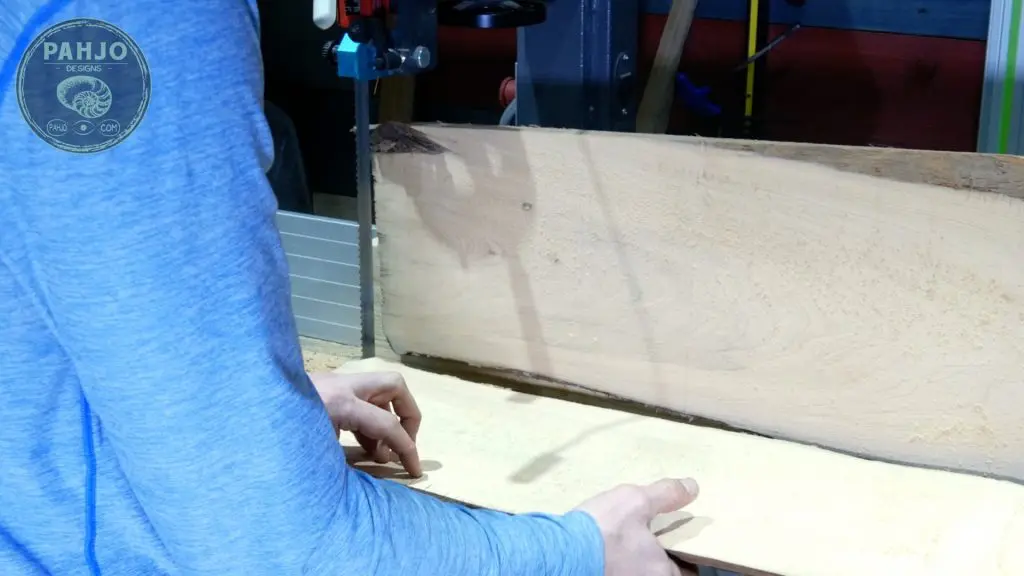
Once complete, I had 3 beautiful pieces of live edge cypress wood.

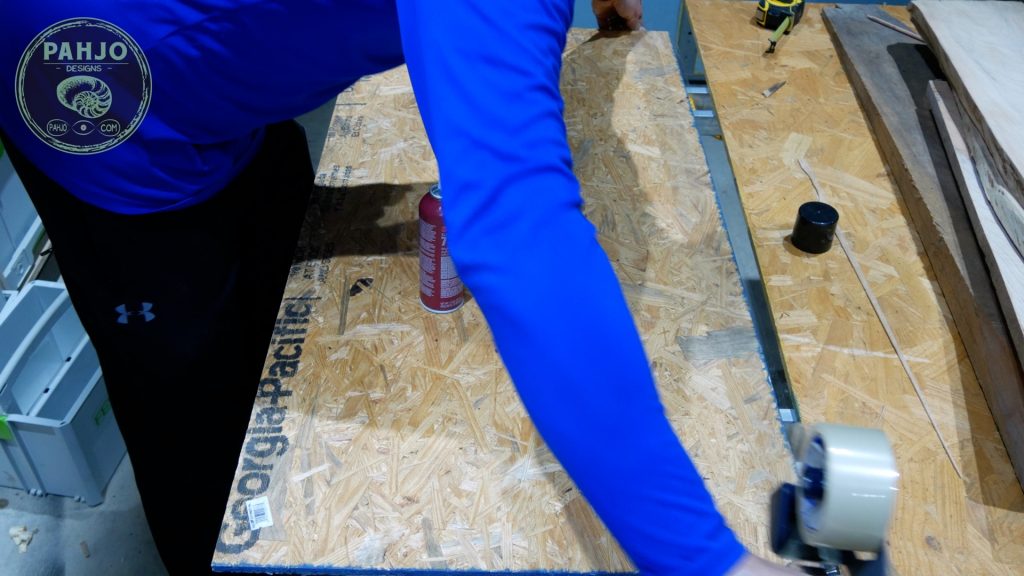
Epoxy Resin Mold
First, I used the same piece of particle board as in my previous resin wall art project.
However, the tape was torn in a few spots.
So, I covered the particle board with tape.
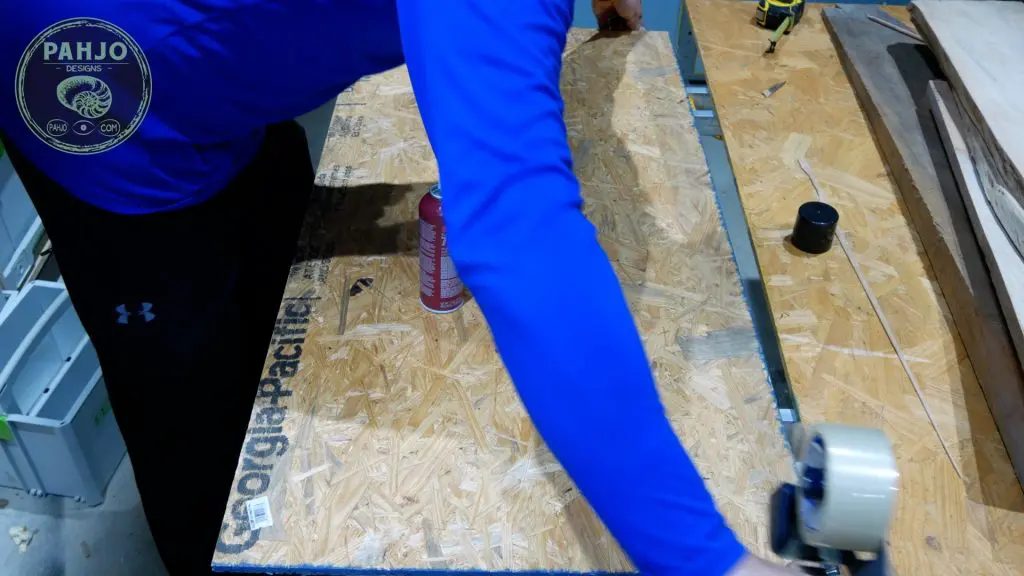
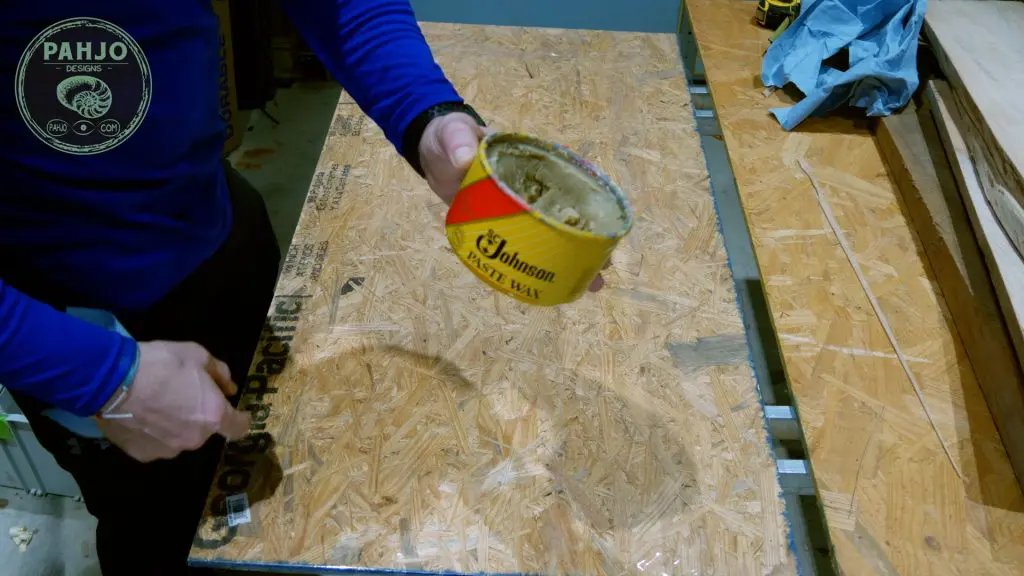
Next, I covered the entire piece in furniture wax.
Keep in mind, vaseline works just as well as furniture wax.

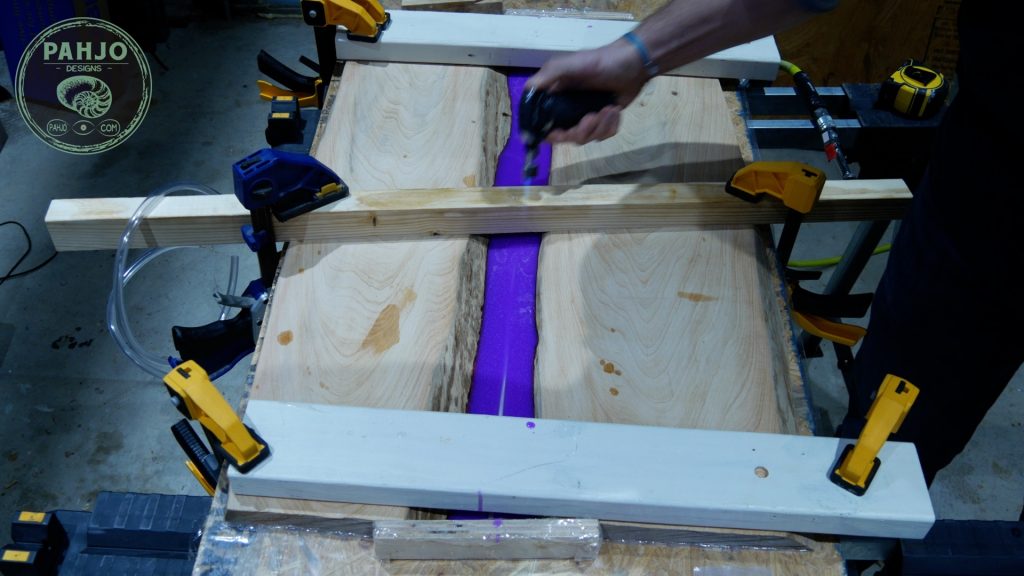
Secure Wood to Resin Mold
After the packing tape was covered in resin, I secured the wood to the particle board with scrap wood and clamps.

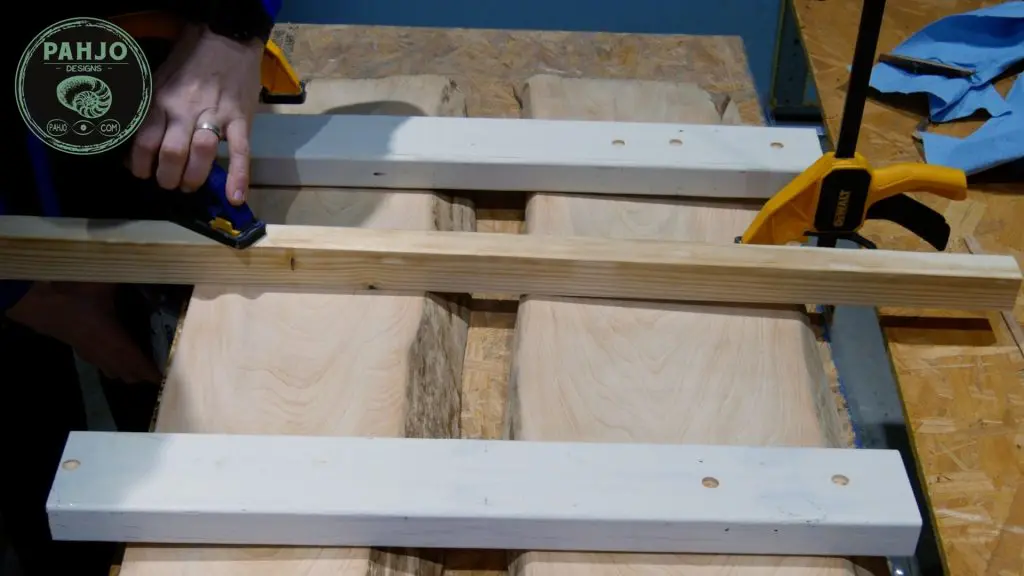
Next, I sealed on each side in the middle of the river and on each end.

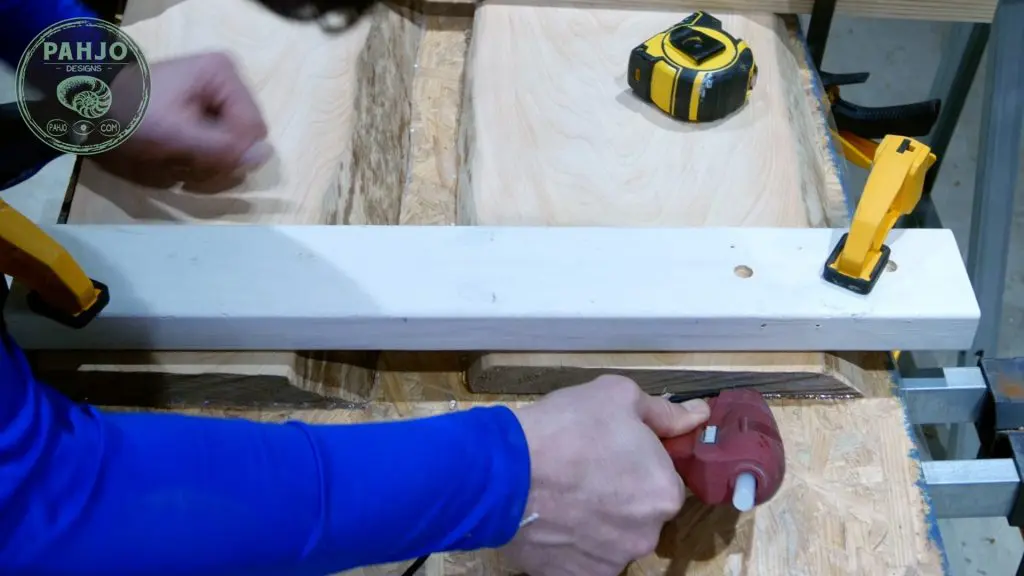
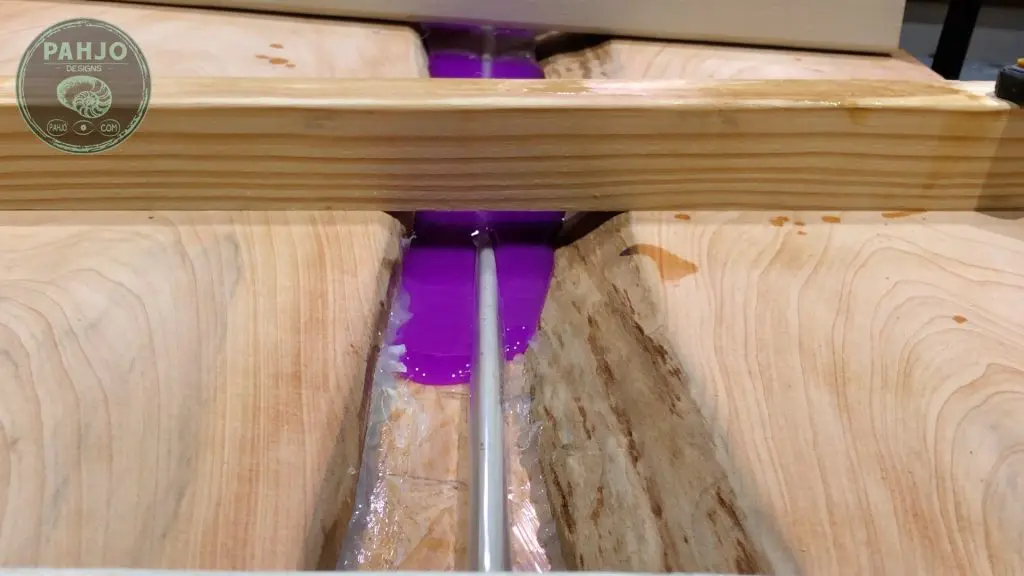
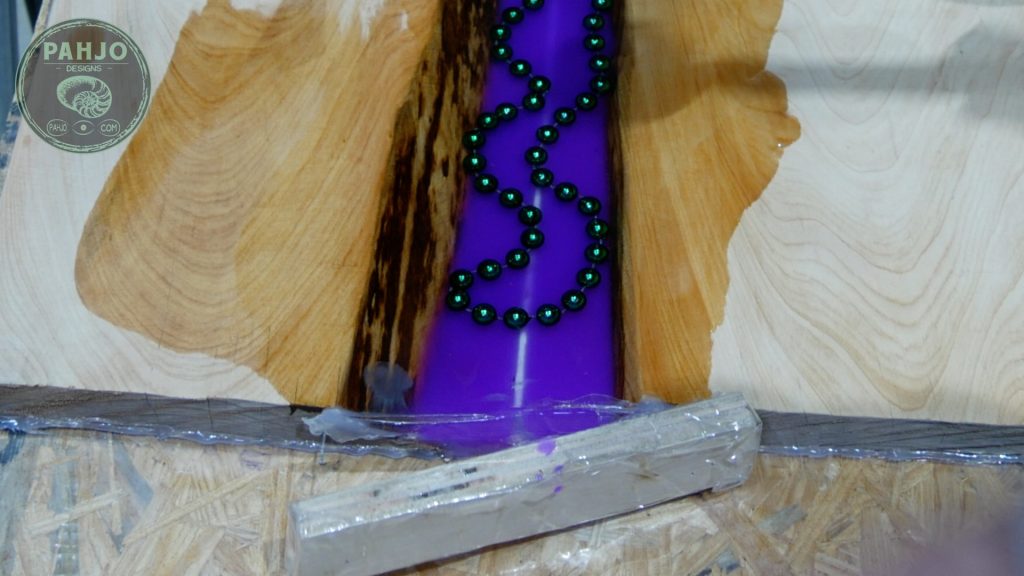
Technique to Create Hollow Tunnel in Epoxy Resin
In previous projects, I glued UV LED light strips to the bottom of the river.
Obviously, this isn’t ideal.
The LED light strip falls over time.
So, I found a way to create a hollow tunnel in epoxy resin to house the LED light strip.
This technique makes it easy to embed LED light strips in epoxy resin.
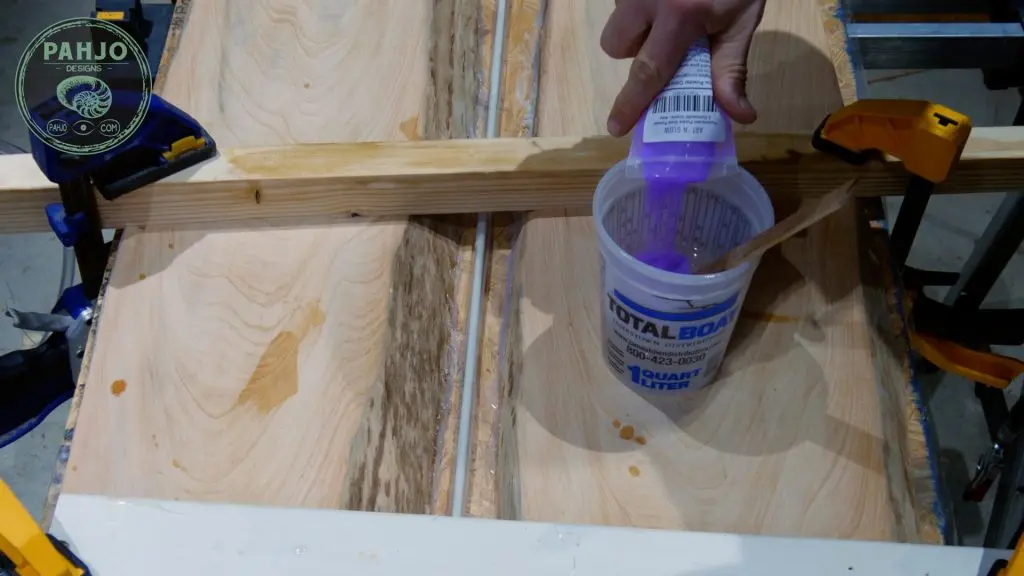
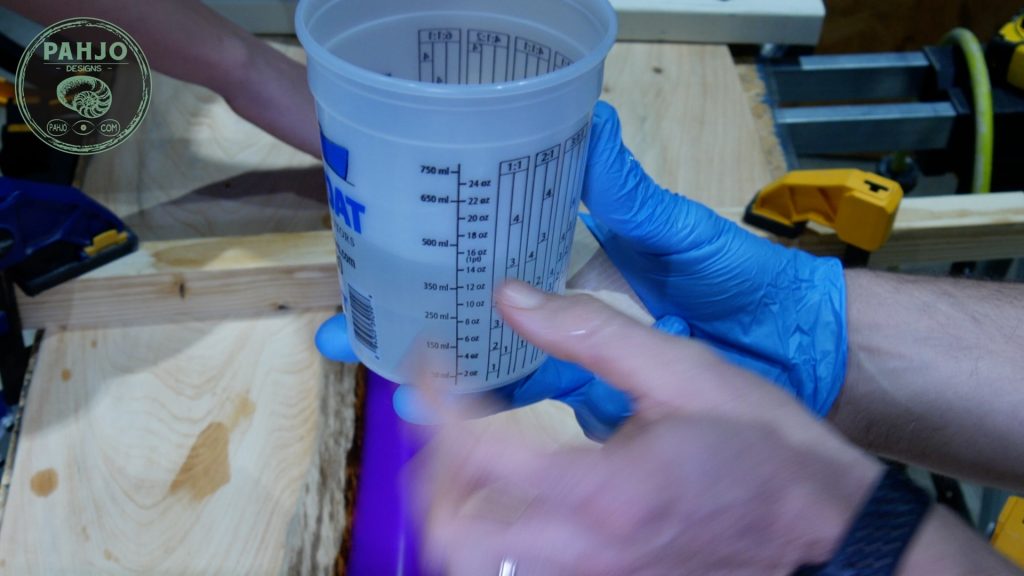
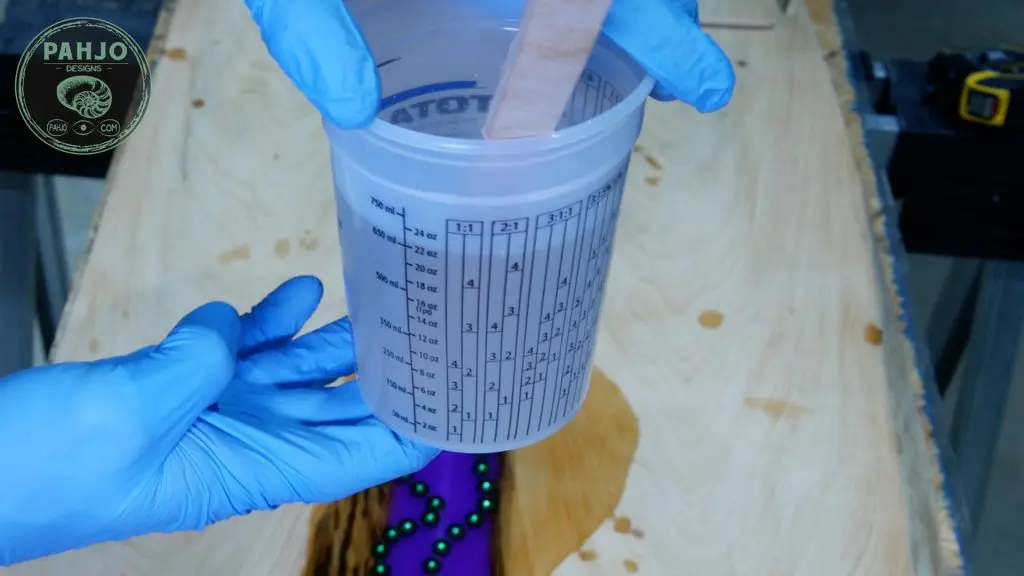
Mix Epoxy Resin
First, I mixed 16 ounces of Total Boat high performance epoxy resin.
This was my first time using this resin and I really liked how it performed.
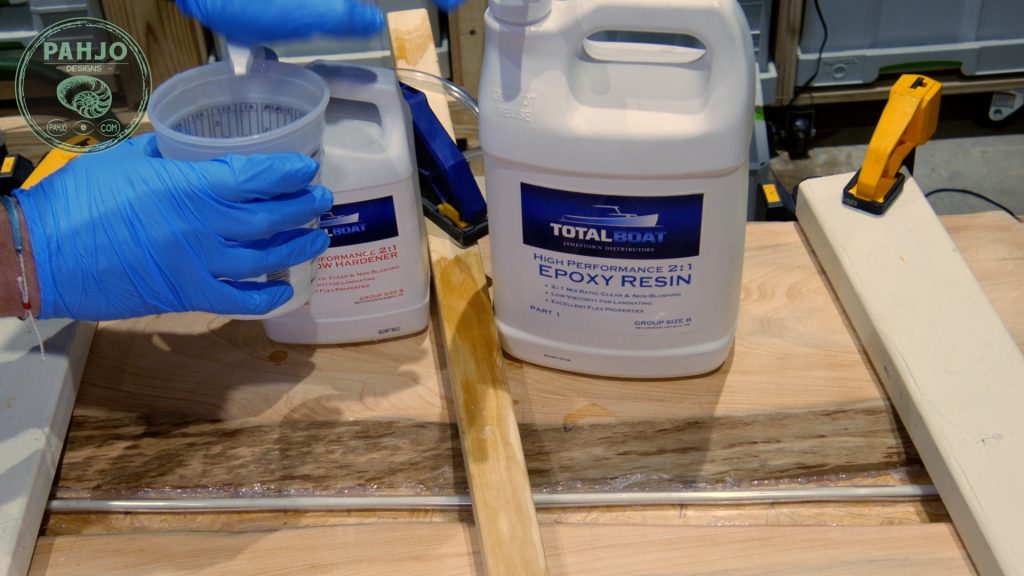

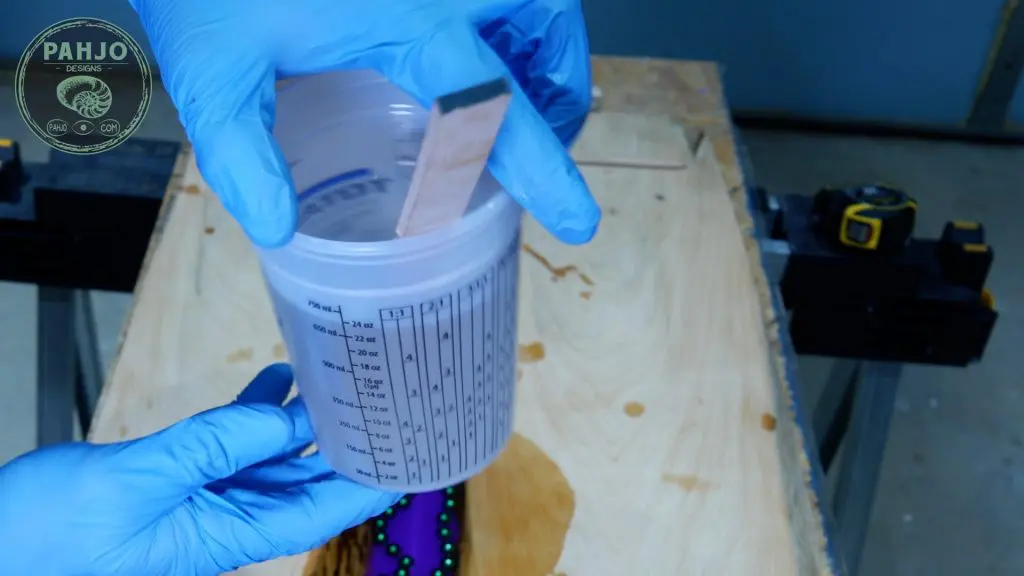
Next, I used a separate container to further mix the epoxy resin per the manufacturer’s instructions.
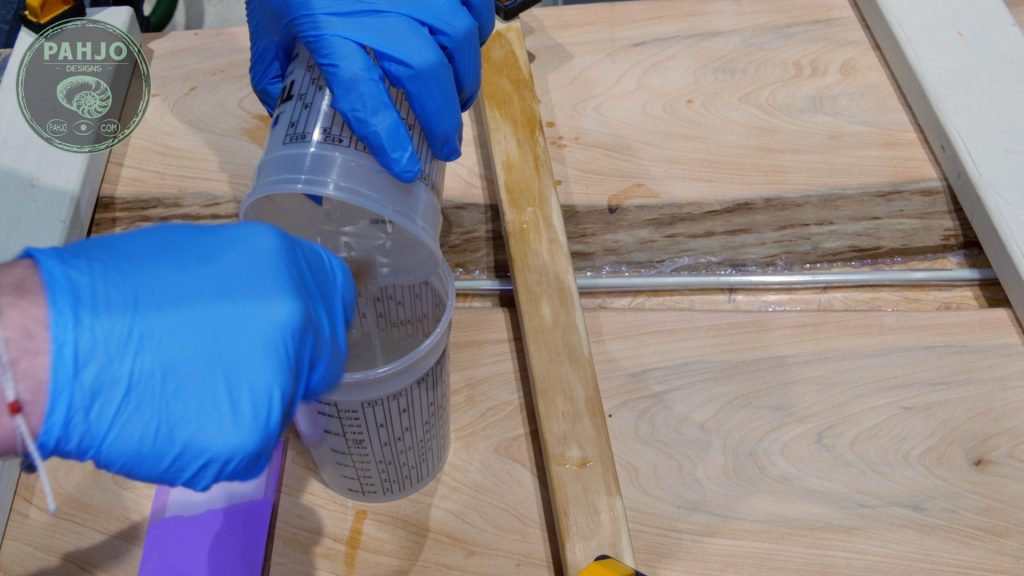
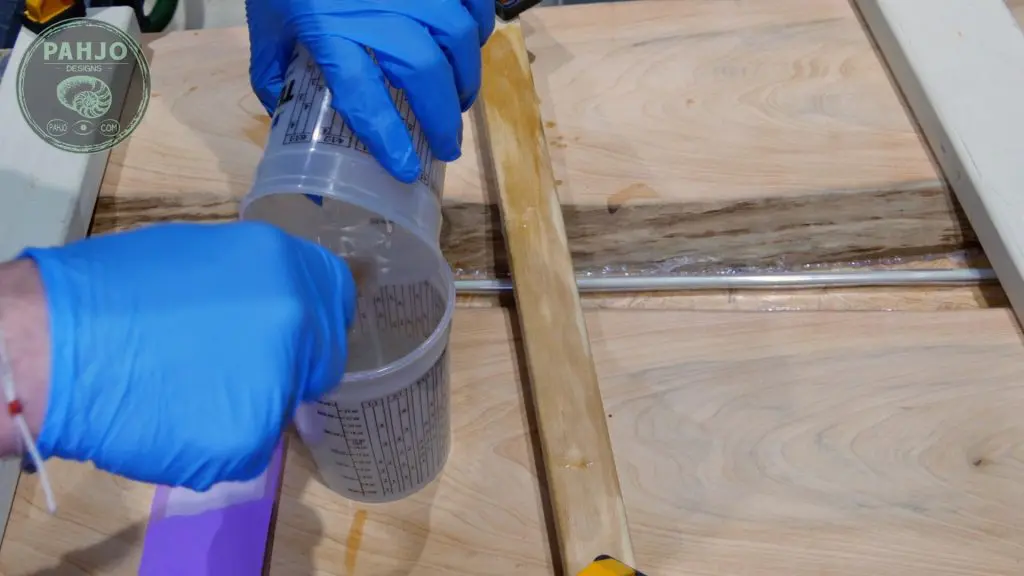
Mix Epoxy Glow Powder
I frequently use glow powder in many of my resin tables such as this epoxy resin ocean table.
Furthermore, I use glow powder from ArtnGlow because it performs the best.
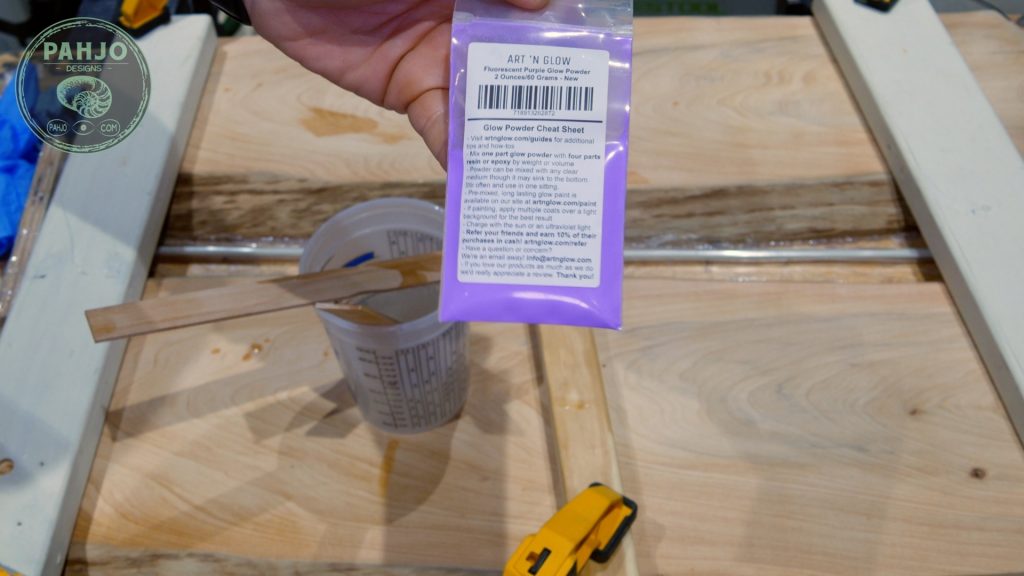

First, I added 1 ounce of purple glow powder to the 16 ounces of resin and thoroughly mixed. I prefer to add the glow powder after I mix the epoxy resin to ensure the resin mixes properly.

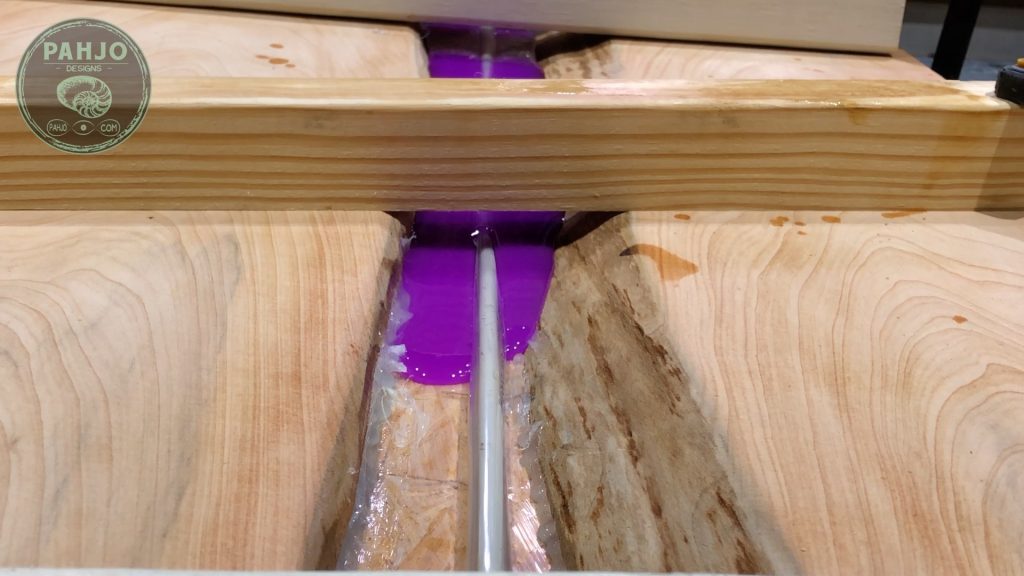
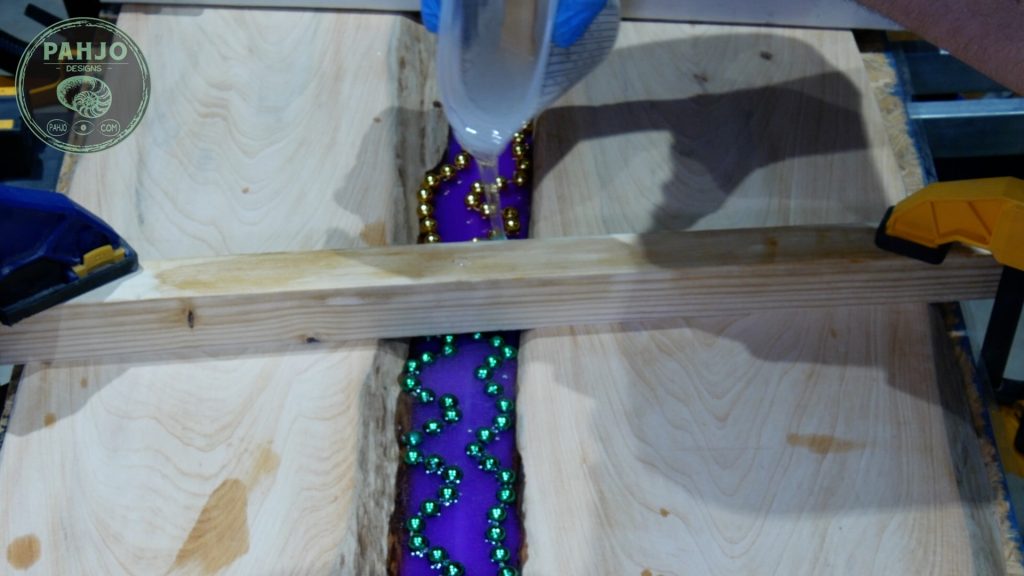
Next, I poured the first layer of resin. I always cover the bottom of the river with resin and check for any leaks.
Ultimately, my first resin pour contains just enough resin to cover the bottom and come up about 1/8″.
The small mixture minimizes the resin waste if I do have a leak.
Then, I used my mini torch to remove air bubbles.

Finally, I allowed the LED Epoxy Resin Wood Wall Art to cure overnight.
Second Epoxy \Pour
First, I mixed another 16 ounces of resin with 1 ounce of glow powder for the second pour.
I poured the resin onto the previous layer.


Then, I removed air bubbles and allowed the resin to cure for 12 hours.
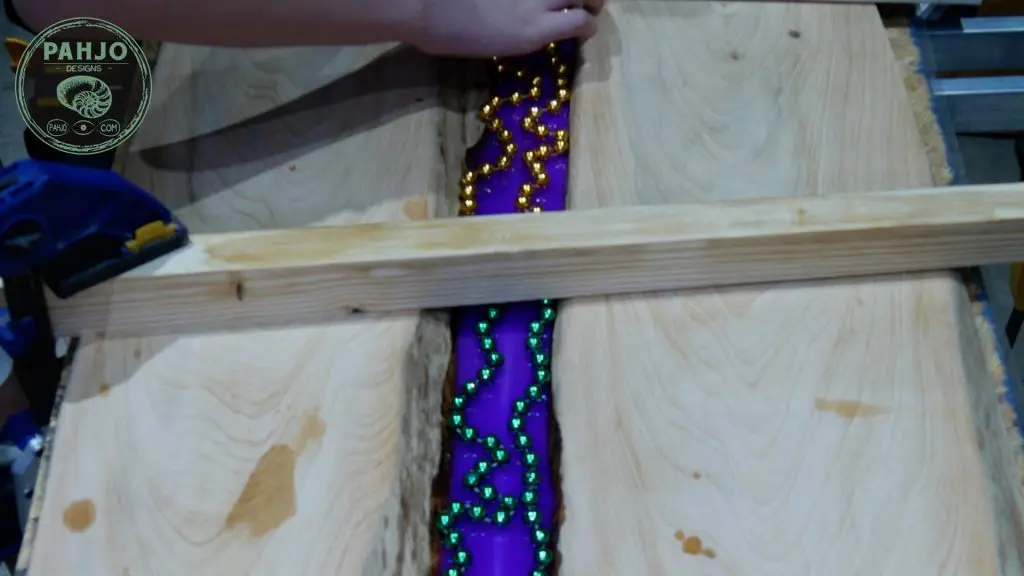
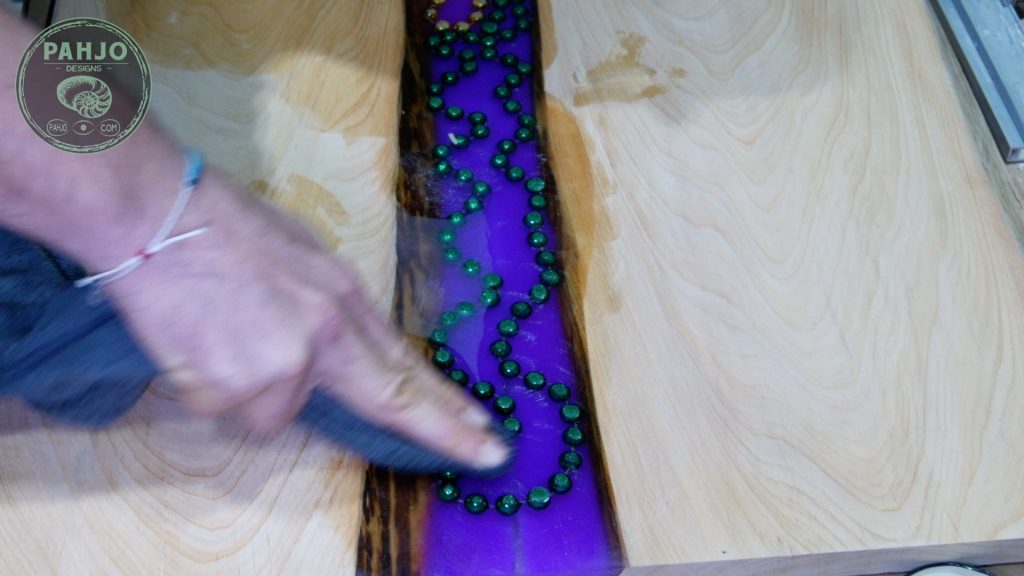
Embed Objects in Resin
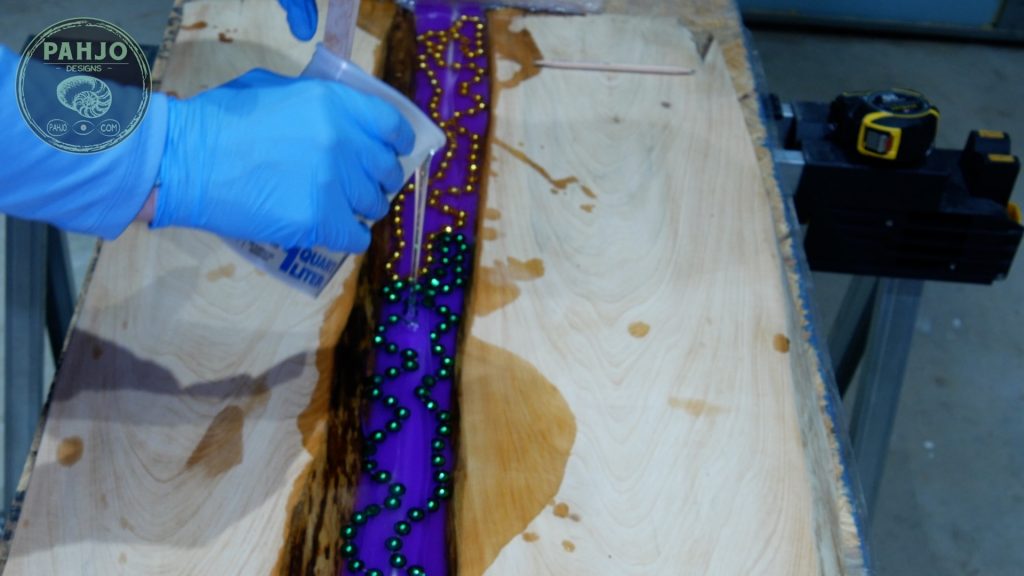
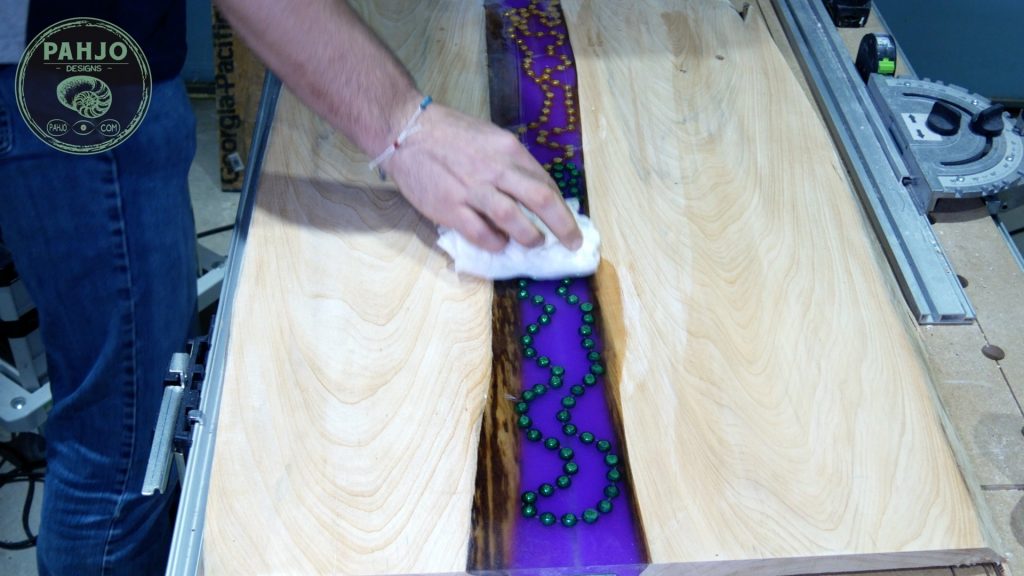
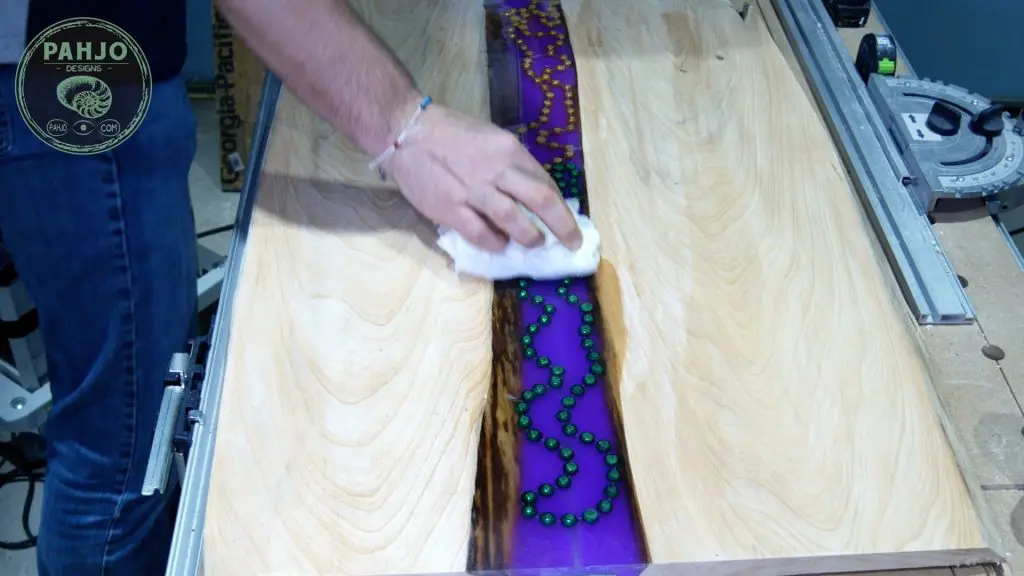
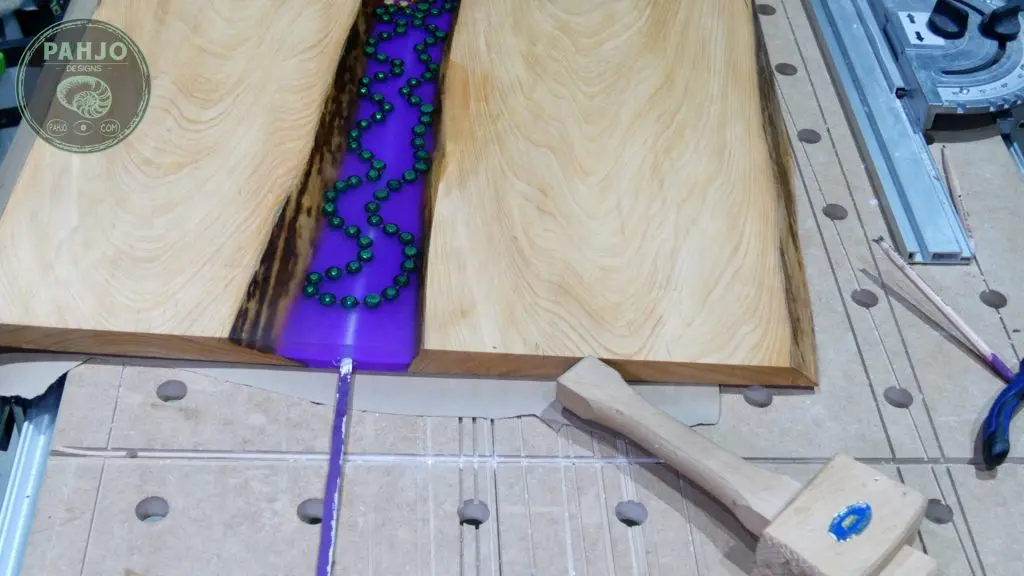
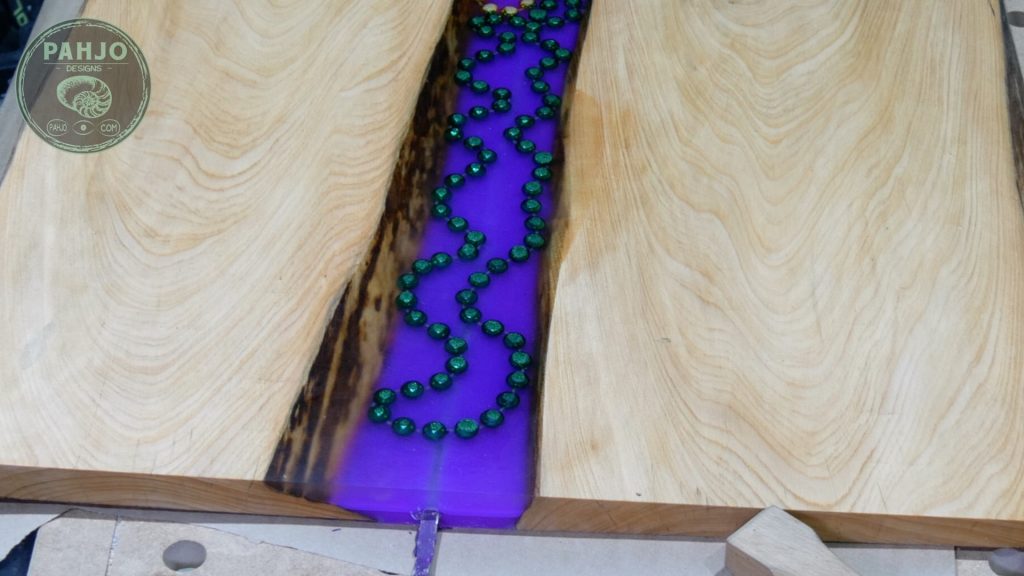
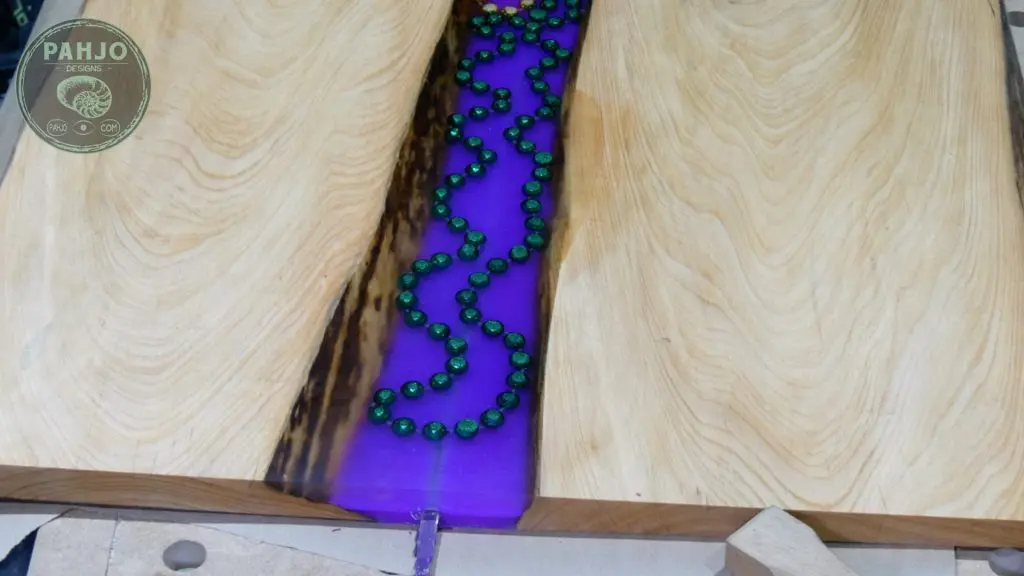
Since this is Mardi Gras Wall Art, I embedded Mardi Gras beads in epoxy resin.
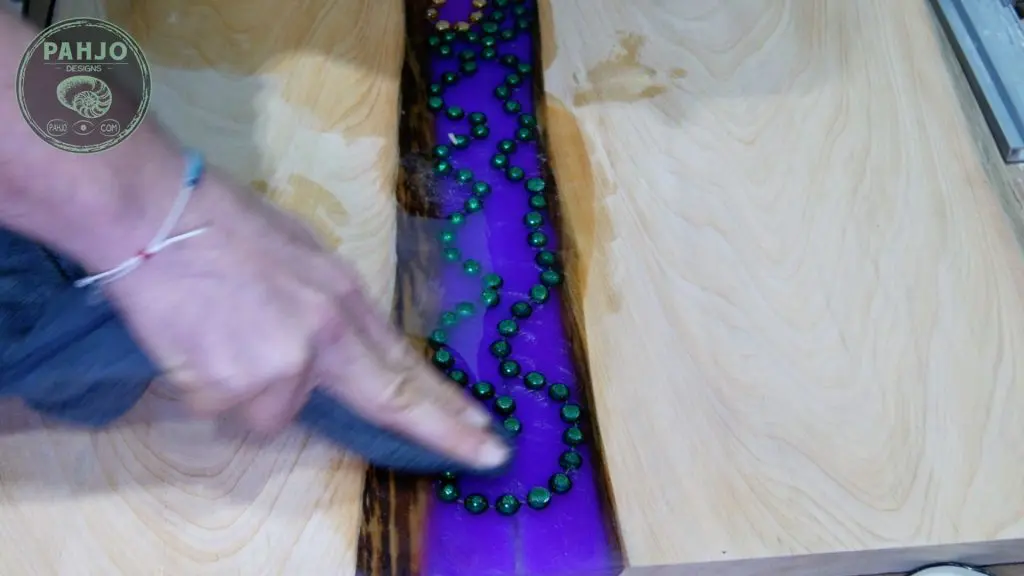
First, my son spread the green and gold beads on top of the bottom 2 layers of epoxy resin and glow powder.

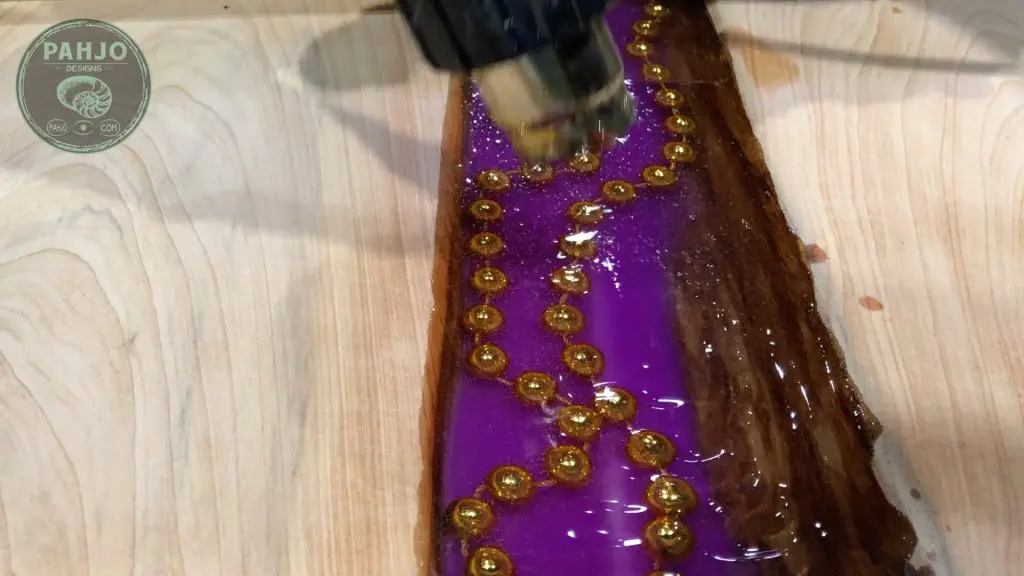
Next, I mixed 14 ounces of resin and poured the resin on top of the beads.


Then, I removed bubbles with my heat gun.
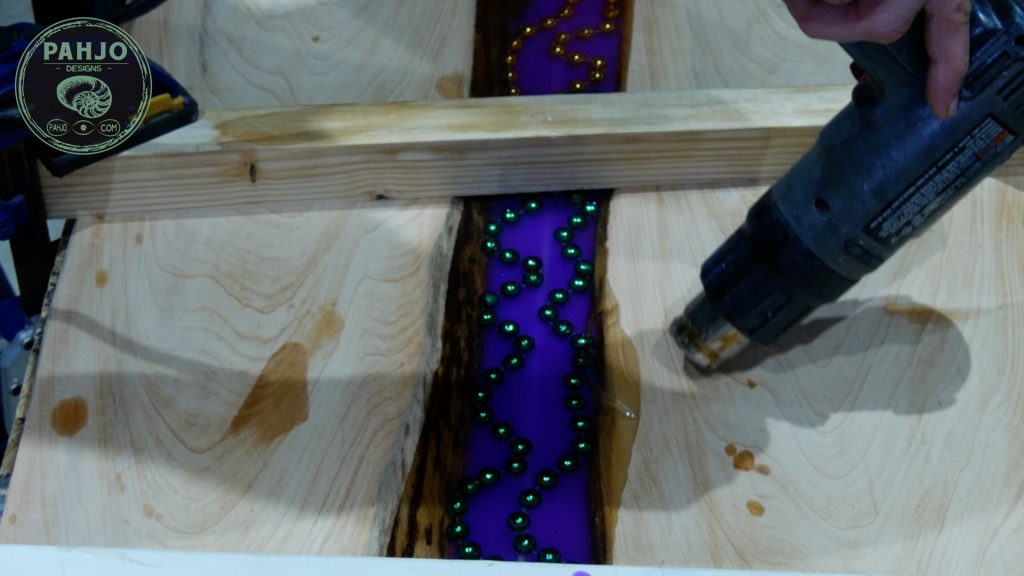

Ultimately, the heat gun works well at moving the resin around via heat.
However, it may contaminate the resin with dust if dusty is present.
I let the resin cure overnight.
Third Epoxy Resin Pour
First, I mixed 22 ounces of epoxy resin and poured the resin on the LED epoxy wall art.

Then, I used my heat gun to remove resin air bubbles.

Final Epoxy Resin Pour
After roughly 4 hours, I repeated the process in the previous step.


Finally, I let the epoxy resin cured for 24 hours.
Remove Resin Mold
First, I used my rubber mallet to remove each end of the resin mold.
Next, I simply lifted the resin wood wall art from the resin mold.
It popped off the packing tape with little effort.

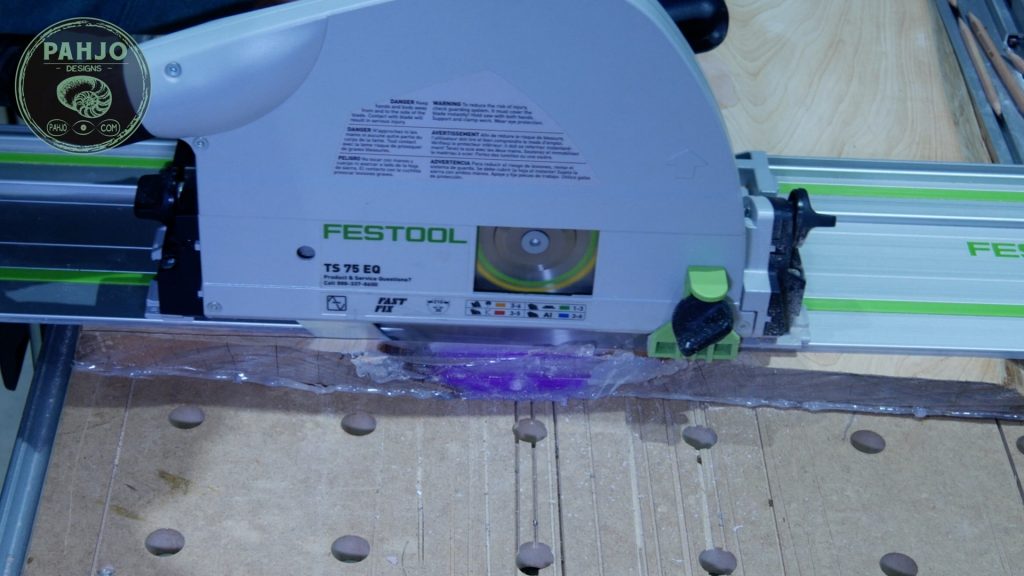
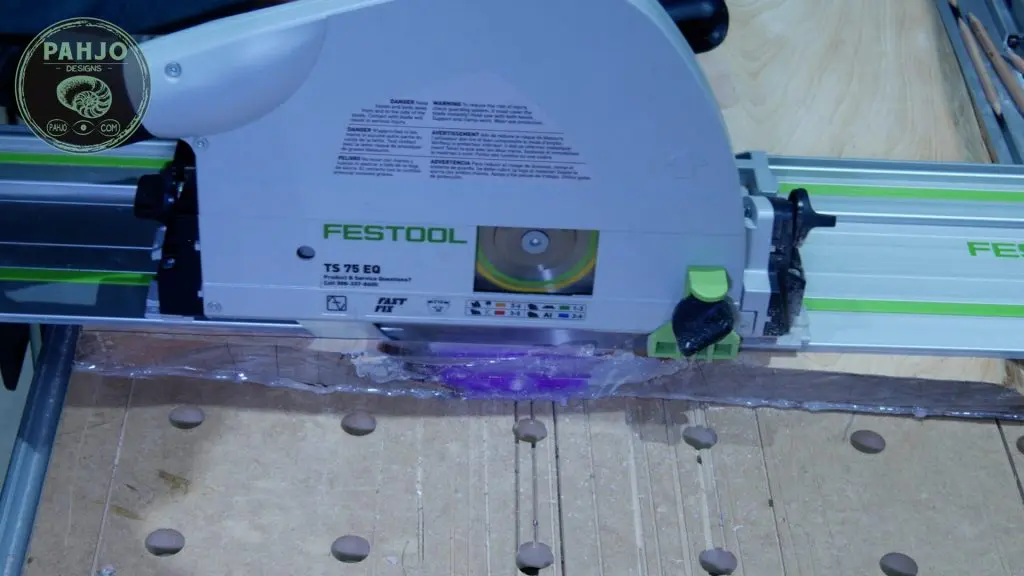
Square Ends
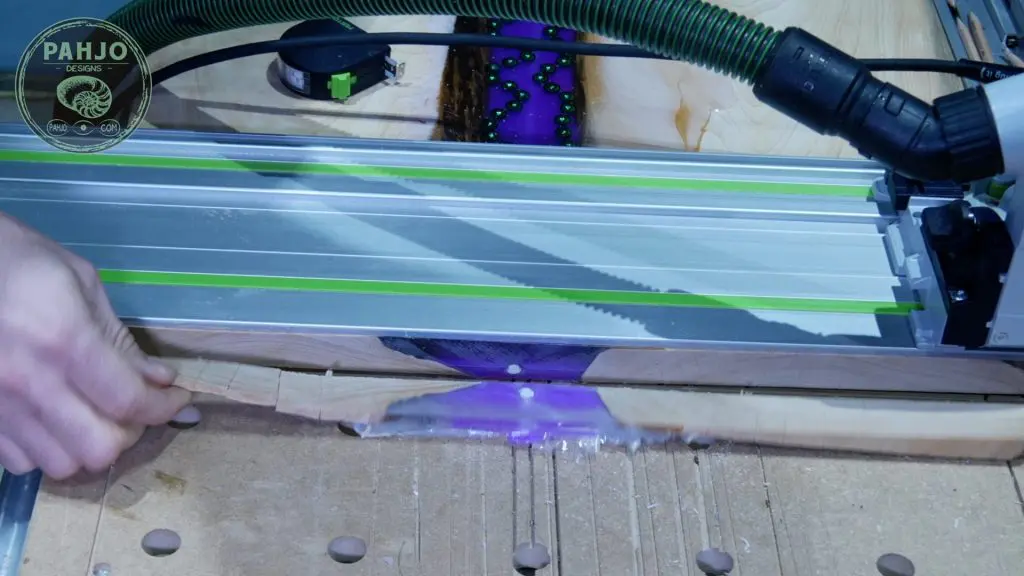
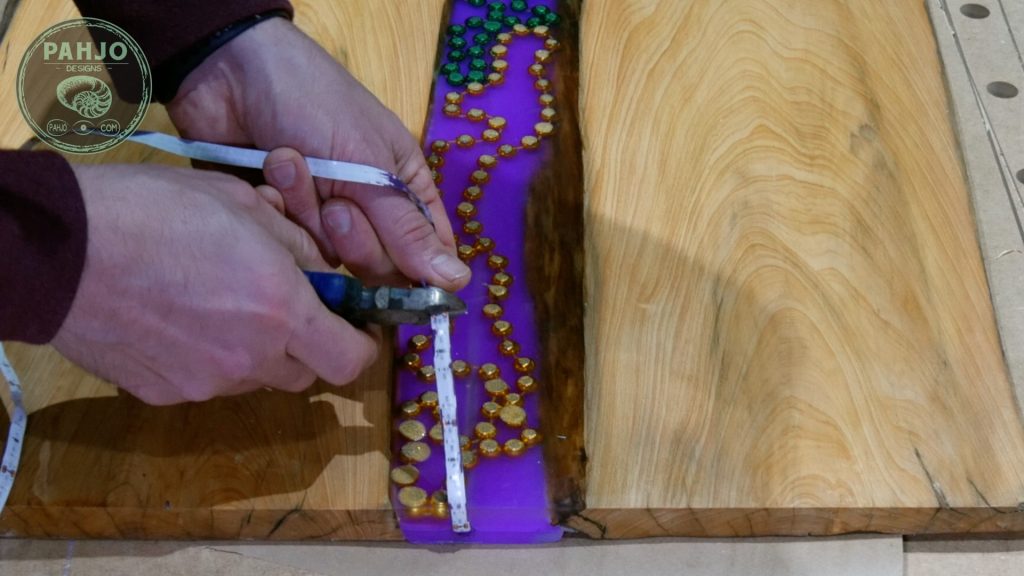
First, I used my track saw to cut 1″ off of one end.
Next, I used this straight cut as a reference and used my tape measure to make marks at 33″.
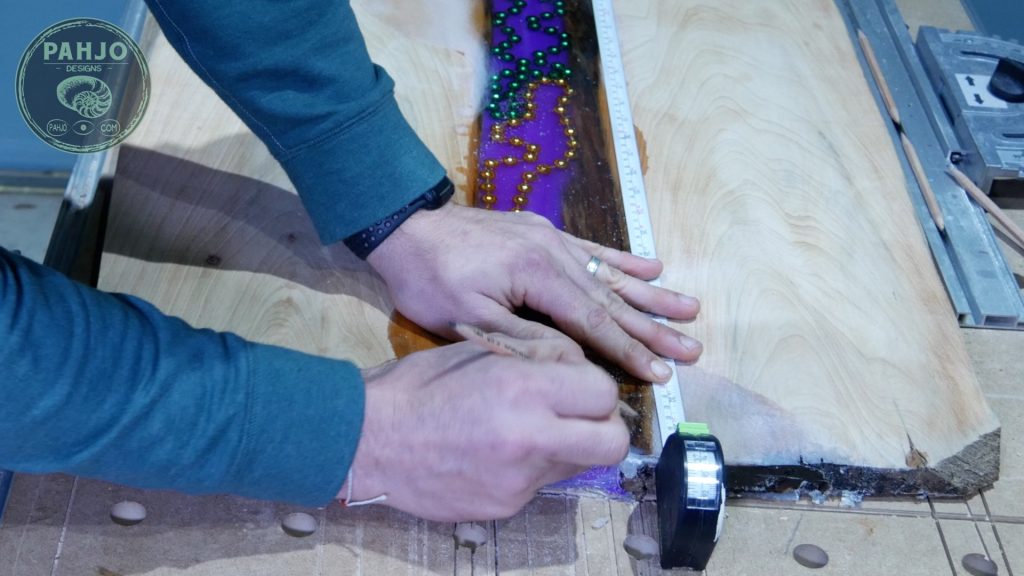

Then, I used my track saw to cut along the lines.
I removed the rod to reveal the tunnel for the LED strip lights.

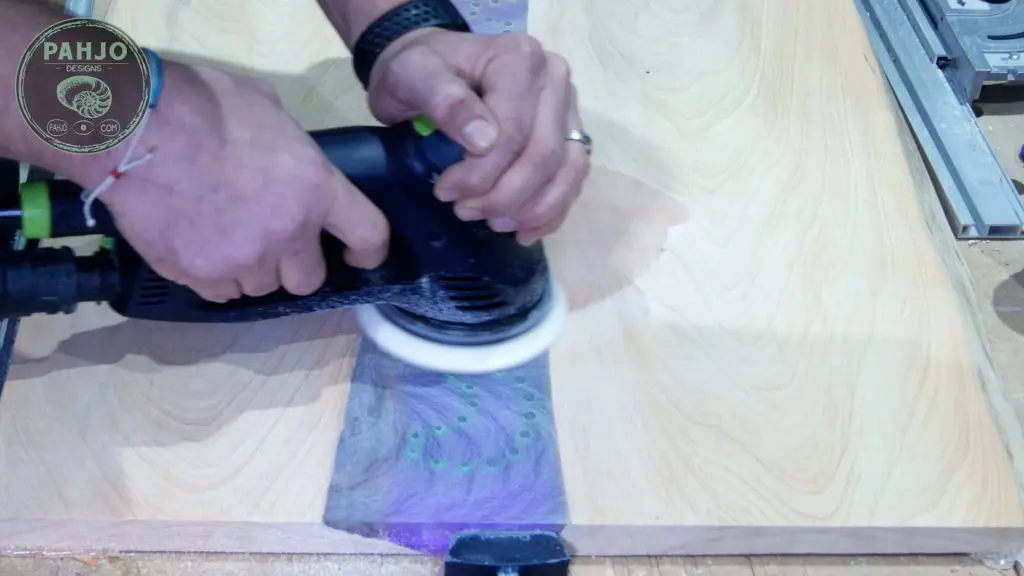
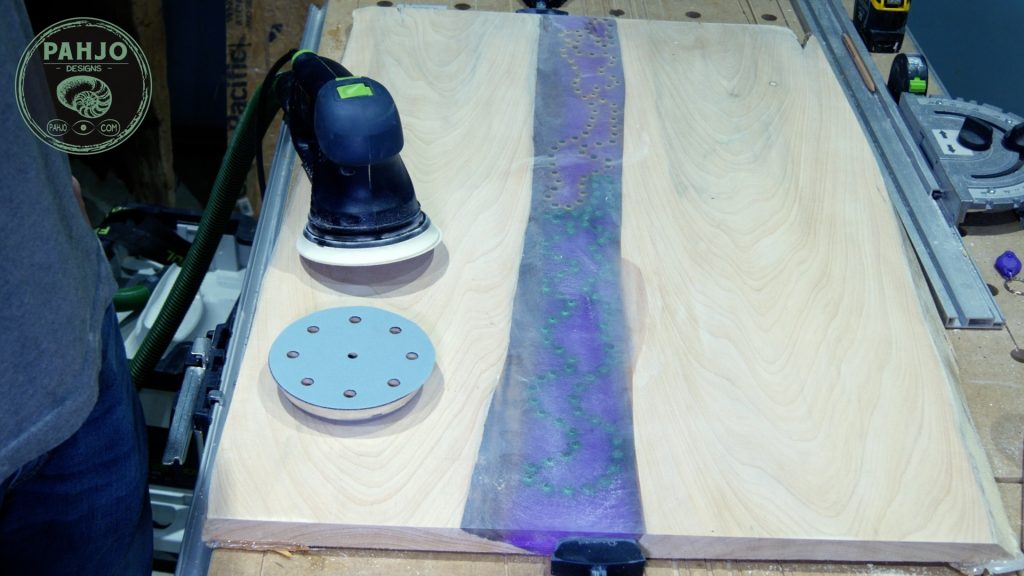
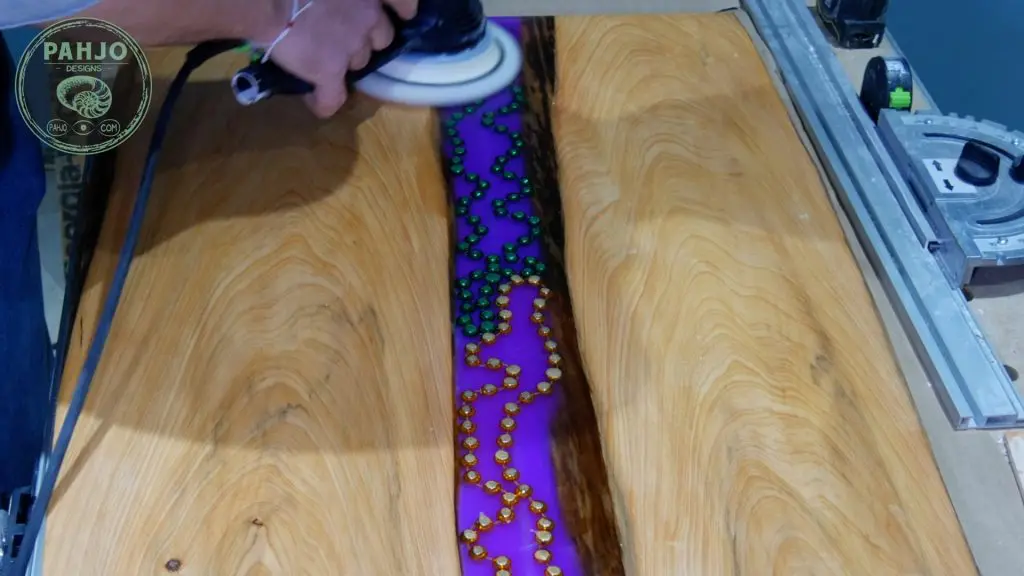
Sand Epoxy Resin
I used the same resin sanding technique for this LED epoxy resin wood wall art as I did on my previous projects.


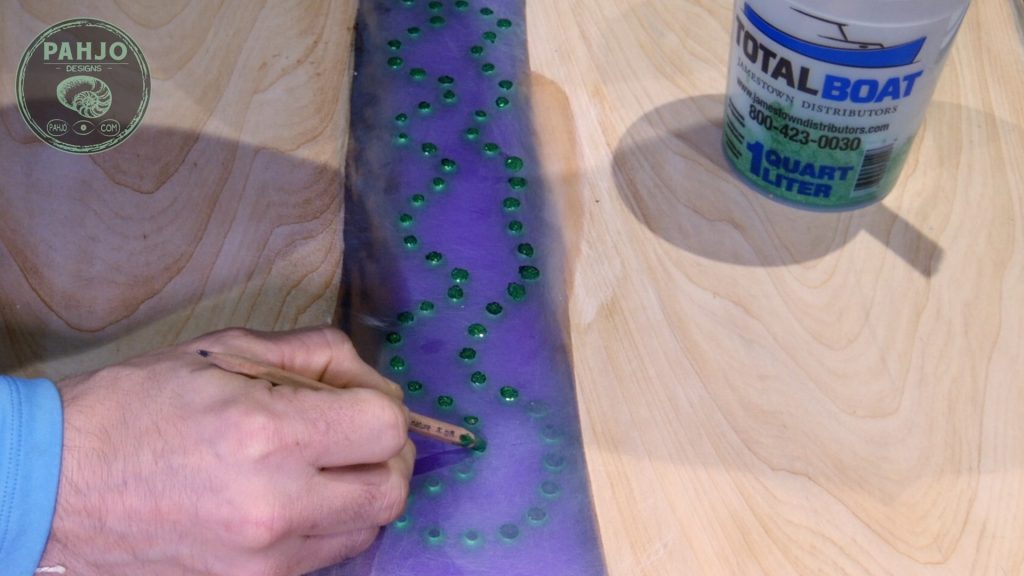
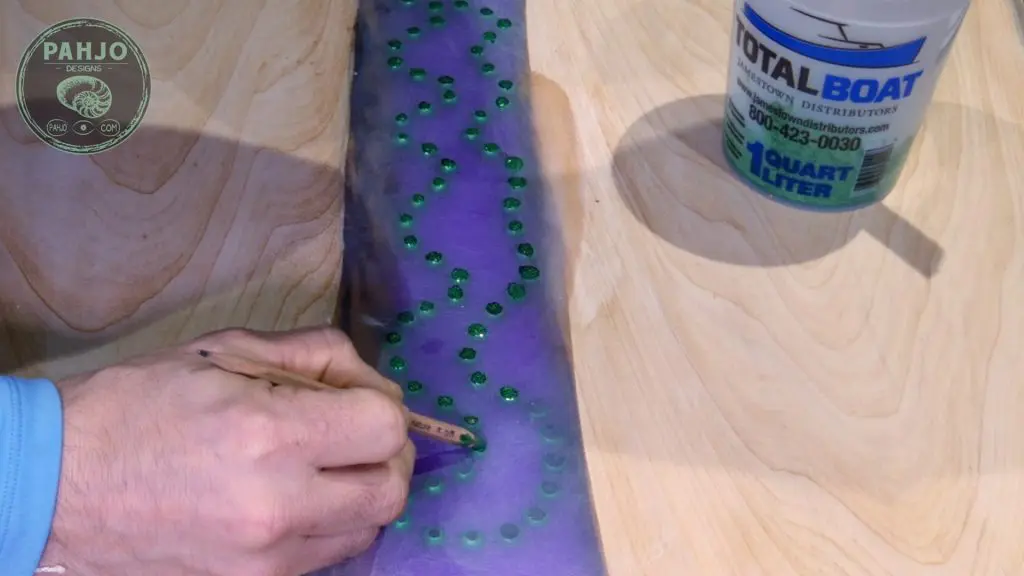
Fix Resin Mistake
The following day I repaired my mistake.]
In short, I didn’t embed the beads deep enough in the epoxy resin.
Consequently, I sanded off the top part of the beads.
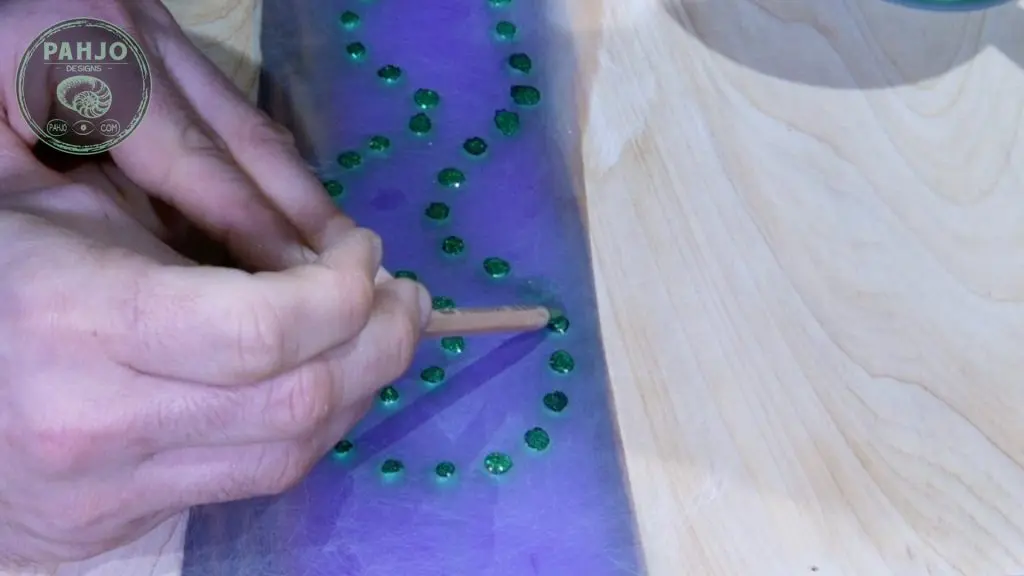
First, I mixed 4 ounces of epoxy resin and split the resin into 2 containers.
Next, I used metallic pigment to match the color of the beads.
Then, I lightly placed the resin on top of the shaved beads as carefully as I could.

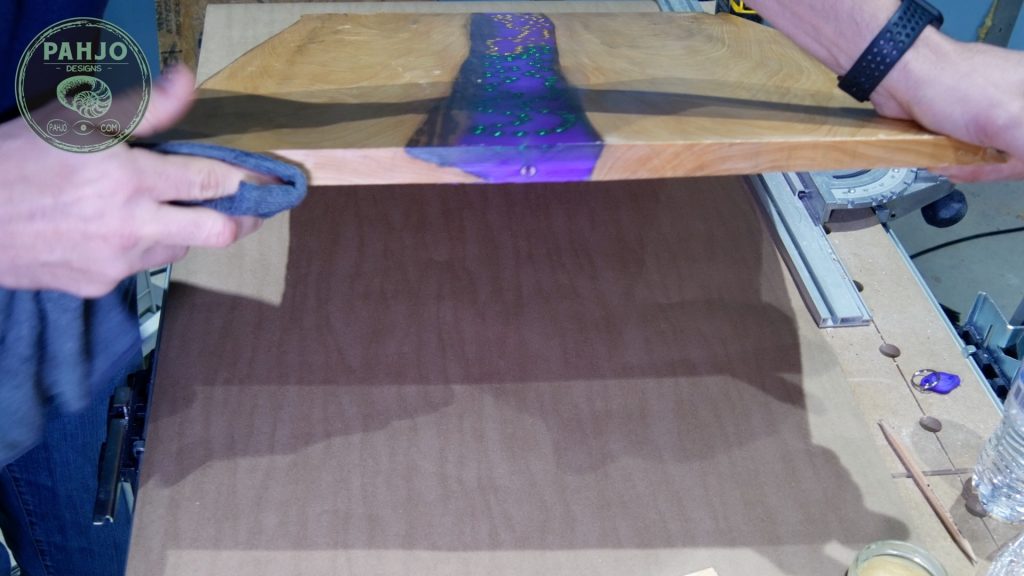
Finish Resin and Wood
Over time, I learned the best ways to finish epoxy resin and wood projects.
For this project, I used one of my favorite epoxy wood finishes
I used Odie’s Wood Butter as the finish for the LED epoxy resin wood wall art. This is my first time using this product and I was really impressed.

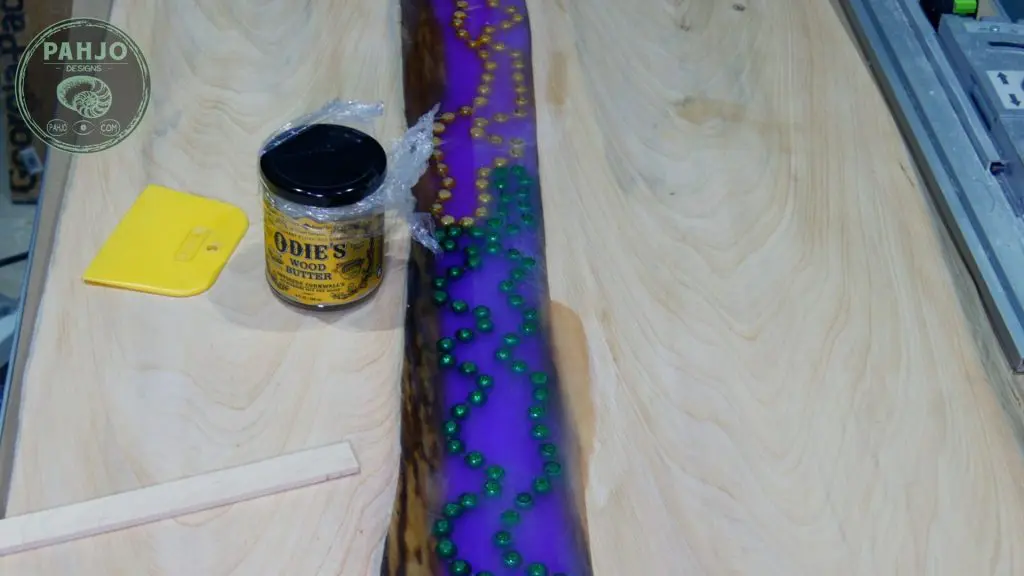
Next, I used a paint stick to put clumps of wood butter in various spots on the surface.
Keep in mind, this stuff goes a long way so I made sure to not use too much.

Then, I used a rag and worked the wood butter into the wood and resin.


Once the wood butter set for roughly 30 minutes, I used my sander with a wool skin buffing pad to buff the wall art.

LED Strip Lights in Epoxy Resin
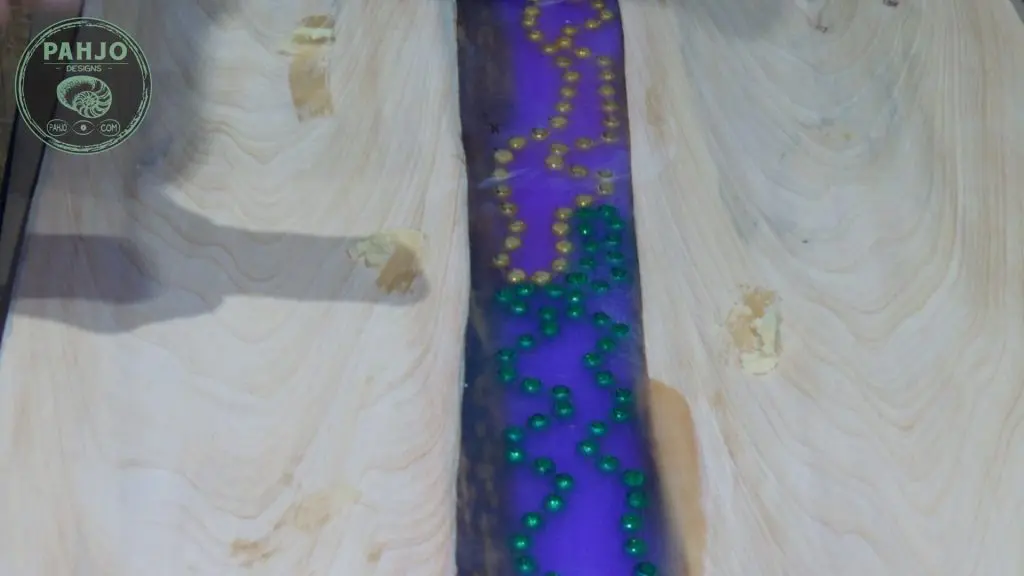
Finally, it was time to test my tunnel and install UV LED strip lights in epoxy resin.
Although I used resin glow powder, it still needs to charge via natural light or UV black lights.
I install UV LED lights on my resin glow projects in case light is minimal or non-existent.
The LED light strip fit tightly in the tube, which made it difficult to pull/push through.
Next, I used the rod I removed in a previous step to push the string through the tunnel to the other side.
Then, I tied the string to one end of the LED light strip and pulled it through.

I cut the LED light strip between the 2 contact points with roughly 5″ of slack.

Power LED Strip with 9v Battery
Although the UV LED light strip is 12v, I used a 9v battery to power it.
Essentially, I figured this would work since I only used 2/3 of the LED strip.
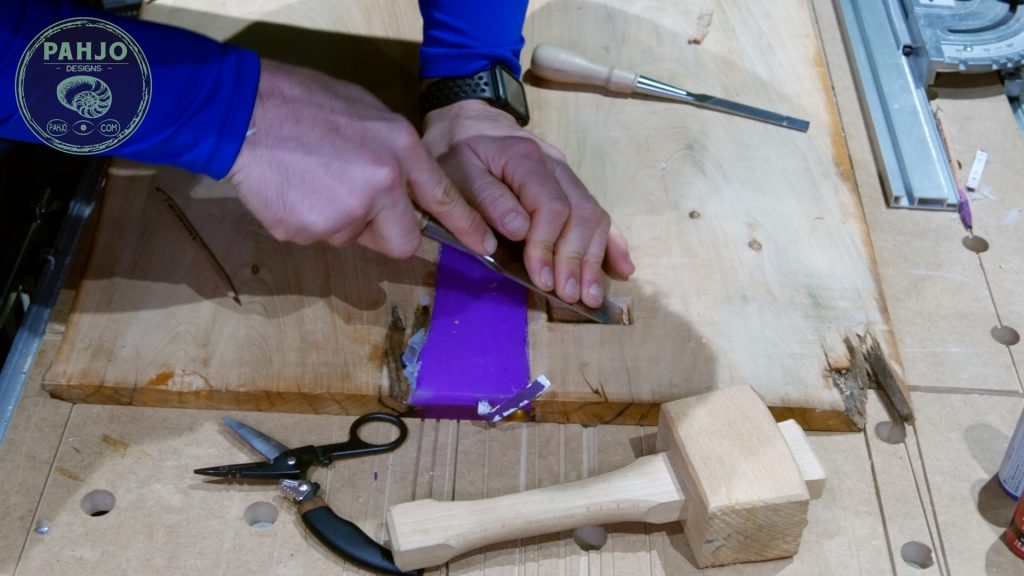
First, I flipped the resin wall art over and used my chisels to carve a rectangle in the wood the same size as the 9v battery.
Additionally, I accounted for the 9v battery connector.
I’ll elaborate more on this in the next step.

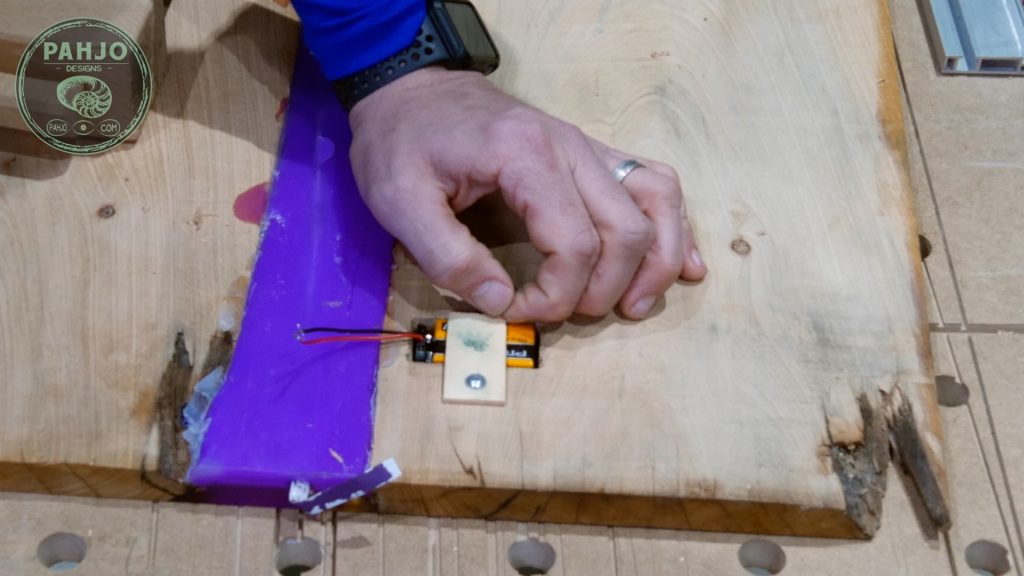
Then, I used a scrap piece of wood and a screw to construct a latch to keep the battery in place.

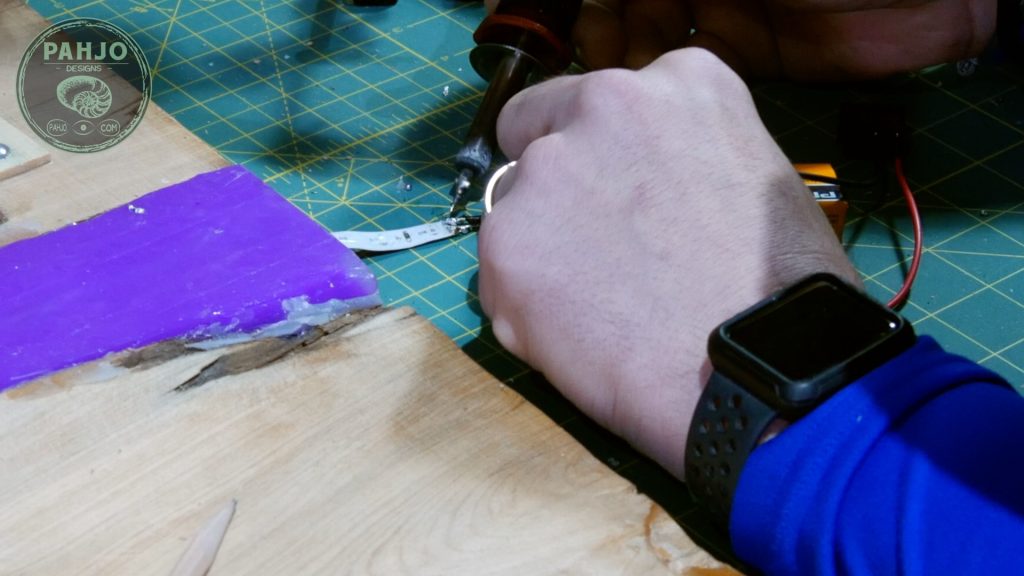
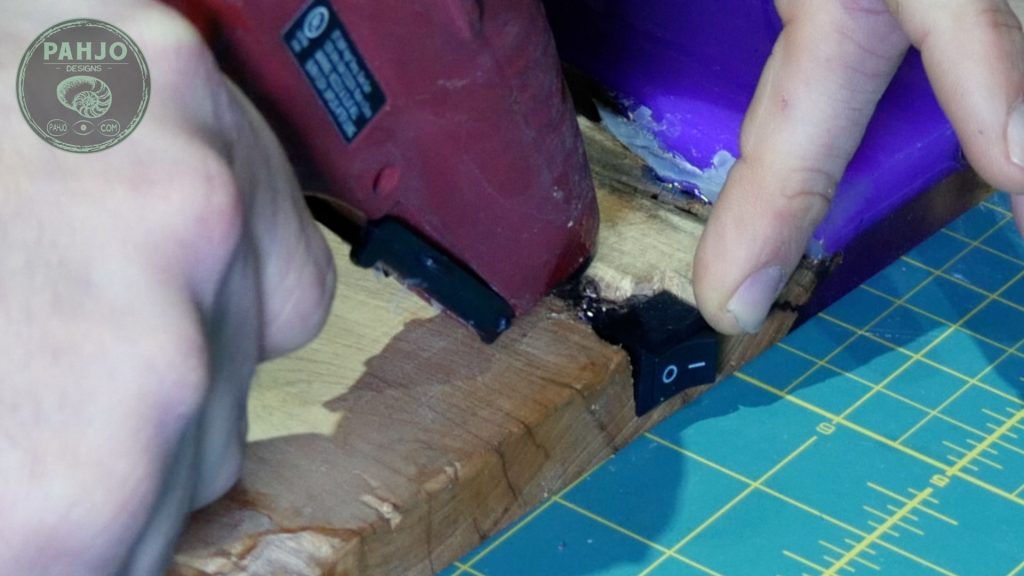
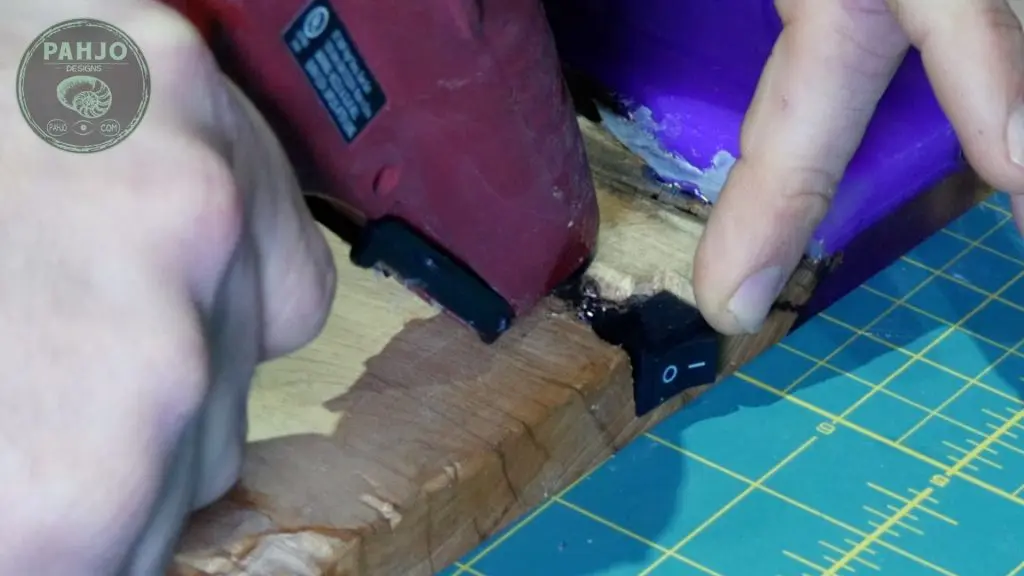
Install LED Toggle Switch
First, I used my helping hands to solder the toggle switch and 9v battery connector.

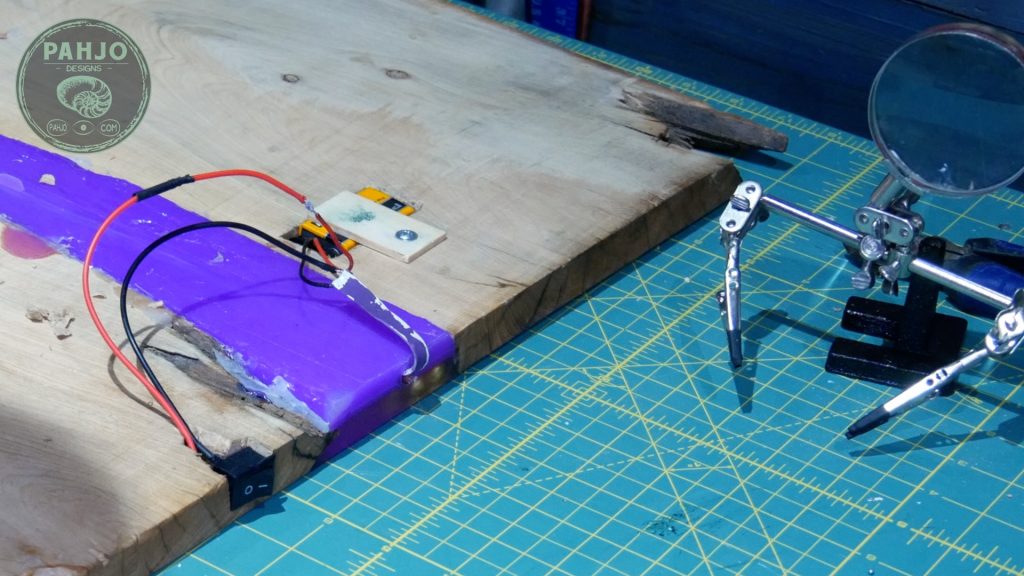

Then, I carved a section for the toggle switch and secured it in place with hot glue.
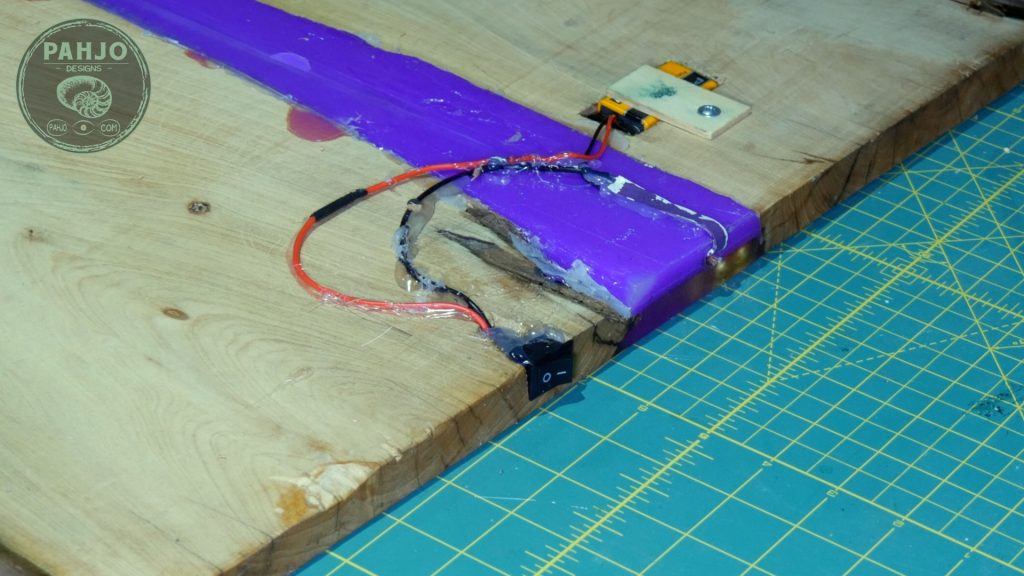

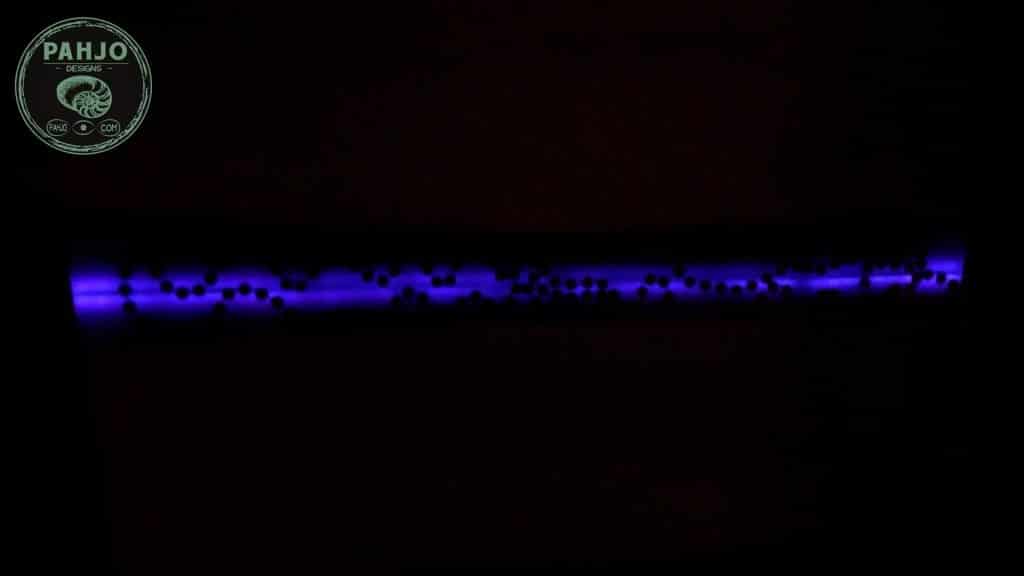
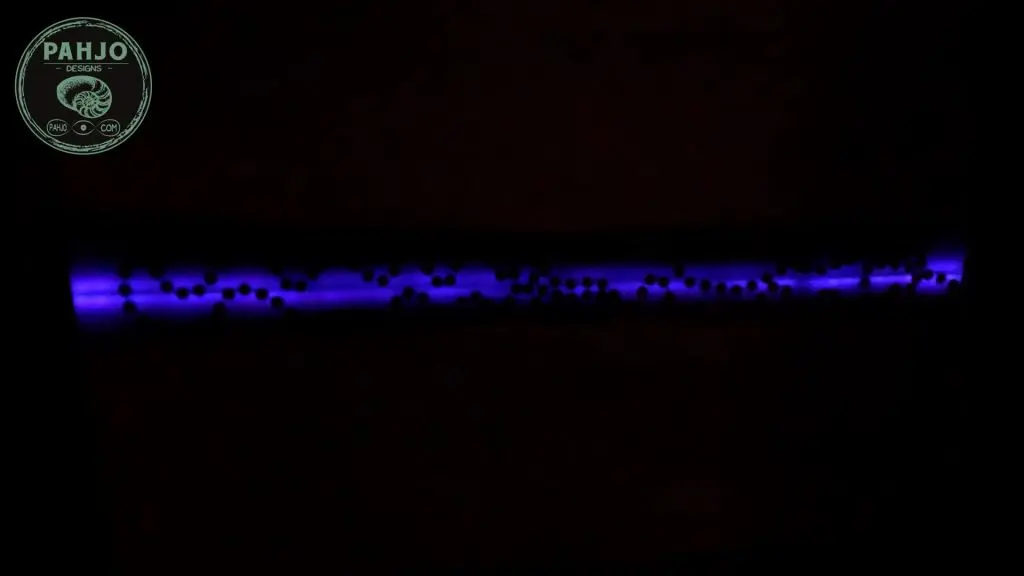
Finally, I turned off the lights and tested the LED light strips while the resin wall art was upside down. In other words, this side won’t be seen.
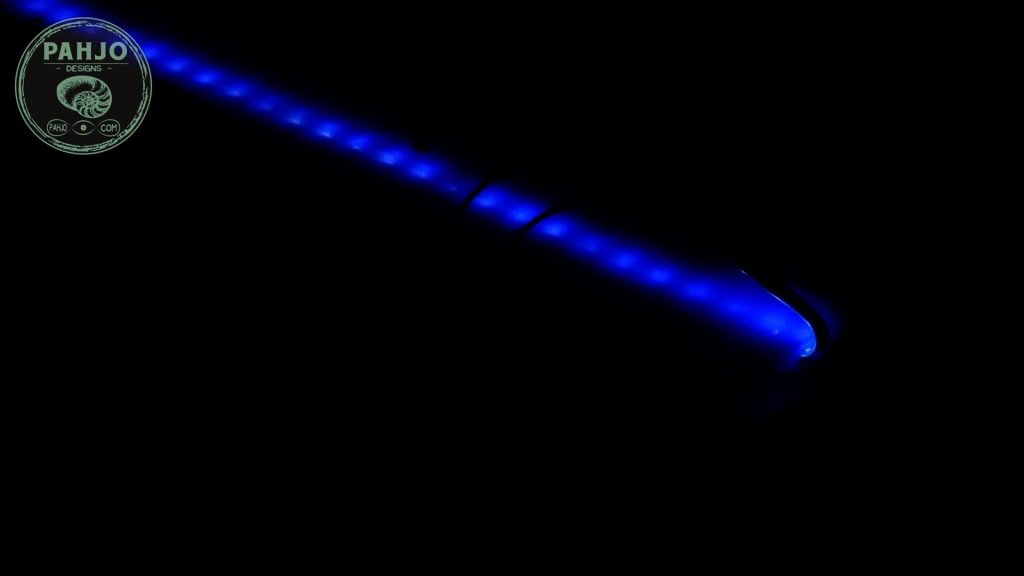

The picture below is a front view of the LED epoxy resin wood wall art.
Conclusion
I failed a lot, learned a lot, and recovered enough to call this LED epoxy resin wood wall art project a success.
In conclusion, I hope this post provided you with value.
Feel free to leave a comment and let me know what you think about this project.