
In this DIY article, I show you how to replace carpet stairs with wood. This easy DIY project is the cheapest way to give your staircase a makeover.
Most people with carpet stairs want them replaced.
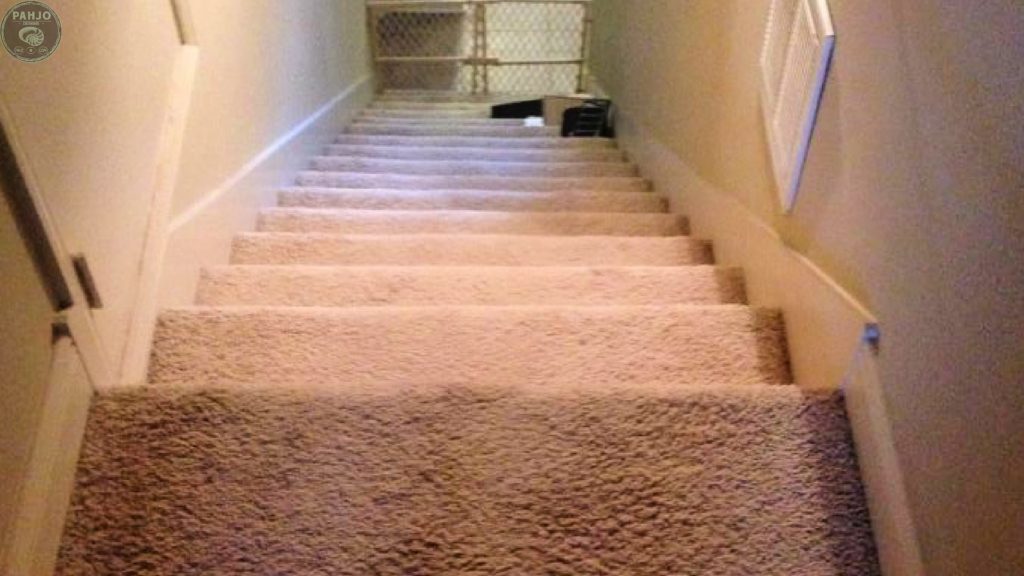
Carpeted stairs are difficult to clean and an eye sore.
Even worse, carpet traps dust mites, pet dander, cockroach allergens, mold spores, dirt and dust.
All of which pose a serious health concern.
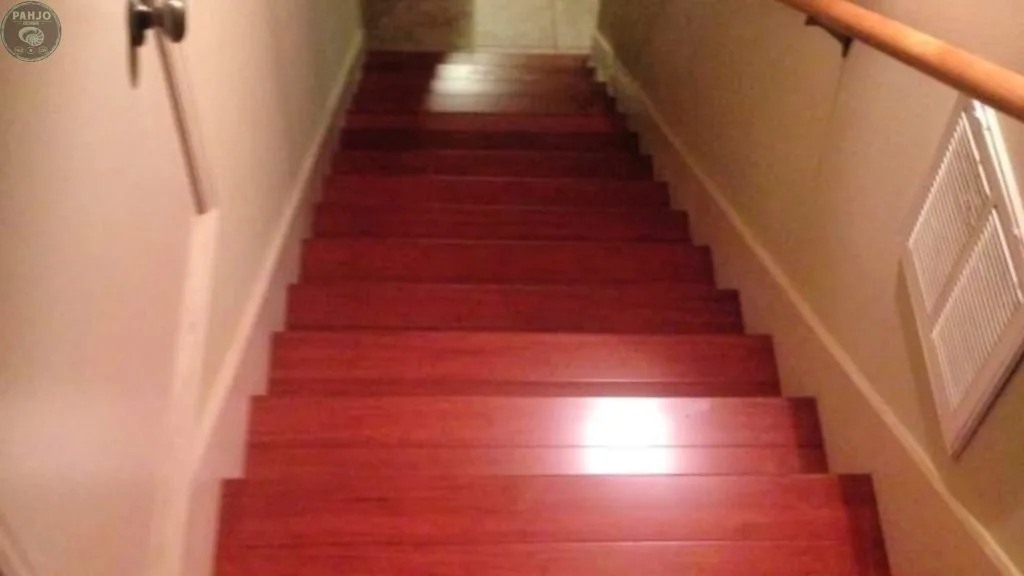
So today, I show you the easiest and cheapest way to replace carpet on stairs with wood.
Additionally, this method offers you an option to match your existing hardwood floors.
Here are some jump links to the main sections of this post to help you find the information you need quickly.
Video Tutorial
Tools and Material
Cheapest Way to Replace Carpet on Stairs
Cost Breakdown
Step-By-Step Instructions
Video Tutorial
There are several things which are difficult to fully explain with words and images, so be sure to check out the video tutorial below.
Tools Needed
- Carpet Removal Tool
- Pliers
- Staple Puller
- Jig Saw
- Hand Saw
- Stair Measuring Jig
- Table Saw
- Dewalt Trim Router
- 1/2″ roundover bit
- Router Table
- Liquid Nail Adhesive
- Wood Stain
- Wood Stain Sealer
- Cordless Brad Nailer
Replace Carpeted Stairs with Wood Floors
First, buying stair treads and risers are very expensive.
All options were too expensive for redoing stairs from carpet to wood.
Additionally, I wanted my stairs to match my new hardwood flooring in my home.
The hardwood flooring dealer tried to sell me stair treads and risers to match my flooring.
However, those were outrageously expensive.
So, I decided to replace my carpeted stairs with wood floors.
Also, the wood floors I used were the same wood floors in my home.
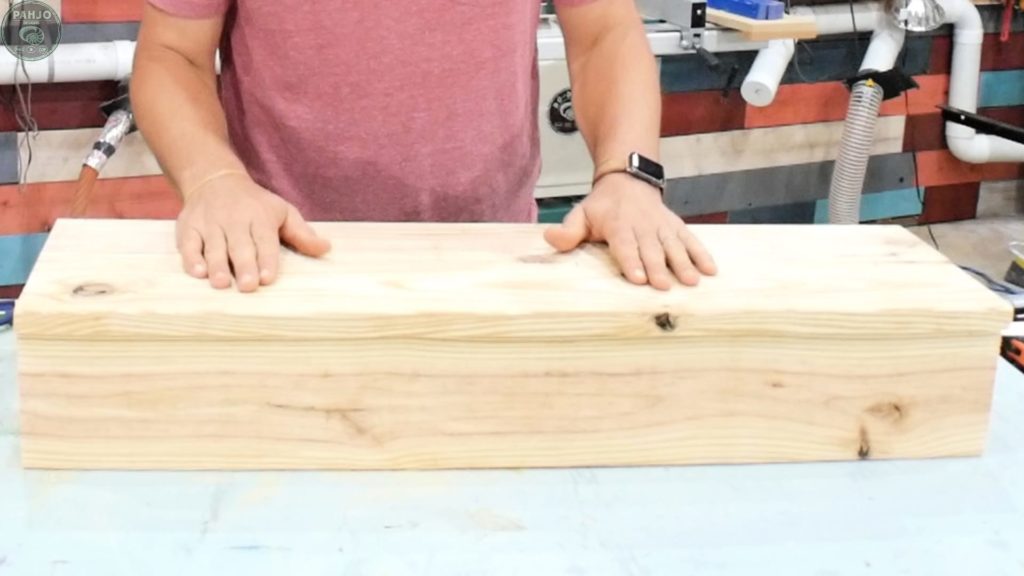
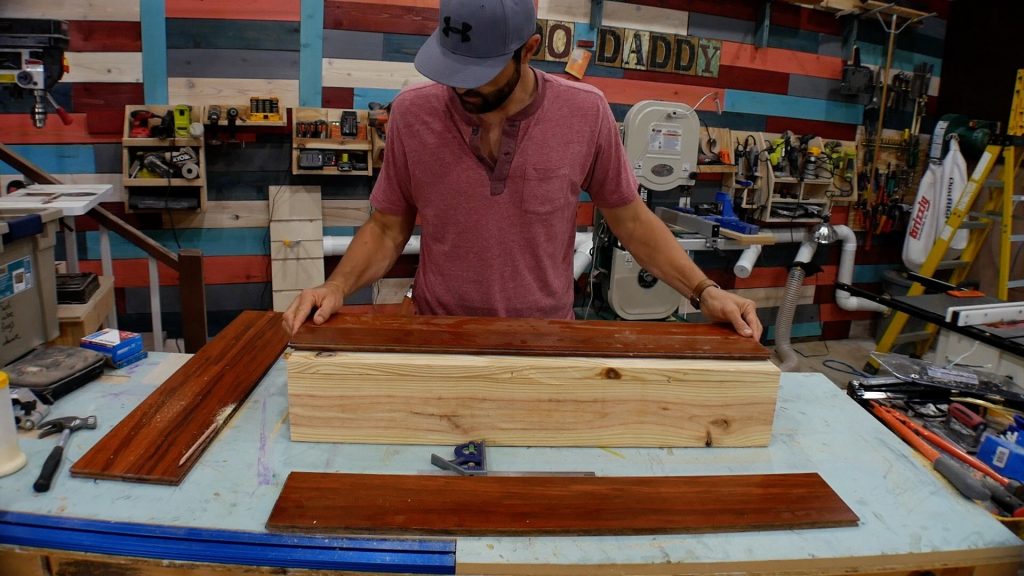
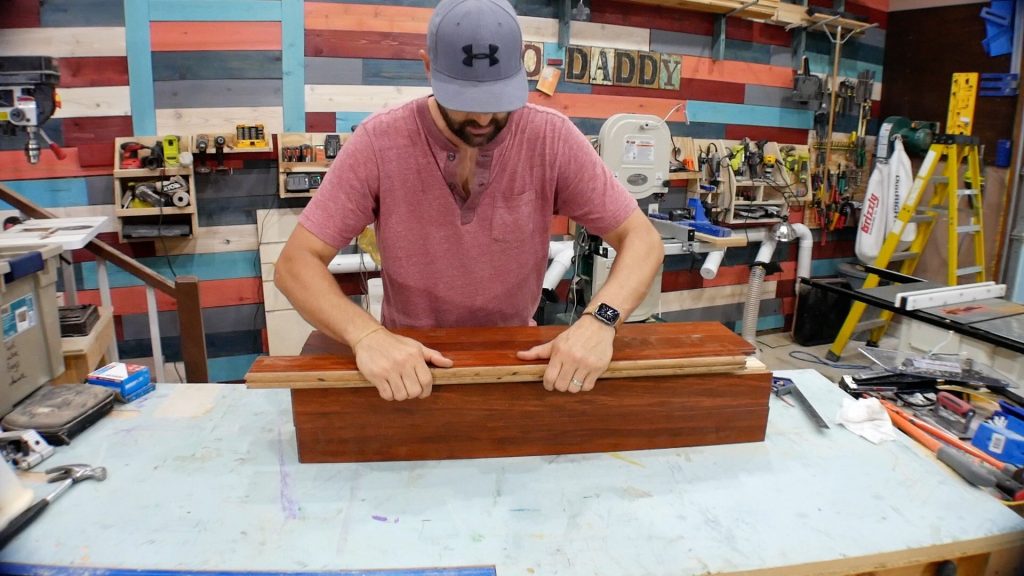
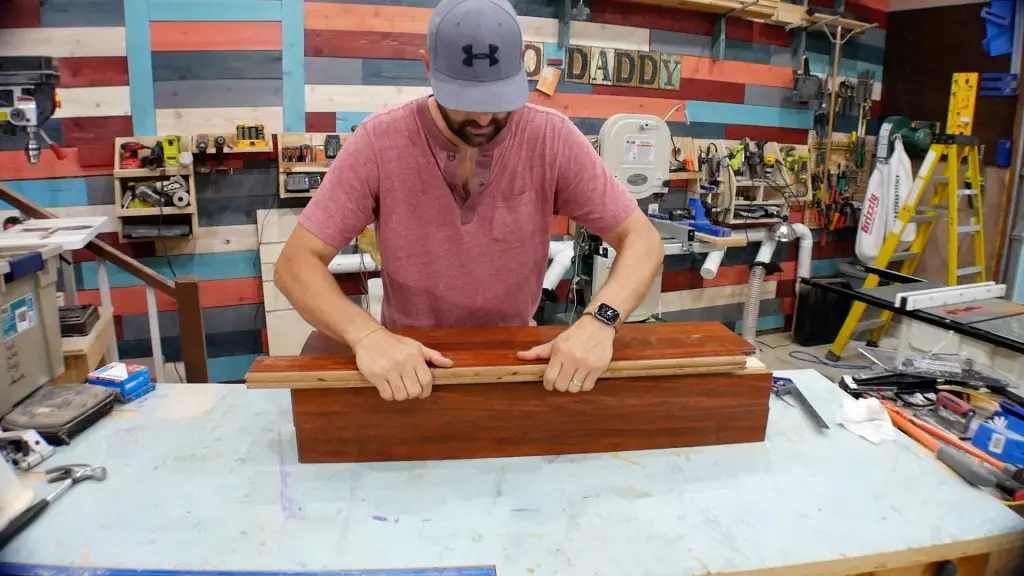
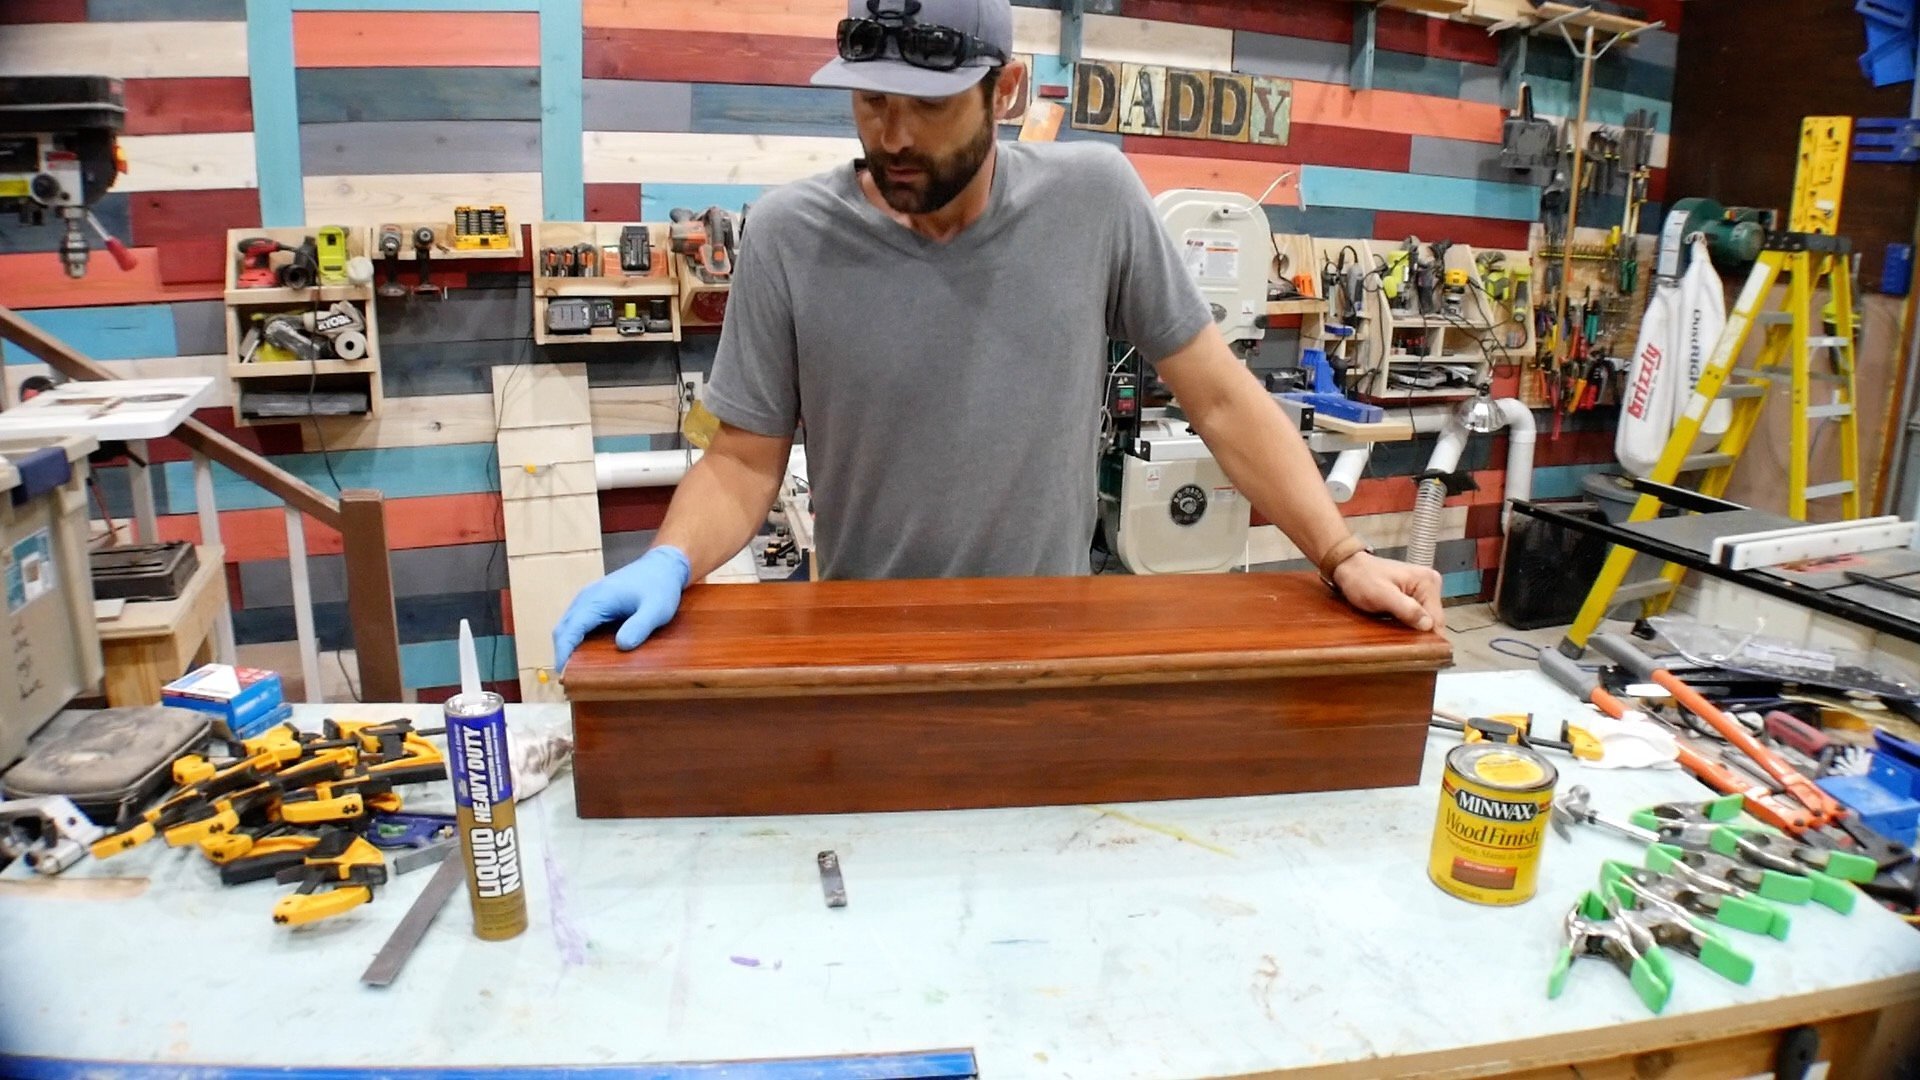
Stair Tread and Riser
My family and I sold this home not too long after I completed this project.
Luckily, I kept about 40 square feet of the bamboo flooring I used.
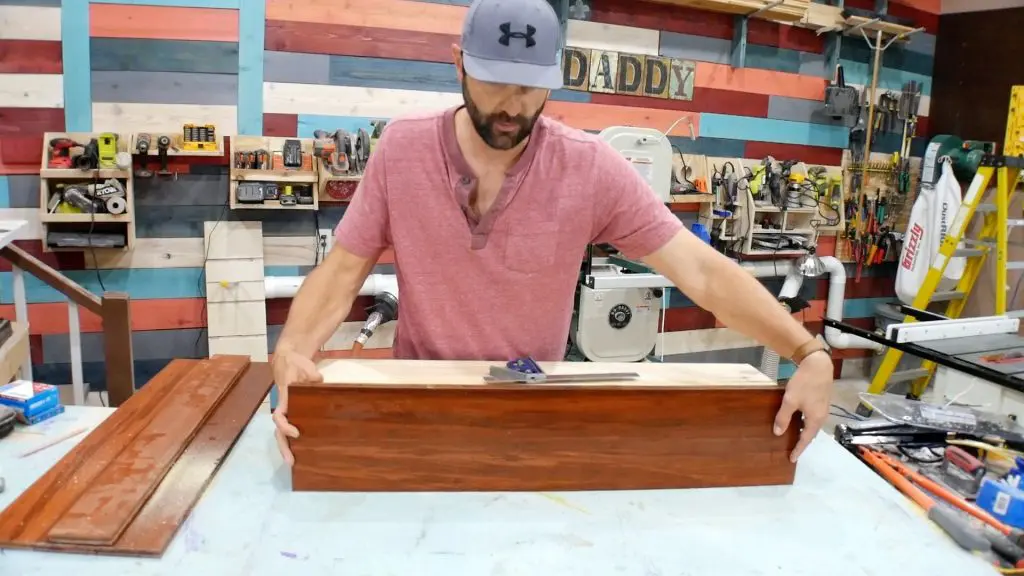
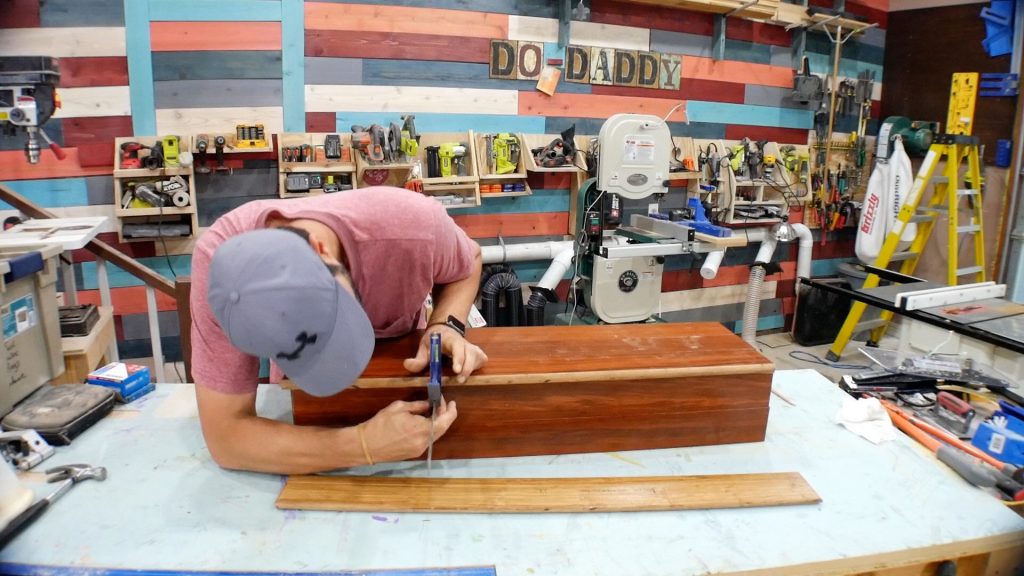
So, I built a stair tread/riser to demonstrate my method.
The stair is 36″ wide, 11″ deep, and 6.75″ high with a 1″ bullnose.
Also, these measurements are close to the typical stair size.
Obviously, the bullnose represents the part of the tread that hangs over the riser.
I used 6 pieces of the bamboo flooring on the mock stair. Each piece of bamboo flooring is 3.75″ wide and 36″ long.

Replace Carpeted Stairs with Wood Cost
First, I did a quick price comparison to replace carpet stairs with wood flooring to show you the cost savings.
By far, this is the cheapest way to replace carpet on stairs.
Stair Size
- Width: 36″
- Tread: 10” minimum depth
- Risers: 7” high, no more than 7 3/4”
The Stair Size
- Tread (48”x11”) = 3.67 square feet
- Riser (48”x7”) = 2.33 square feet
- Total Square feet = 6 square feet
Wood Floor Price
- The Price per Square foot = $1.99
- Price per stair (tread & riser) = $11.94
- Price per stair (tread & riser) with waste = $18.21
- Waste = 2 feet per board @ 5 boards per stair (tread & riser)
Hardwood Stair Tread and Riser Price
- The Price for Stair Tread ONLY: 69.99
- Price for Stair Riser ONLY: 34.99
- Price per stair (tread and riser) = $105.00
Remove Carpet from Stairs
The first step to replace carpet stairs with wood is to remove the carpet, carpet padding, and other hardware (staples, nails, etc.).
Removing carpet from stairs can be time consuming.
However, you must get a flat surface free of debris before proceeding to subsequent steps.
First, use a carpet removal tool to cut the edge of the carpet & padding on each stair.
Ultimately, this makes it easy to roll-up the carpet and discard it.
A flat head screw driver and a hammer work well to remove the staples.
Cut Stair Tread Bullnose
Determine the length of your bullnose at the end of your stair tread.
Next, use a jig saw or circular saw to trim the bullnose off so that the tread and riser are flush (90 degree angle).
If your stairs have a wall on either side, you will not be able to remove the entire bullnose.
Trim as much as you can and cut the rest with a hand saw or with a hammer/chisel.
This doesn’t need to be perfectly flush – just get it as close as you can.
Also, the imperfections will be covered up at a later step.


Stair Risers
Gather enough wood flooring for the risers so that it is flush or slightly taller than the stair.
It cannot be shorter than the thickness of your flooring.
If your flooring is 1/2″ thick, the boards must be within 1/2″ of the top of your tread. In my case, it was 2 boards.
Next, attach the boards together and place the attached boards up against the riser portion of your stair.
If the boards are slightly taller than your tread, you will want to trim off equal amounts off the top and bottom of the boards.
This makes them flush and the seam between the pieces falls in the middle.
Keep in mind, make the boards flush or slightly shorter than the top of the tread.
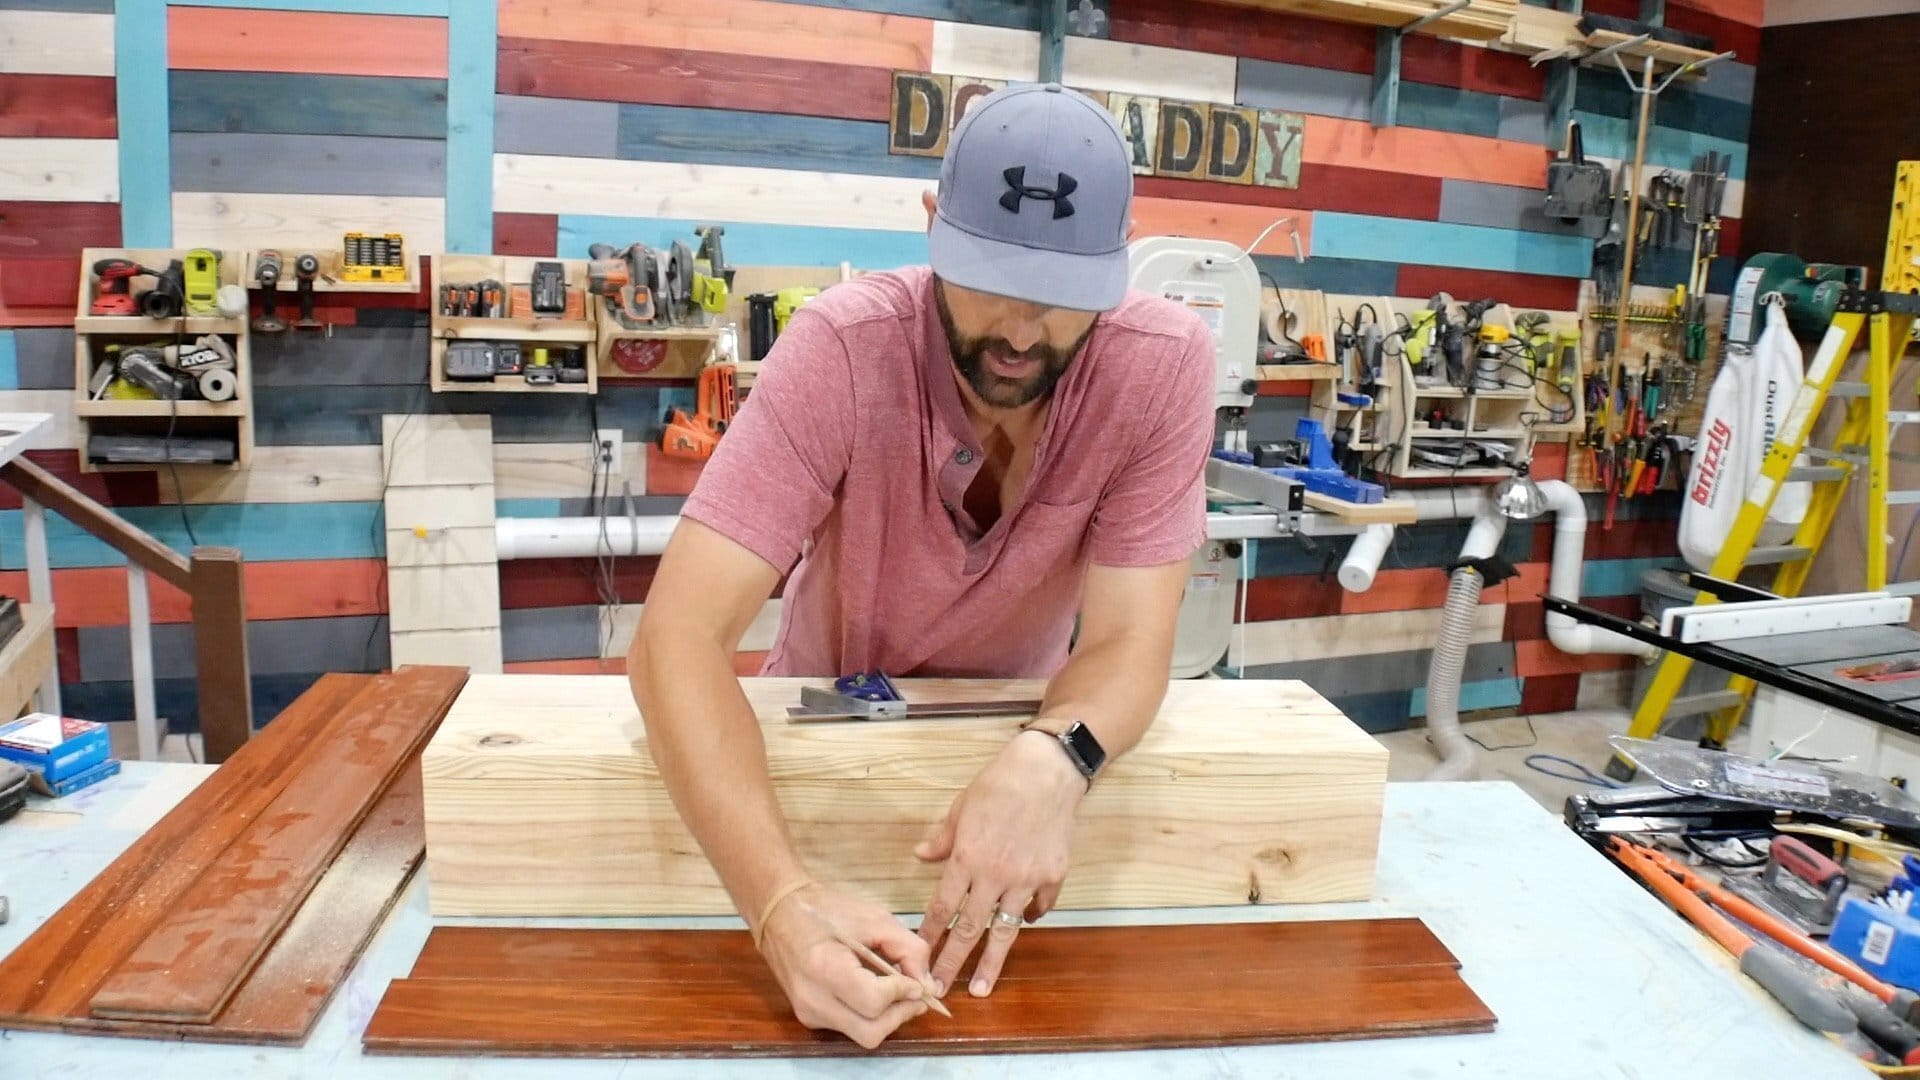
Measure Twice
Before you trim the boards, make sure to mark the boards where they need to be cut with a pencil.
Keep in mind, it is very easy to forget which side of the board needs to be cut.
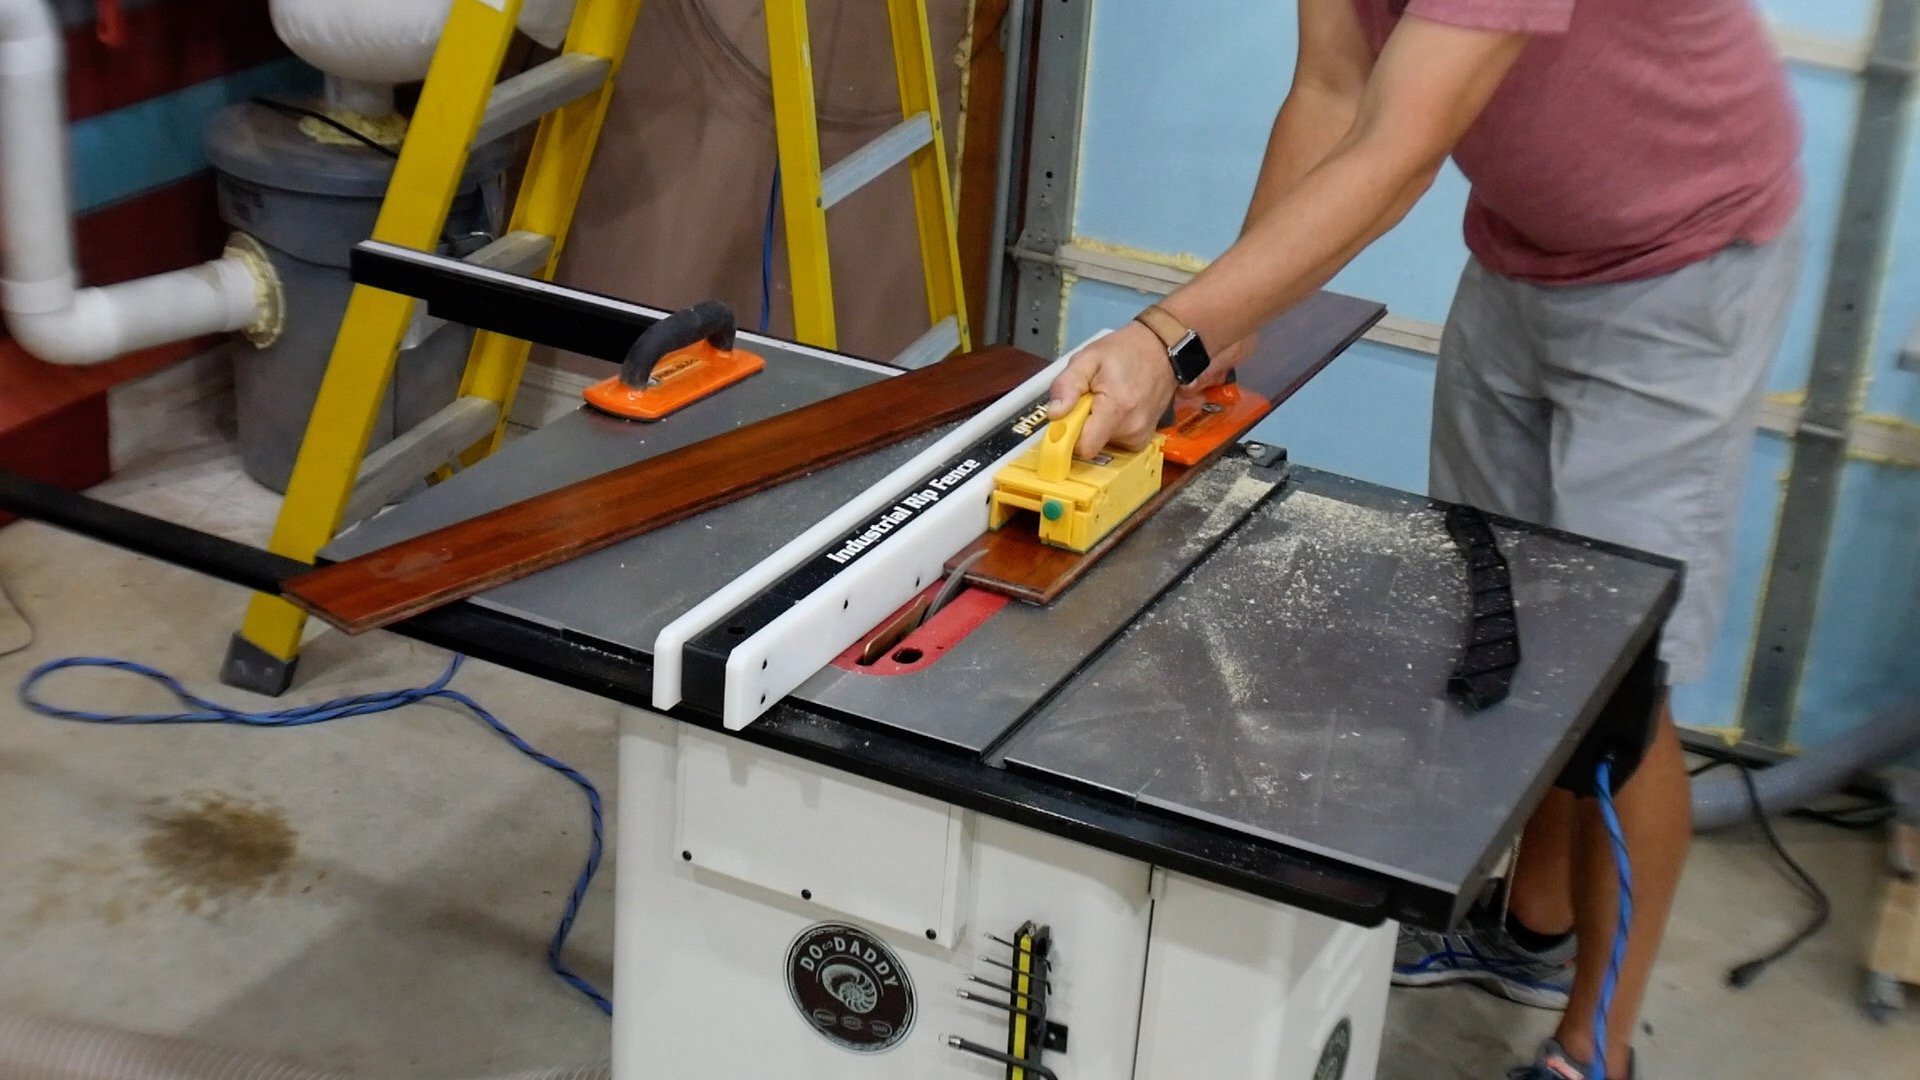
You can use a table saw or circular saw with a straight edge to rip the boards.
After you cut the boards to size, make sure they fit on the riser.
Also, it is ok for them to be a little short, but not shorter than the thickness of the wood.


As a quick tip, complete all the risers before moving to the treads.
Obviously, this will save you time and allow you to get into a rhythm.
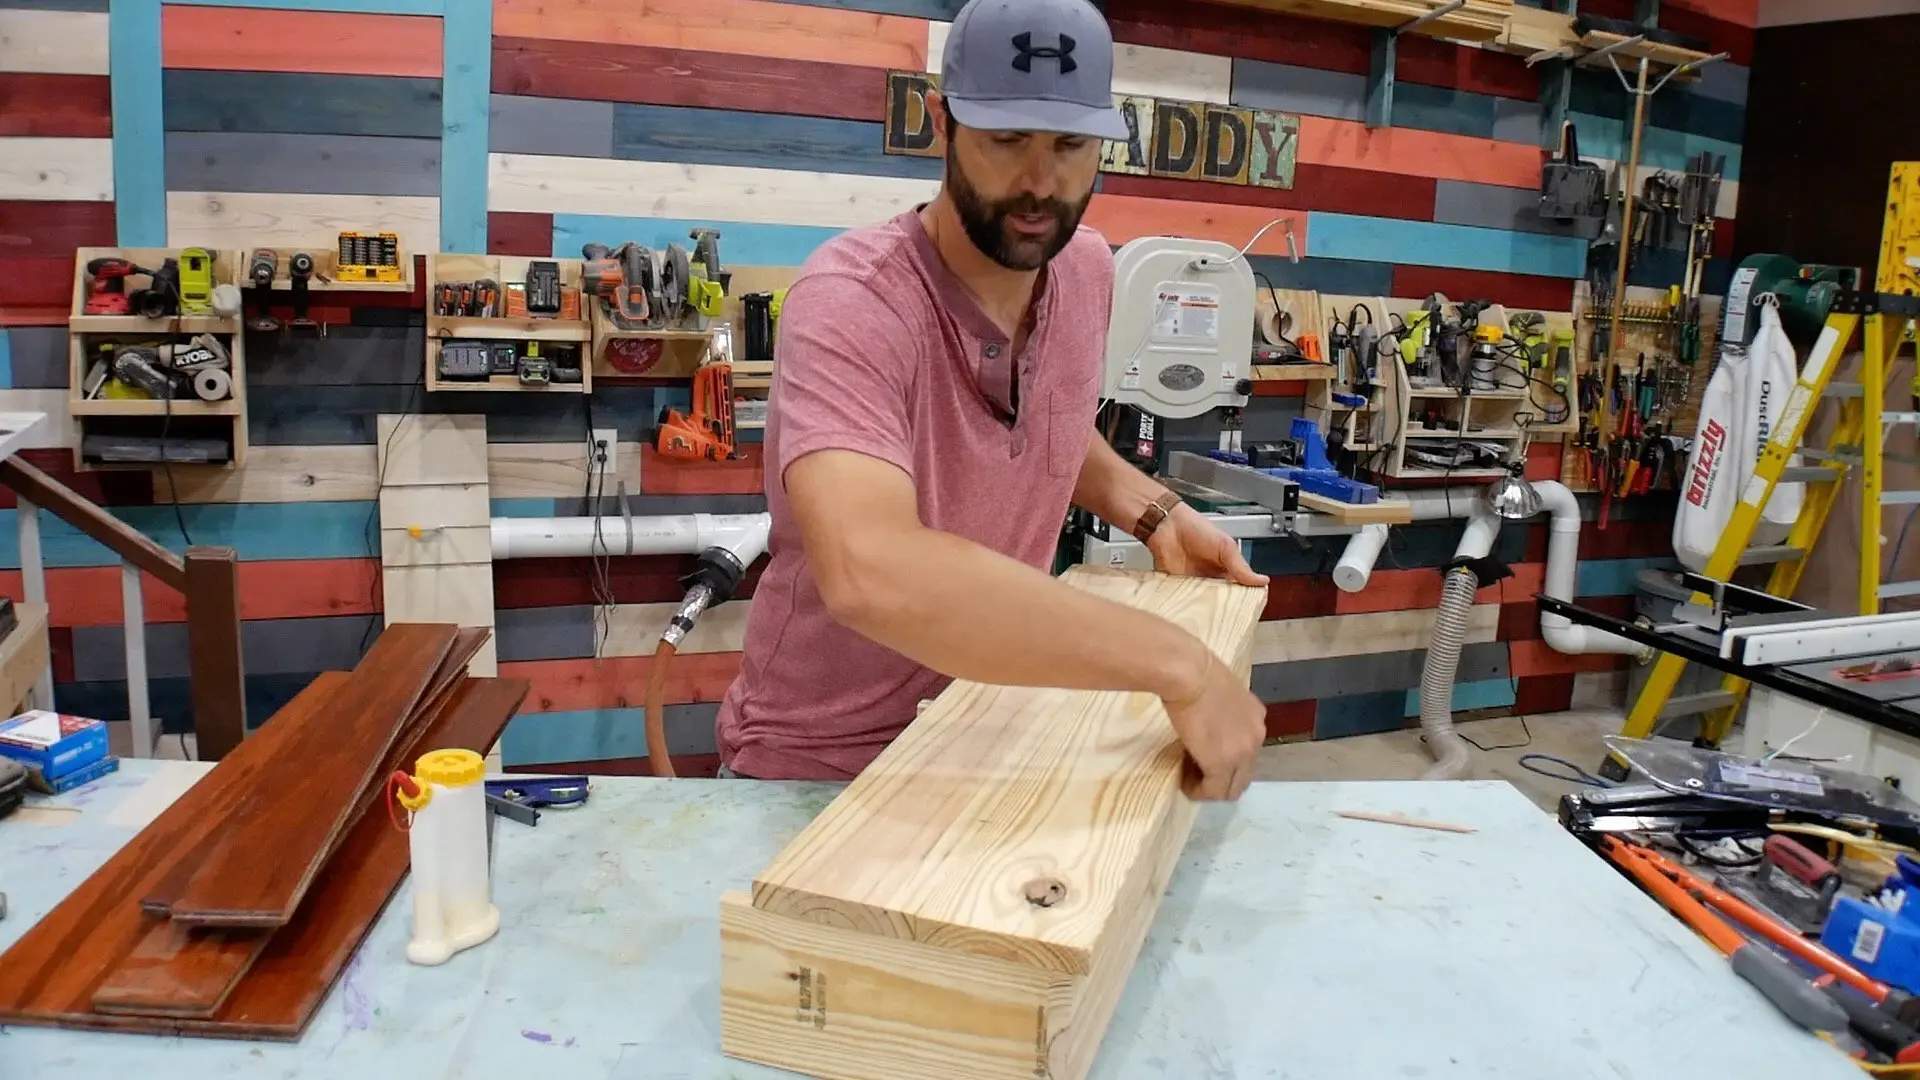
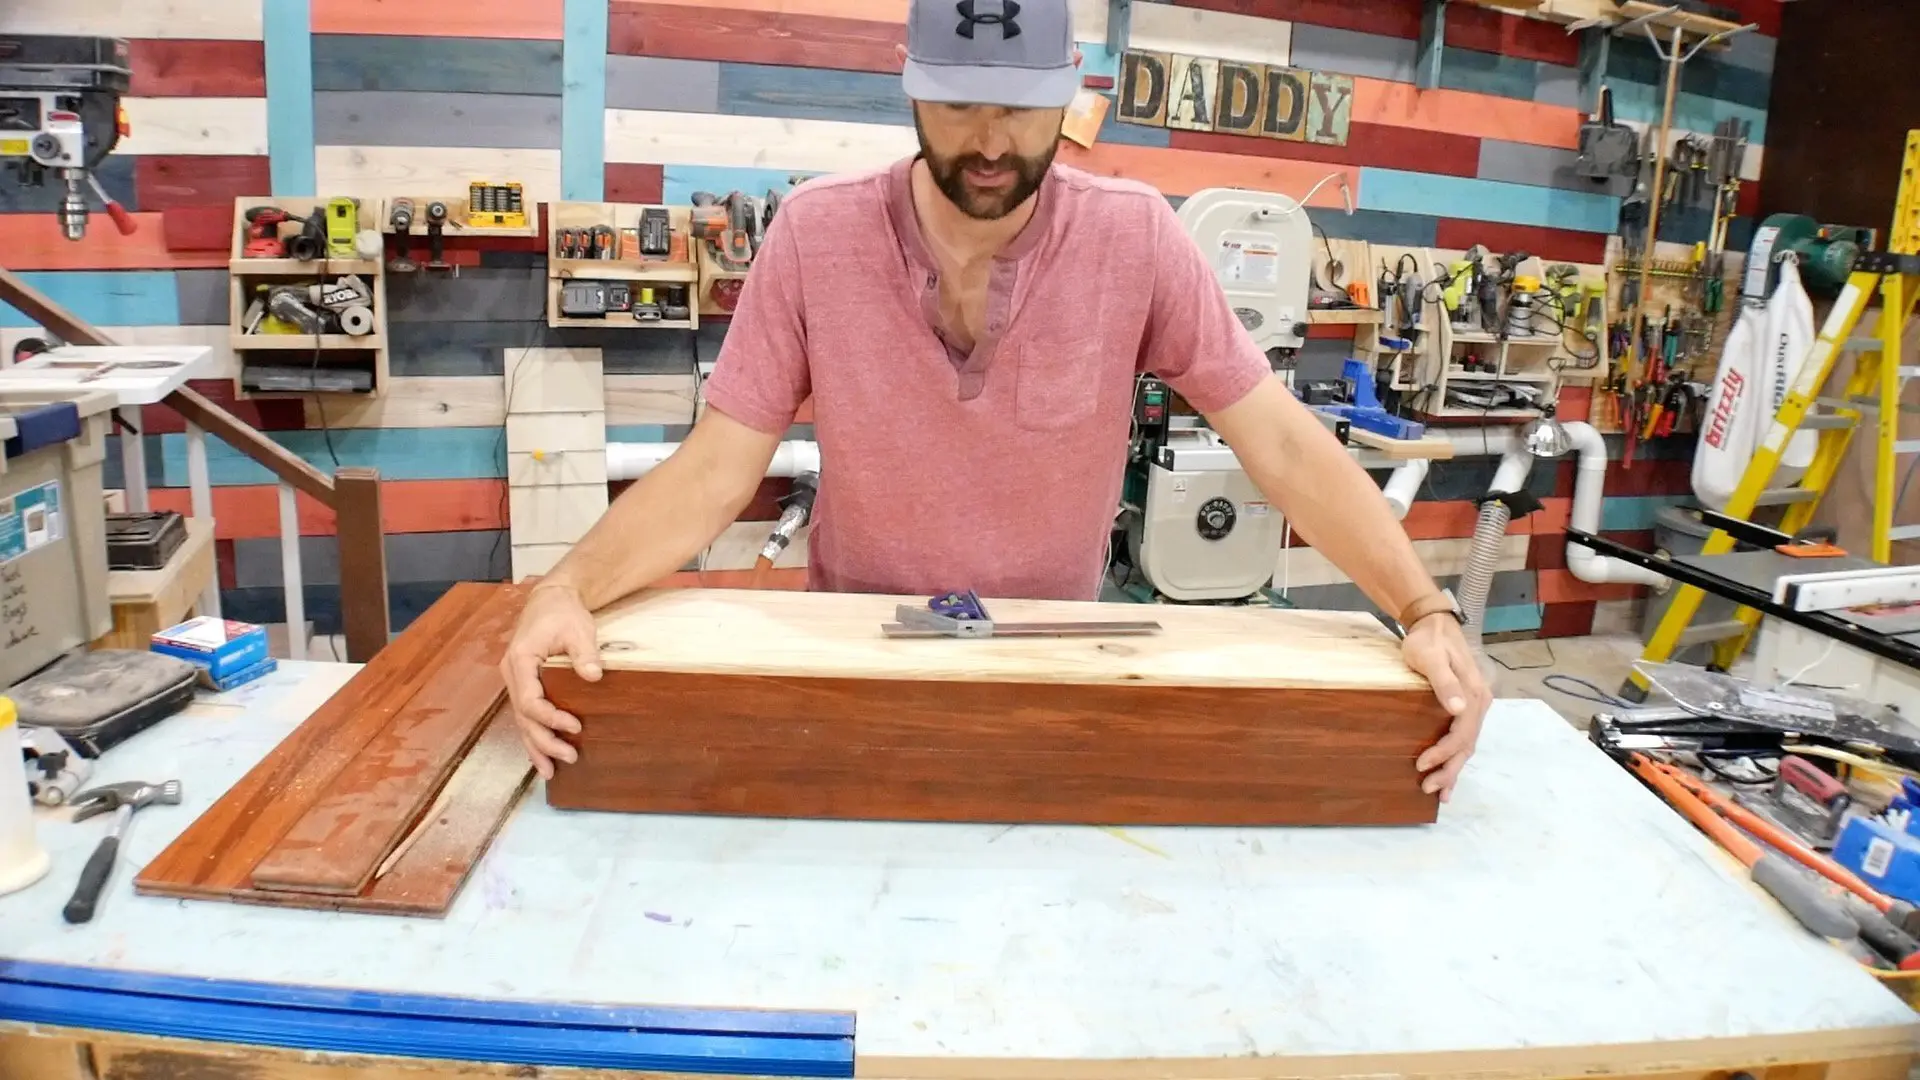
Stair Treads
Gather enough wood for the treads so that it extends over the riser the amount that your bullnose needs to be.
I needed a total of 3 boards in my example.
If your bullnose is 1″, make sure your boards for your tread hang over your riser at least 1″.
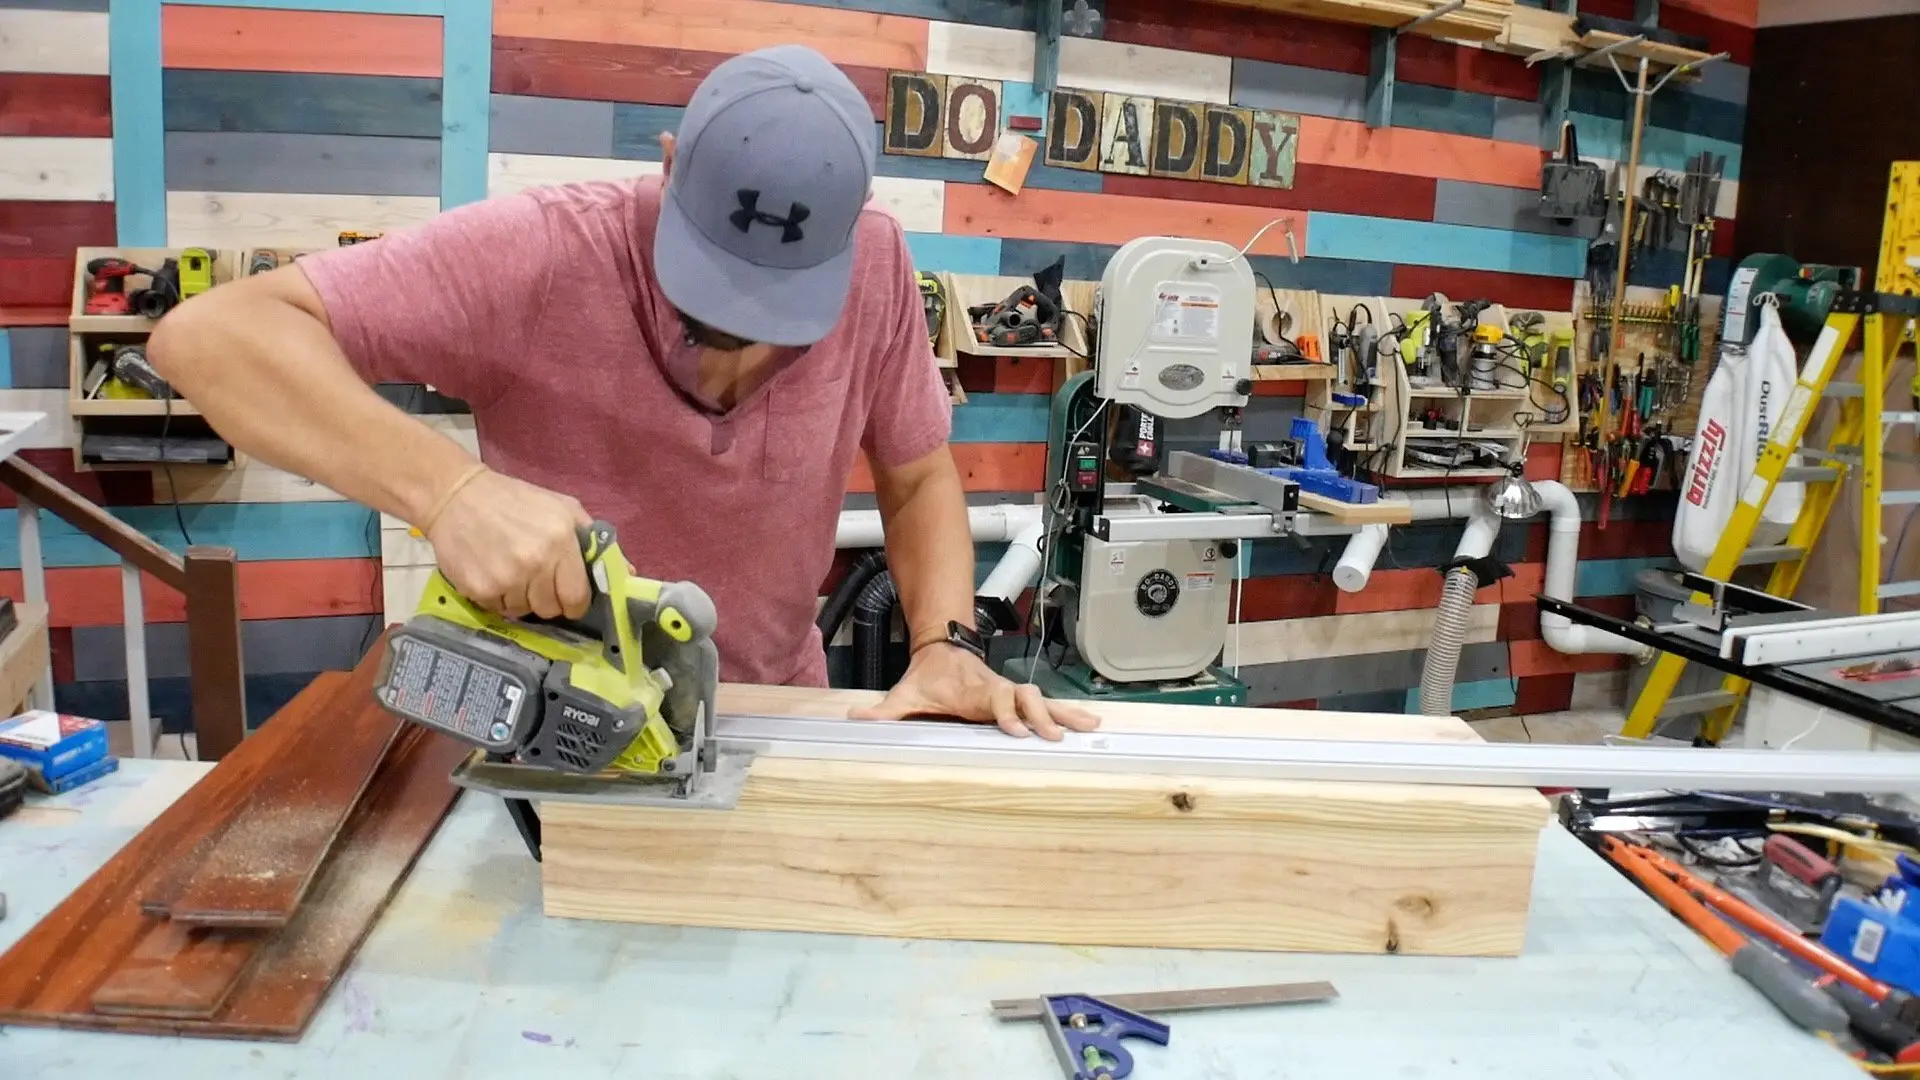
Take the measure of the tongue/groove at the end of the board.
This measurement will need to be added.
For example, you want a 1″ bullnose & the groove of the board is 1/4″.
So, make sure you have at least 1 1/4″ of overhang.

Next, make a pencil mark on the end of the board that hangs over the riser.
Then, remove it and trim off the tongue or groove using your table saw or circular saw.
Lastly, get a scrap or an extra full-length board and repeat the process again on this board.
Stair Measuring Jig
The walls on either side of the staircase will most likely not be square to your stairs.
Keep this in mind when measuring the width of your risers/treads.
If you plan to use moulding around your stairs, you don’t need to concern yourself with this.
However, you may want to invest in a stair measuring jig.
This tool measures the exact angle of the wall & stair.
In turn, it helps you to transfer this measurement to your saw to ensure your stairs fit snugly to the wall.
Create Tread Bullnose
Next, use a 1/2 inch roundover bit & a trim router to roundover the top of each side of the board you just ripped in the previous step.
If your boards are 1/4″ thick, use a 1/4″ roundover bit.
Then, I used a router table in this step, but this is not needed.
Also, clamping the pieces down and using a router with your hand will work just as well.

Once each board has a roundover, place them together and make sure the boards make a bullnose when put together.
Place the board that goes on the end of the tread and measure the distance from the riser to the end of the roundover with a combination square.
Use this measurement to rip the excess from the other board that was rounded over leaving the side that was rounded over.
This piece will be attached to the underside of the top tread to make the bottom part of the bullnose.
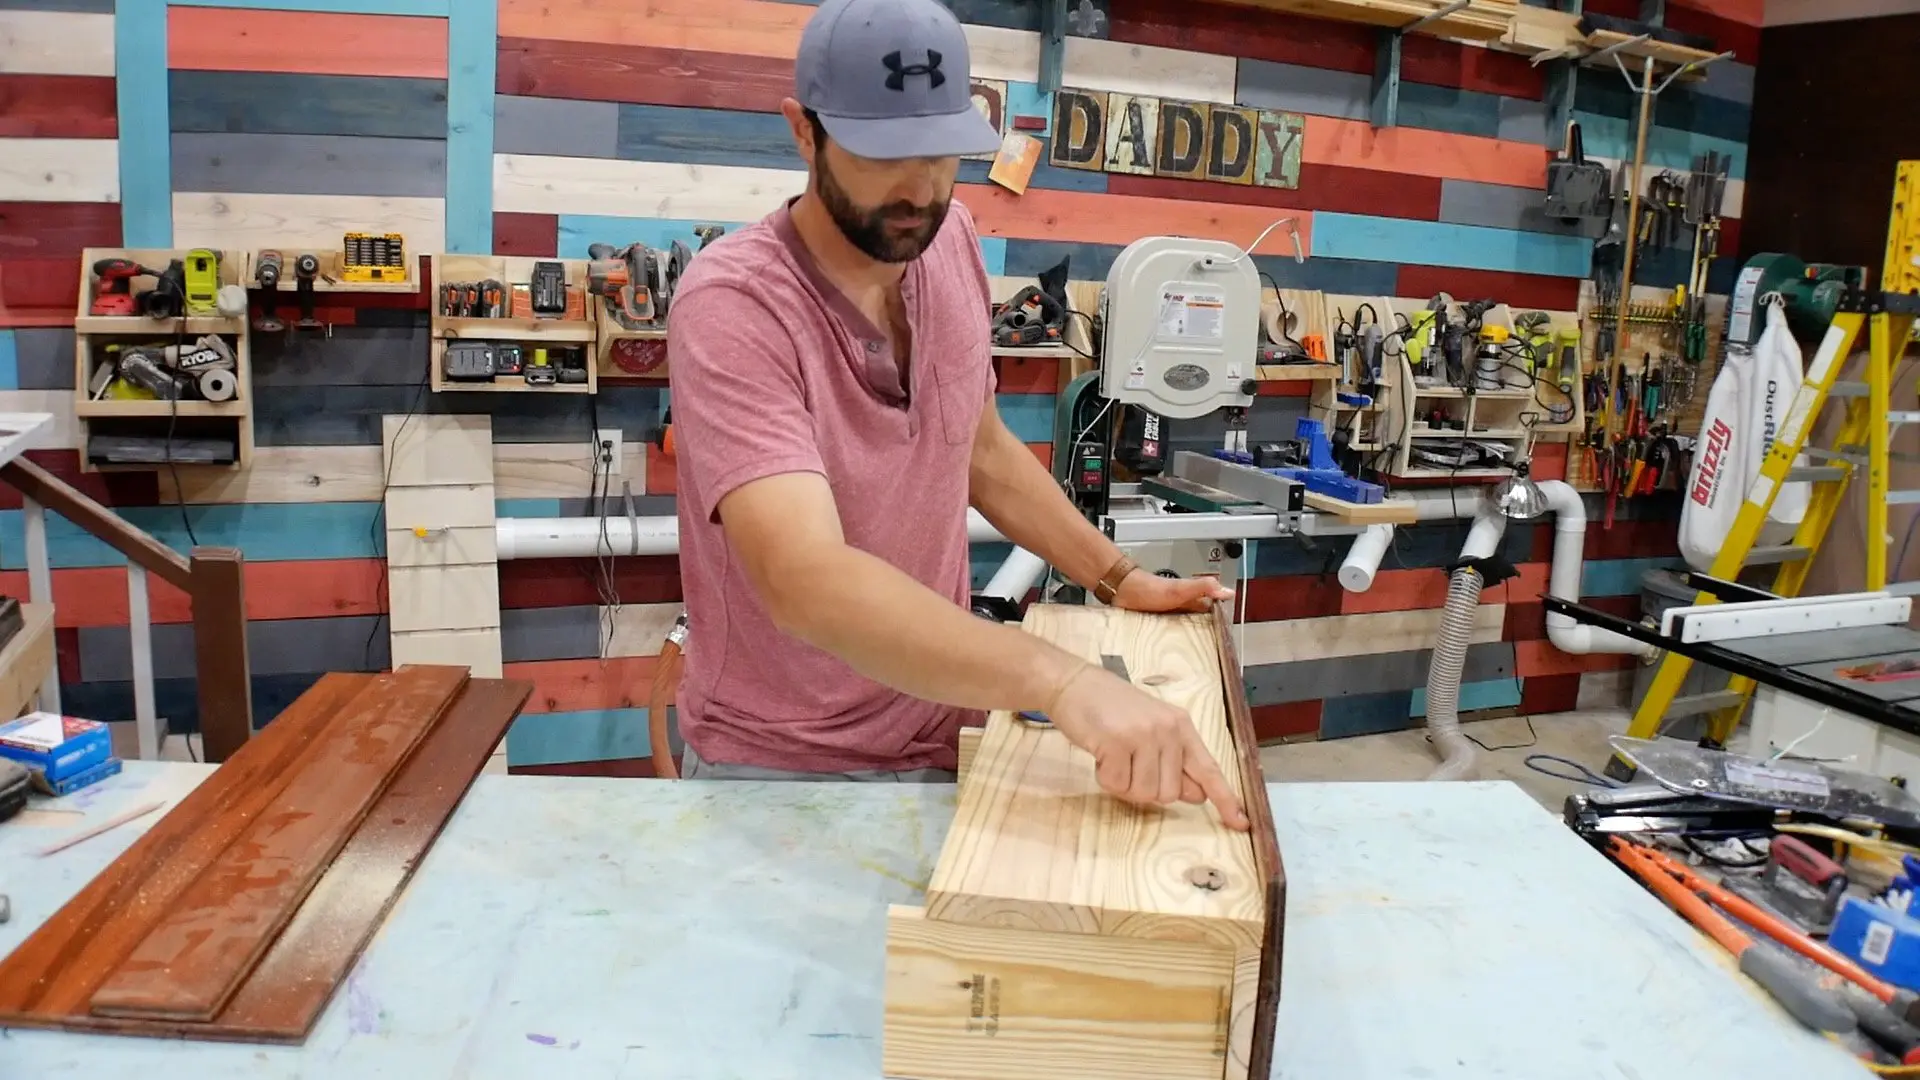
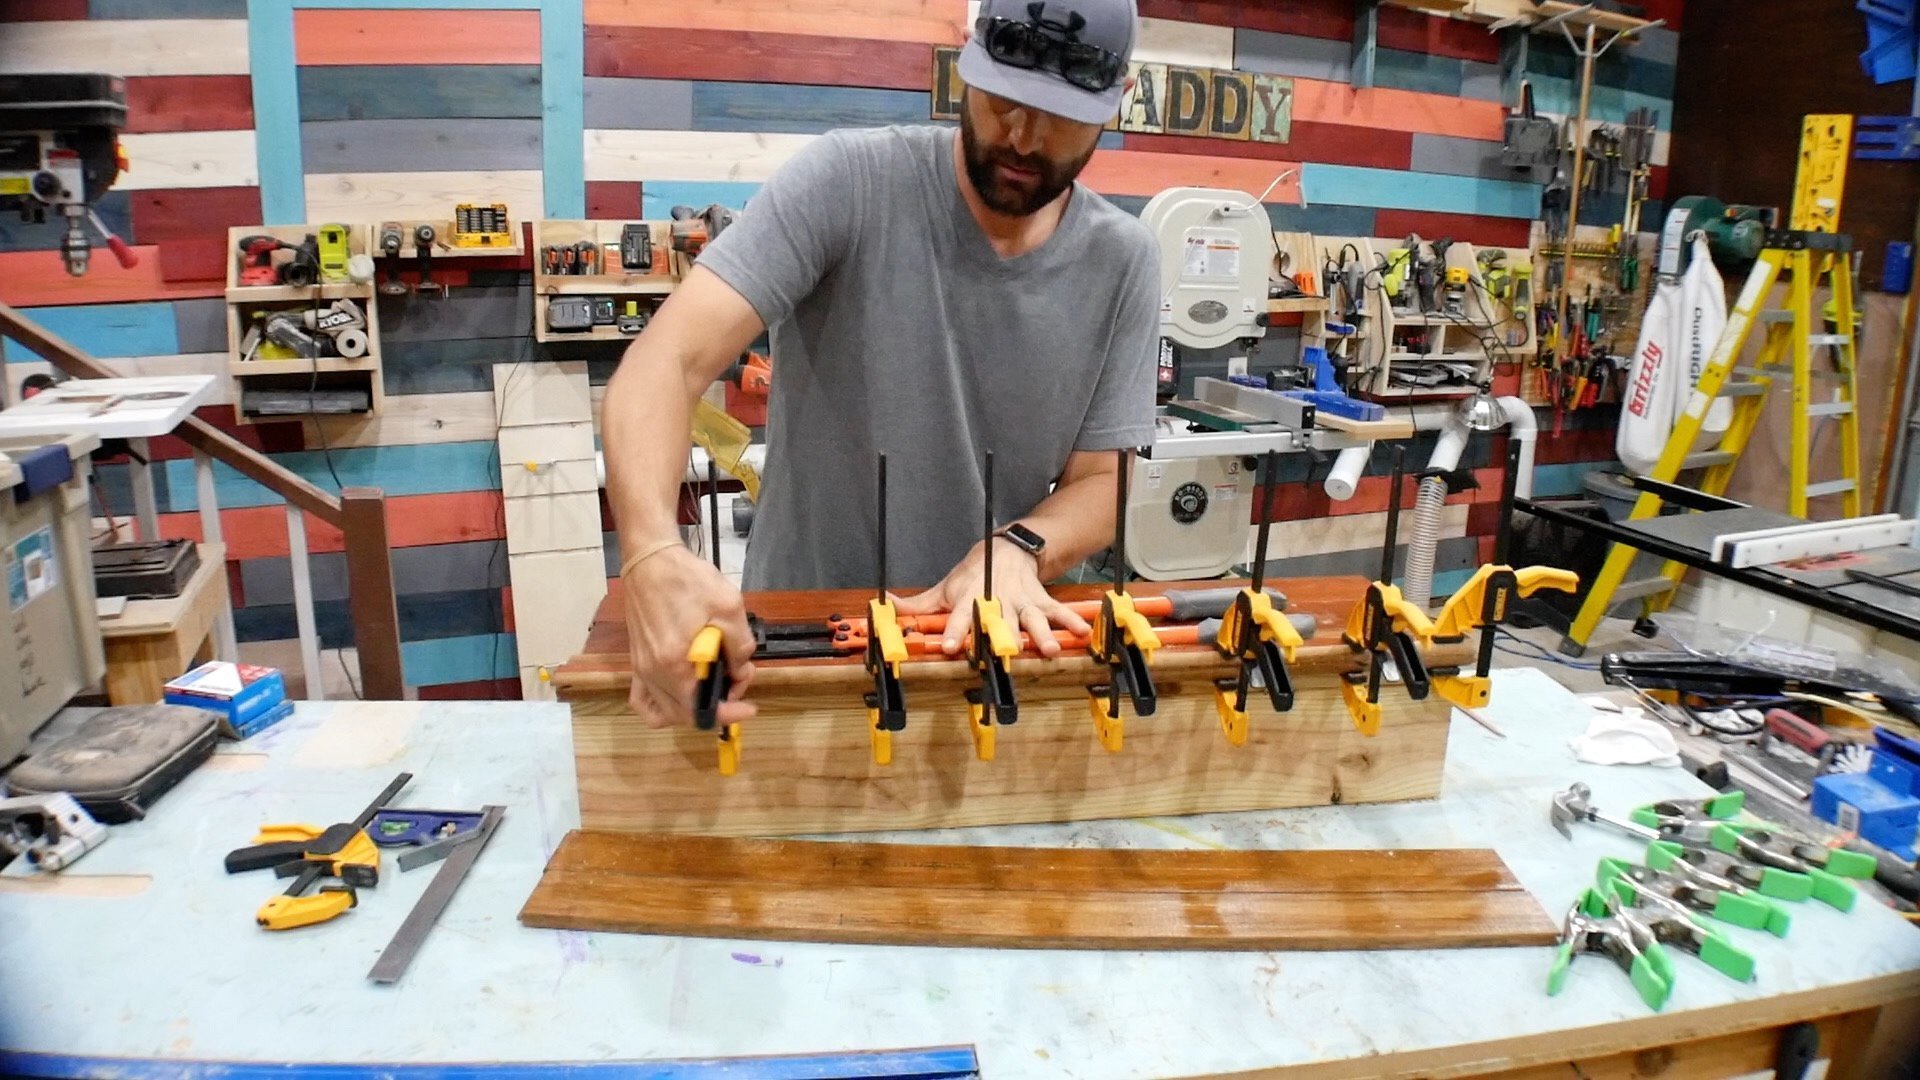
Attach Bullnose
Remove the top/bottom piece that make up the bullnose from the stair tread and bring it to your garage or workshop.
Use wood glue to glue the top/bottom of the bullnose together, clamp the pieces, and let it dry overnight.
Make sure the top/bottom pieces do not slide back or forward when tightening the clamps.
Next, remove the clamps and inspect the middle of the bullnose.
If there are gaps in the bullnose seam, mix wood glue and saw dust from cutting these boards into a putty-like consistency.
Then, fill the gap with this mixture and let dry for a few hours.
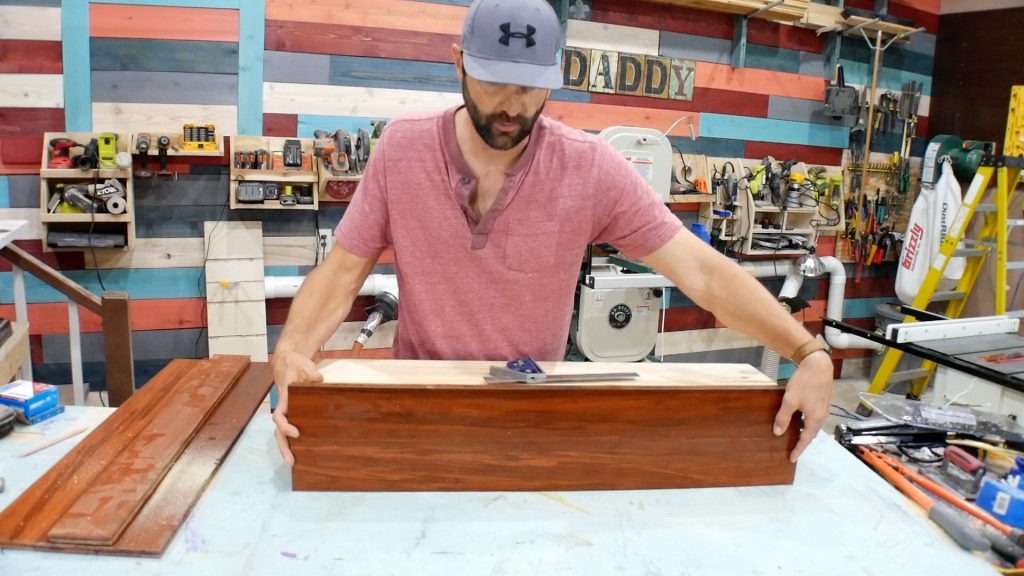
Stain & Seal Bullnose
Finally, the last step is to find a suitable wood stain that matches your wood.
This step may involve some trial and error to get the color right.
You can mix wood stains &/or apply multiple coats to achieve your desired color.
Apply the stain and let it dry according to the manufacturer’s instructions.
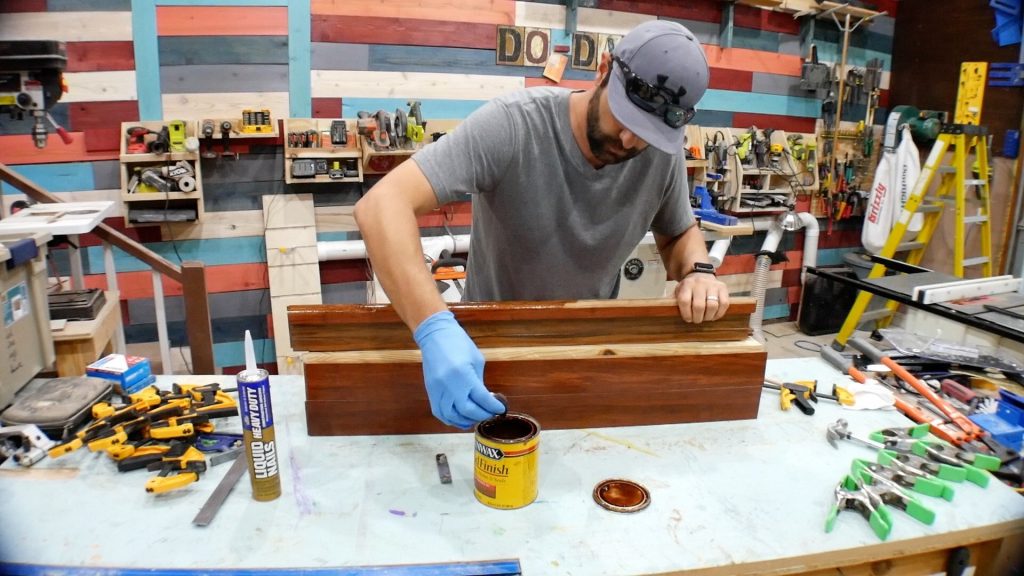

Next, apply a sealer to the bullnose with a finish that matches your wood.
If your wood has a high gloss finish, use a high-gloss sealer.
Also, use a flat/matte sealer if your wood has a flat/matte finish.
Ultimately, this will help maintain consistency between the bullnose and surface of the wood.
Final Assembly
The process to secure the tread/riser are the same.
I used liquid nail and applied it liberally to the bare wood on the tread/riser in a wave pattern.
Next, I repeated the pattern in the opposite direction to increase coverage.
Then, I joined the boards together and secured the seam with a piece of painter’s tape that ran perpendicular on the board.
I pushed the boards down until I felt a suction and wiggled them in place.
Finally, I nailed them with my brad nailer with 1″ nails.
I used 6 brads on the riser and 6 brads on the treads.
Conclusion
In conclusion, thank you for taking the time to read this post about how to replace carpet stairs with wood.
Related Posts:
- DIY Accent Wall using Reclaimed Fence Boards
- How To Sand Wood Like a Pro
- Easy DIY Garage Storage Shelves
- How to Build Double Sliding Barn Doors


Lee
Saturday 30th of November 2019
Thanks for answering my request. At this point I’m just getting ideas.
Austin
Thursday 8th of August 2019
Hello There. I found your blog using msn. This is a very well written article. I'll make sure to bookmark it and come back to read more of your useful info. Thanks for the post. I will certainly comeback.
Brian
Tuesday 25th of September 2018
Those bullnoses kind of stand out like a sore thumb don’t they? There’s no way you can get the interior composition to look anything like the prefinished top of the tread.