
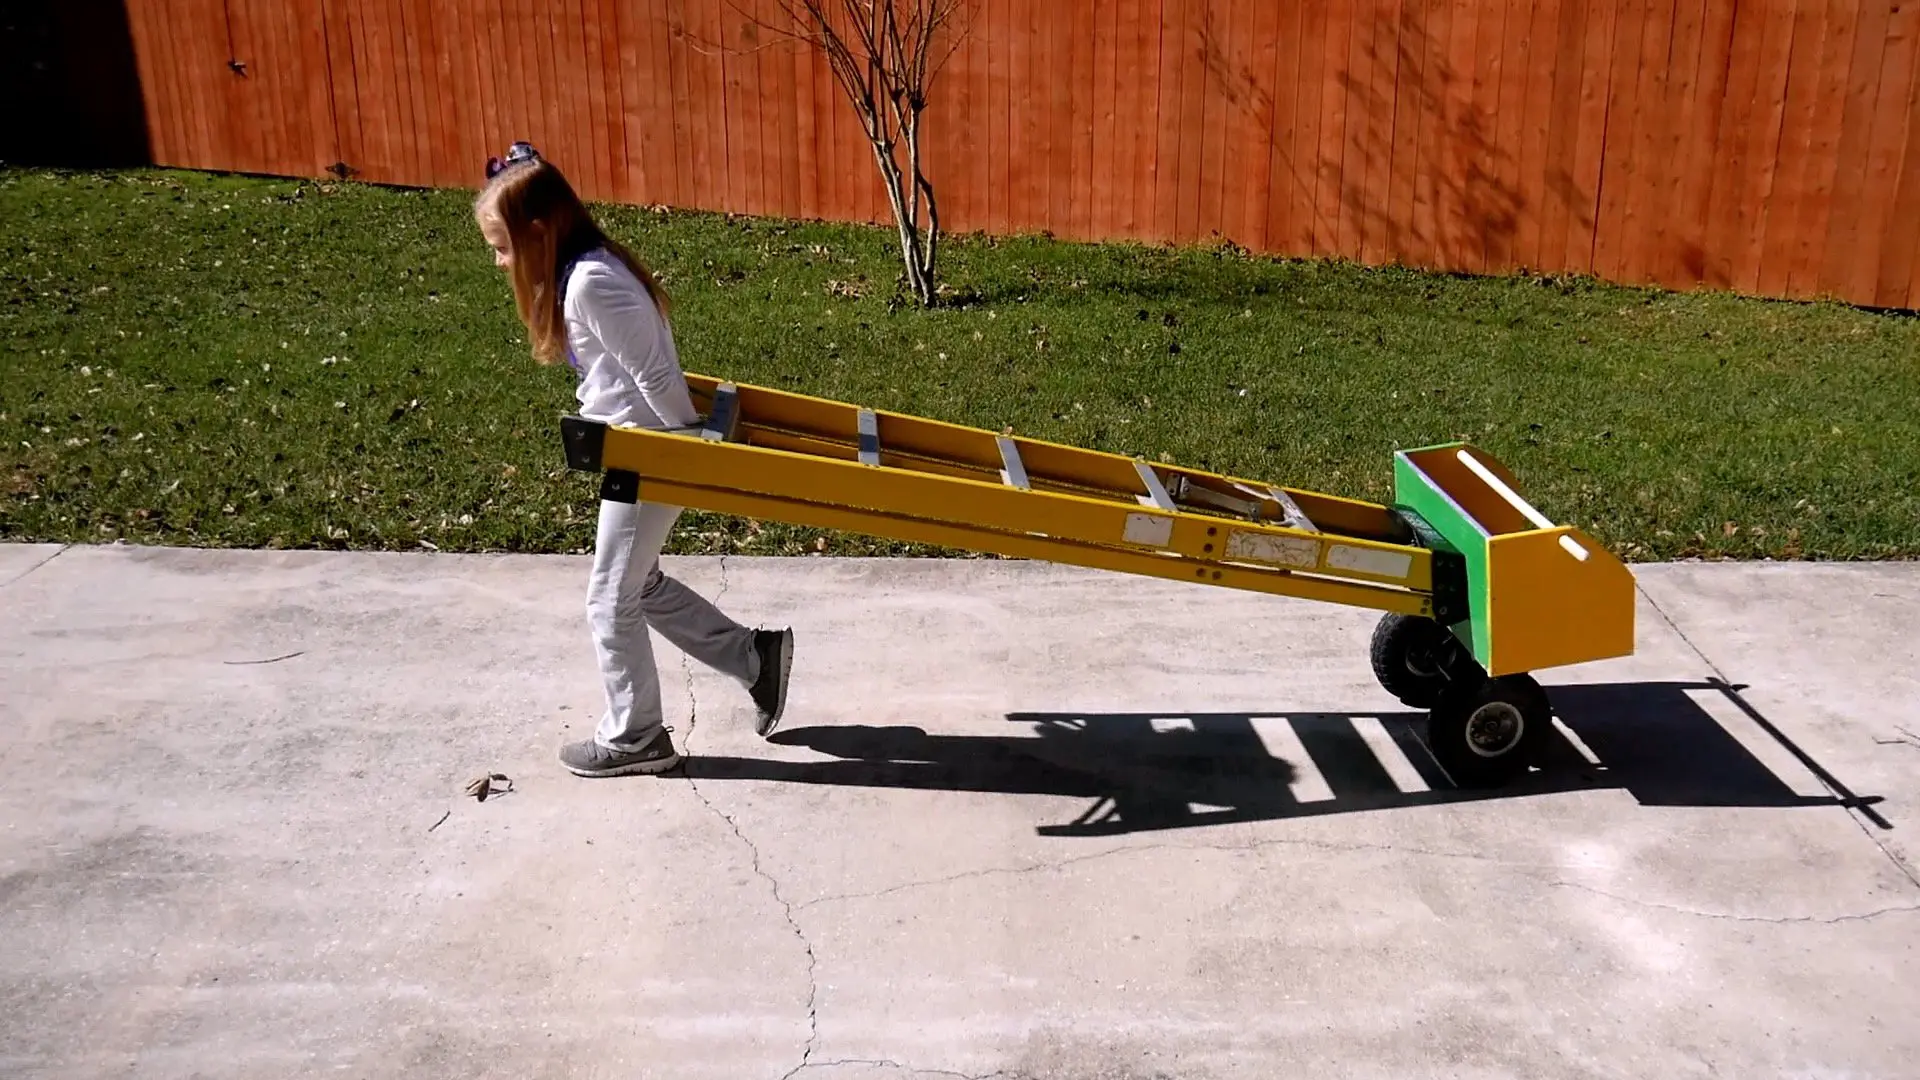
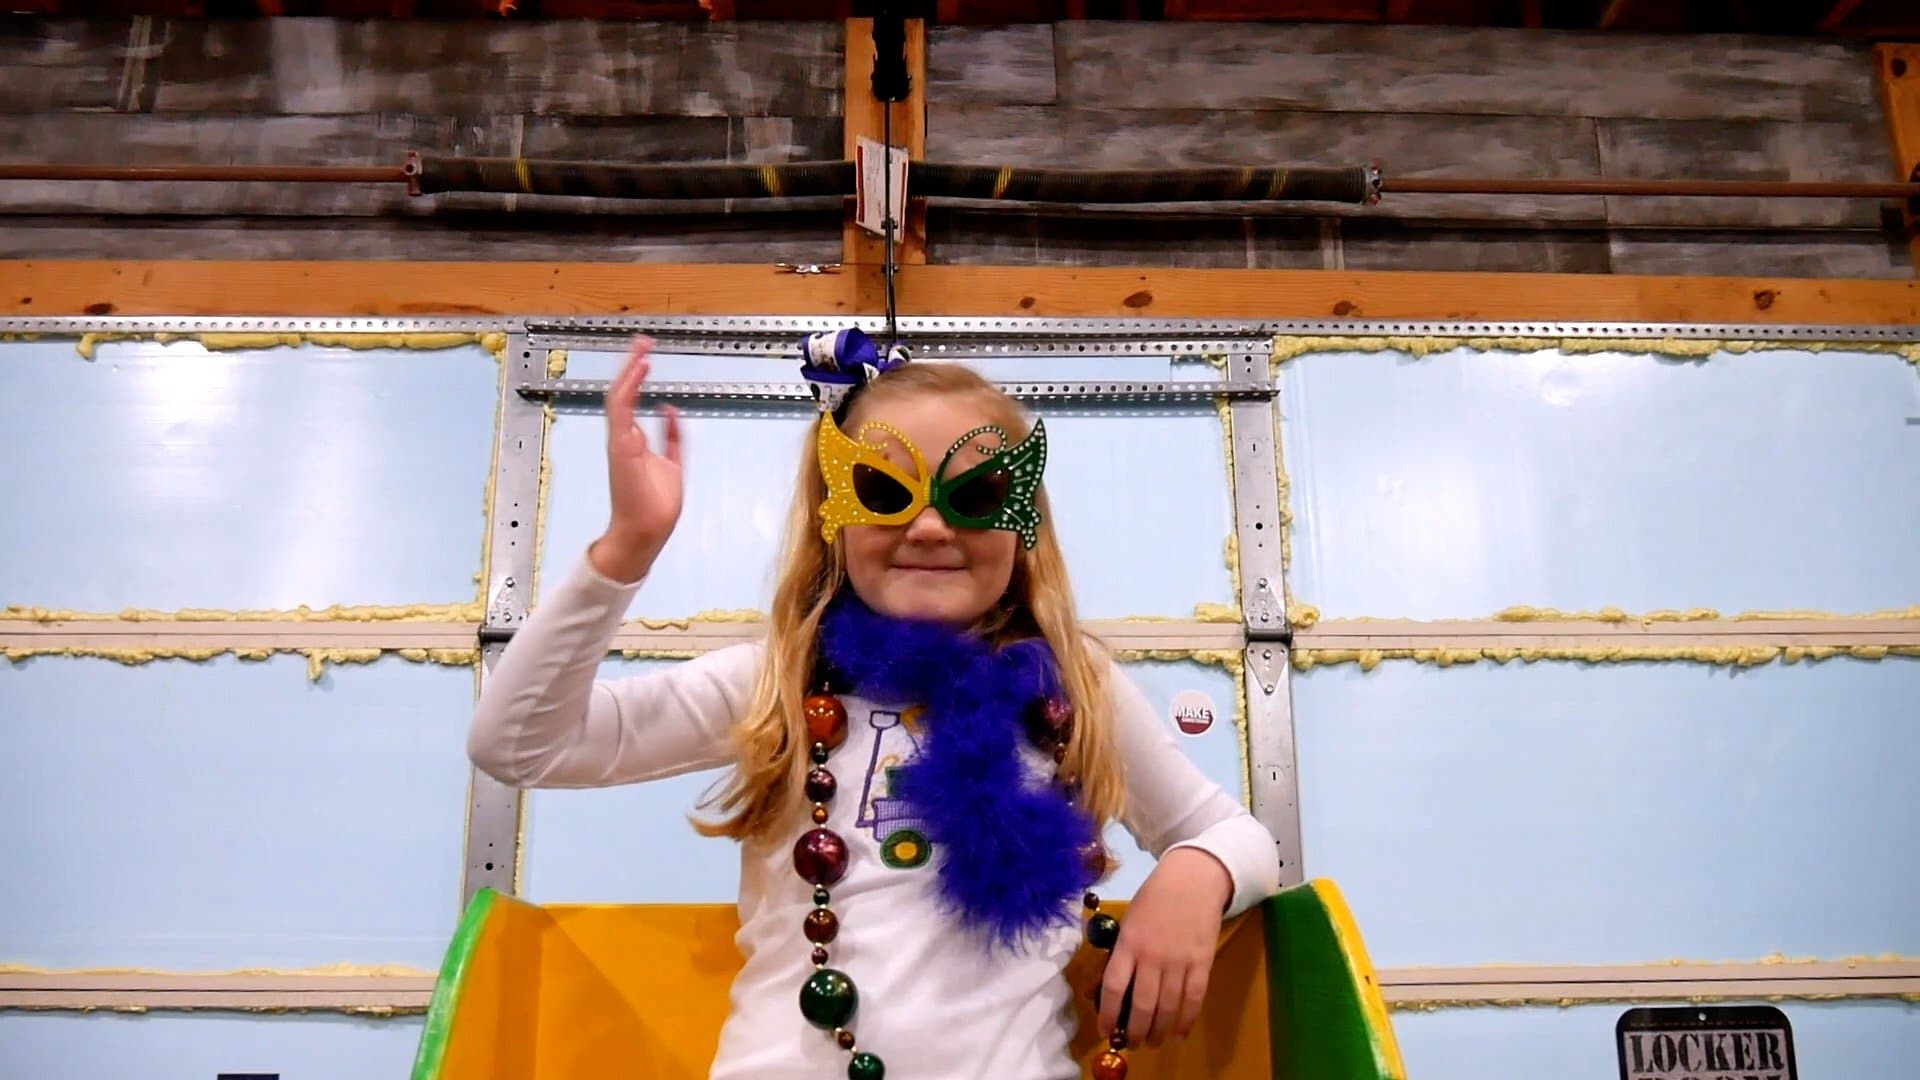
In this tutorial, I show you how to make a Mardi Gras ladder chair and why this DIY Mardi Gras Ladder Chair has special meaning.
Video Tutorial
There are several things which are difficult to fully explain with words and images, so be sure to check out the video tutorial below!
Tools I Used
Also, view complete list of all the tools I use here.
- Digital Plans for this project (step by step instructions)
- Table Saw
- Jig Saw
- 3/8″ Straight Bit
- Router
- 1/4″ round over bit Bit
- Nap Roller
- Primer
- Acrylic Paint – Yellow, Green, Purple
- Sealer
DIY Project Plans
Download the complete Mardi Gras Ladder Chair DIY Plans via my online store.
Cut List
The tools needed for this step are as follows: Table Saw, Circular Saw, &/or Miter Saw.
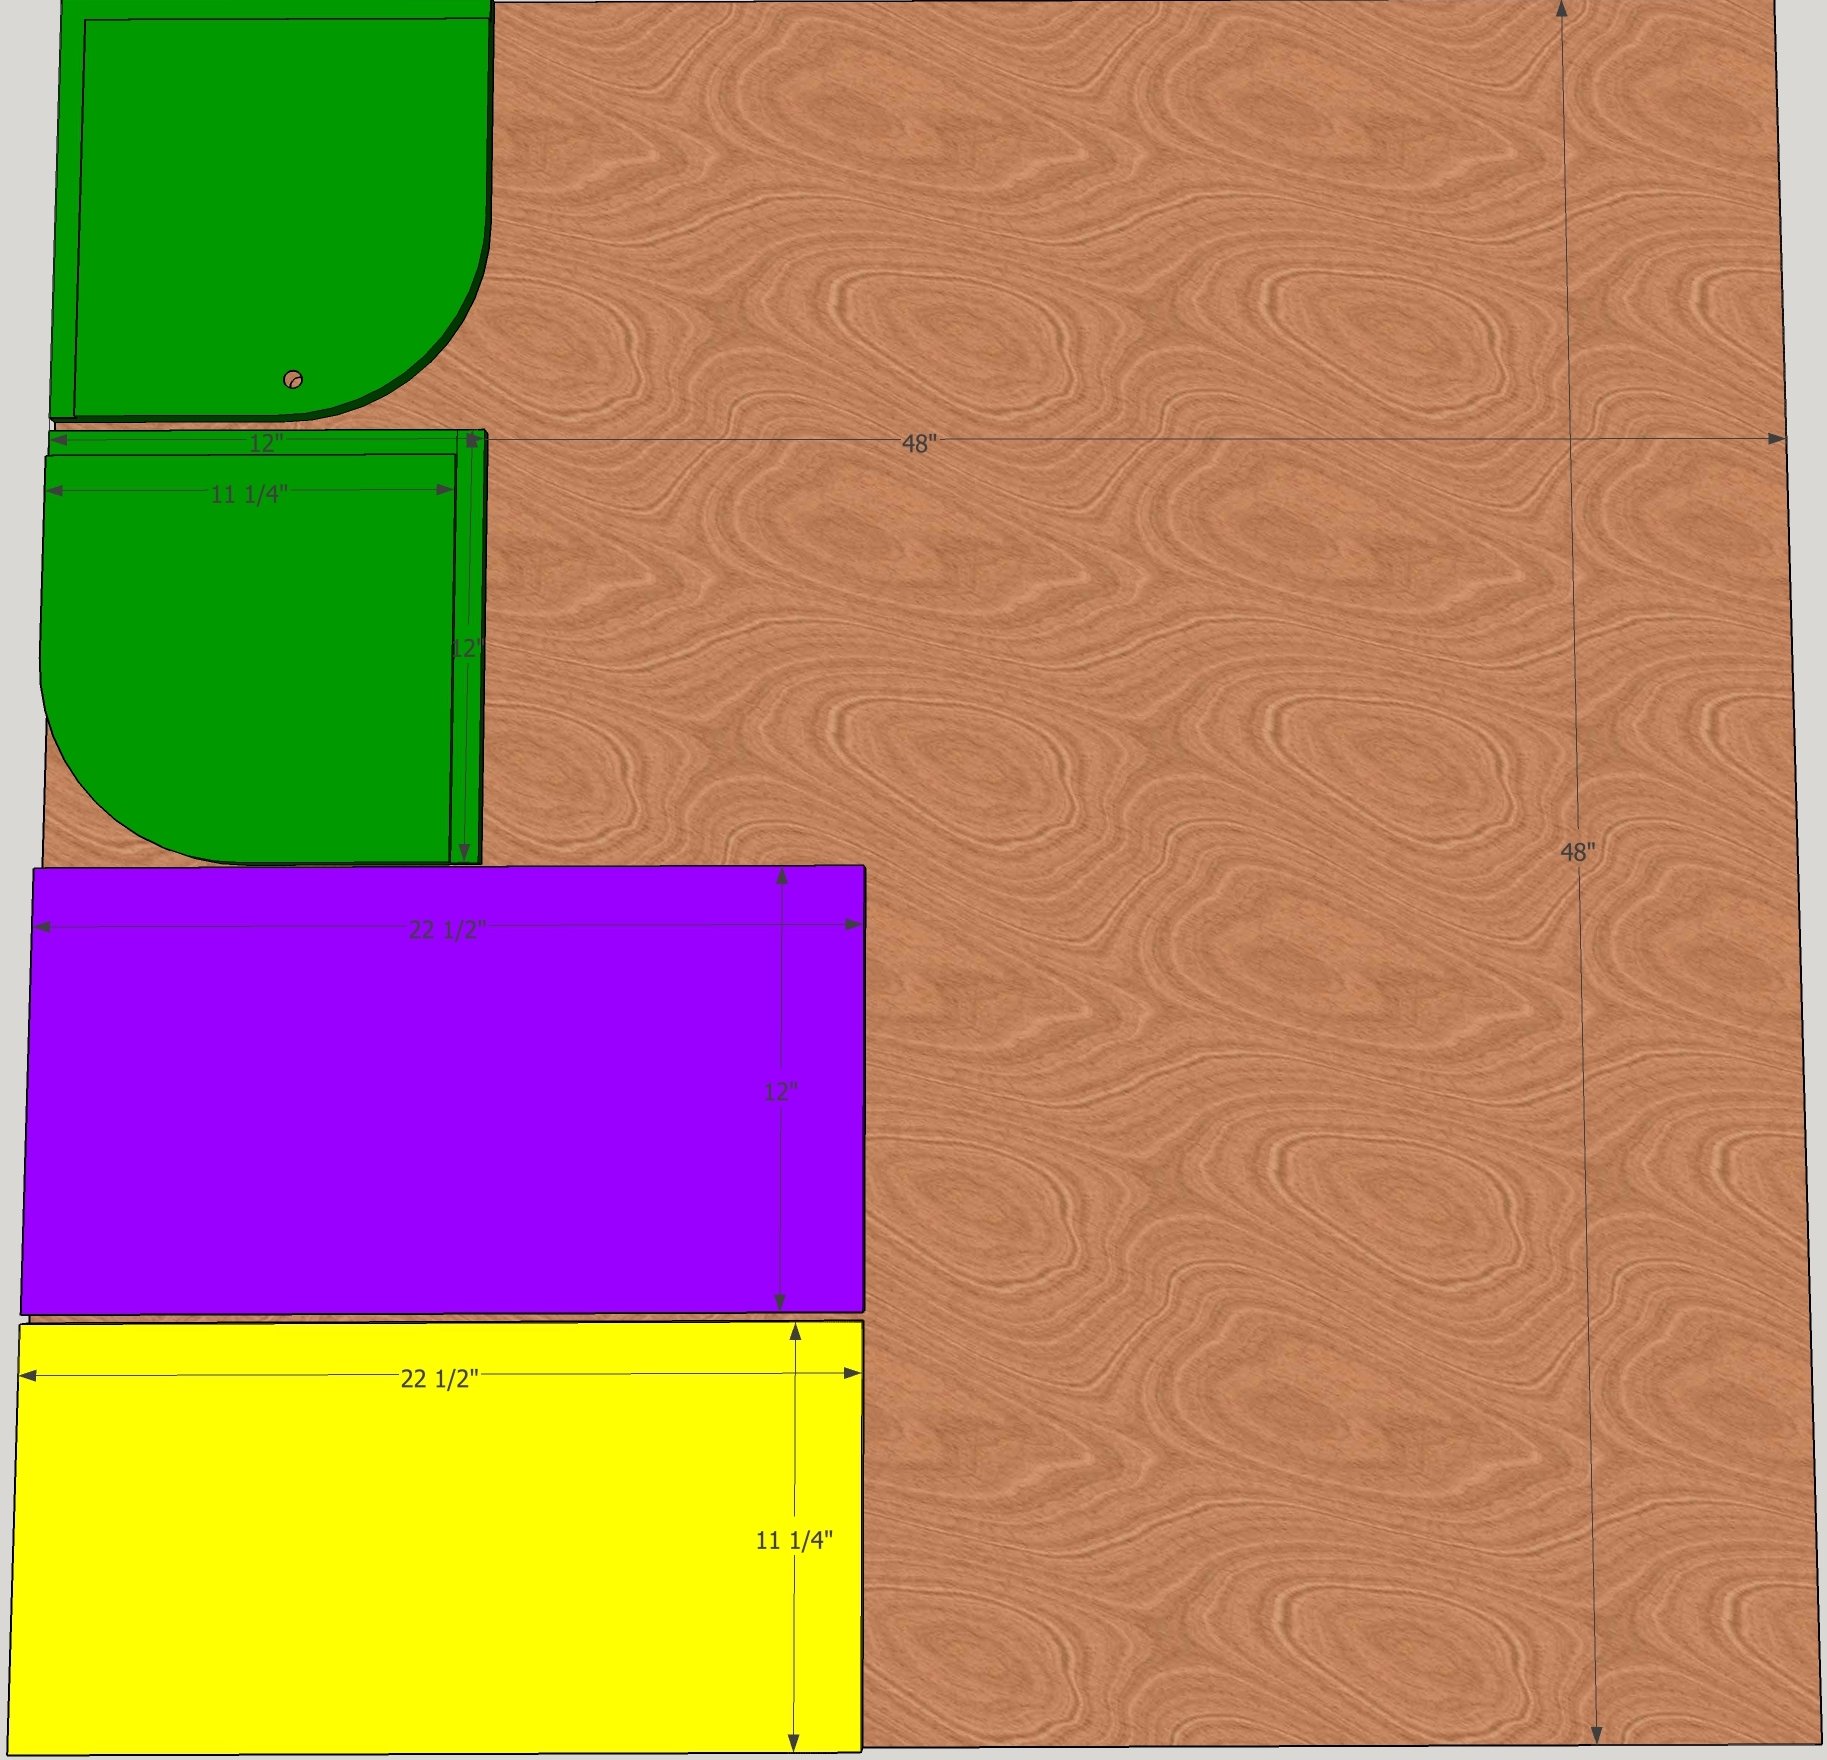
For your convenience, I’ve placed the 4 pieces needed to make the Mardi Gras Ladder Chair on a sheet of 4’x4’ plywood.

Prepare Sides of Chair
First, you need to prepare the sides of the chair.
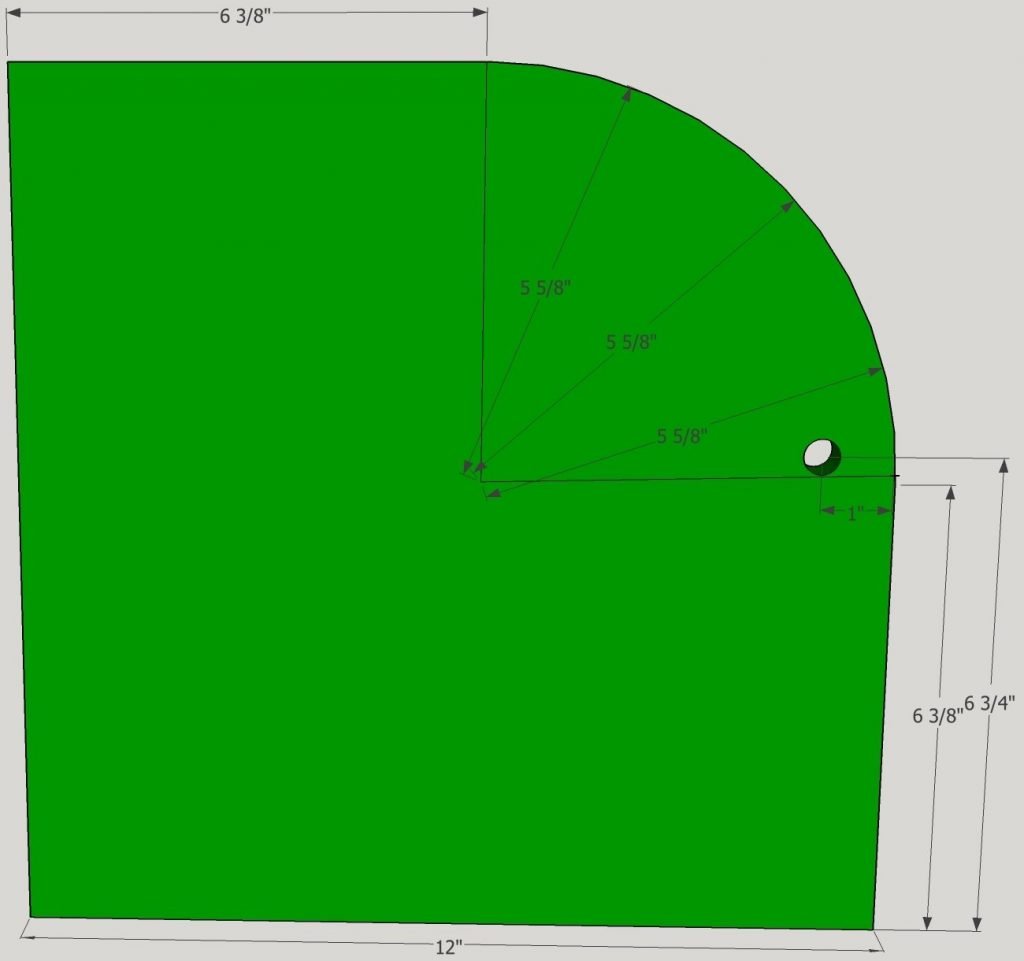
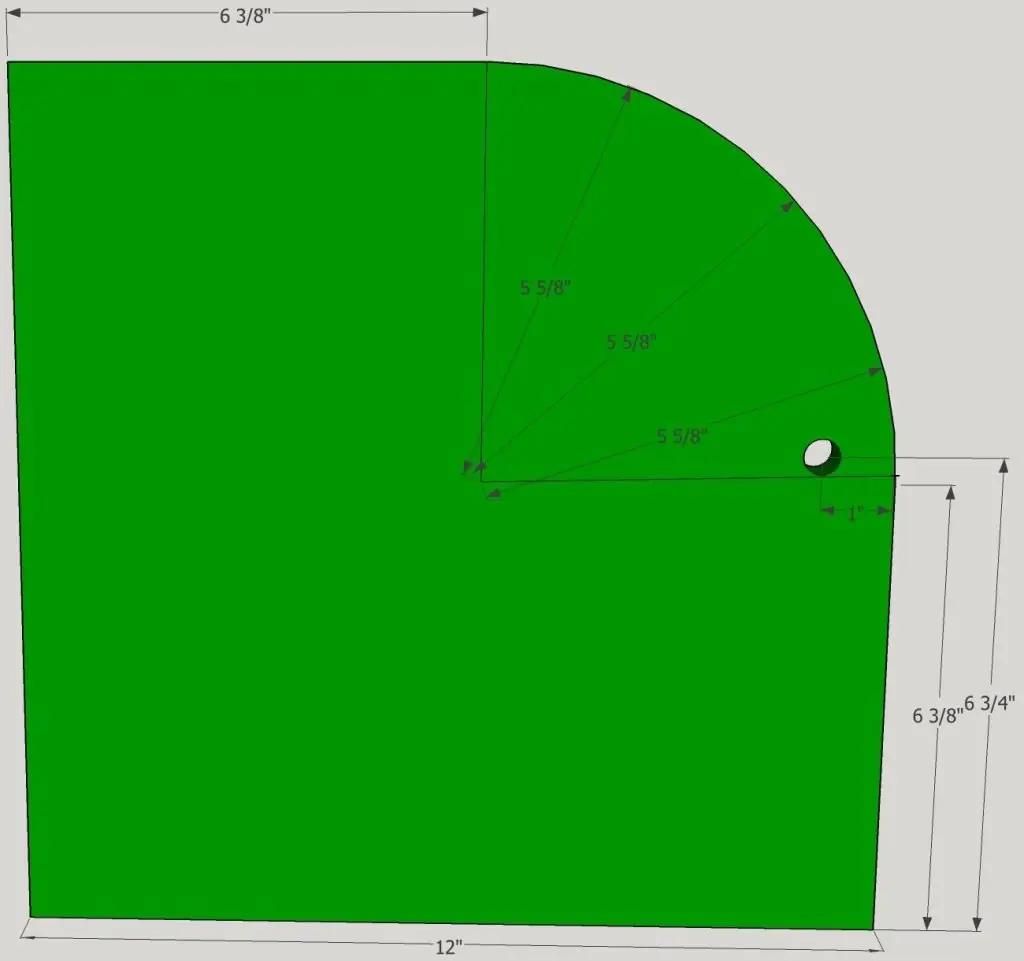
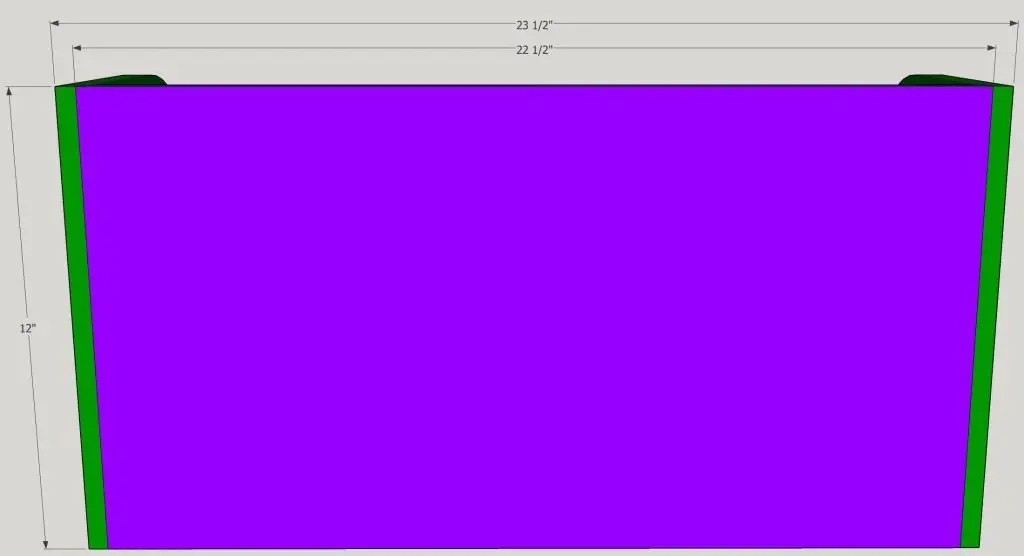
- Cut the half moon on the top front with a jig saw or hand saw per the measurements below. The 3 lines at 5 5/8” will help give you a guide to draw the half circle.
- Drill ½” hole for 3/8” dowel. 6 ¾” from the bottom and 1” over to left.
Side Rabbet Joint
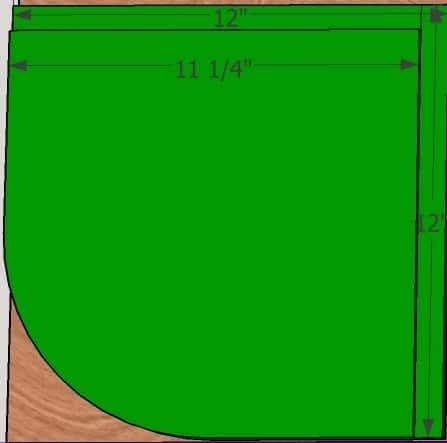
First, side rabbet joints are optional.
Skip this step and join the pieces together with glue and screws.
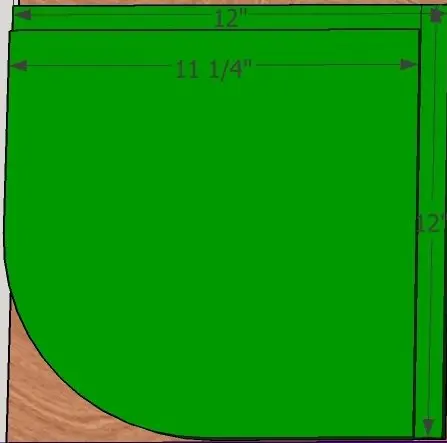
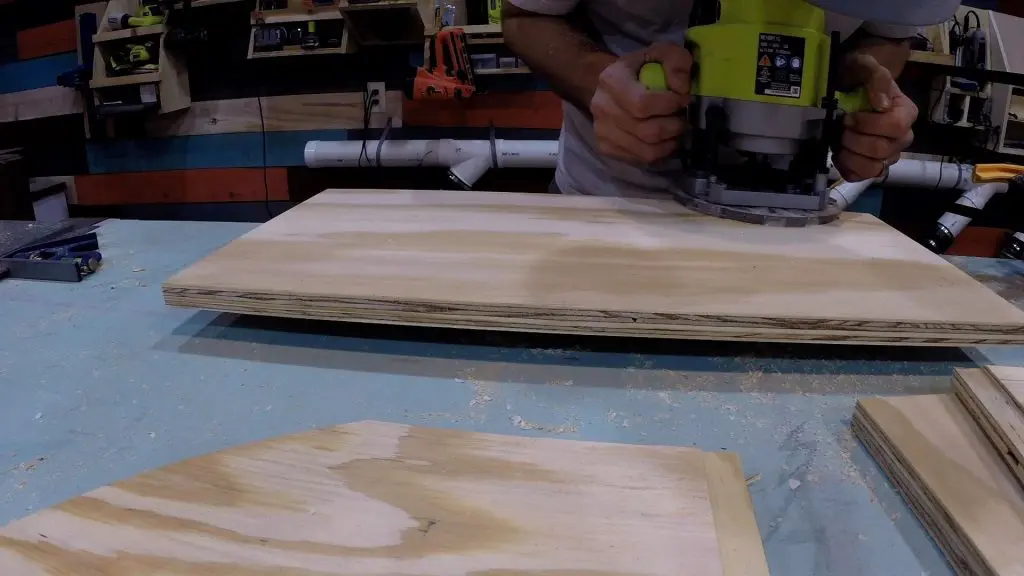
To cut a rabbet joint, route a groove on the inside bottom & inside back of each arm using a ¼” straight bit
Roundover Edges
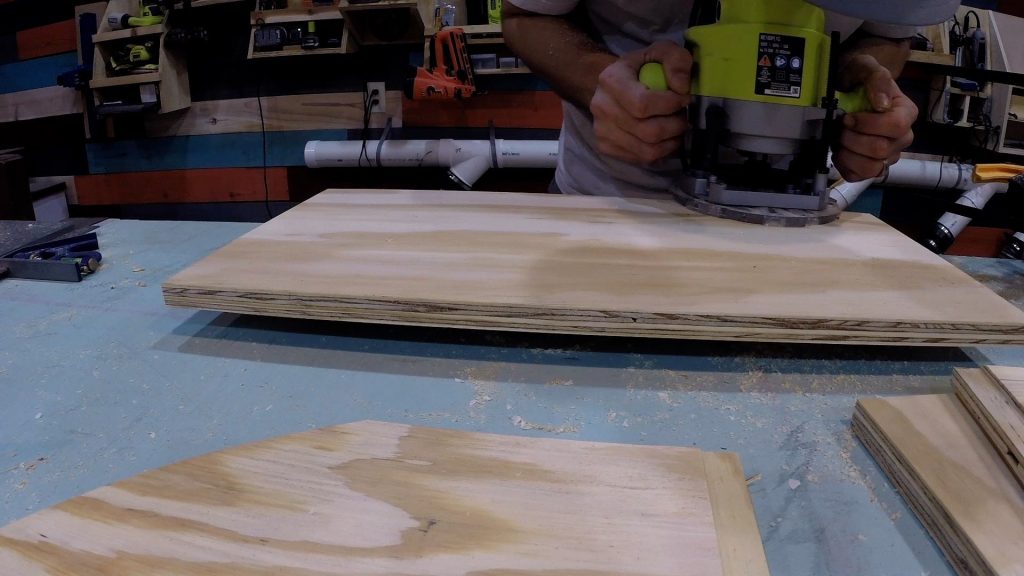
The purpose of this step is to get nice smooth edges on the entire piece.
Additionally, I encourage you to do this on every piece except for the rabbet edges.
You can accomplish this with a router with a ¼” roundover bit or an orbital sander.
If you plan to use the orbital sander, make sure to make 2 passes – 1 with 180 grit sandpaper and another pass with 220 grit sandpaper.
Please note, before proceeding to the next step please test fit the pieces to make sure the rabbets fit.
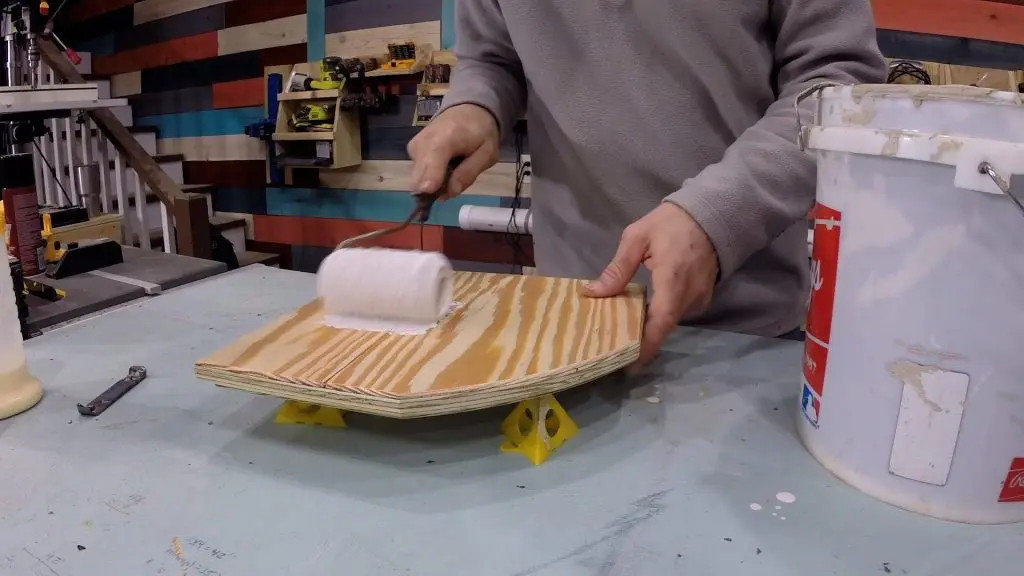
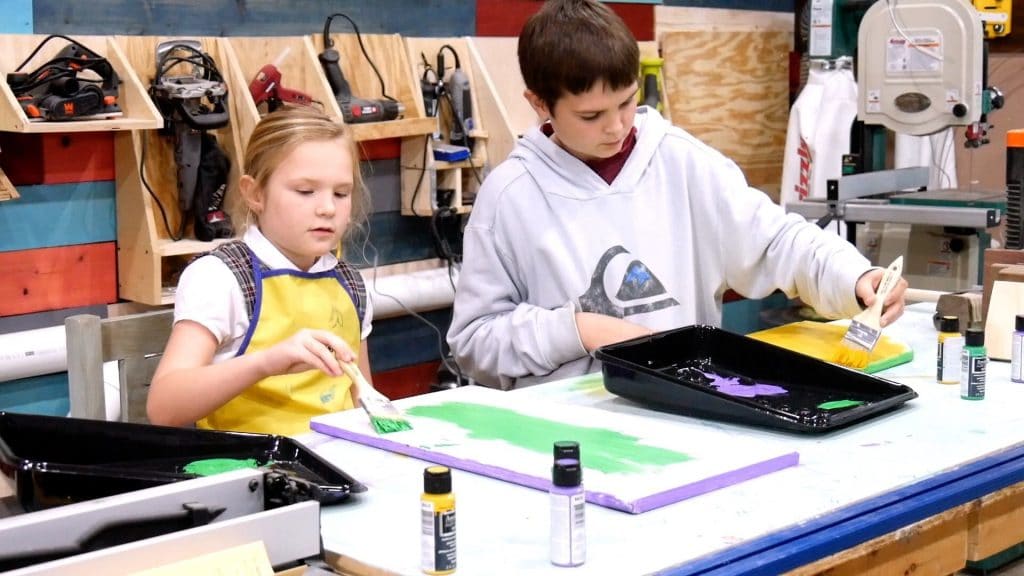
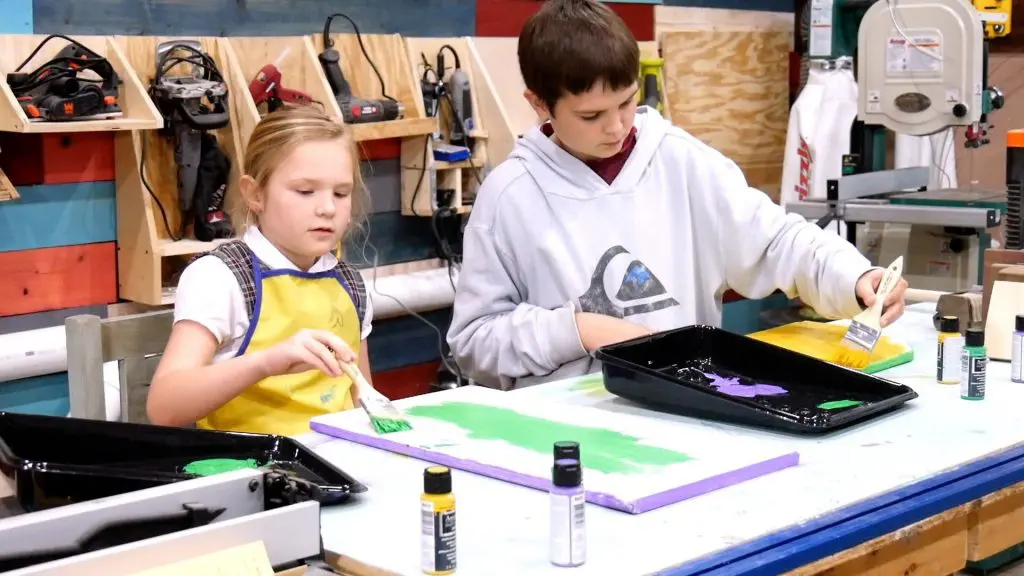
Prime and Paint
First, make sure each piece is free of dust and debris.
A tack cloth is great to use to get rid of dust and debris.
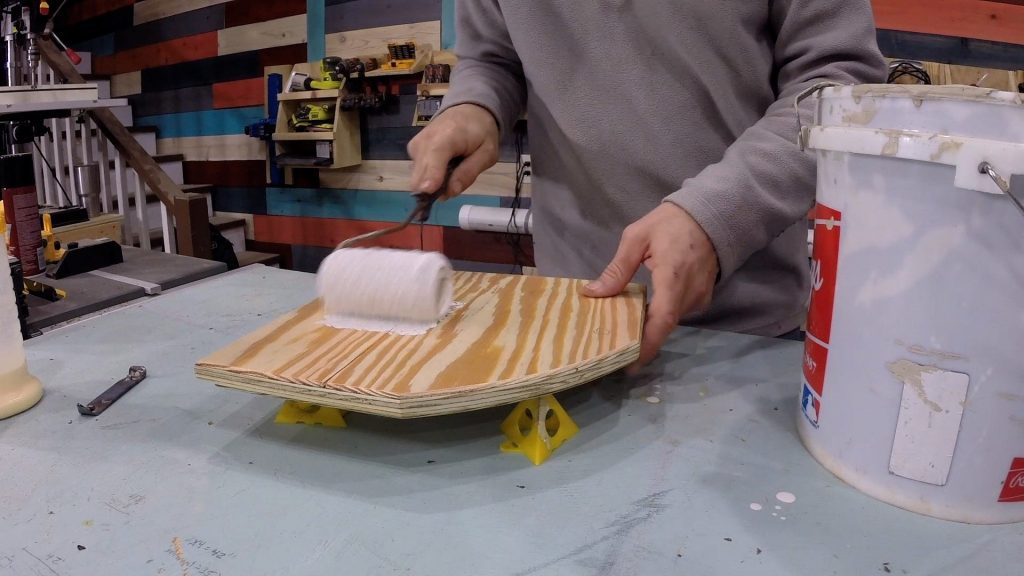
Next, prime each workpiece with Zinnser.
This product is very low odor and it is the best primer on the market.
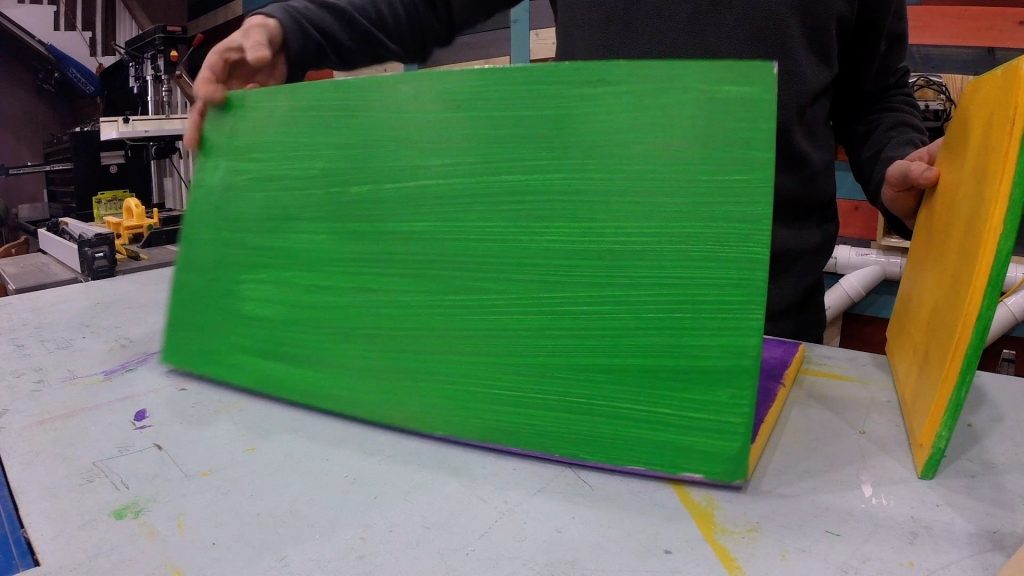
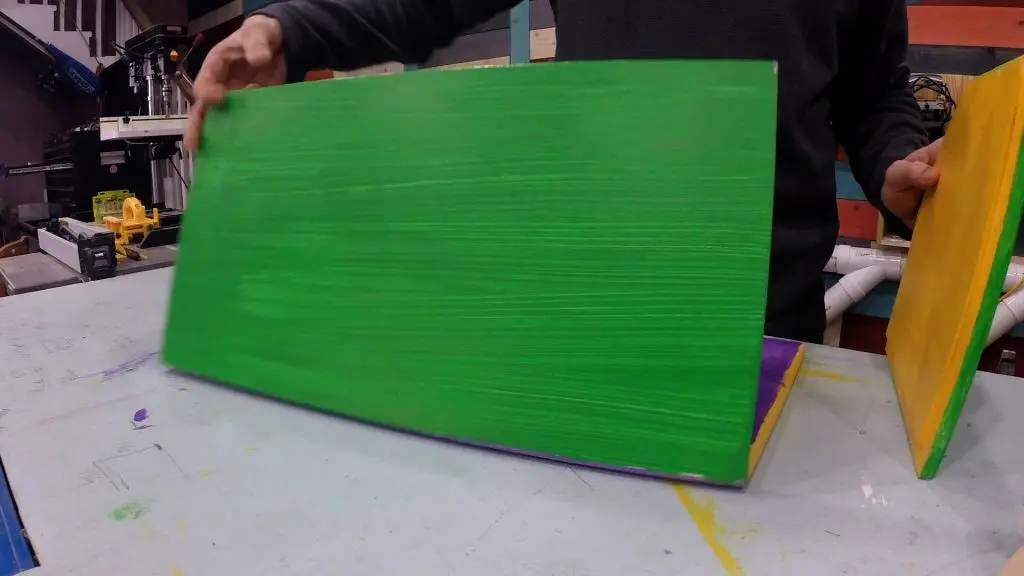
Lastly, I recommend 2 coats of semi-gloss or satin paint of your choice.
Assembly
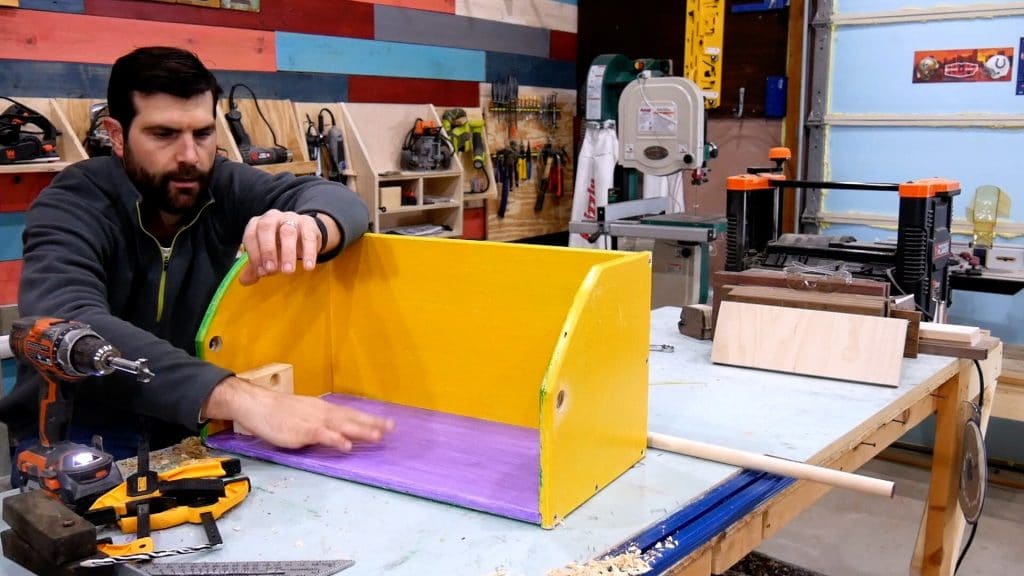
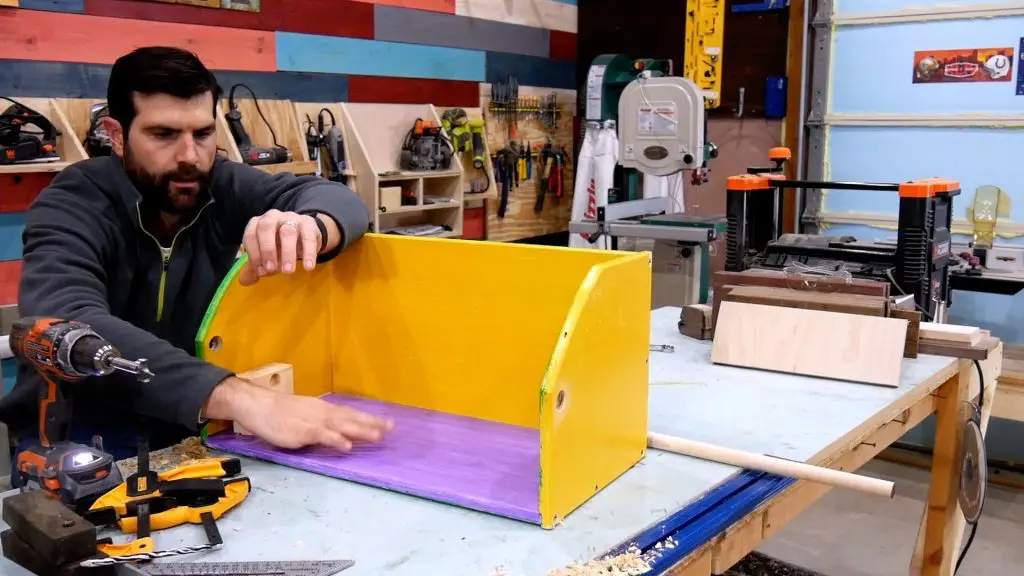
First, put the piece together to mark the pilot holes.
Mark the pilot holes about 4 inches apart.
Next, Drill the pilot holes while the pieces are next to one another and line up.
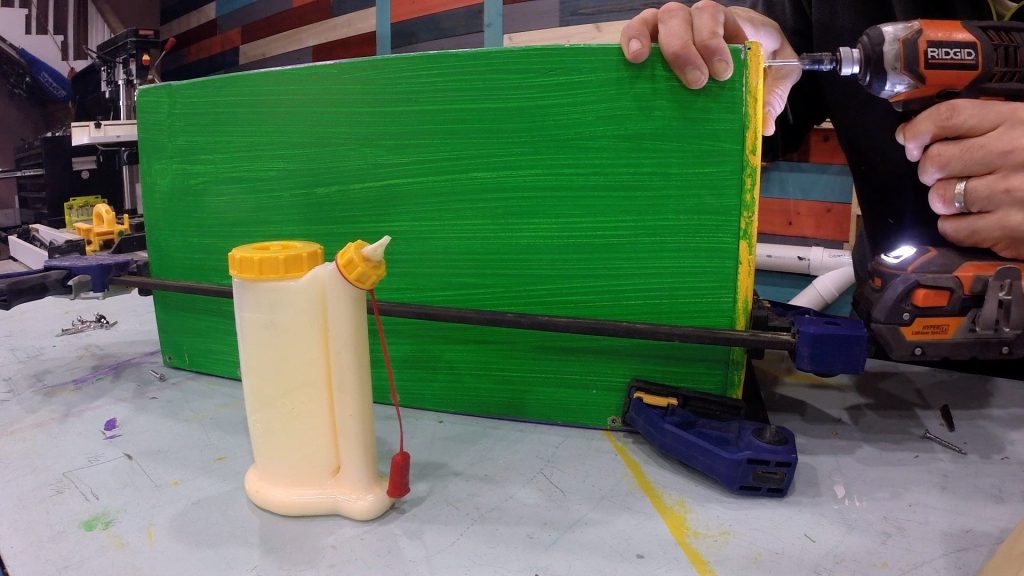
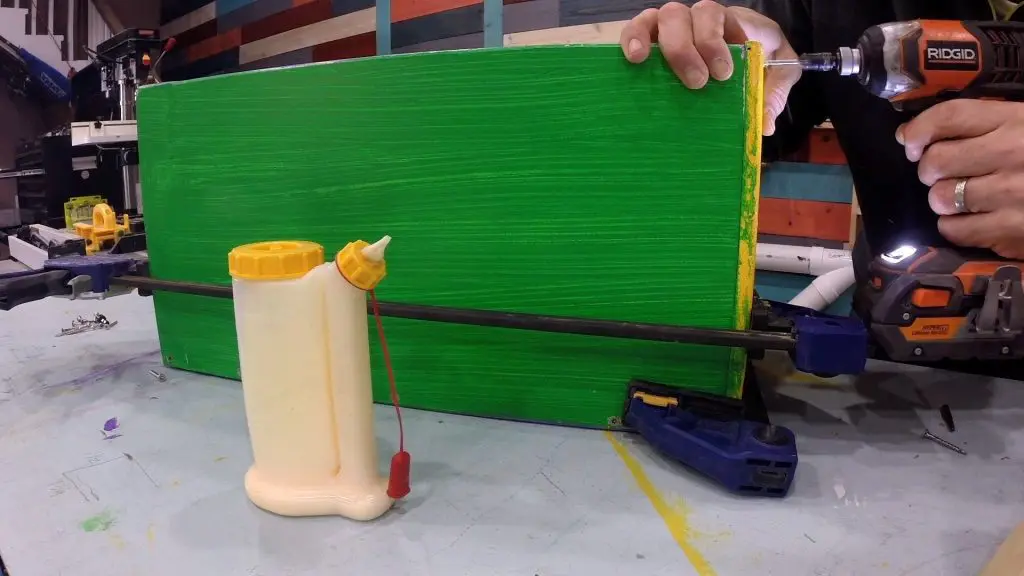
Then, put a generous amount of glue on the bottom back piece and join the back to the seat piece with screws.
As a quick tip, use a speed square or combination square to make sure the back piece is 90 degrees to the seat.
Additionally, wipe off any excess glue on the bottom that may have squeezed out to prevent the piece from drying to your work surface.
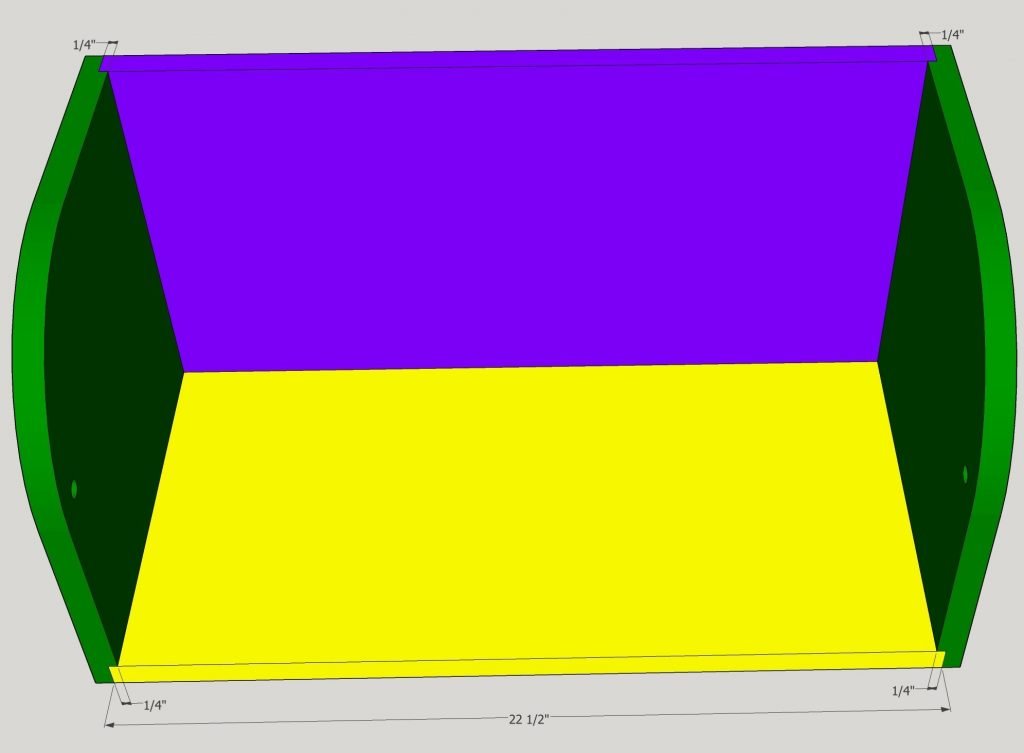
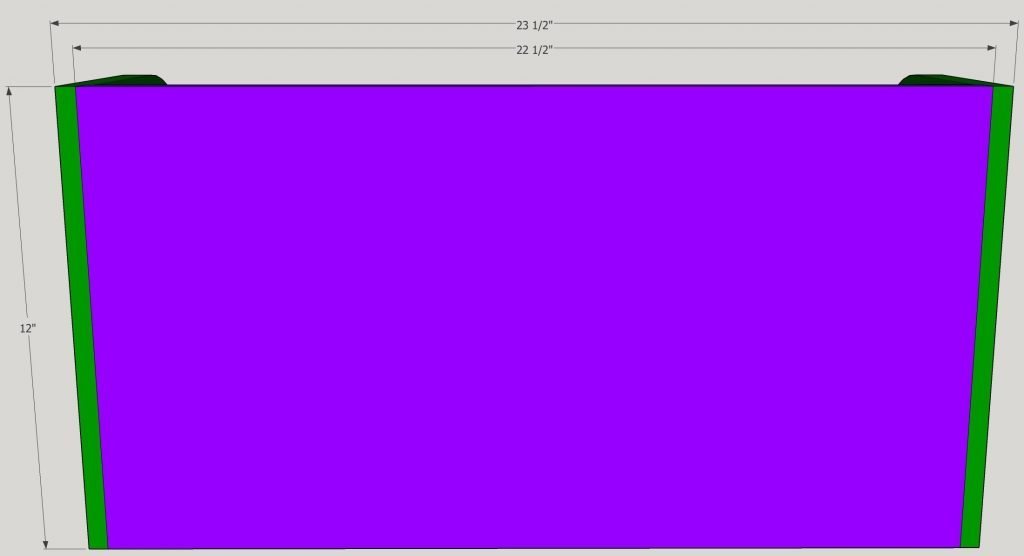
Cover the rabbit joints with glue and repeat the steps above to the sides.
Do not tighten the screws too much.
The wood is a bit thinner here because of the rabbet joints.
The screws are simply there to hold the piece together firmly until glue dries.
Wipe off any excess glue.
Finally, let everything dry overnight.
Seal Dowel Rod
Normally, I don’t paint dowels for Mardi Gras Chairs because they tend to get abused.
Plus, it’s not easy to paint a round object without a paint sprayer.
However, I do recommend sealing the dowel to ensure it survives the outdoor elements.
Polycrylic finish works best to finish the dowel.
It dries quickly, easy to apply, and protects the surface.
Remember, apply at least 2 coats of finish.
Ladder Seat Attachment
As you know, each ladder is different.
Consequently, I didn’t include specific hardware and instructions on how to mount the chair.
I recommend placing the chair on top of the ladder and make sure it is centered.
Then, mark the holes with a pencil.
Drill out the appropriate size to match the size bolt you will use.
To secure the chair, use stainless steel flat head bolts, 2 washers, and a wing nut for each hole.
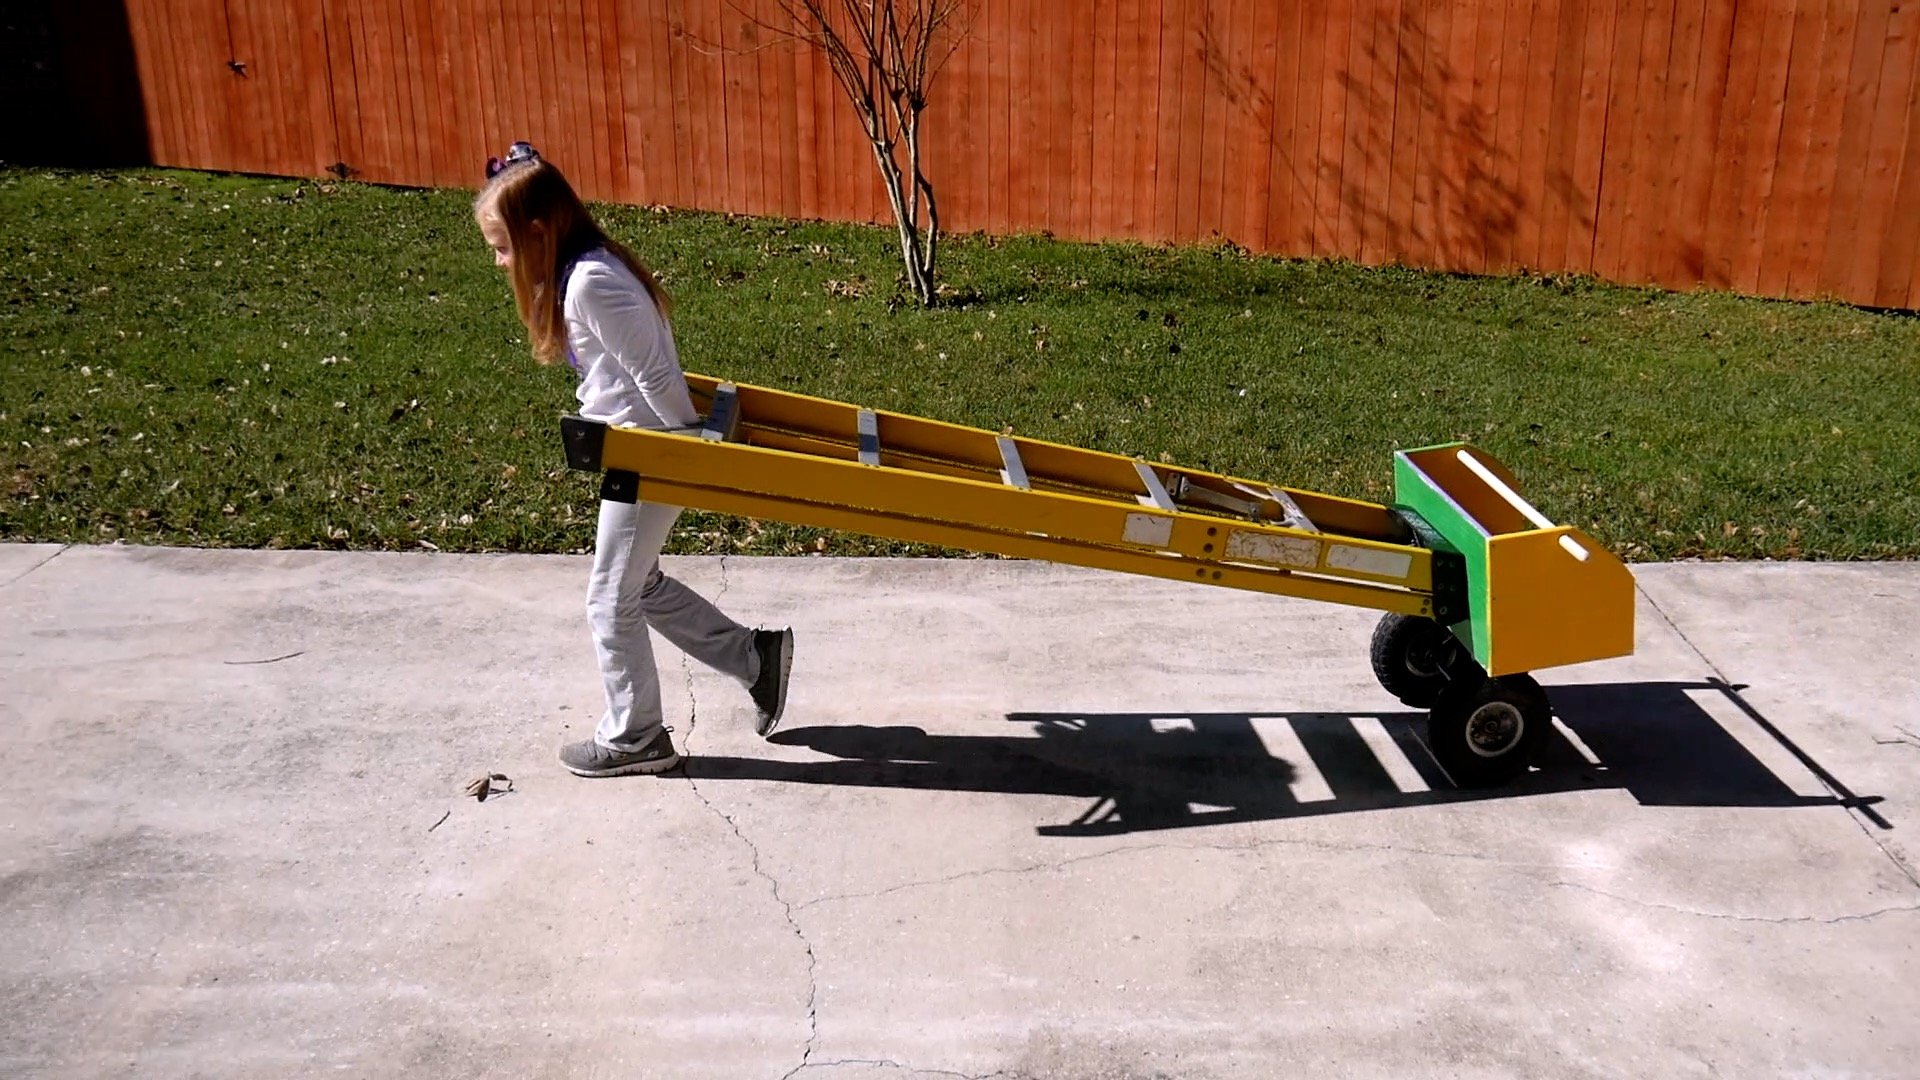
Keep in mind, Mardi Gras Chairs are very dangerous if they aren’t built properly and securely fastened to the top of a ladder.
Finally, I cannot guarantee the safety of this chair, so build and secure it to the top of your ladder at your own risk.
Conclusion
In conclusion, I hope this project about how to make a mardi gras ladder chair provided you with some value.
Related Posts
Joann
Tuesday 9th of January 2018
Nice you make it look so easy I’ll send it to all my daughters friends that have little ones You are so talented thanks for Sharing