
In this tutorial, I show you how to make an epoxy ocean table using live edge wood. Learn to embed beach sand dollars in resin, mix epoxy glow in the dark powder, and more.
Even if you don’t need an epoxy ocean table, the techniques covered in this project can be used for other epoxy resin projects.
Here are some jump links to the main sections of this post to help you find information quickly.
Video Tutorial
Epoxy Ocean Table Overview
Tools and Material
Step-by-Step Instructions
Full Video Tutorial
There are several things which are difficult to fully explain with words and images, so be sure to check out the video tutorial below.
Tools and Materials
Downloadable Digital PlansEpoxy Resin
Translucent Blue Dye
Glow Powder
Translucent Blue Dye
Odie’s Oil
Black Light (Test Glow Powder)
Pearl White Pigment Powder
Black LED Light Strip
CA Glue
Mini Torch
Heat Gun
Countersink Bit
Drill
Raw Steel Hairpin Legs
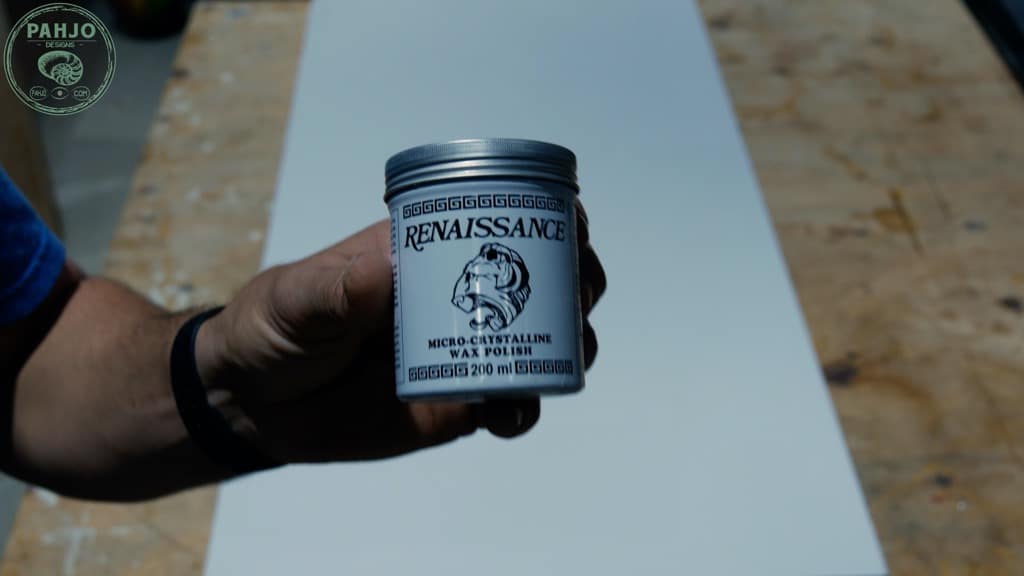
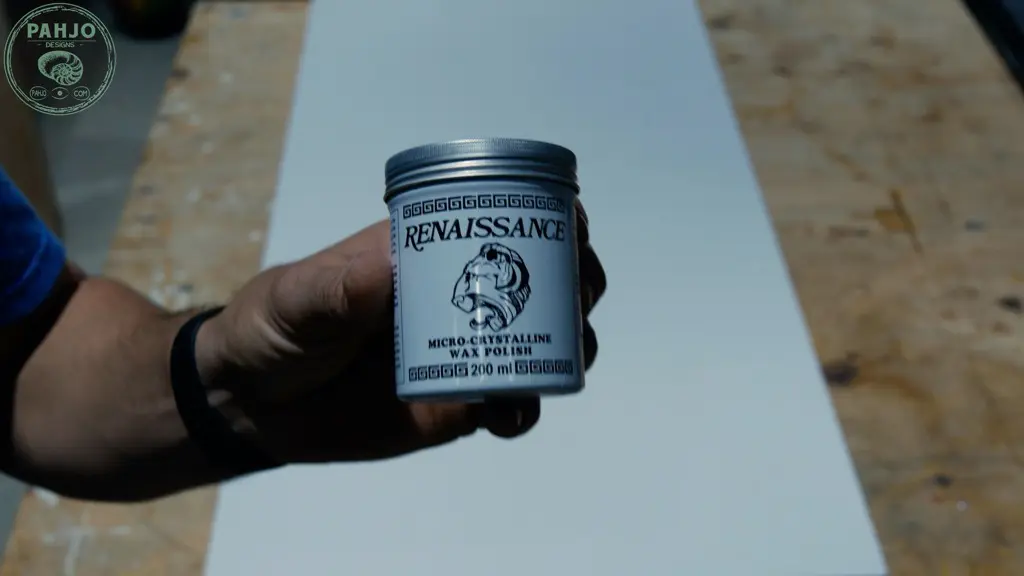
Furniture Wax
Silicone Caulk
Measuring Containers
Resin Stir Sticks
Nitrile Gloves
Sheathing Tape
Tape Gun
91% Alcohol
Fleur De Lis
Sand Dollars
Track Saw
Random Orbital Sander – Festool
Festool Sandpaper (220 Grit)
Festool Track Clamps
Japanese Hand Saw
Dewalt Trim Router
F Clamps
Bosch Miter Saw
Bostitch Brad Nailer
1.5″ Brad Nails
Air Compressor Retractable Hose
Combination Square
Project Overview
Some of the skills you will learn in this epoxy ocean table tutorial are:
- Embedding real beach sand and shells in resin
- Pour resin over sand
- Color resin with transparent dye
- Mix epoxy glow in the dark powder with resin
- Use live edge wood for river table
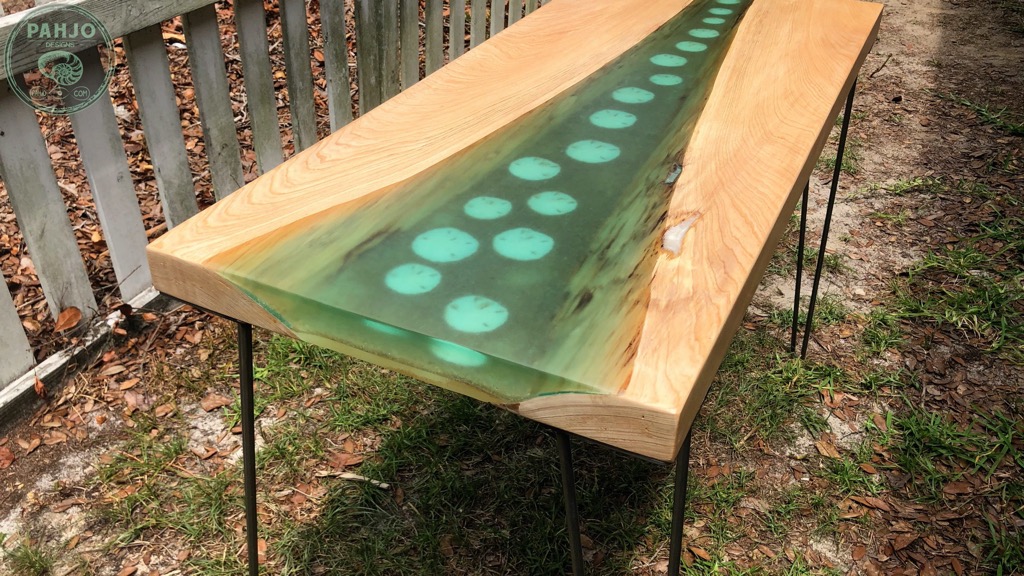
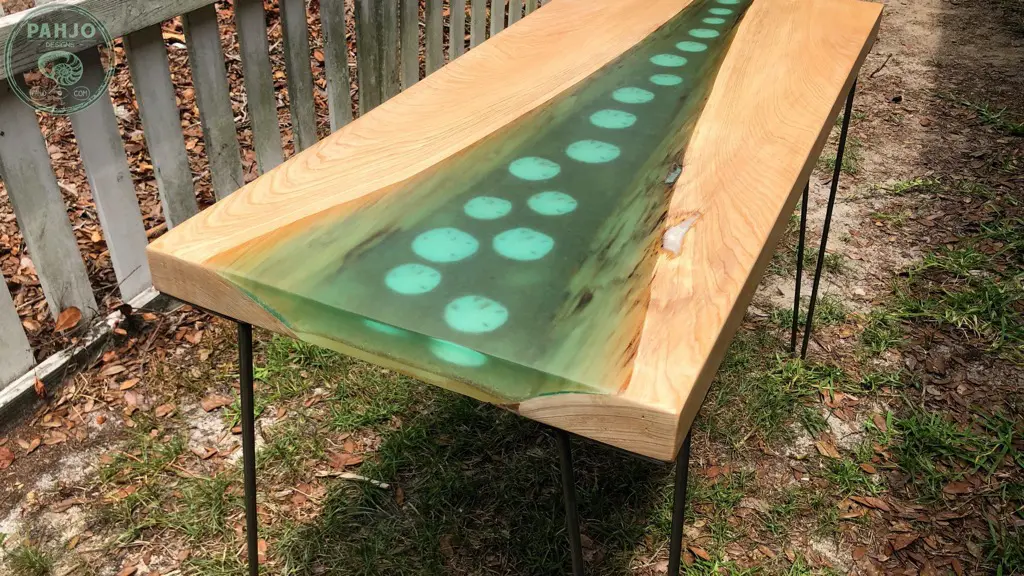
This epoxy resin ocean table top has many features which make it truly one of a kind.
First, I specifically made this table to resemble the beaches in my hometown of Destin, Florida.
Additionally, the coastal themed ocean table is made with live edge cypress wood with a light tone and rests on custom made hairpin legs.

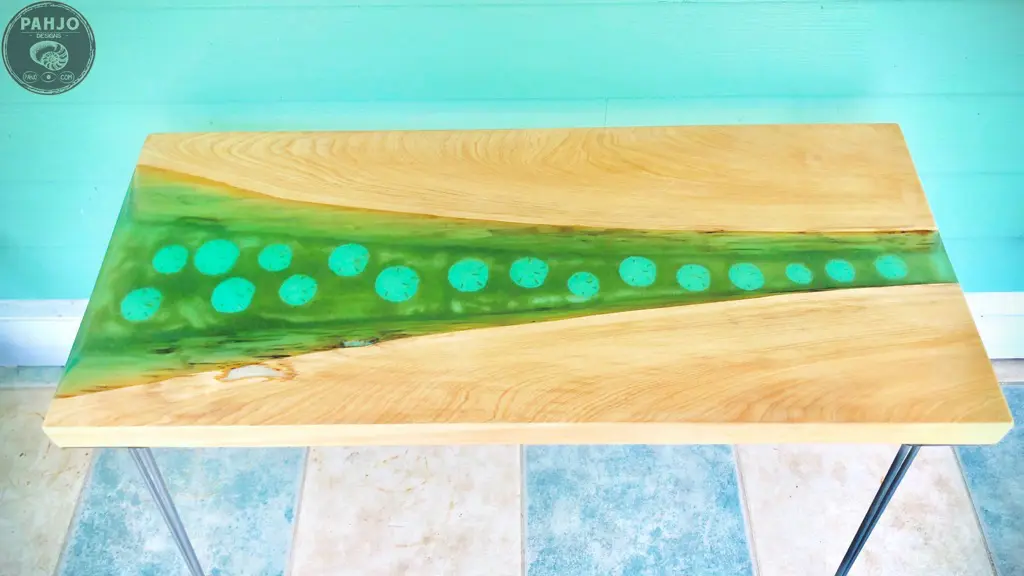
Furthermore, the cypress wood leads down to an epoxy resin ocean that runs through the length of the table.


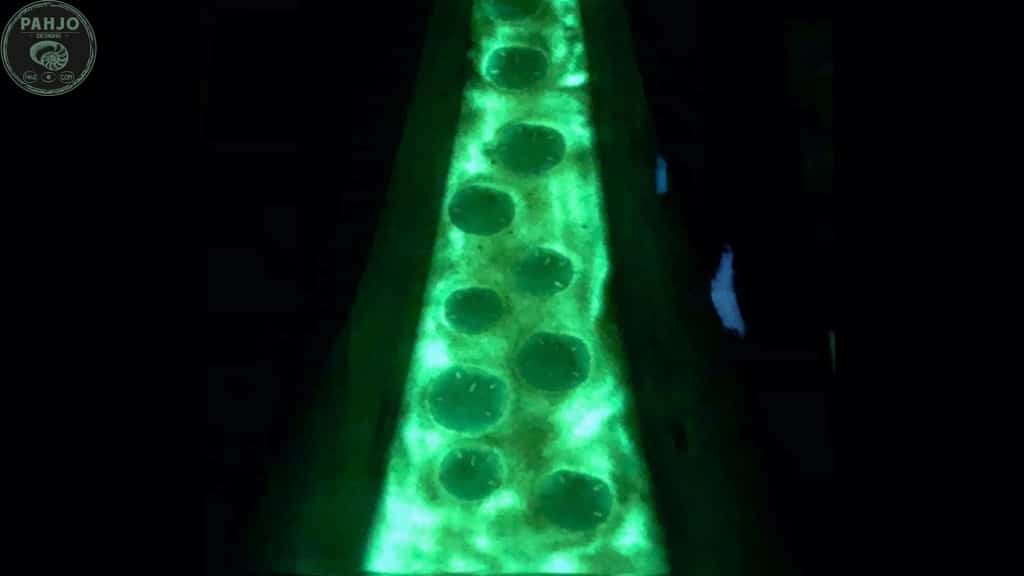
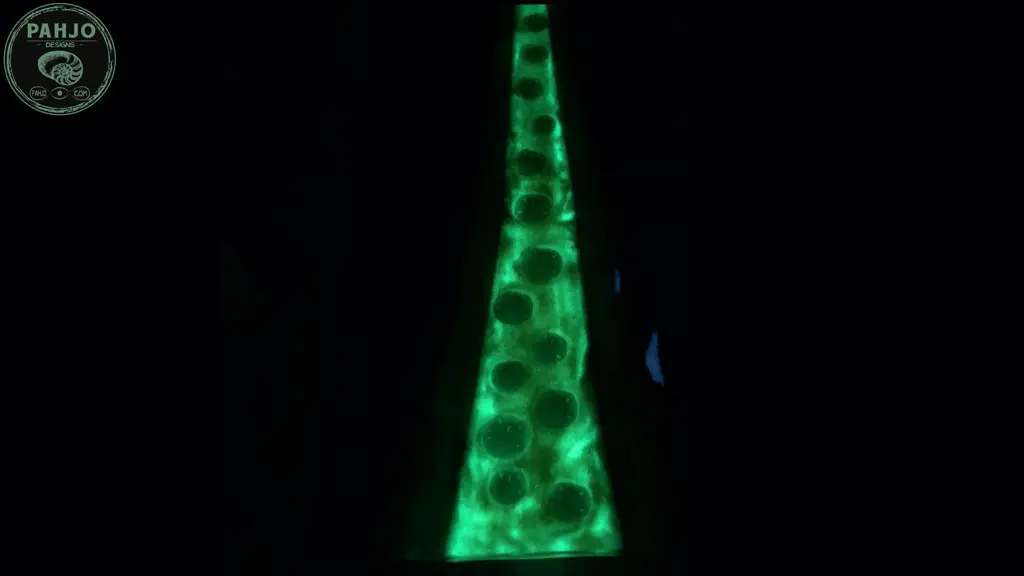
Epoxy glow in the dark powder makes up the ocean bottom.
When the lights are off, the glowing epoxy ocean table bottom shines through real sand and sand dollars.
This table can be used as an ocean coffee table, computer desk, entryway table, couch table, or accent table.
The table dimensions are 45” x 19.75” x 30″ x 2”. (Length x Width x Height (floor to top of table) x Thickness).
Step-By-Step Instructions
First, I begin all of my projects with a checklist.
In other words, I list the individual steps from start to finish.
This helps me not only define a timeline, but it also helps me gather the necessary tools and materials for each step.
1 – Gathering Materials
Gathering materials seems simple and a natural thing to do.
However, I often overlook these simple things and make the project much harder.
In this tutorial, you don’t need to worry about project planning because I do it for you.
Ultimately, I encourage you to properly plan your project when and if you decide to complete a project solo.
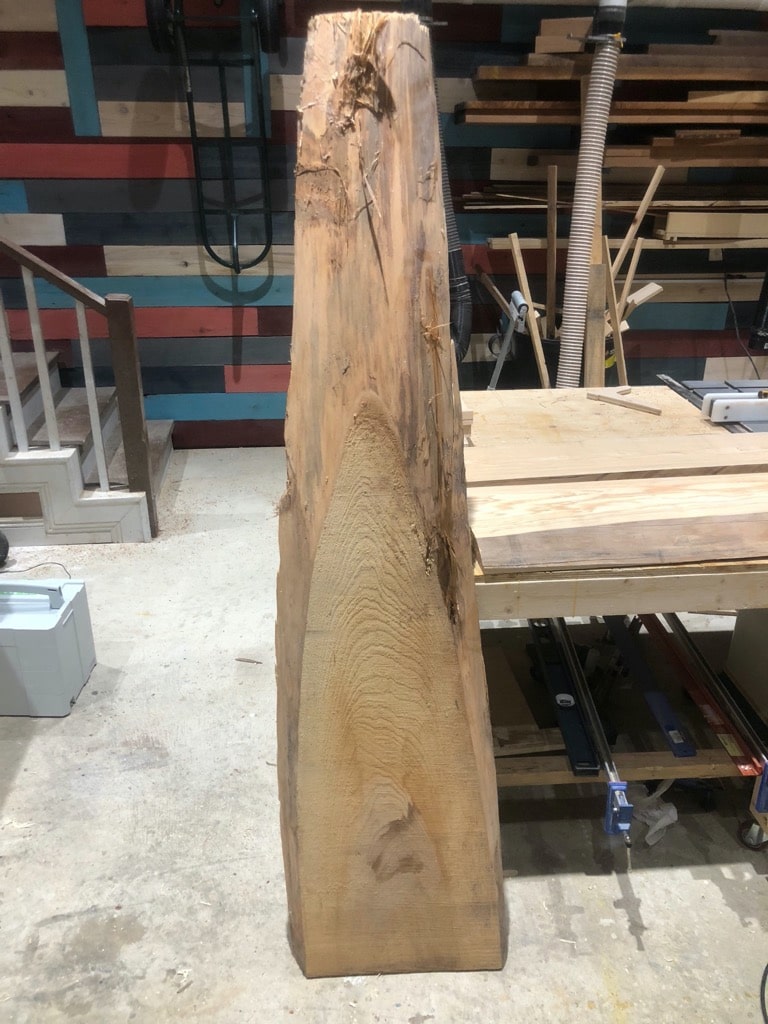
Conveniently, I have a locally owned Cypress sawmill not too far from where I live.
During one of my visits to pickup cypress for a different project, he gave me this piece cypress.
He planned to throw it away as it was damaged and couldn’t be resawed to dimensional lumber.
Also, I liked the light color, grain pattern, and the fact I could build a really awesome beach themed table.

2 – Mill Wood
To achieve great results with any woodworking project, I believe it is vital to use wood with straight sides, square ends, and a flat surface.
Moreover, it reduces frustration and makes the project so much easier.
Additionally, I realize not everyone has the tools to accomplish this step.
Keep in mind, I explain these alternatives at length in my digital plans for this epoxy resin beach table.
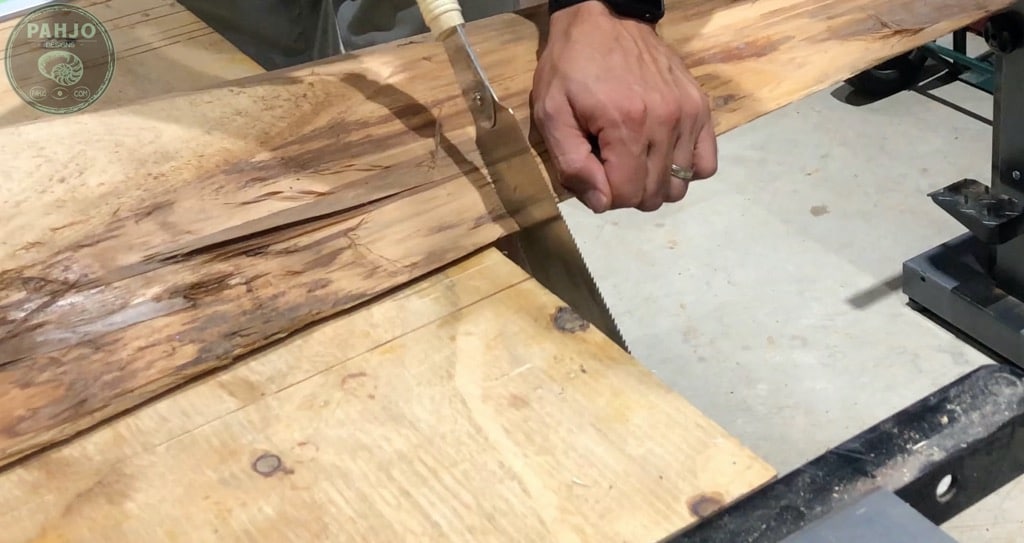
3 – Cutoff Ends
First, I used my Japanese hand saw to cut off the end of the Cypress.
The live edge cypress did not have a straight side to rest against my miter saw fence.
Consequently, it was unsafe to cut with anything but a hand saw.

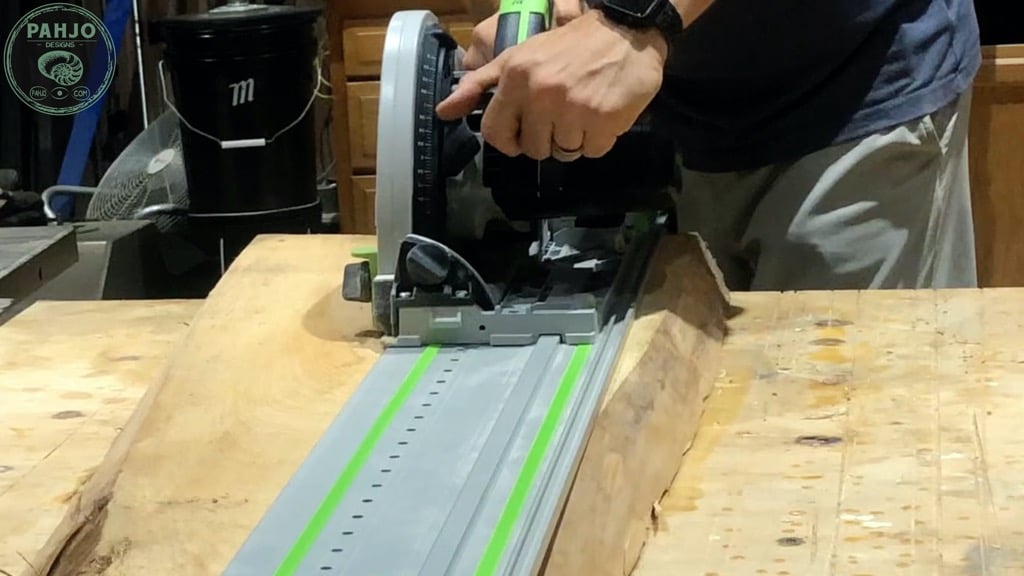
4 – Straight Sides
First, I used my festool track saw to rip the wood down the middle with 2 passes rather than all at once.
Again, the wood did not have a straight side so the table saw was not an option.
Additionally, I find myself using my table saw less and less for irregular shaped wood now that I have this Festool track saw.

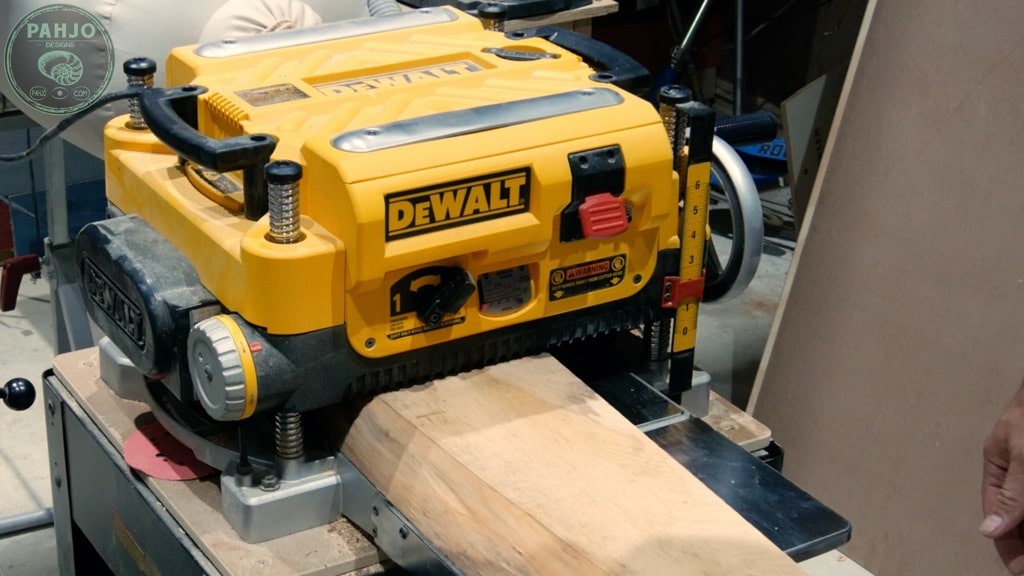
5 – Flat Surface
Next, I ran the live edge cypress wood through my surface planer to get each side flat.
Luckily, the cypress had one flat face even though it still needed to be sanded.
So, I was able to get the other face flat by referencing the face which was already flat.

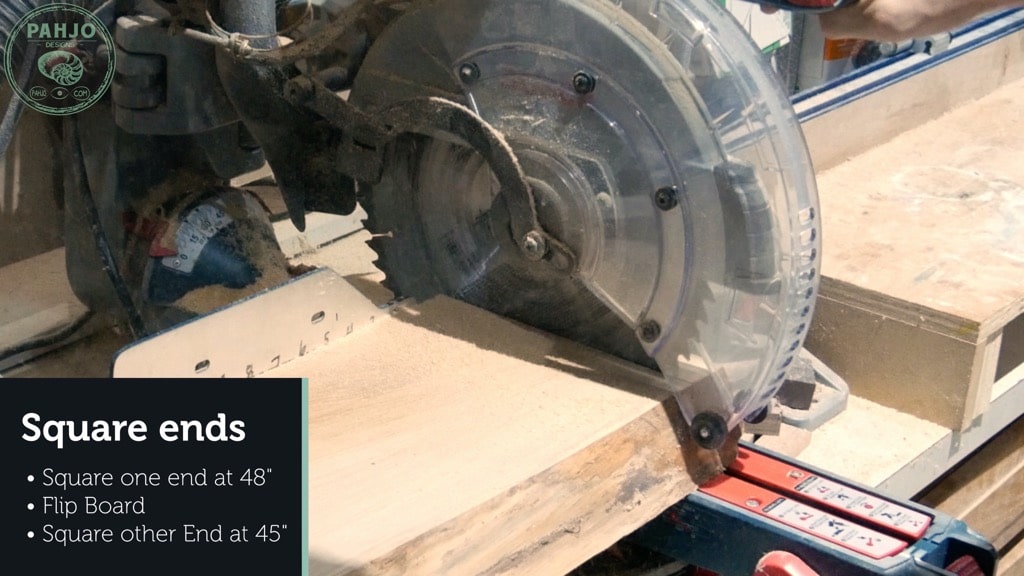
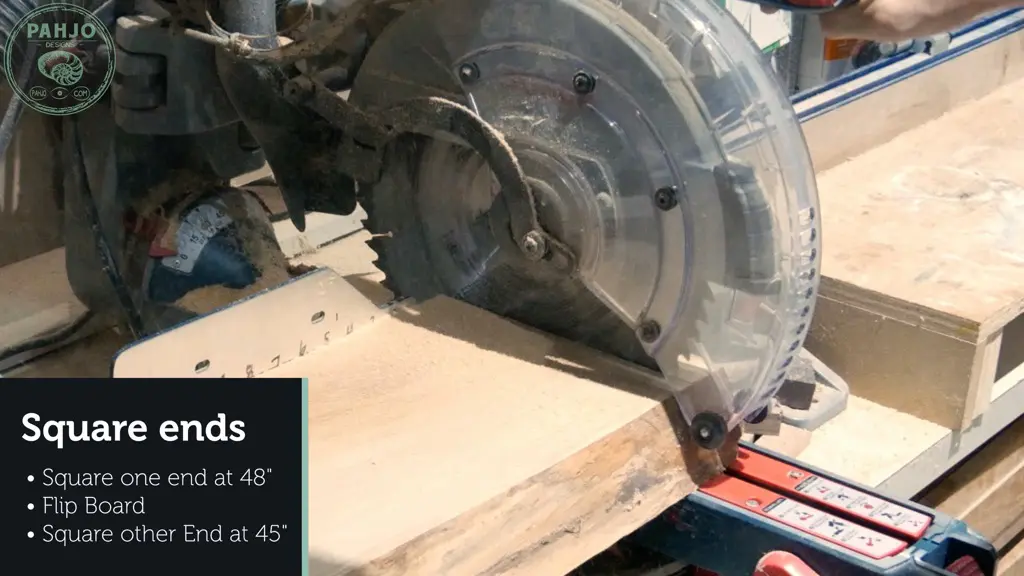
6 – Square Ends
Afterwards, I used my miter saw to cut one end of the wood at 48″.
Next, I flipped the wood over and cut the other side at 45″.
Remember, one side of the wood has a live edge which cannot be placed against the fence of the miter saw.
So, I had to rotate the the wood and flip it to ensure the flat side stayed against the fence.
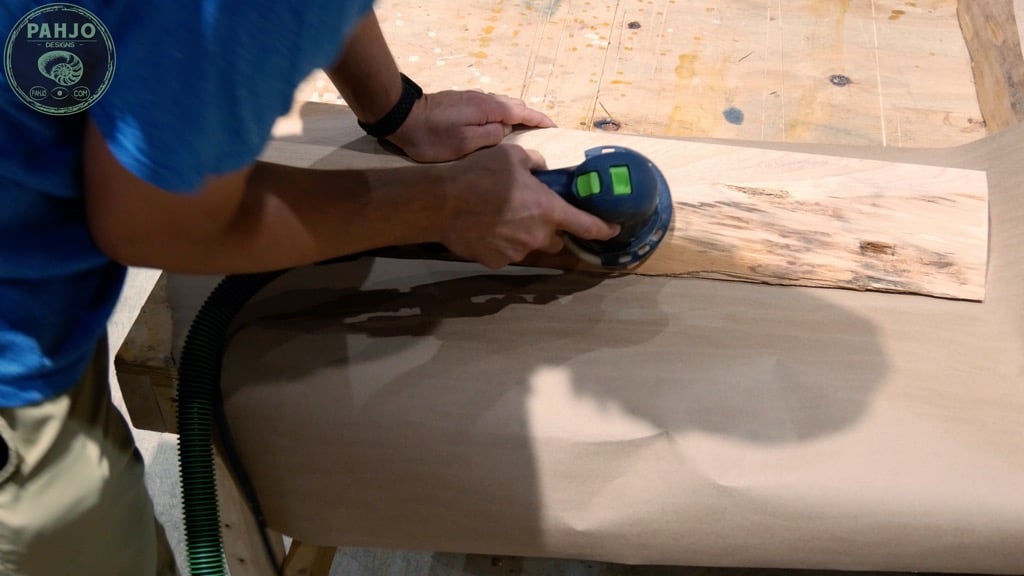
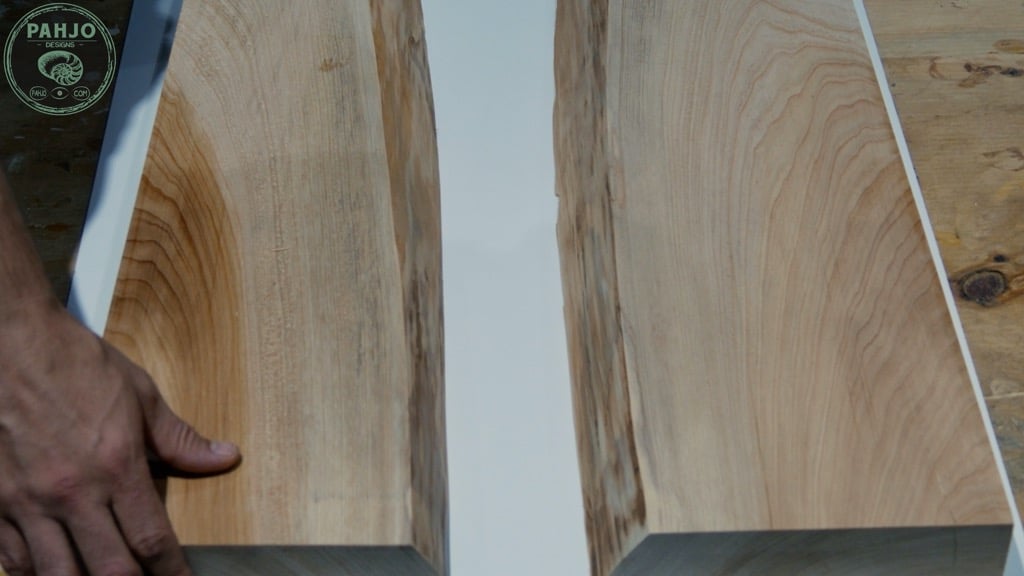
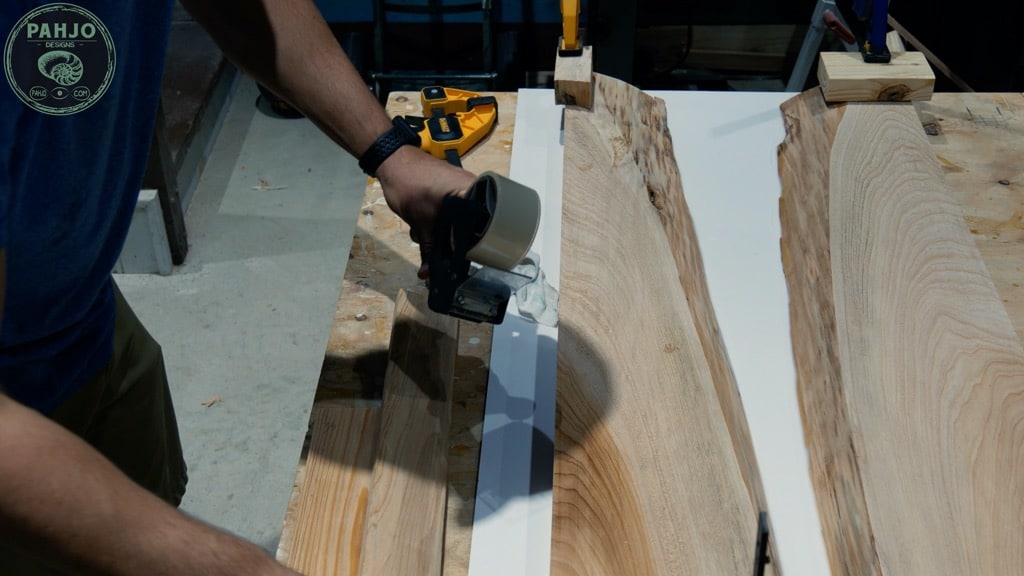
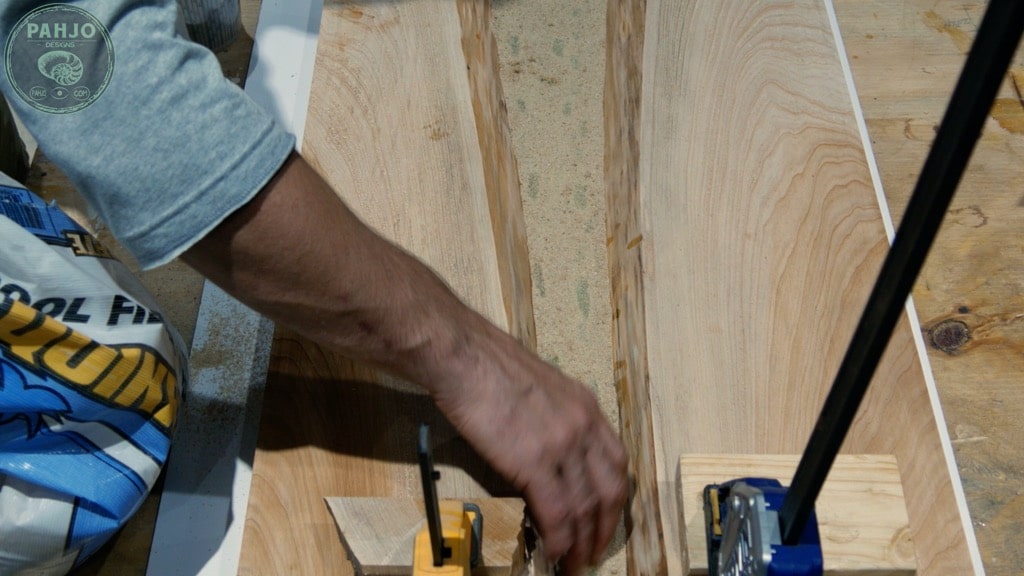
7 – Clean Live Edge Wood
First, I used my Festool RO125 sander to clean up the live edge side of the cypress.
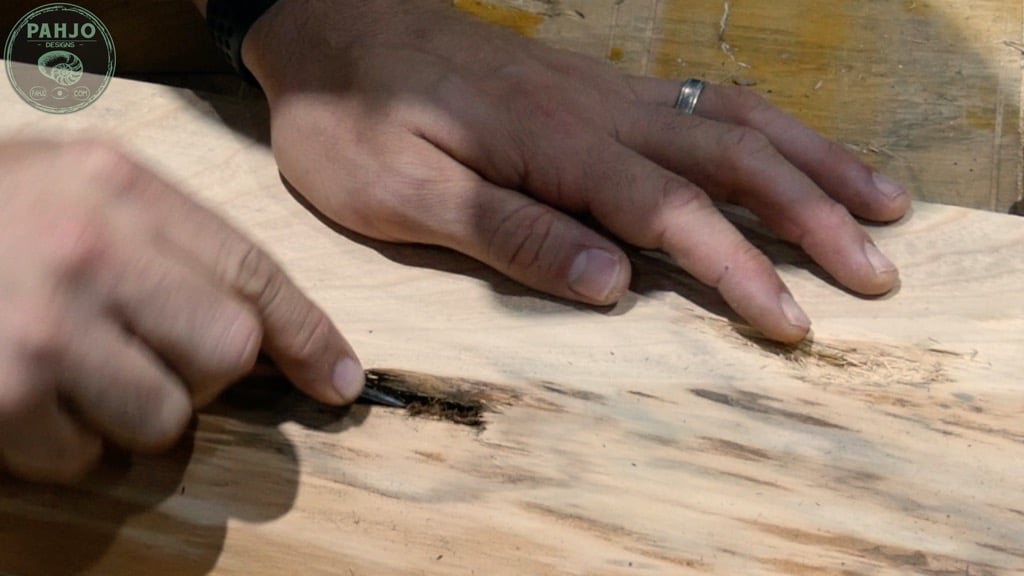
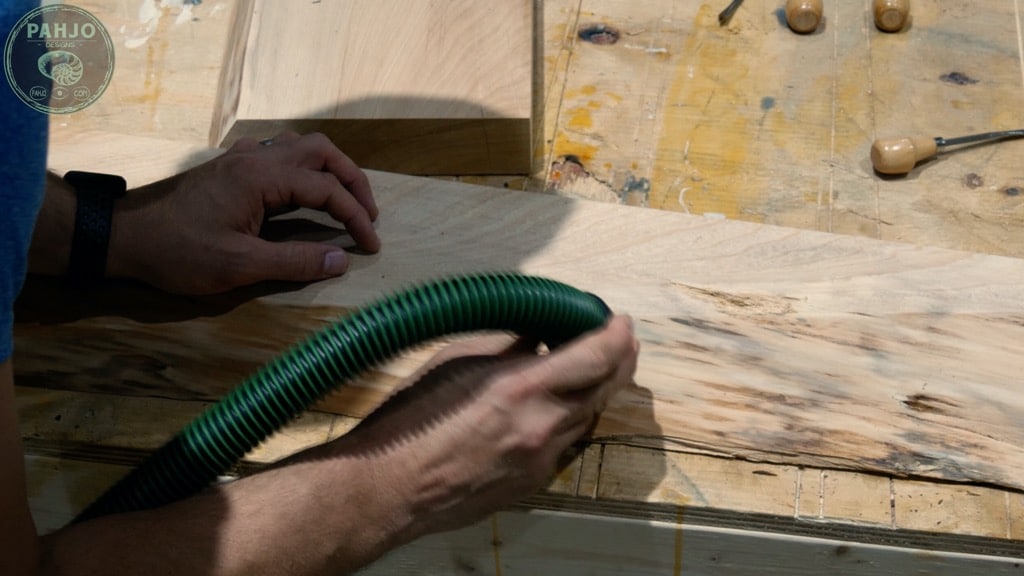
Next, I used my wood carving tools to remove the loose debris for 2 shallow wood cavities.
Also, I vacuumed the cavities to make certain they were clean.


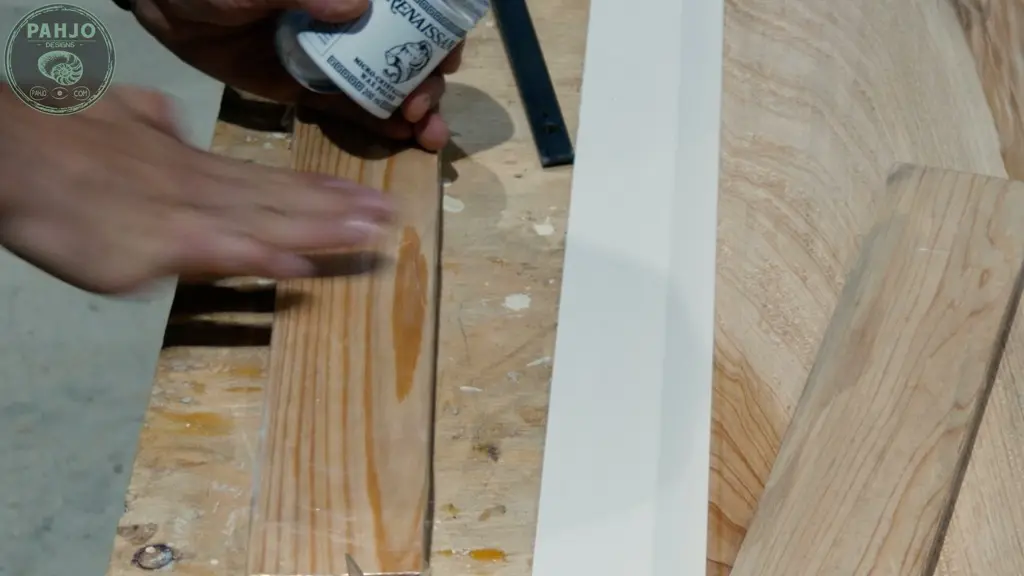
8 – Prepare Resin Mold
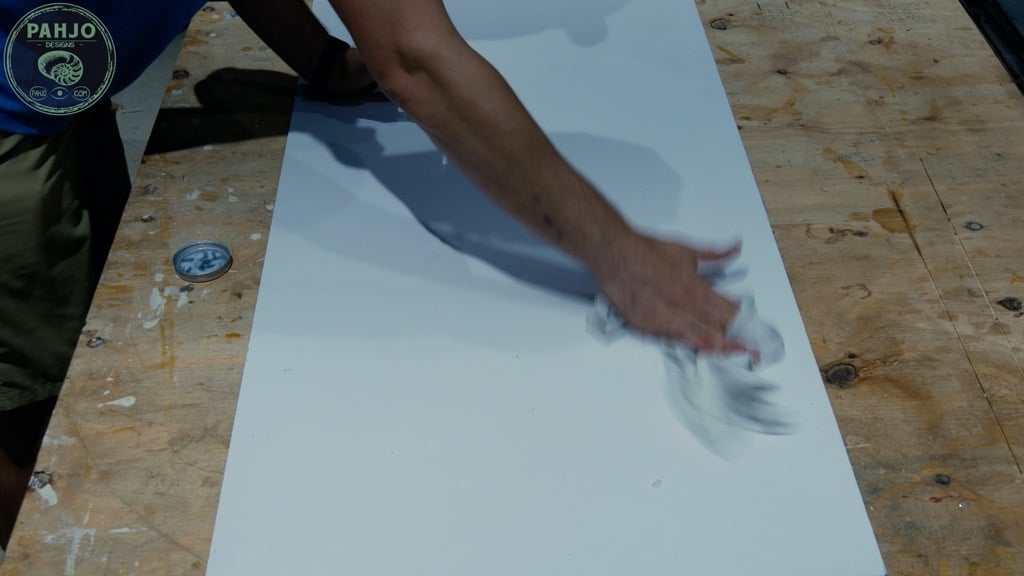
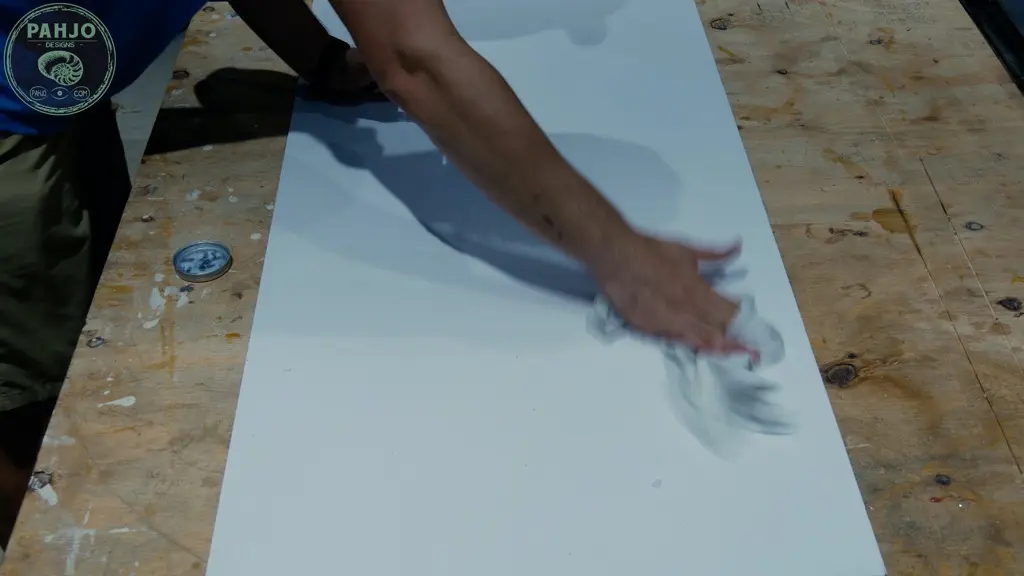
First, I used a thin piece (1/8″) of dry erase board large enough to fit the live edge river glow table.
Next, I wiped furniture wax on the surface to ensure the resin would not adhere to it.
Furthermore, I’ve heard vaseline works just as well as furniture wax.
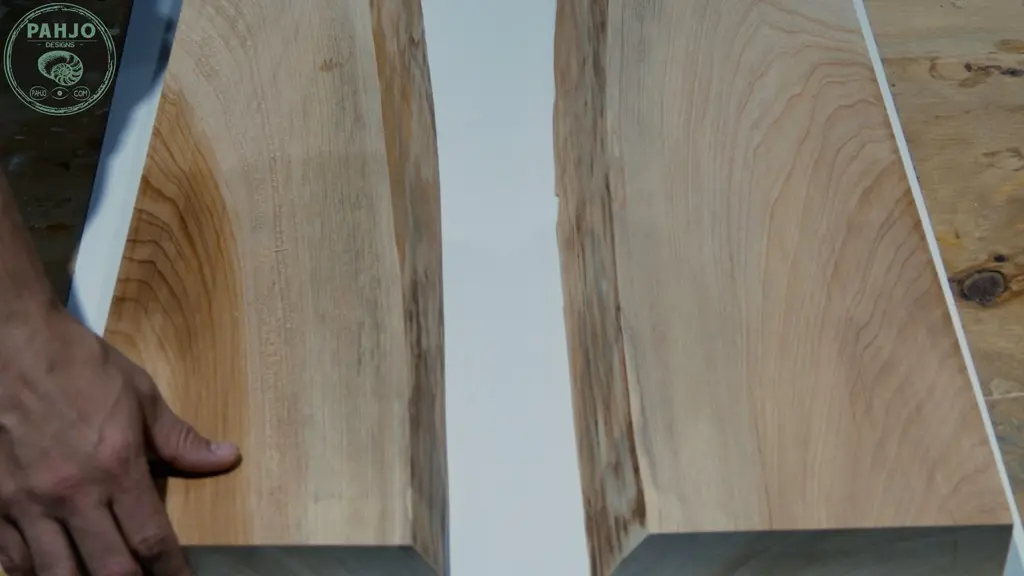
Then, I placed the wood on the melamine with the live edge facing inwards.
Using my combination square, I made sure each piece of wood was pushed in 3″ from the melamine.
This step saved me an additional step later in the project of squaring the sides of the table.
Since each side was cut with my track saw, I knew they were perfectly straight.
In turn, no need to get them straight again.


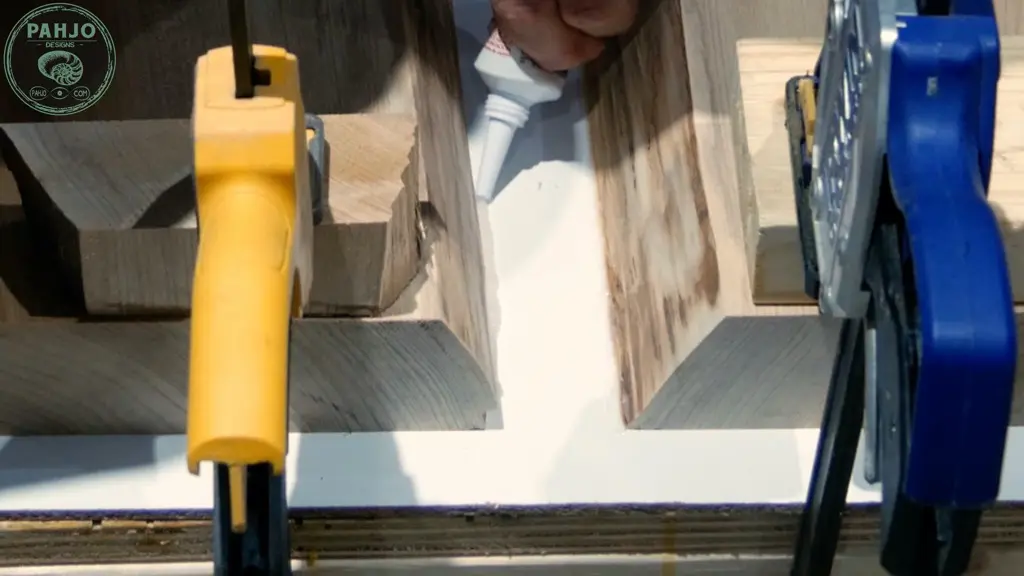
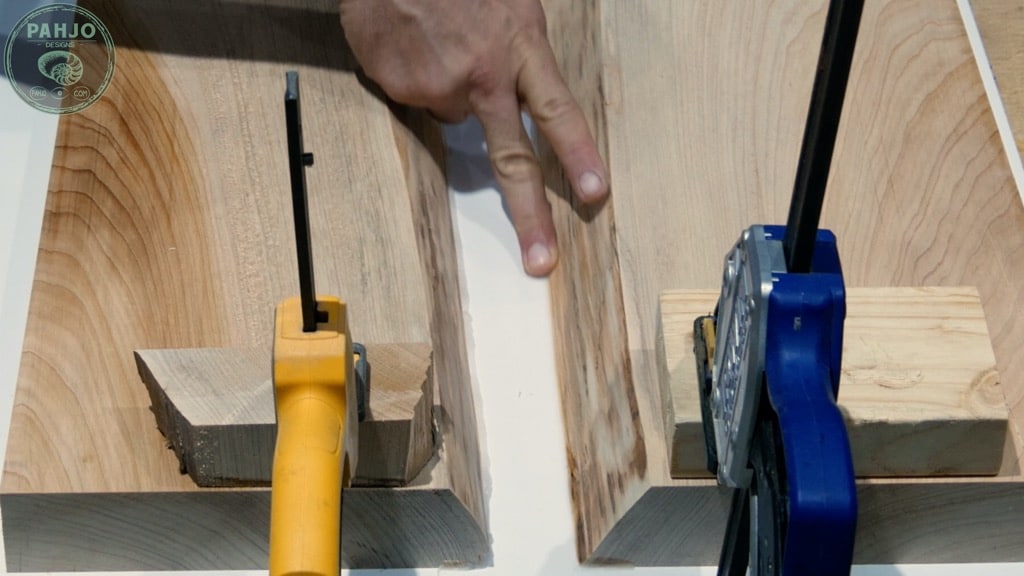
Then, I used a scrap piece of wood with F-clamps to secure the wood to the melamine.
Next, I used silicone caulk to seal the inside of the live edge river to prevent resin from seeping through.
Also, hot glue works just as well as silicone.


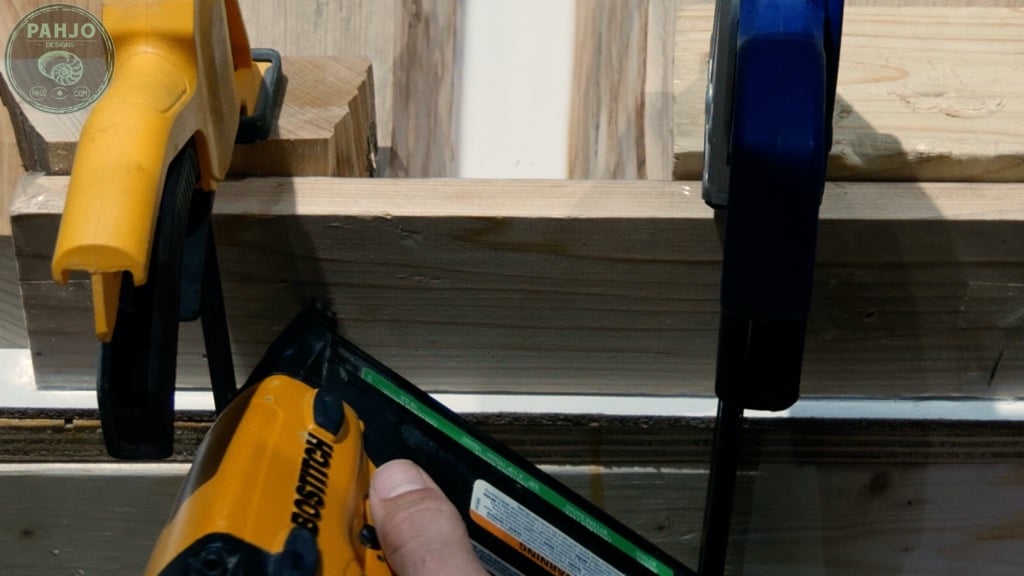
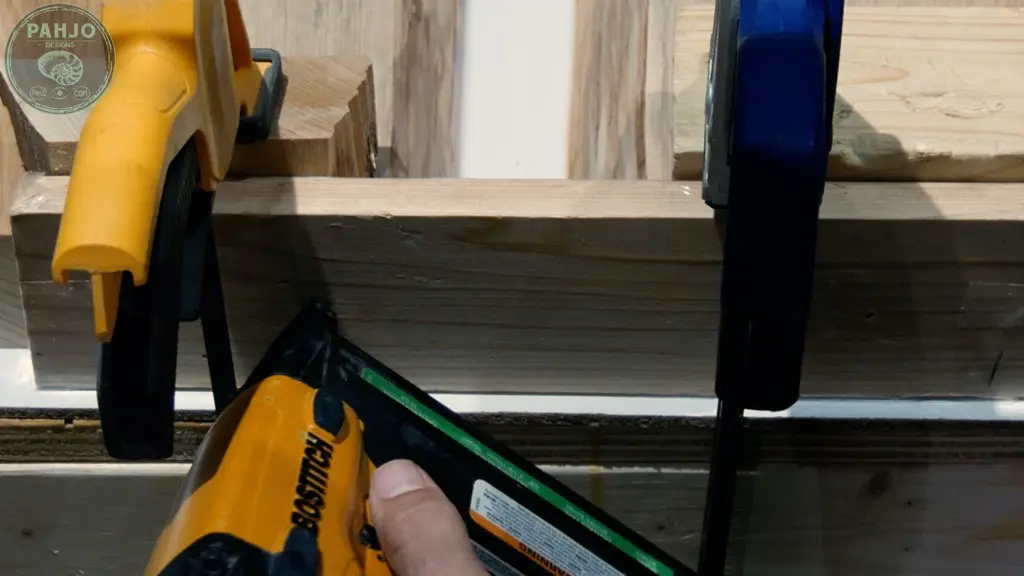
9 – Resin Mold Ends
After I finished securing and sealing the river table sides, it was time to complete the mold by adding the two ends.
First, I cut 2 pieces of scrap wood slightly larger than the width of the river.
Then, I covered them with packing tape and wax.
Additionally, the exact length doesn’t matter as long as it is wider than the river.


Next, I used my brad nailer with 18 gauge 1.5″ brad nails to secure them.
Furthermore, I used brad nails because they are quick and the holes are easy to cover up when nailed into end grain.
Hot glue is a good alternative to brad nails.
Then, I sealed each end with silicone to prevent the resin from leaking.
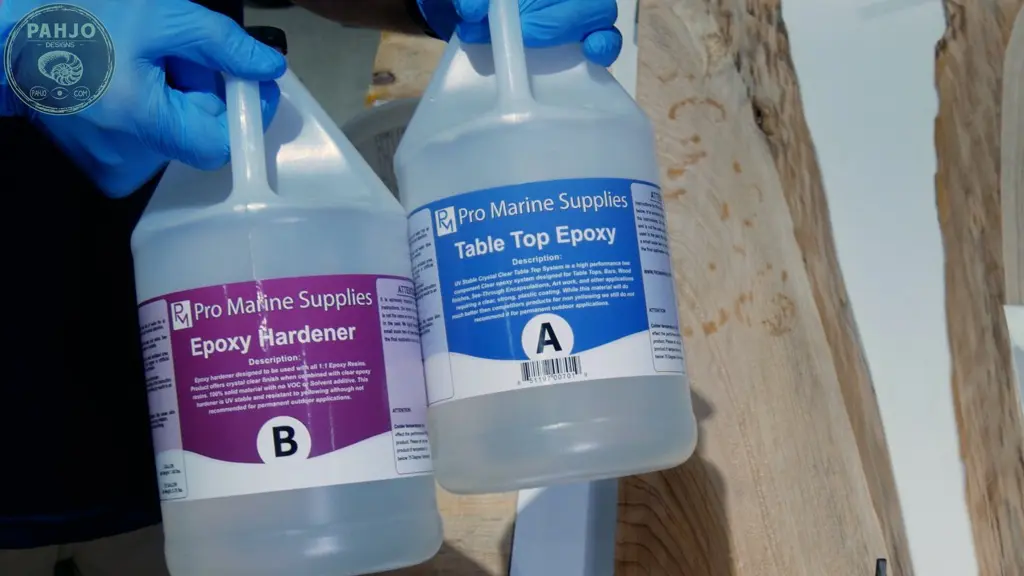
11 – Best Epoxy Resin for Tables
Essentially, the best epoxy resin to use depends on the type of project and many other factors.
To clear up the confusion, I wrote an in-depth article about the best epoxy resin to use for the most common projects such as wood tables, river tables, and resin art.
For this epoxy ocean table project, I used Pro Marine Table Top Epoxy for 2 reasons.
- I had leftover epoxy in my shop, so no need to purchase more.
- This epoxy ocean table needed multiple thin epoxy pours instead of 1 or 2 deep pours.

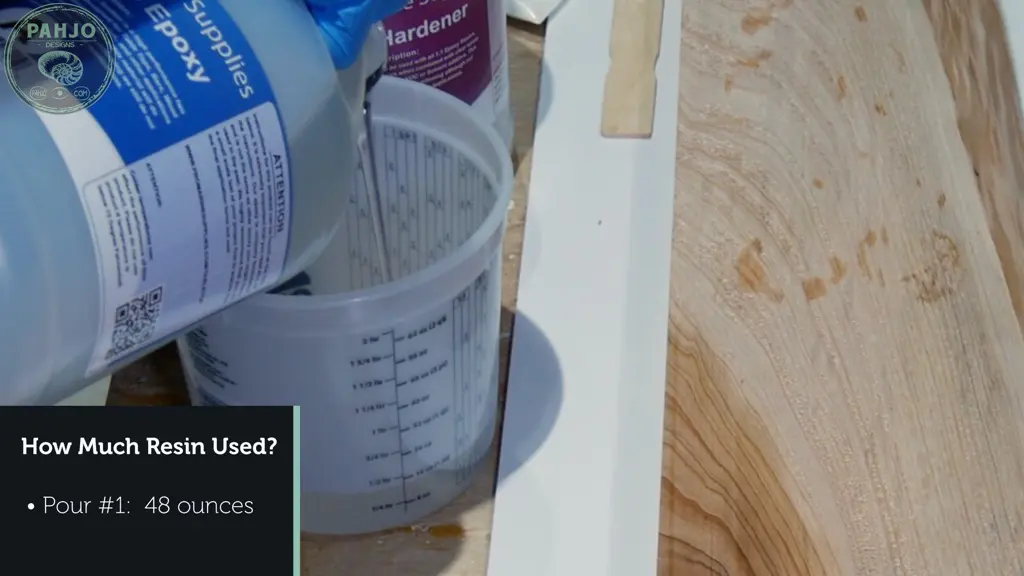
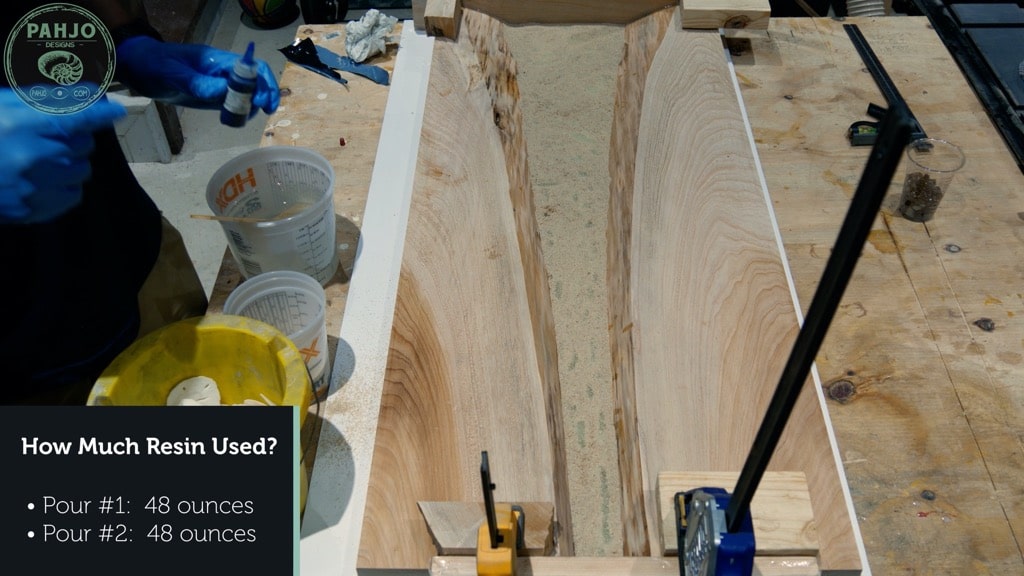
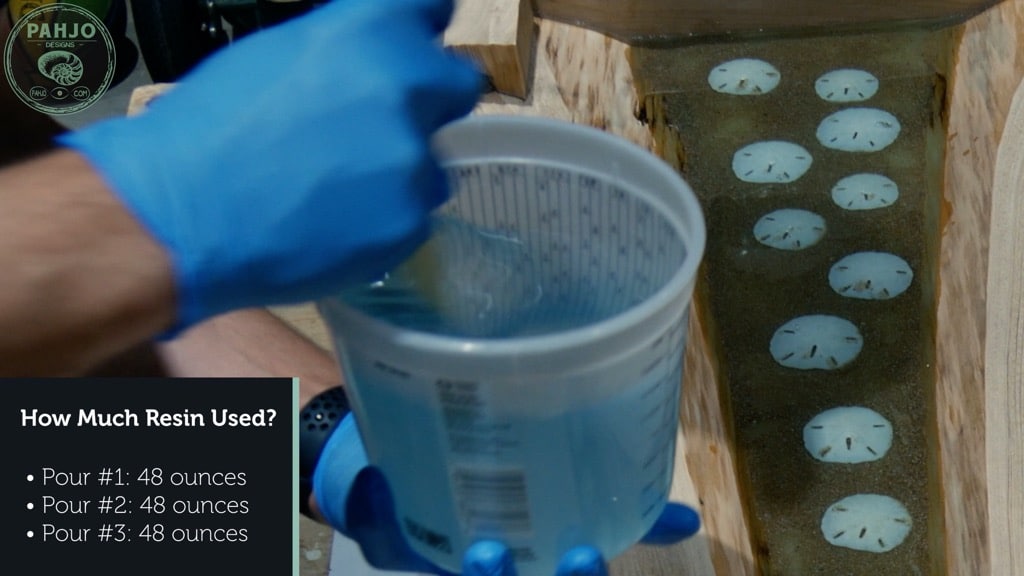
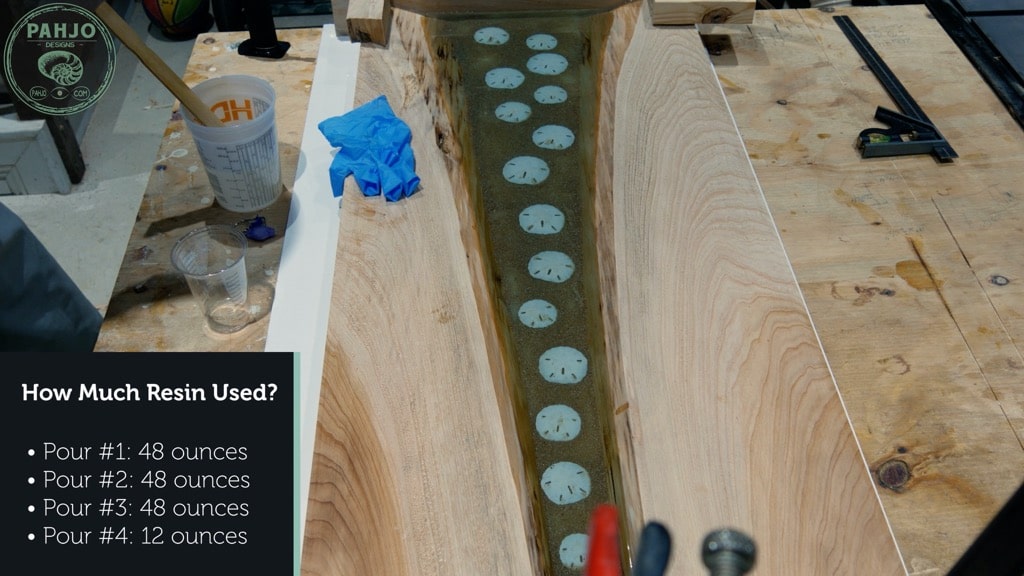
12 – First Epoxy Resin Batch
The first epoxy resin pour consisted of 48 ounces of resin and 4 ounces of glow powder.
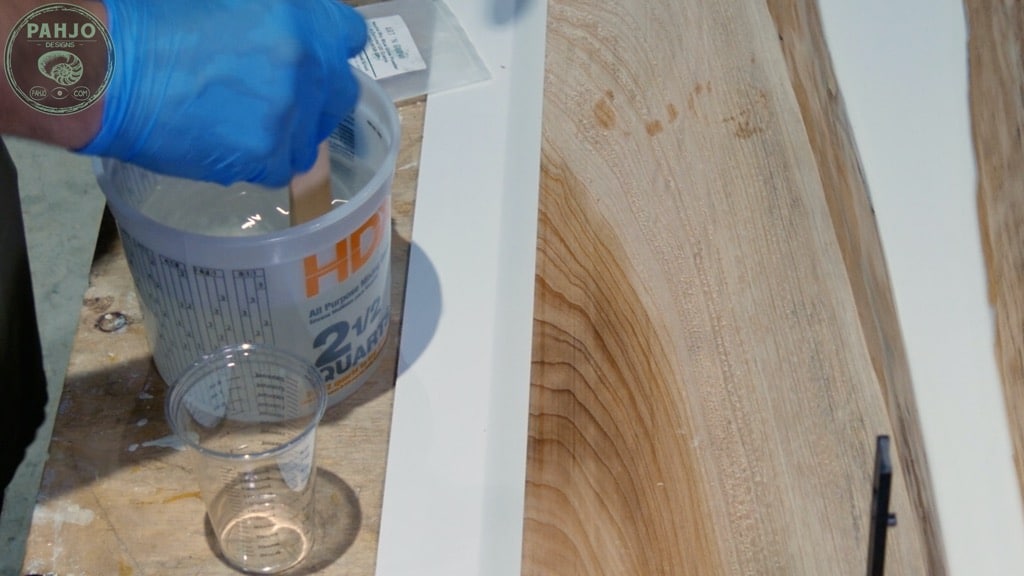
First, mix 48 ounces of resin in a 1:1 ratio.
As a side note, it is vital to mix epoxy resin at an exact 1:1 ratio. If not, the epoxy resin will not cure correctly.
It is vital to mix epoxy resin at an exact 1:1 ratio. If not, the epoxy resin will not cure correctly.

Consequently, I use the inside measurements on the container when pouring epoxy resin.
Ultimately, it is easier to see and more comfortable to use during the epoxy resin pour.
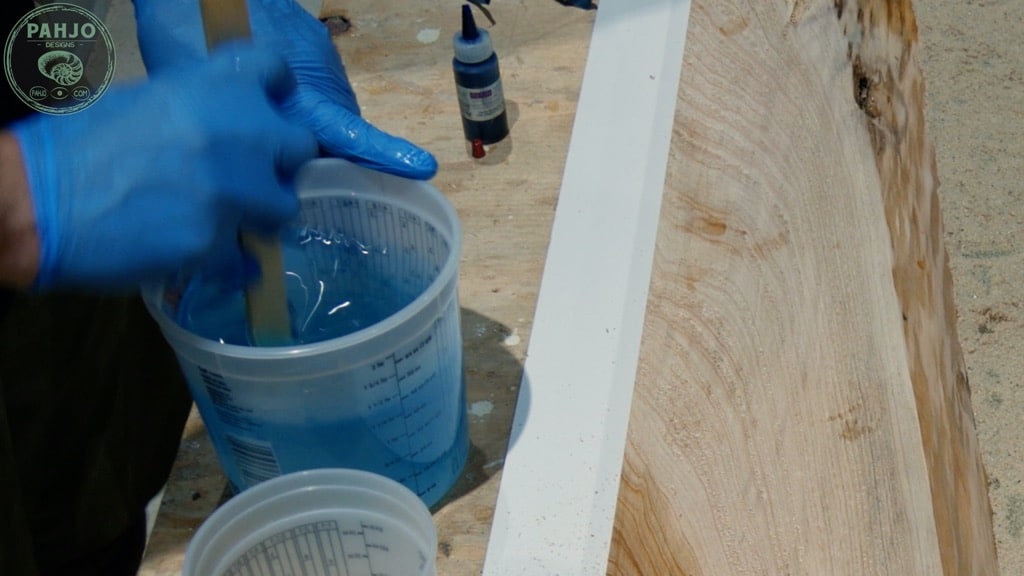
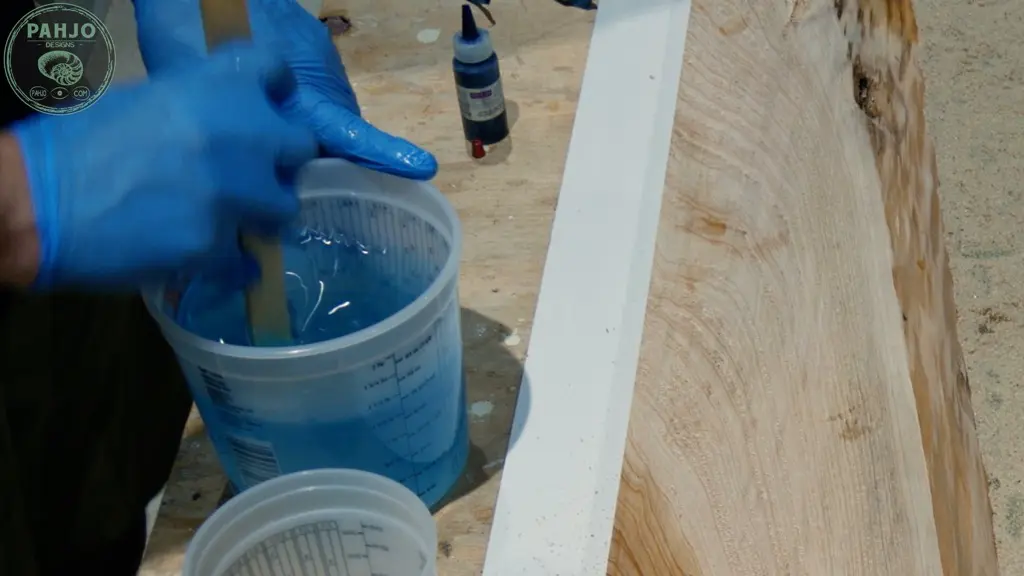
13 – Epoxy Resin Mixing
Once the ratio is correct, I began mixing the epoxy resin with a paint stick.
First, I stirred slowly in a circular pattern.
Next, I scraped the sides and bottom to make certain everything was mixed evenly.
Normally, I use a pattern while mixing: 3 side circles, 3 bottom scrapes, 3 inner circles, and repeat over and over again.

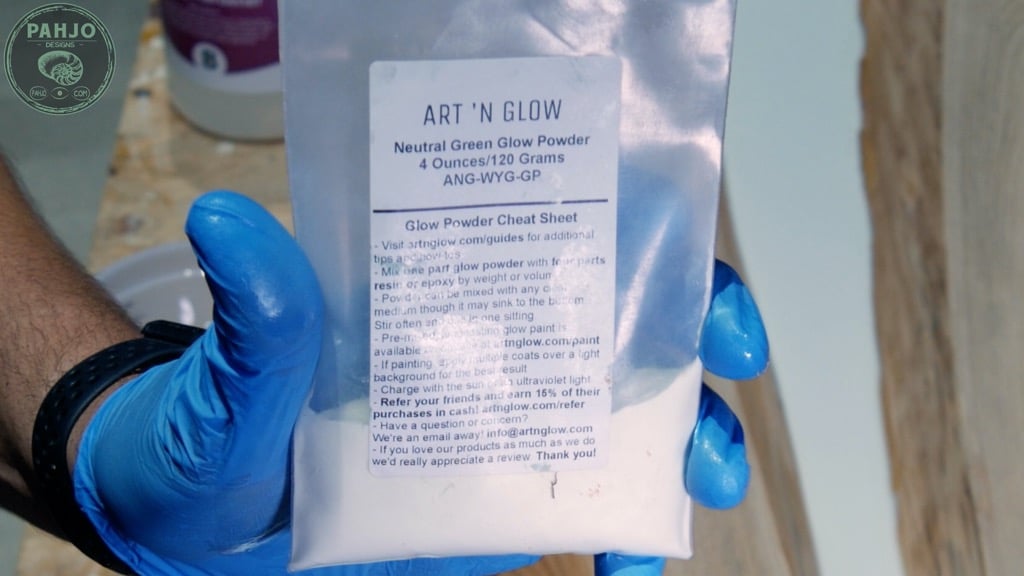
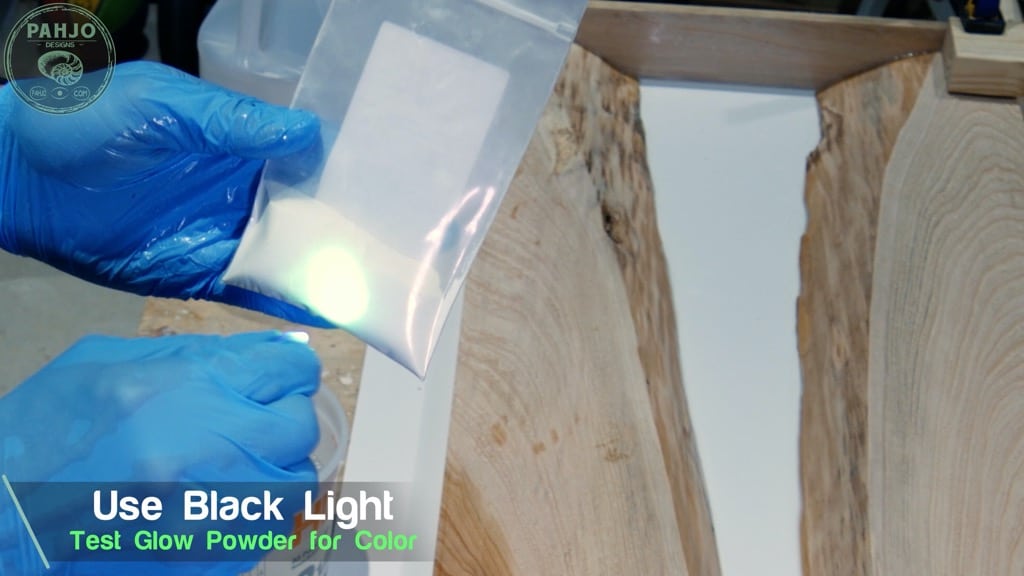
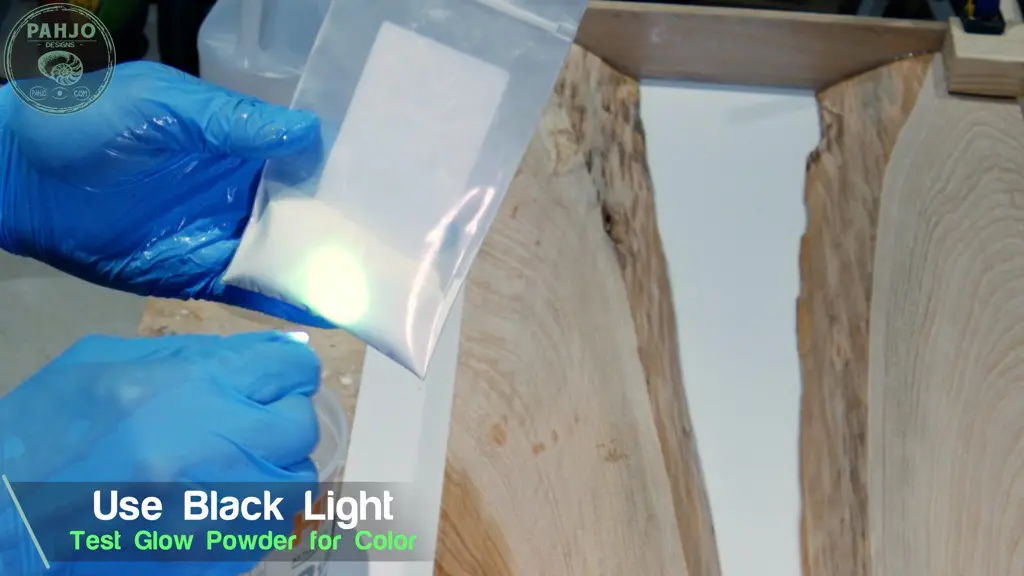
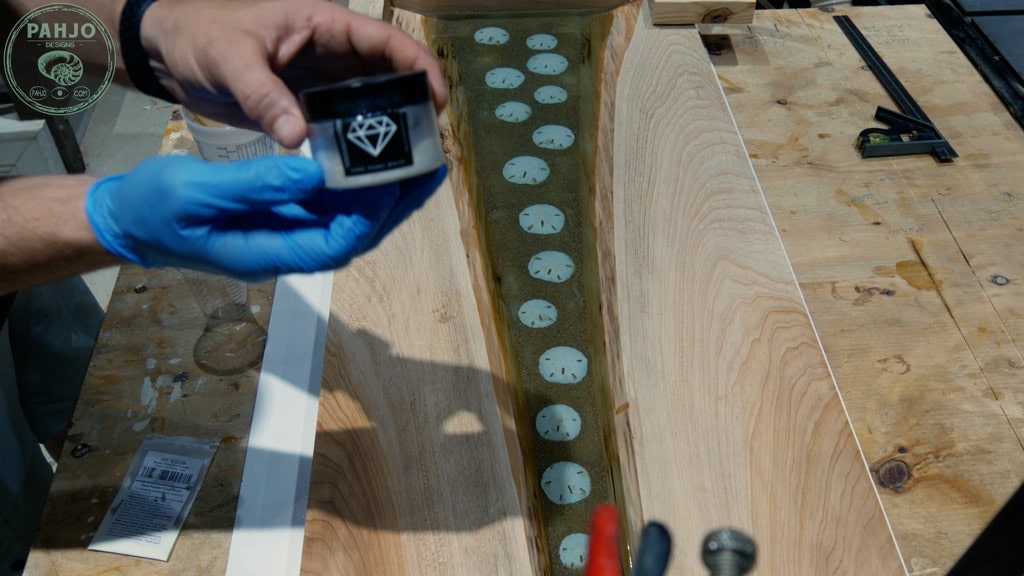
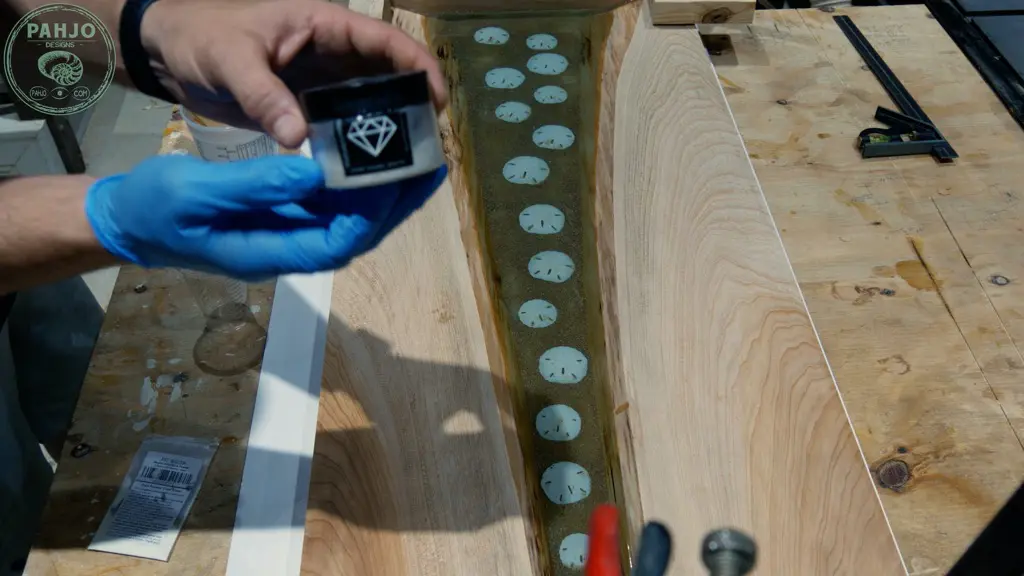
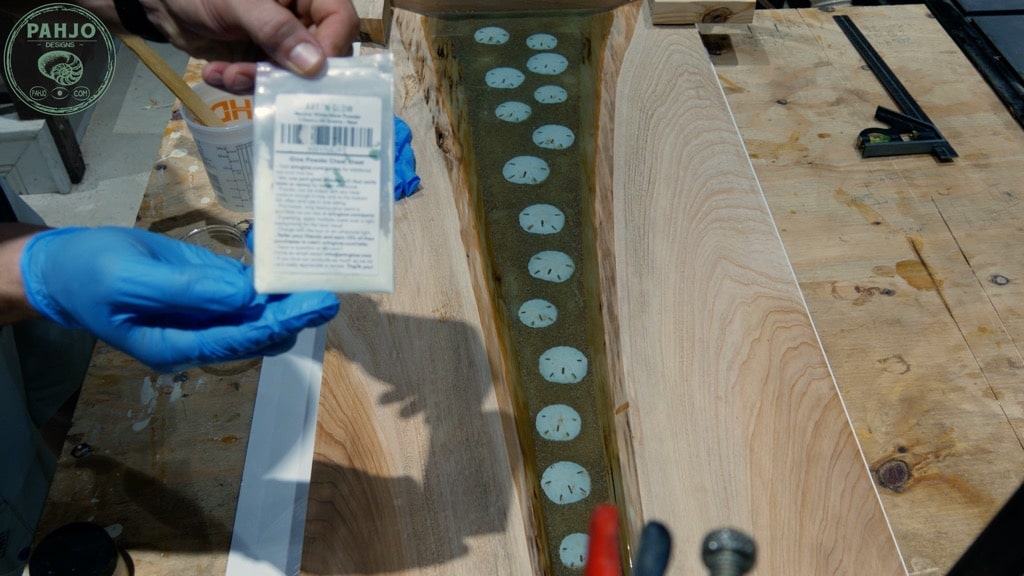
14 – How to Mix Epoxy Glow in the Dark Powder
After the epoxy resin was properly mixed, I tested the glow powder to verify the color with a black light.
Next, I added 4 ounces of green glow powder (phosphorescent pigment powder) to 48 ounces of resin to this live edge resin river glow table.
Also, Art n Glow recommends using a 4:1 ratio of resin to glow powder.
However, I feel this is a bit overkill for my river table projects.
So, I use a 12:1 ratio of resin to glow powder and this works fine.

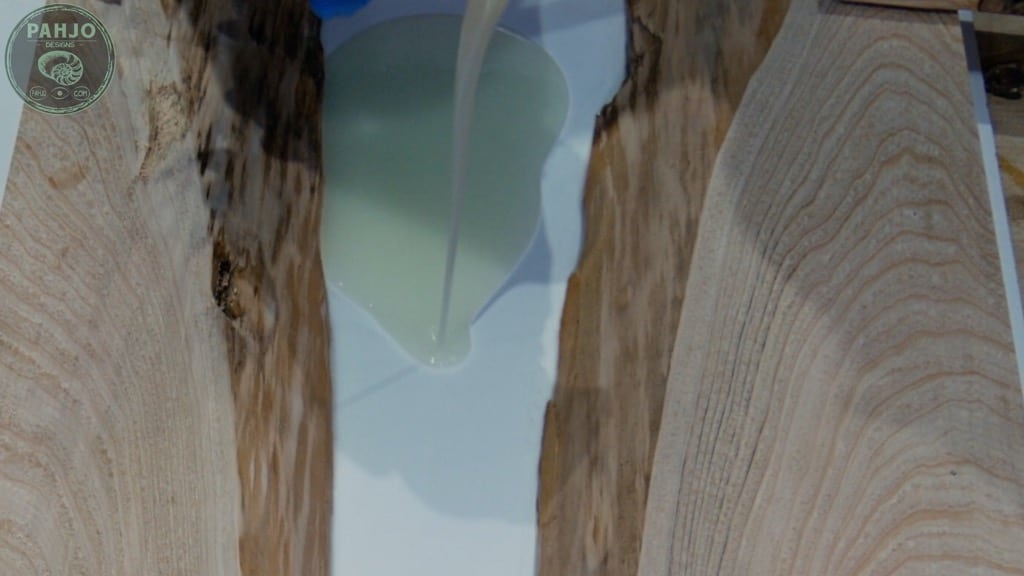
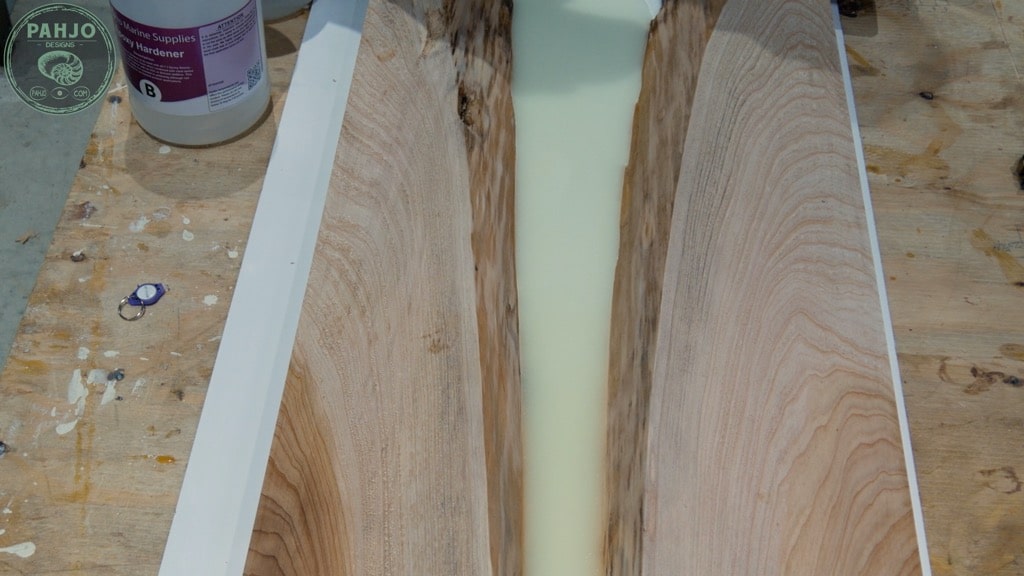
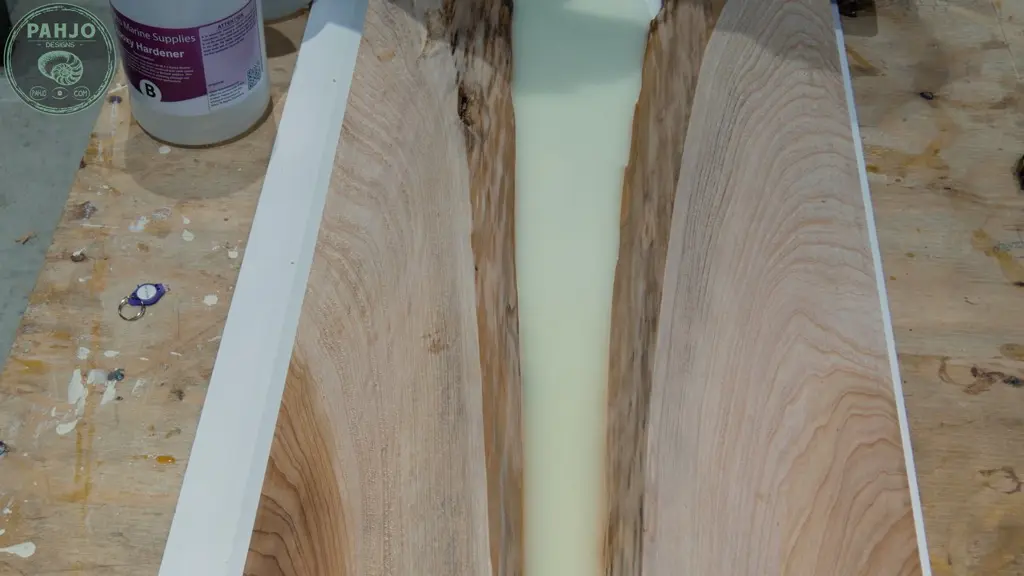
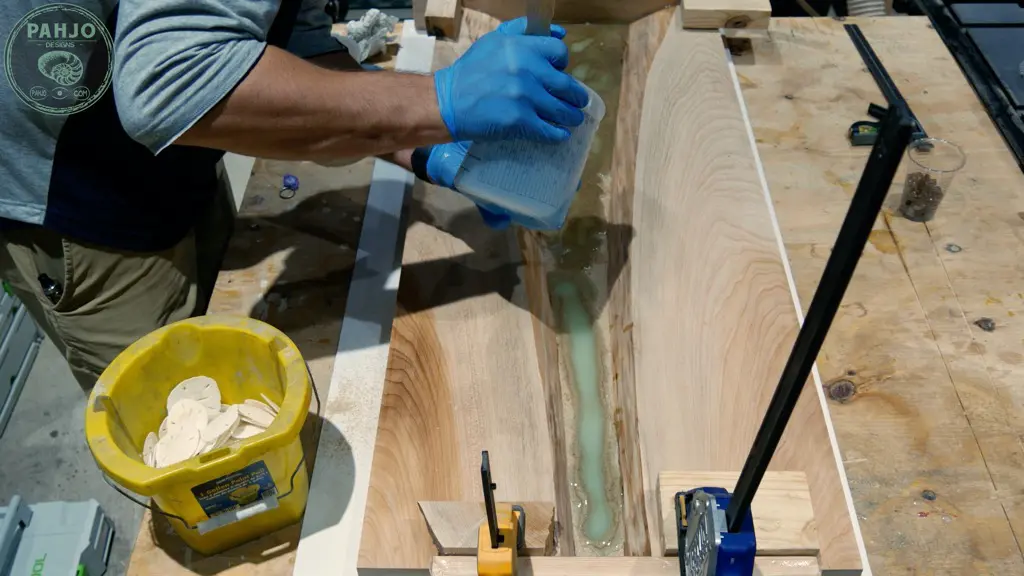
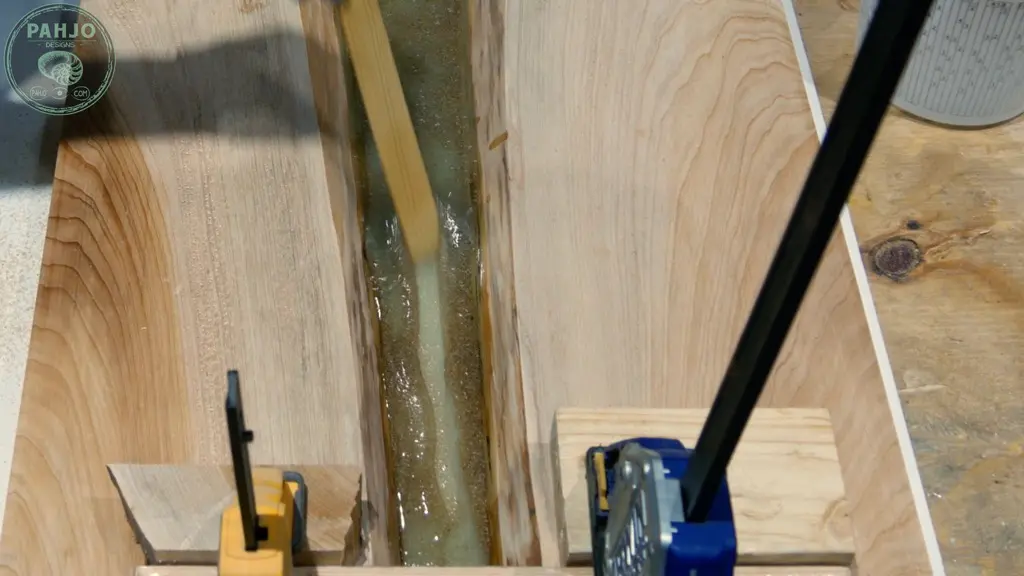
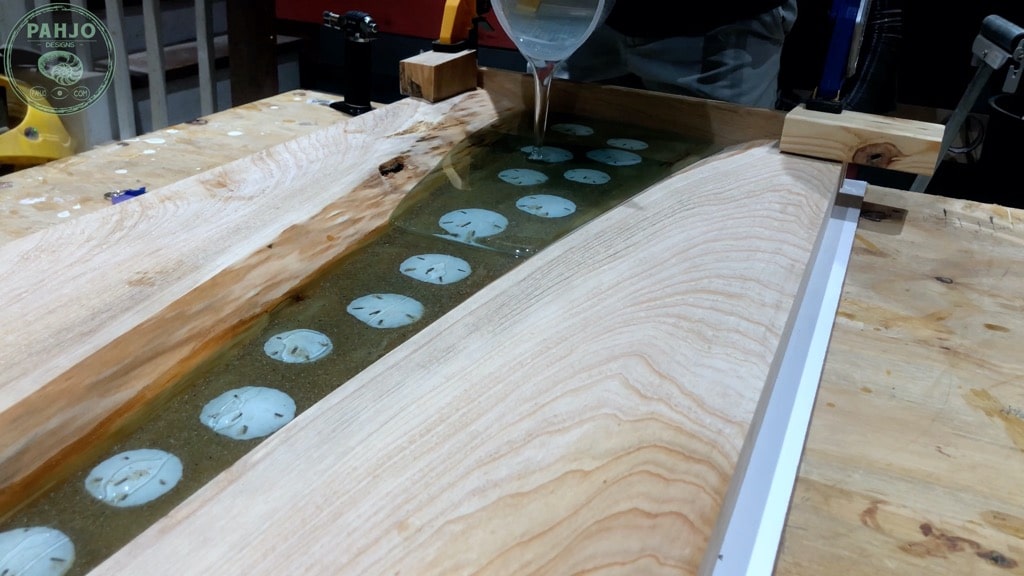
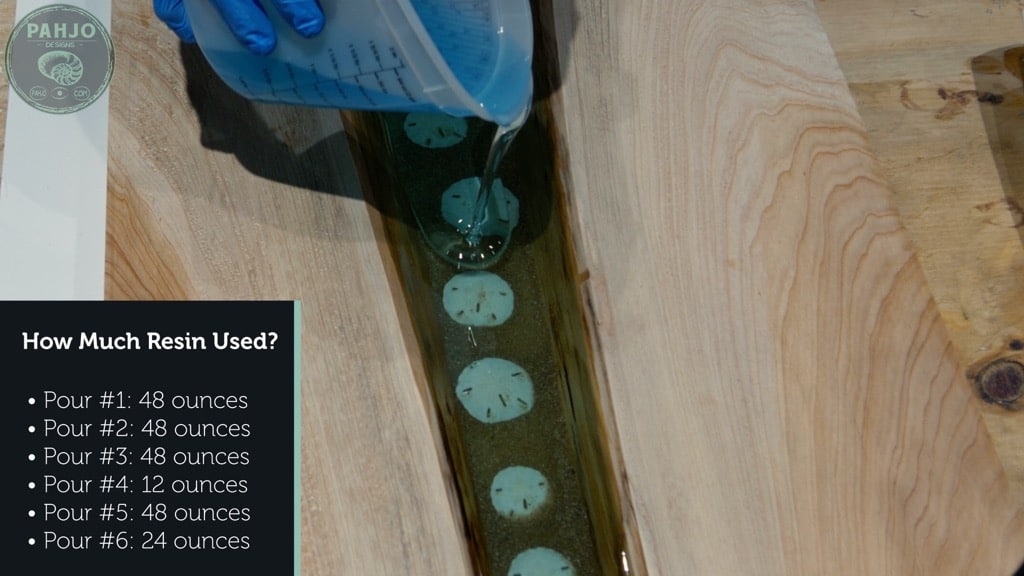
14 – Epoxy Ocean Table Pour
I poured the resin in the river table.
Next, I moved back and forth to each end of the table as I poured the resin.
Then, I used my torch to remove bubbles.

15 – Beach Sand in Epoxy Ocean Table Bottom
First, I added pool sand after the first layer of epoxy resin cured for 24 hours.
Next, I sprinkled enough pool sand to lightly cover the top.
Then, I moved the sand around with my fingertips into an acceptable pattern.
Also, the pattern didn’t matter as illustrated in the next step.
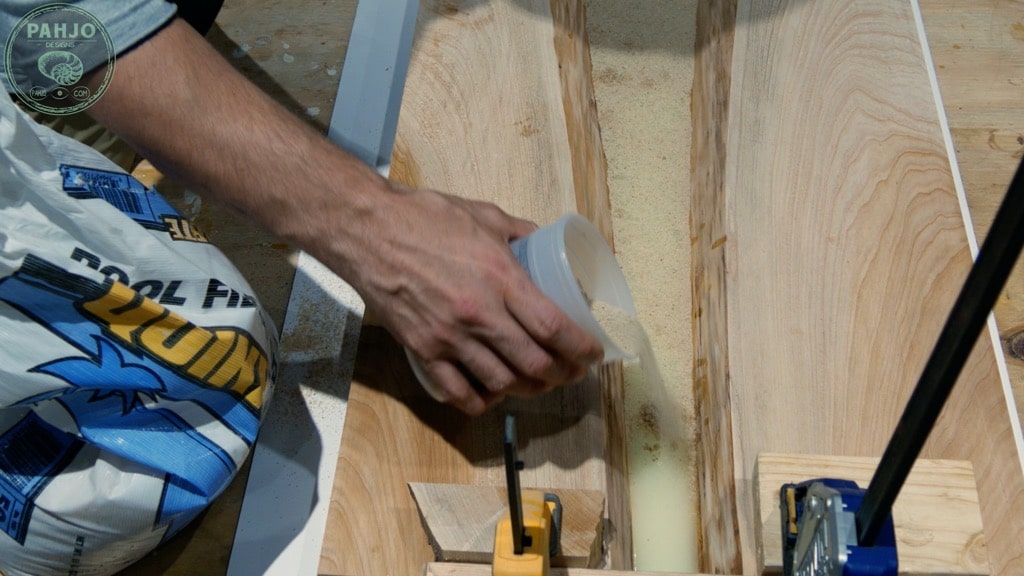


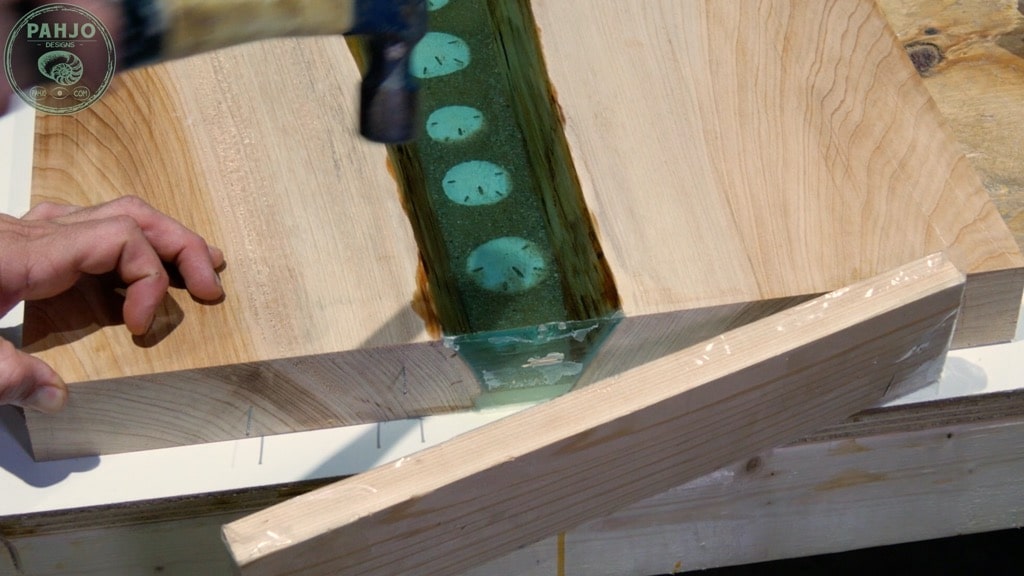
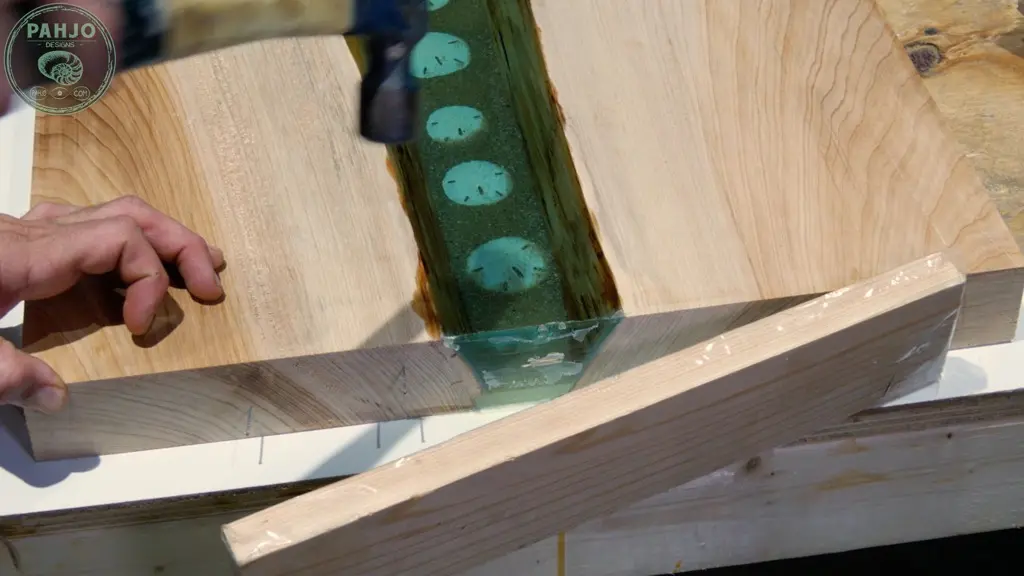
16 – Pour Resin Over Sand
First, I mixed 48 ounces of resin and mixed per the instructions.
Then, I added 1 drop of transparent blue dye once the resin was completely mixed.

Next, I poured the resin slowly in the live edge river glow table.
Also, the resin pushed the sand to the side.
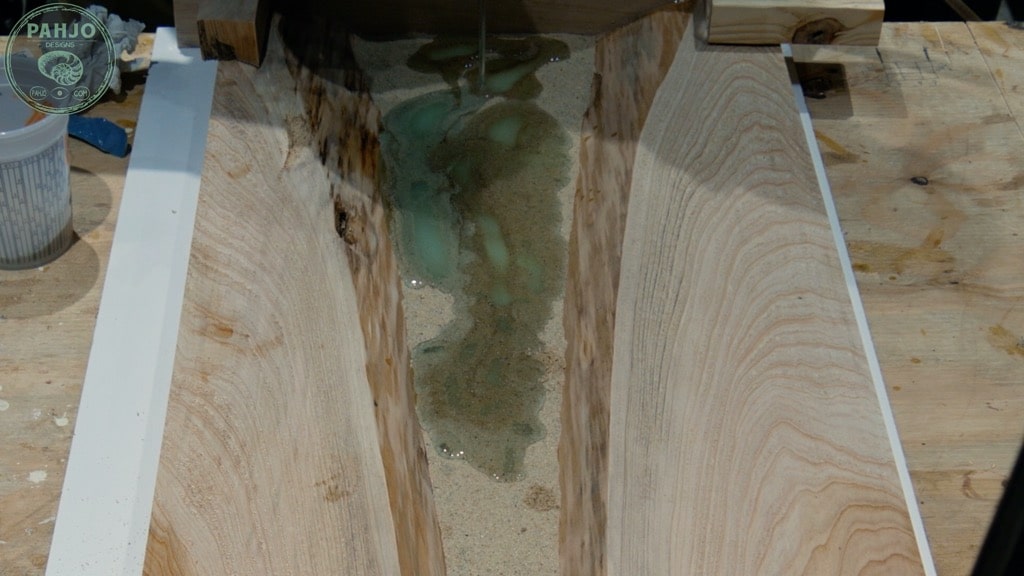
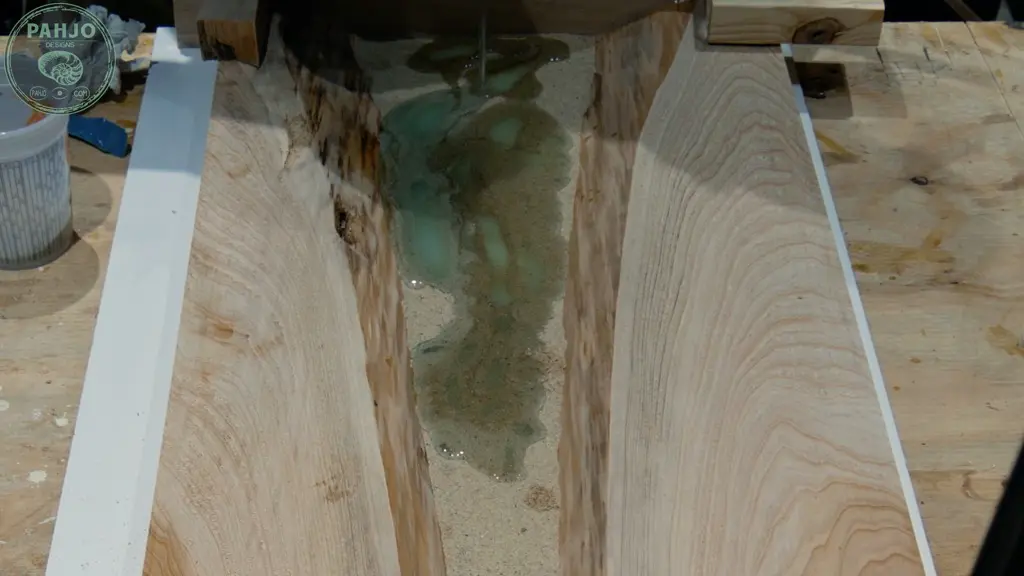

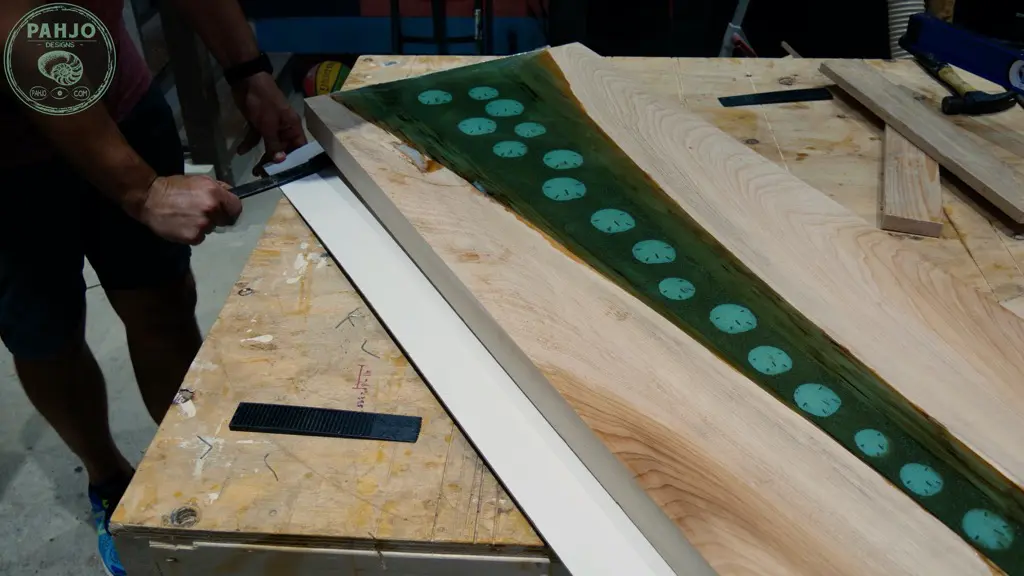
Then, I used my ruler to spread the sand evenly on the bottom of the live edge river table.
Additionally, the ruler helped me create a natural pattern with the sand similar to the ocean floor.
Furthermore, I made certain the sand was thin enough for the glow powder to shine through.
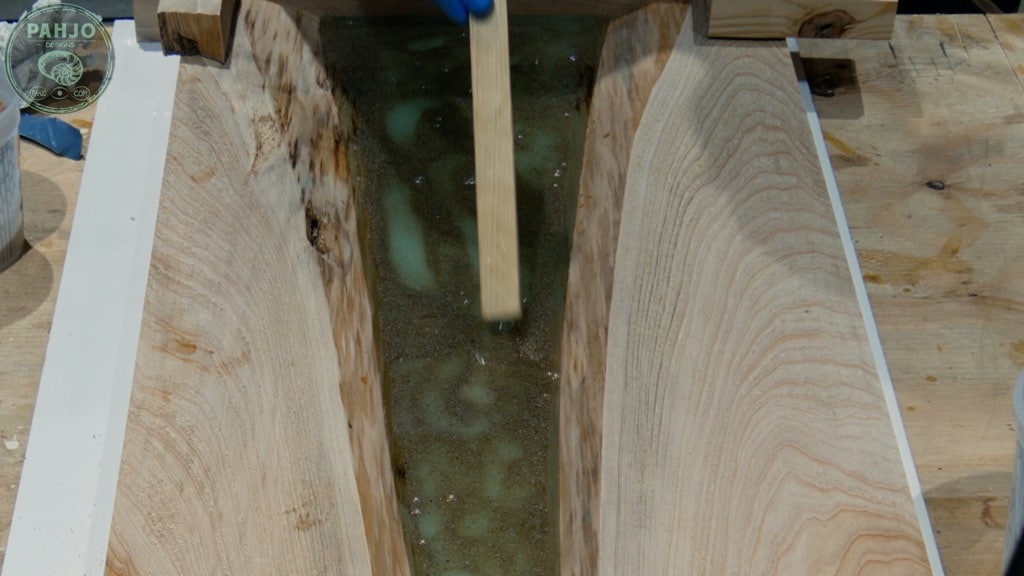


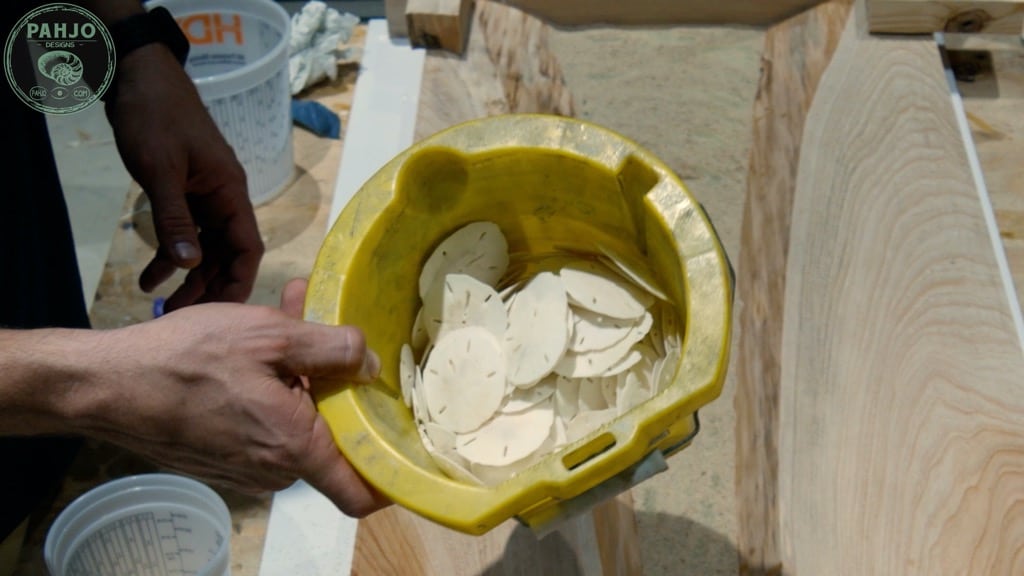
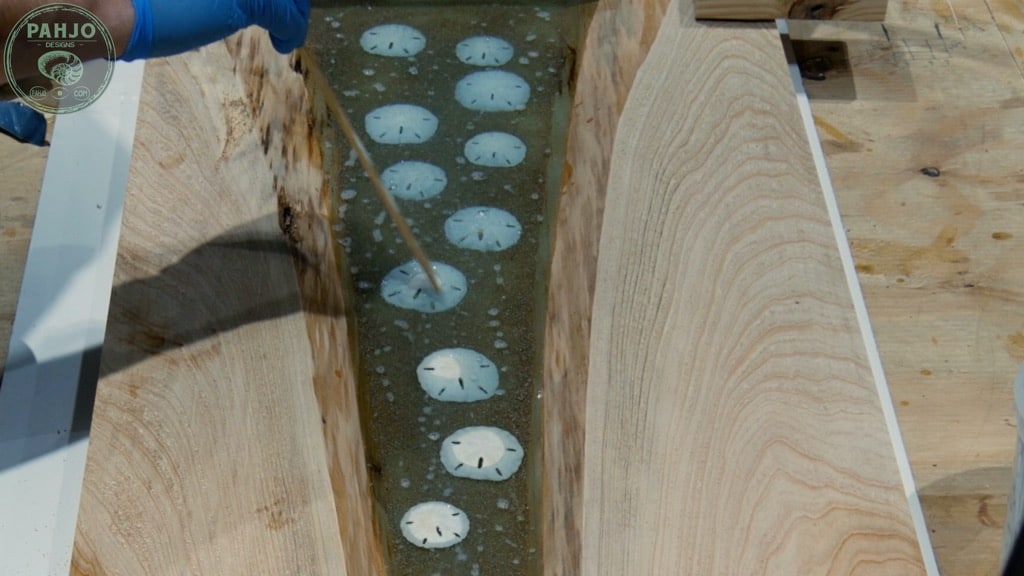
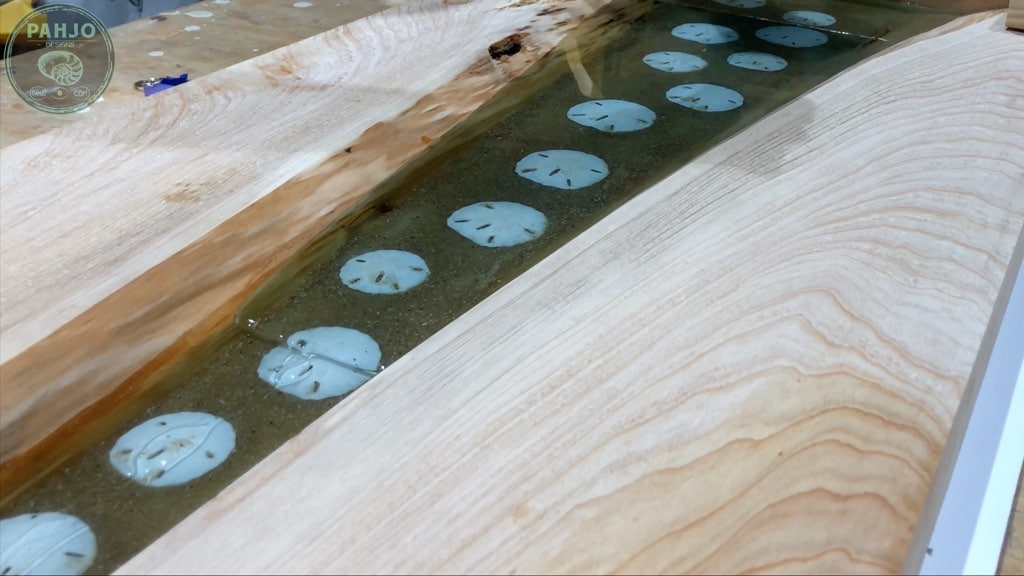
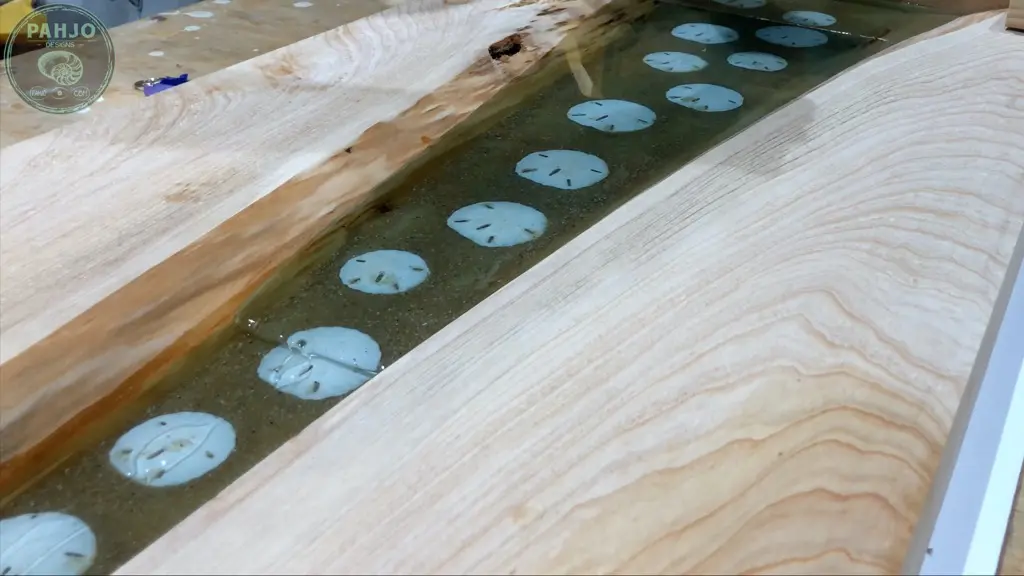
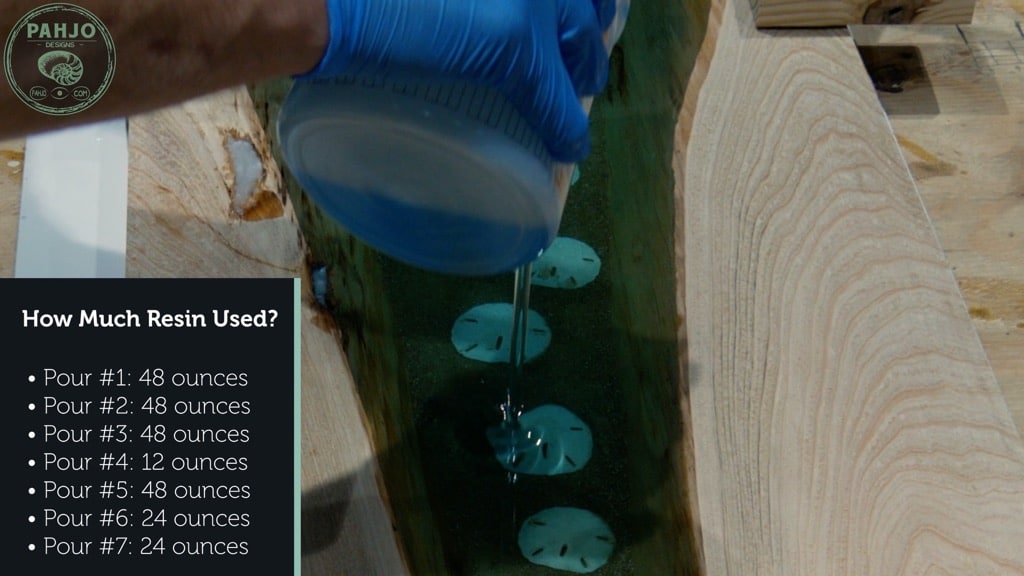
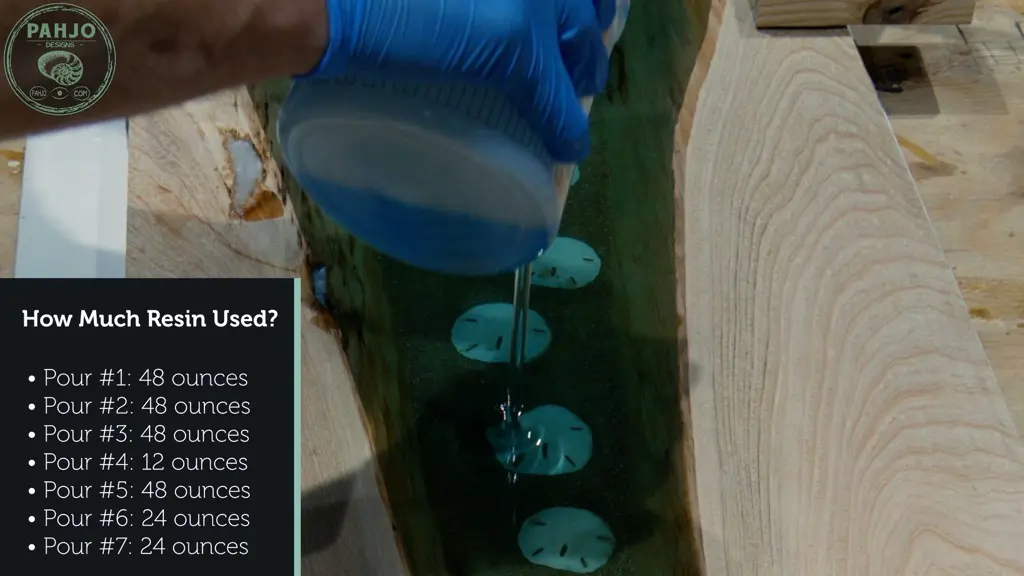
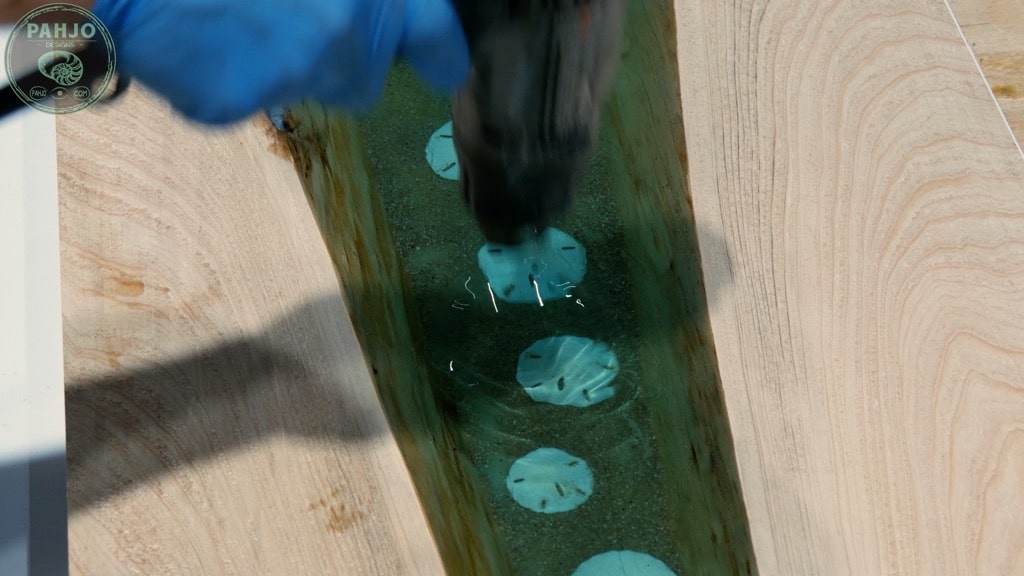
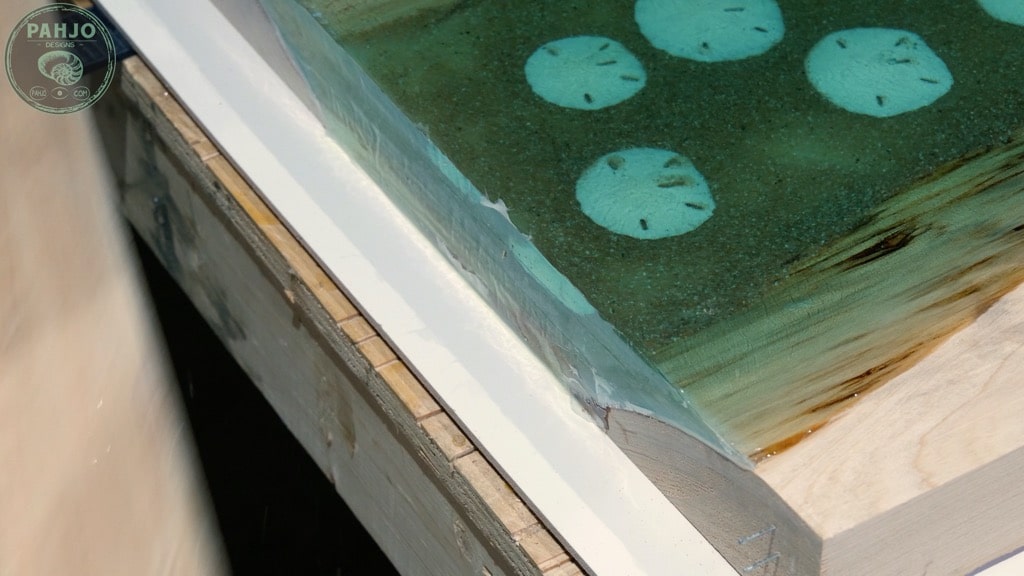
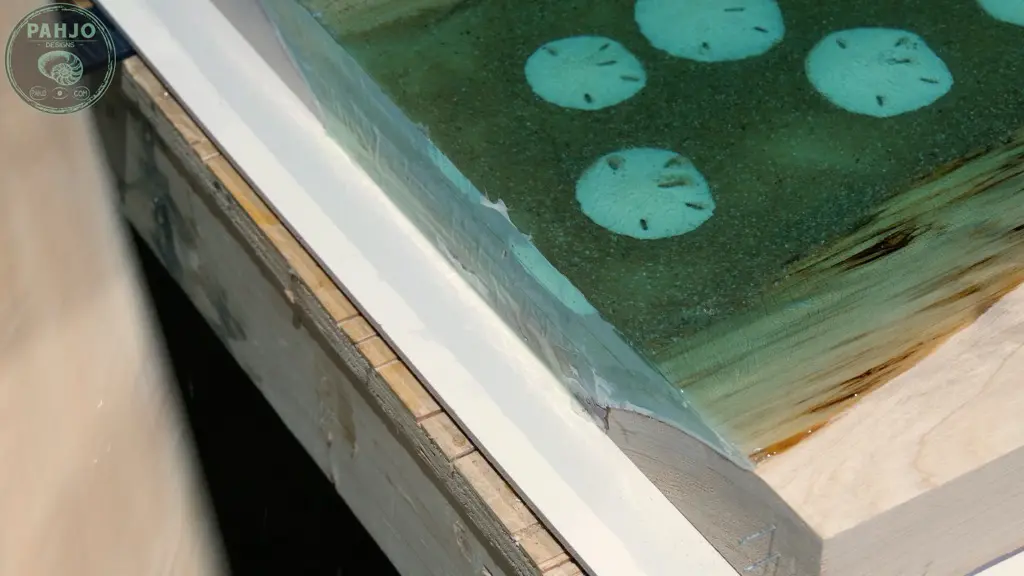
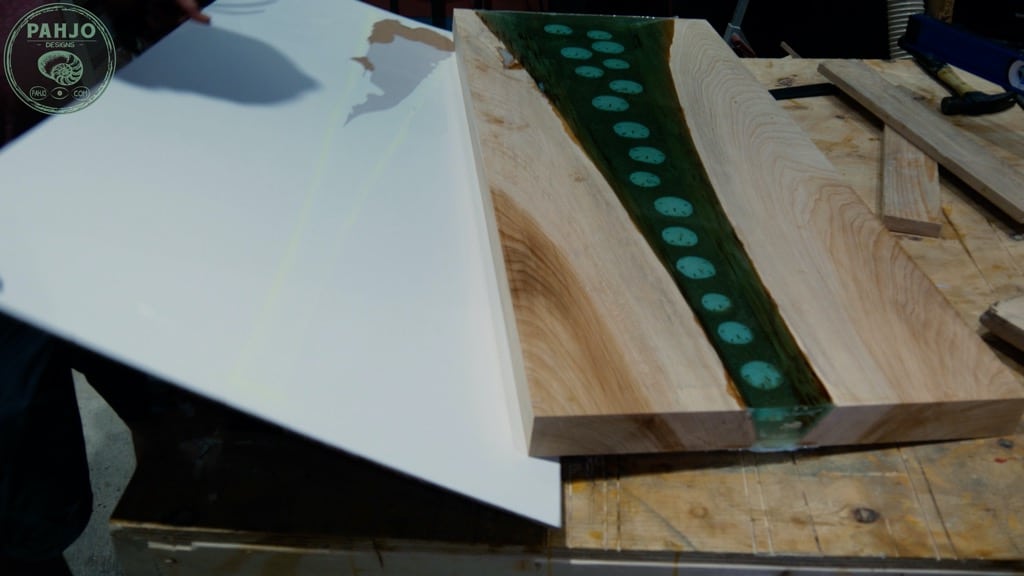
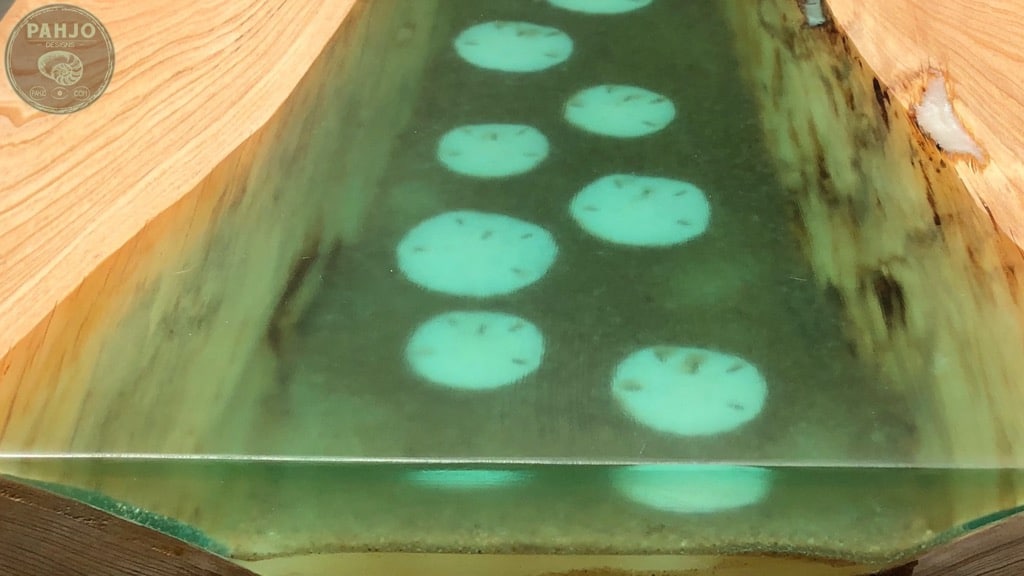
17 – Embedding Objects in Epoxy Resin Ocean Table
First, I placed the sand dollars in the epoxy resin beach table.
Next, I used my paint stick to push the sand dollars to the bottom in a random pattern.
Luckily, the sand helped create somewhat of a suction.
As I pushed the sand dollars down, a small amount of sand came through the holes in the sand dollars.
Ultimately, this created a very natural look that was completely unintentional – I love when that happens.


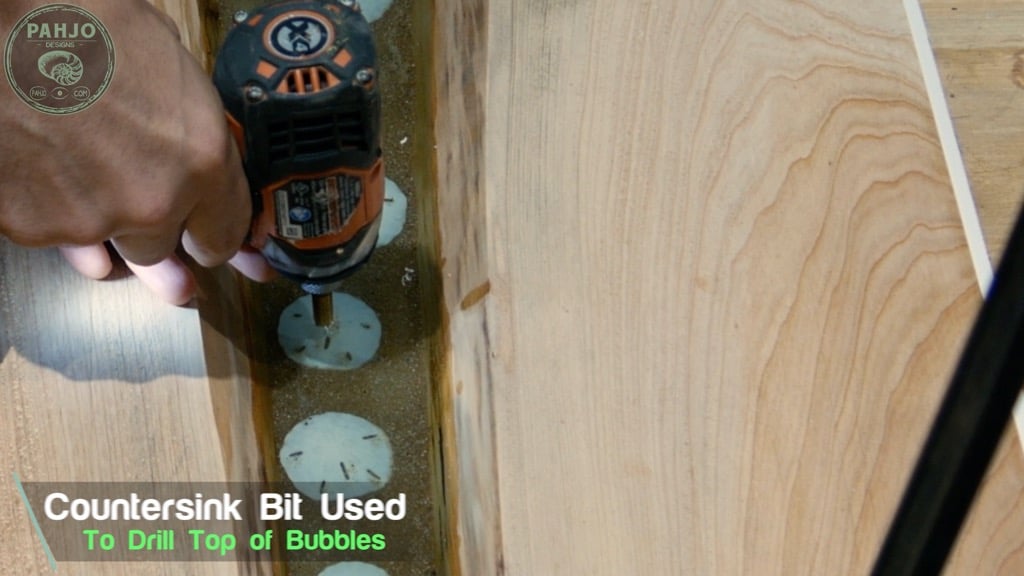
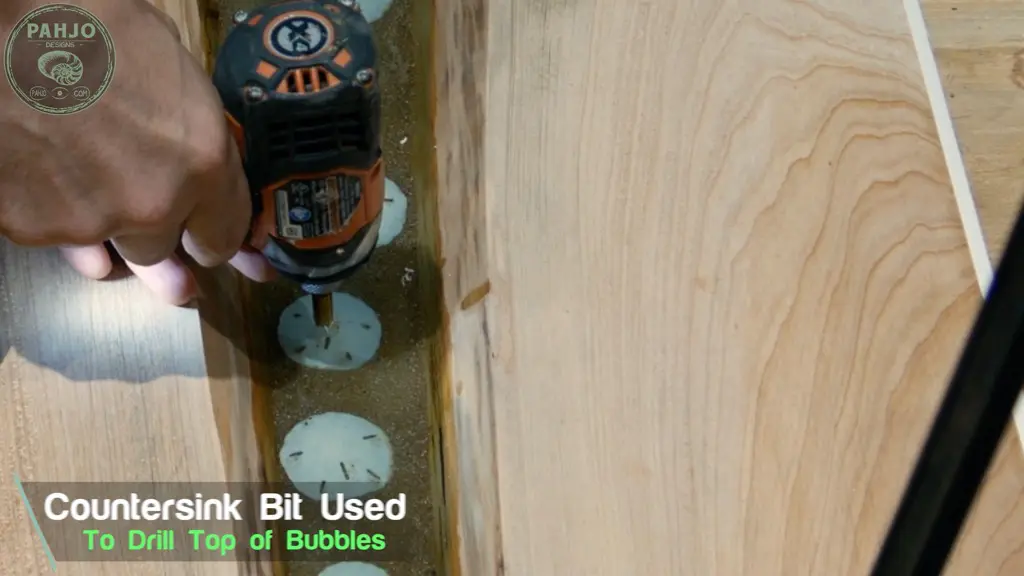
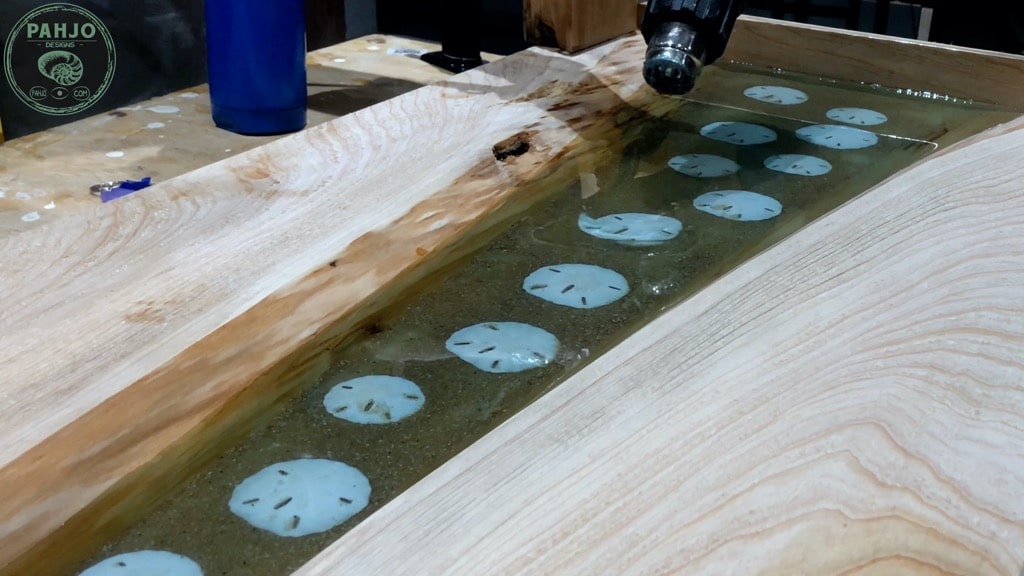
18 – Repair Epoxy Mistakes
First, I lightly hand sanded the epoxy resin river with 220 grit sandpaper after 24 hours and proceeded with the third pour.
Next, I used a countersink bit and lightly drilled out the bubbles from the sand dollars.
Obviously, the bubbles were caused by pushing the sand dollars into the sand.
Then, I mixed 48 ounces of resin with 1 drop of transparent blue dye.

Furthermore, I used my paint stick to drip resin on top of the holes to ensure they were filled.
In addition, I did this before pouring the entire 48 ounces over the table because the weight of the entire pour may cause another bubble over the same hole.


Finally, I poured the resin from one side of the table and allowed it to flow evenly to the other side.
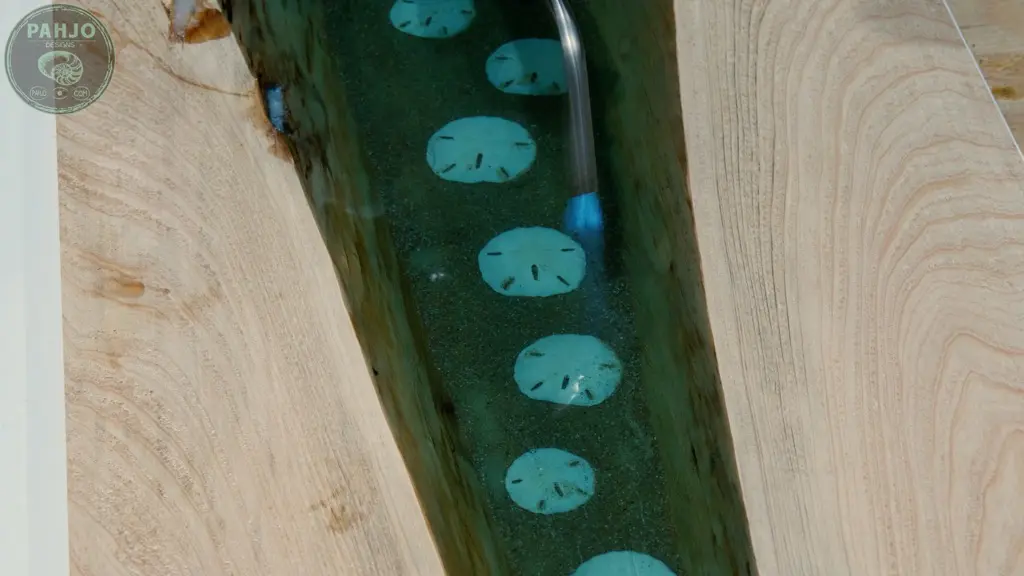
I used my heat gun to move the resin around and my torch to remove the bubbles.


As a quick tip, I like using my heat gun when I pour a large amount of resin.
I find it helps move the resin around and force bubbles below the surface to the top.
19 – Use Epoxy To Fill Wood Voids
Immediately after the third epoxy resin pour, I filled the wood voids in the epoxy resin ocean table.
First, I mixed 12 ounces of epoxy resin.
Next, I added one ounce of pearl white pigment powder and one ounce of white glow powder to the resin.


After I mixed the pigment powder and glow powder, I carefully filled the wood cavities with a popsicle stick while preventing the resin from dripping into the epoxy resin beach table.
Despite my best effort to not spill any resin, a tiny bit dripped into the river.
No harm, no foul as it was barely visible.
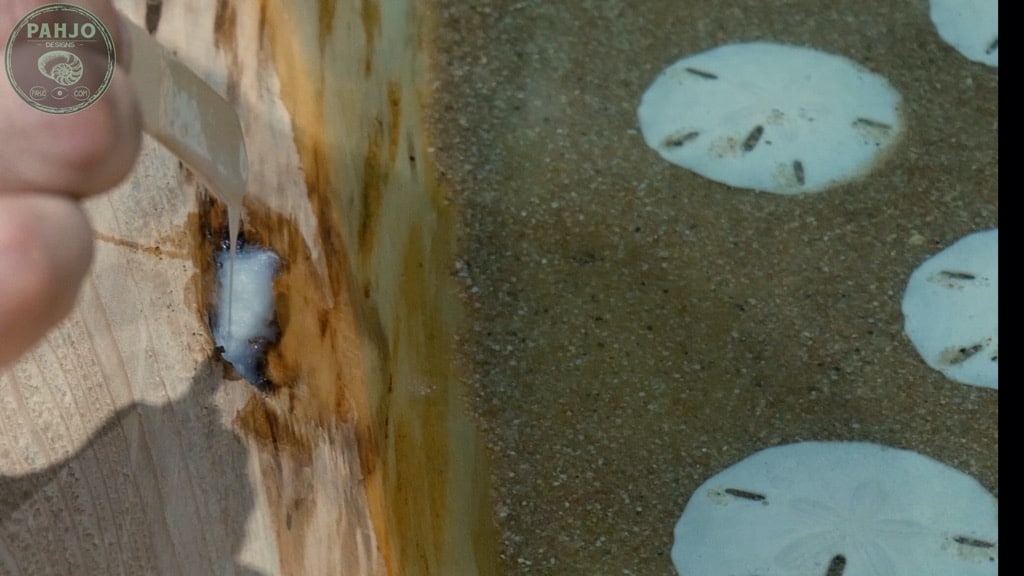
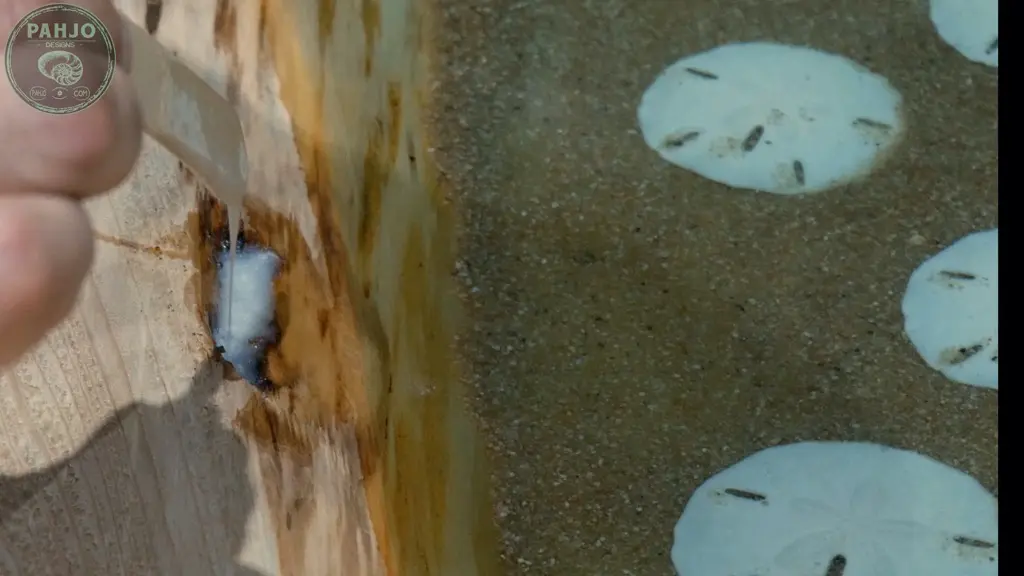
Then, I removed the bubbles with my torch and added more to ensure the cavities were completely filled.
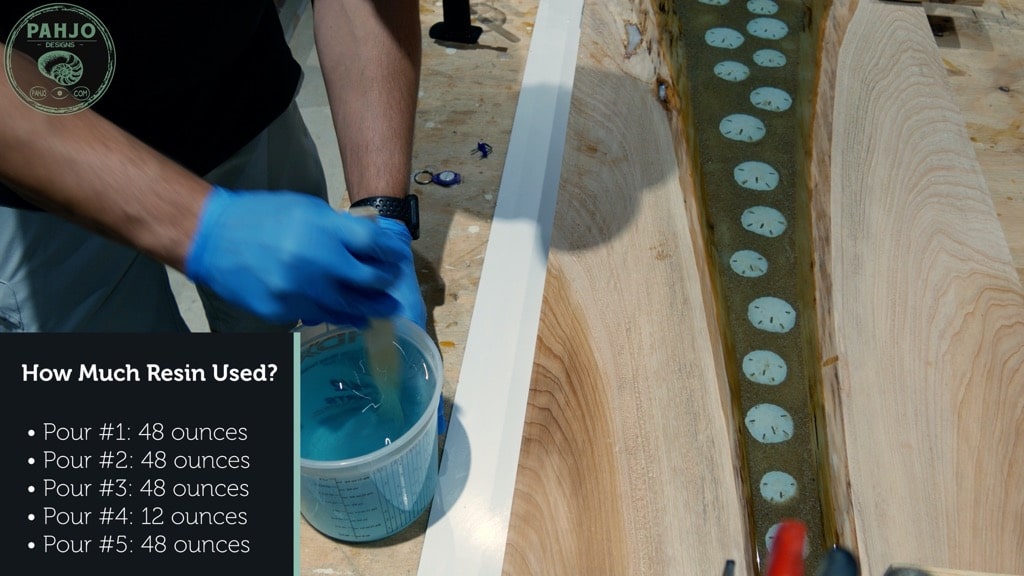
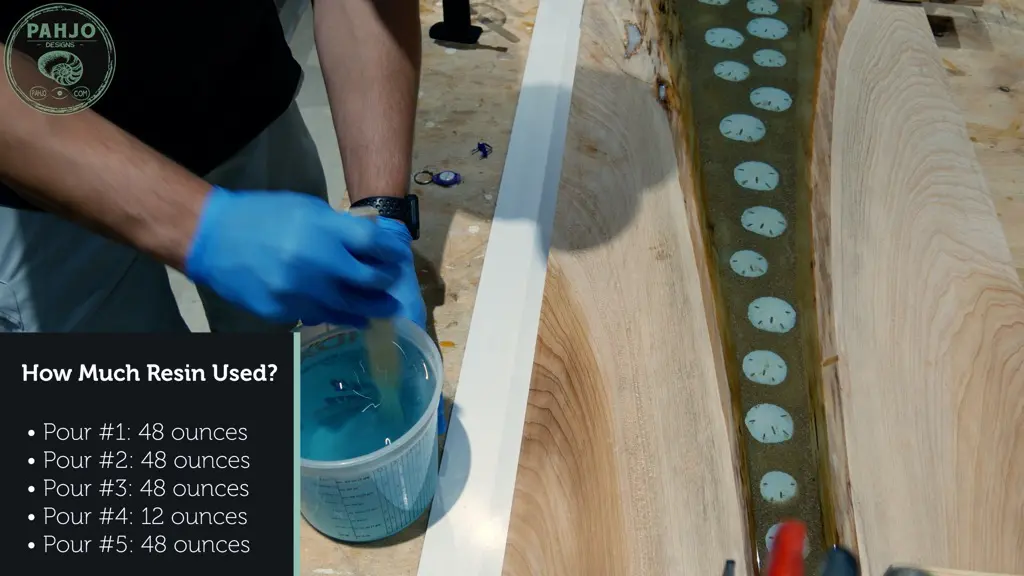
20 – Remaining Epoxy Resin Pours
After the resin cured for 24 hours, it was time for the fifth pour.
First, I lightly hand sanded the river with 220 grit sandpaper and removed the dust.
Next, I mixed 48 ounces of resin and 1 drop of transparent blue dye.
Then, I poured the resin in the river glow table just like the previous step.
21 – Sixth & Seventh Epoxy Resin Pours
After the resin cured for 24 hours, it was time for the final pour.
This epoxy resin beach table looks fantastic so far.
I estimated the river glow table only needed 24 additional ounces to reach the top of the table.
So, I mixed 24 ounces with 1 drop of transparent dye and poured the resin.

Shortly after the resin pour, I realized I needed 24 more ounces.
So, I mixed 24 more ounces just like before and poured the resin. Thankfully, this did the trick!


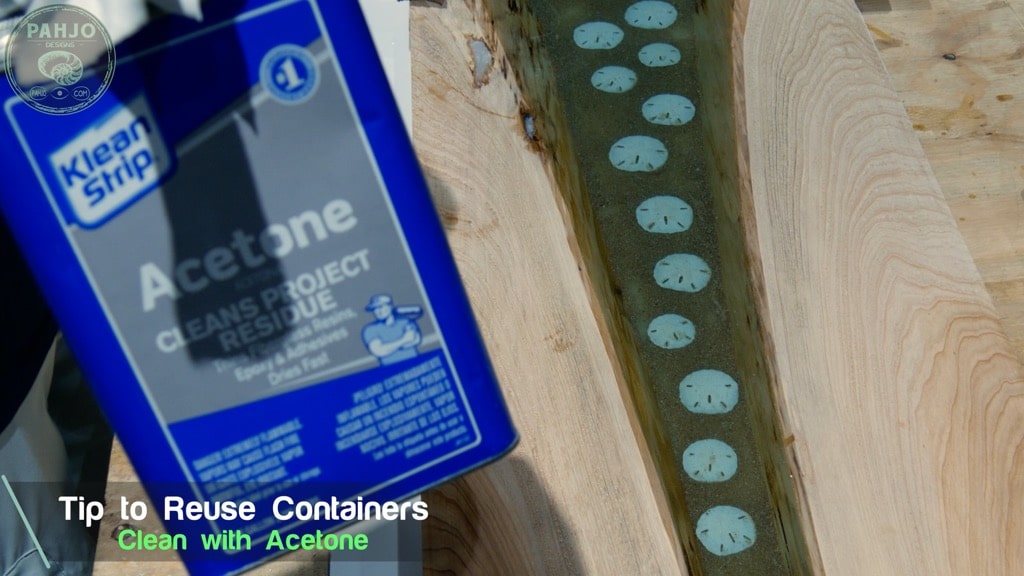
22 – Tip to Reuse Container
In order to not use more containers than necessary, I use acetone to clean and reuse them.
First, I place the container over a garbage bag and allow all the resin to drip out for 10 minutes.
Next, I pour 6 ounces of acetone into the container and whirl it around.
Then, I use a shop rag and wipe the bottom and sides of the container.
If needed, I repeat this process until the container is clean.
As a side note, always use gloves when using chemicals such as epoxy resin or acetone.

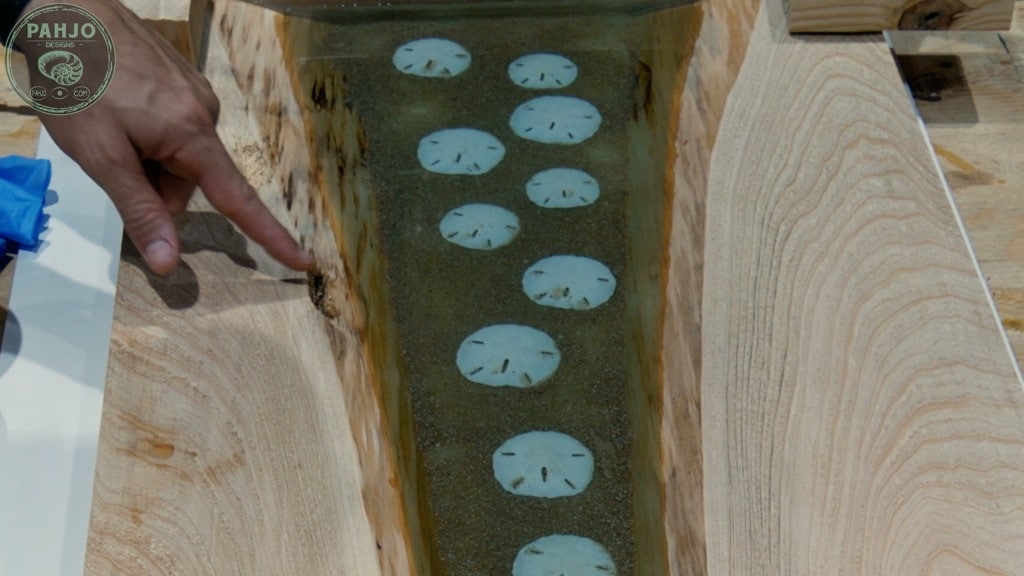
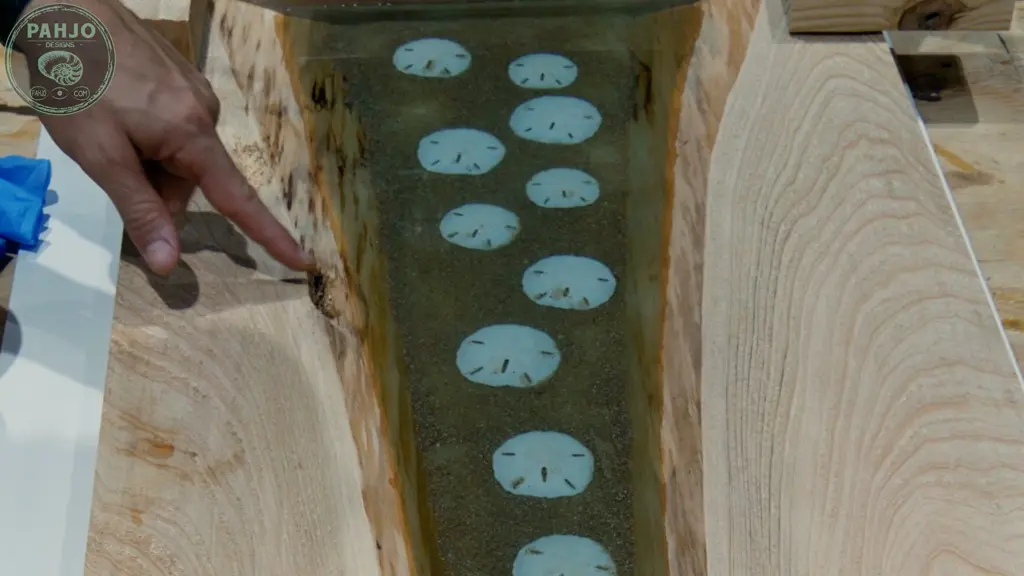
23 – Remove Resin Mold
I allowed the epoxy resin beach table to cure for 48 hours before I removed the silicone mold.
48 hours seems like a long time especially when I am excited about a project; however, I learned the hard way many times 48 hours is necessary.
Download the Digital Plans to learn what to do in order to remove the wet stain on end grain if your resin leaked.

Honestly, I was hoping for a clean sweep with no resin leaks.
Unfortunately, this didn’t happen.
The resin leaked through the wood cavities which explains why I had to fill it multiple times.
Overall, not a bad outcome at all.

I packed up the table, the majority of my tools, and began the 3 hour drive to our house in Florida for the summer to finish it there.
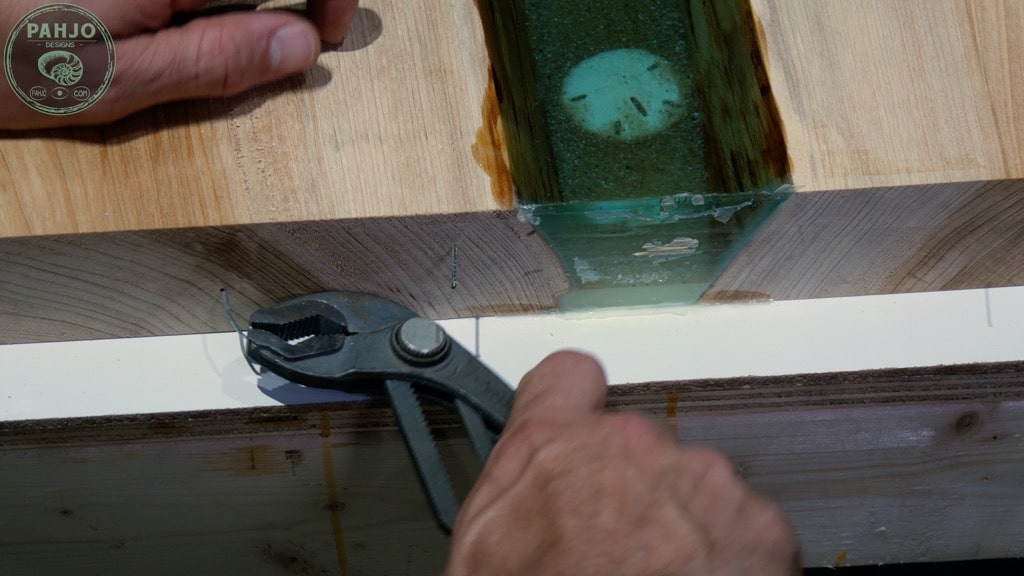
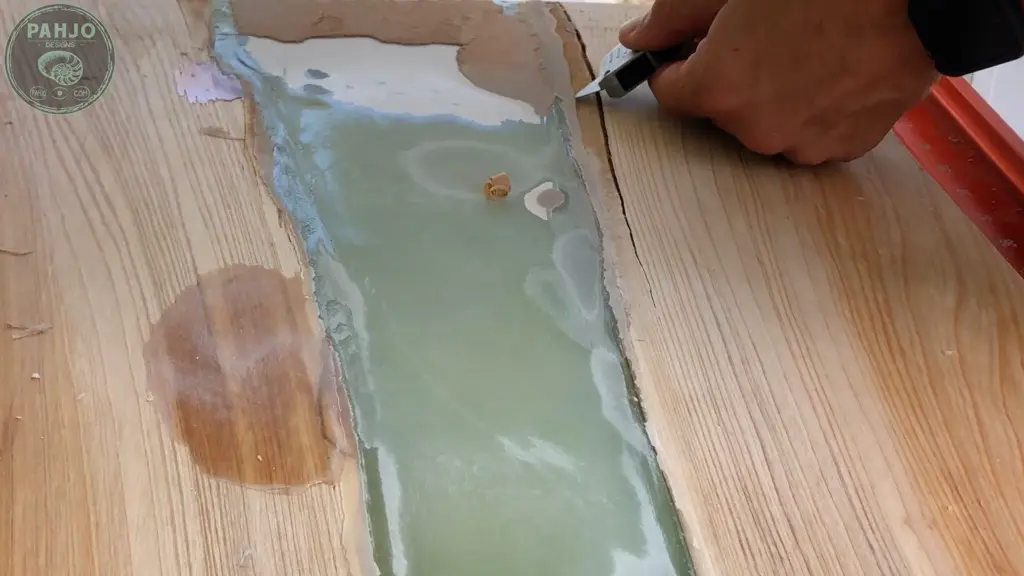
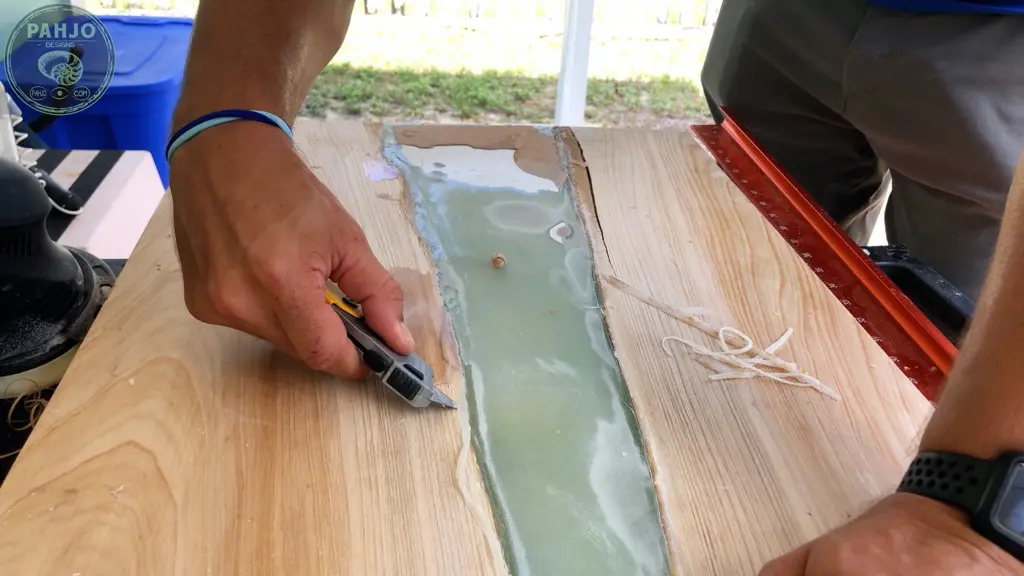
24 – Epoxy Resin Ocean Table Underside Cleanup
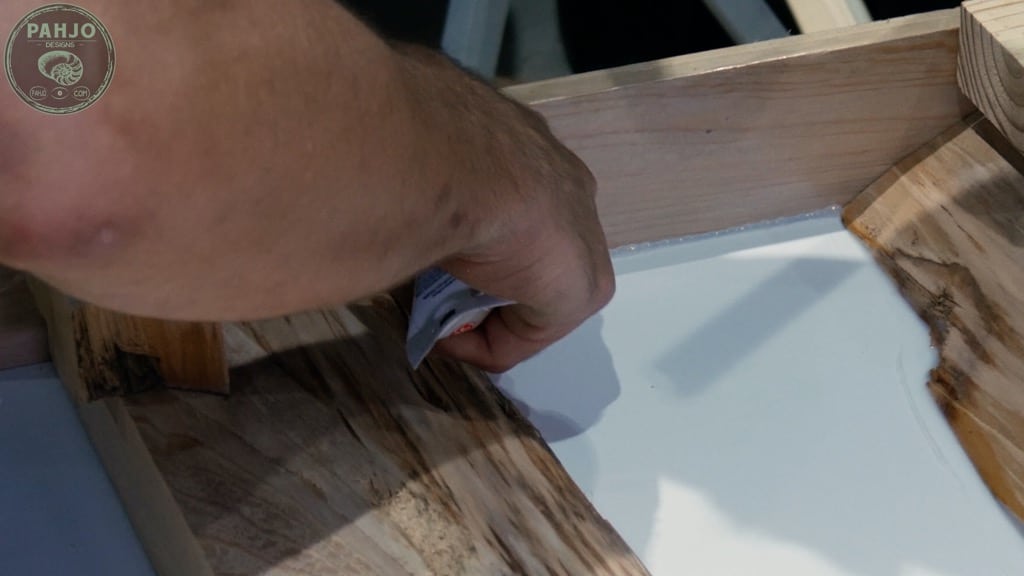
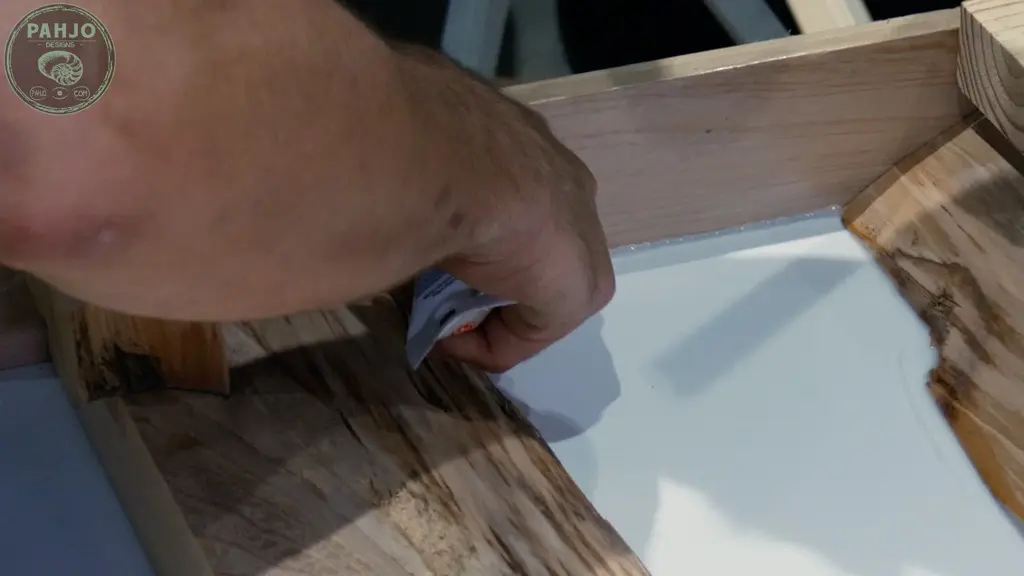
I removed the silicone caulk and pieces of melamine from the bottom of the epoxy resin ocean table.
First, I used a utility knife and gently cut one side of the caulk at a 45 degree angle.
I repeated this on the other side of the same bead of caulk.
Next, I simply peeled the caulk away from the table.
Then, I used my Festool RO125 with 180 grit sandpaper to remove the pieces of melamine.
Finally, I used 220 grit sandpaper to finish off the table bottom.


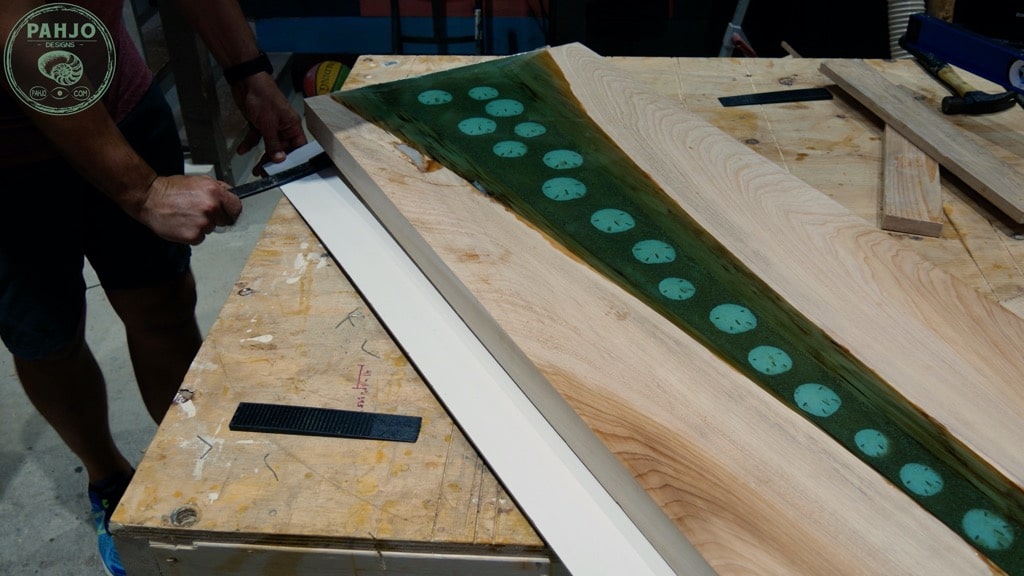
25 – Roundover Edges
First, I used my trim router with a 1/2″ roundover bit to roundover the top of the epoxy resin ocean table.
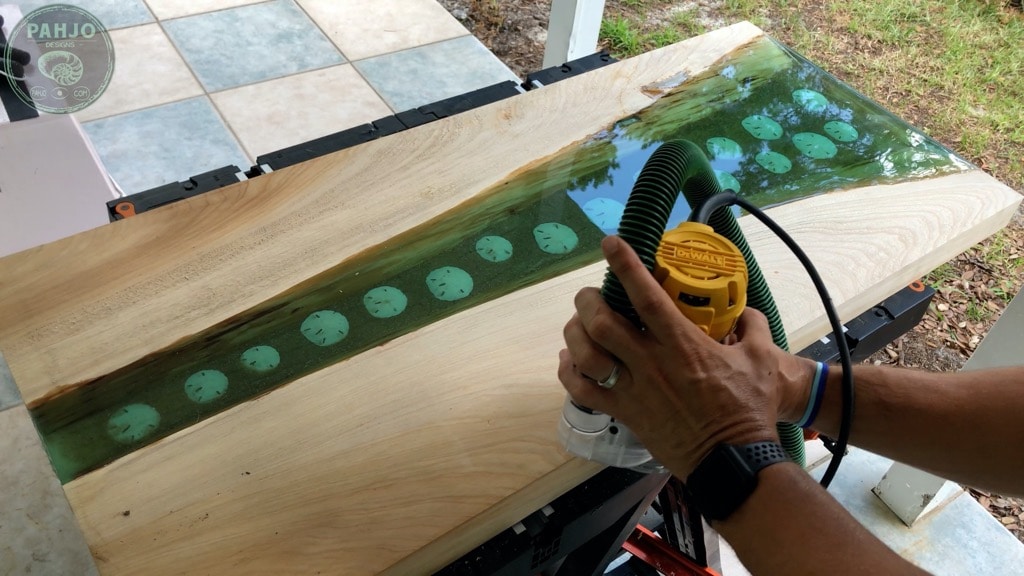

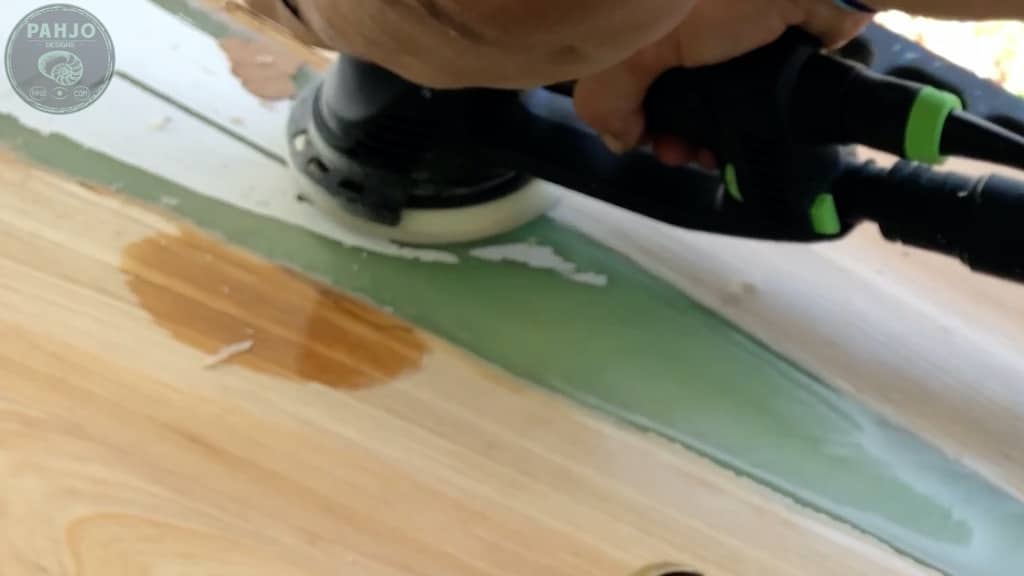
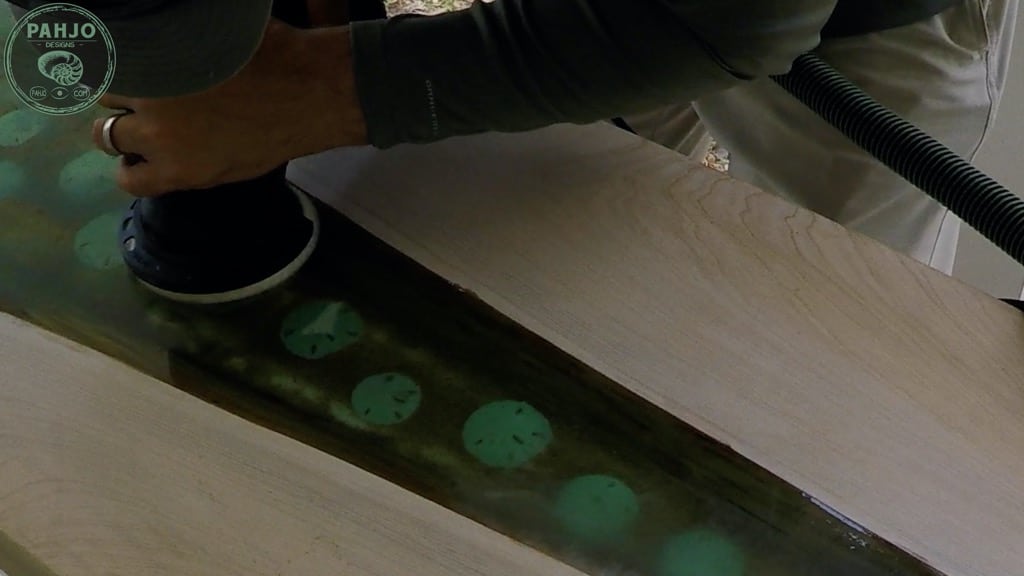
26 – Sanding Epoxy Resin Ocean Table
Now to the boring, but most important, part of my epoxy ocean table project.
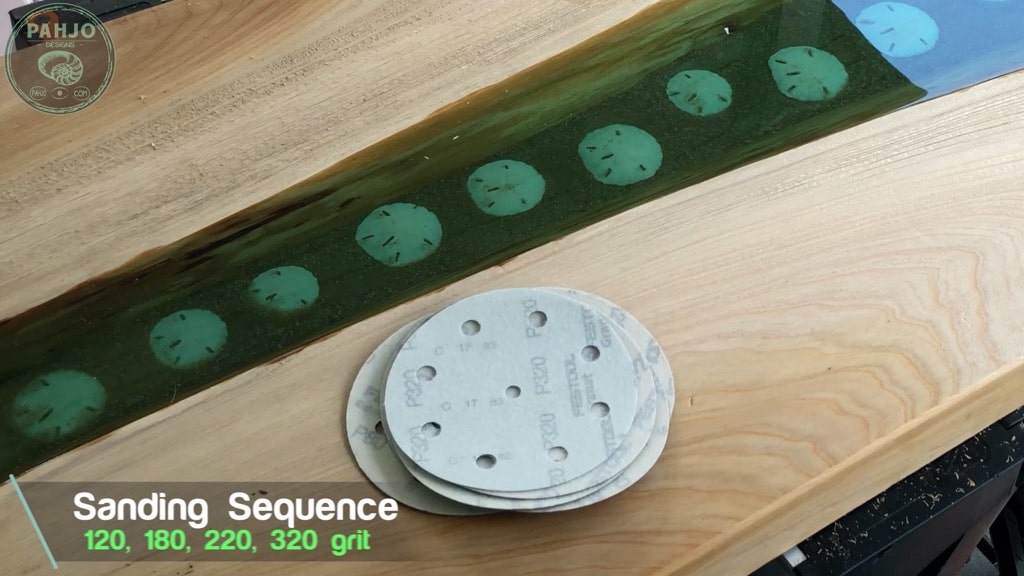
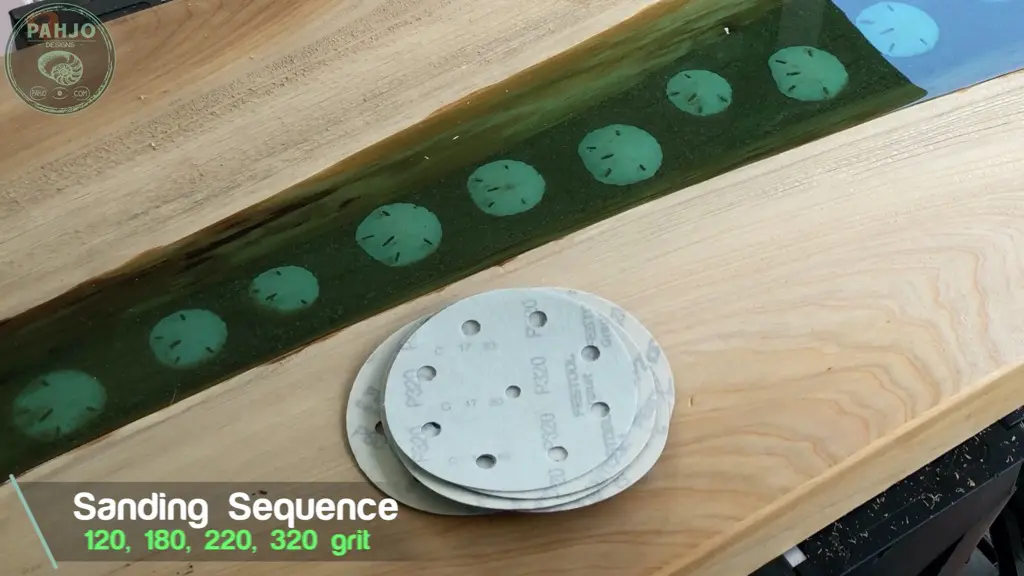
For this epoxy ocean table, I decided to use 4 sanding grits: 120 grit, 180 grit, 220 grit, and 320 grit.
I started with 120 grit sandpaper because the table was relatively smooth
Normally, I start with 80 grit sandpaper when sanding rough wood slabs.
Next, I worked my way through the grits making sure to sand with the grain of the wood in a slow, steady pace.

After I finished with 320 grit, I wiped the table down with a damp rag to raise the grain.
Then, I sanded the live edge resin river glow table again with 320 grit.
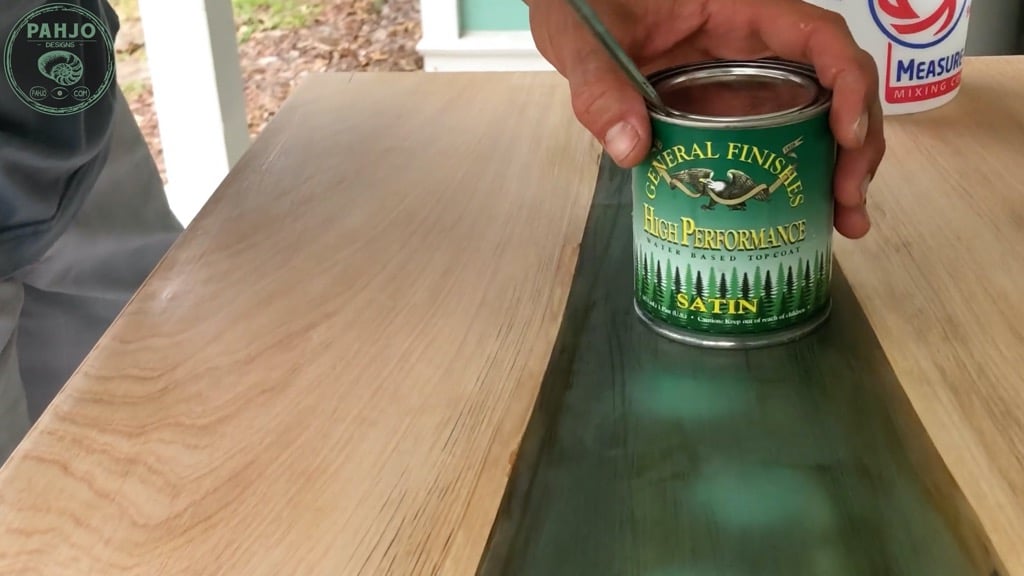
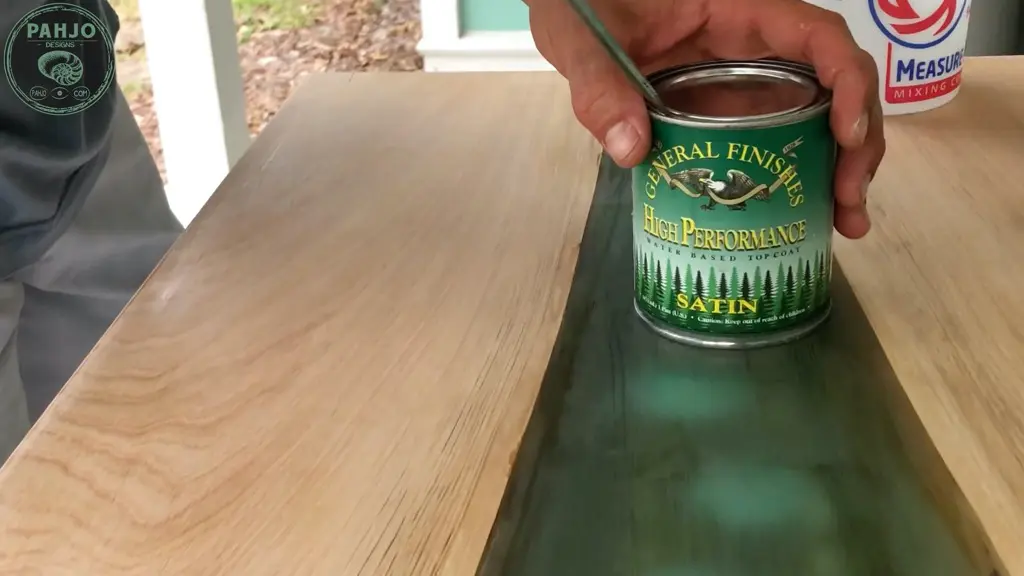
27 – Epoxy Table Top Coat
I chose a water based satin top coat from general finishes to finish this epoxy ocean table.
I discovered much better ways to finish epoxy wood tables since I built this ocean table (November 2020).
Therefore, I won’t go into great detail about how to finish this epoxy resin ocean table as there are much better products.
Instead, I encourage you to visit my article explaining the best finishes for epoxy river tables.

28 – Black LED Light Strip
After the table dried, I installed black UV LED lights on the underside of the table.
These lights come with a power cord, but can also be used with a battery.
This was not necessary, but I like to do this in order to charge the glow powder if the table is placed where natural light is not available.
Additionally, the table glows brighter with the lights on and some people like this.
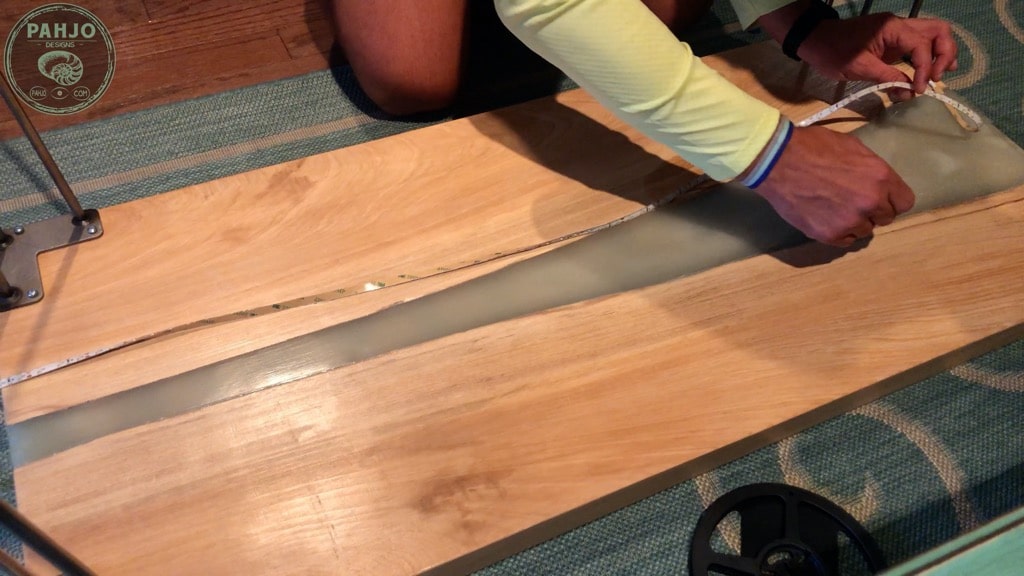
First, I measured the length I needed.

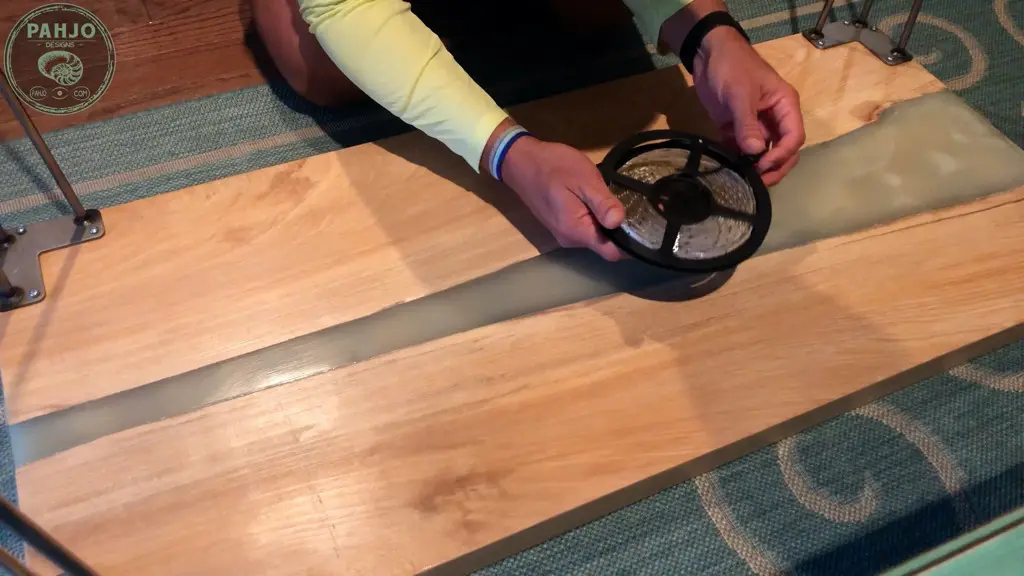
Next, I cut the black light strip in the correct location to ensure the lights will work.
The lights normally have a dotted line with a scissor emblem to mark where to cut.
If you are interested in learning how to solder LED light strips – check out my DIY LED Light Costume post..
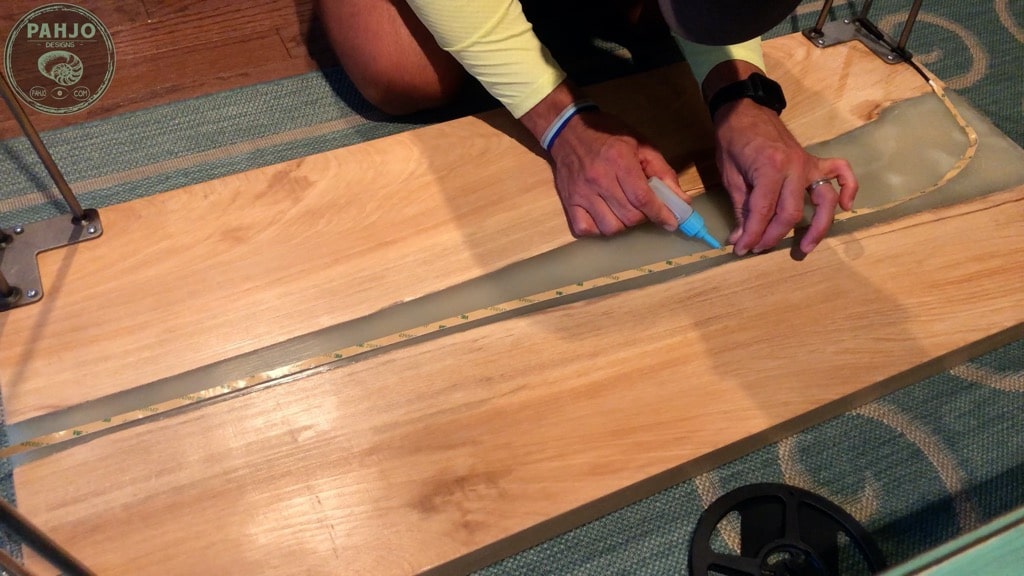
Then, I used super glue to secure the black led lights to the underside of the table.


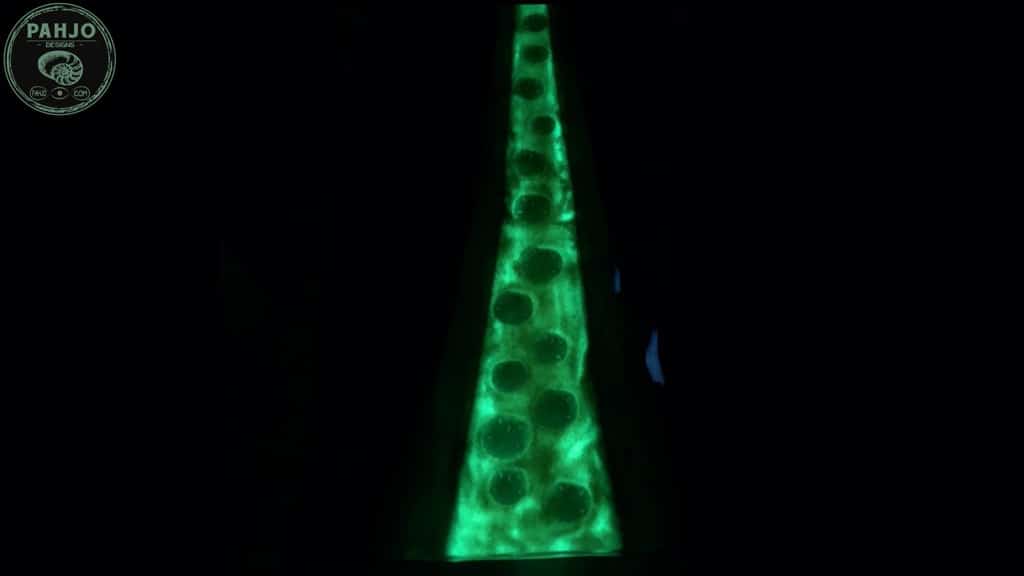
29 – Glow in the Dark Epoxy Ocean Table
Surprisingly, I glanced at the epoxy ocean table and realized it was glowing brightly after taking the final pictures in the natural sunlight.
In turn, I closed the curtains and turned off the lights to get a better picture.
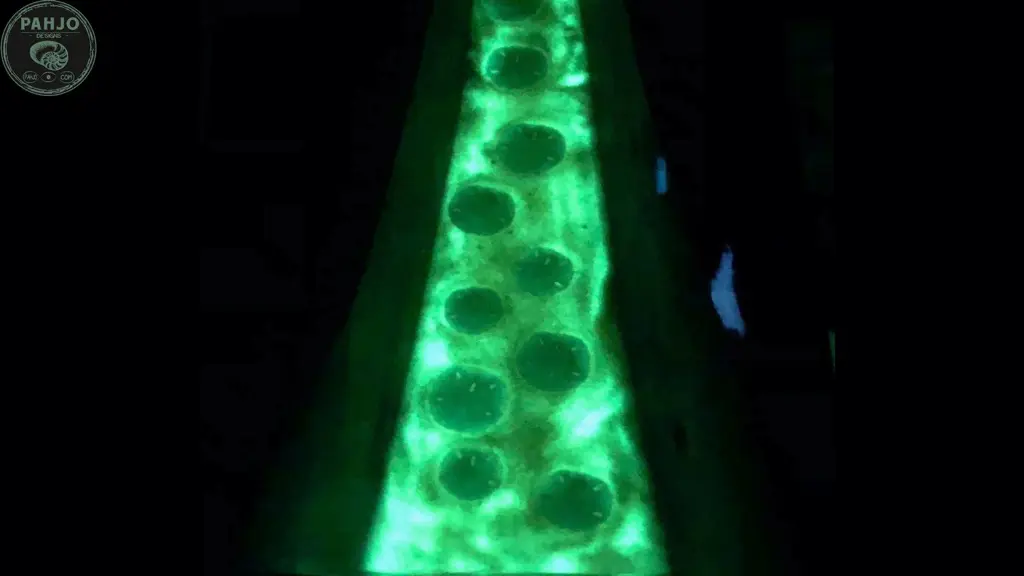
The picture below (left) is after 20 minutes of bringing the table inside and the picture on the right is after 6 hours.


First, I kept the resin ocean table in the dark until the glow powder lost its charge the following day.
Next, I brought the table in a room with very low light and charged the glow powder with the black UV LED light strip.

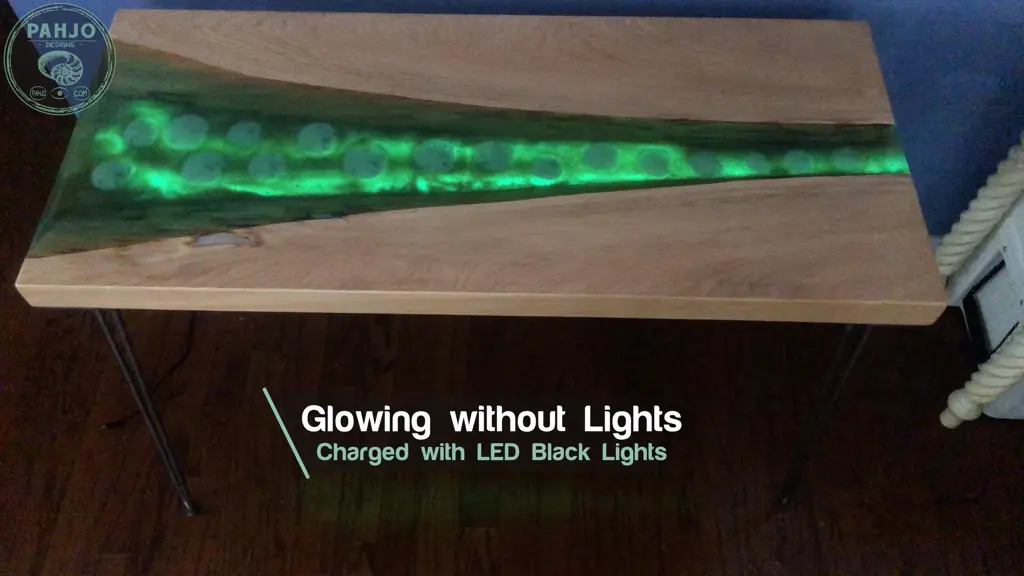
While this charged the glow powder quickly, the glow coverage was not as consistent.
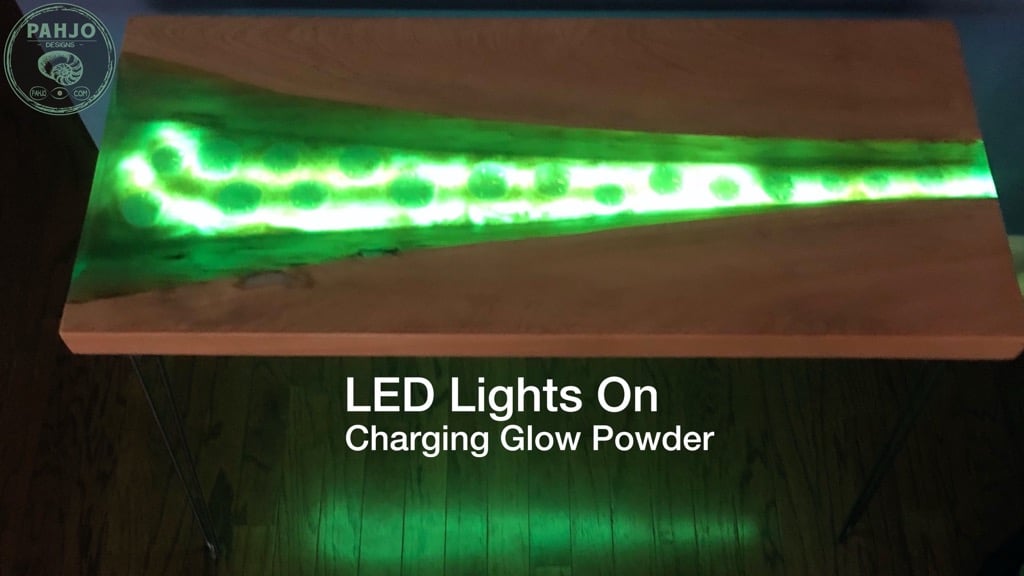
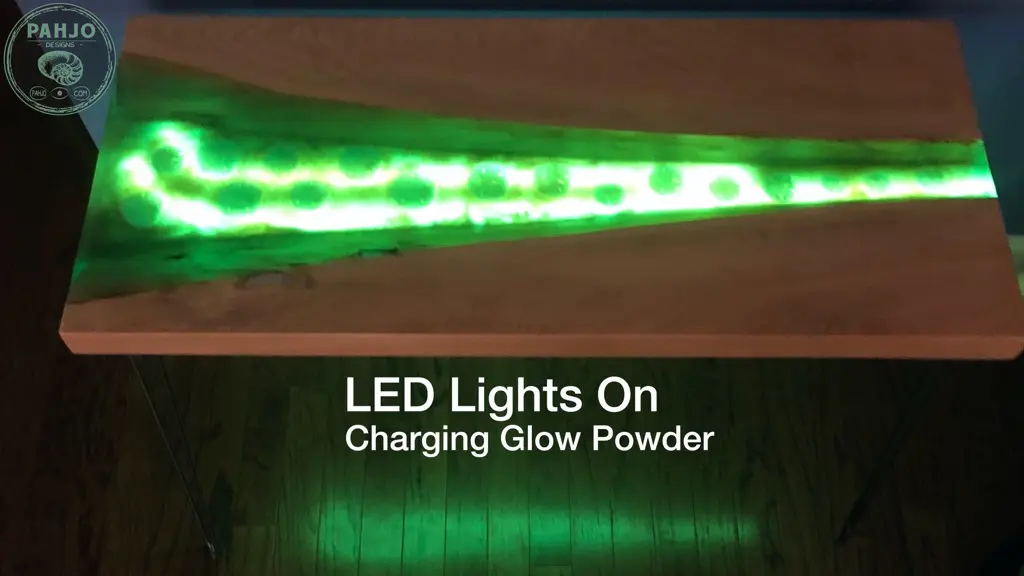
Ultimately, It would work much better if the black LED light strip was covered on the underside of the seashell table.
Also, this would allow the black UV LED light to reflect off the material used to cover it.
Consequently, it would result in more parts of the river glow table to get charged.
Obviously, natural light charges glow powder the best. In addition, the glow is more consistent and uniform.
30 – Conclusion
So, you reached the end of the DIY tutorial on how to make an epoxy ocean table.
Please let me know in the comments below what you think – I would love to hear from you.

Most importantly, I hope you use the tips and woodworking techniques you learned in this tutorial to other epoxy table or woodworking projects.
Related Posts
To make an epoxy ocean table, mix epoxy resin and tint with transparent blue dye or blue pigment powder to look like ocean water.
To calculate how much resin you need for a table, determine the volume in cubic inches: (Length (inches) x Width (inches) x Depth (inches)) + 10% = Volume (Cubic Inches). Then, determine how many quarts or gallons needed by these formulas:
Gallons: Volume (Cubic Inches) * 0.004329 = How many gallons you need
Quarts: Volume (Cubic Inches) * 0.017316 = How many quarts you need
In addition to the adhesion benefits, table top epoxy resin is waterproof when mixed and applied correctly. In fact, it is often used in home repairs and industrial applications for waterproofing.
Epoxy resin does not stick to teflon, polyethylene, polypropylene, nylon, or Mylar. For example, teflon tape or polypropylene tape is used in epoxy resin molds for epoxy tables.
Ankita vadher
Friday 15th of November 2019
its beautiful, amazing work. I am planning to make one terrarium and want to make resin river but not sure how to pour resin on the sand? should I put anything underneath?? I did try directly on sand but after 30 mins all resin absorb by sand, can you please give me some suggestion.
George Pavlick
Sunday 12th of May 2019
Were do you put batterie for LED lights