
In this tutorial, I show you how to build DIY double sliding barn doors for a pantry with Walnut Wood.
The woodworking techniques and tips in this DIY tutorial can be used for large or small sliding barn doors.
So, let’s get started with a list of tools and materials I used for this project.
Tools & Materials Used
Barn Door Hardware
Magnets
Barn Door Floor Guides
Clear Door Bumpers
1.5″ Forstner Bit
Miter Saw
Festool Track Saw
Combination Square
MFT3 Clamping Table
Tape Measure
Festool Domino
Alternate: Dowel Jig
CT-SYS Vacuum
Wood Glue Dispenser
Glue
Bar Clamps
Rubber Mallet
Rotex Sander
40 grit
60 grit
80 grit
100 grit
120 grit
220 grit
320 grit
Soft Sanding Pad
Trim Router
1/4″ roundover bit
Rubio Monocoat
Rubber Gloves
Dust Mask
Lint Free Rags
Buffing Pad for Sander
Video Tutorial
There are several things which are difficult to fully explain with words and images, so be sure to check out the video tutorial below!
DIY Barn Door Plans
I’m working on DIY Plans for these double sliding barn doors, which also include a beautiful Walnut Dining Table.
So, this DIY plan will contain both the dining table and the double sliding barn doors in a single DIY plan.
Complete the form below and I’ll email you when the DIY Barn Door plans are ready for download.
Additionally, I’ll add a bonus to those who sign up for this notification.
These plans include:
- Detailed Instructions in PDF format
- 3D drawing (Sketchup) file
- Cut List
- Tool & Material List with alternative tool recommendations
- Woodworking Tips/Techniques
In the meantime, visit my online store for an assortment of detailed DIY plans and unique items for sale.
Measure Door Space
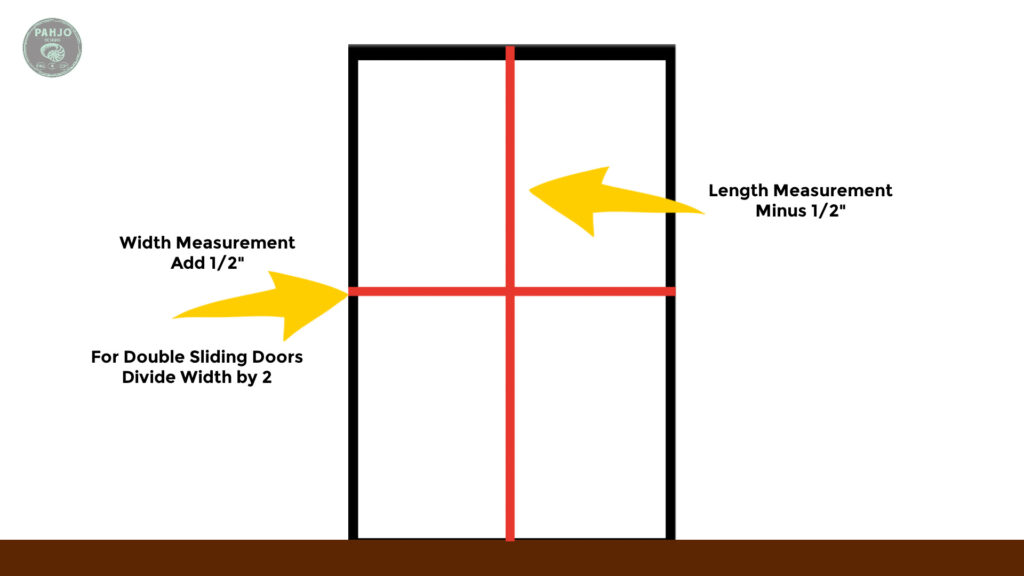

Make sure to measure the width of the door opening properly.
To do this, follow the steps below.
Height and Width
First, measure the door height and width. This will be the same for single, double, or bypass doors.
For openings with molding, measure from the top of the molding to the floor, then subtract 1/2 inch.
For openings without molding, measure from the top of the door opening to the floor and subtract 1/2 inch.
The ½” provides the door enough space to open.
It also takes into consideration for floor height differences.
If you have uneven floors, subtract 3/4″ to make certain the door fits properly. Keep in mind, don’t subtract more than 3/4″ as this creates a unattractive gap.
Repeat the same process for the width.
Cut Wood to Size
First, I used 3 pieces of black walnut wood.
Keep in mind, feel free to use any type of flat/straight wood for these barn doors.
I used black walnut to match a dining room table.
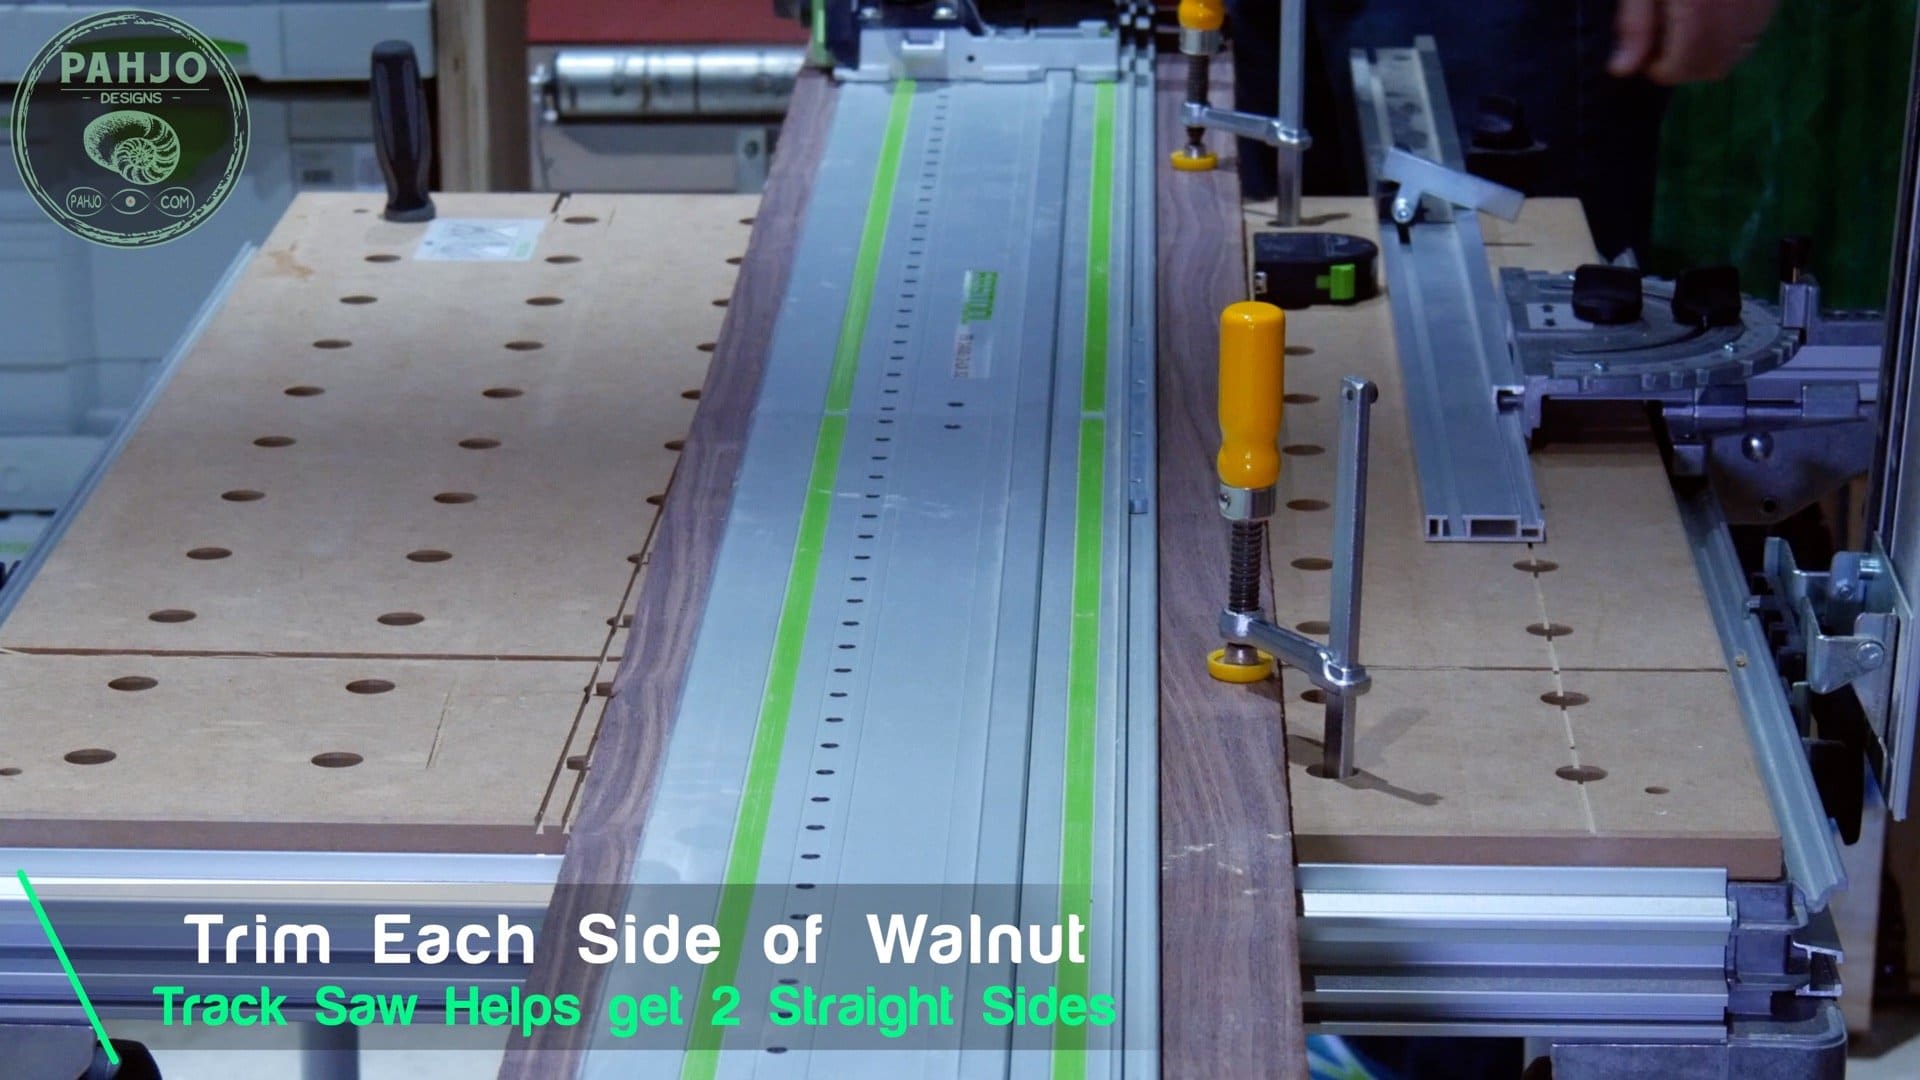
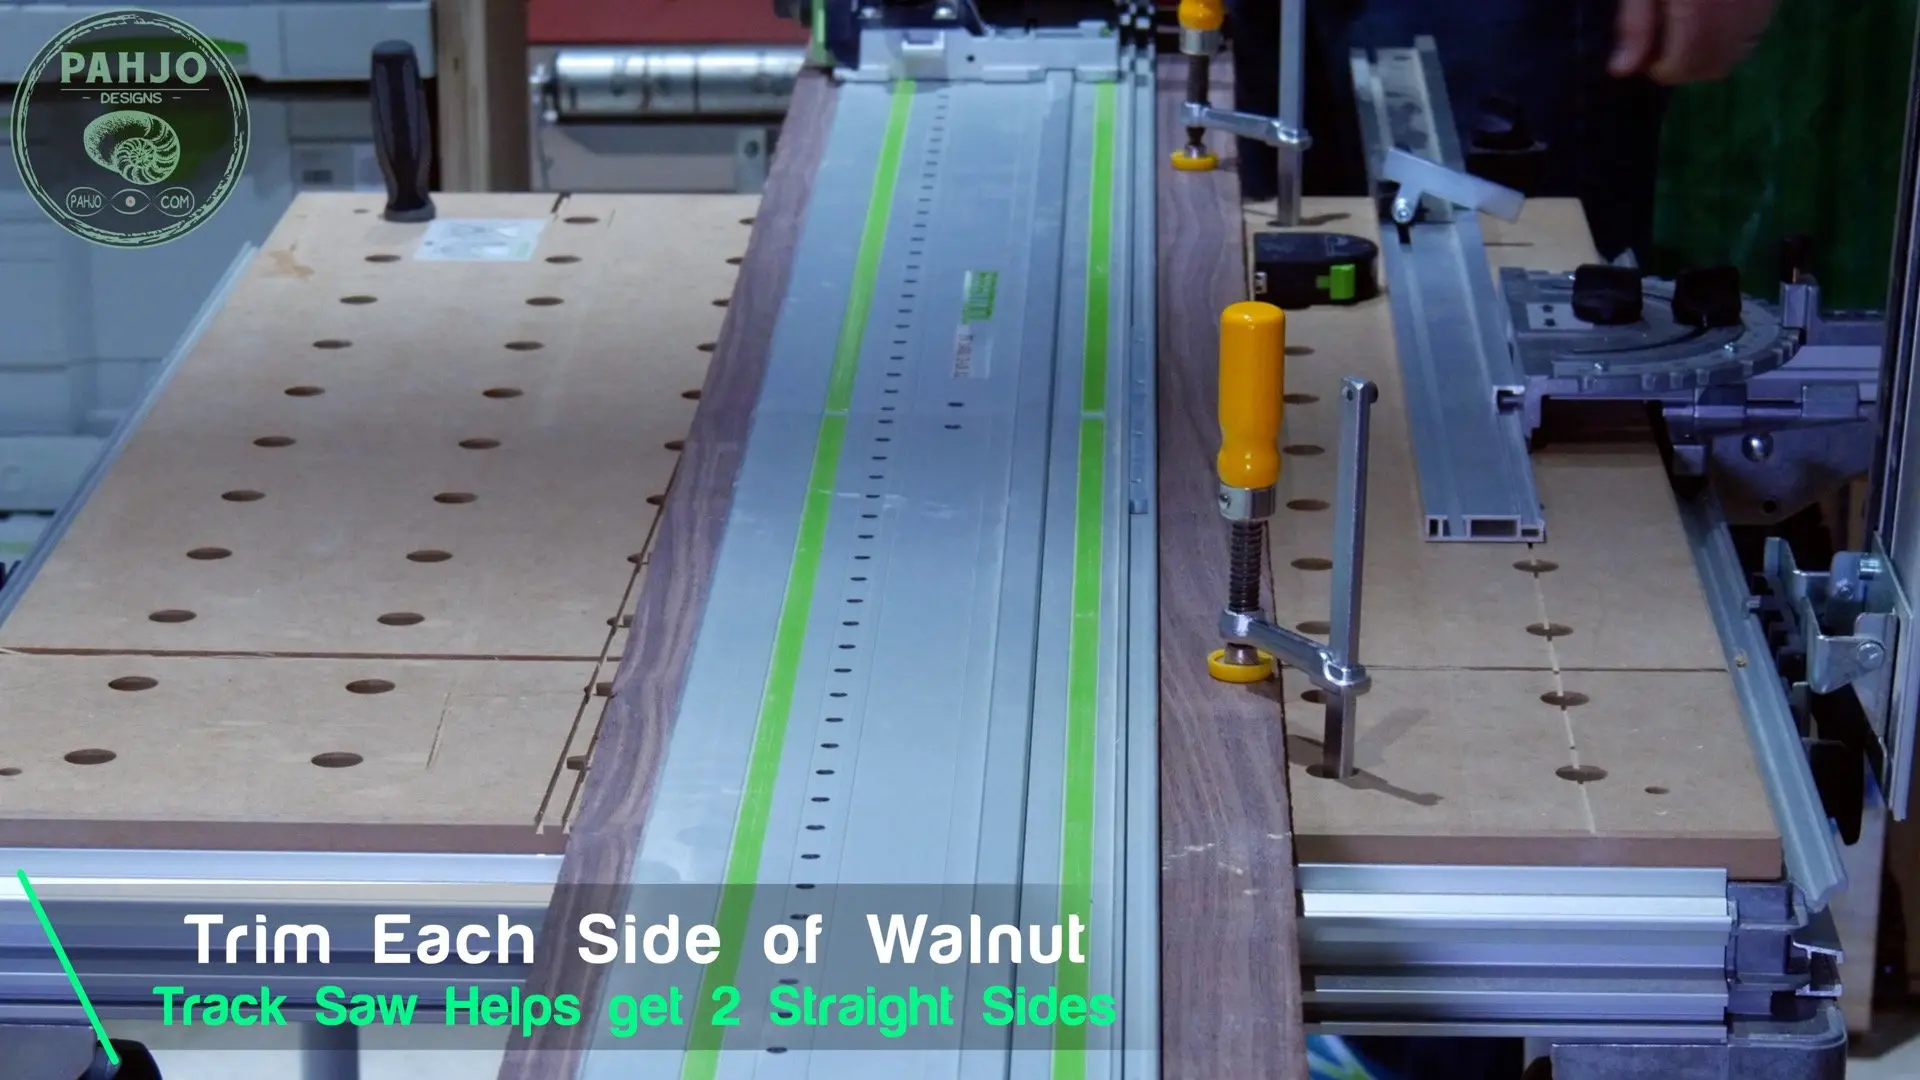
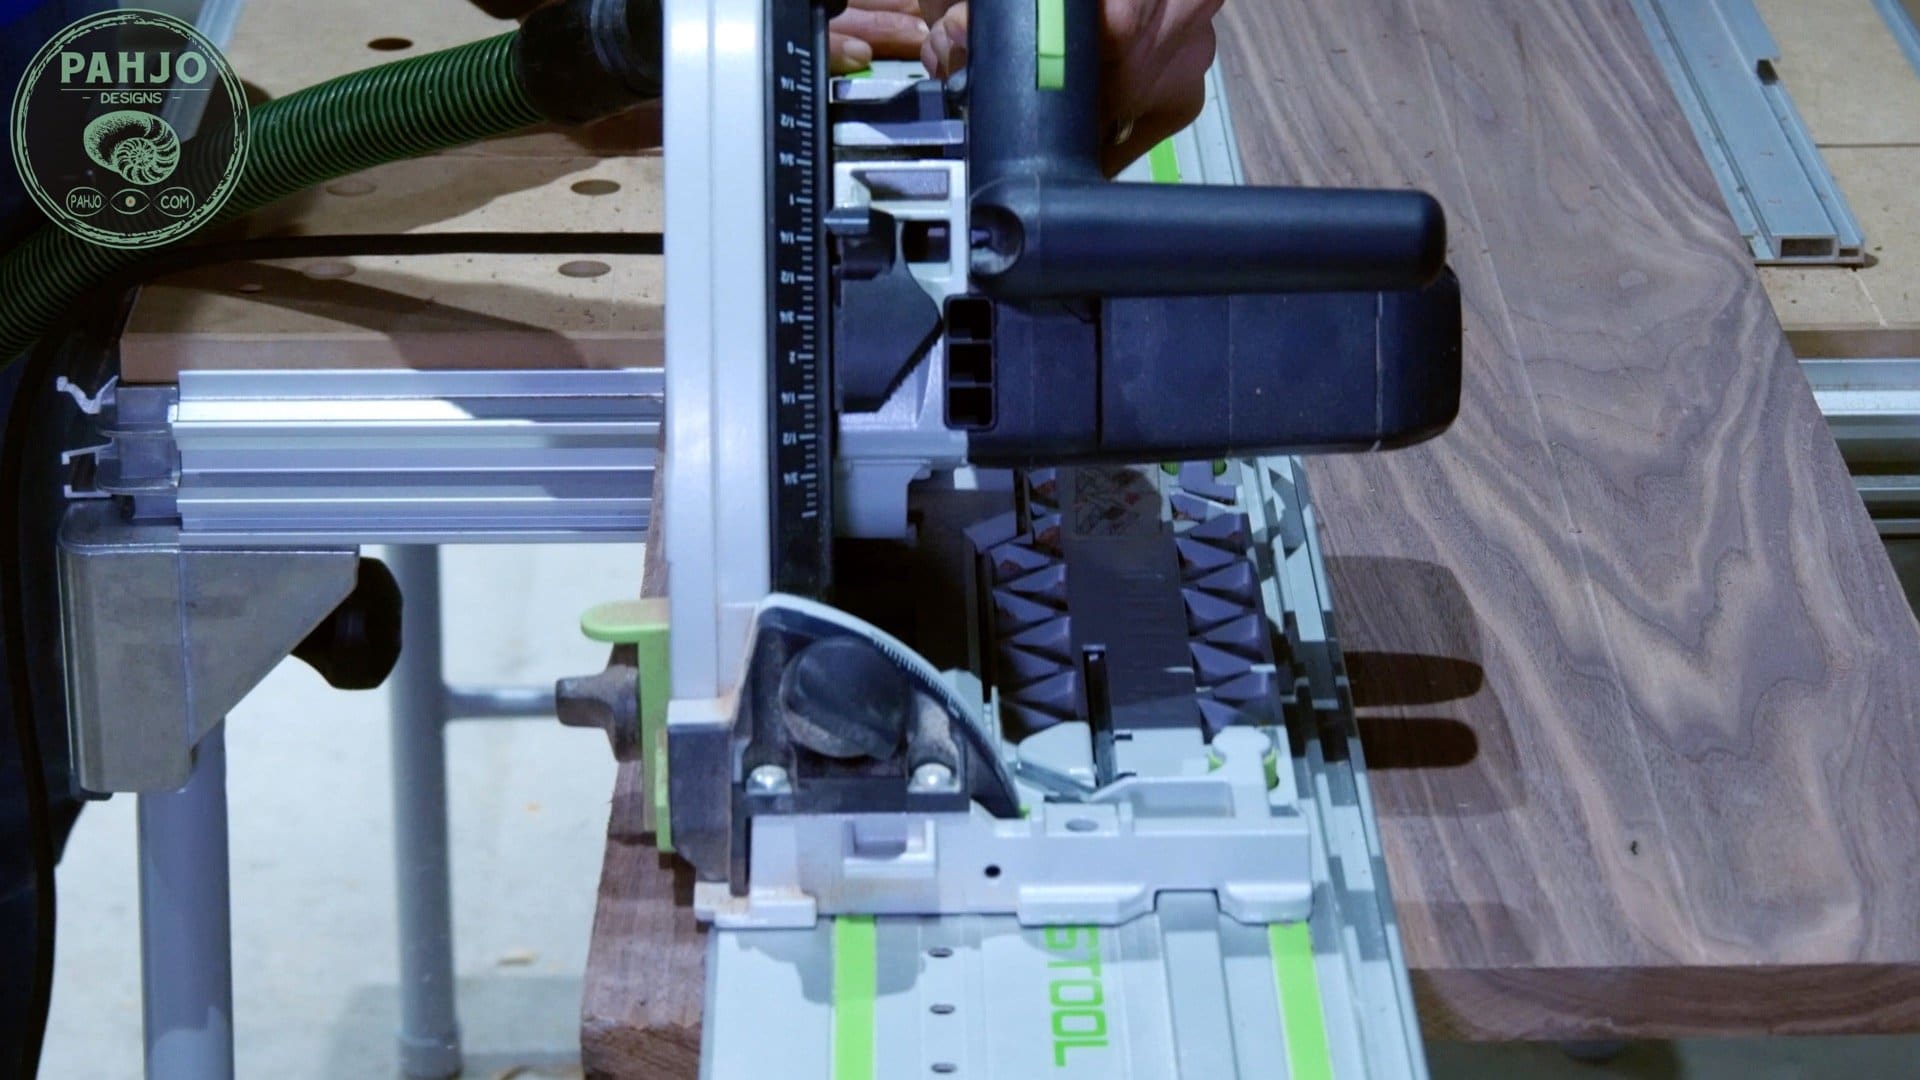
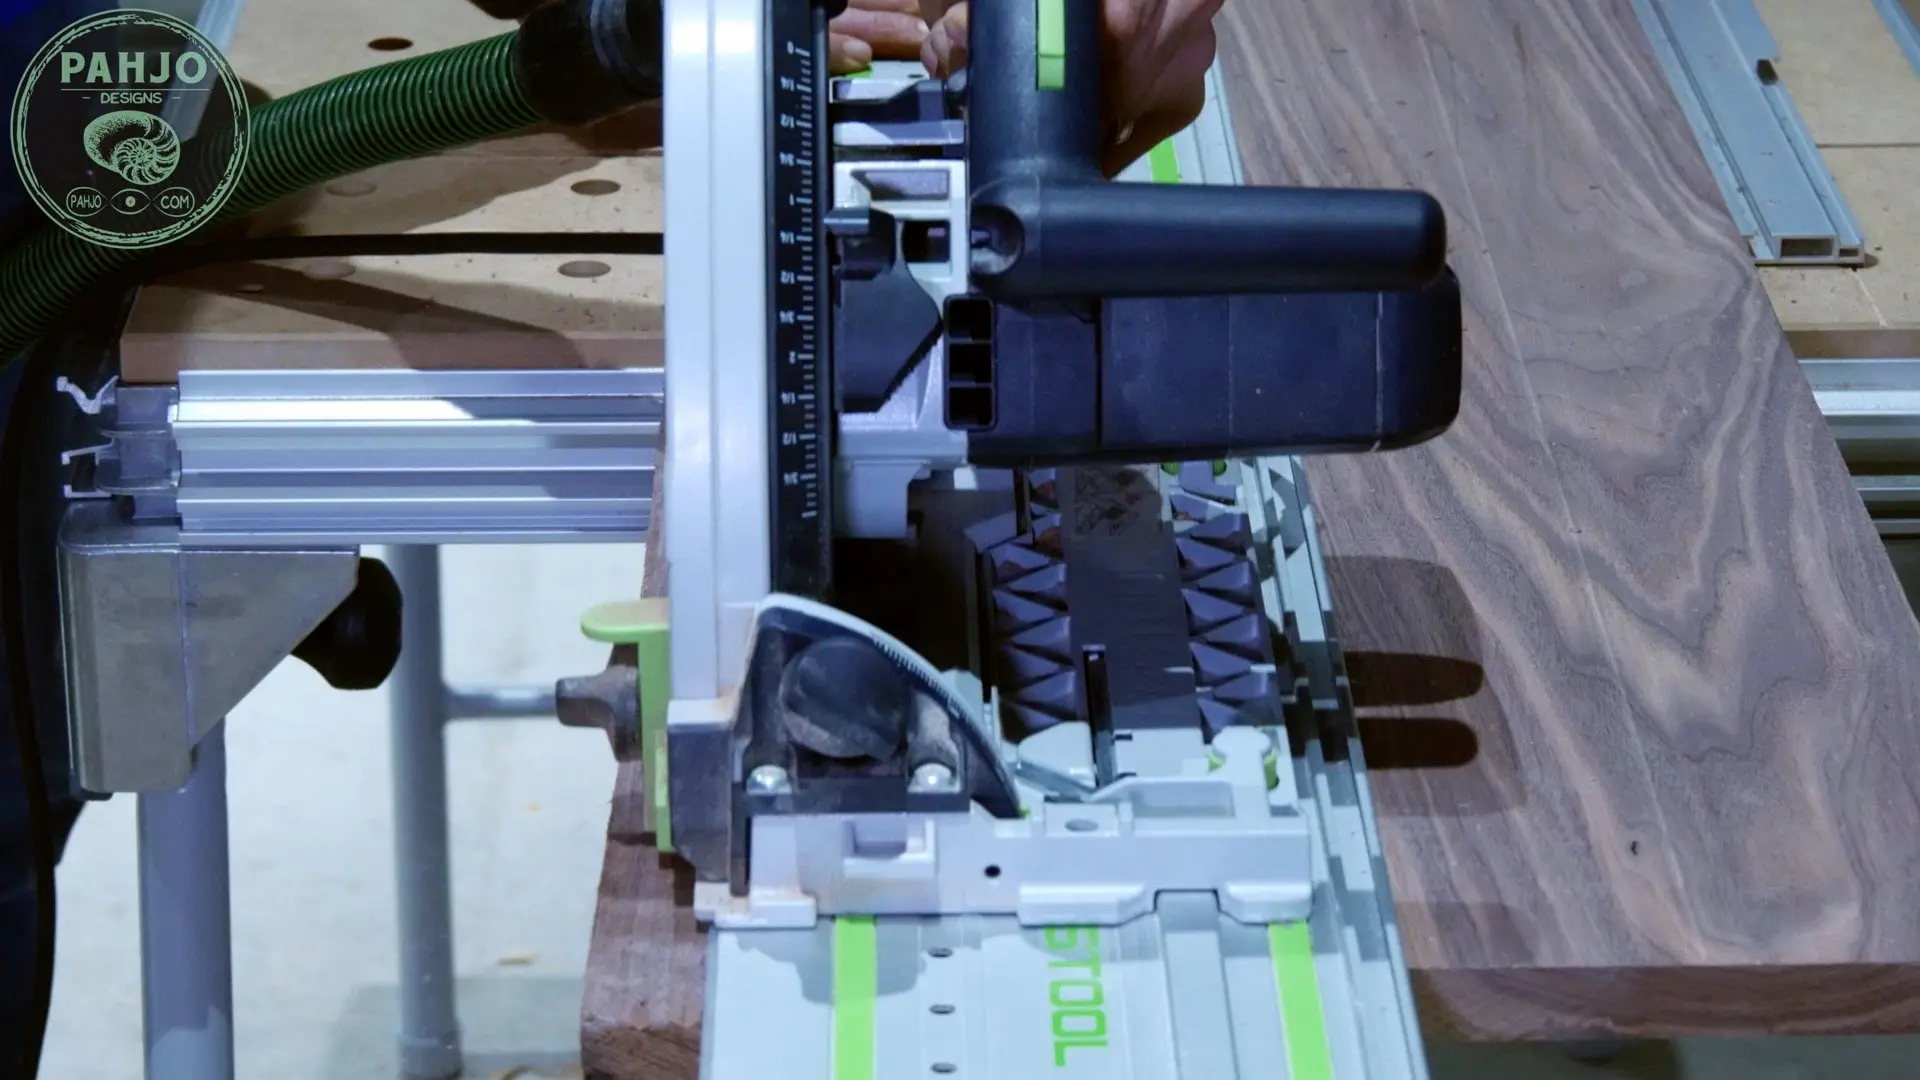
I lined up my track saw about 1″ from the edge and made a cut.
Then, I referenced the straight line I just cut, measured the final width of the board, and made another cut.
Please note, I purchased these boards as S3S (Surface 3 Sides) lumber. Essentially, this means the wood was planed on both surfaces and one side was straightened.
However, I like to make certain each board has straight sides.
Mark Joinery Locations
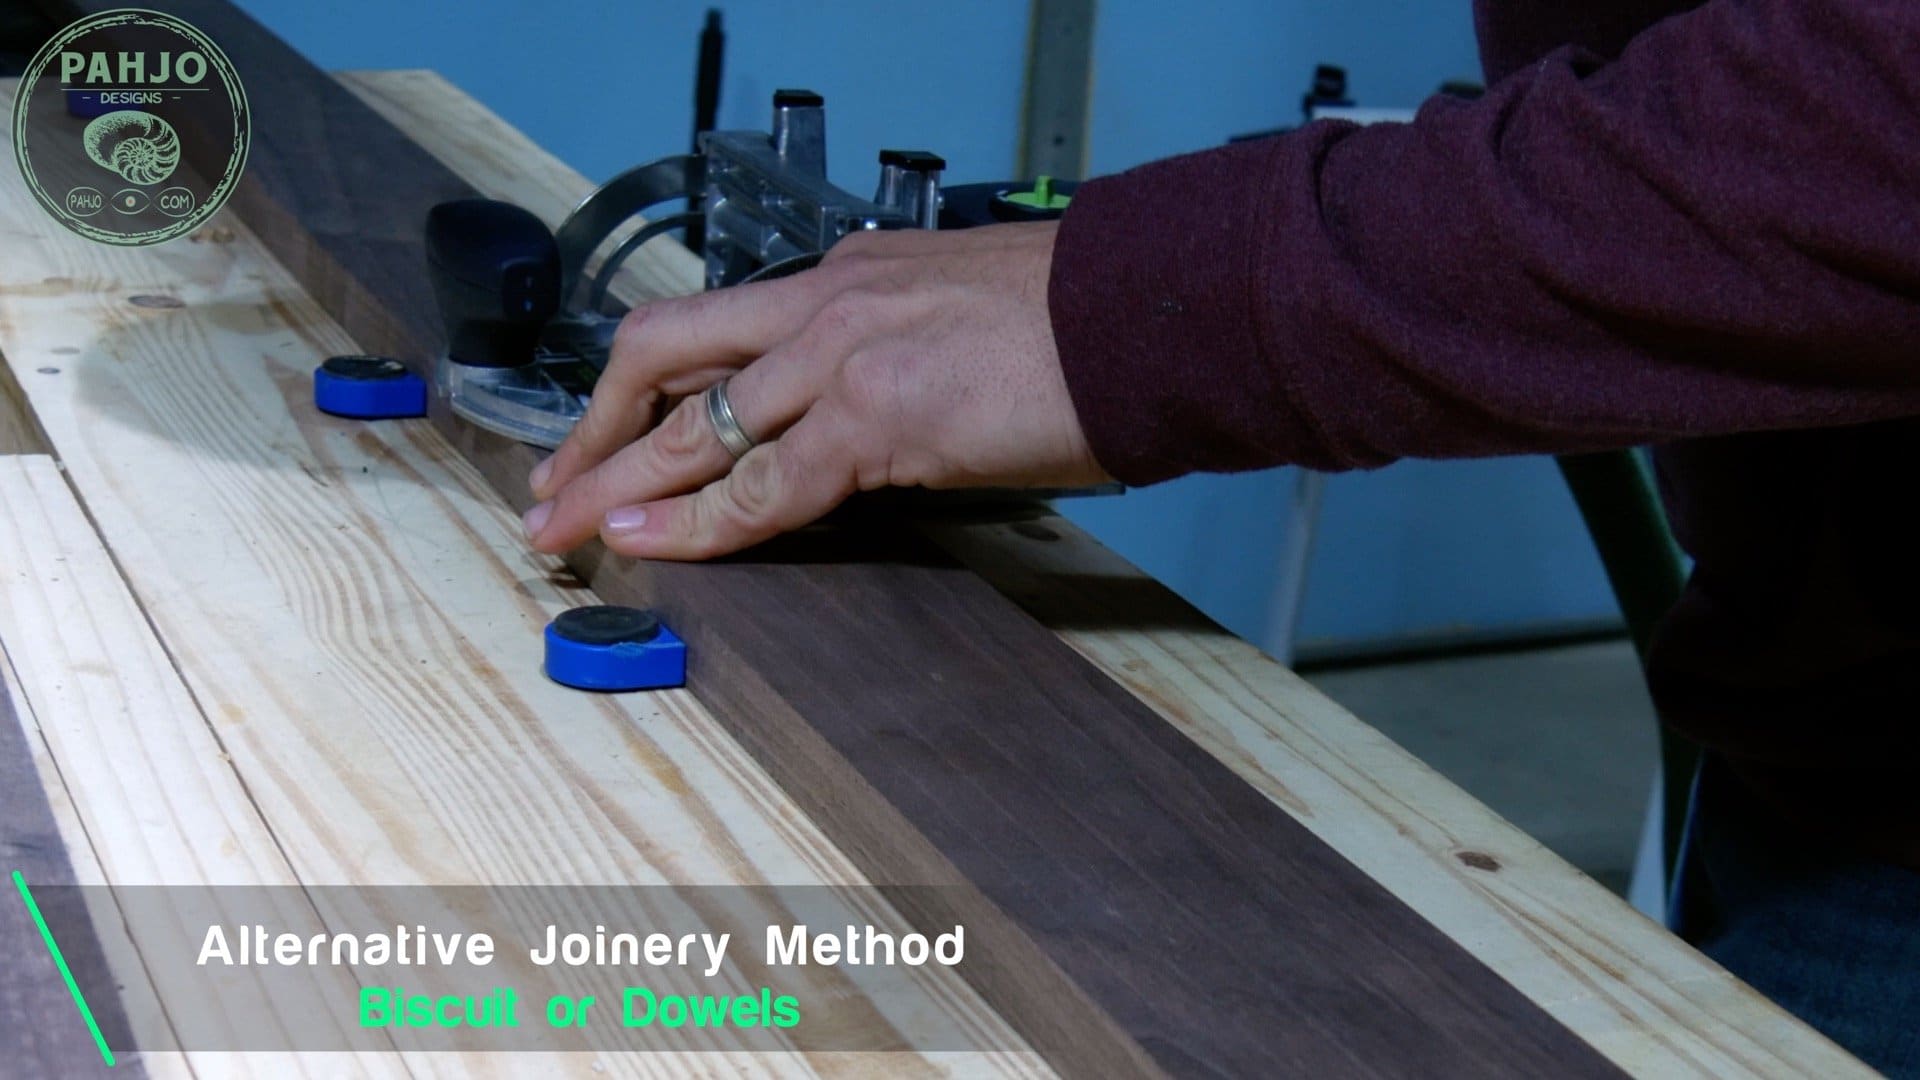
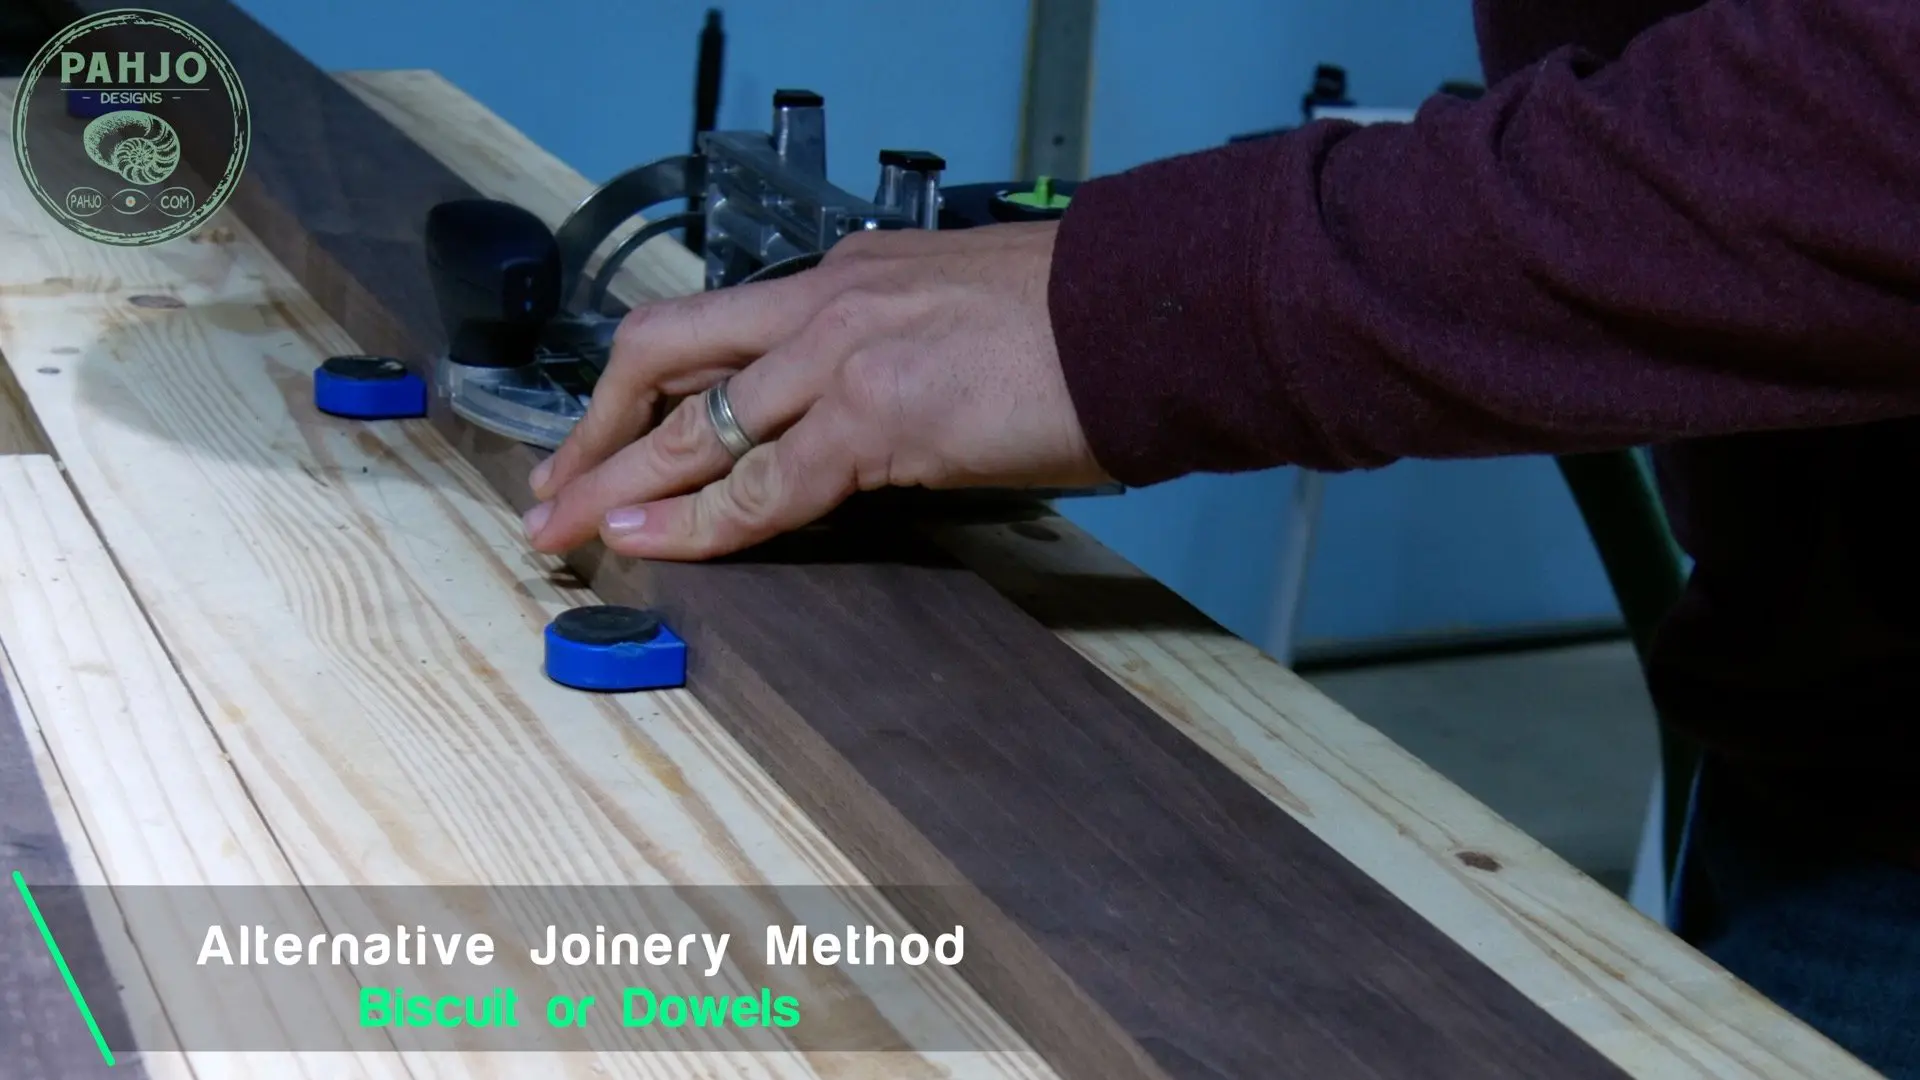
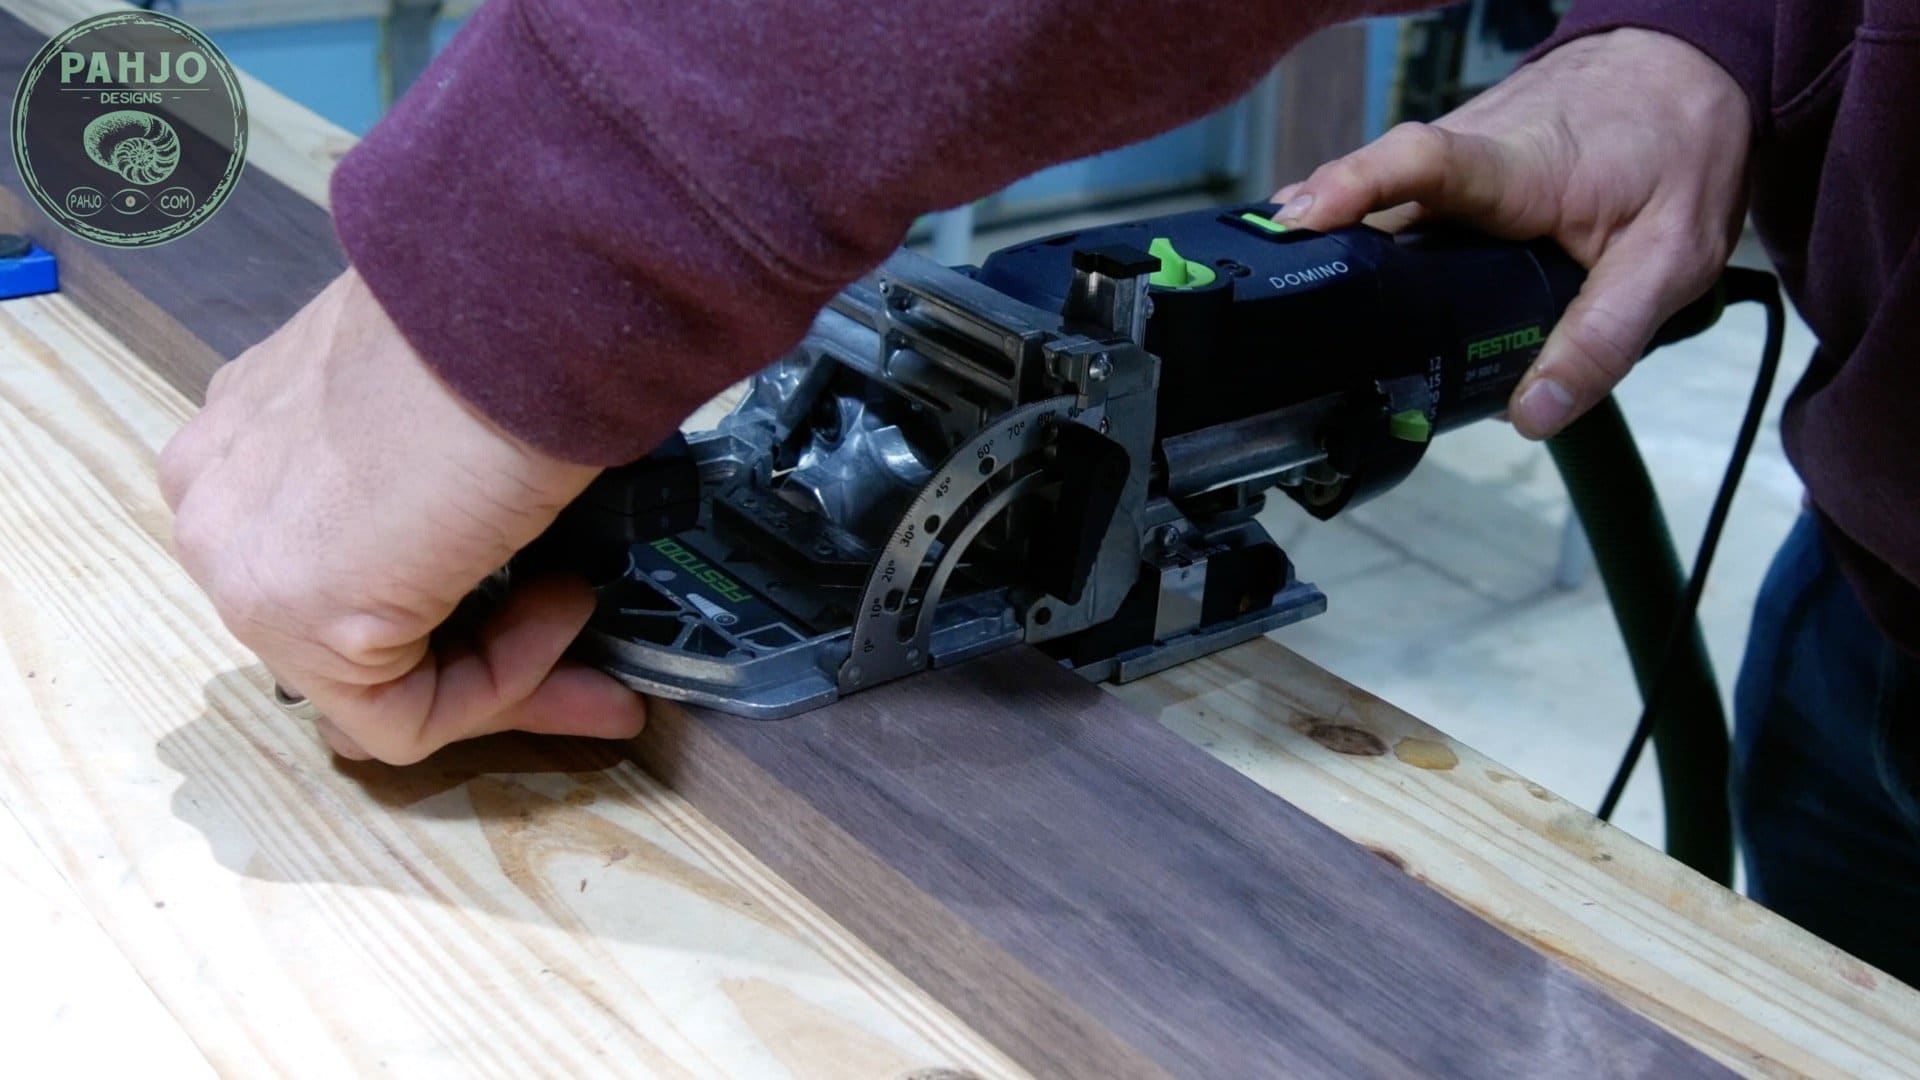
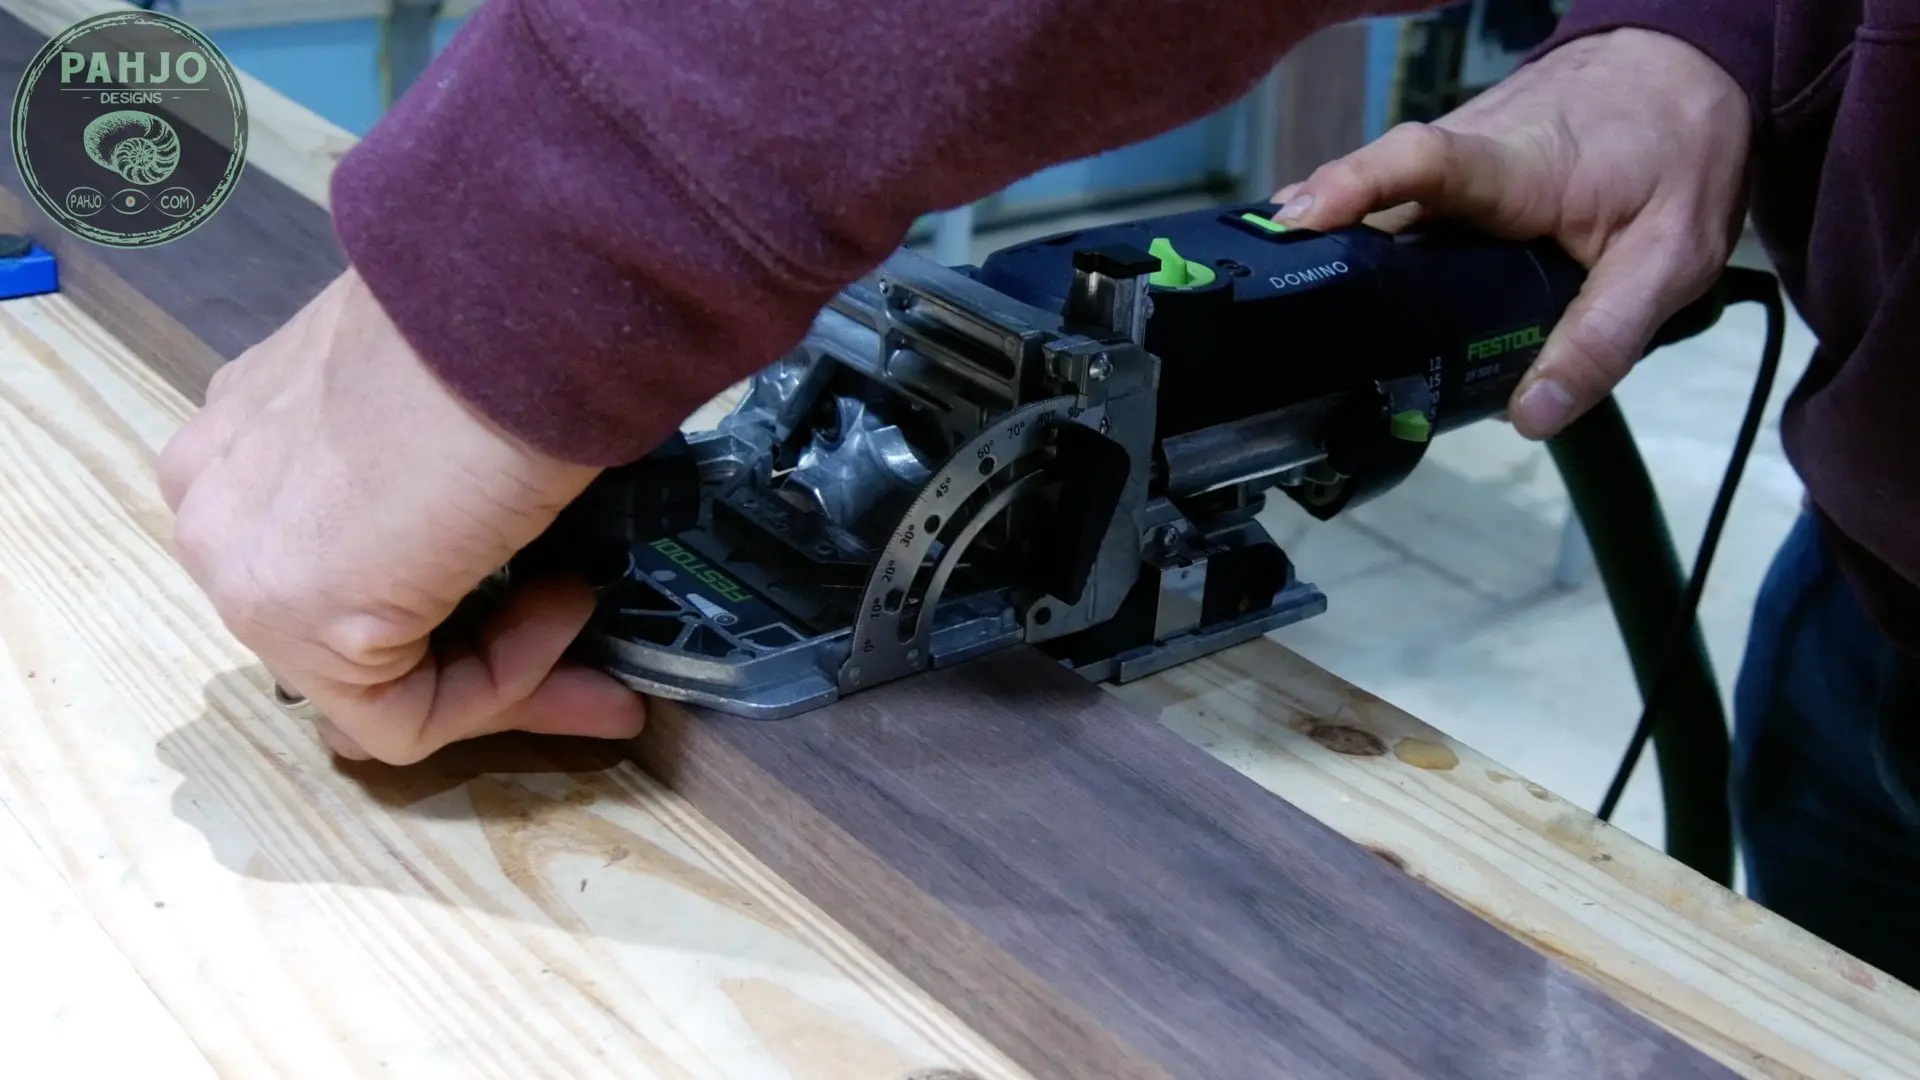
I used my festool domino DF 500 to join the DIY double sliding barn doors. Additionally, I recommend using dowels as an alternative joinery method.
First, I placed the boards next to each other and loosely clamped each end to hold them together.
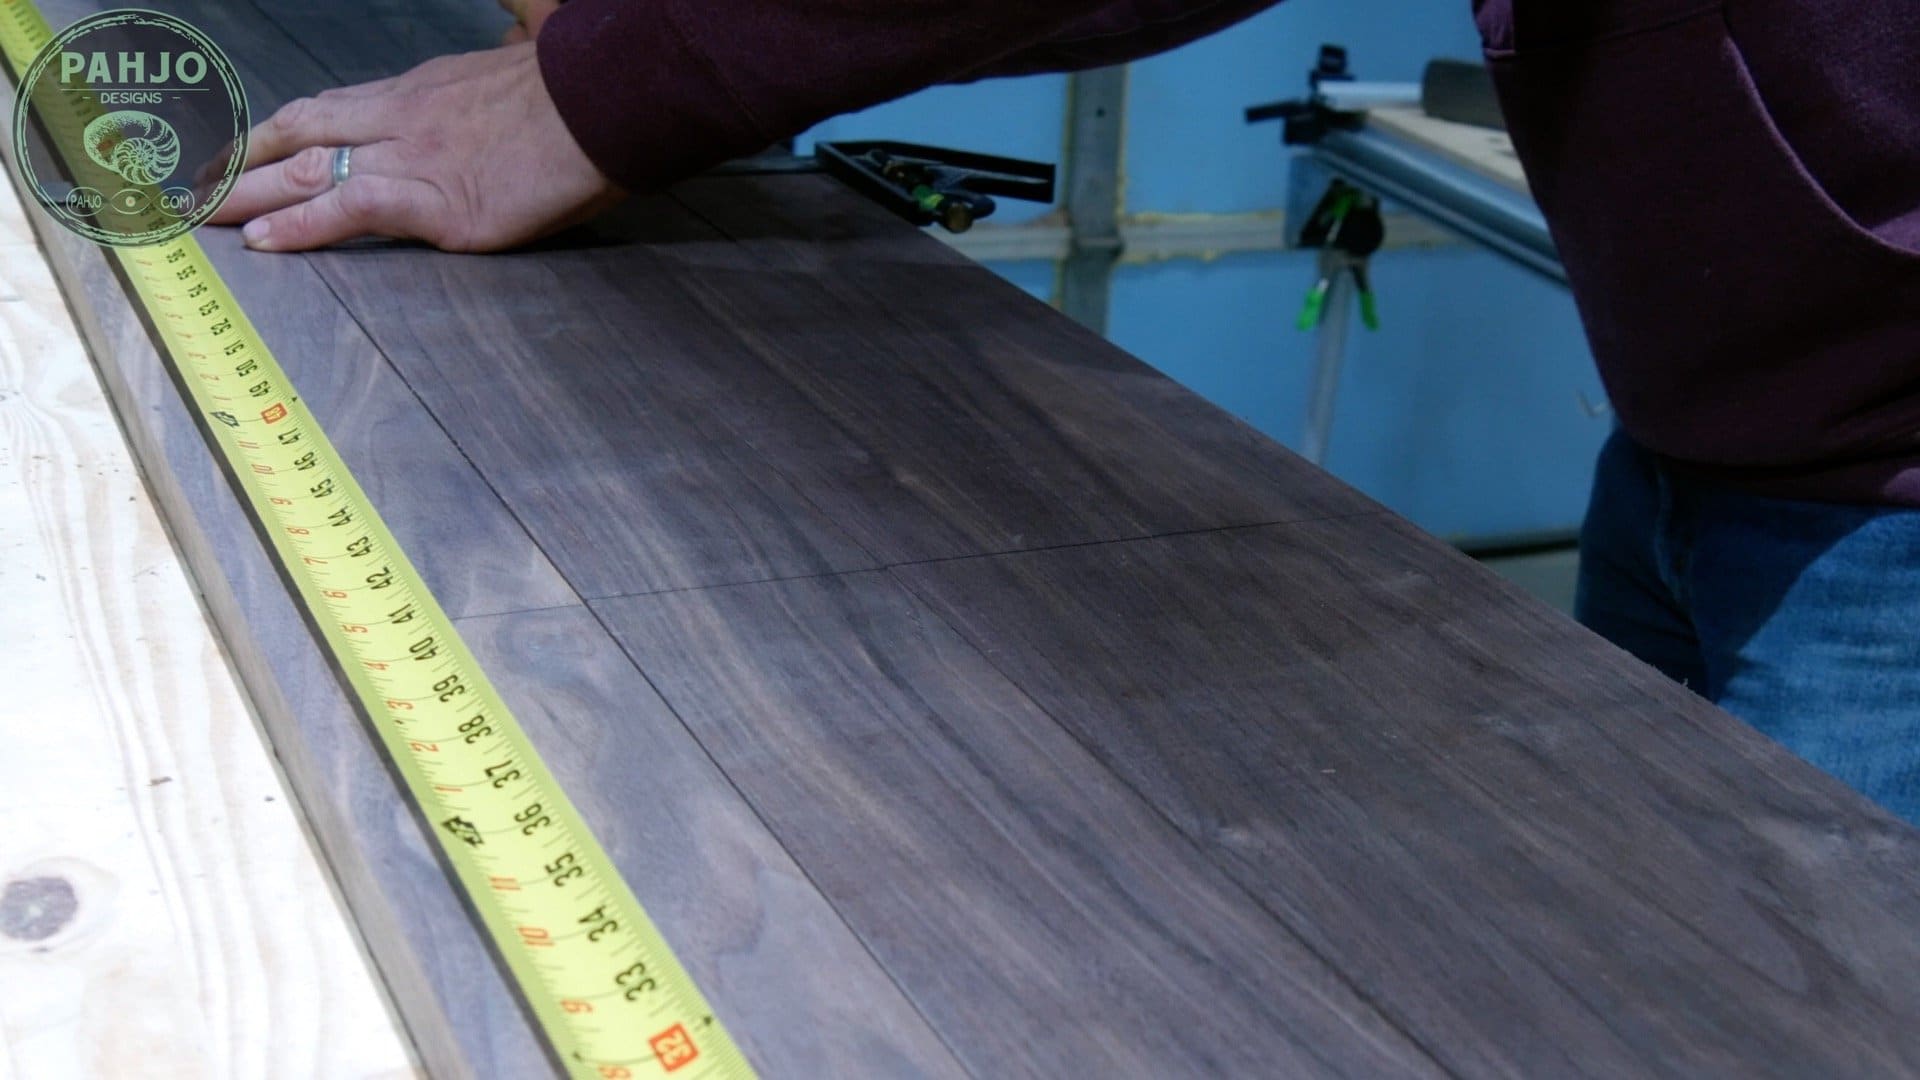
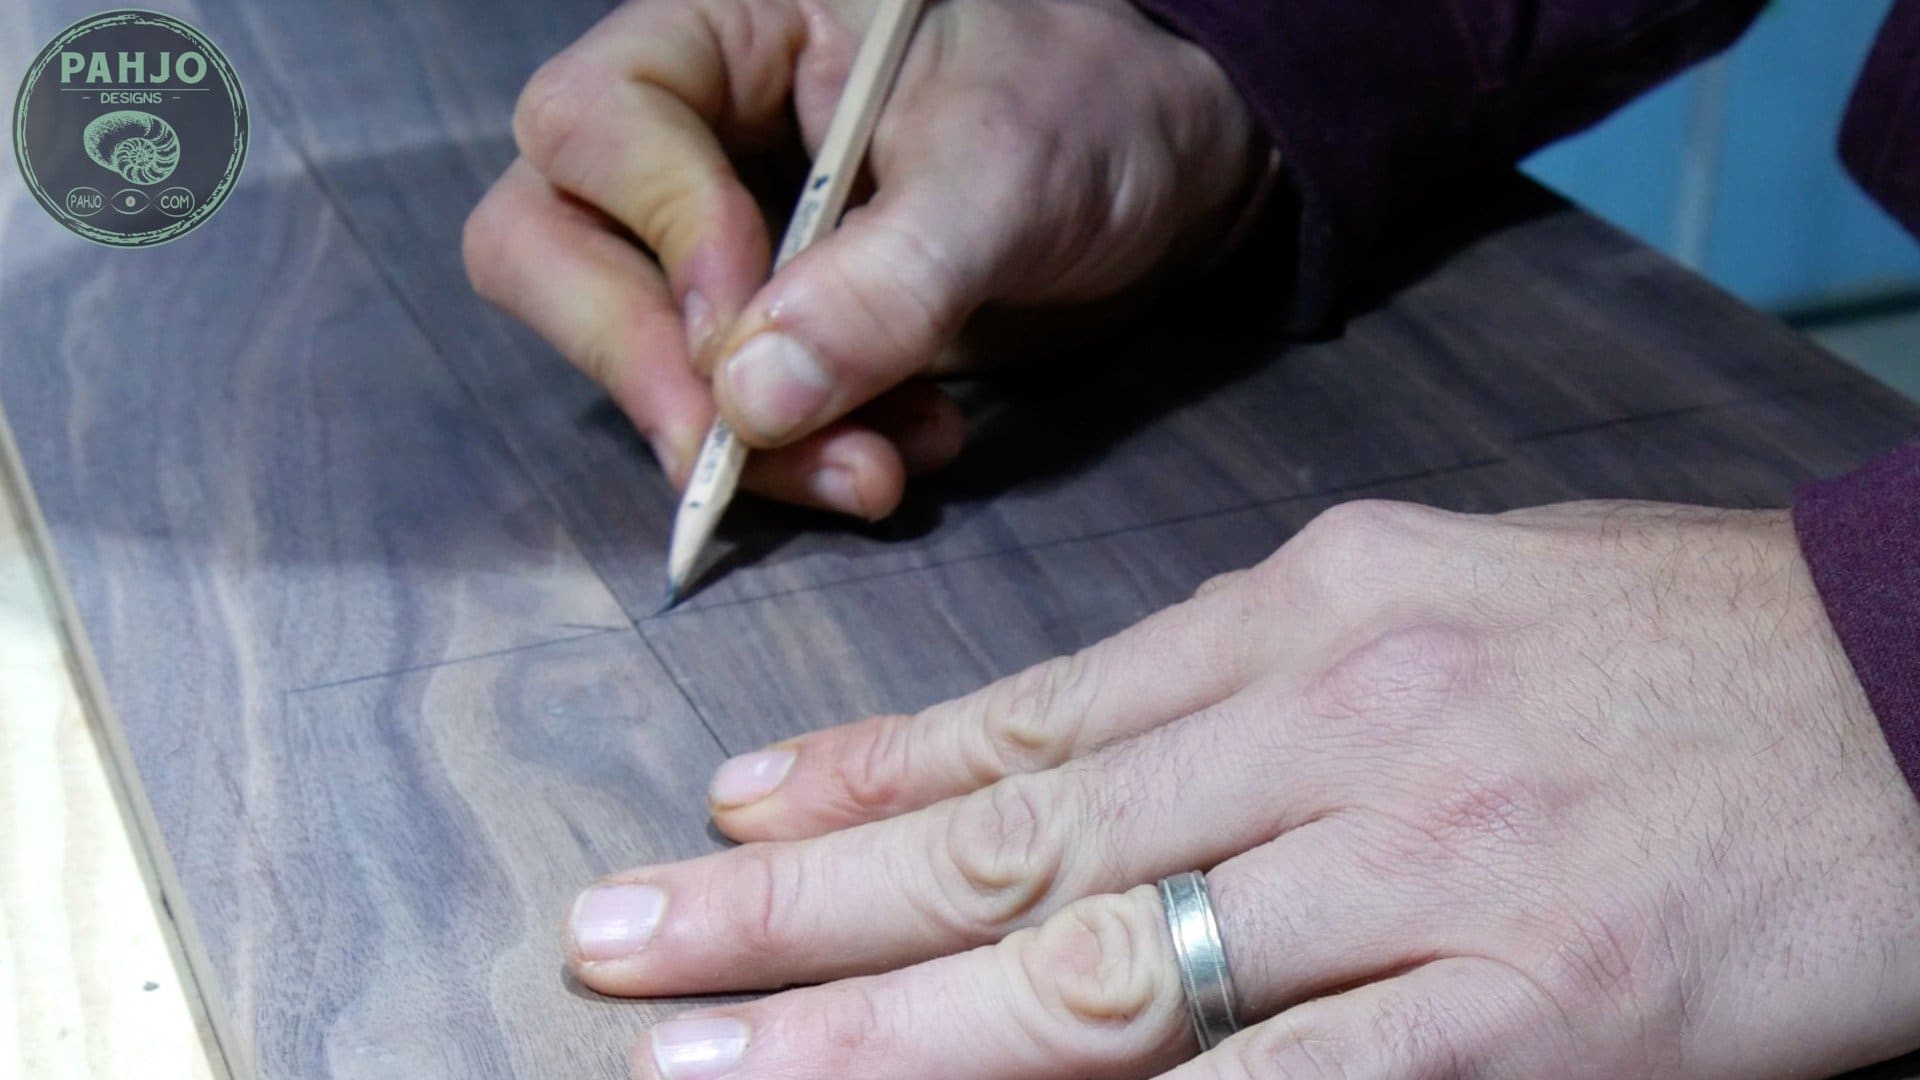
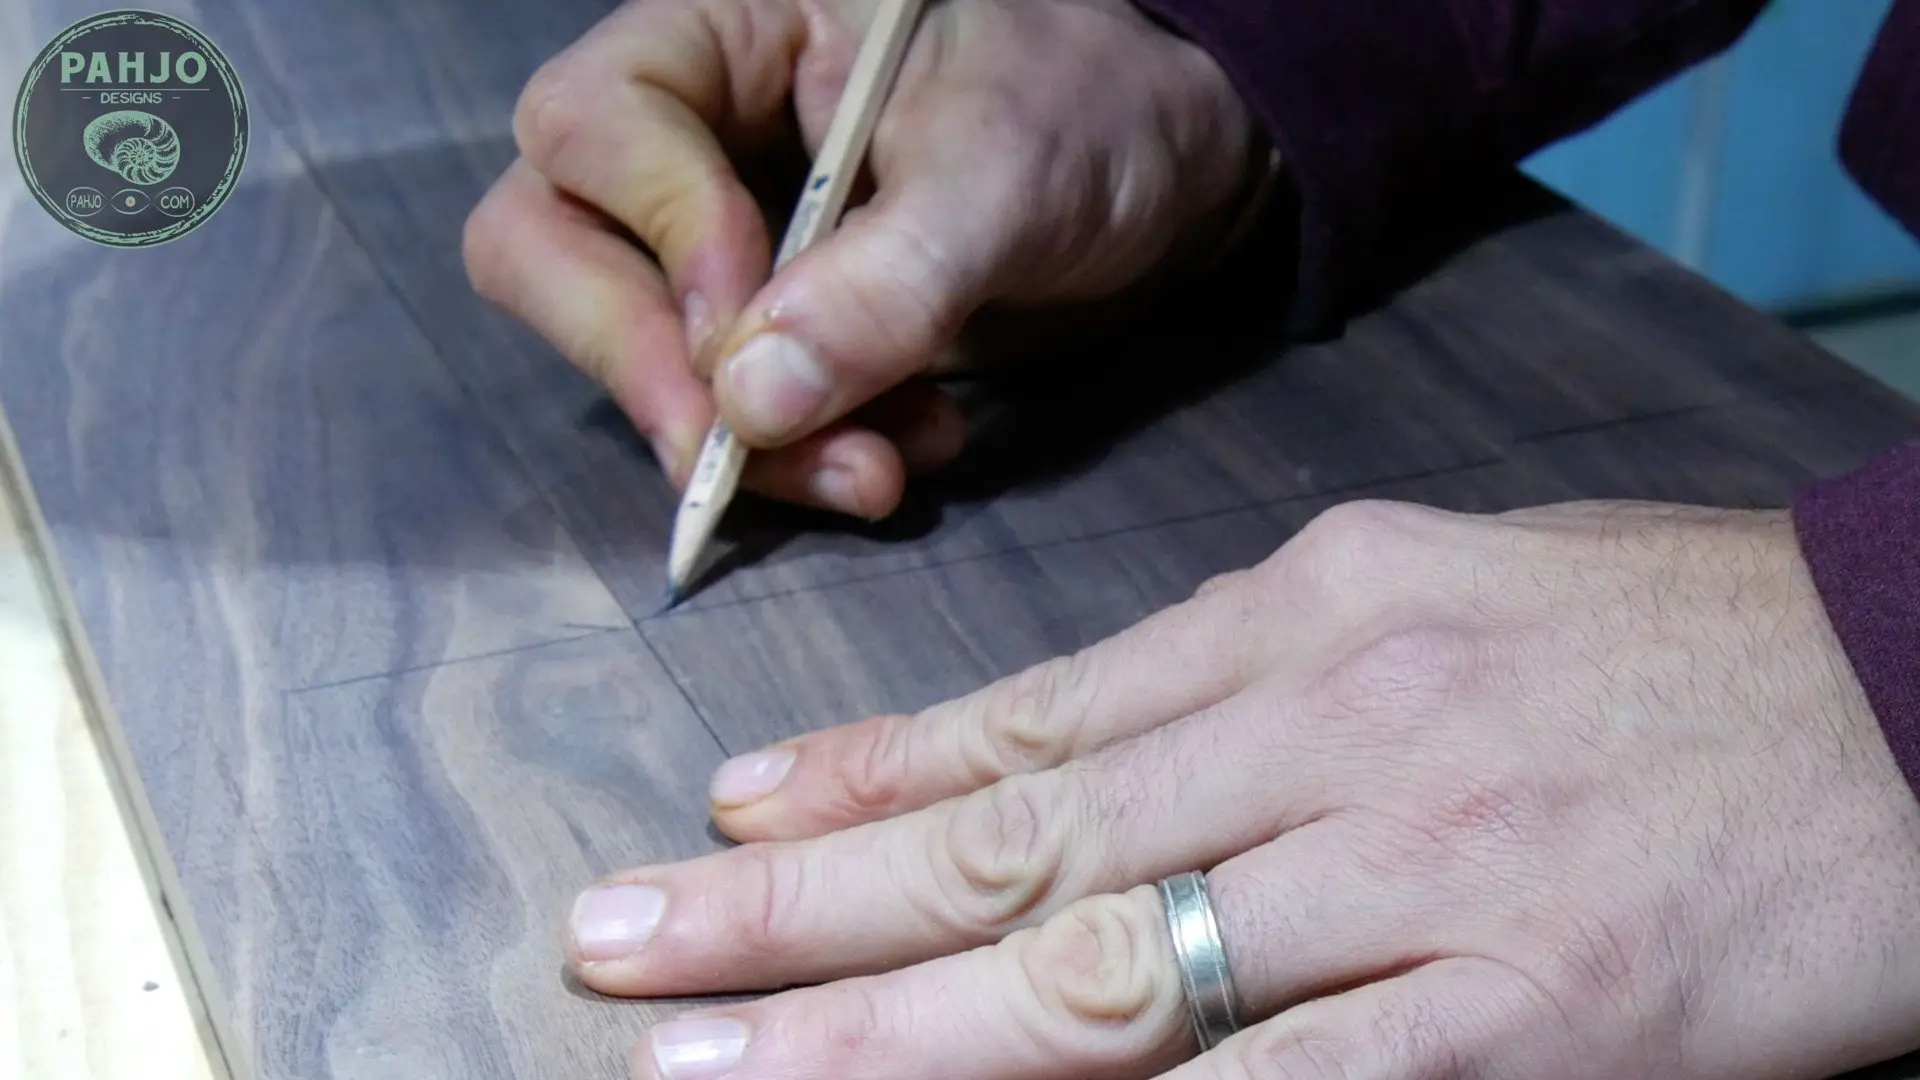
Next, I used my tape measure and combination square to mark a straight line every 12″.
Also, I marked a diagonal line next to each join in order to know which of the 4 boards would have dominos on each side.
Quick Tip: I always place a domino, biscuit or dowel 3″ from each end of the board.
Cut Mortoise
I lined up my domino with the lines and cut the mortise.
Furthermore, the same process applies to a biscuit joiner and dowel jig.
Apply Glue and Dominos
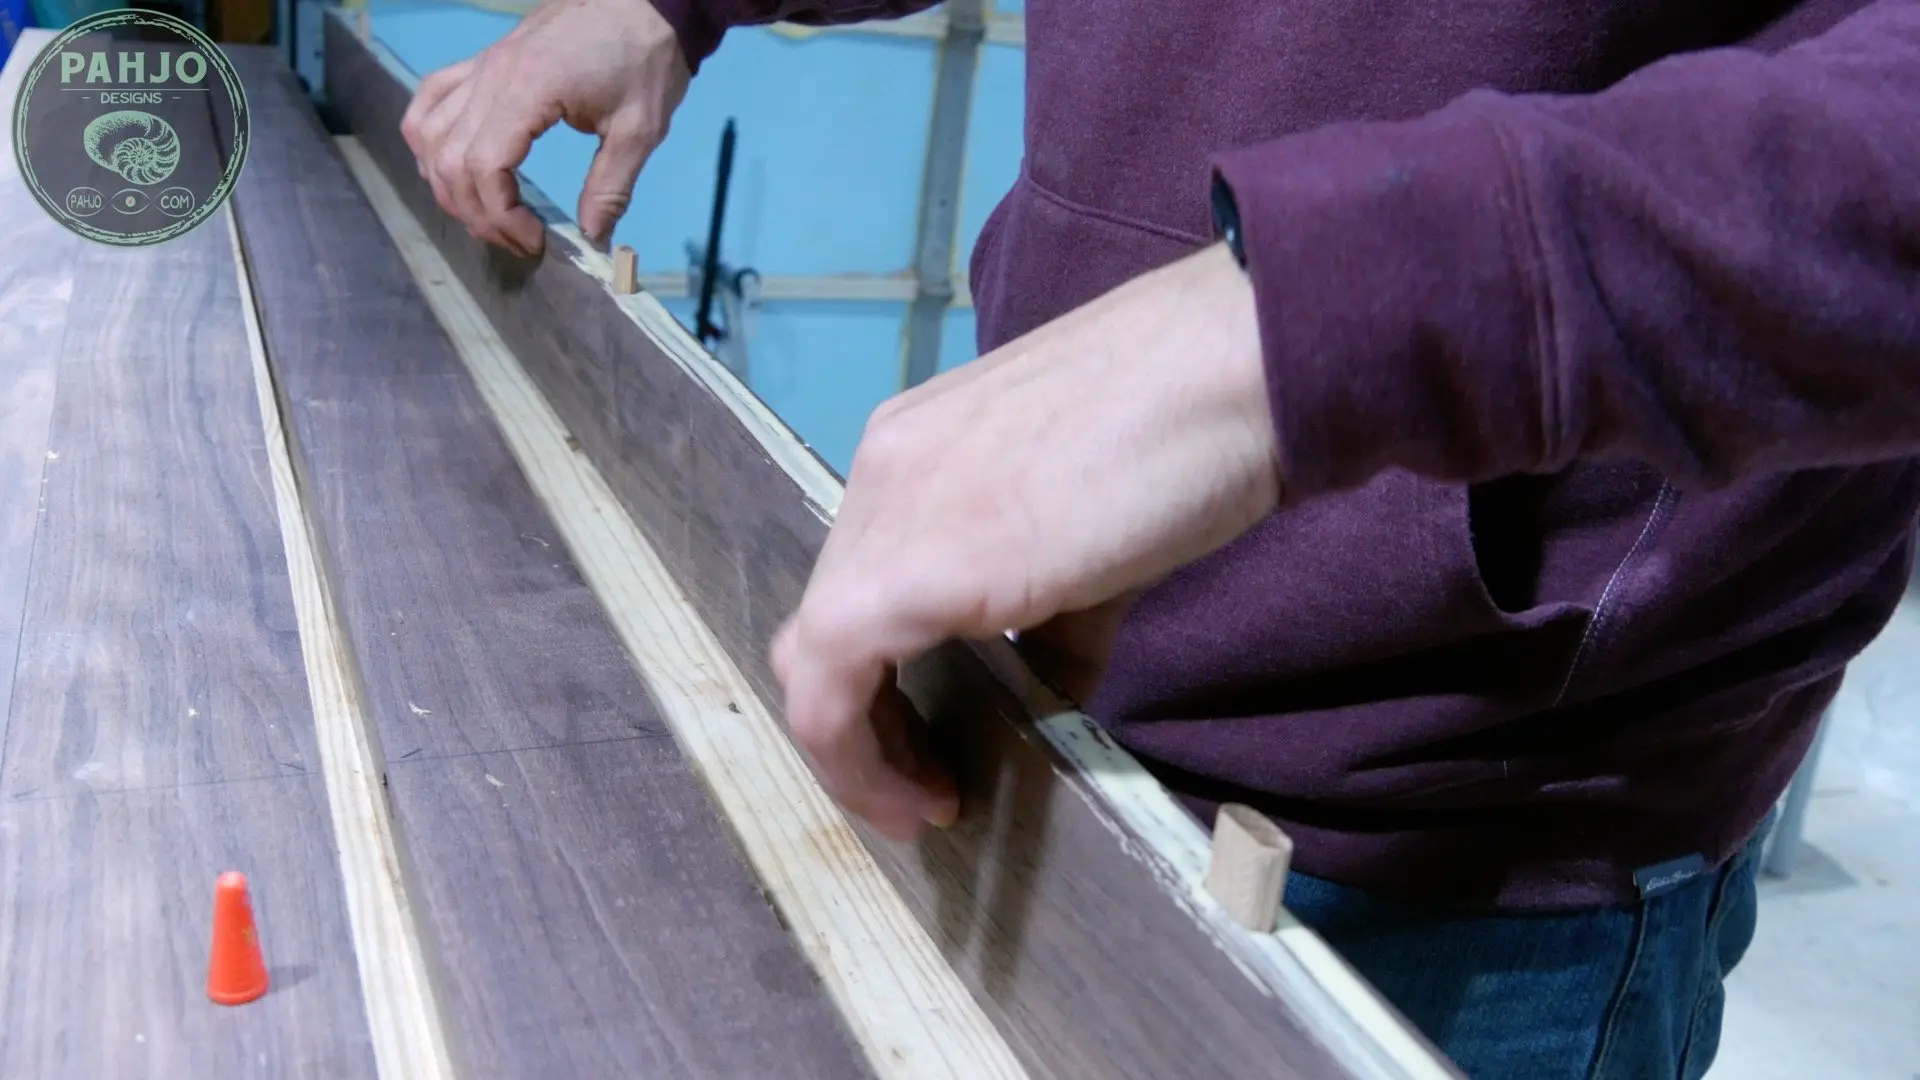
Before I spread glue, I placed each board next to one another as I did in a previous step when I made the marks.
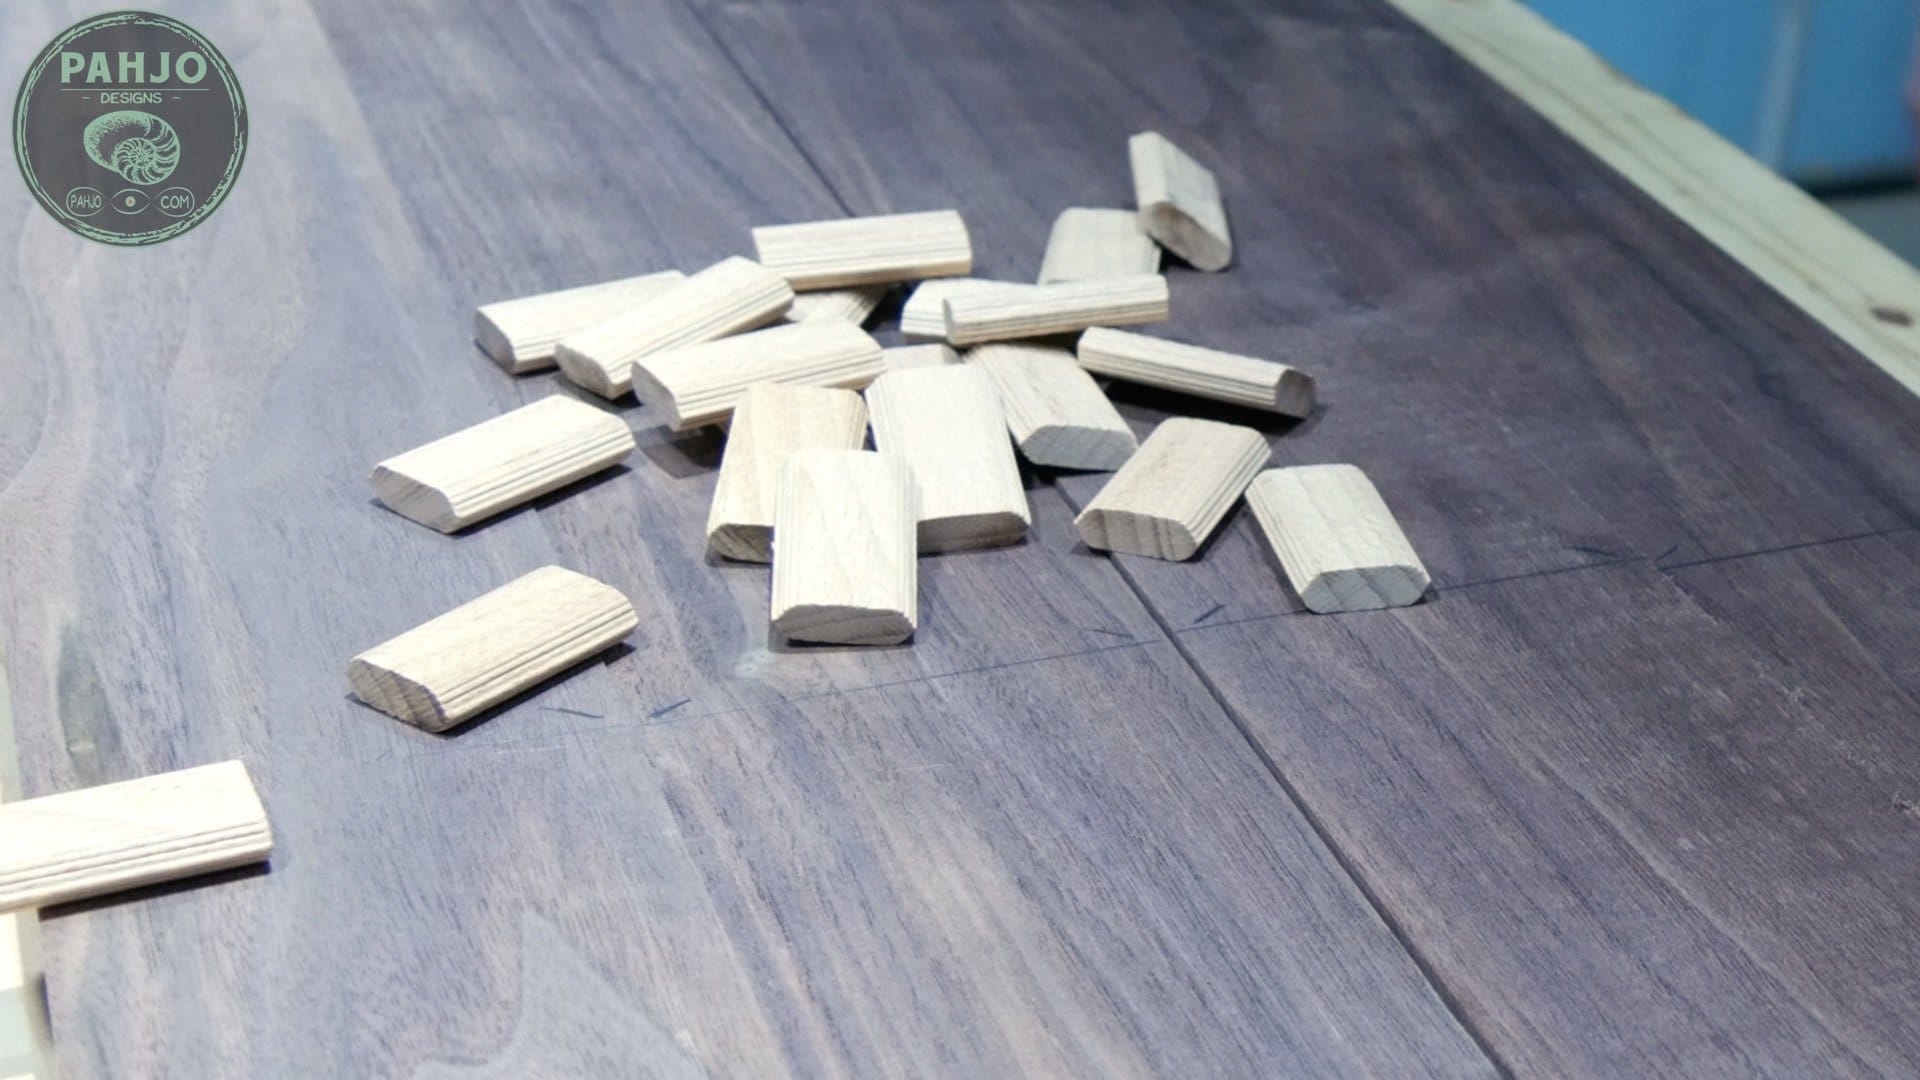
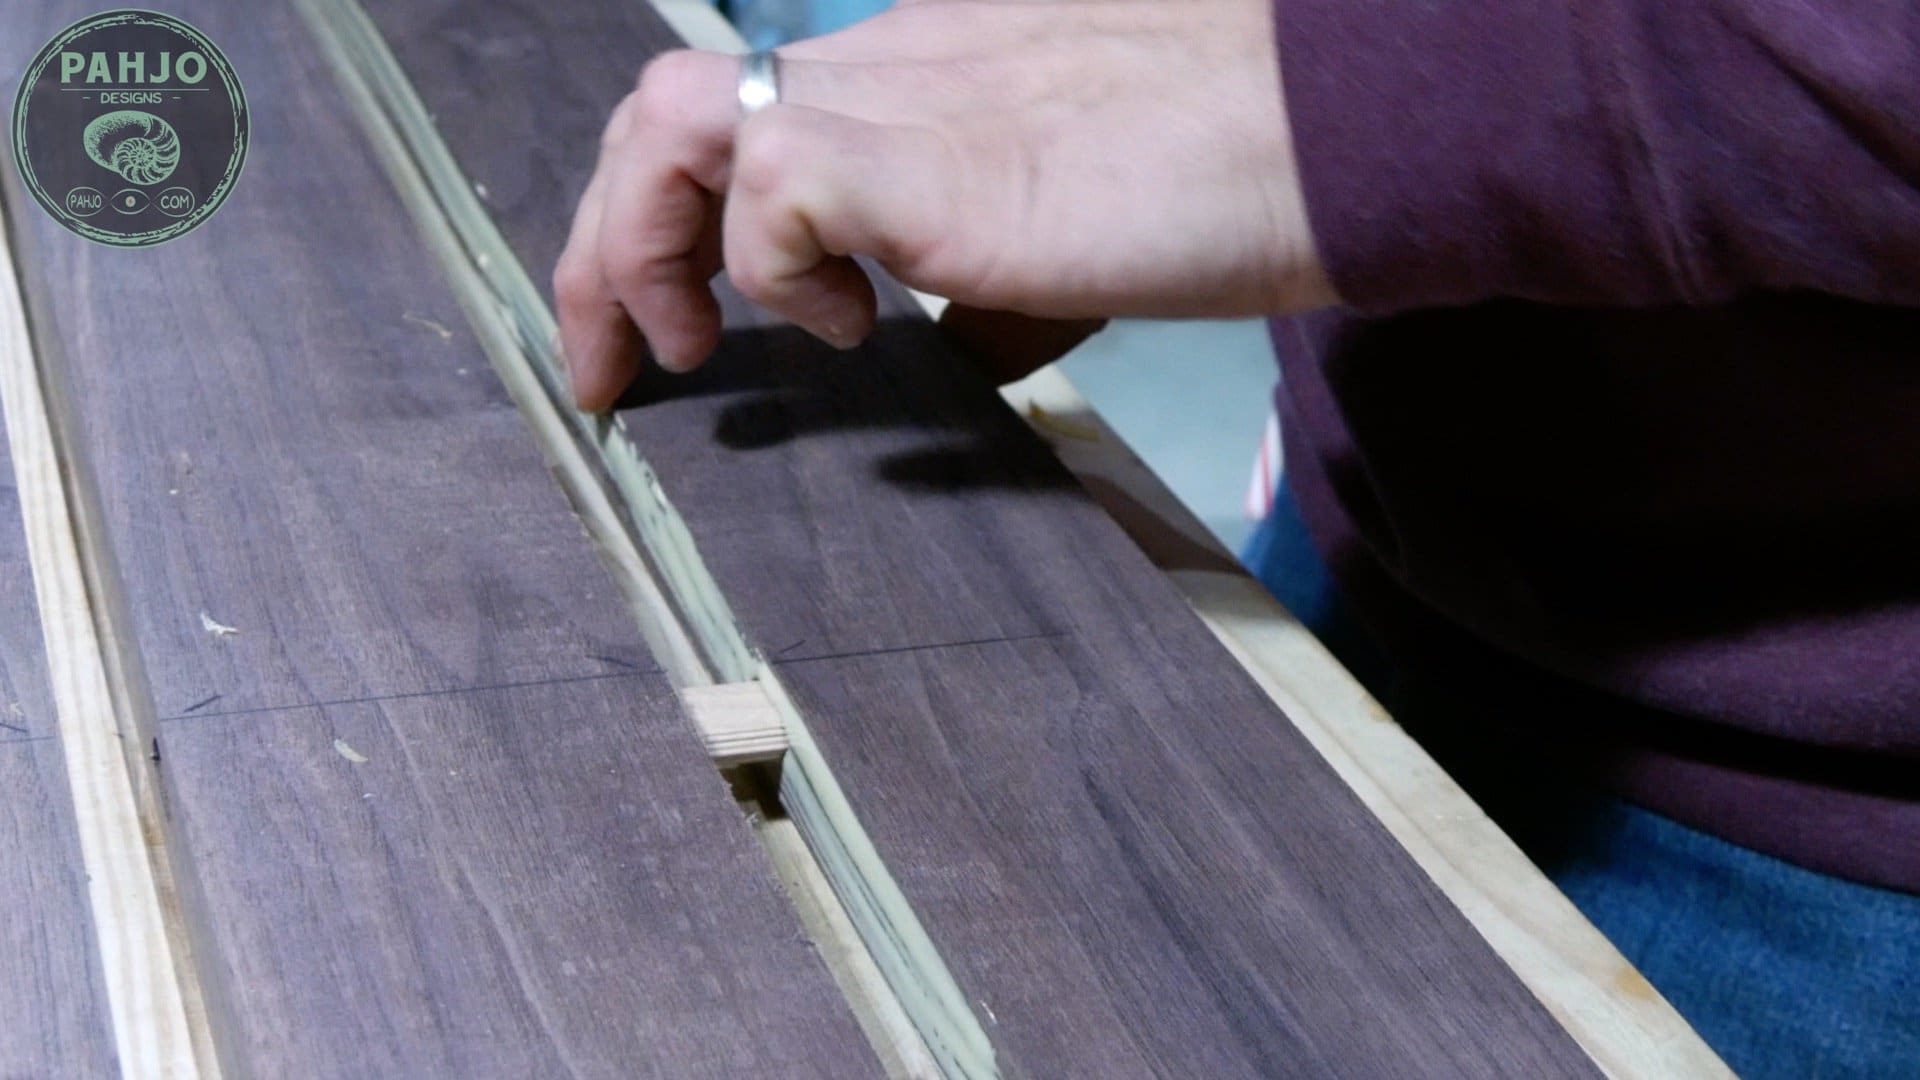
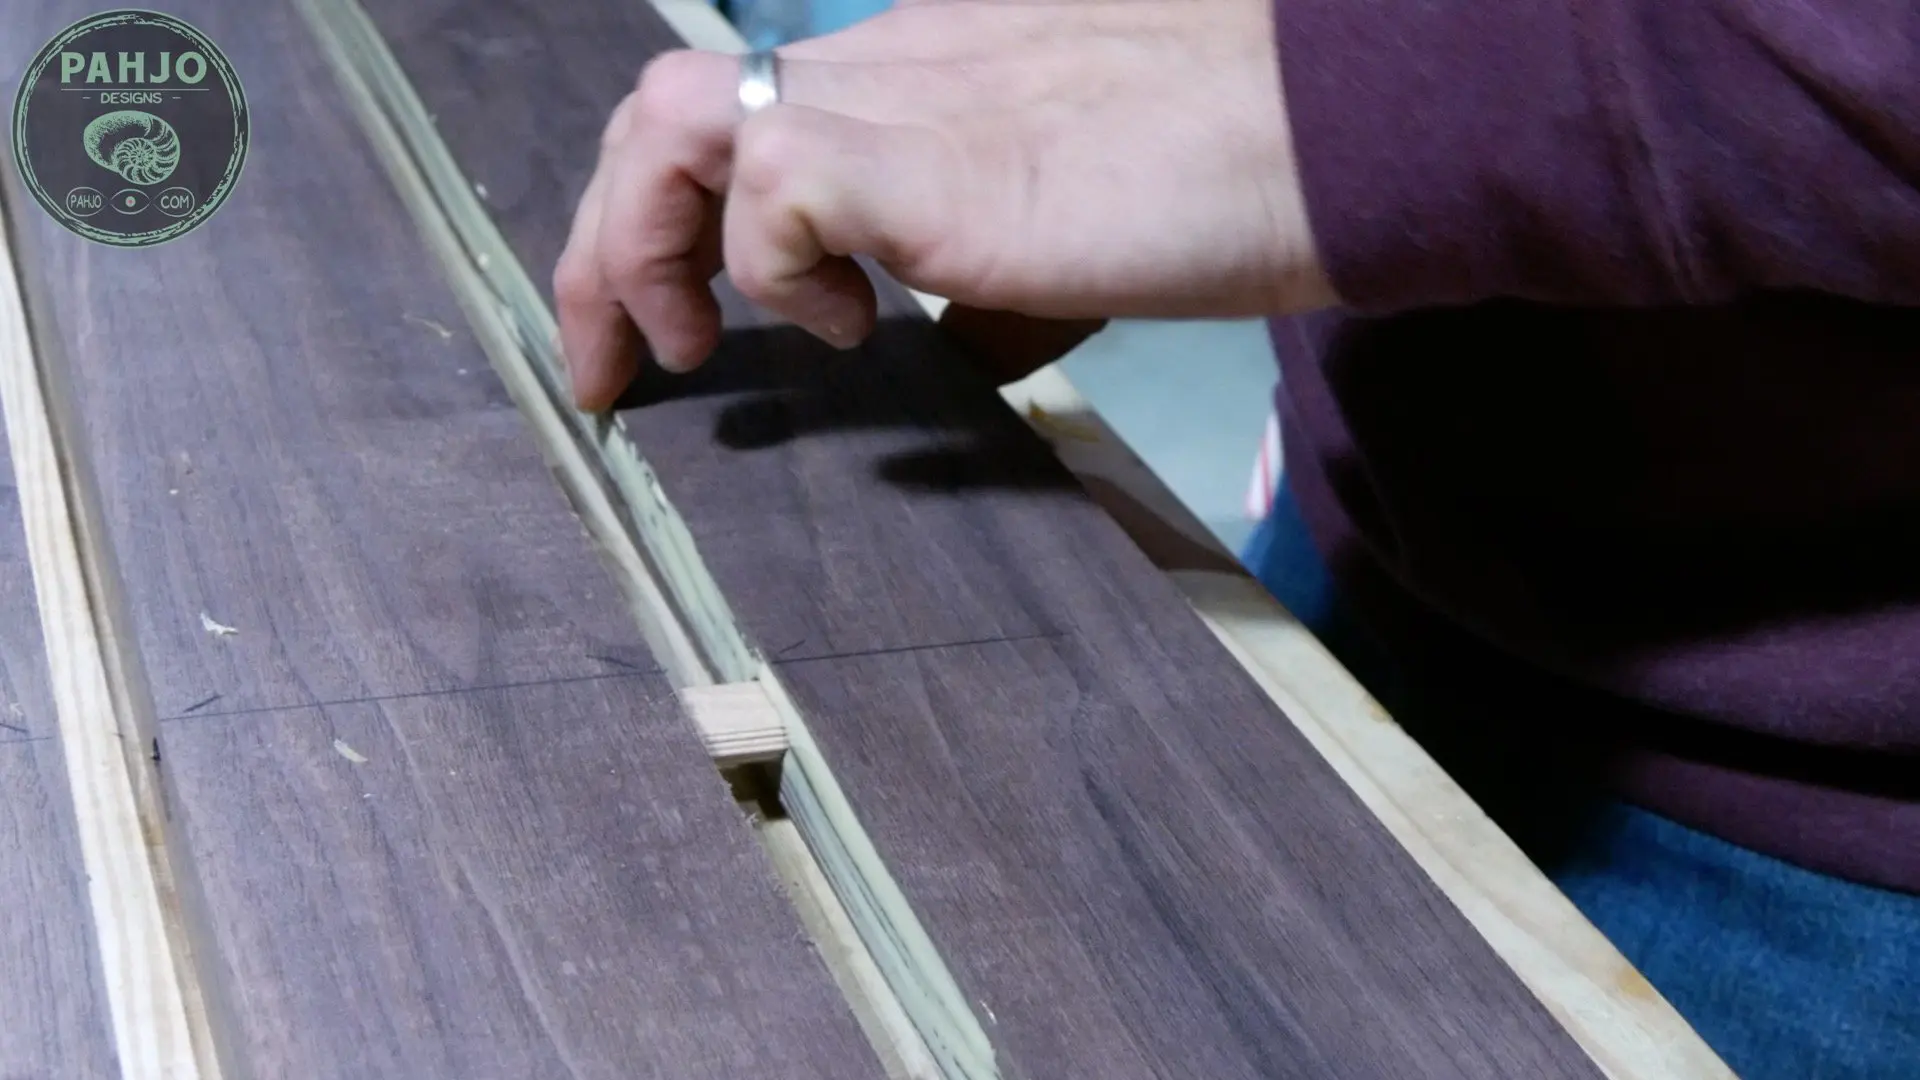
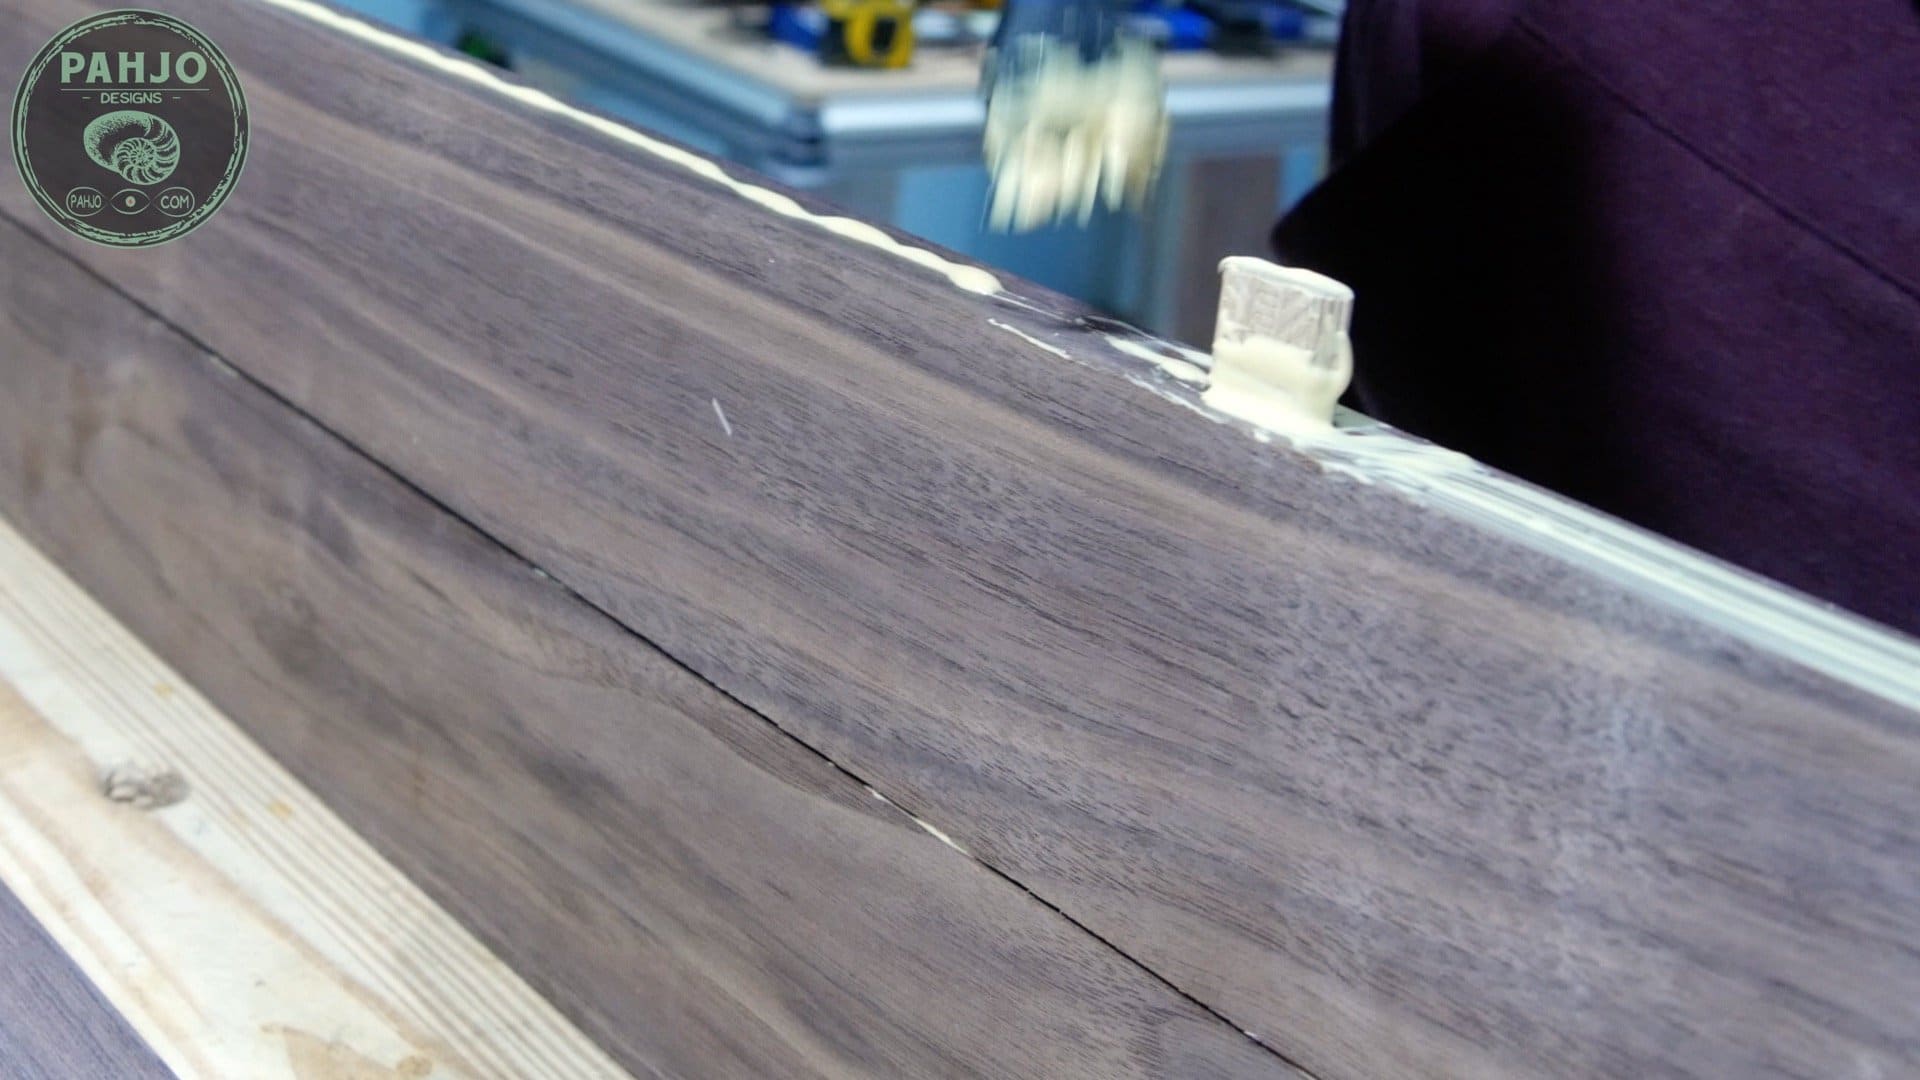
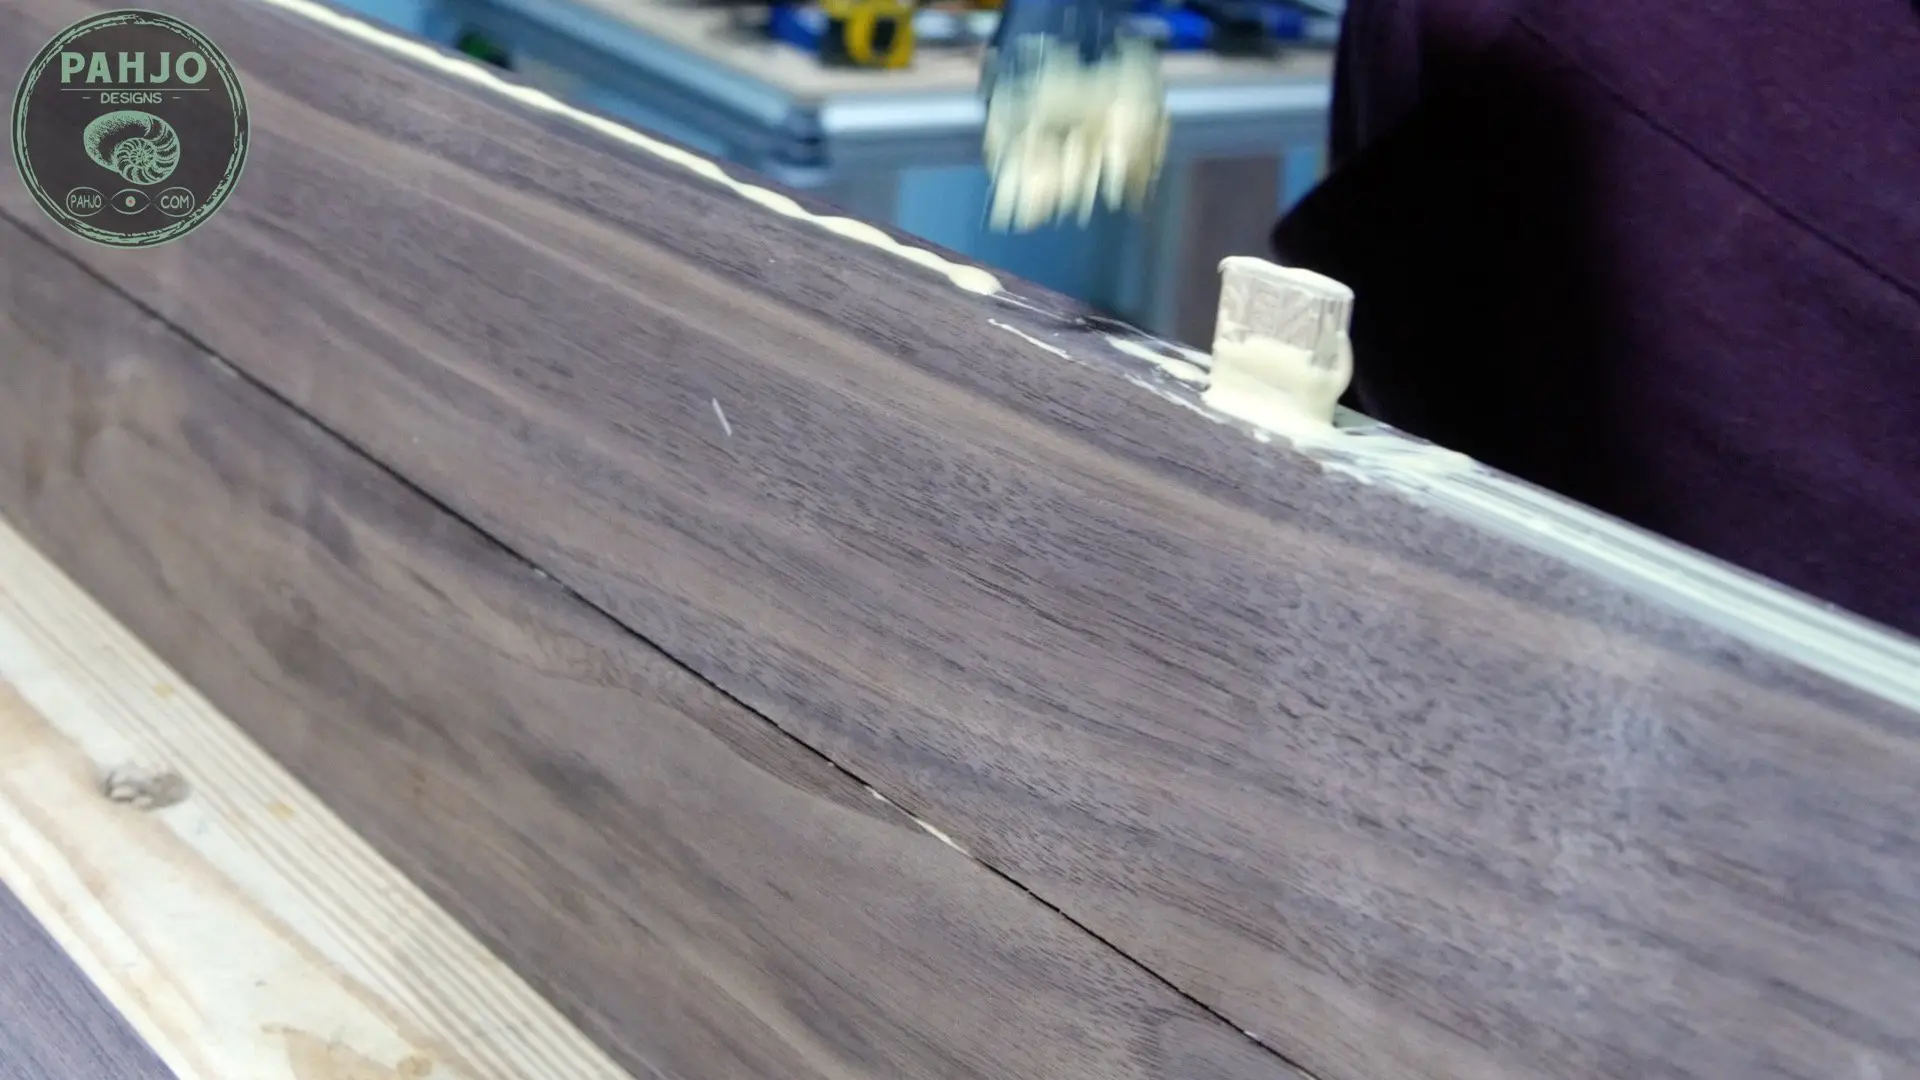
First, I liberally spread glue on each edge.
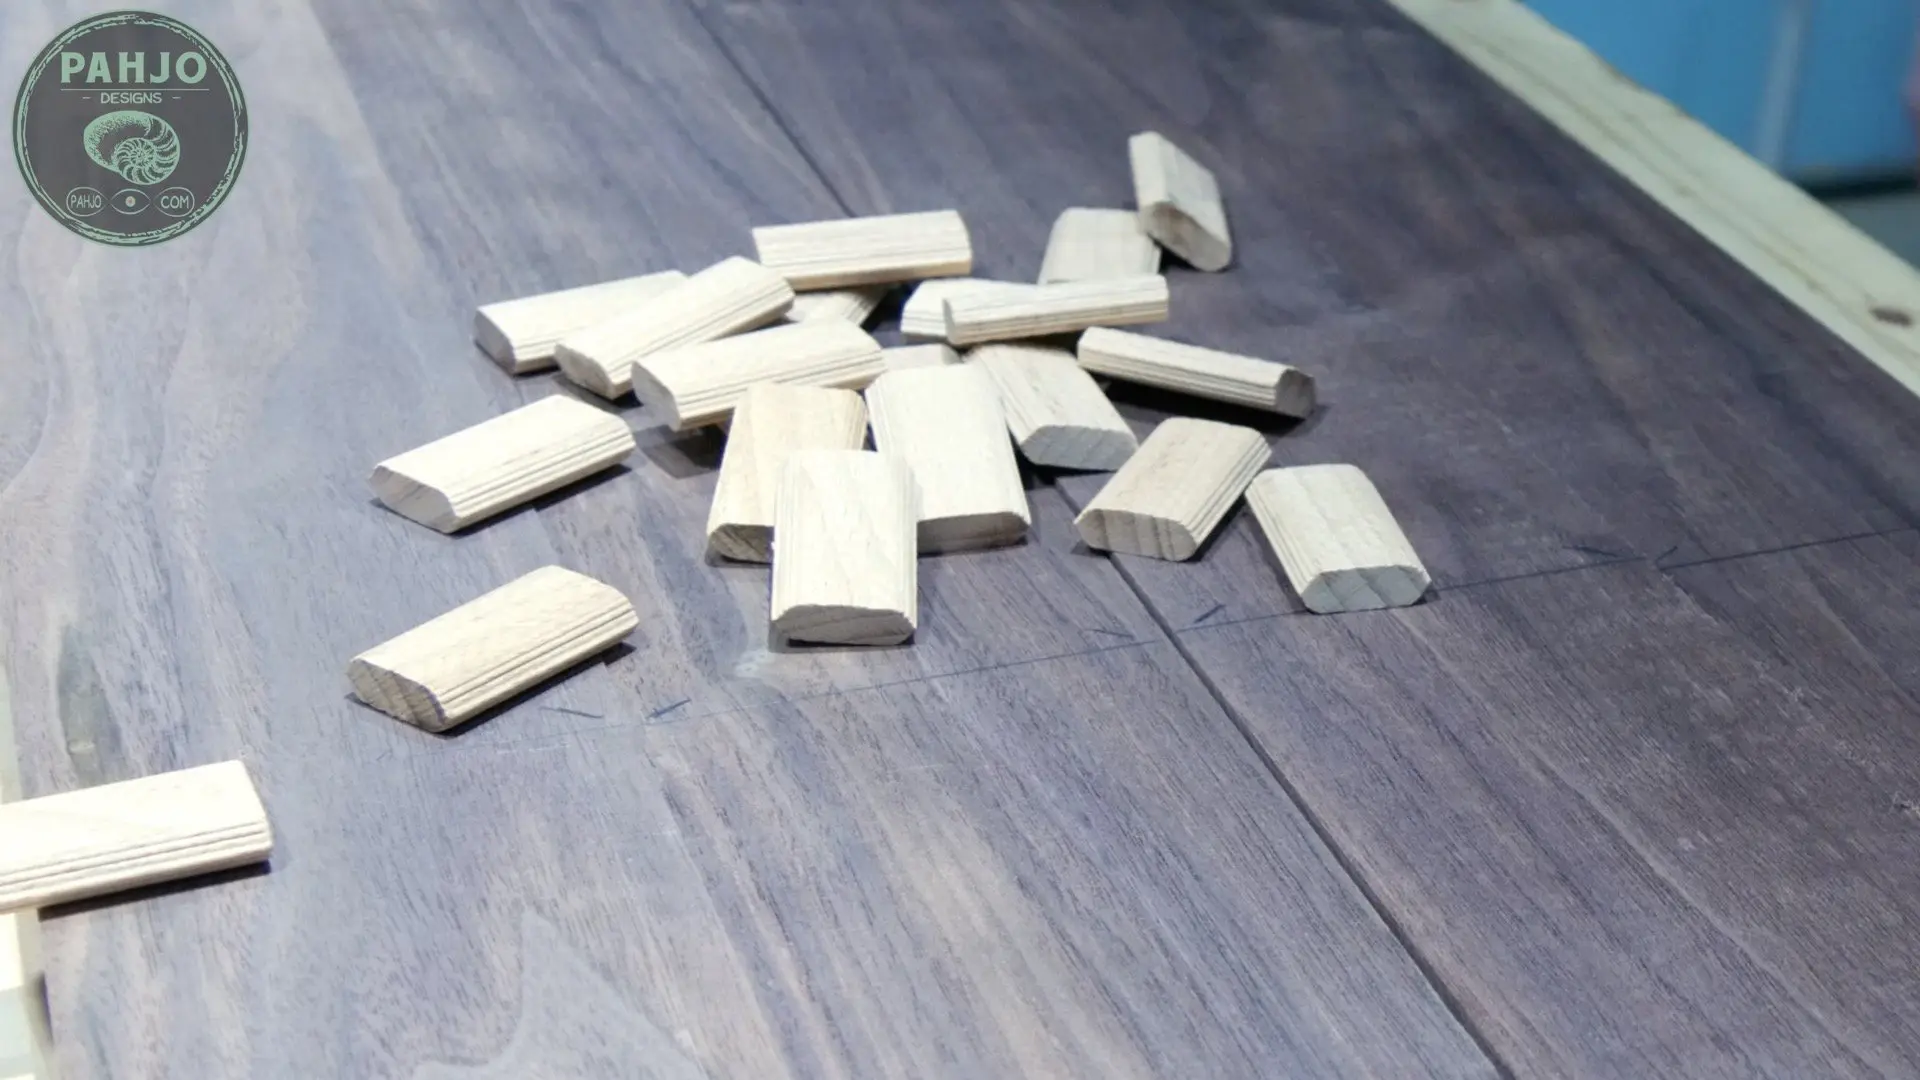
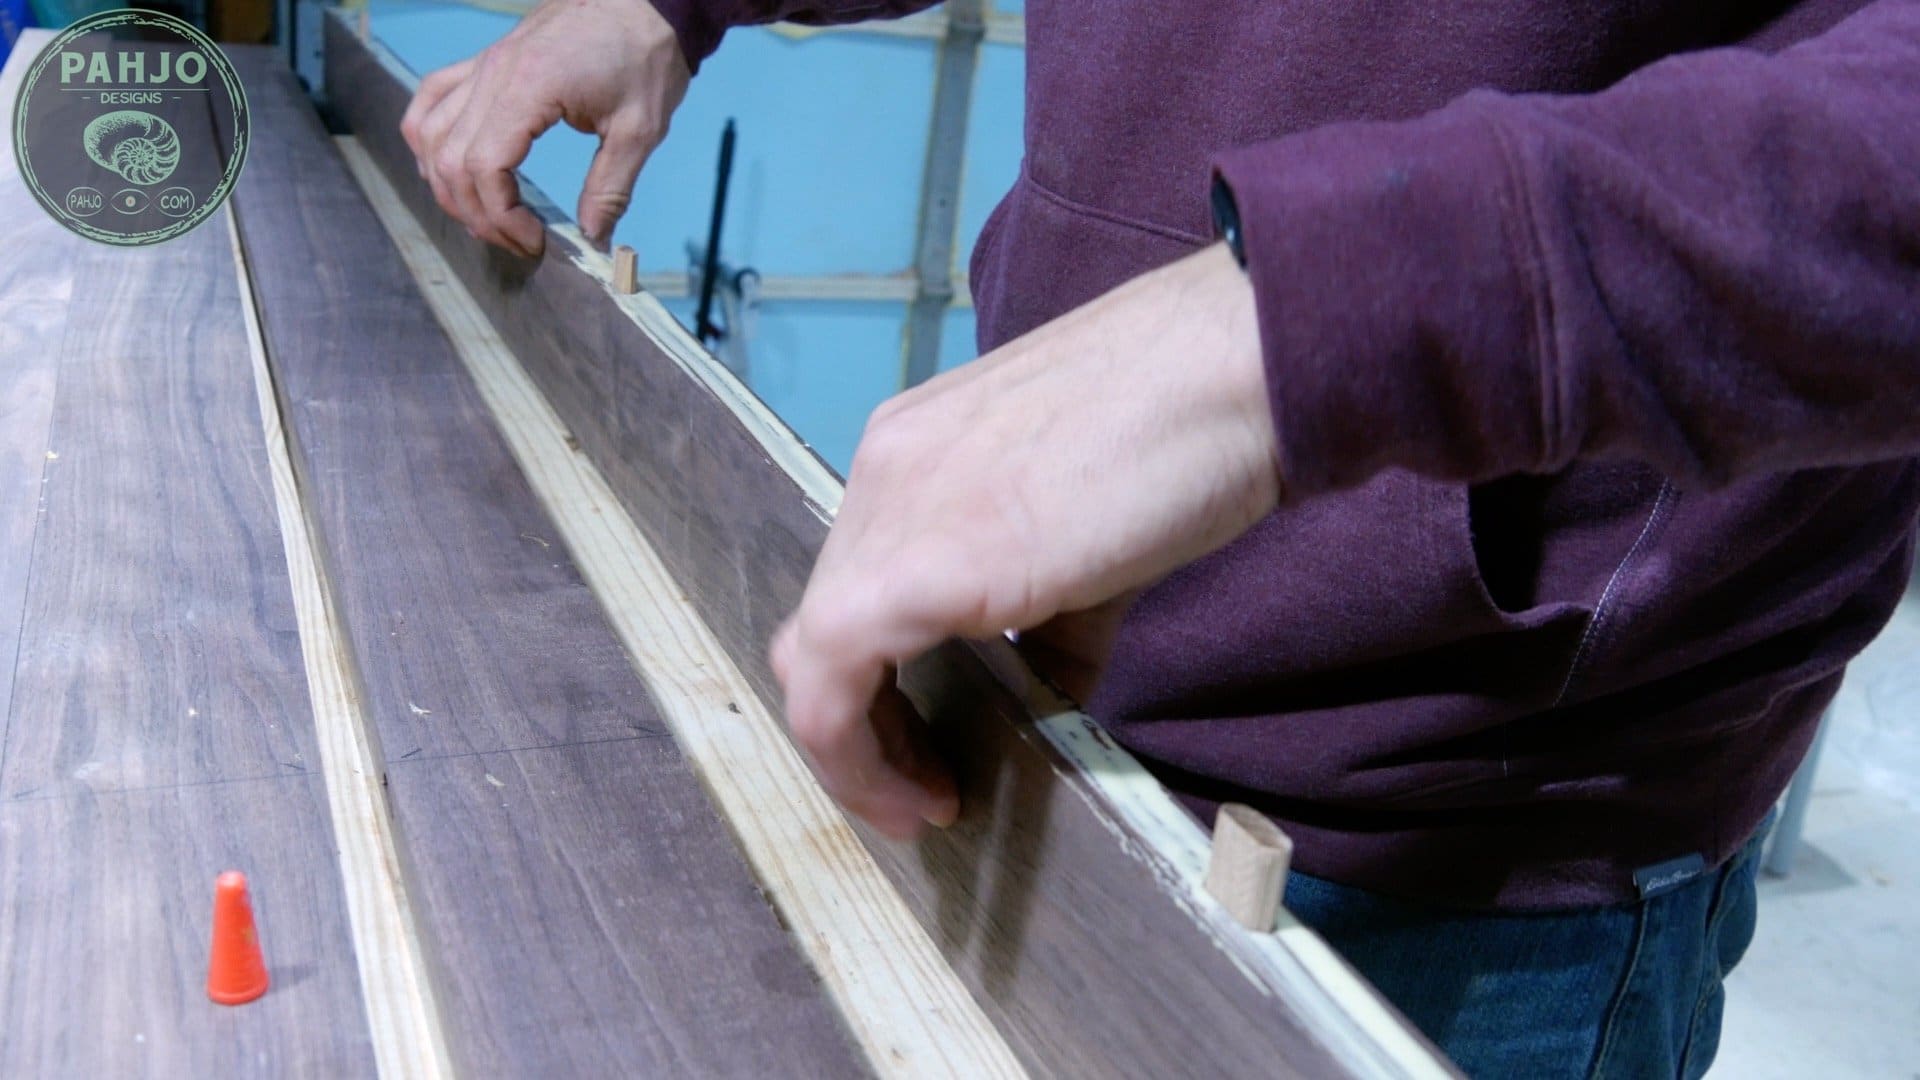
Next, I inserted the dominos and used my glue spreader to wipe glue on them.
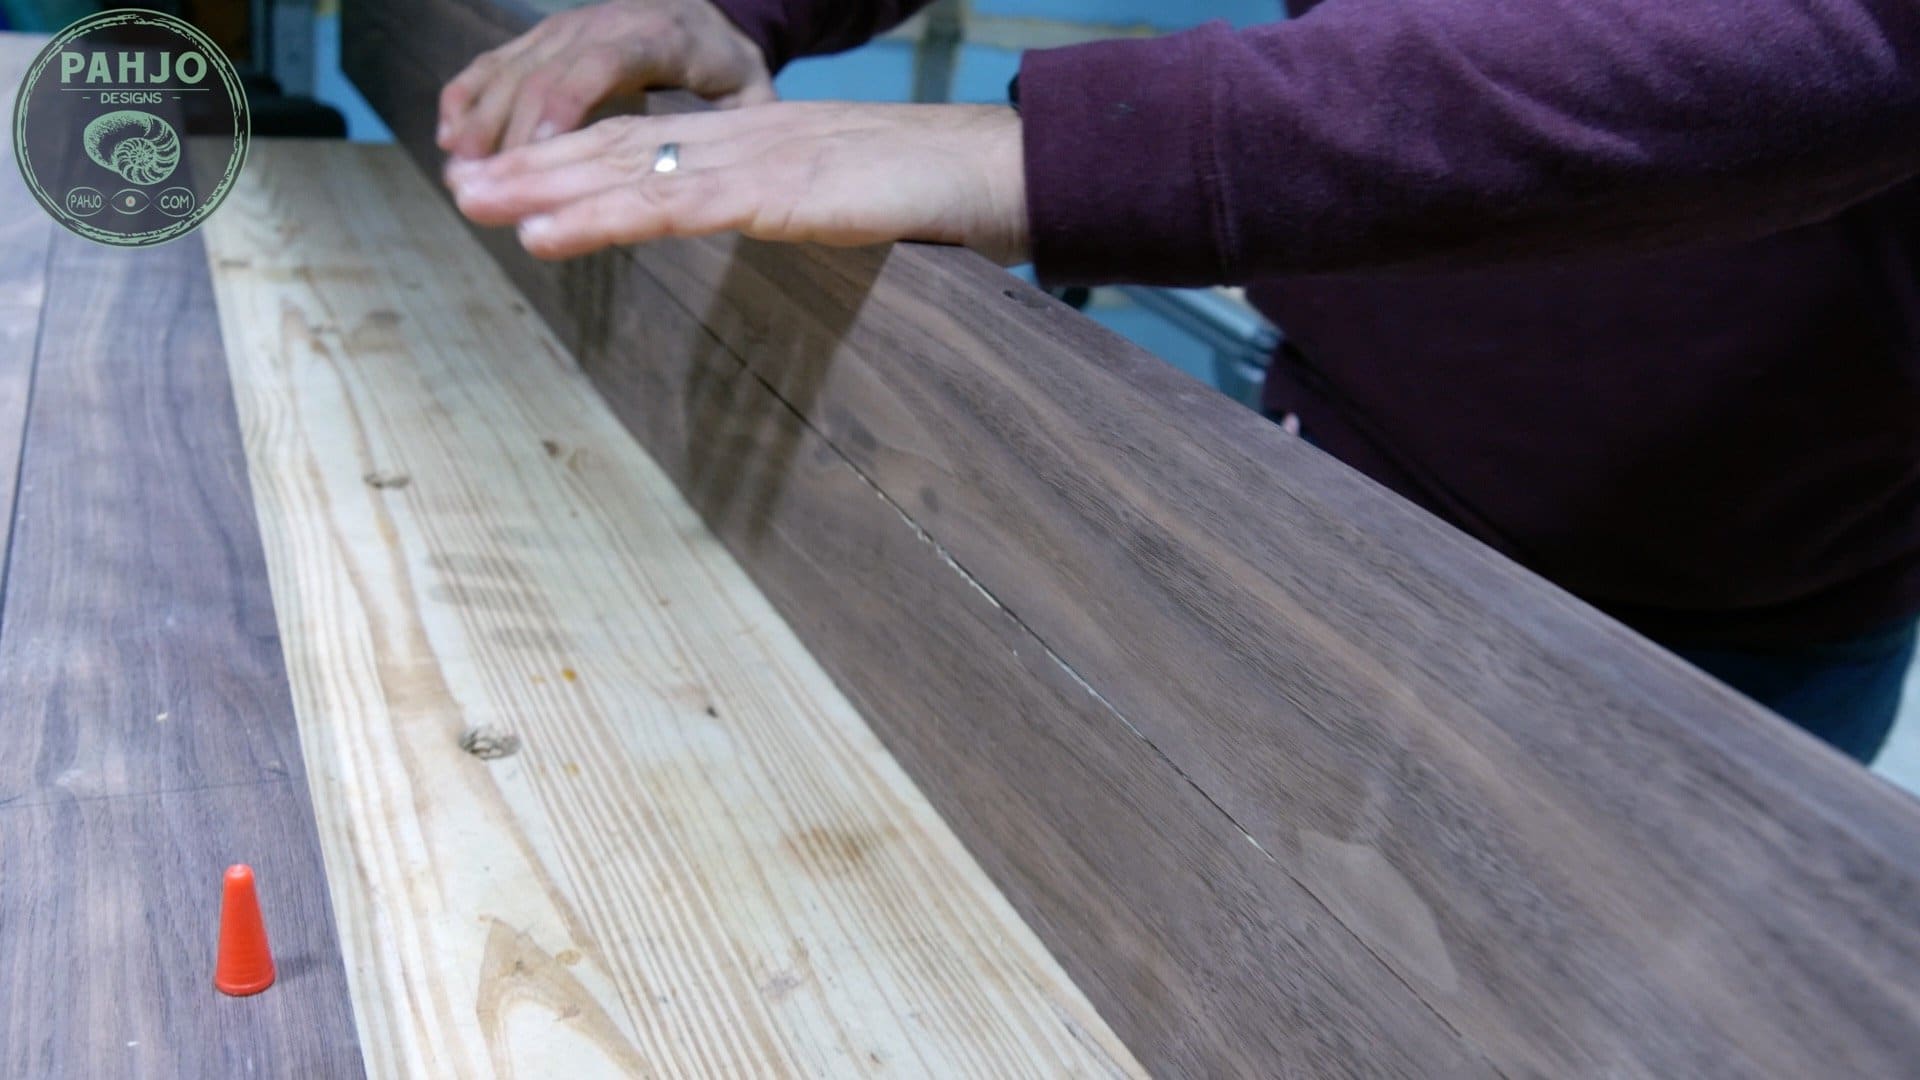
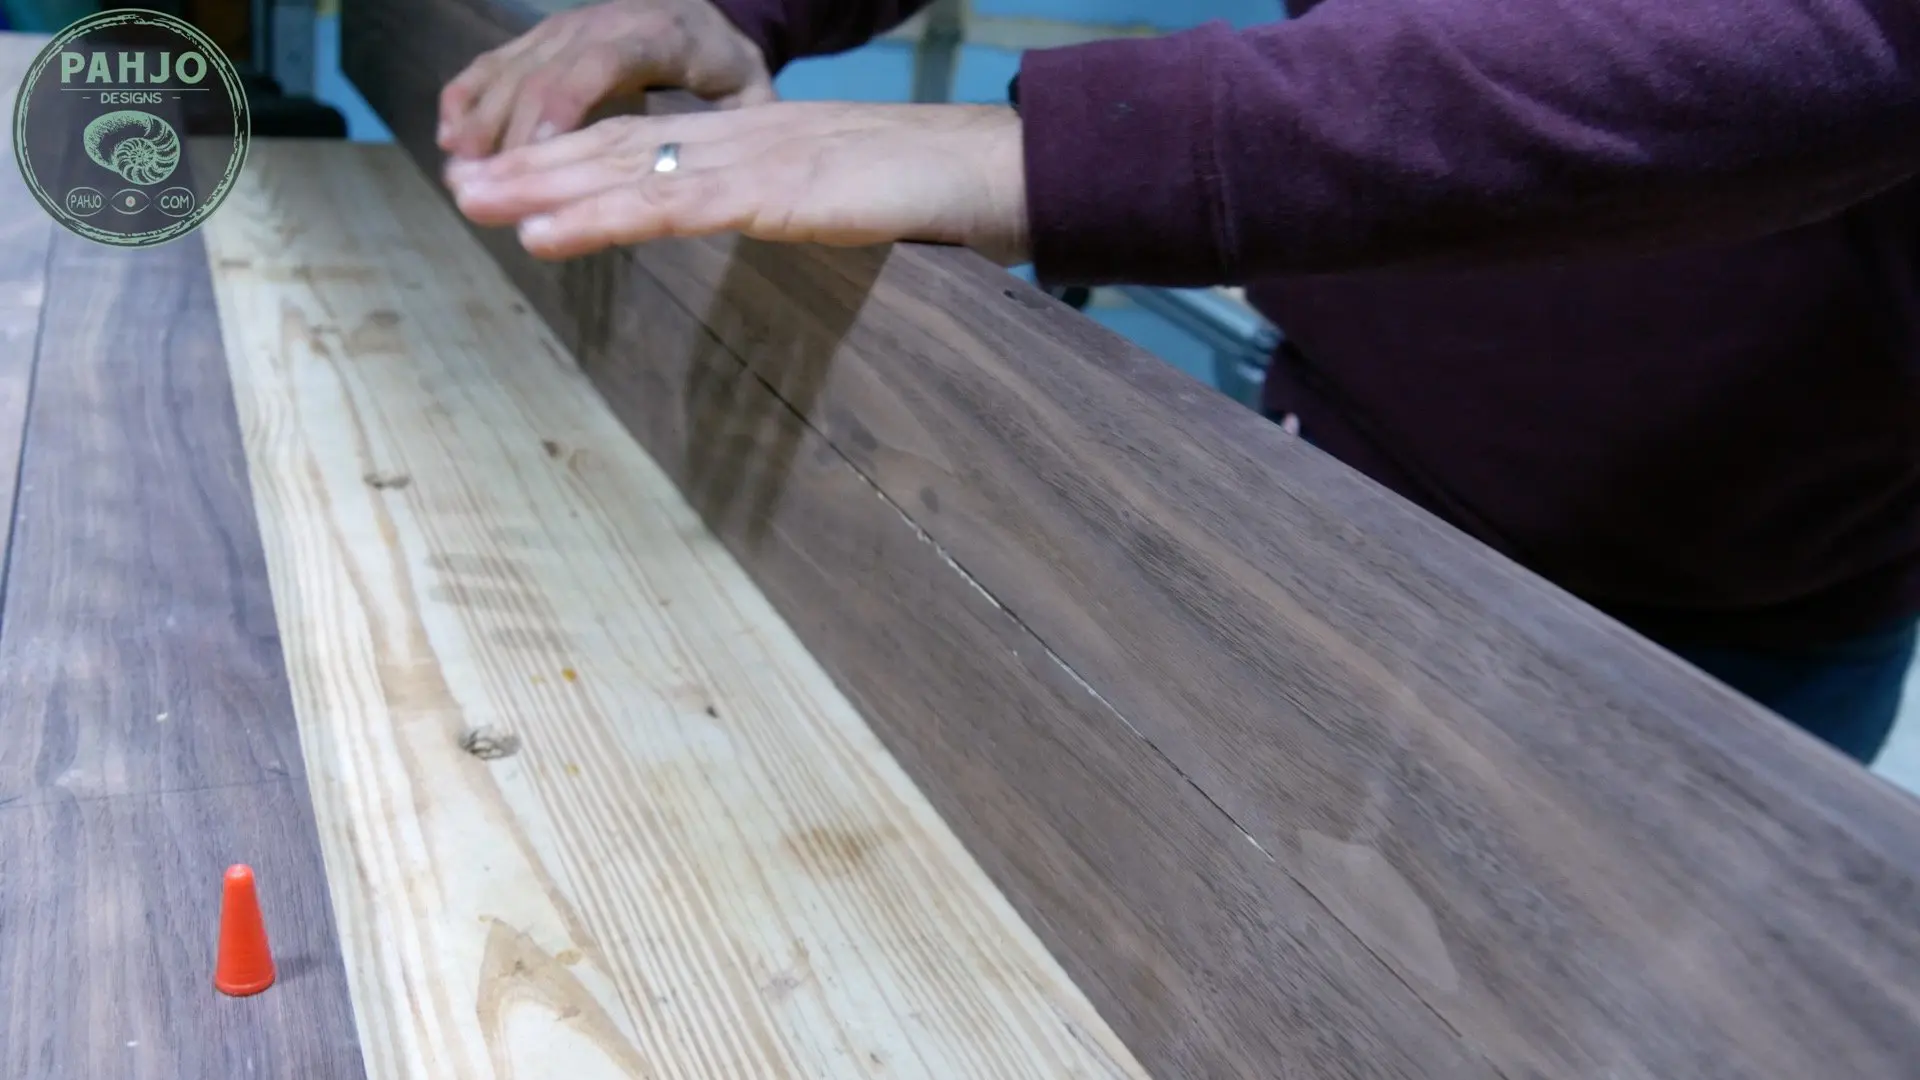
Then, I joined the first two boards by pushing them together and I made certain they were snug.
Quick Tip: Edge Joining Panels
To make edge joining panels for this DIY double sliding barn doors, I join 2 boards at a time.
Since each DIY barn door has 4 boards, I join each of the 2 outer boards. Then, I join each pair to each other.
Ultimately, I find this process helps ensure the panels remain flat.
Glue Up
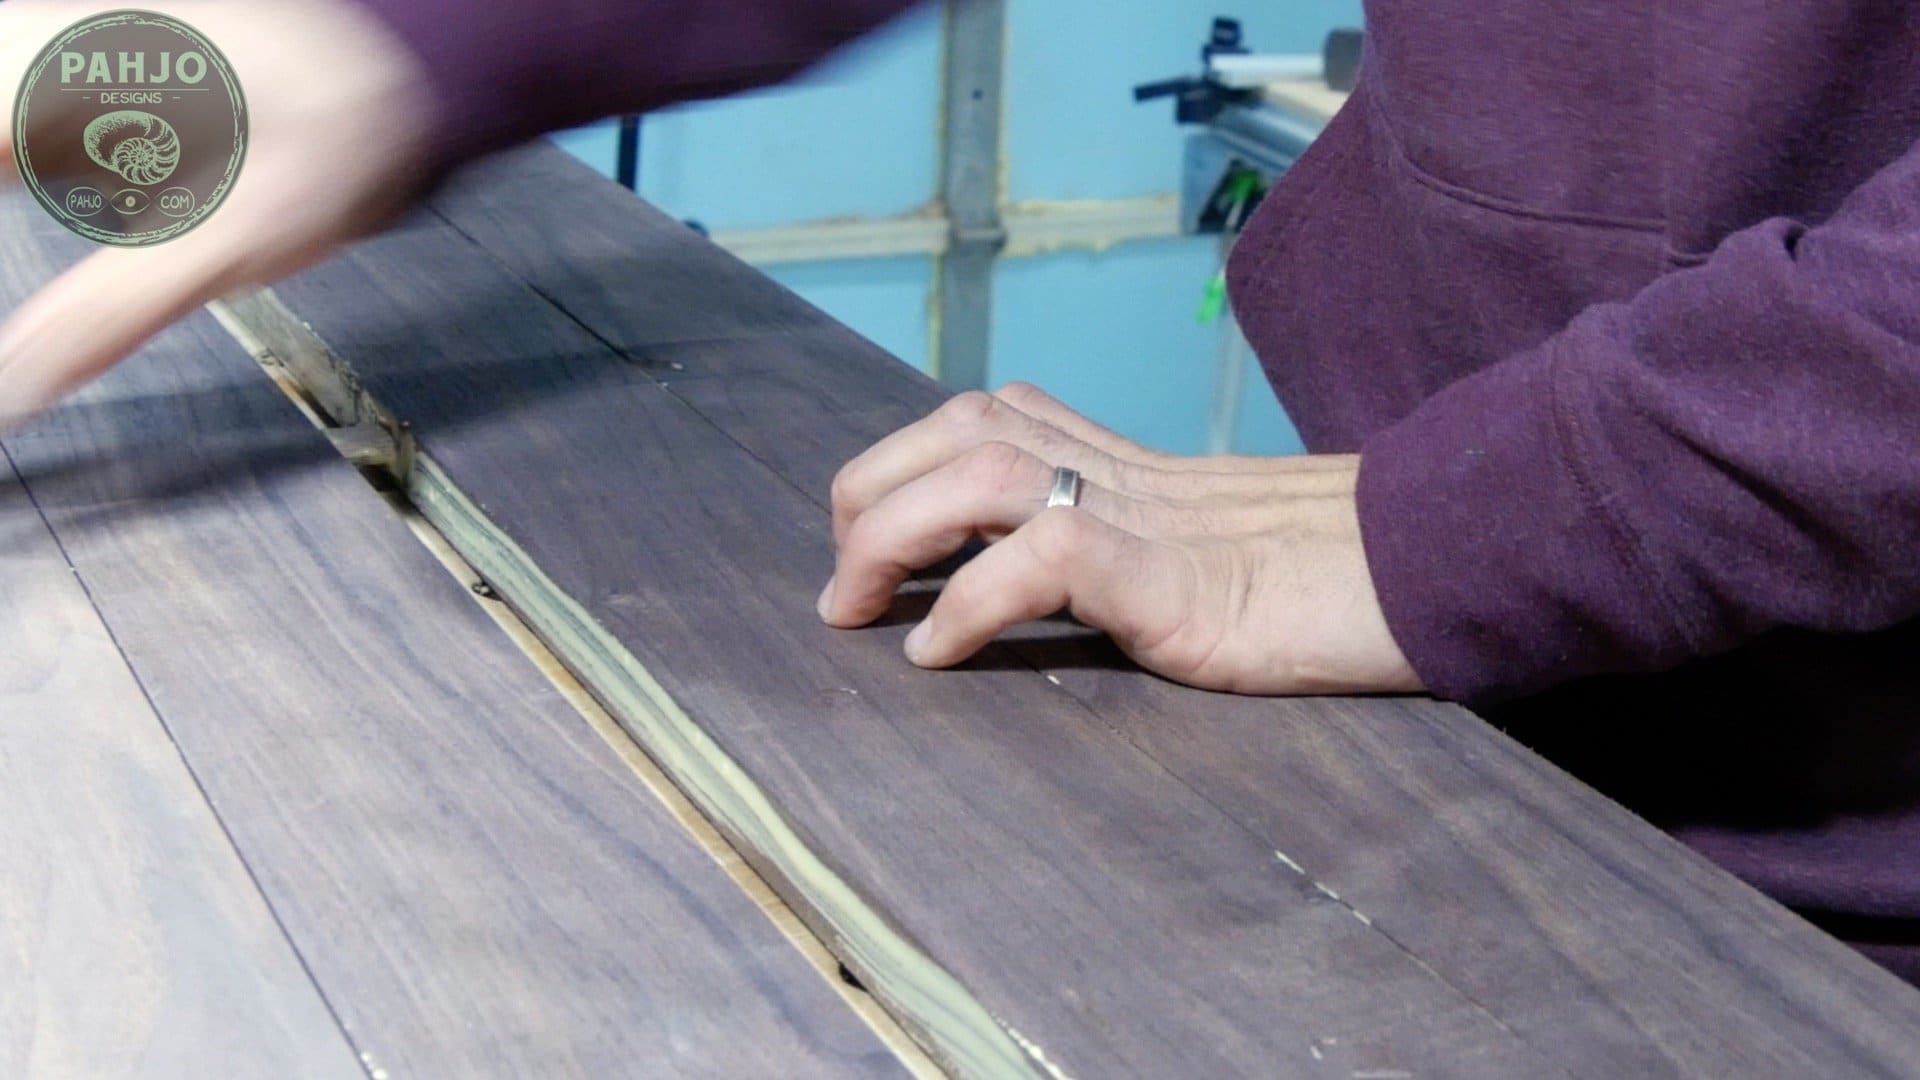
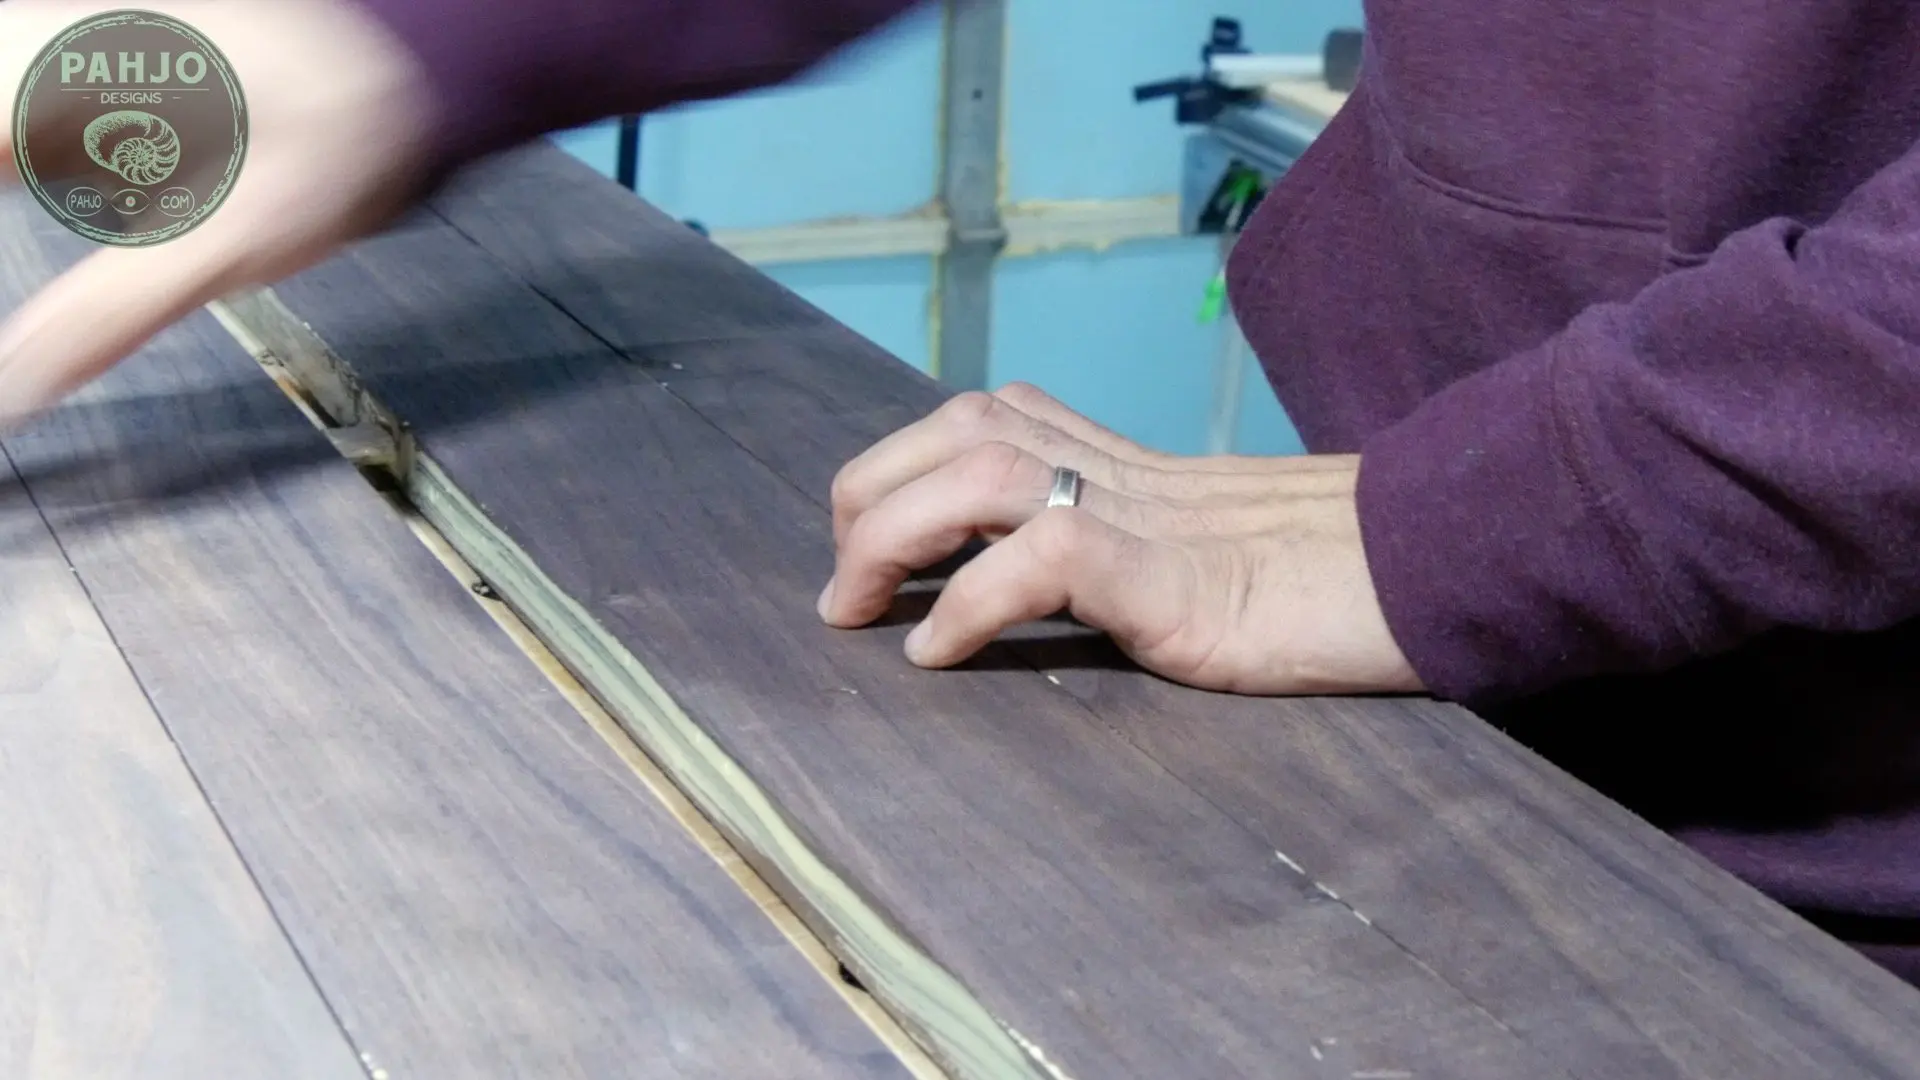
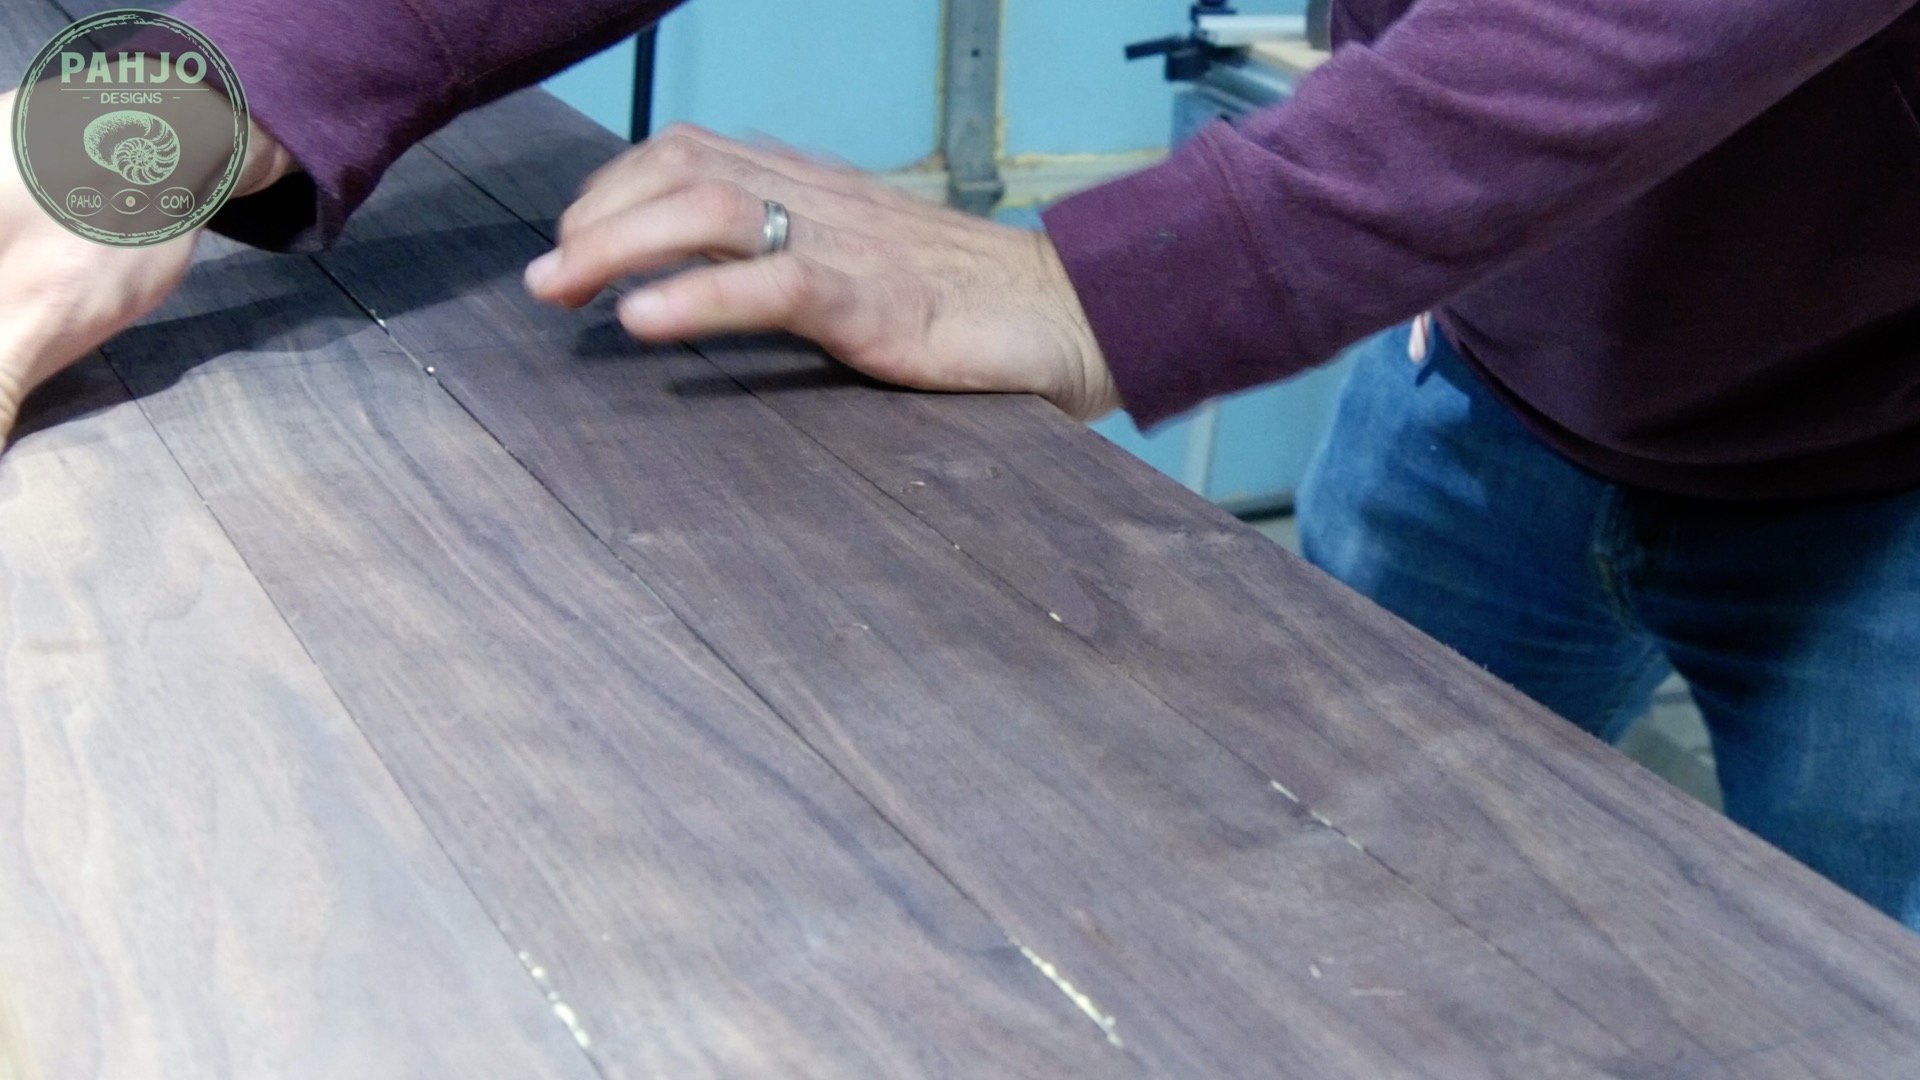
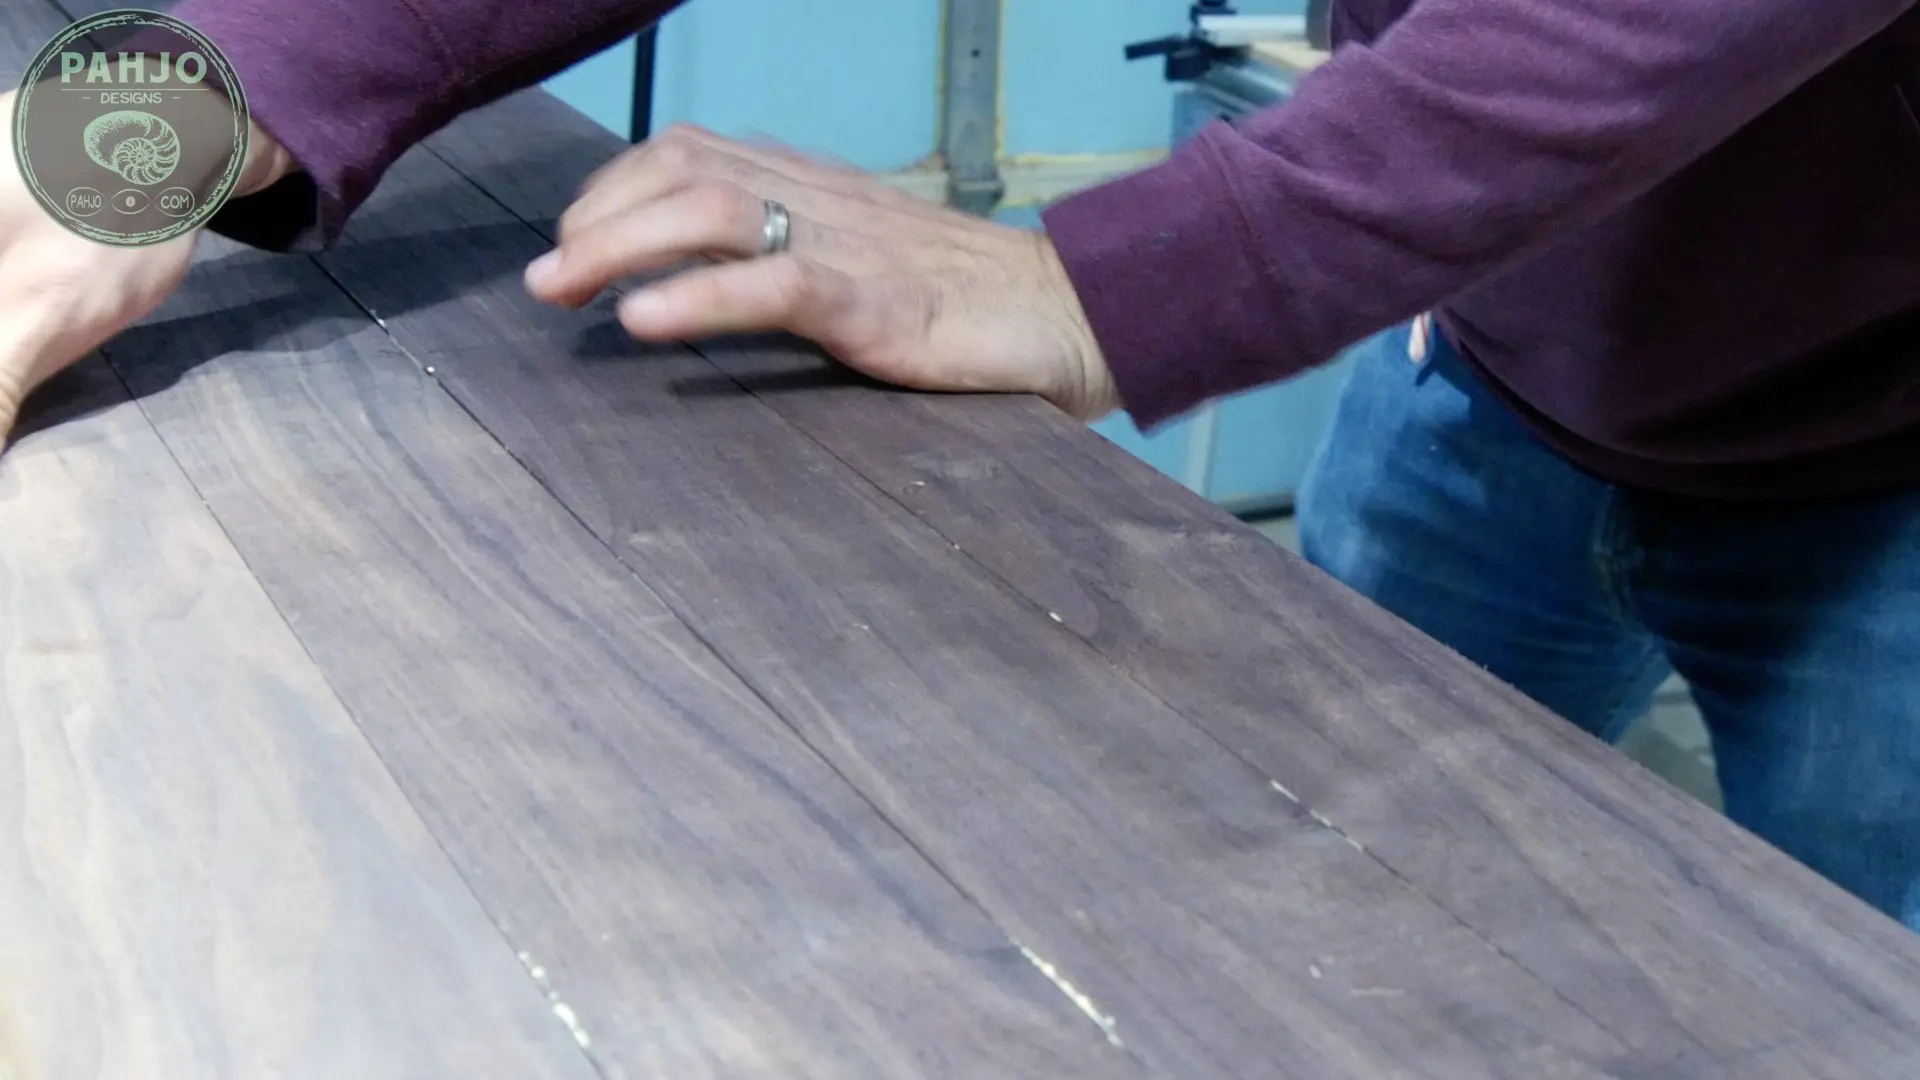
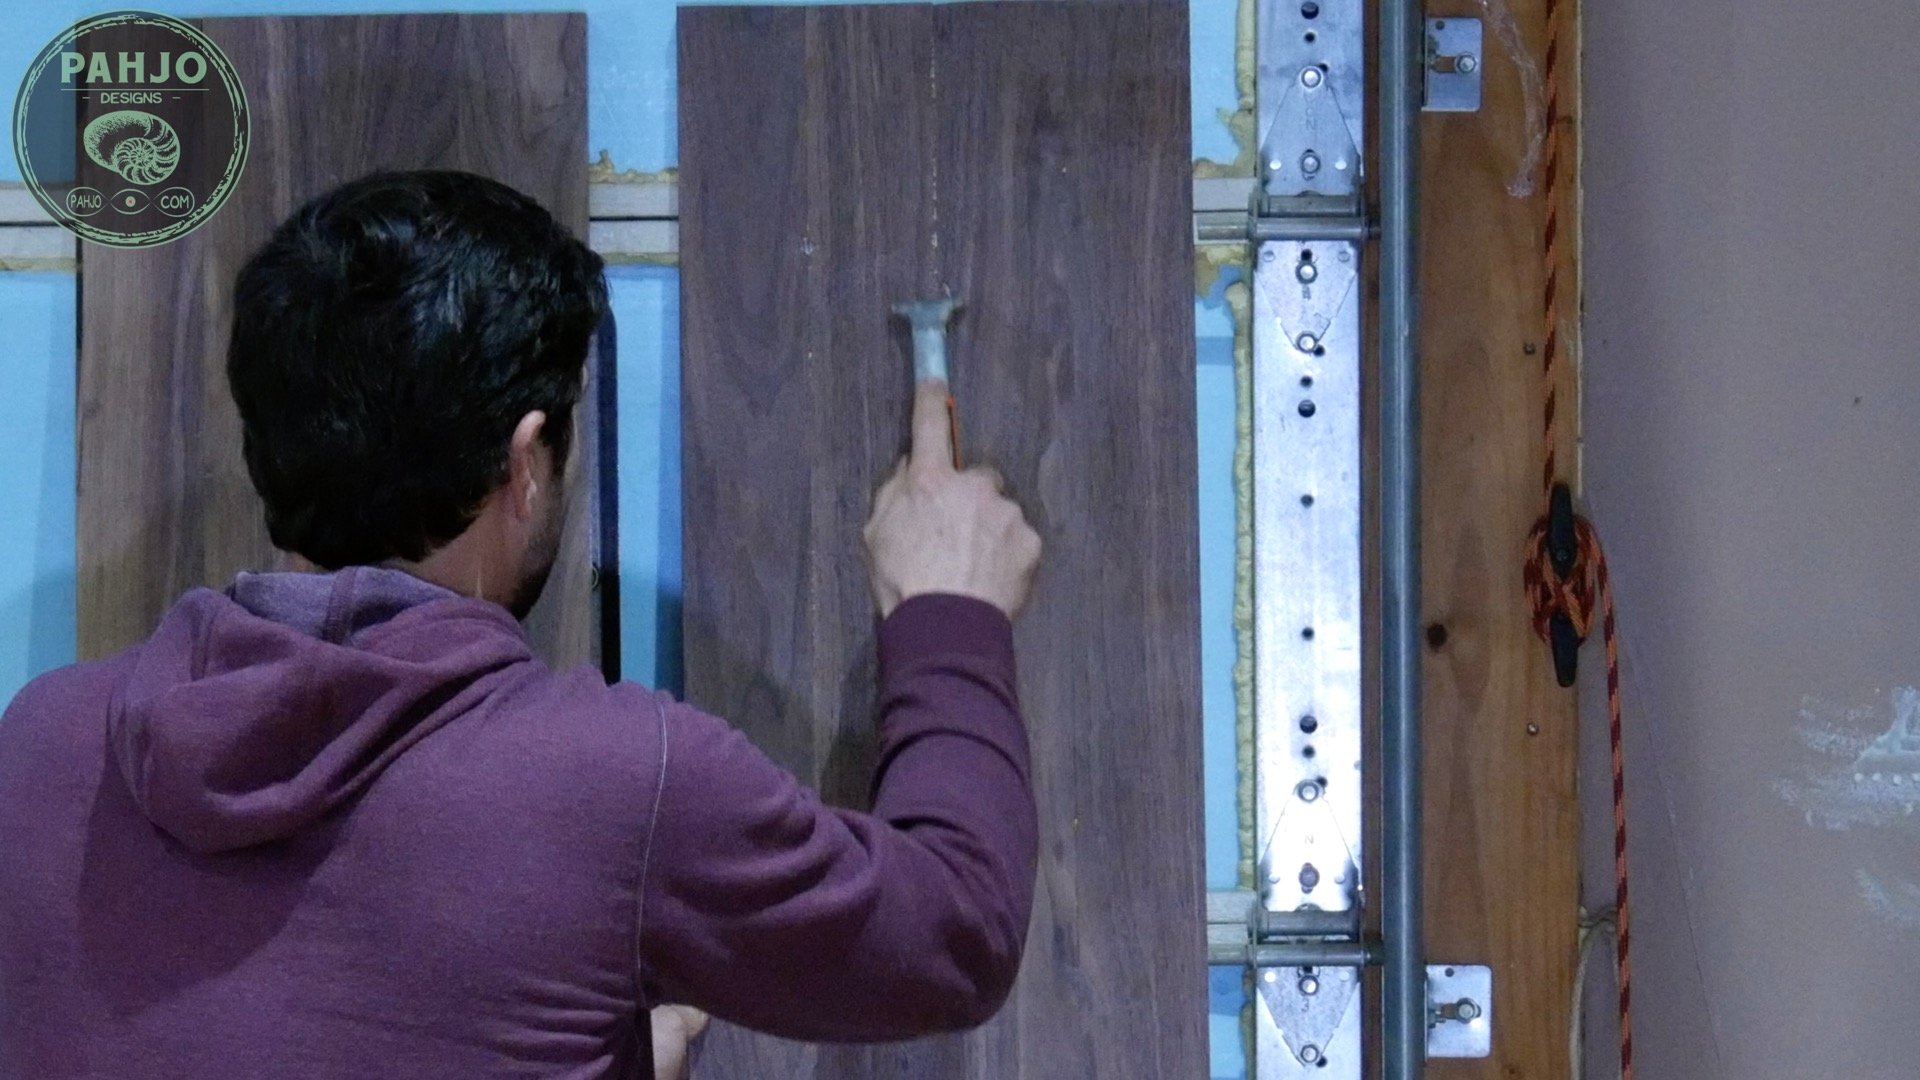
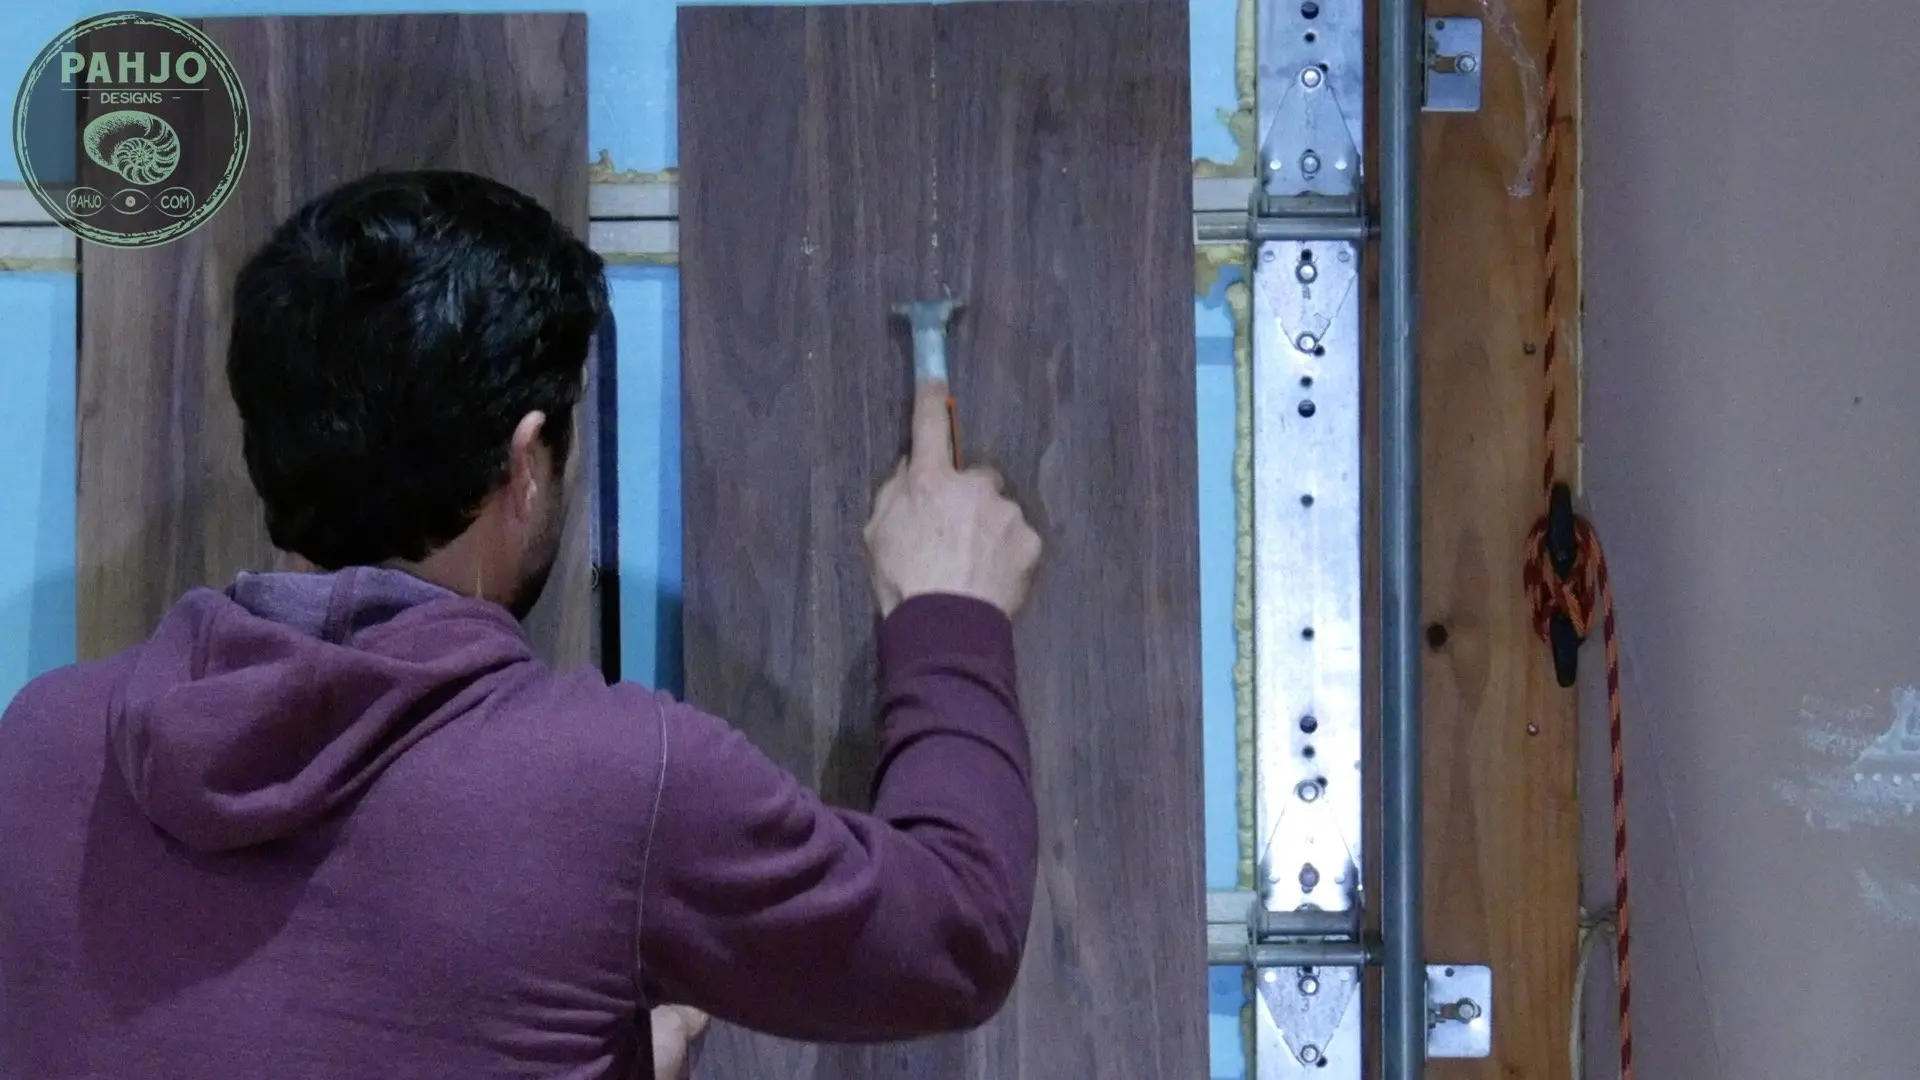
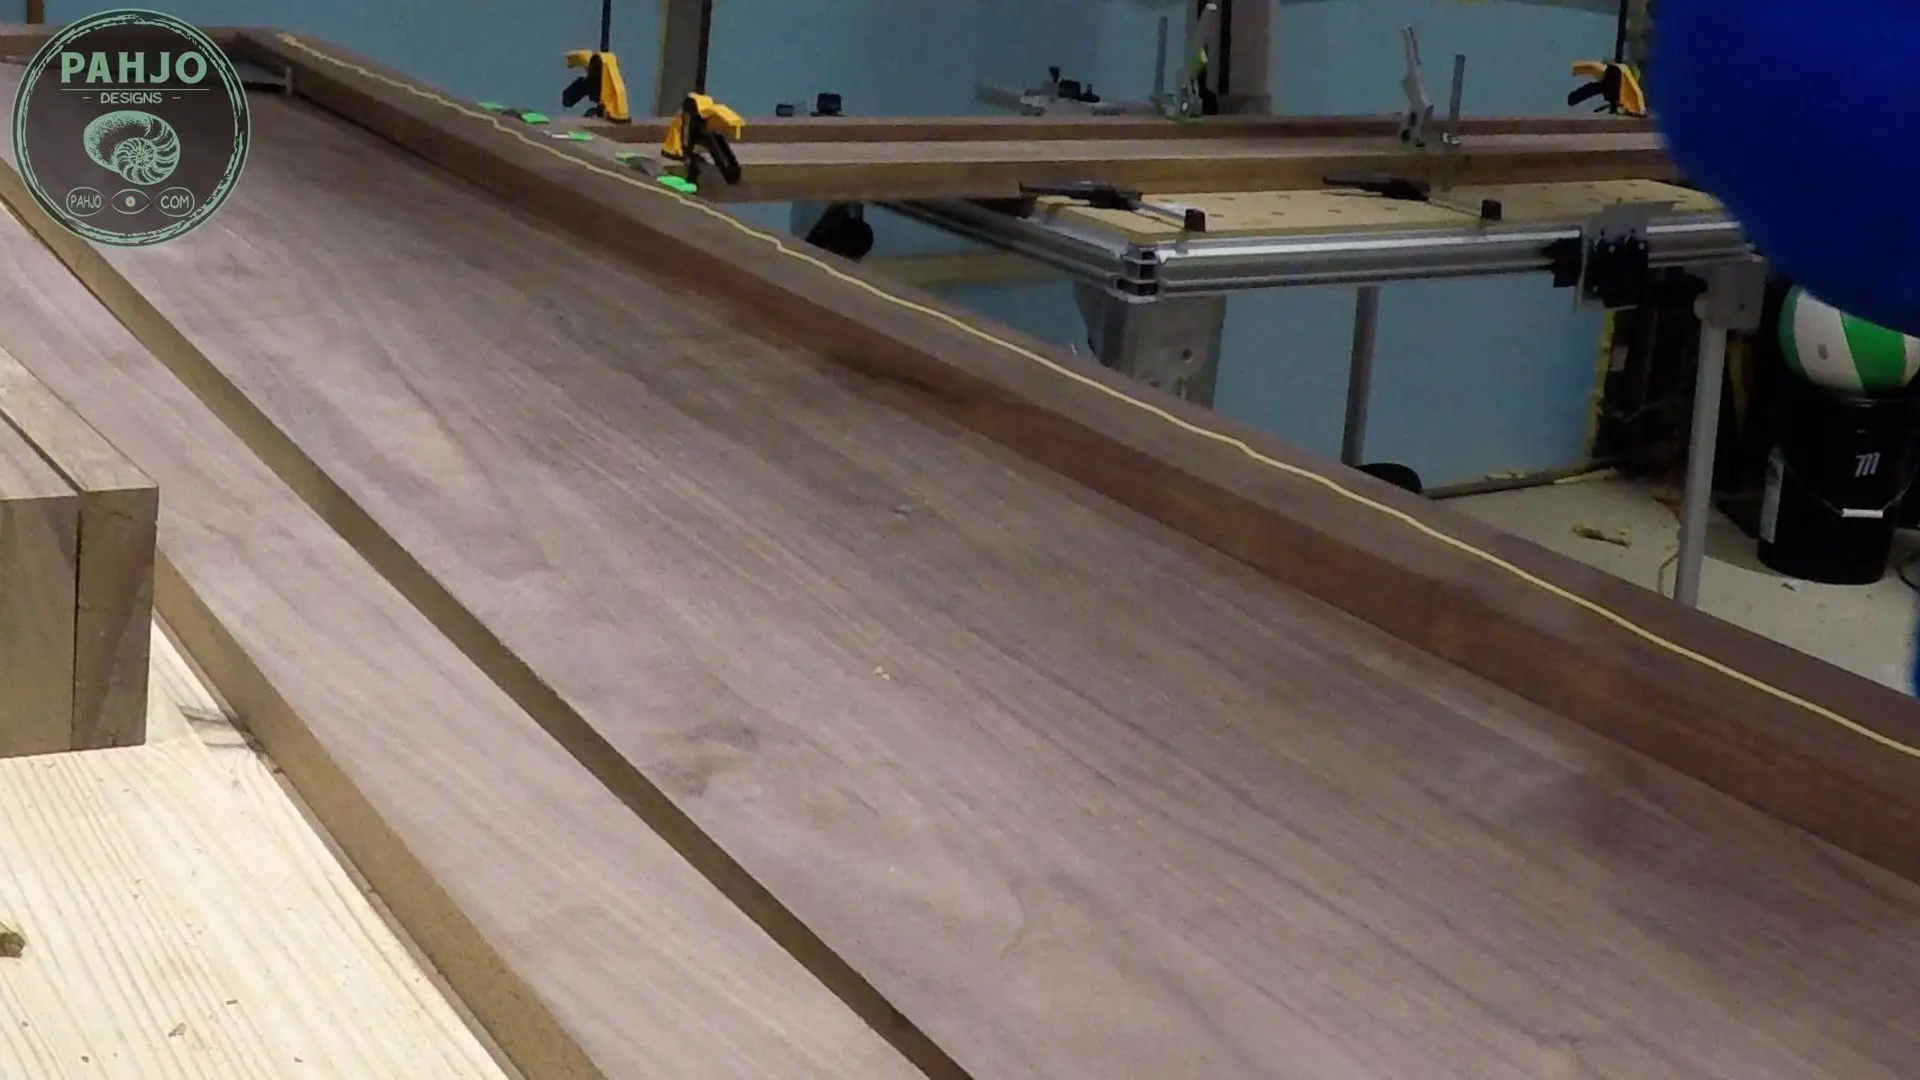
Once I glued each door, I clamped them together and let the glue dry for roughly 4 hours.
Next, I removed the clamps and used my glue scraper to remove any excess glue.
If you applied glue and clamped properly, you should have a small amount of excess which squeezed out.
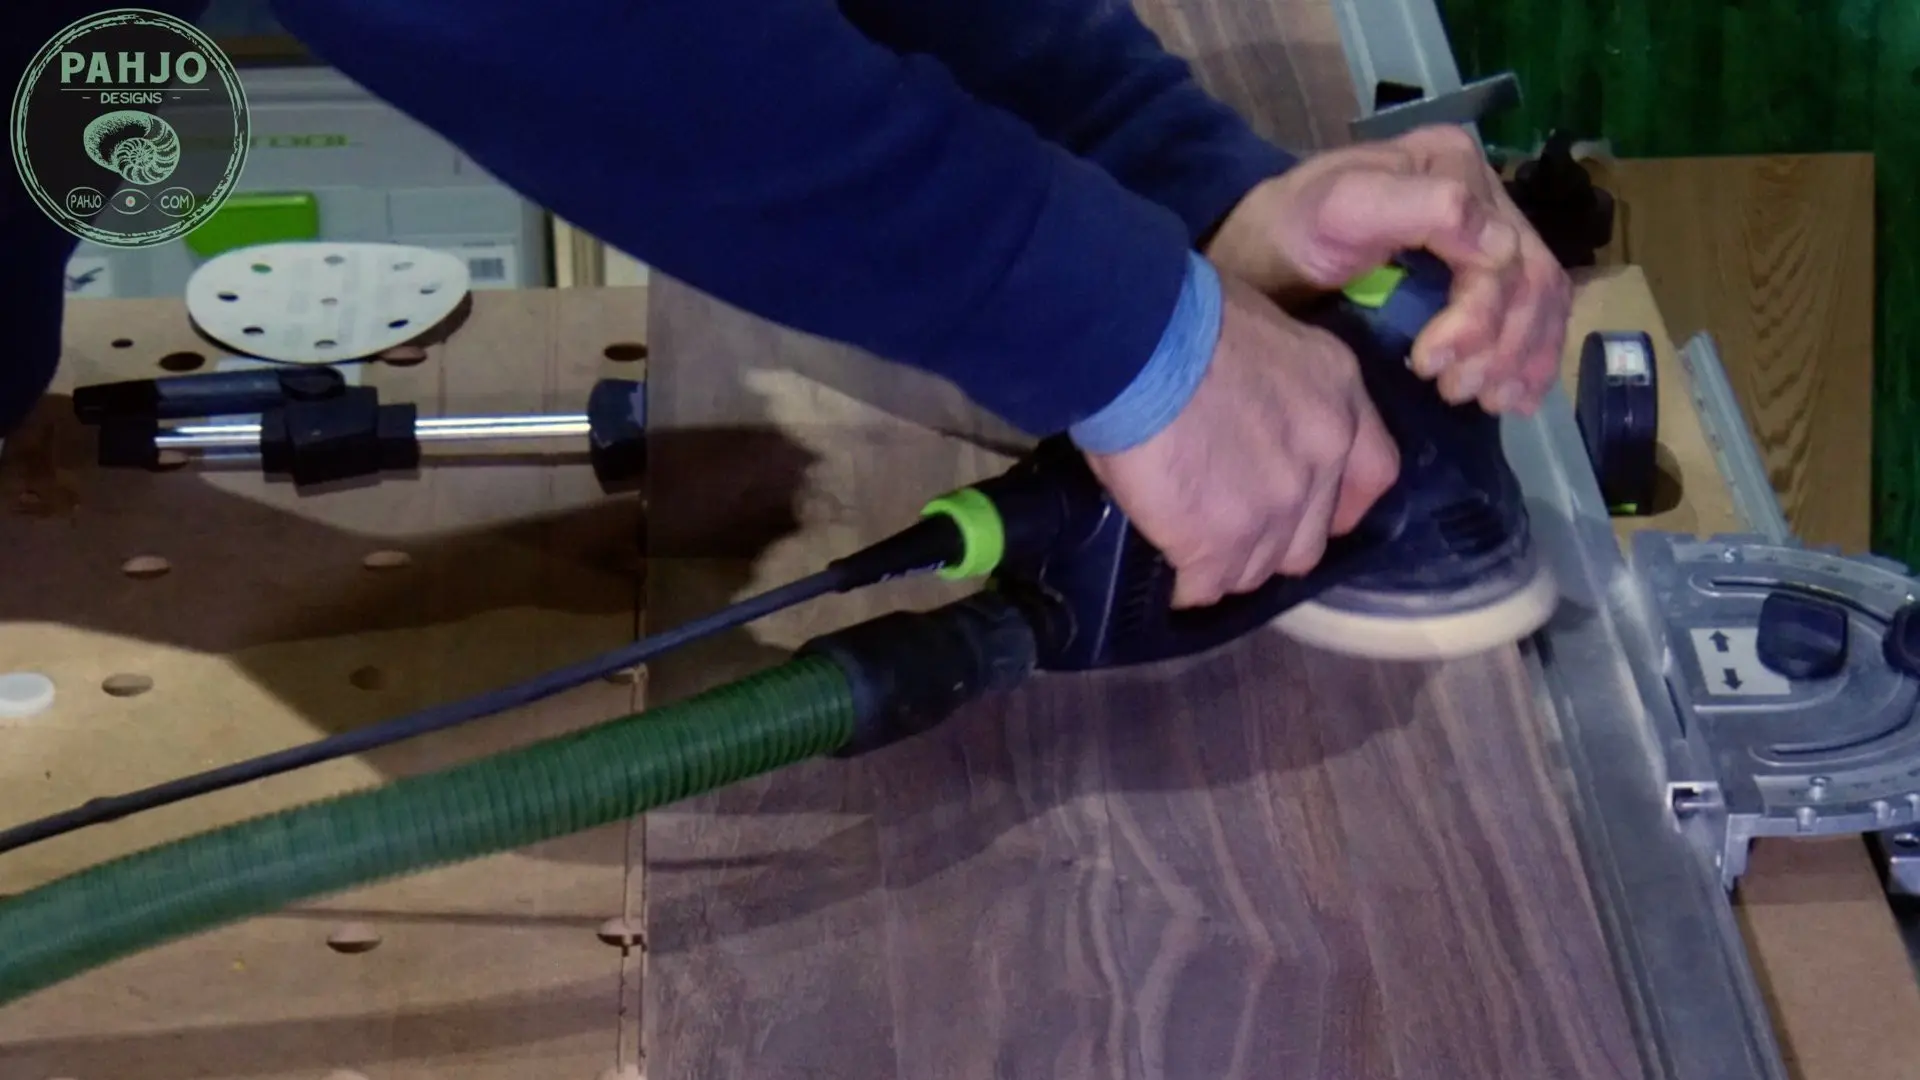
Sand Wood
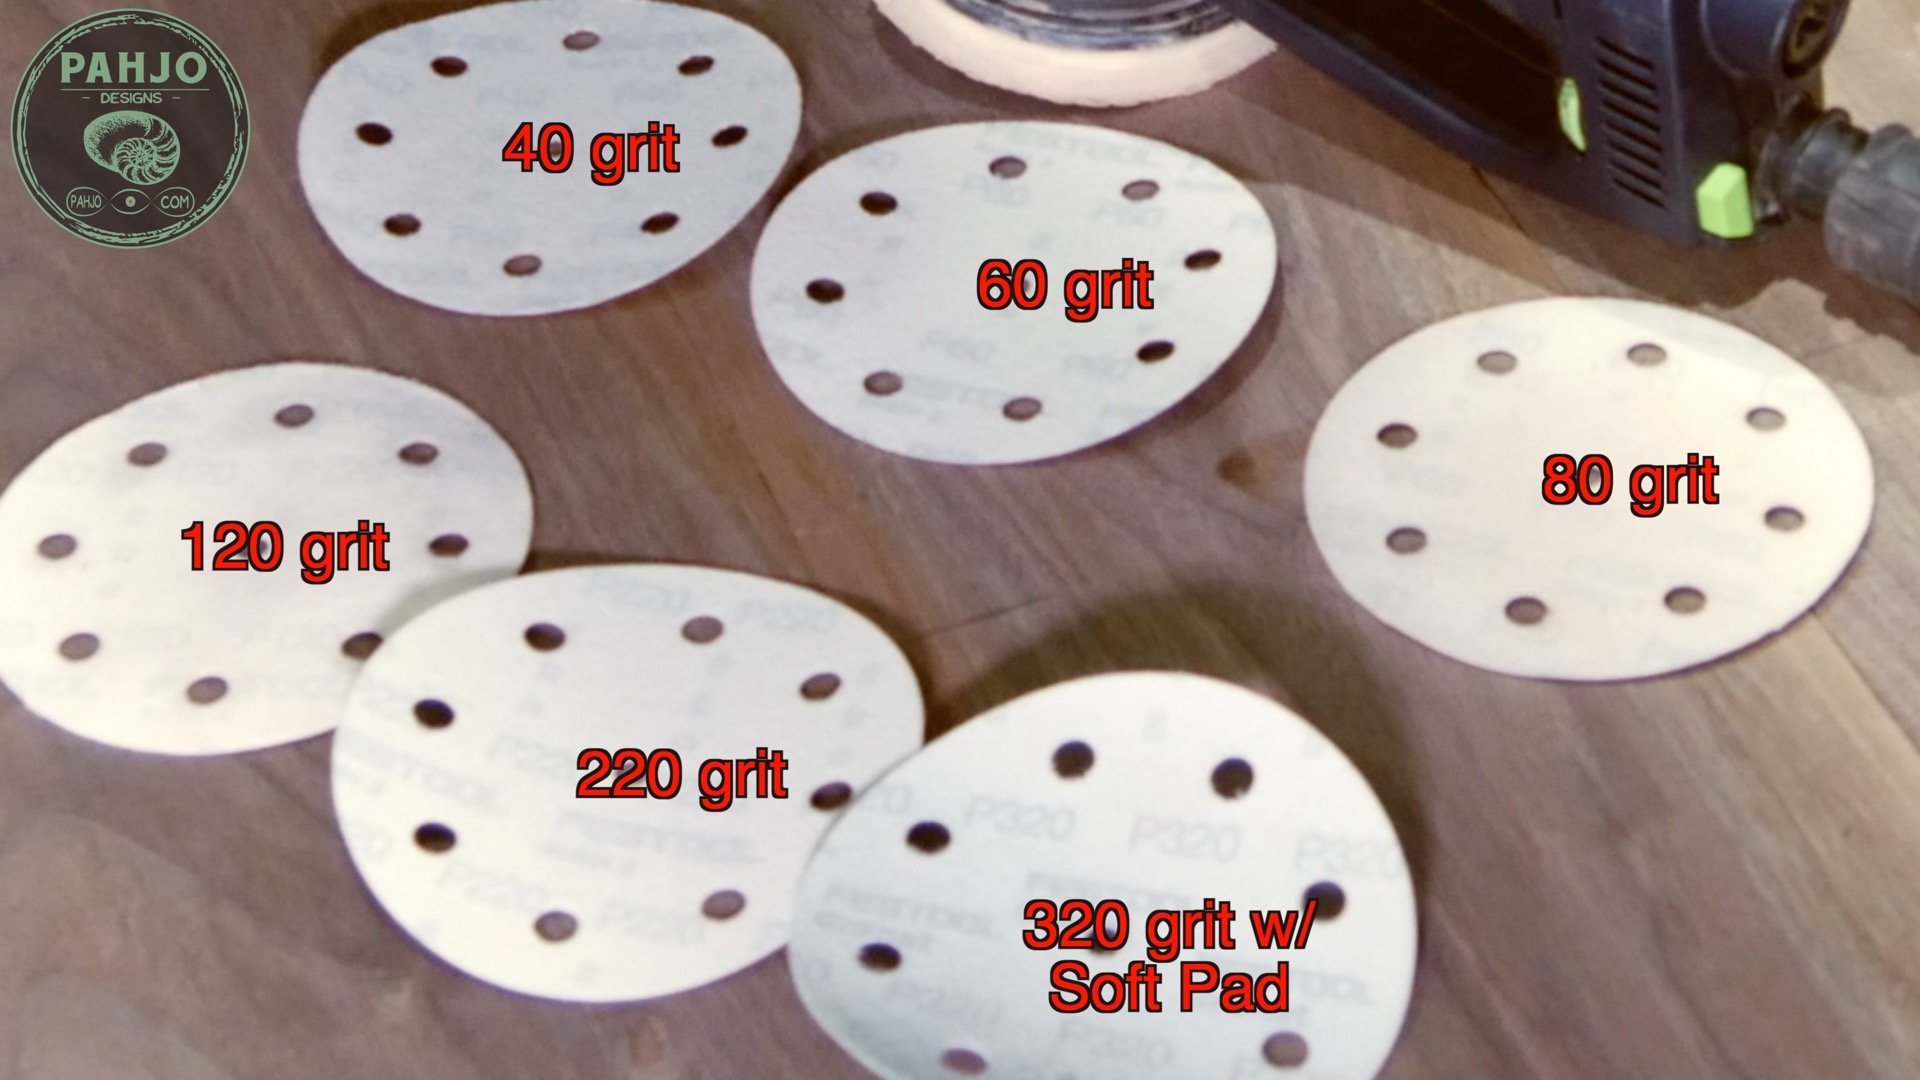
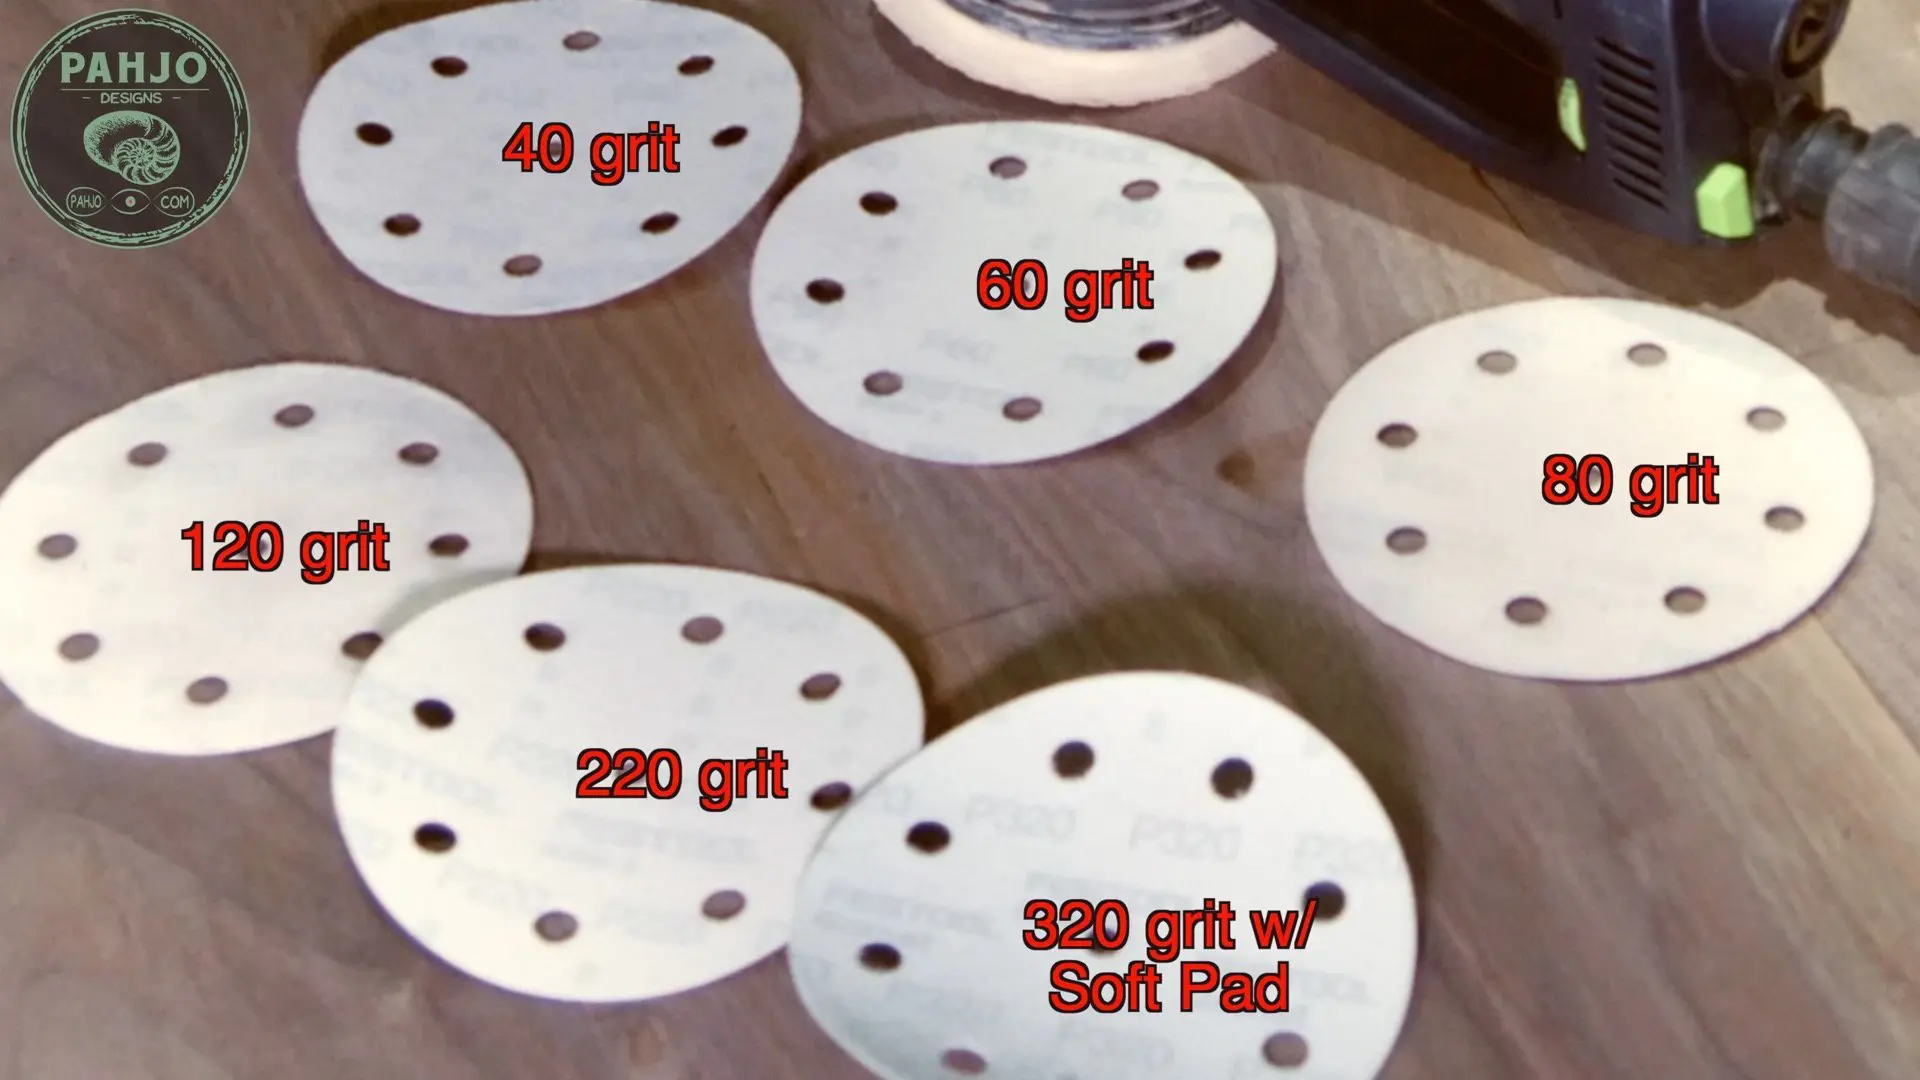
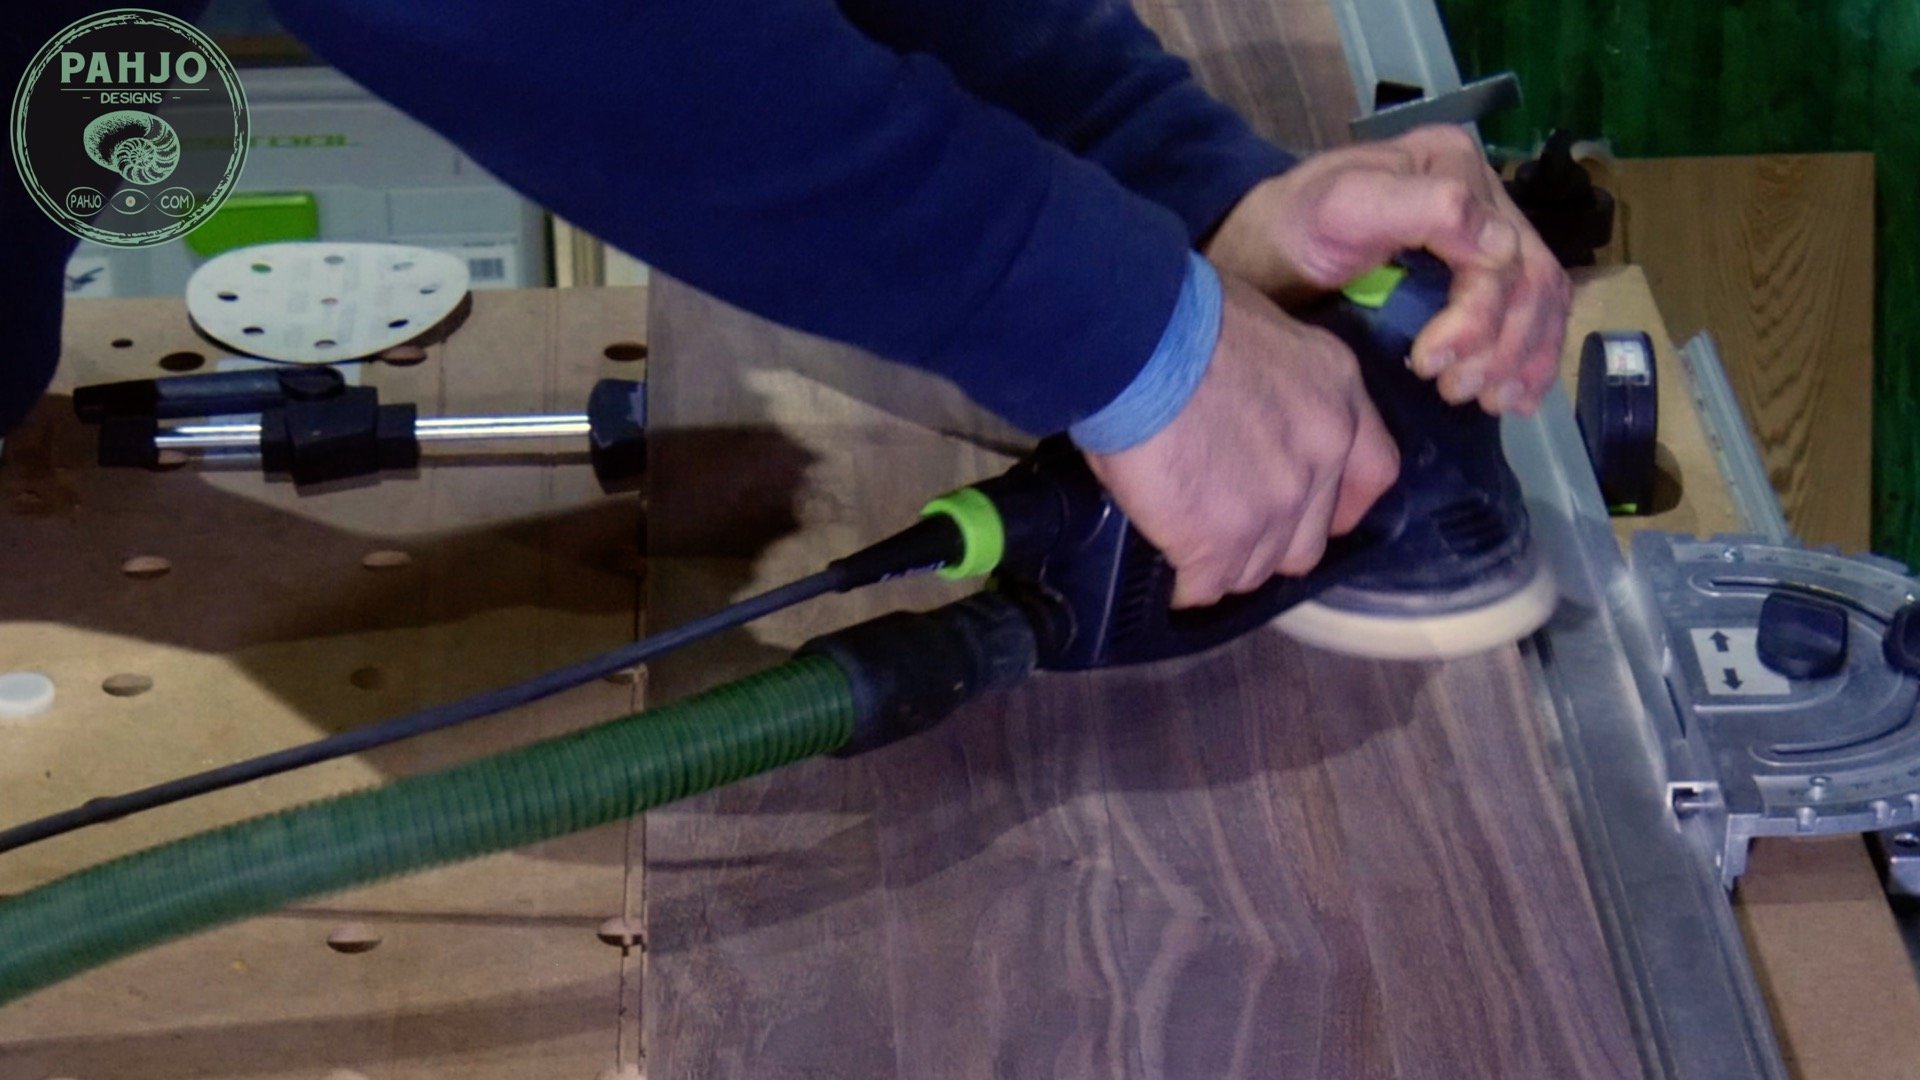
Love the process or loathe the process, sanding is vitally important to woodworking project.
Essentially, I followed the same sanding process for these DIY double sliding barn doors as the matching DIY Walnut dining table project.
My tried and true wood sanding technique works well for all wood species.
Outer Stile and Rail
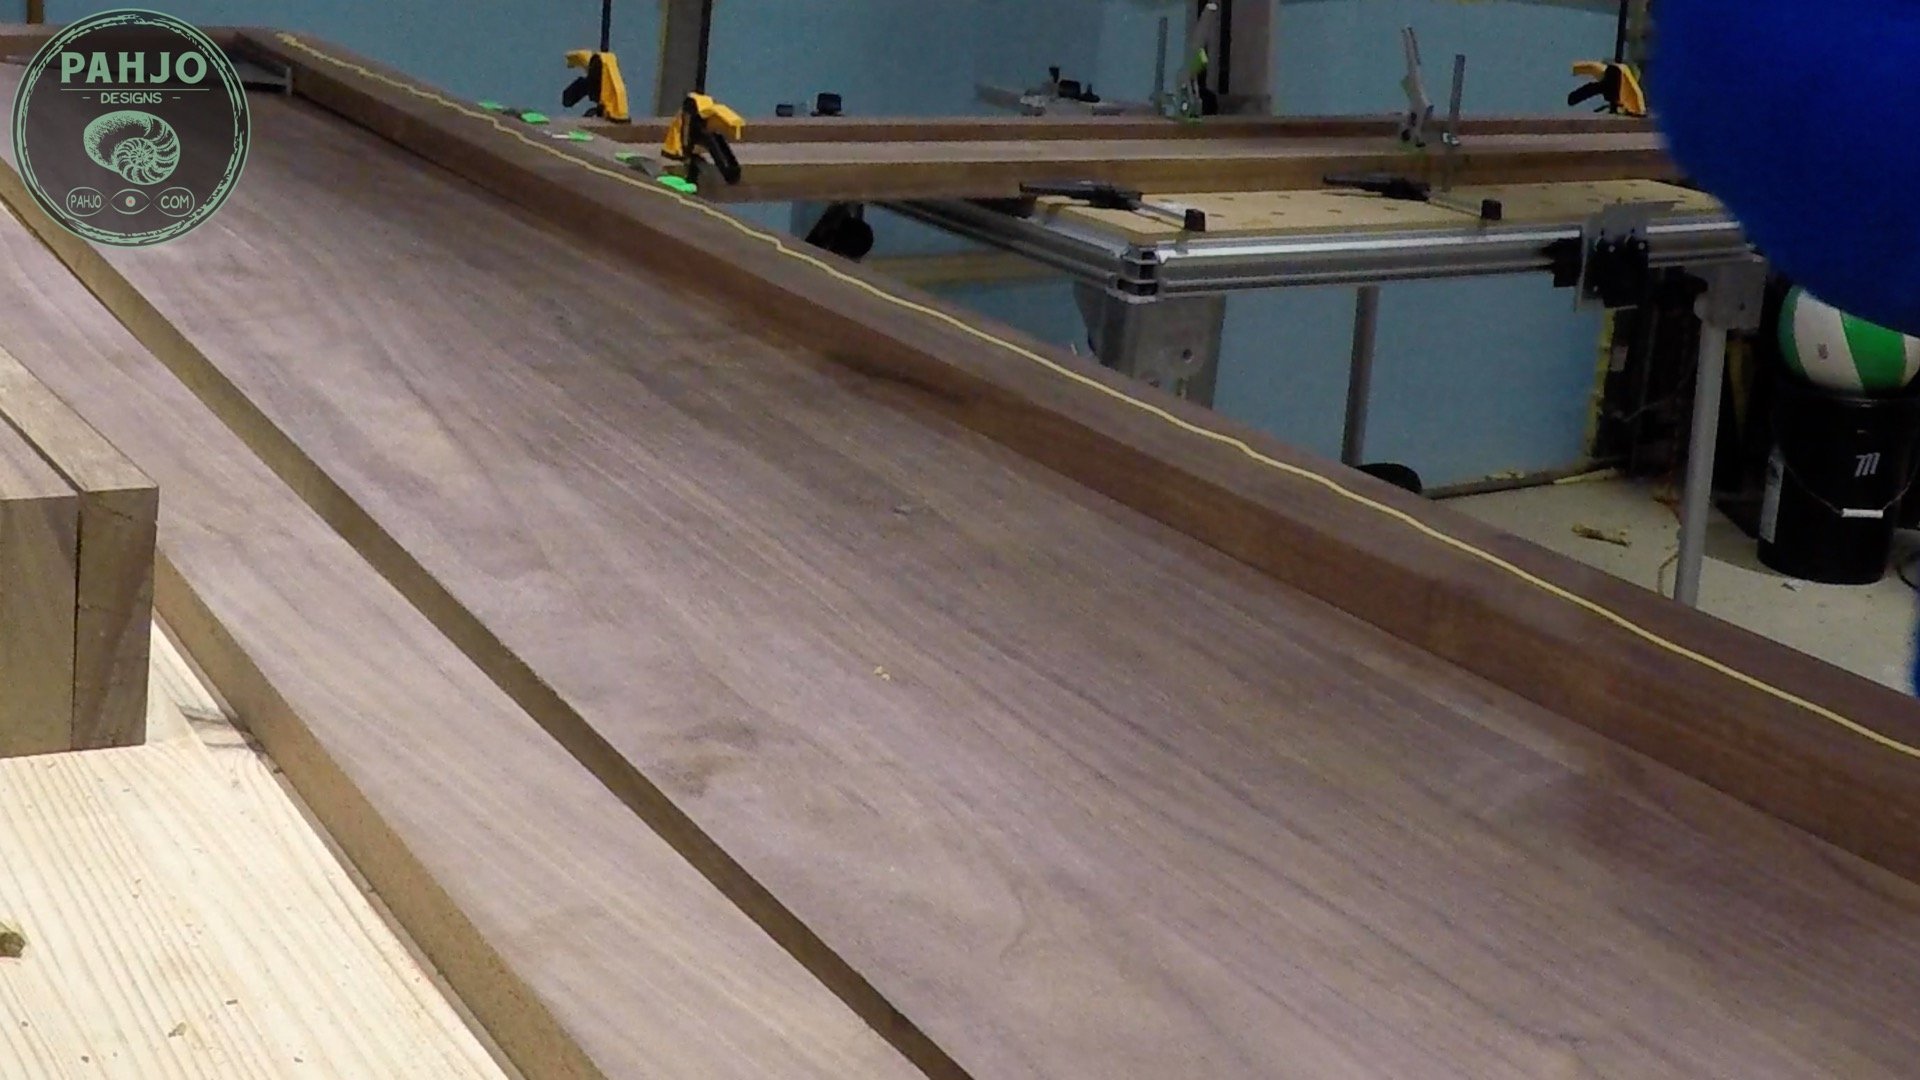
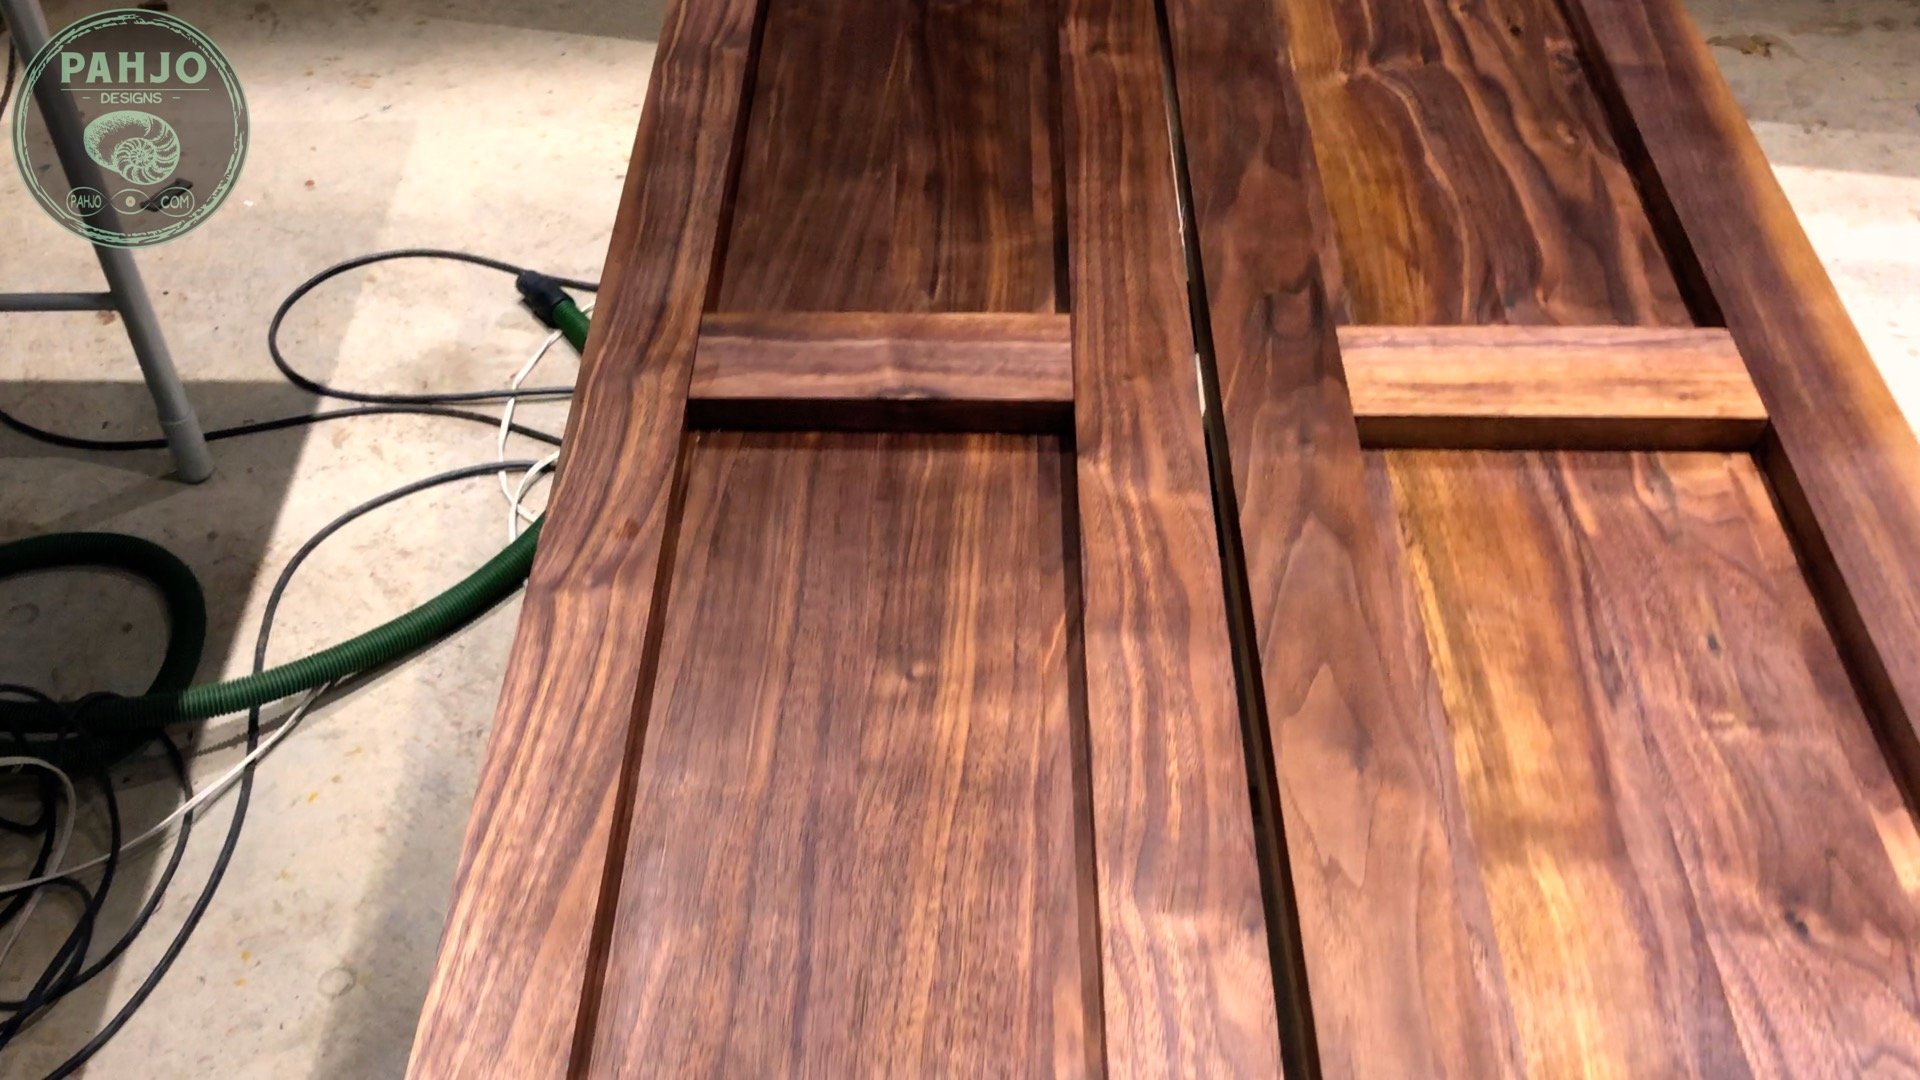
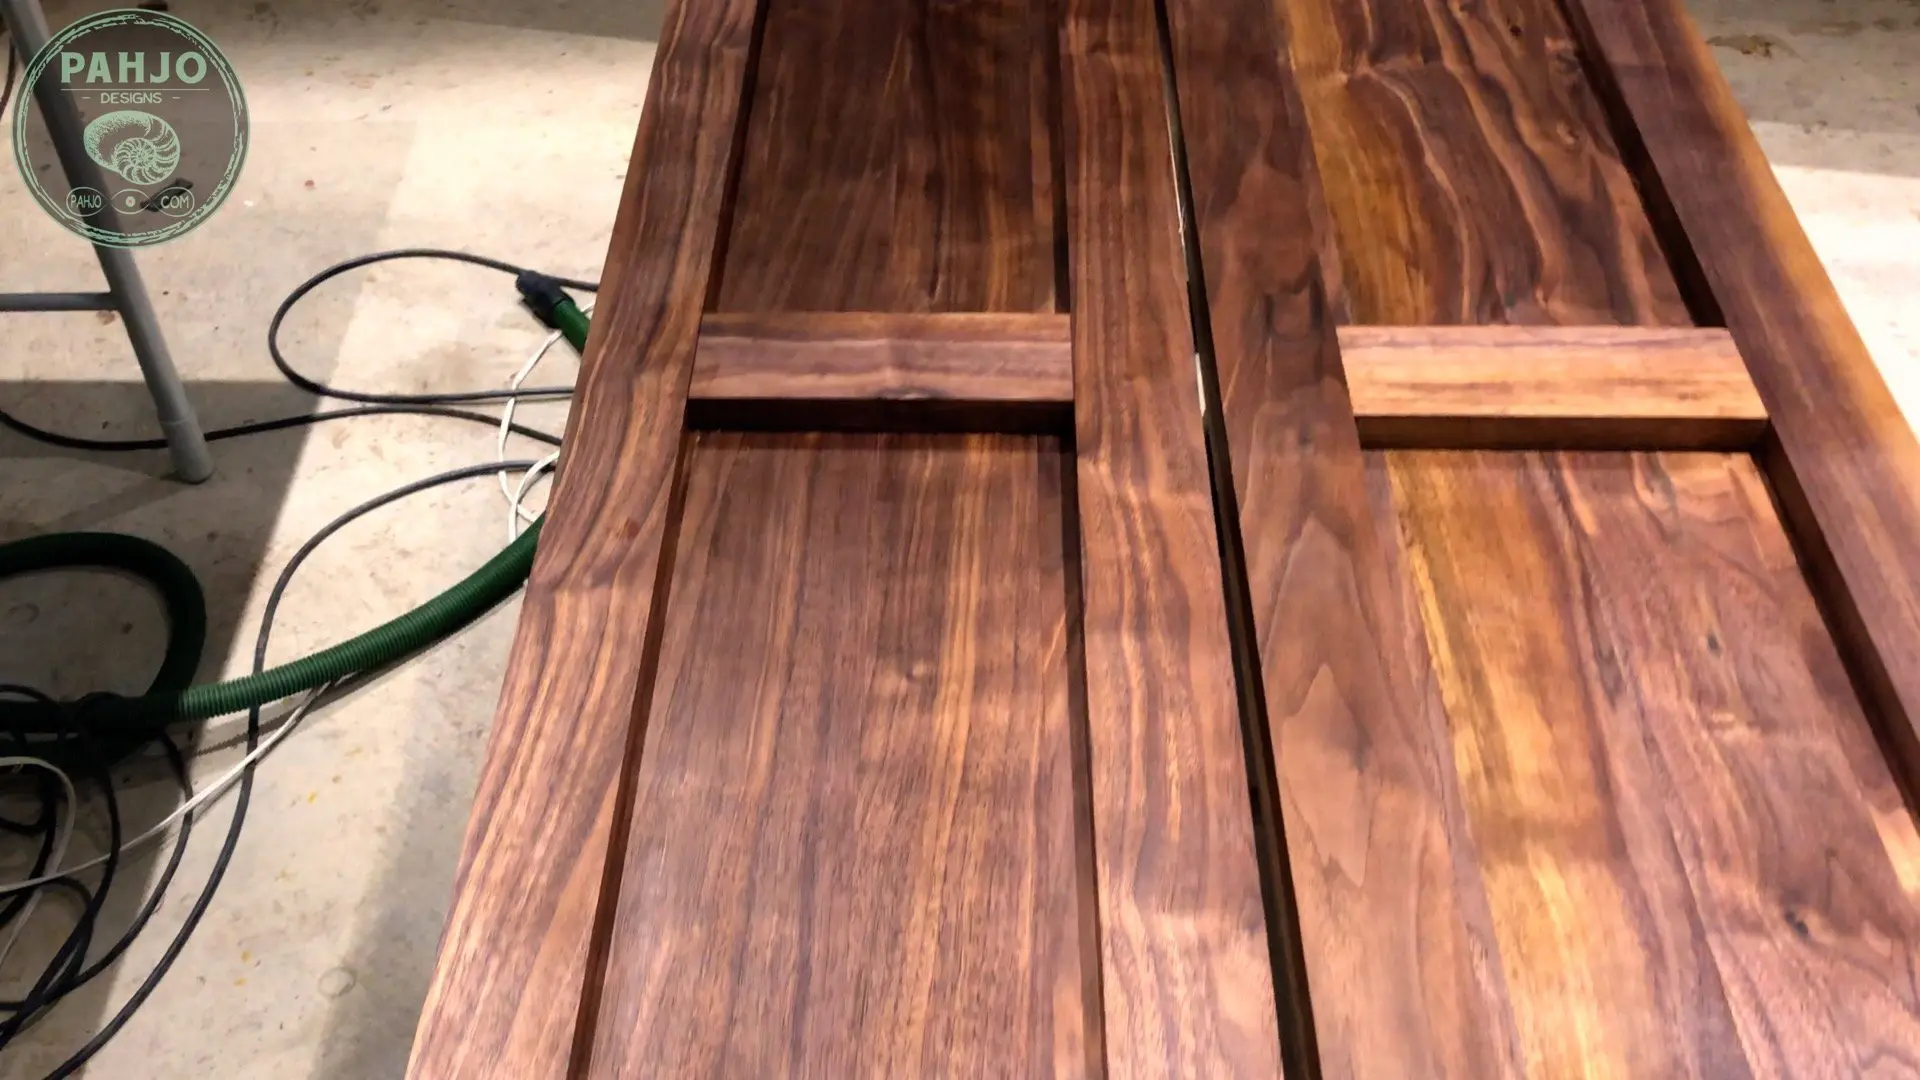
To make the flat wood panels look like barn doors, I used an ‘H’ design pattern.
Essentially, this design consists of smaller boards around the perimeter and one perpendicular board in the middle.
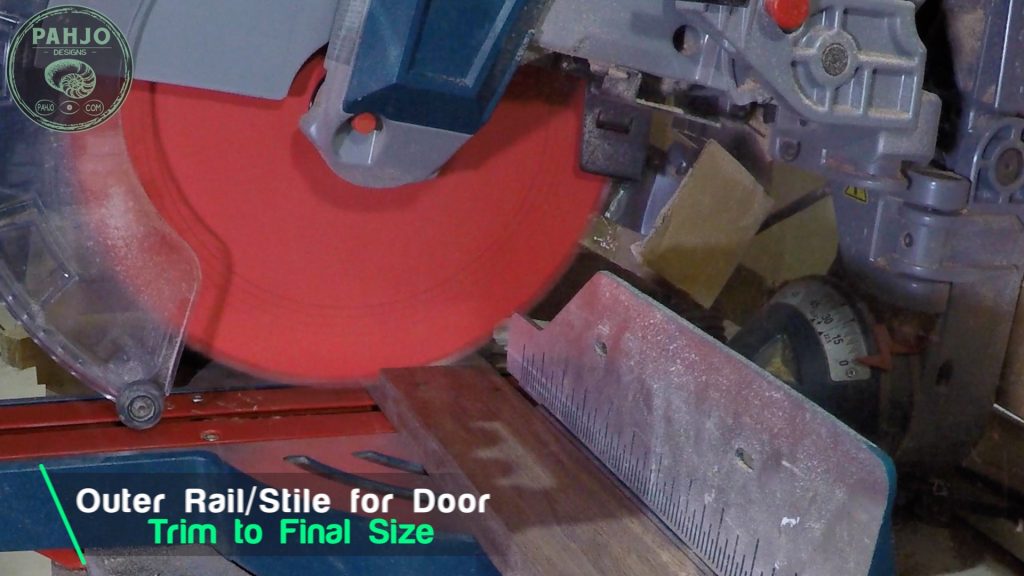
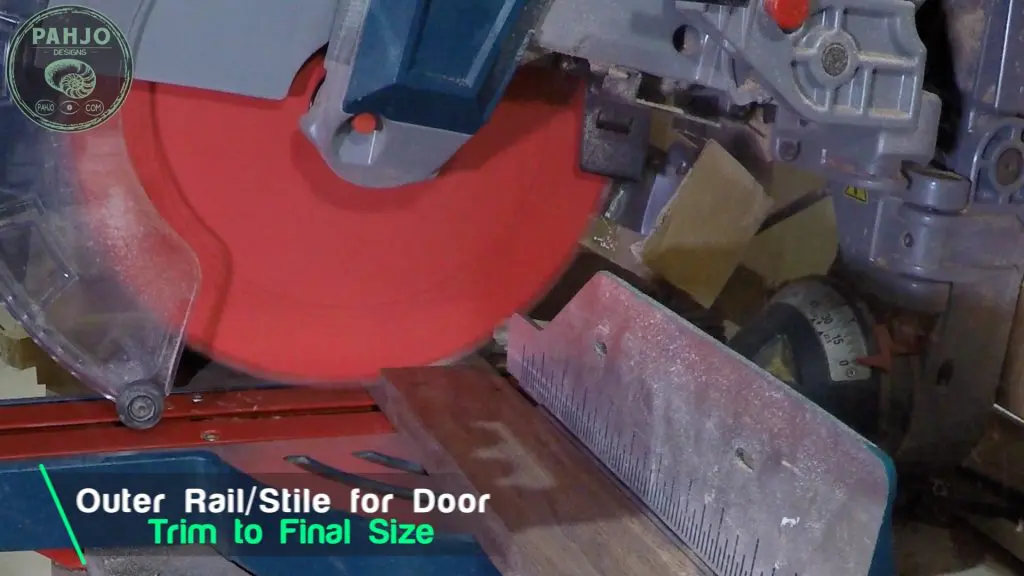
First, I verified my measurements on each panel and cut the boards to size.
Next, I liberally spread glue on each board and put them in place.
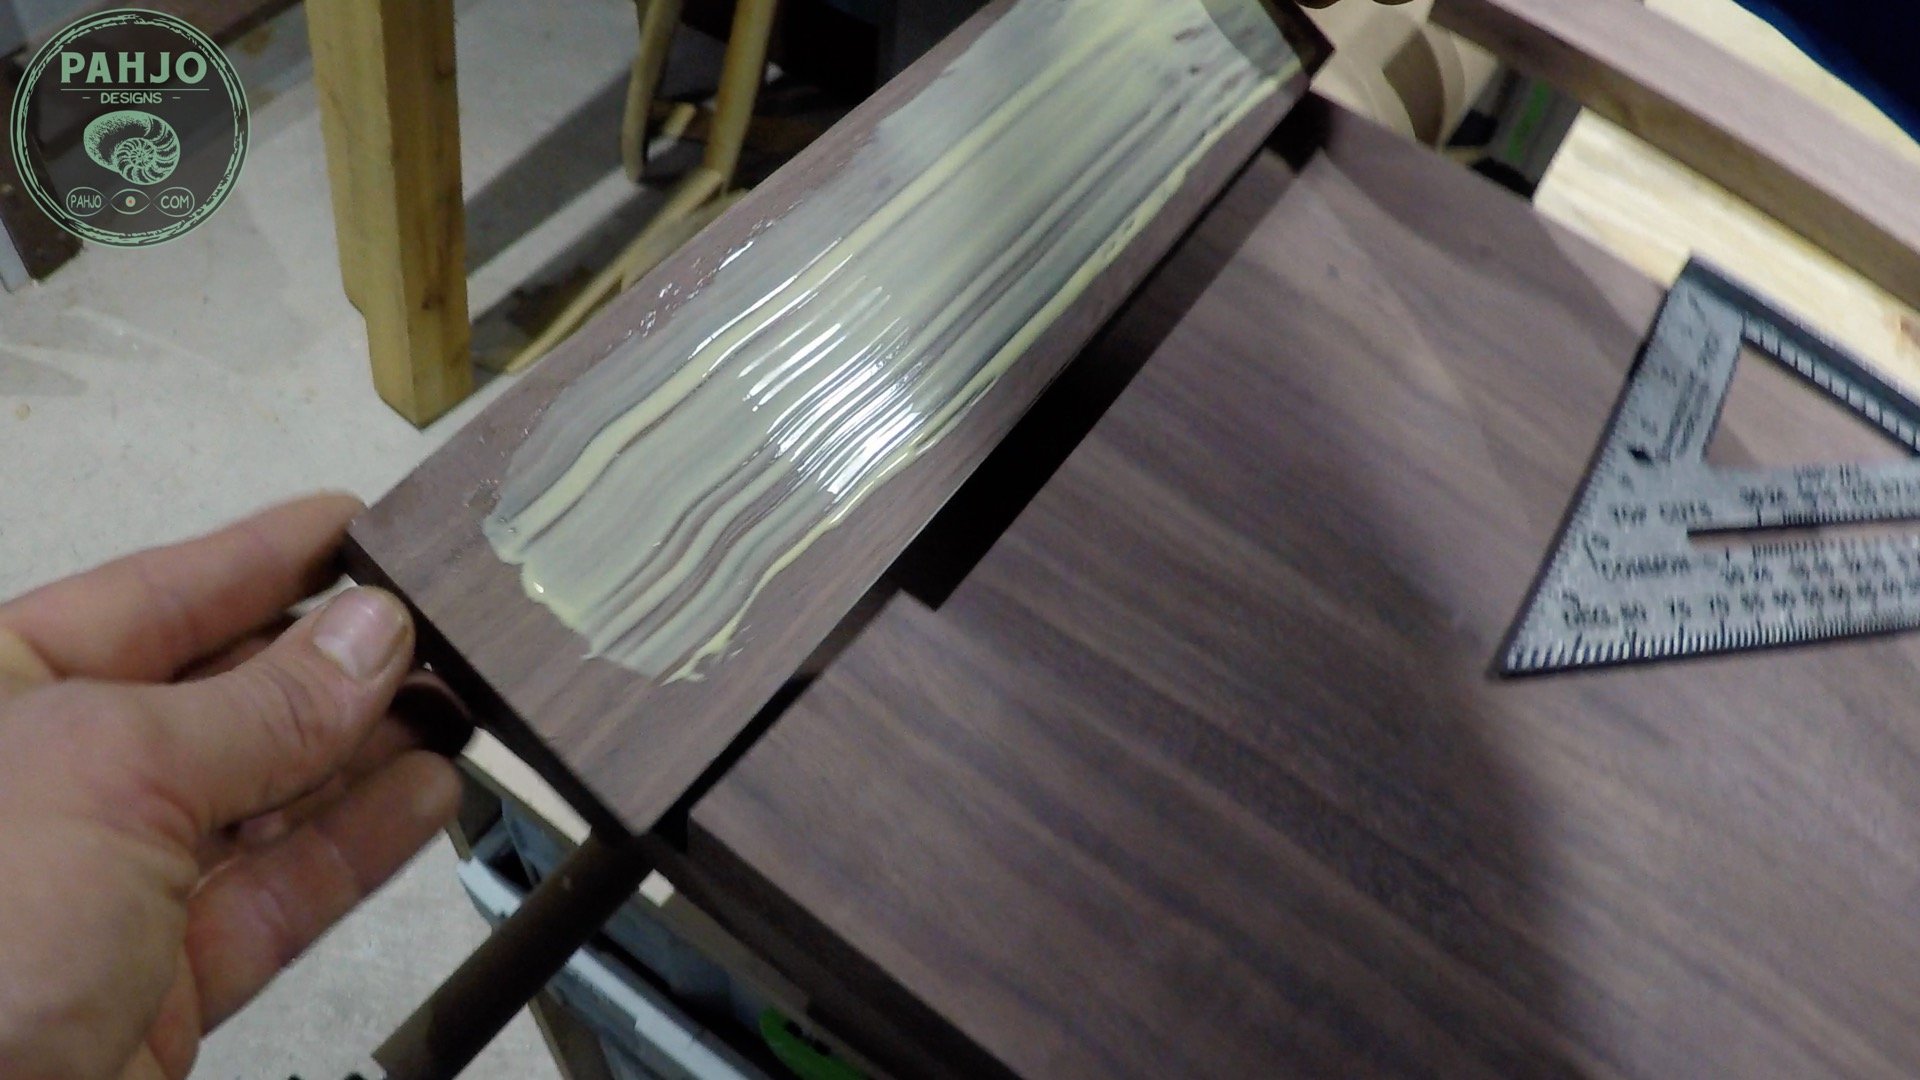
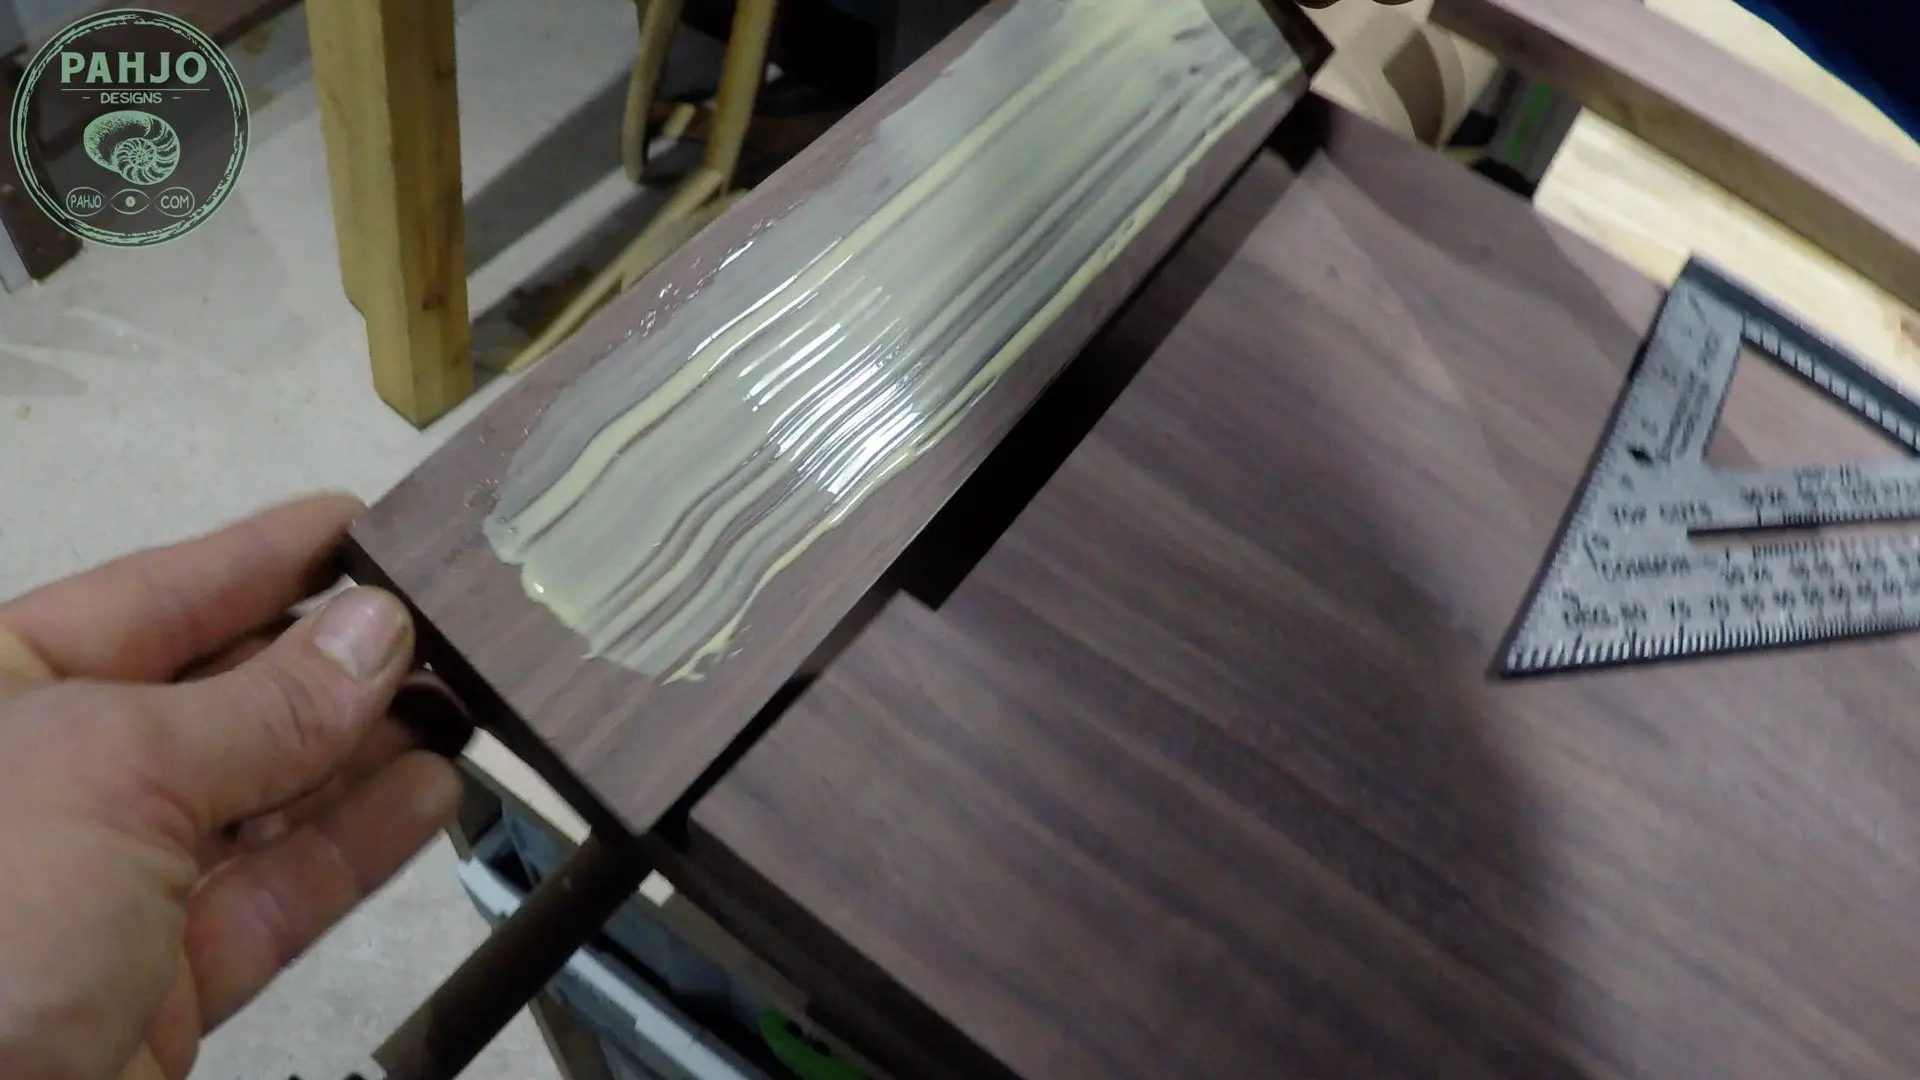
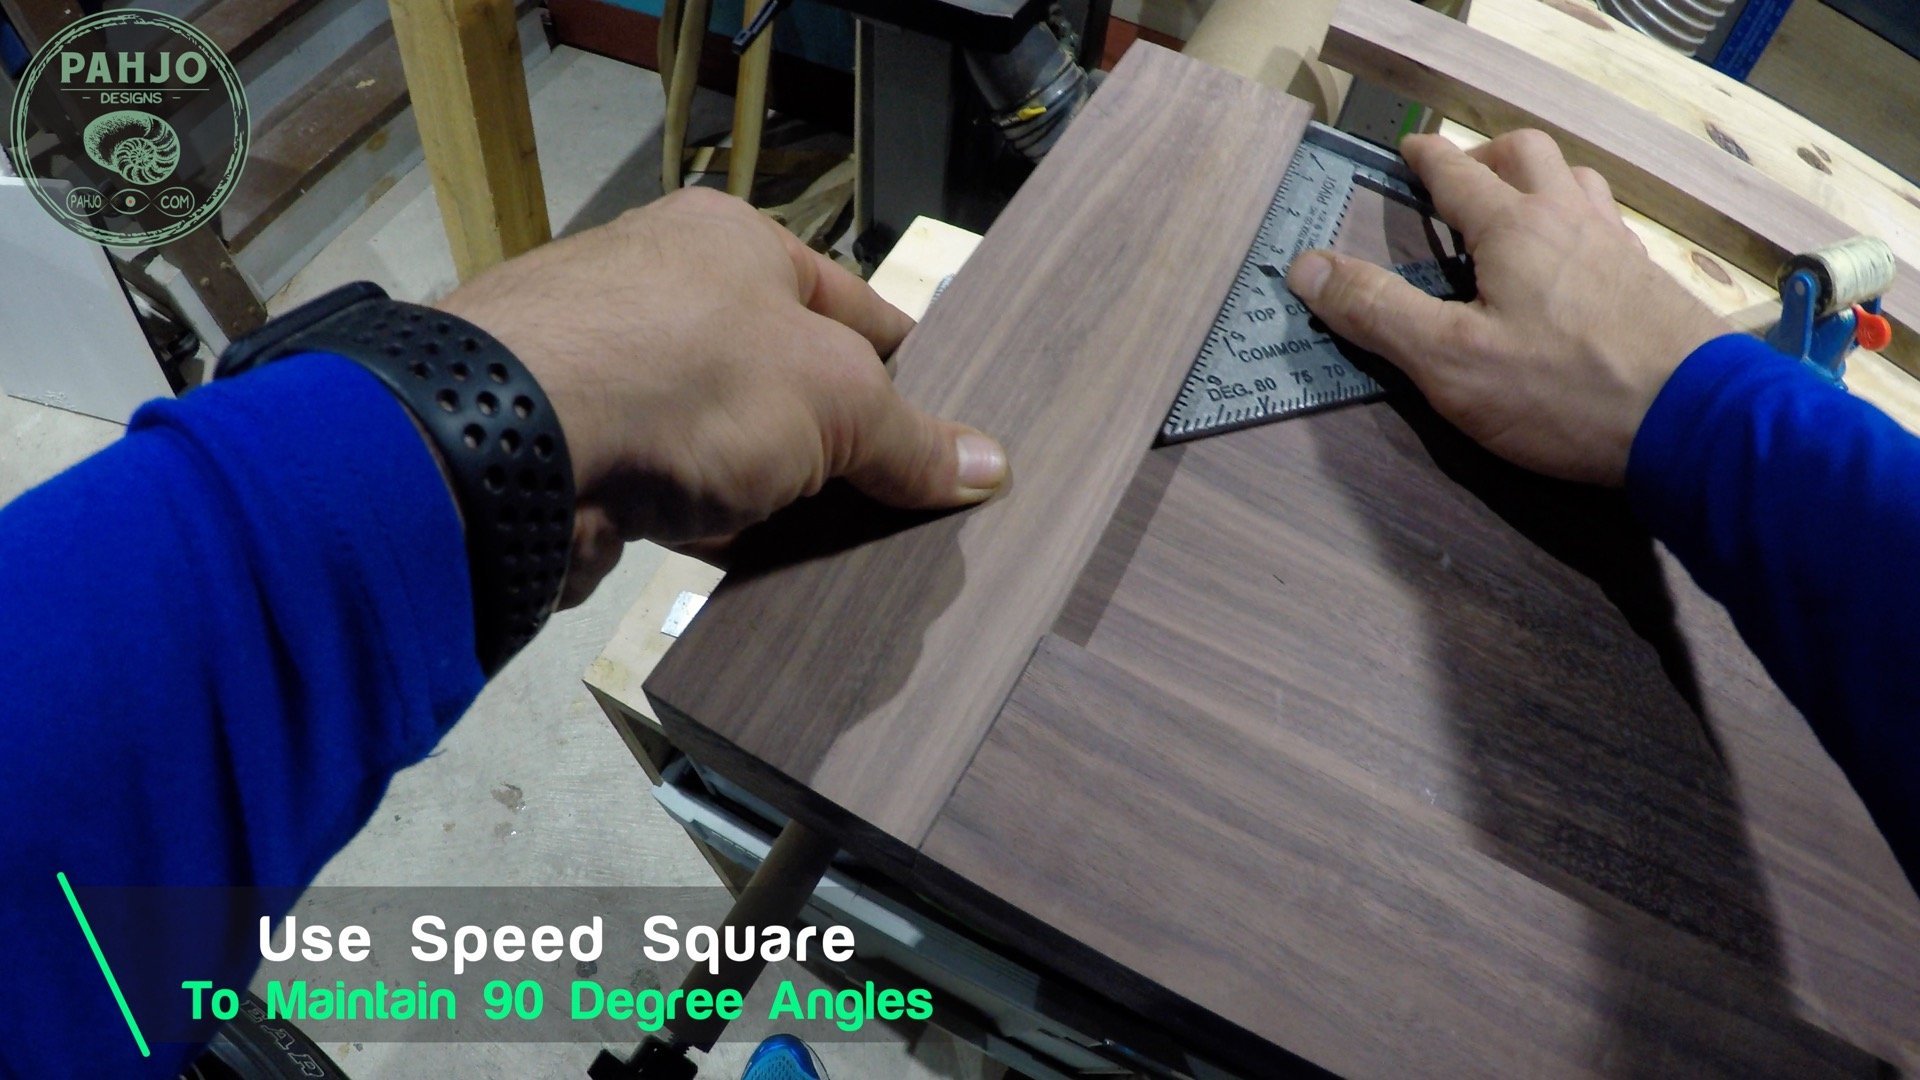
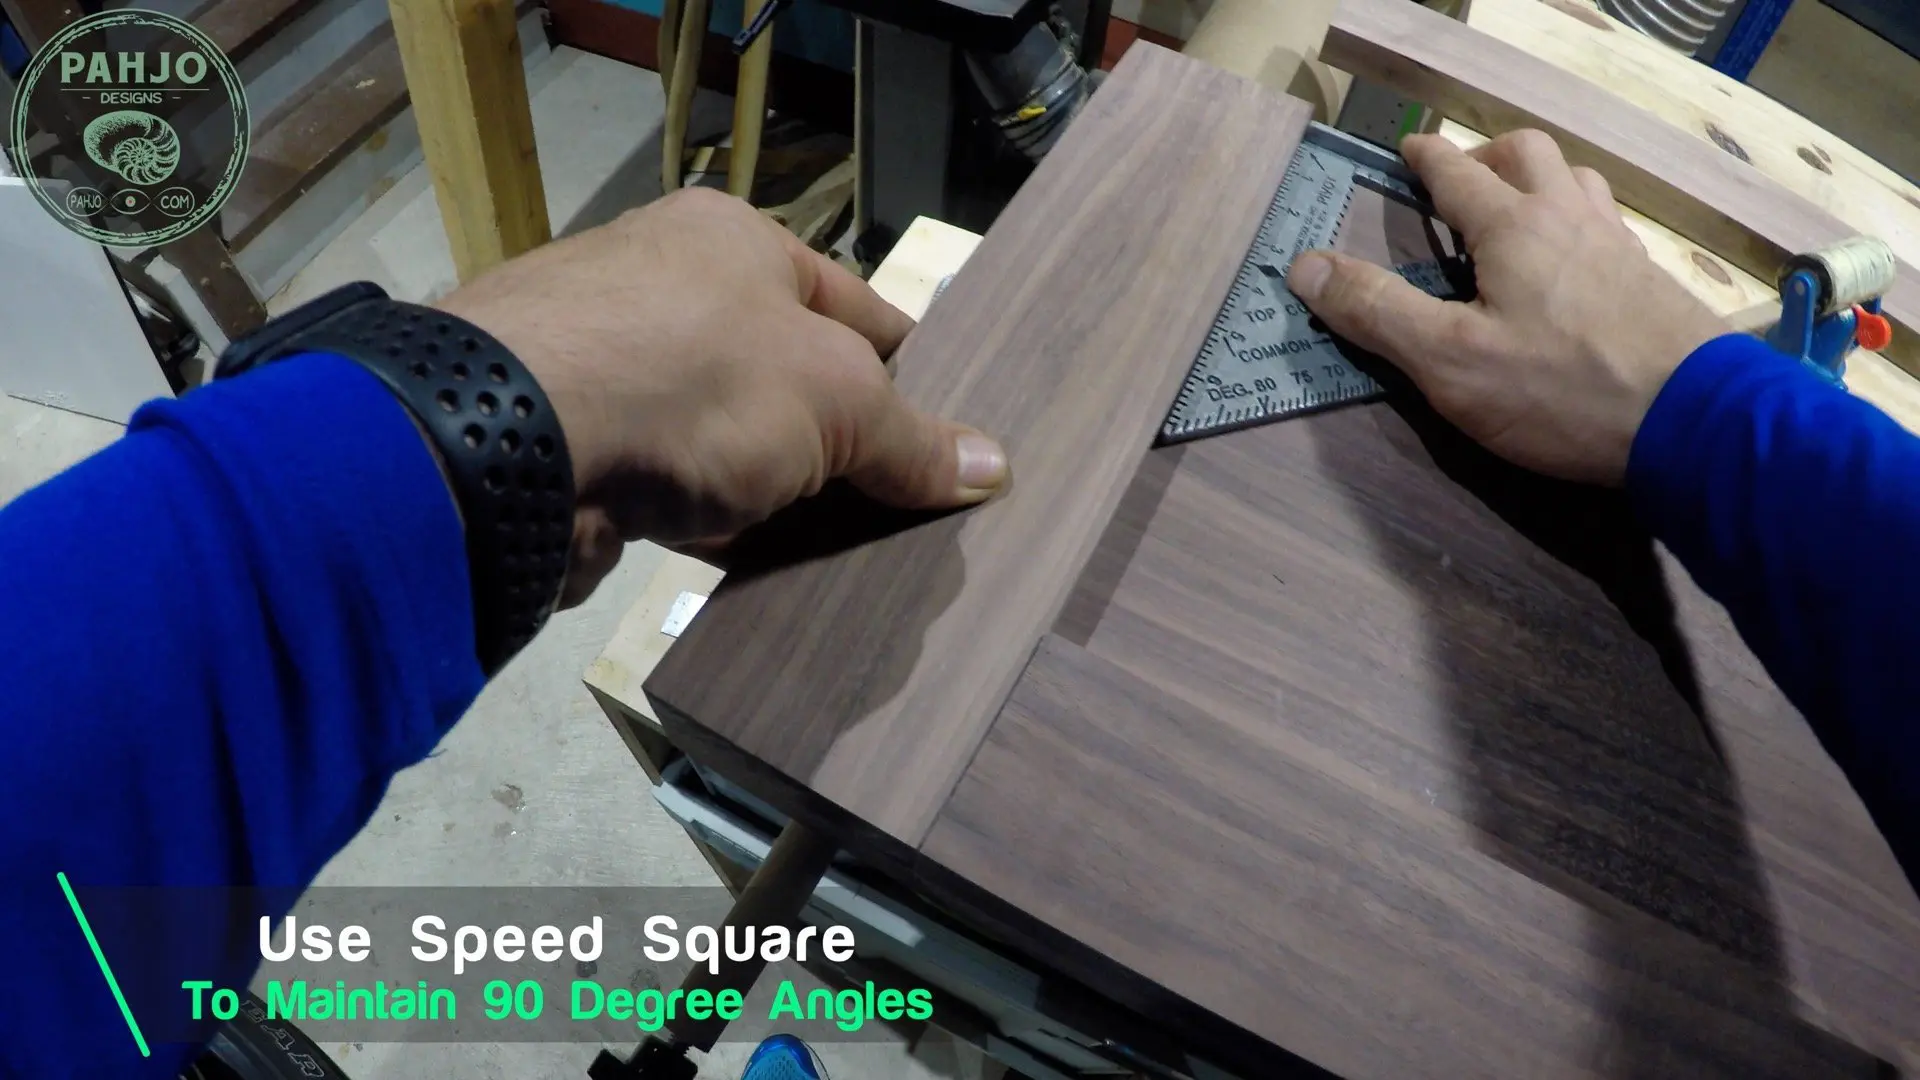
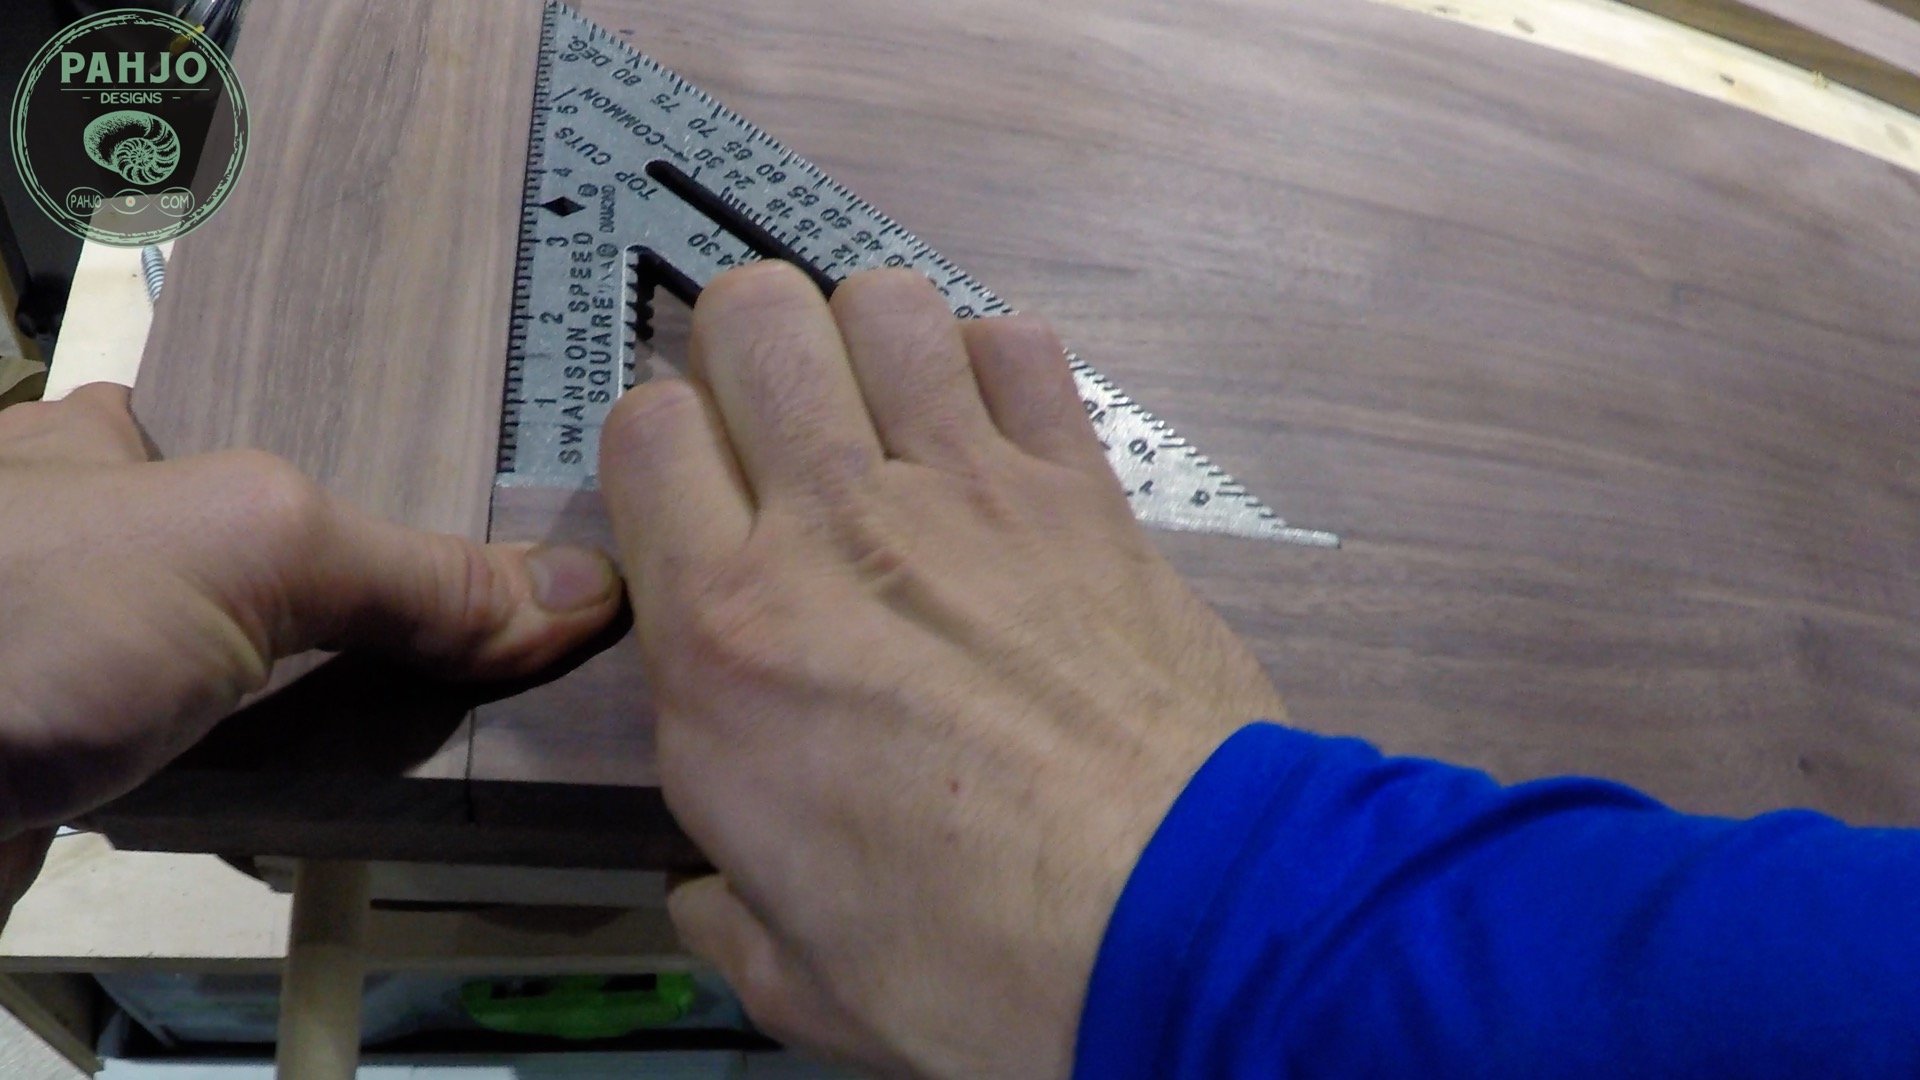
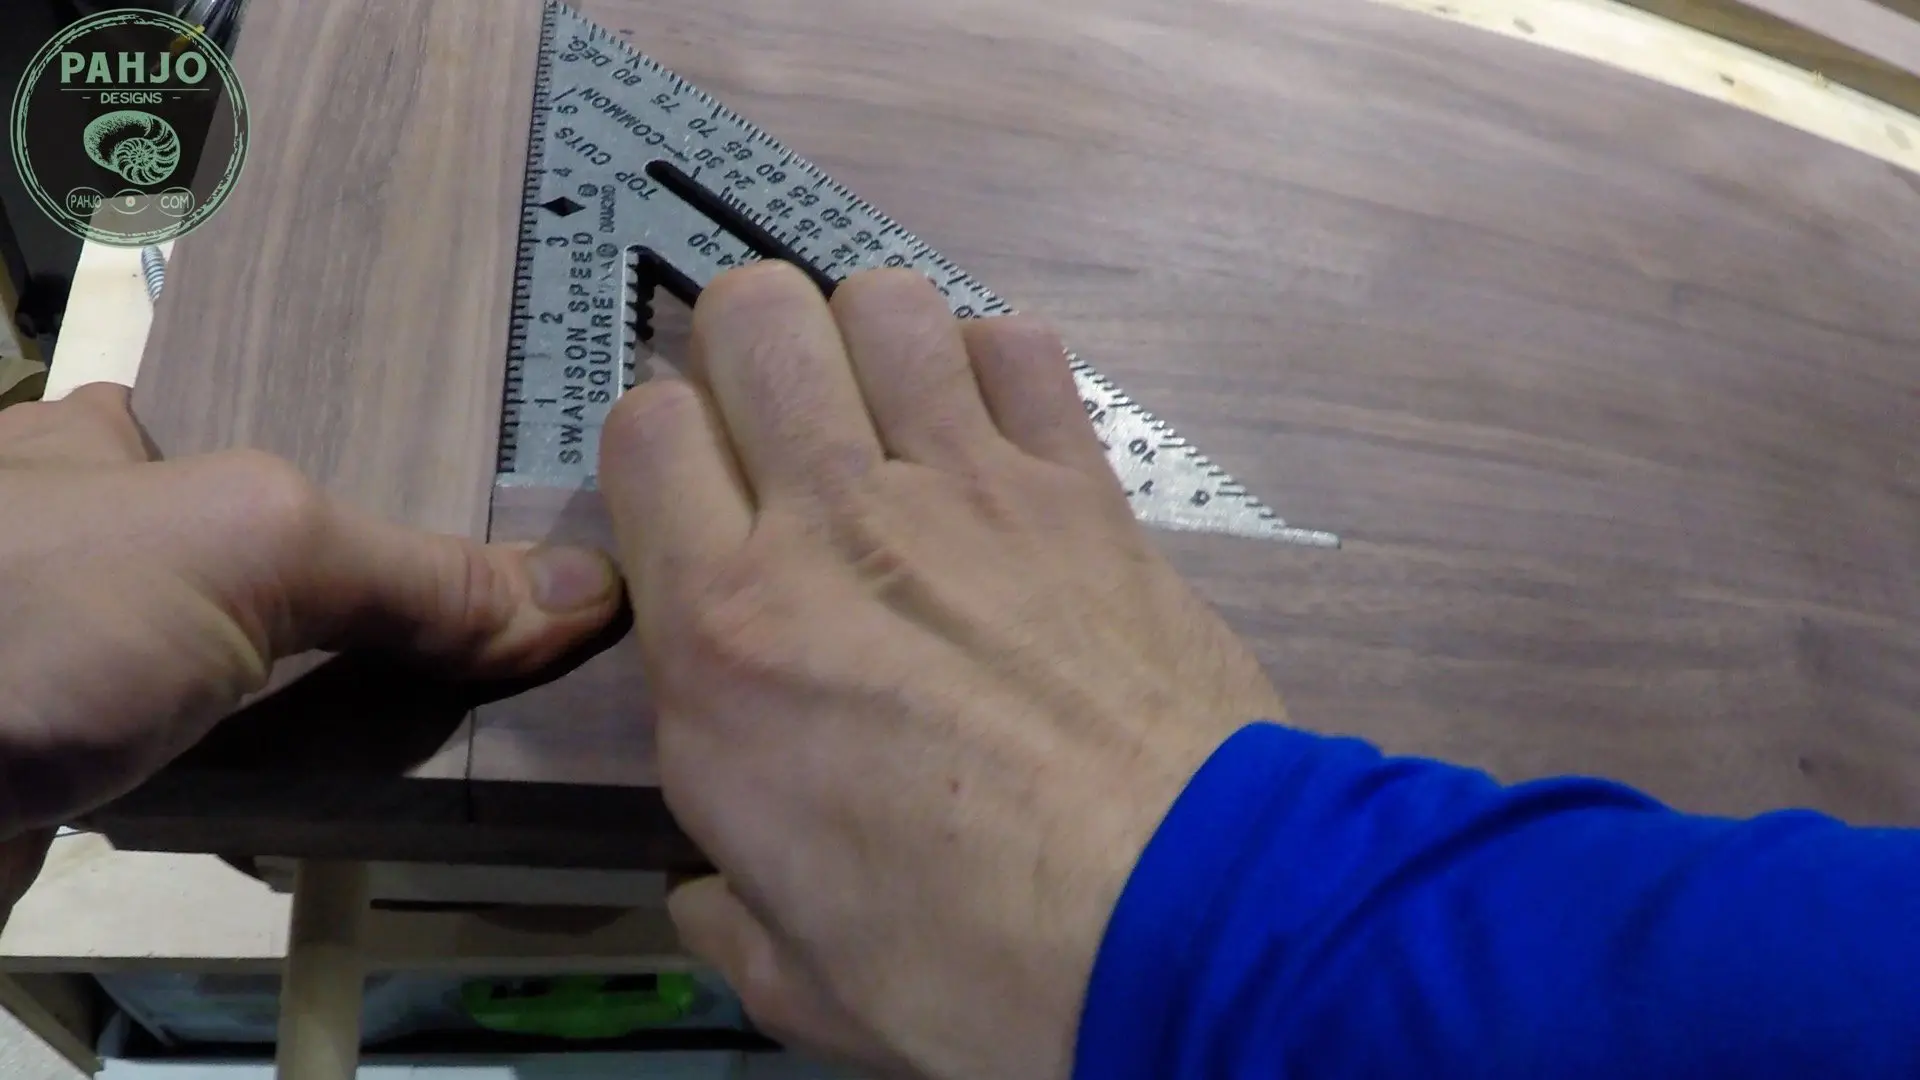
Then, I used my speed square to keep the vertical and perpendicular boards square.
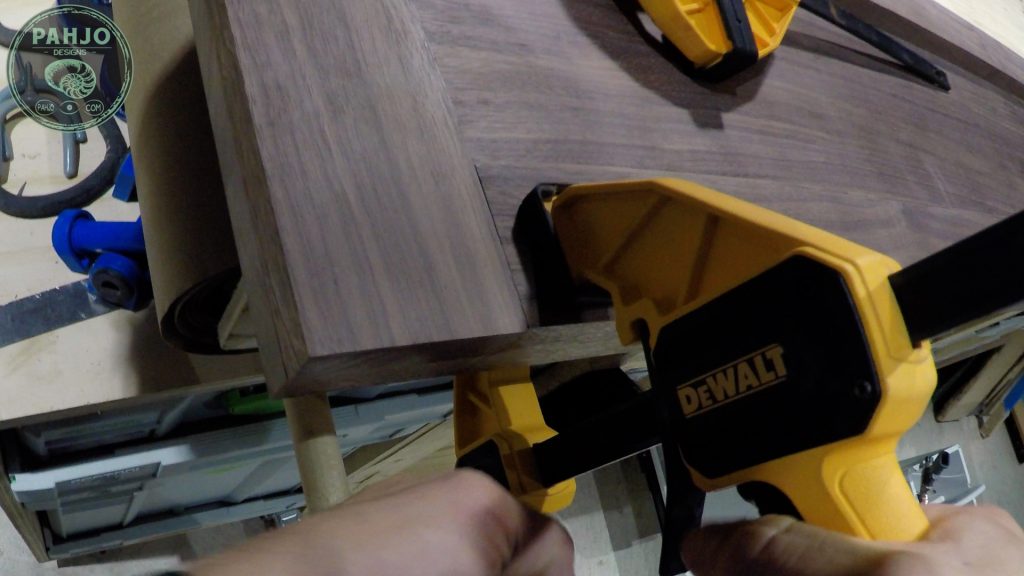
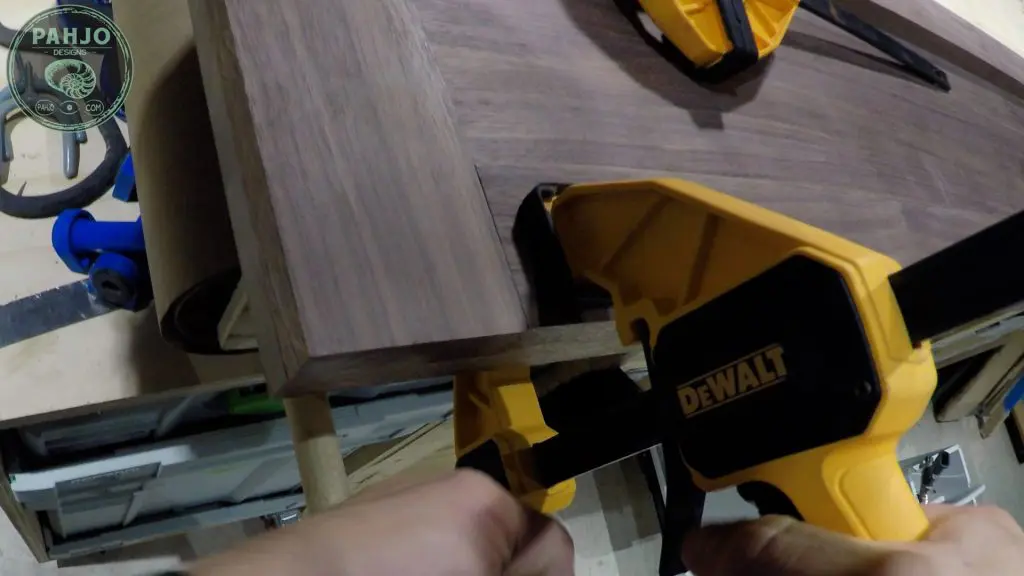
While holding the square in place, I clamped each board in place.
I used my brad nailer with 1″ brad nails (2 per board) from the underside of the DIY barn doors to hold everything in place while the glue dried.
Furthermore, the underside of the double sliding barn doors will not be visible which is the reason I drove the brad nails from the underside of the barn doors.
Rubio Monocoat Finish Application
Due to my careless error, I do not have video footage of the barn door finish process.
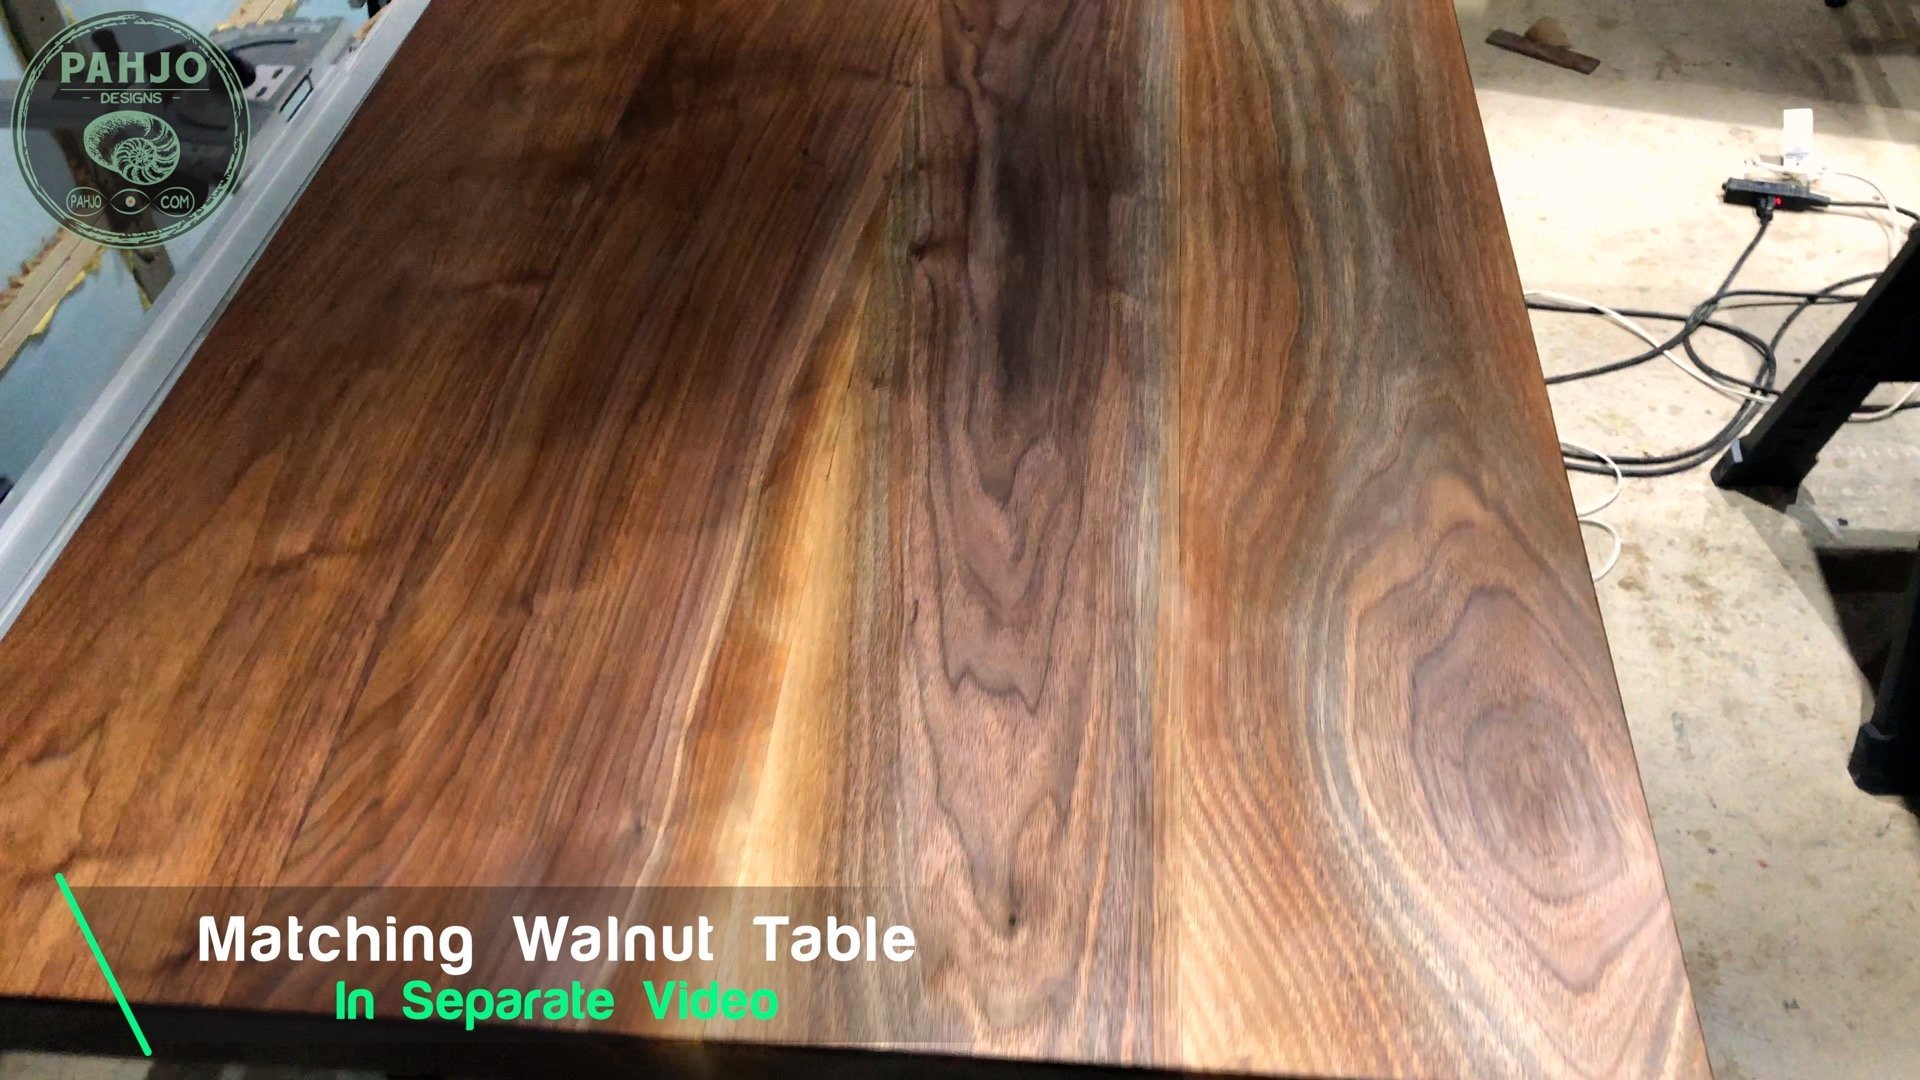
In summary, I applied the finish at the same time and using the same procedure as the Walnut dining table.
Barn Door Hardware Installation
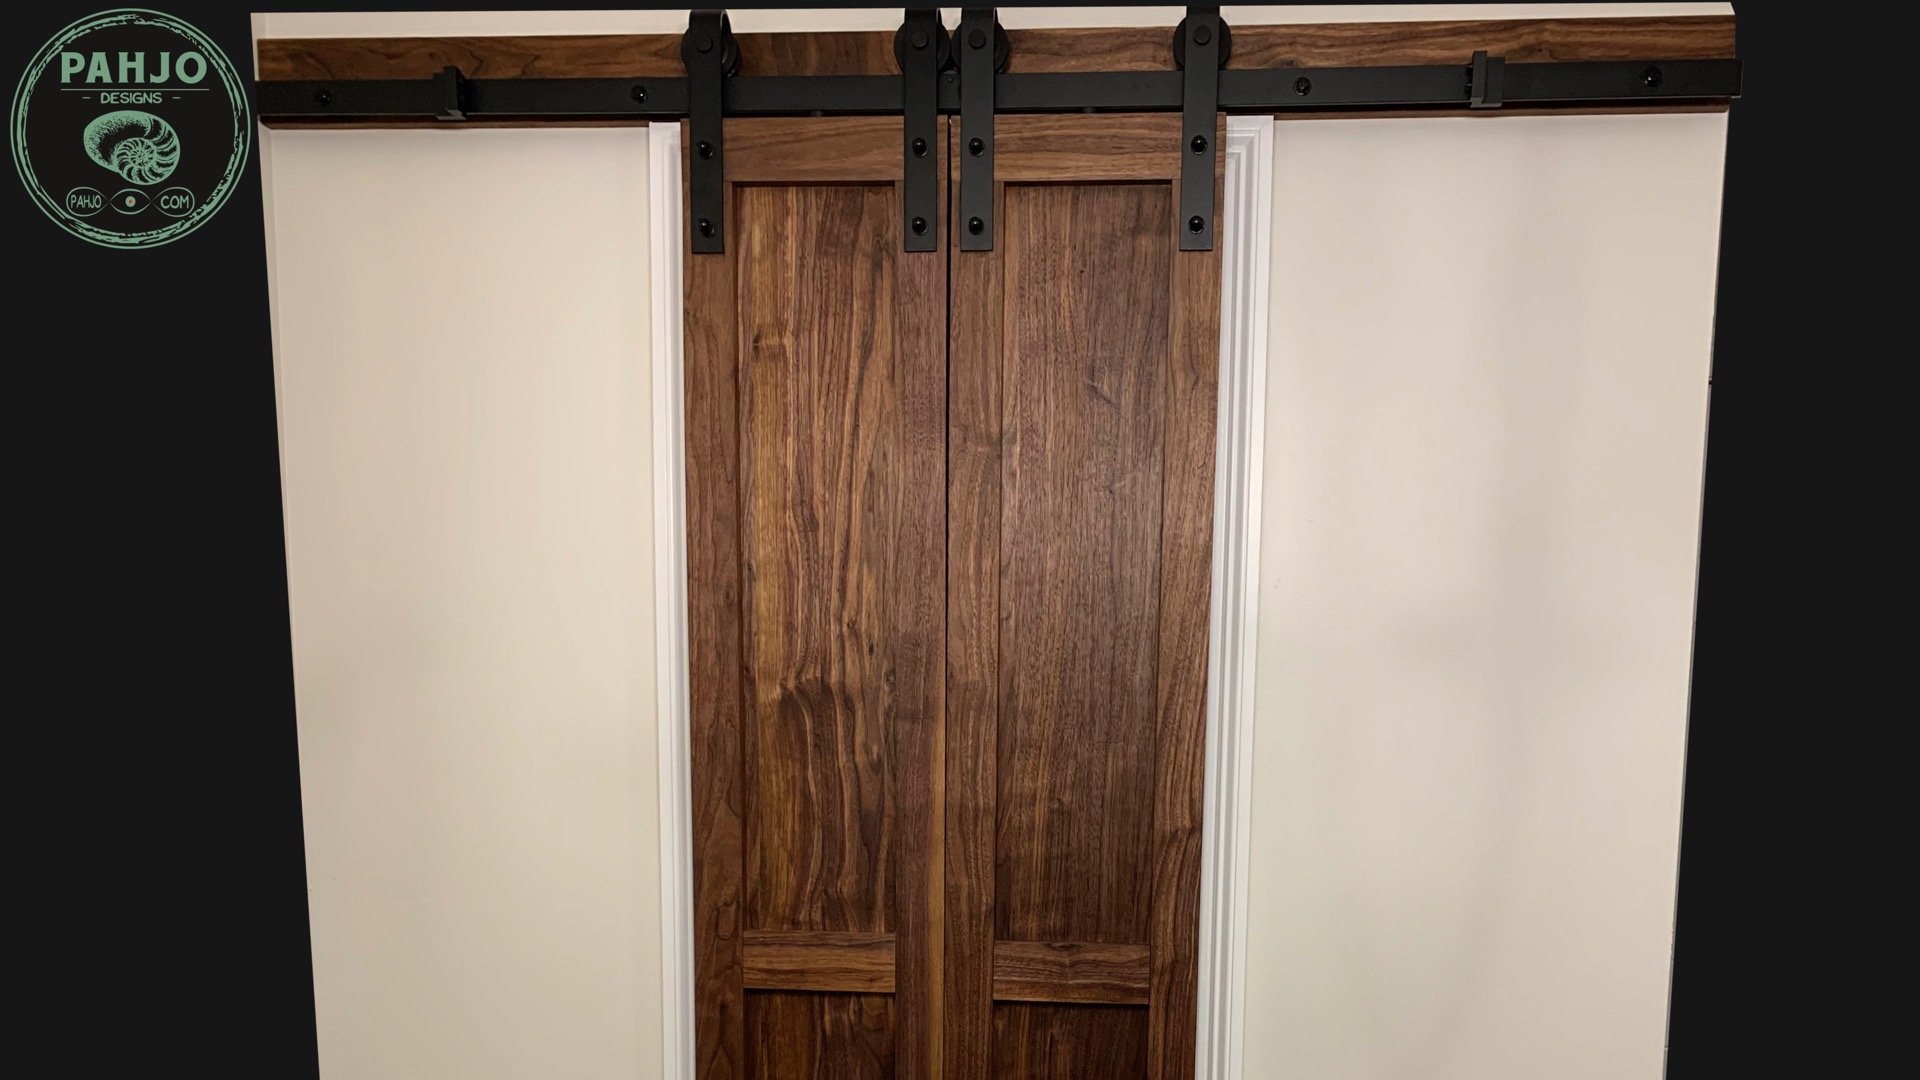
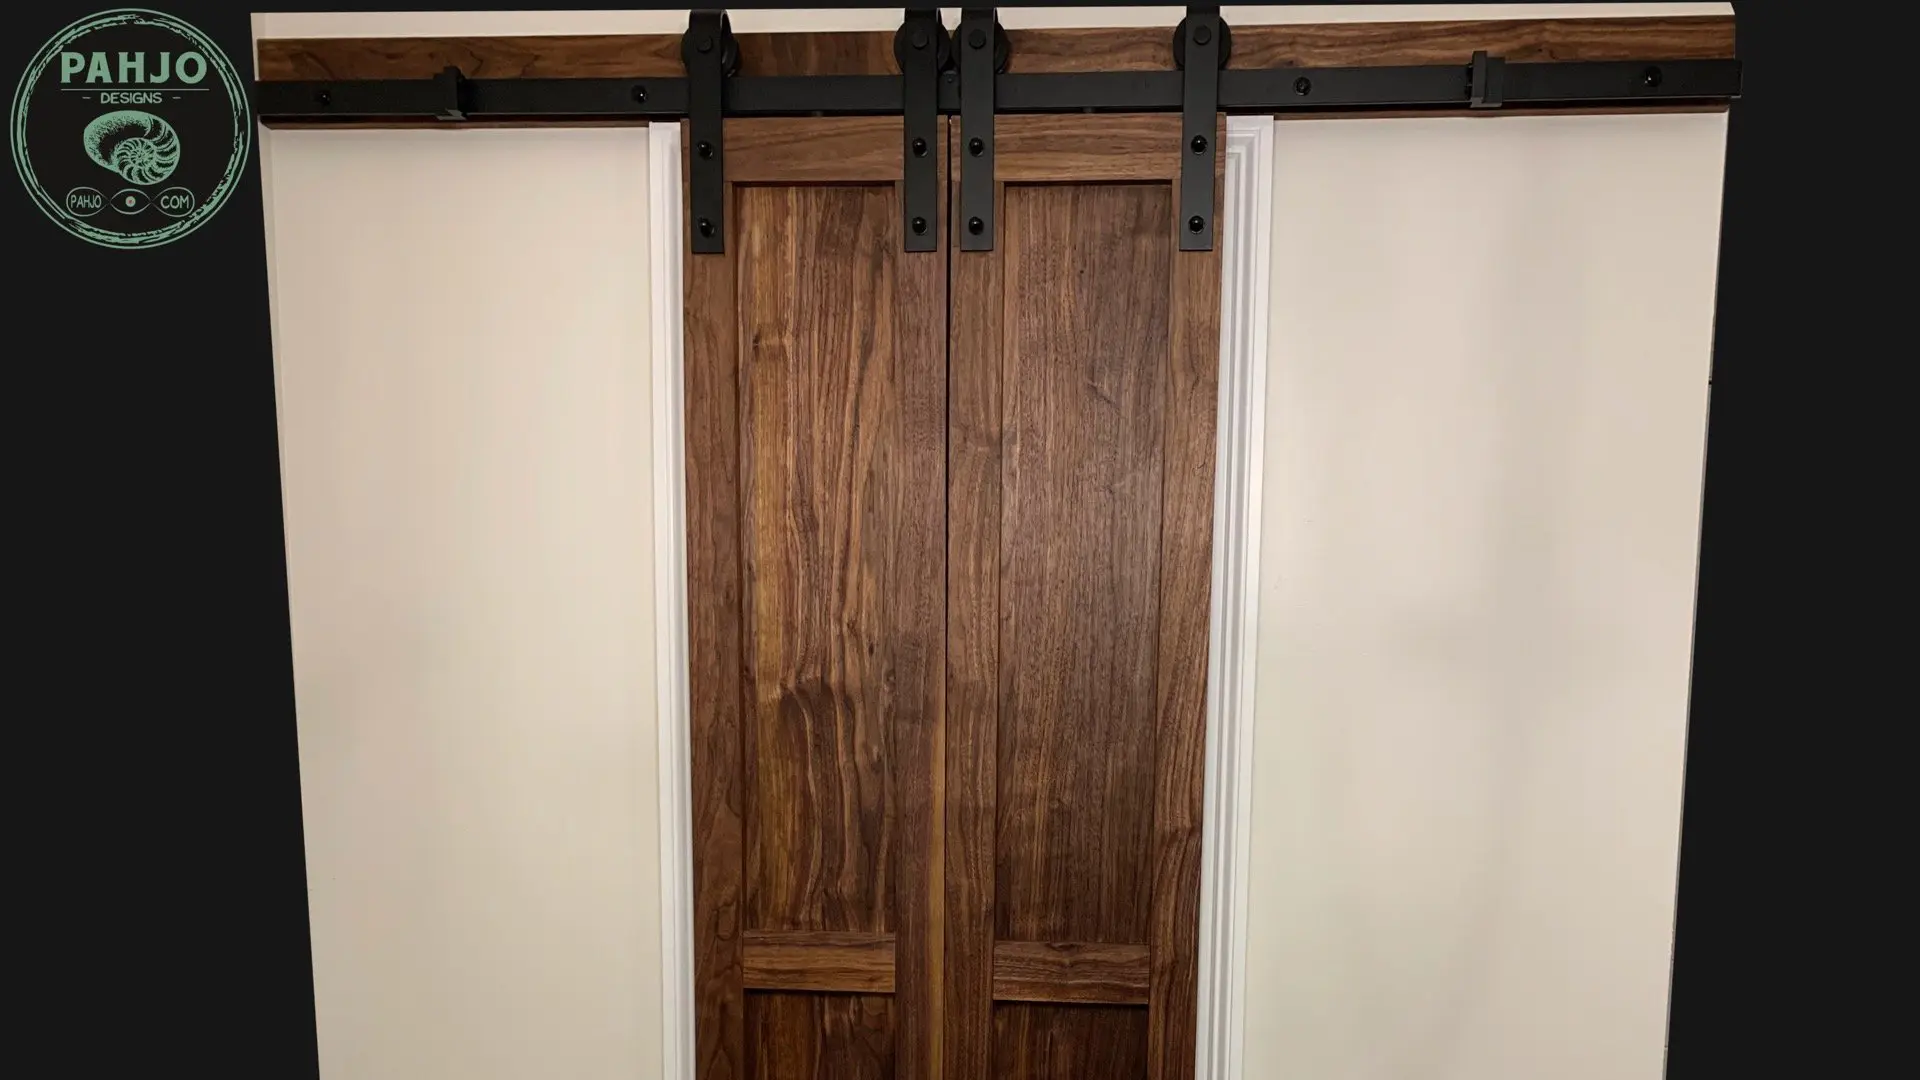
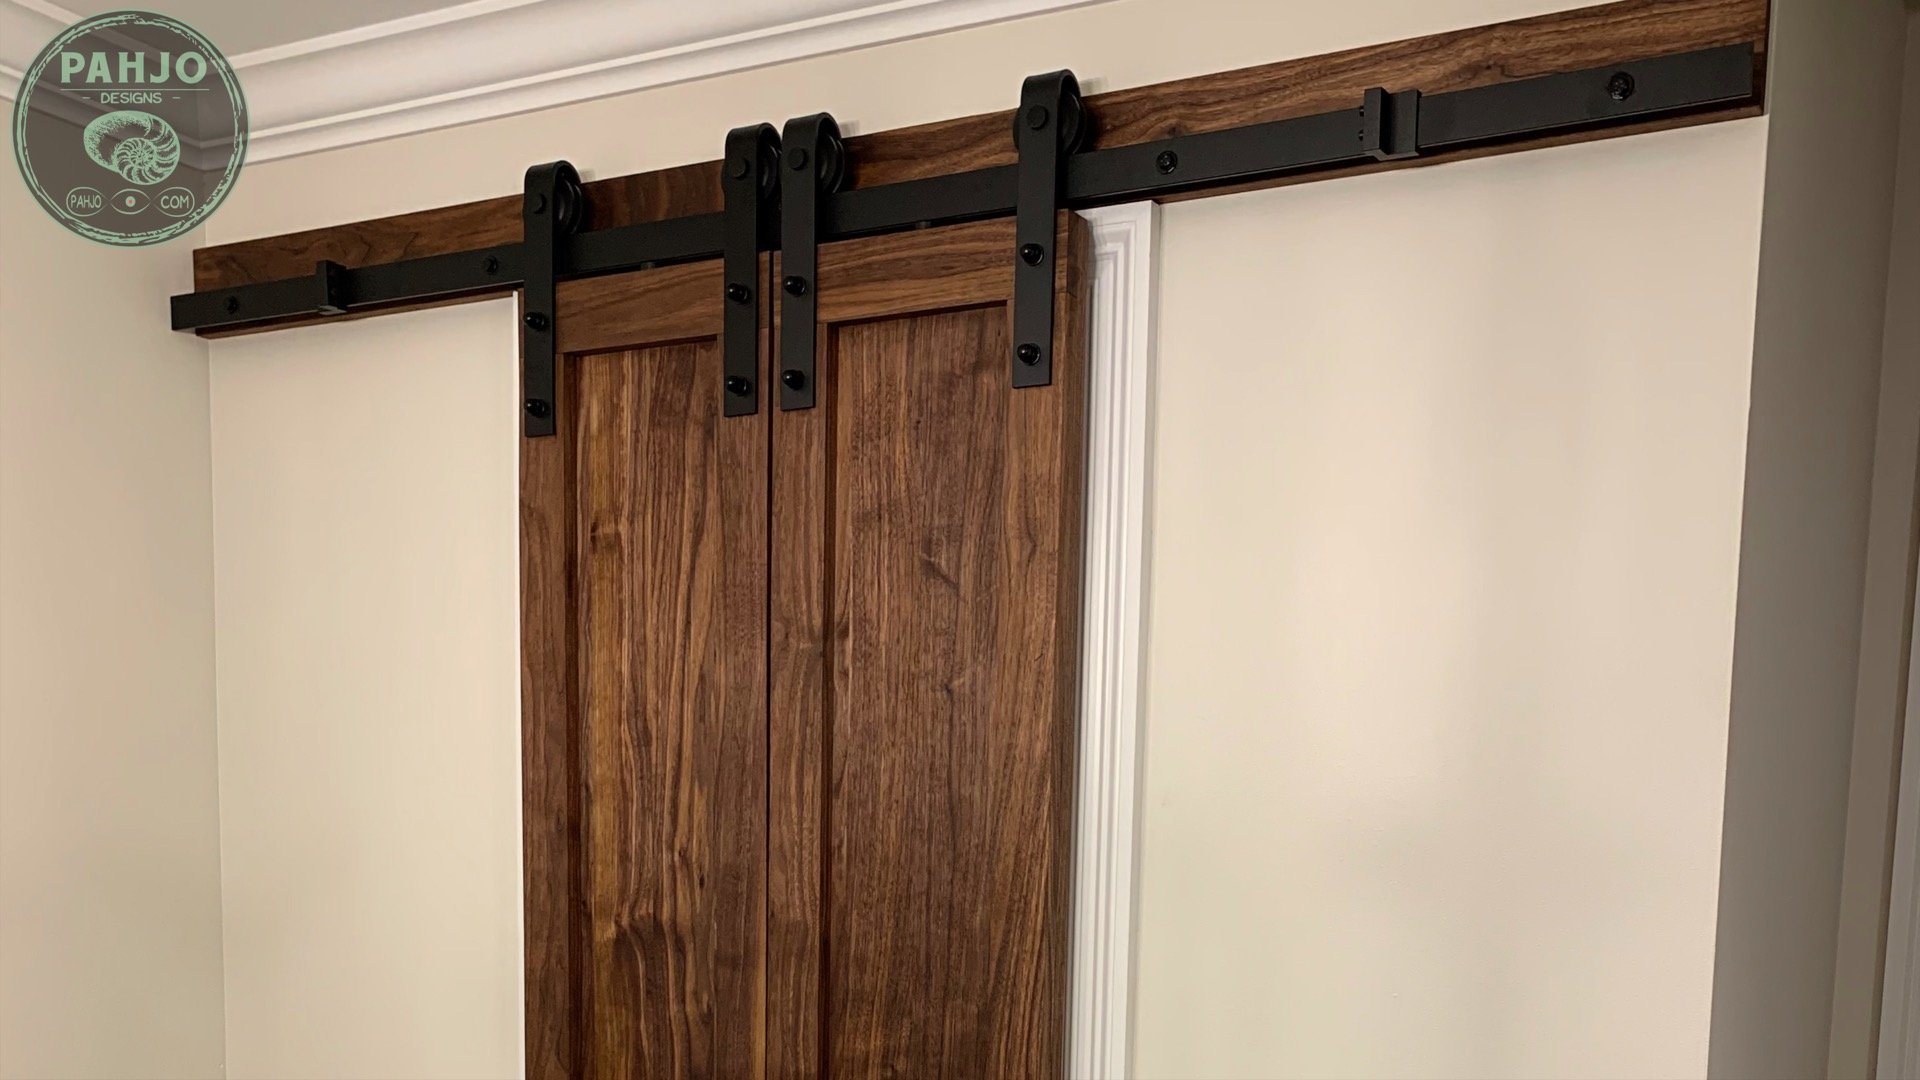
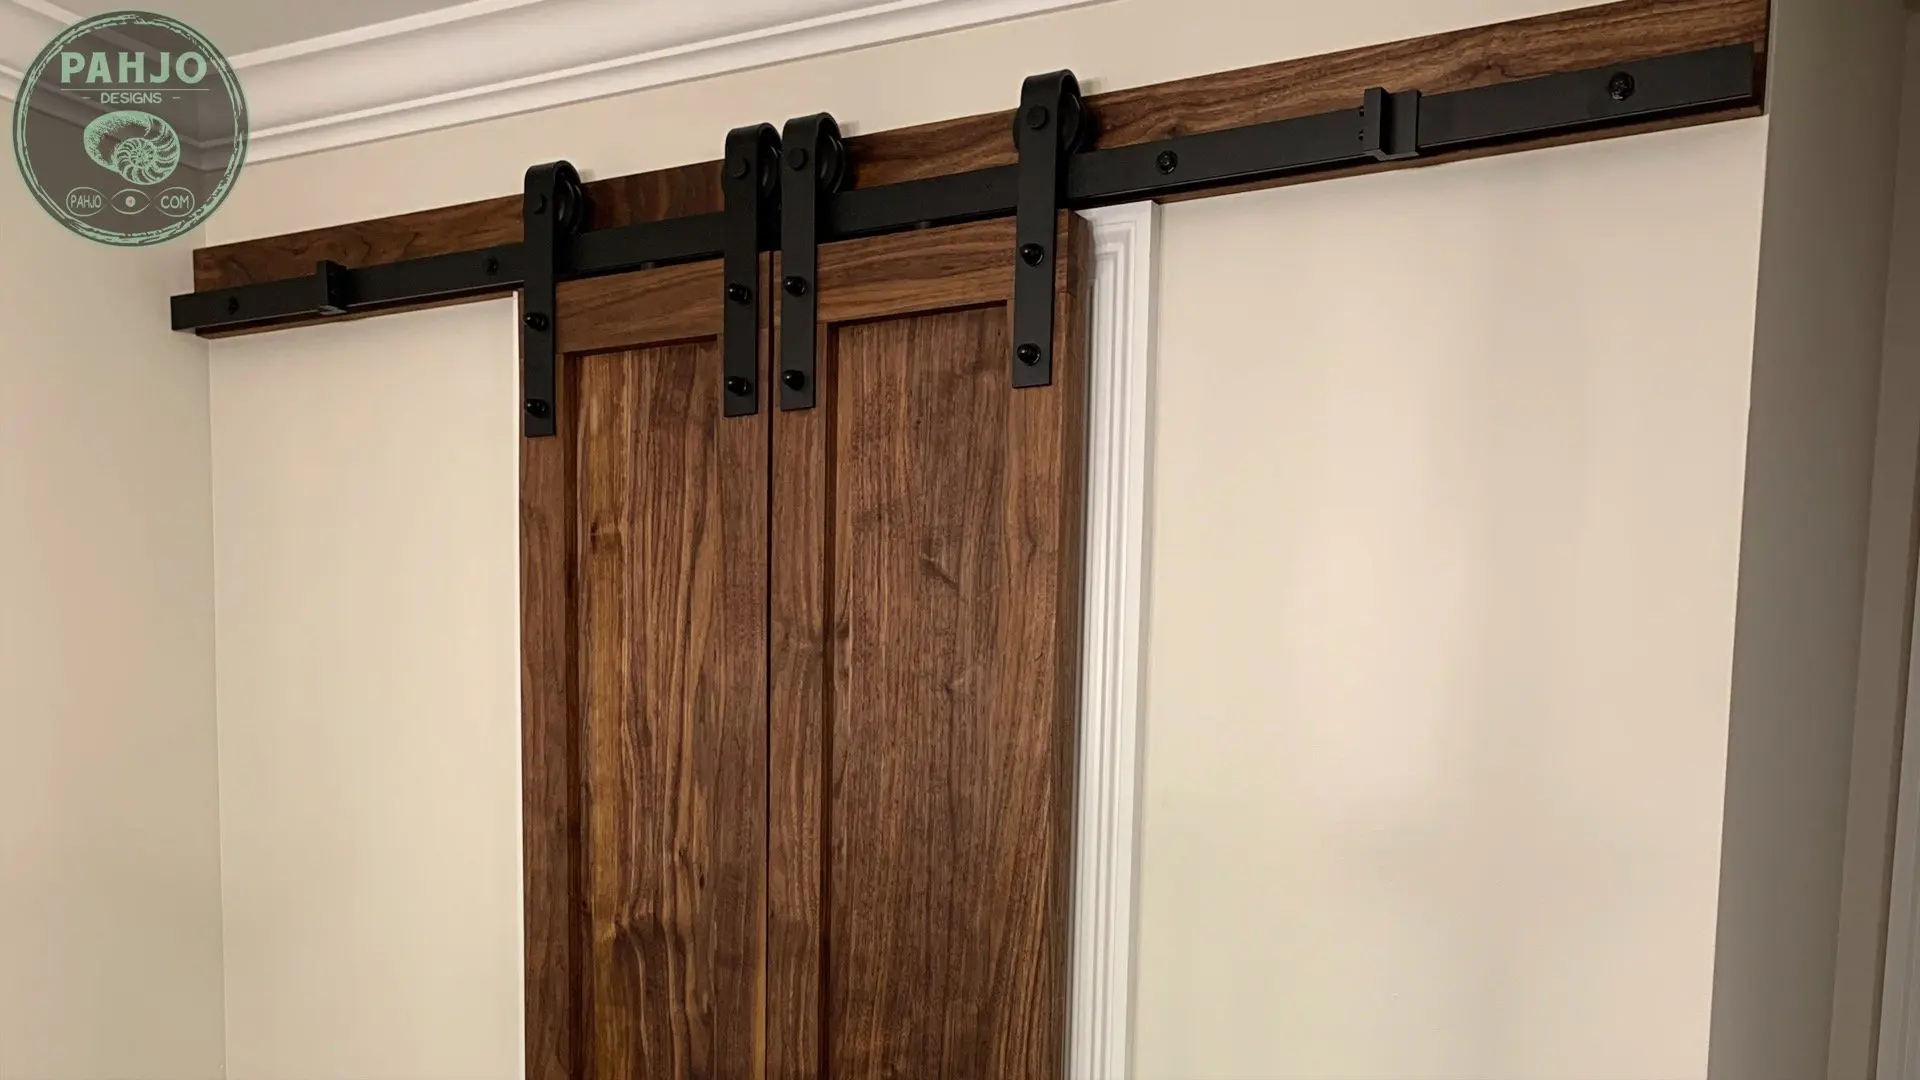
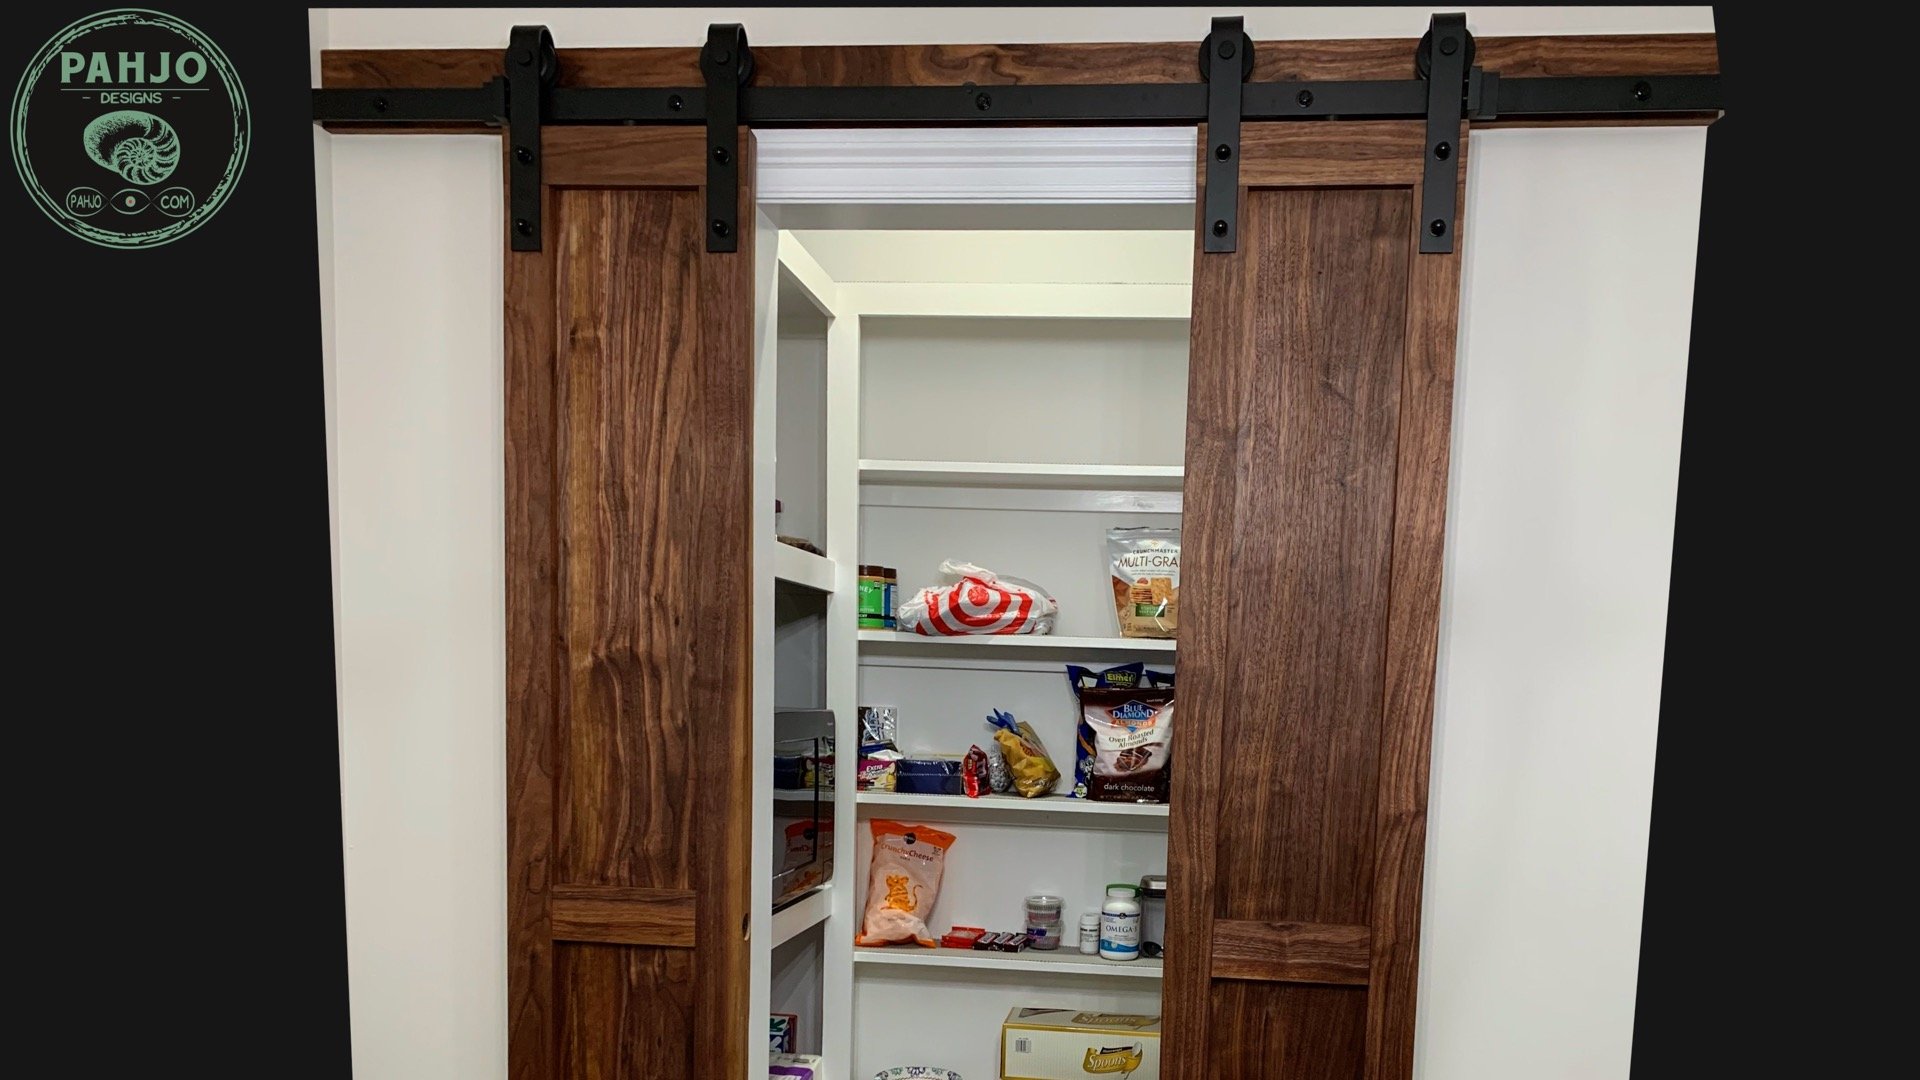
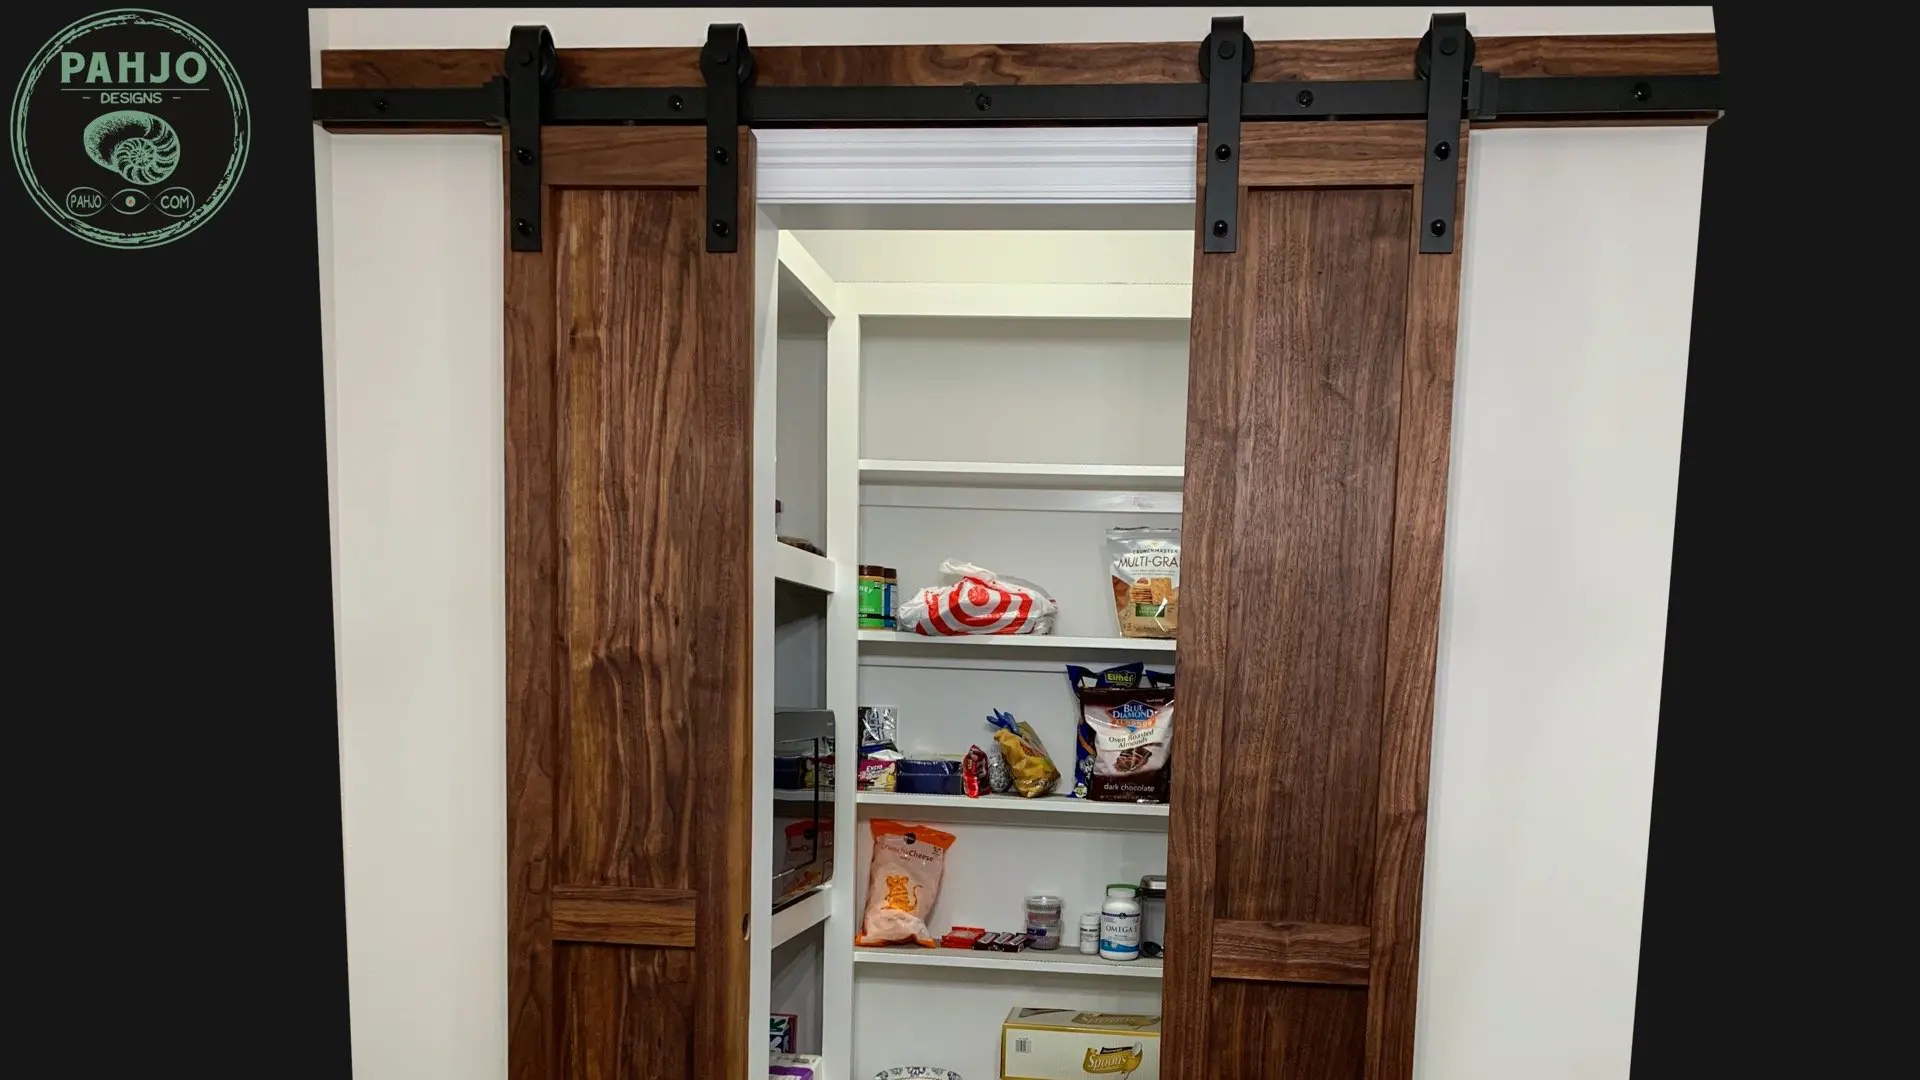
After the rubio monocoat finish dried, I installed the hardware for the DIY double sliding barn doors.
Essentially, I installed 3 pieces of barn door hardware.
Sliding Barn Door Hardware Kit
I forgot to mention earlier in the article that I cut a 84″ x 4″ piece of walnut to hold the rail. Also, I secured this piece of Walnut to the studs on the wall before installation.
First, I used this sliding barn door hardware kit. The kit comes in different sizes – I chose the 6.6′ kit.
Furthermore, I used 2 kits because a single kit contains the hardware for 1 door (2 rollers and 1 rail).
Barn Door Magnets & Bumpers
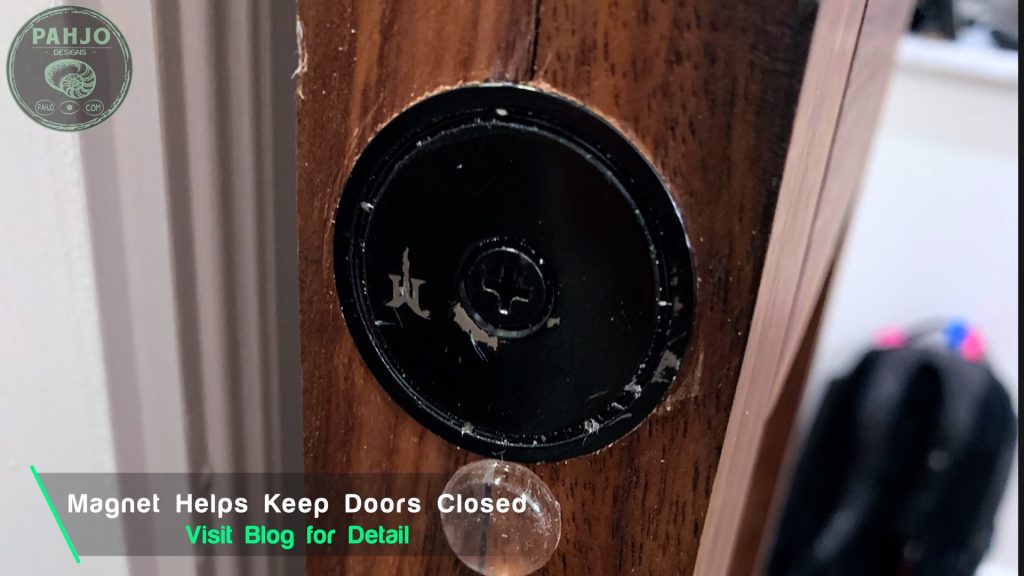
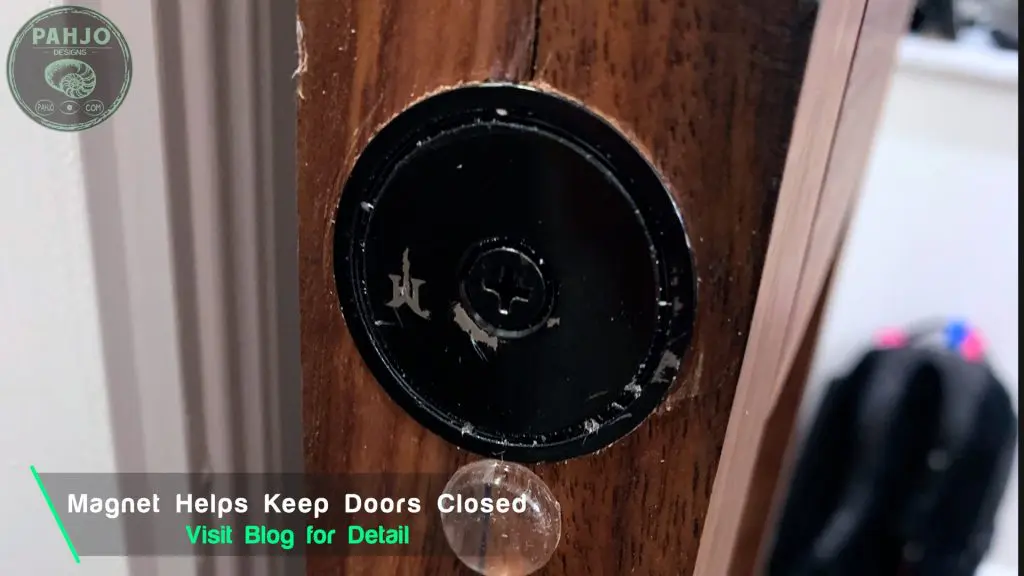
After I completed the installation of the barn door hardware kit, I decided to use these neodymium magnets to keep the barn doors closed.
Next, I used my drill and a 1.5″ forstner bit to recess the magnets in each door.
These magnets are super strong.
Additionally, I used clear cabinet bumpers to prevent the barn doors from slamming together.
DIY Barn Door Floor Guide
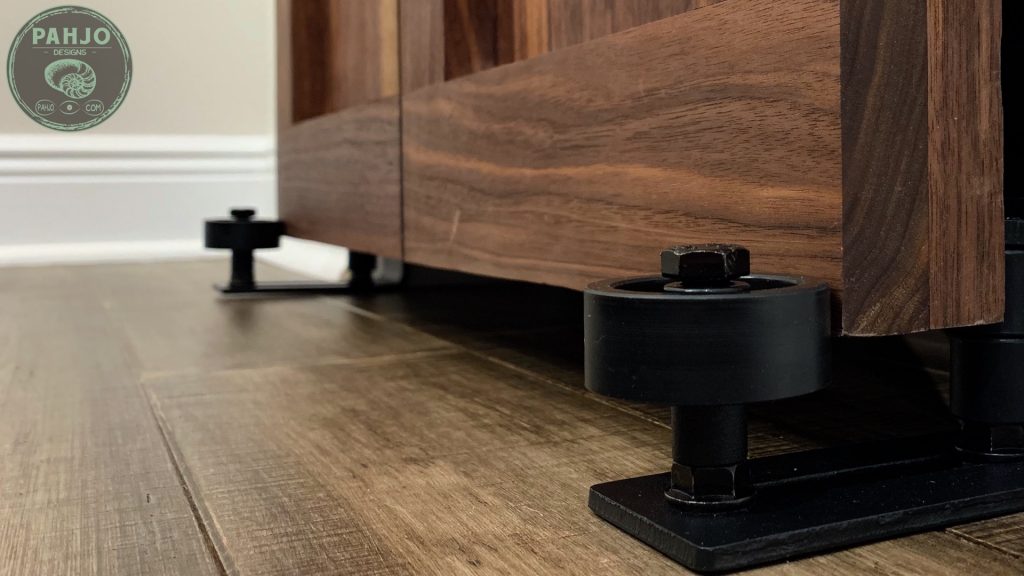
For the last piece of barn door hardware, I installed a barn door floor guide to prevent the barn doors from swinging out.
Keep in mind, the DIY barn door floor guides are not required.
Ultimately, it keeps the barn doors aligned and prevents them from hitting the baseboards when they are opened and closed.
I cover the installation in great detail in the DIY plans for this project, so be sure to download a copy.
Final Thoughts
In conclusion, this was a very easy DIY project and it turned out great.
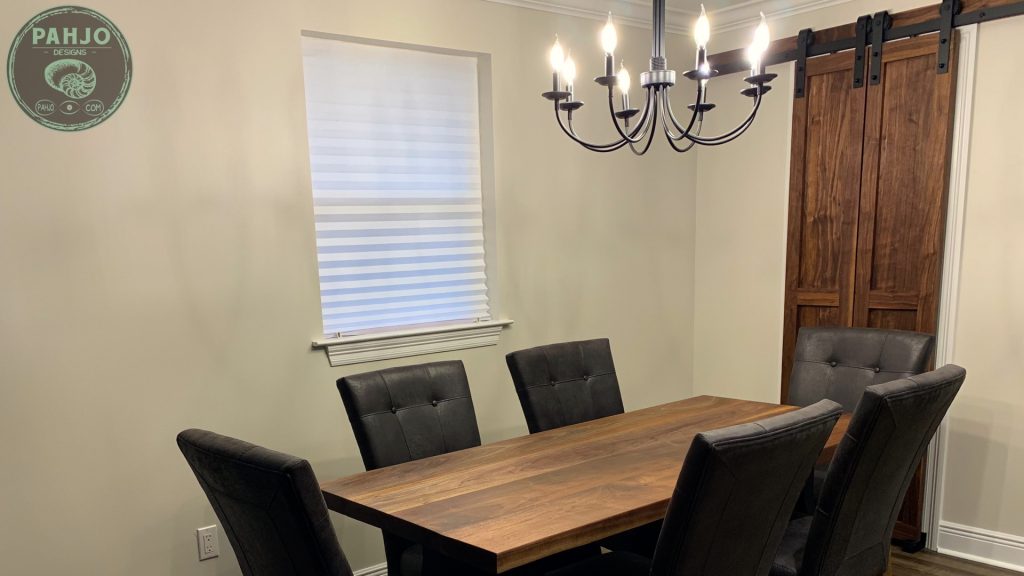
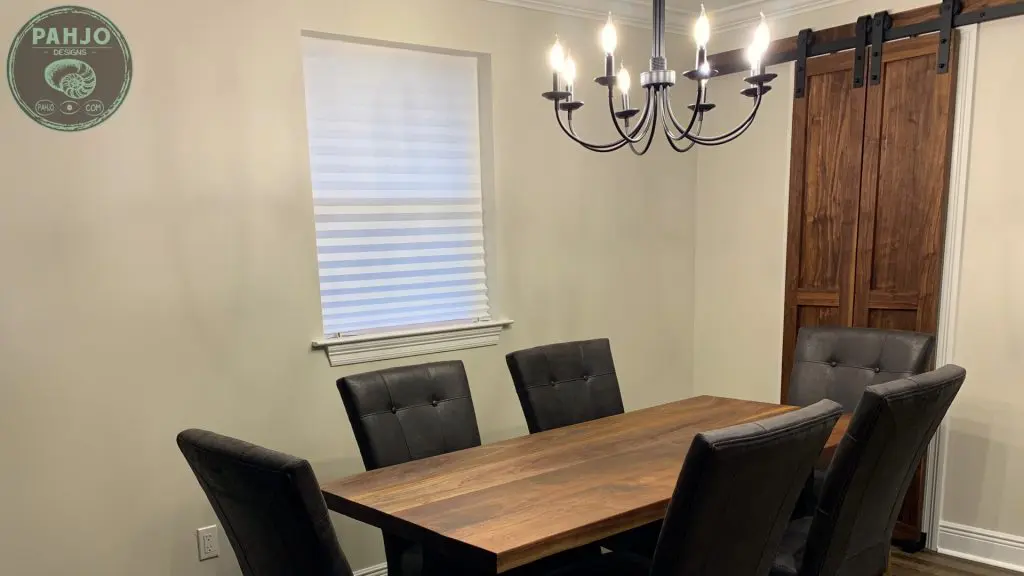
I hope you learned how to build DIY double sliding barn doors and this tutorial provided you with value.
Related Posts