
In this DIY tutorial, learn how to make a DIY wood sword that glows in the dark.
Video Tutorial
There are several things which are difficult to fully explain with words and images, so be sure to check out the video tutorial below.
Tools I used
- Heat Gun
- Table Saw
- Band Saw
- Japanese finish saw
- Plunge Router
- Straight Bit
- 12″ Combination Square
- Benchtop Planer
- Drill Press
- Forstner Bit Set
- Orbital Sander
- Belt Sander
- Oscillating Spindle Sander
- Sanding Block (various grits)
- Disc Sander
- Glue
- 3M Silver Foil Tape
- Epoxy Resin
- Glow Powder
- Shellac
Introduction
My son has been into Minecraft for quite a few years now.
Honestly, I do not like Minecraft very much. The irritating and redundant sounds which come from the game drive me crazy.
However, I knew this DIY wood sword that glows would grab my son’s attention and get him to participate in this project with me.
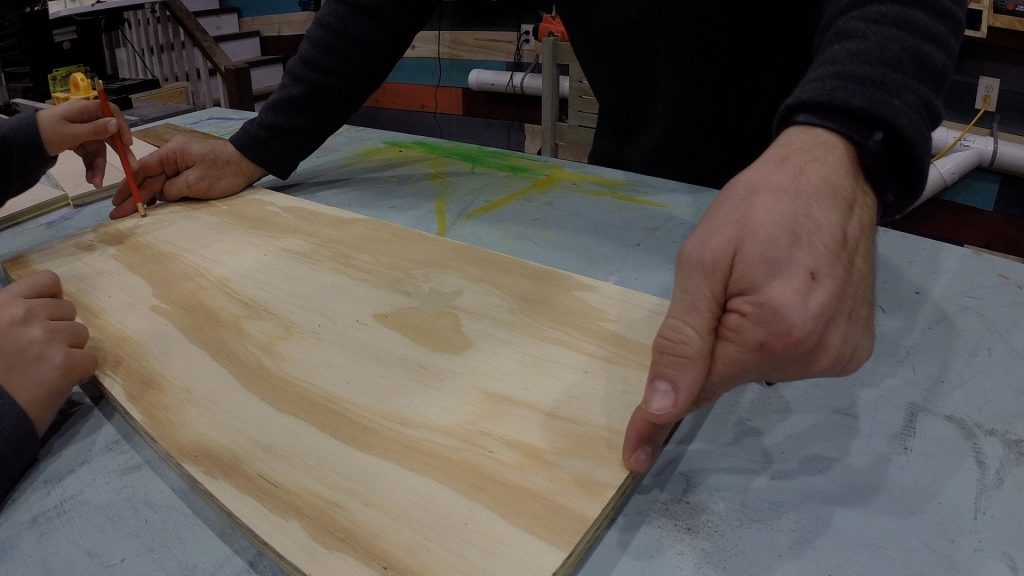
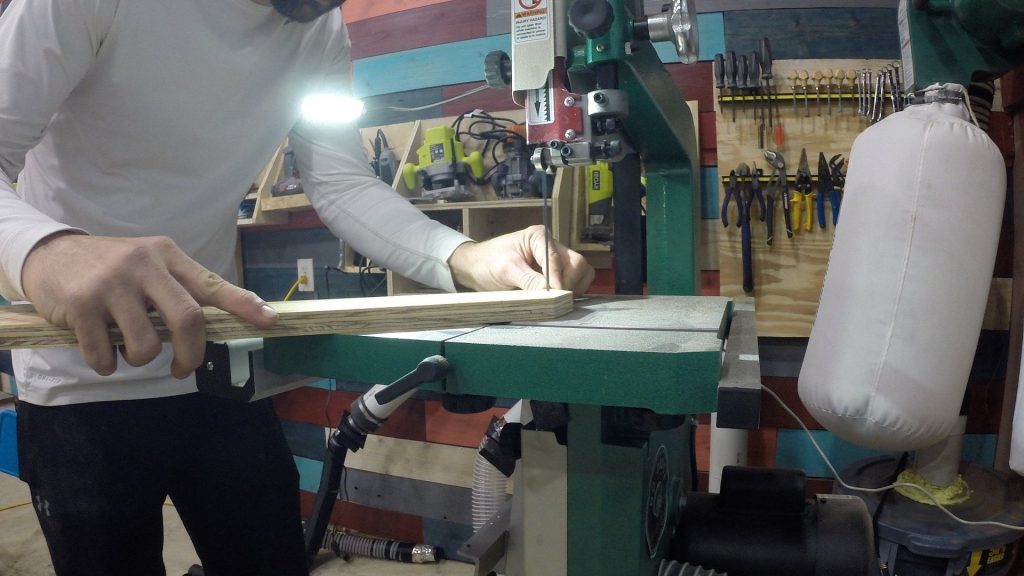
Draw Wood Sword Outline
First, we drew the outline of the DIY wood sword on a piece of scrap 3/4″ plywood in a ‘T’ shape.
Next, I used my combination square as a guide to draw my lines.


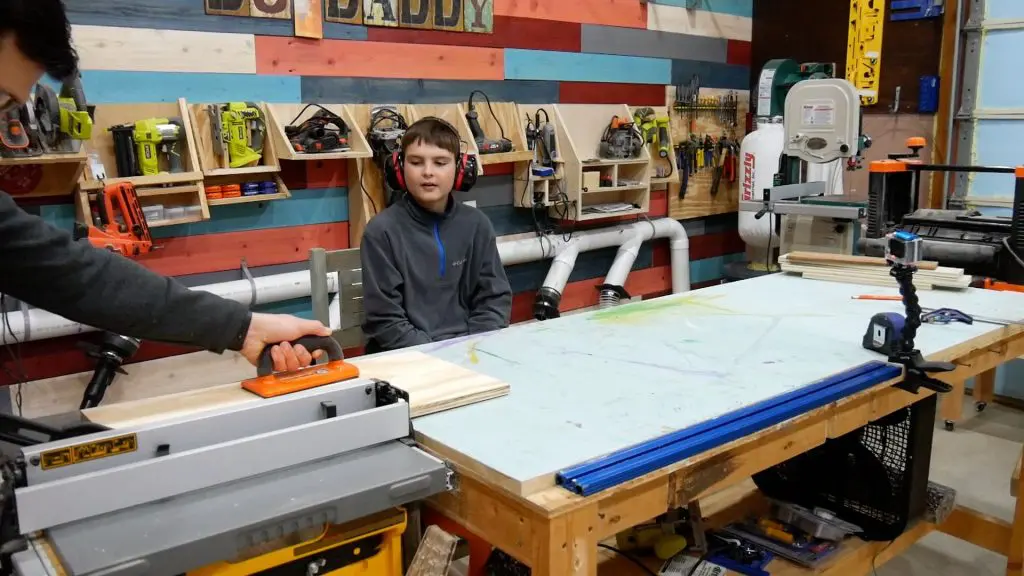
Cut Out Wooden Sword
First, I cut out the lines we drew on the table saw & completely forgot about the ‘T’ shape at the top.
My son tried to tell me as I was ripping this piece of plywood on the table saw, but I didn’t hear him.
Also, this was the only piece of 3/4″ plywood I had that was large enough for the wooden sword.
So, it was time to improvise.

Next, I ripped 3 more strips of birch plywood.
- 2 – 6″x4″ strips for the sword cross-guard
- 1 – 10″x6″ piece for the grip (sword’s handle).
By the way, I had to lookup the proper name for the horizontal part of the sword handle. It is called the cross-guard.

Second Layer of Sword
First, I found some leftover pieces of bamboo I used to replace carpet stairs with wood a few years ago at our old house.
In addition, I found some basswood scraps laying around as well.

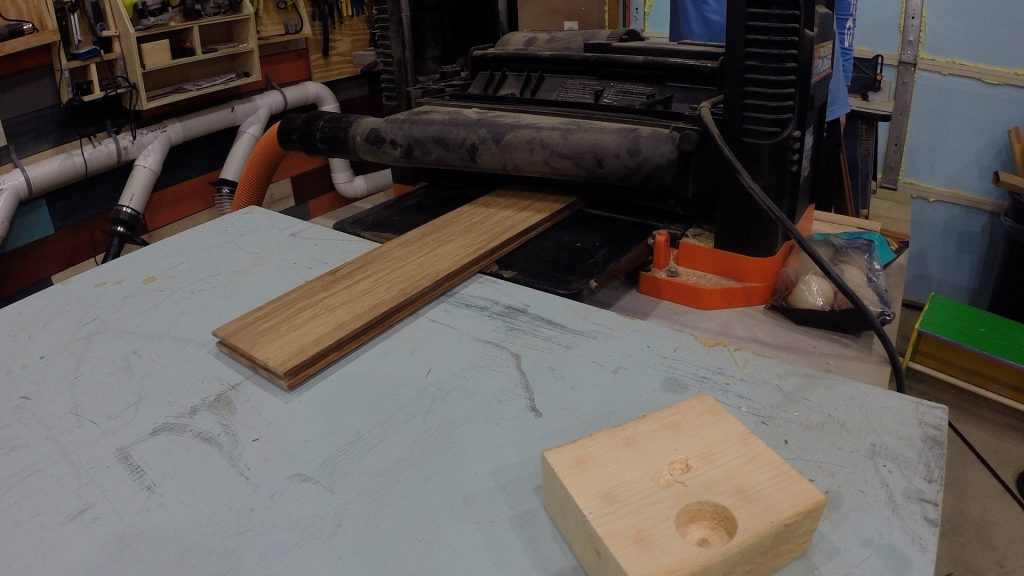
I learned very quickly that bamboo is really really hard, so it is best to take very light passes when running it through the planer.
Next, I planed down the leftover bamboo flooring and ripped about 1/2″ off the sides and ends to make it a straight board.

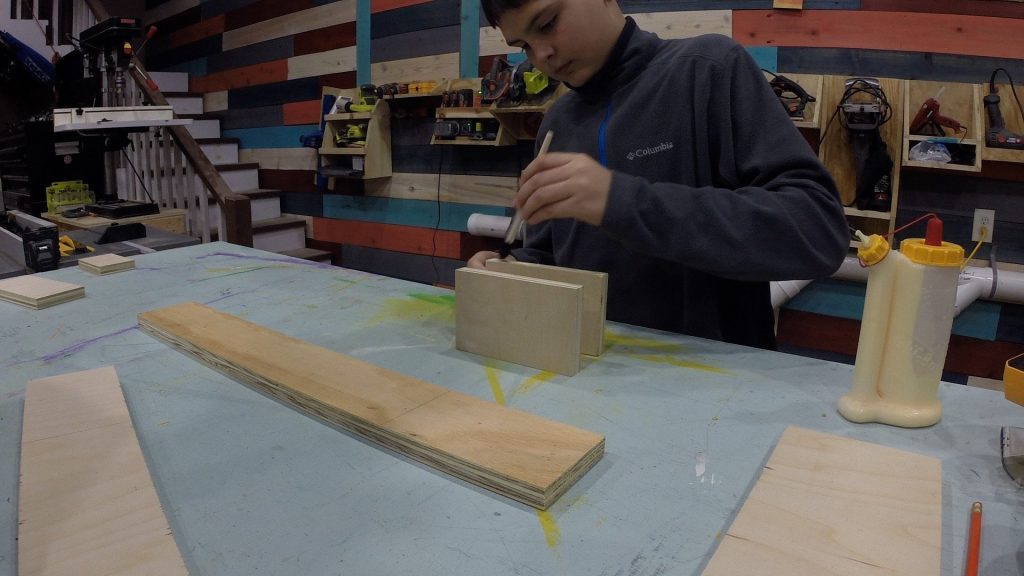
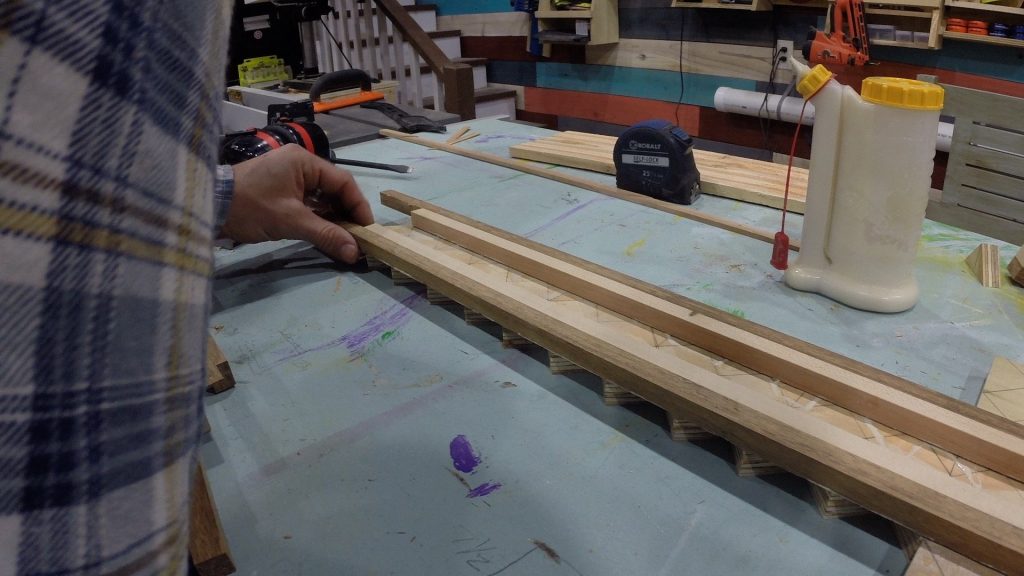
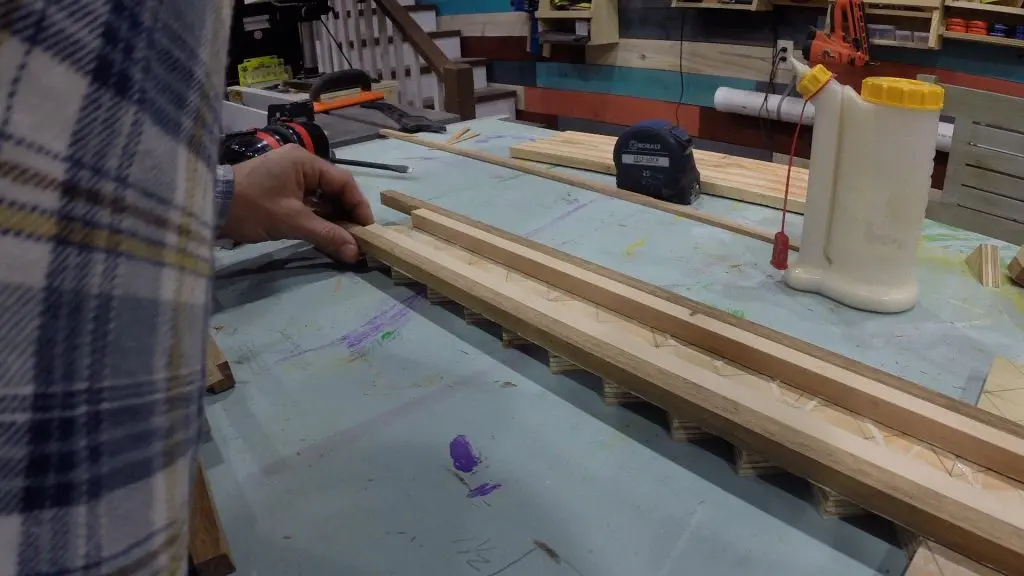
Glue Up
First, I glued 2 pieces of bamboo and 3 pieces of basswood together, clamped the faces together and let it sit overnight.
Next, I cut them into strips to be the second layer of the sword that will sit on top of the birch plywood.
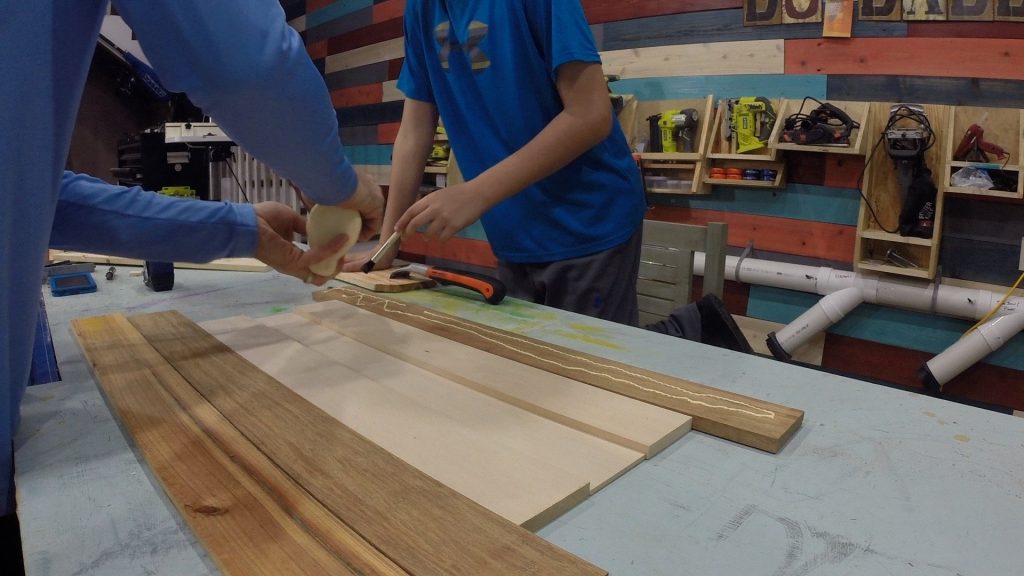
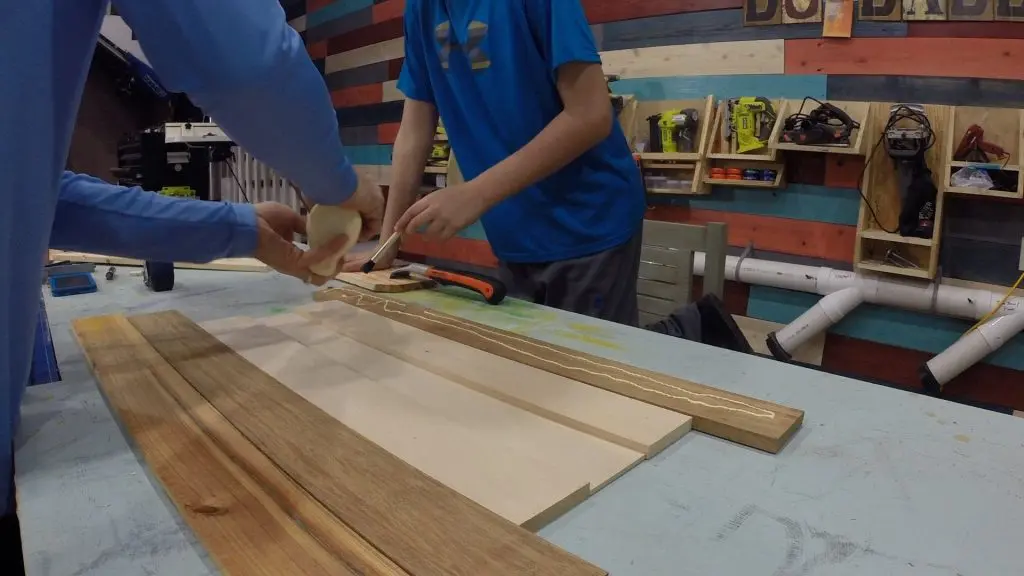
Draw Lines
I ripped the bundle into 1″ wide on my table saw, which left me with more than I needed.
Next, I drew 45 degree lines across the face of the sword going both ways to form a diamond pattern. This left me with 1 full diamond in the middle and 2 half diamond shapes on each end.

Cut Diamond Shape
First, I took the sword over to the bandsaw and cut out the half diamonds to make it look more like it belonged in a Minecraft world.


Second Glue Up
To start, I ripped the the middle piece of basswood out of the wood bundled we glued together in a previous step on my table saw.
These 2 end pieces would cover each side of the diamonds I cut out and leave a 1.5″ channel in the middle.
Next, I glued these in place, clamped them and let it dry overnight.
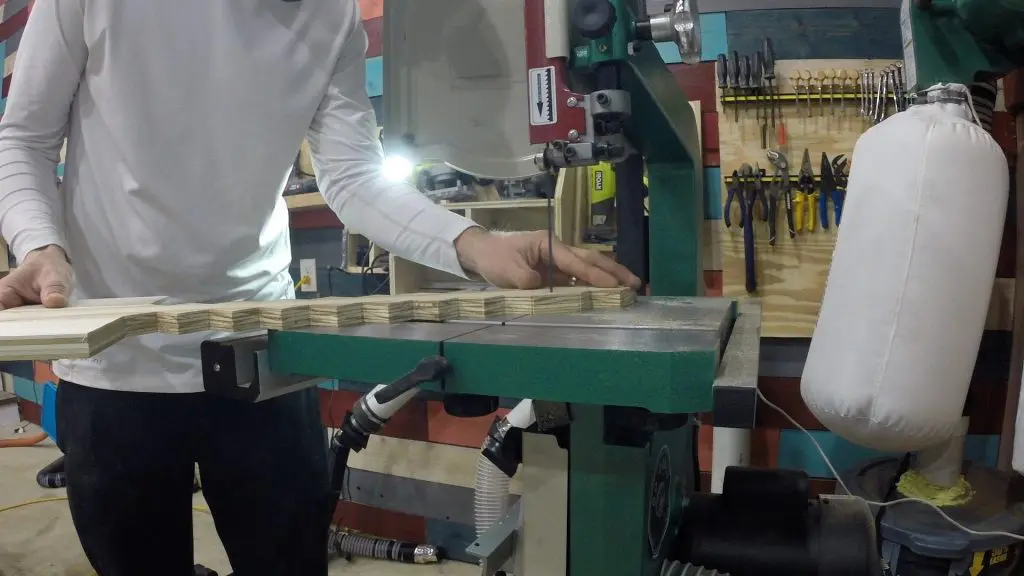
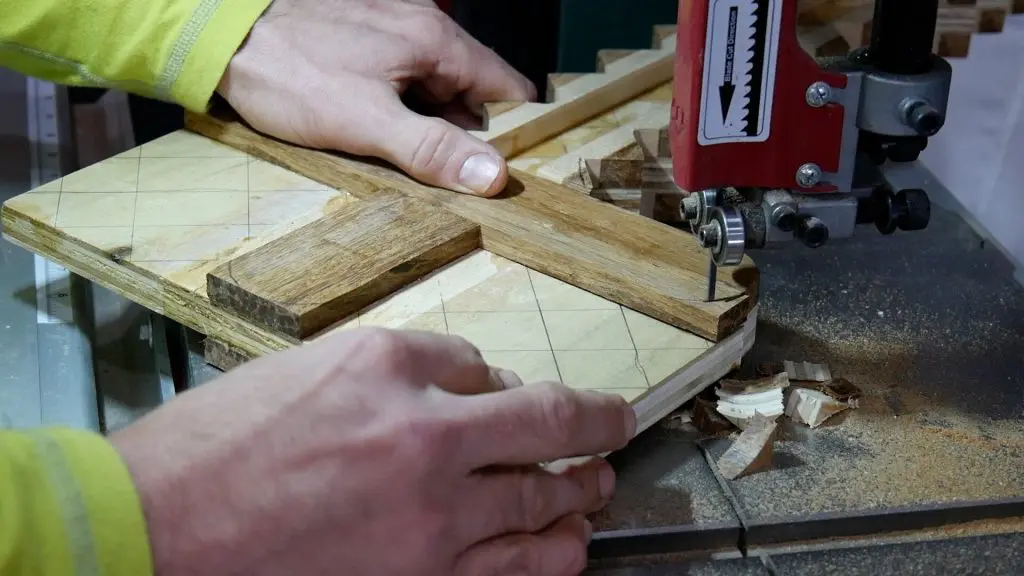
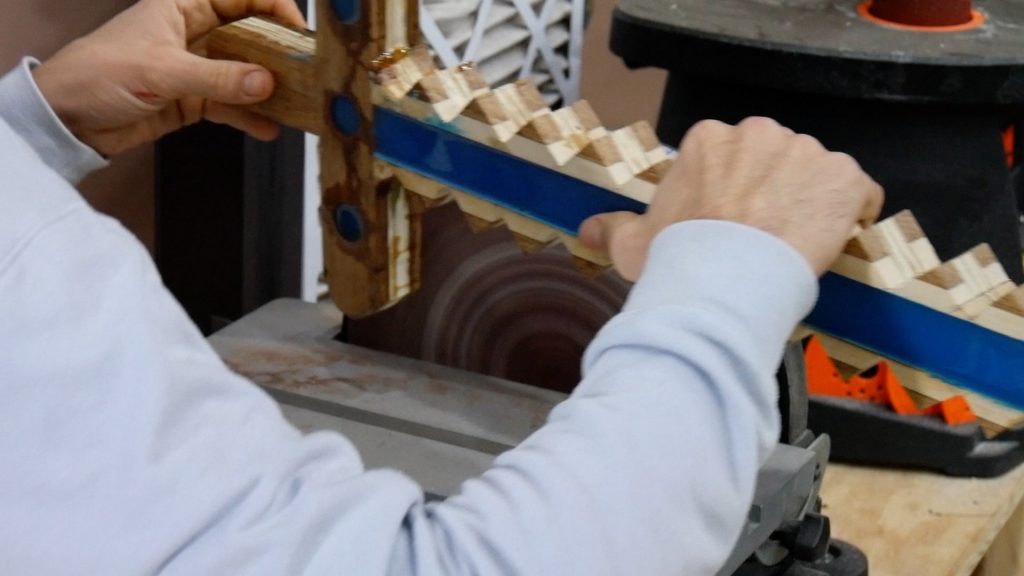
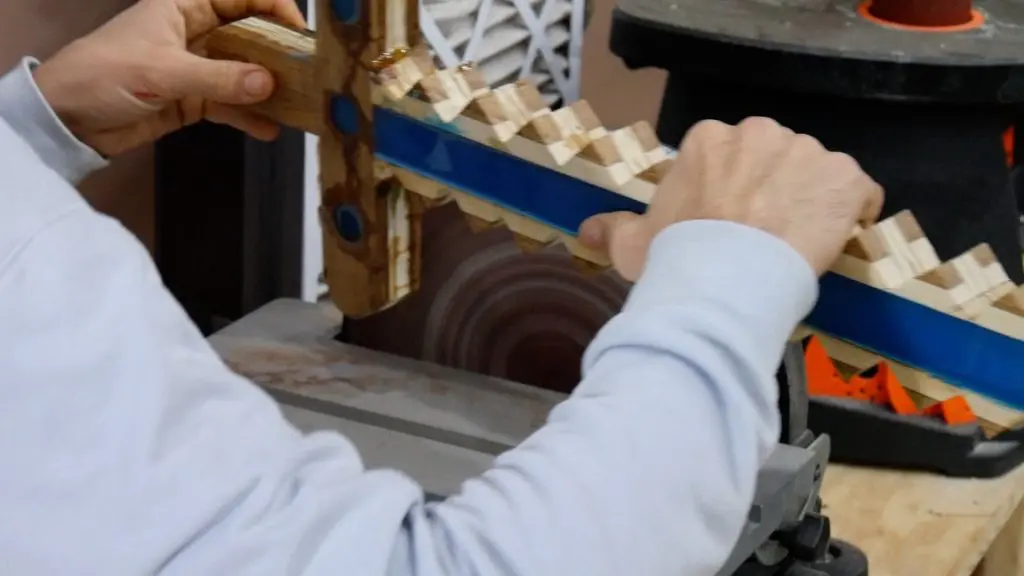
Cut Out Top Layer
I took the sword over to the bandsaw and cut out the strips following the diamond-shaped lines I cutout in a previous step.

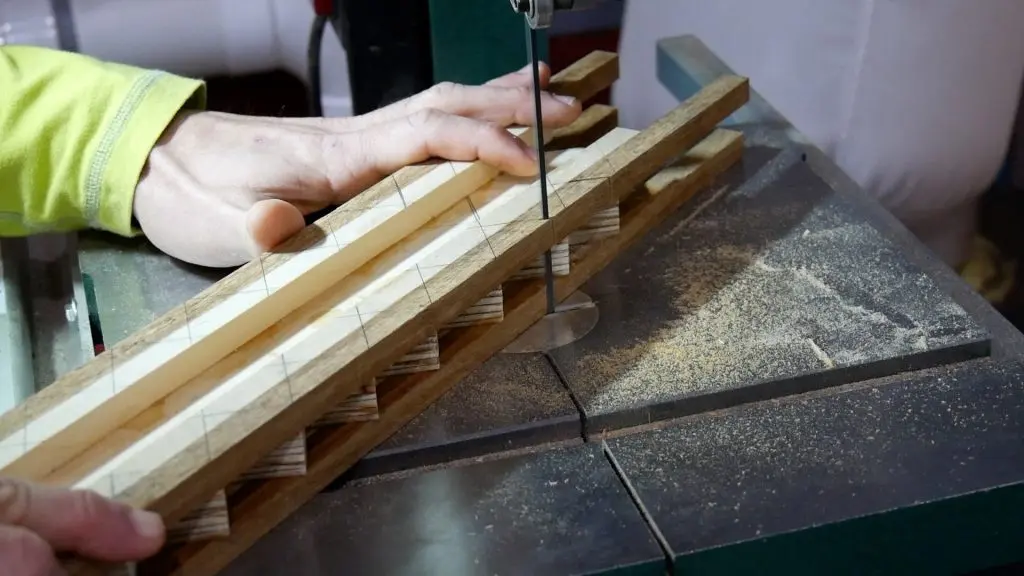
Next, I used my Japanese saw to trim of the excess strips at the base of what would be the sword’s cross-guard.
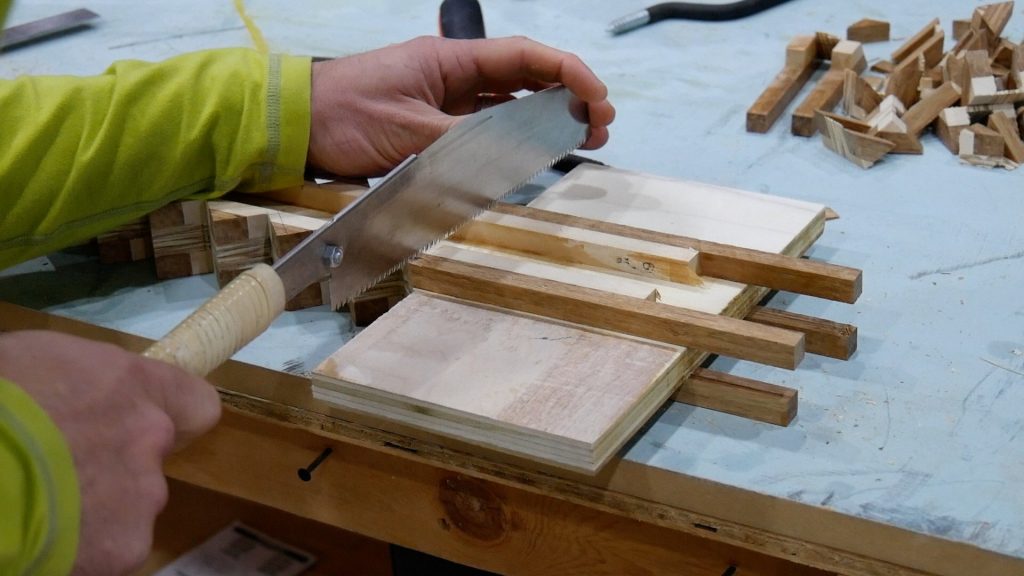

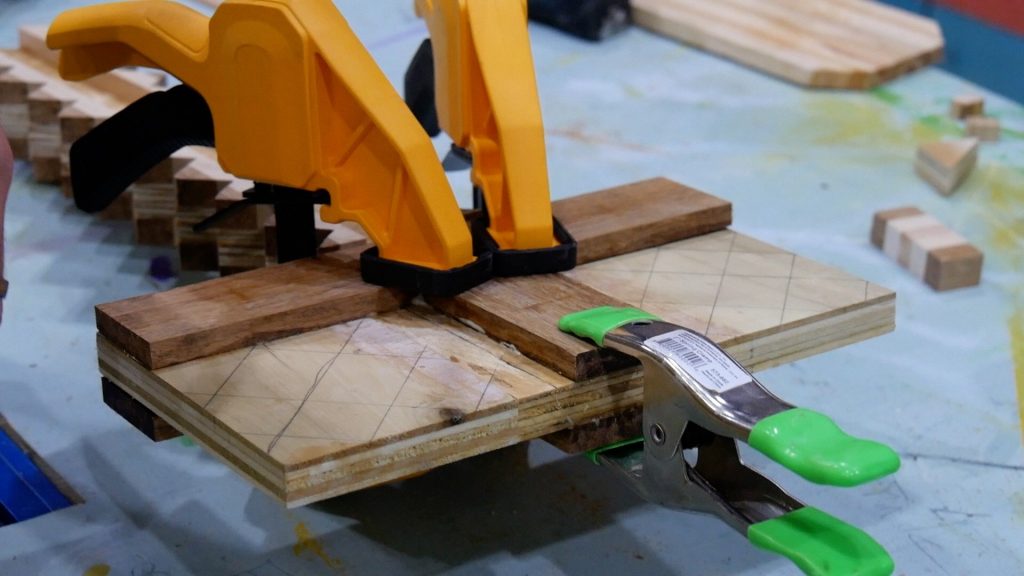
Build the Cross-Guard
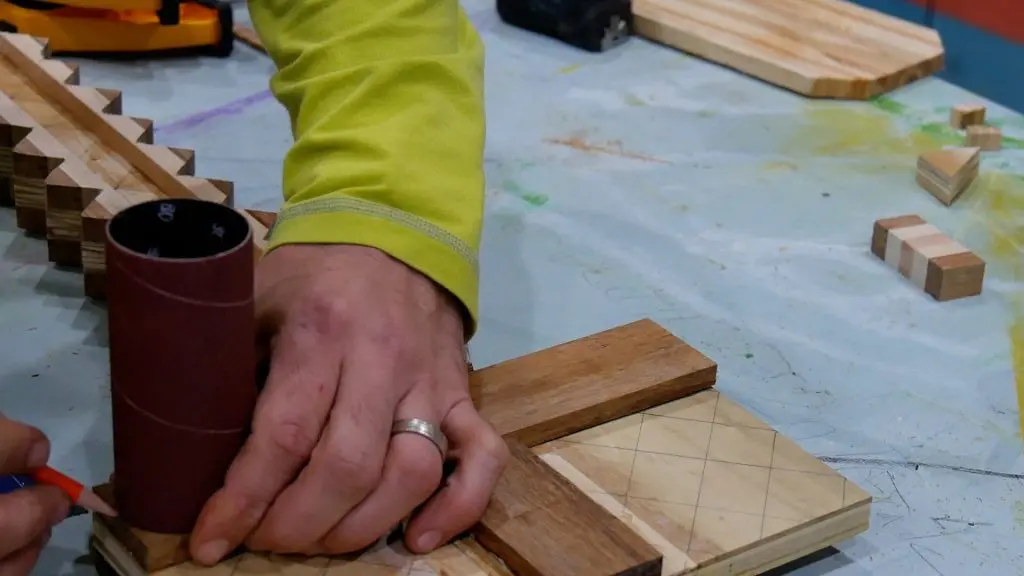
I cut 4 pieces of bamboo (2 on each side) to from the sword’s cross-guard and grip and glued them using wood glue to the plywood, clamped them, and let them dry overnight.

Then, I used a round piece of sandpaper from my spindle sander to draw lines and rounded them out on the bandsaw.


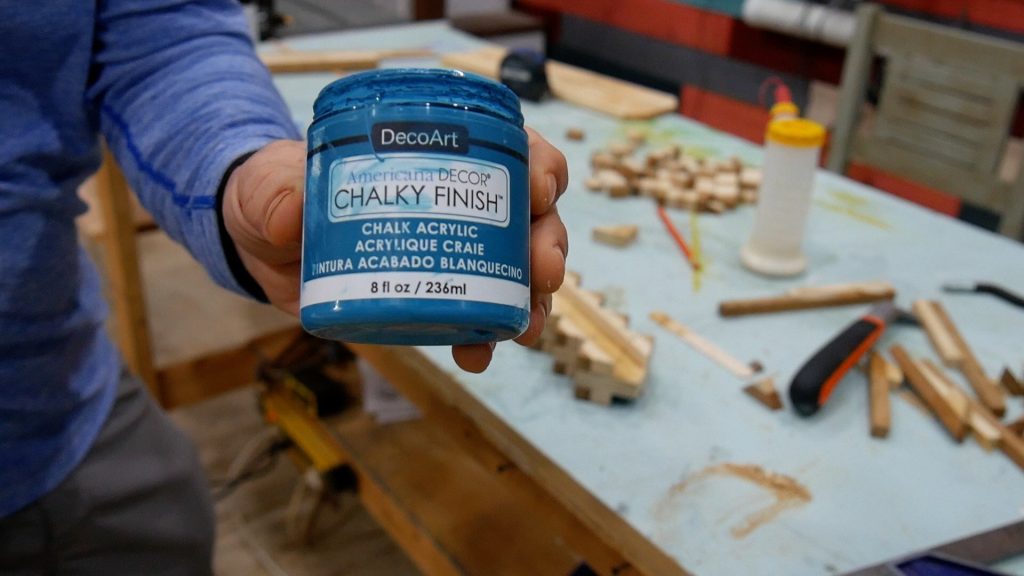
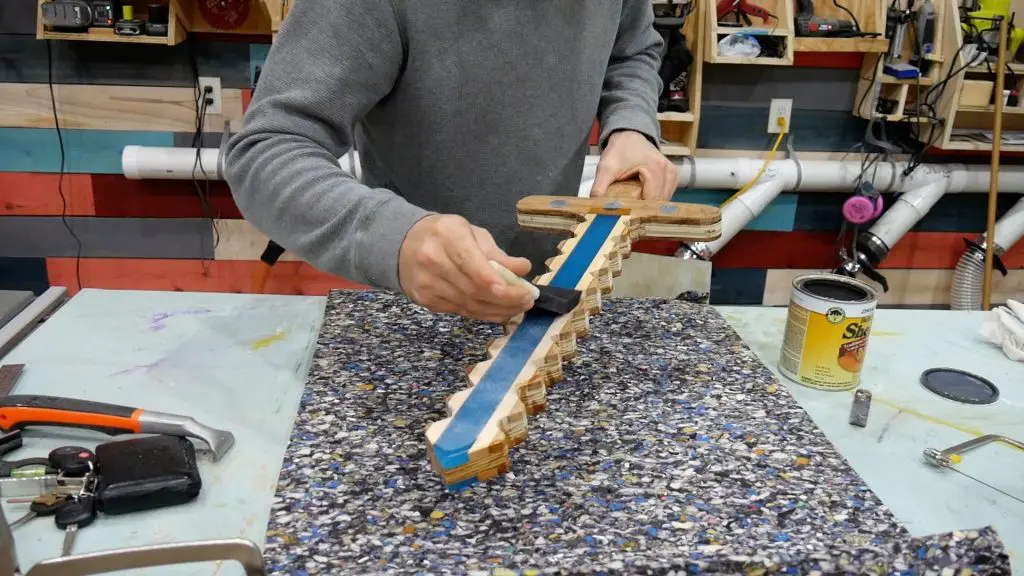
Paint Middle of Sword
Shane wanted the center of the sword to be blue.
So, I used left over chalk paint I purchased at one of the big box stores for a previous project to paint the middle of the sword.
Ultimately, I wanted to put some color on the bottom of the sword.
However, I was not certain if the epoxy resin with glow powder would cover the lines I drew on the sword.

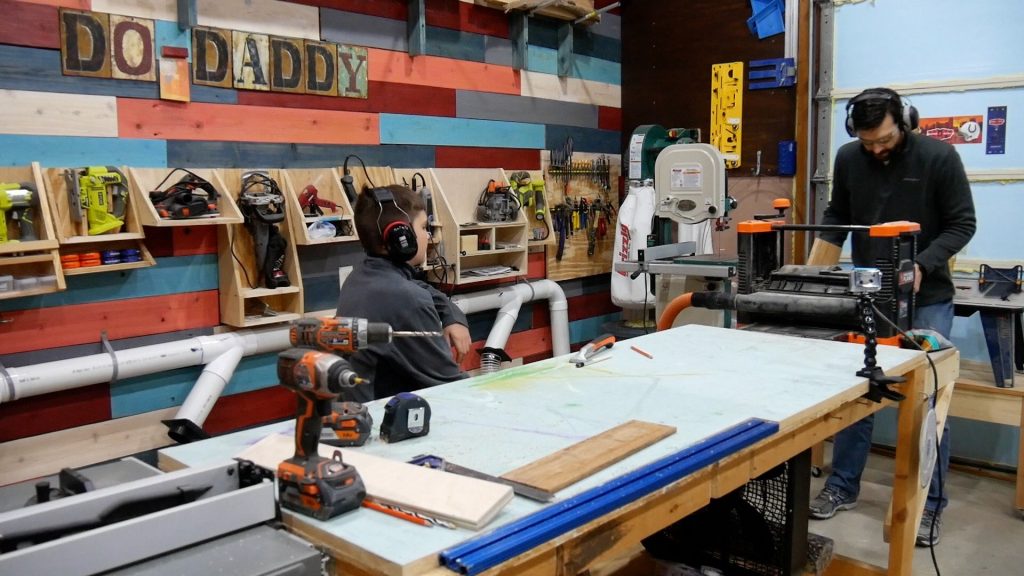
Drill Holes for Cross-Guard
First,I took the sword over to the drill press and used a 1″ forstener bit to drill 3 holes a 1/2″ deep into both sides of the sword’s cross-guard.
For those who watch my video, I forgot to turn the camera on for this step.
Next,I taped the end of the sword using HVAC tape to form the tip.
In turn, preventing the epoxy from leaking out the end of the sword.


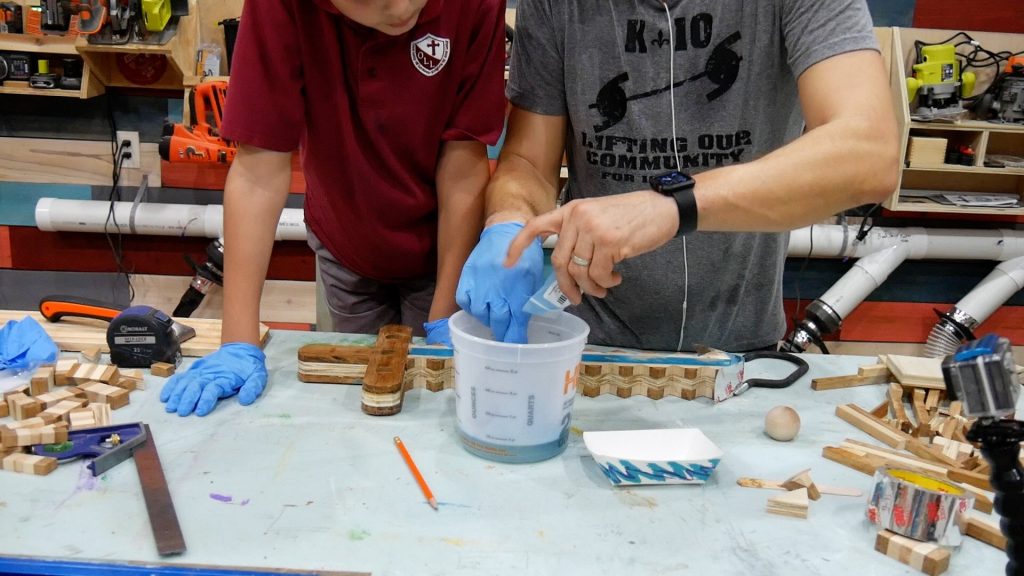
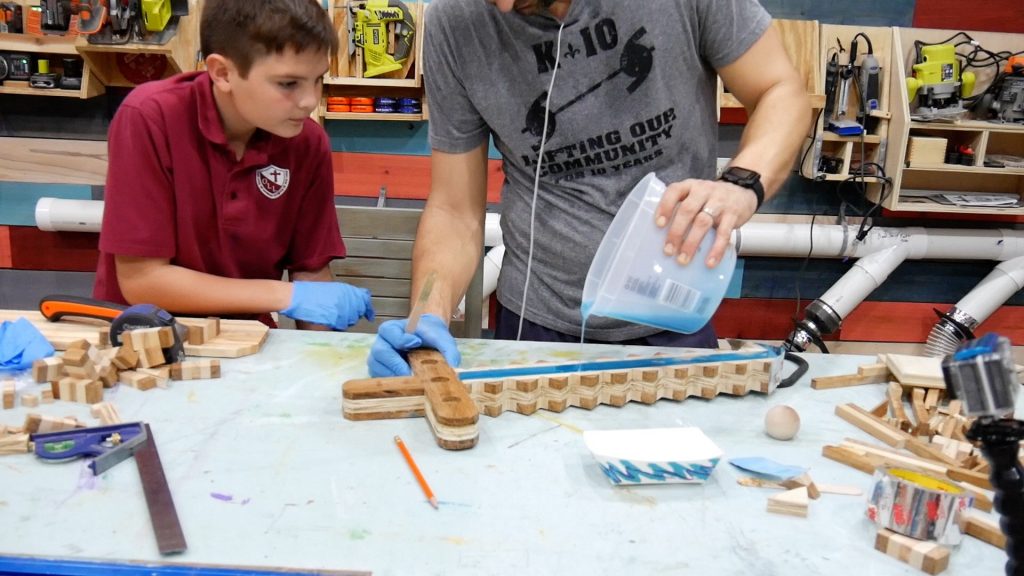
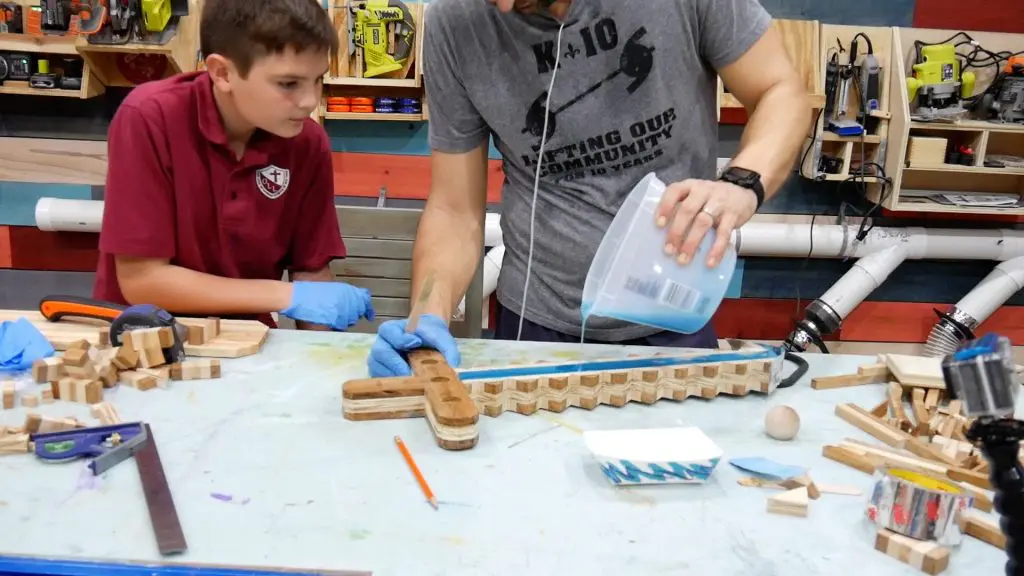
Epoxy Resin & Glow Powder
I mixed the epoxy resin for about 1 minute and then added the glow powder to the mixture.
Also, I should have added more glow powder, but all I had in my shop was this small packet.
Next, I used half on one side of the sword and half on the other and hoped it would be enough for the sword to glow.
Then, we continued to mix the epoxy with the glow powder for an additional 4 minutes.

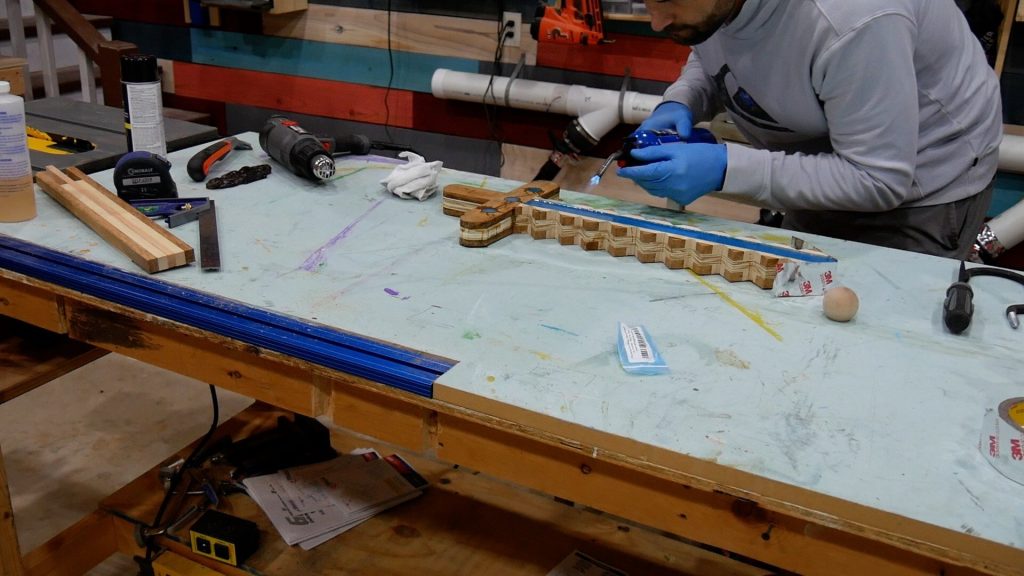
Remove Bubbles
After pouring the epoxy in the middle cavity of the sword, I used my blow torch and heat gun to remove the bubbles.
I let this dry for 24 hours and then repeated the same procedure on the other side of the sword.

Sand Epoxy
First, I used my disc sander and spindle sander to remove as much of the epoxy as I could.
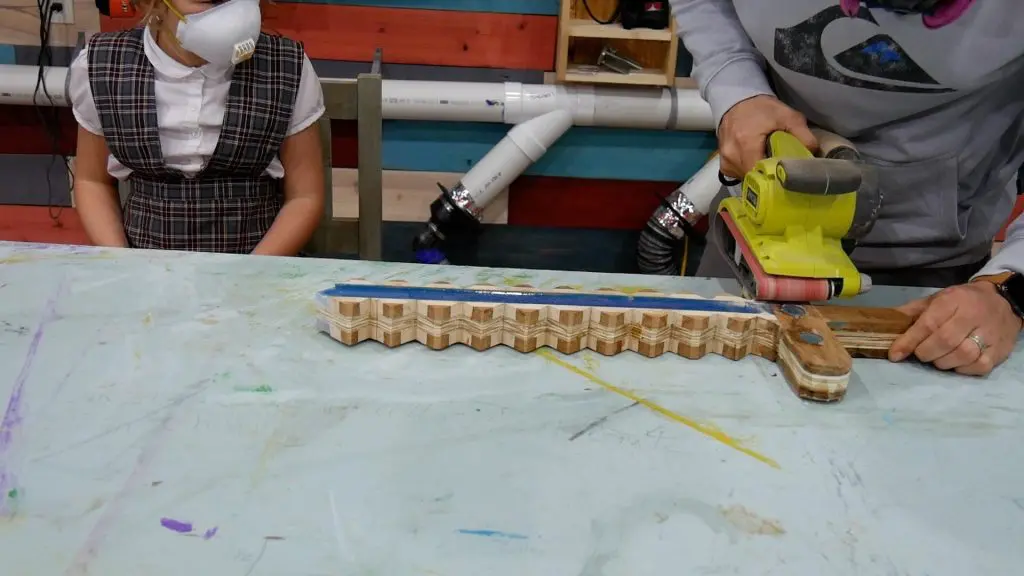
The disc sander does a good job of flattening & dull the side tips/points of the sword.
Obviously, the tips/points were really sharp due to the density of the bamboo.
Next, I used my orbital sander & belt sander to continue to sand as much of the excess epoxy off of the sword.

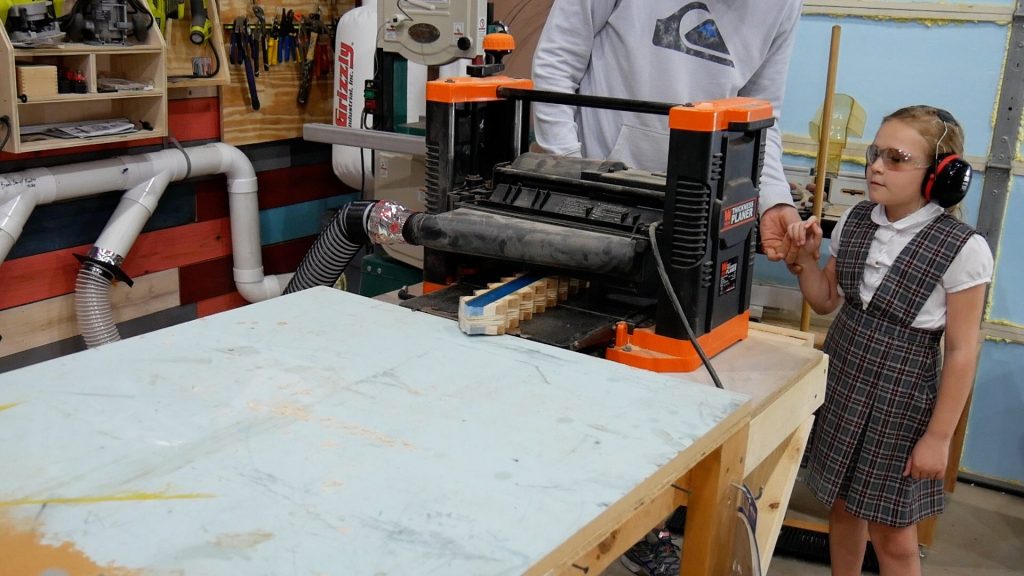
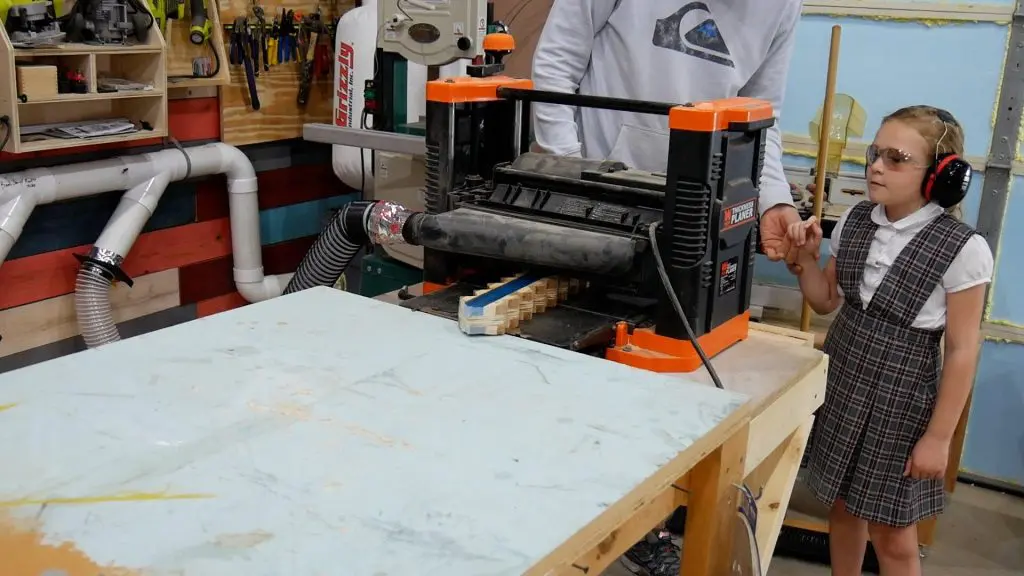
Plane Sword
I ran the sword through the planer to get a nice, flat surface.
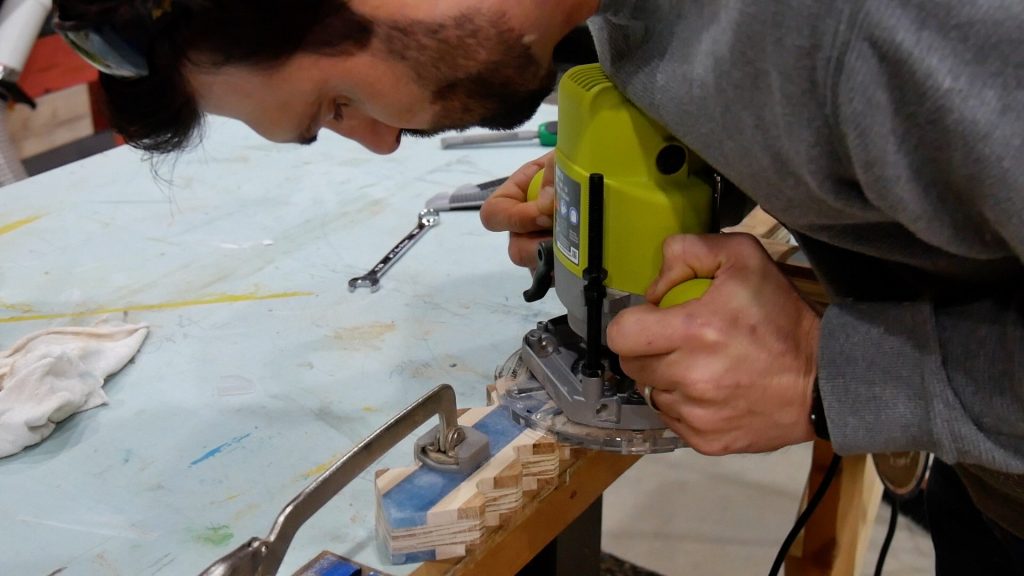
Clean Up Edges
First, I used my router with a straight bit to even out the sides of the sword.

Apply Finish
I used Shellac to finish the sword.
Ultimately, I put on 3 coats sanding with 220 grit sandpaper between each coat.

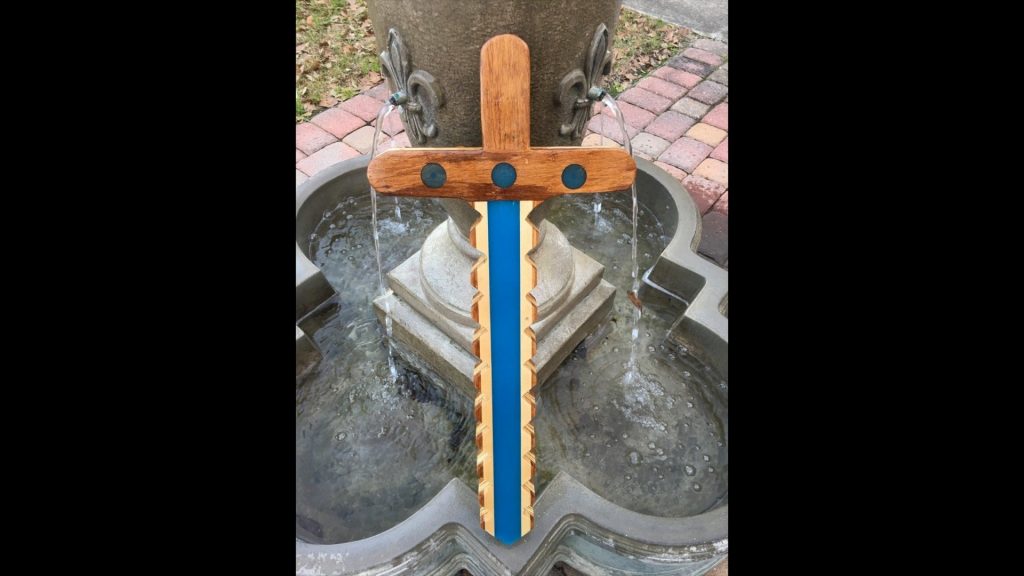
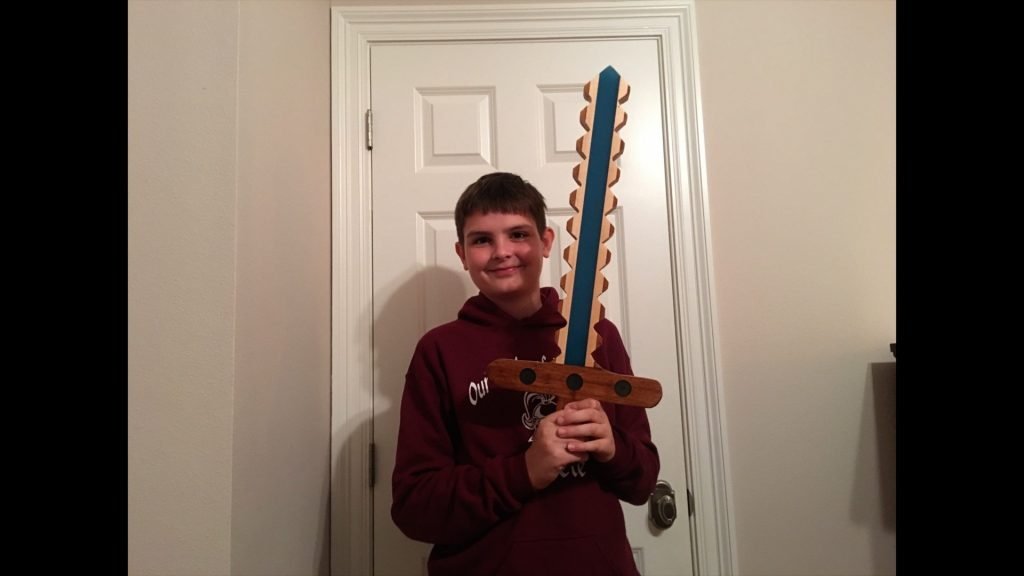
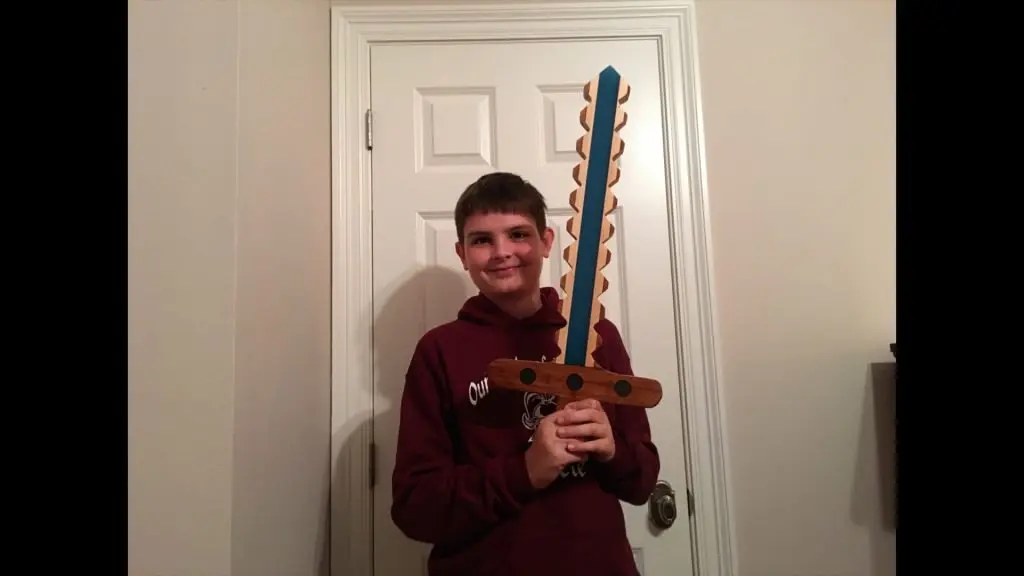
Final Product
Here are a few pics of the final product.
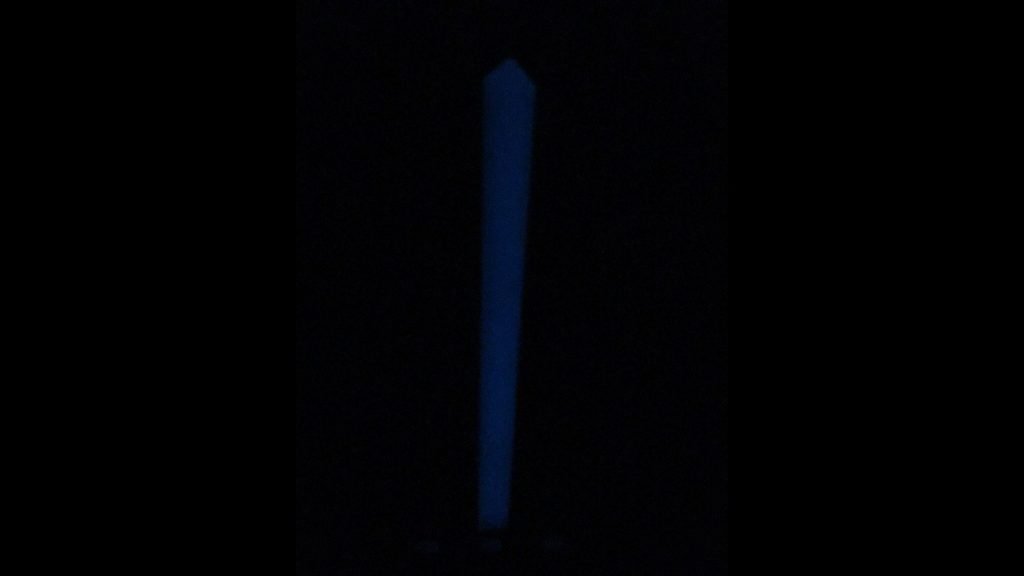
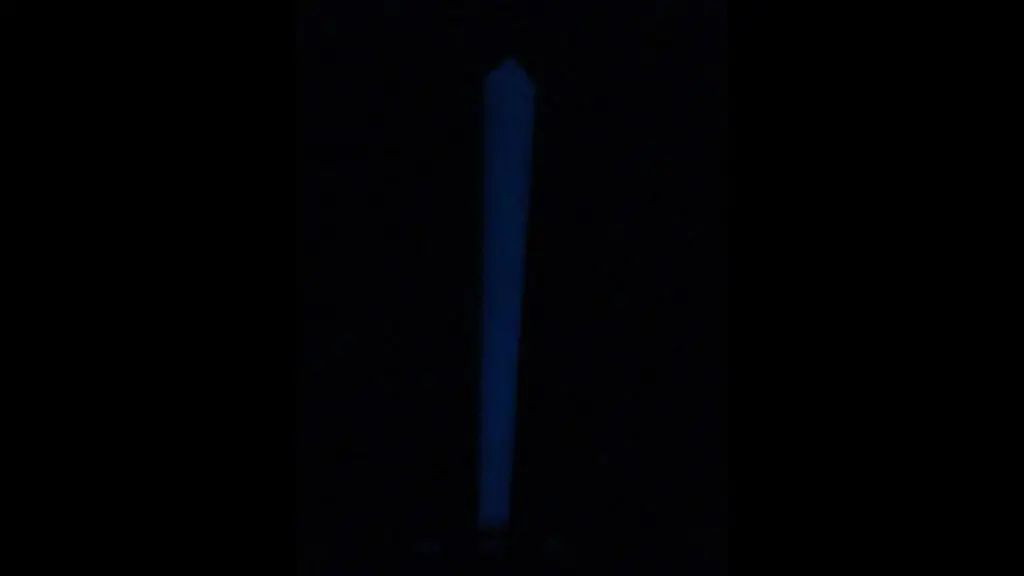
In addition, it glows in the dark very well, but I couldn’t get a good picture of it in the dark.


Conclusion
In conclusion, I hope this DIY wood sword that glows provided you with some value.
Also, be sure to check out my Mardi Gras Ladder Chair project as this was done with my kids.