
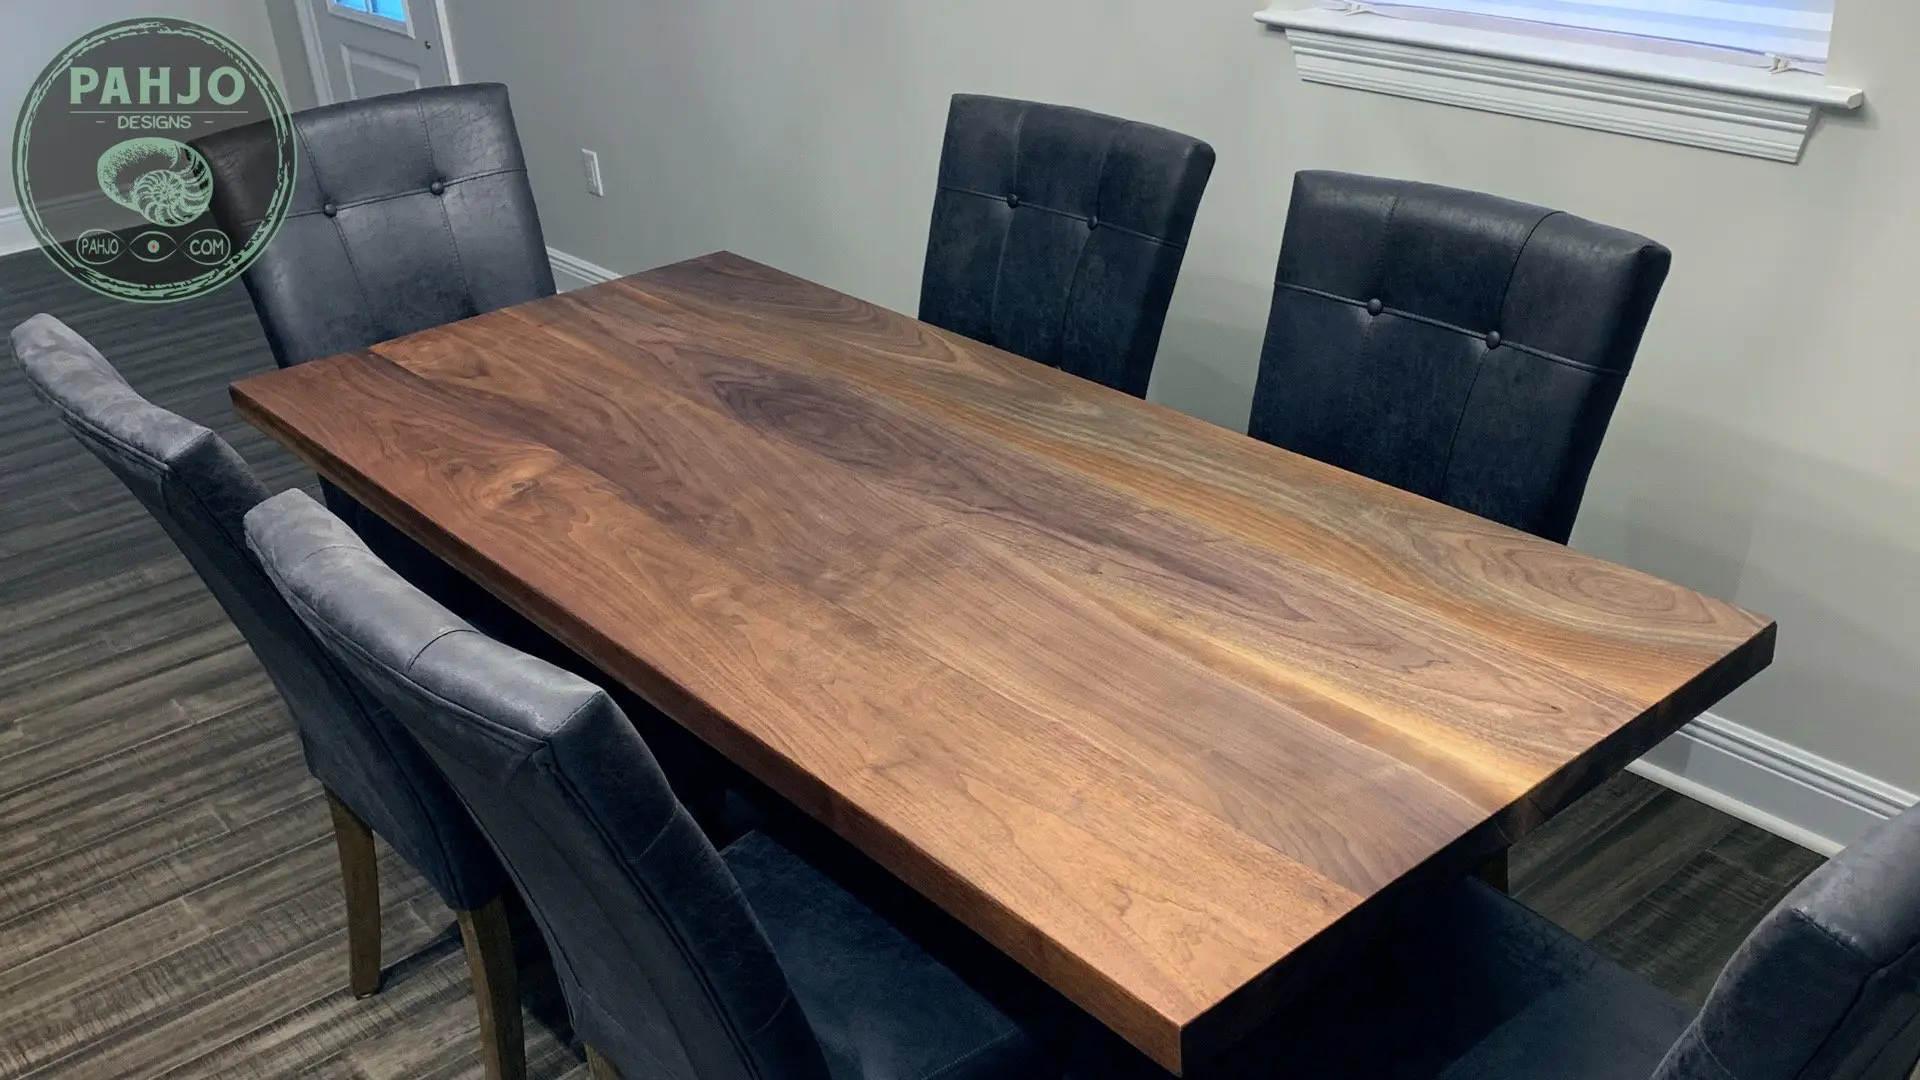
In this tutorial, I show you how to build a DIY Walnut Dining Table.
Even if you don’t need a walnut dining table, the DIY tips I use can be used on any woodworking project.
Here are some jump links to the main sections of this post to help you get the information you need quickly:
Video Tutorial
Step by Step Instructions
Dining Table Bottom
Video Tutorial
There are many things which are difficult to explain with words and images, so be sure to checkout the video tutorial below.
Introduction
My brother-in-law and his wife recently completed a major renovation to their home.
Essentially, they tore down their existing home and built a new one in the same location.
So, they asked me to make a walnut dining table and matching walnut barn doors.
They sent me the pictures below along with measurements and I started the project.
Gather Tools and Materials
So, let’s get started with a list of tools and materials I used to make this simple DIY walnut dining table.
Miter Saw
Festool Track Saw
Guide Rail Connector
Combination Square
MFT3
Tape Measure
Festool Domino
Alternate: Dowel Jig
Alternate: Biscuit Jointer
CT-SYS Vacuum
Wood Glue Dispenser
Glue
Glue Applicator
Bar Clamps
Rubber Mallet
Rotex Sander
40 grit
60 grit
80 grit
100 grit
120 grit
220 grit
320 grit
Soft Sanding Pad
Trim Router
1/4″ roundover bit
Rubio Monocoat
Rubber Gloves
Dust Mask
Lint Free Rags
Buffing Pad for Sander
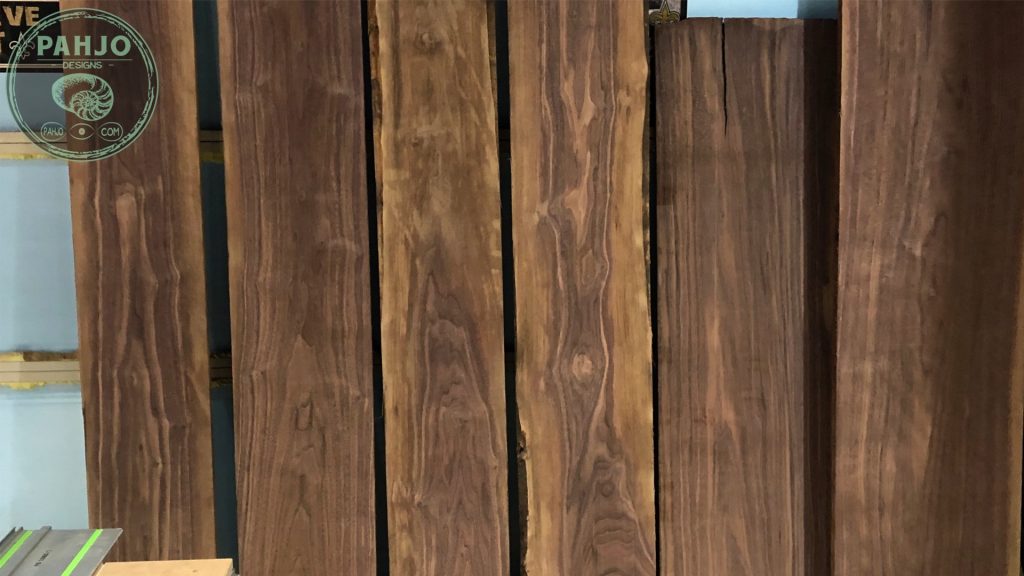
First, I contacted my buddy Charles at Riverside Lumber in New Orleans, LA. and gave him the amount of lumber I needed in board feet.
I sold my planer, so I needed S2S (Surface 2 Sides) Walnut wood.
Also, I used 8/4 (2″ thick) for the DIY Walnut Dining Table and 4/4 (1″ thick) for the DIY Walnut Sliding Barn Doors.

Mill Walnut Wood
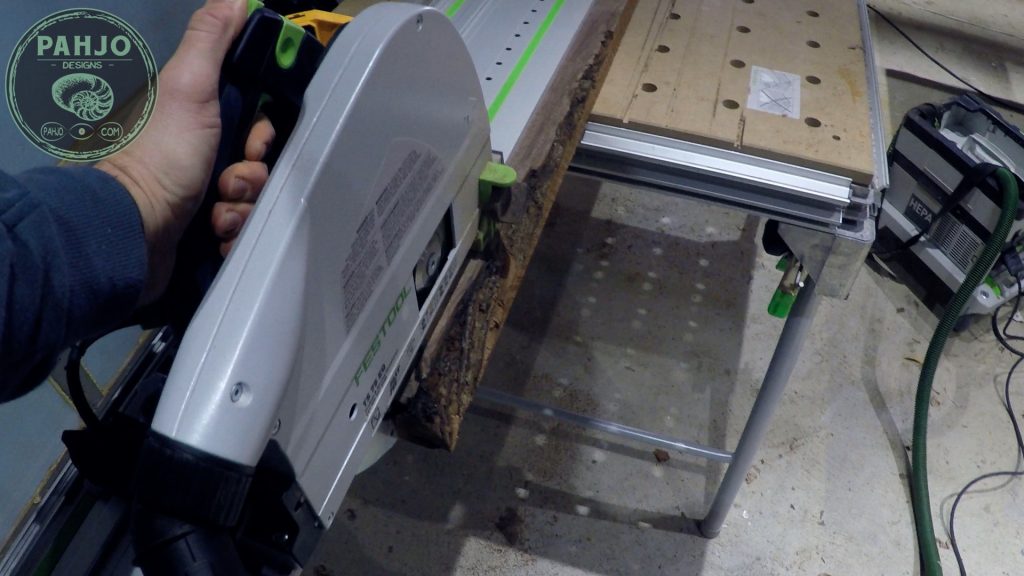
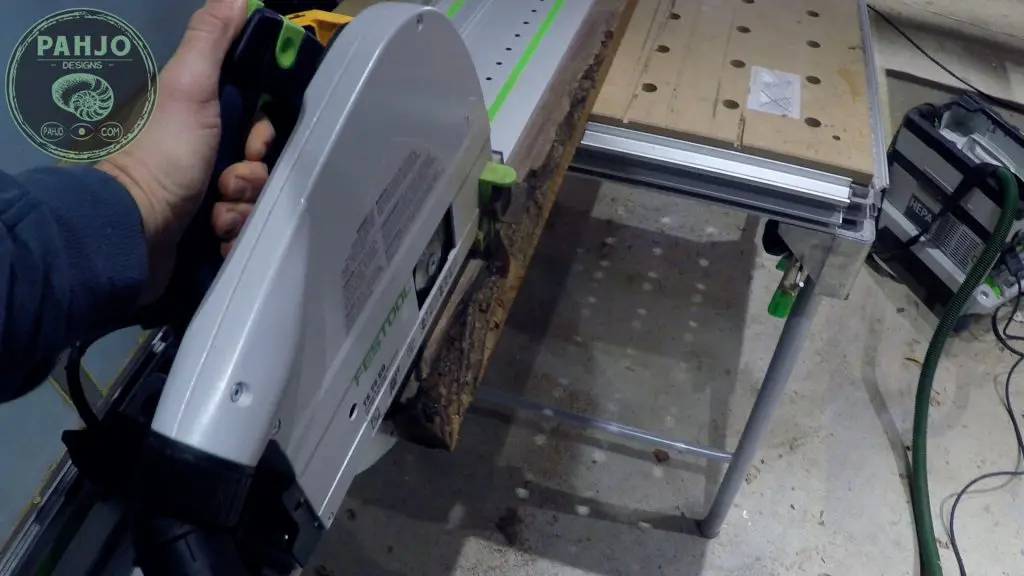
First, I trimmed roughly 1/2″ off each side of Walnut wood.


How to Join Boards without a Jointer
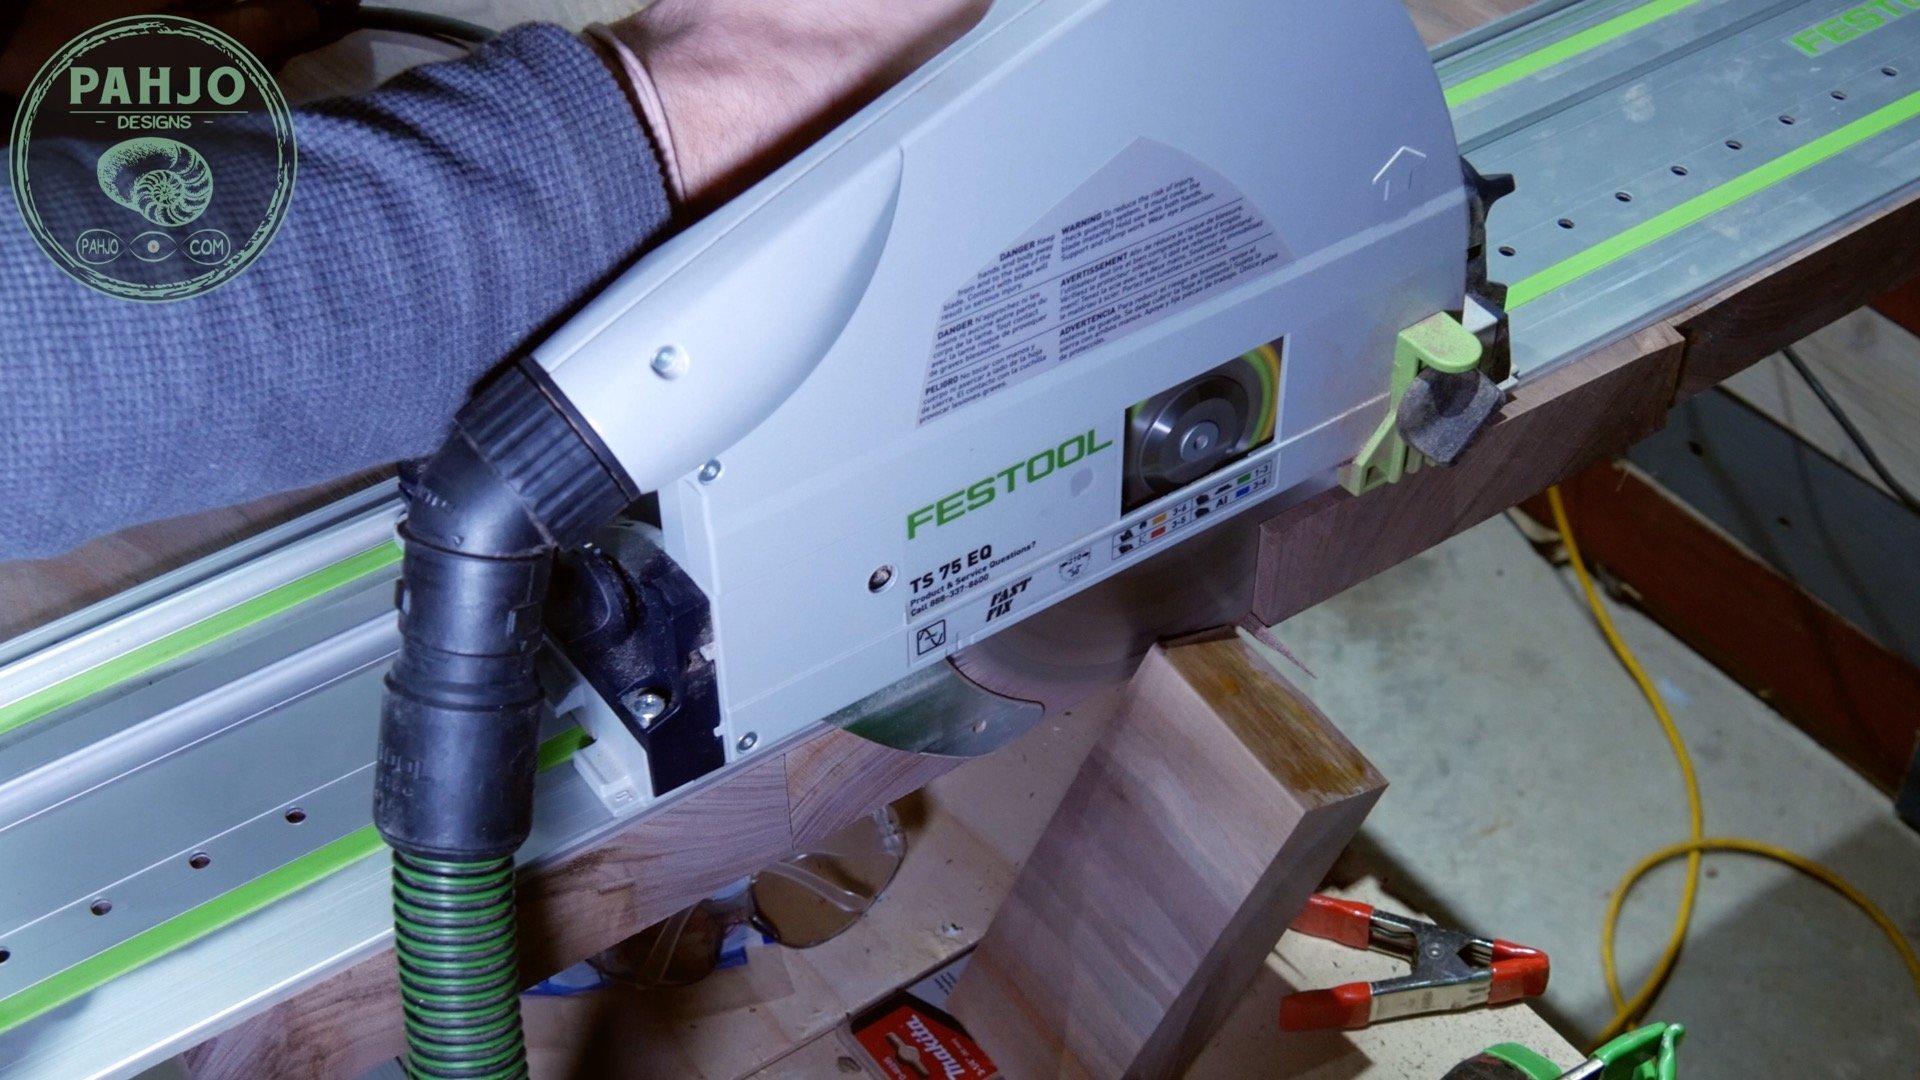
Next, I used my track saw to trim roughly 1/8″ off each side of the 8/4 Walnut. This track saw does a great job of joining 2 boards together.
In fact, it takes the place of a jointer in my workshop.
Why I Sold my Table Saw
The festool TS75 track saw combined with my MFT3 for cross cutting prompted me to sell my table saw.
Ultimately, it takes slightly longer for me to cut wood; however, this minor inconvenience is heavily outweighed by the space I gained in my shop.

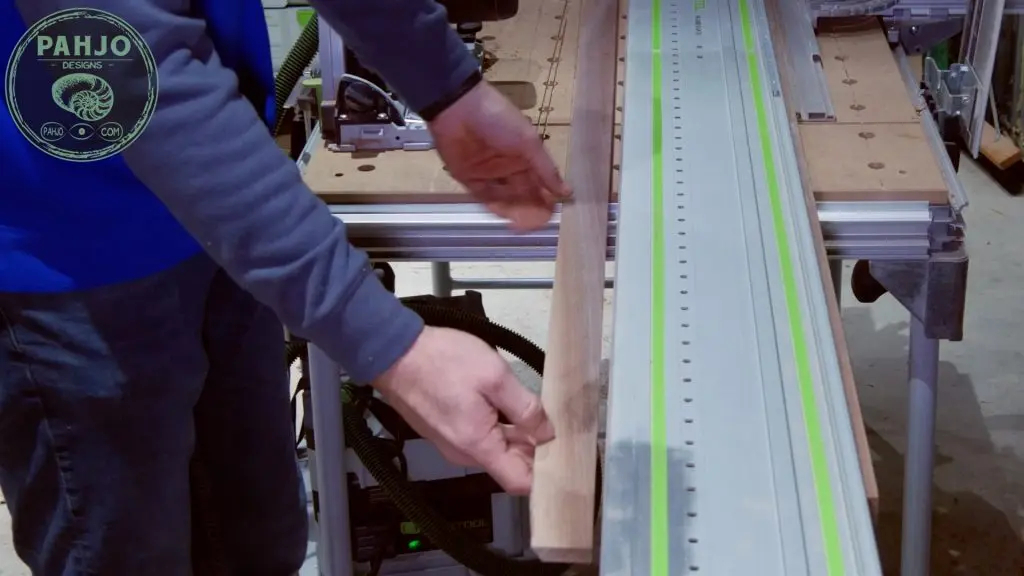
Joinery for Table Top
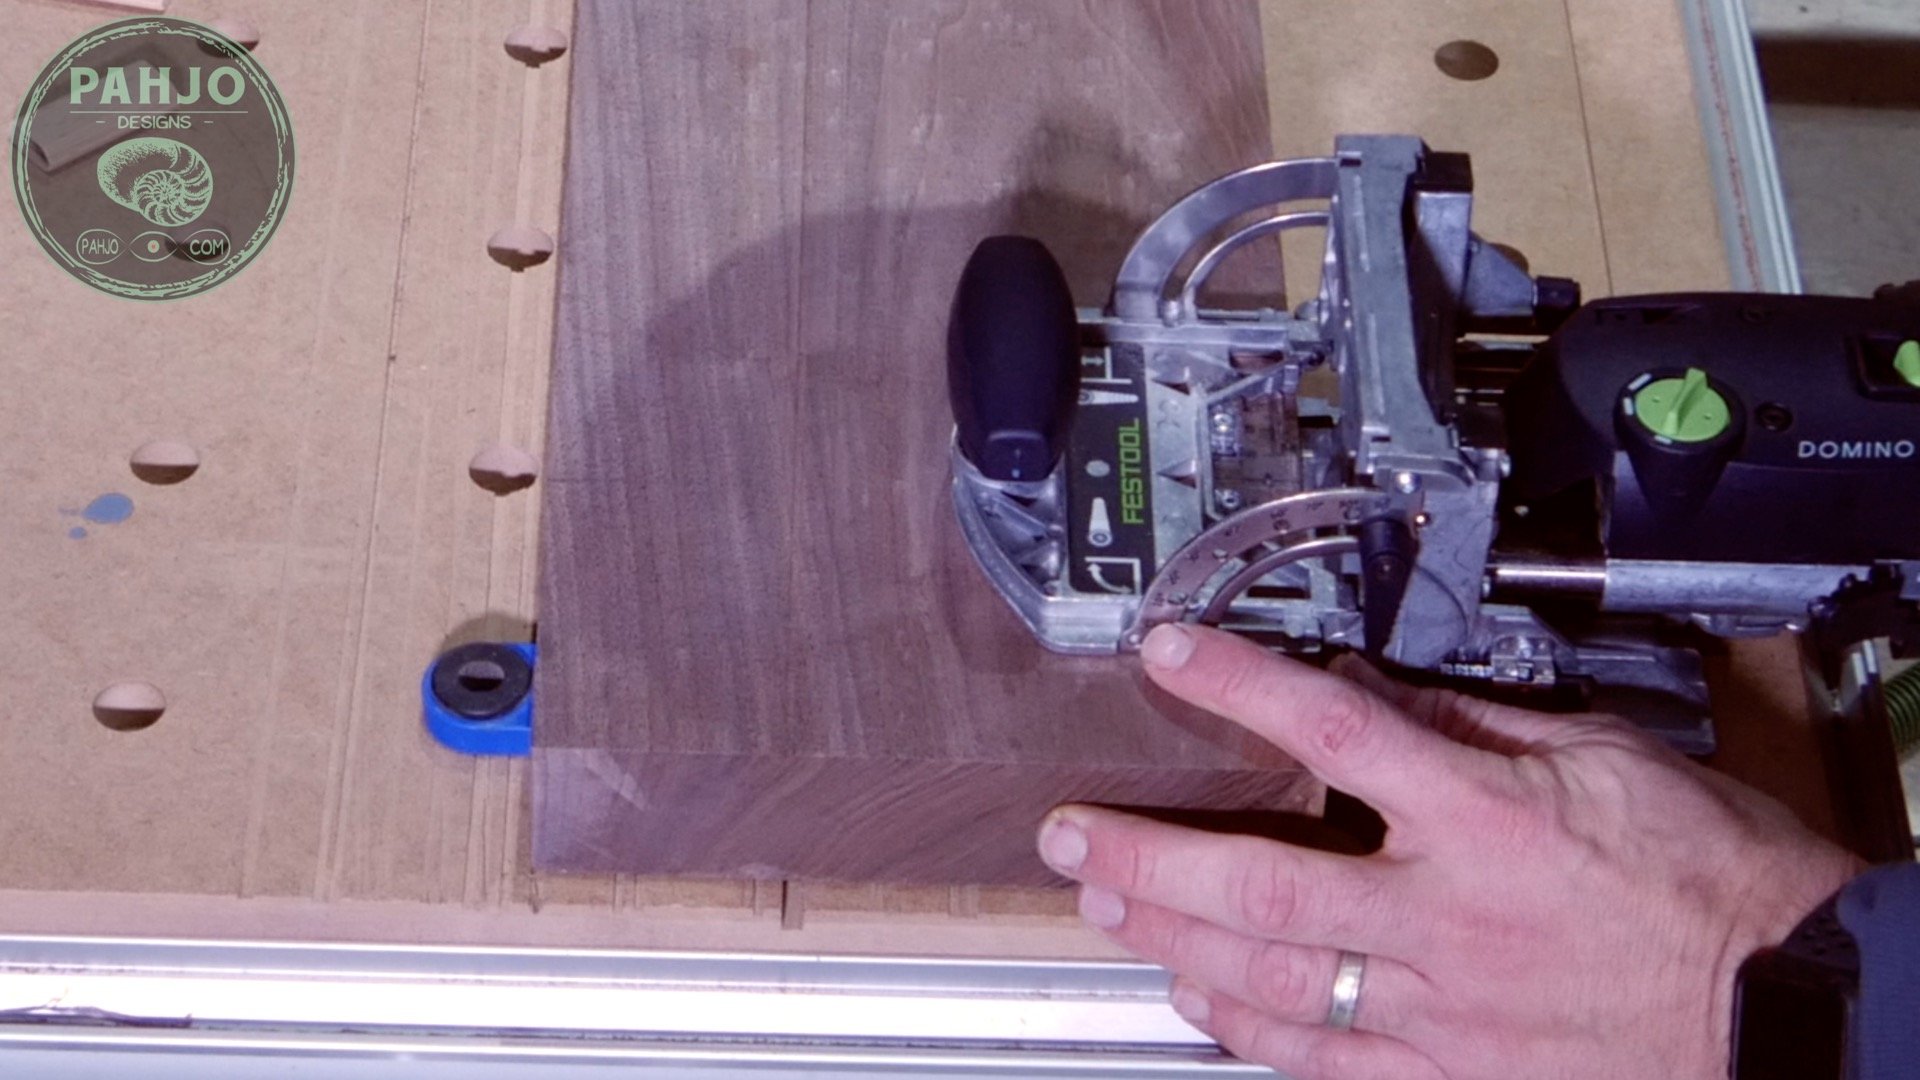
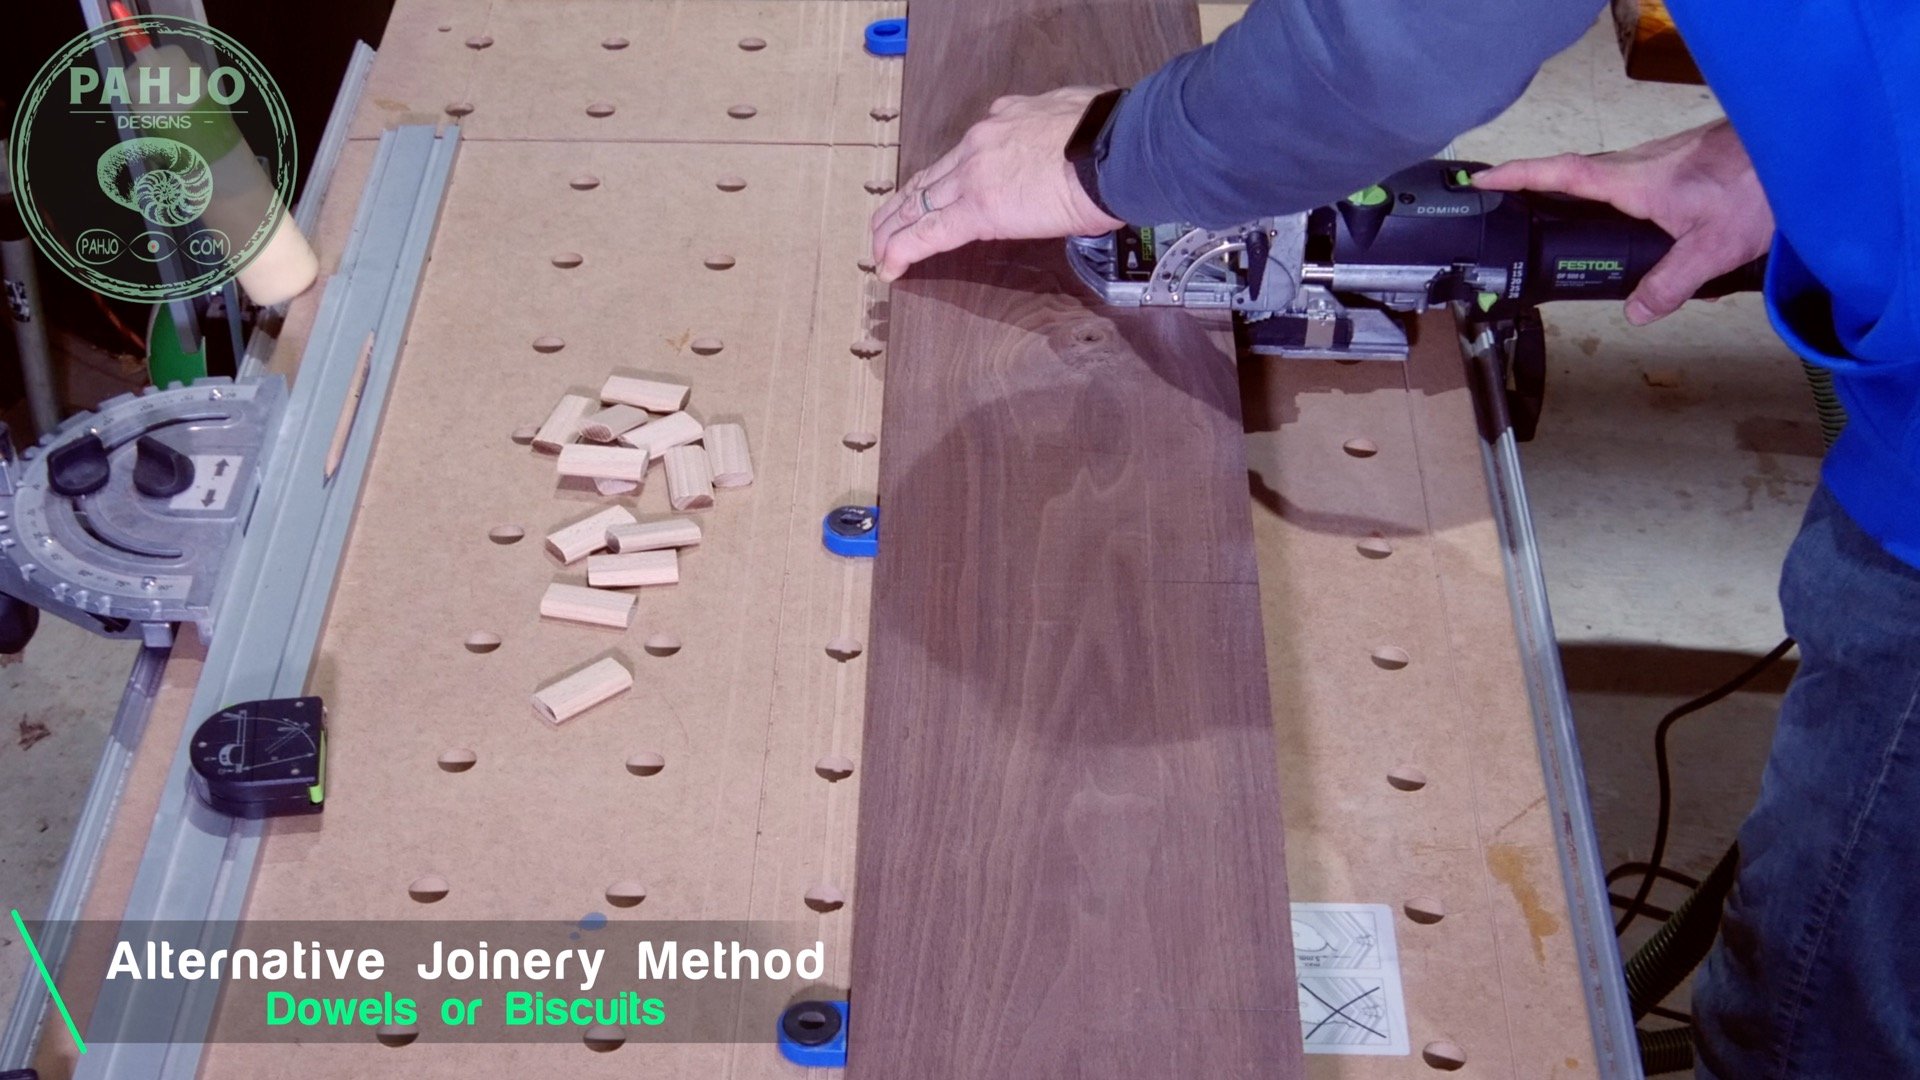
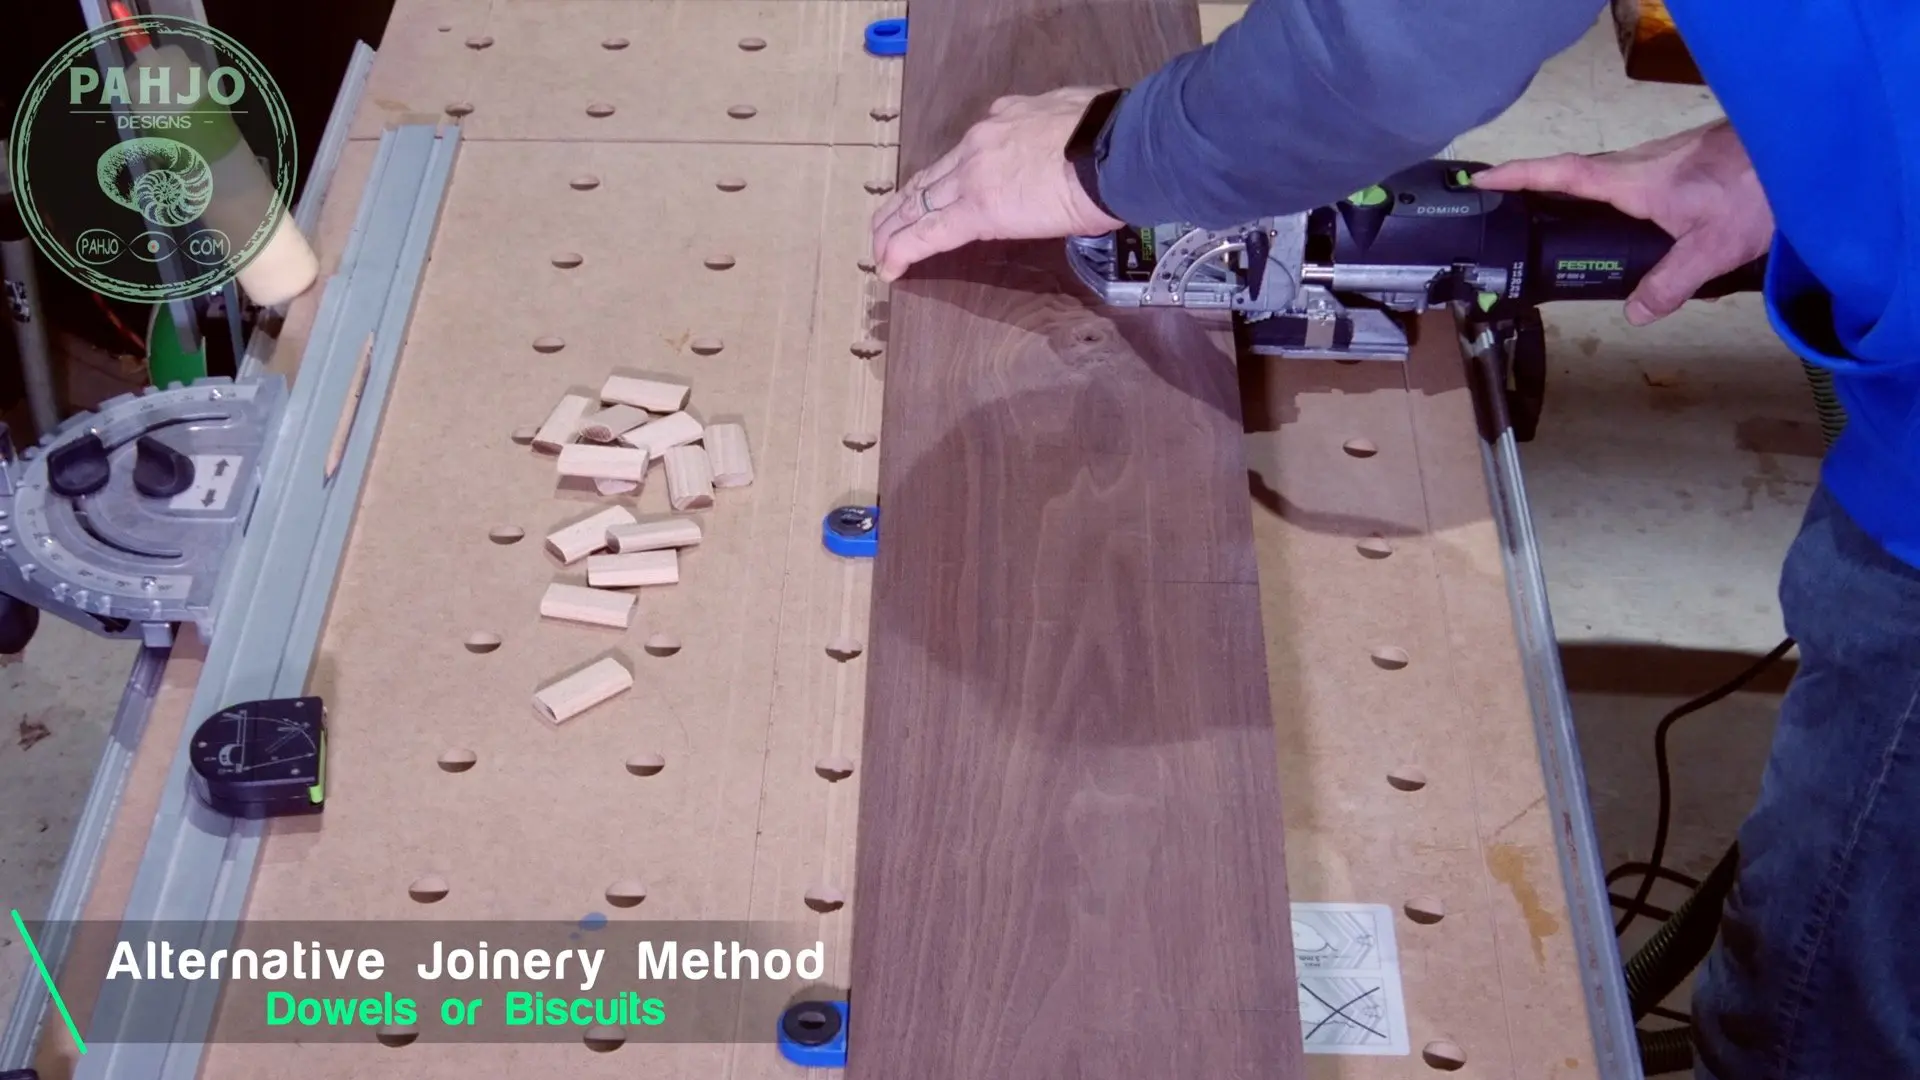
I used my festool domino as the joinery method for this walnut table top.
Additionally, biscuits or dowels work as well.
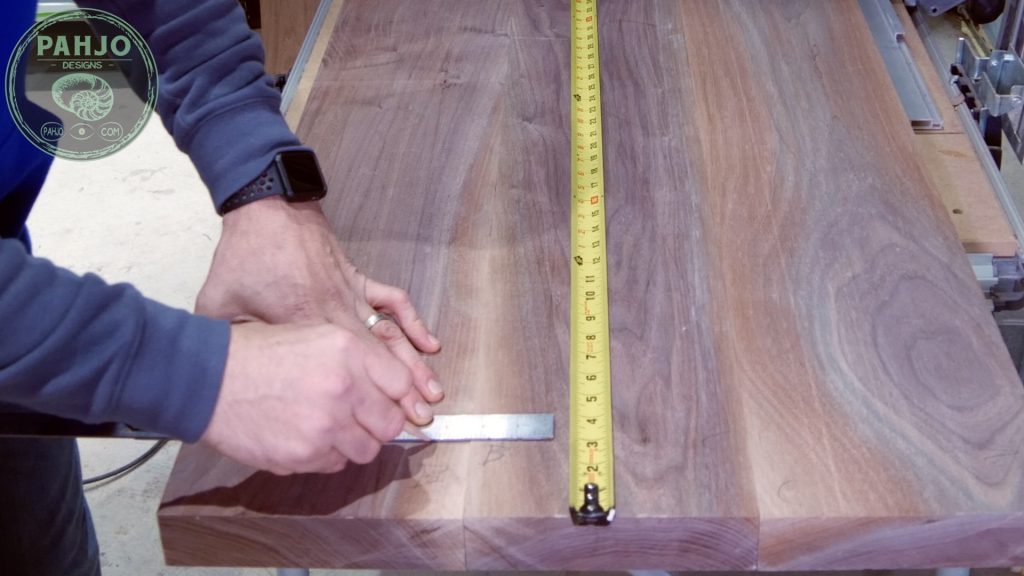
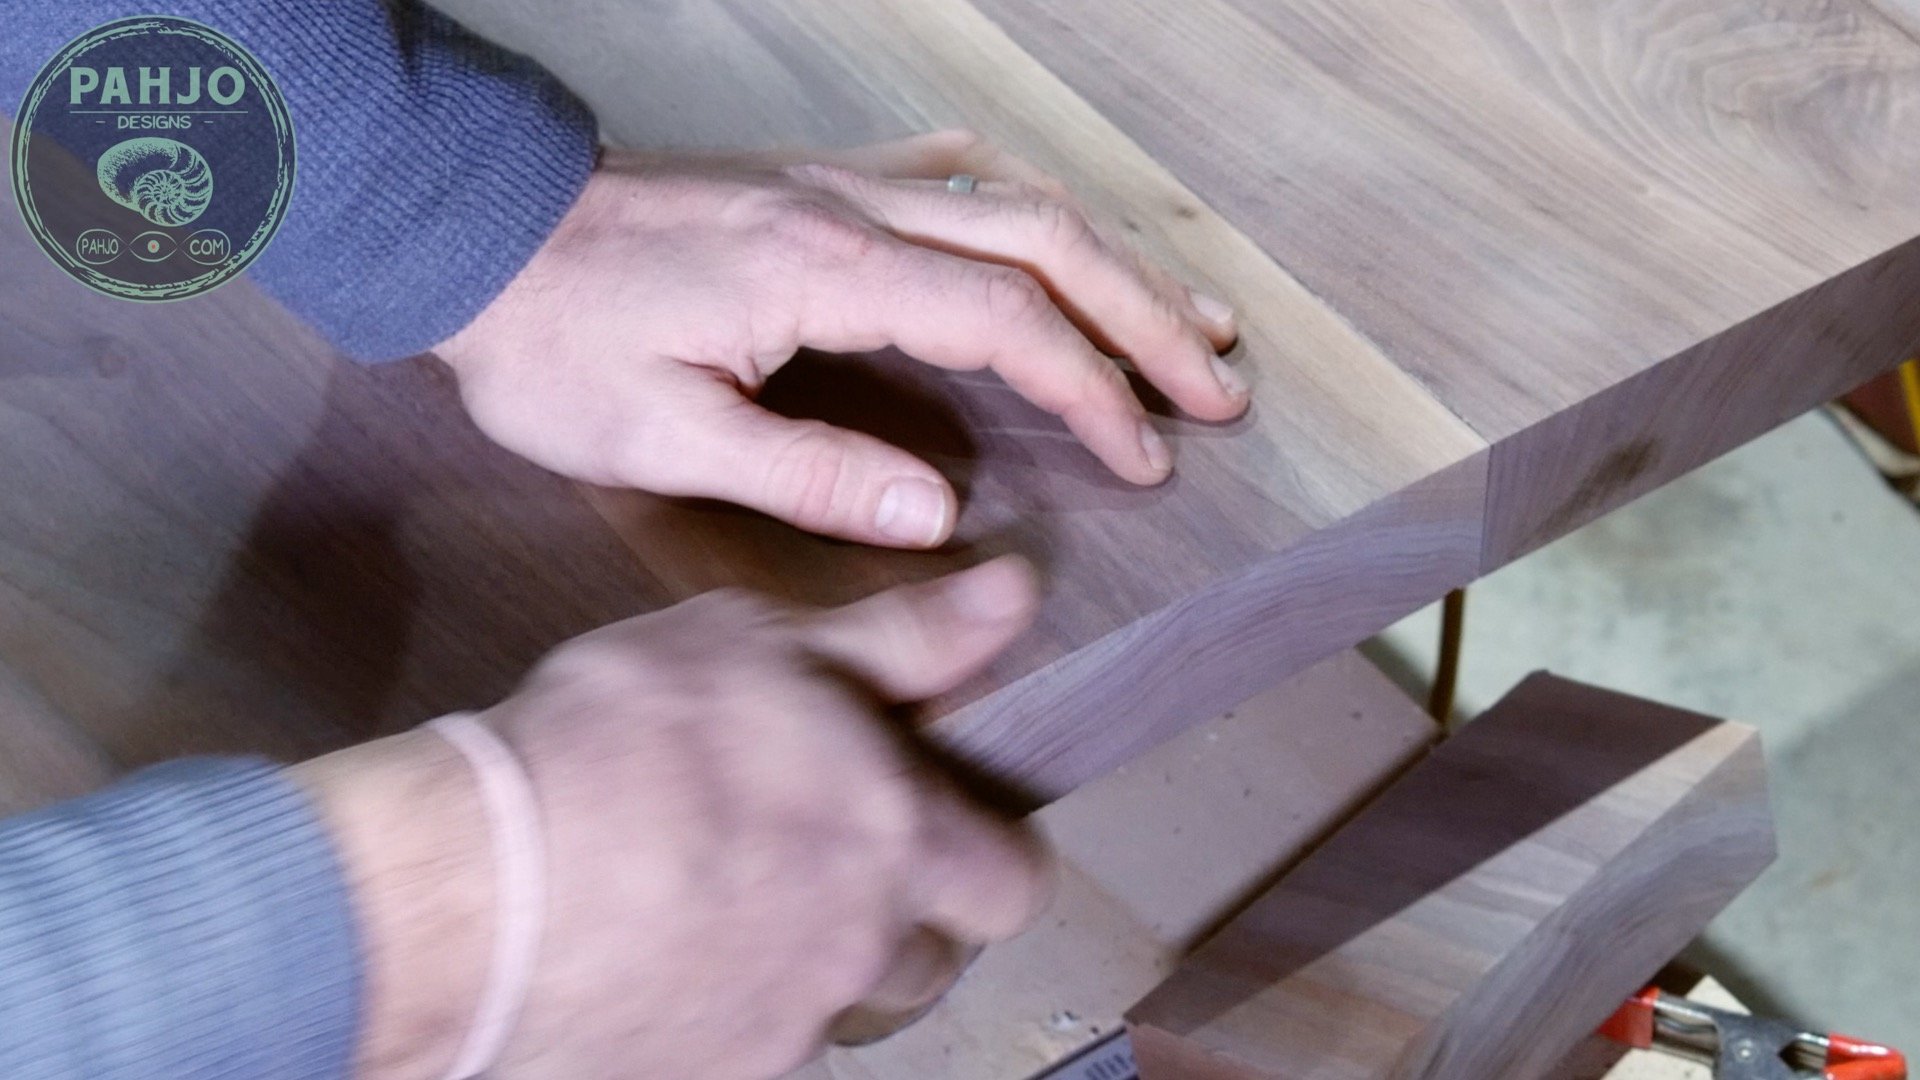
First, I aligned the boards how I wanted them and stretched my tape measure from one end to the other.
Next, I made a pencil mark roughly every 12″ and approximately 4″ from each end.

Then, I aligned my festool domino with the pencil marks and cut a mortise.

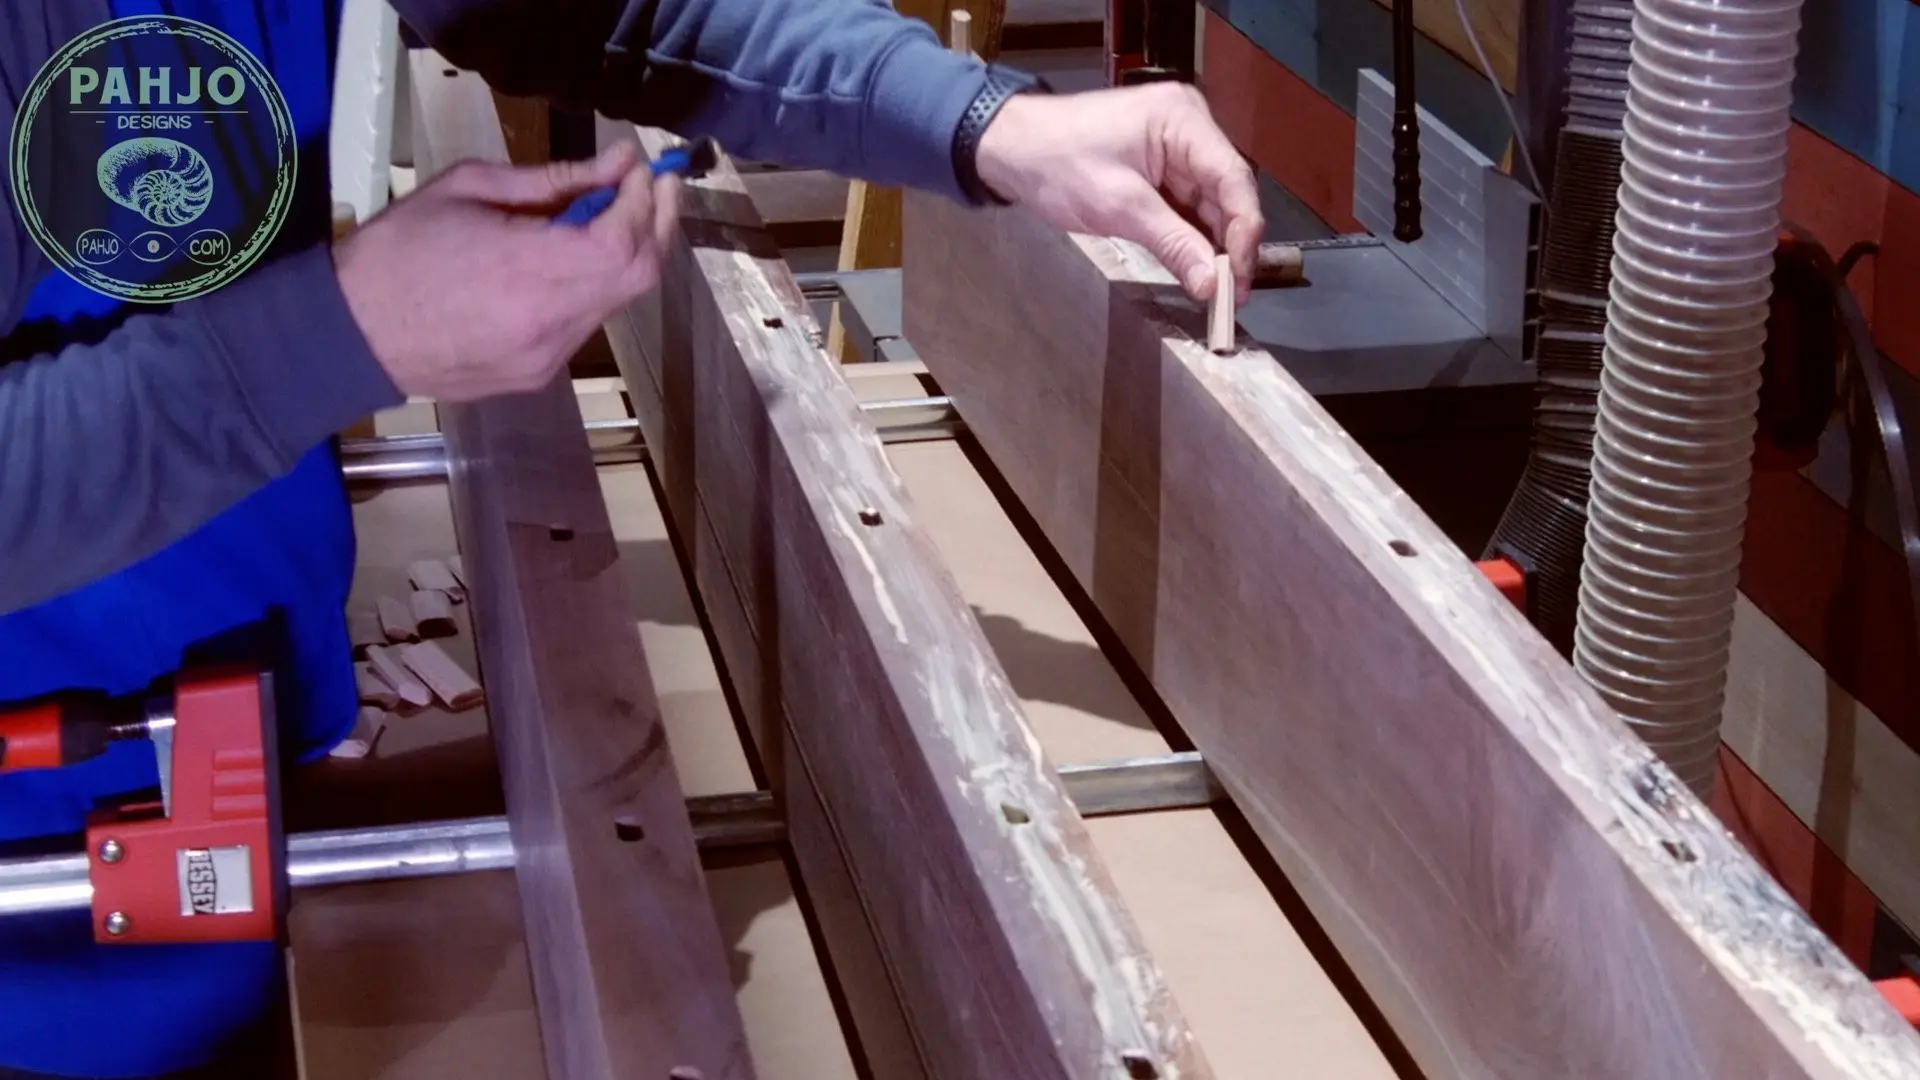
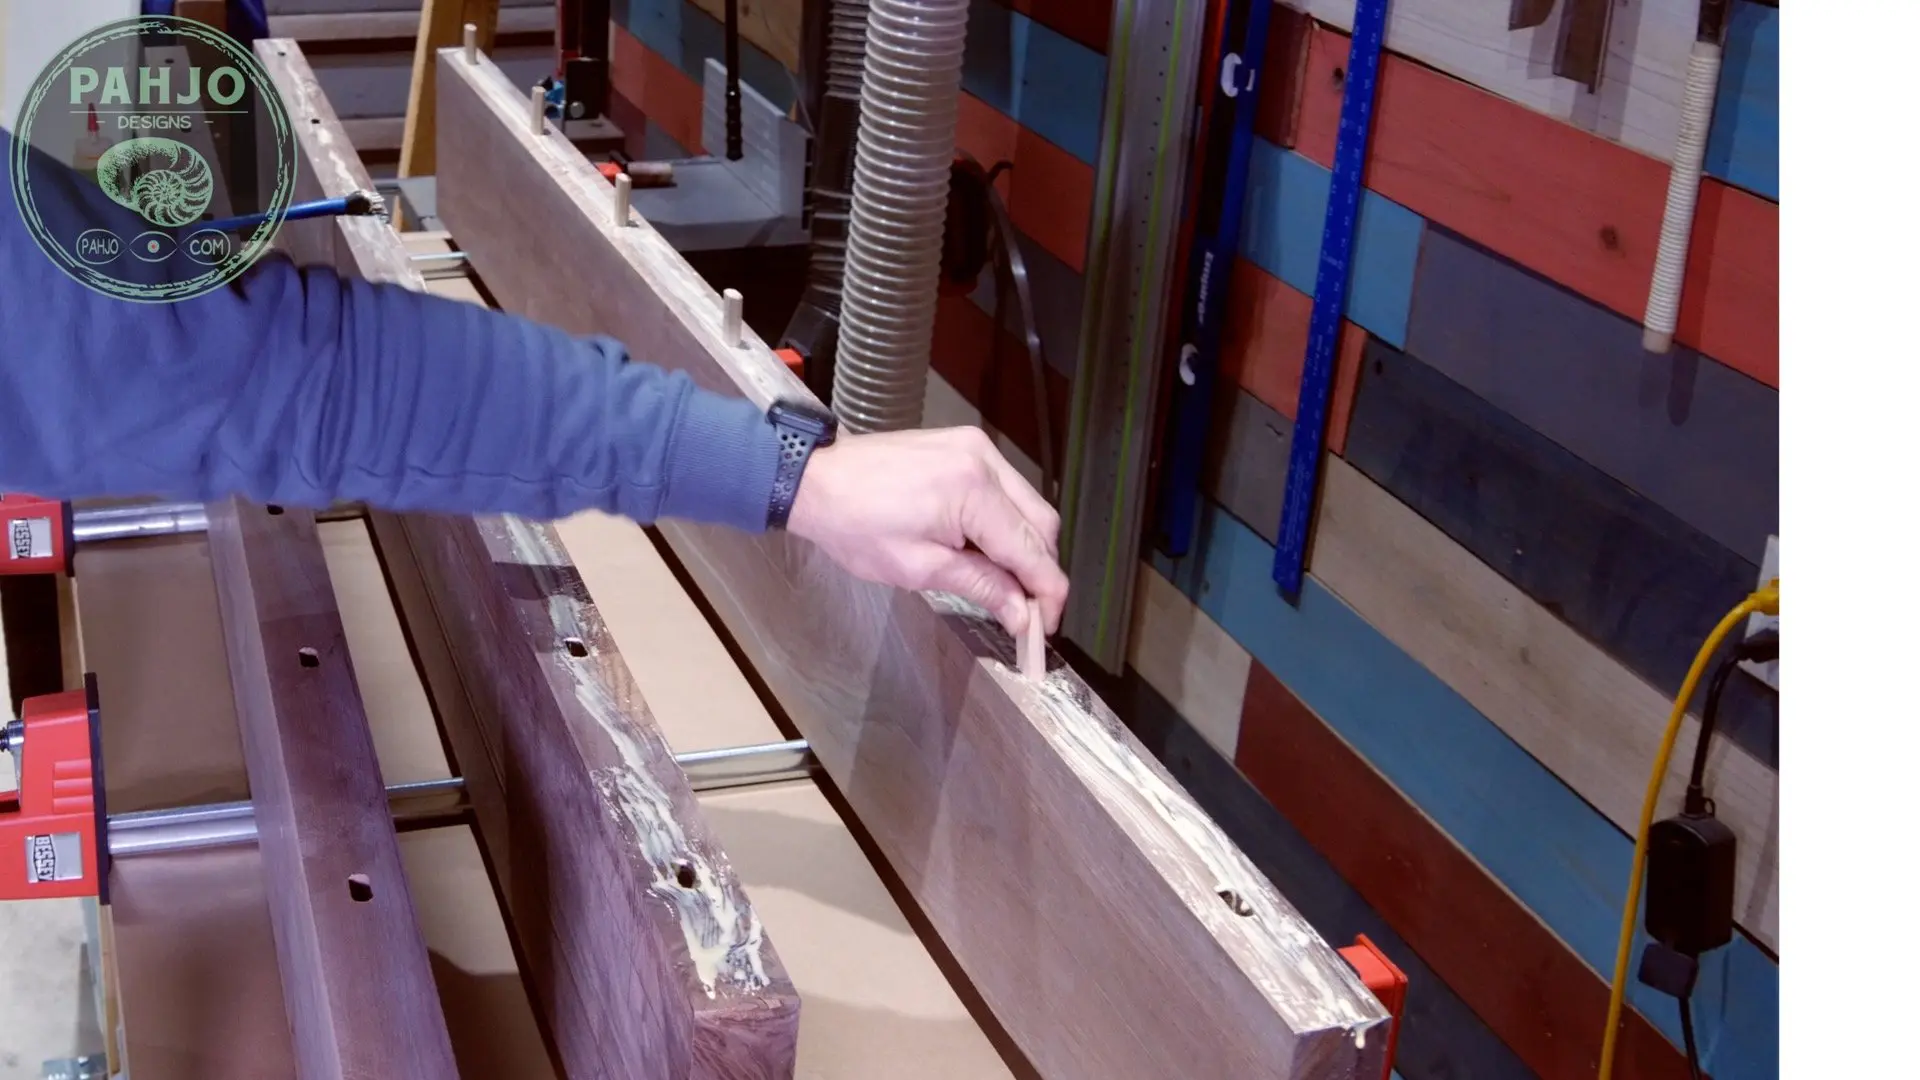
Glue Boards Together for Table Top
After I cut each mortise, I spread glue liberally along each side of Walnut.

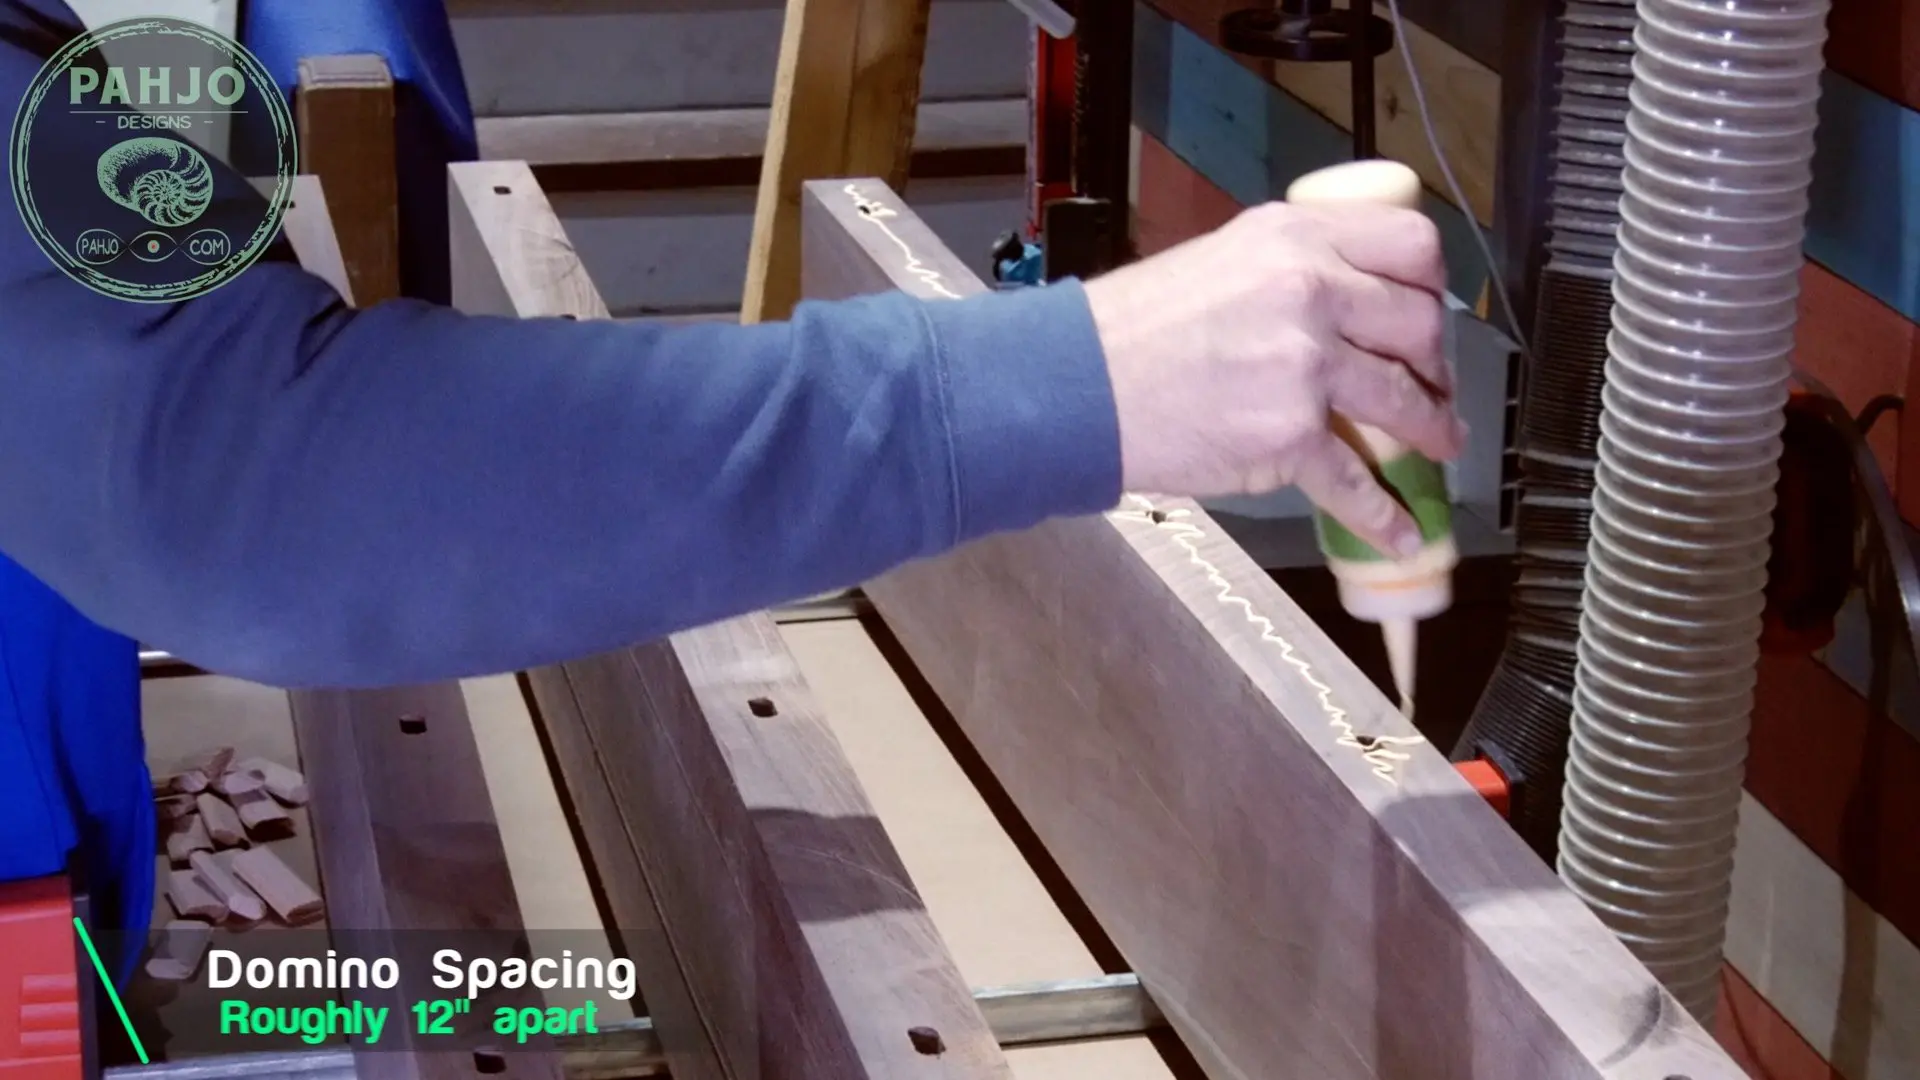
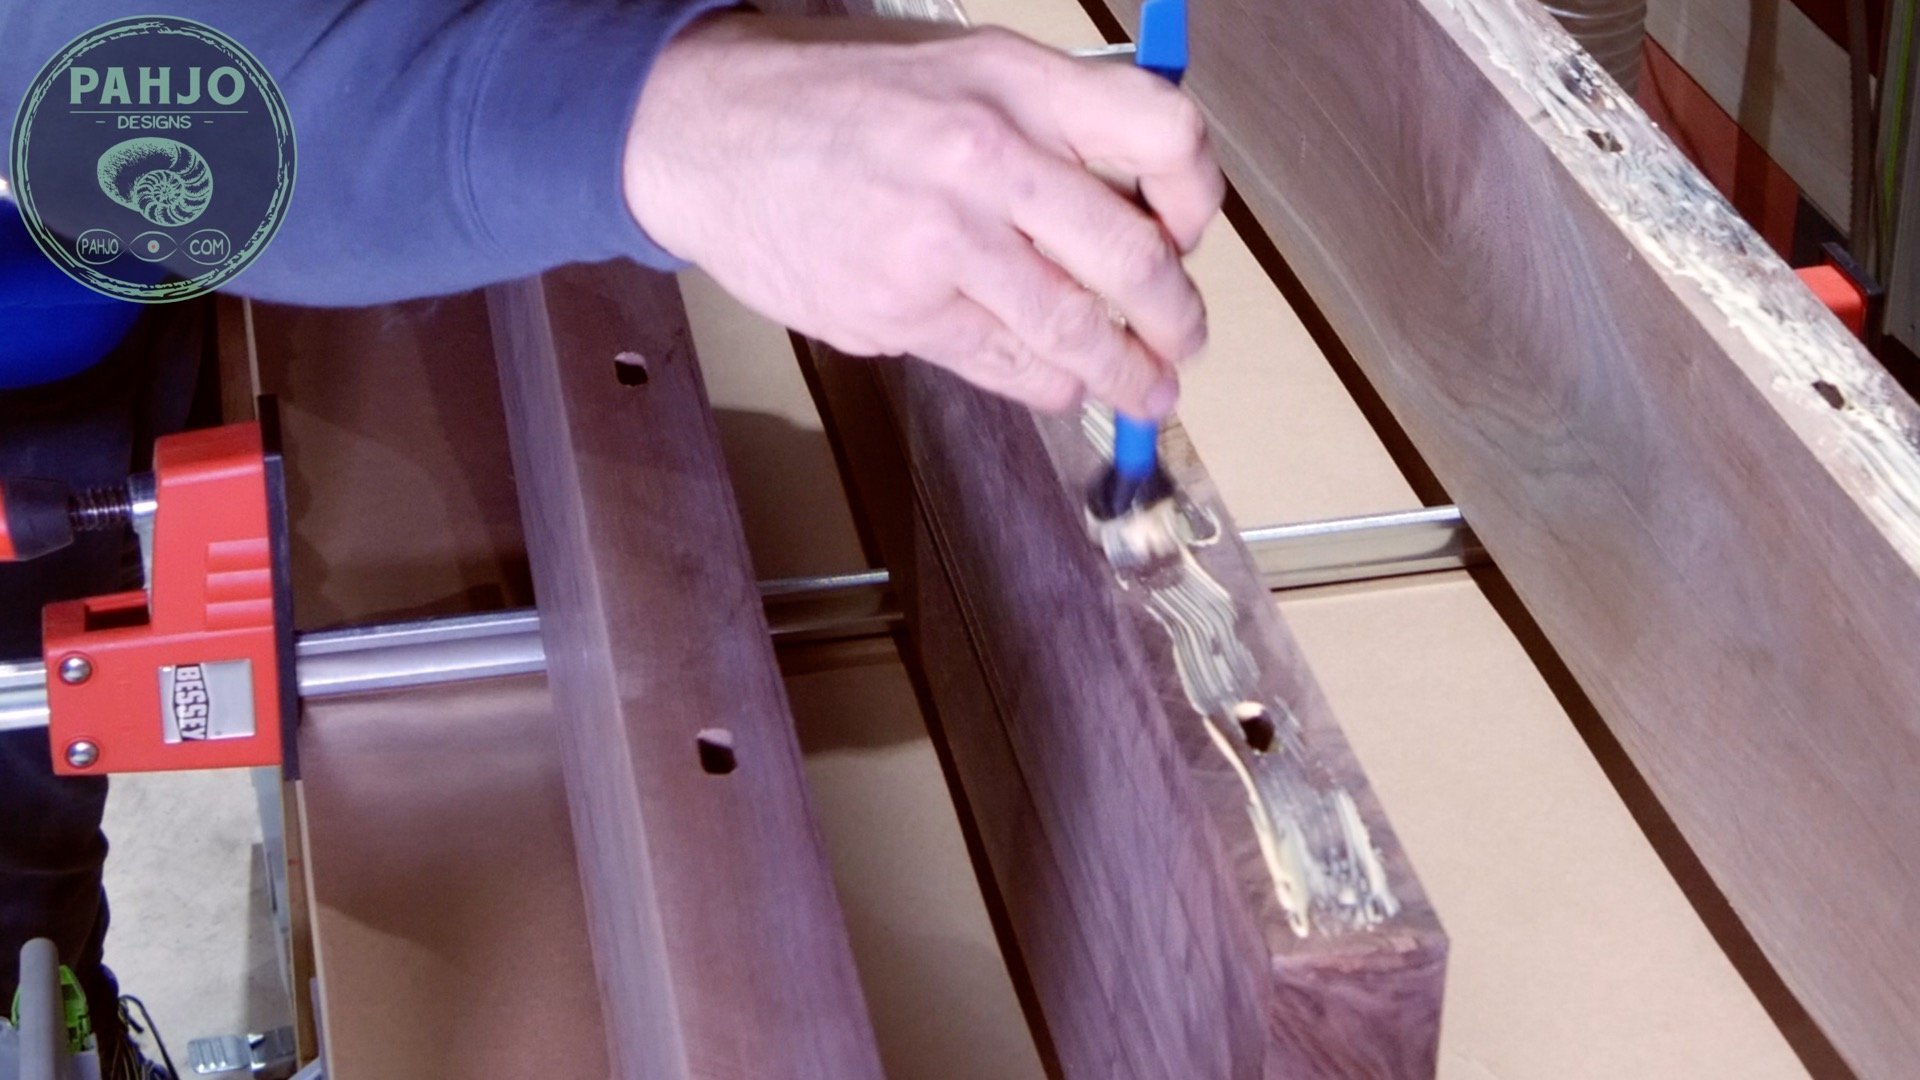
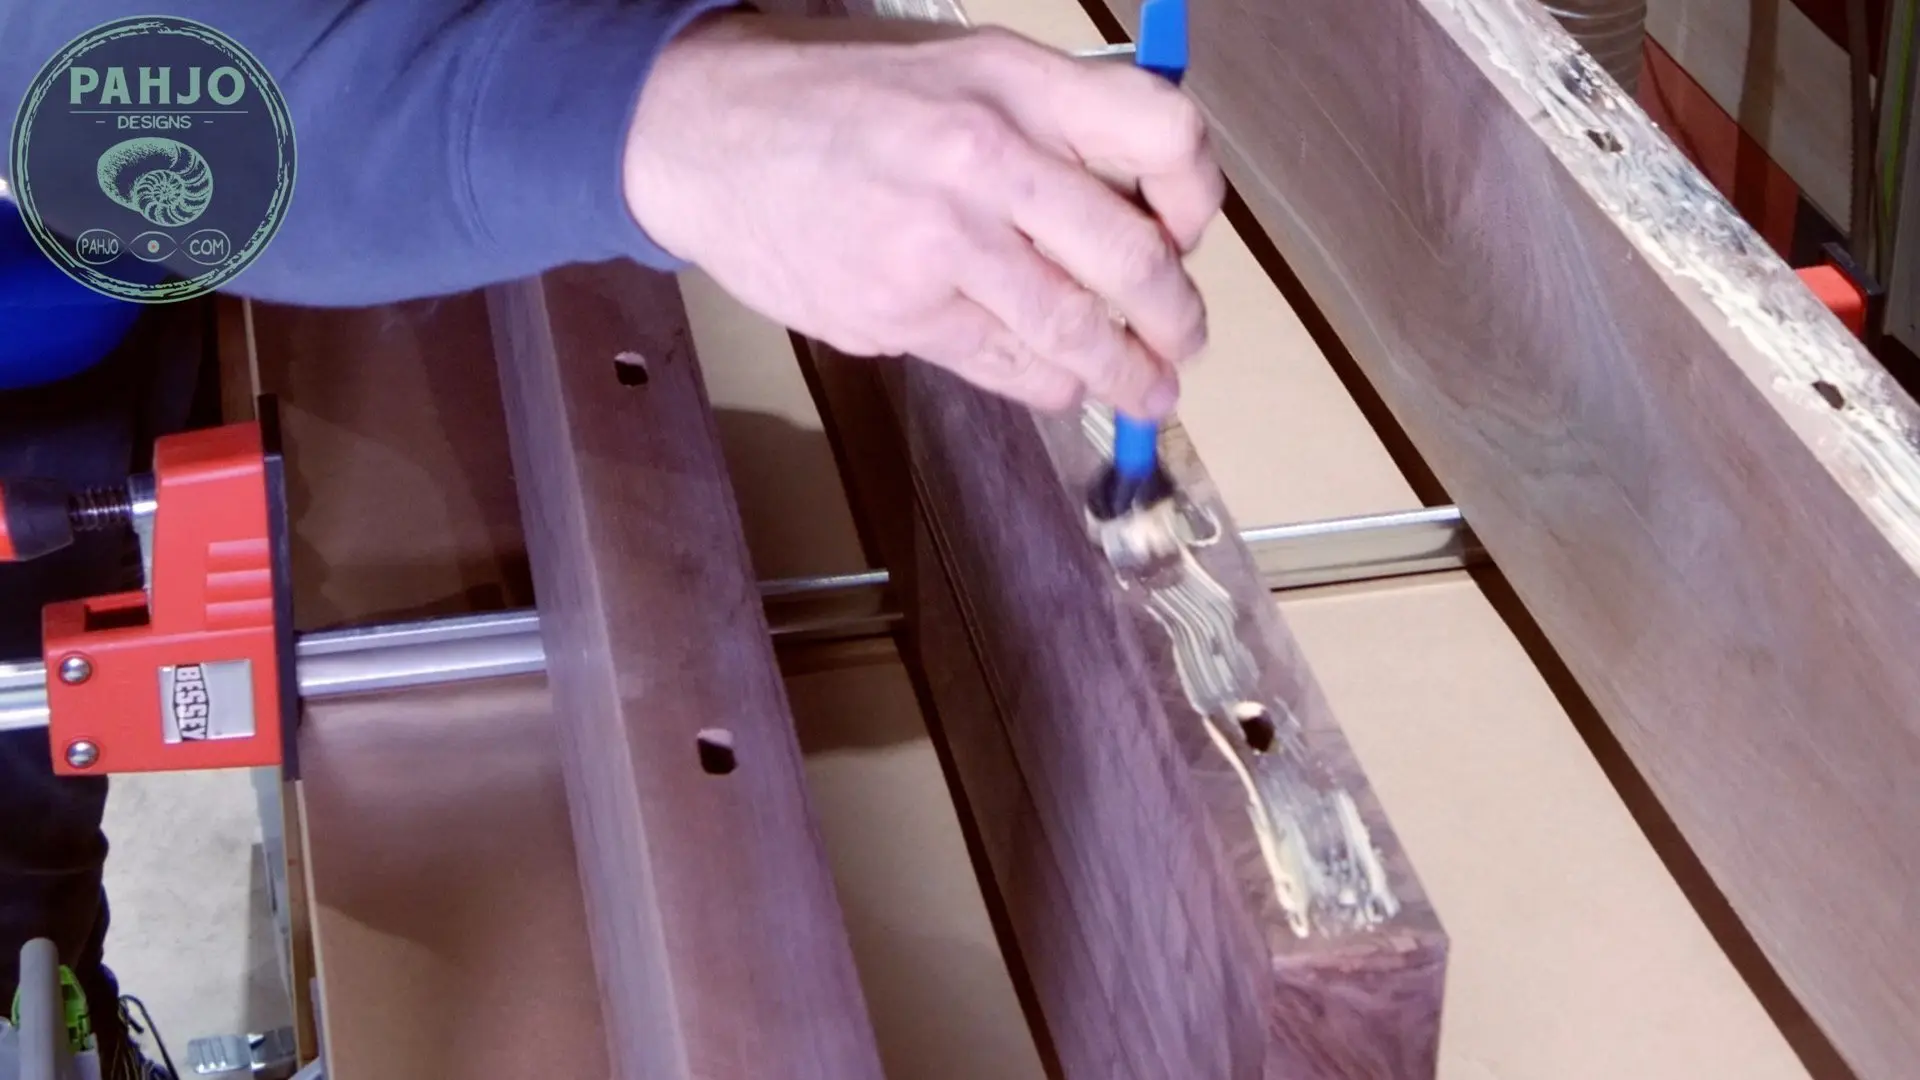
Next, I inserted the dominos.
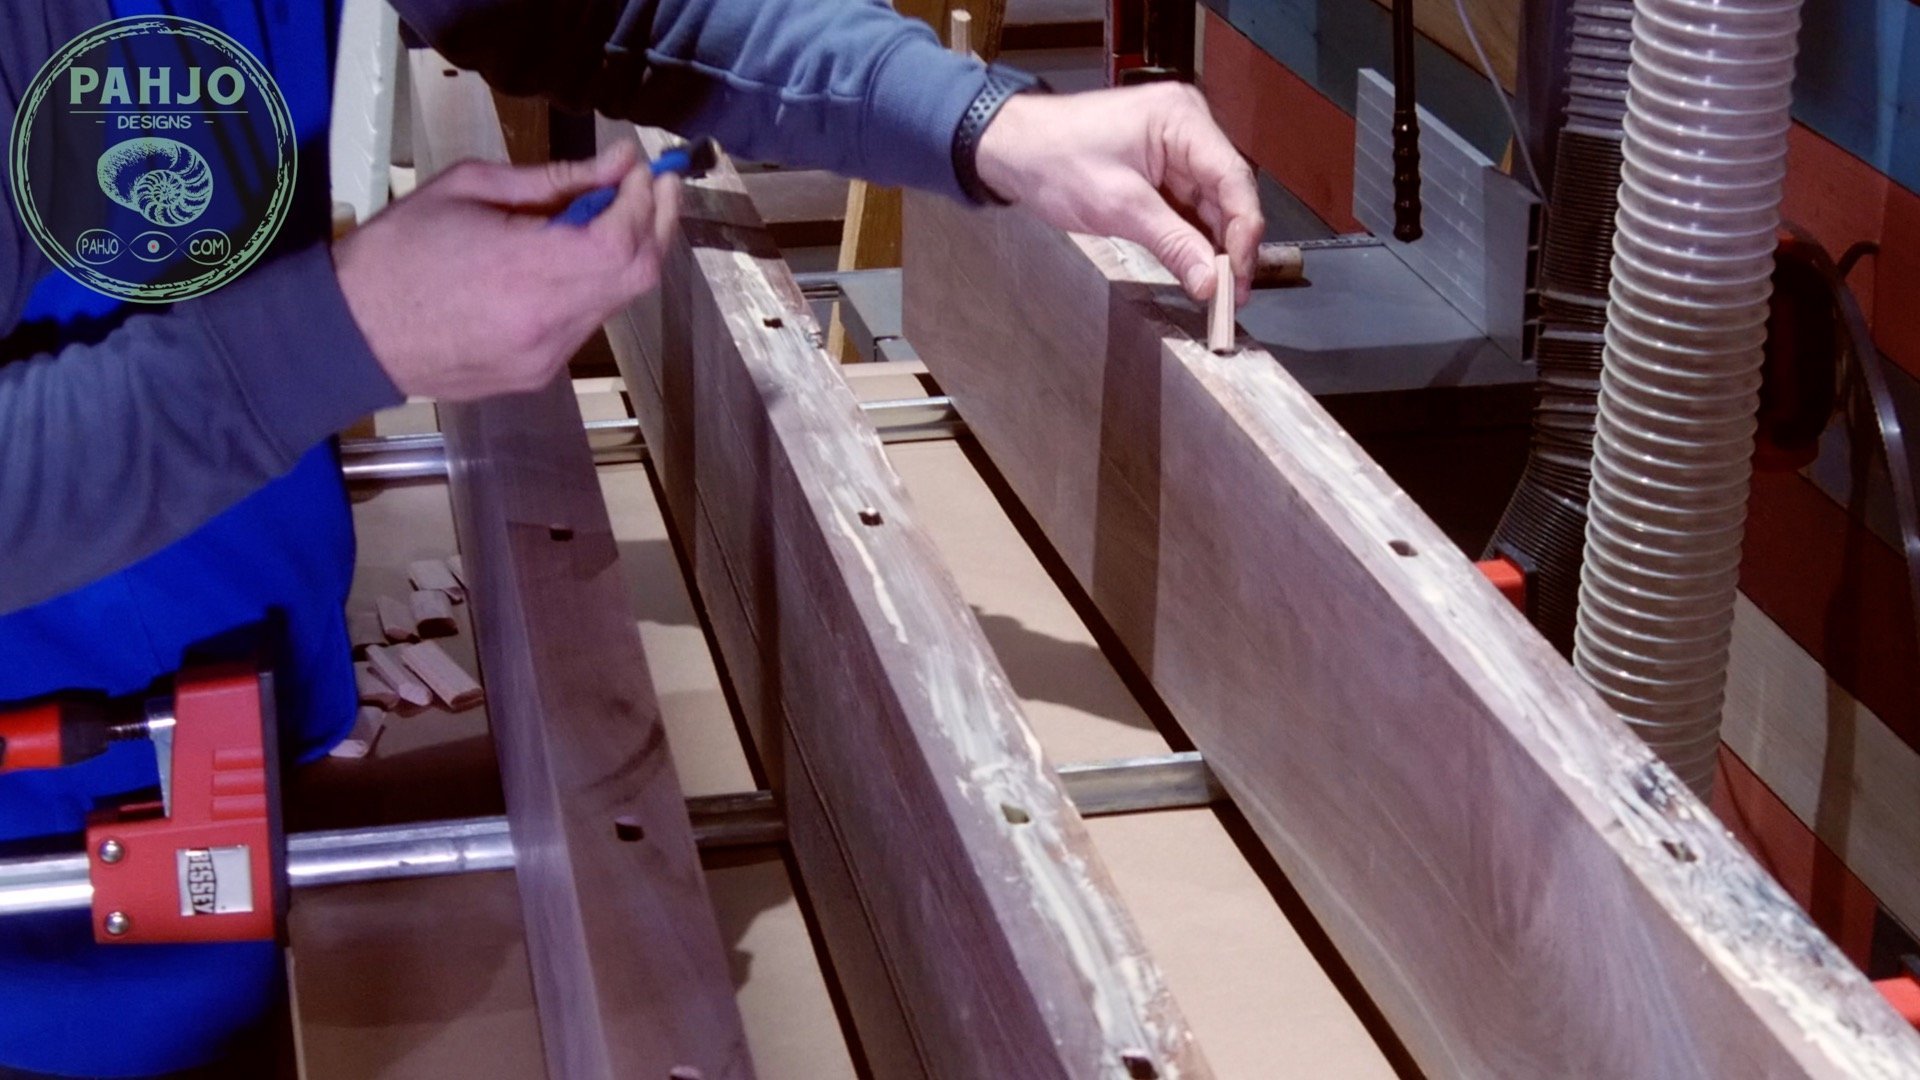

Clamping Tips for Table Top
I used my parallel clamps to secure 2 boards together.
While working quickly, I gradually tightened the clamps from one side to the other.
Once 2 boards are securely tightened and level, I loosen the clamps and attach the other 2 boards.


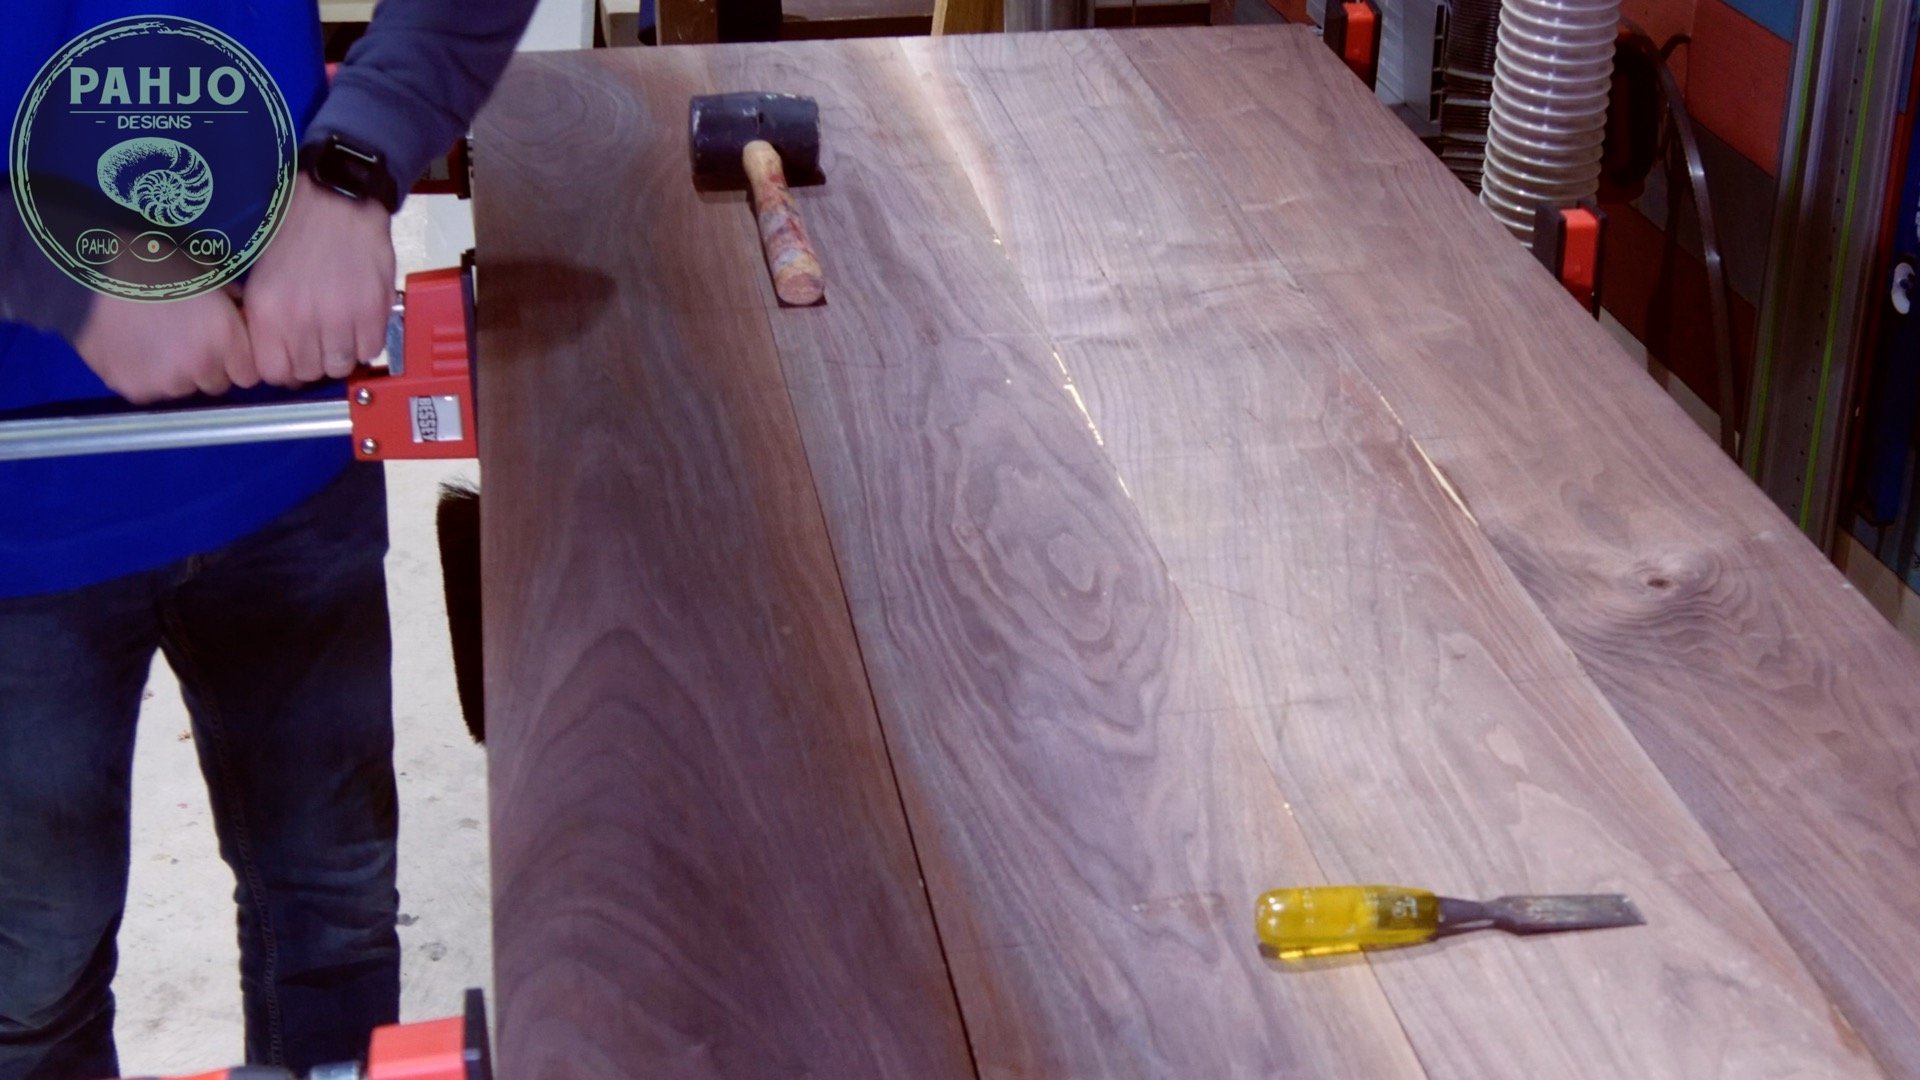
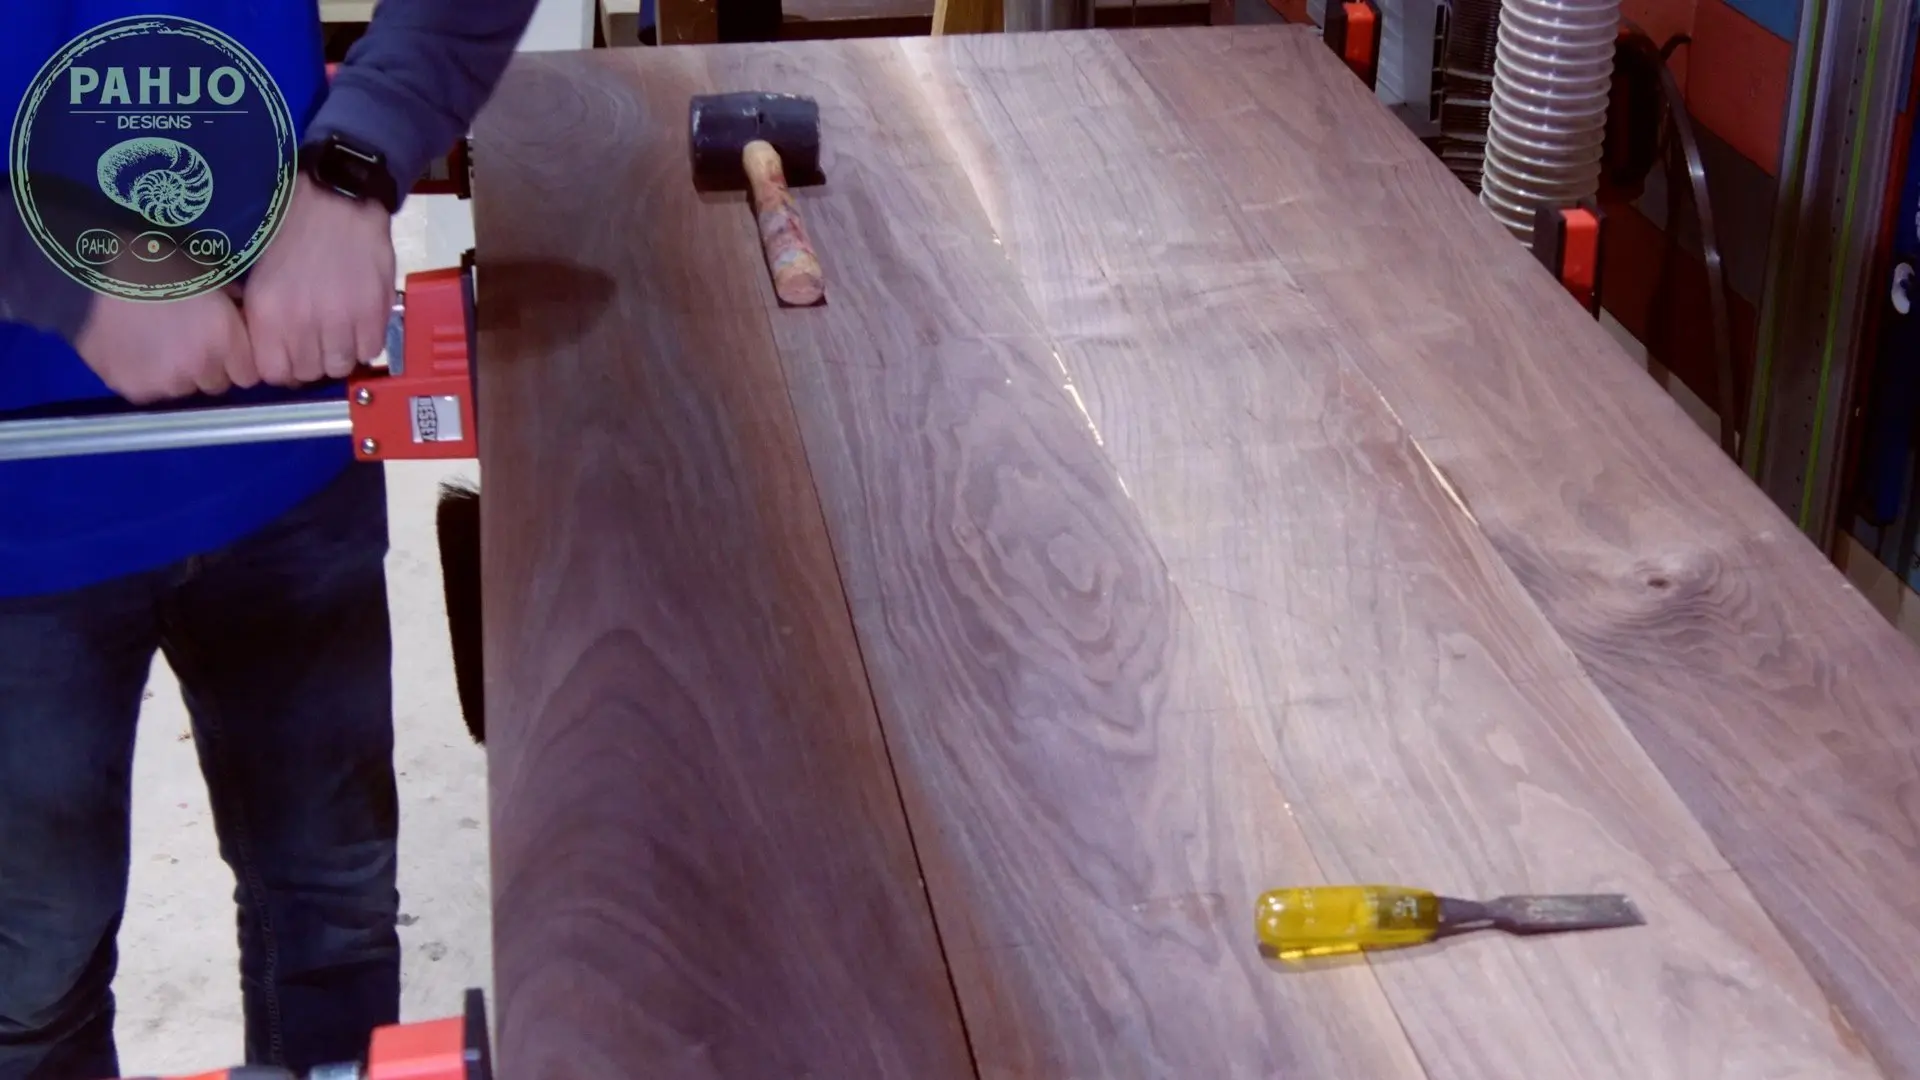
Then, I used a wood caul to keep the DIY walnut dining table level before I applied the final clamping pressure.
I wrapped the bottom of the wood caul with packing tape to prevent the glue from sticking.


Sanding Wood for a Professional Finish
While I realize wood sanding is boring, it is vital to wood table projects.
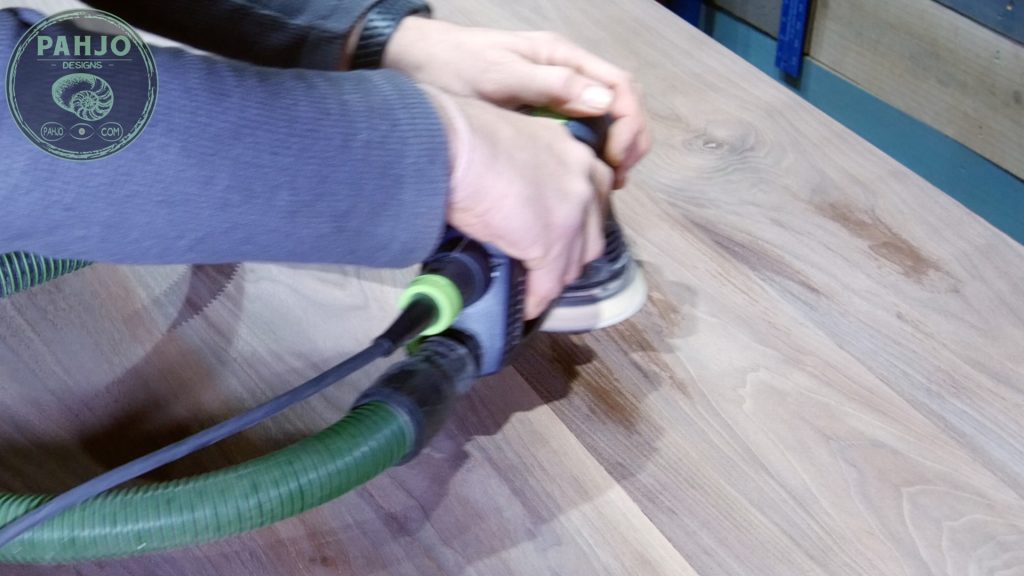
After many hours of sanding and experimenting, I found the best wood sanding technique.
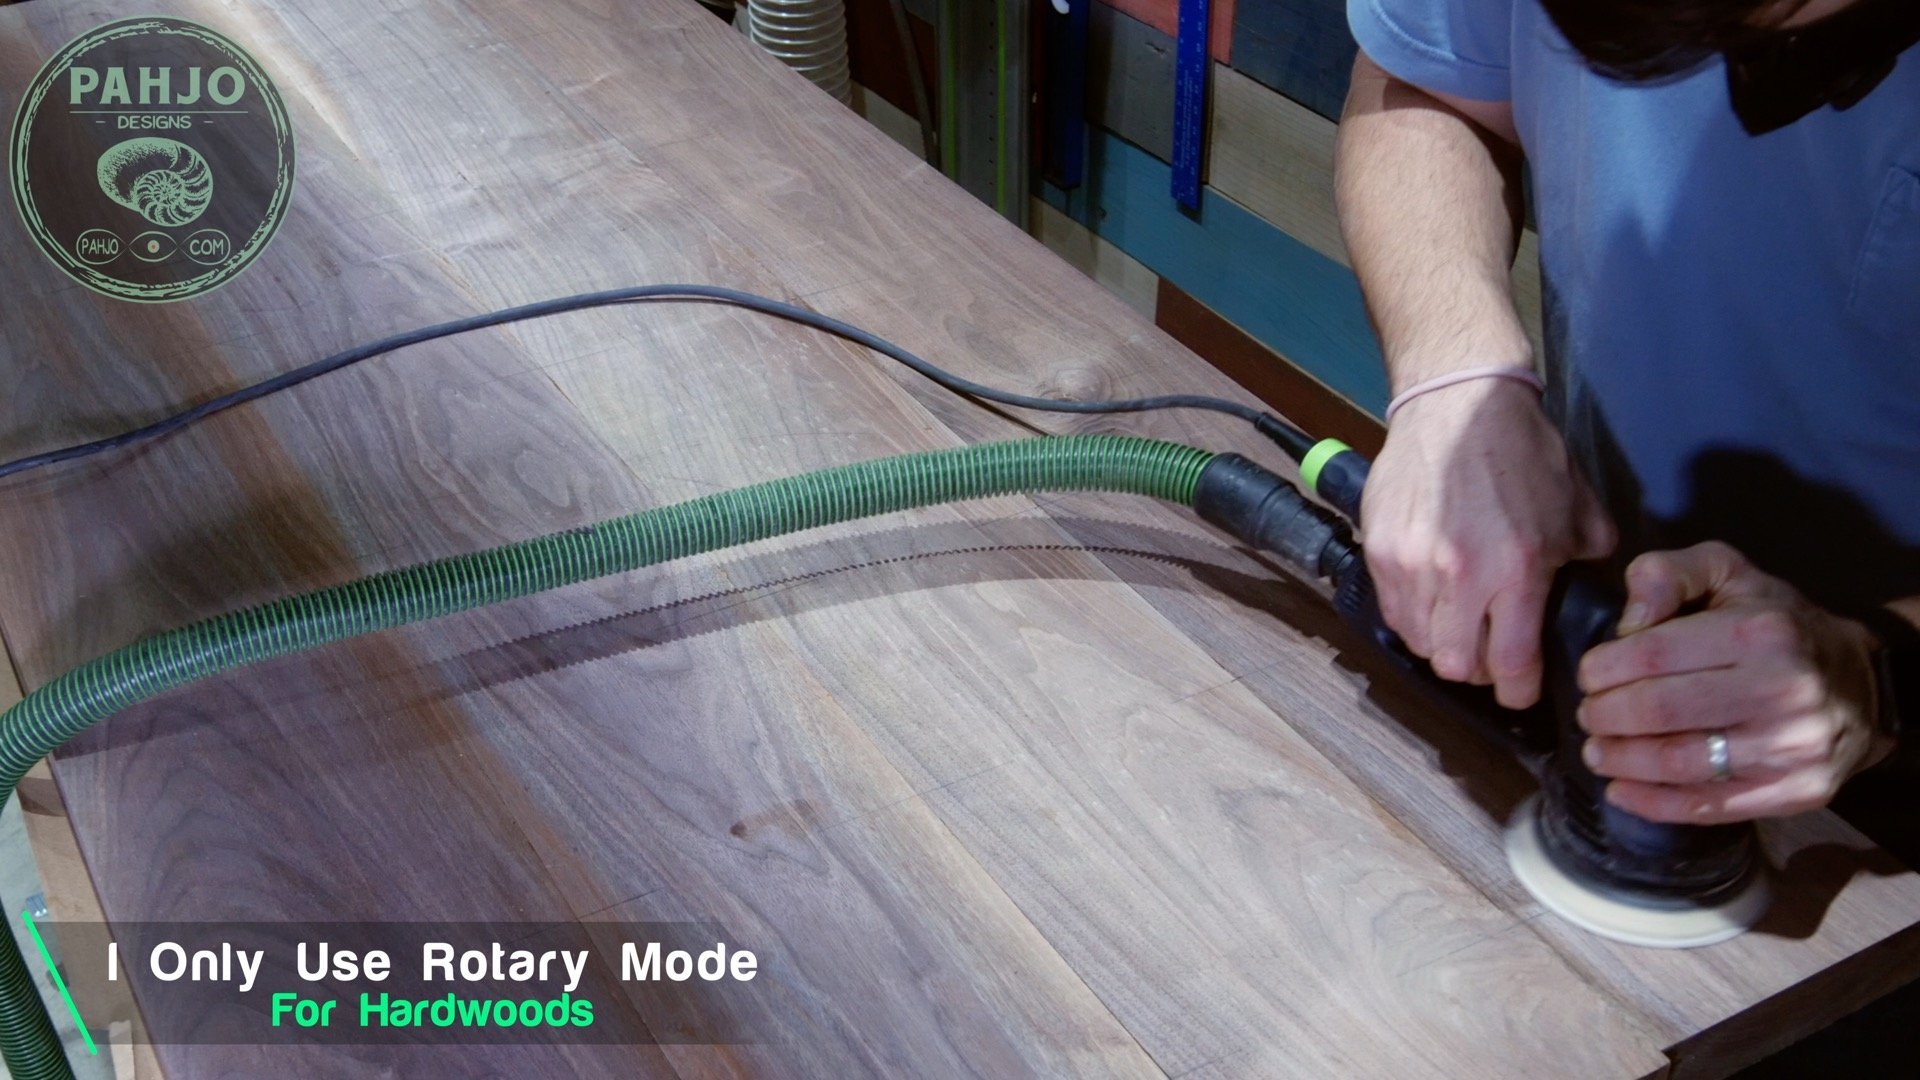
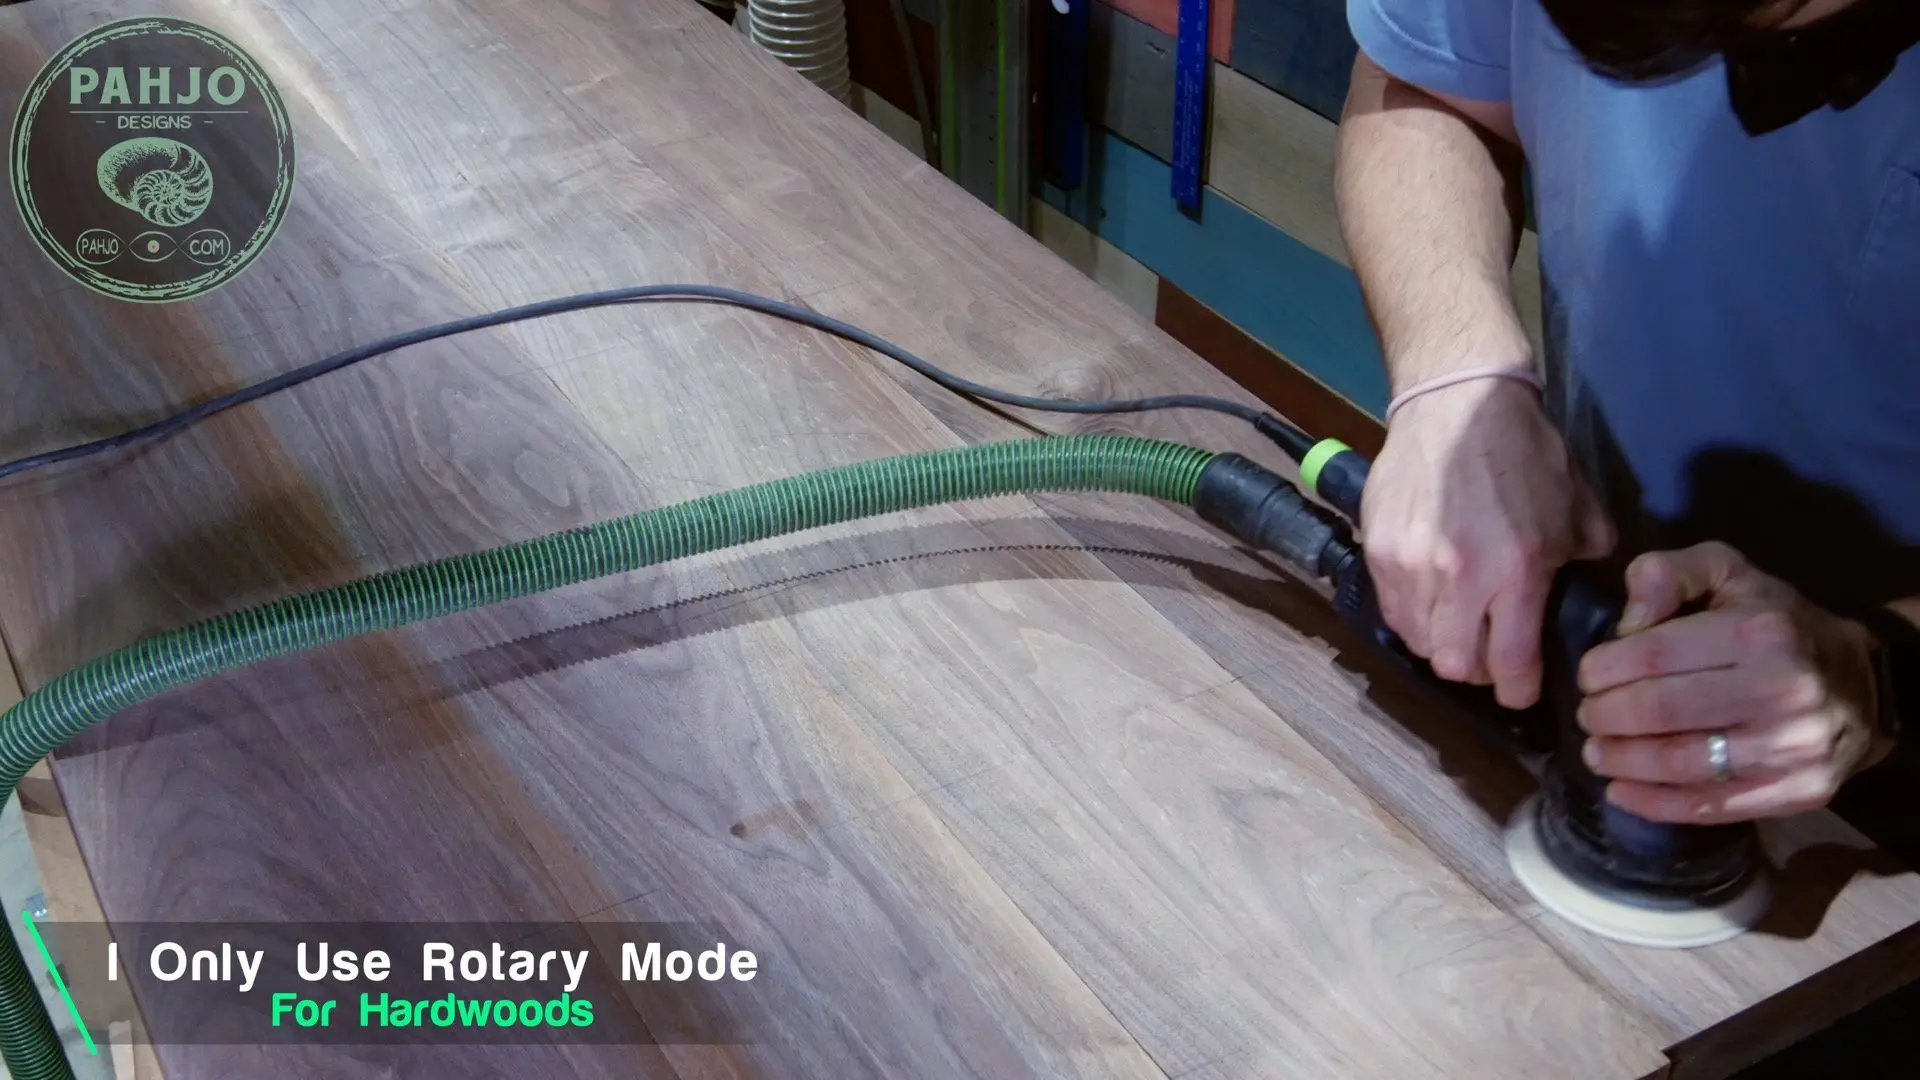
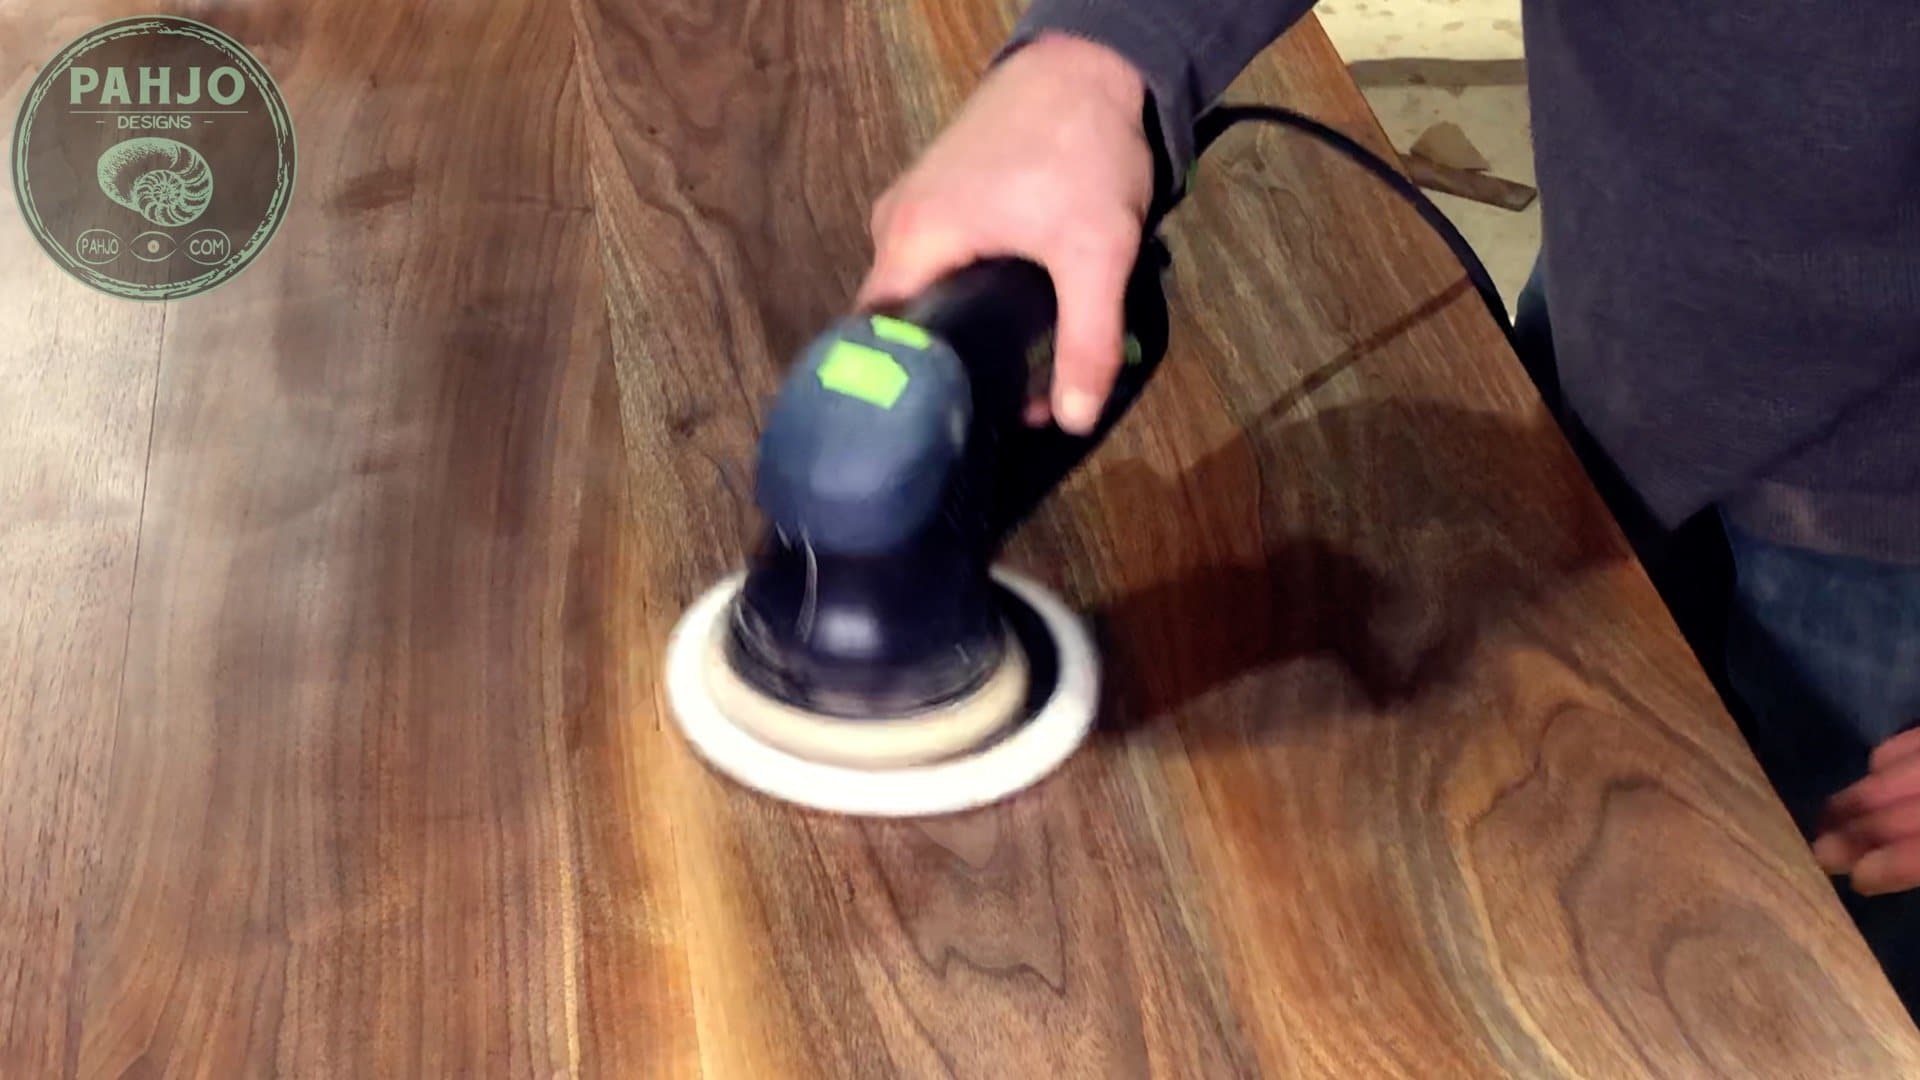
The main component of my sanding wood procedure is the Festool RO125.
Ultimately, this tool improved my quality and production more than any other tool in my shop. Moreover, it is worth its weight in gold.
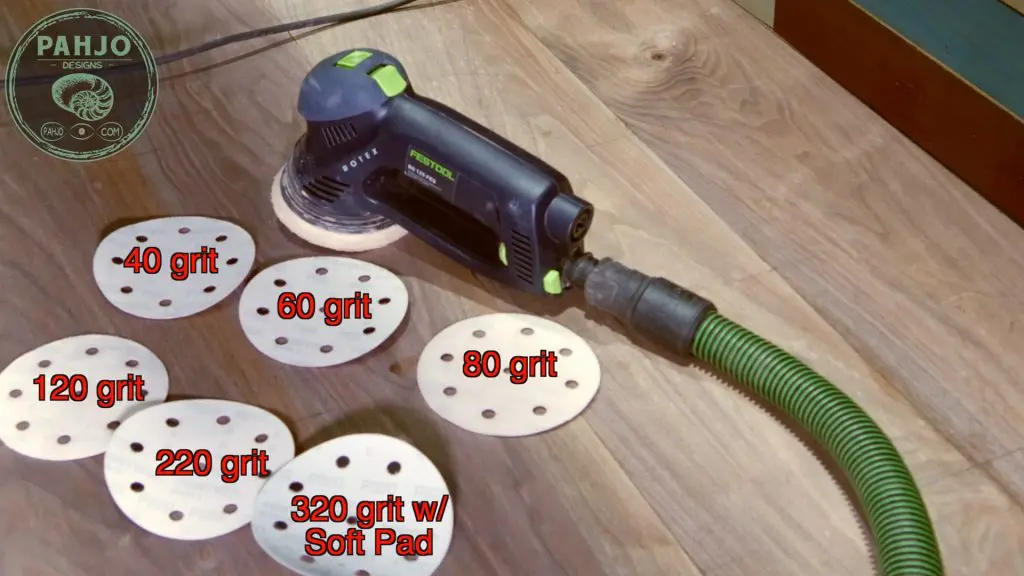
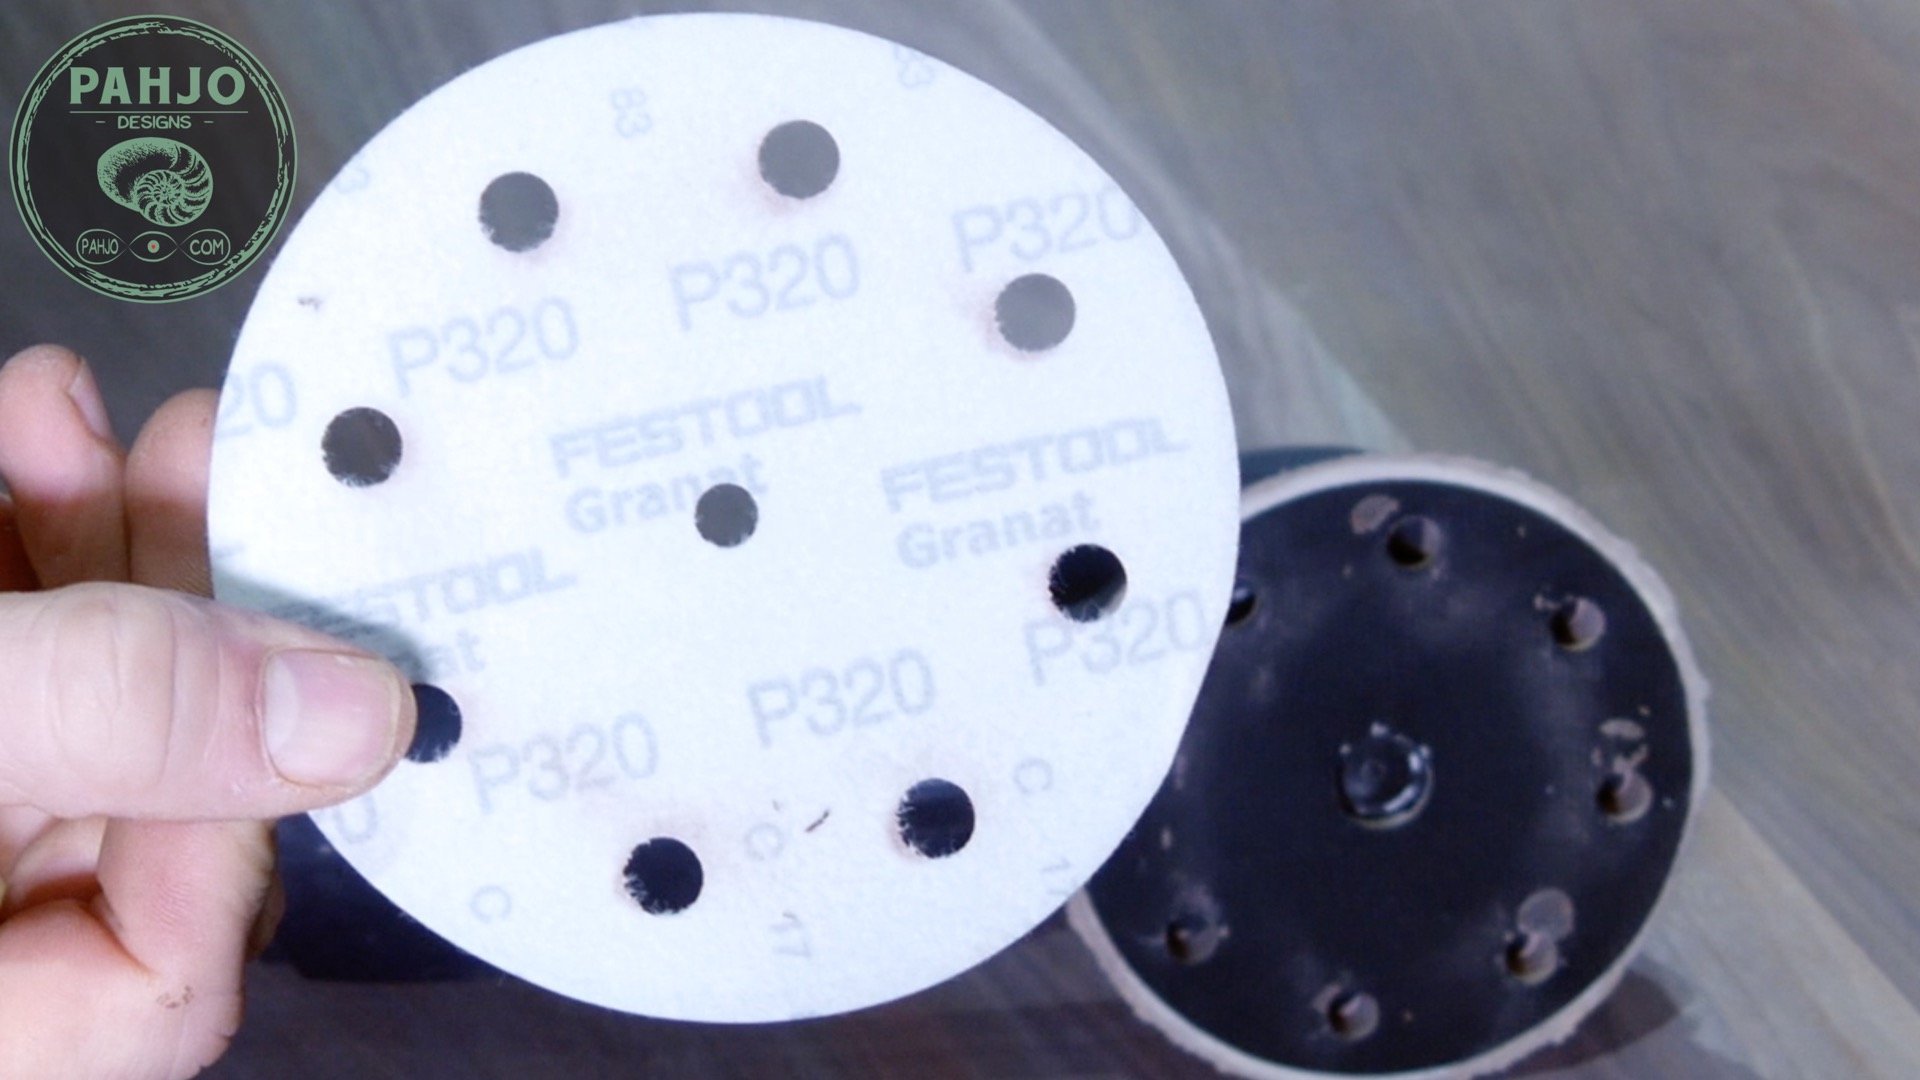
Wood Sanding Grit Sequence
First, I only use my sander in rotary mode for hardwoods.
Next, I sand the surface with the following grits: 40 grit, 60 grit, 80 grit, 120 grit, 220 grit, and 320 grit.
At times, I go up to 800 grit and 1500 grit depending on the finish I use.

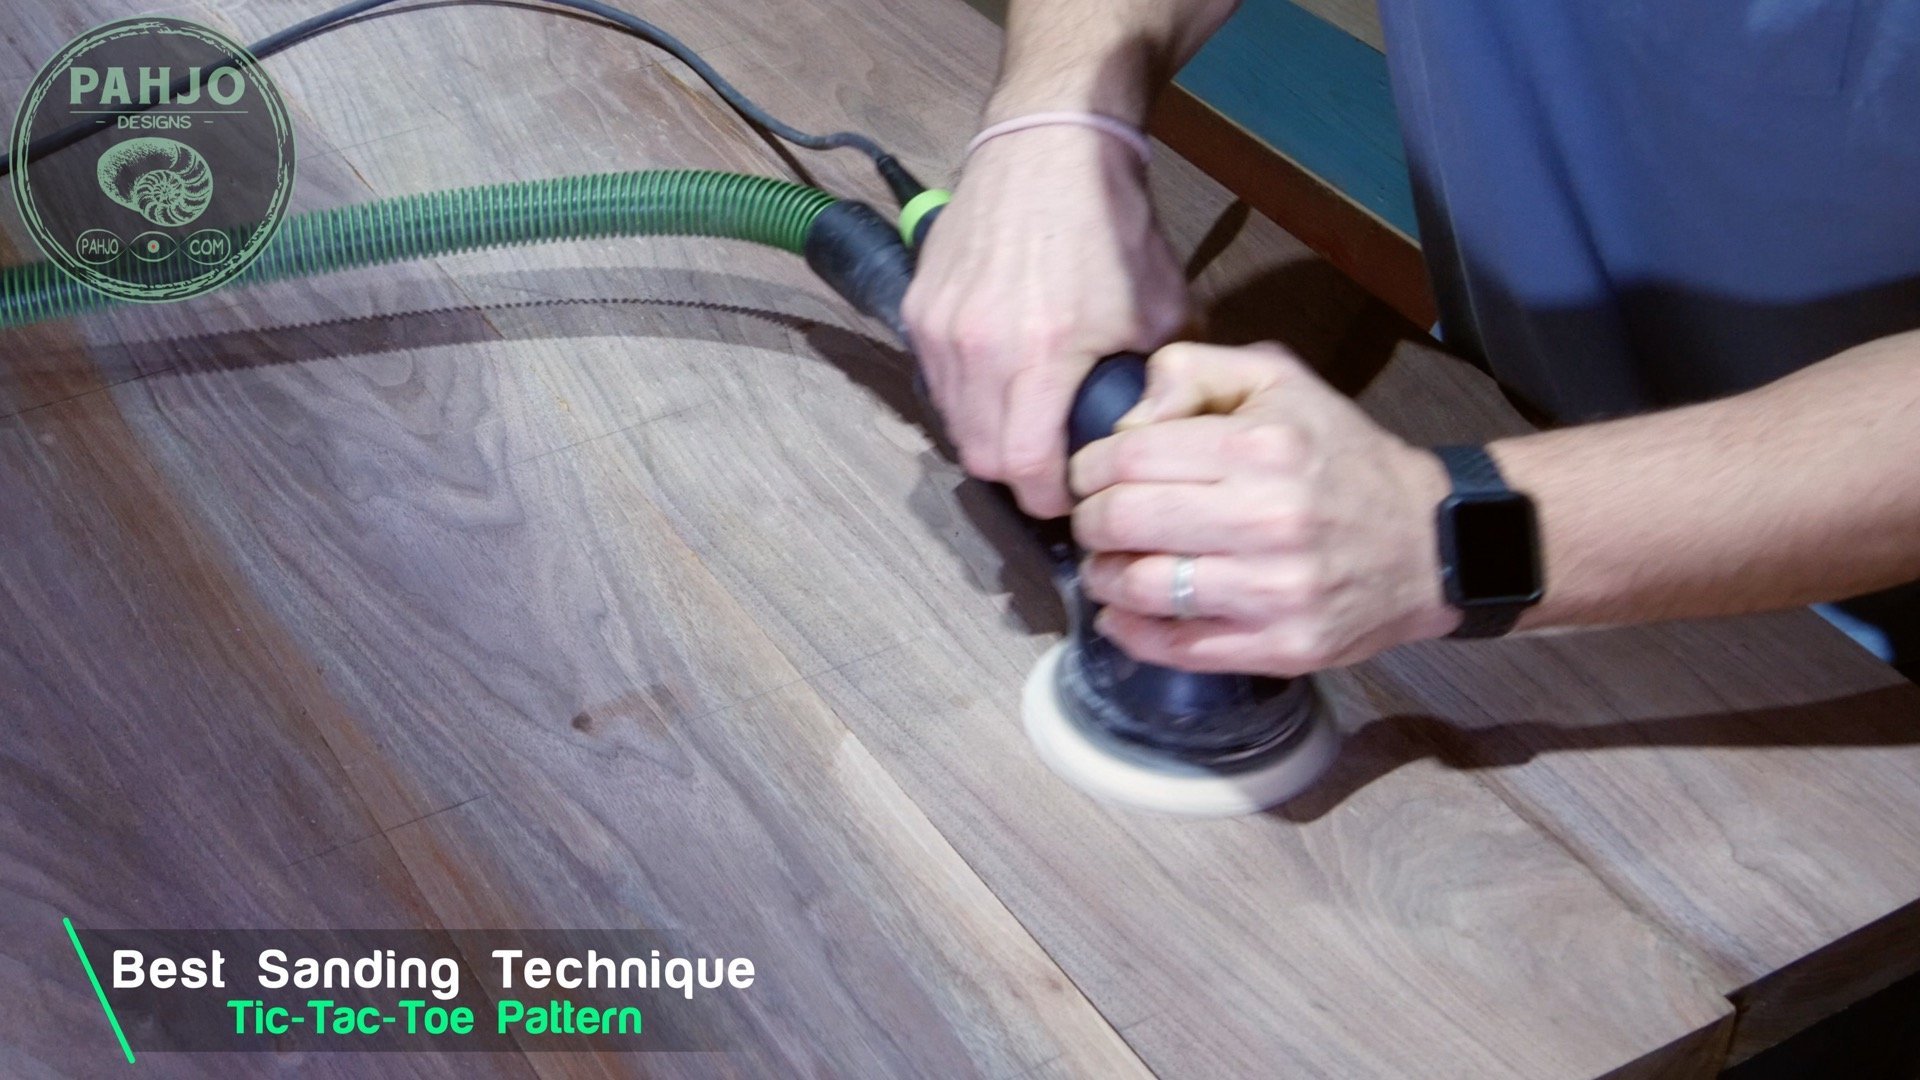
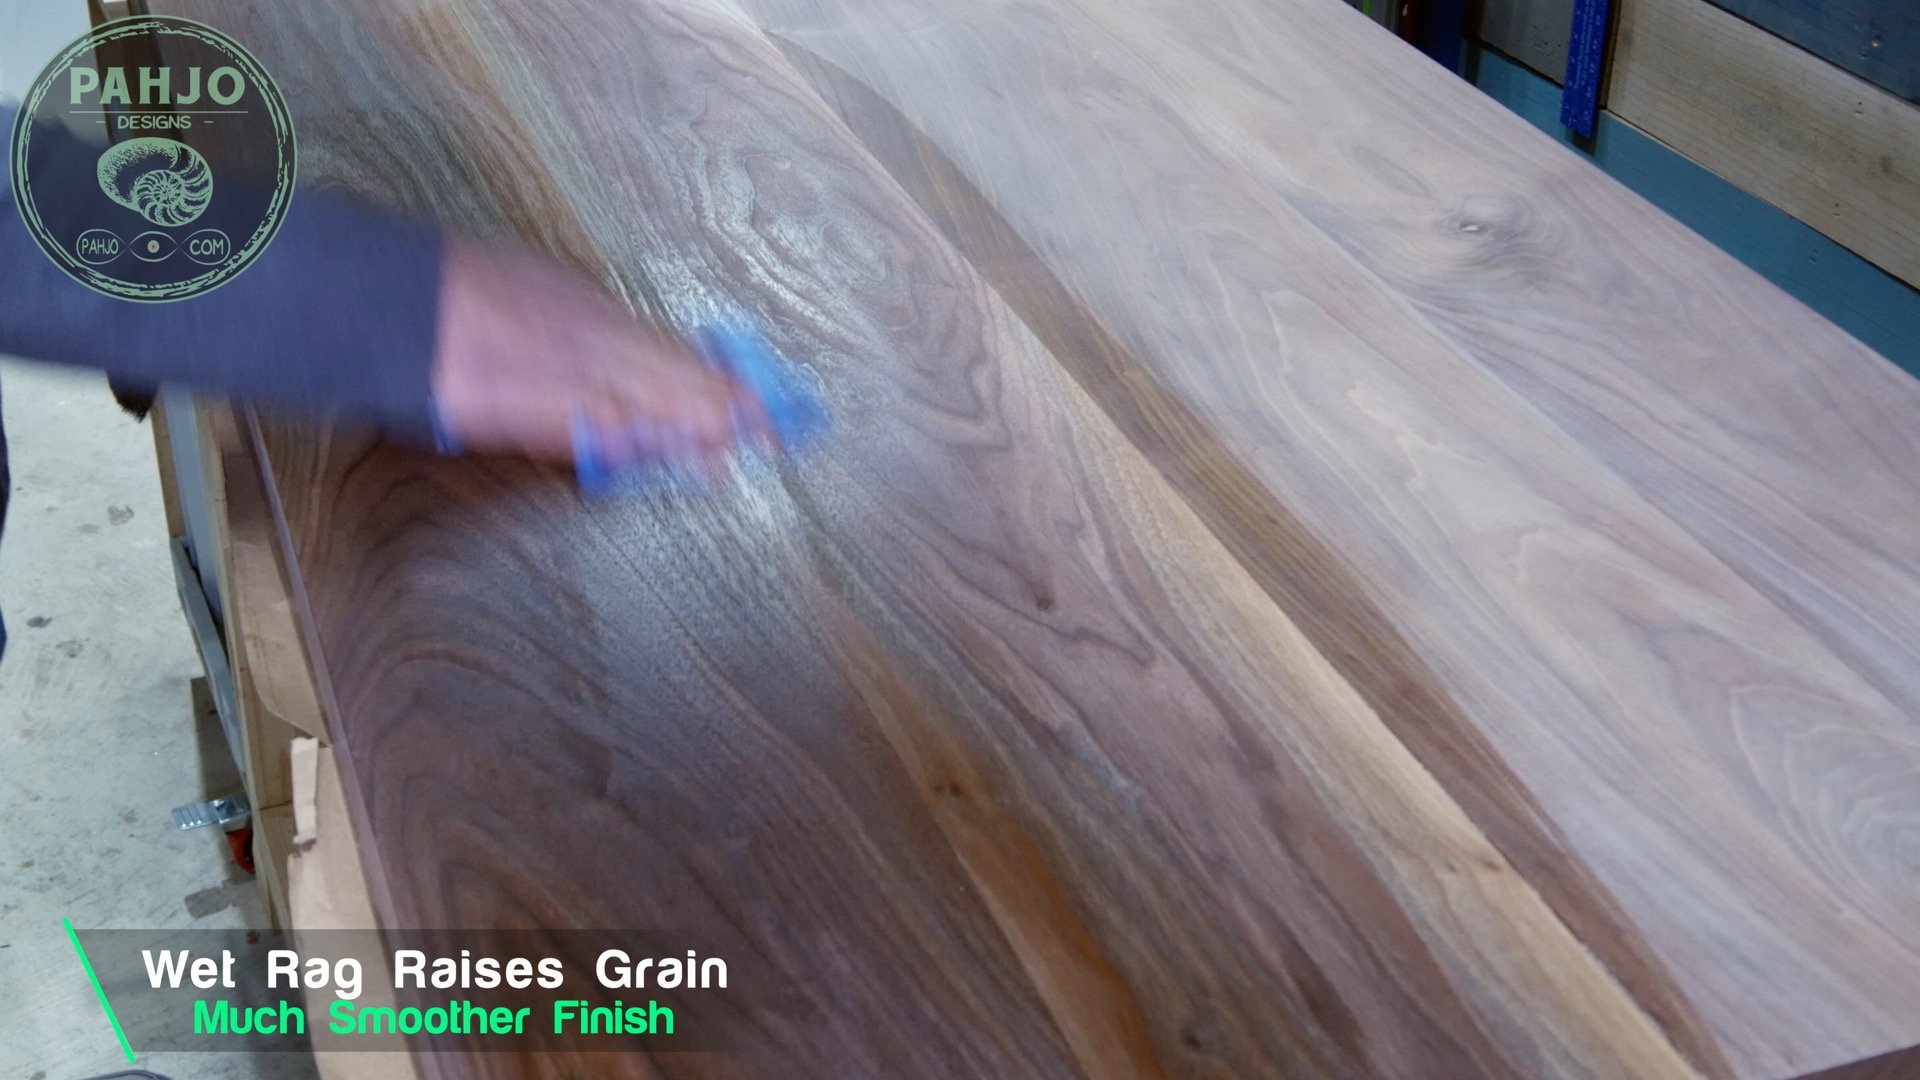
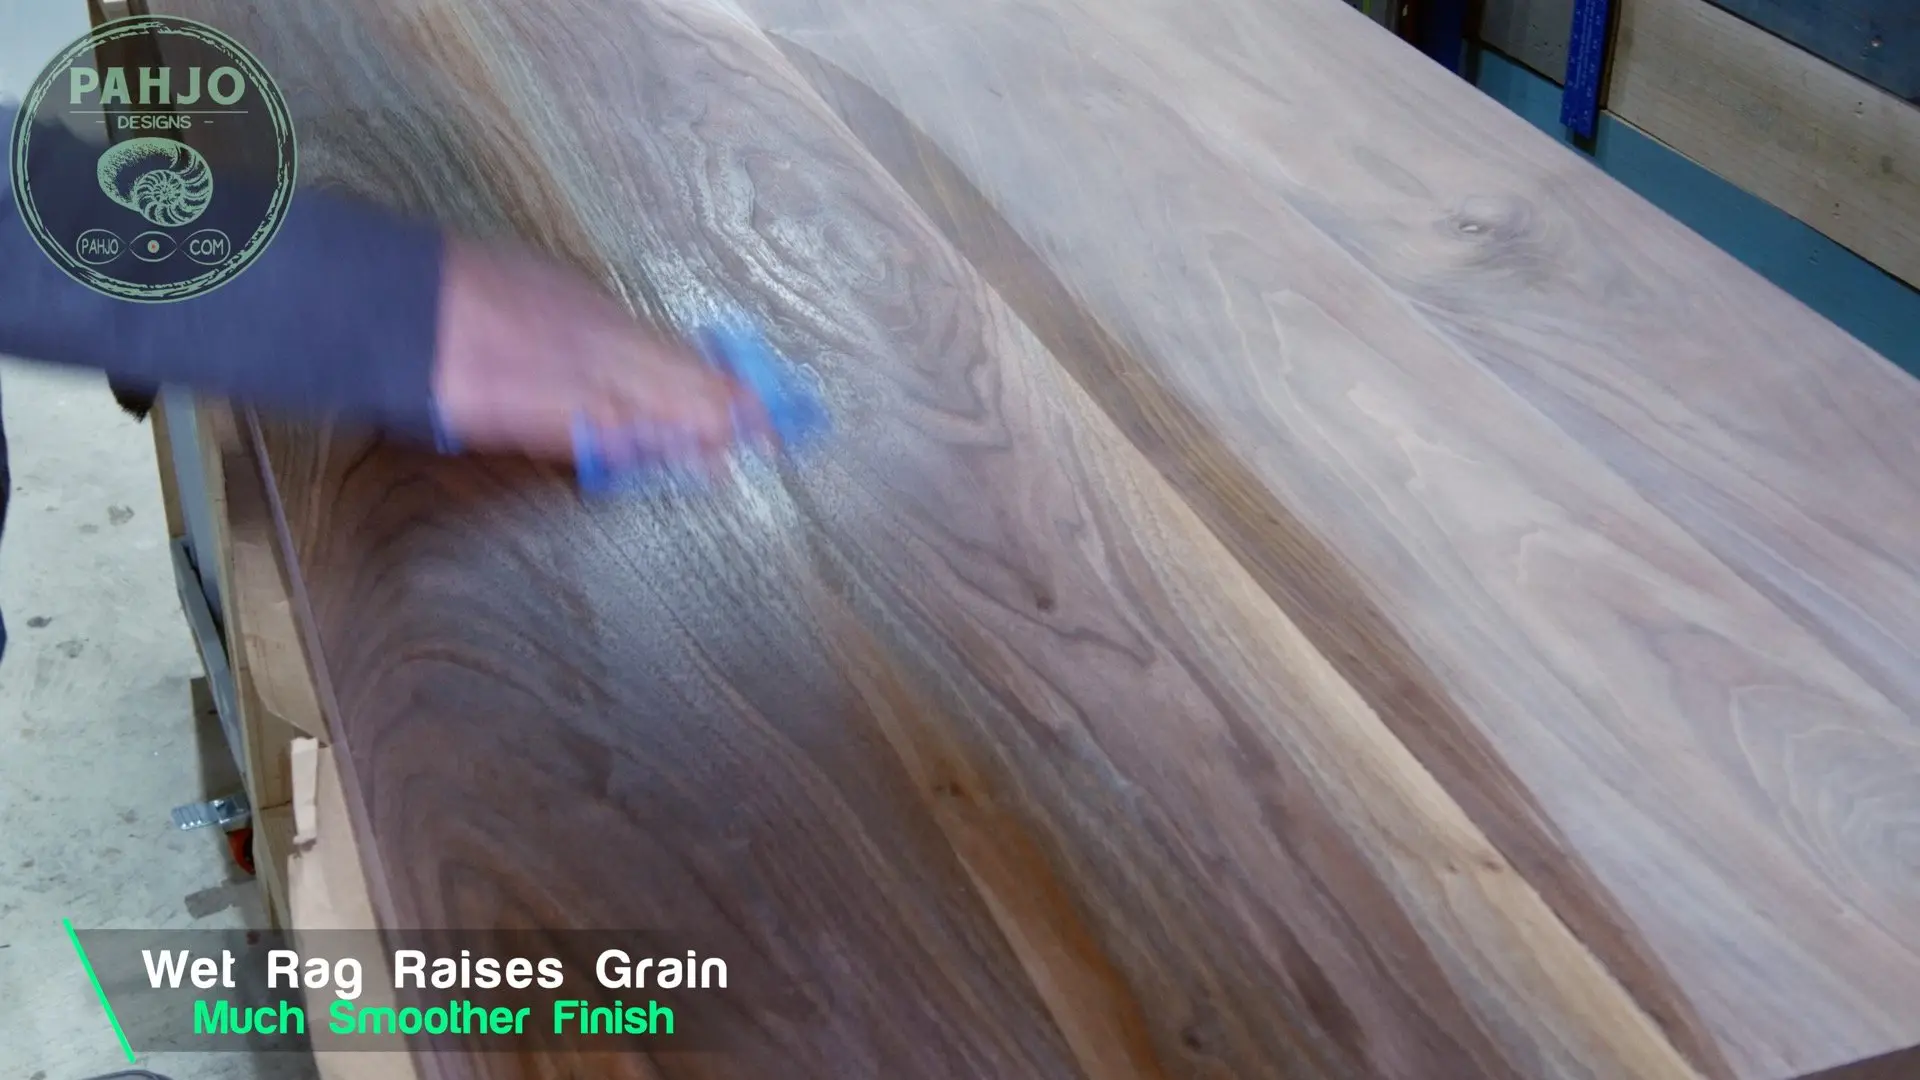
Wood Sanding Technique
My simple wood sanding technique consists of working in a 24″ x 24″ section at a time.
First, I sand from right to left beginning at the bottom. I work my way to the top of the section.
Next, I sand the same section from top to bottom.
Ultimately, it reminds me of a tic-tac-toe pattern.

Then, I use a damp rag to clean the surface and raise the grain.
I sand the surface with 320 grit sandpaper again.


Cross Cut DIY Walnut Dining Table
After I’m done sanding, I trim each end of the table to size.


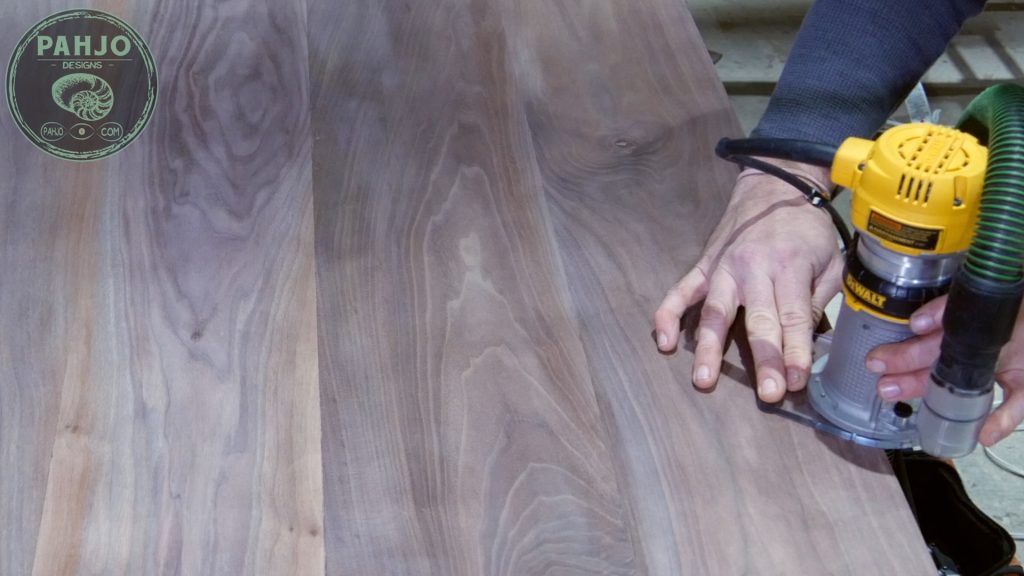
Roundover Edges With or Without a Router
First, I used my trim router with a 1/4″ roundover bit to roundover the DIY walnut dining table.

Best Finish for Wood Dining Table
First, I chose Rubio Monocoat pure to finish this walnut dining table build.
In fact, rubio monocoat is one of my favorite wood finishes.
Additionally, I liked the idea of only applying 1 coat.

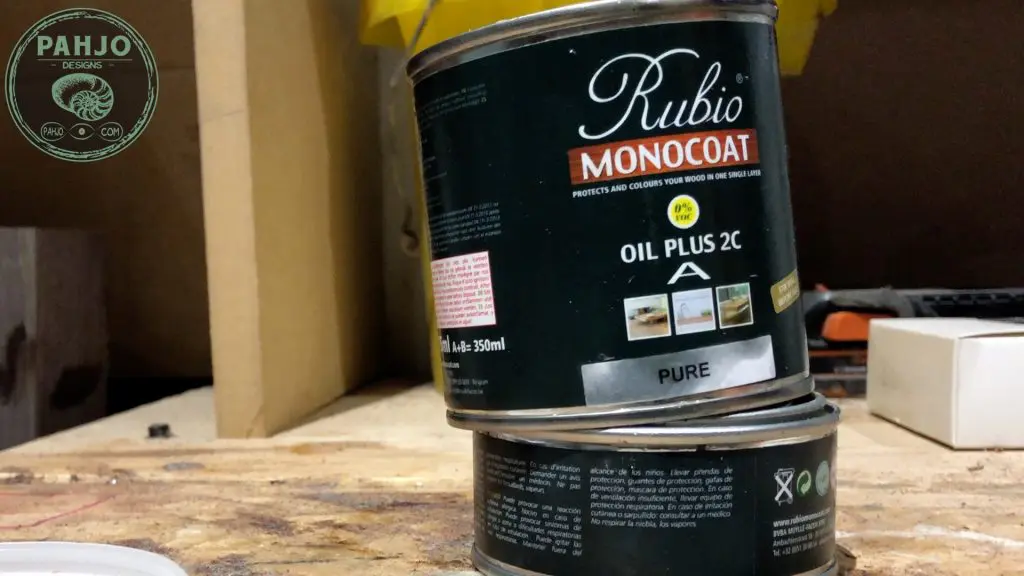
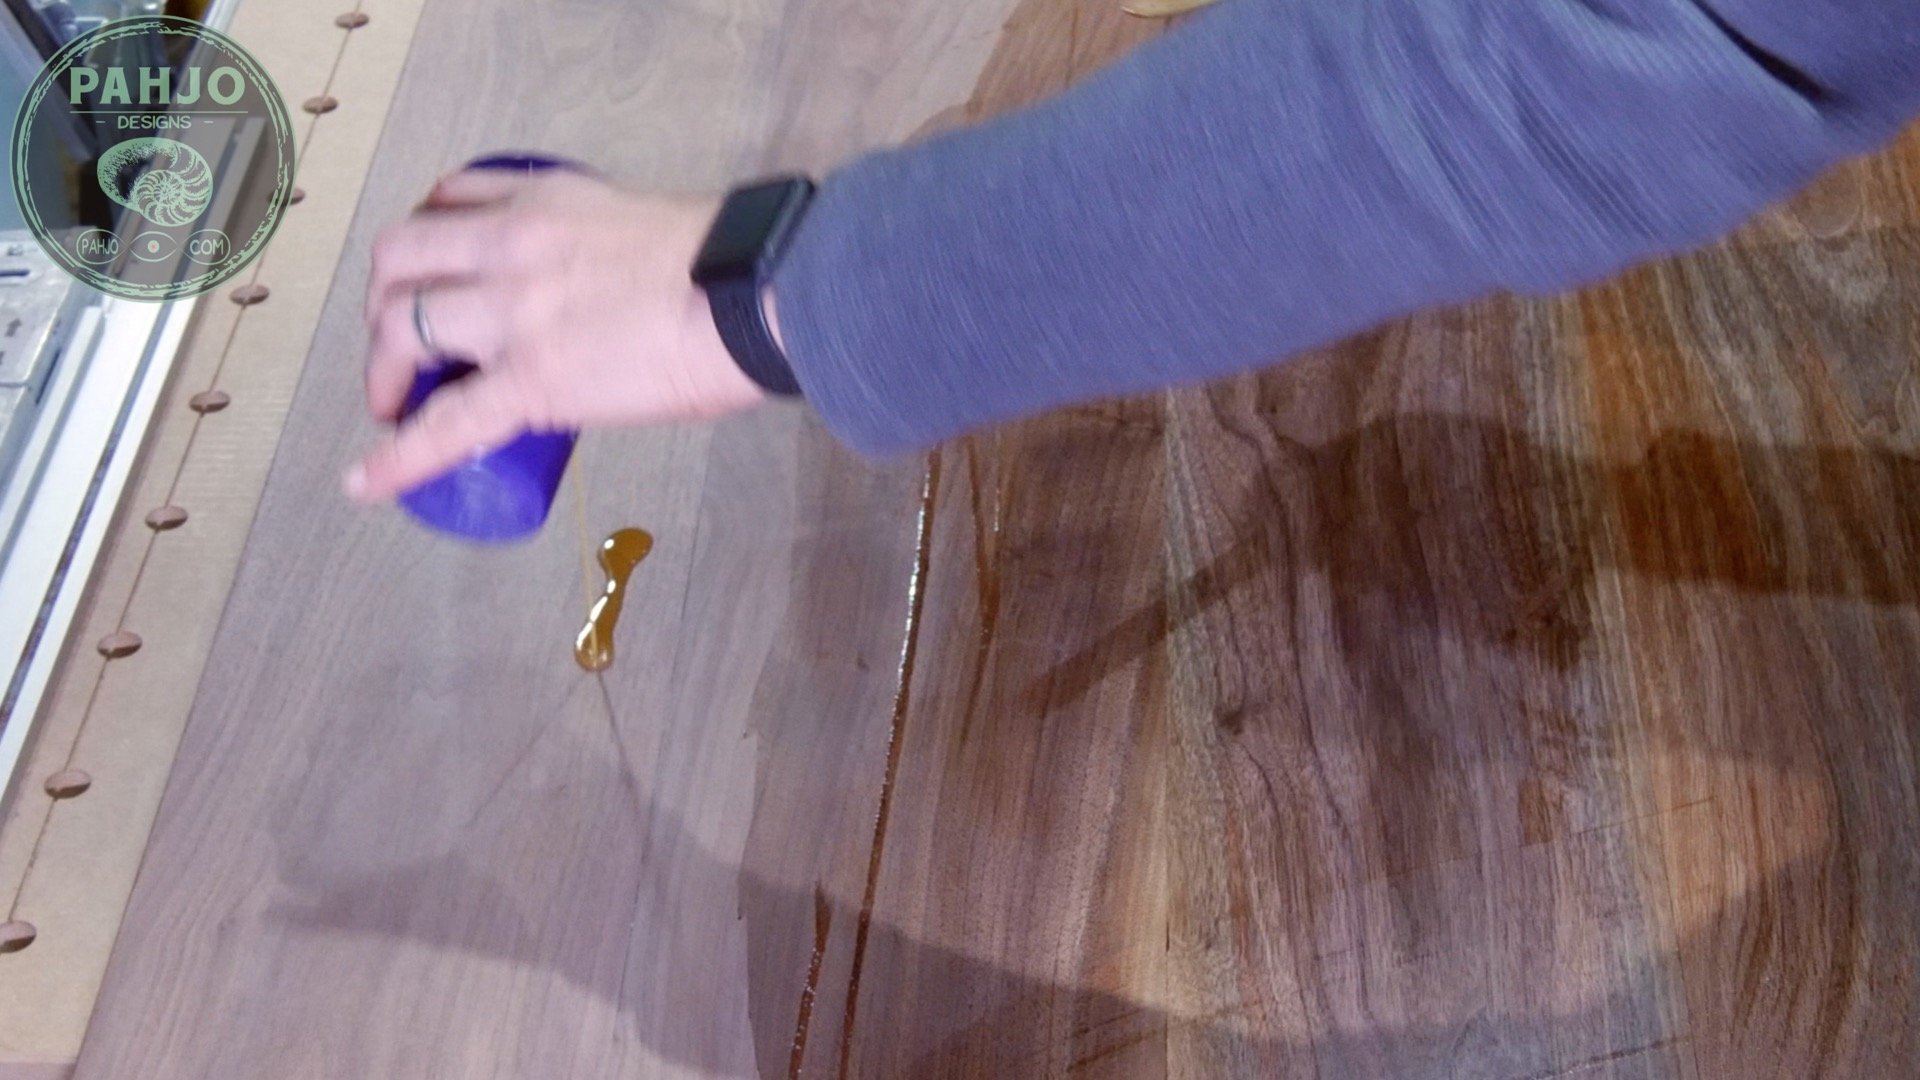
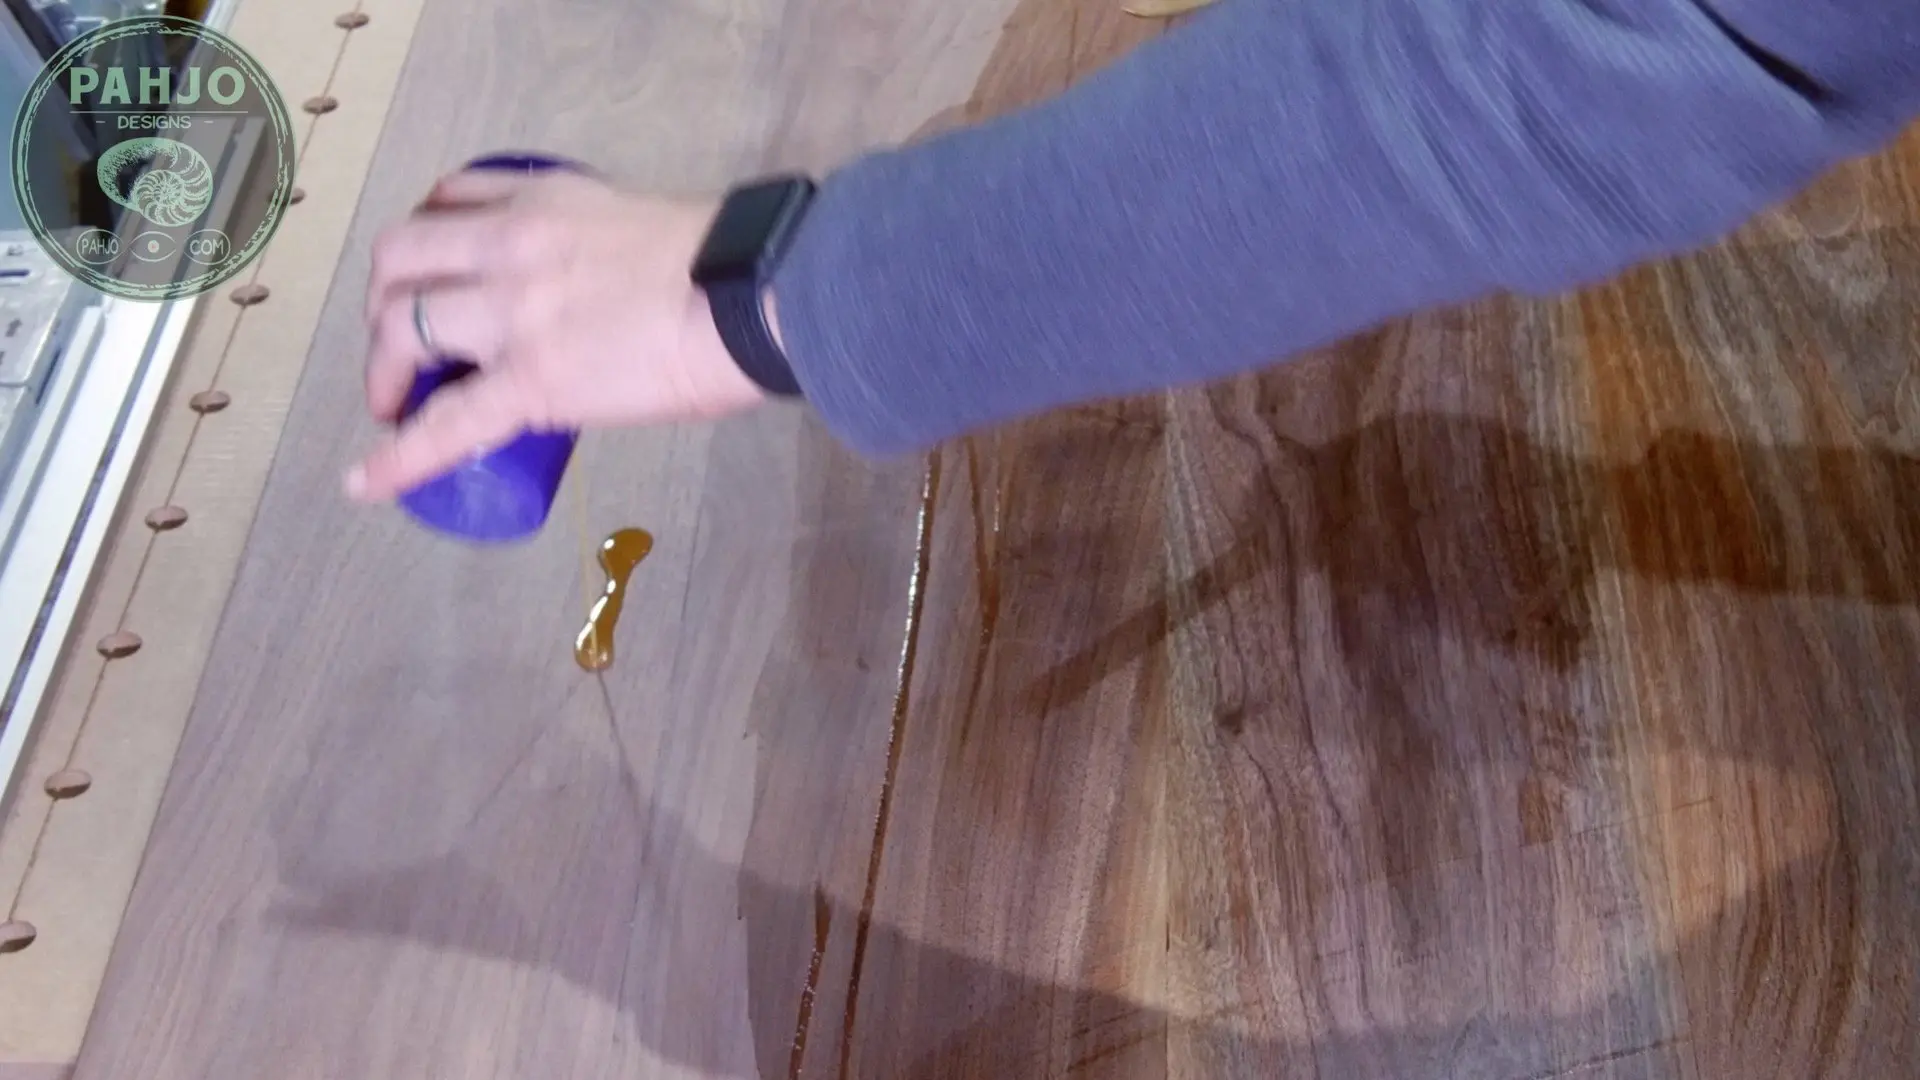
Rubio Monocoat Pure Application
First, I mixed the 2 parts according to the instructions: 2 parts A to 1 part B.
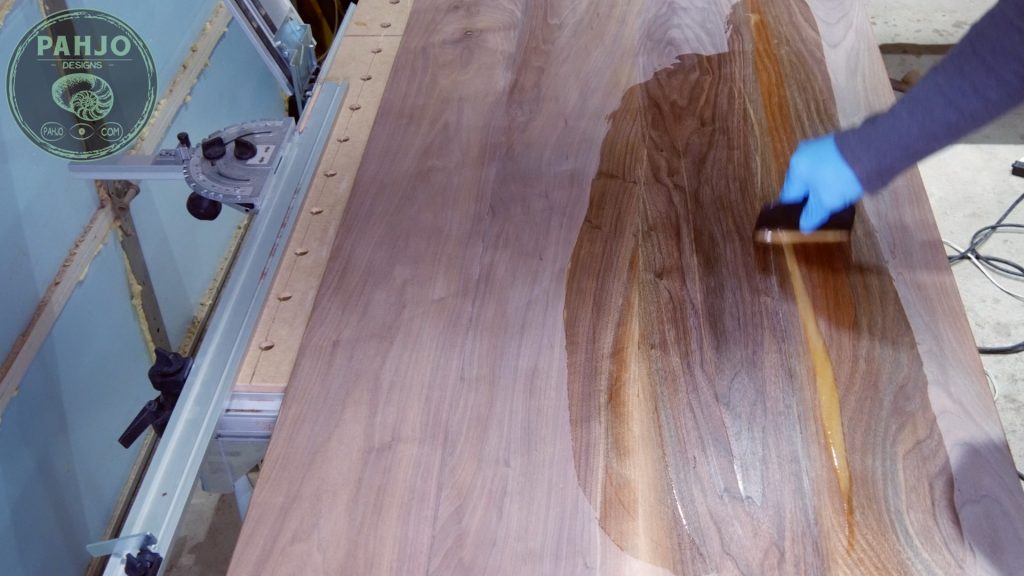
Next, I poured the finish and spread it across the table with a plastic spreader.
I didn’t pour too much in order to avoid waste.

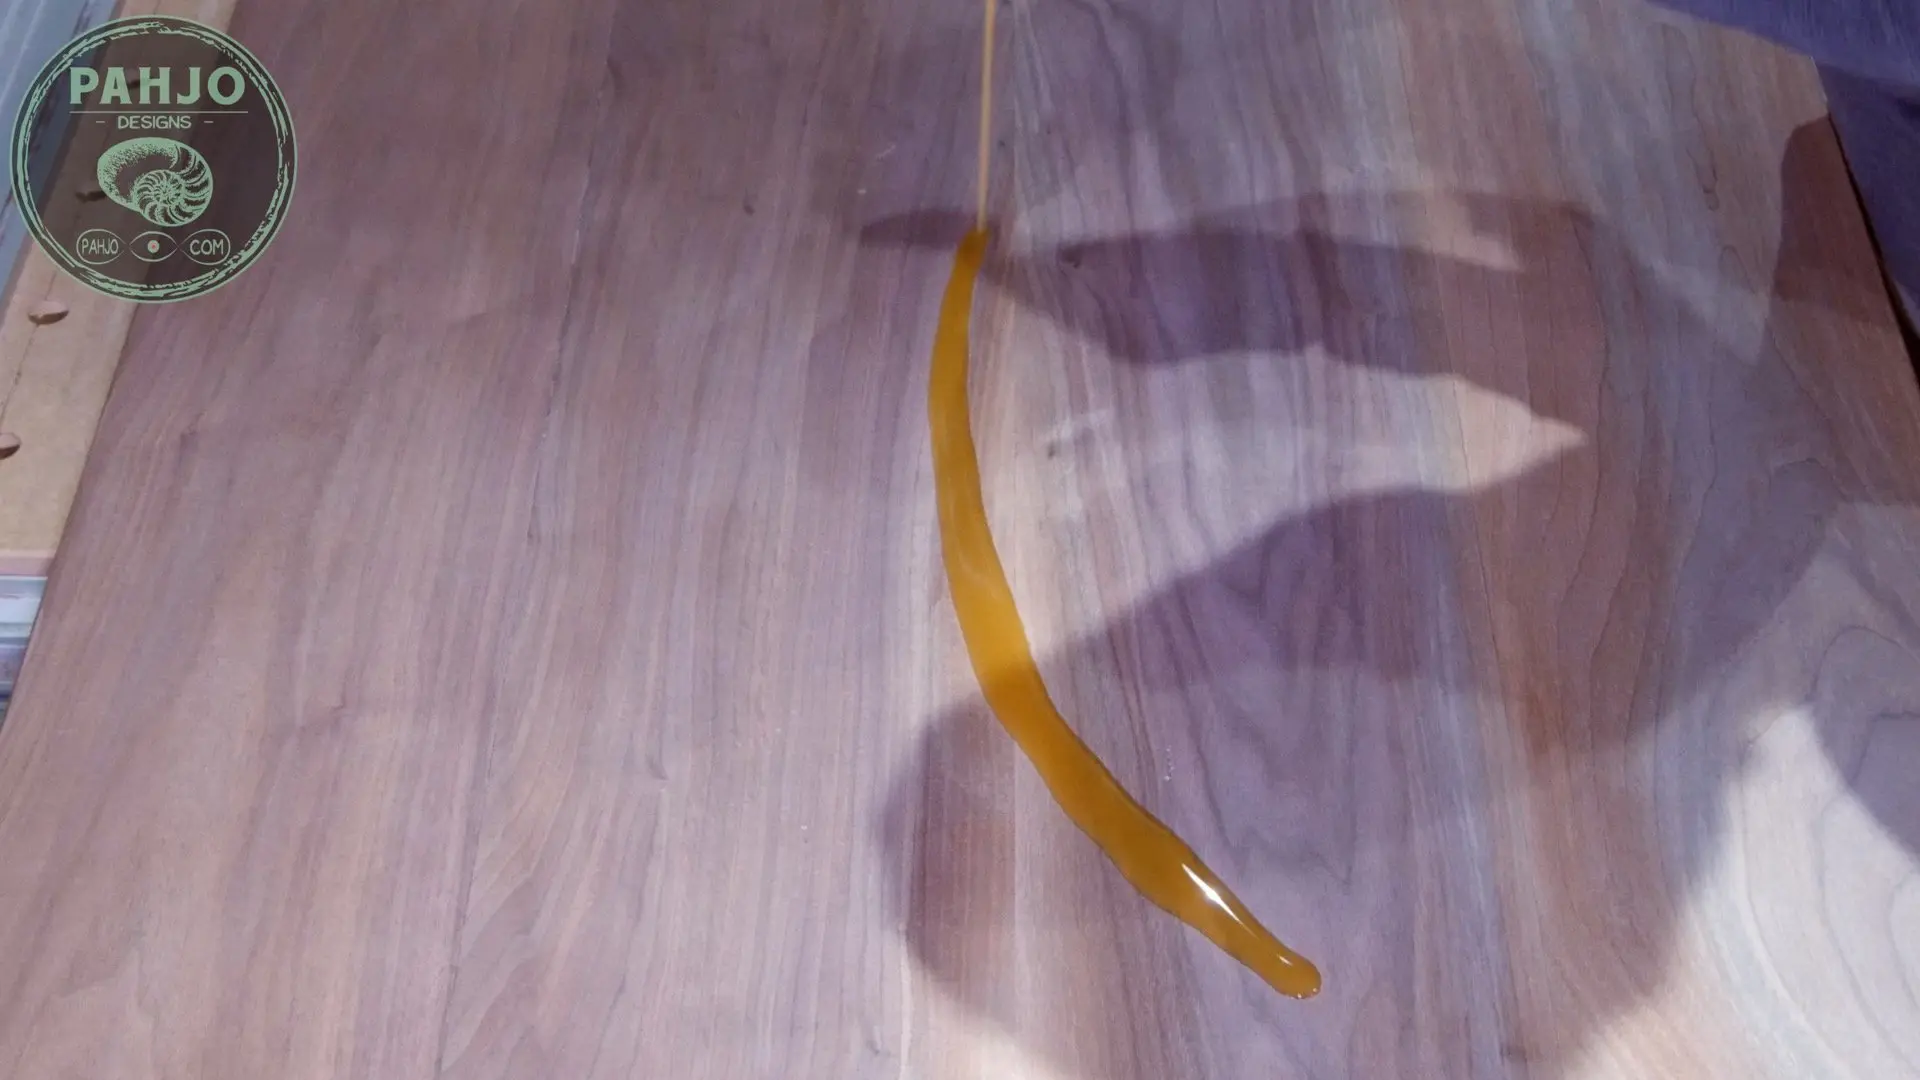
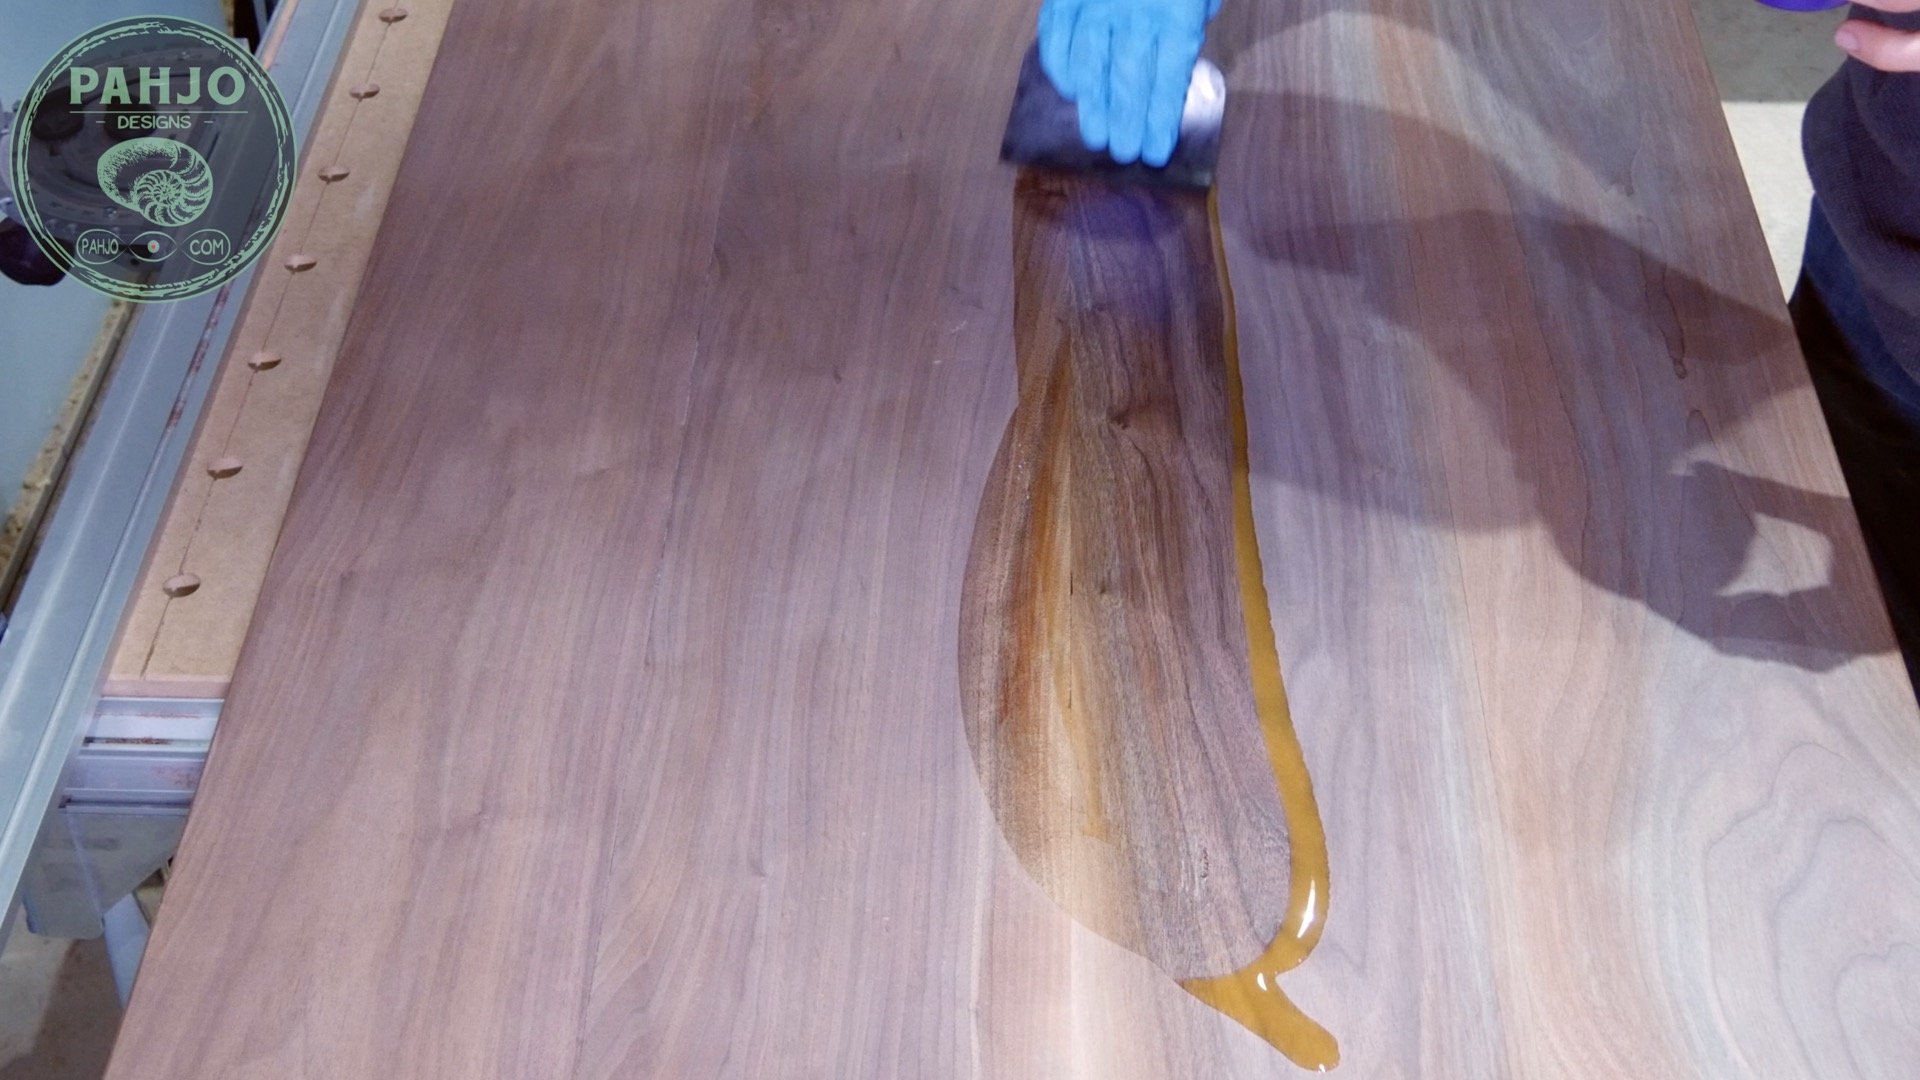


Then, I poured a little more on the opposite end of the table and repeated the process.

To cover the edges, I let a bead drip over the edge and spread it before it dripped.
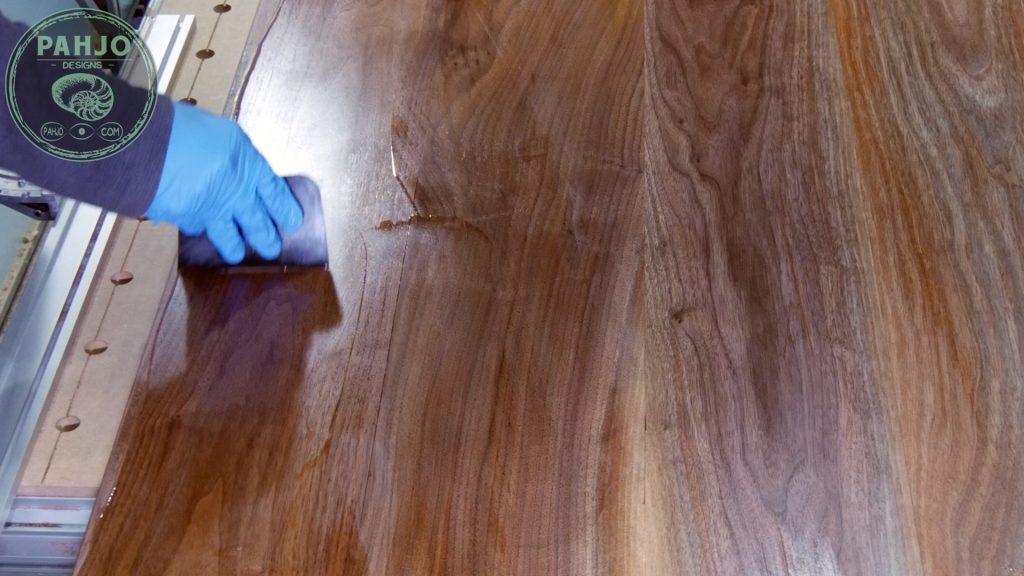

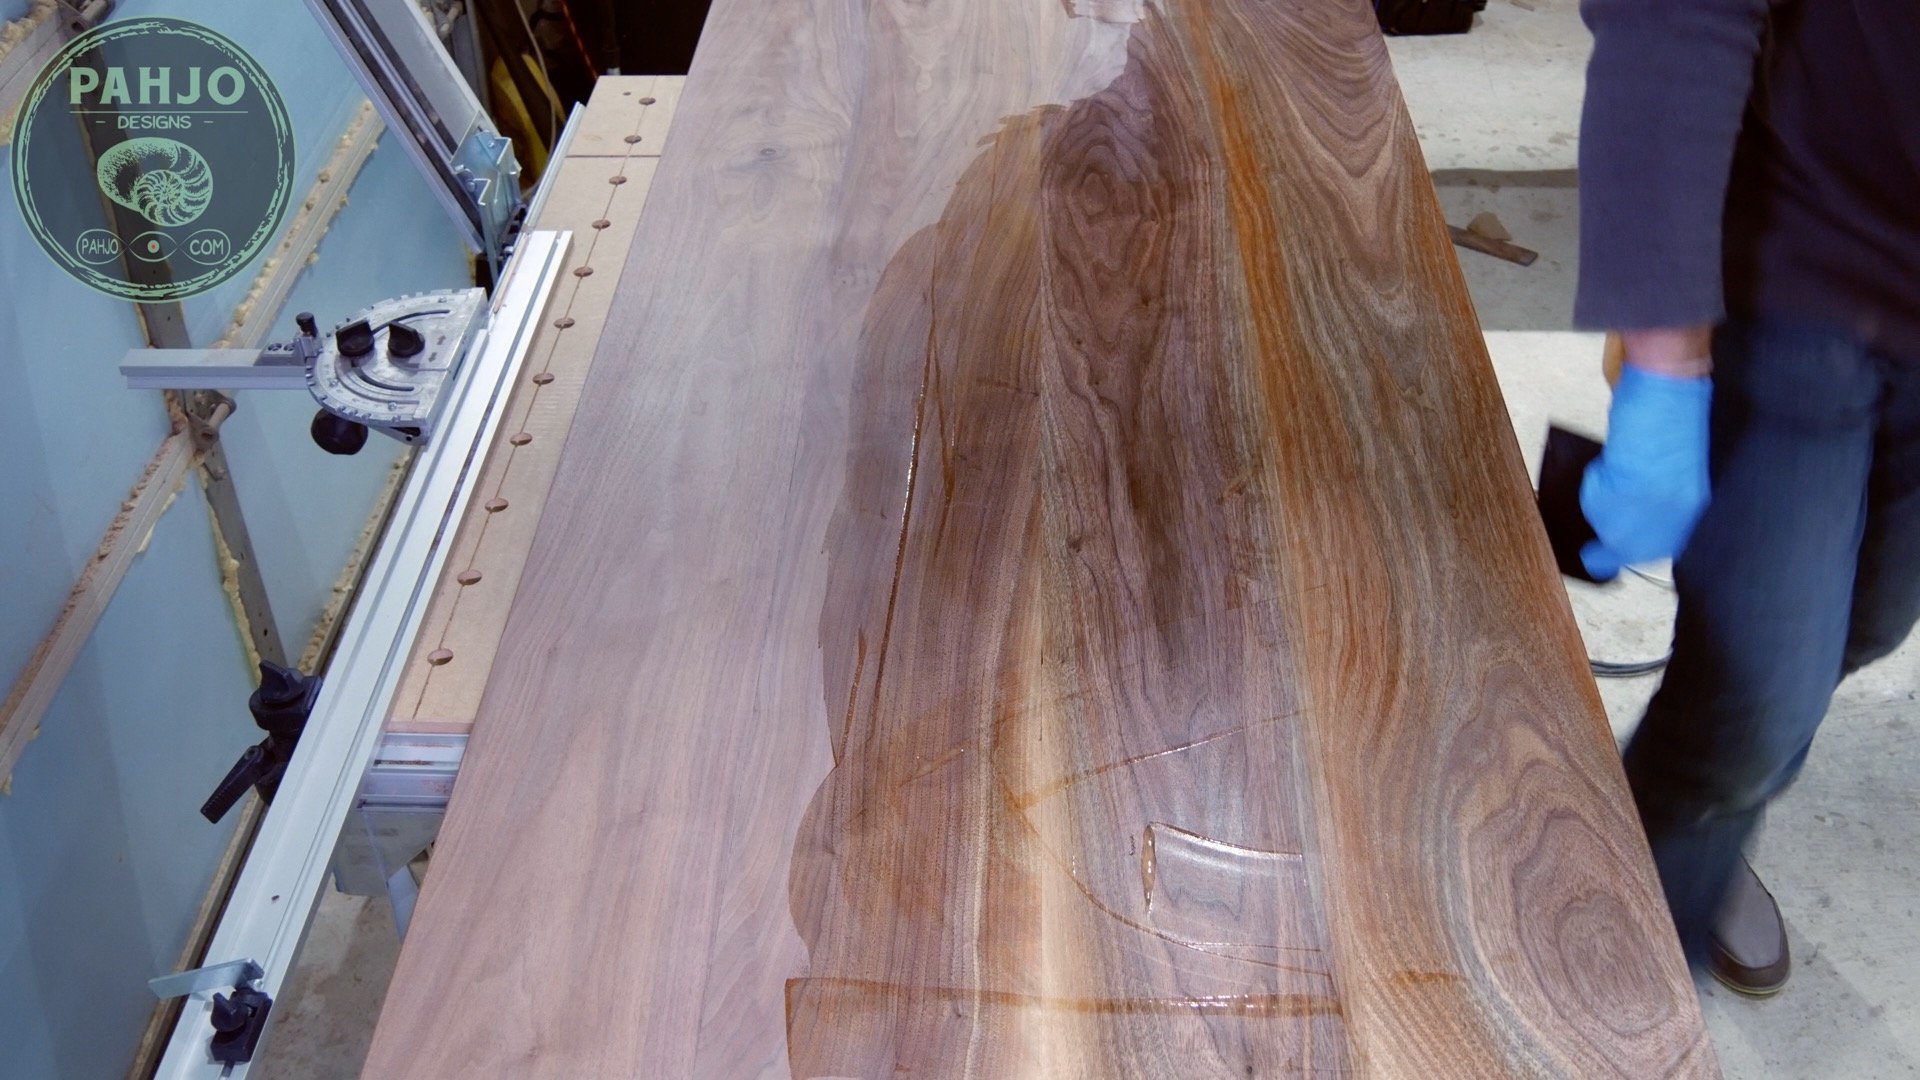
Rubio Monocoat Application Buffing
It is vital to not leave any material on the table, so I used a lint free rag to wipe off the visible excess.

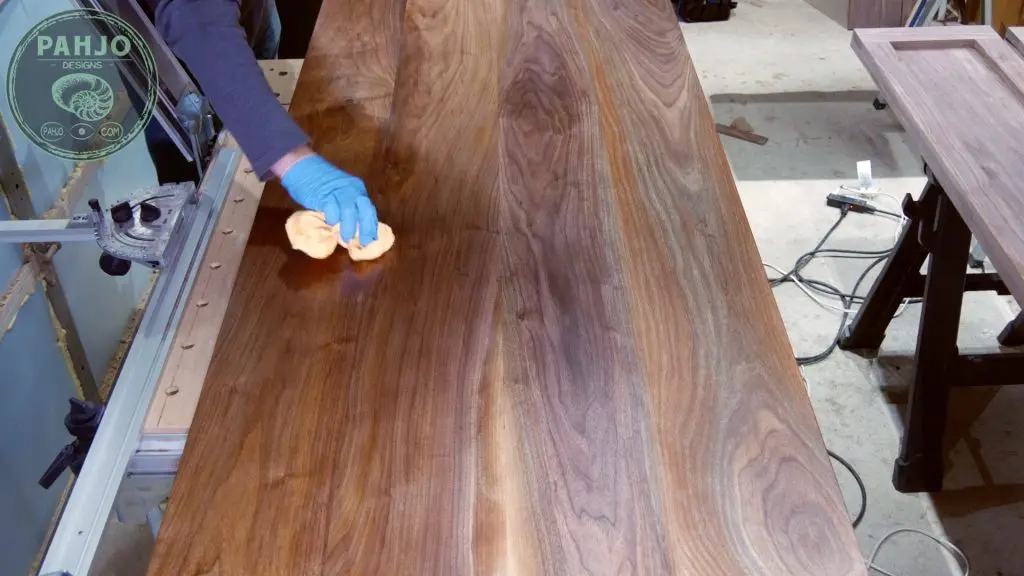
Next, I used my festool RO125 with a buffing pad to remove the remaining material.
I buffed the table for about 10 minutes.


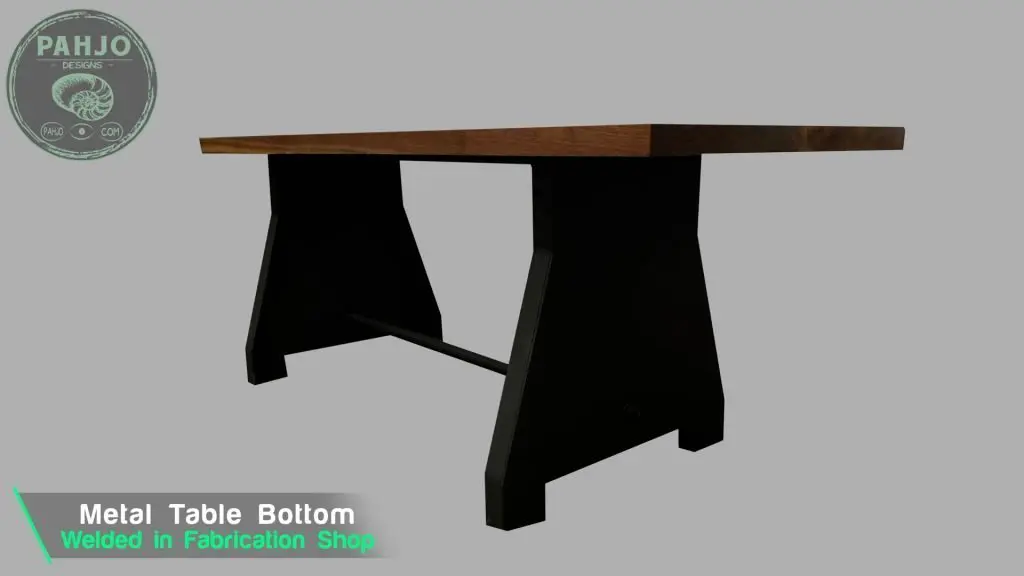
DIY Walnut Dining Table Bottom
My brother-in-law hired a professional welder to build the table bottom.
The welder is my brother-in-law’s close friend as well.
Although this is a skill I want to learn very soon, I don’t know how to weld as of now nor do I own a welder.
As can be seen in the picture below, he did a fantastic job.

Conclusion
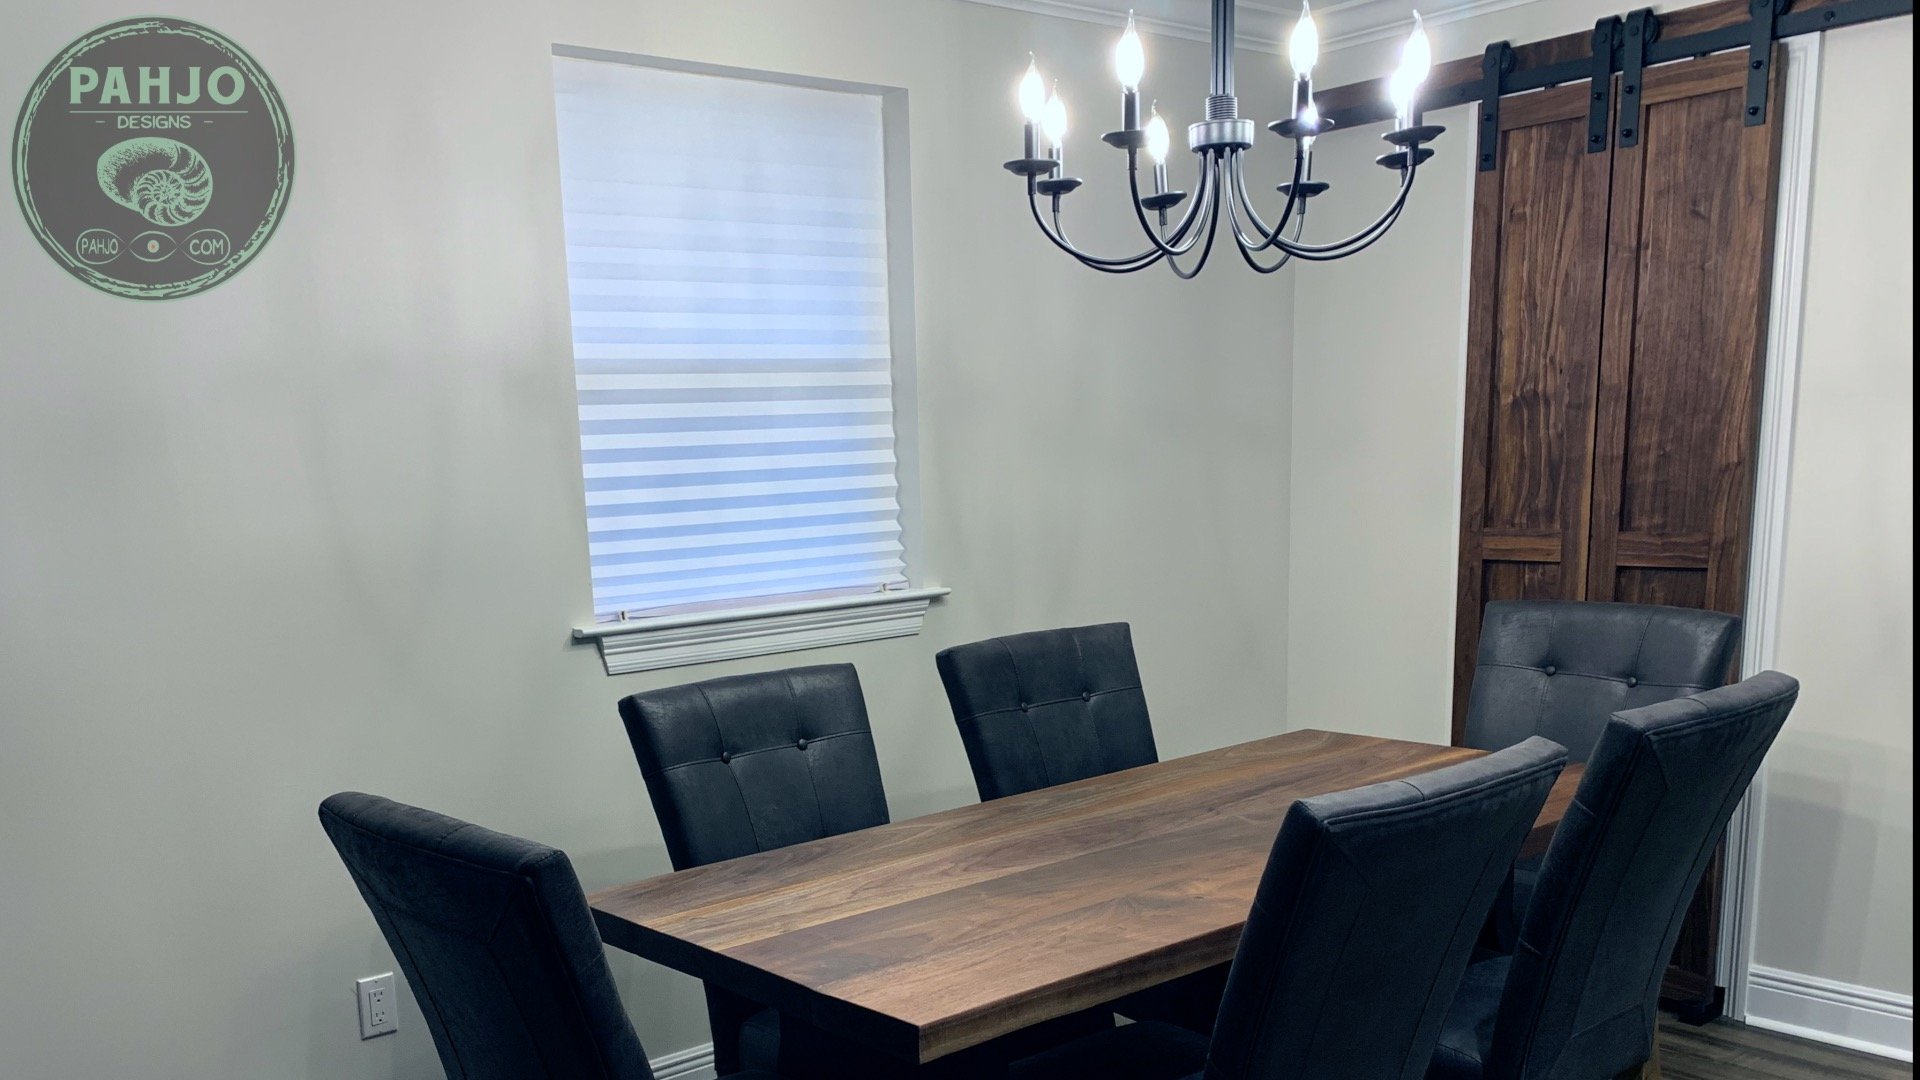
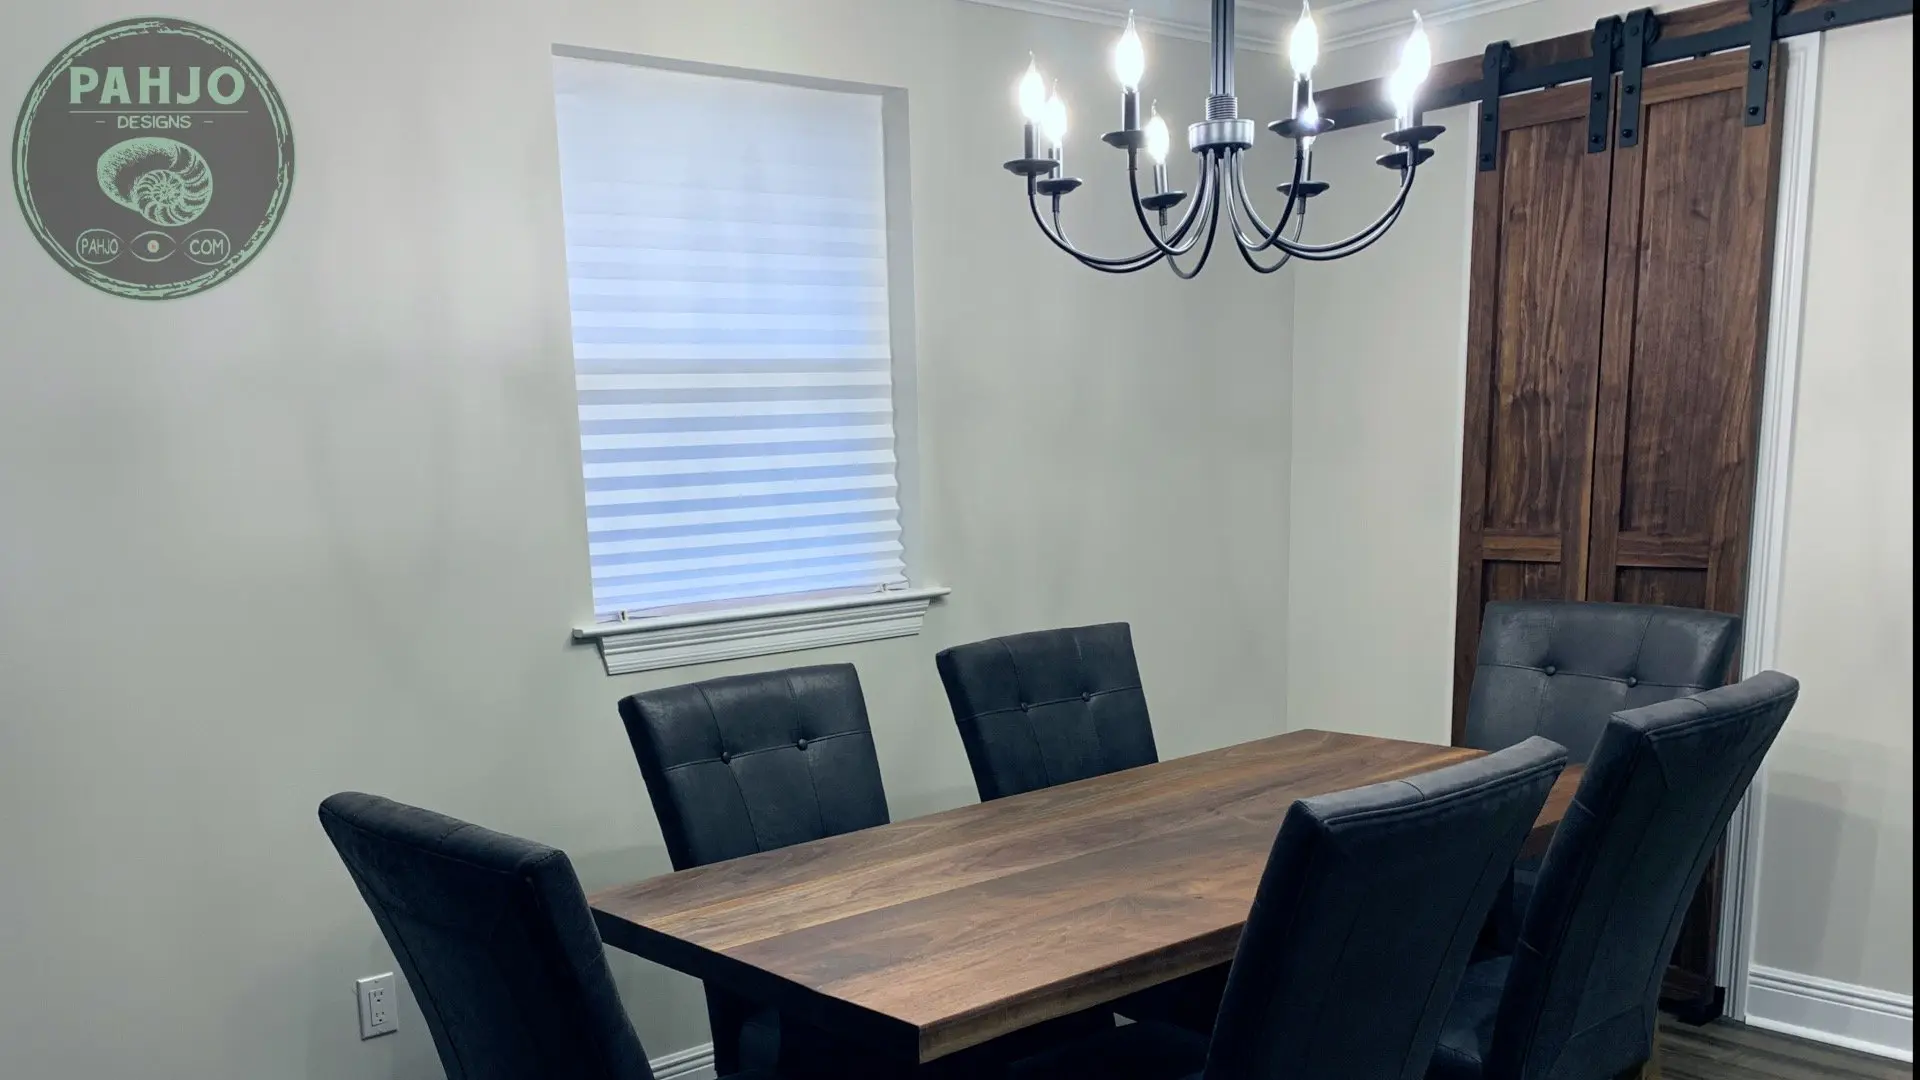
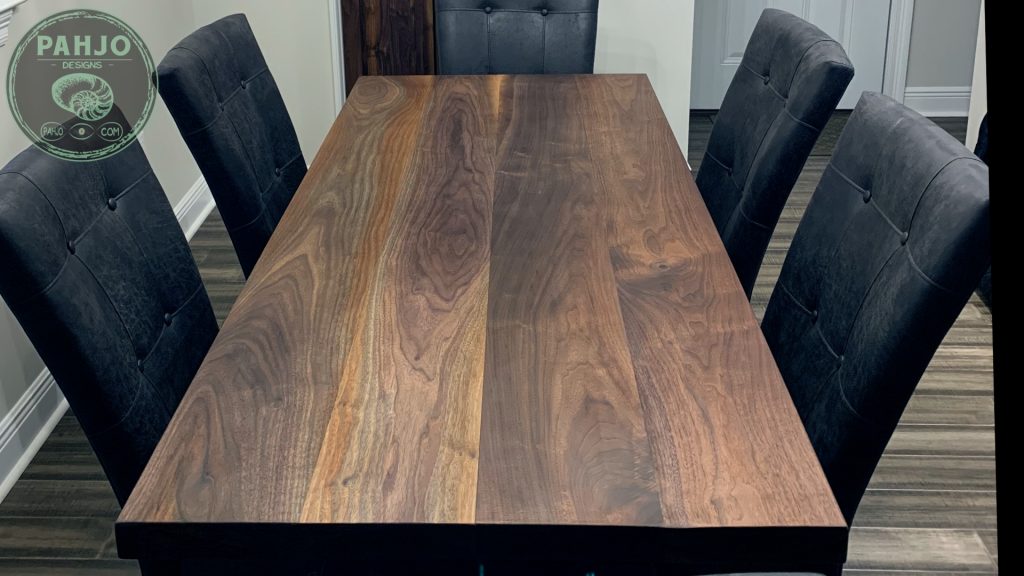
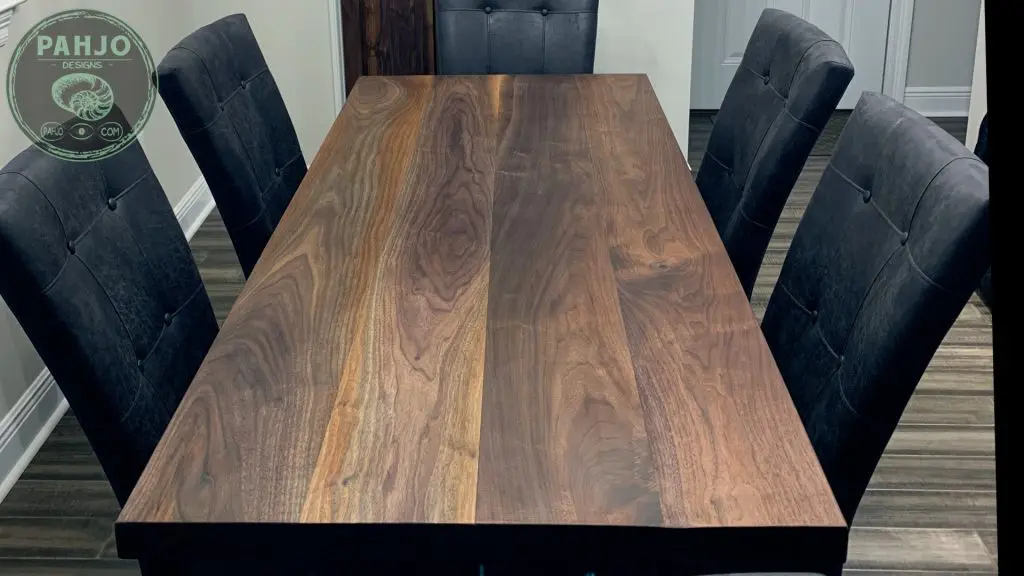
In conclusion, I hope this DIY walnut dining table build provided you with value.
Overall, this was a fairly easy project and it turned out great.
Related Posts:
- DIY Double Sliding Barn Doors
- DIY Walnut Slab Epoxy Dining Table
- Pecky Sinker Cypress Table
- Rustic Wood Dining Table

Amri
Monday 4th of January 2021
Beautiful work, thank you for the tutorial!
Pahjo Designs
Tuesday 5th of January 2021
Thank you!
Dacia
Thursday 26th of December 2019
Nice post. I learn something totally new and challenging on sites I stumbleupon every day. It will always be interesting to read through content from other writers and use a little something from other sites.