
In this simple tutorial, I show you how to build a DIY farmhouse TV stand with cabinet doors.
Even though you may not need a TV stand, the DIY tips in this tutorial will help you with other woodworking projects.
In this step-by-step guide, you will learn how to:
- Build a TV console plywood carcass.
- How to build rustic cabinet doors.
- Install shiplap.
- Useful woodworking tips and techniques.
- And much more.
Video Tutorial
First, there are many things which are difficult to explain with words and images, so be sure to checkout the video tutorial below.
DIY Entertainment Center Plans
I created downloadable DIY build plans for this rustic farmhouse TV stand.
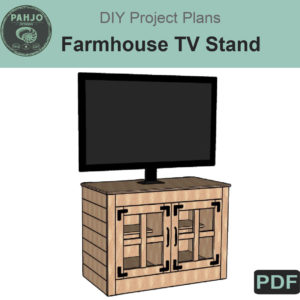

In these DIY Rustic TV Console plans, you will receive:
- 58 page pdf with 3D illustrations for each step
- Material List
- Tool List
- Complete Cut List
Tools and Material
Kreg K5 Pocket Hole JigPocket Hole Screws
Trim Router
Router Bit
Biscuit Joiner
Circular Saw with Track
Circular Saw Option
Sander
Drill
Wood Glue
Bar Clamps
Pocket Hole Clamps
Cabinet Jig It Drill Guide
Inset Cabinet Hinges
Cabinet Hinge Plate Template
Self Centering Drill Bits
Router Bit for Glass Panes
Silicone
Black Decorative Bracket
Black Screws
Door Pulls
Tile Spacer
Level
Brad Nailer
1″ Brads
Glass Cutting Tool
Chisels
Lexan (Glass Alternative)
Plywood & Other Wood
- Plywood
- 3 full sheets of 4′ x 8′ x 3/4″
- Wood for Top, Shiplap, Face Frame, and Cabinet Doors
- Plywood if you plan to paint.
- Your favorite hardwood or softwood (I used Cypress).
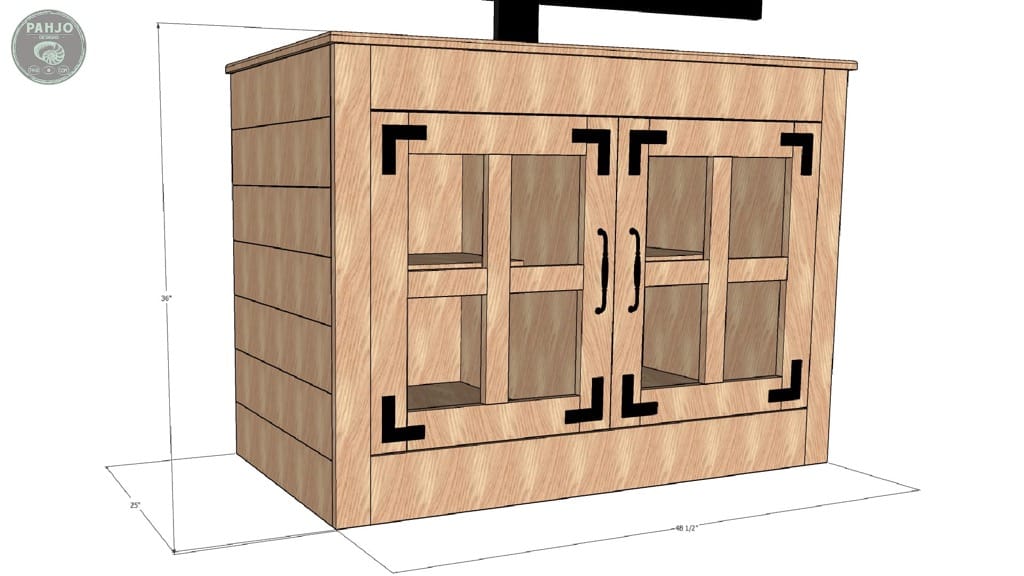
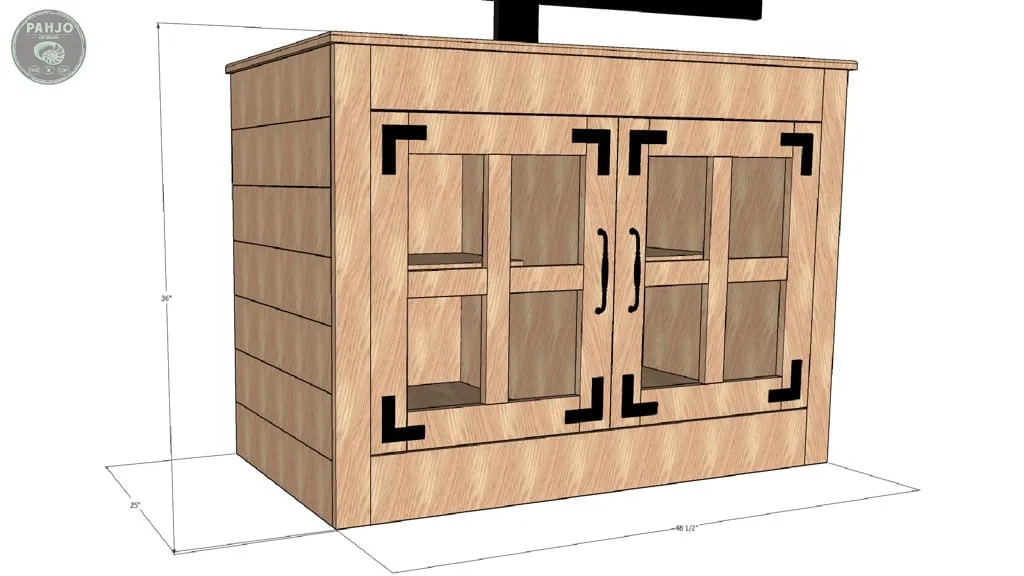
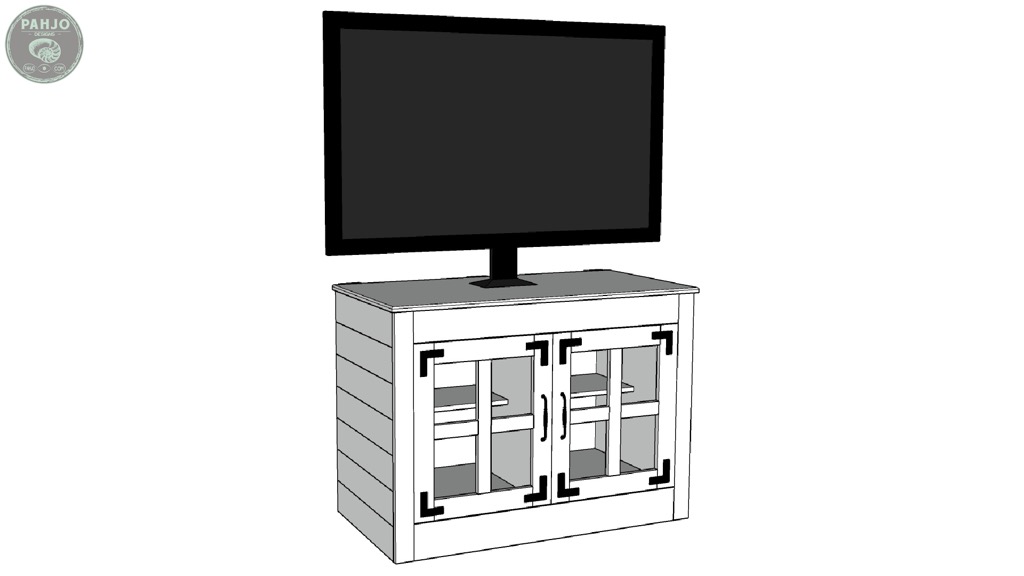
DIY Farmhouse TV Stand Measurements
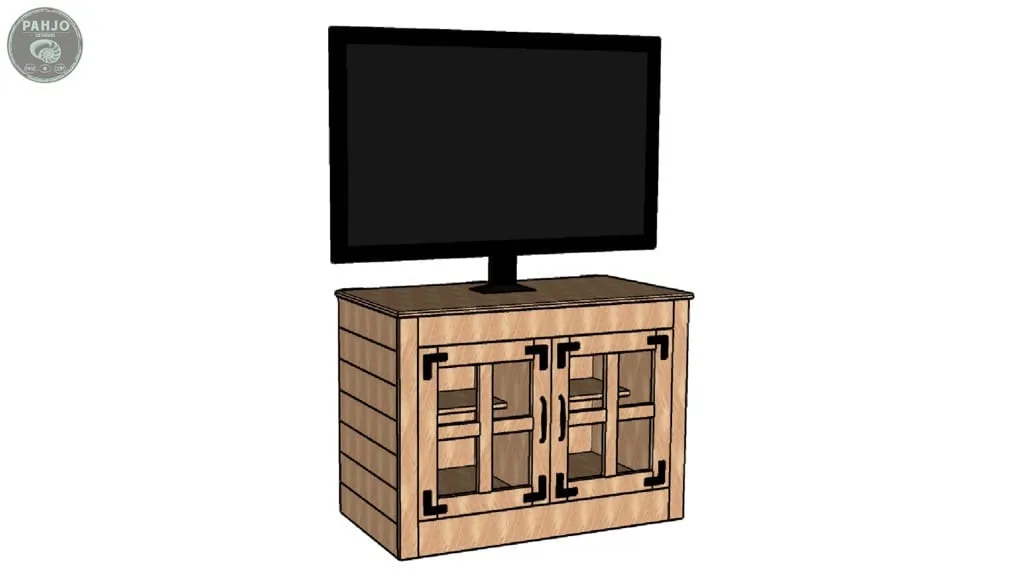
The dimensions for this entertainment center are 36” x 48.5” x 25” (Height x Width x Depth).
For this project, I used ¾” plywood to make the carcass and 1/2″ cypress wood for the trim, shiplap, and cabinets.
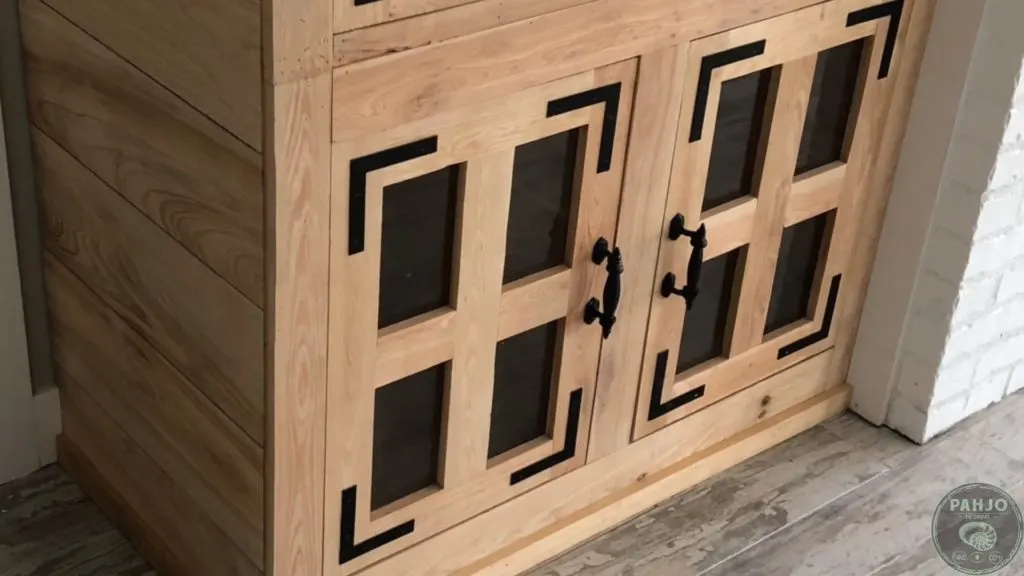
The cabinet doors have Lexan (Glass Alternative) panes with decorative black corner brackets.
I find the bare wood combined with black decorative hardware gives the TV cabinet a rustic, modern farmhouse style.
Keep in mind, any species of wood can be used in place of the Cypress wood.

DIY TV Stand on a Budget
Obviously, the cost of wood skyrocketed in recent months.
As a result, any species of wood can be used in place of Cypress wood.
For those on a tight budget, the entire DIY TV cabinet with doors can be built with plywood and painted to match existing decor.
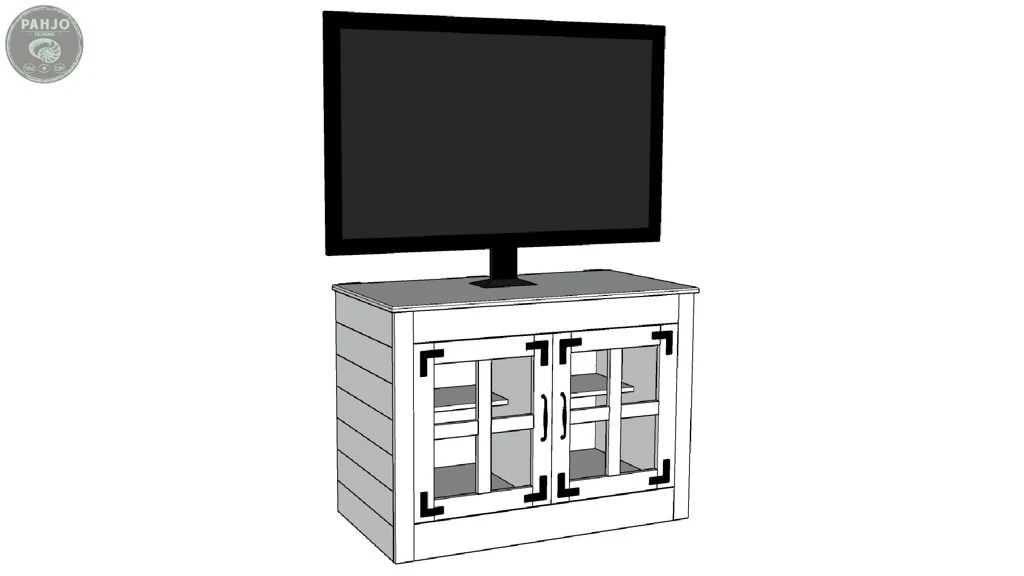
Farmhouse TV Stand Decor Ideas
To further illustrate my point, I created a 3D model of this entertainment center in white.
You can even distress the paint to give it a real farmhouse style appearance.
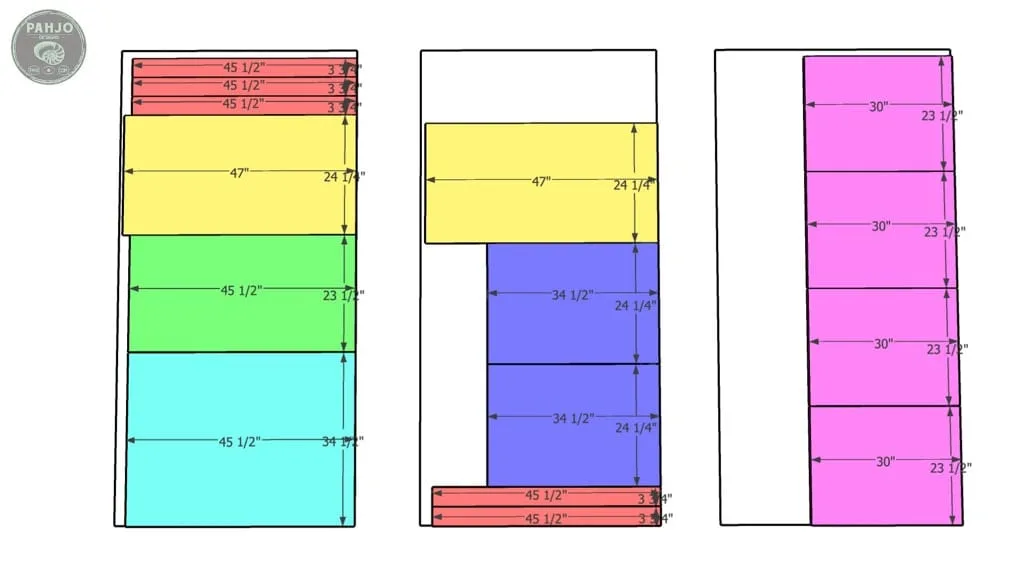
Cut List
This DIY entertainment center calls for 3 full sheets of plywood.
In order to minimize waste, I created the cut list below.

Quick Tip: I encourage you to only cut the pieces you need for the step you are working on.
It may be tempting to cut everything at once, but 1 mistake could cost you time and money.
By all means, I encourage you to make pre-cuts.
However, I strongly recommend you cut all the wood needed for step 1, complete step 1, and then move on to step 2.
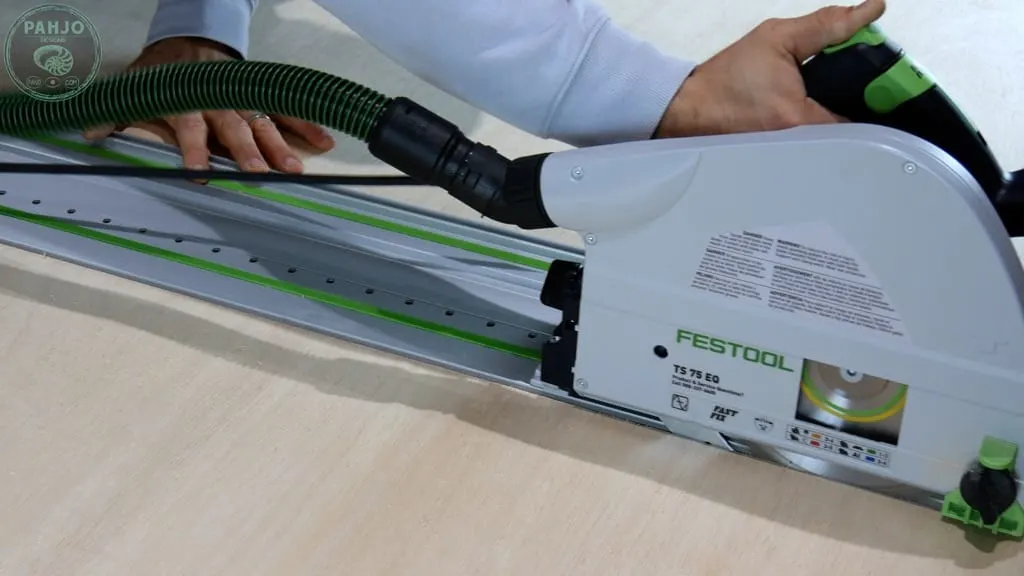
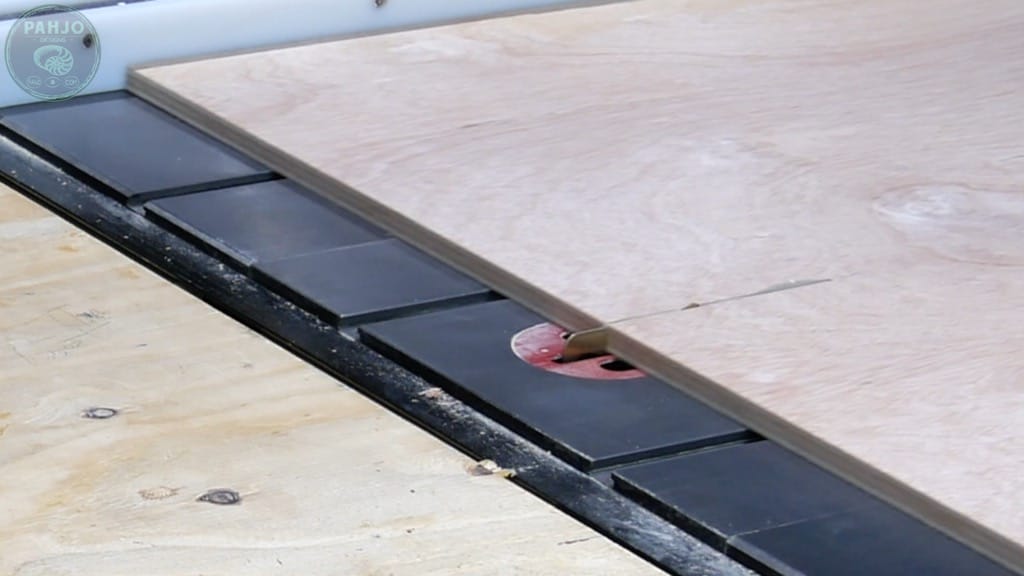
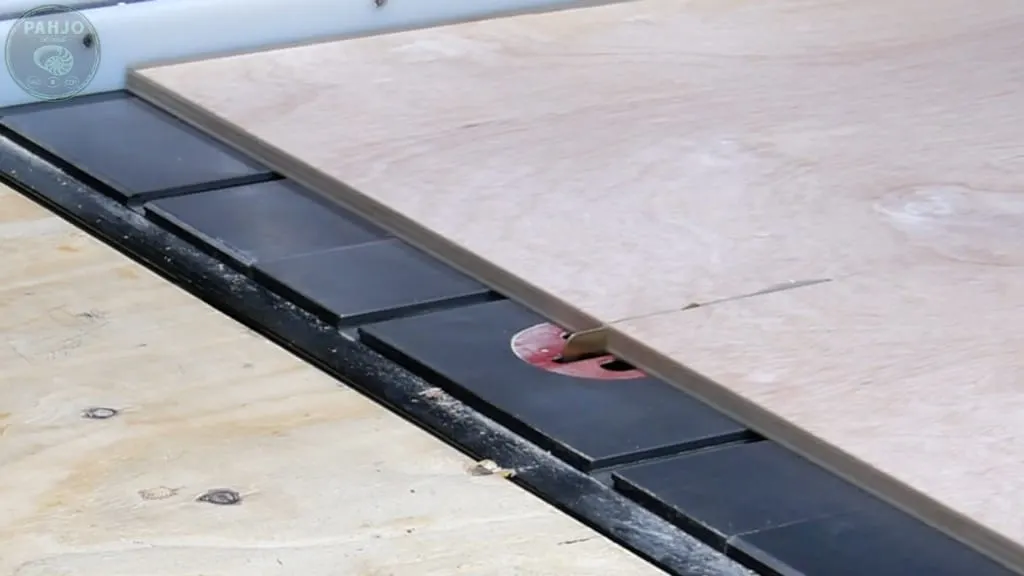
I prefer to cut large sheets of plywood with my track saw.
Then, I finish the other cuts on my table saw.
Essentially, smaller pieces of plywood or easier and safer to cut on the table saw.

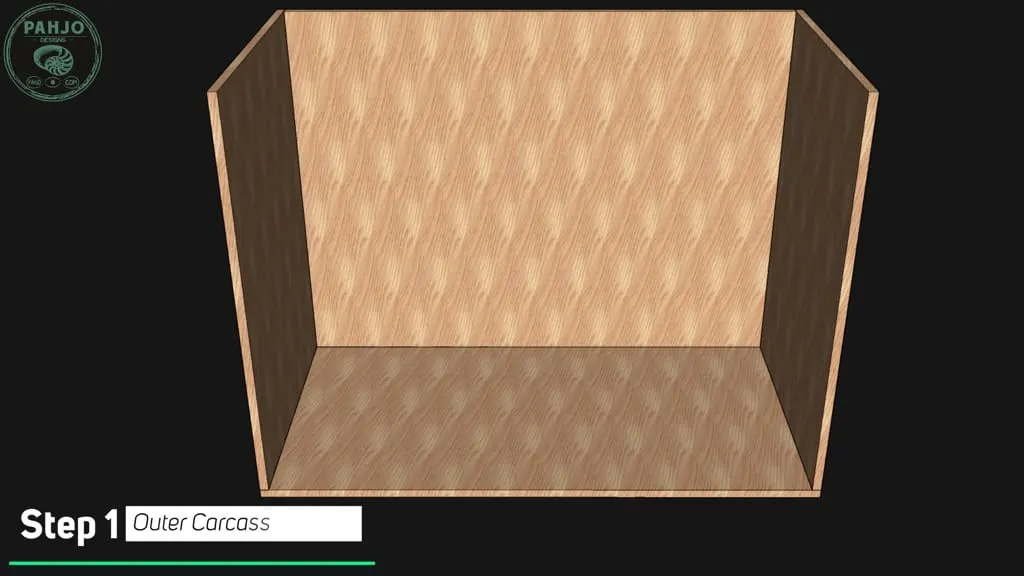
1 – Outer TV Cabinet Carcass
First, the outer TV cabinet carcass is made with 3/4″ plywood.
It consists of 4 pieces: Bottom, Right, Left, and Back.

Some folks believe pocket hole joinery lacks strength and should not be used.
However, I believe pocket holes perform well if used for the right project.
Luckily, pocket hole joinery along with wood glue work great for cabinet carcass’.
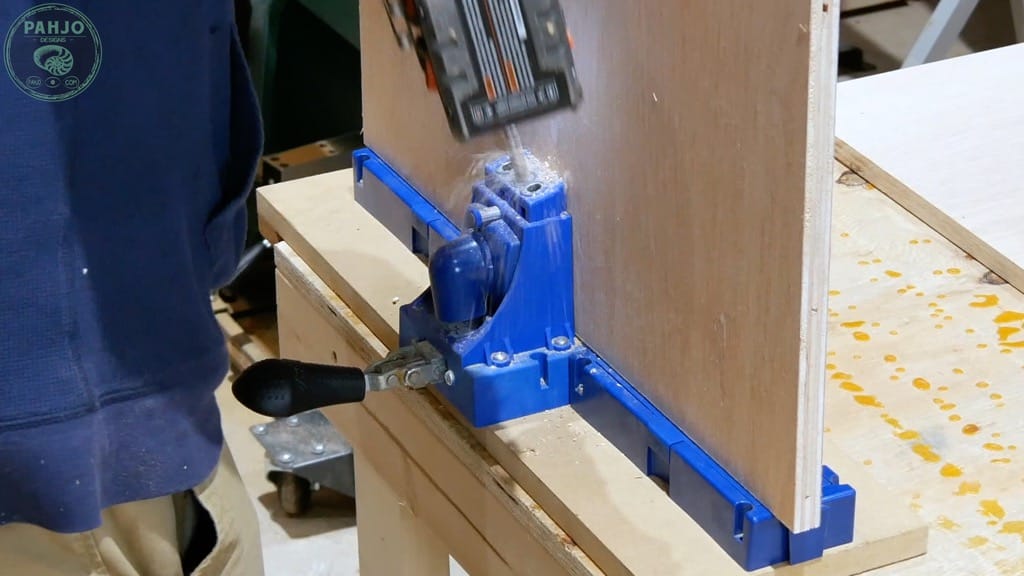
First, I space the pocket holes evenly across the wood.
Most of the time, 3 pocket holes evenly spaced will securely hold the wood together for the glue to dry.

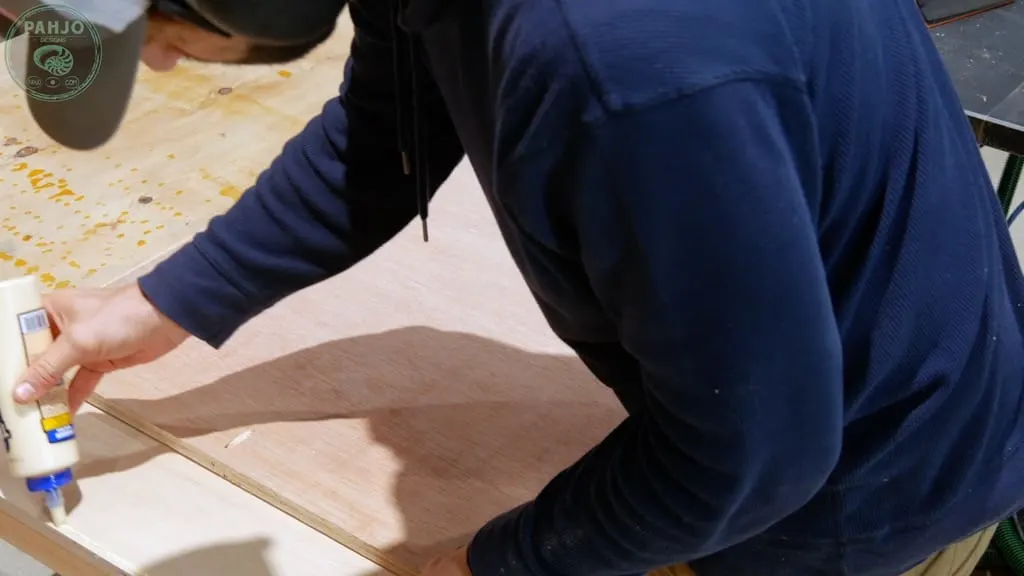
Next, spread glue on both surfaces of the plywood you join together.
Make sure you saturate the end grain of plywood with glue.
End grain soaks up wood glue very quickly.

Then, use a speed square while fastening the pocket holes to make sure the 2 pieces of plywood remain square.

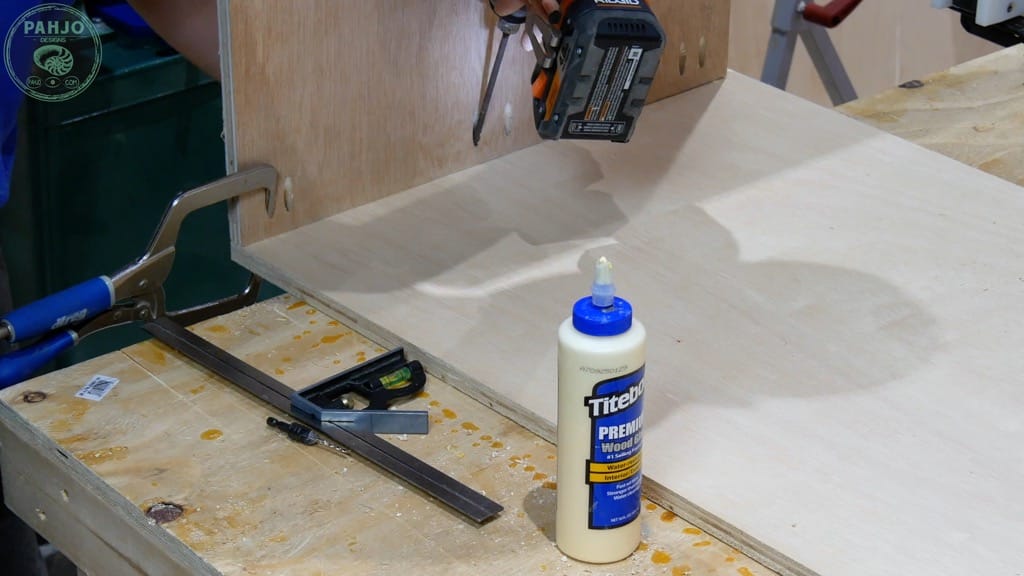
Attach Back
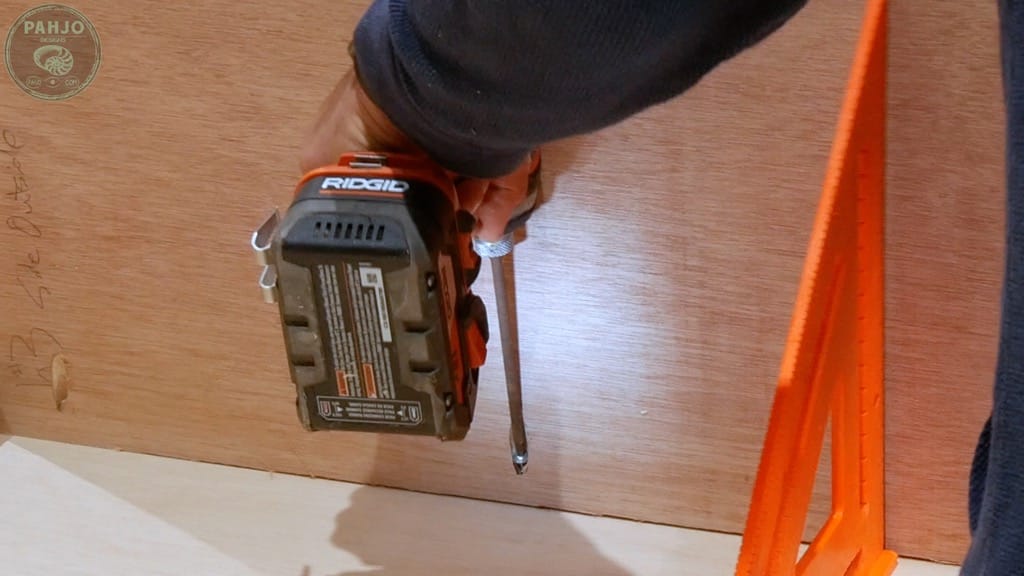
Once you secure each side to the bottom, attach the back with glue and screws.
First, spread glue and use clamps to hold the back in place.
The back should be placed on top of the bottom piece and inside each side.

Next, drill pilot holes and secure with screws.

2 – Floor Supports
Attach the front and back floor supports using pocket screws.
Again, be sure to keep everything square.
Originally, I designed this TV stand to be the bottom piece of a 3 piece living room built-in.
These runners are needed to hold a considerable amount of weight.
You really only need the rear and front support – not the 3 in the middle.


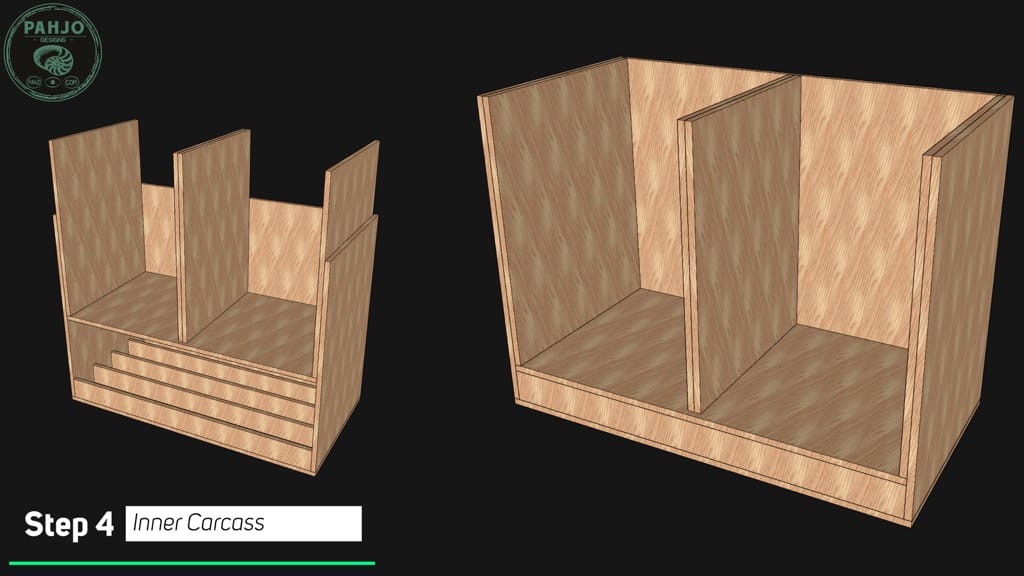
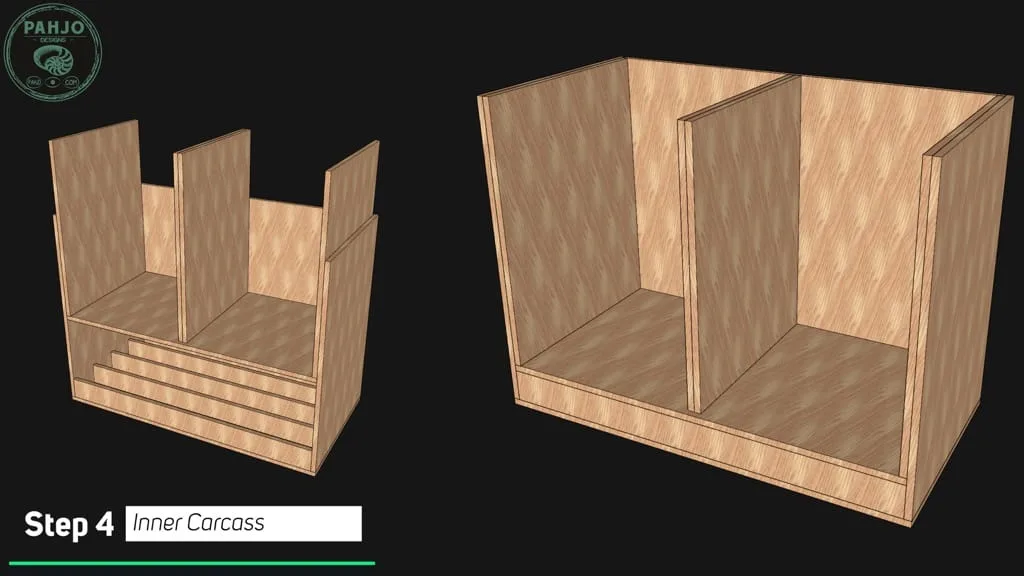
3- Inner Plywood Carcass
In this step, you will construct an insert to fit inside the piece you built in step 1 and 2.
Essentially, this process is similar to step 1 with no back and a middle piece.
The purpose of this insert is to strengthen the bottom. Again, I designed this piece to hold a lot of weight.


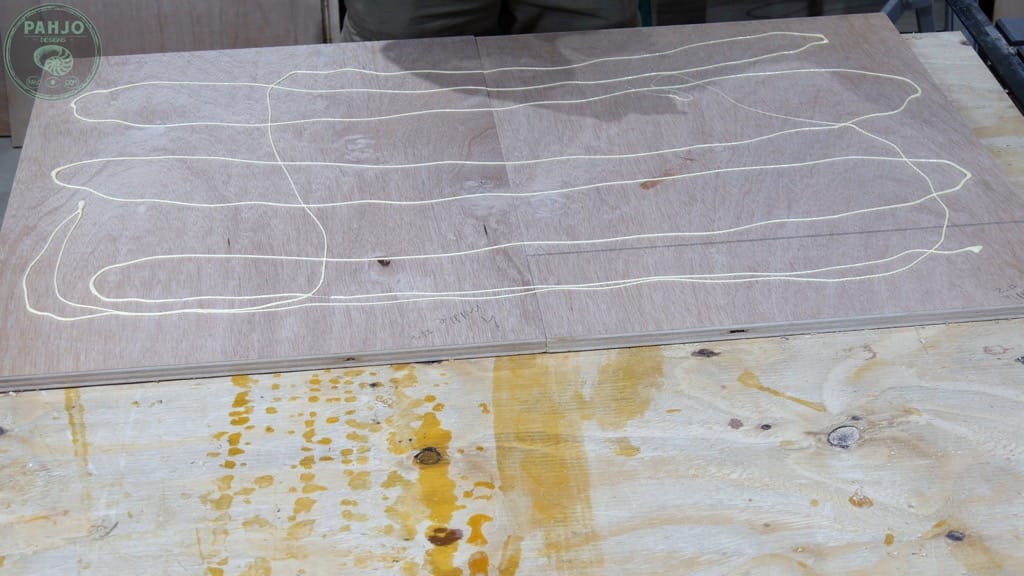
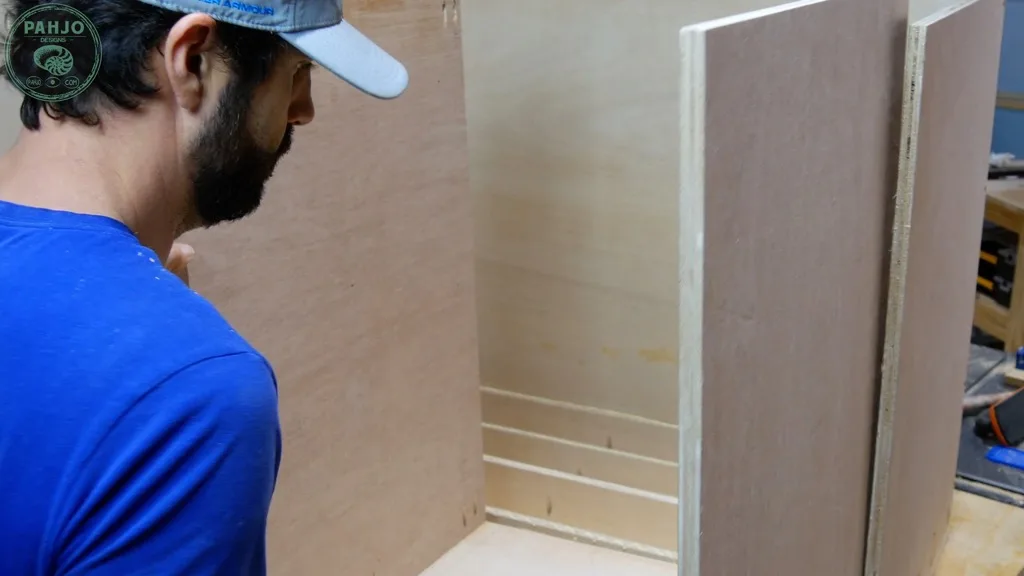
First, glue the 2 middle pieces together and secure them with clamps until the glue dries.
Pour the glue onto the boards and spread the glue with a brush or glue spreader.
Clamp them together and make sure they line up evenly.
Once they are lined up, you can put a few 1” brad nails near each corner if you don’t want to wait for the glue to dry to remove the clamps.
Quick Tip: If the two boards are not lined up perfectly, it’s no problem. Just get them as close as possible. Once the glue dries, you can remove 1/16” with a track saw or table saw to get them flush.

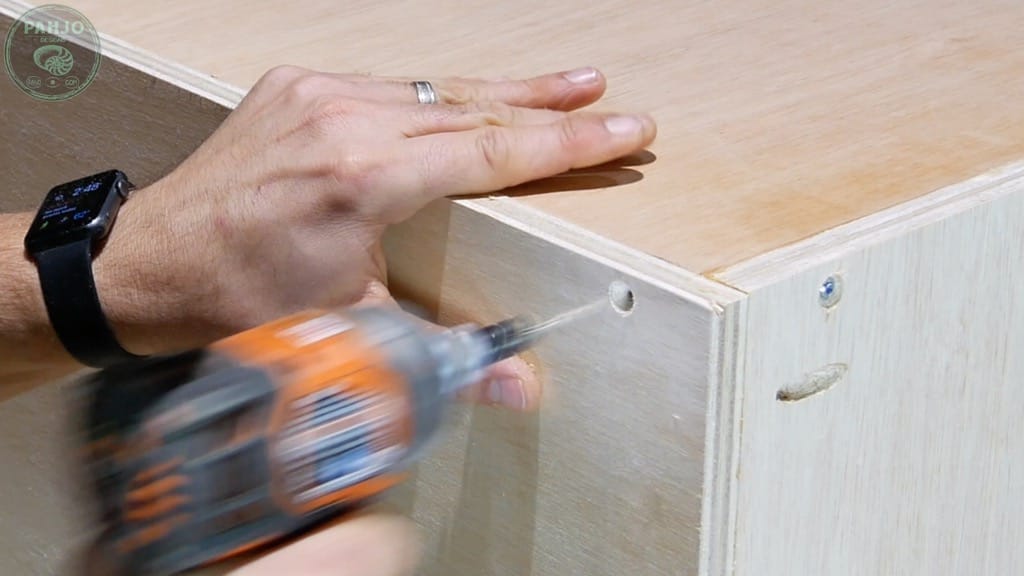
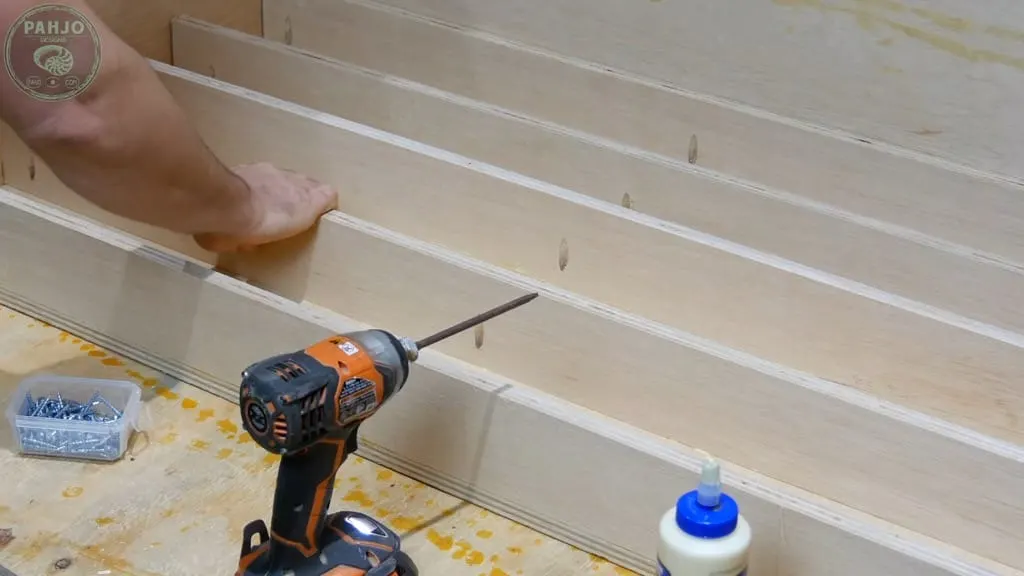
Next, drill 3 pocket holes on the bottom of each of the 2 sides.
Then, secure the 2 sides to the bottom section with 1 ¼” pocket hole screws.

Place the middle board on the lines you marked while making sure it is flush in the back.
There should be a small gap in the front., secure it with a pocket hole clamp, and drive 3 pocket hole screws on each side.
Refer to the diagram below.
4 – Secure TV Cabinet Plywood Carcass
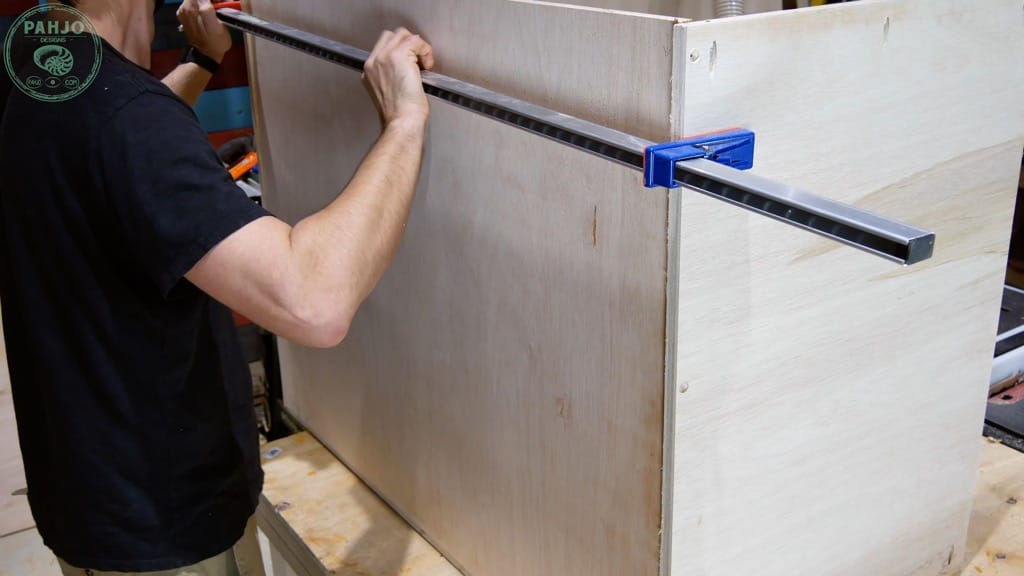
For this step, drop the insert into the bottom outer section.
Use clamps to square each side with the outer section to make sure they are flush.
Drill pilot holes, countersink, and use 4 pocket hole screws on each side at each corner to secure it in place.

5 – Top
It’s time to install the entertainment center top. I used plywood for this step because the top will be completely covered.
So, there was no reason to use quality wood or a design such as shiplap.
If the top for your unit will be visible, I recommend using the same wood you plan to use for the shiplap such as cypress or pine.
Regardless of what you choose, the measurements will be the same.


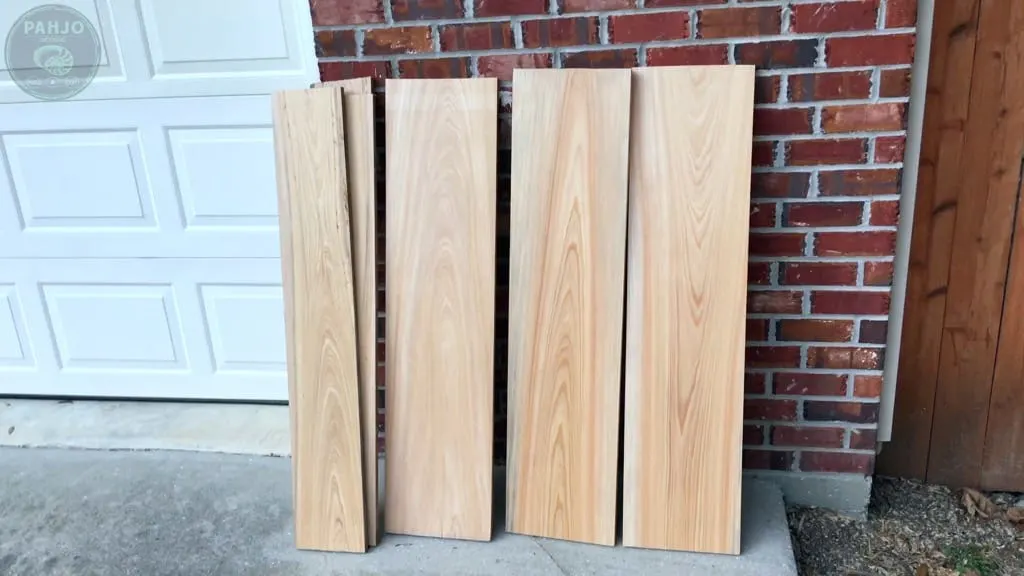
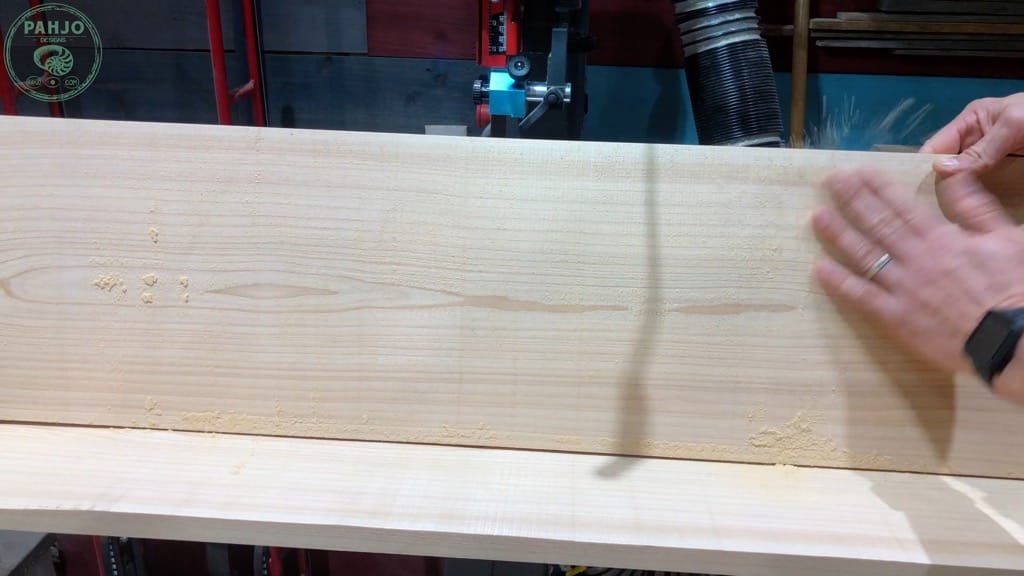
6 – Prepare Wood
First, skip this step if you plan to paint your farmhouse TV stand.
As I mentioned, I used Cypress wood for the face frame, shiplap, cabinet doors, and top.
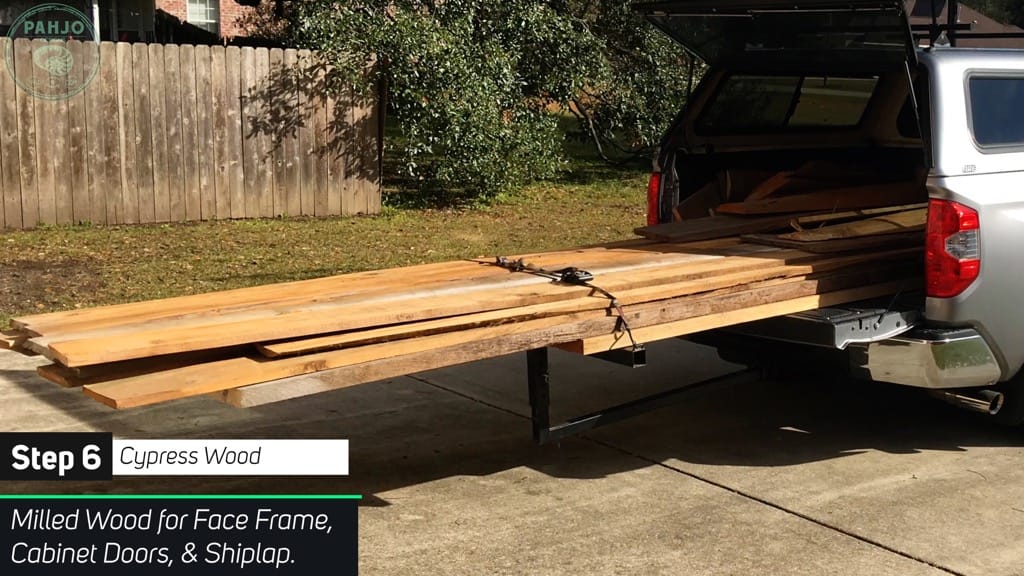

I purchased this rough cut Cypress wood from a sawmill and chose to mill it myself.
However, I encourage you to purchase dimensional lumber if you don’t own a planer or bandsaw.


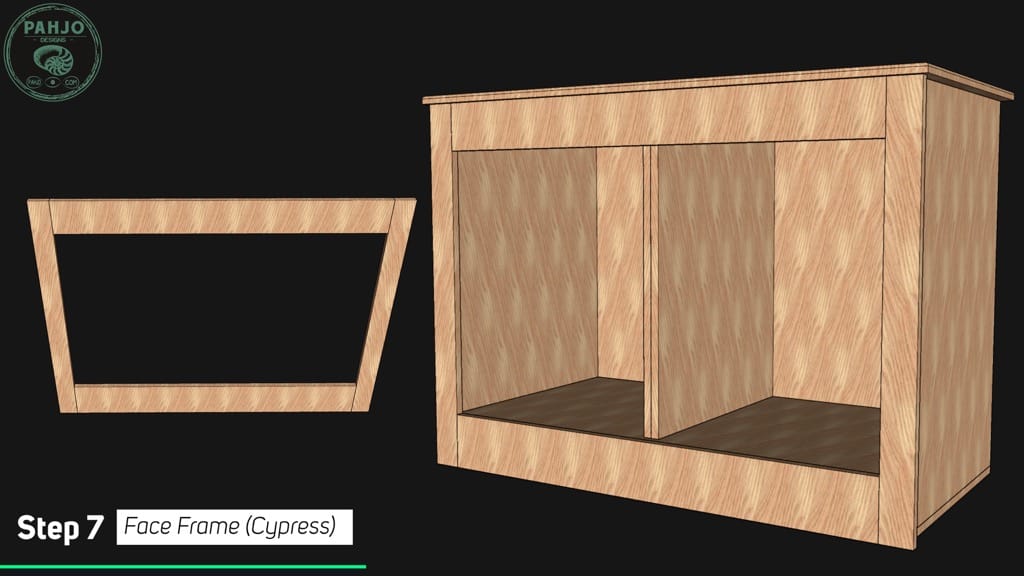
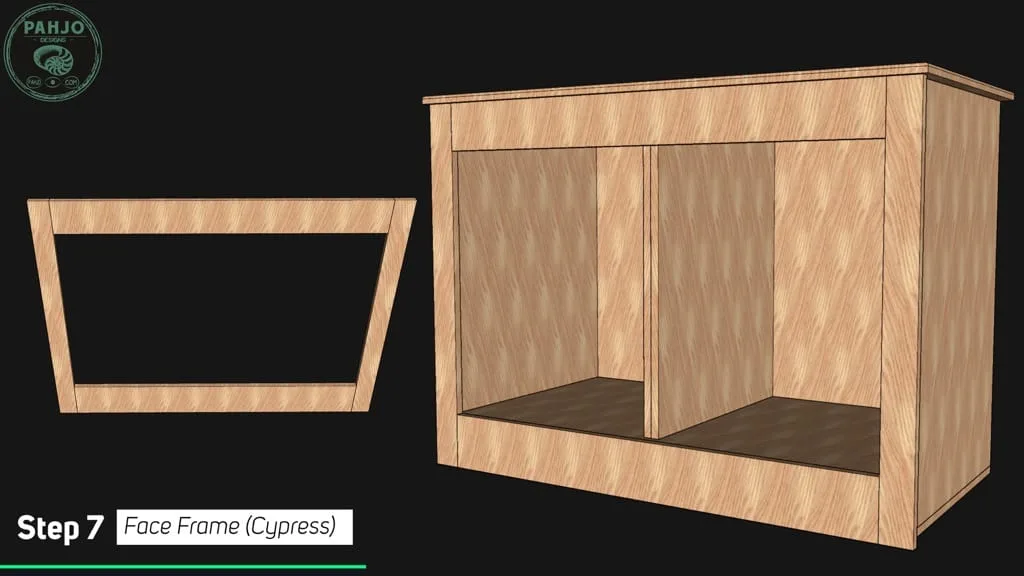
7 – Face Frame
Use glue and your preferred joinery method (Pocket holes or Biscuit Joiner) to attach the face frame as depicted below in the diagram.
I chose to use my biscuit joiner simply b/c I was tired of drill pocket holes.
Clamp together with clamps until glue dries.
Then, attach the face frame to the media console front using glue and brad nails to hold it in place.
How to Measure for Inset Cabinet Doors?
Before proceeding to the next step, you should take the time to measure the openings for cabinet doors.
Below is the formula I used to measure my cabinet doors:
- Measure the opening on the far left, center, and far right and take the smallest measurement of the 3 if they are different.
- Once you get the length and width measurement, subtract ⅛” from the top, bottom, right, and left for each door.
- For example, if your measurements are 26 ¼” x 19 ¼” (LxW), the cabinet doors should be 26” x 19” (LxW).
- 26 ¼” – ⅛” (top) – ⅛” (bottom) = 26”
- 19 ¼” – ⅛” (left) – ⅛” (right) = 19”
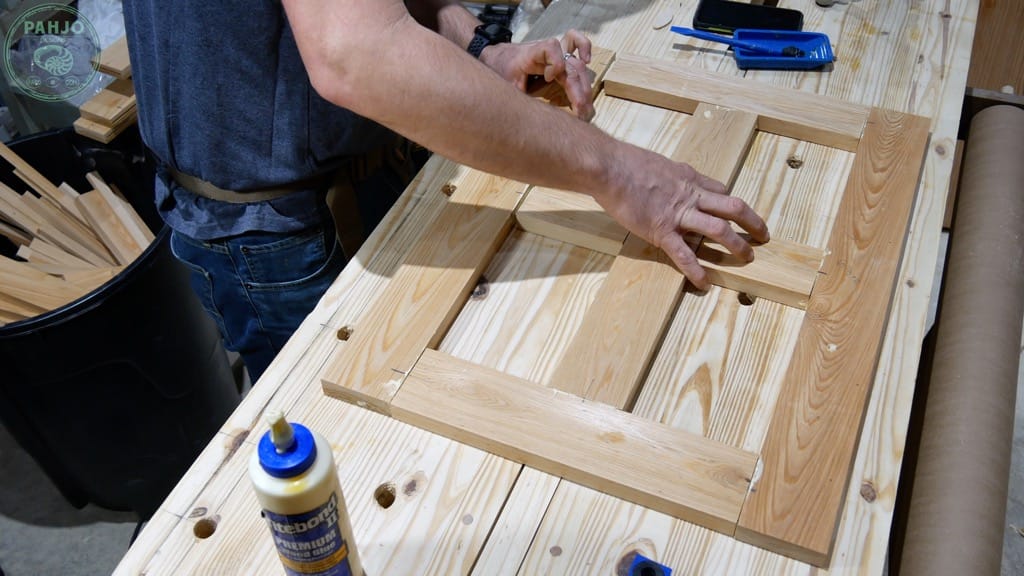
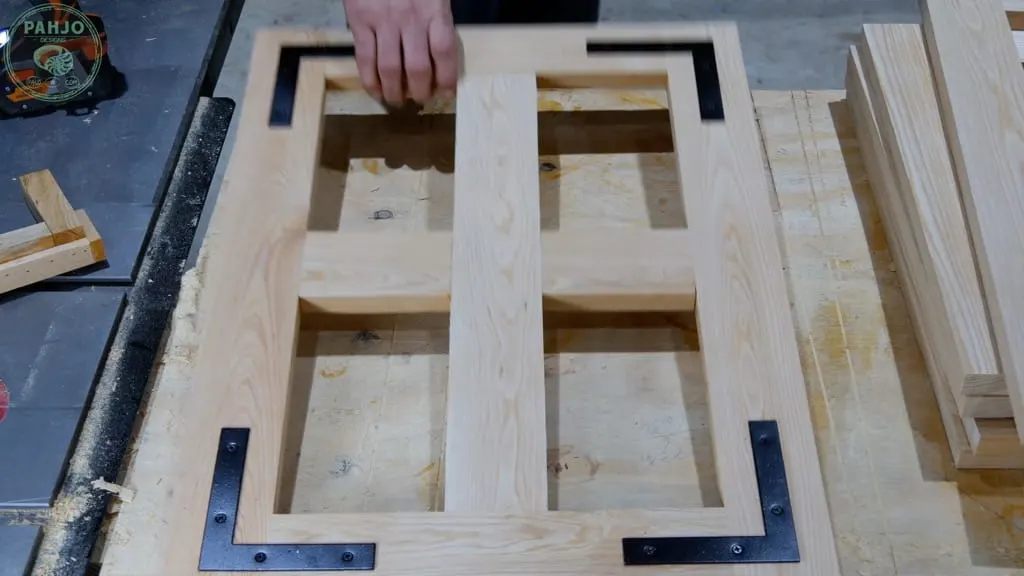
8 – Farmhouse TV Stand Cabinet Doors
The rustic farmhouse entertainment center cabinet doors are simple to build and look great.
This cabinet door design consists of an outer square with a middle cross.
Also, the middle cross intersects by way of a cross halving joint.
I used a biscuit joiner as my preferred joinery method, but pocket holes or glue/clamps work as well.


Rustic Cabinet Door Joinery
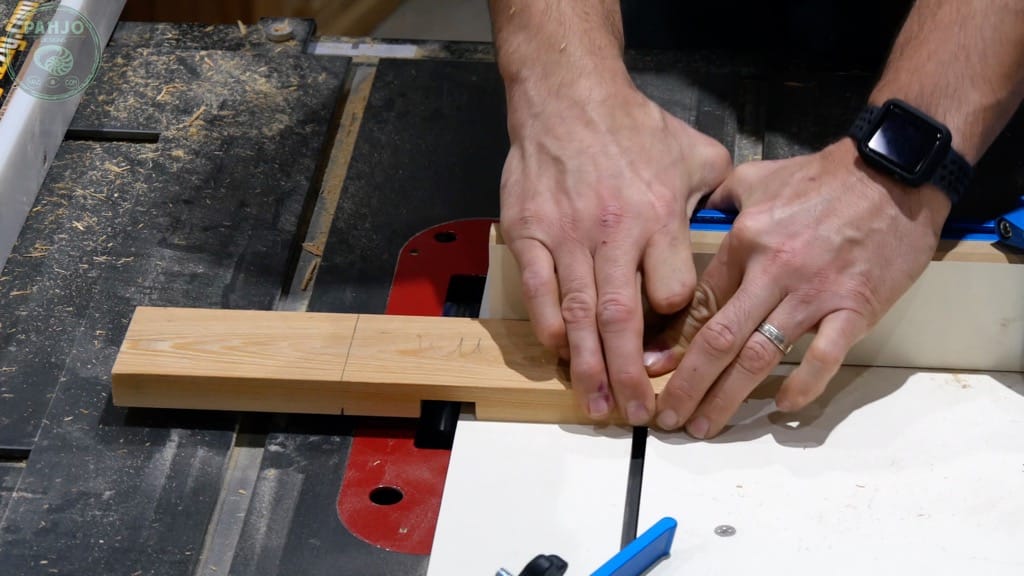
The joint should be half the thickness of the wood. For example, the joint needs to be cut at a depth of ¼” if the material is ½” thick.
First, cut the half lap joints for the middle cross with a circular saw or table saw.
Next, use a chisel to remove the waste as depicted below.

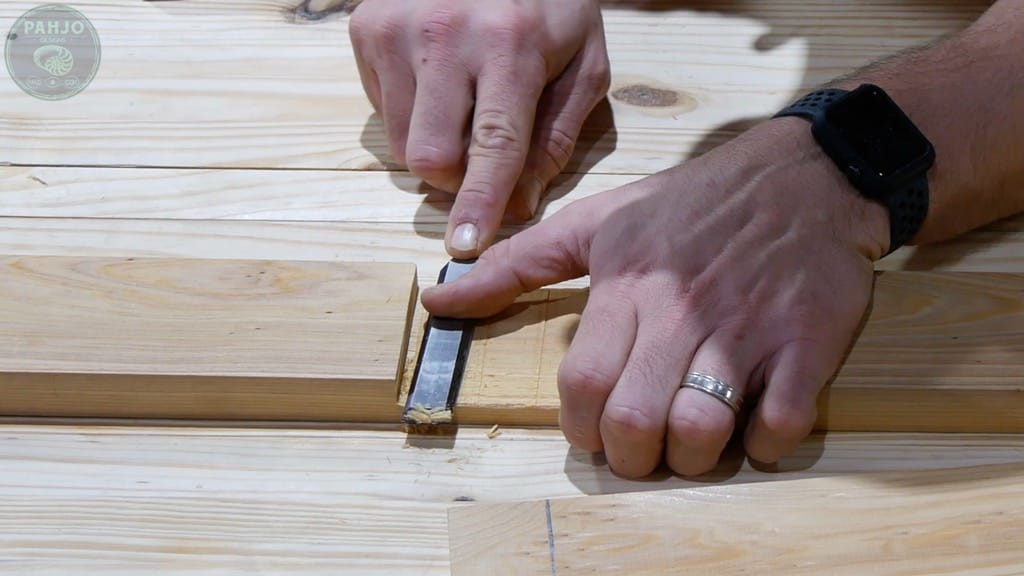

Glue and clamp the middle together and use a speed square to check for square.
Then, join the outer square to the middle and clamp it altogether until the glue dries.
Again, I used biscuit joinery for the cabinet doors.
However, pocket holes and glue/clamps work as well.

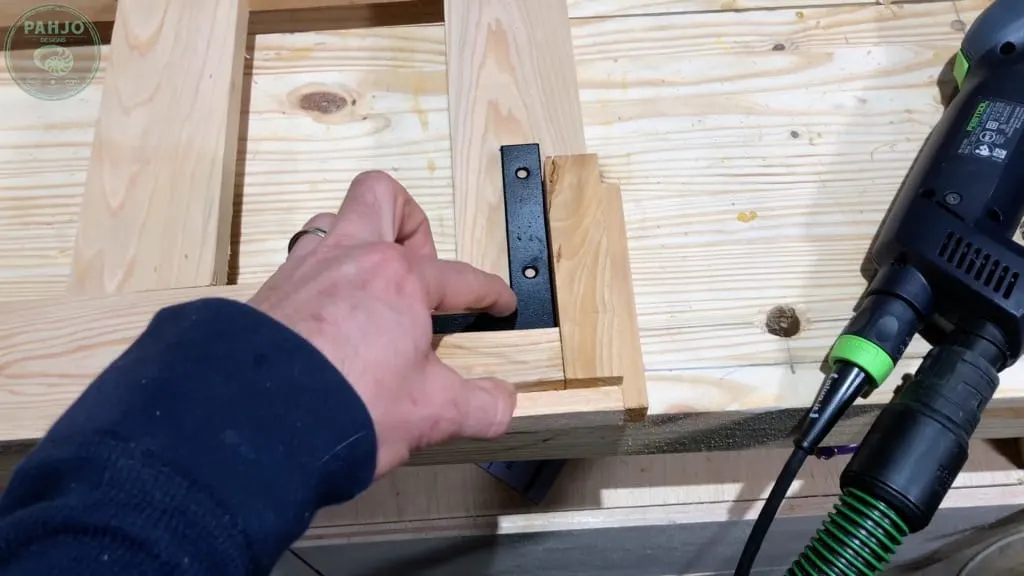
9 – Decorative Hardware
As I mentioned, the decorative hardware really adds to the rustic look.
Instead of paying a premium price for black corner brackets, I purchased zinc plated steel brackets and painted them black.
Quick Tip: Make sure to scuff up the metal brackets or the paint won’t have anything to adhere to.

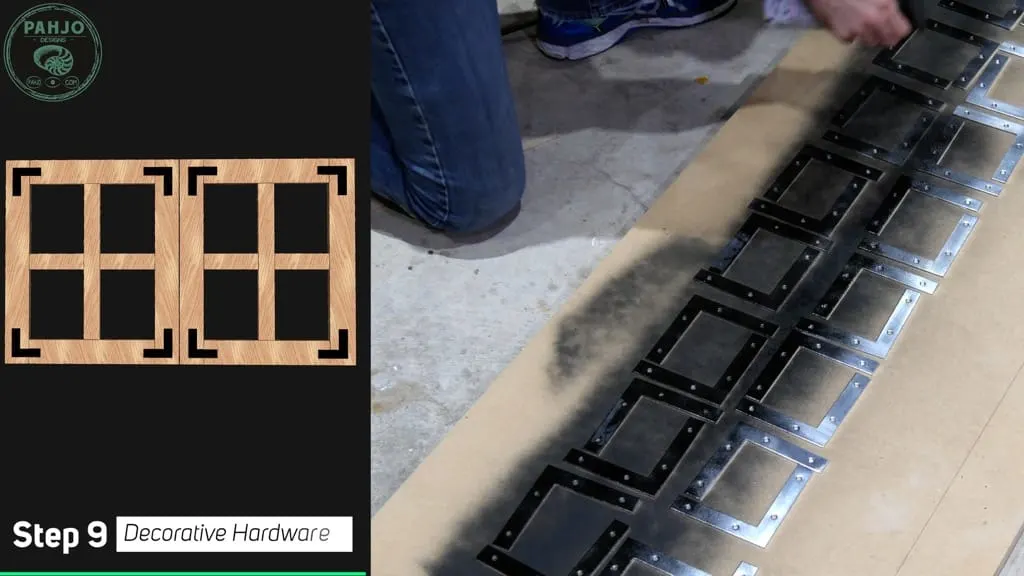
Also, I made a simple jig to attach the corner brackets to the DIY farmhouse tv stand doors.
This helped me place the corner brackets consistently in the same spot on all four corners.


10 – Cabinet Door Glass
Obviously, I did not use real glass in these cabinet doors.
Lexan proved to be a great alternative as it is stronger than plexiglass.
I encourage you to either use lexan or plexiglass instead of real glass.


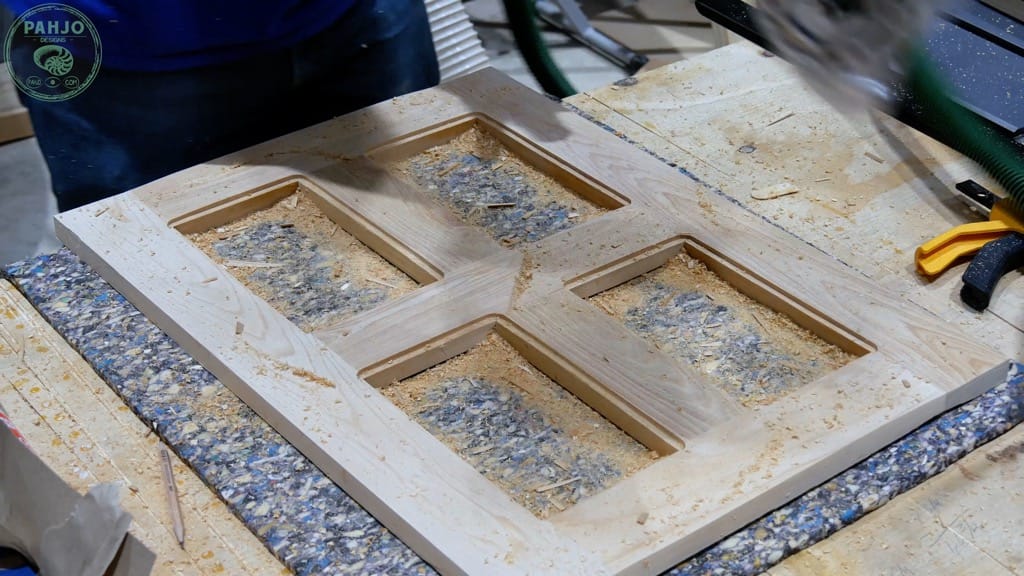
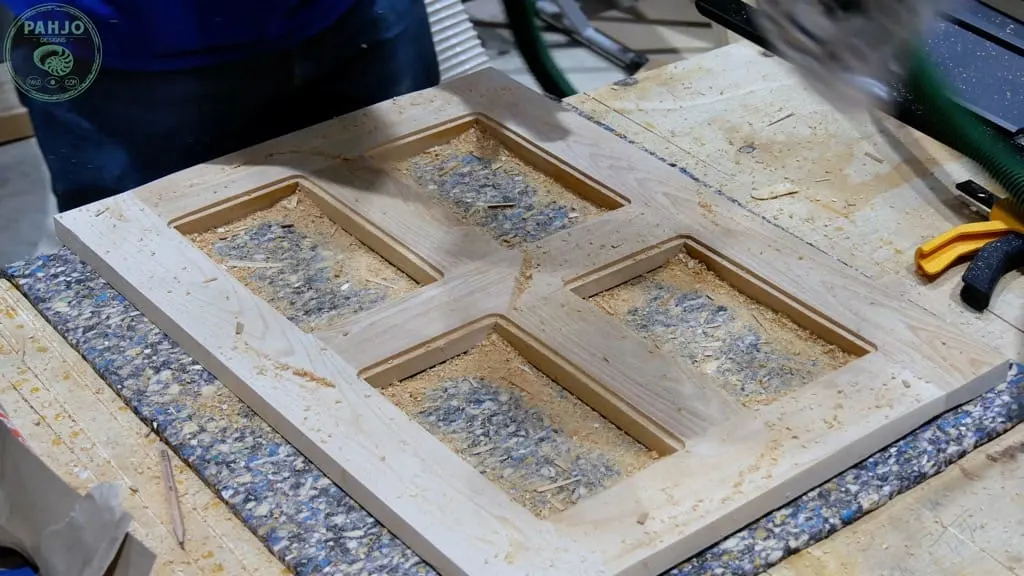
First, use a router with a slotted bit to cut a 1/4″ slot on the perimeter of each cypress cabinet door panel.
Also, make sure you cut the slot on the inside of the cabinet door.
Set your router depth to 1/8″ deeper than the lexan thickness.
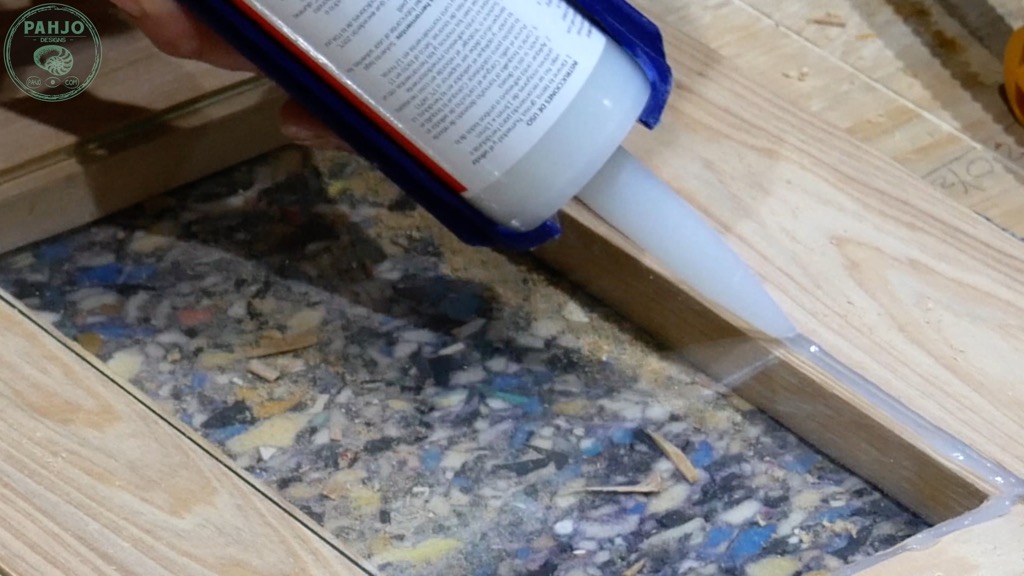
Next, square off each corner with a chisel and place the glass in the slot.
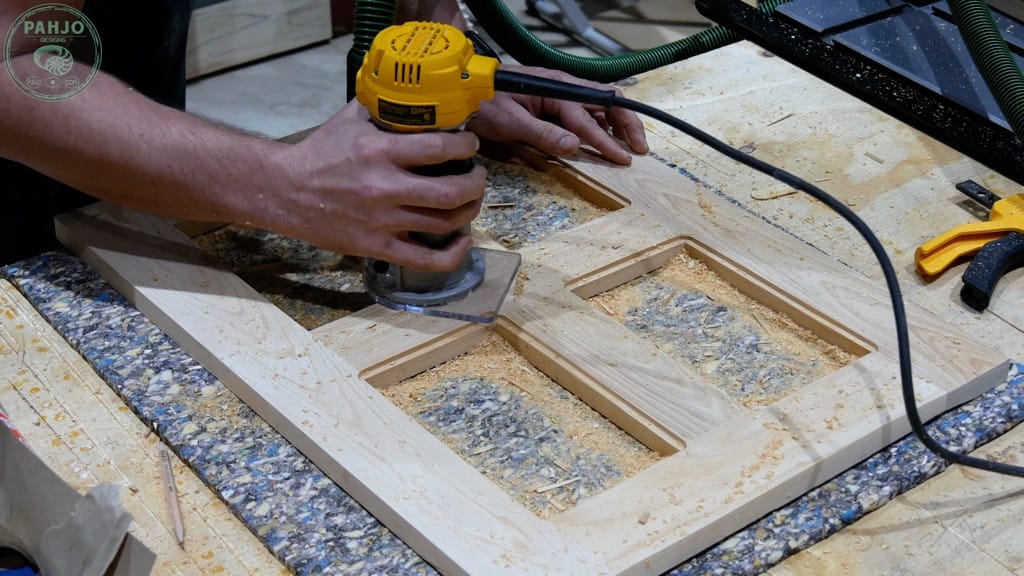


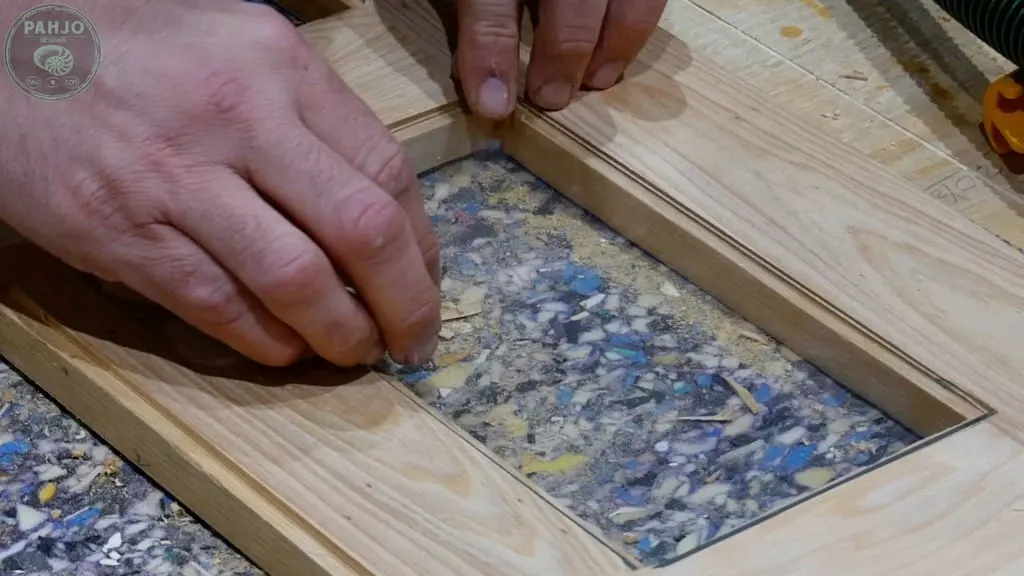
Then, run a bead of silicone around each pane to hold it in place.

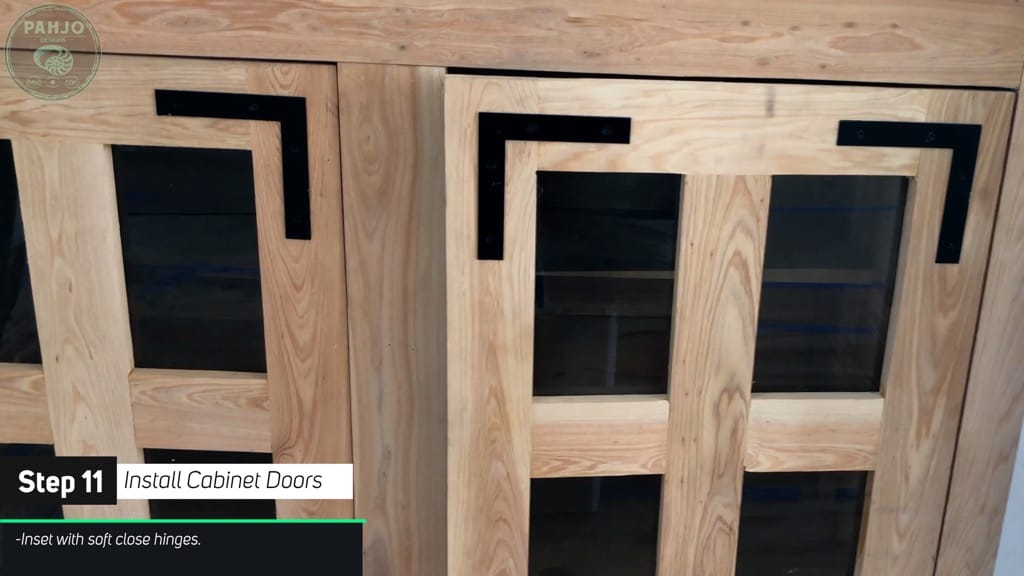
11 – Inset Cabinet Doors
First, you should make it easier on yourself and purchase the following jigs for cabinet installation. They are VERY useful and save a ton of time.
Since each hinge manufacturer has different instructions, I encourage you to follow the instructions for the hinge you choose to buy.
- Cabinet Jig It Drill Guide
- Inset Cabinet Hinges
- Cabinet Hinge Plate Template
- Self Centering Drill Bits
You should test to ensure the cabinet doors fit before installing the hinges.
Also, the soft close hinges are absolutely necessary if glass panes are used for the doors.
This prevents the door from slamming and causing a dangerous mess.
Once you verify the doors fit the opening, it’s time to install the cabinet hinges.

Door Pulls
Install the door pulls according to the manufacturer’s instructions.

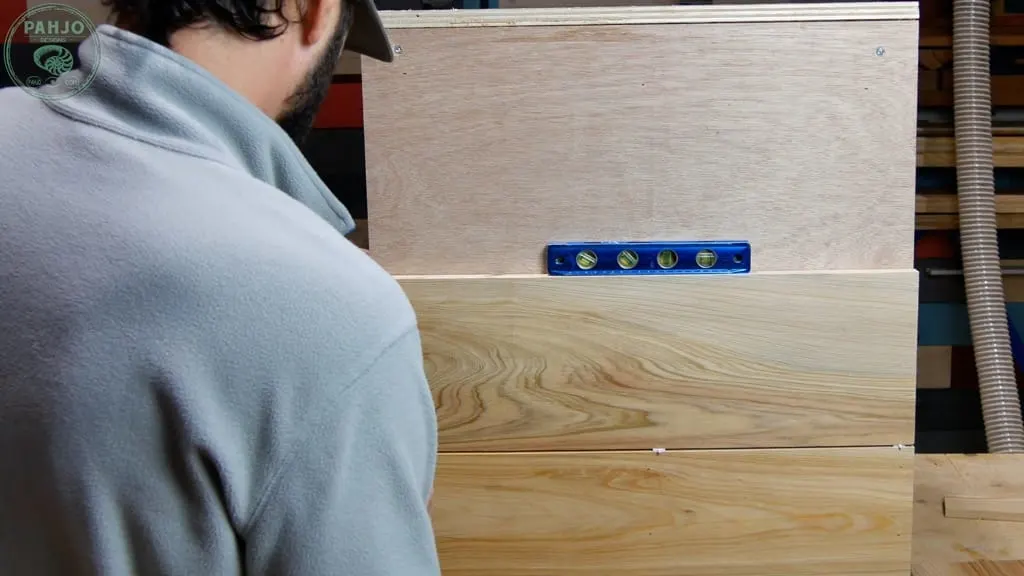
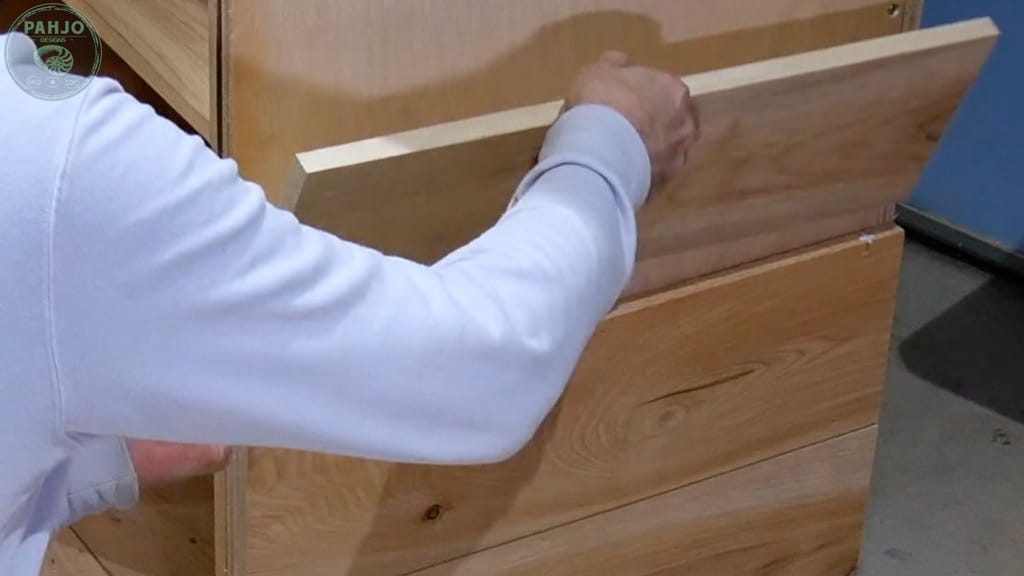
12 – Shiplap
First, verify the measurements and cut your wood to size.
Remember, start at the bottom and work your way up.
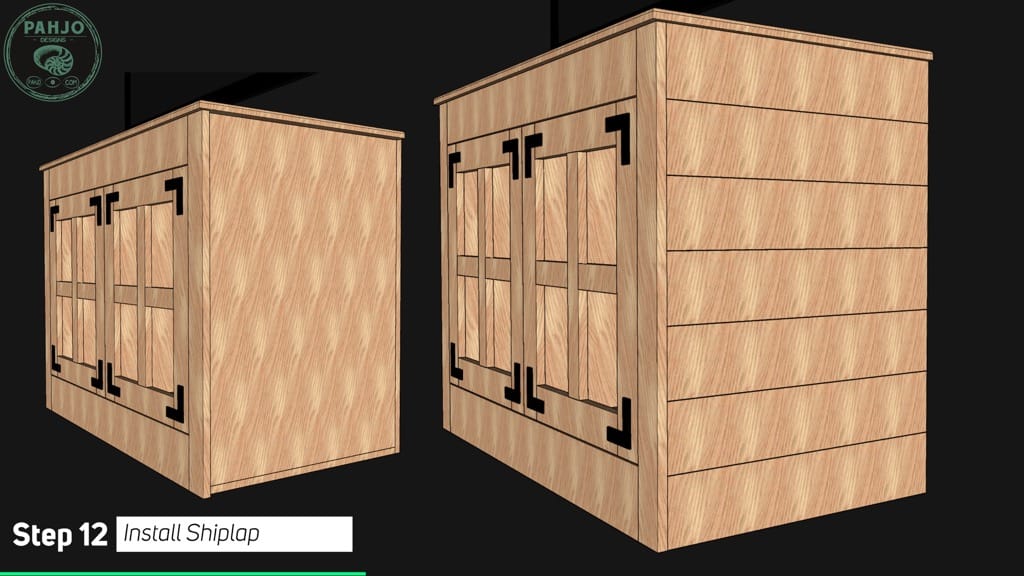

Spread glue on the back of the wood shiplap and place a piece of shiplap on the side of the entertainment center.
Place a level on top and secure it with brad nails once level.
Next, place tile spacers on top of each end and repeat the process until you reach the top.


Conclusion
I hope this DIY farmhouse TV stand tutorial provided you with the information you need to build your own.
Thank you very much for reading this tutorial.
Related Posts
- DIY Built Ins Around Fireplace
- DIY Base Cabinets with Drawers
- How to Distress Furniture (2 easy techniques)
- DIY Double Sliding Barn Doors
- How to Build a Farmhouse Pantry Door
Do you start shiplap at the top or bottom?
The best way to start shiplap is from the bottom.
What can I use instead of a TV stand?
Instead of a TV stand, you can use a dresser, chest, console table, or bookcase.
What type of wood is good to use for cabinet doors?
White oak, alder, maple, or cypress wood work well for cabinet doors.
What do you call a cabinet that holds a TV?
A cabinet that holds a TV is called a TV cabinet, TV console, or entertainment center.