
In this tutorial, I show you how to build a DIY farmhouse pantry door with glass using 2x6s.
Also, learn an easy paint distressing technique to make new furniture look old.
Even if you don’t need to build a pantry door, the DIY tips I share can be used towards any woodworking or painting project.
Here are some jump links to the main sections of this post to help you get the information you need quickly.
Video Tutorial
DIY Plans
Pantry Door Design
Tools and Material Needed
Step-by-Step Instructions
Video Tutorial
There are several things which are difficult to fully explain with words and images, so be sure to check out the video tutorial below.
Pantry Door Design
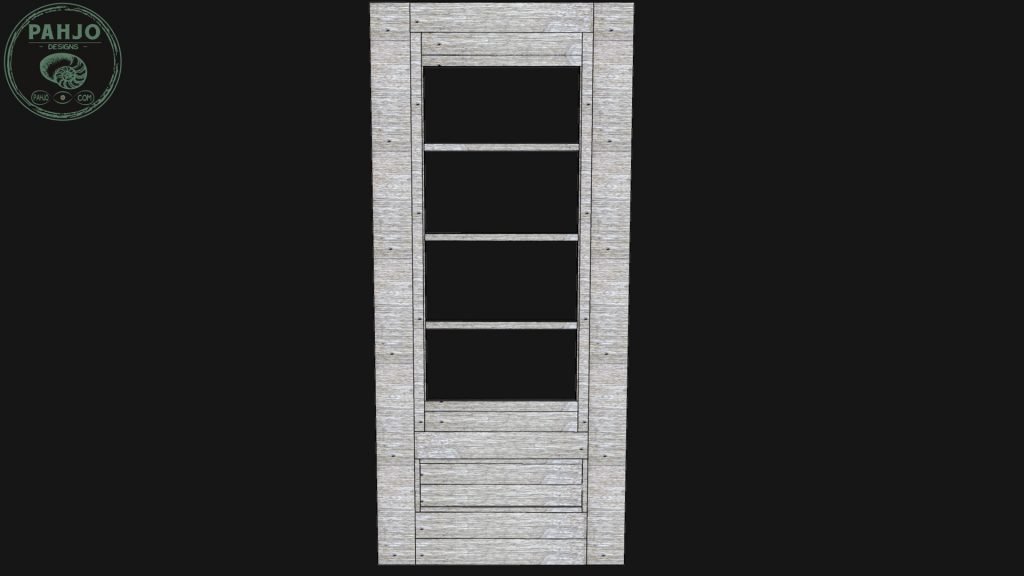
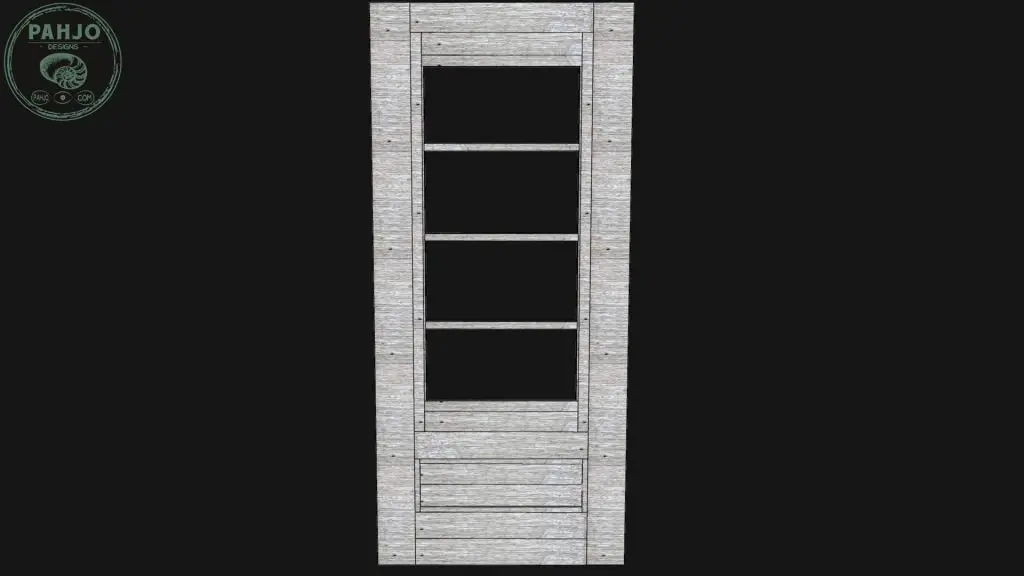
Like I do with most of my projects, I started by creating a 3D model.
The pantry door is made with 2x6s, has glass panes, and it has a distressed look to accompany the farmhouse style.
Tools and Material
Below is a list of tools and material I used for this project.
Domino
Biscuit Joiner
Pocket Hole Jig
Paint
Stain
Finish
Wood Glue
Glue Bottle
Glue Spreader
Tape Measure
Combination Square
Speed Square
Miter Saw
Festool Track Saw
Bandsaw
Orbital Sander
Parallel Clamps
Long Parallel Clamps
F Clamps
Clamp Table MFT3
MFT3 Clamps
Vacuum
Paint Brush
Silicone
Wood Stain Weathered Gray
Satin White Paint
Stain Brush
I wrote an article about different ways to distress painted furniture, so be sure to check that out.
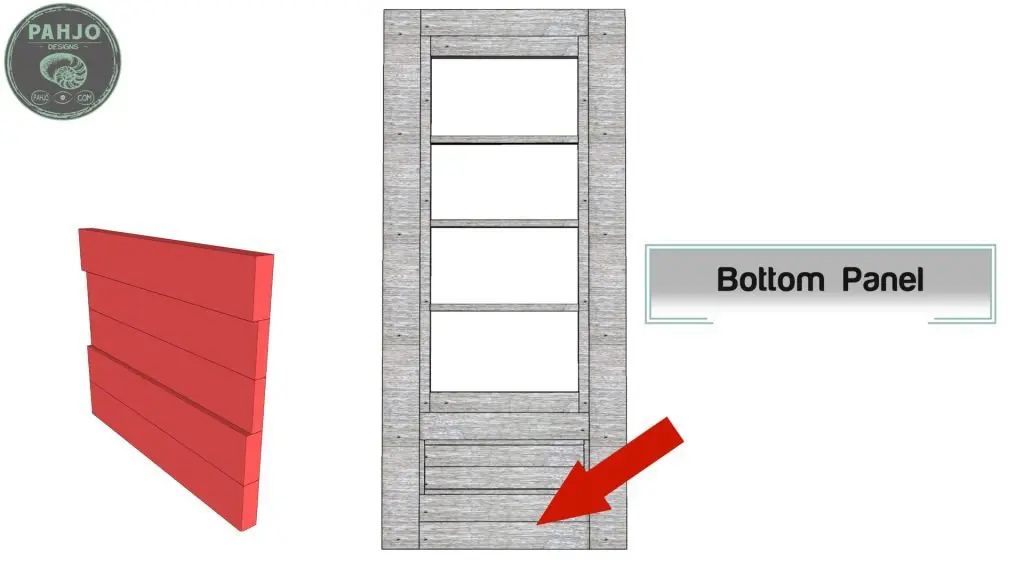
Bottom Section
I started by building the bottom panel using 1x4s & 2x4s cut from 2x6s.

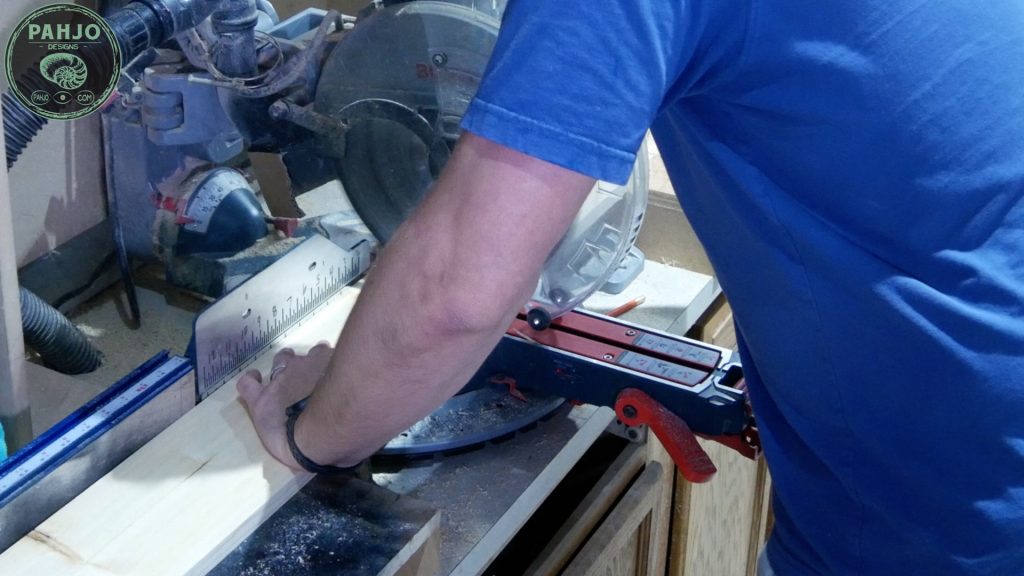
First, I cut each piece down to size on my miter saw. If you don’t have a miter saw, a circular saw or hand saw works just as well.

Next, I used my track saw to cut strips of scrap wood for the few pieces of trim I needed.
More on this in a later step.
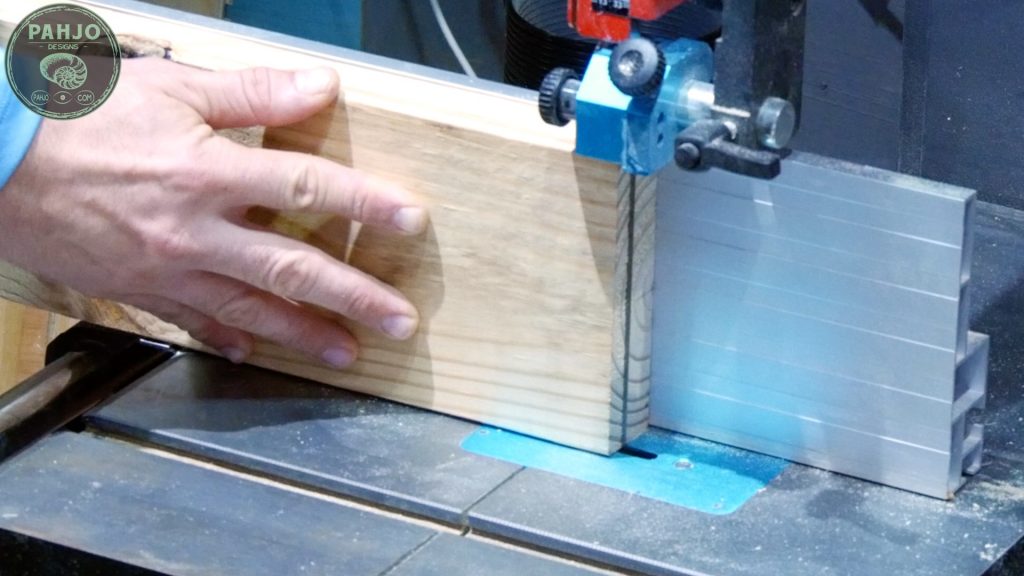
Then, I resawed 2x6s down to size on my bandsaw, which is how I created the 1x4s.
If you don’t have a bandsaw, just buy the thickness you need from your local lumber dealer.

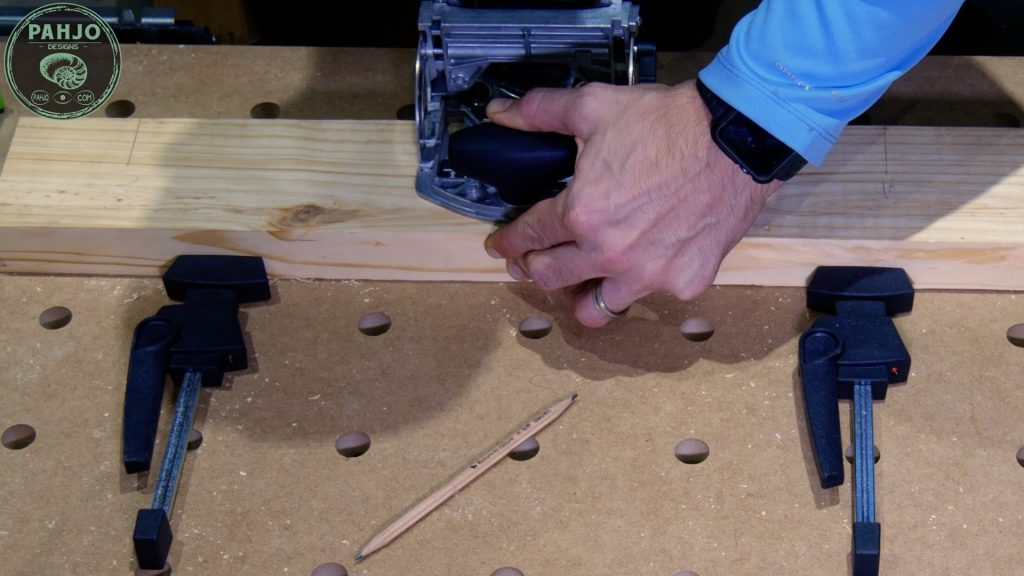
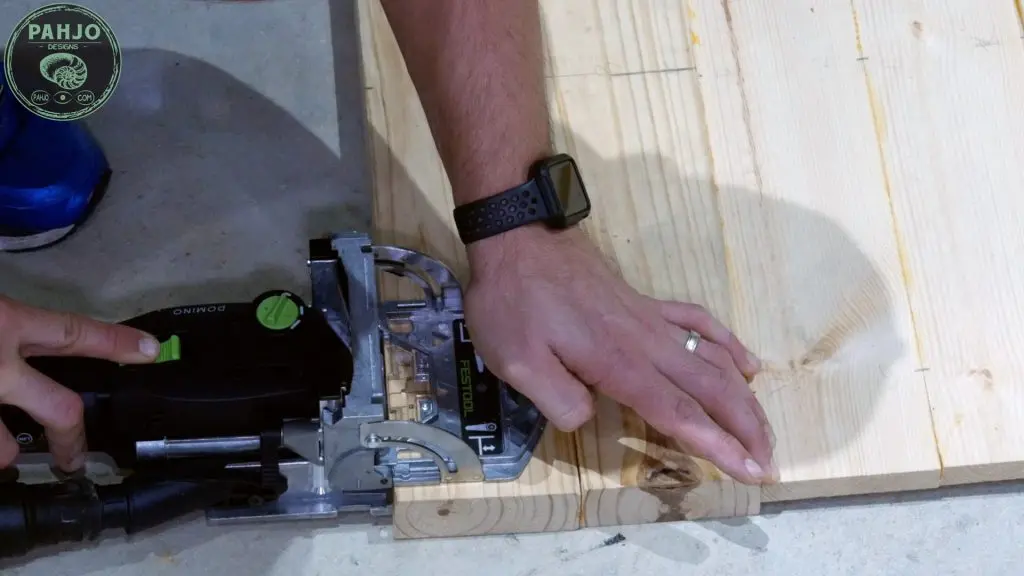
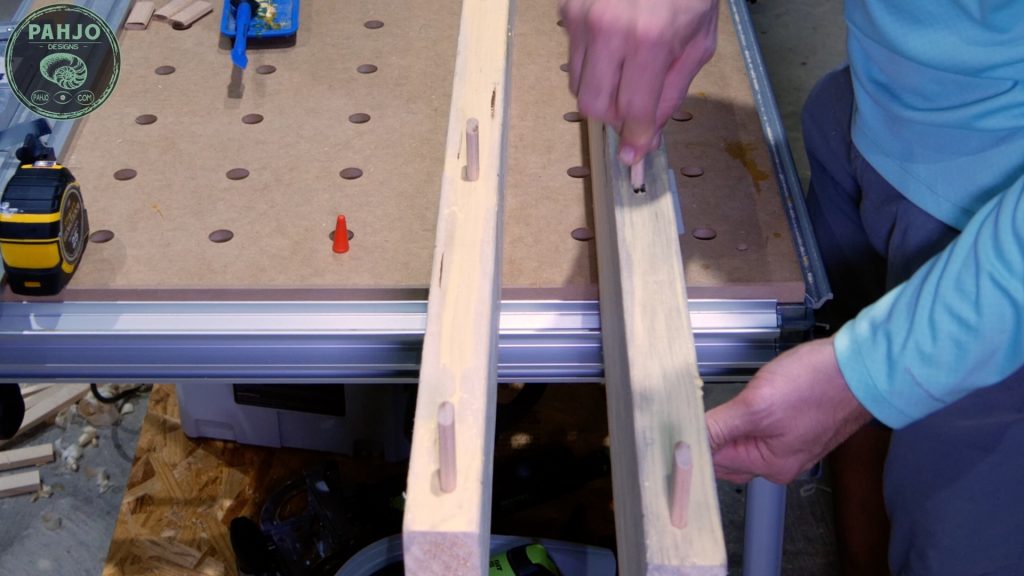
I used a domino to join the wood together for this project.
Keep in mind, a biscuit joiner or pocket hole jig works as well.
Finally, I inserted the dominos, spread glue, and pushed the wood together.


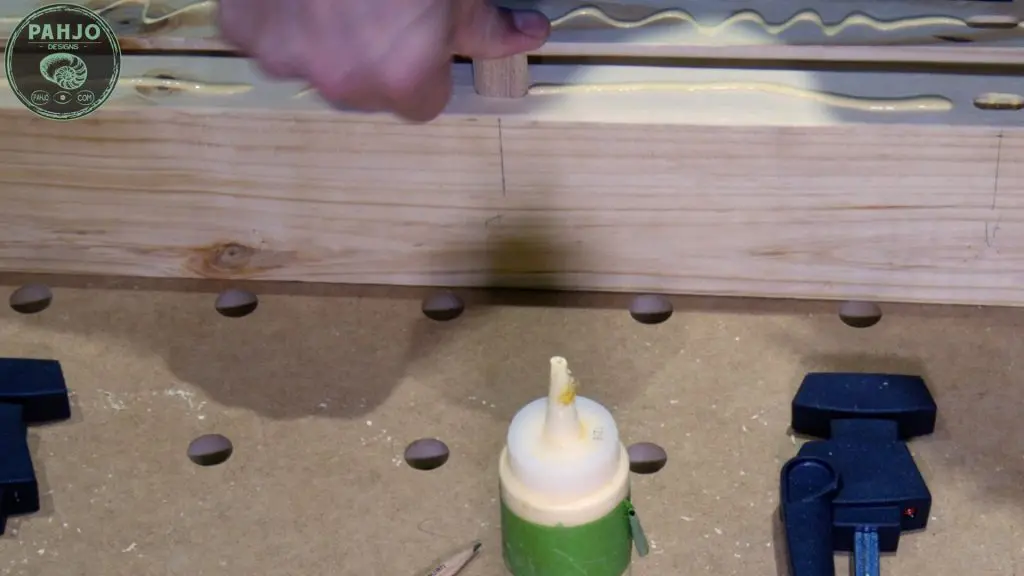
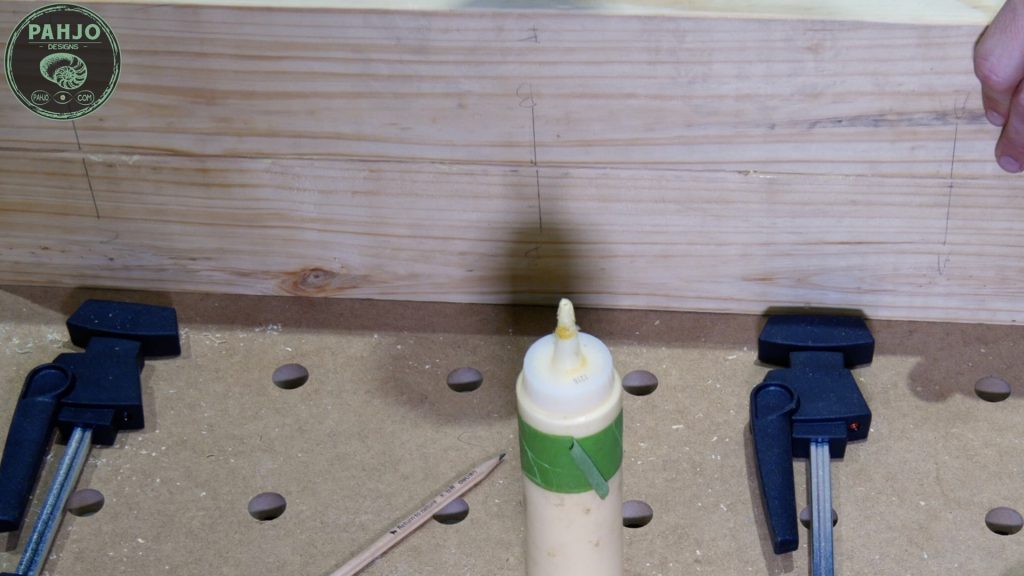
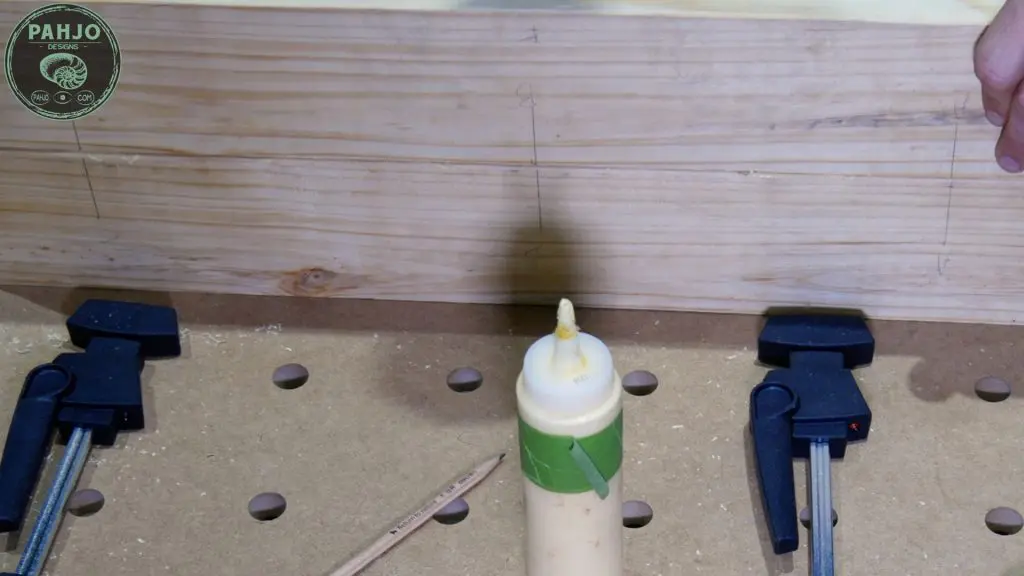
I used parallel clamps along with a wood caul on top to keep everything nice and straight.

Inner Stile & Rail
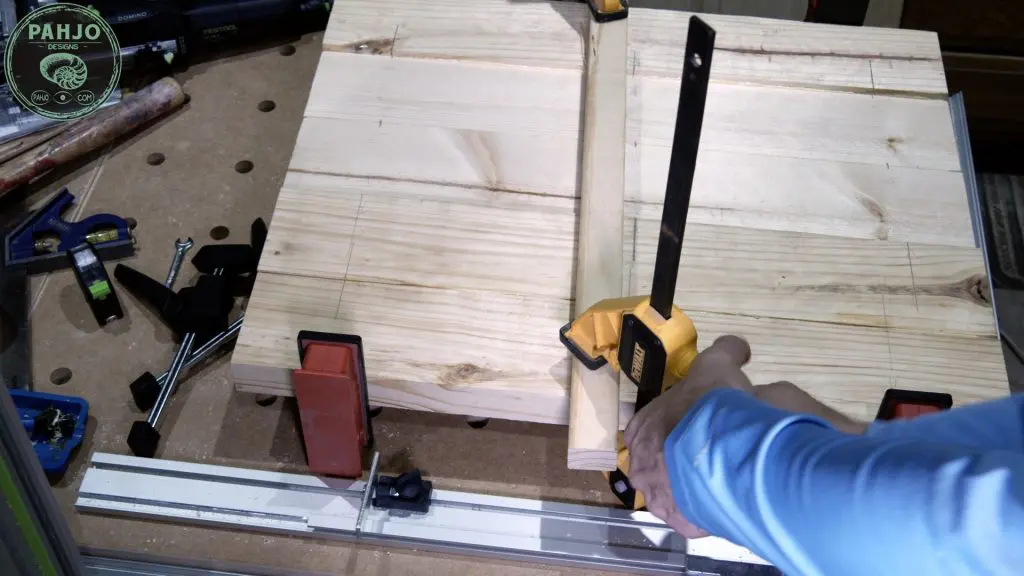
After the bottom panel, I constructed the inner stile and rail.
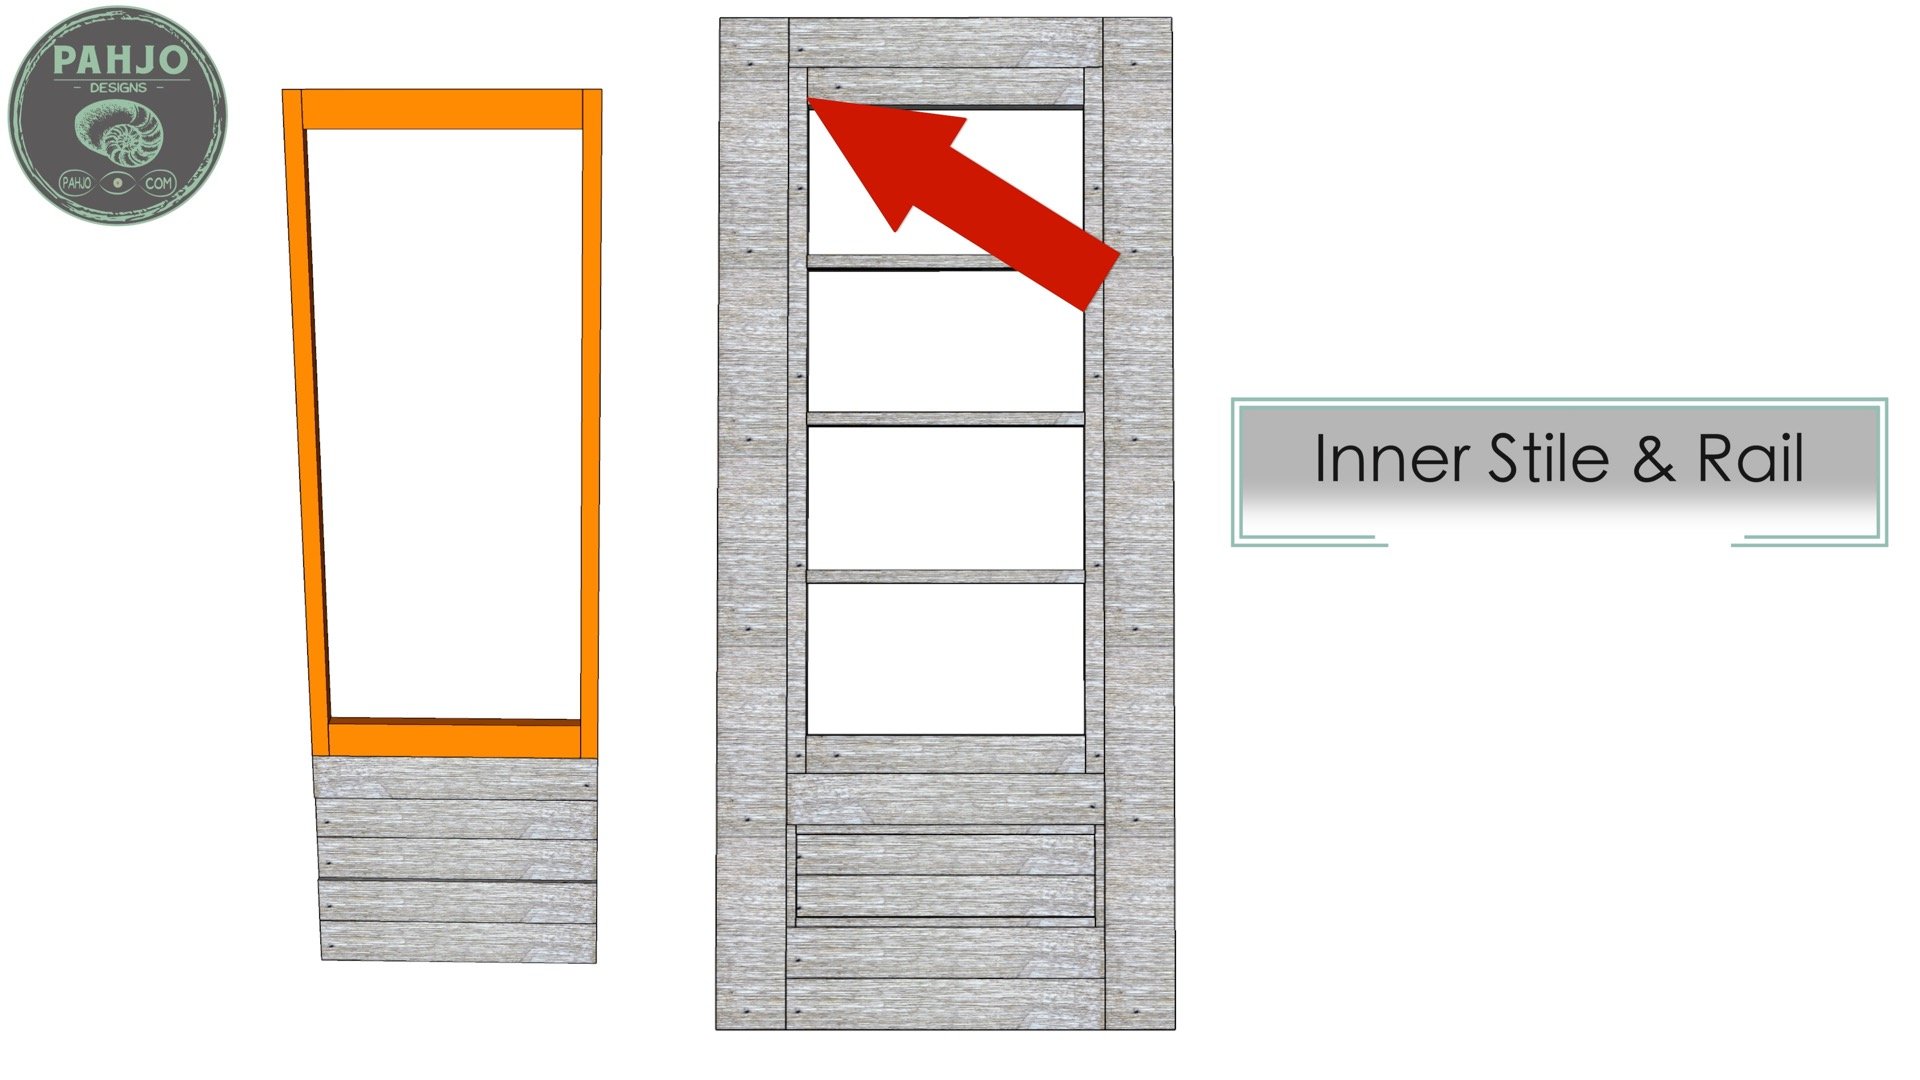
This consisted of a 2×2 and 1×4 both cut from 2x6s joined with 2 dominos at each corner.
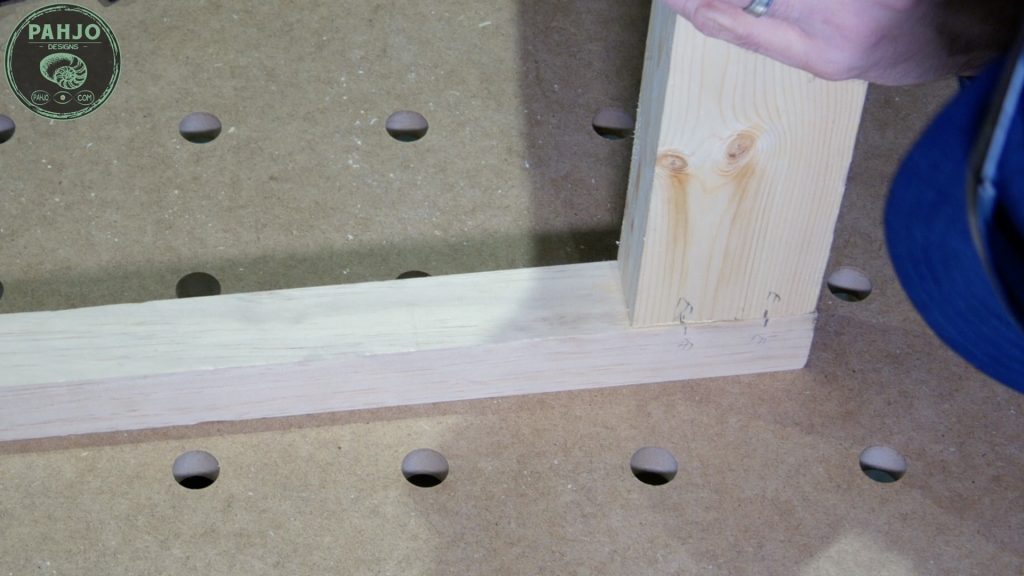


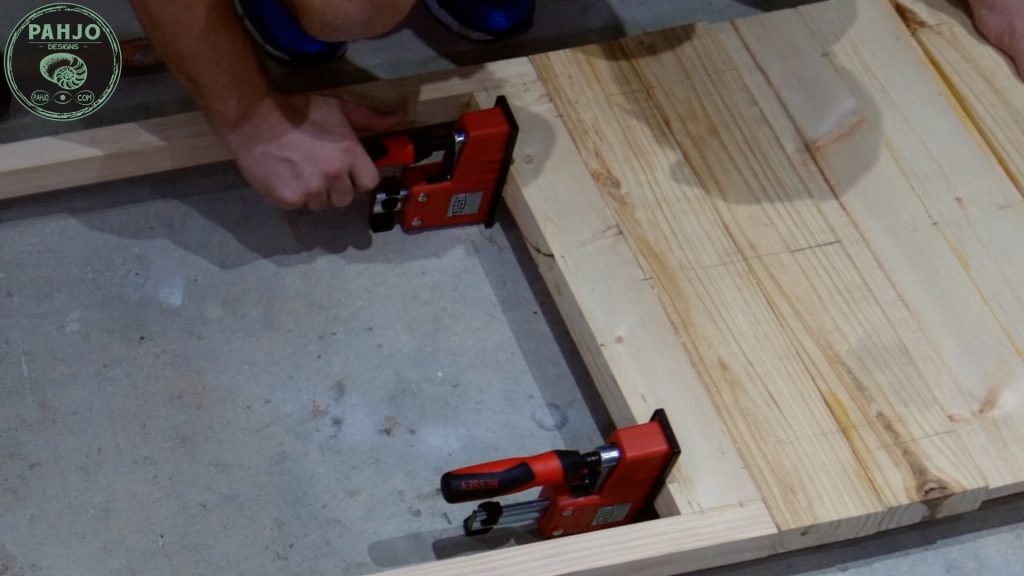
I clamped it all together and joined the inner stile & rail to the bottom section.
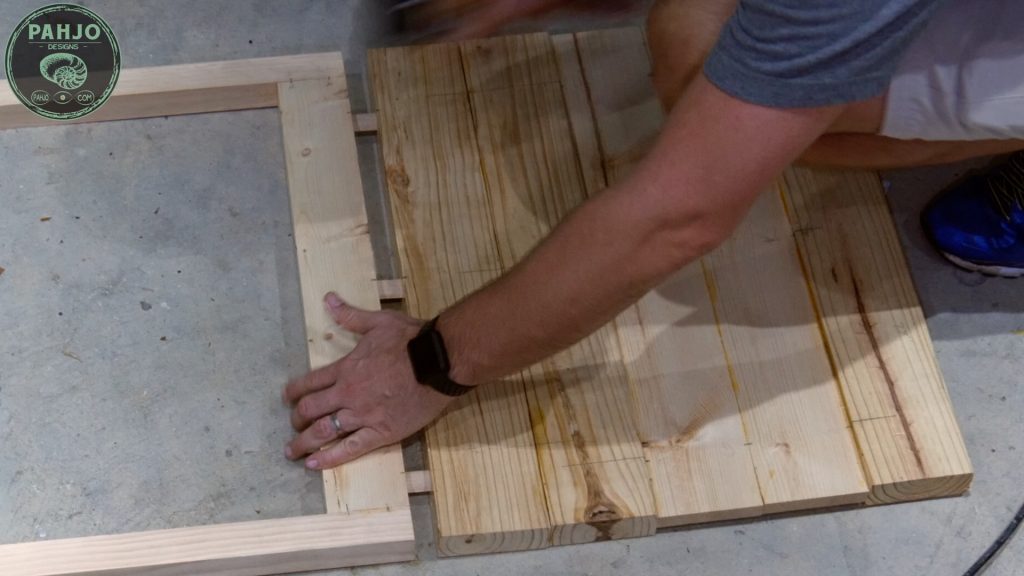
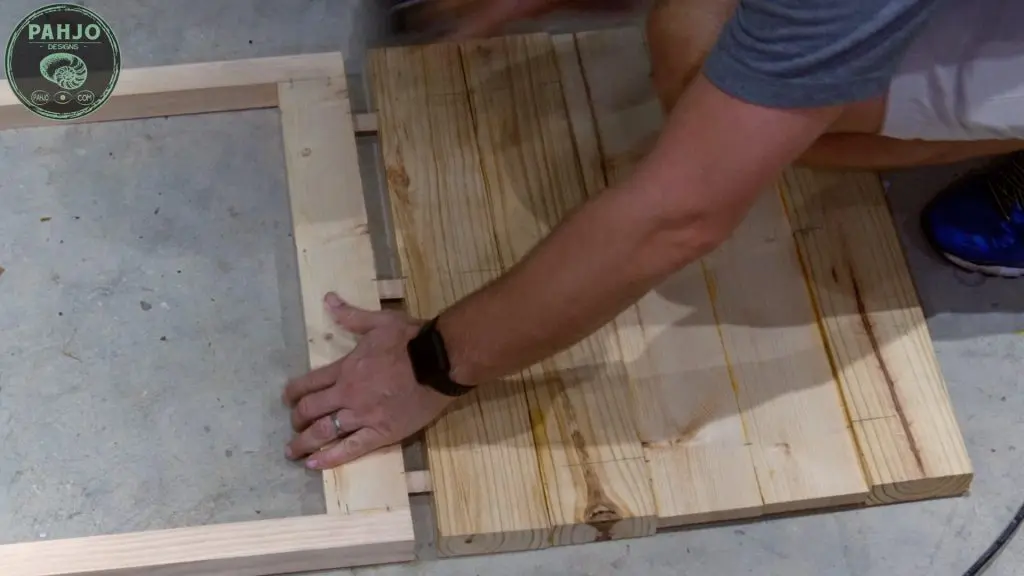
Next, I used parallel clamps to hold the sections together until the glue dried.

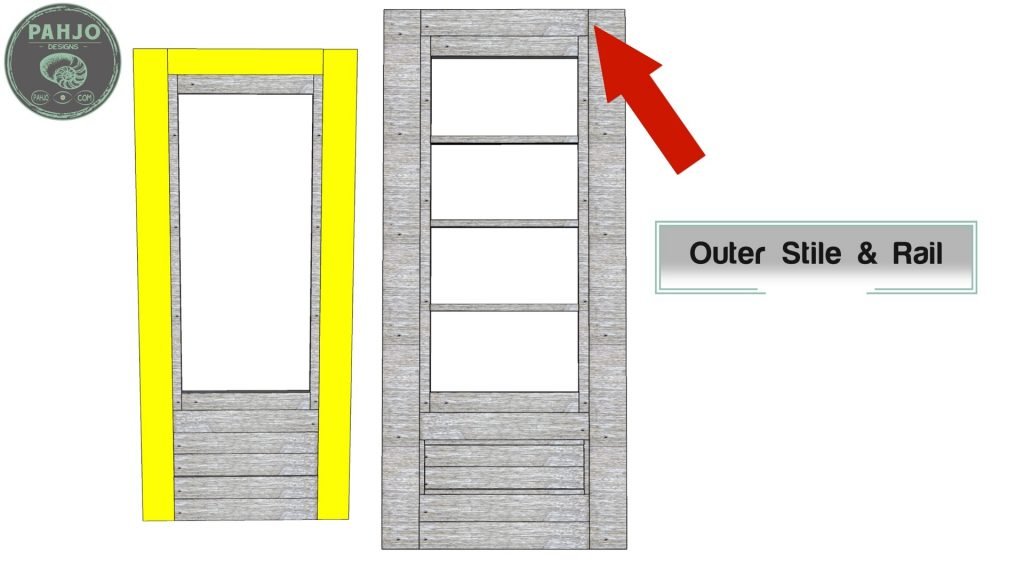
Outer Stile & Rail
Next, I built the outer stile and rail. Although the outer stile and rail looks similar to the inner stile and rail, it is put together differently.

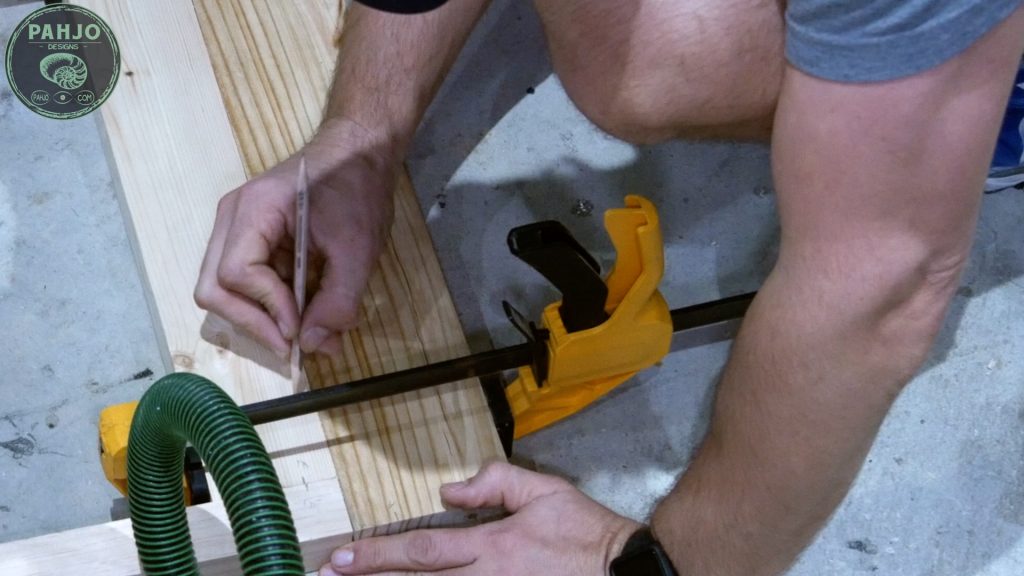
First, I used clamps to hold the top rail in place to mark the locations for the dominos.

Next, I placed dominos at the locations I marked and attached the outer rail to the top of the inner rail.
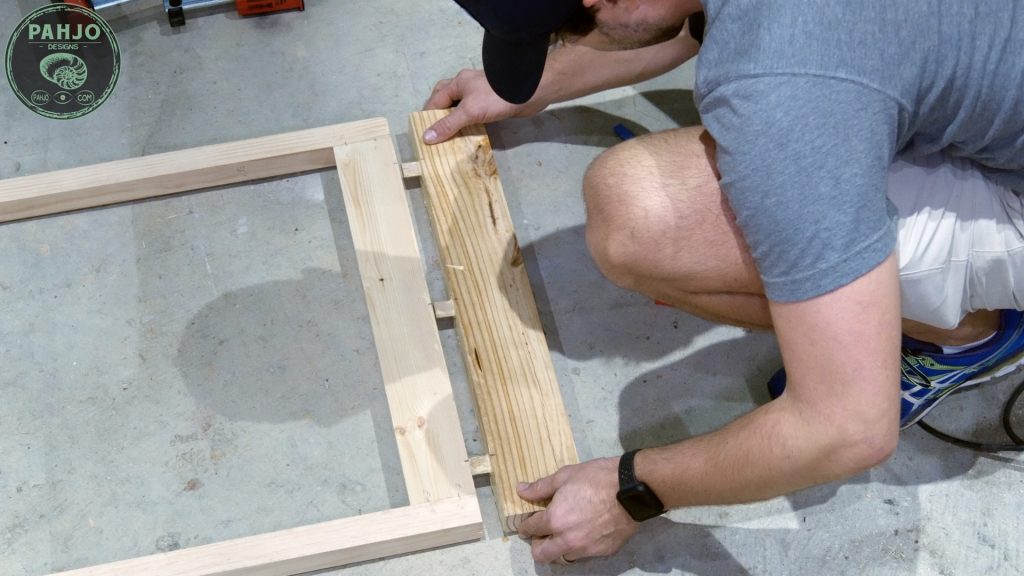
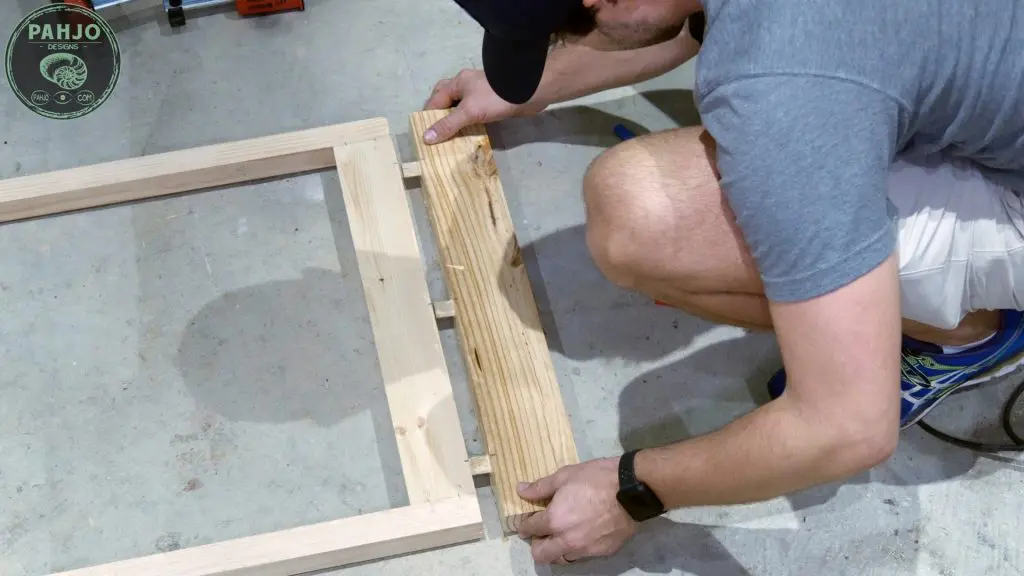
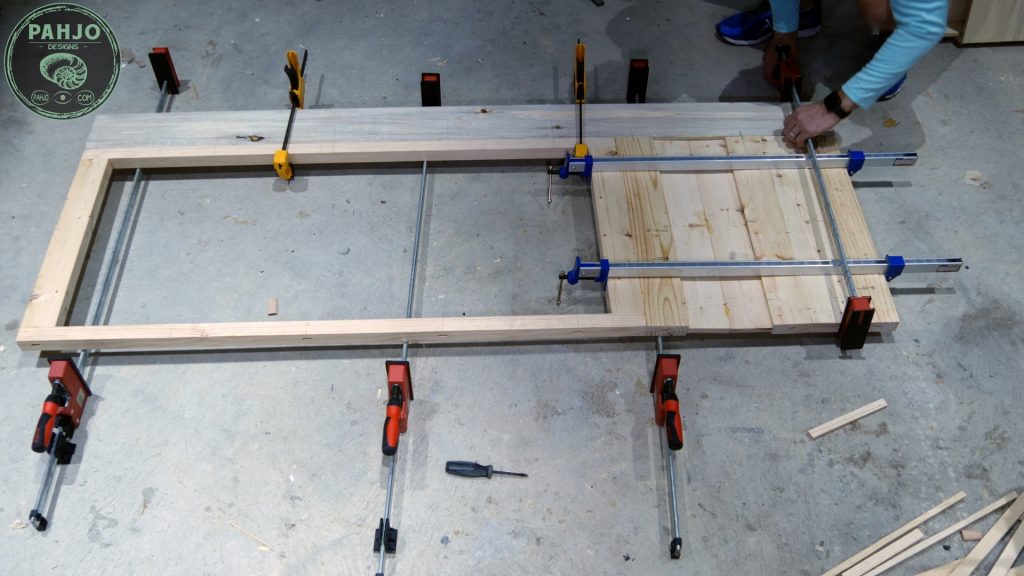
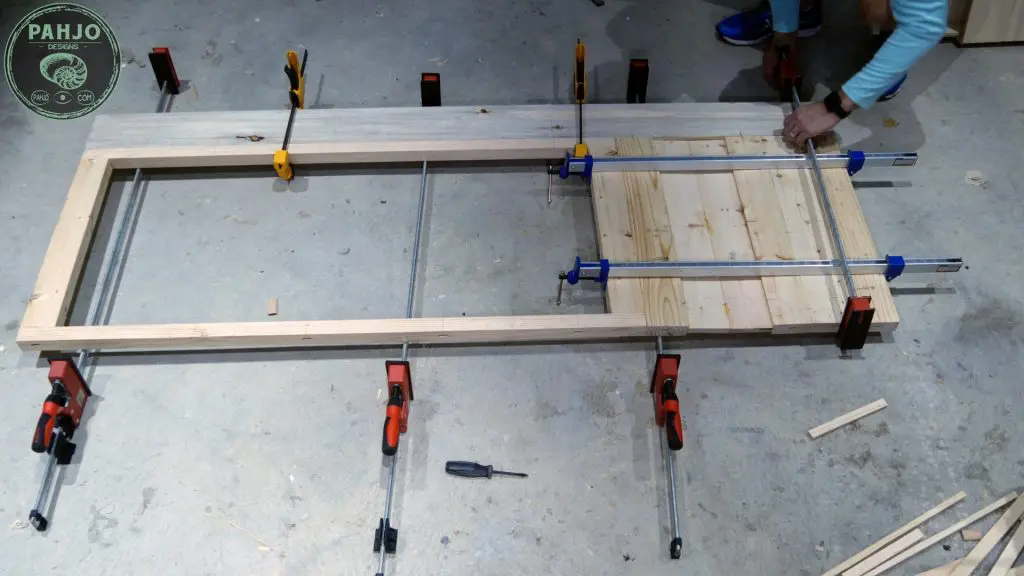
Then, I attached the outer stiles the same way as the top rail.
I marked the location of the dominos, spread glue, and attached each side using parallel clamps.


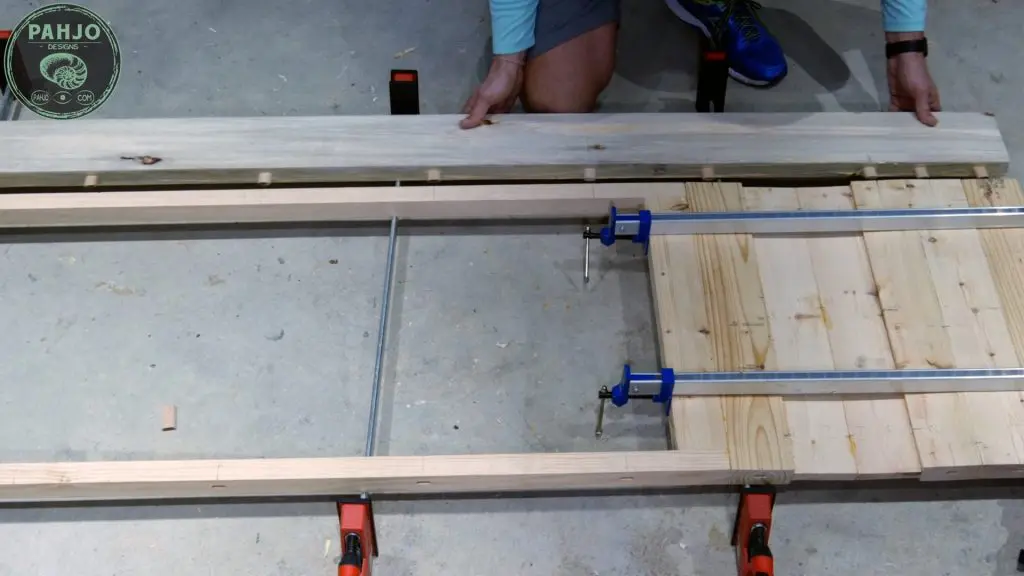
Also, the parallel clamps make it easier to attach the stiles by applying even pressure.
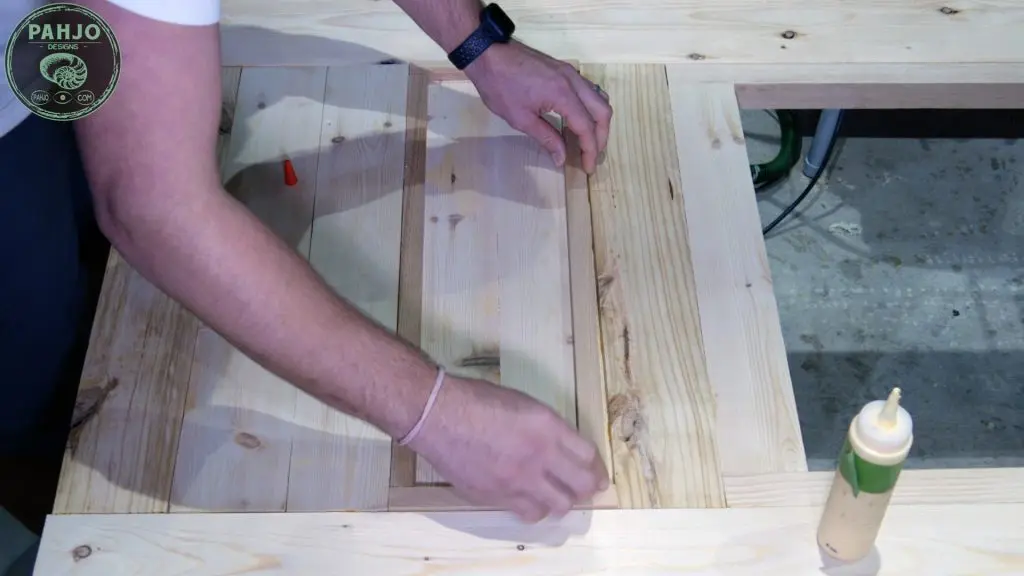
Bottom Section Trim
I decided to attach the trim on the bottom section while the glue was drying from the last step.


The trim pieces are scrap pieces of 2x6s cut to size.
I spread glue and then placed the trim down in place.

Quick Tip
As a quick tip, sawdust and glue work great to patch imperfections in a DIY pantry door.
First, mix sawdust and glue in a bowl or cup.
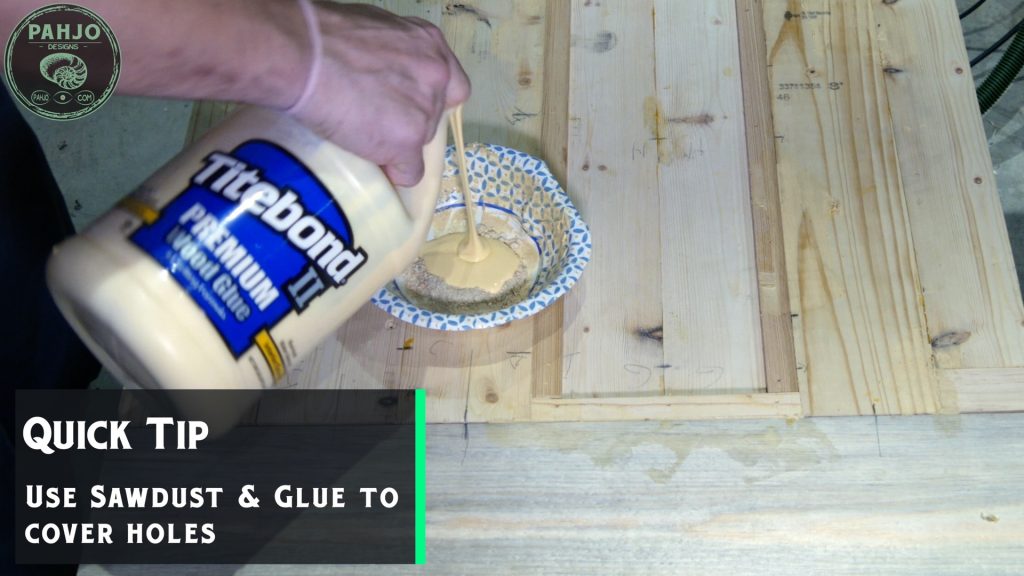
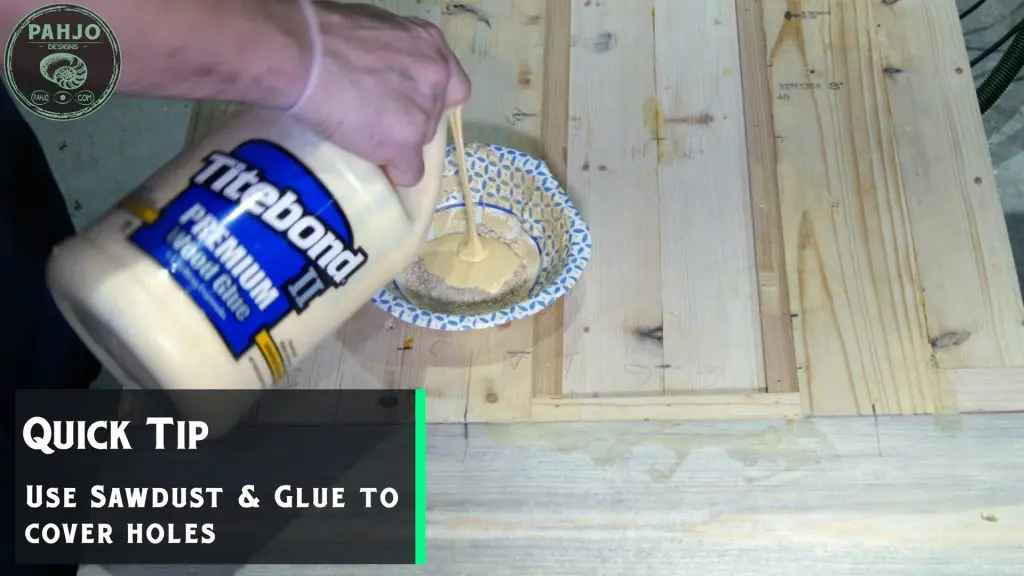
Next, mix until a thick paste forms.
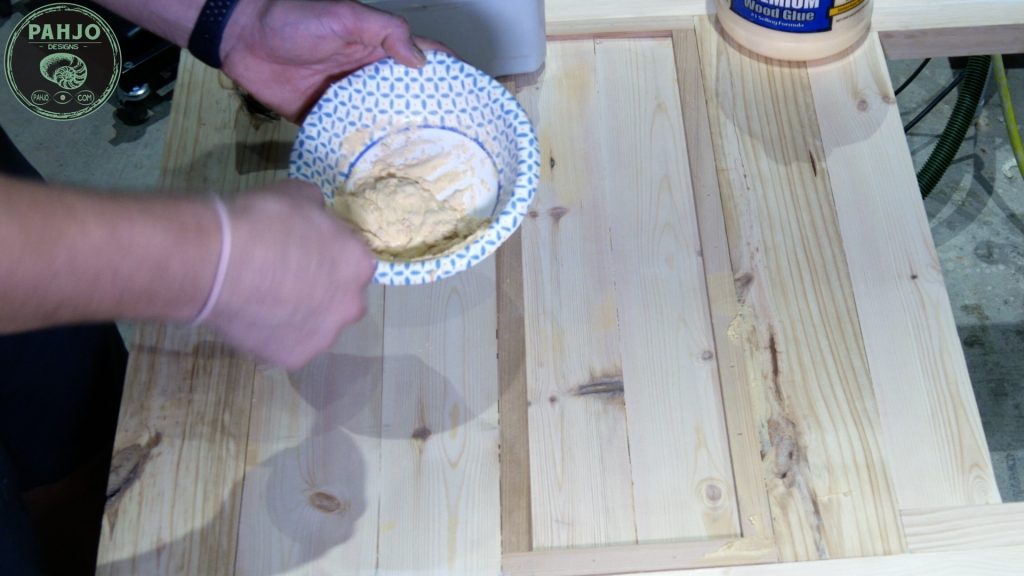

Then, the holes or seams in the door.
Also, make sure to use the sawdust from the wood you are working with.
DIY Pantry Door Glass Frame
I used a product called Lexan instead of real glass.
Lexan is a transparent plastic sheet that is virtually unbreakable.
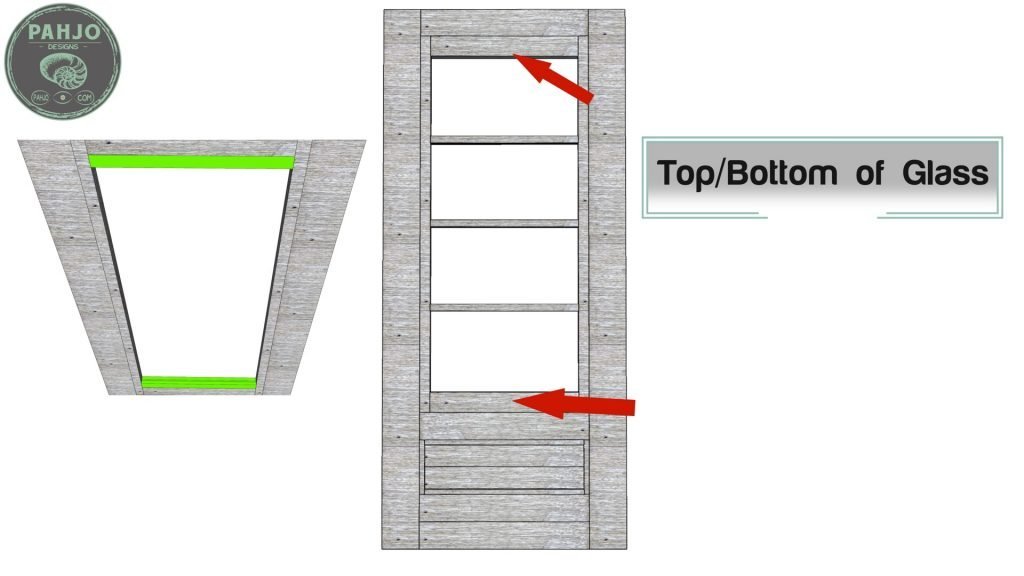
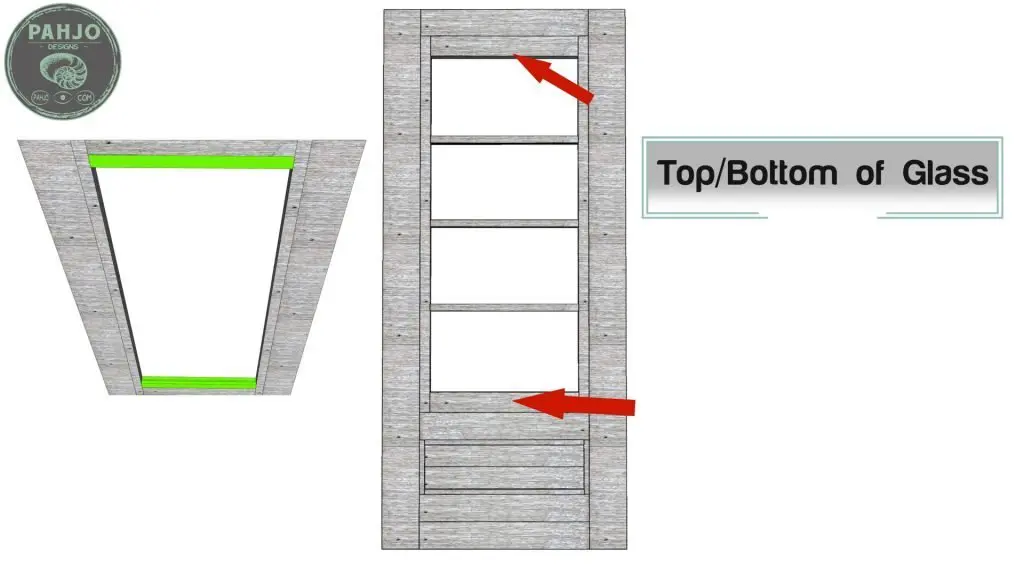
The top and bottom are simply 2 pieces of wood 5/8″ thick with a quarter inch gap in the middle for the lexan to rest in.


Also, this is an interior door so it doesn’t have to be perfect or weatherproof.
Ultimately, the purpose is to hold the lexan in place and make it easy to change if needed.
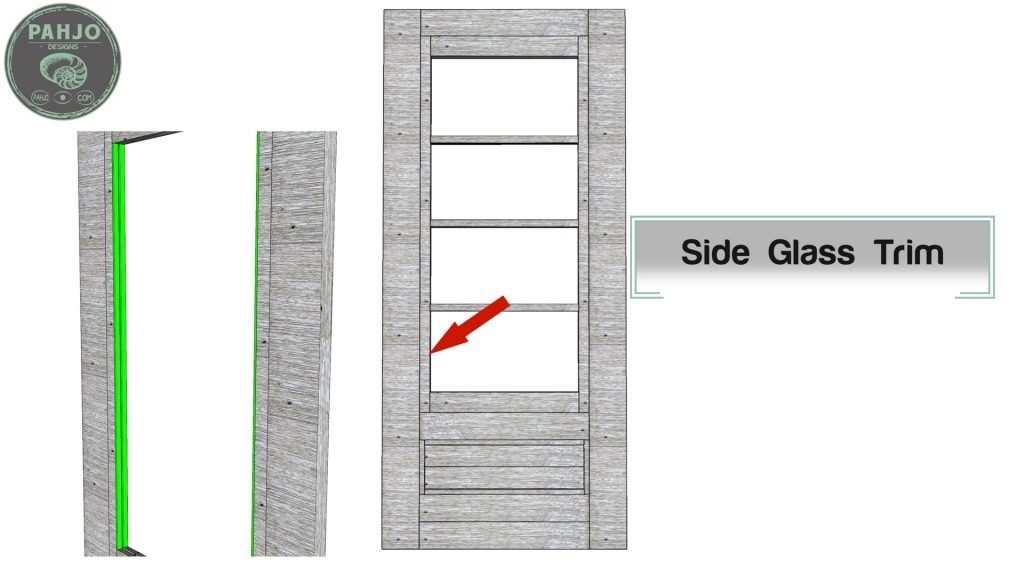
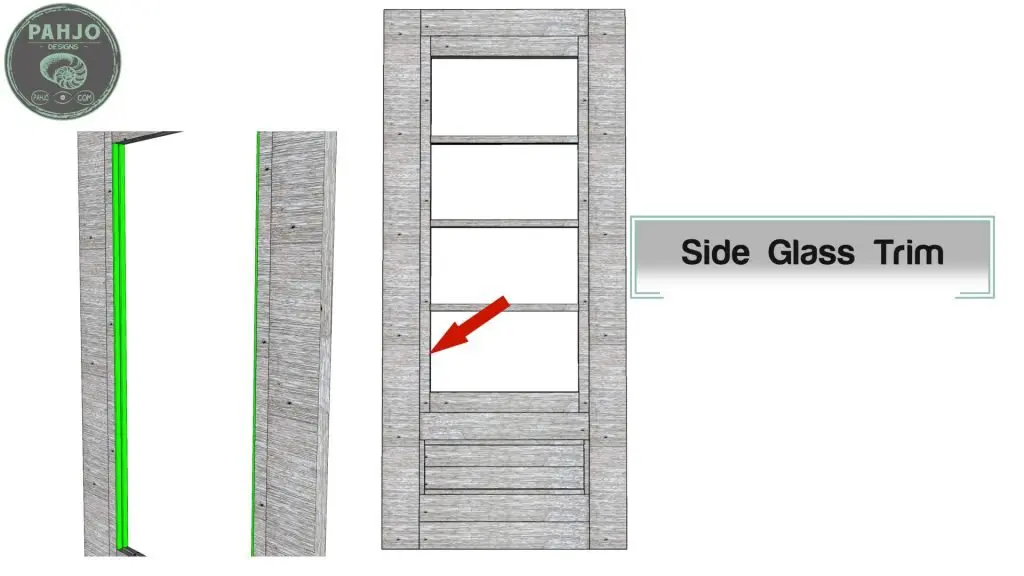
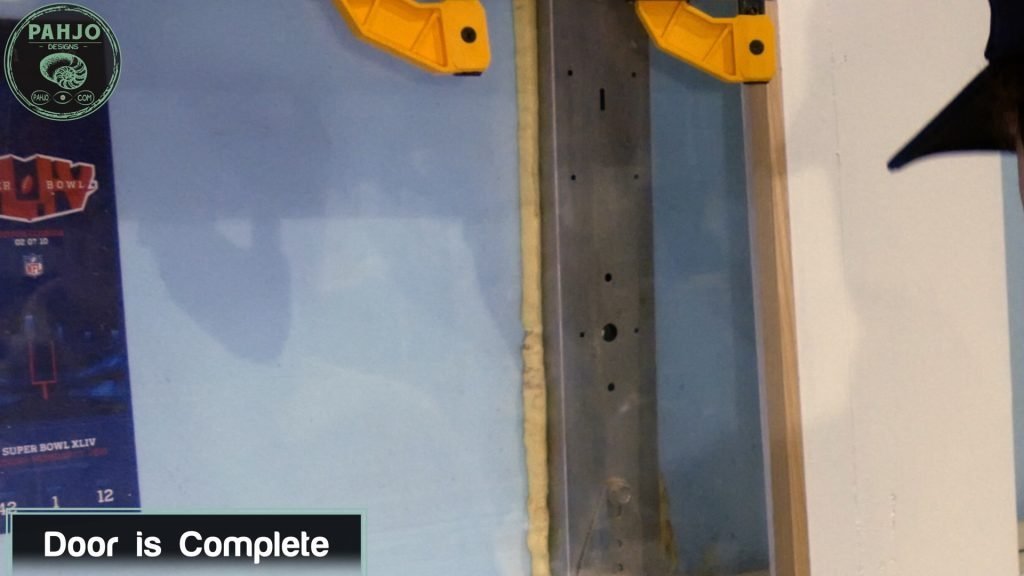
Next, I layed the glass in place after I put on the top and bottom.
Then, I attached the side pieces with glue and brad nails.

Paint Distressing Technique – How to distress already painted furniture
I’ve tried many paint distressing techniques over the years on furniture. Ultimately, this technique consistently produces great results for me.
I wrote an article about different ways to distress painted furniture, so be sure to check that out.
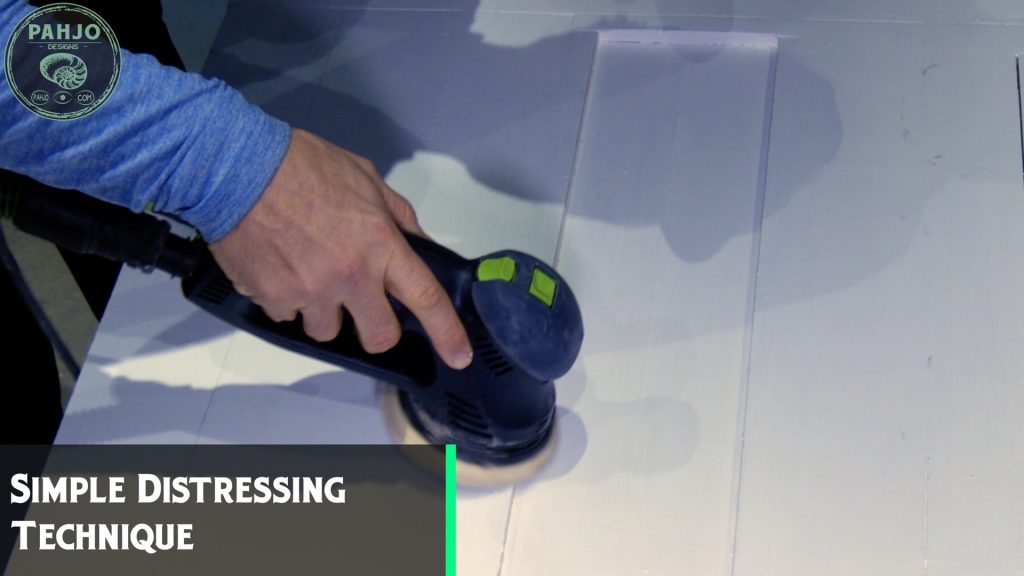
First, I painted the surface with satin, semi-gloss, or gloss paint.
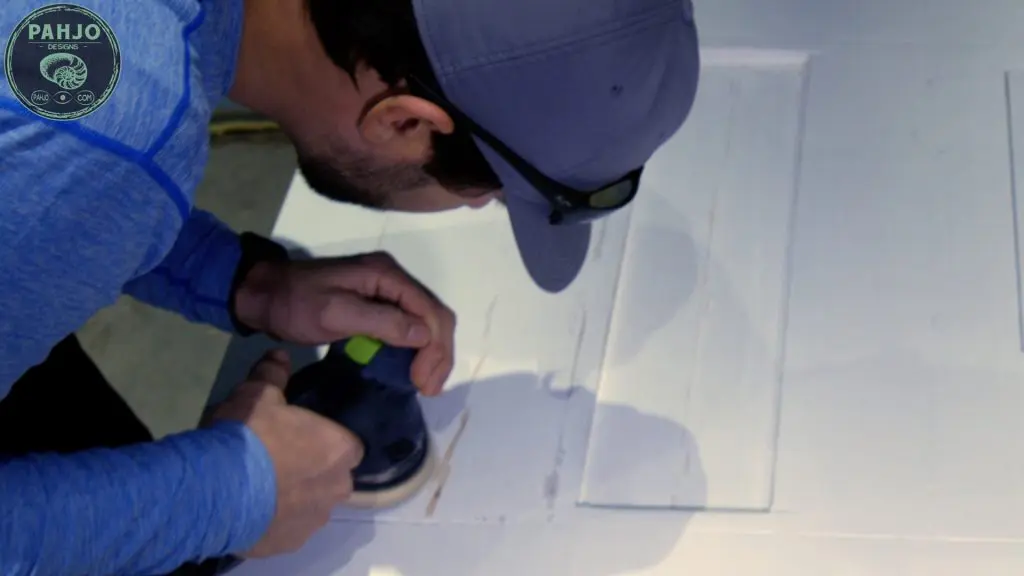
Next, I sanded the edges, corners, and any other irregular angle I can reach.
Also, be sure a very small portion of the wood is exposed after sanding.


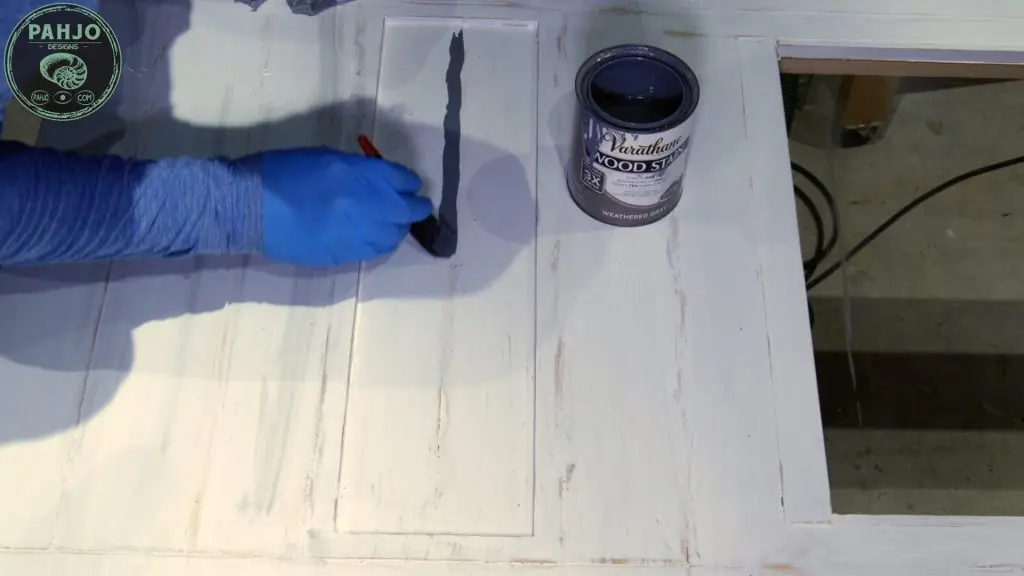
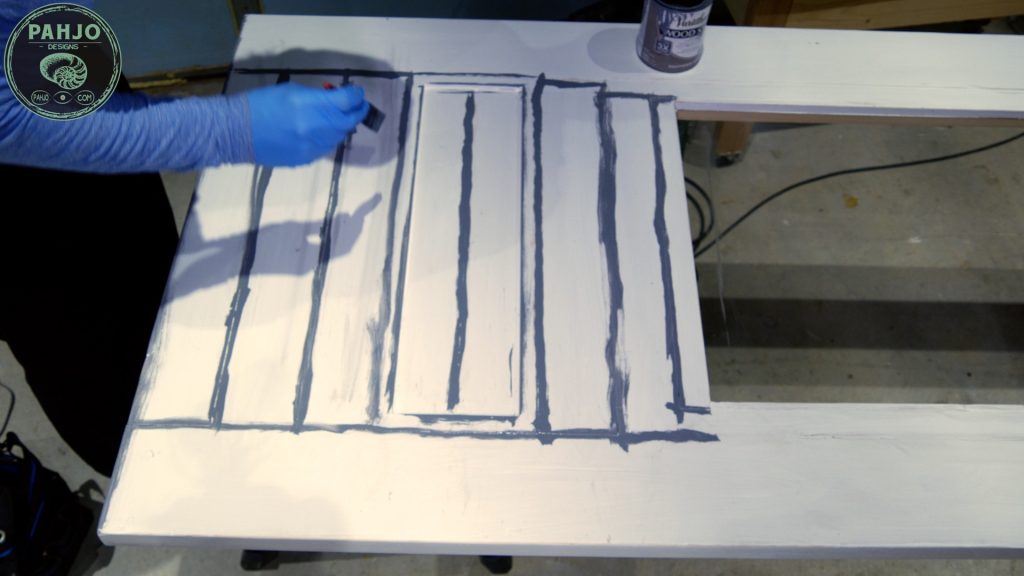
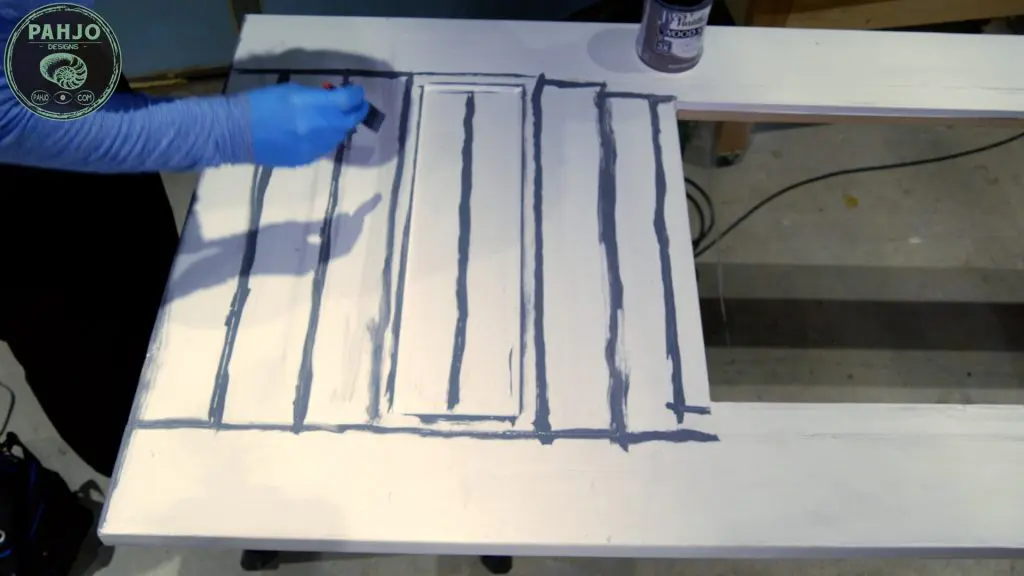
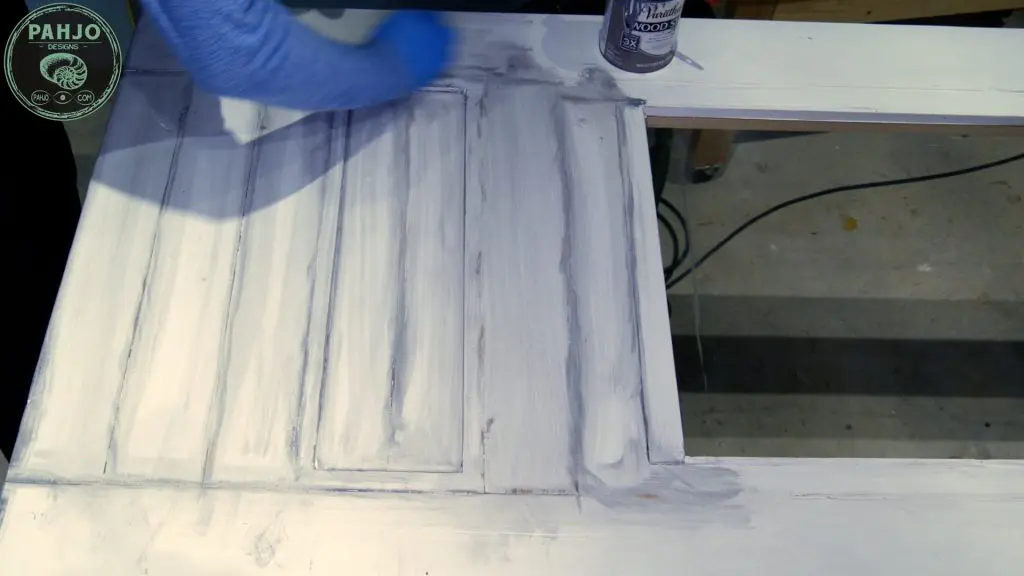
Apply Wood Stain
After the surface is clean, I grab a foam brush and apply stain in the places I sanded in the previous step.
Also, I prefer dark brown or gray wood stain for light paint colors.

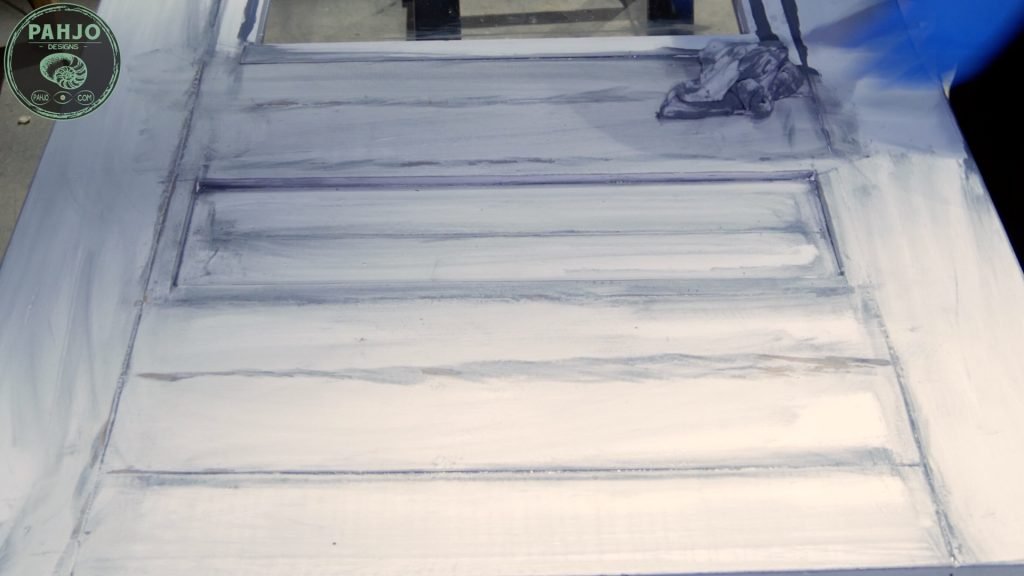
Wipe Stain with a Rag
After I finish applying stain to the sanded areas in a 3 foot by 3 foot section, I wipe the stain with a rag.
The rag picks up the stain and spreads it to the non-sanded areas. It also makes the non-sanded areas darker.

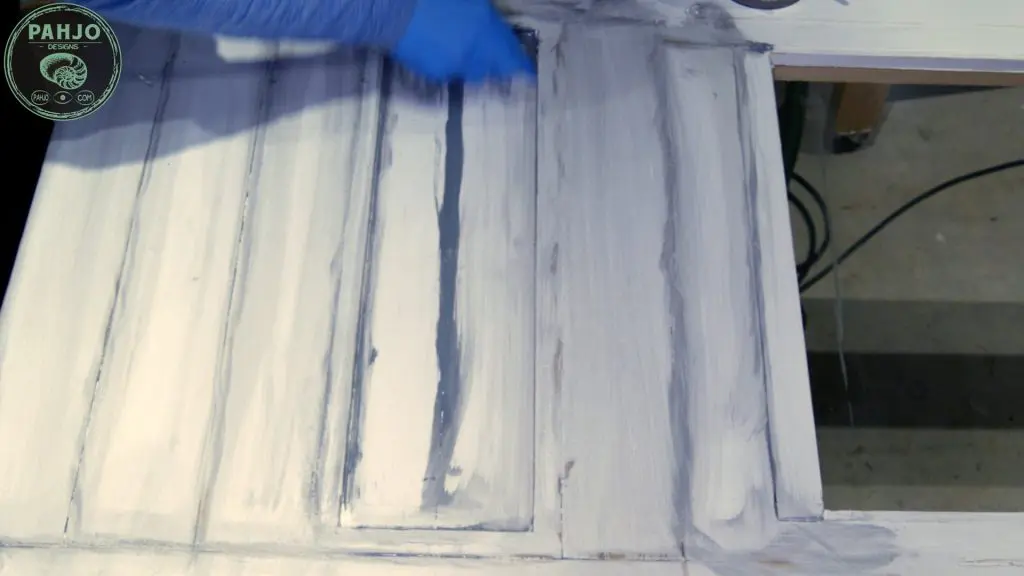
The more you wipe, the less distressed the surface looks. You can also use a few rags to remove even more stain if that is the look you are going for.
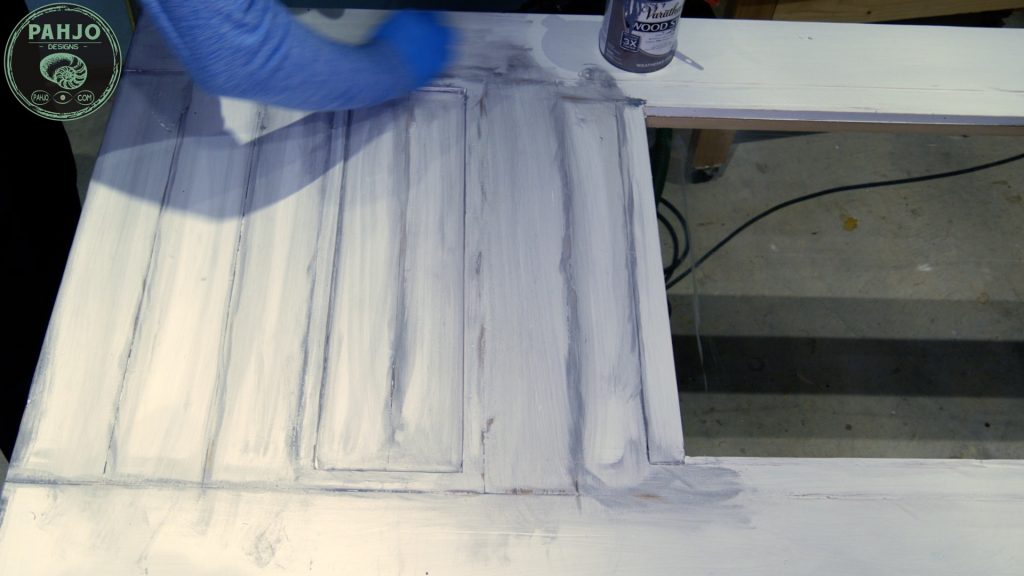
Moreover, this technique provides me with a little flexibility in the distressing process especially when the correct paint is used.
Flat paint absorbs the stain way too quickly and makes it difficult to remove with a rag.
Distress Other Side of Door
When I was done with one side of the door, I allowed it to dry for a few hours.
Next, I flipped the door over and repeated the same paint distressing technique as in the previous step.
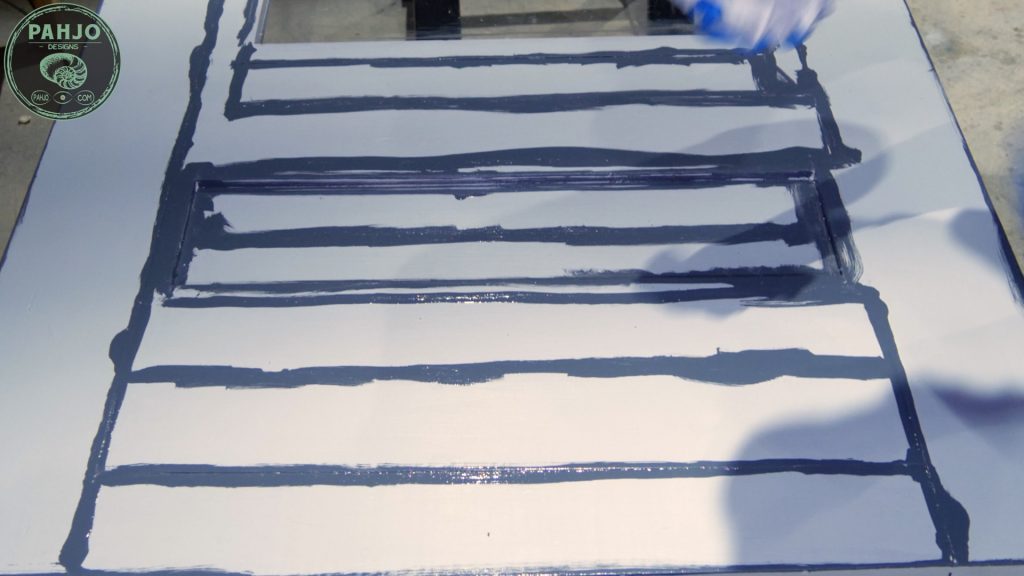
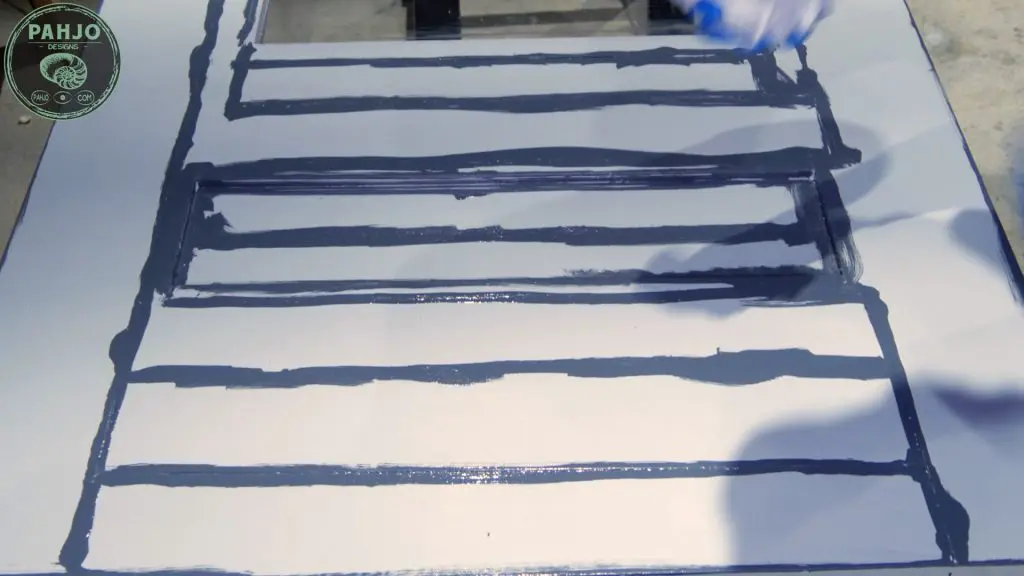

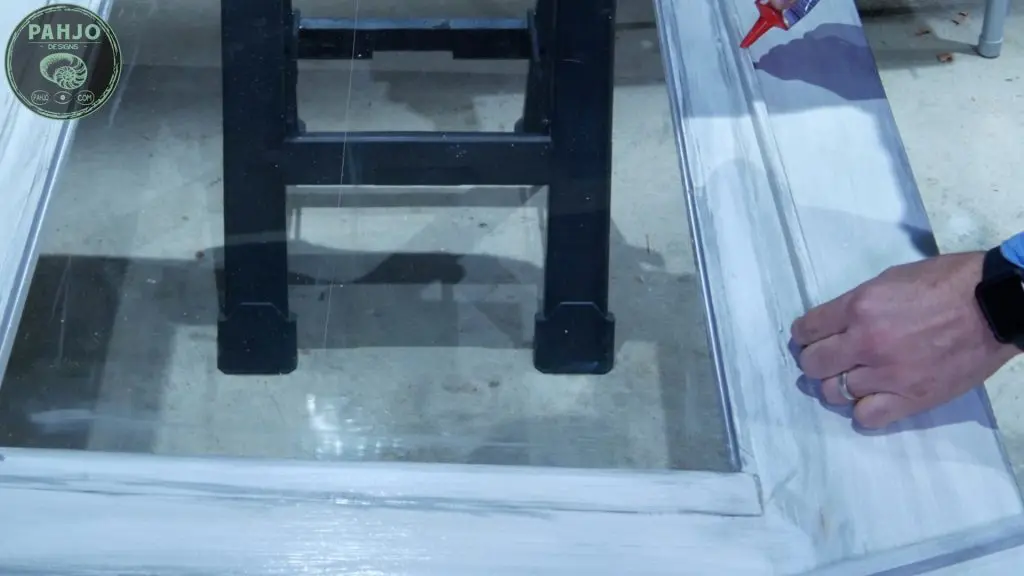
How to Install Glass Panes in a Door
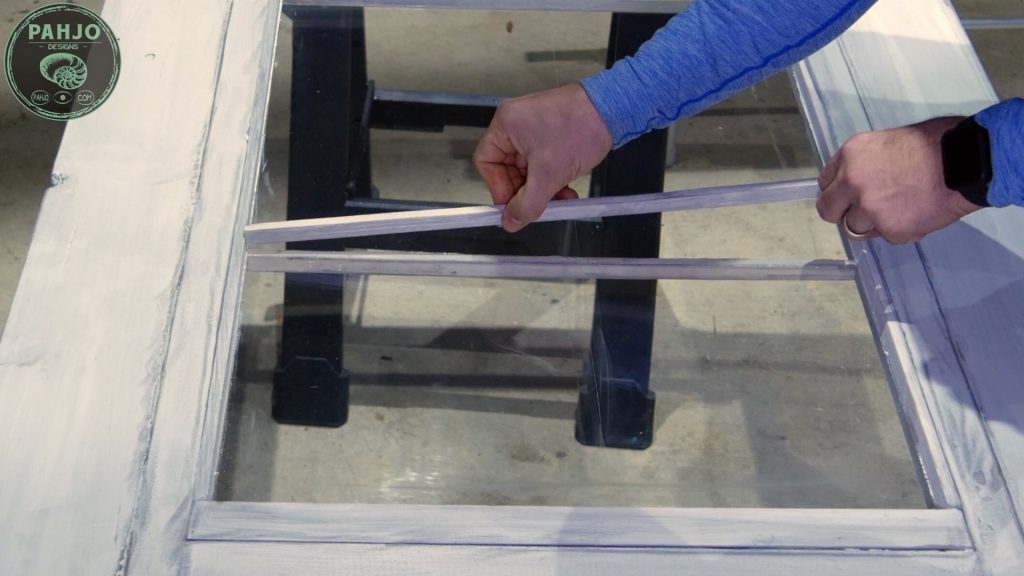
In order to make the one sheet of Lexan appear as multiple glass window panes, I used silicone to attach thin strips of wood on each side.

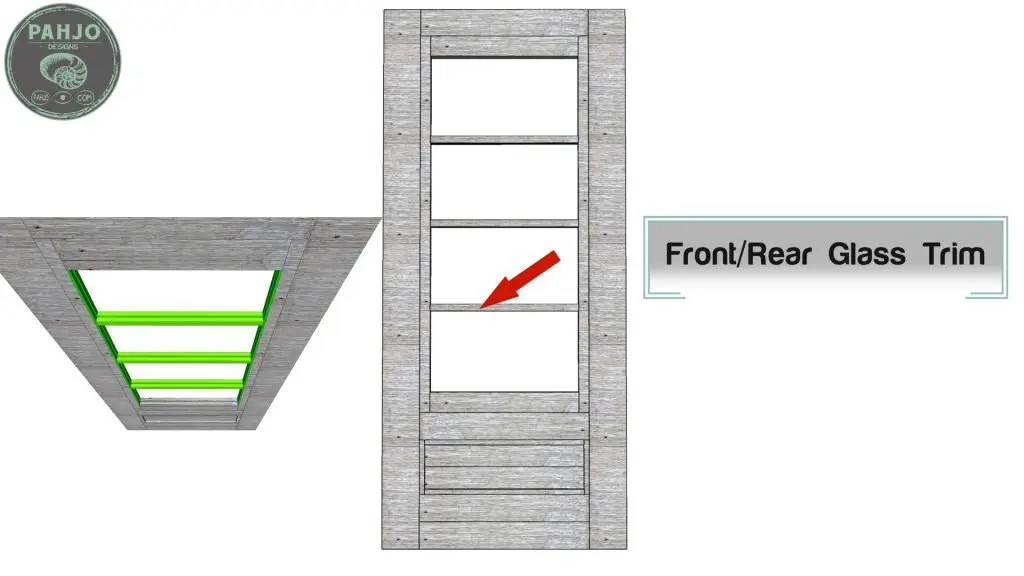
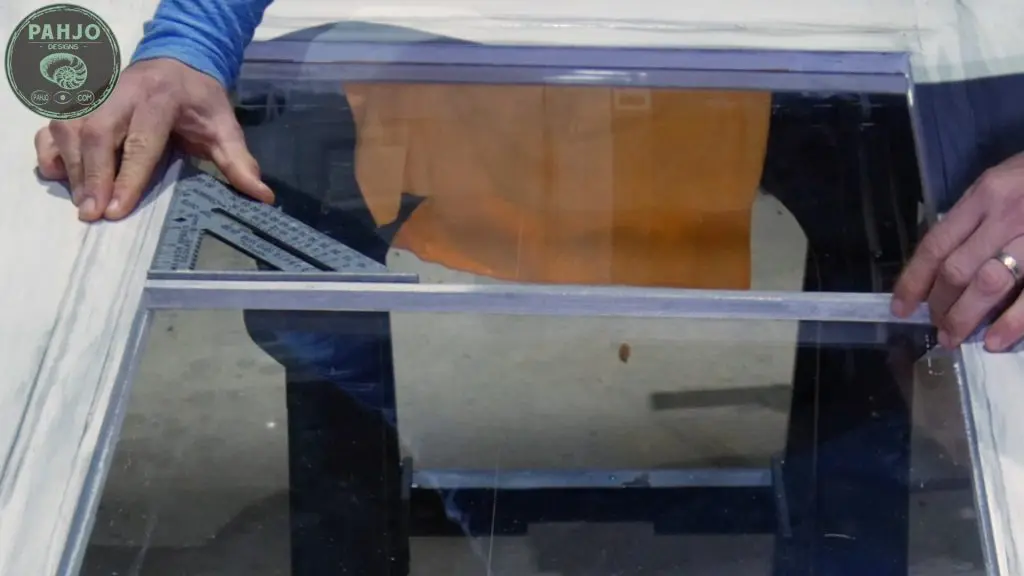
First, I measured the total length of the lexan and divided by 3.
Then, I used this distance from the top and from the bottom to place the strips.


DIY Farmhouse Pantry Door Protective Coat
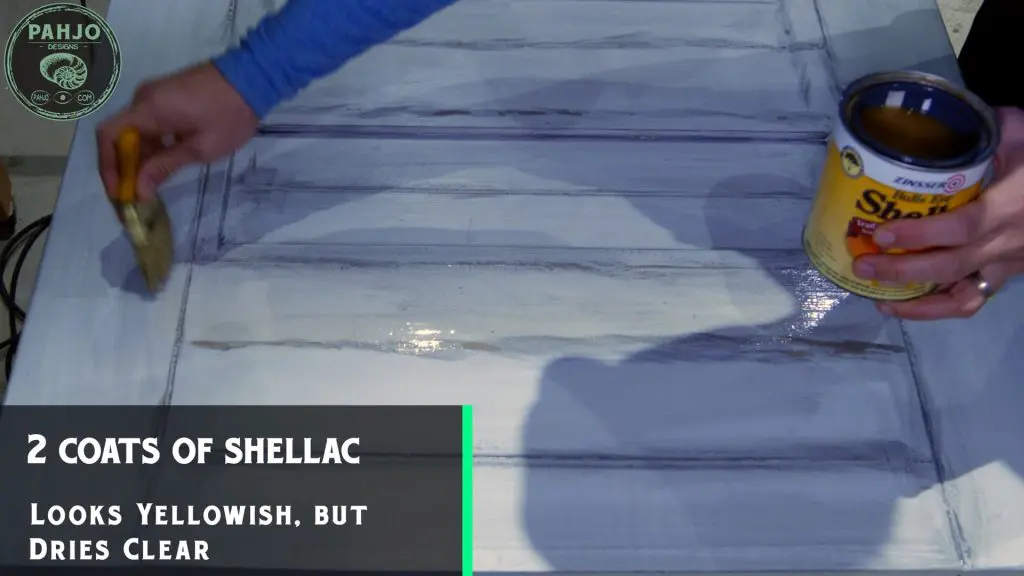
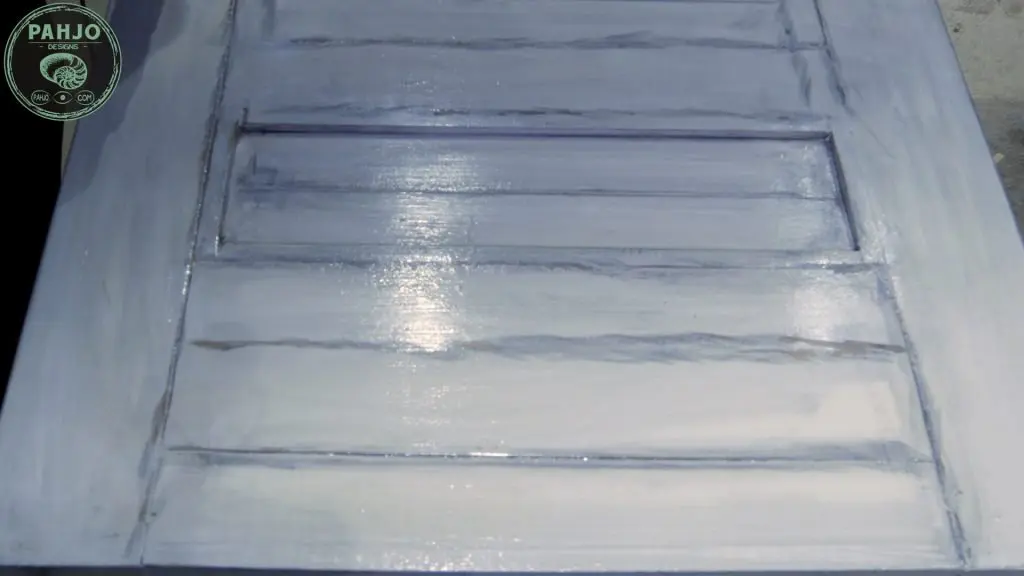
After the stain was completely dry, I used shellac as the final top coat on the farmhouse pantry door with glass.


Shellac dries quickly and it’s super easy to apply.
Also, Shellac looks a bit yellow when applied but it dries clear.
I applied 2 coats per side.


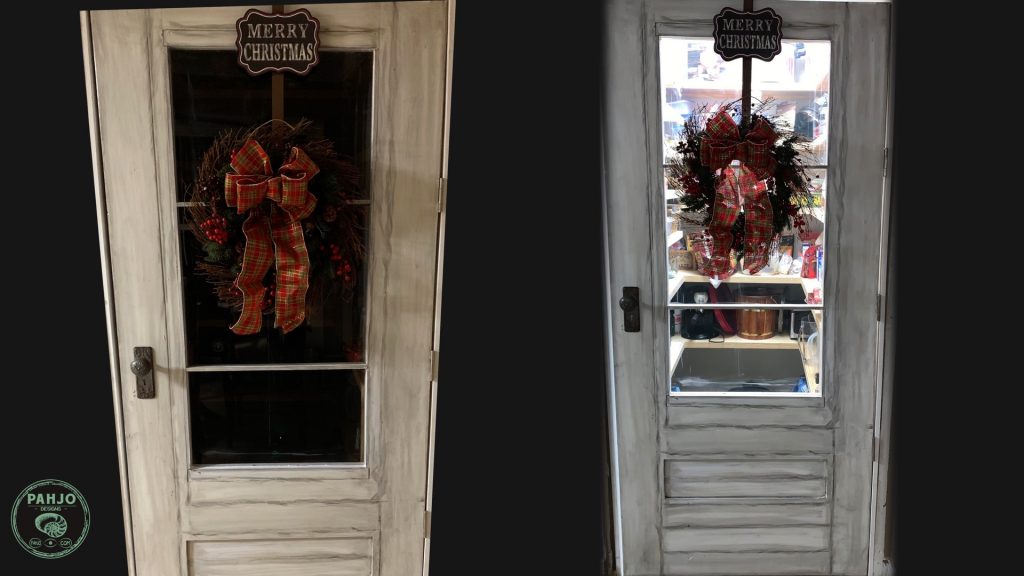
Door Installation
I installed the door at my friend’s house, but completely forgot to film the installation b/c it was a few days before Christmas.
Keep in mind, the door knob for the DIY pantry door with glass is not a functional door knob.
Even though it isn’t functional, it definitely looks great.

Conclusion
First, I love deviating from the norm and trying new things.
Obviously, I’m not a door expert but I learned many things about doors I didn’t know before this project.
Also, if you have any questions or tips, be sure to leave a comment below.
Related Posts:
Debby
Friday 22nd of March 2019
Love the door. Now if you could stop over to my house:)
Cheryl Lipari
Wednesday 16th of January 2019
I am always impressed with your work and your detailed directions. Keep up the great work.