
In this tutorial, I show you how to build a backyard DIY batting cage with a wood post frame. Learn useful tips to save you time and money.
Even if you don’t need to build a backyard batting cage, the DIY tips I share can be used to build other projects in your own backyard.
Here are some jump links to the main sections of this post to help you find the information you need quickly:
Video Tutorial: DIY Batting Cage
Choose Batting Cage Net (Material, Size, Cost)
Tools and Material
Batting Cage Location and Design
Step by Step Instructions
DIY Batting Cage Video Tutorial
There are many things which are difficult to explain with words and images, so be sure to checkout the video tutorial below.
Choose Batting Cage Netting
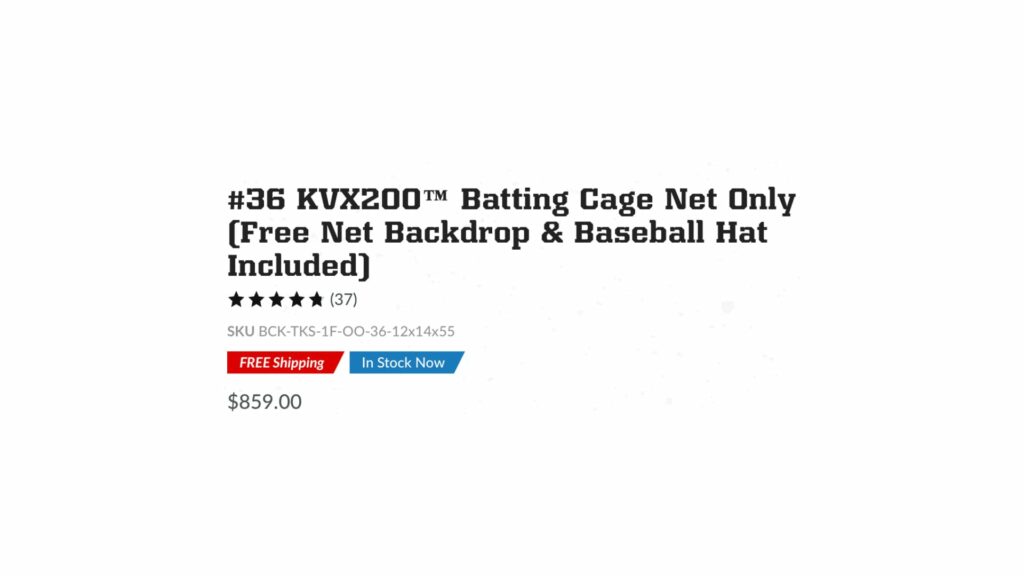
First, I chose the #36 KVX200 batting cage net for my batting cage.
I encourage you to read the following sections to choose the best batting cage netting for you.
Choosing the type of batting cage net is the first thing you need to do.
Essentially, you need to make two choices for your DIY batting cage net:
- Net Material (HDPE, Nylon, or KVX200)
- Twine Size (#24, #36, or #42)
Batting Cage Net Material
HDPE (High-Density Polyethylene), KVX200, and Nylon are three different materials used in batting cage nets.
Each contain unique characteristics you need to consider before making a final choice.
Obviously, these backyard batting cage nets fit the needs of both softball players and baseball players.
Choosing between these materials for your own net depends on factors such as budget, intended use schedule, and environmental conditions.
HDPE (High-Density Polyethylene)
- Material Characteristics: HDPE is a type of plastic known for its high strength, durability, and resistance to impact and weathering. It is commonly used in both knotted and knotless quality batting cages.
- Advantages: HDPE batting cage netting is lightweight, strong, and an overall good batting cage net. Moisture and UV resistance make it a common choice for outdoor batting cages. HDPE nets often last longer outdoors compared to nylon. However, nylon withstands impact better than HDPE.
- Cost Range: HDPE netting is often more budget-friendly compared to nylon and KVX200.
KVX200
- Material Characteristics: KVX200 is a specific type of netting material designed for enhanced durability and performance in batting cage nets.
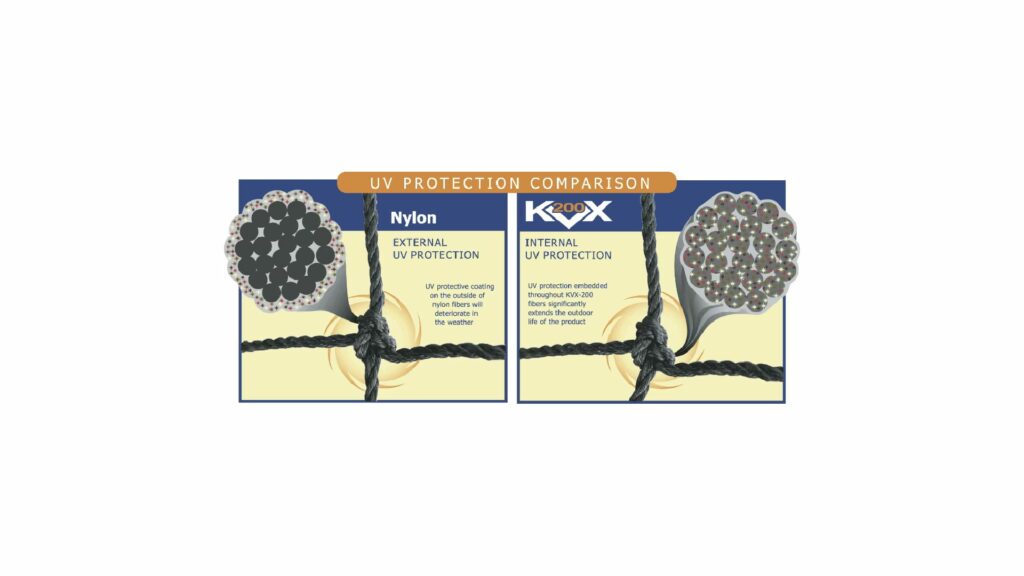
- Advantages: KVX200 is known for its advanced knotless design, which reduces the risk of ball abrasion. It is often treated with UV inhibitors for outdoor use and provides good visibility for both players and coaches. Of the different types of batting cages, KVX200 netting provides the best overall choice for strength, longevity, and outdoor use. You can learn more about KVX200 batting cage nets by watching this video.
- Cost Range: KVX200 netting falls within a mid to high price range and provides the best option.
Nylon
- Material Characteristics: Nylon is a synthetic material known for its strength and durability. It is often used in knotted netting, which contribute to the net’s overall resilience.
- Advantages: Nylon netting is mainly used for indoor batting cages. Nylon holds up well in high impact softball and baseball training environments. It can be used outdoors if treated for UV resistance.
- Cost Range: Nylon netting tends to fall within a mid to high price range.

Nylon works well indoors with a proven track record for strength.
HDPE provides a balance of strength and flexibility and the most economical choice for indoor/outdoors.
KVX200 is designed for high-performance and durability. This makes it the best choice for indoor and outdoor batting cage nets.
Since my cage will be outdoors, I elected to get the KVX200 batting cage net instead of a nylon or HDPE batting cage.
Twine Size for DIY Batting Cage
Twine size, often referred to as twine gauge, is a measure of the wall thickness or diameter of the individual strands or threads used in batting cage netting.
It’s an important factor in determining the strength, durability, and overall performance of the netting. The twine size in batting cage nets is denoted by a numerical value, such as #24, #36, or #42.
Here is a quick comparison of #24, #36, and #42 twine size:
- #24 Twine Size:
- Level of Play: T-Ball to Little League or 40-50mph range
- Longevity: Low to Mid
- #36 Twine Size:
- Level of Play: Middle School to High School
- Longevity: Mid to High
- #42 Twine Size:
- Level of Play: College to Professional
- Longevity: High to Very High
DIY Batting Cage Net Cost
Before making a decision, consider the long-term durability and lifespan of the batting cage net as equal importance to the cost.
Higher-quality materials and a thicker twine size reduce the need to replace your home batting cage.
Below is the cost of my KVX200 DIY batting cage in 2020.
Obviously, I expected the biggest cost factor to be the batting cage net kit.

Tools and Materials
I segmented the tools and material list into sections to align to the different parts of a baseball batting cage.
Wood Frame and Cable Support
Adjustable Post Base (Qty 8)RetroFit Post Base (Qty 8)
Concrete J Bolts (Qty 8)
Structural Screws (1.5″)
2.5″ Structural Screws
Post Leveler
Concrete Mixer
Foam (Concrete Alternative)
Concrete (16 Bags or 2 per Post)
Concrete Forms
Post Hole Auger
Post Hole Digger (Alternative to Auger)
Turnbuckle Kit
Tools
Steel Cable CuttersChalk Line Reel
I-Beam Level (72″)
Drill
Jig Saw
Hand Saw
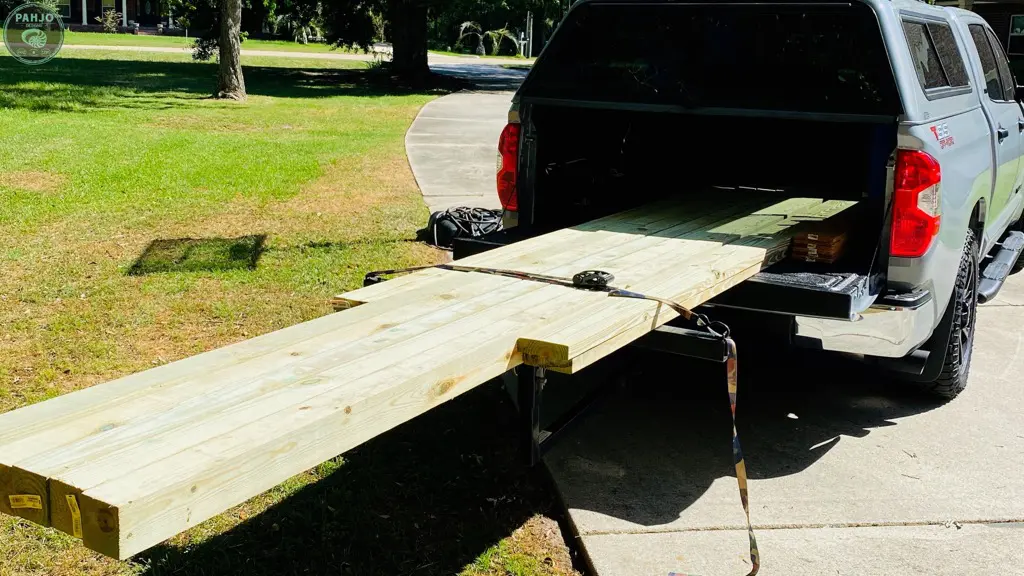
Truck Bed Extension for Hauling Lumber
Accessories
Batting CageTurf Batter’s Box
L-Screen
Pitching Machine
Wood Frame Lumber
Before you purchase the wood for your DIY batting cage, I encourage you to read through this article to make sure my design fits your needs and your backyard space.
Either way, you can easily adjust the dimensions to fit your backyard limited space.
Keep in mind, the lumber I used for this backyard batting cage design is pressure treated and ready for outdoor use.
Most outdoor cages use pressure treated lumber for the frame.
I purchased the wood below from Home Depot.
However, I encourage you to shop around for competitive prices.
- Wood Posts: 4″x4″x12′ – Qty. 8
- Runners: 2’x6’x12′ – Qty. 4
- Cross Boards: 2’x6’x16′ – Qty. 3
- Support Braces: 2’x6’x8′ – Qty. 3

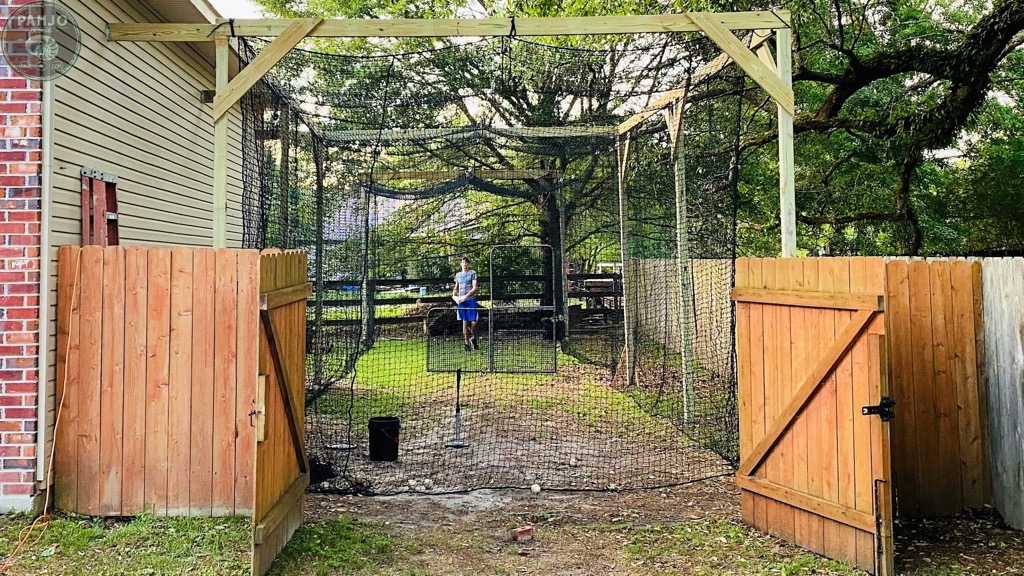
Backyard Batting Cage Location
My homemade batting cage sits adjacent to my detached garage/workshop.
Obviously, the entire cage area will be a permanent structure for year-round use.
This location is perfect for a DIY batting cage for the following reasons:
- The detached garage blocks the afternoon sun.
- My neighbor’s massive 300 year old oak tree blocks the morning sun.
- This location fits my future plans to cover the batting cage with an attached lean-to roof, pour a concrete floor, and cover with artificial cage turf.
- Room for pitcher’s mound behind batting cage.


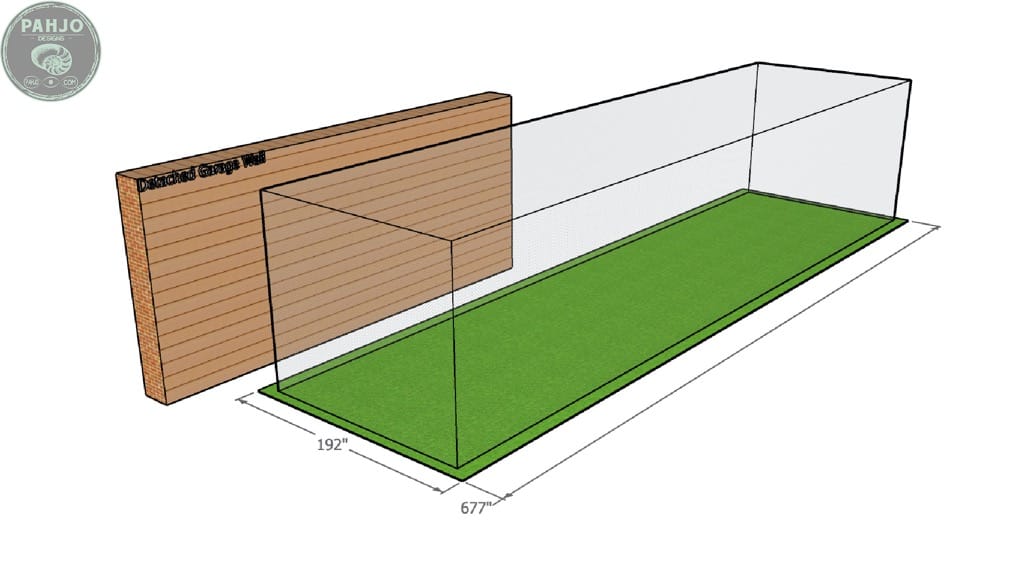
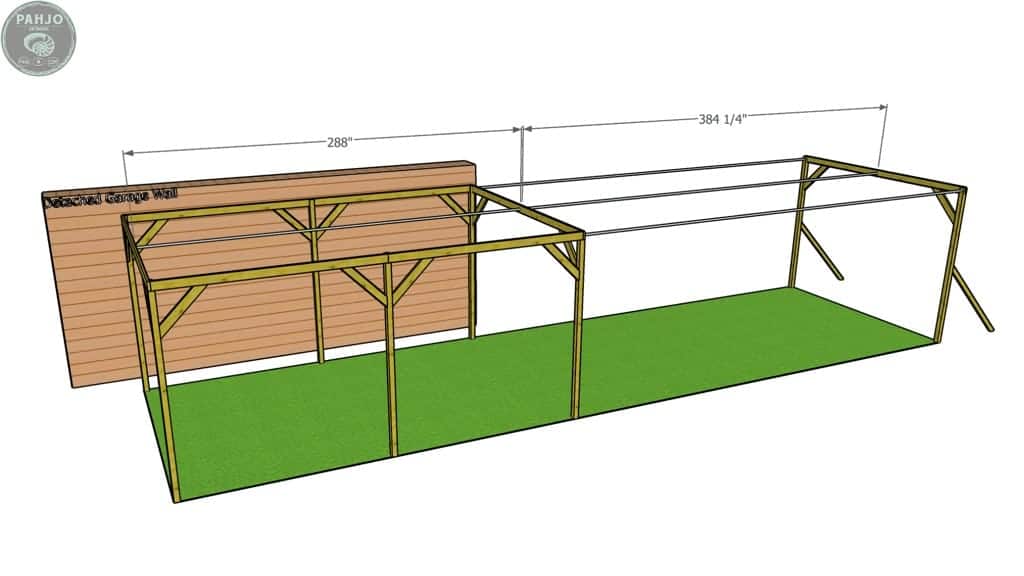
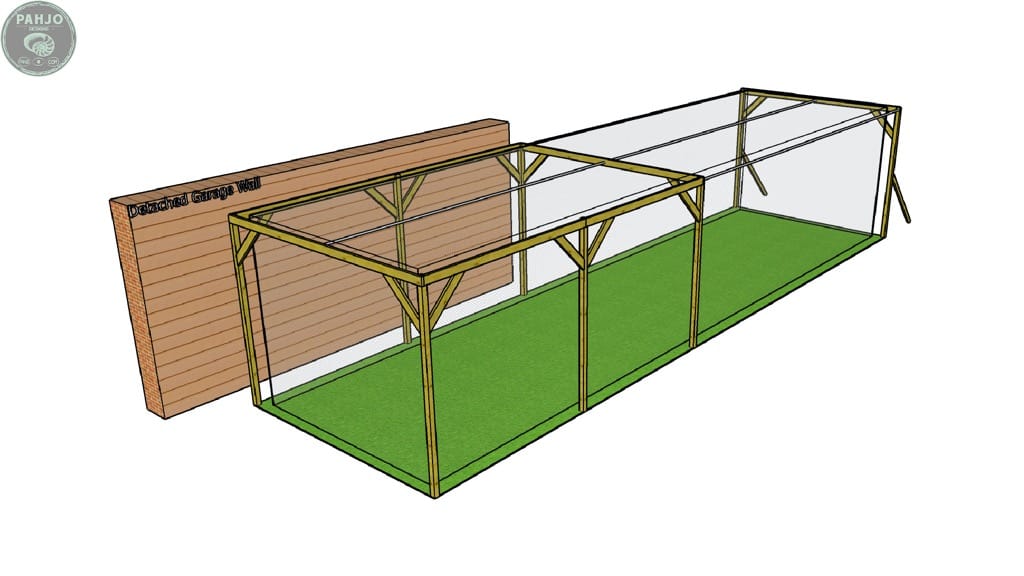
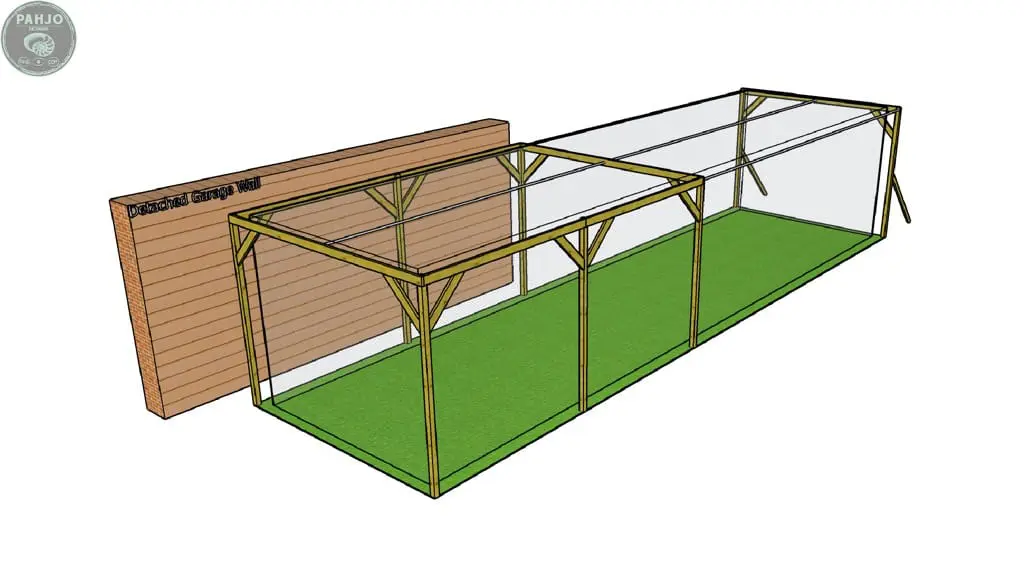
DIY Batting Cage Diagram
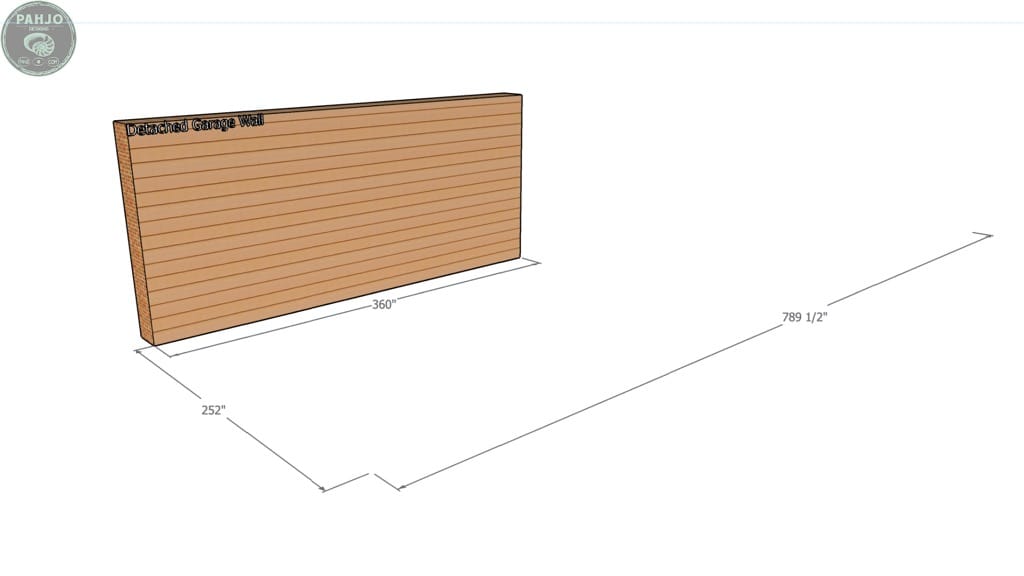
First, I created a 3D batting cage plans to determine the best layout and the amount of space.
I wanted home plate to be near the fence and under the overhang I plan to build.
In total, the total amount of space I had to work with was 65.5 feet x 21 feet (L x W).
I had 10 extra feet in length, but I didn’t want my homemade batting cage to be that long.
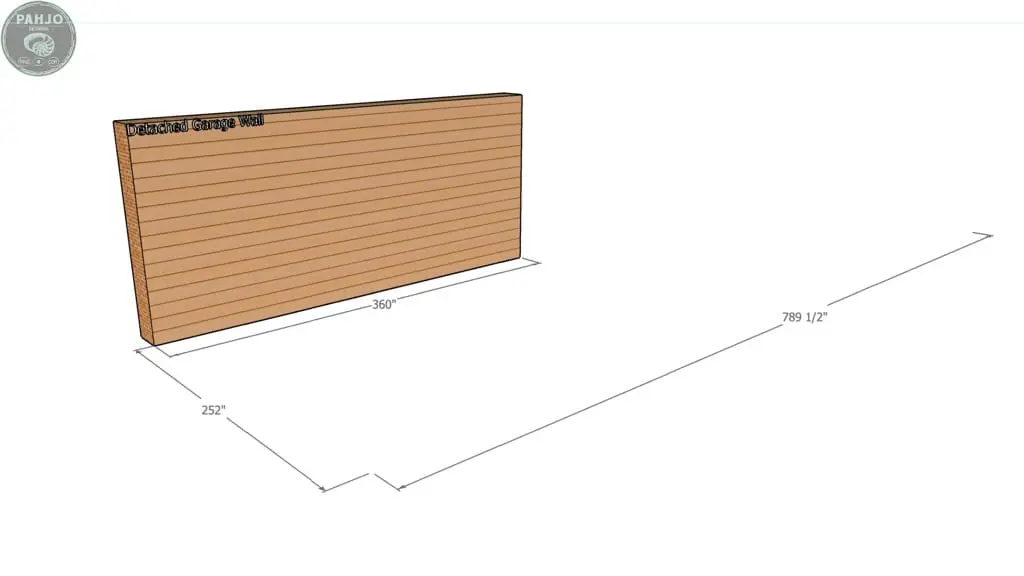
So, I decided to purchase a 12 ft (Height) x 14 ft (Width) x 55 ft (Length) backyard batting cage netting.
Essentially, this size represents the dimensions of a typical batting cage length in a backyard.
Also, a 40 foot batting cage seems to be common for little league players or for backyards with space constraints.
For your reference, commercial batting cages normally span 70 feet long.
However, a 55 feet long batting cage works perfectly for most backyards and doesn’t use too much space.
In my opinion, the length of the cage is not as important as the width of the cage.
First thing, I marked an area 16 ft wide and roughly 56.5 ft long using wooden stakes, string, a tape measure, and spray paint.
The diagram below shows the total area and the batting cage net area.

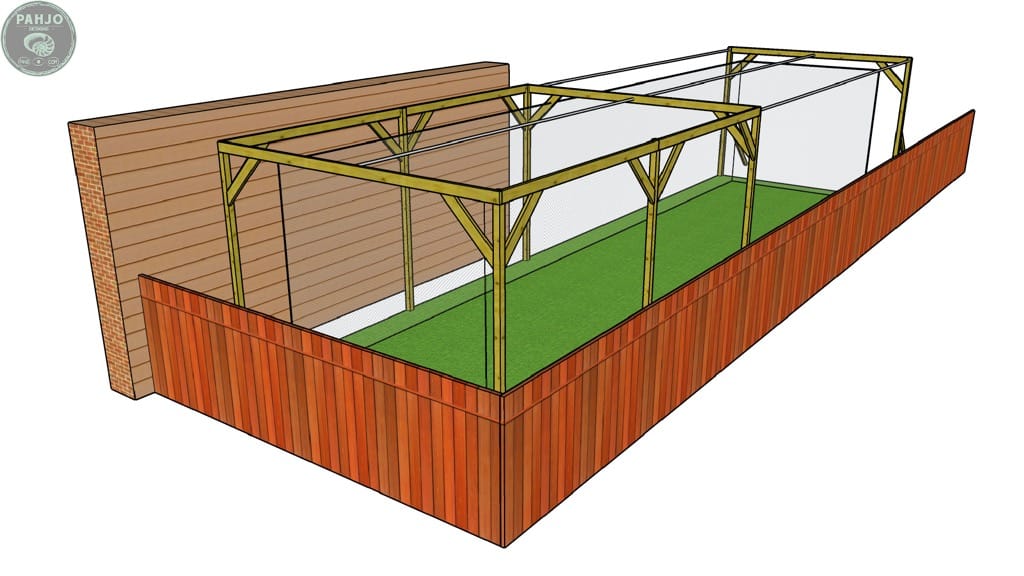
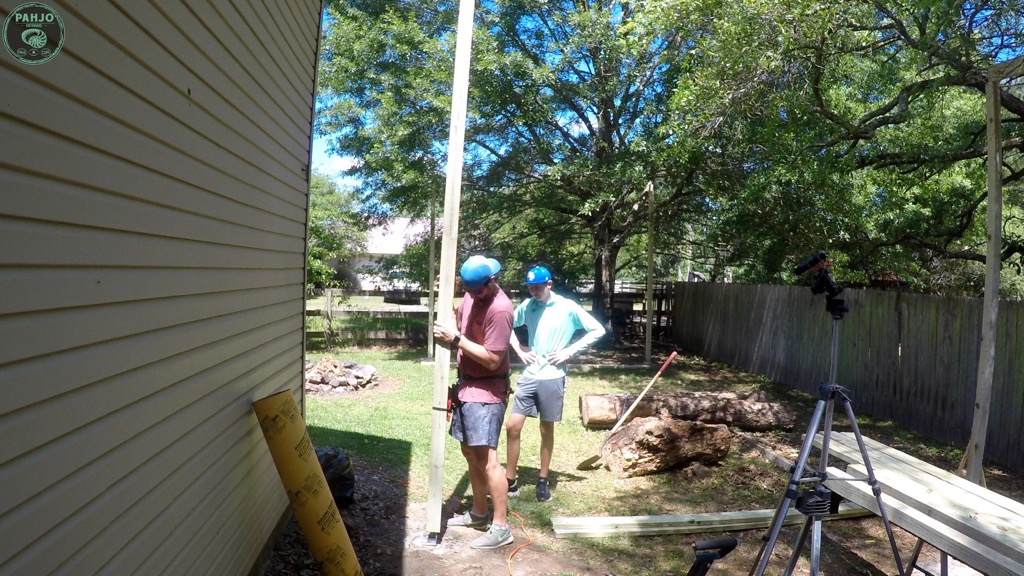
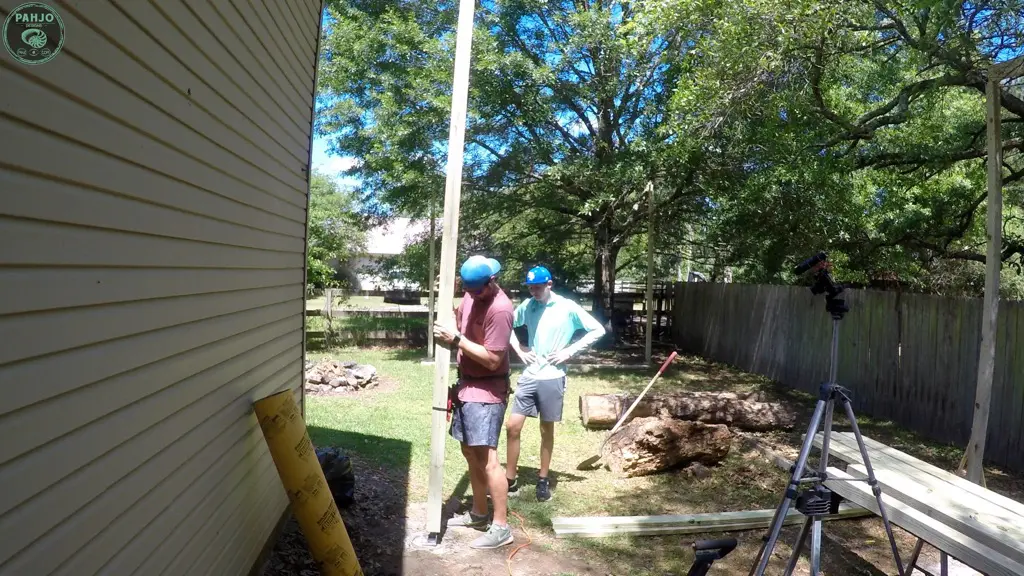
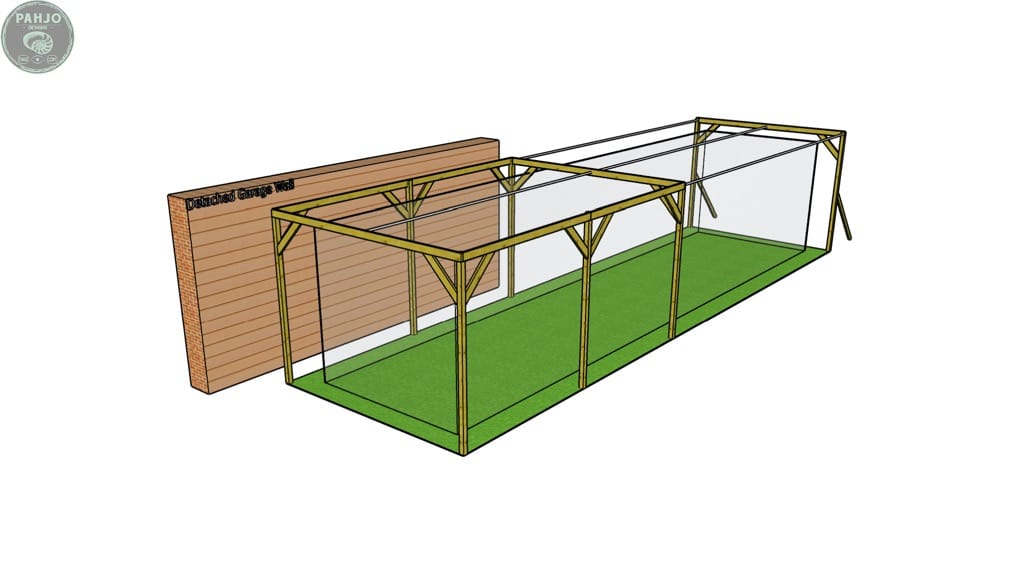
DIY Batting Cage Frame
The design of my own batting cage frame consists of 8 posts, 4 runners, 3 cross bars, and support braces.
Part of the batting cage frame sits adjacent to my detached garage.
Eventually, I plan to pour a concrete slab in this area and cover it with a lean-to roof.

PVC Pipe vs Wood Posts for Outdoor Batting Cages
I receive a lot of questions regarding using PVC pipe or steel poles instead of wood to build a batting cage.
While PVC pipe may work for an indoor batting cage, outdoor wood posts are a great option for an outdoor cage.
UV rays from the sun quickly degrade the strength of PVC for an outdoor cage.
In addition, PVC will not absorb the impact from baseballs or softballs very well.
Metal or steel pipes do not have the rigidity to hold up a heavy batting cage net.
However, metal posts may work for a portable batting cage.
Ultimately, high school baseball and softball players require a heavy duty wood posts with a high quality net.
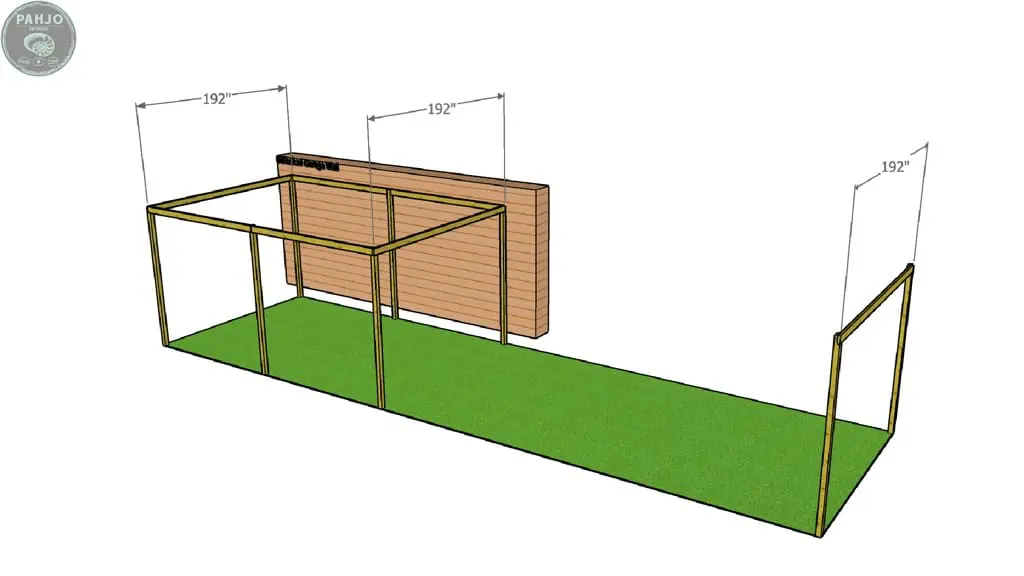
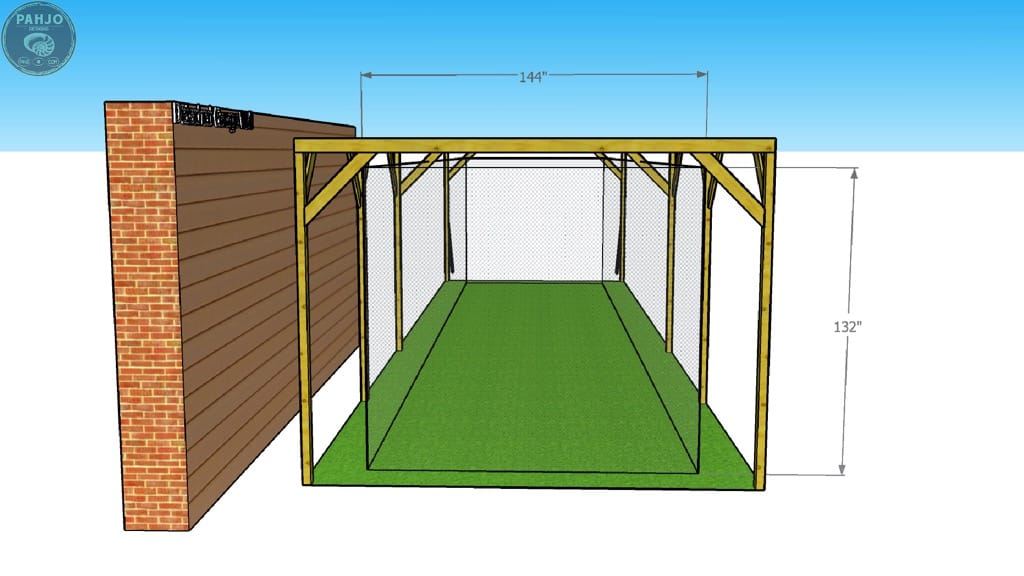
1 – Frame Dimensions and Mark Layout
The batting cage with wood posts frame dimensions comprise a simple rectangle.
First, I marked the post locations.
The measurements between posts in the diagram are on center.
I designed the space between posts for a 12 foot 2 x 6 to connect them with no cutting necessary.
Obviously, reducing material waste and minimizing labor are benefits of designing a batting cage frame before building it.

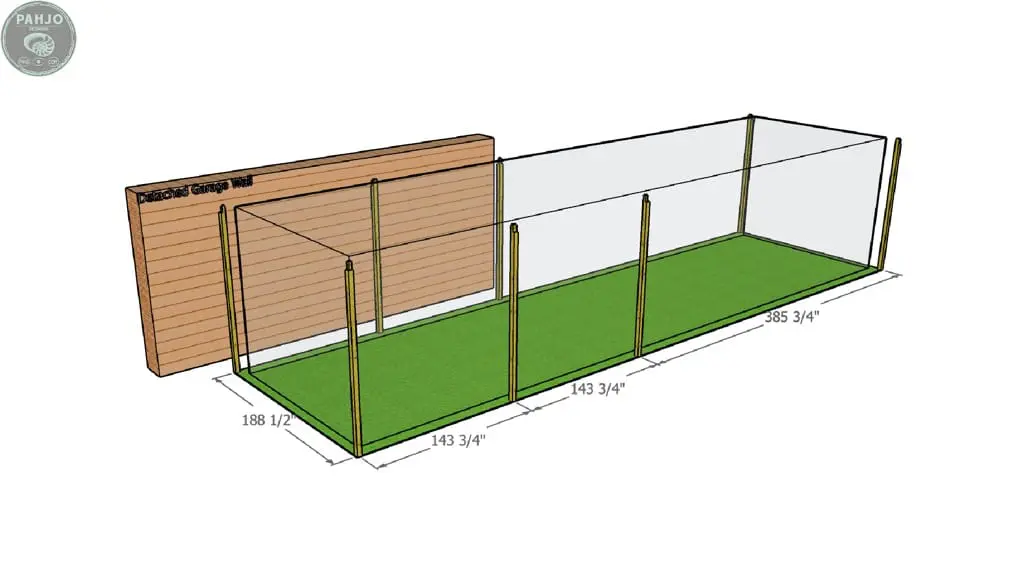
Please note: I did not install another pair of adjacent posts before the rear set on purpose.
Eventually, I plan to install a driveway with a lean-to roof in the area next to the detached garage.
As you can see, I framed this area accordingly.
The extra pair(s) of posts near the end would be more work to remove in the future.
Furthermore, the additional posts would block the cage from retracting to the covered area.
Not only will the area adjacent to the detached garage function as a covered patio/driveway, but it will also serve as an area for batting practice when raining.
2 – Dig Post Holes
Once I laid out the post hole locations, I used my post hole auger to dig post holes.
As a quick tip, use tent stakes to mark the pole locations.
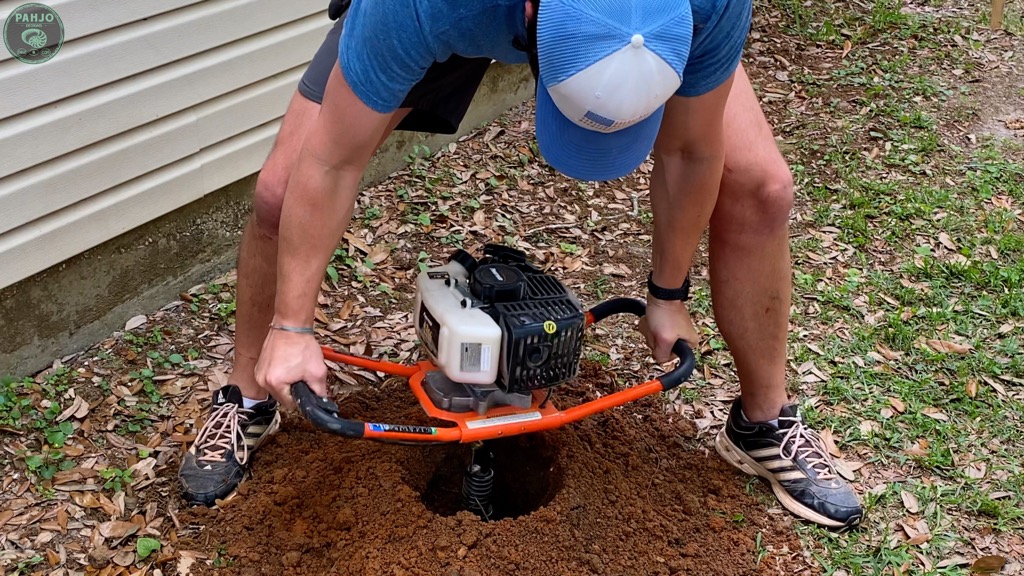
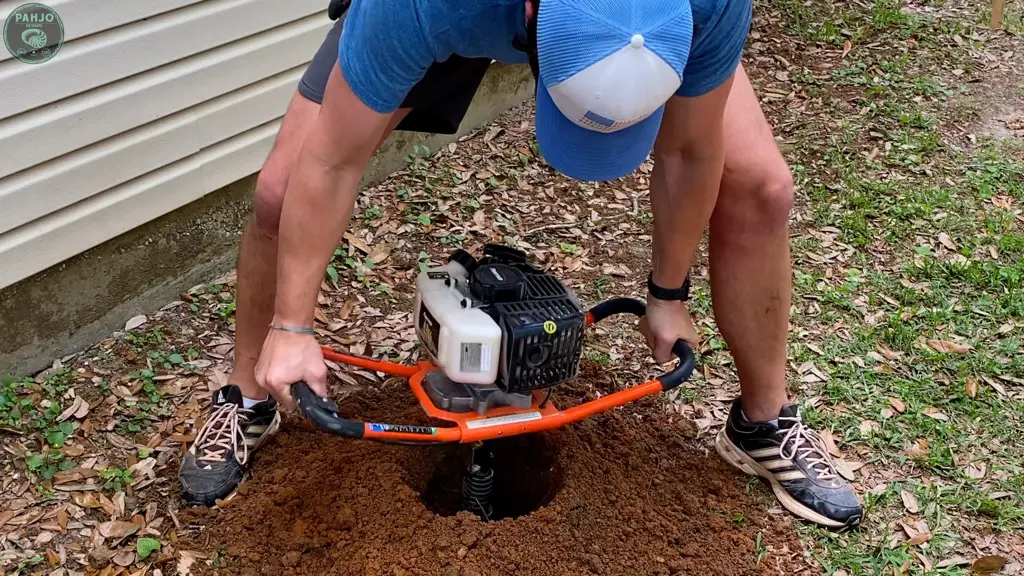

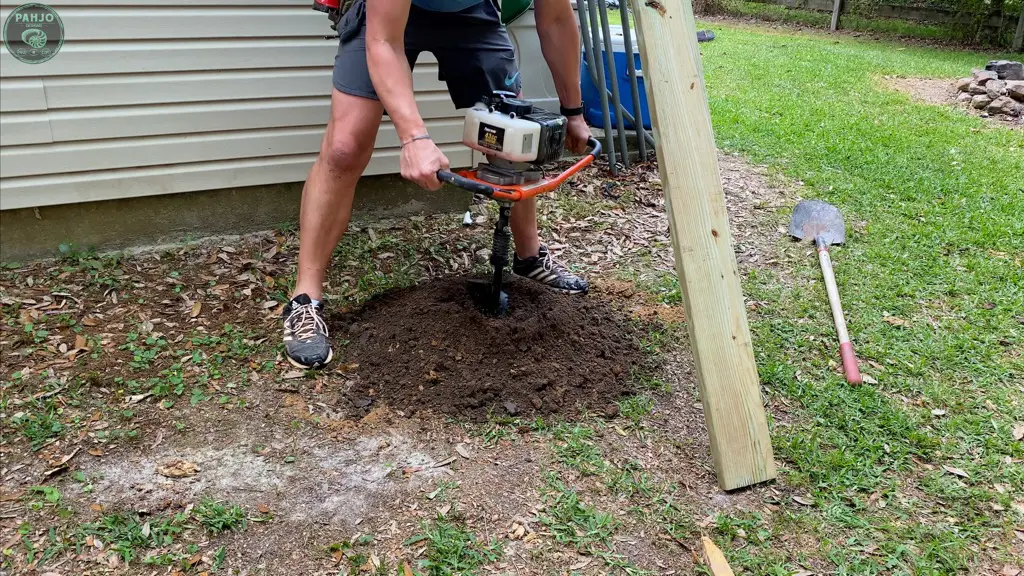

So, I bought this post hole auger a few years ago to build a fence in my backyard.
Additionally, I use it very often for planting shrubs and for odd projects such as this backyard batting cage.
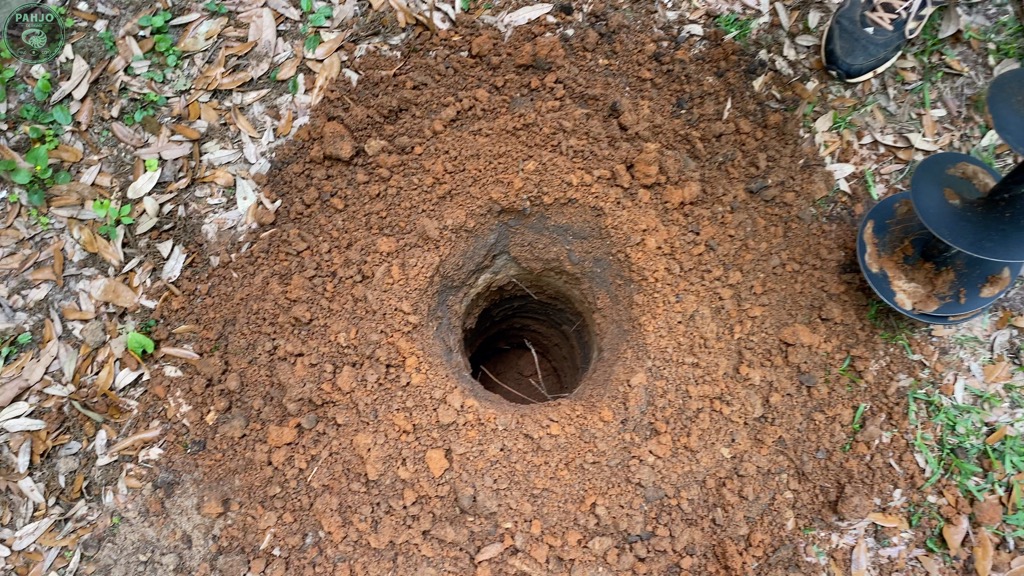
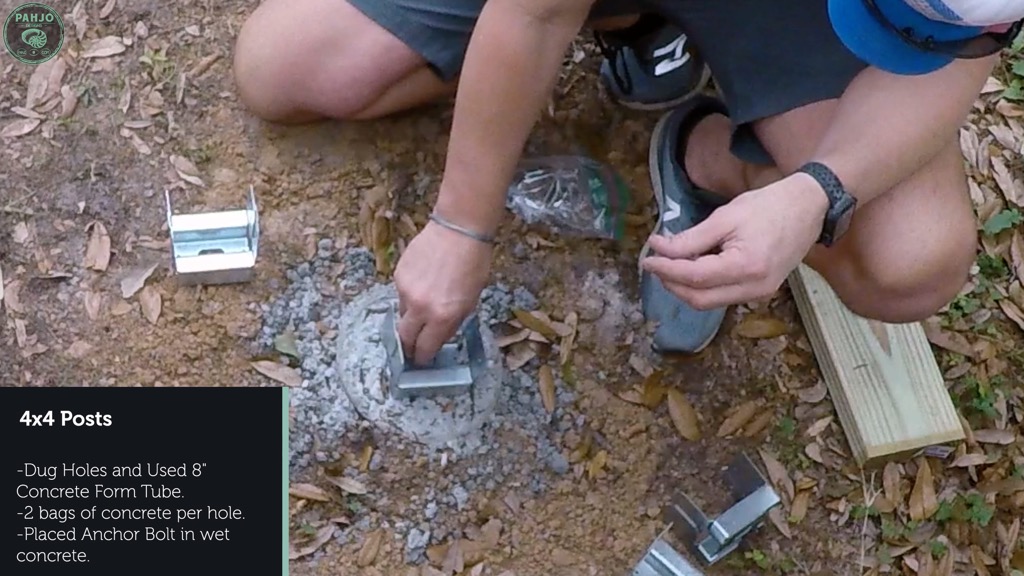
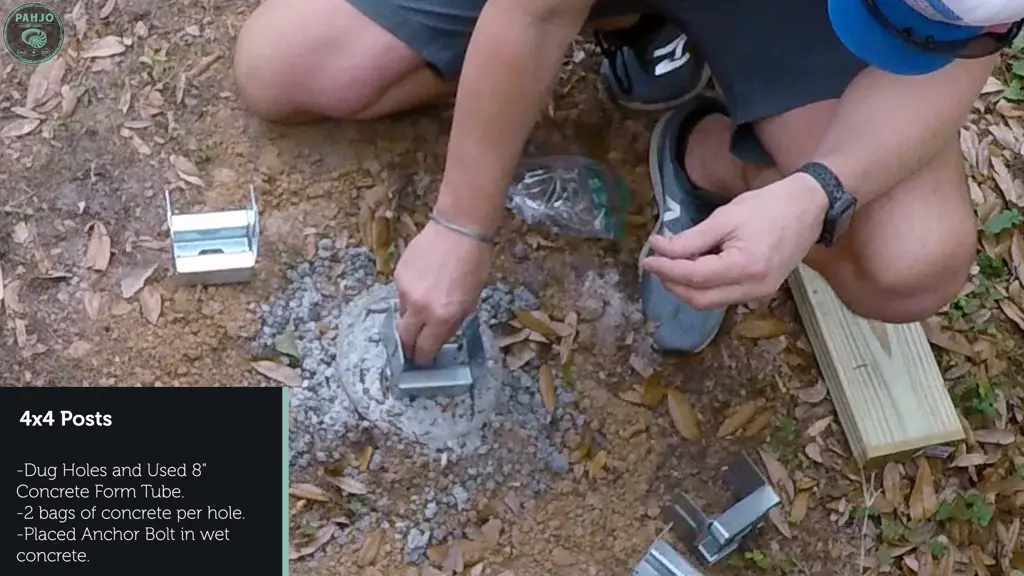
Next, I placed a concrete round form in each post hole and used 2 bags of concrete to fill each hole.
After I poured the concrete, I placed an anchor bolt in the middle of the concrete.
Also known as a J-Bolt, the concrete anchor allows me to secure a post base to the concrete. More on this later.
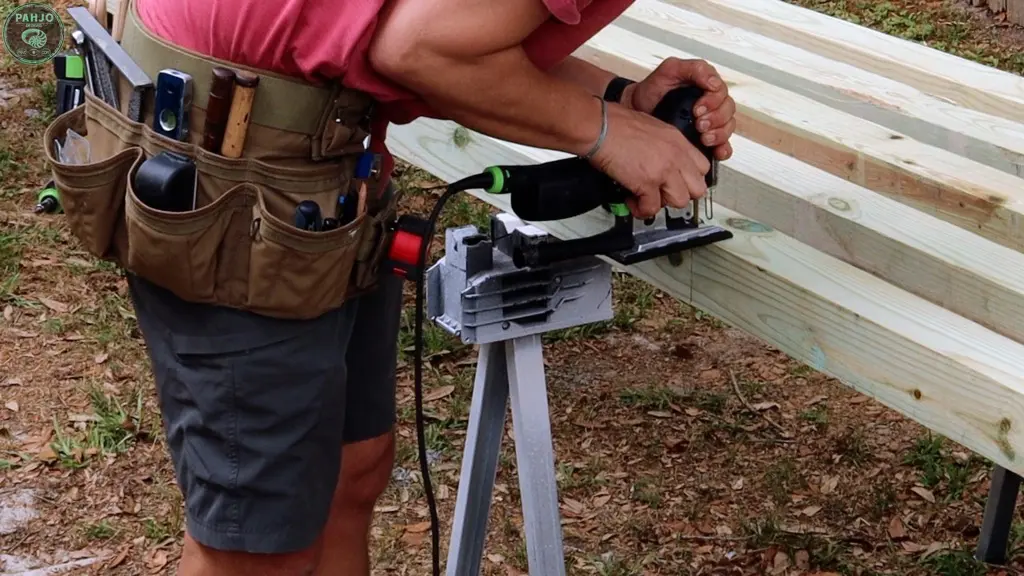
3 – Cut Wood Posts
While the concrete dried, I cut the 4×4 posts to size.
First, I cross cut each post with my jigsaw.

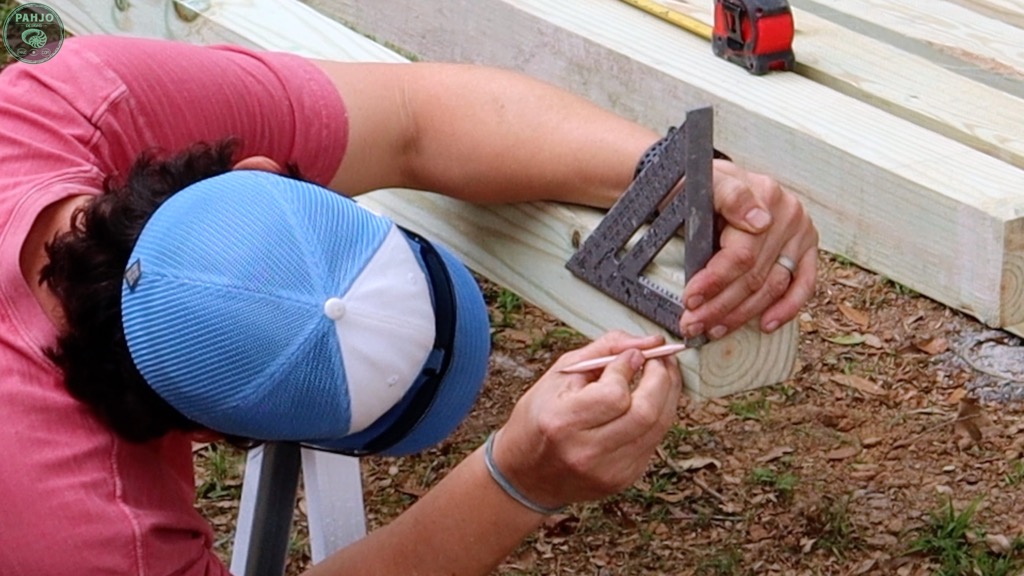
4 – Wood Post Half Lap Joint
Then, I used my speed square to mark the cut lines for the half lap joint.
Keep in mind, the 4×4 post measures 3.5” x 3.5” and a 2 x 6 measures 1.5” x 5.5”.
So, I marked the half lap joint 5.5” from the top and 1.5” from the side.

I like using half lap joints with posts.
The weight of the boards attached to the post gets distributed through the entire post.
If boards are simply fastened to the post with bolts, the bolts bear the weight.
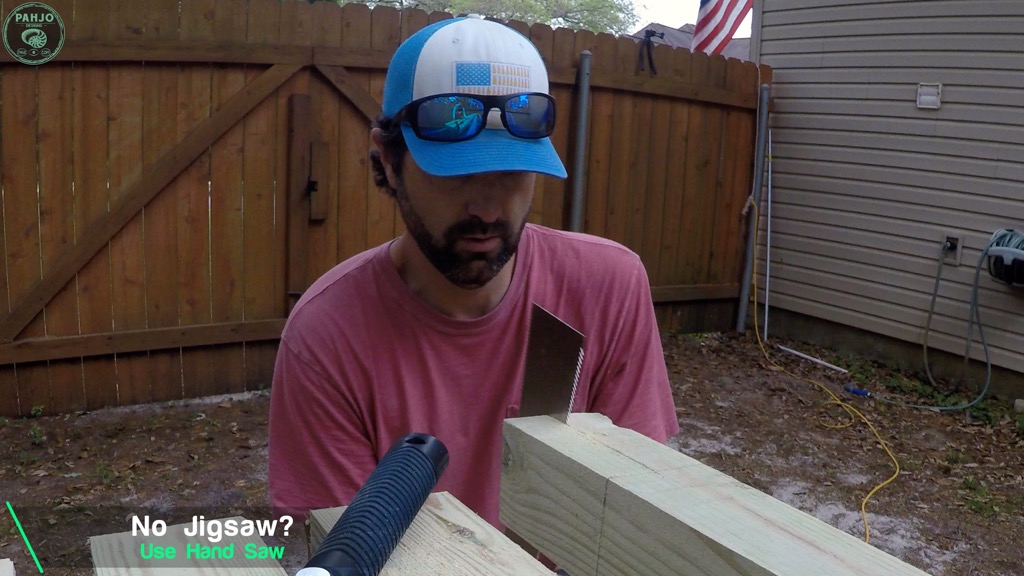
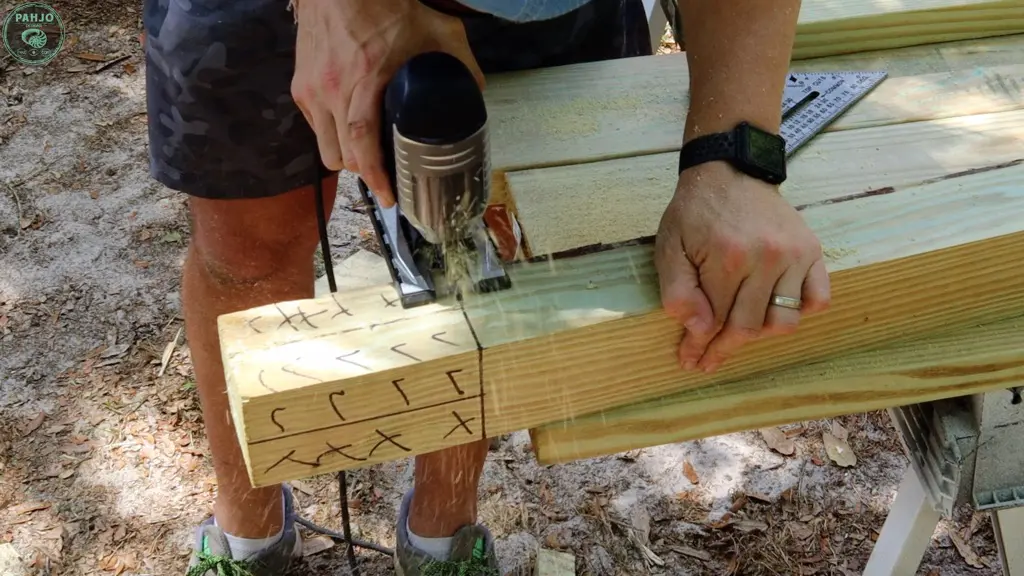
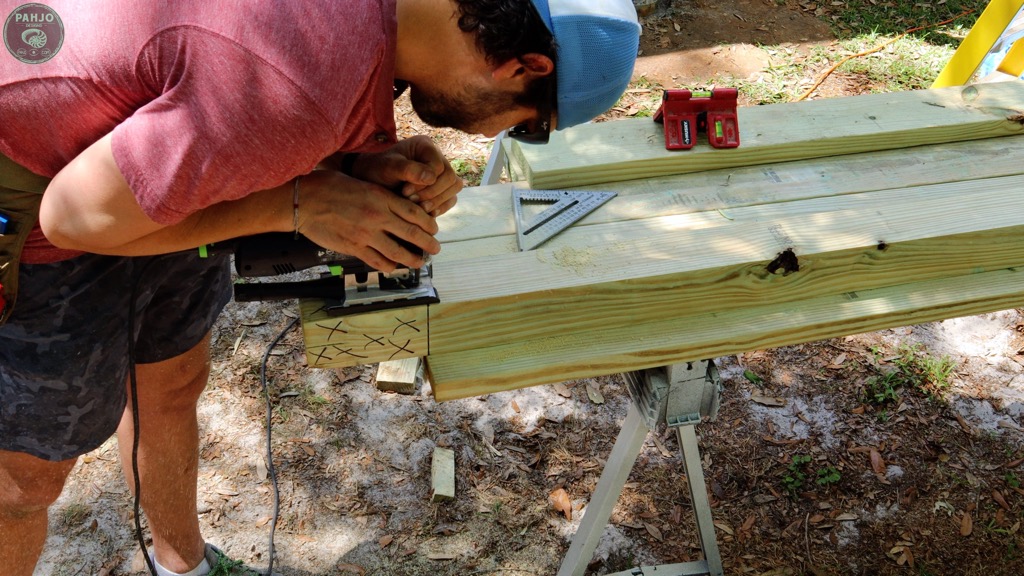
Then, I used my jigsaw to cut along the lines.
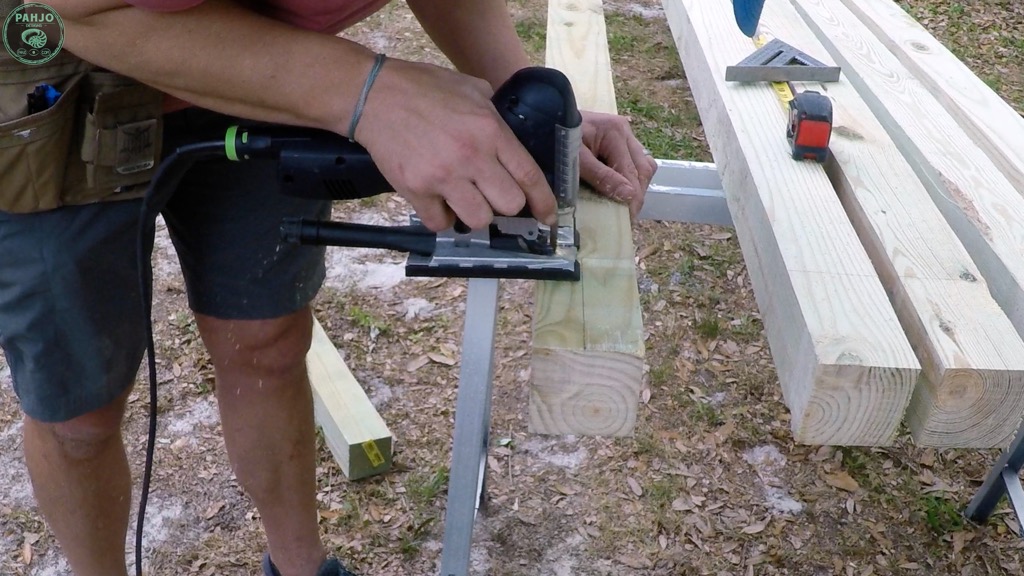
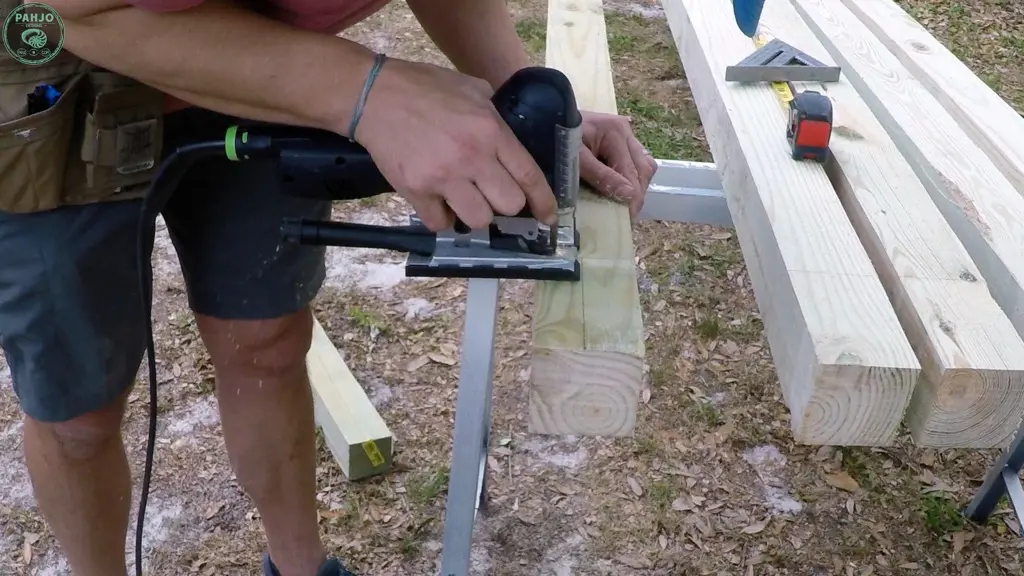
Also, a hand saw works well to make these cuts if you don’t own a jigsaw.

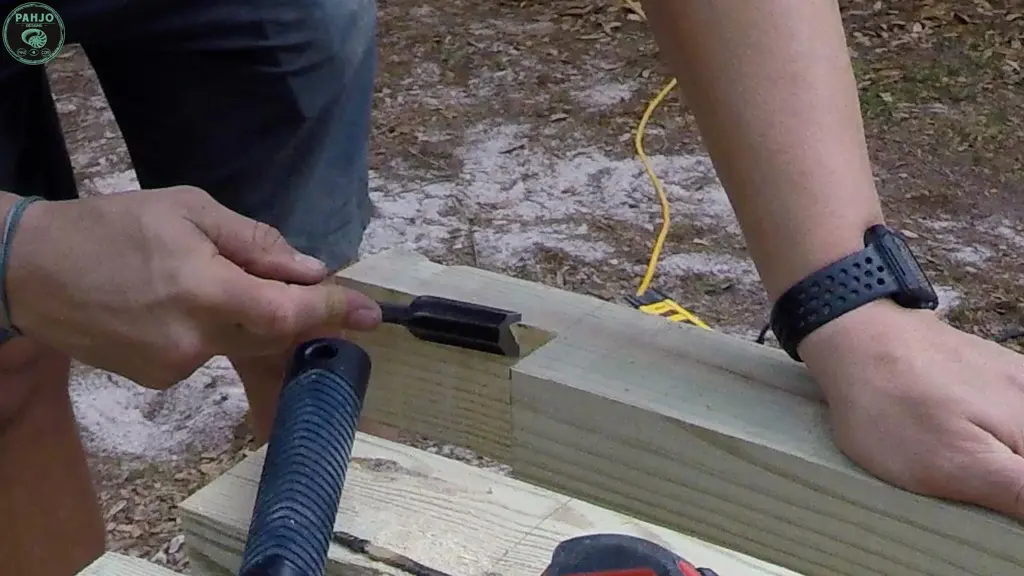
Once all the cuts were made, I cleaned up the inside of the half lap joint with an old chisel.

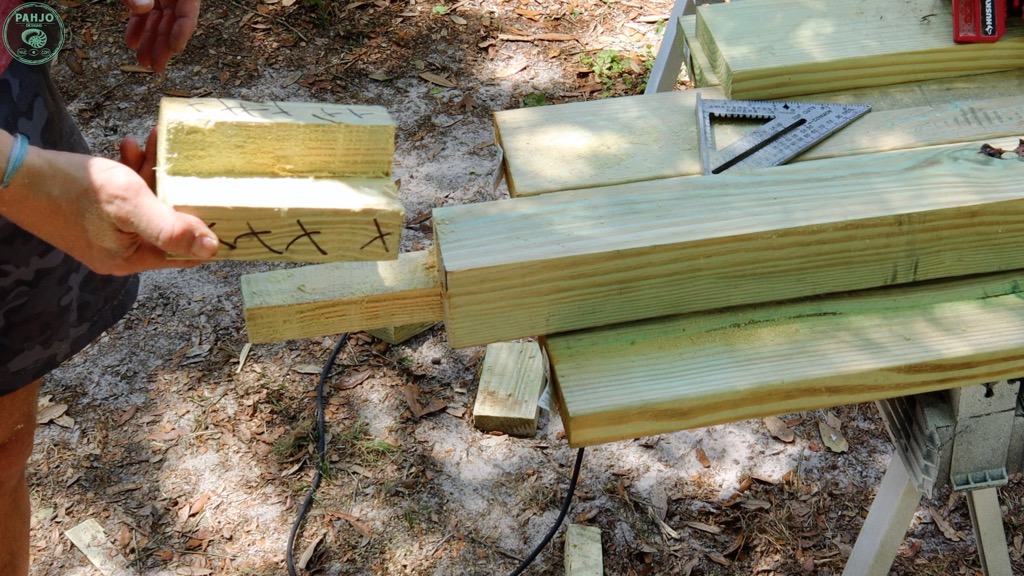
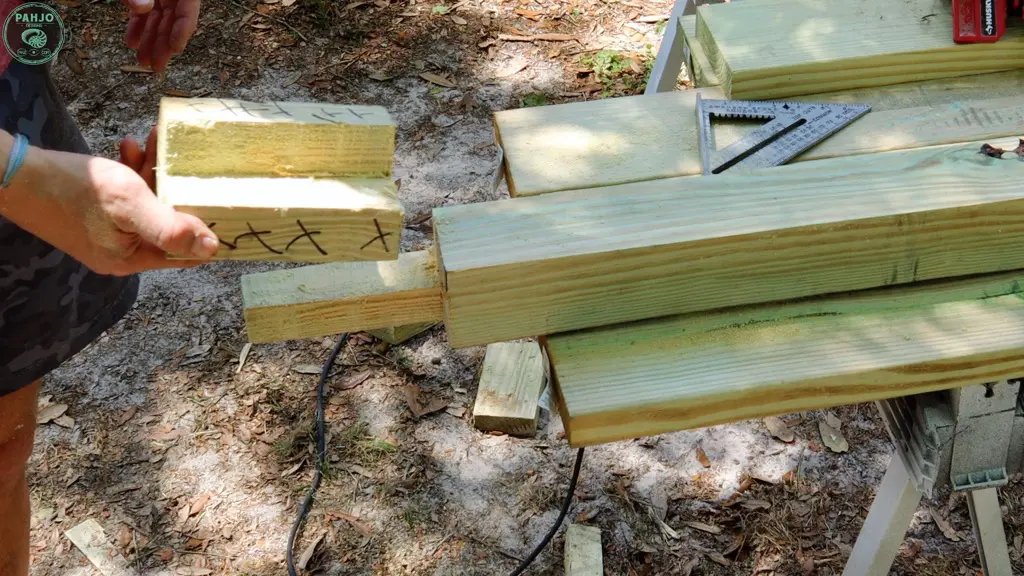
Corner Post Half Lap Joint
The half lap joints for the corner posts require one more cut.
Ultimately, the corner posts will have a runner attached to it as well as a cross board.
As I marked my lines, I wrote an ‘x’ on the area of the wood post I needed to discard and a ‘check’ for the area I needed to keep.


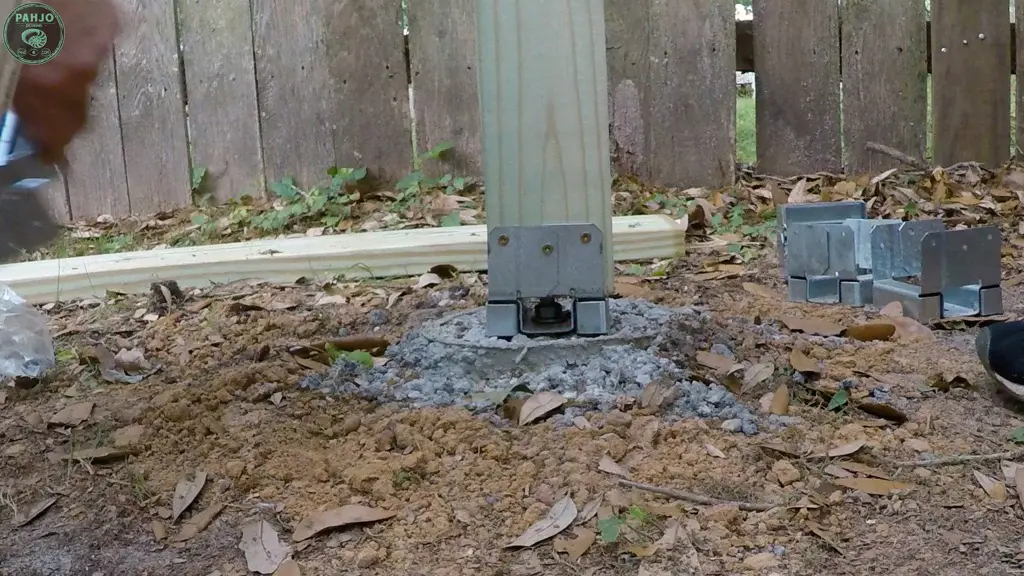
5 – Install Adjustable Post Base
Instead of mounting the 4×4 posts in concrete, I chose to use an adjustable post base.
Plus, concrete is permanent and I didn’t know if I would need to move the post in the future.
Maybe I’ll need to move it to adhere to a building code for the lean-to roof I plan to build.
The post base rests on top of the concrete anchor and adjusts about 1/2” in all directions if needed.
First, I placed the base on the anchor and hand-tightened a washer and nut to secure it.
Then, I repeated this process for all post holes and checked for square when complete with a string.
Once all anchors were in place, I tightened the nut with a wrench.

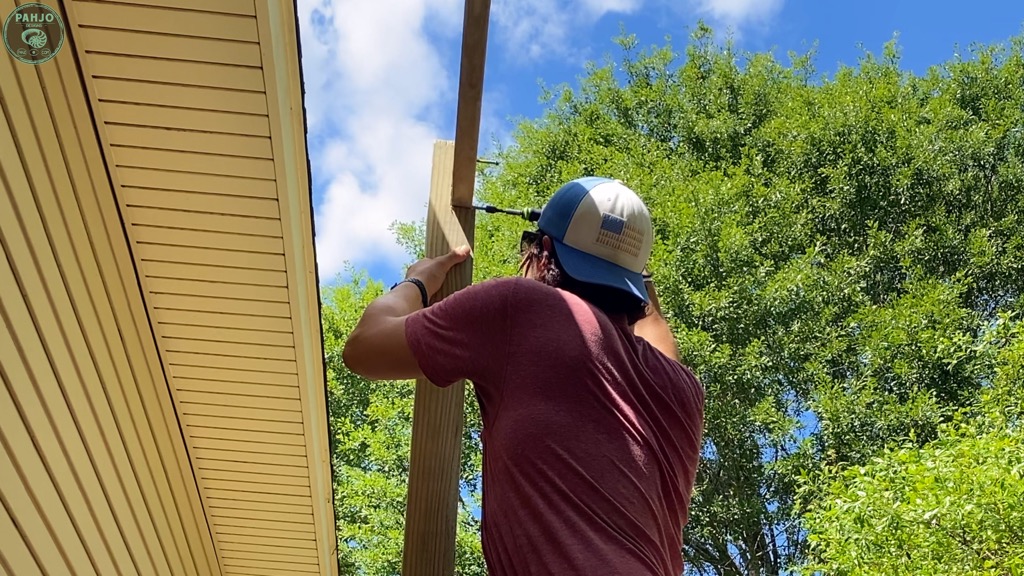
6 – Level and Secure Wood Post
Next, I placed a 4×4 post with a post level on the base.
Then, I used 2 boards to hold the post in place and secured the base to the post with structural screws.

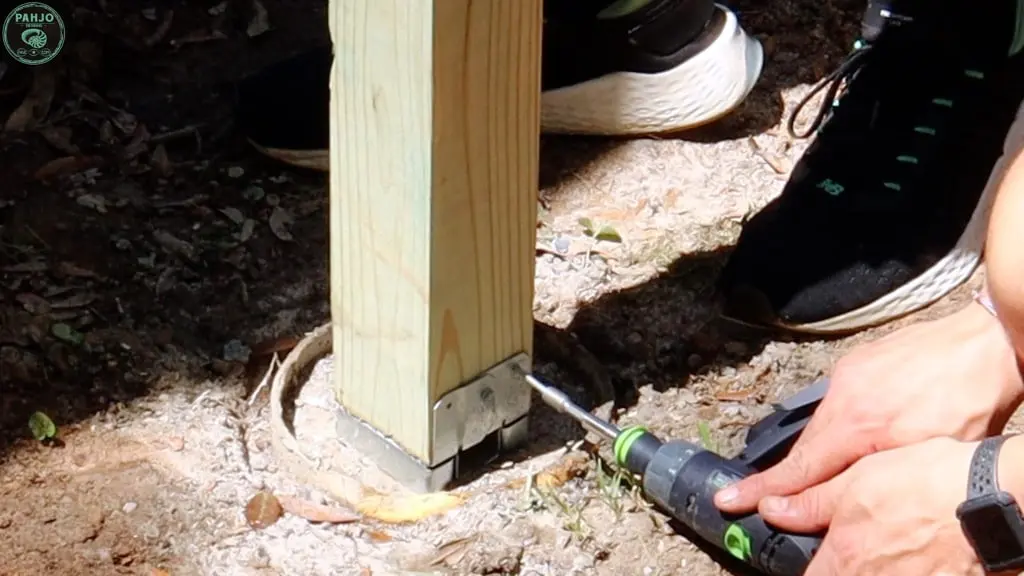
Also, I quickly realized this post base was not as sturdy as I hoped.
As a result, I used a retrofit post base to provide better stability for my batting cage with wood posts.
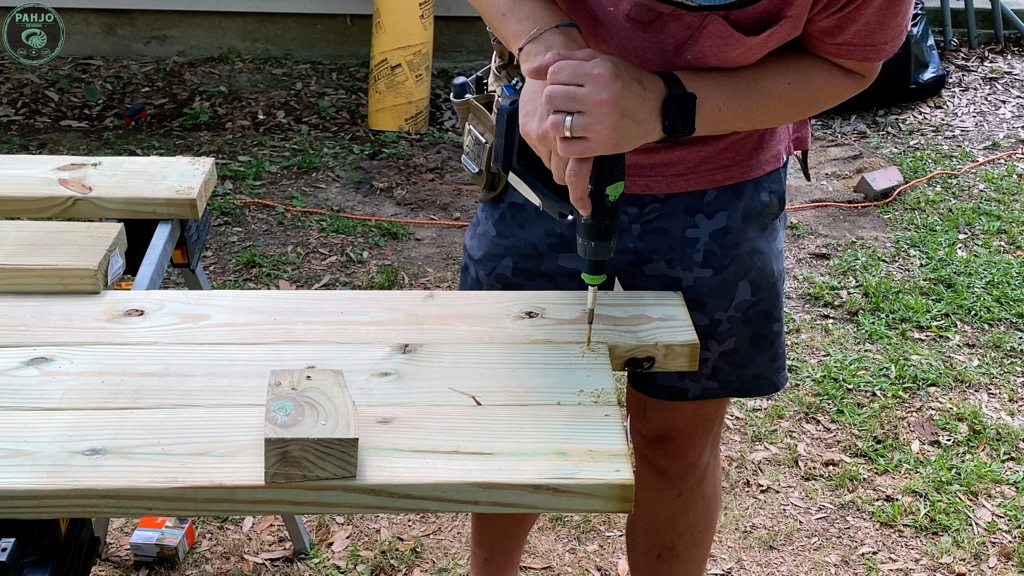
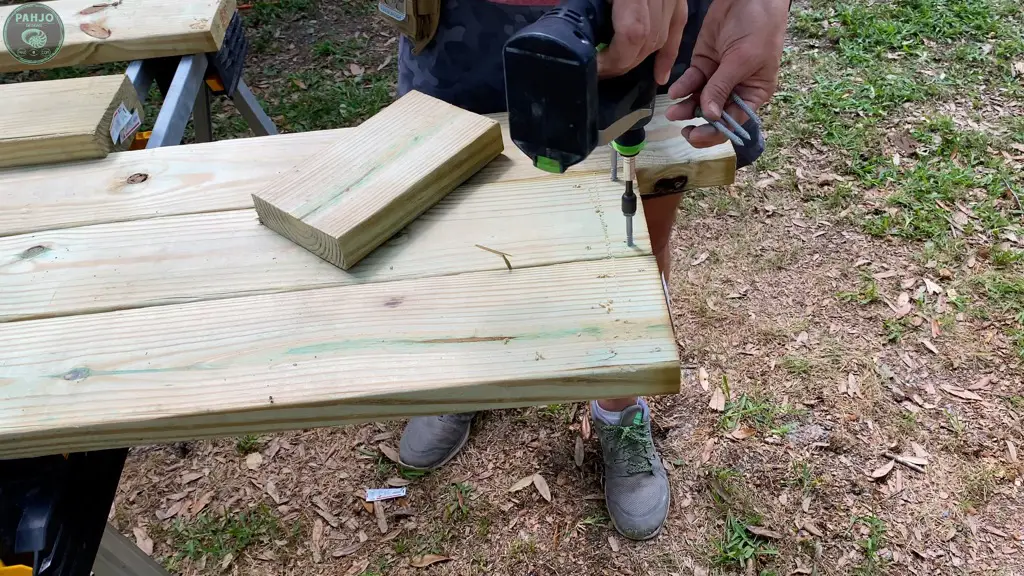
7 – Cut 2×6 Wood Frame
First, I drilled pilot holes in the runners and cross boards and drilled the structural screws halfway.
Obviously, it is much easier to do this while the 2×6 boards are on the ground rather than in the air.


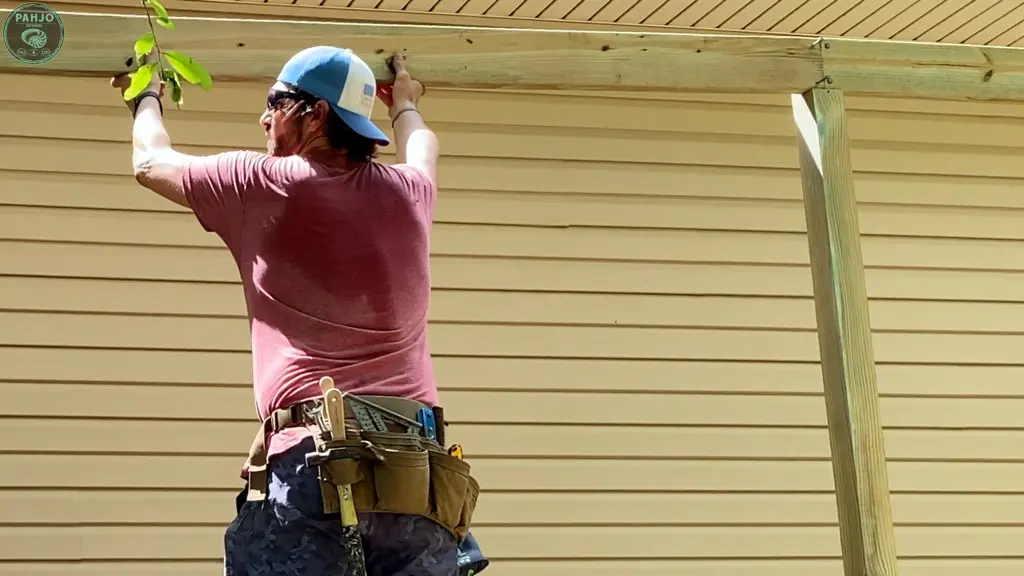
8 – Frame Runners
Next, I installed the 4 2×6 runners on center on each post.
As I mentioned previously, the half lap joints allow the posts to distribute the weight of the batting cage frame.


9 – Cross Boards
Each end of each cross board requires 4 structural screws.
So, two screws attach to the post and two screws attach to the runner.

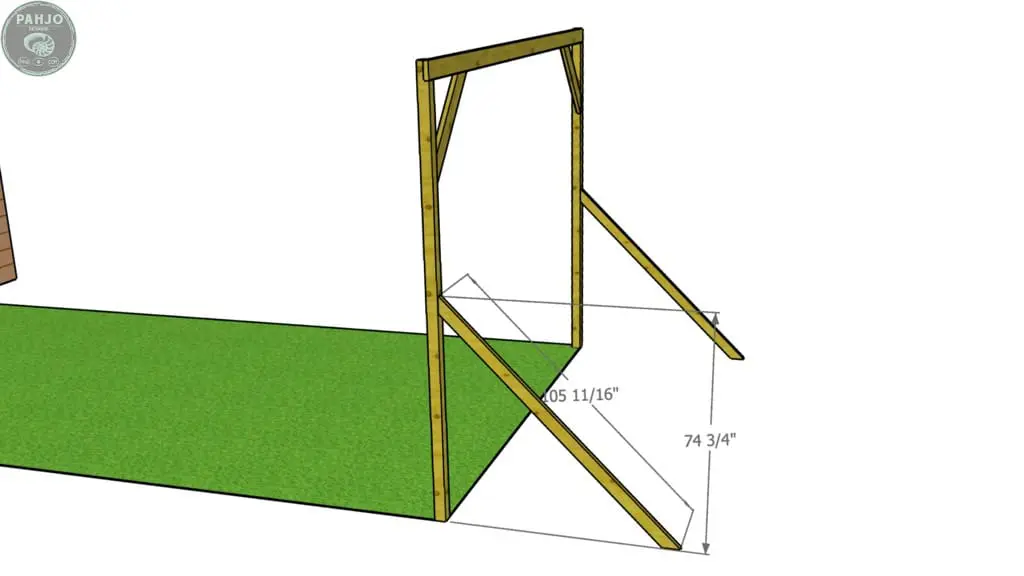
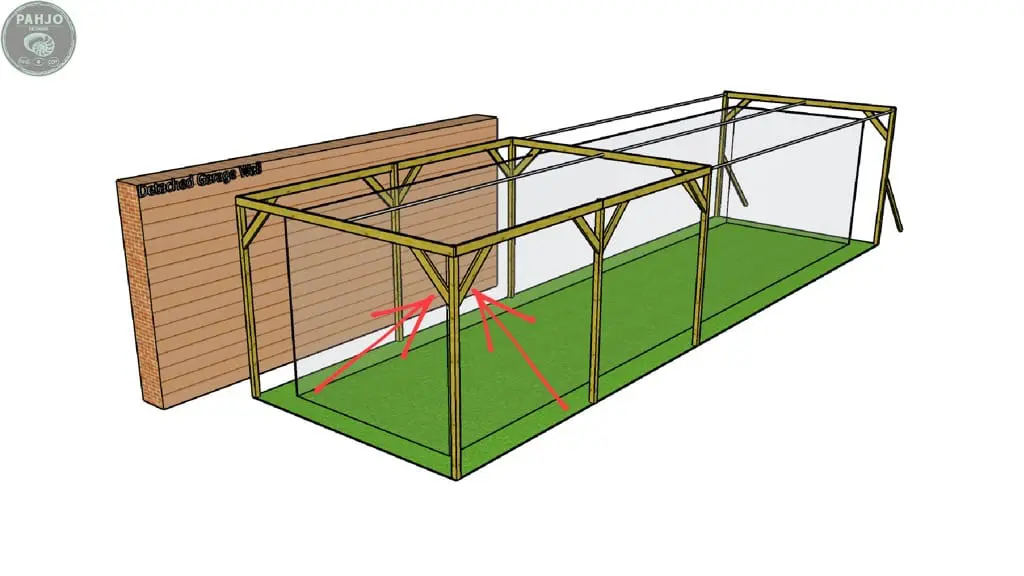
10 – DIY Batting Cage Wood Frame Supports
To further support the rear batting cage wood frame as well as the frame adjacent to my workshop, I installed 2×6 supports.
Also, the batting cage support cable will pull on the rear frame.
So, I felt it was a good idea to anchor it.


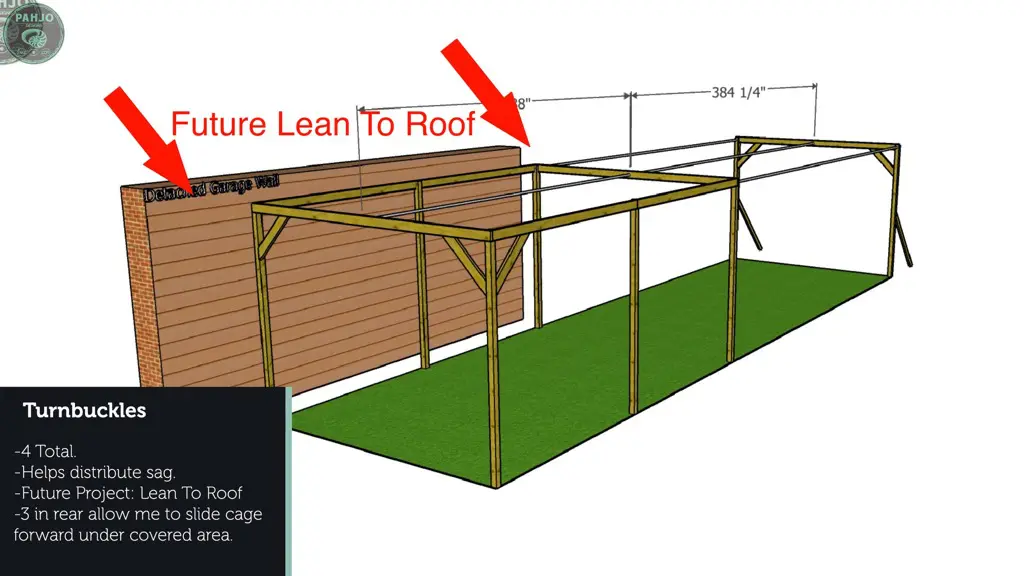
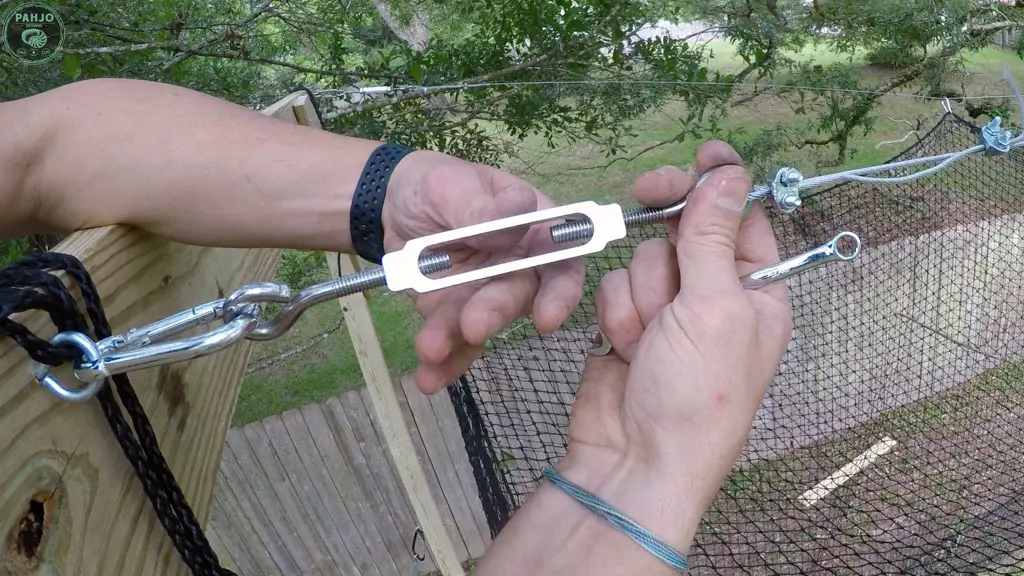
11 – Install Turnbuckle Cable Kits
To support the batting cage evenly, I installed 4 turnbuckle cable kits with wire rope.
Additionally, the 3 cable lines allow me to slide the back of the batting cage up to the back of my detached garage.
This will allow my 2 sons to use the cage in the rain.


First, I installed two eye bolts, the cable, and secured the turnbuckles.
Next, I tightened the turnbuckles until the cable was taut.

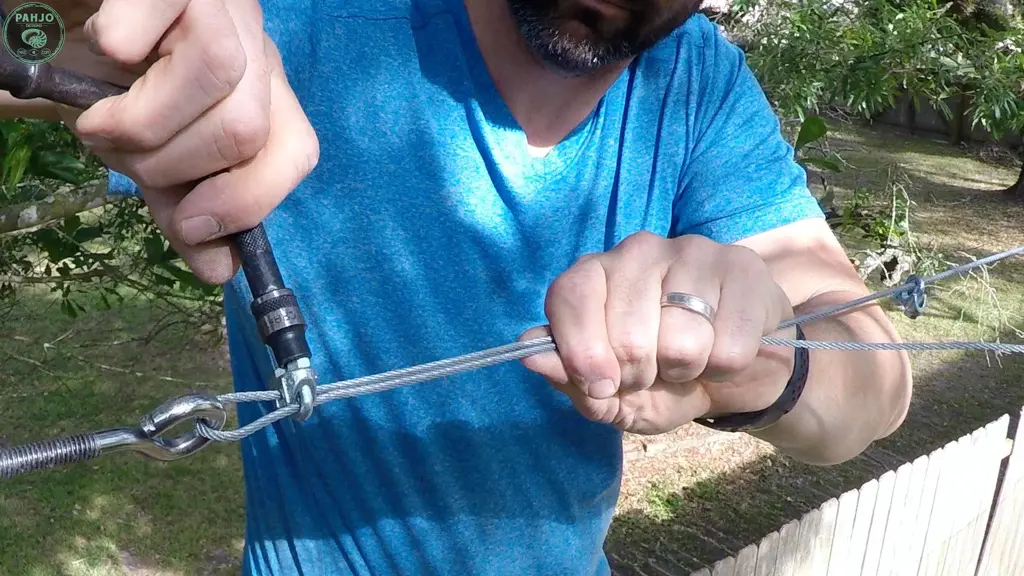
To further tighten the turnbuckles, I used a wrench.
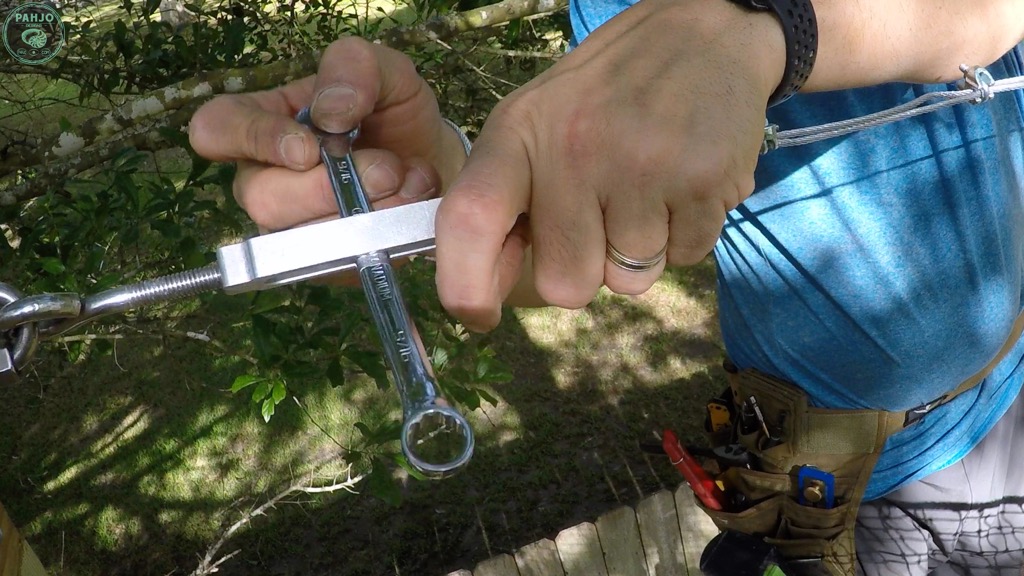

Once I dropped my wrench, I used my hand.
Keep in mind, the turnbuckle kit included everything I needed to install the cable.

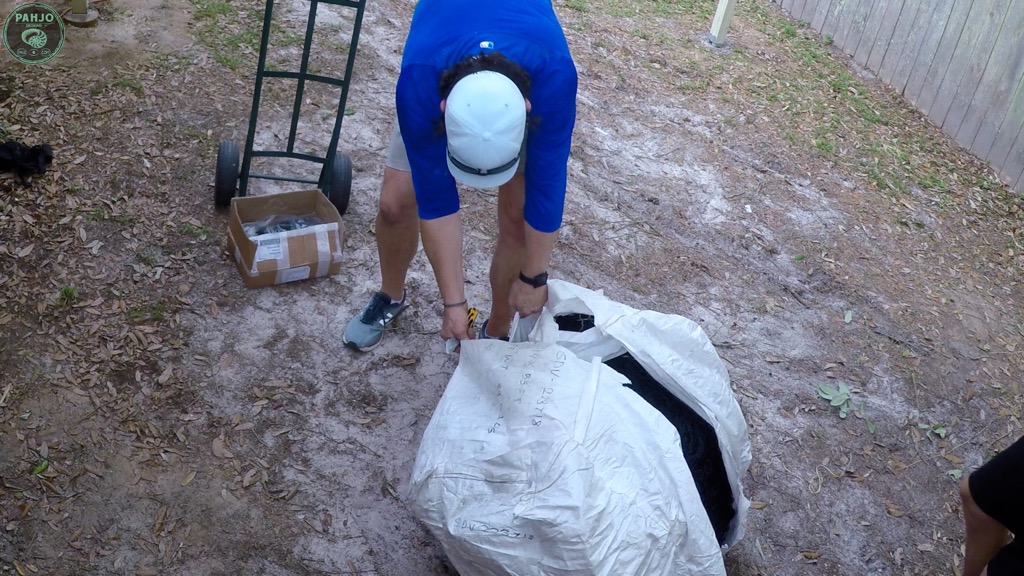
12 – Unpack Batting Cage Net
Again, this is a 12′ high, 55′ long, 14’ wide cage.
The batting cage arrived rolled up in a tight package and looked like a large cargo net.
Needless to say, the net weighed a lot.
I had a hard time rolling the batting cage net, so I used my dolly to move it to my batting cage location.

13 – Hang Batting Cage Net
First, my son and I located the front and rear of the net.
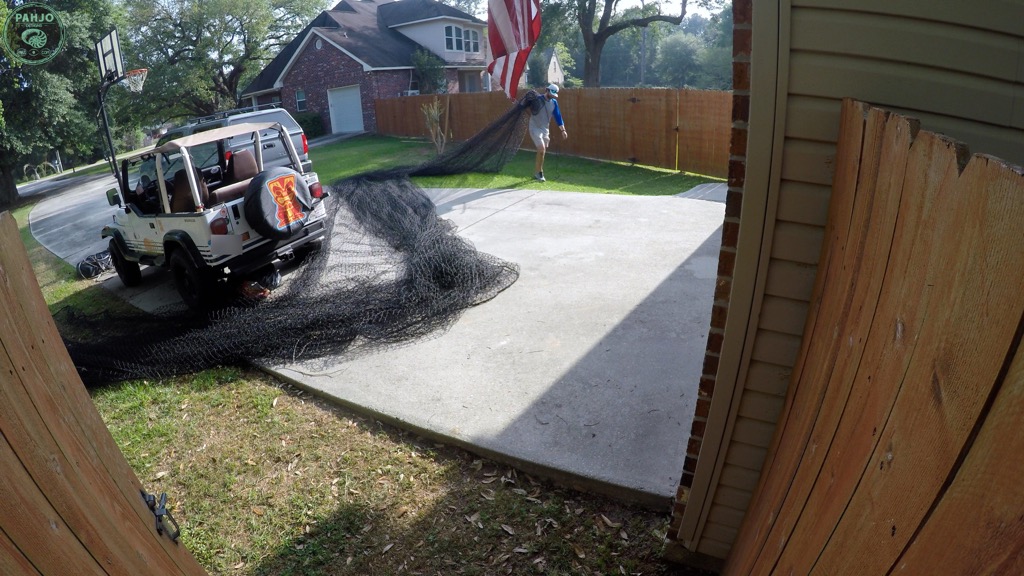

Next, we stretched out the batting cage net and tied each corner to the batting cage frame.

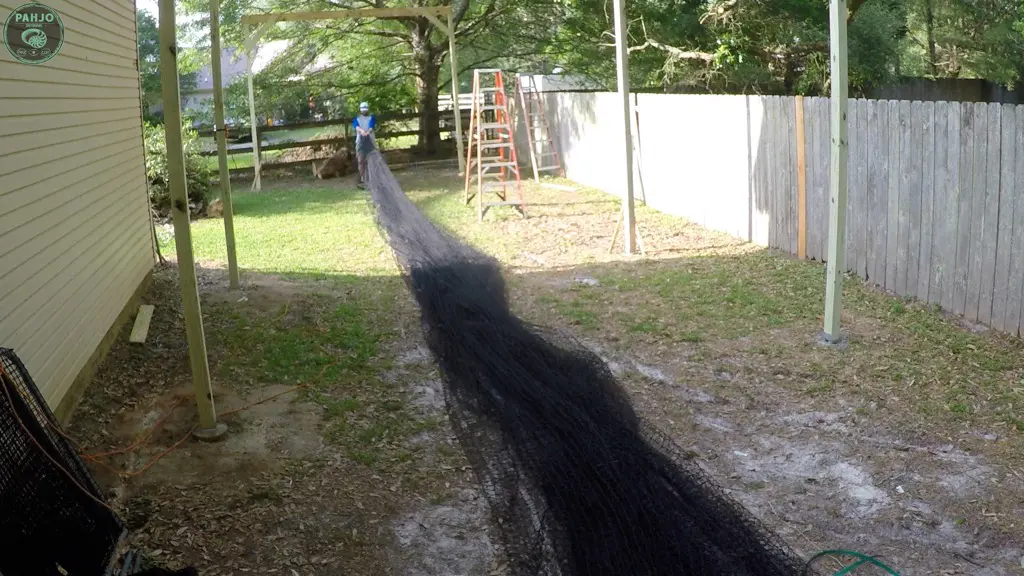

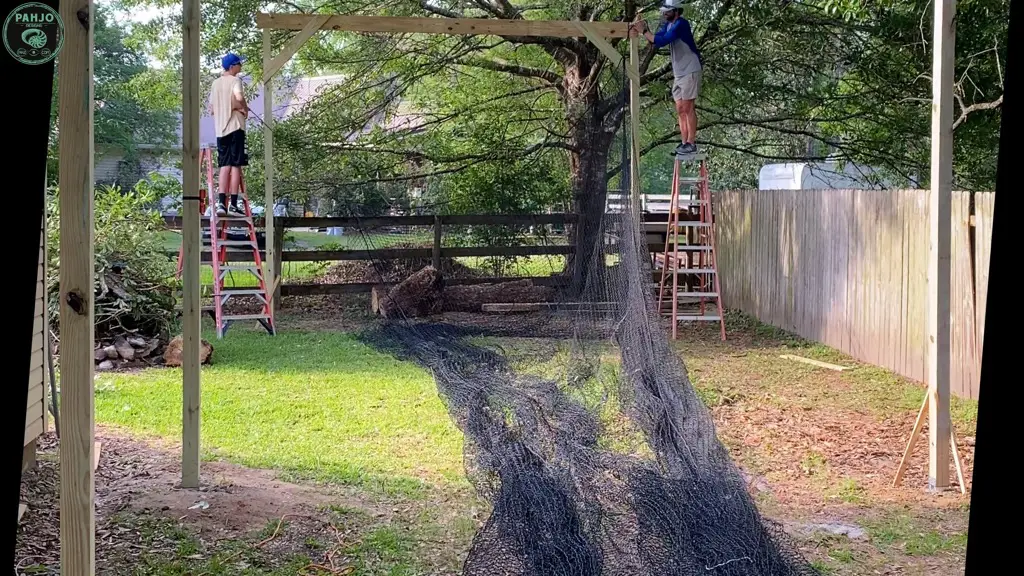
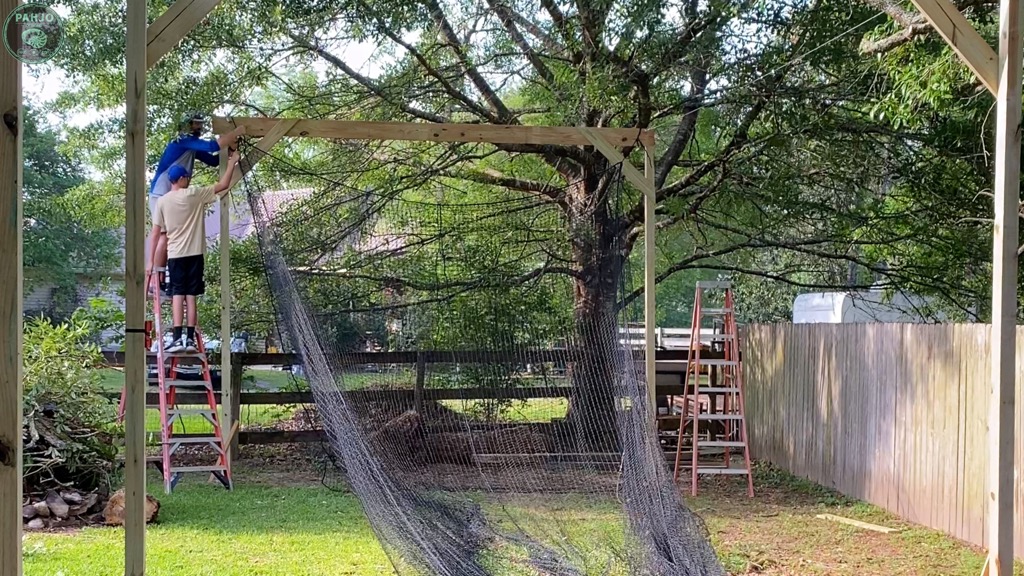


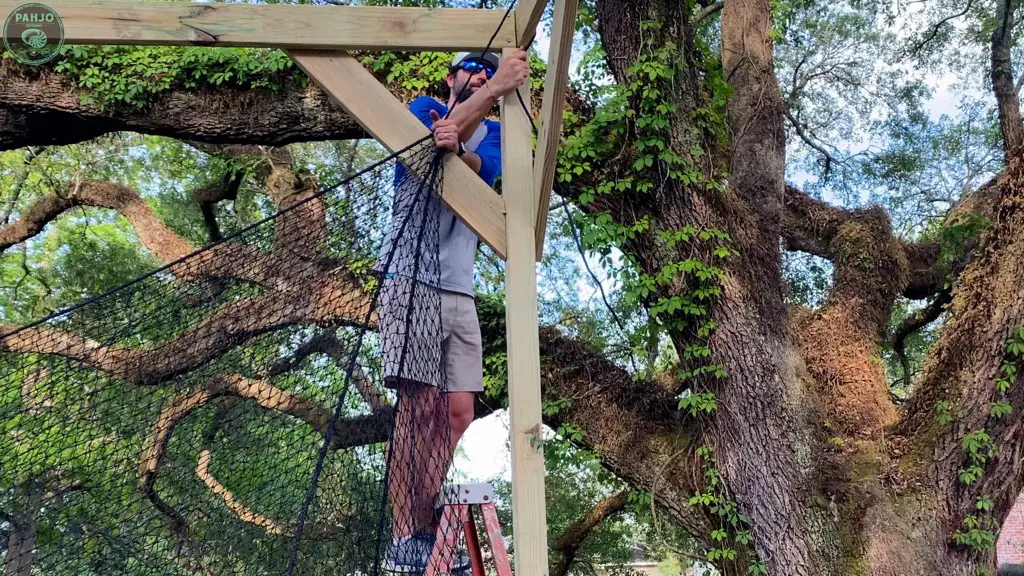
Then, I evenly spaced batting cage hangers along the front, back, and sides of the net.

Finally, I attached the hangers to the cables and adjusted as needed.
Also, the picture above shows me using a clip directly attached to the batting cage net, but this was a temporary solution until the batting cage hangers arrived.
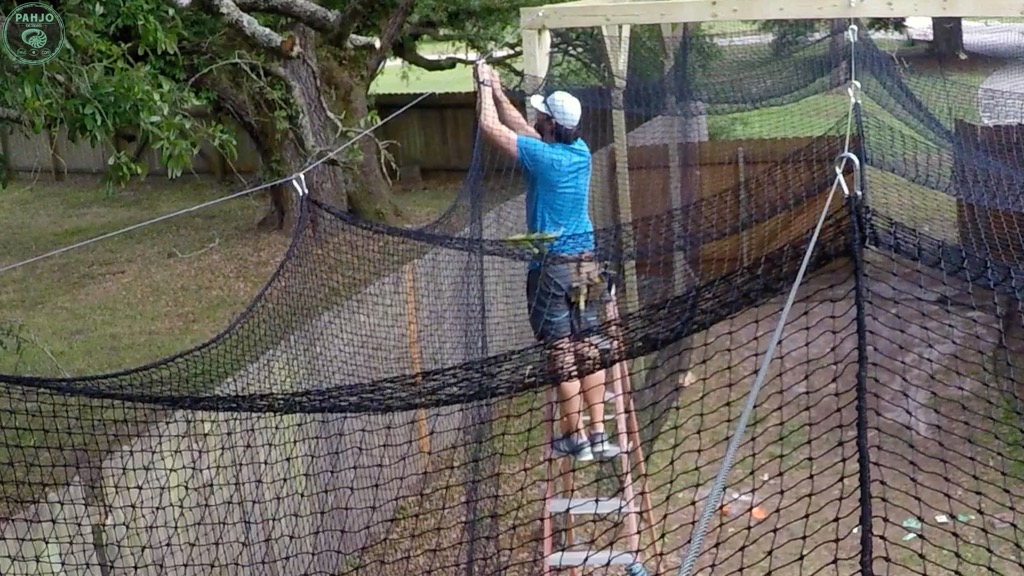
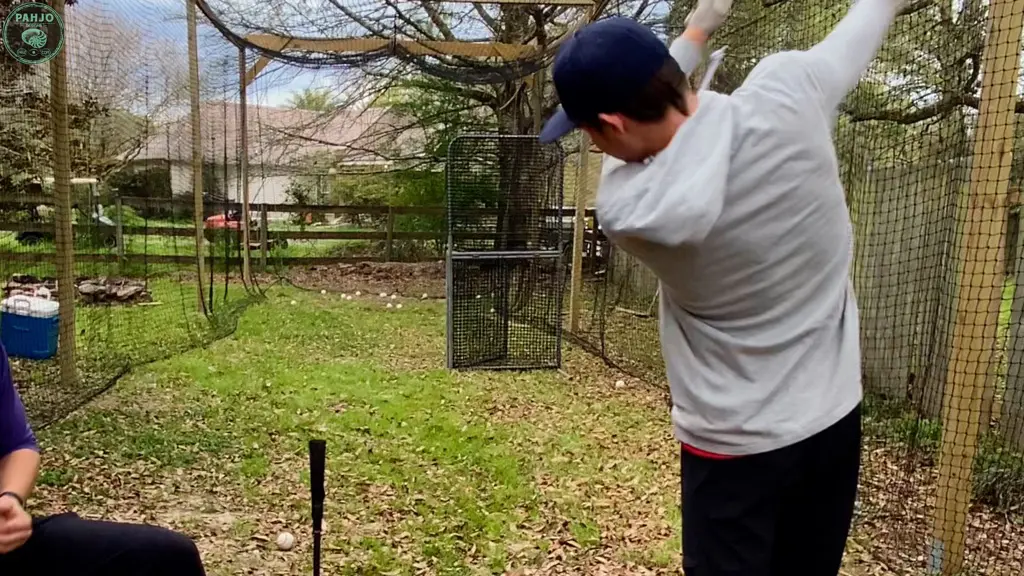
14 – Batting Cage Net Sag
After experimenting for a short time, I concluded the batting cage should sag roughly 12 inches to 18 inches in order to absorb the baseballs and softballs.
If the cage is too tight, balls bounce off the net.
However, the balls will hit the posts if too much sag is in place.
Also, the pictures below show the batting cage without sag and with sag.
After I hung the batting cage net, the actual size was roughly 12 feet wide and 11′ tall.
Ultimately, a 12 feet wide batting cage provides plenty room for players of all ages.


Conclusion
In summary, I hope my backyard DIY batting cage with wood posts tutorial helped you.
Additionally, this is a great project to do with your baseball or softball player.
It also serves as a terrific place to spend quality time and a great way to improve a batting average.
Good Luck with your project!
Related Posts:
What size should my DIY batting cage be?
The best size batting cage is 55 or 70 feet long x 12 or 16 feet wide x 10 to 12 feet high.
Each of these different options provide plenty space for pitching and hitting.
The width of 12 to 16 feet accommodates the swinging motion and any bat length well.
What type of netting is best for a batting cage?
For an outdoor batting cage, the best type of netting are HDPE or KVX200 nets.
For an indoor batting cage, the best type of batting cage net is knotted nylon.
How long does batting cage netting typically last?
The amount of time a batting cage net lasts ranges from 4 to 10 years.
Factors such as weather exposure, frequency of use, and quality of the material impact the lifespan of a batting cage net.
Regular inspections and proper usage extend its longevity.
Can I build a batting cage if I don’t have a regulation-sized backyard?
Yes, you can build a batting cage in a smaller backyard by adjusting the dimensions to fit the available space. Consider a compact design and focus on the key elements such as length, width, and height to create a functional and effective practice environment.
How can I prevent the netting from sagging in my batting cage?
To prevent sagging, make sure the batting cage net is properly tensioned during installation with turnbuckle kits.
Periodically, check the cables and adjust tension as needed.
Should I take down my batting cage net when it’s not in use?
While it’s not necessary to take down the batting cage net, doing so may help prolong its lifespan.
Alternatively, investing in a weather-resistant and UV-protected batting cage net minimize the need for takedown.
What materials will I need to build my own batting cage?
Essential materials include wood posts for the frame, turnbuckle kits, batting cage netting, and any necessary hardware for installation.
Additionally, consider accessories such as a turf batter’s box and a pitcher’s mound area.

Is knotted nylon netting preferable for batting cages? If so, why?
Yes, knotted nylon netting is preferred for batting cages due to its durability and ability to withstand the impact of baseballs and softballs.
The knotted design provides added strength and reduces the likelihood of tears or damage over time.
Can I add a pitching machine to my DIY batting cage?
Yes, you can add a pitching machine to your batting cage to enhance your practice sessions.
Make sure to install the pitching machine in a flat area.
Also, consider using the appropriate balls for the pitching machine in order to not damage the machine or batting cage net.